scrubbyj427
-
Posts
1,729 -
Joined
-
Last visited
Content Type
Profiles
Forums
Gallery
Events
Everything posted by scrubbyj427
-
 It looks like you used laser etched moulding to cap your columns? Looks wonderful, what a great idea!
- 399 replies
-
- 4
-

-
- winchelsea
- Syren Ship Model Company
- (and 1 more)
-
What a stunning work of art! Well done!
-
HMS VICTORY 1765 by albert - 1/48
scrubbyj427 replied to albert's topic in - Build logs for subjects built 1751 - 1800
Beautiful work! -
That looks amazing! Very nicely done! JJ
-
I’m also onboard with the 1/4 scale, with the Winnie being my first 1/4 scale I’ve been converted. Will probably never go smaller than that ever again. A big 1/2” scale frigate or something along those lines sure looks tempting sometimes though. But Winnie has proved beyond a doubt that an amazing model can be produced at 1/4.
- 1,784 replies
-
- 2
-
-
- winchelsea
- Syren Ship Model Company
- (and 1 more)
-
That looks great Rusty! That’s such a rewarding part of the chapter to complete and complete well. I still just love how your Winnie looks with your choices of wood!
- 642 replies
-
- 2
-
-
- winchelsea
- Syren Ship Model Company
- (and 1 more)
-
This will make a great post Winnie subject! Looking forward to seeing this develop further!
- 1,784 replies
-
- 3
-
-
- winchelsea
- Syren Ship Model Company
- (and 1 more)
-
Well I’m sure whatever project comes out next whether it’s Hornet or the sloop, it will build into another wonderful model.
- 1,784 replies
-
- 3
-
-
- winchelsea
- Syren Ship Model Company
- (and 1 more)
-
I can’t decide if I want to do Amazon or Minerva next as I’ve fallen in love with both of them through the course of the Winnie project, it’s like they all belong together now.😂
- 1,784 replies
-
- 3
-
-
- winchelsea
- Syren Ship Model Company
- (and 1 more)
-
Ok thanks, that’s kinda what I was thinking but I don’t have my drawings nearby for reference. Looking good!
- 607 replies
-
- 2
-
-
- winchelsea
- Syren Ship Model Company
- (and 1 more)
-
Excellent work Mike...as always! Is it me or is there a small section of your moulding missing along the waist? JJ
- 607 replies
-
- 2
-
-
- winchelsea
- Syren Ship Model Company
- (and 1 more)
-
Nice looking shop! Don’t even want to know what that set you back... nice machine though. So will it cut up to 960x610 or is that just the box size?
-
Amazing work as usual. Not much more to go it looks.
- 1,784 replies
-
- 1
-
-
- winchelsea
- Syren Ship Model Company
- (and 1 more)
-
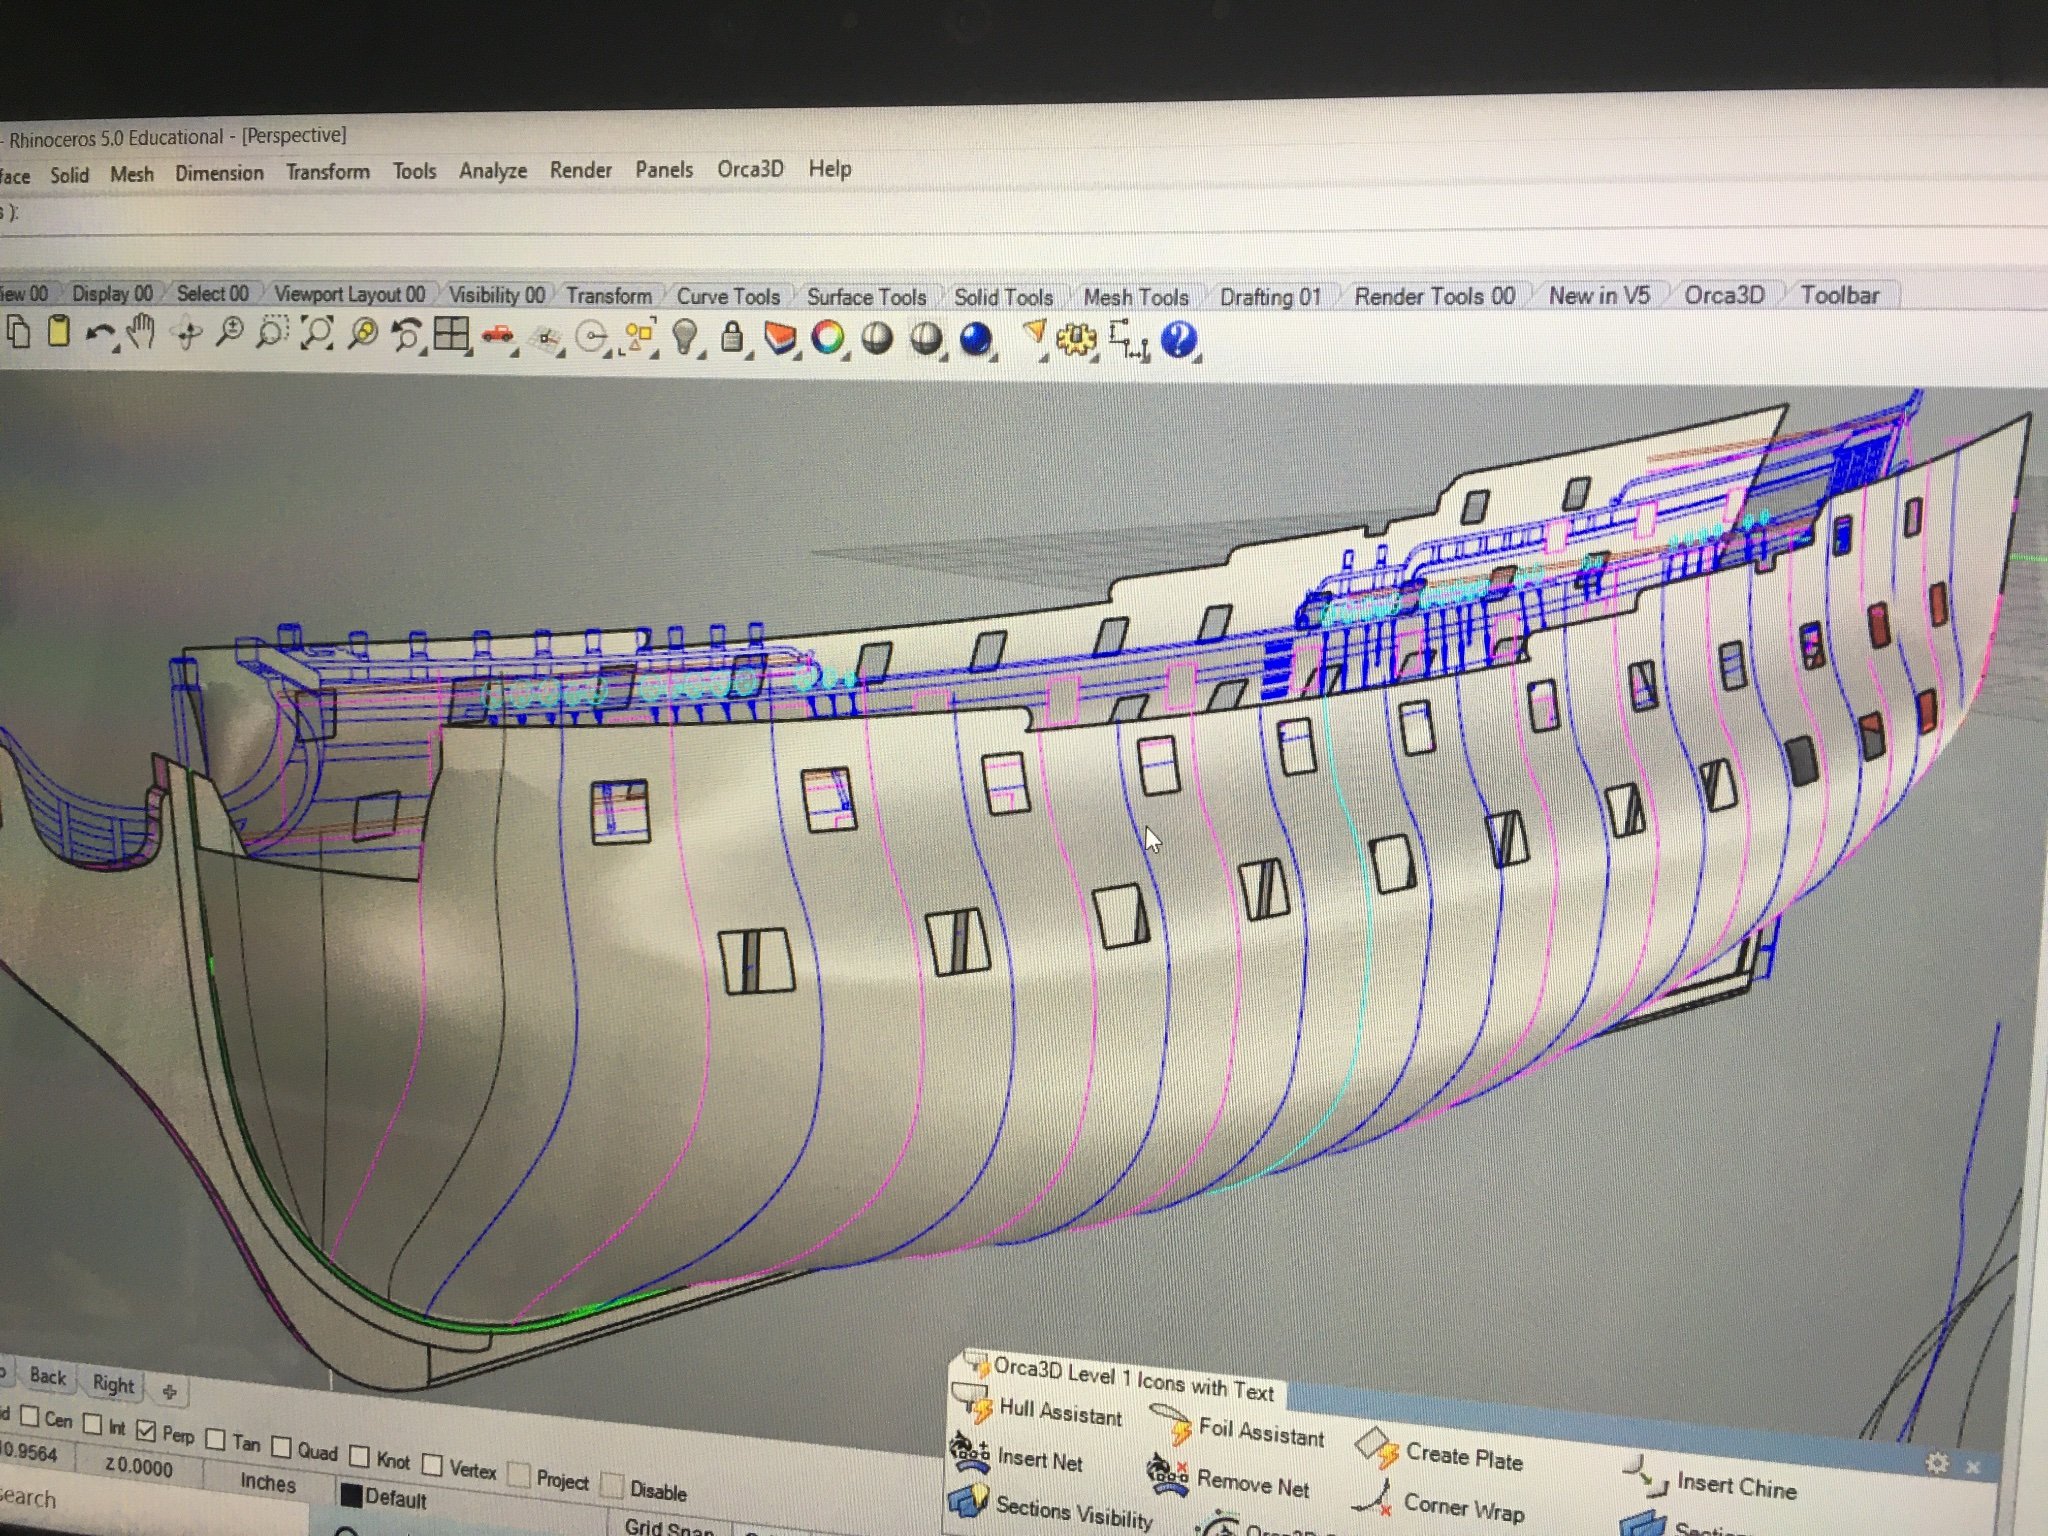
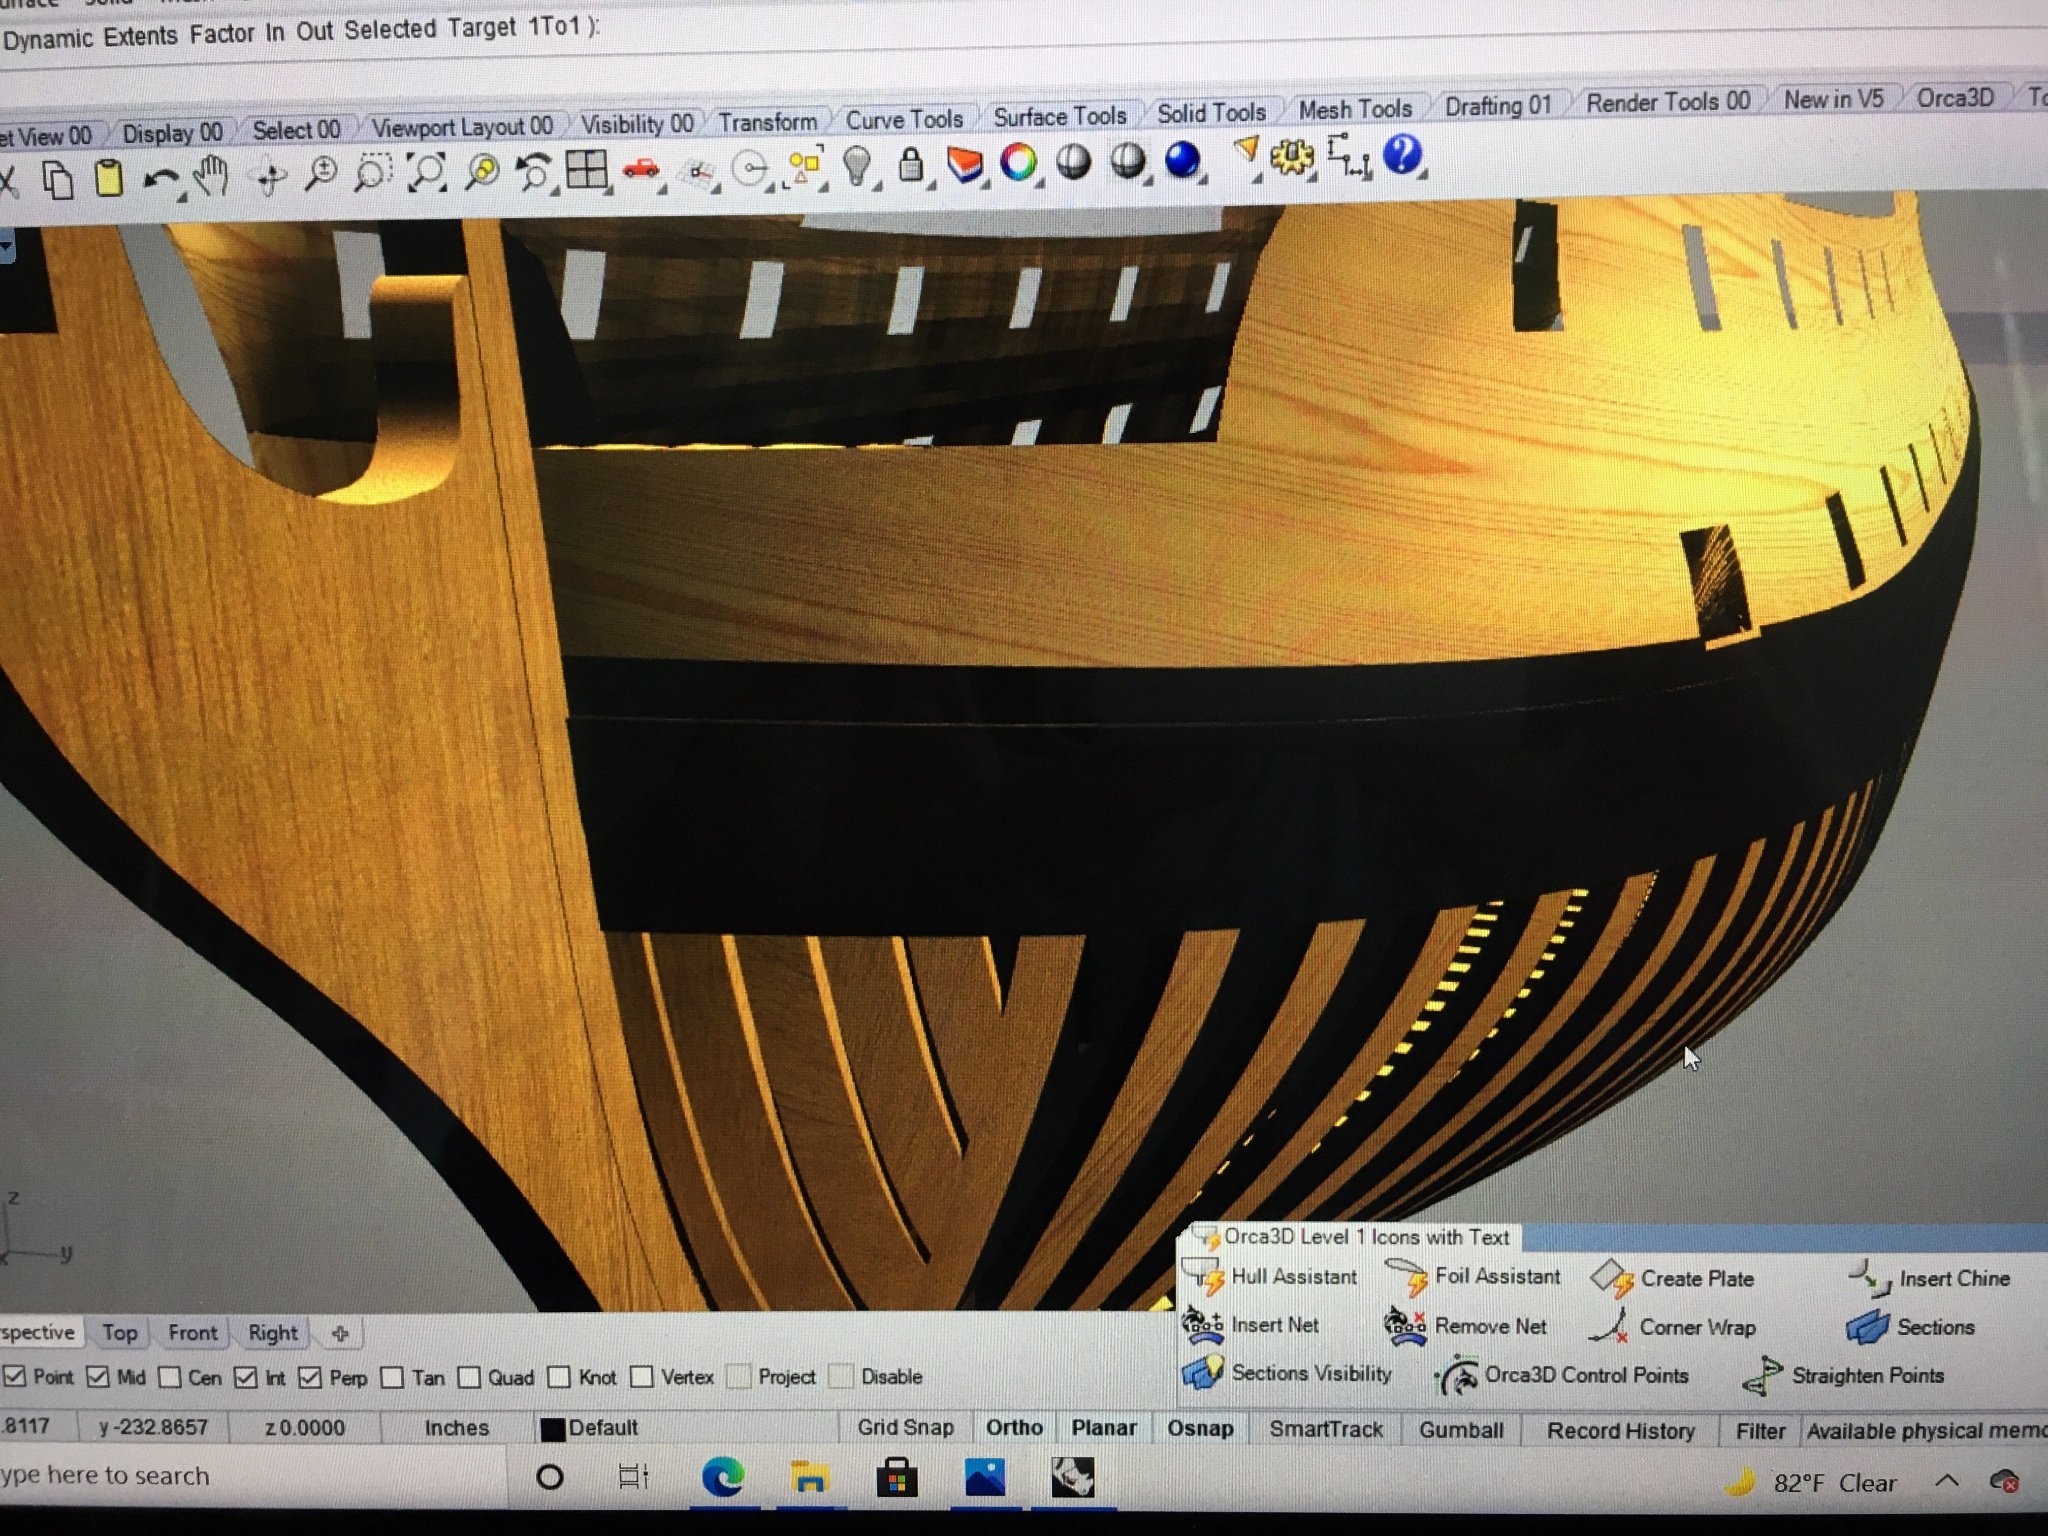
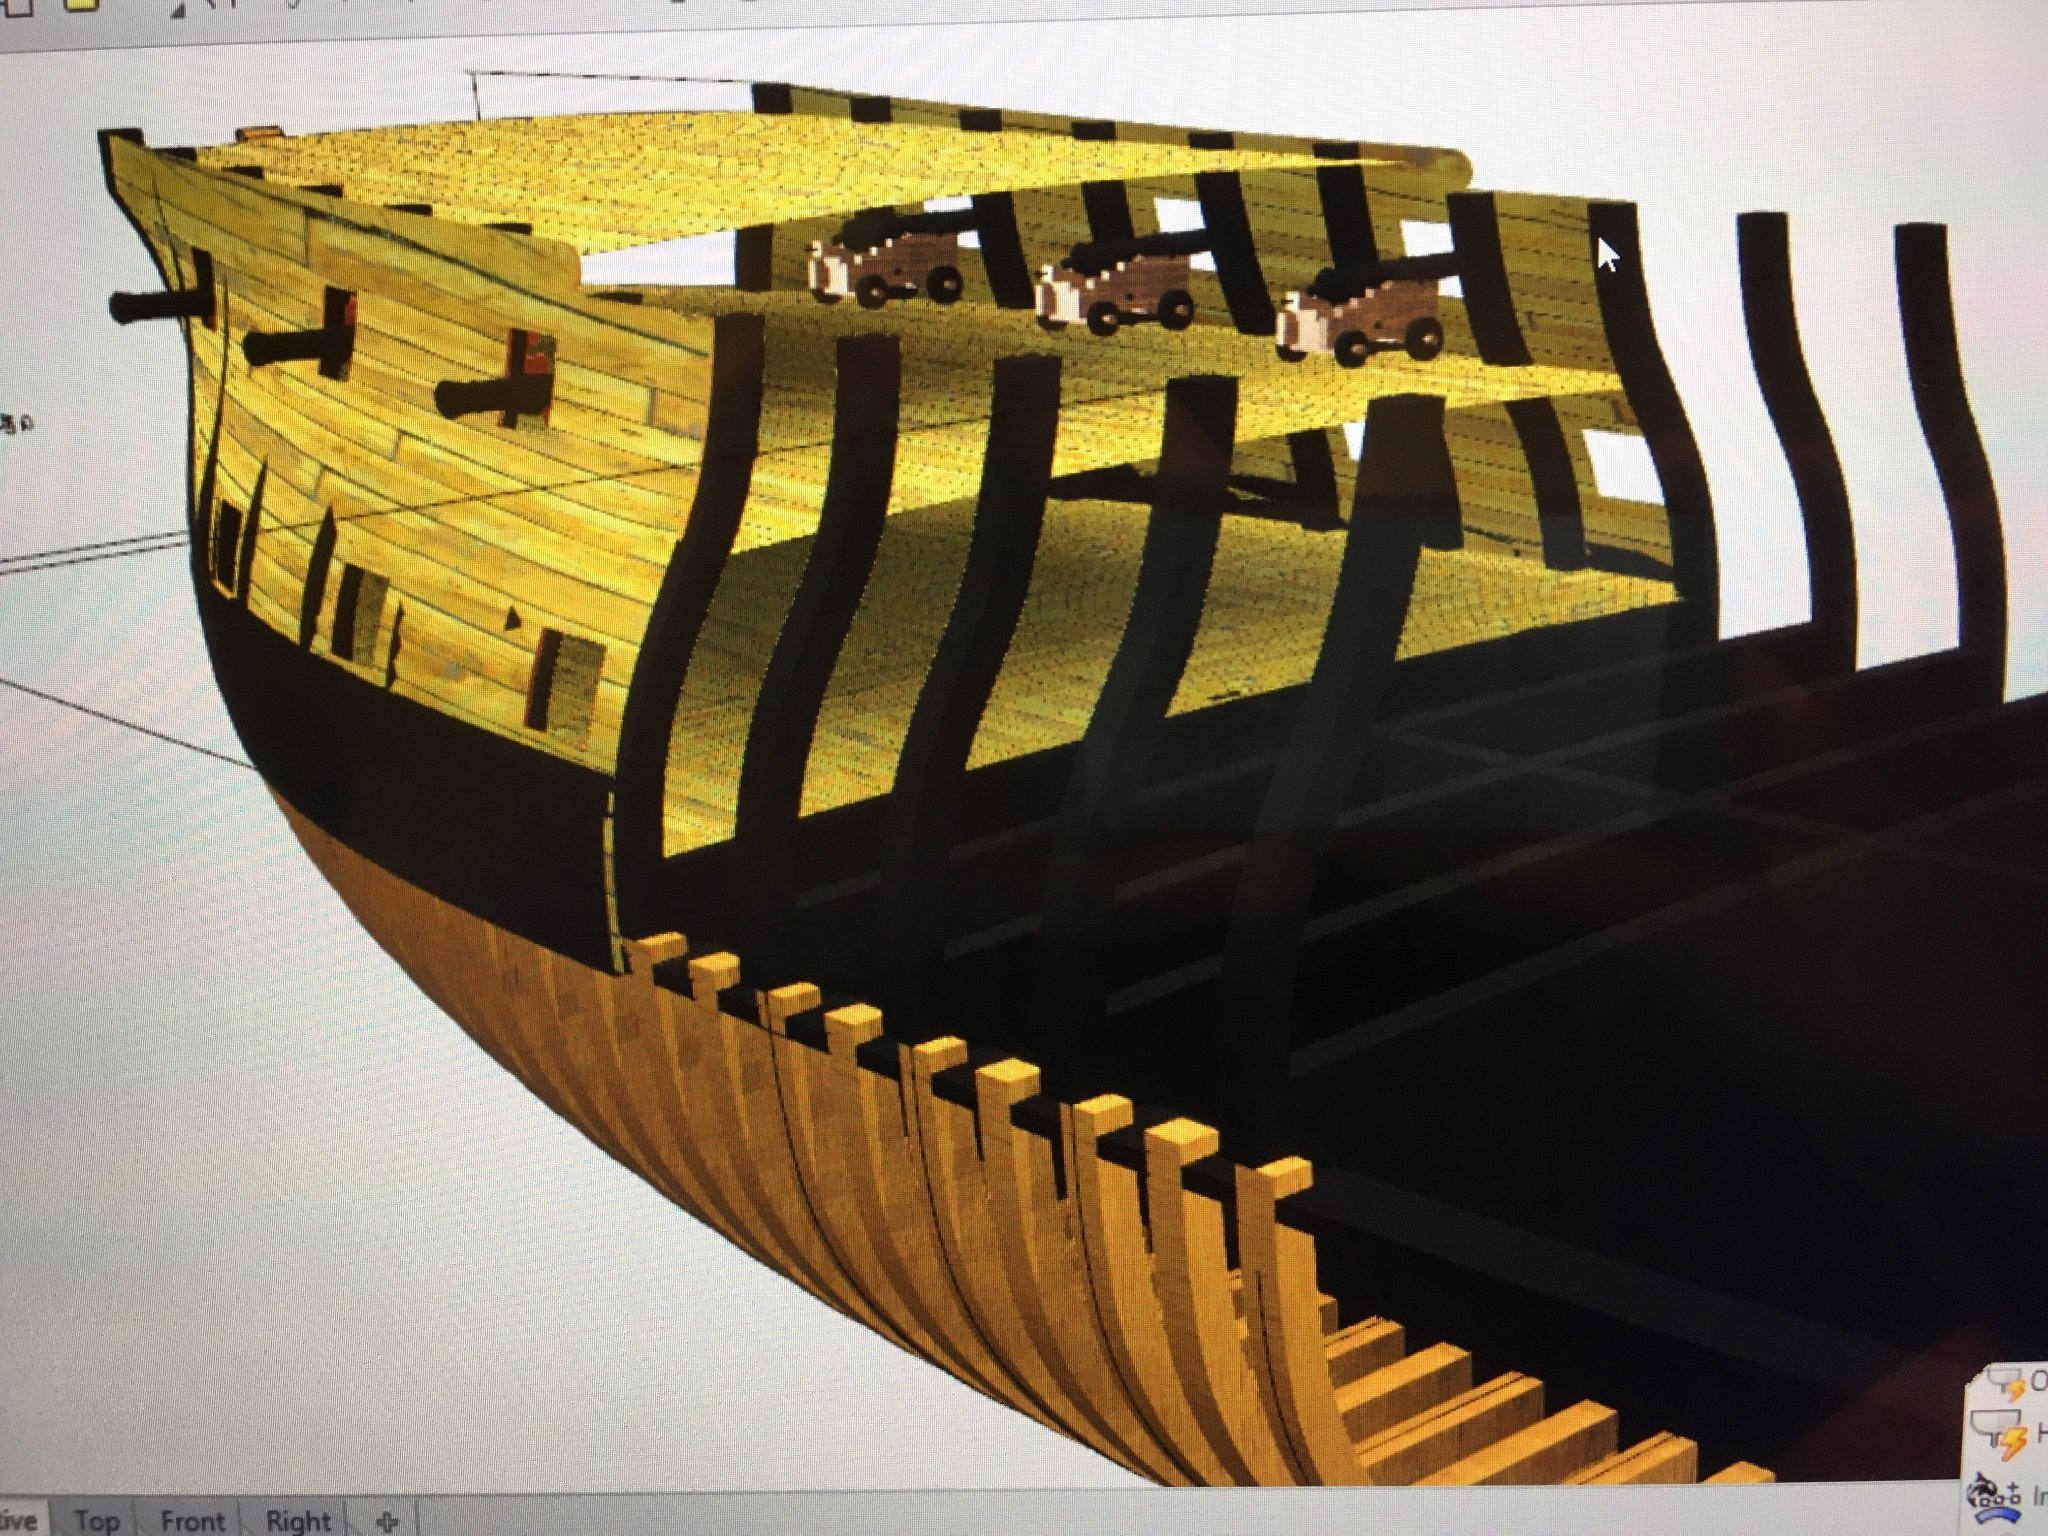
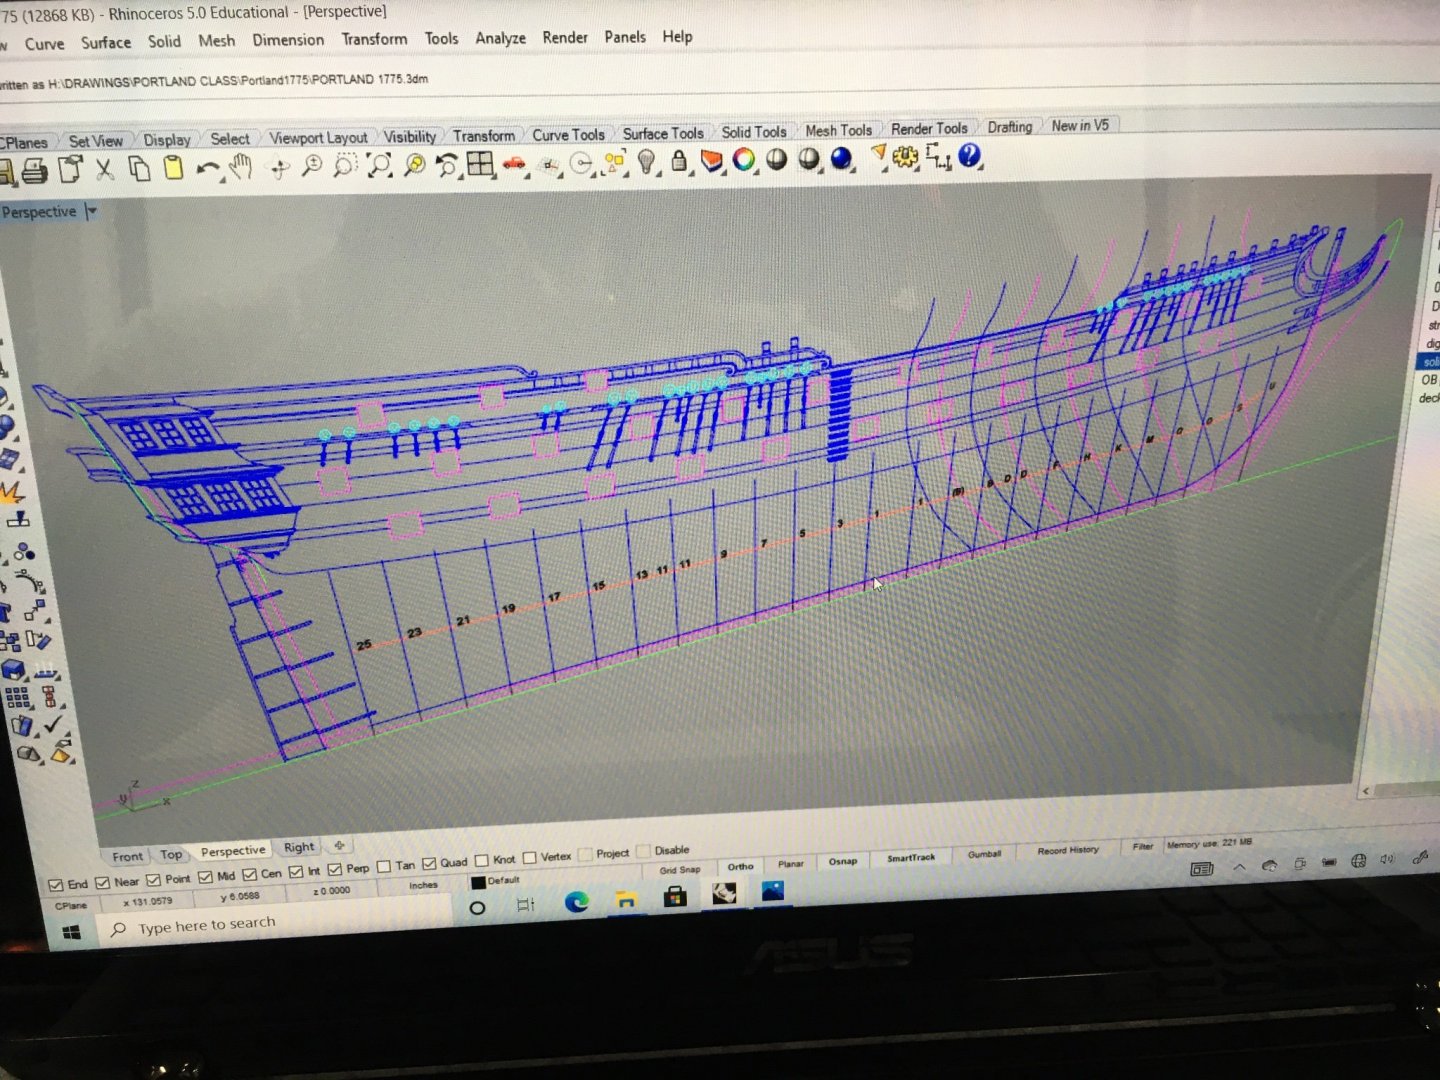
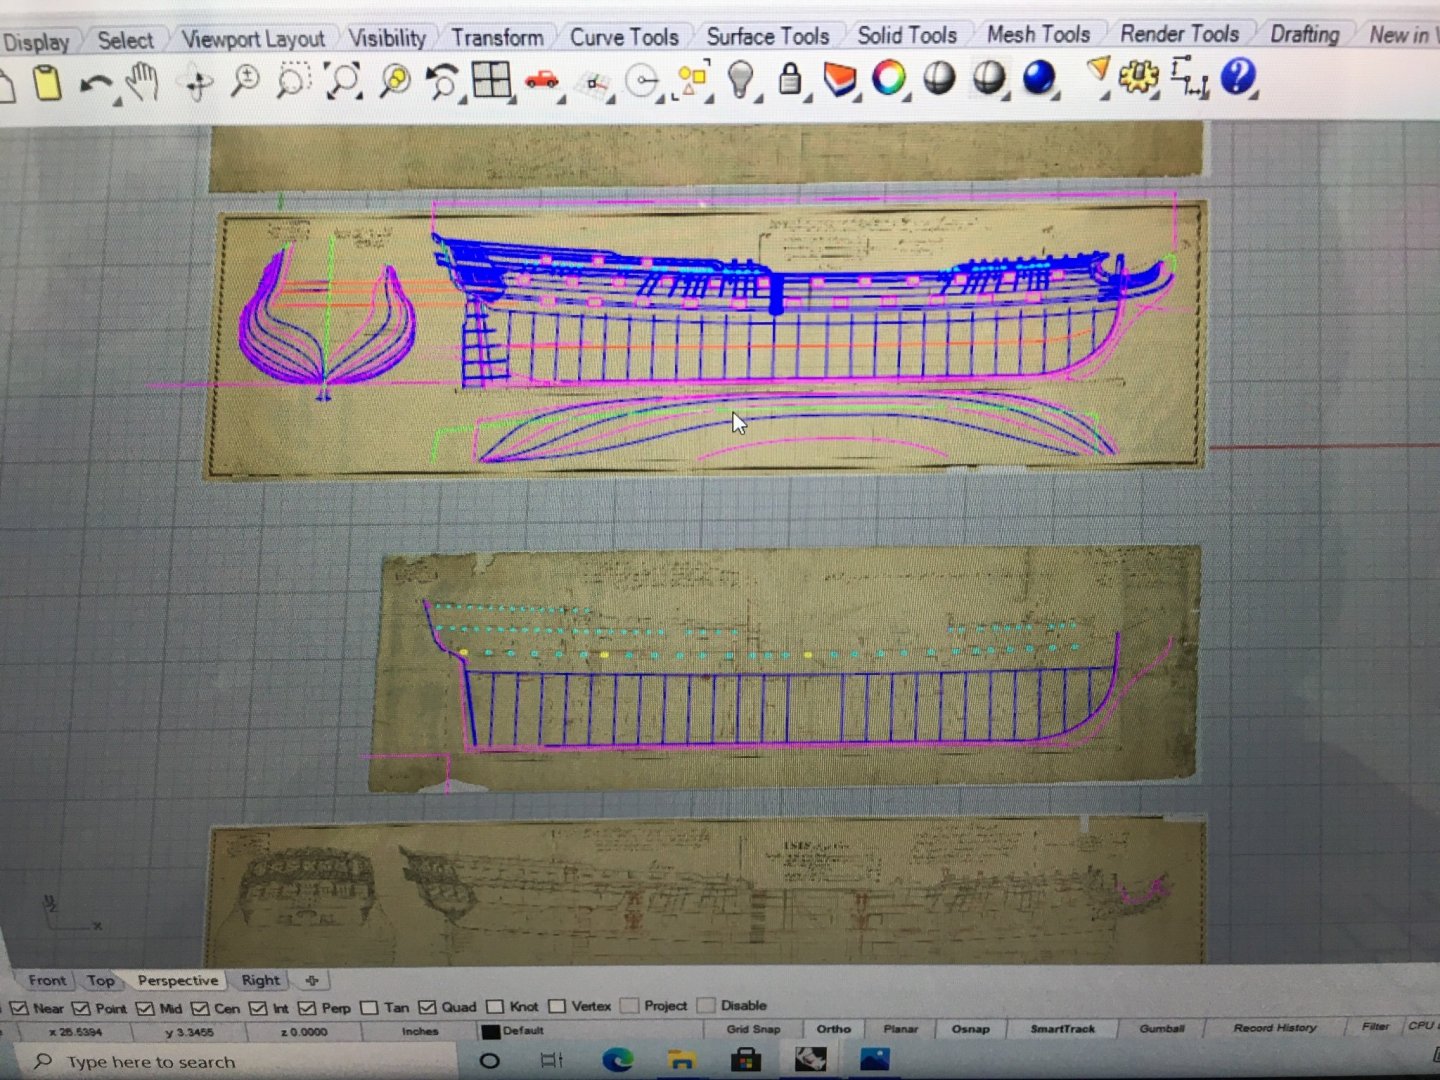
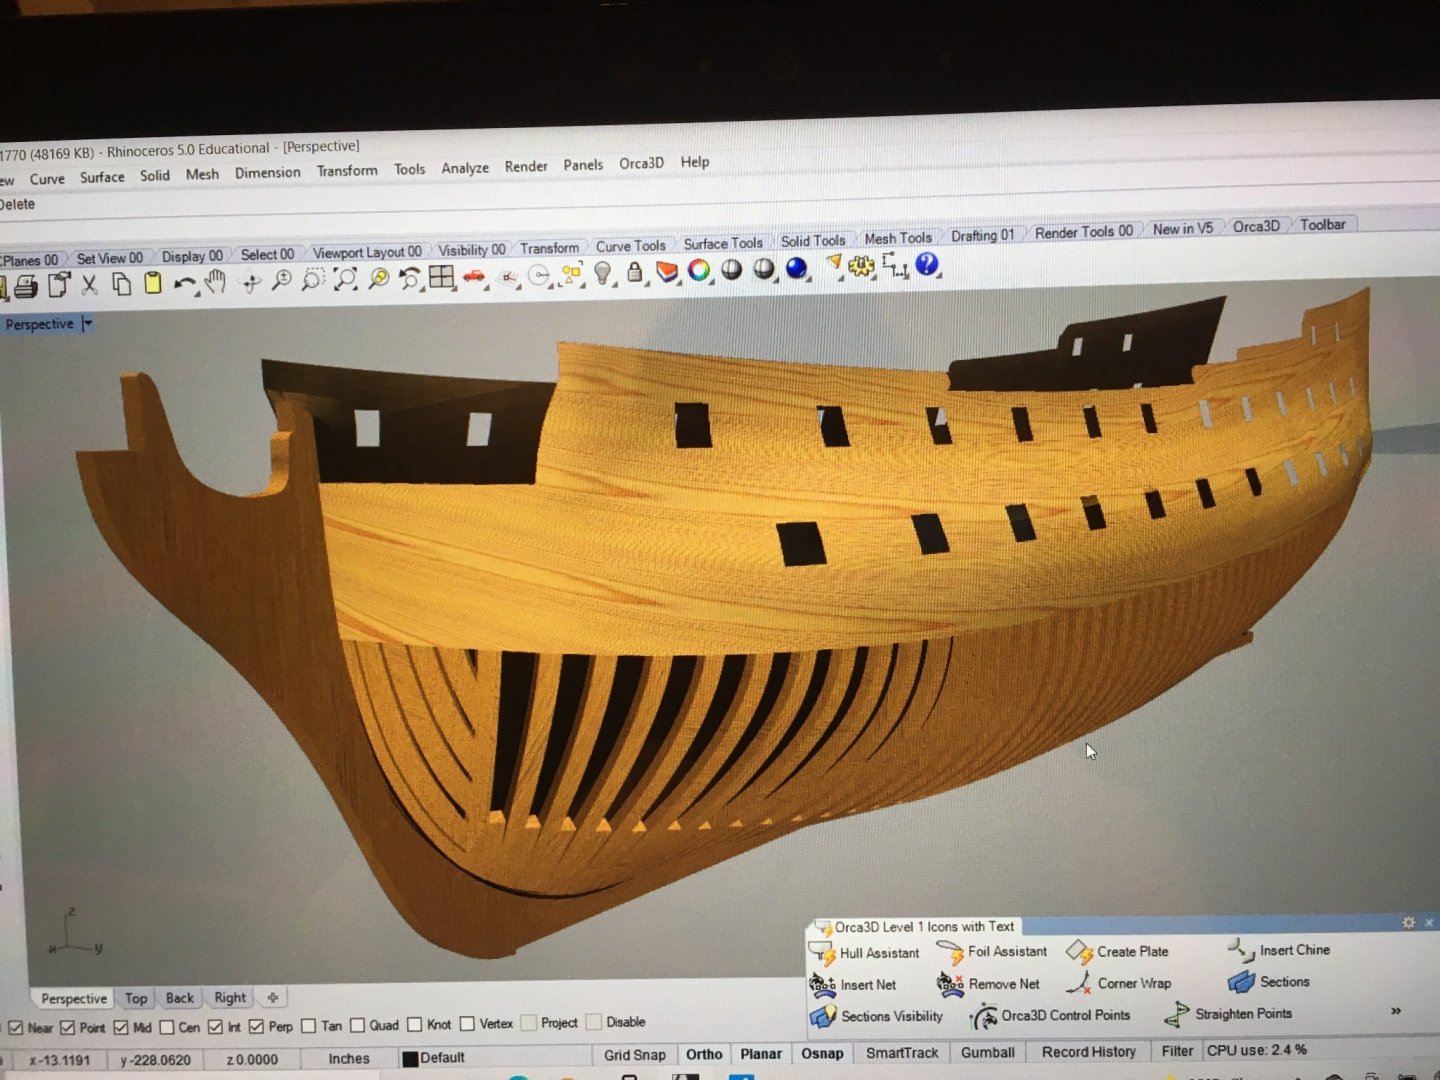
Richard, ive been using orca for years! It’s a wonderful plug in for Rhino and it’s capable of so much more than us modelers need. Hulls can be built and used so quickly, especially if you are taking off existing plans. I will be following with interest!


-
MONTAÑES by Amalio
scrubbyj427 replied to Amalio's topic in - Build logs for subjects built 1751 - 1800
Amazing work! Just wonderful to look at! -
Love the look of the two different woods! Very nice! JJ
-
That looks really nice! Great work!
-
Steve, I used medium zap on all my planks, it made the job a million times easier, I also used PVA on all the edges, which was messy but worked great. When I finished the planking I mixed some epoxy and coated the inside of the hull to prevent any planks from coming loose and expansion/contraction. JJ
- 1,784 replies
-
- 5
-
-
- winchelsea
- Syren Ship Model Company
- (and 1 more)
-
Wow! That looks awesome! Well done! JJ
-
Beautiful work Chuck! This just keeps getting better
- 1,784 replies
-
- 2
-

-
-
- winchelsea
- Syren Ship Model Company
- (and 1 more)
-
HMS Granado 1742 Kit - CAF Model - 1:48 Scale
scrubbyj427 replied to cafmodel's topic in Wood ship model kits
I'm not sure which is more impressive, your rhino model or your real one.... very nice!