HOLIDAY DONATION DRIVE - SUPPORT MSW - DO YOUR PART TO KEEP THIS GREAT FORUM GOING! (Only 66 donations so far out of 49,000 members - Can we at least get100? C'mon guys!)
×


scrubbyj427
-
Posts
1,673 -
Joined
-
Last visited
Content Type
Profiles
Forums
Gallery
Events
Everything posted by scrubbyj427
-
 Oh those look nice Matt, I’m right behind you and just as eager to build those things!
 -
Thanks for the comments and likes guys. Appreciate it. Hopefully I’ll begin the coamings this week and start planking soon. JJ
-
Kits sure have come a long way from when I started building. This is amazing design work.
- 355 replies
-
- 4
-

-
- vanguard models
- Sphinx
- (and 1 more)
-
That’s a lot of lumber there Jack, this looks like a serious project now. If you need another verification builder you can sign me up! JJ
-
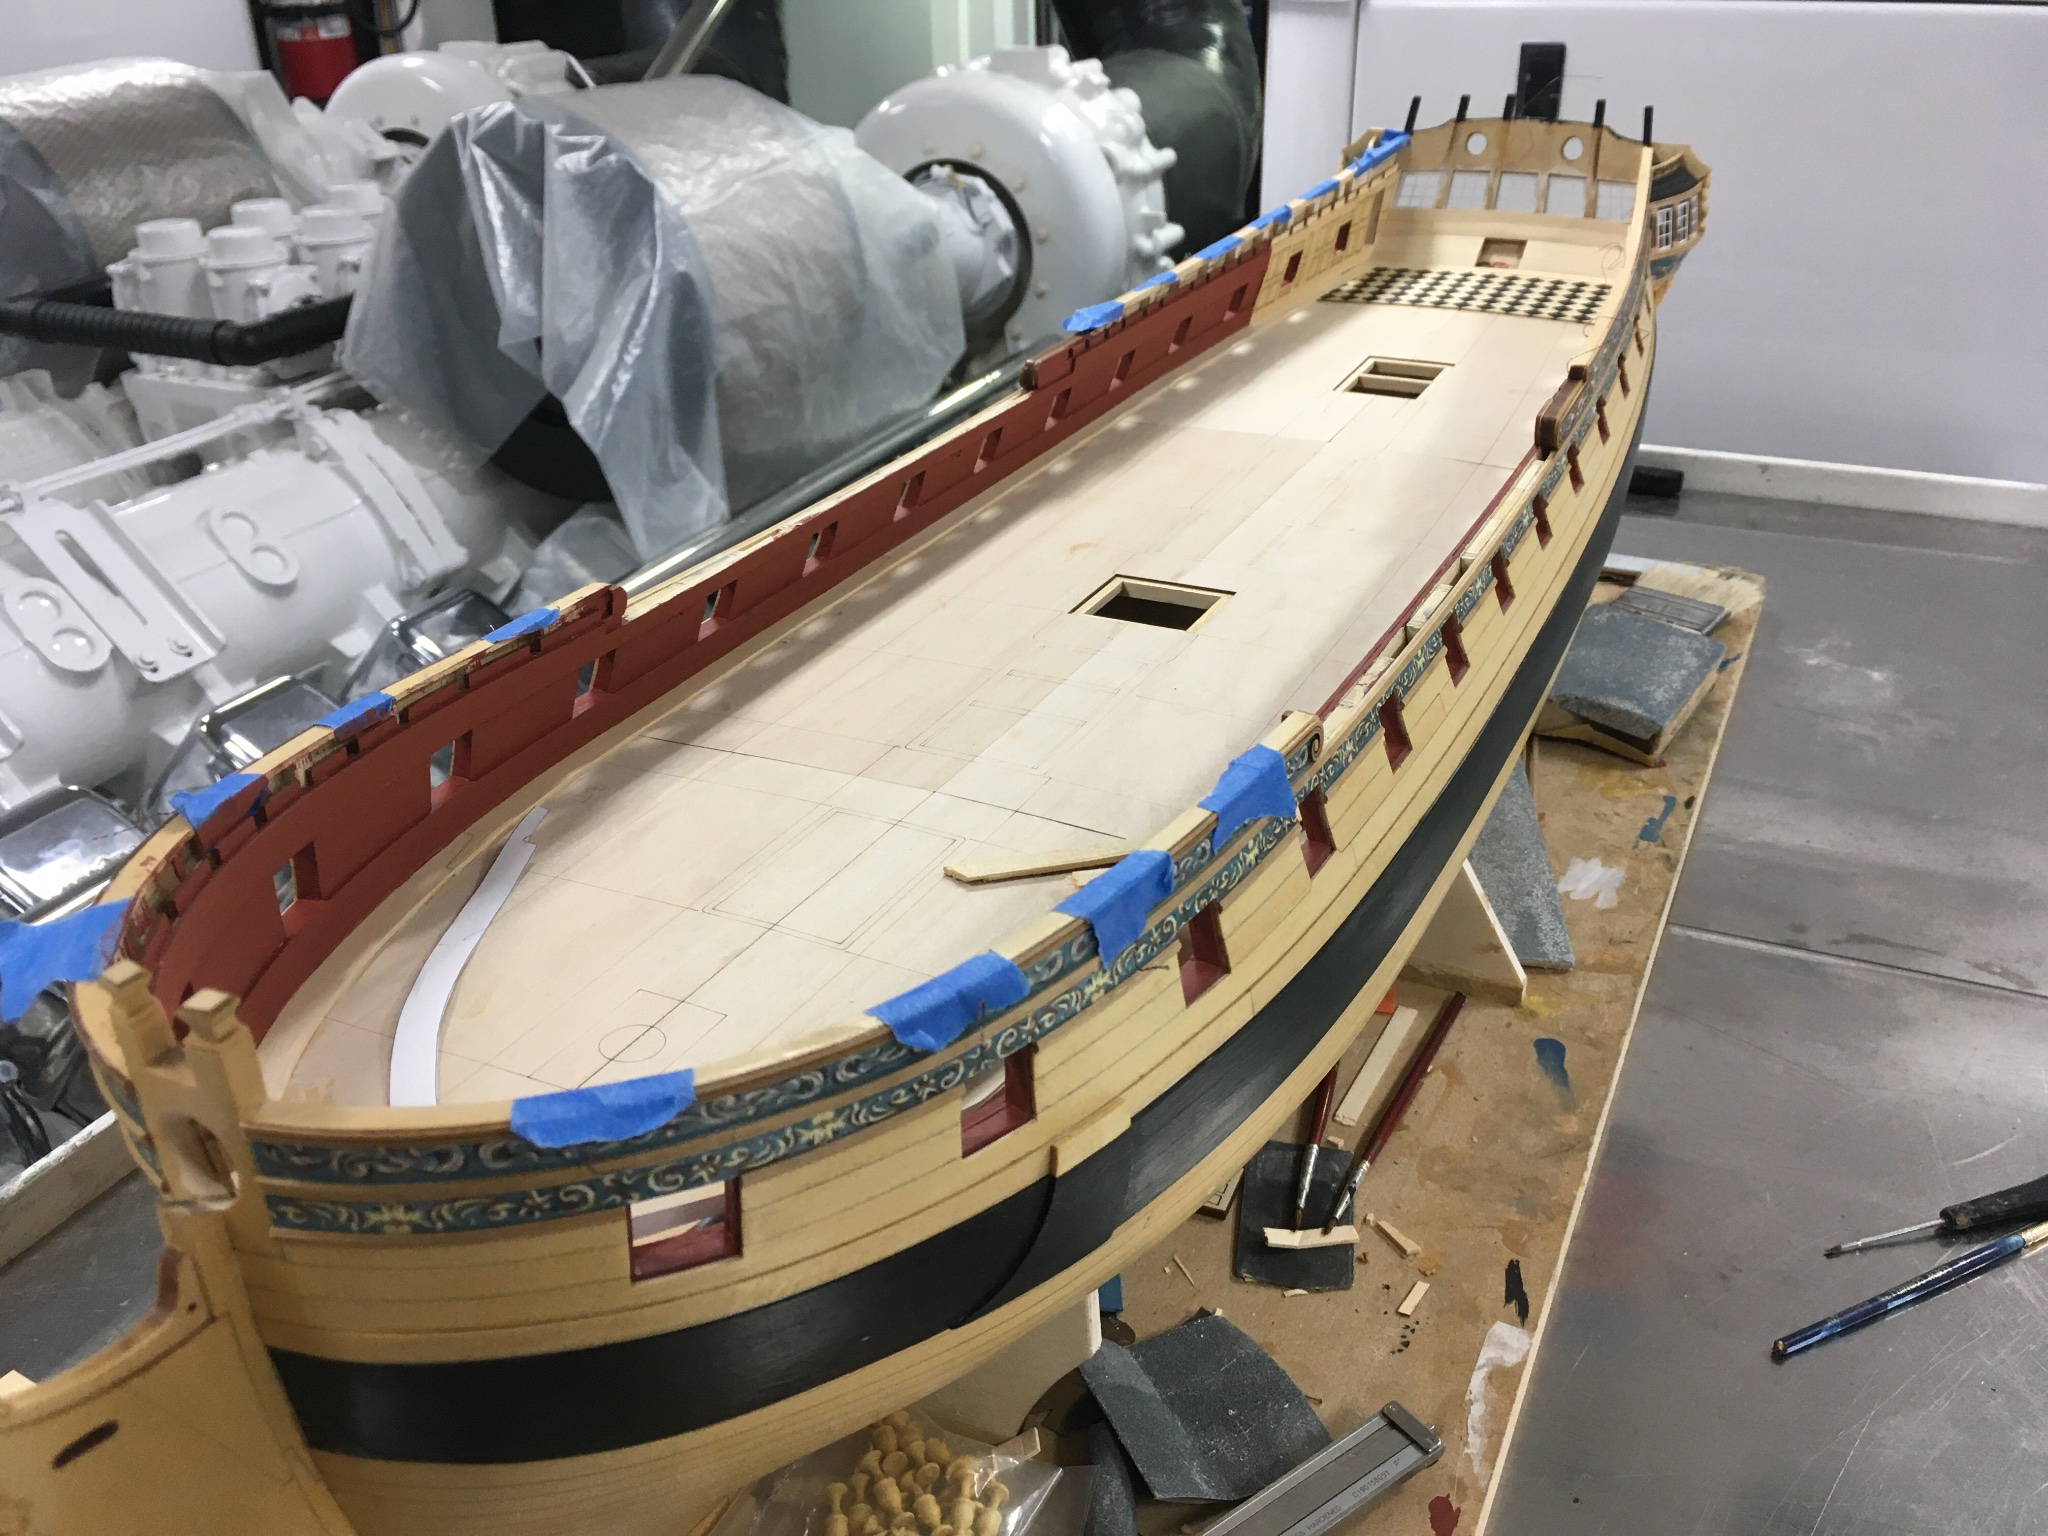
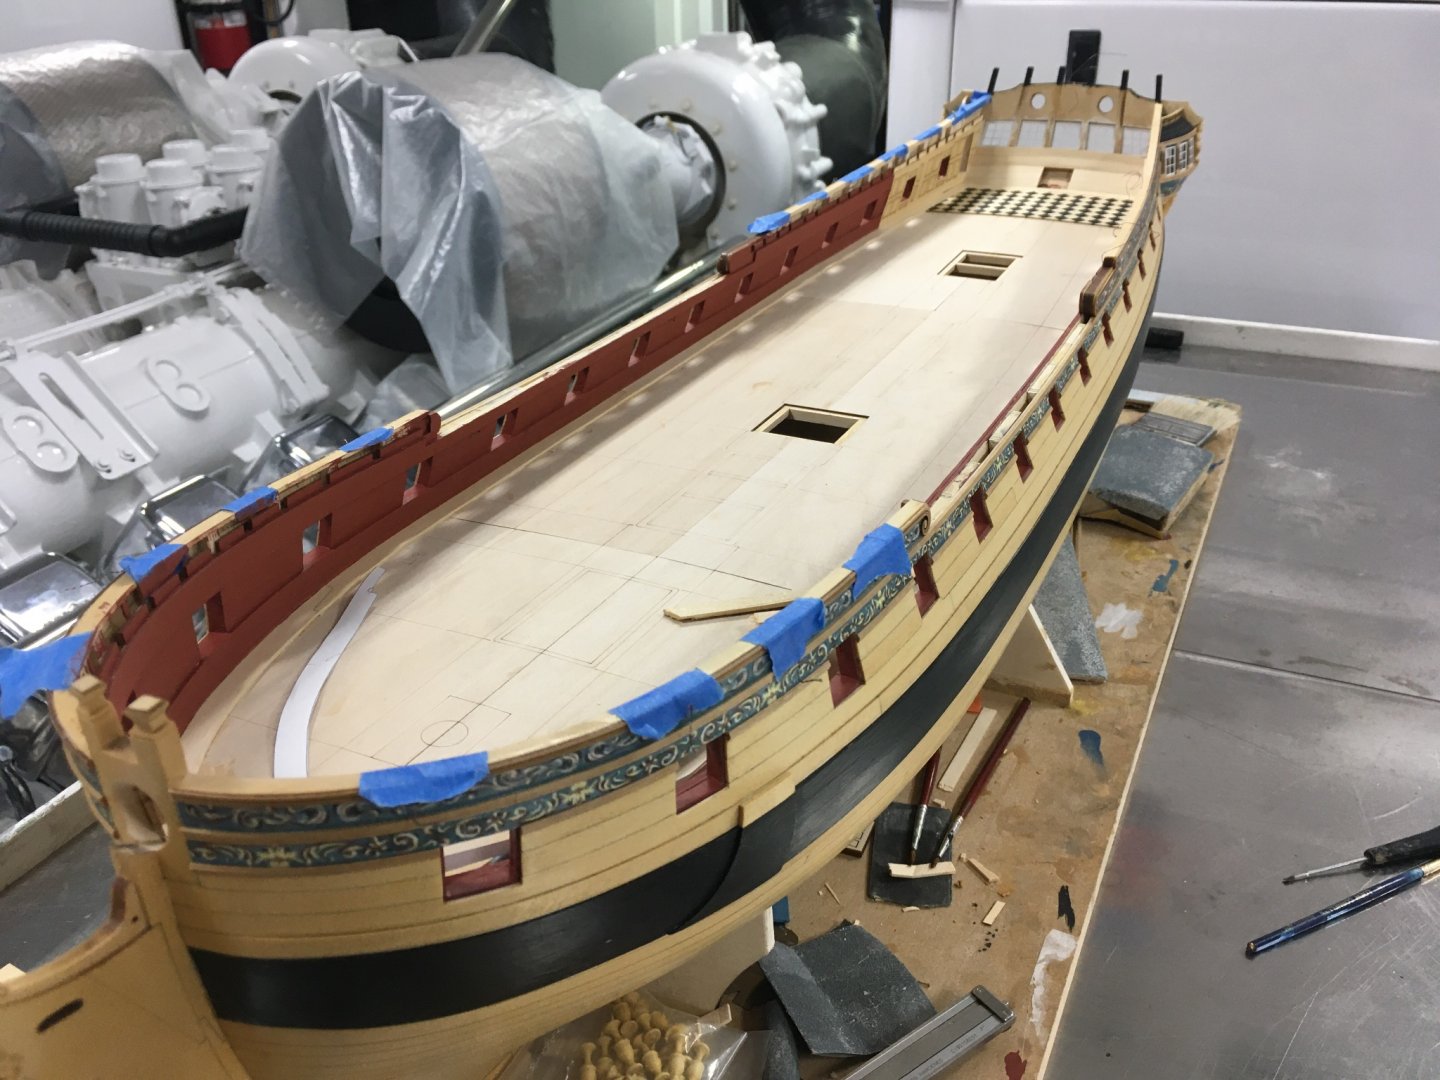
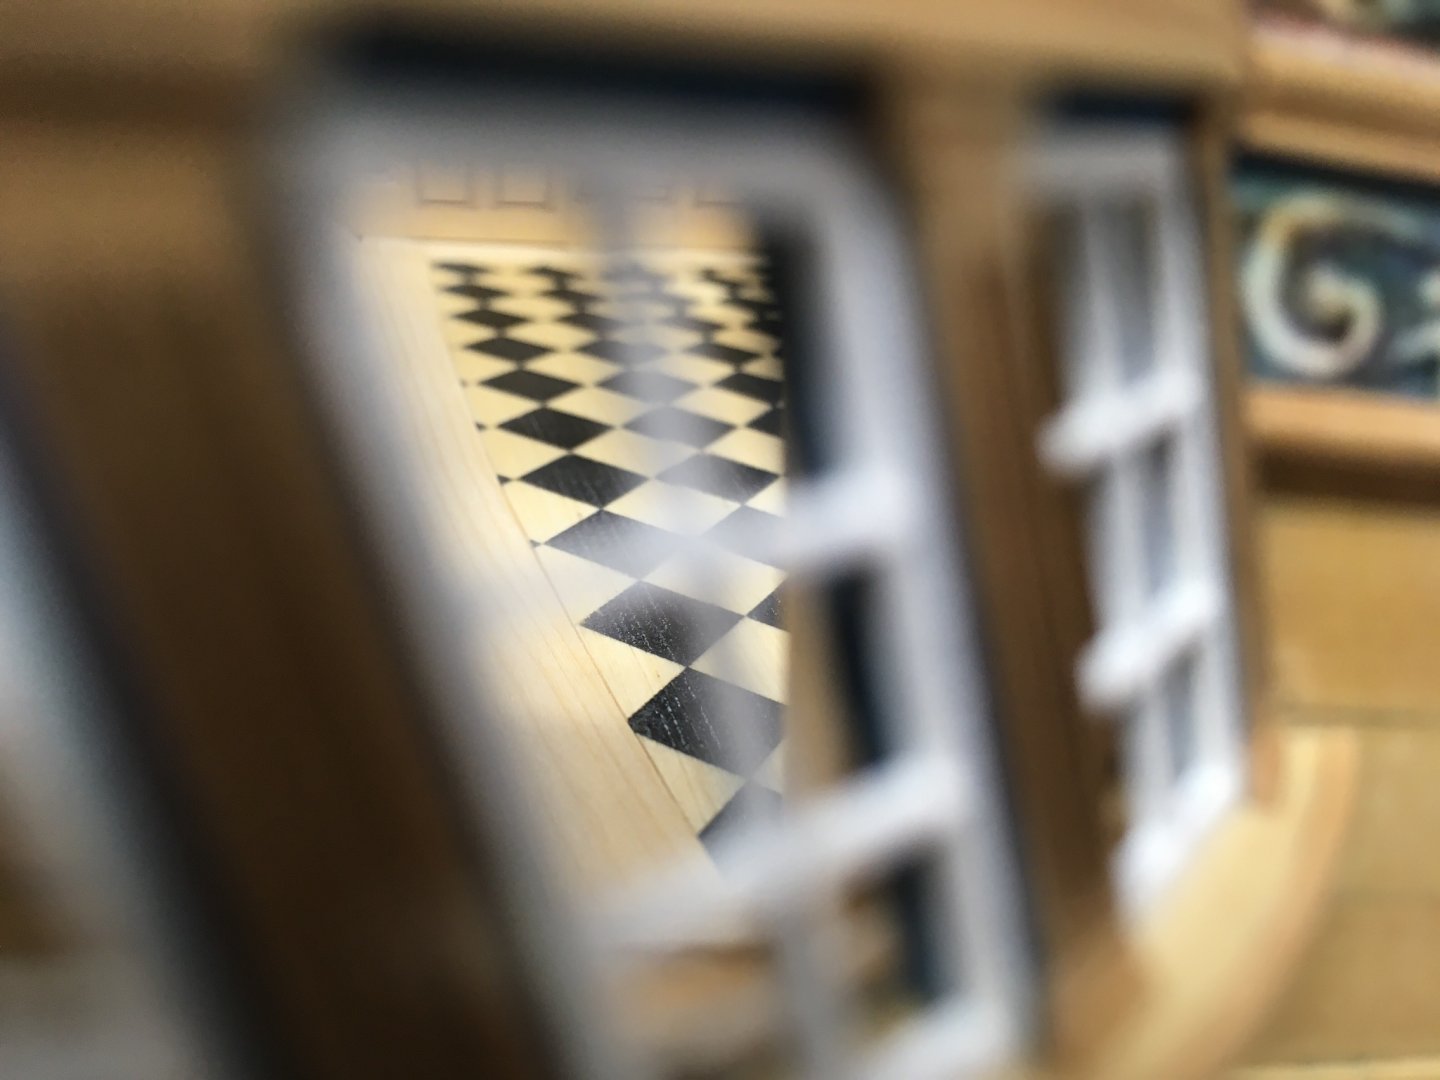
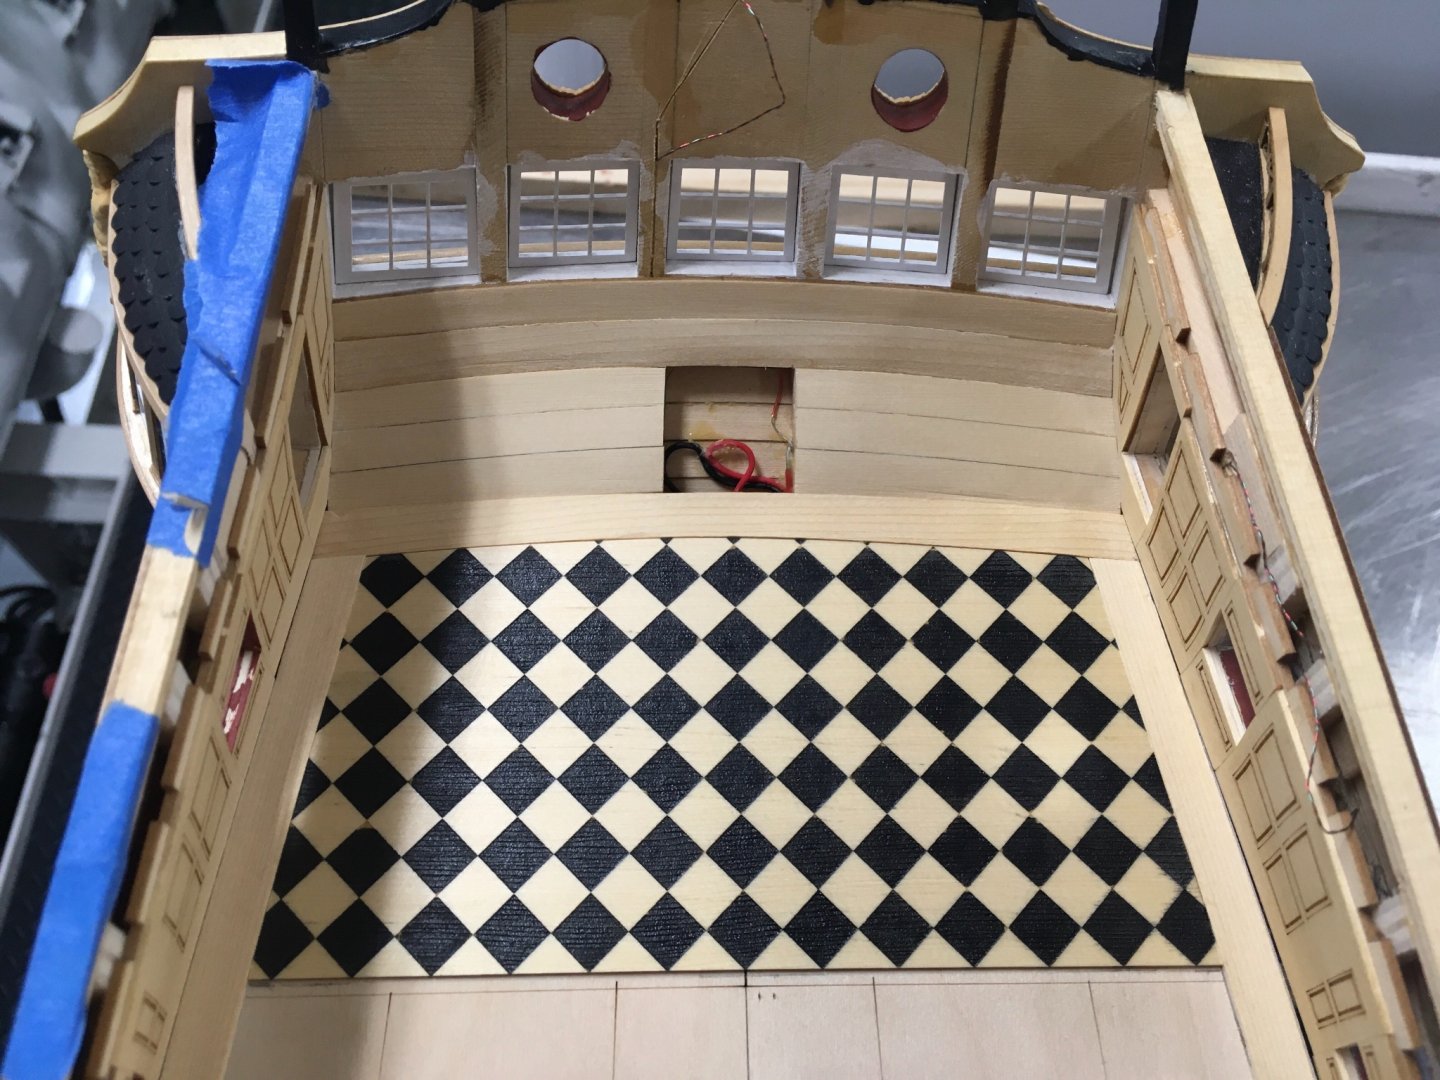
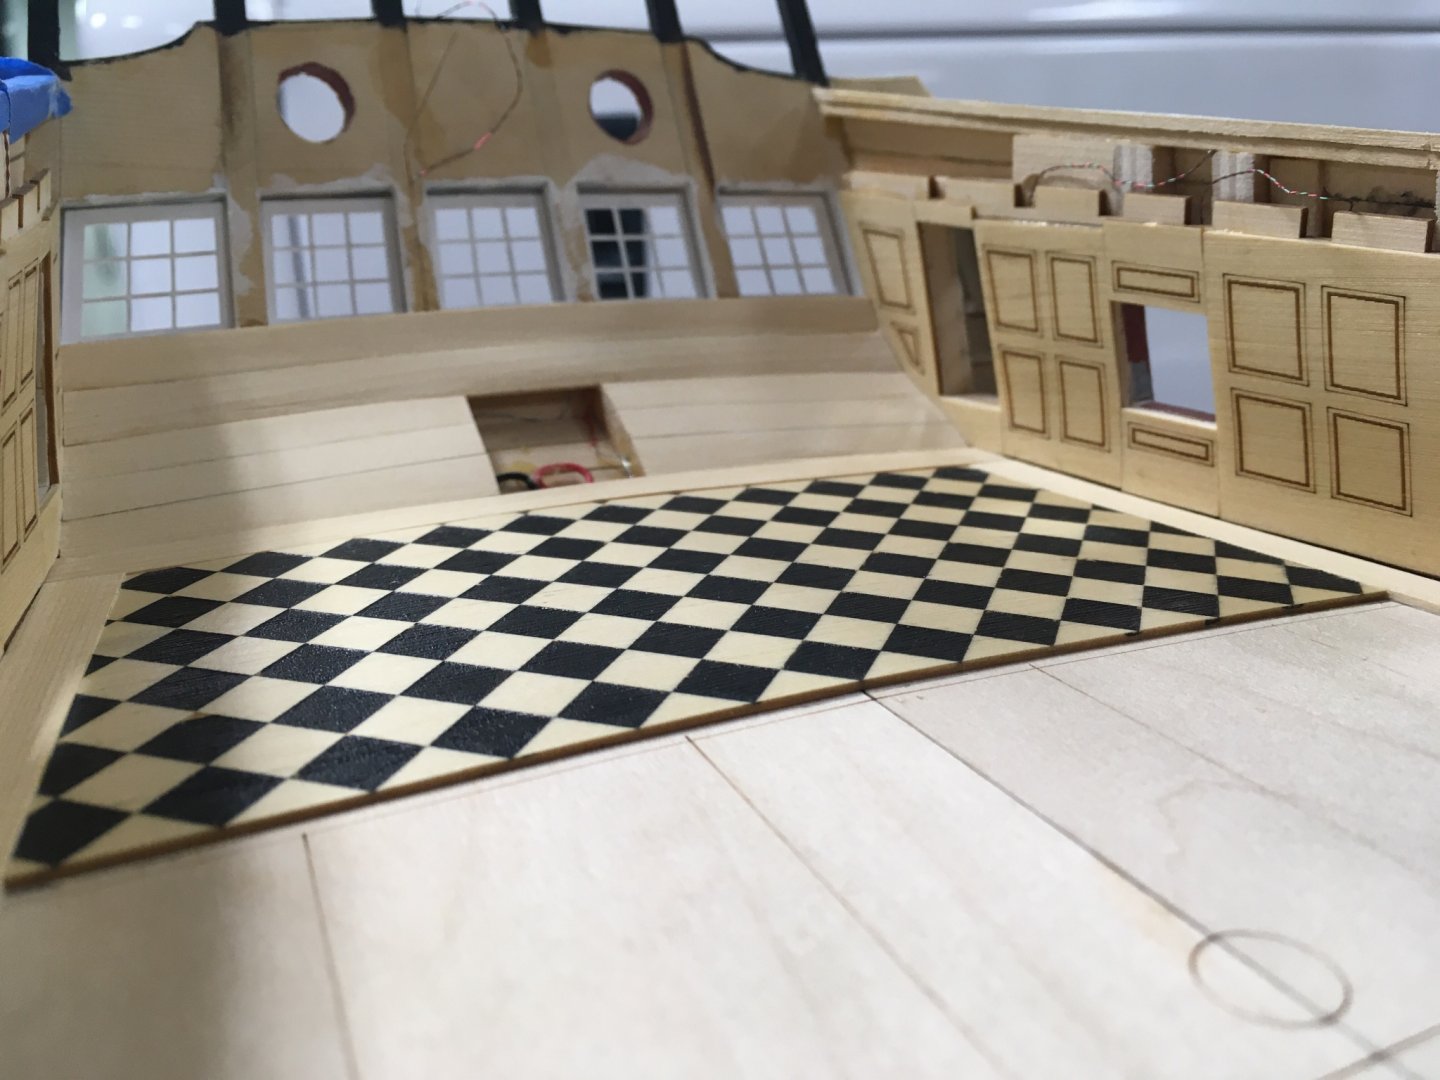
Thank you for the likes and comments fellas! So the process for painting the black squares was very simple. All I did was, first I sealed up the checker floor with a generous amount of WOP and let it dry over night. The next day I began painting the darker squares in with black acrylic paint with little regard for staying in the lines as the acrylic won’t stick to the WOP very well. Once dry I lightly sanded the whole floor and since the lighter squares are higher up than the darker ones it cleaned up nice. You can see a small spot on the port side where I didn’t seal the wood well enough and some of the black bled through, so make sure your WOP gets everywhere before you paint! Then after you clean it up just WOP the whole thing again to seal up the bare wood as well as lock in the black paint. JJ
-
Small update: I got the checkered floor glued down tonight, I wanted to go with a black pattern but keep it a little more subtle so I kept the light squares just plain AYC with WOP. , I am almost finished with the margin planks, a little bit of clean up some sanding and then off to the hatch coamings! JJ
-
Very excited to see this release!
-
Whoa! What’s the ETA on this Jack? Looks to be a very fun project! JJ
-
Ok that makes sense. These will be exciting to put in!
- 1,784 replies
-
- 2
-
-
- winchelsea
- Syren Ship Model Company
- (and 1 more)
-
Would the real Winnie have had the knees in the cabin?
- 1,784 replies
-
- 1
-
-
- winchelsea
- Syren Ship Model Company
- (and 1 more)
-
Fred, your bricks look too good to paint over, take the small hit on accuracy in the name of eye candy for this one I think.
-
Love the brick work Fred, how did you pull that off? You are moving along fast!! JJ
-
Looks good Tom, looking forward to seeing some more progress. JJ
-
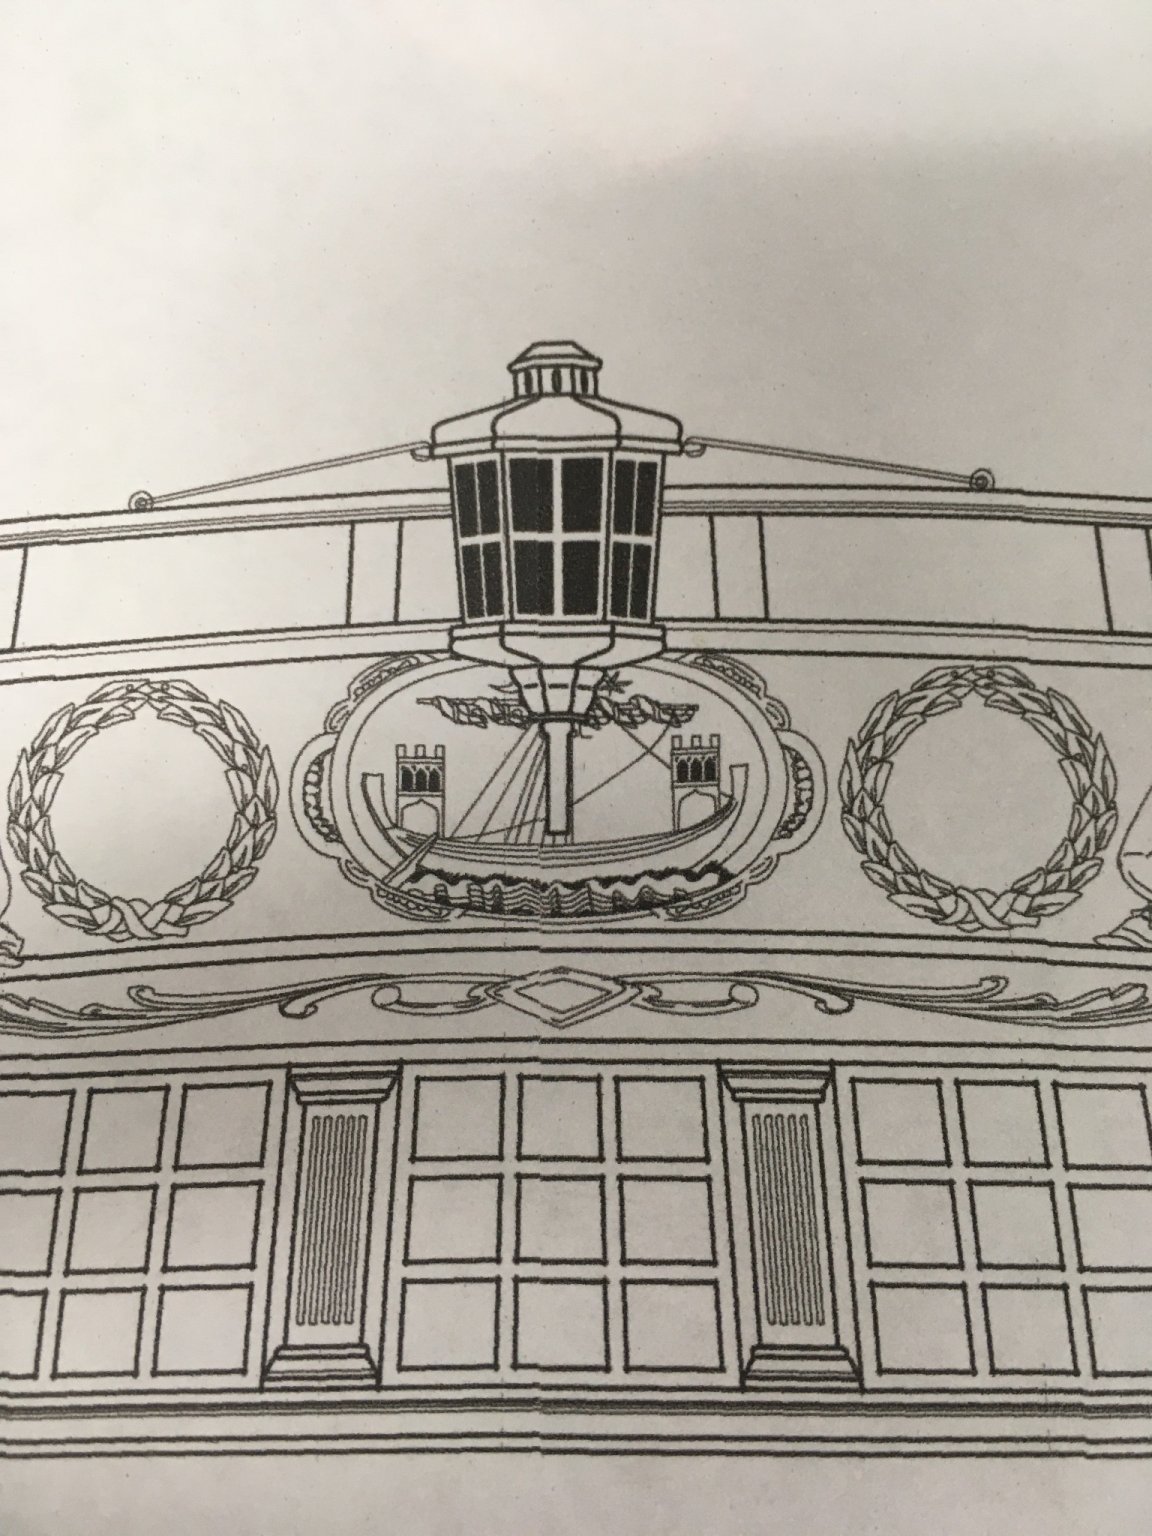
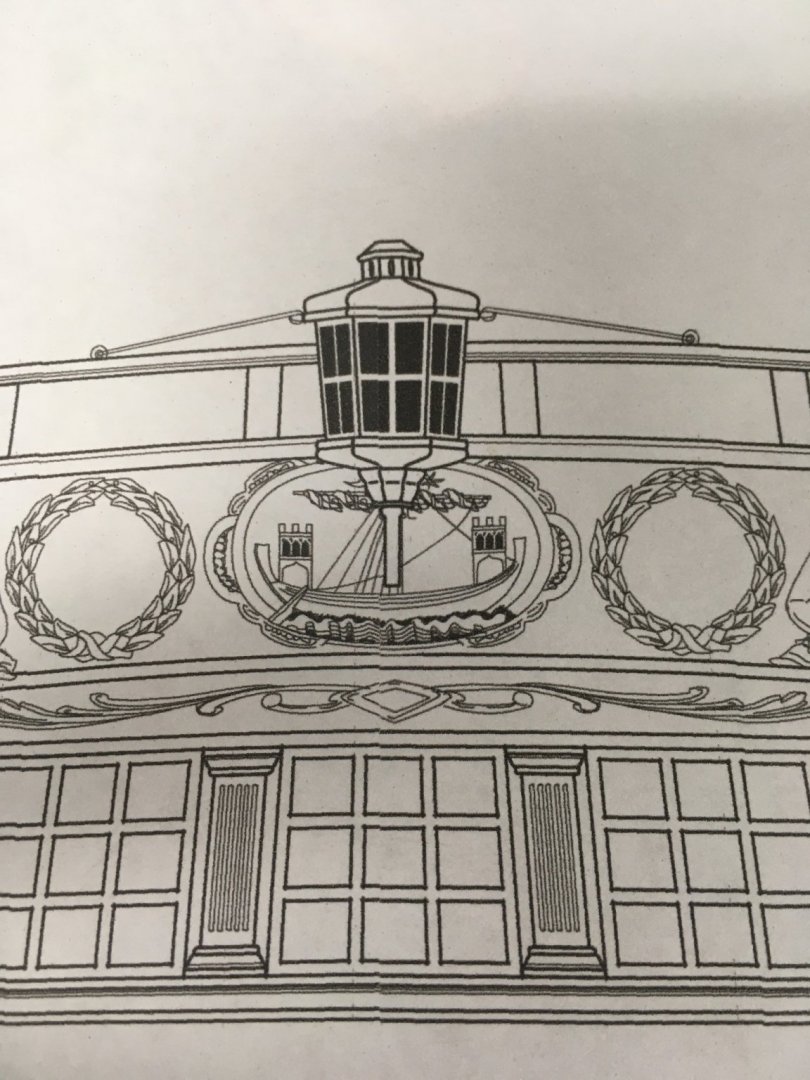
Chuck, I’m looking at the drawing in the profile and stern view for the stern lantern and I’m trying to determine exactly how the lantern post will attach, it appears it will land right on the middle of the carving. I am just trying to run my small light before I close up the inner counter. Are you planning on drilling a small hole into the carving to attach the post? JJ
- 1,784 replies
-
- 5
-
-
- winchelsea
- Syren Ship Model Company
- (and 1 more)
-
These columns will be fun to make, are you going to take a similar approach to What was done with the bollard timbers?
-
Oh this will be exciting! Will we be installing Turned columns to support the beams?
-
Looking great Chuck! Are you going to add all the tackle to the guns or leave them bare? JJ
- 1,784 replies
-
- 1
-
-
- winchelsea
- Syren Ship Model Company
- (and 1 more)
-
That looks really good Mike! thanks for the tape tip, I will definitely be using that. JJ
- 607 replies
-
- 3
-
-
- winchelsea
- Syren Ship Model Company
- (and 1 more)
-
That looks good Fred, moving right along. I couldn’t even tell your panels were painted by the shade of light on them, I was going to ask if you carved your own. I’m still on the fence with painting mine... did you consider some weathering powder in the groves to help define the panels more? This is what I was thinking about doing. They look very nice. I cant give advice on the rudder box or benches, I’d see if you can find any photos of the real thing. JJ
-
Make sure you check the scale bar on the plan sheets, a lot oF people had issues with getting them plotted To the correct size, myself being one of them. You have to make sure the print shop folks know what they are doing.
-
I did the exact same thing on mine. I planked right over the frames and then added filler strips underneath to support the planks and glued it all together.
-
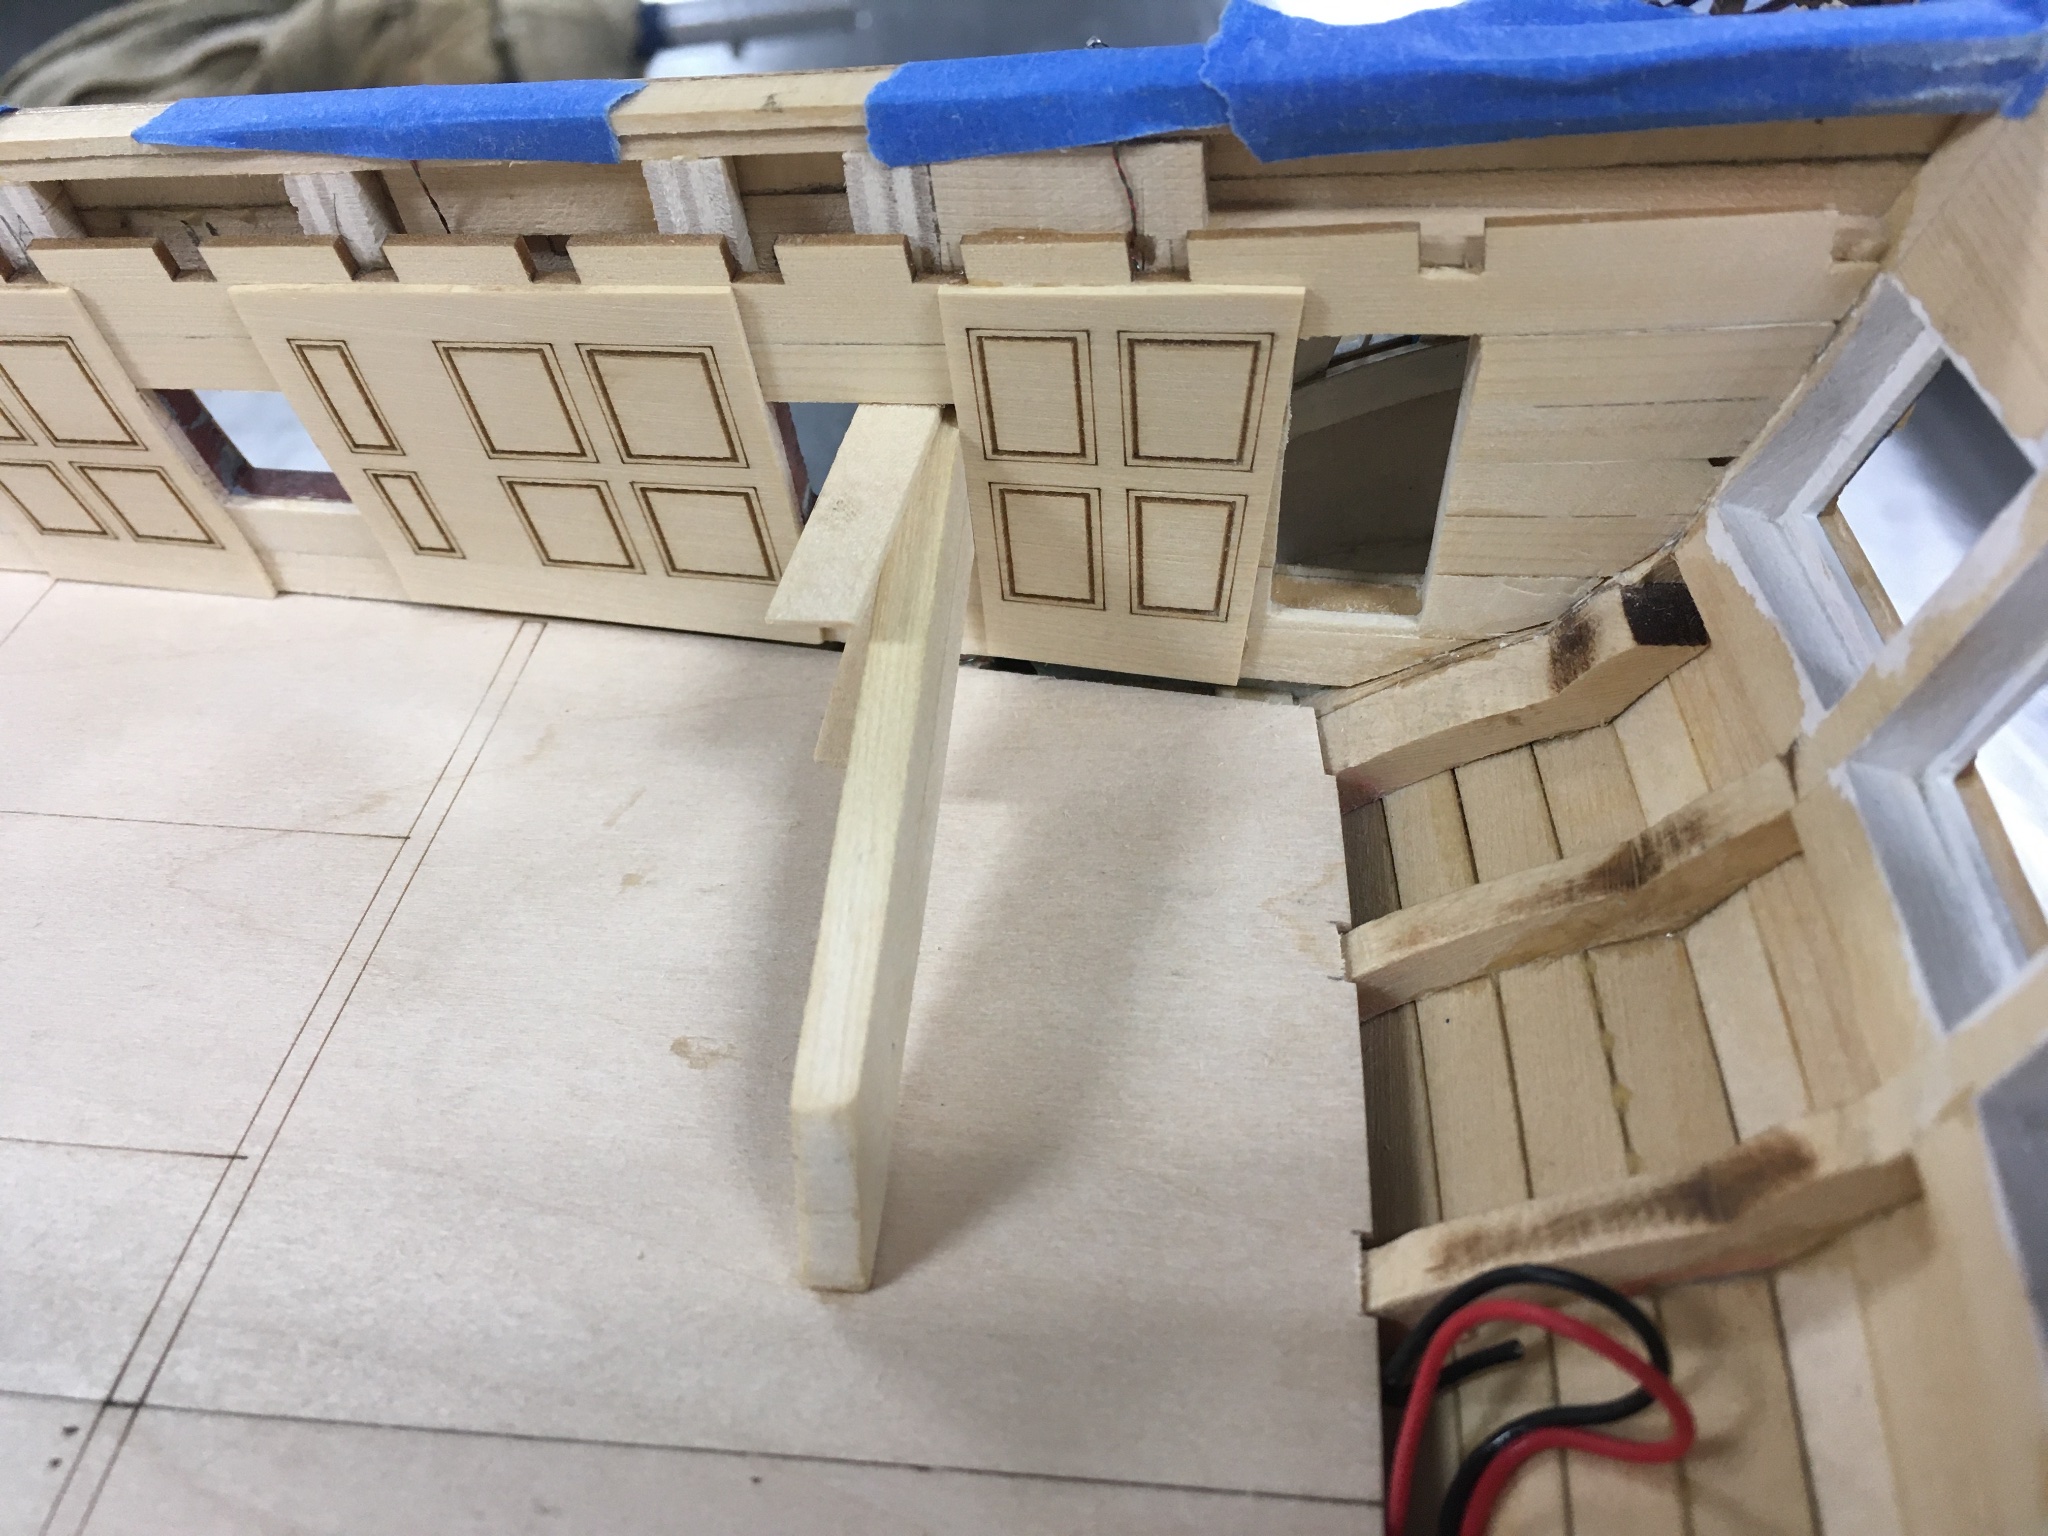
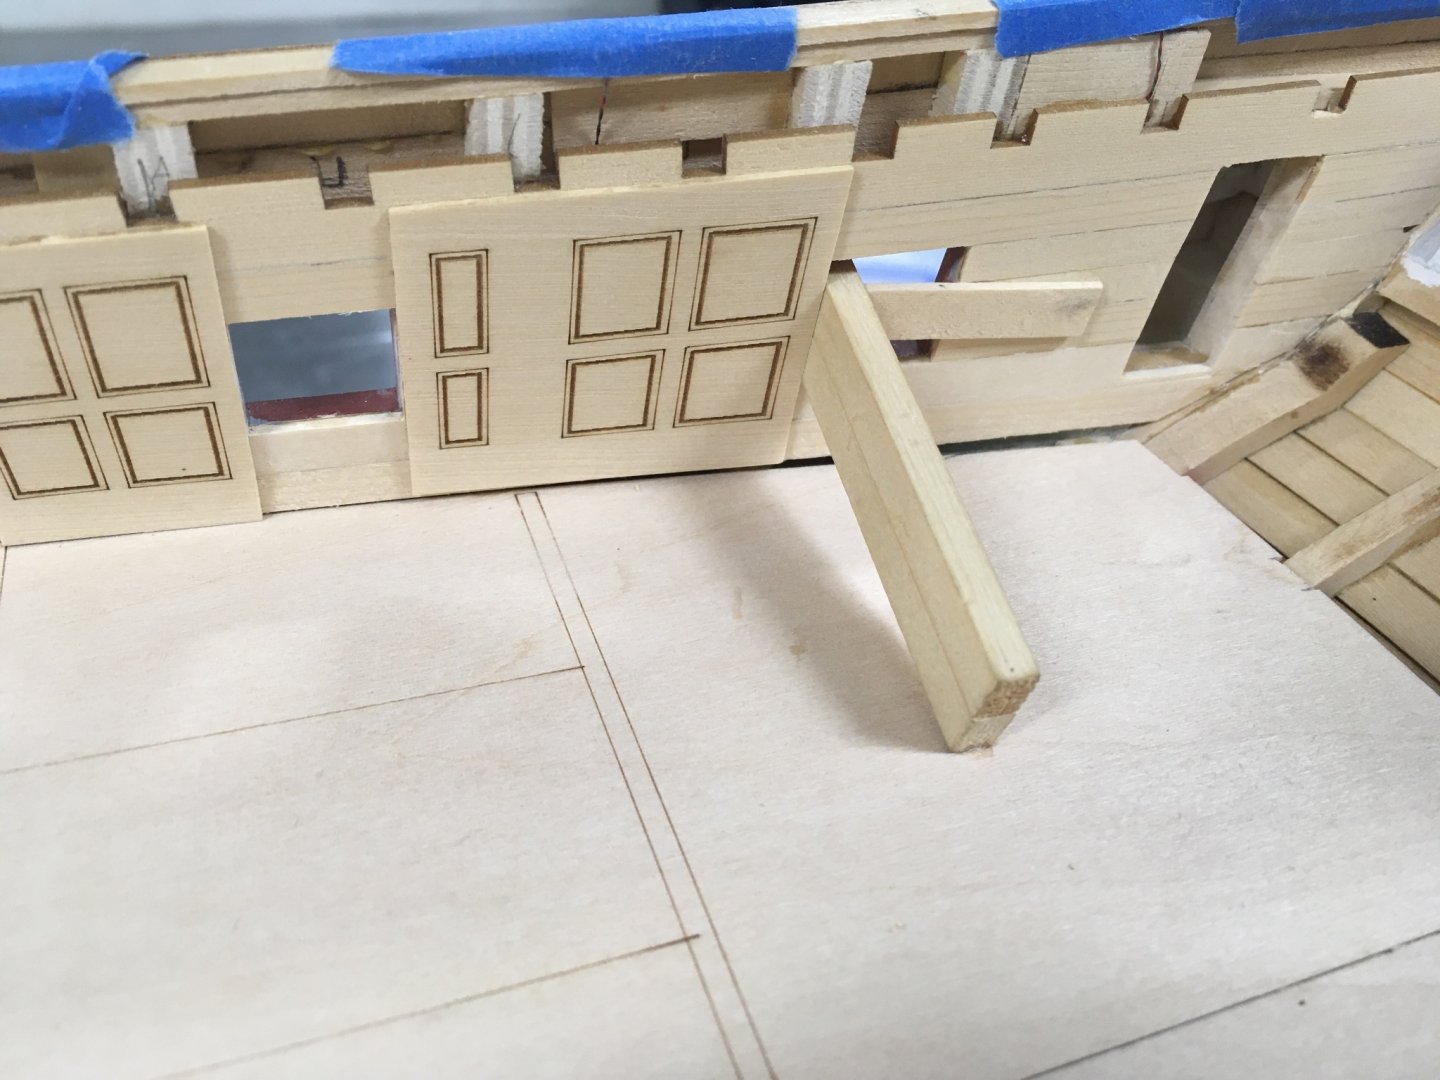
Thanks Rusty and Diver for the comments. Diver, to answer your question, yes I am building in an engine room. Winchelsea will be my 4th boat built... on a boat and she comes in second For overall nautical miles under her keel! I started Adding the panels to the stbd side tonight, making sure they are as close to the port as possible. A little trick I used to insure that the panels are square and lined up perfectly to the ports, I used a flat piece of wood that sits parallel to the gunport frame, glued it to the deck and wedged it in the frame, from there I can keep test fitting the panel until it fits perfectly between the two ports. When It comes time to glue it in place I can just put it up against the port with the wooden block and set the elevation and it will fit just as it’s supposed to without worrying about it moving side to side. I also used this on all the spirketting between the gunports as well. Hope Someone finds this is helpful. JJ

-
Wow! I wasn’t so sure of those resin cannons at first but that looks very convincing. Will these and the carriages all be available in the Winnie section of the store?
- 1,784 replies
-
- 1
-
-
- winchelsea
- Syren Ship Model Company
- (and 1 more)
-
Have you ever had issues with any rust appearing with steel wire?
- 1,784 replies
-
- 1
-
-
- winchelsea
- Syren Ship Model Company
- (and 1 more)