scrubbyj427
-
Posts
1,733 -
Joined
-
Last visited
Content Type
Profiles
Forums
Gallery
Events
Everything posted by scrubbyj427
-
 Wow! That looks awesome! Well done! JJ
 -
Beautiful work Chuck! This just keeps getting better
- 1,784 replies
-
- 2
-

-

-
- winchelsea
- Syren Ship Model Company
- (and 1 more)
-
HMS Granado 1742 Kit - CAF Model - 1:48 Scale
scrubbyj427 replied to cafmodel's topic in Wood ship model kits
I'm not sure which is more impressive, your rhino model or your real one.... very nice! -
I'm drooling.... that's it, I'm digging my Winnie out of storage and starting work again.
- 1,784 replies
-
- 2
-
-
- winchelsea
- Syren Ship Model Company
- (and 1 more)
-
Definitely keep this project on the same trajectory, it would be an Injustice if you dropped the ball this late in the game. I've been following the caf builds as well, Tom is very innovative in his designs and I'd love to build Belona and Enterprize but I would implement a lot of what I've learned with the Winnie build to bring them to the same level of detail. You're catering to a different level of modelers. I'm striving to design my Portland project with all of this in mind. JJ
- 1,784 replies
-
- 6
-
-
- winchelsea
- Syren Ship Model Company
- (and 1 more)
-
If you have a flat enough sanding block and enough patience it works great that way. regarding feedback on your part designs, I think they work great and yeild wonderful scratchbuilt like results, definitely do not simplify anything as you will sacrifice detailed and accurate results. I find this project much more challenging and therefore much more enjoyable and rewarding to build. I don't think I'll ever build an out of the box kit ever again after this experience.
- 1,784 replies
-
- 6
-
-
- winchelsea
- Syren Ship Model Company
- (and 1 more)
-
That looks really good Chuck, I've actually been curious as to how you were going to tackle this for awhile now. how did you mitre the sides? Byrnes saw? JJ
-
Looks really nice Kevin, this kit clearly has lots of potential beyond the box. Maybe you’ll inspire Tom to offer or include the lower decks. JJ
- 322 replies
-
- 5
-
-
- enterprise
- caf
- (and 1 more)
-
I had the same problem, I discovered that indeed the lens in the upper left is the way to go!
- 105 replies
-
- 2
-
-
- winchelsea
- Syren Ship Model Company
- (and 1 more)
-
Looks really sharp Chuck! Amazing work! I need to uncrate my Winnie and get back to work soon. Sorry about your abduction, can you order a new mini you?
-
Looking good Matt. That’s a nice milestone to complete!
-
That looks really nice Fred! Your hinges worked well and they look good opened.. I had similar issues with mine and they just required some gentle persuasion. Your guns look wonderfully executed! I will definitely be referencing your log when I get to this point. JJ
-
HMS Granado 1742 Kit - CAF Model - 1:48 Scale
scrubbyj427 replied to cafmodel's topic in Wood ship model kits
Excellent work Tom! -
Have you used sketchup for hull design at all? I’ve never tried it. I do have a hull developing and hydrostatics plug in for rhino that really streamlines this process.
-
Matt, I actually elected to stay with my current owner, I’ll probably end up on another boat. Problem is I may not have the same size cushy workshop again. There may be plans to temporarily invade the kitchen table soon.
-
That looks great Ben! This stage is a nice reward after all that planking. JJ
- 399 replies
-
- 2
-
-
- winchelsea
- Syren Ship Model Company
- (and 1 more)
-
Thanks Rusty.
-
Chuck, Where is the show this weekend?
-
That looks awesome Chuck! out of curiosity, even though the forward gunports are typically closed, would there have been guns up there or did the ports serve another use? Same with the aft most ones?
-
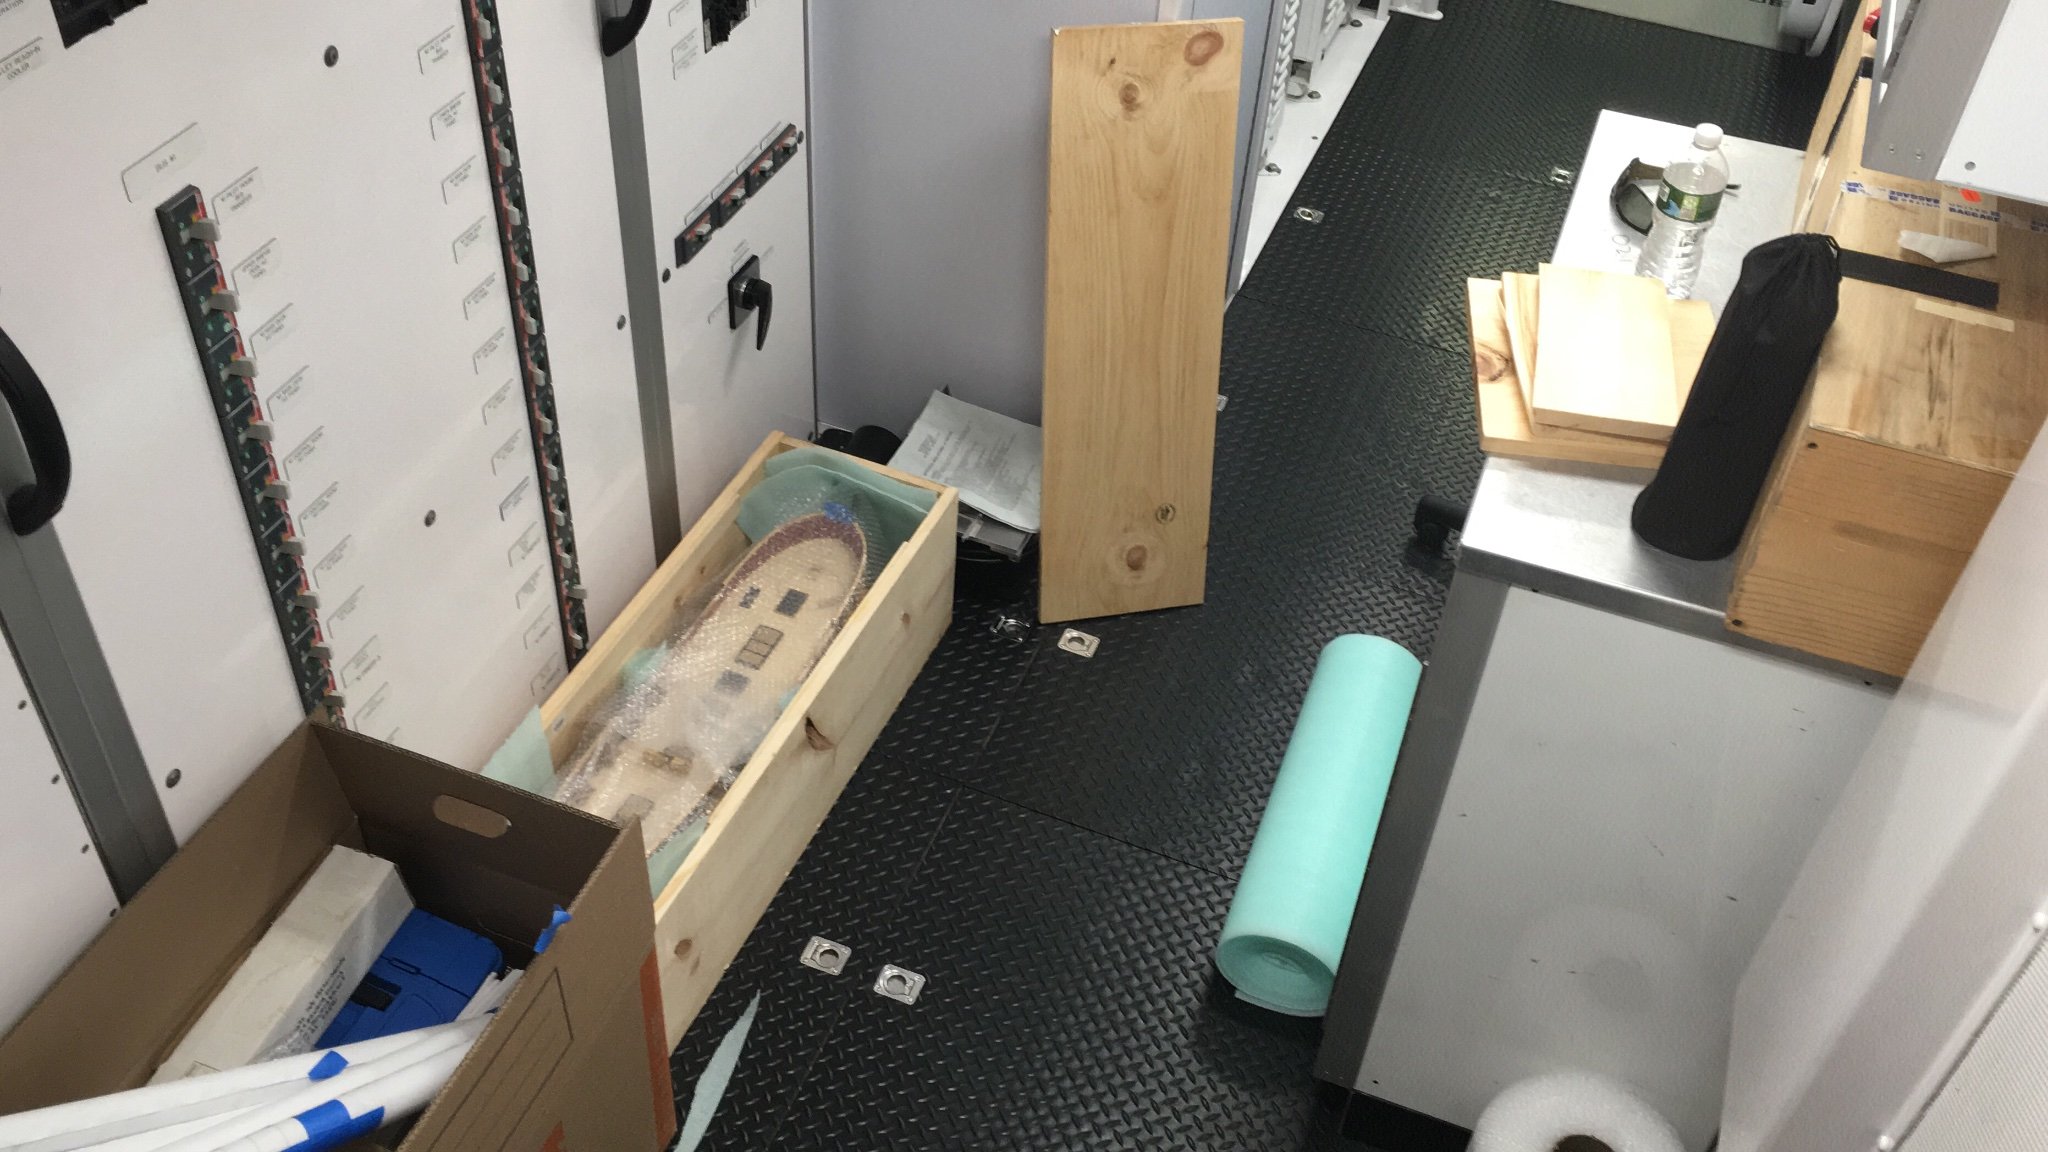
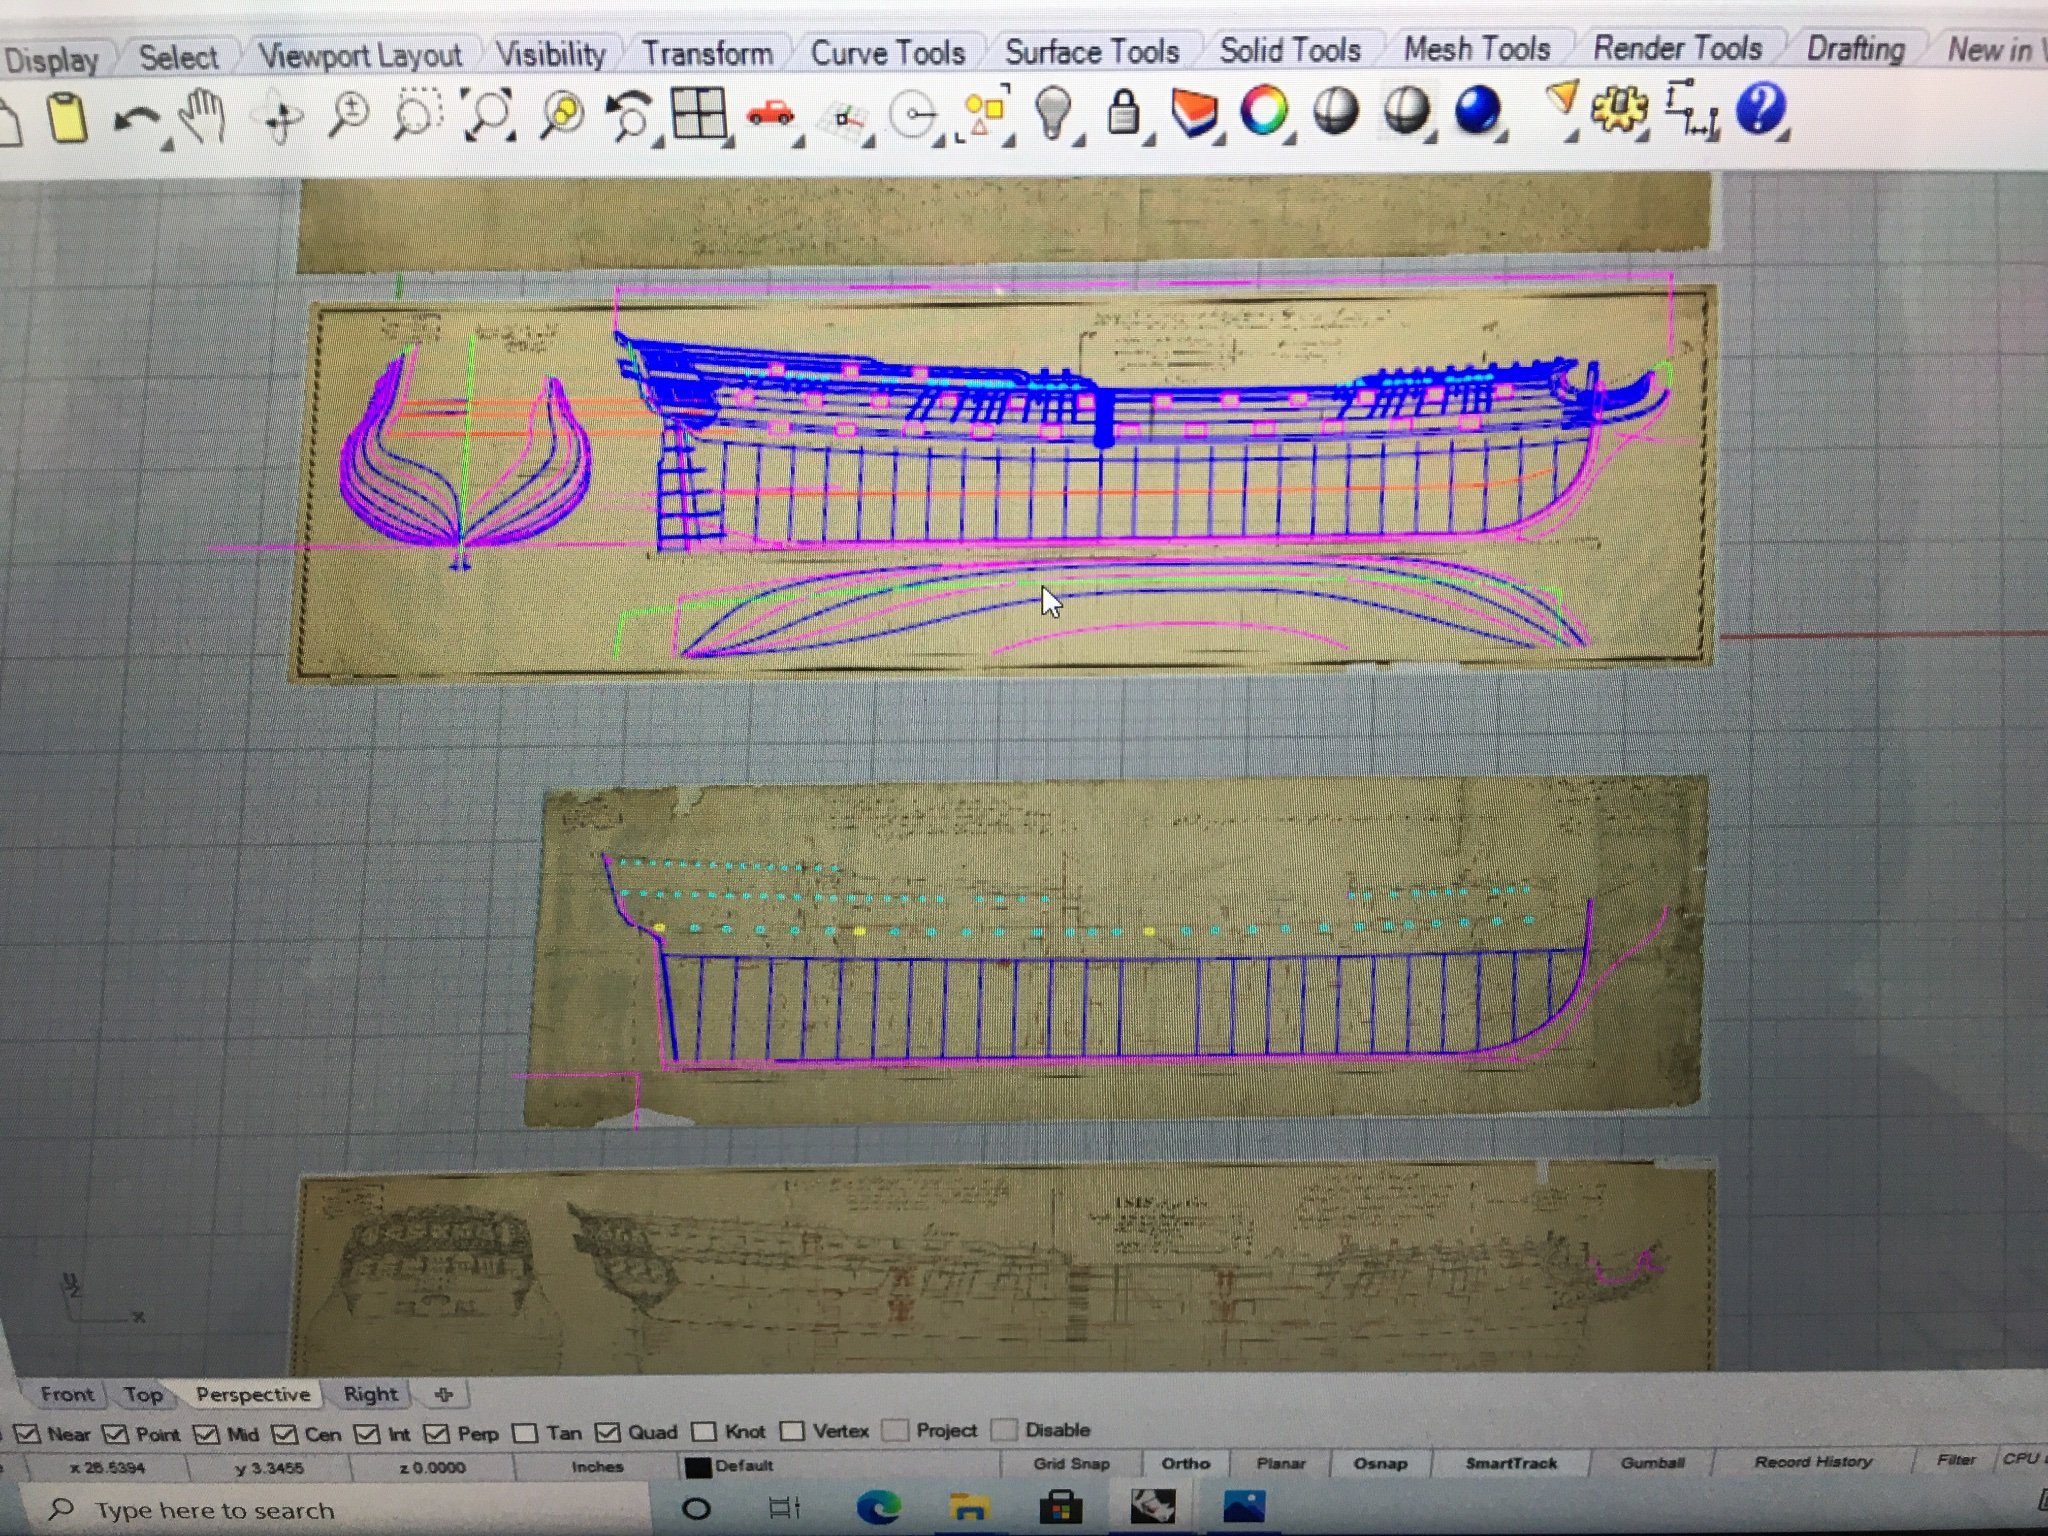
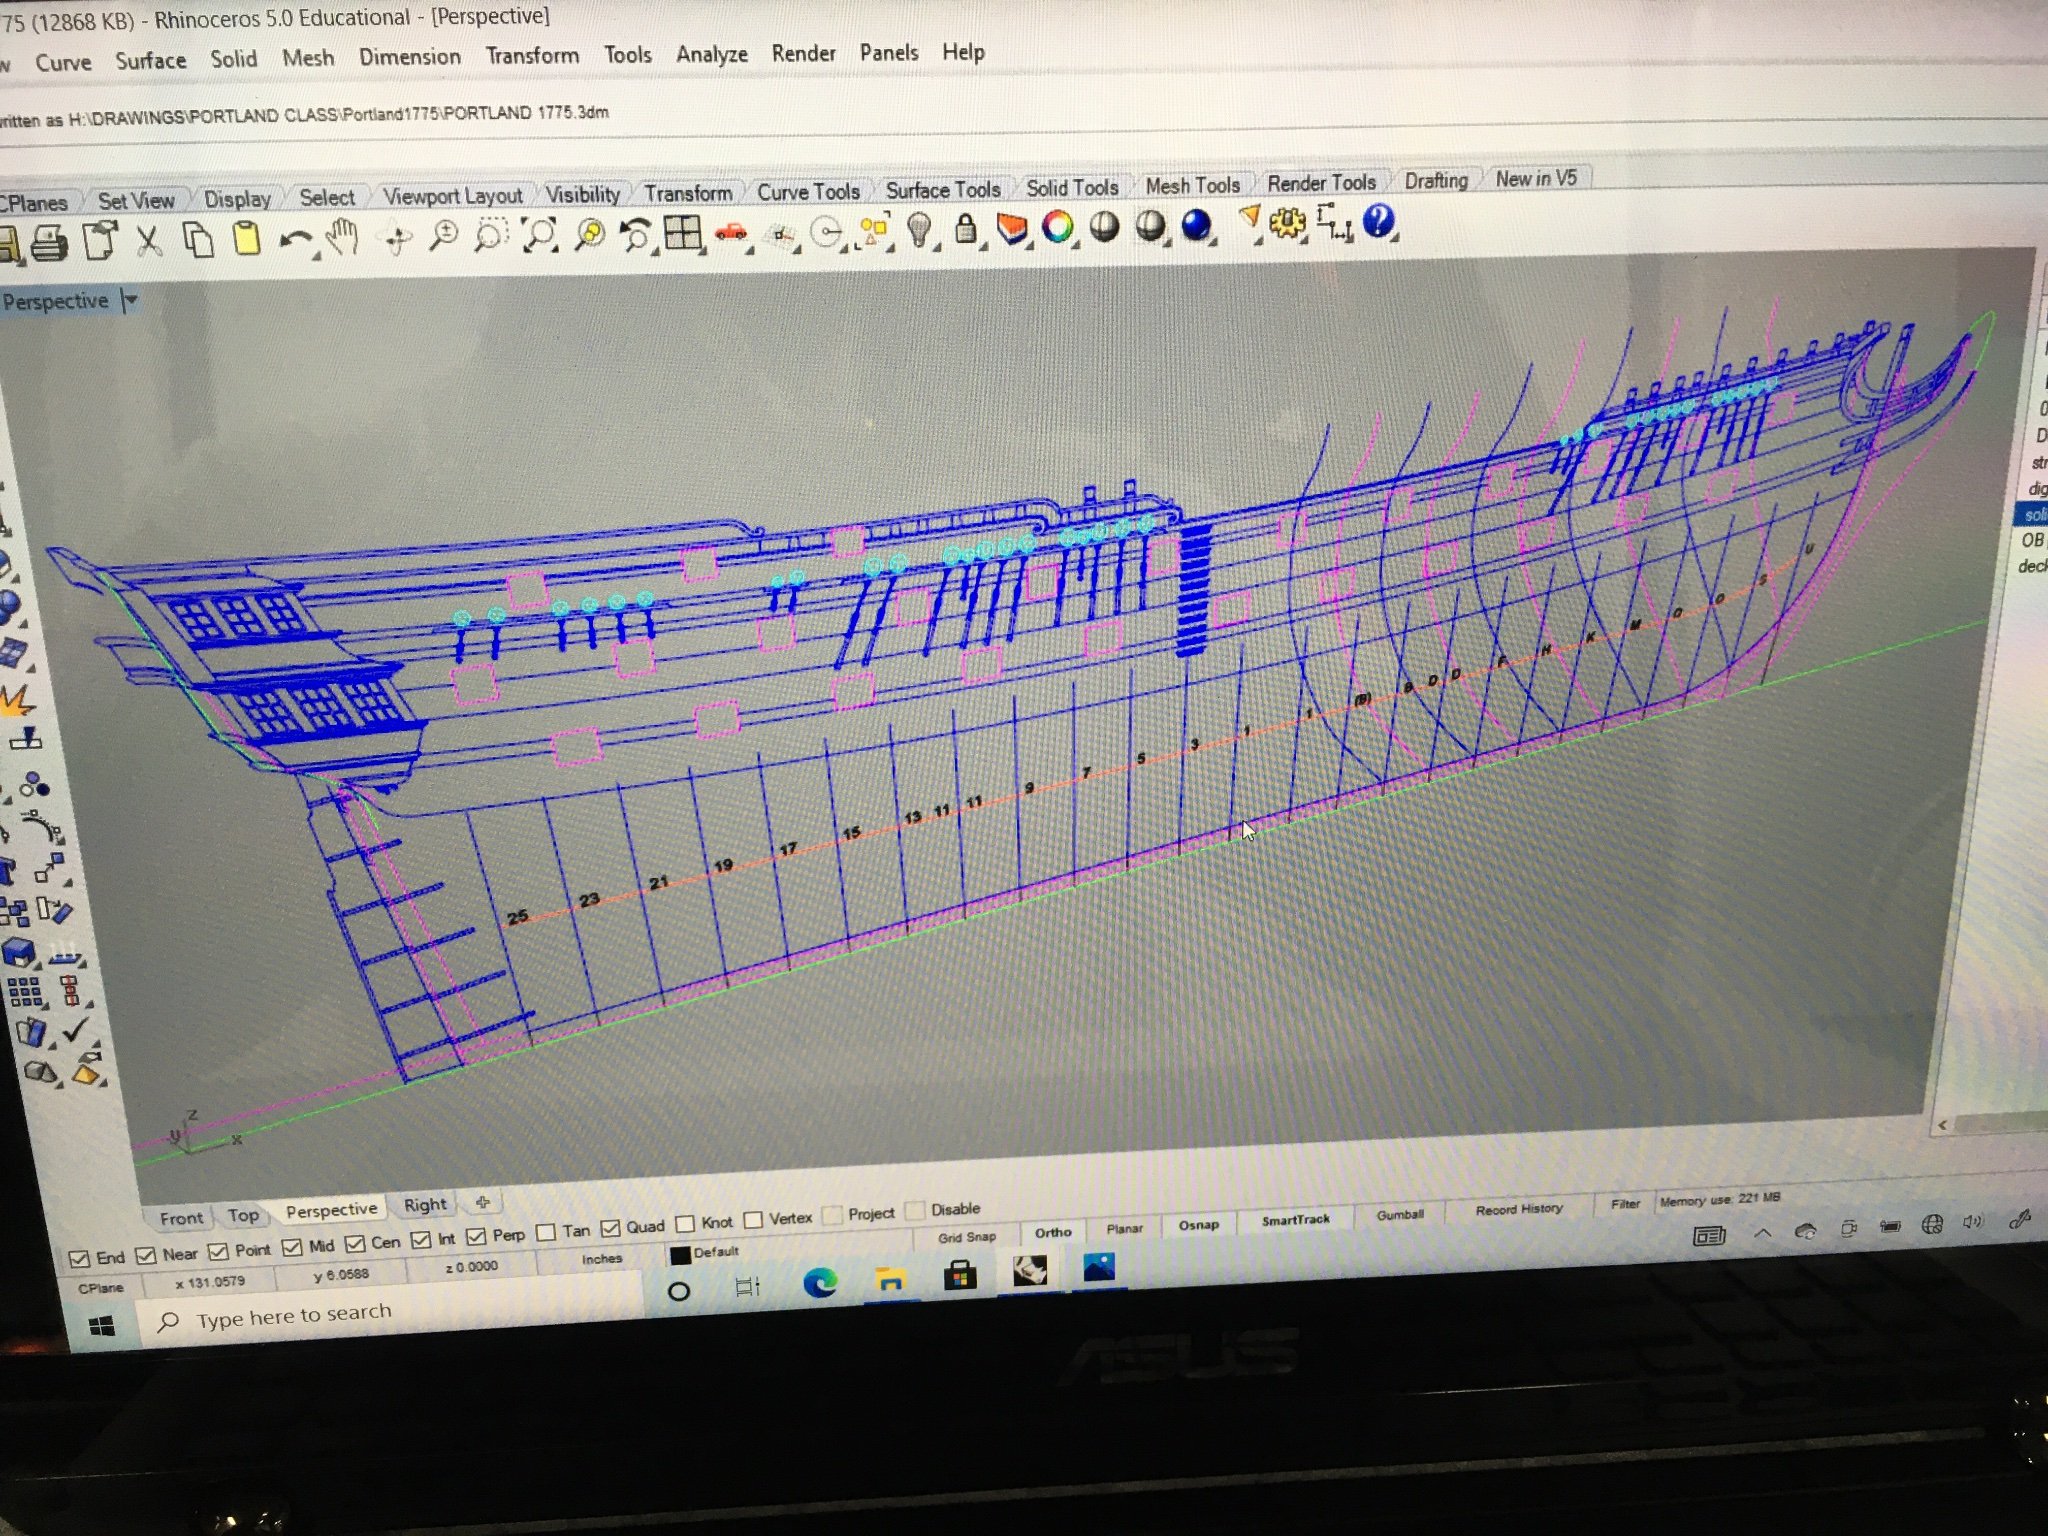
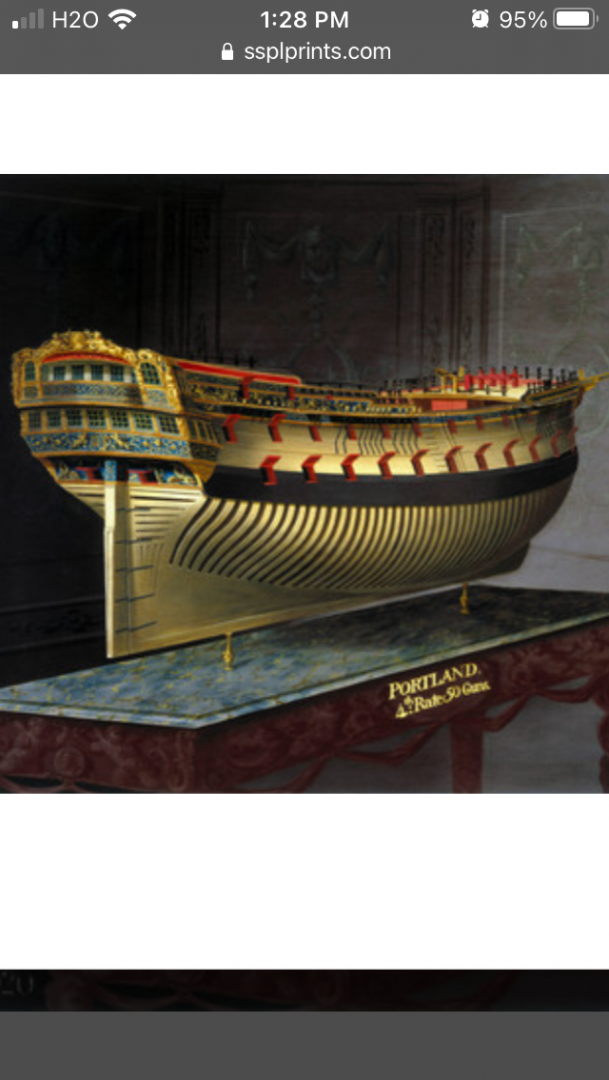
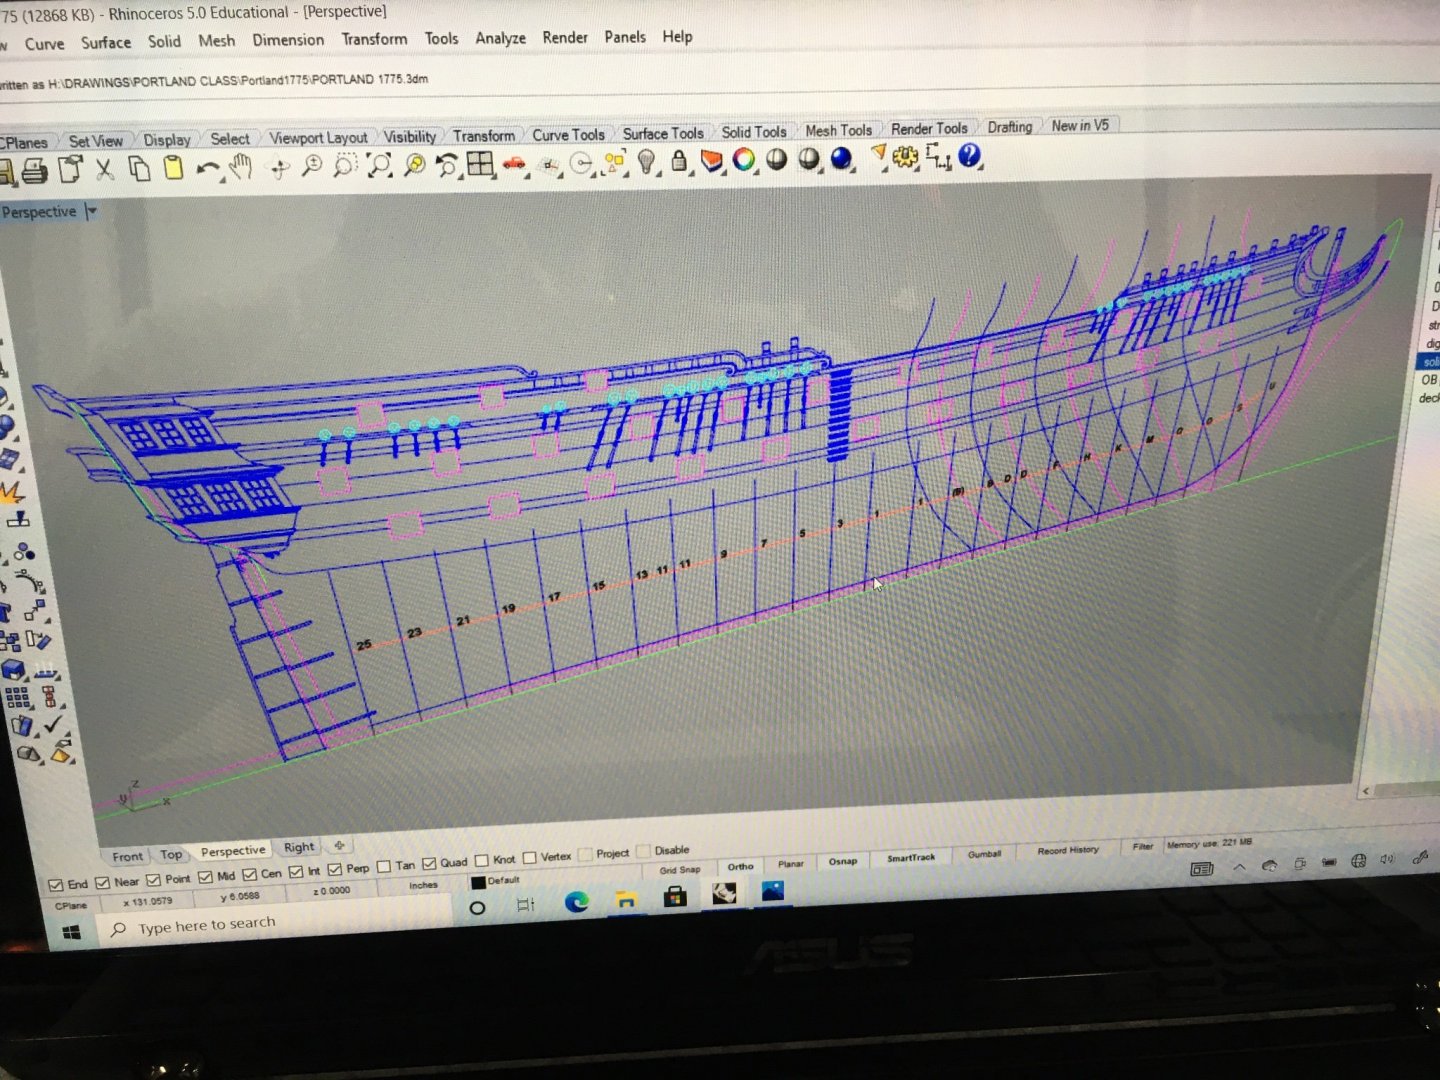
Thanks Rusty and Glenn. looking forward to some more updates on your Winnie, Rusty. Glenn, your cheerful is a delight on the eyes, can’t wait to see your Winnie get going. I finished up chapter 5 last week, took care of the rest of the gun ports and the small stuff which is a convenient stopping point as my mobile shipyard has sold to new owners so my tools and supplies are packed and my Winnie is crated up in a wonderful smelling custom pine box. Hopefully I’ll get back to her soon, but In the meantime I’m working on developing another project for the future, HMS Portland 1770, a 50 gun 4th rate at 1:48. I’m aiming for the Joseph marshal painting, similar to how the Winnie is built. I’m hoping to get the hull surfaced soon and the basic structure and framing built. JJ


-
Hopefully this is helpful.
-
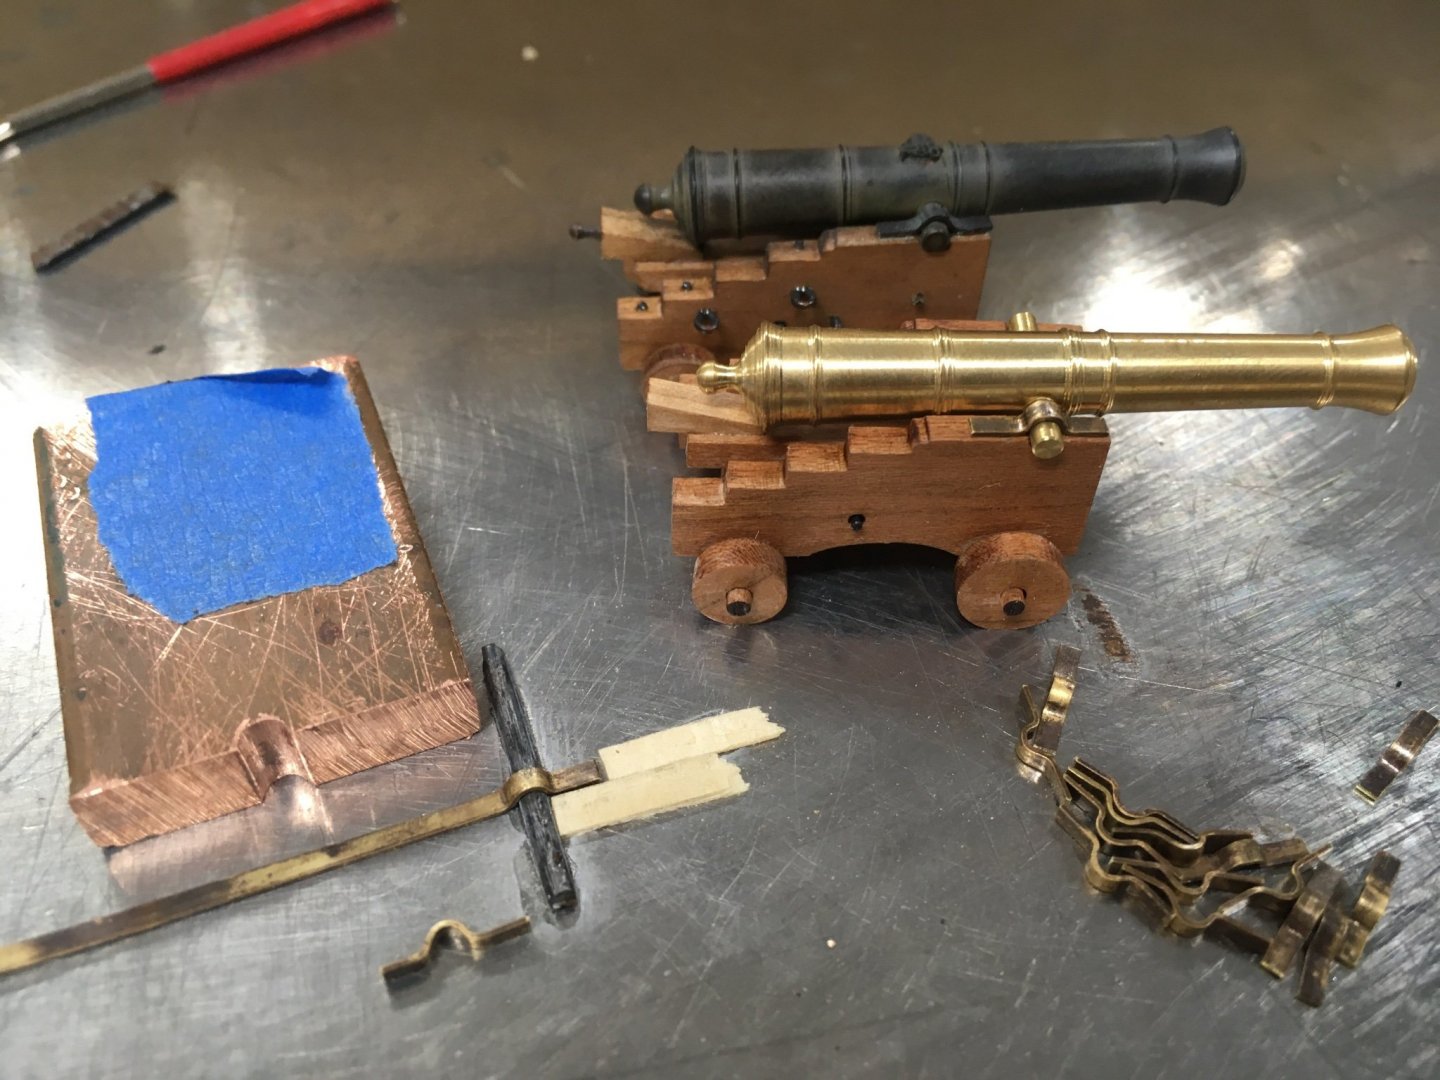
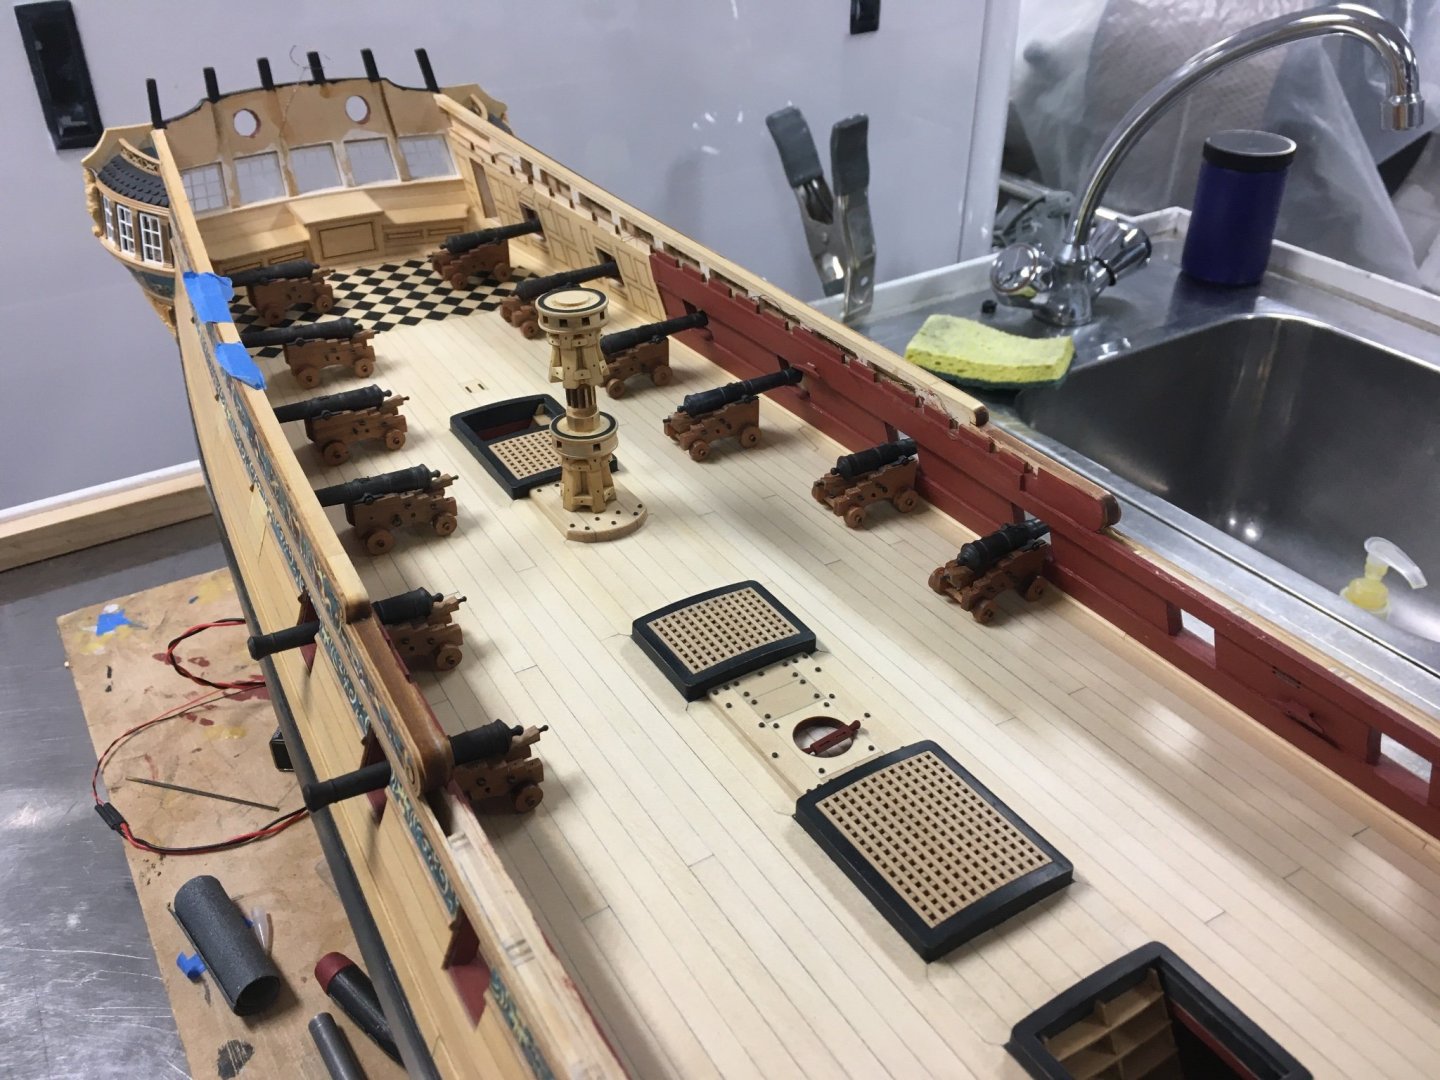
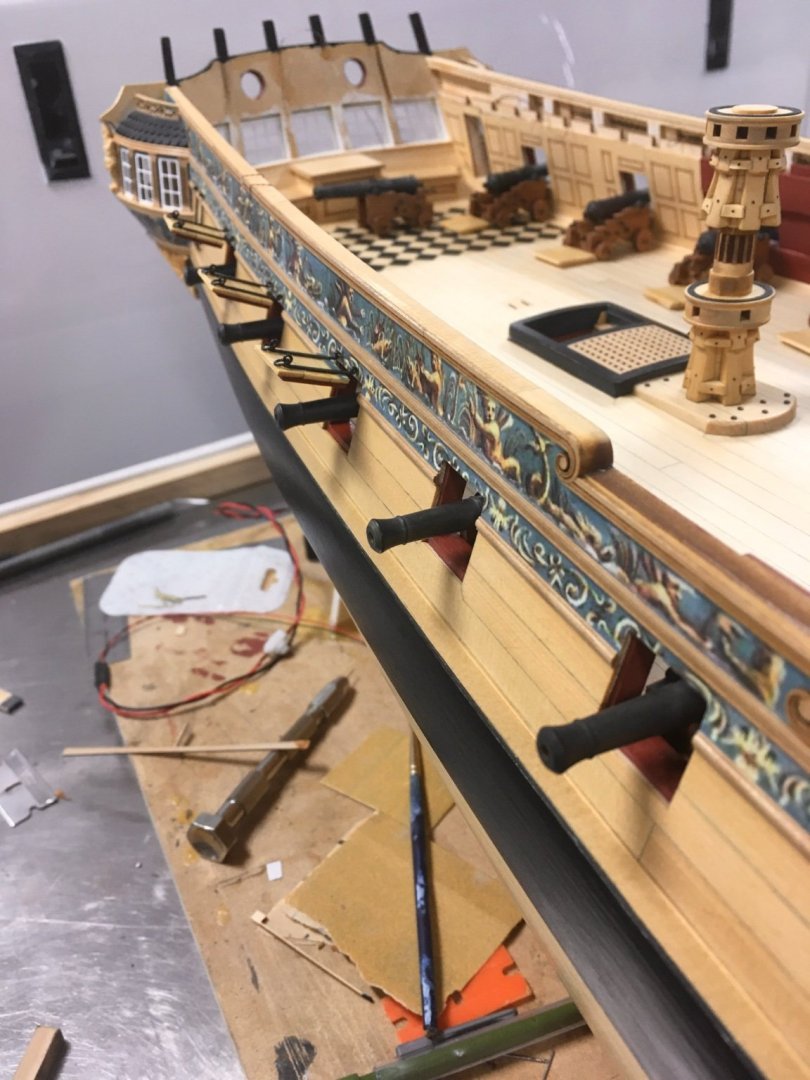
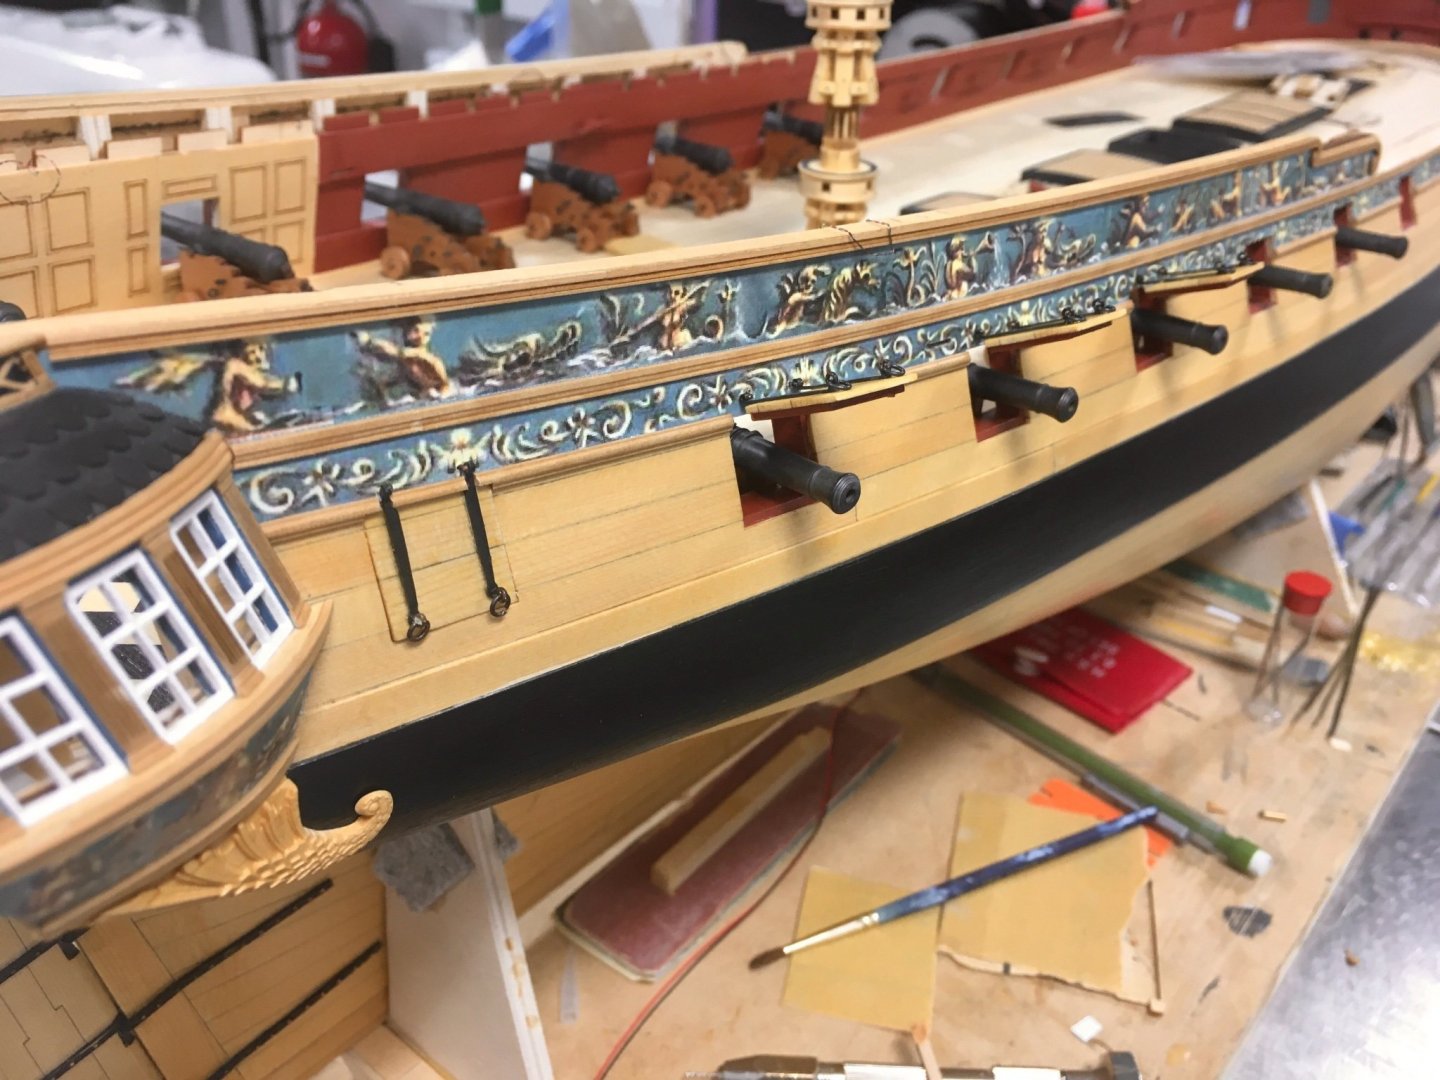
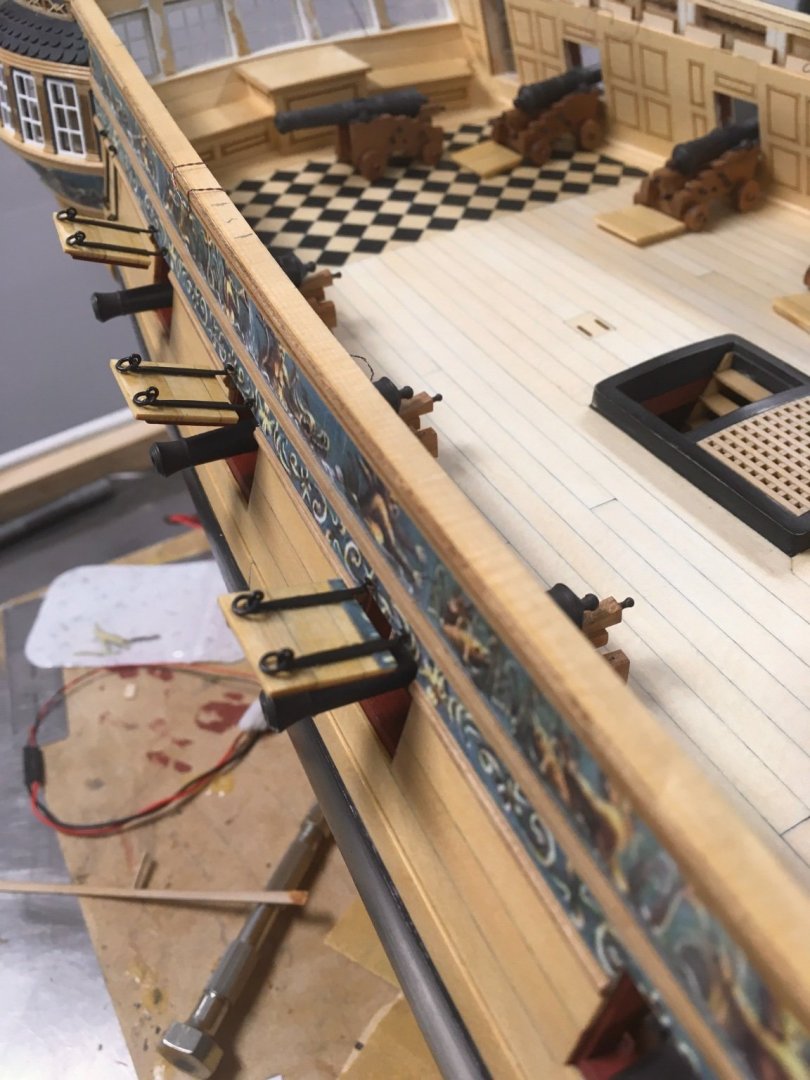
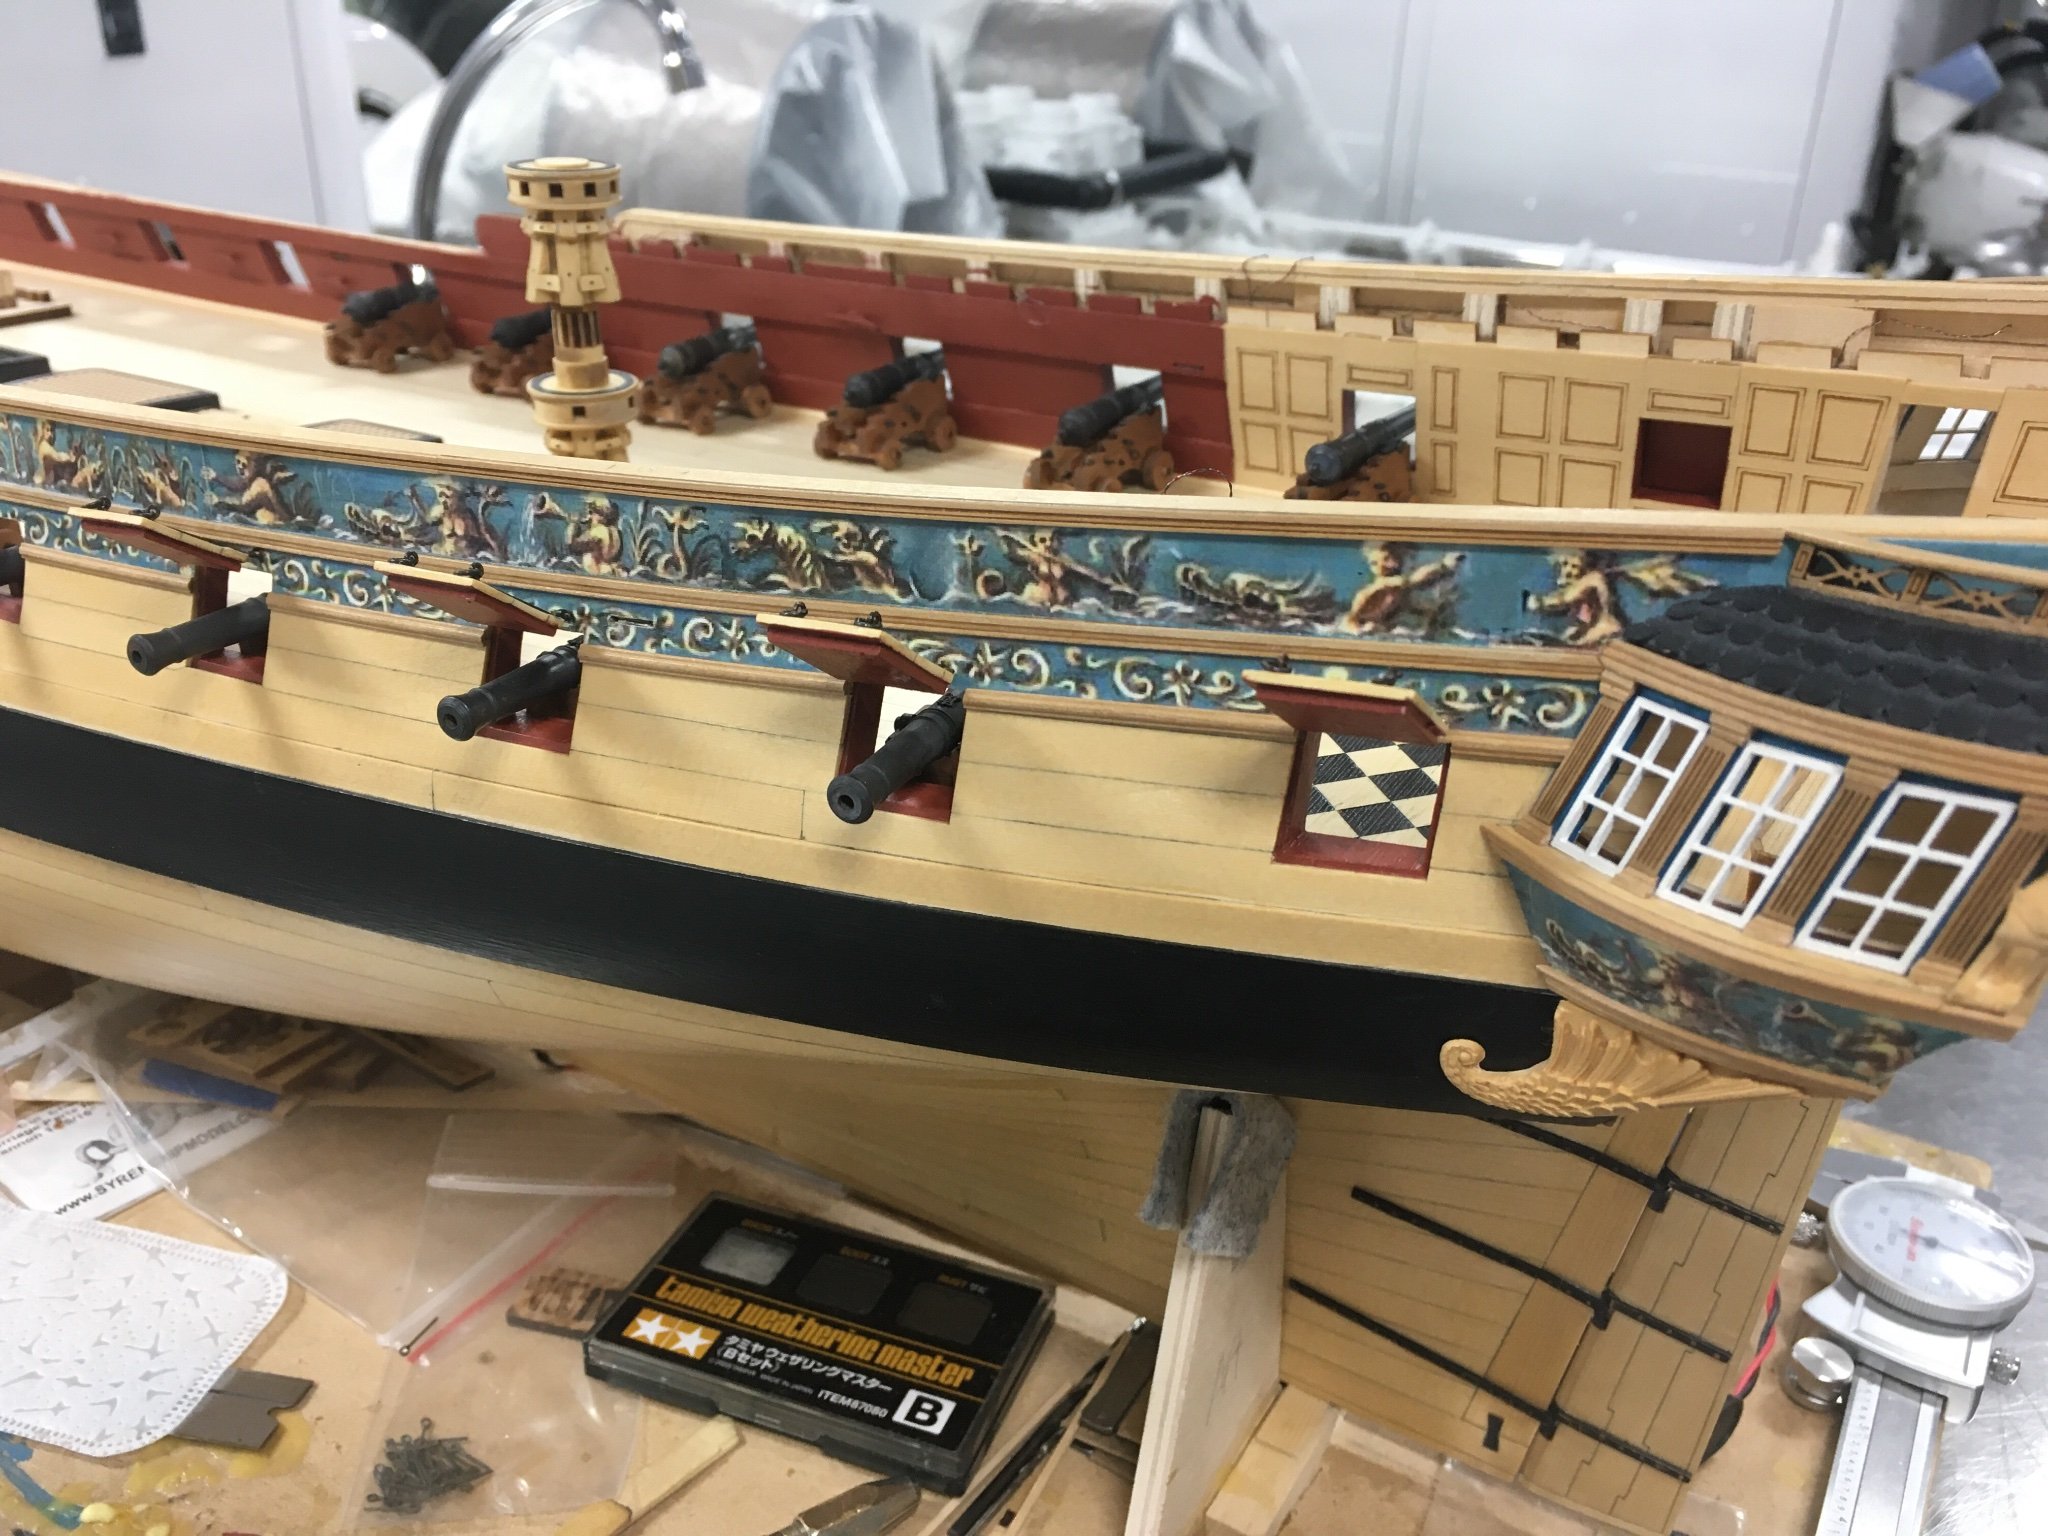
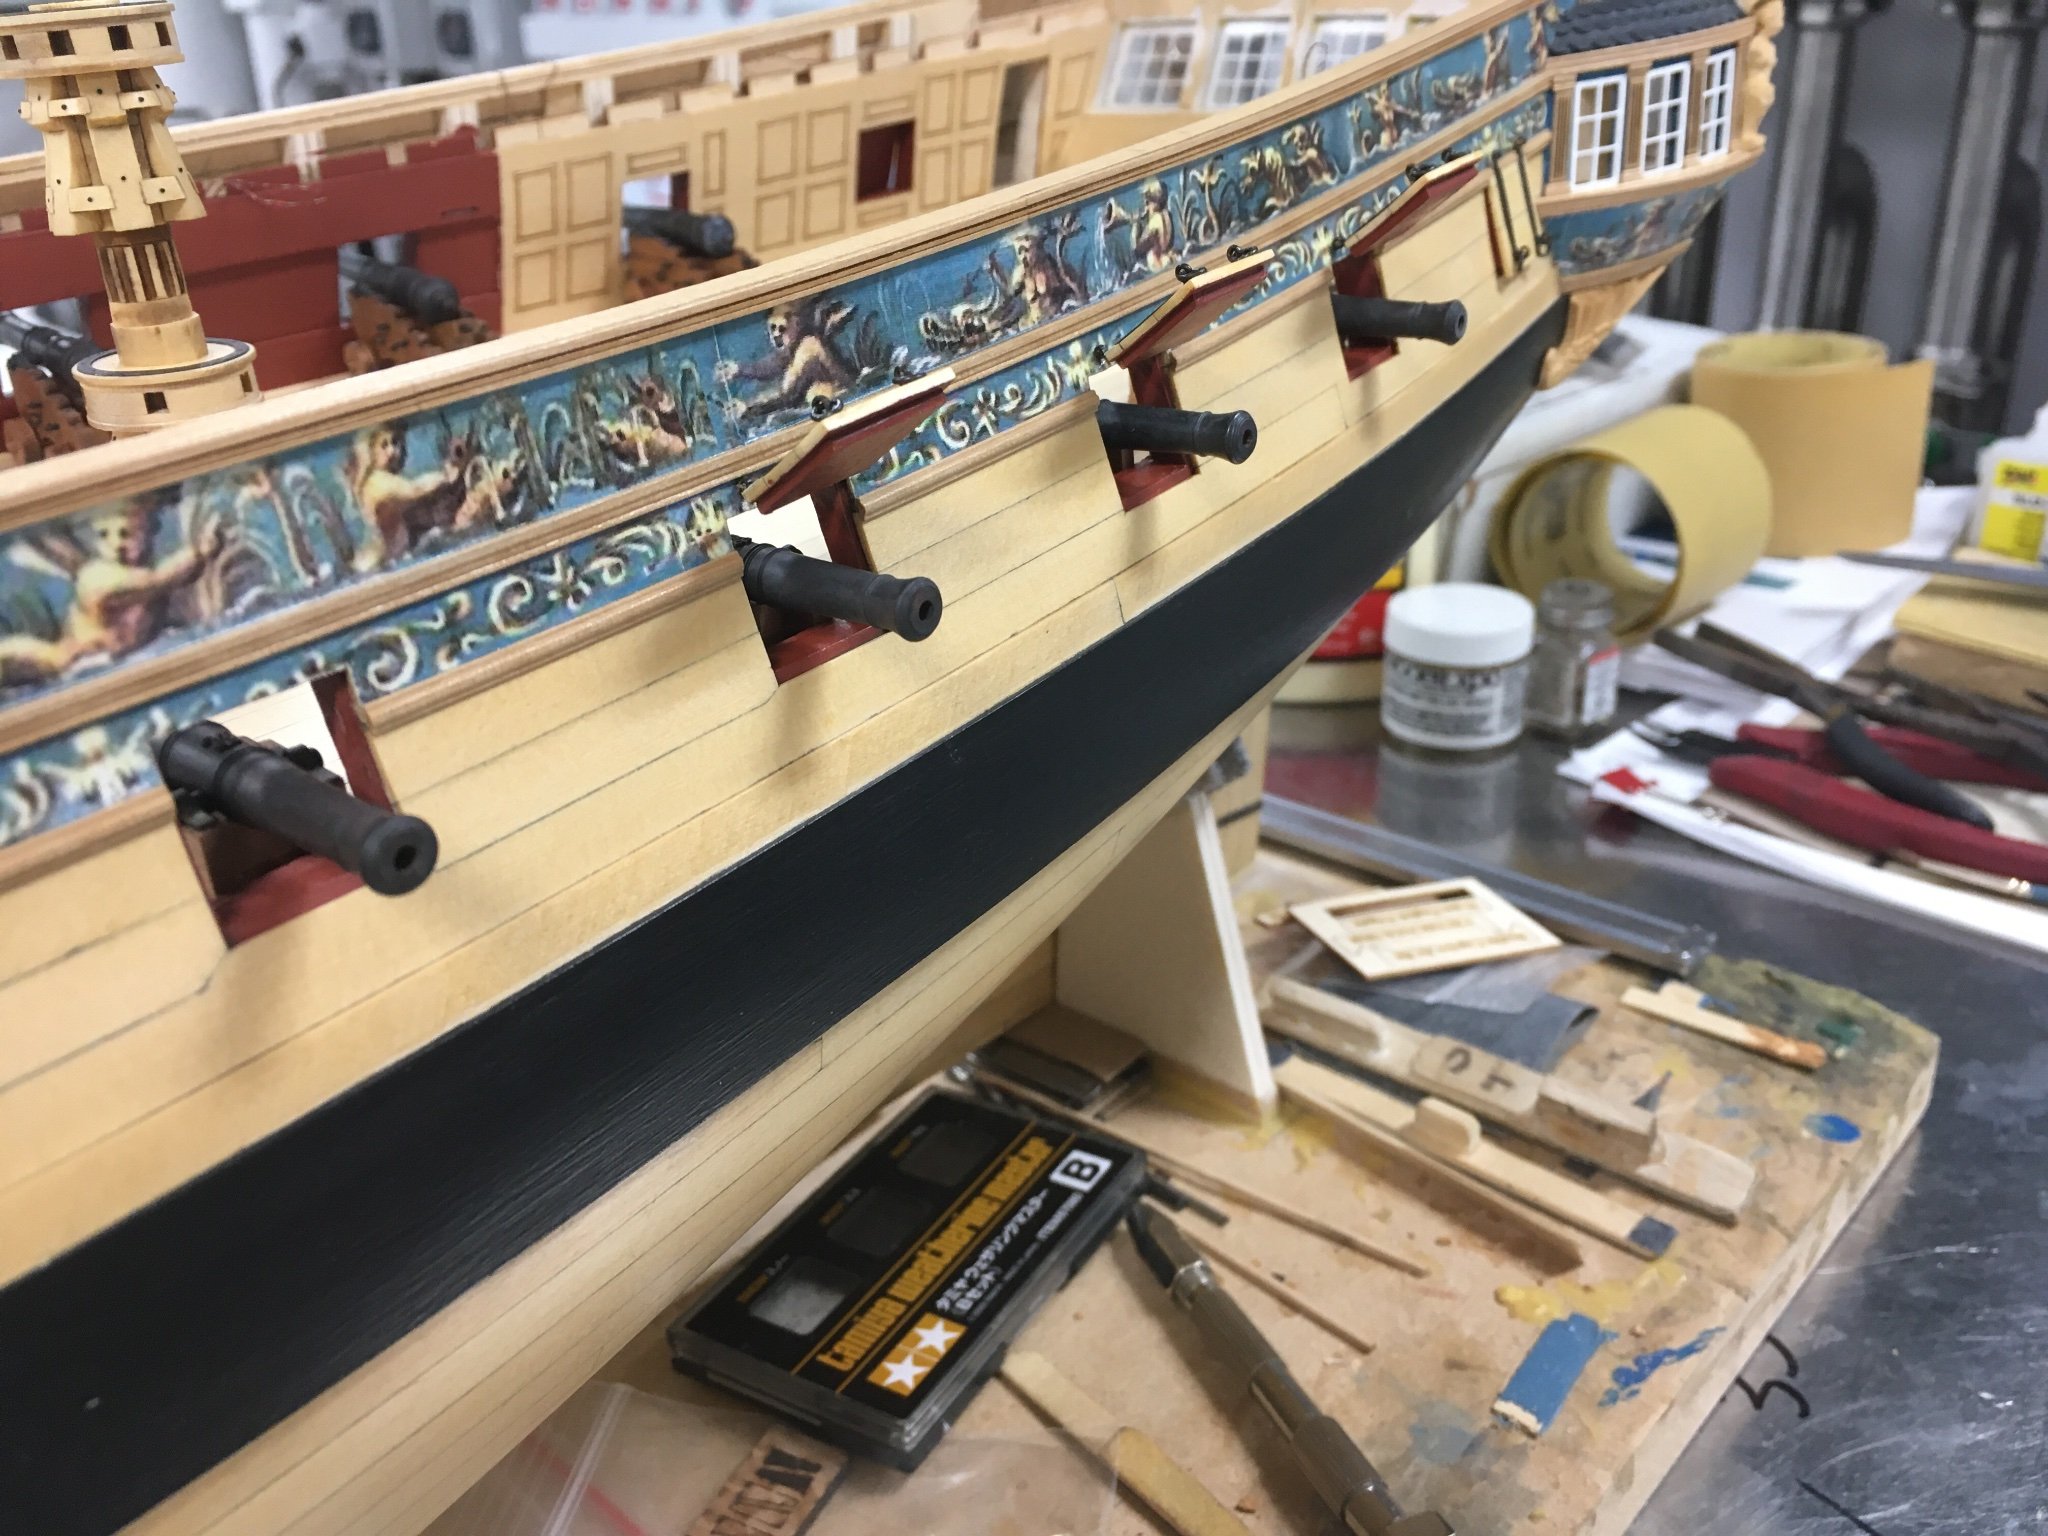
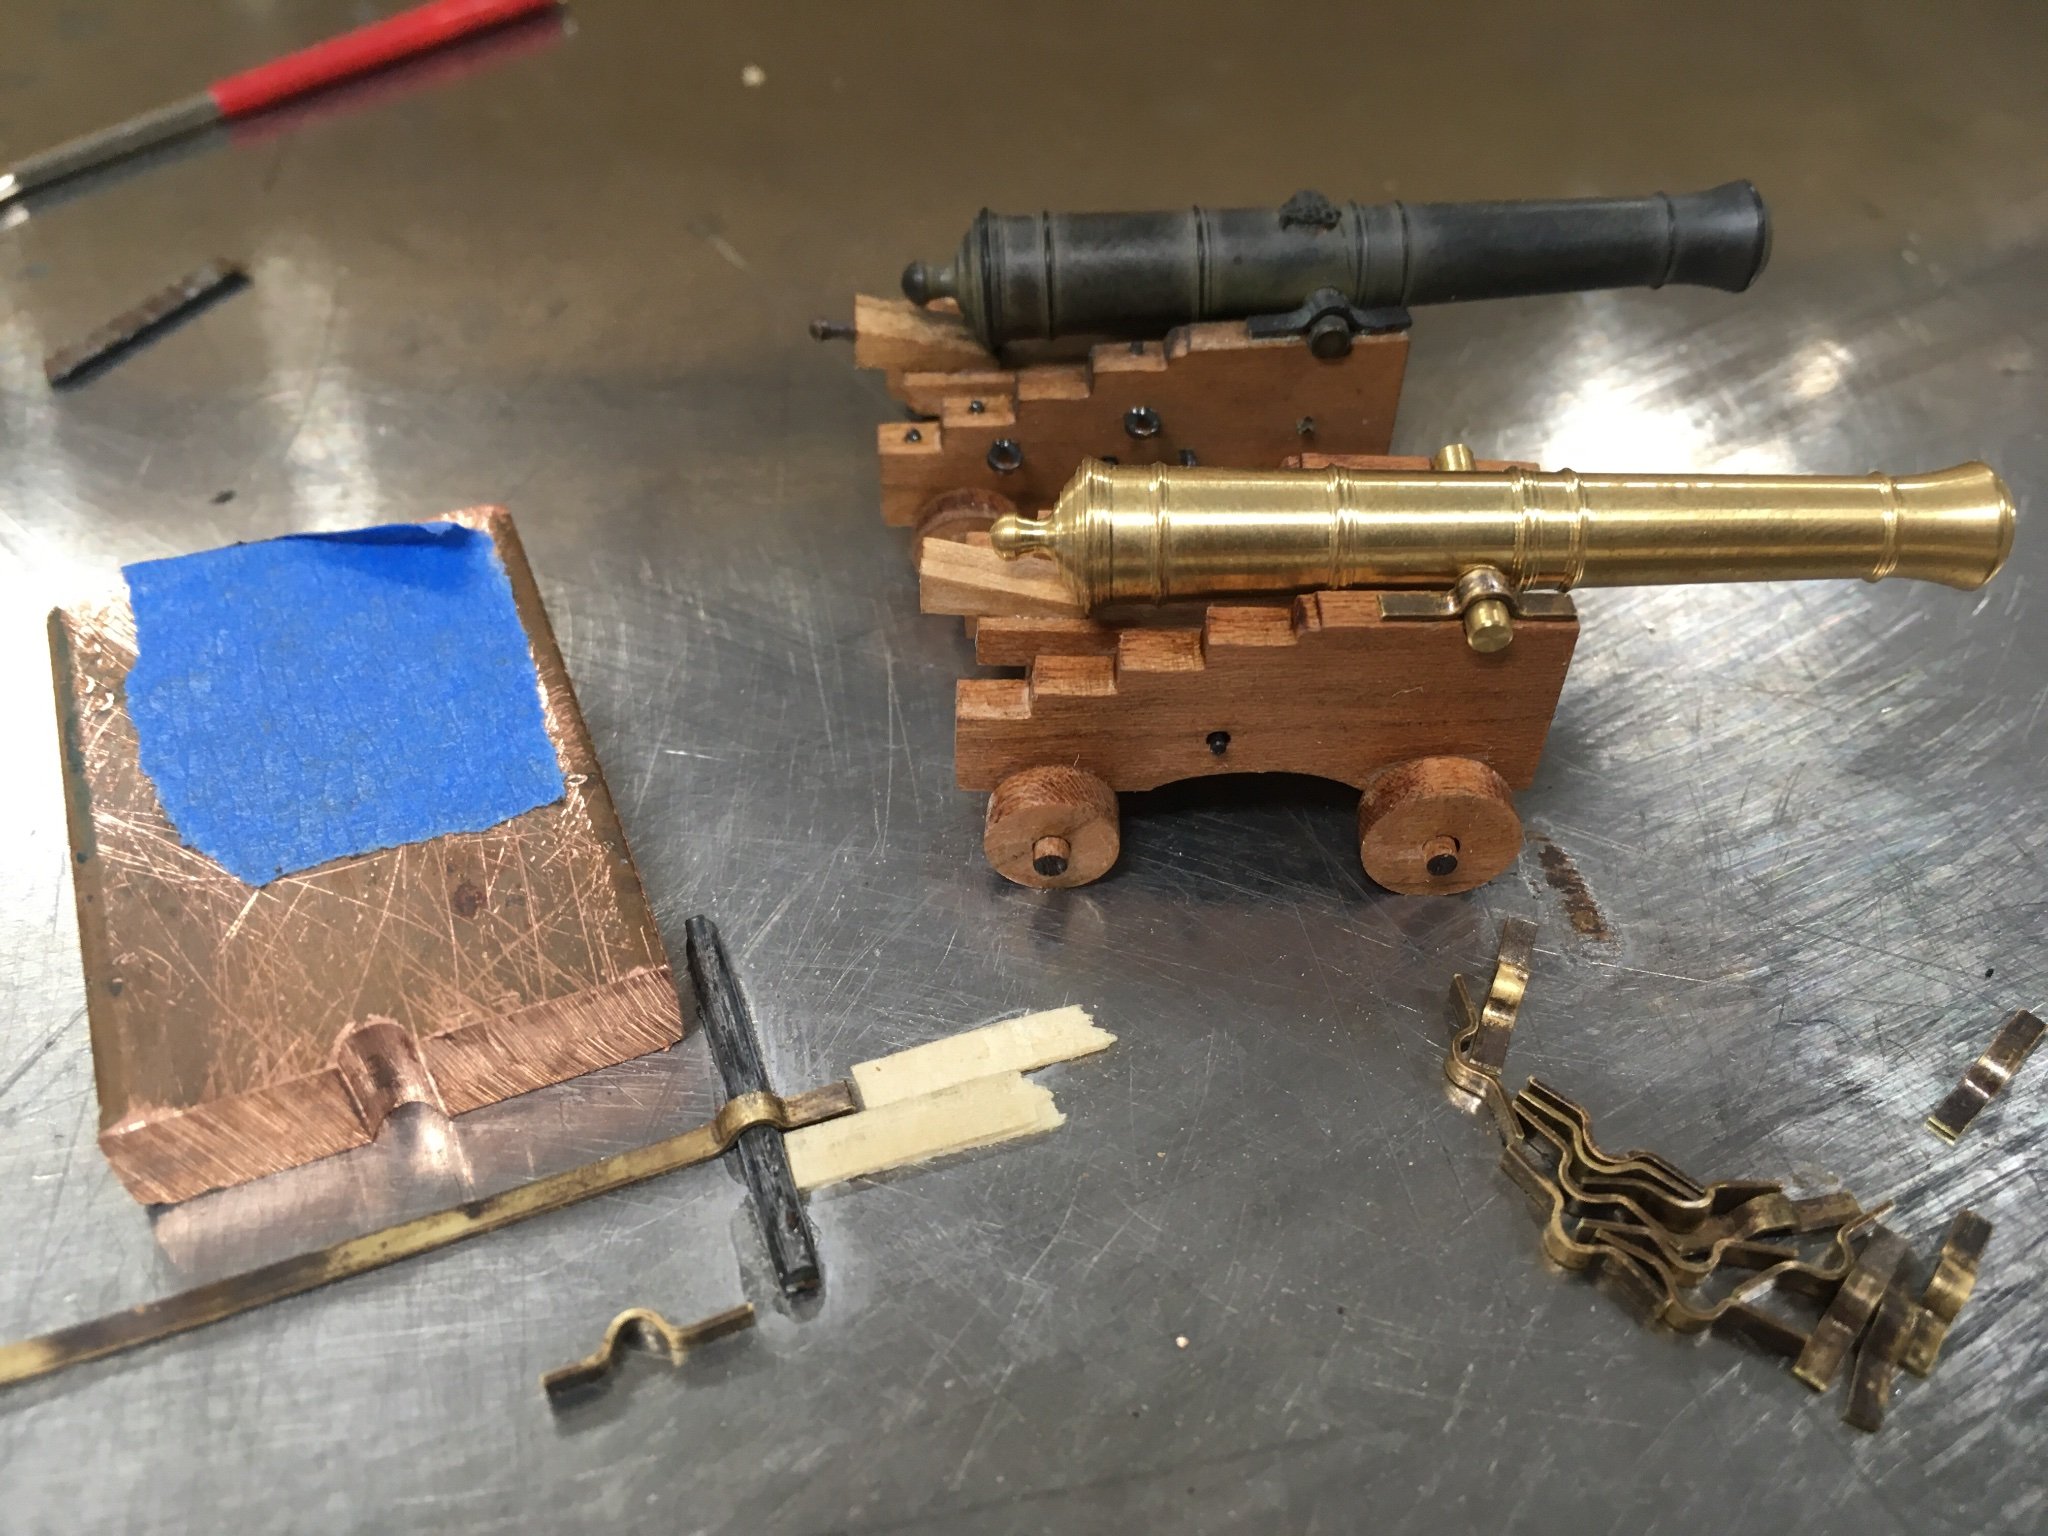
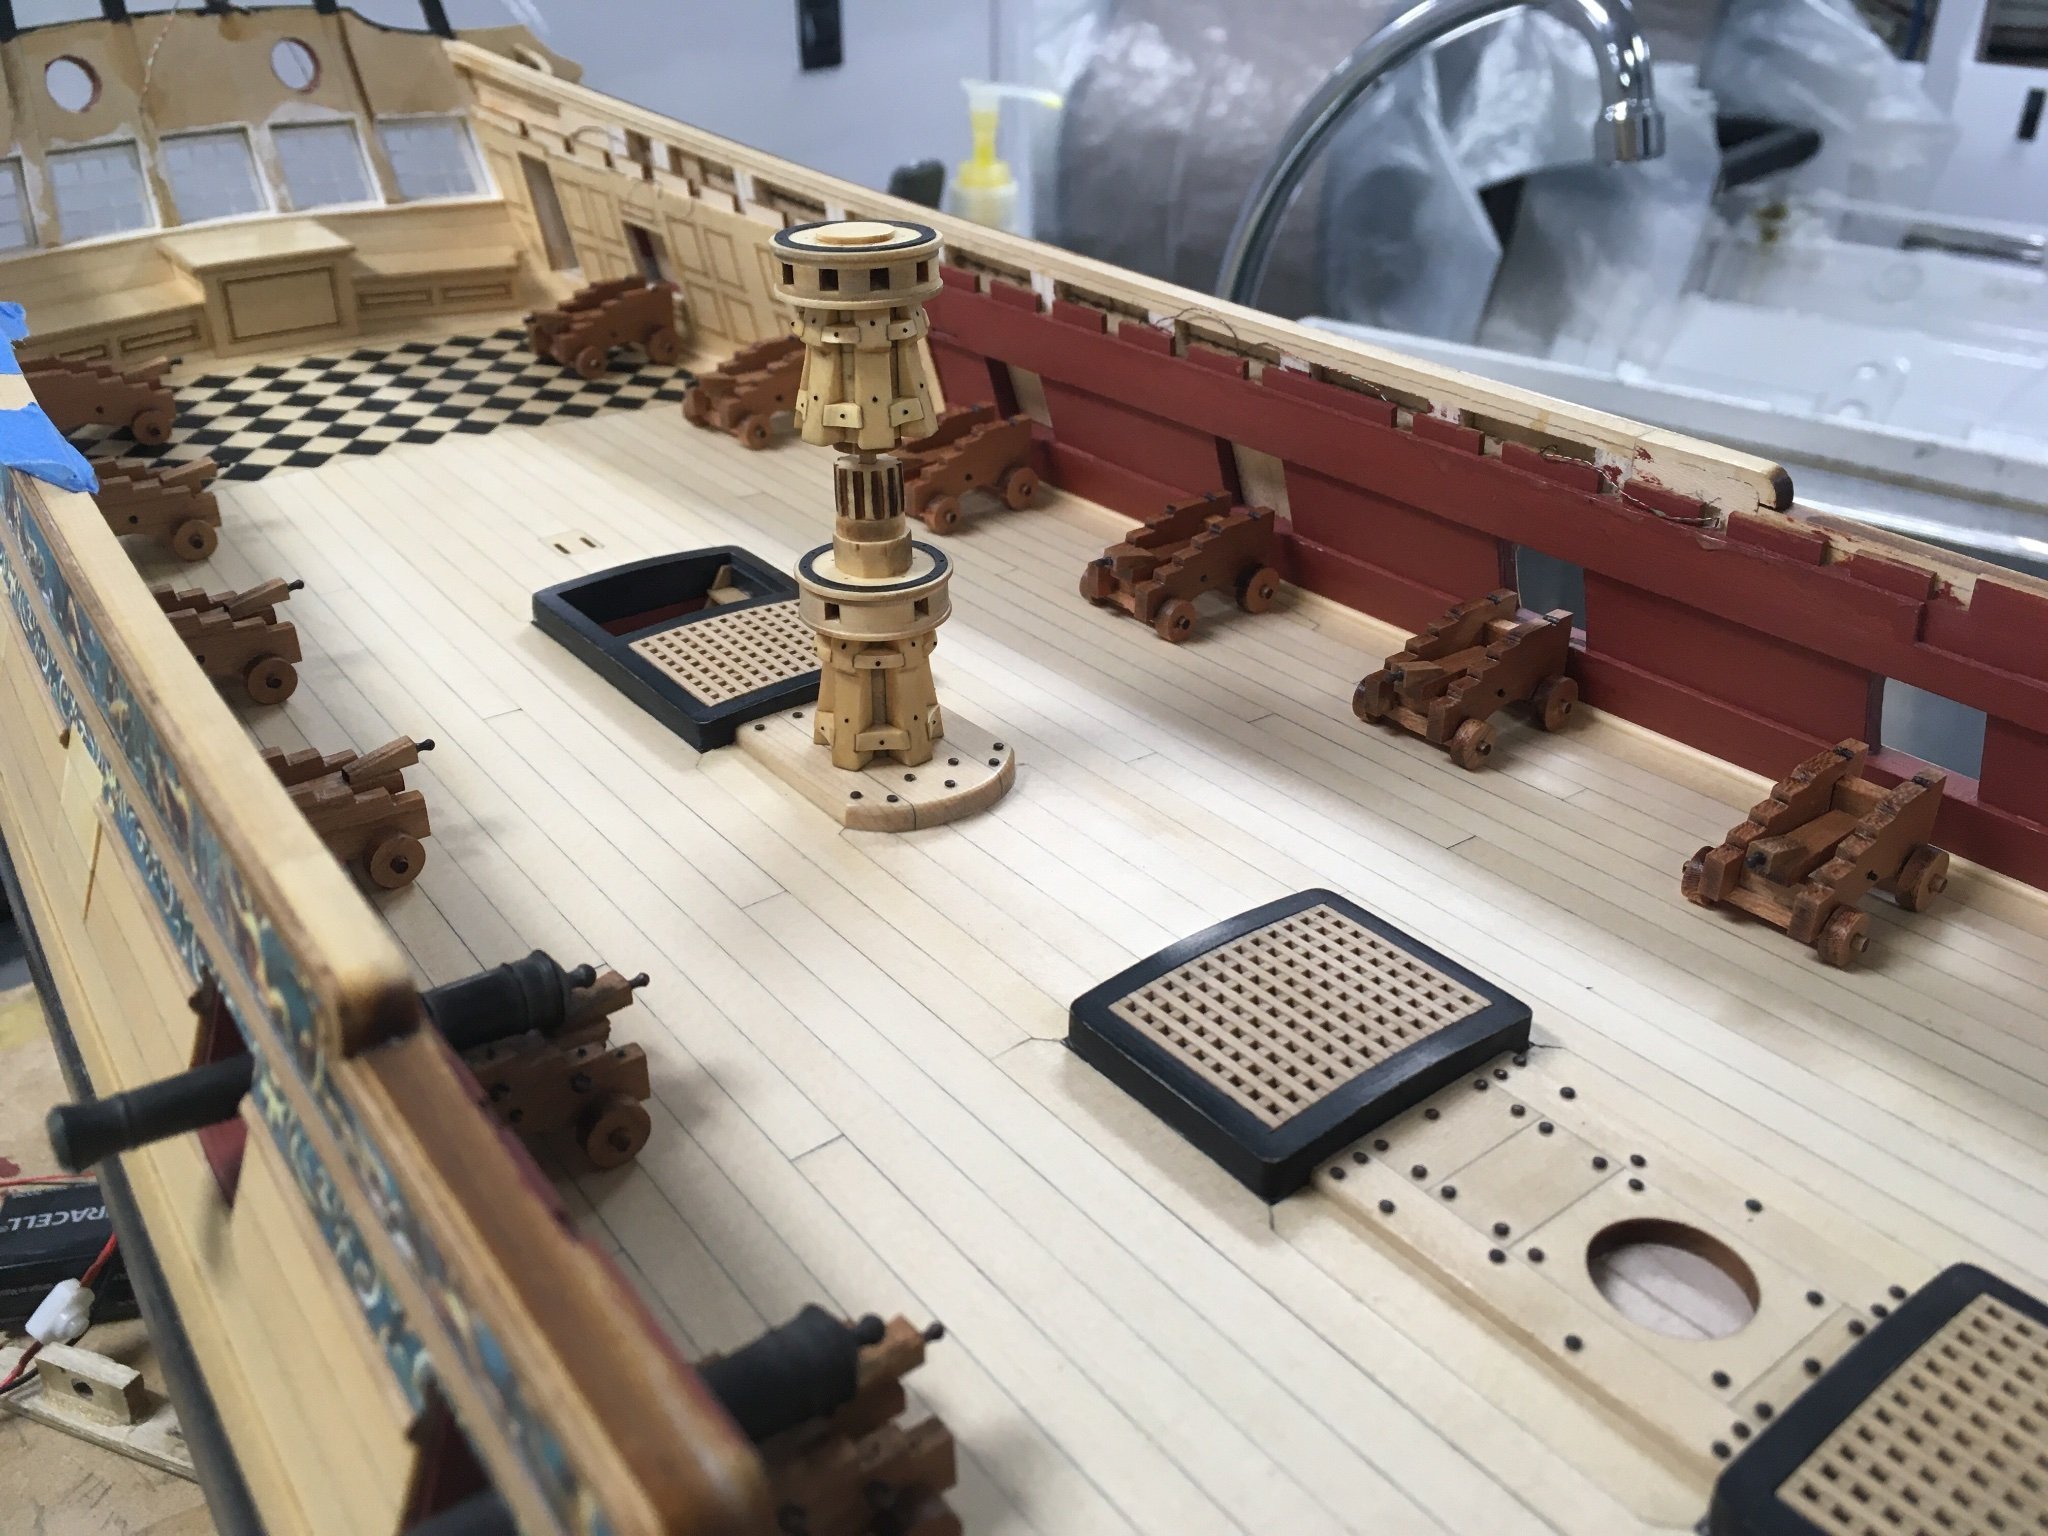
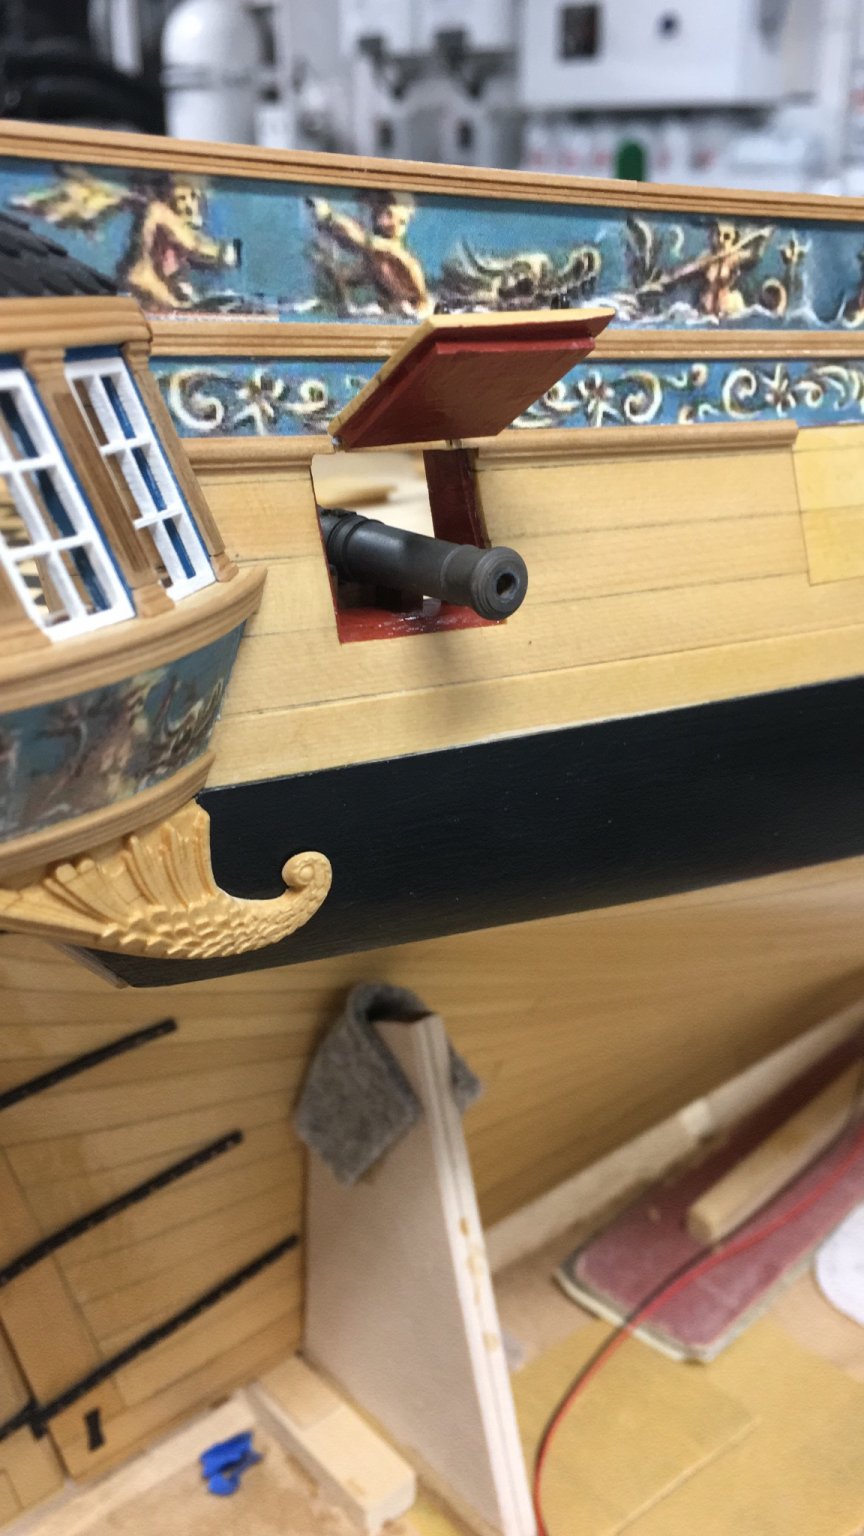
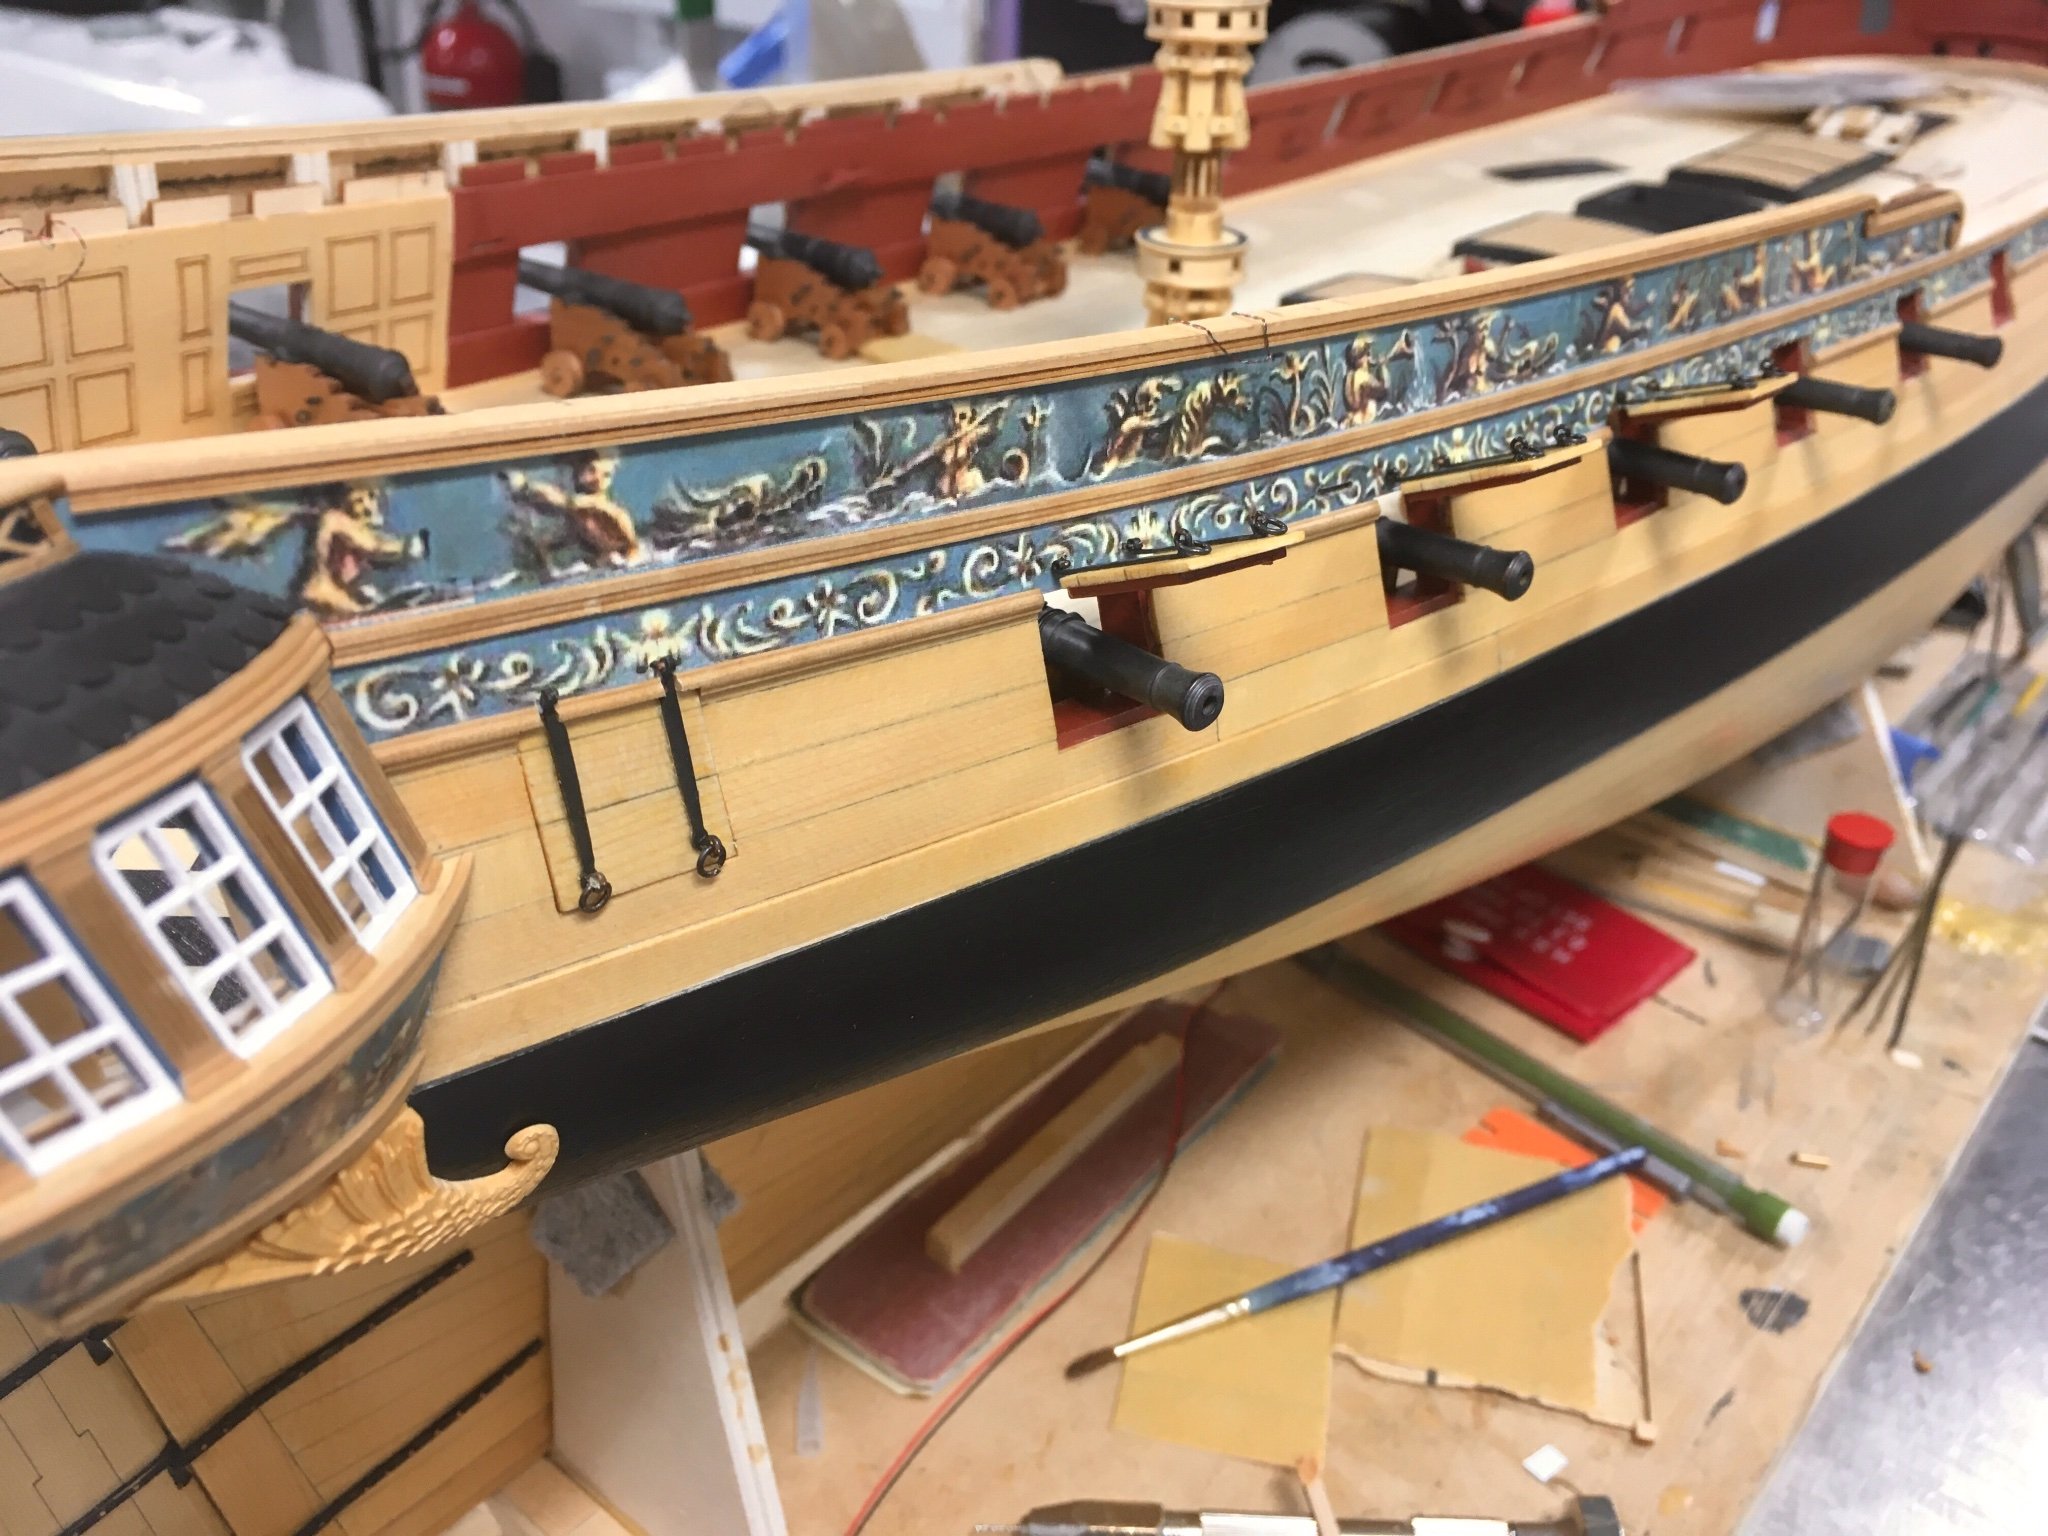
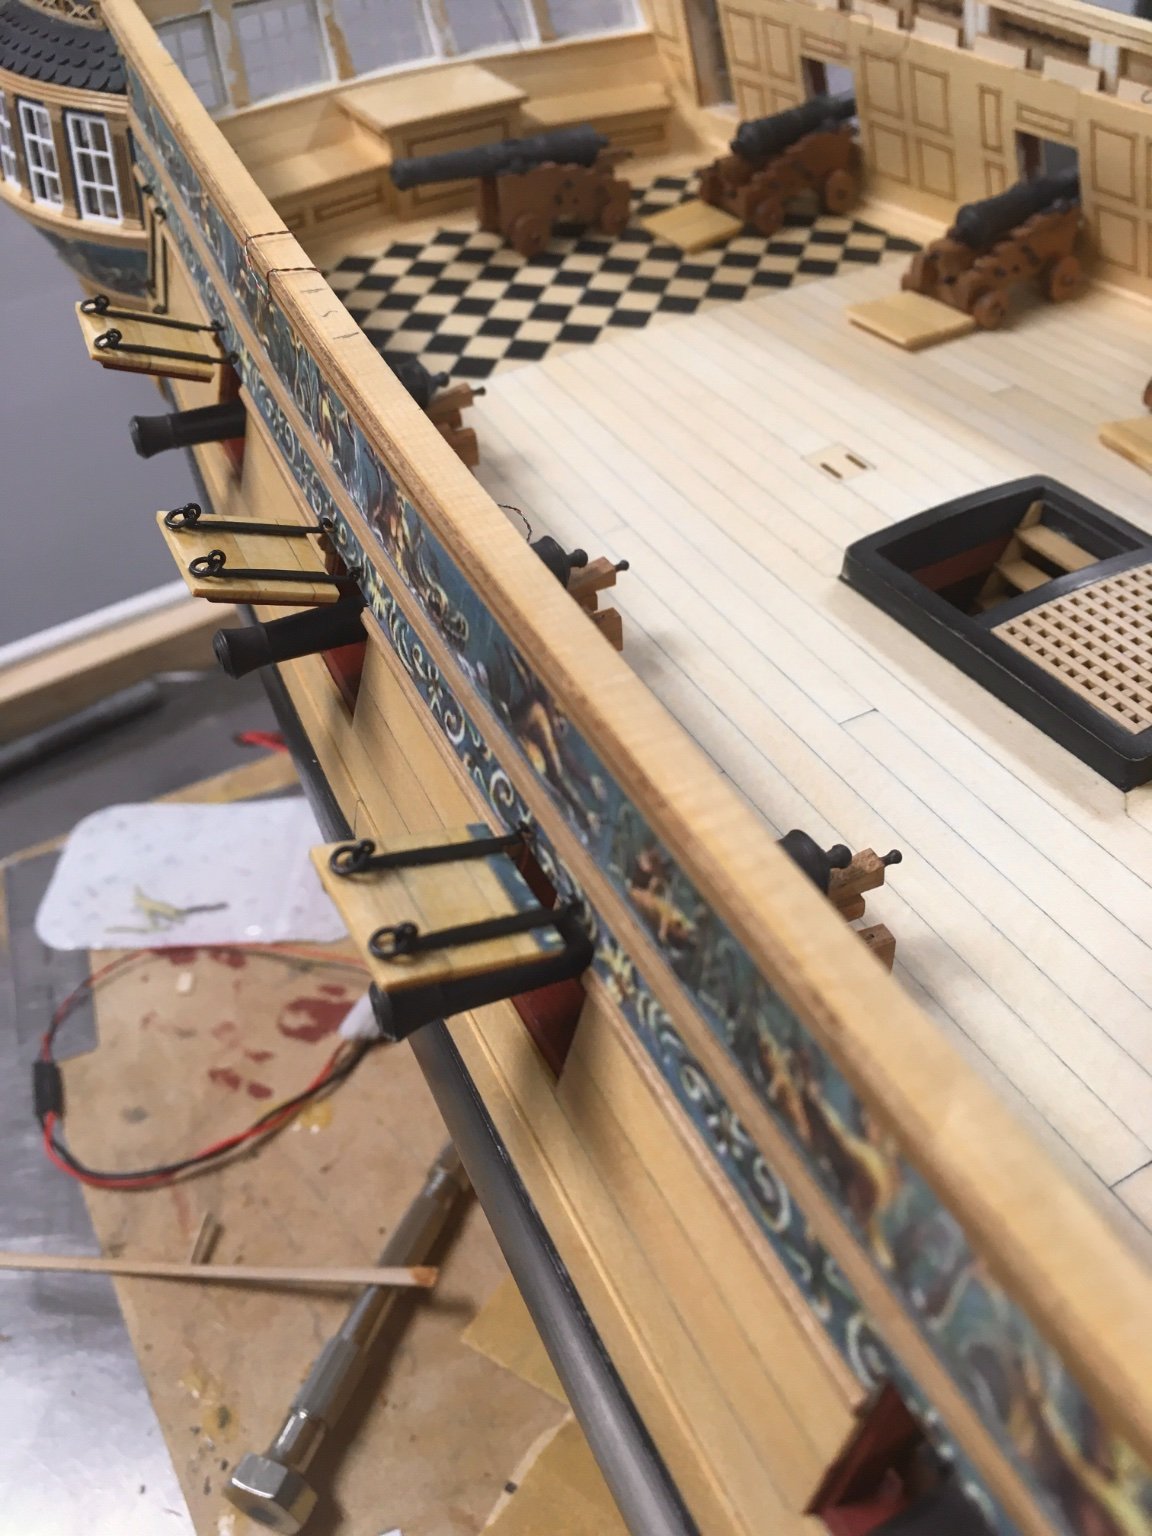
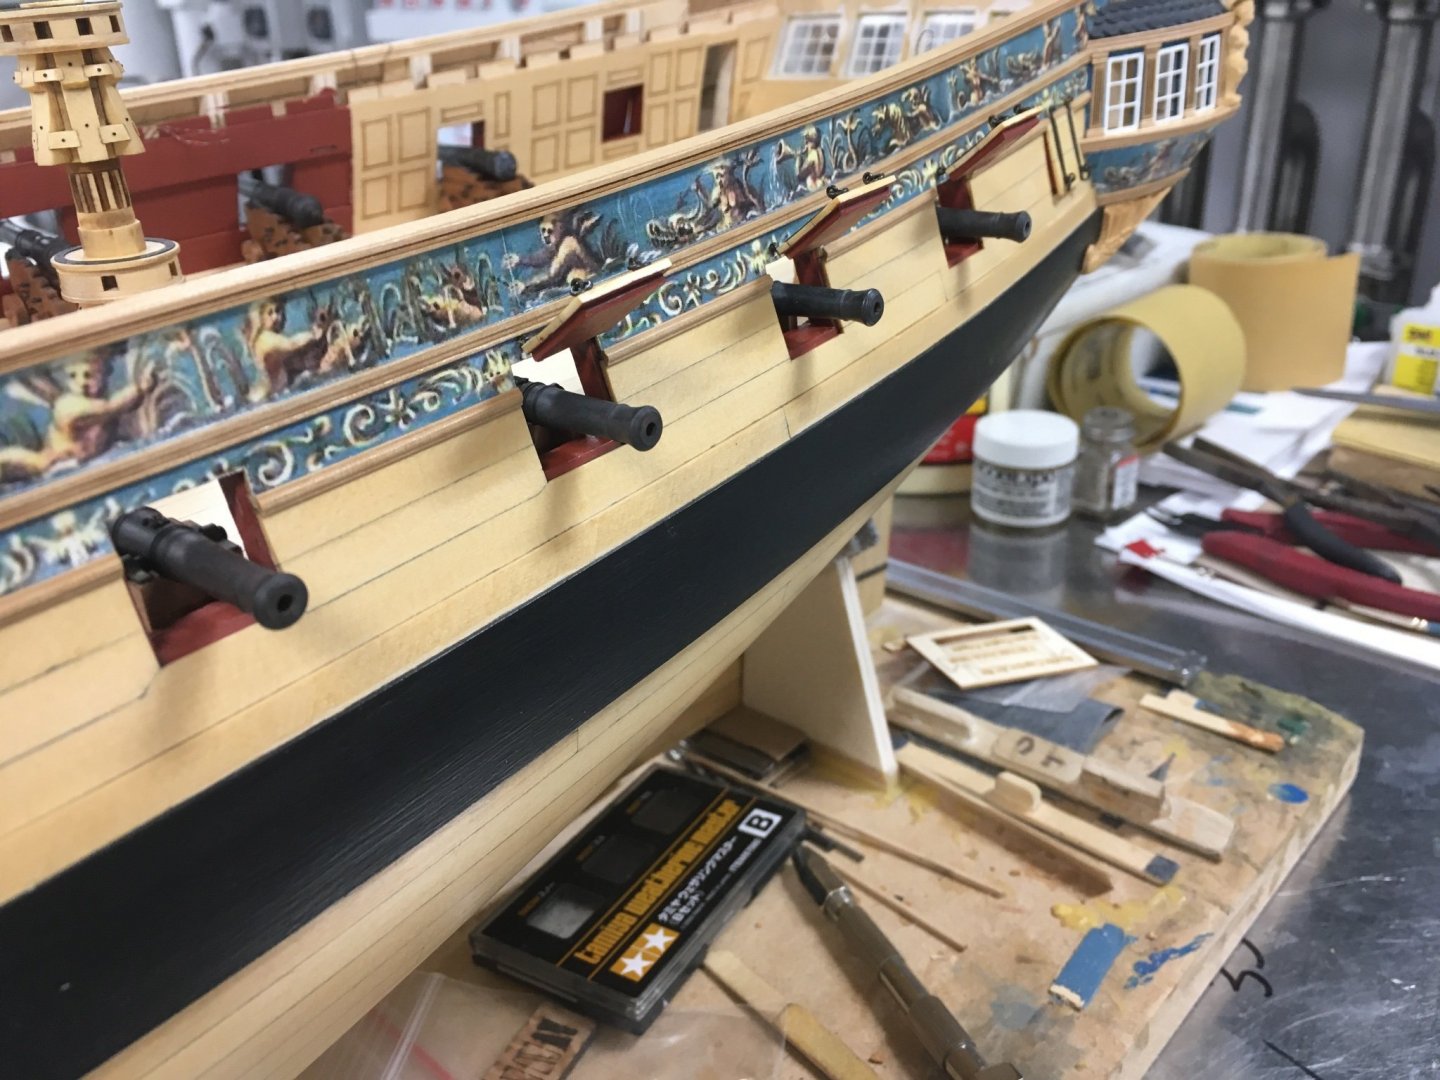
Been plugging away at guns, hinges and metal work. Still a long way to go but it’s starting to shape up. Need to add more details to the carriages as well as tackle. I Also got the capstan sitting temporarily, may take a crack at the cherry one and see how it looks but I like the way the AYC one looks so far. JJ