scrubbyj427
-
Posts
1,733 -
Joined
-
Last visited
Content Type
Profiles
Forums
Gallery
Events
Everything posted by scrubbyj427
-
Wow that looks very promising. I think I’ve seen this before somewhere. May have to take a crack at it.
-
 I’ve been chewing my nails in anticipation for the last four hours, Chuck... what’s the secret?
- 1,784 replies
-
- 1
-

-
- winchelsea
- Syren Ship Model Company
- (and 1 more)
-
I think you could go any direction with this. You would really have to start adding tons of crap to spoil this model. I think Amazon looks great and not too busy. But I wouldn’t go past that point. Maybe settle somewhere between Amazon and Winnie contemporary.
- 1,784 replies
-
- 2
-
-
- winchelsea
- Syren Ship Model Company
- (and 1 more)
-
Remarkable work Chuck! What an incredible project the Winnie has become!
- 1,784 replies
-
- 1
-
-
- winchelsea
- Syren Ship Model Company
- (and 1 more)
-
Beautiful work Marsalv! Your work continues to inspire.
- 589 replies
-
- 1
-
-
- le gros ventre
- cargo
- (and 1 more)
-
Glenn your planking looks great! Very impressive work. I never thought I’d say it but I’m looking forward to my next model to up my planking game to your level.
- 840 replies
-
- 3
-
-
- winchelsea
- Syren Ship Model Company
- (and 1 more)
-
I’ll try the resin ones then, I’m just worried I won’t be able to match the finish of my other guns. But I’m also a long ways off from these little swivels.
-
Those look great Chuck, but I’m assuming they won’t be available in turned brass?
-
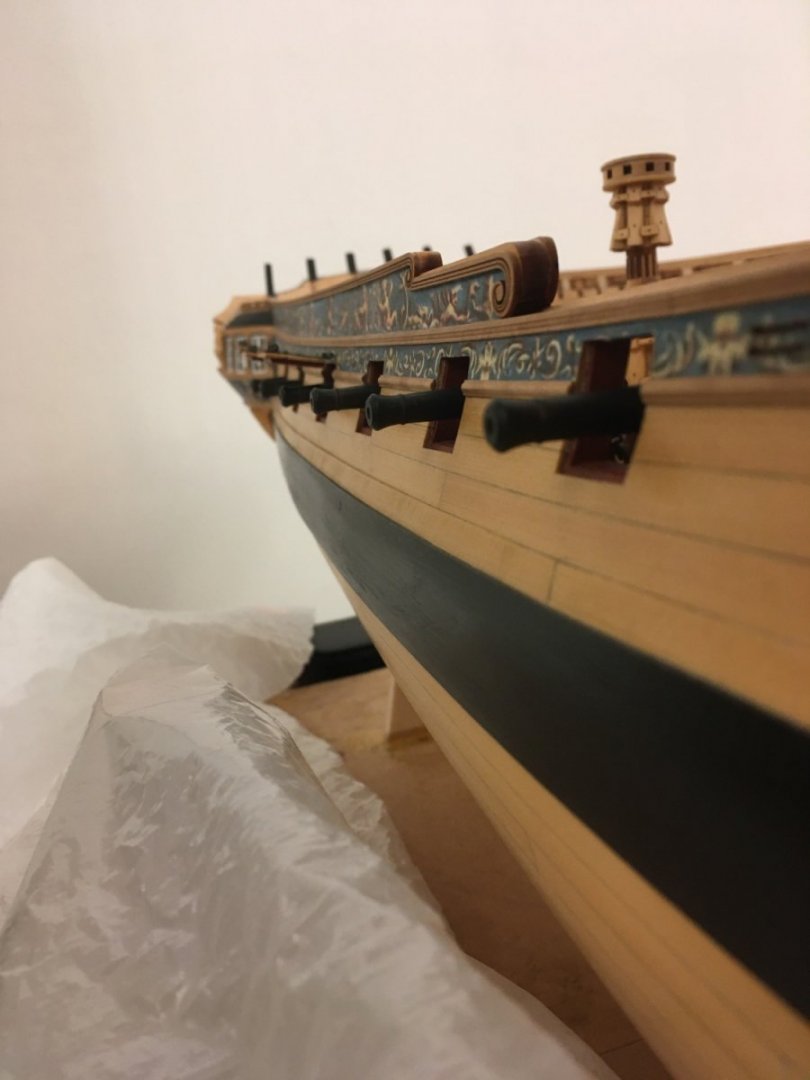
I think the head rails are going to be the icing on the cake at this point. Very excited to see this part develop.
- 1,784 replies
-
- 1
-
-
- winchelsea
- Syren Ship Model Company
- (and 1 more)
-
Don’t worry Glenn... I’ll still probably be rigging guns by the time you get to this point.😁
- 1,784 replies
-
- 2
-

-
-
- winchelsea
- Syren Ship Model Company
- (and 1 more)
-
Wonderful work Chuck! This just looks awesome!
- 1,784 replies
-
- 1
-
-
- winchelsea
- Syren Ship Model Company
- (and 1 more)
-
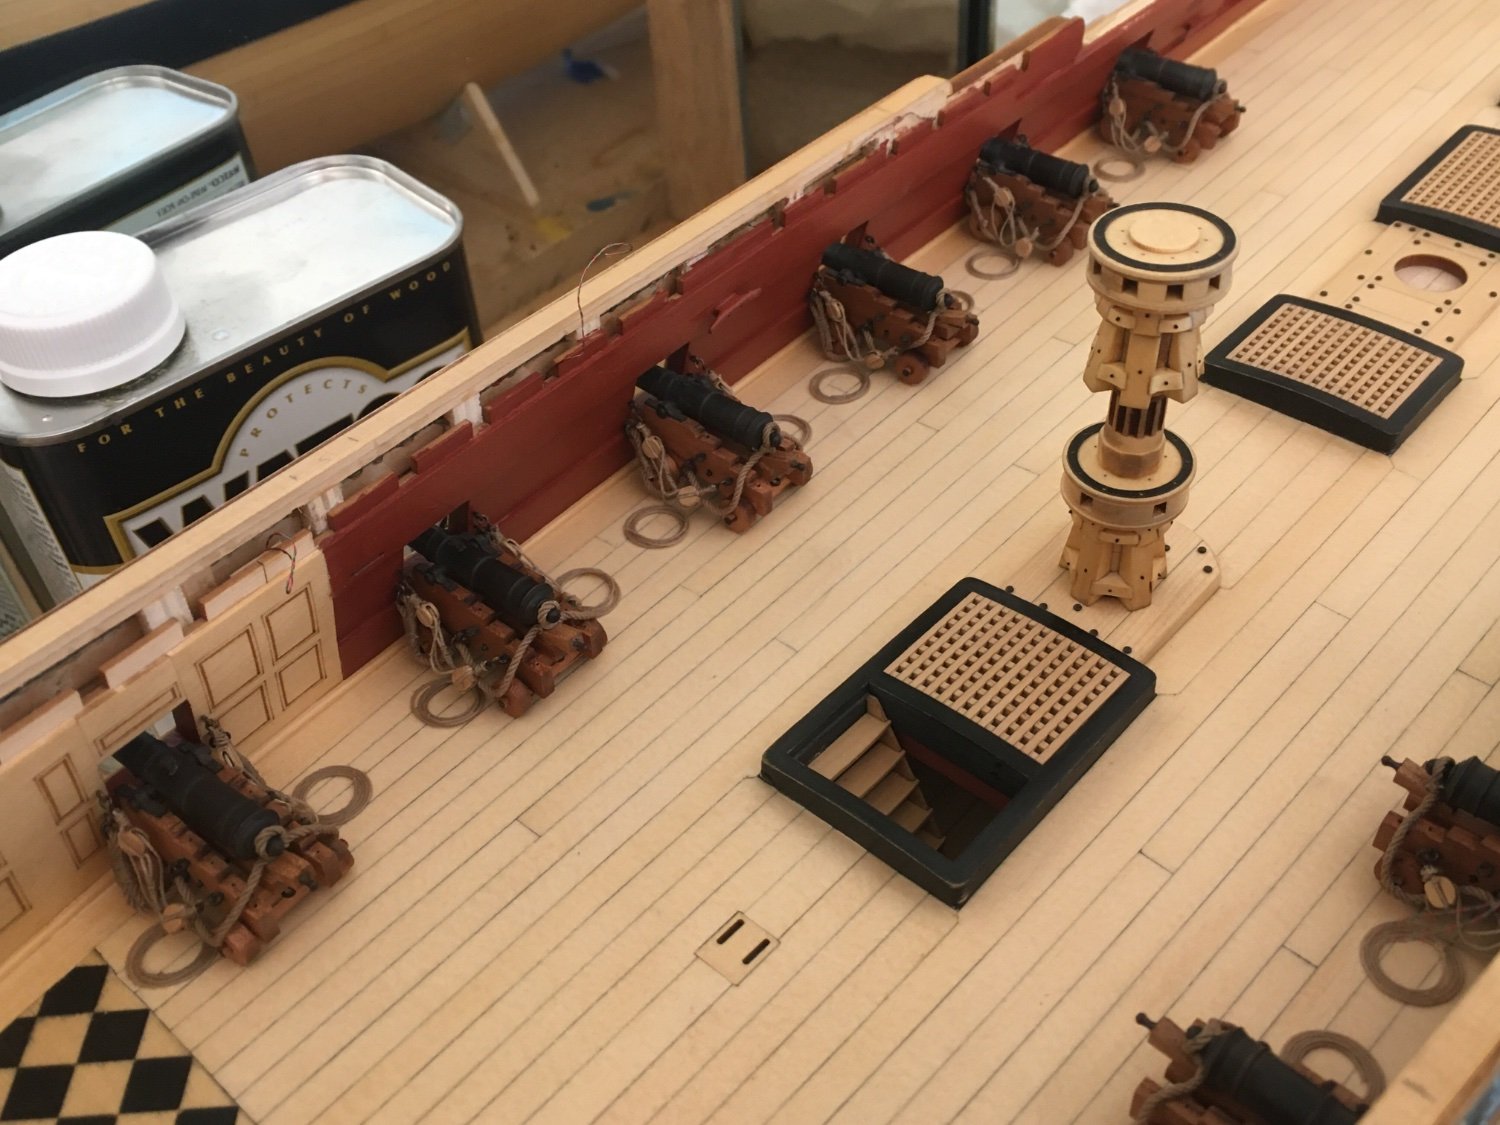
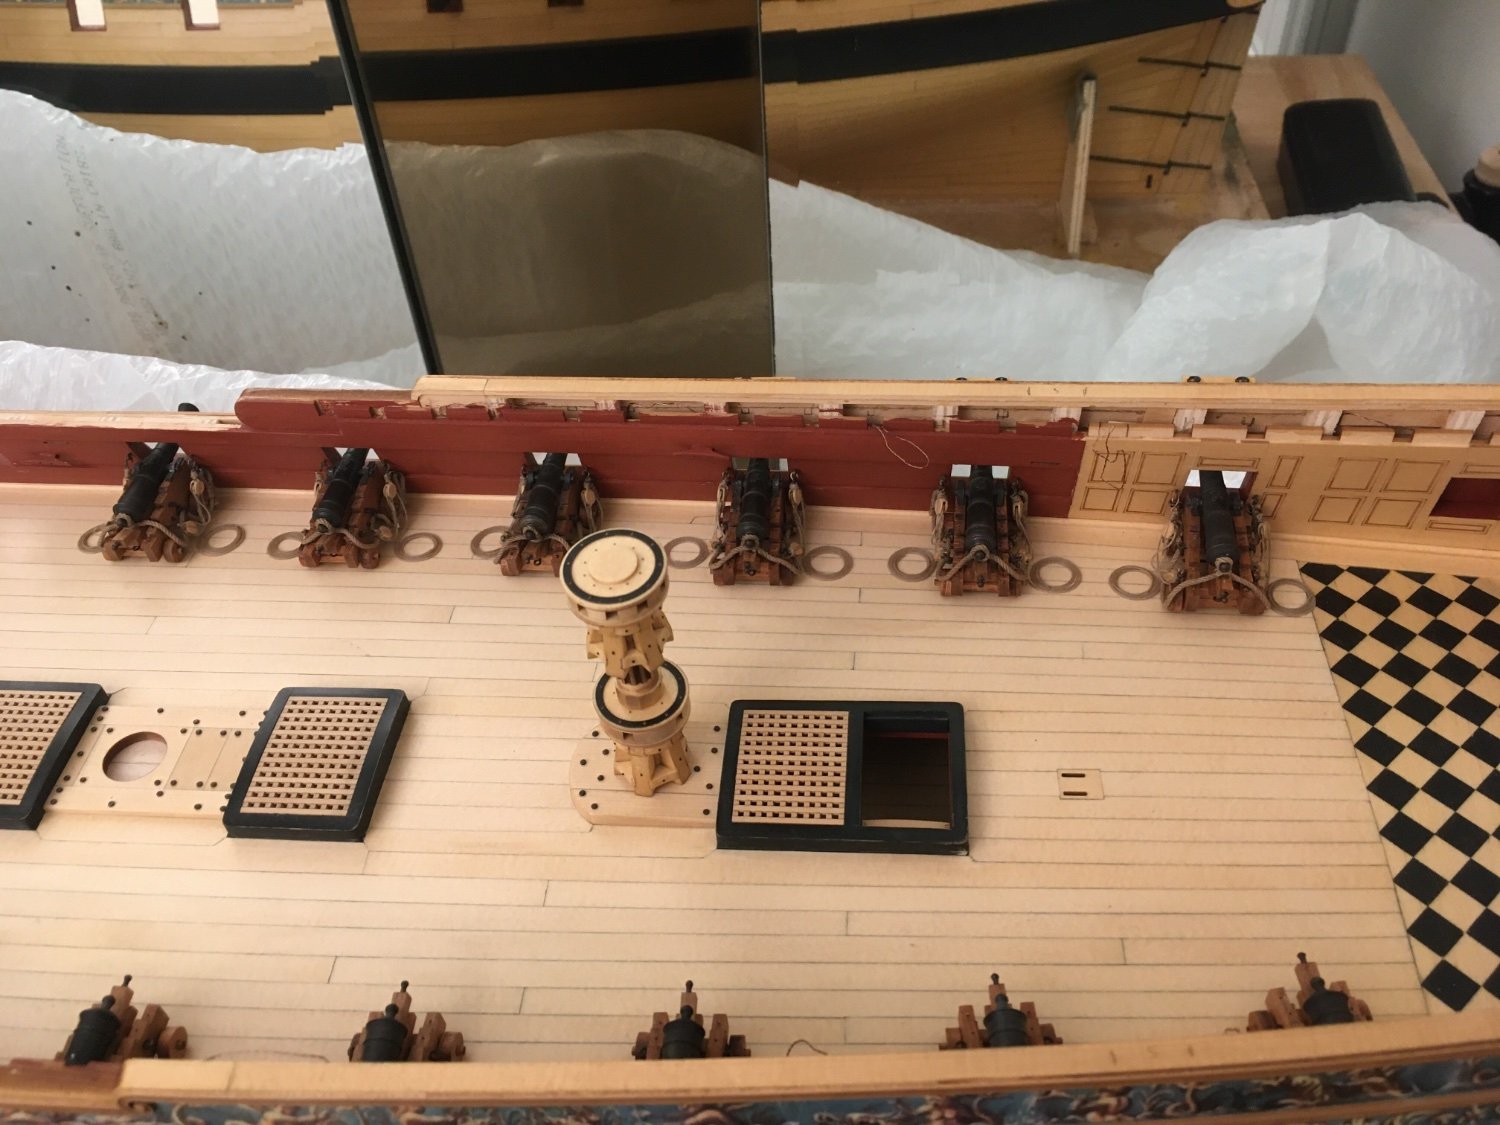
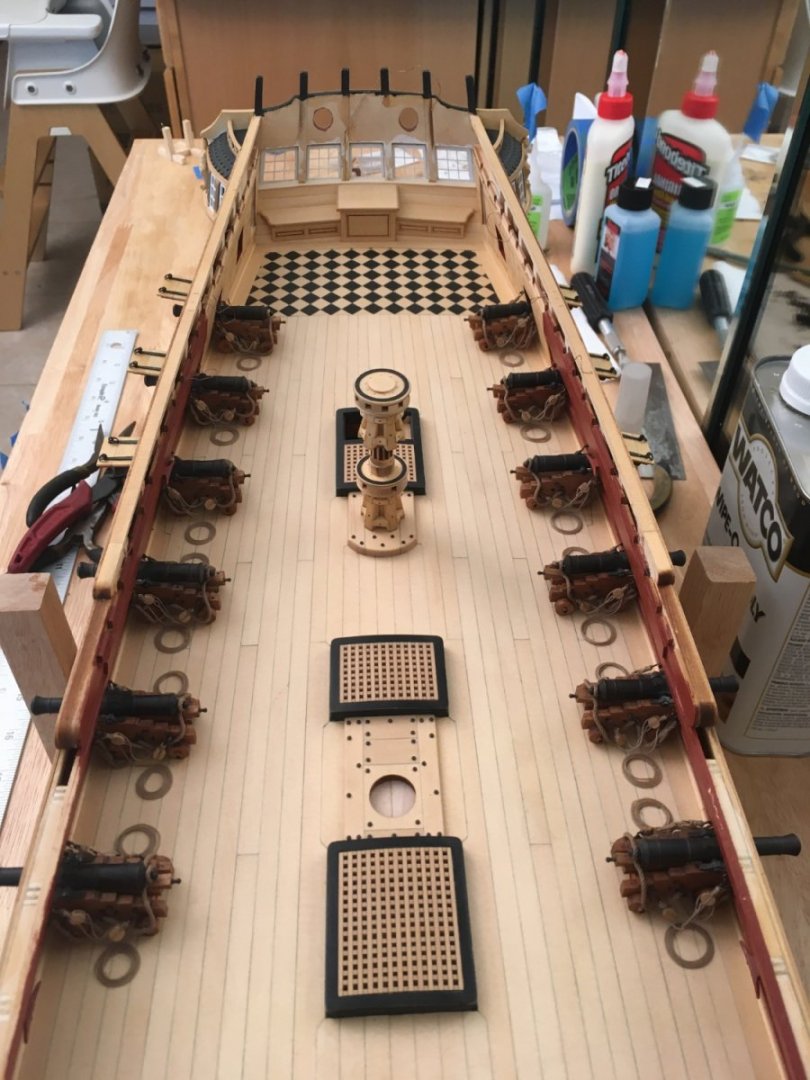
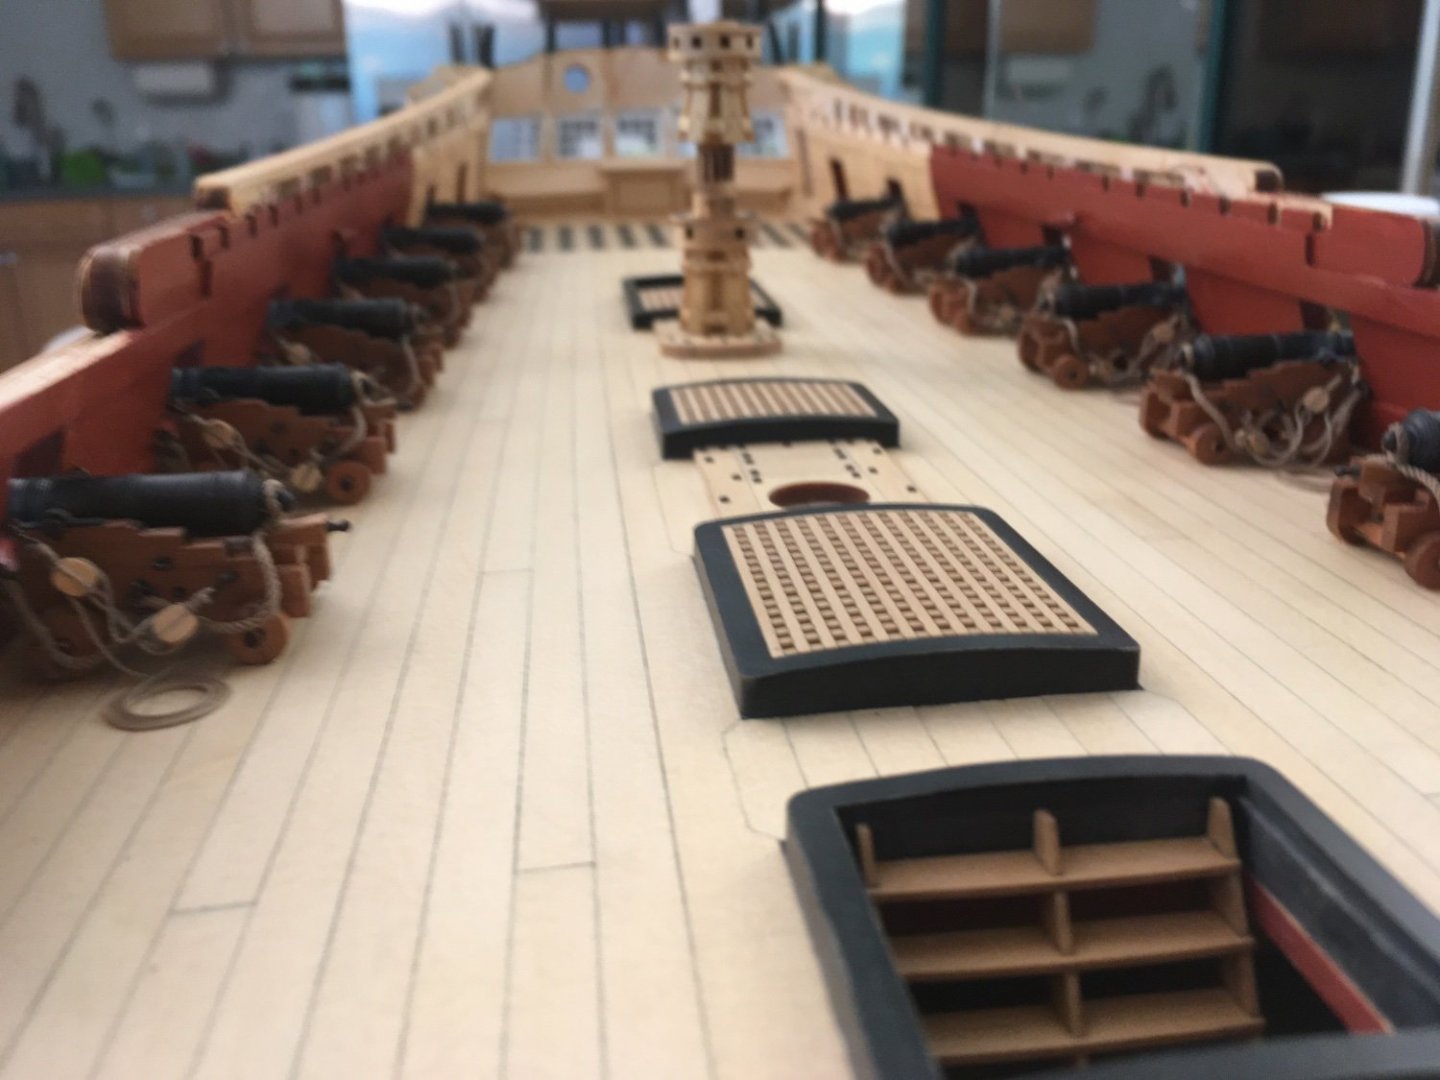
Thanks Guys. So far I’m happy with the results. Once you get in a rhythm with them, they aren’t bad. The next time around I need to make 12 carriages and rig them all, so much larger task. I had made these carriages months ago.
-
And finally 12! Easter brought the gift of time to rig guns! So now I will begin chapter 7 and then continue with the rest of the guns when I finish. Looking forward to getting some beams in place and completing my lantern project. JJ

-
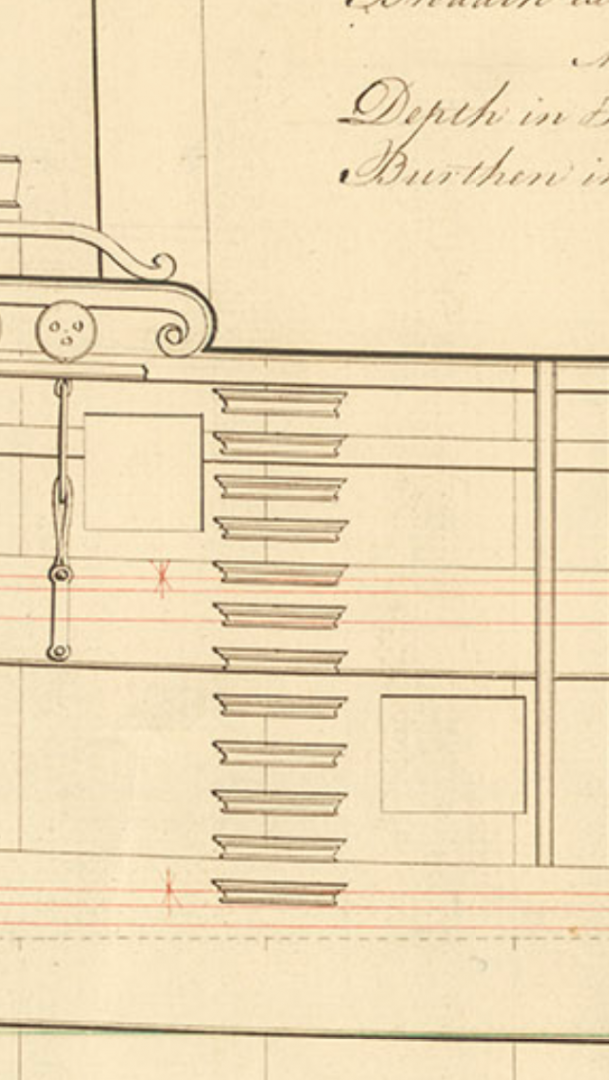
Looks like you could run both ways with it. But I agree with you, perhaps the modeler didn’t want to cut a nice run of moulding. And since it’s not actually functional I think aesthetics take priority. Also the molding and the steps seem to have similar profiles. I checked my drafts for Portland class and it shows the same thing.
- 1,784 replies
-
- 6
-
-
- winchelsea
- Syren Ship Model Company
- (and 1 more)
-
That looks really good, I think the dye is a much better way to go than black paint. I will definitely be using that next time.
-
Those look really good. Often represented just as a slab of wood just glued on the side. I’m curious to see how the steps unfold.
- 1,784 replies
-
- 1
-
-
- winchelsea
- Syren Ship Model Company
- (and 1 more)
-
Excellent work Ben! Everything looks great!
- 399 replies
-
- 1
-
-
- winchelsea
- Syren Ship Model Company
- (and 1 more)
-
Your figurehead looks excellent Marsalv! In your cnc did you have to carve one side at a time and flip the figure over each time or did the machine cut at all angles in one pass? JJ
- 589 replies
-
- 3
-
-
- le gros ventre
- cargo
- (and 1 more)
-
HMS Granado 1742 Kit - CAF Model - 1:48 Scale
scrubbyj427 replied to cafmodel's topic in Wood ship model kits
Granado Looks very good Tom, well done on splitting the hull. -
Lookin good! Crew really bring it to life!
-
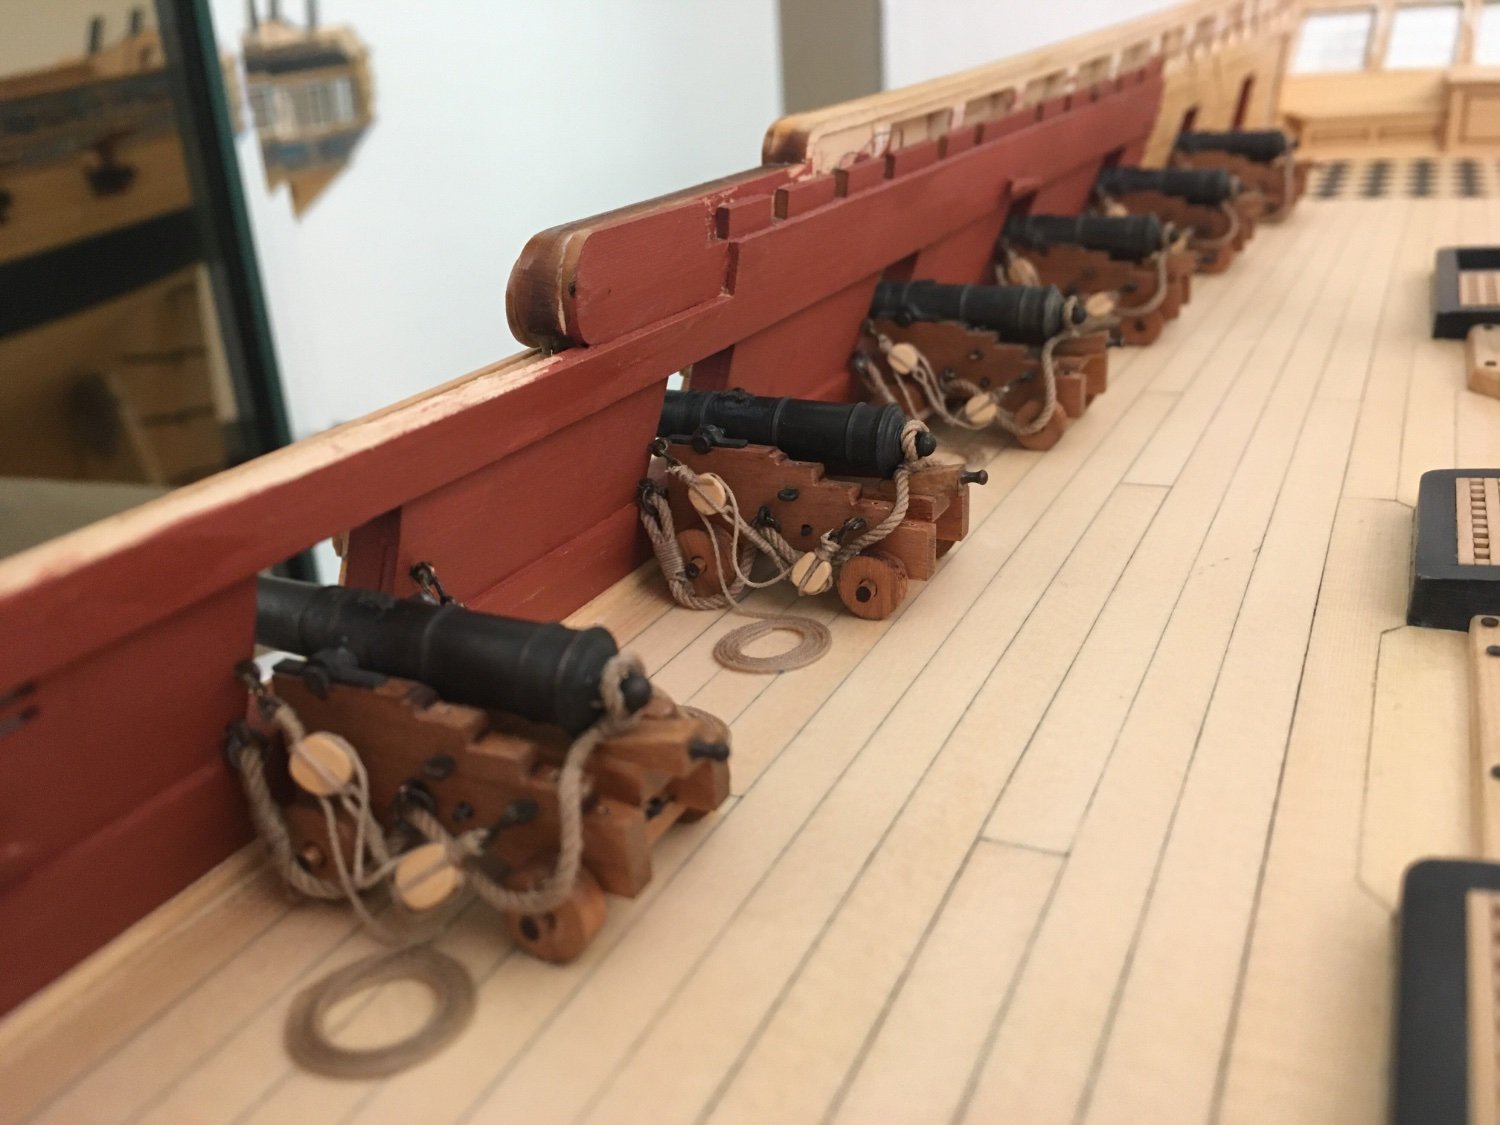
And then there was six of them.... 30 something more to go!! as soon as I get six completed on the port side I plan to take a gun break and start my long awaited chapter 7 and also pick up and finish my lighting project, now that I can hang the individual lanterns.


-
Hi Jack, any updates on Cumberland?