HOLIDAY DONATION DRIVE - SUPPORT MSW - DO YOUR PART TO KEEP THIS GREAT FORUM GOING! (Only 13 donations so far - C'mon guys!)
×


Kevin
-
Posts
7,008 -
Joined
-
Last visited
Content Type
Profiles
Forums
Gallery
Events
Everything posted by Kevin
-
 looking very good, shame im unable to find space to get in and watch,, lol to many followers
- 505 replies
-
- 4
-

-
- vanguard models
- Sphinx
- (and 1 more)
-
looking good, enjoy your sills
-
i never regretted my lids shut, i did it because there were not that many around at the time
.thumb.JPG.eda6d63779478faa3f87ba38827fb696.JPG)
-
Thats very nice indeed
-
Lovely work OC im very impressed Hope you are both well
-
Thats very nice thank you for sharing
-
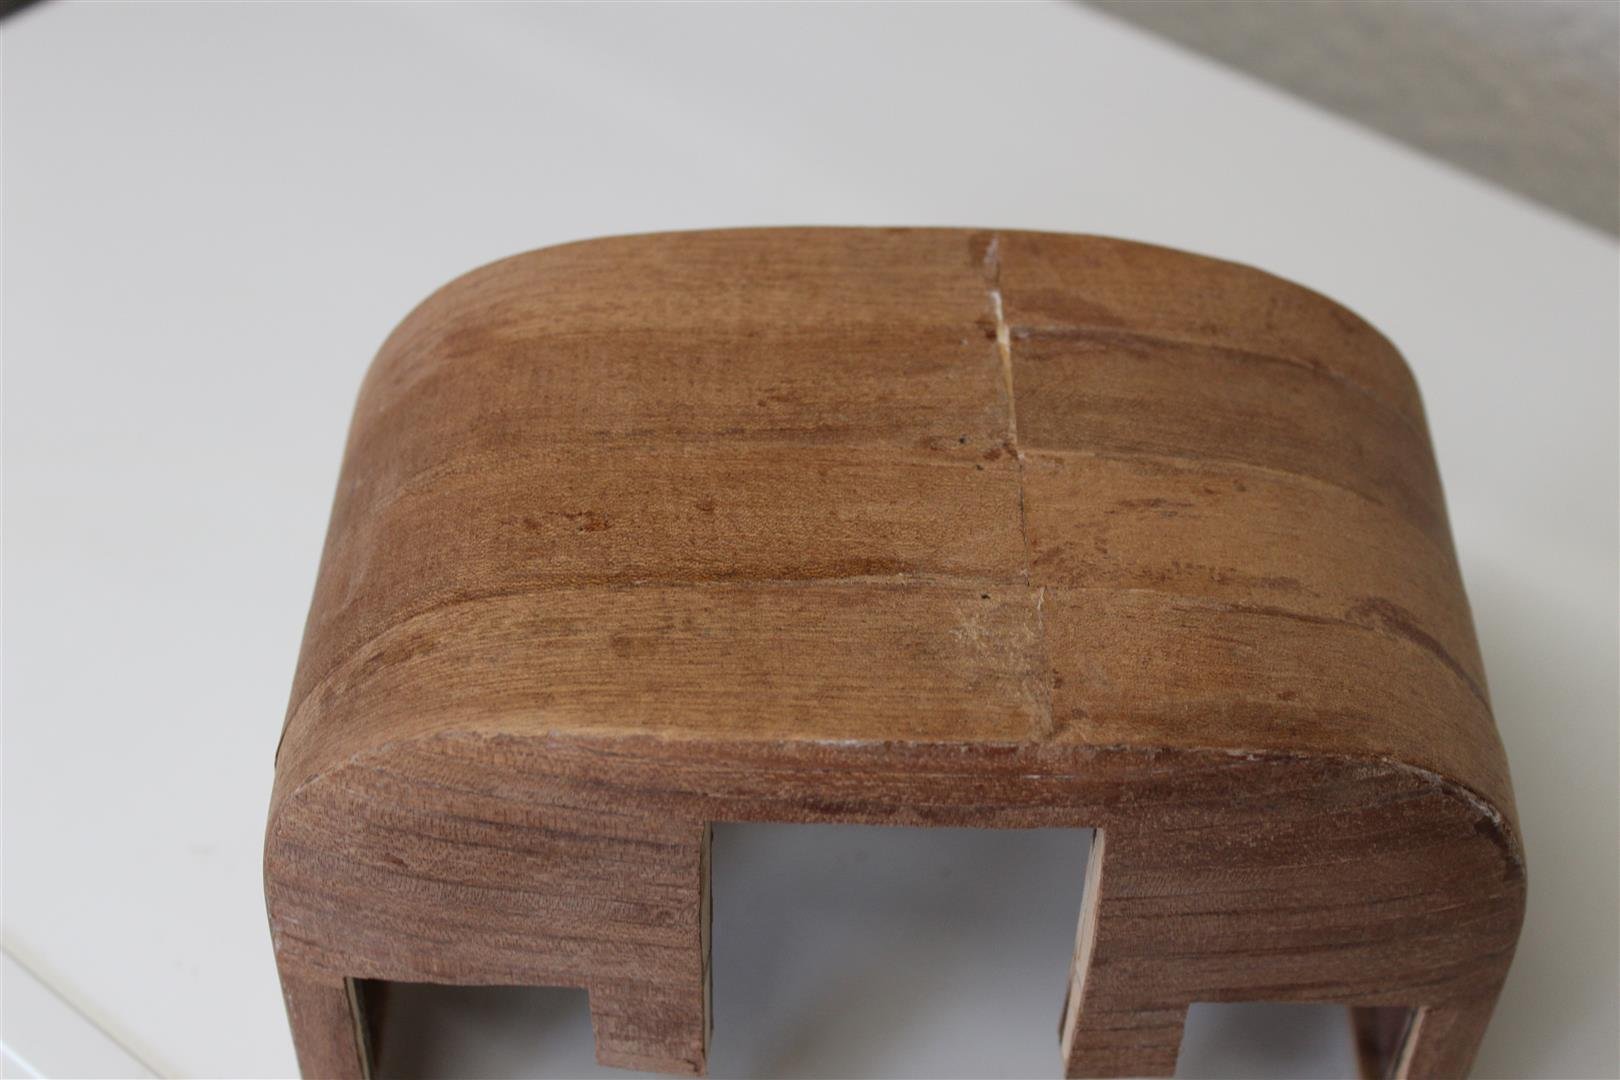
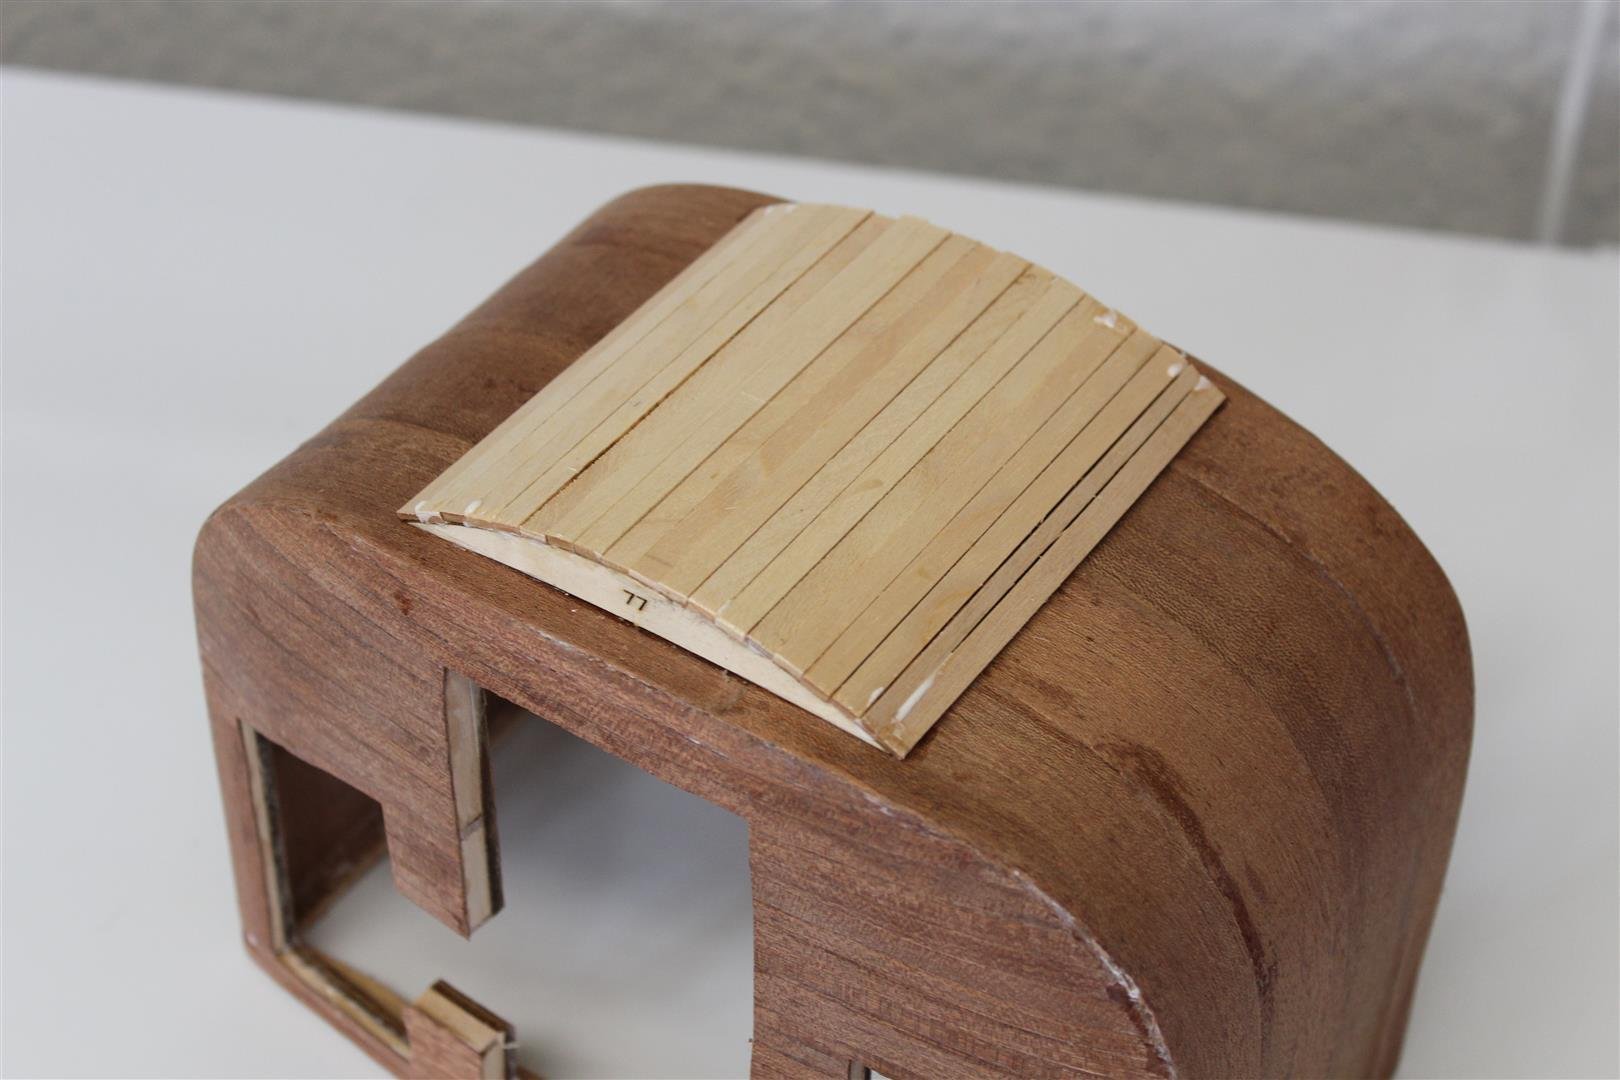
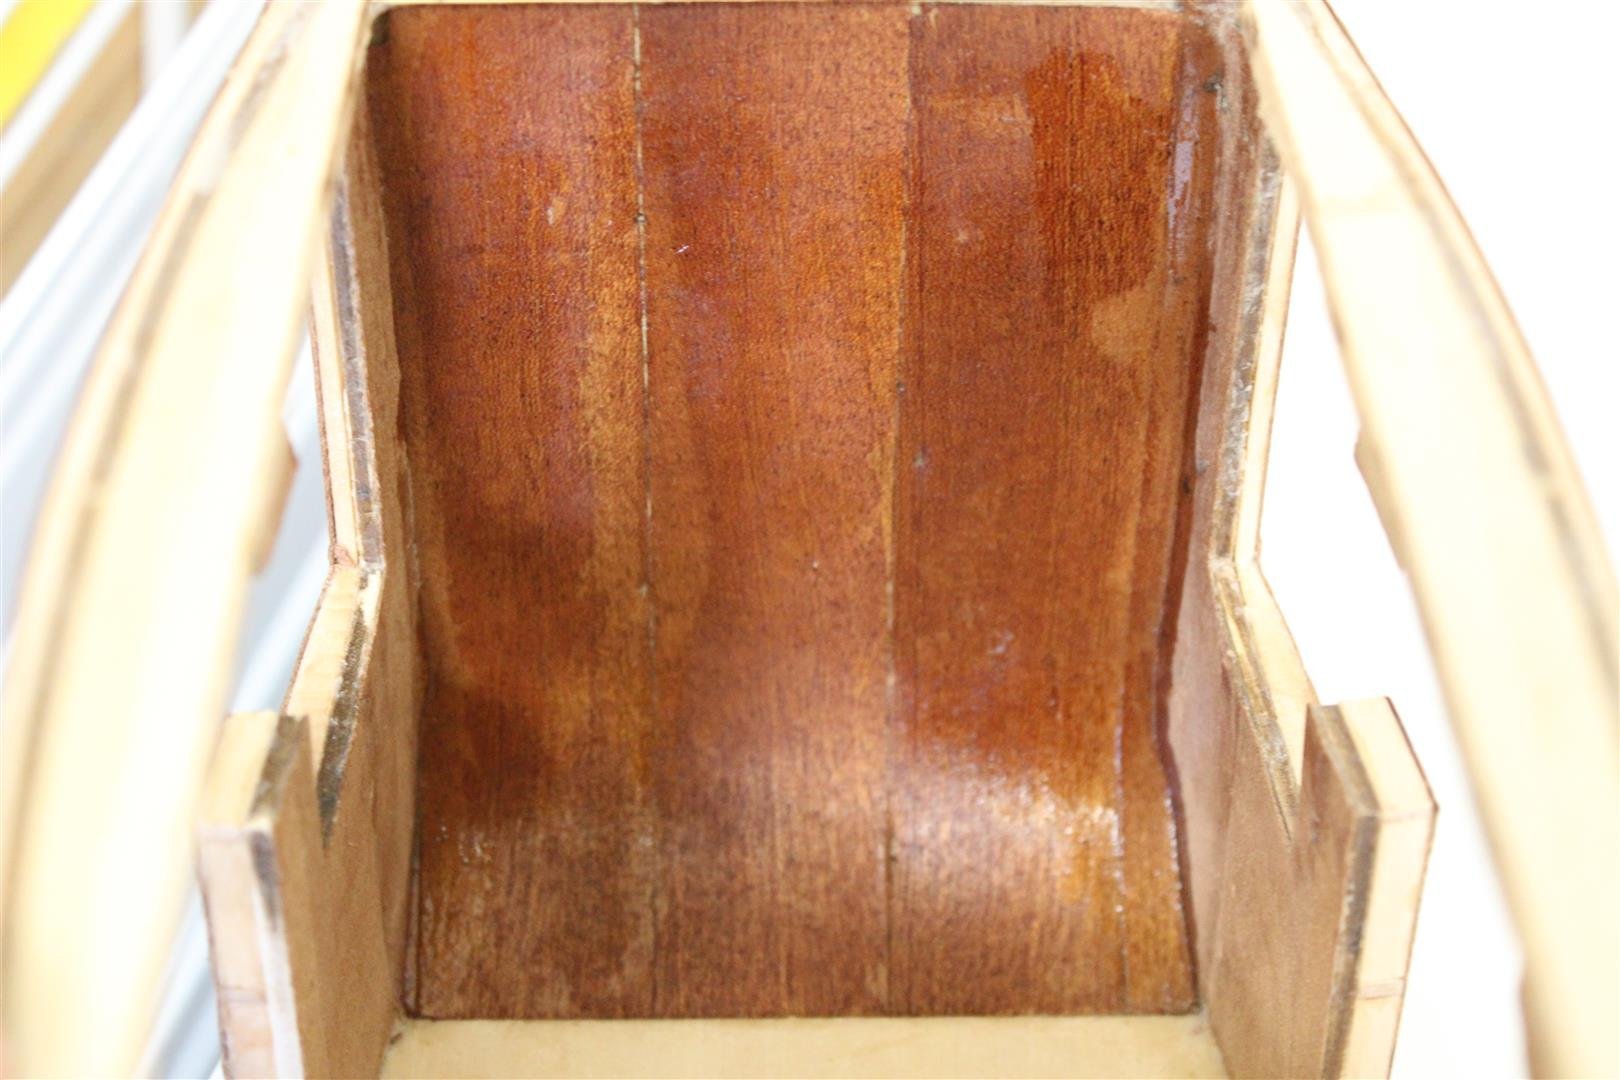
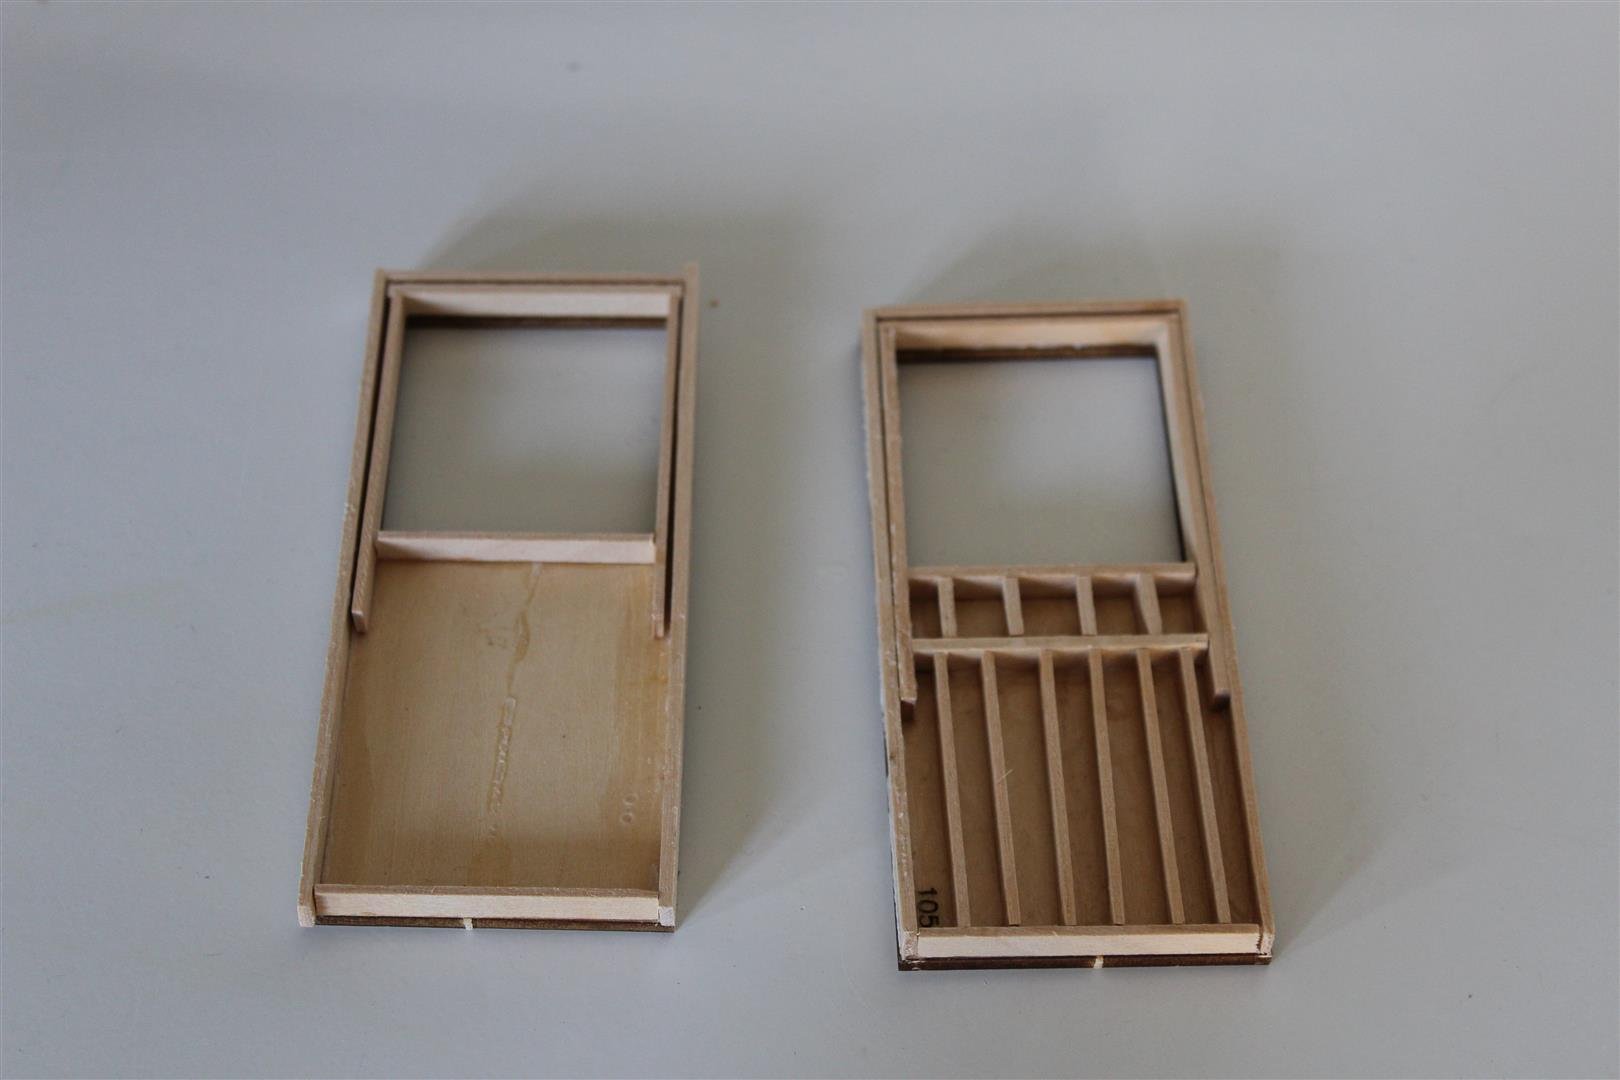
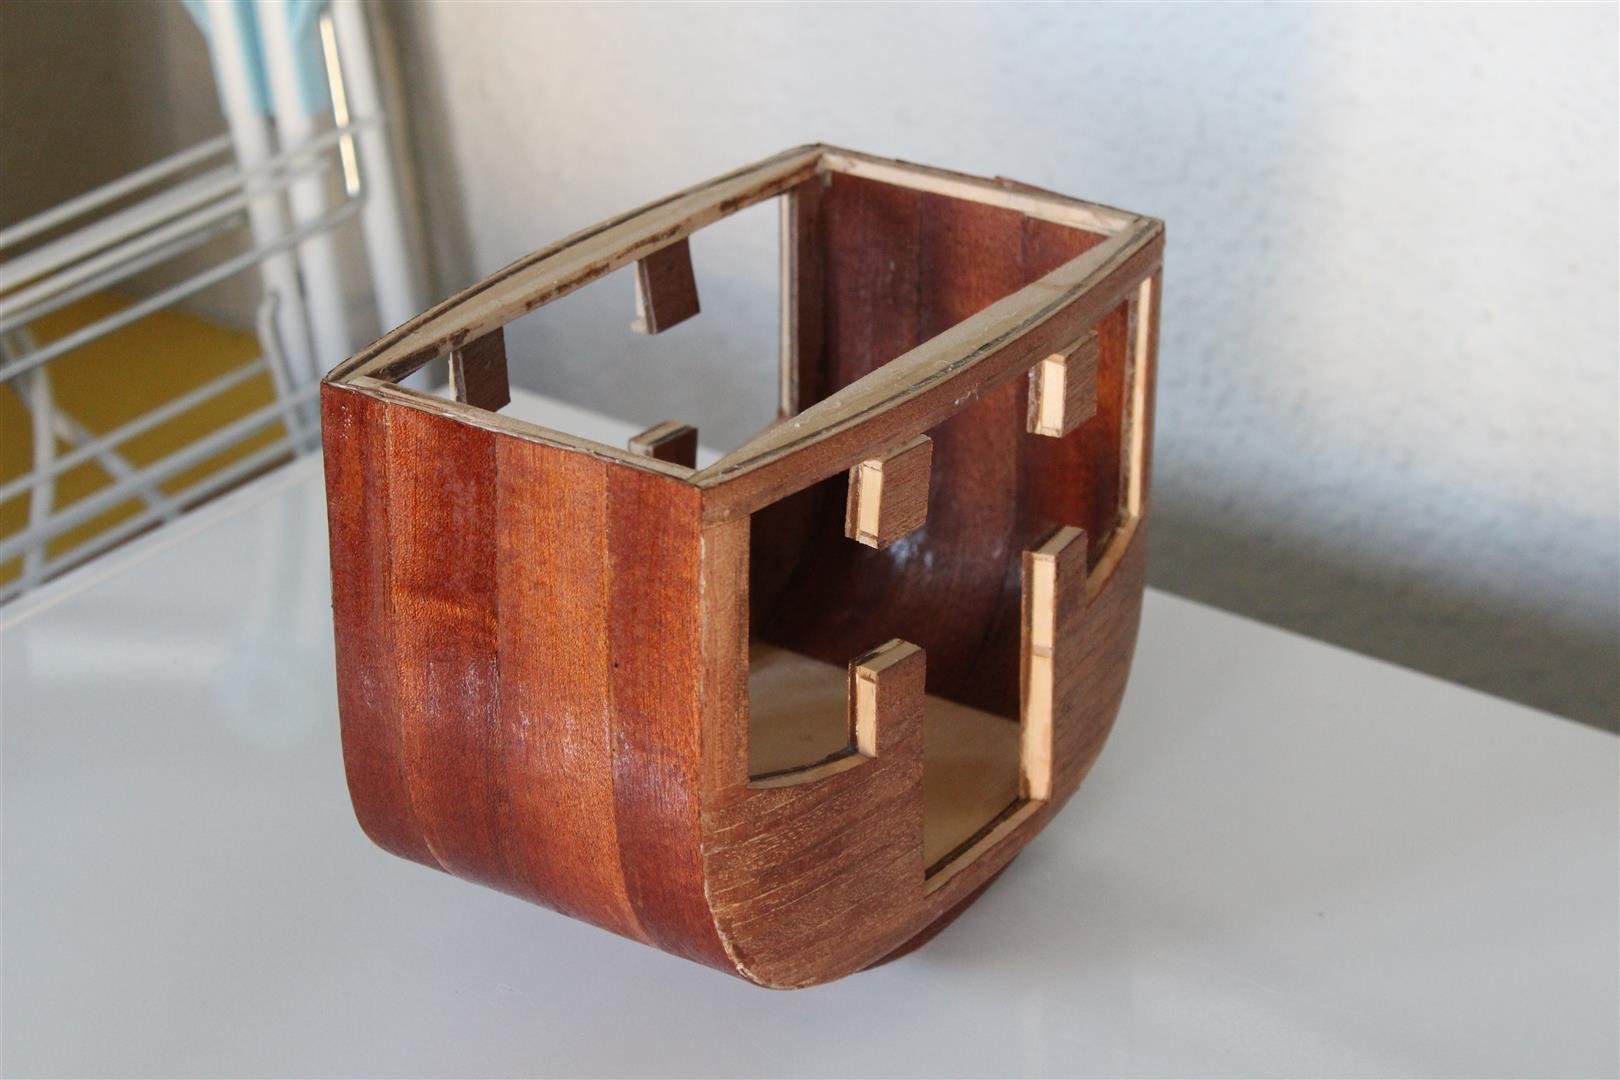
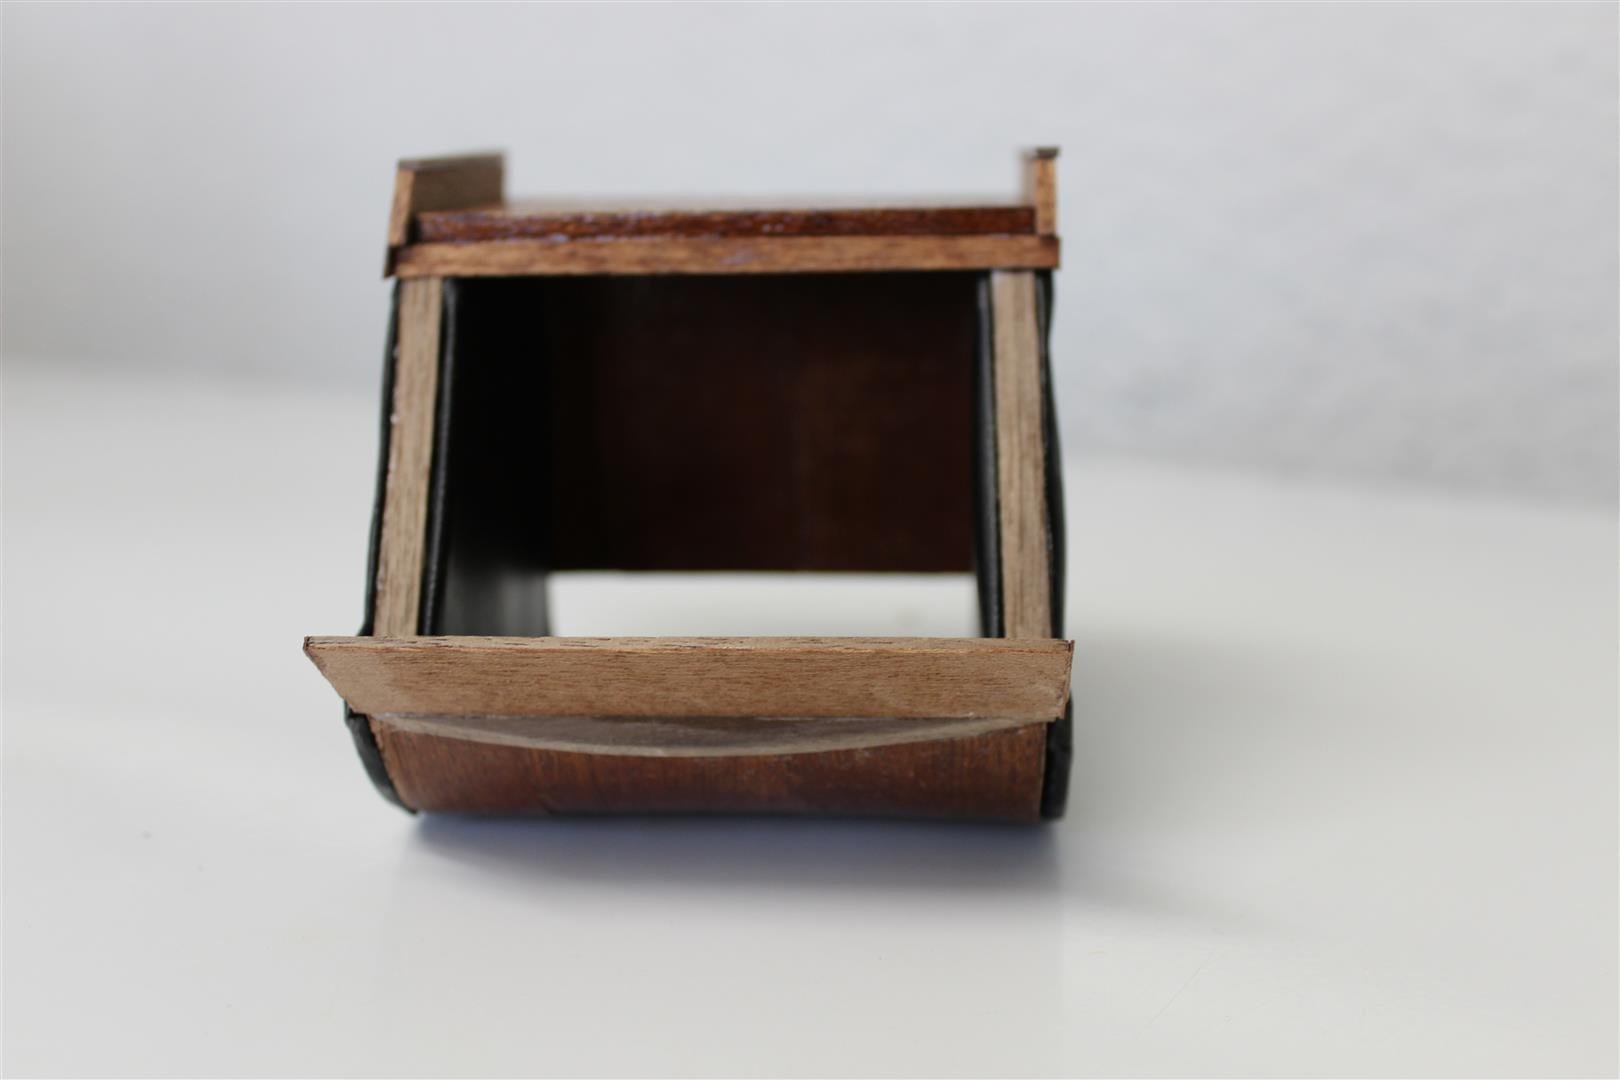
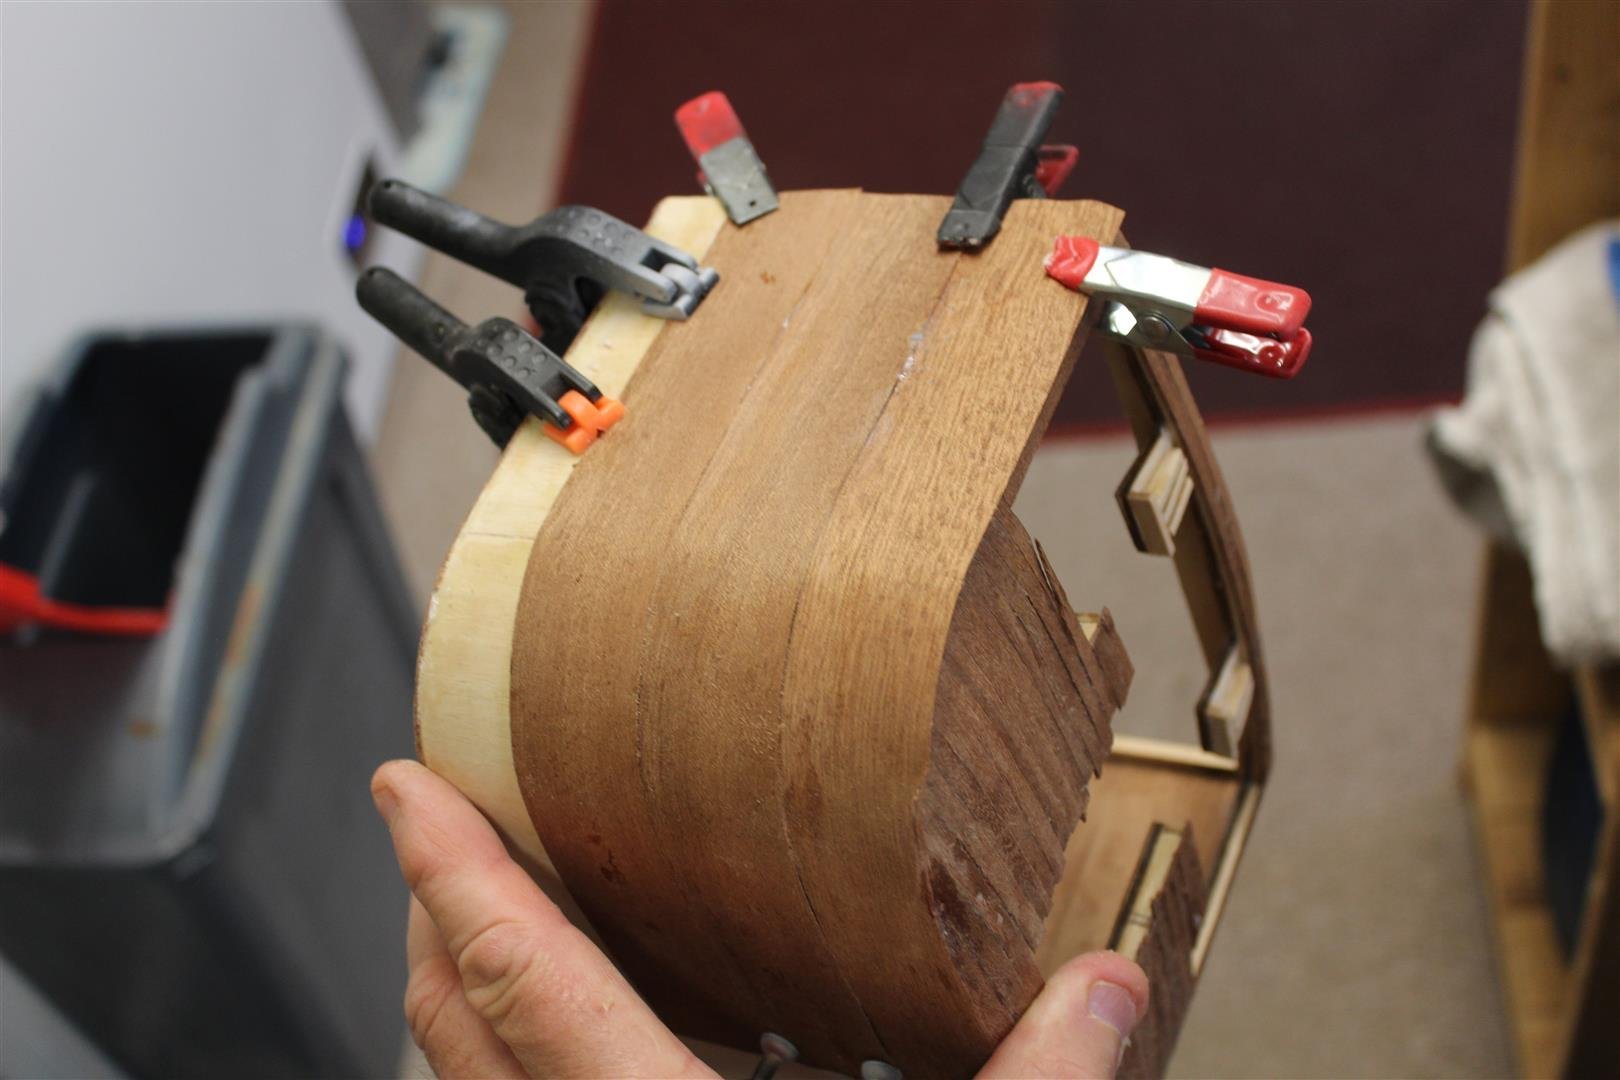
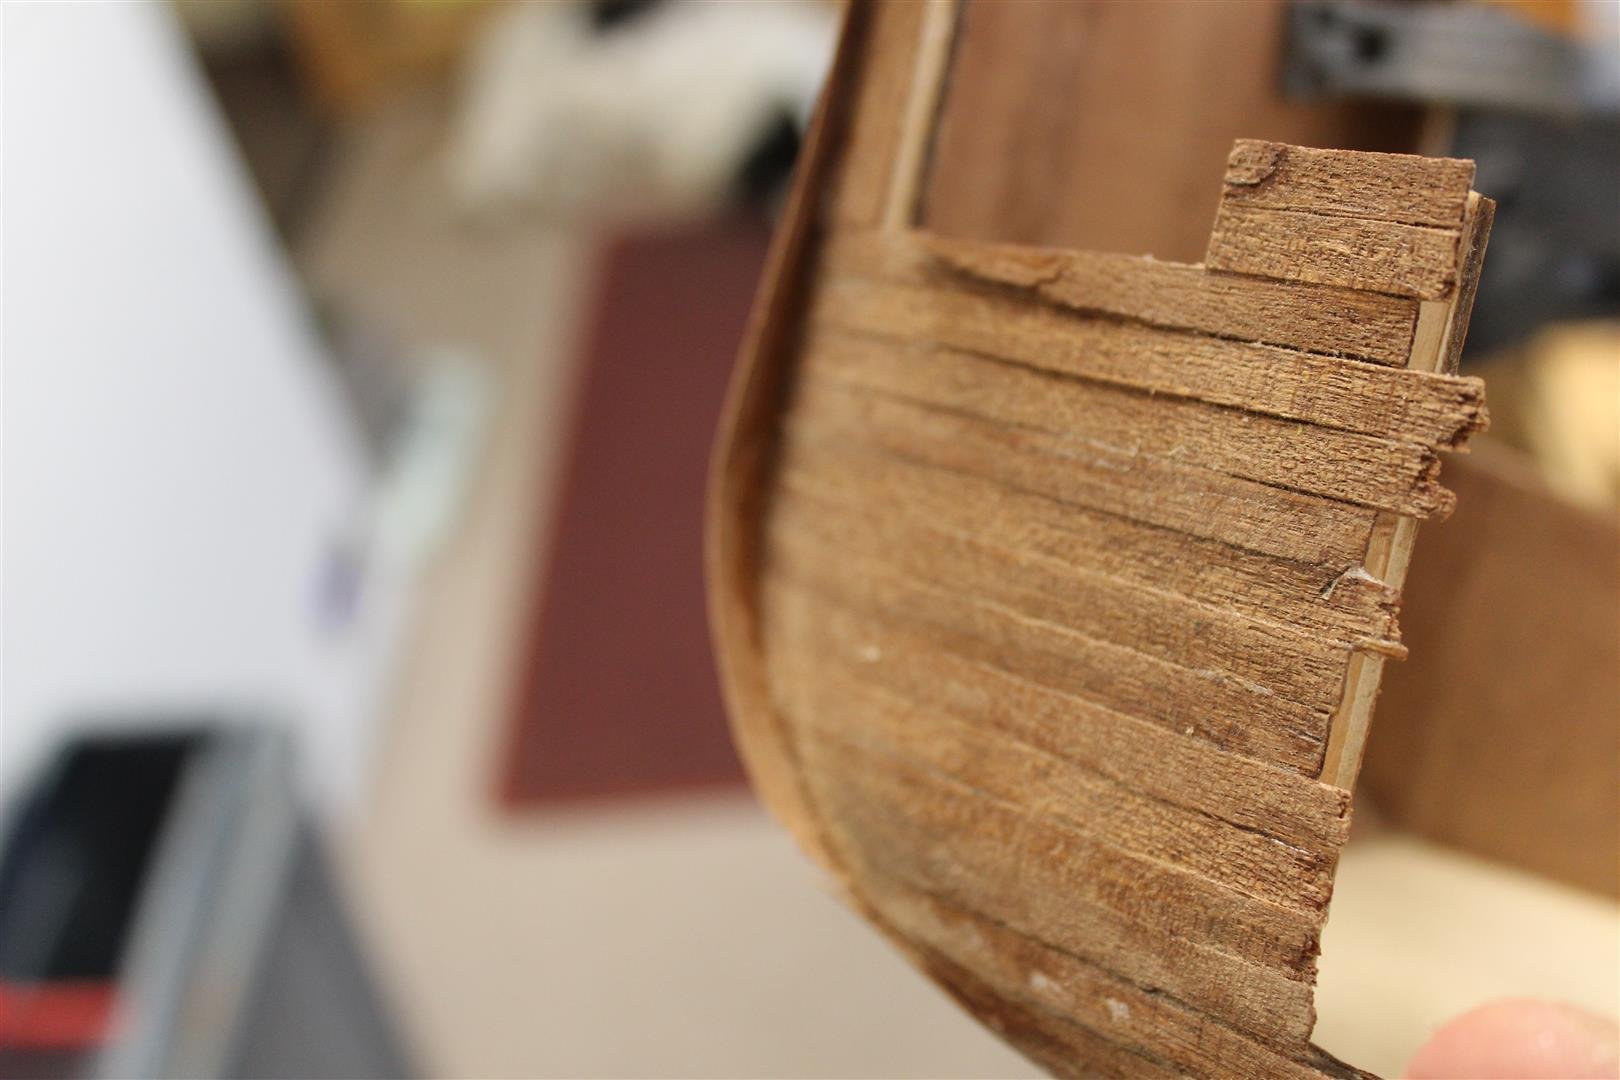
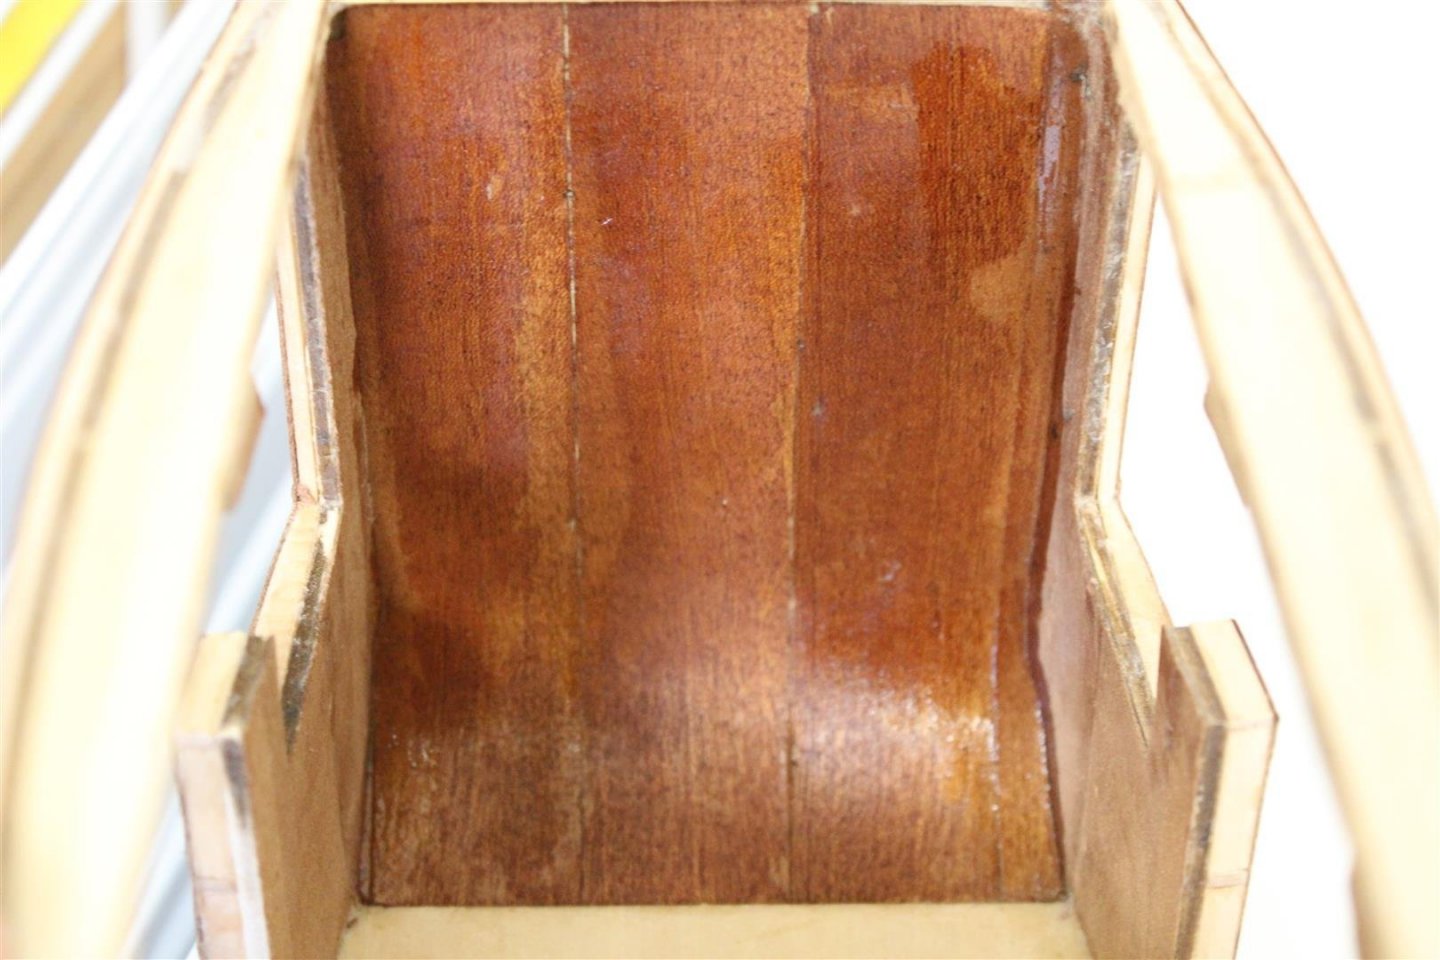
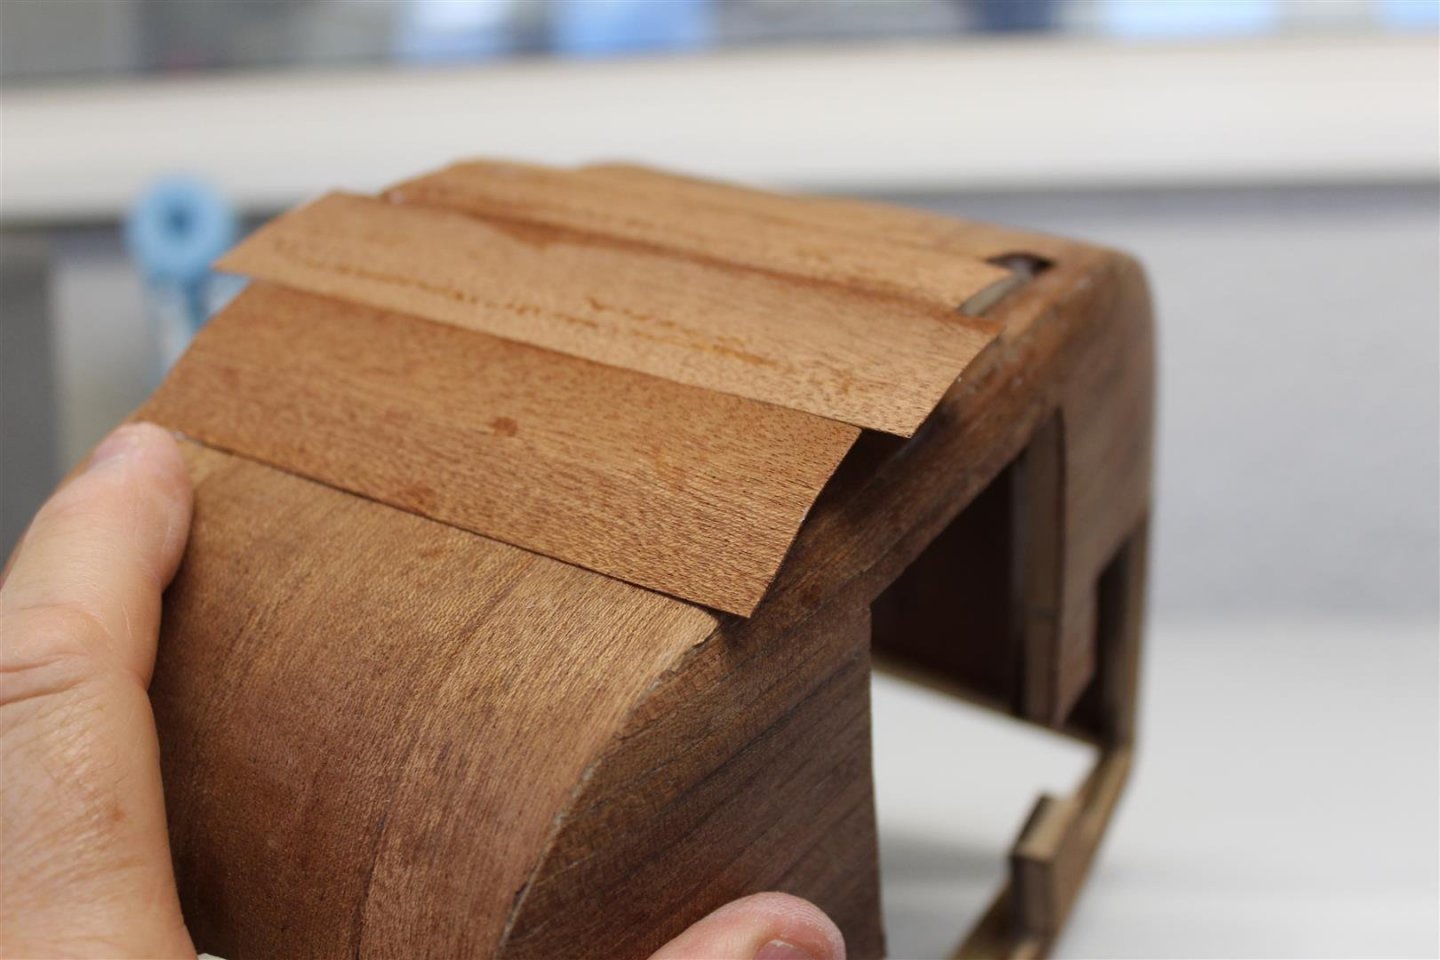
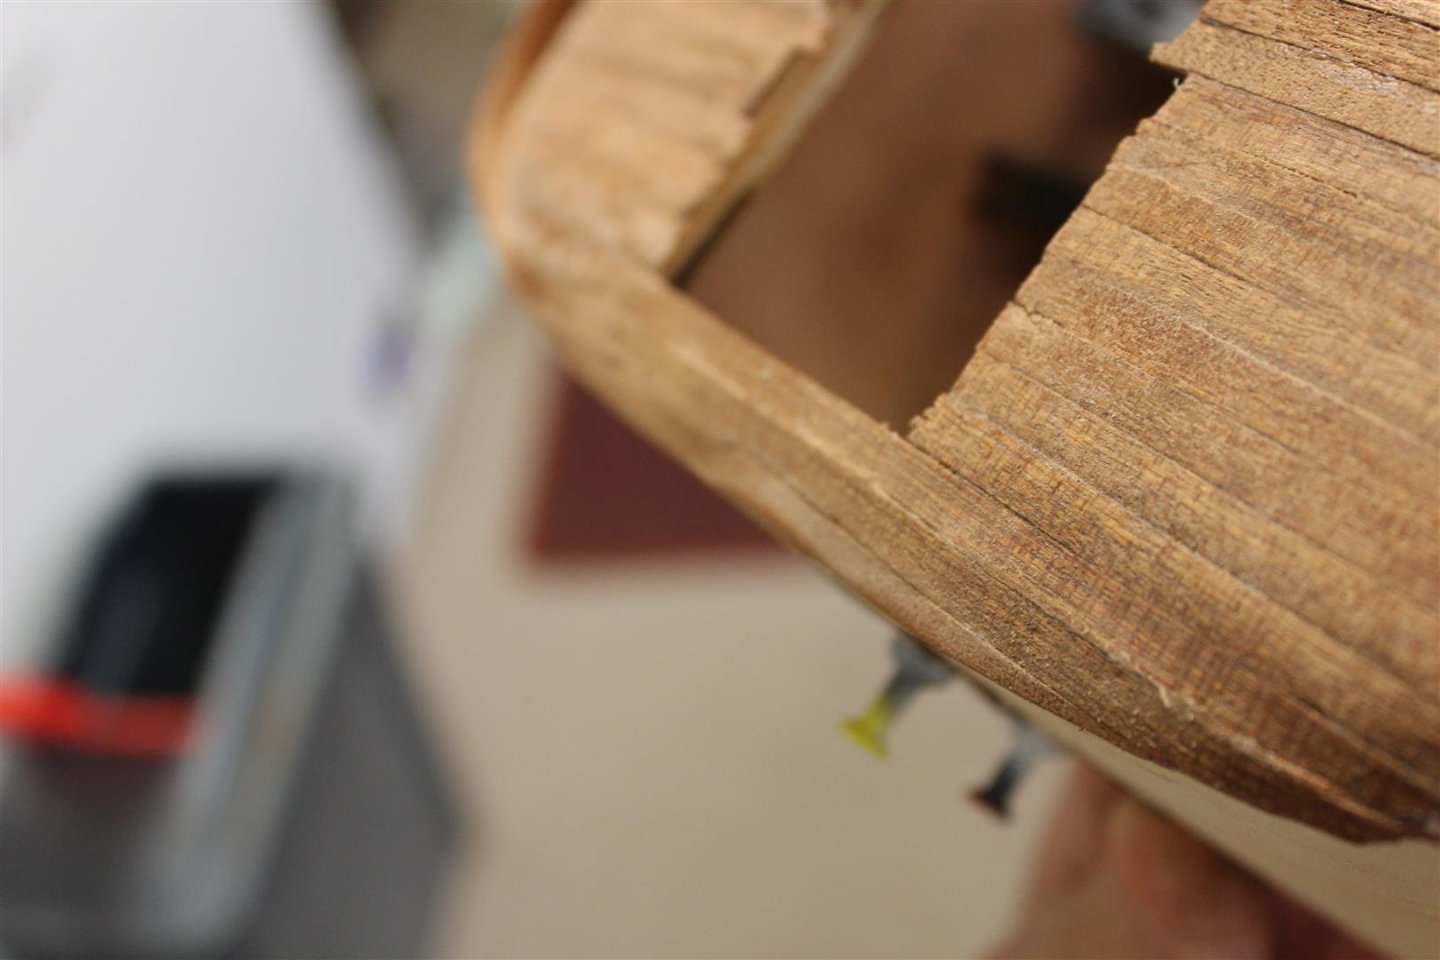
good evening everyone having completed most of the veneer it was time to put the double bottom on, which took place without any issues, most of the carriage has also been pretty well sanded to a nice finish, lol by my standards so a diluted gloss varnish has been added to the ends and under, as well as the end walls internally, this is then going to give me a base to put all the coach work on top ( the fiddly bits) (NOT MY PHOTO) i have also started the doors, also made up the same as the body, so some sanding will be required to match it


- 150 replies
-
- 15
-
-
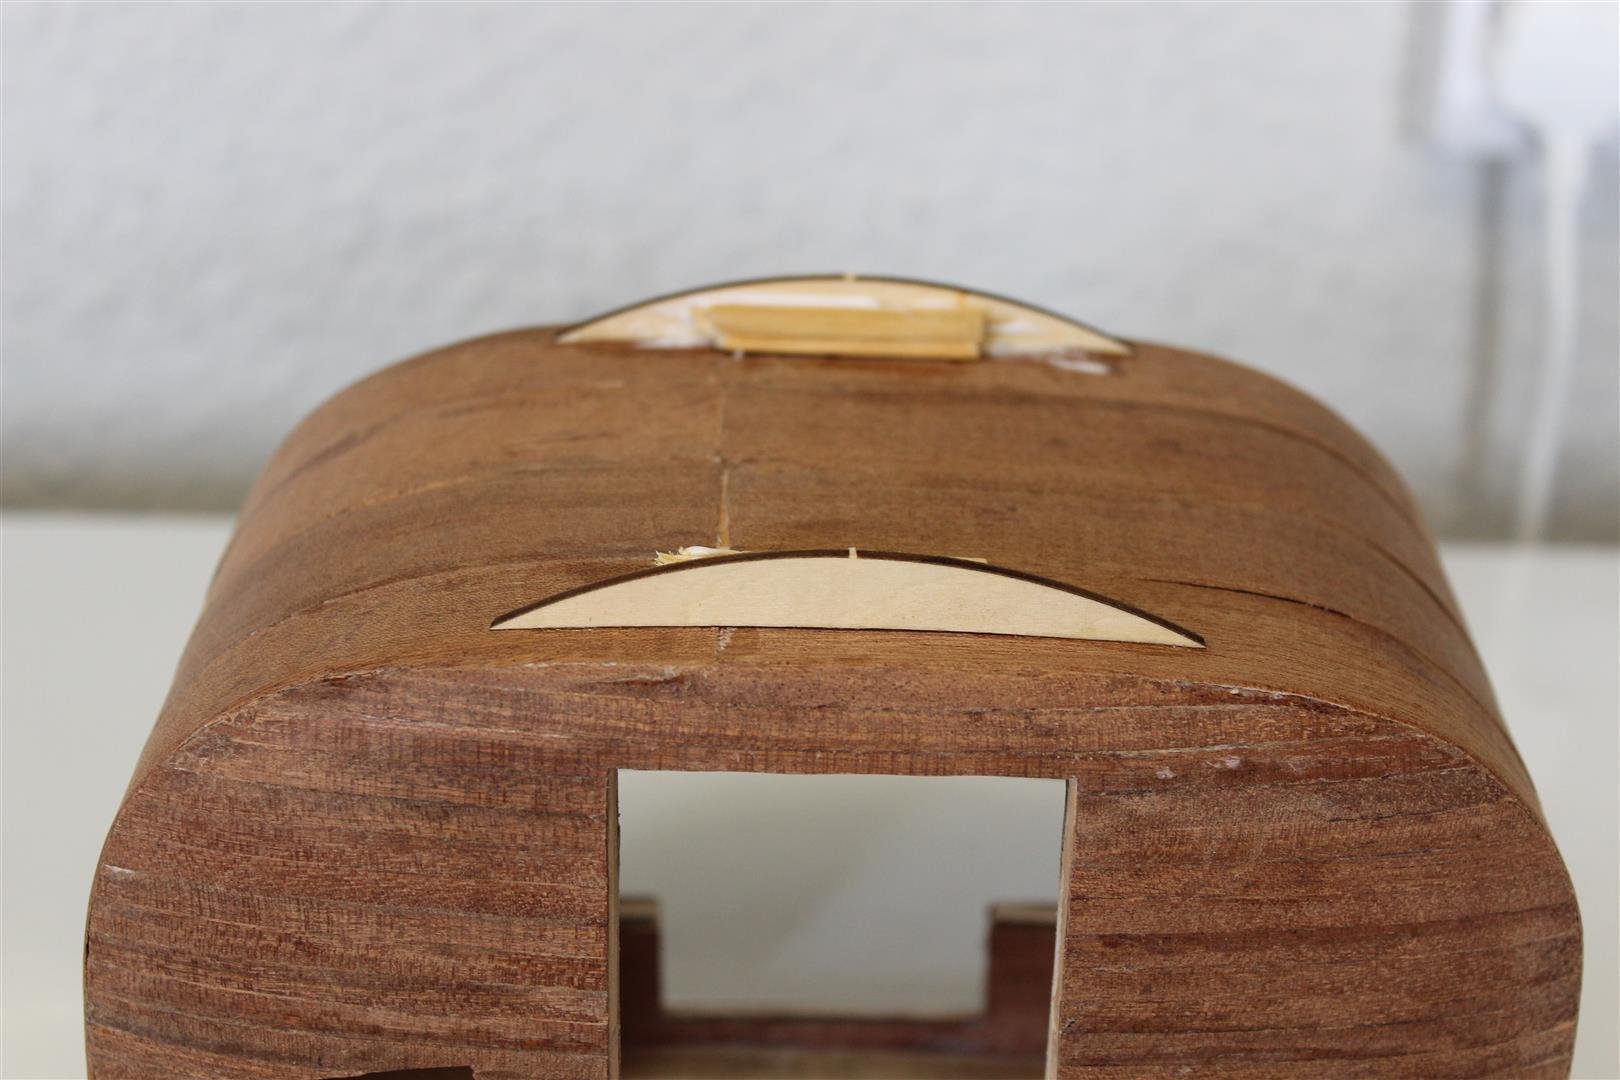
There isnt a template its just a gentle reminder that you need to make anothed 4 in total openings, its a pain to do later on in the build
-
The template does not include all the gunport openings, i think i added another two more either side in the bow
-
strange photo, the boom/ mast seams to be floating above the deck
-
good evening my friend, dont forget the forward gun ports, the template does not go that far, i forgot mine until late in the build
-
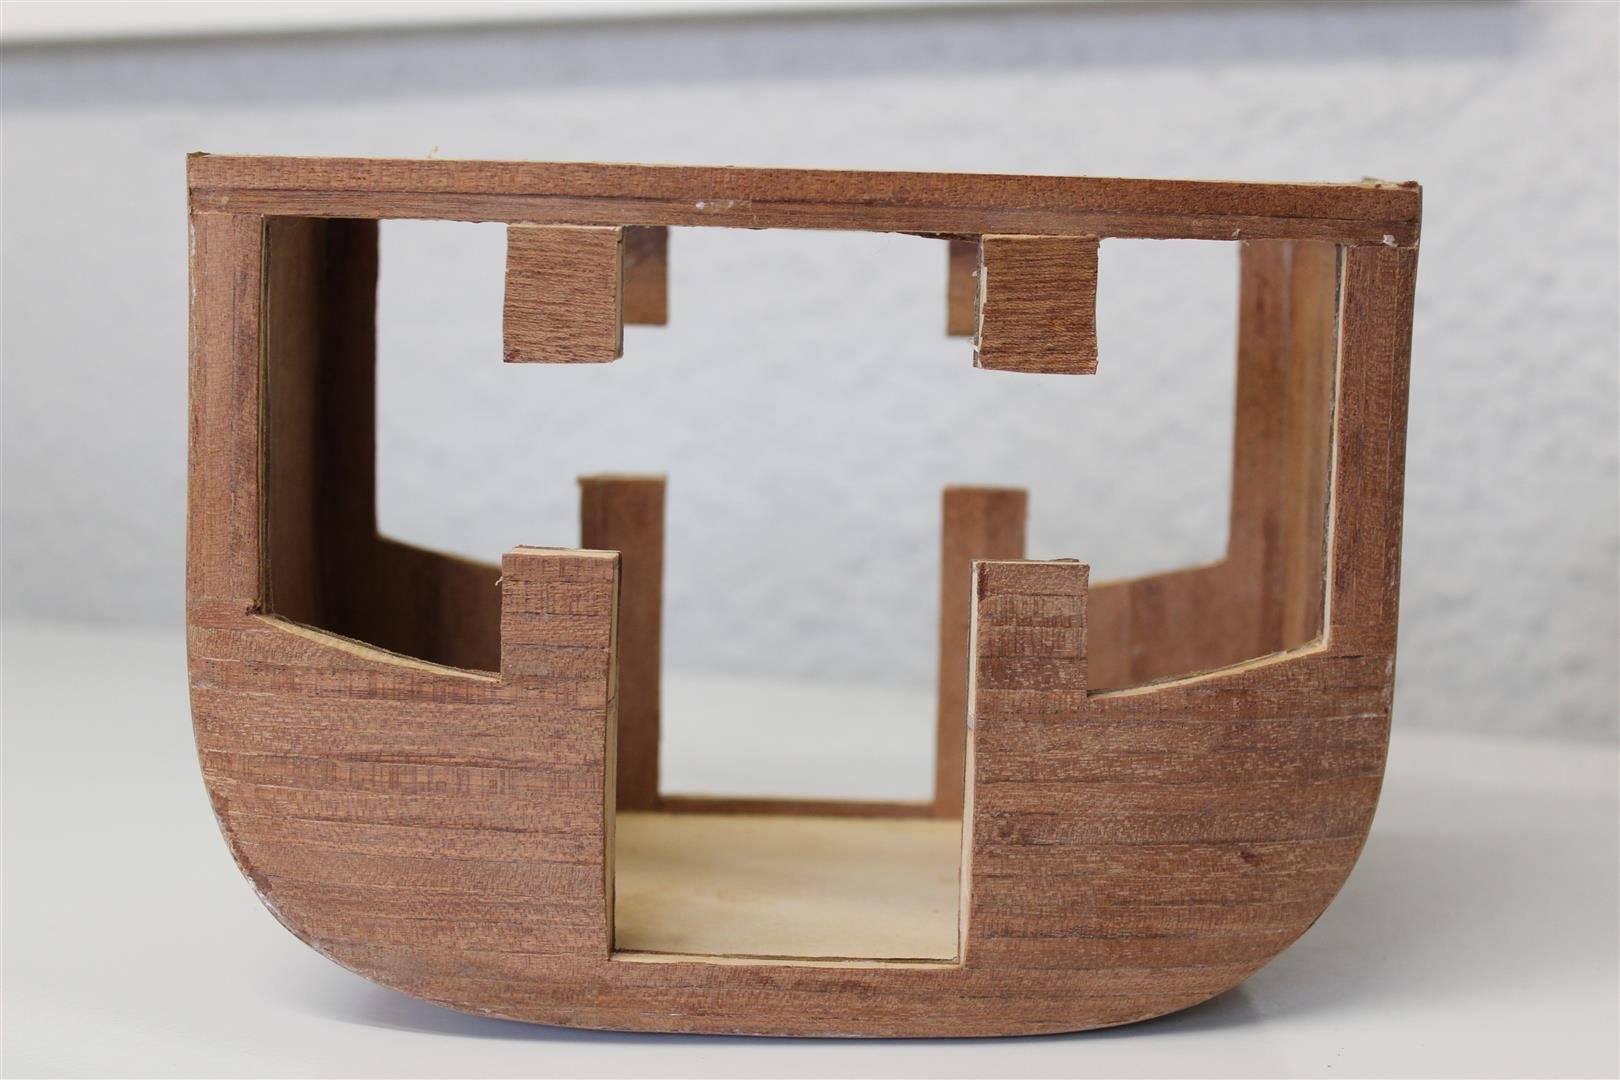
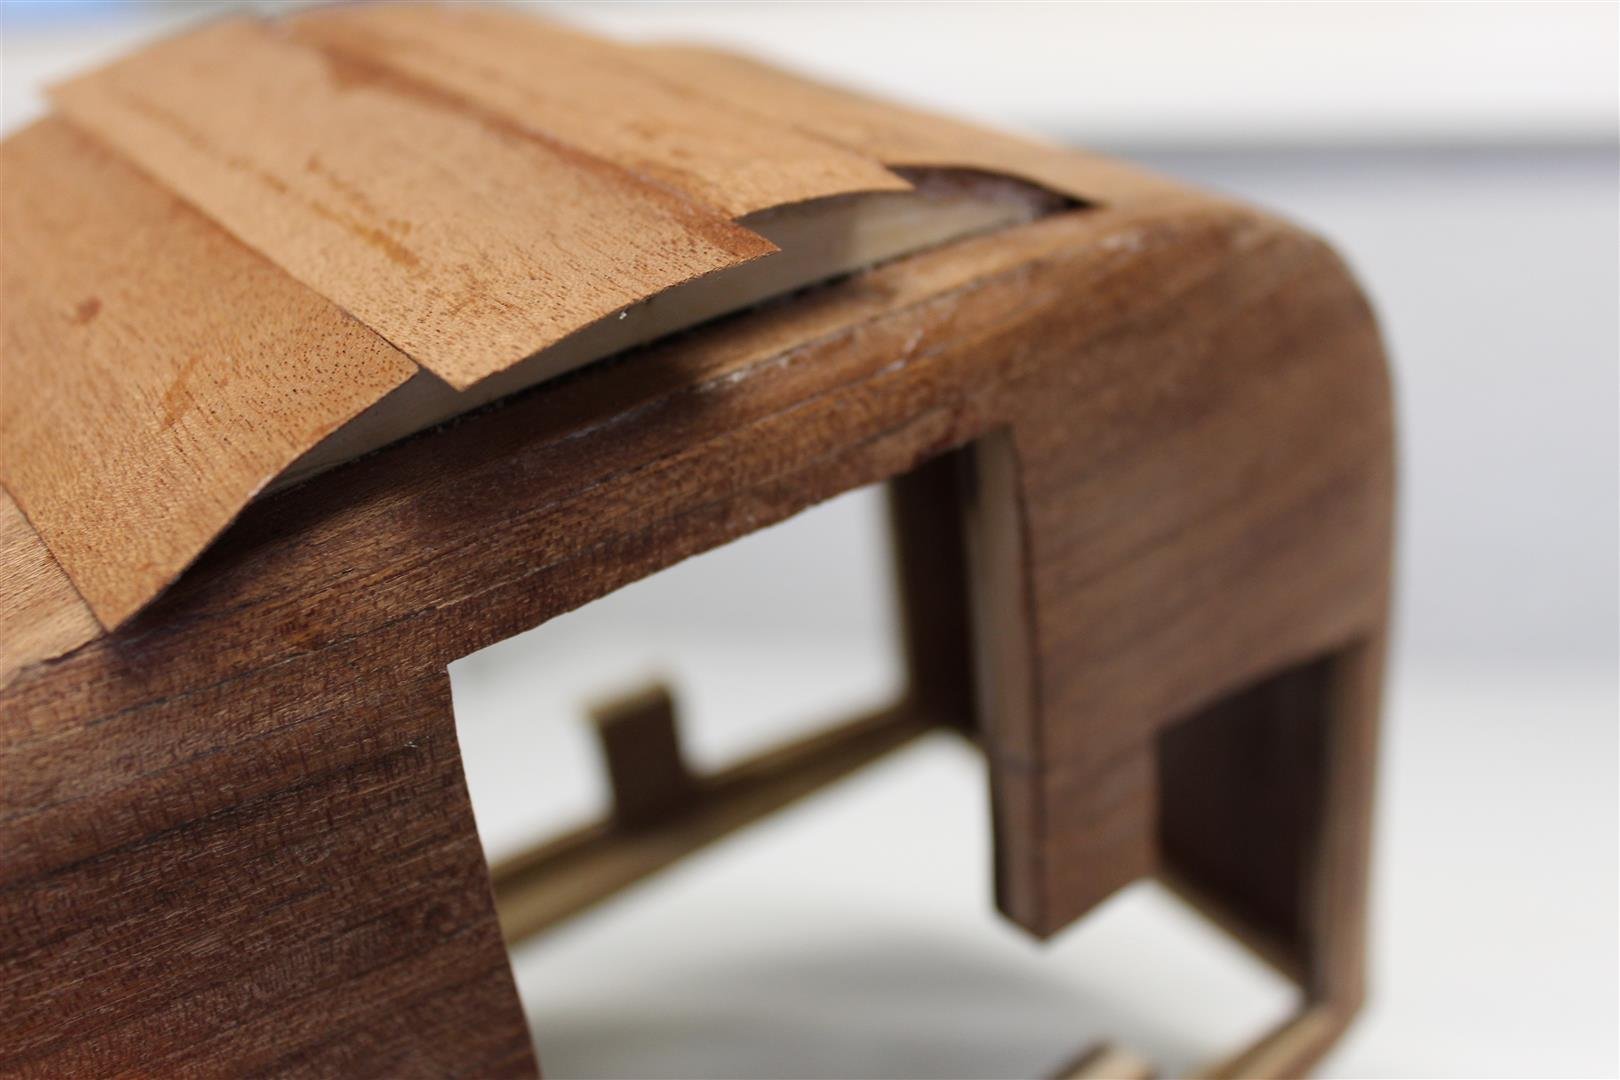
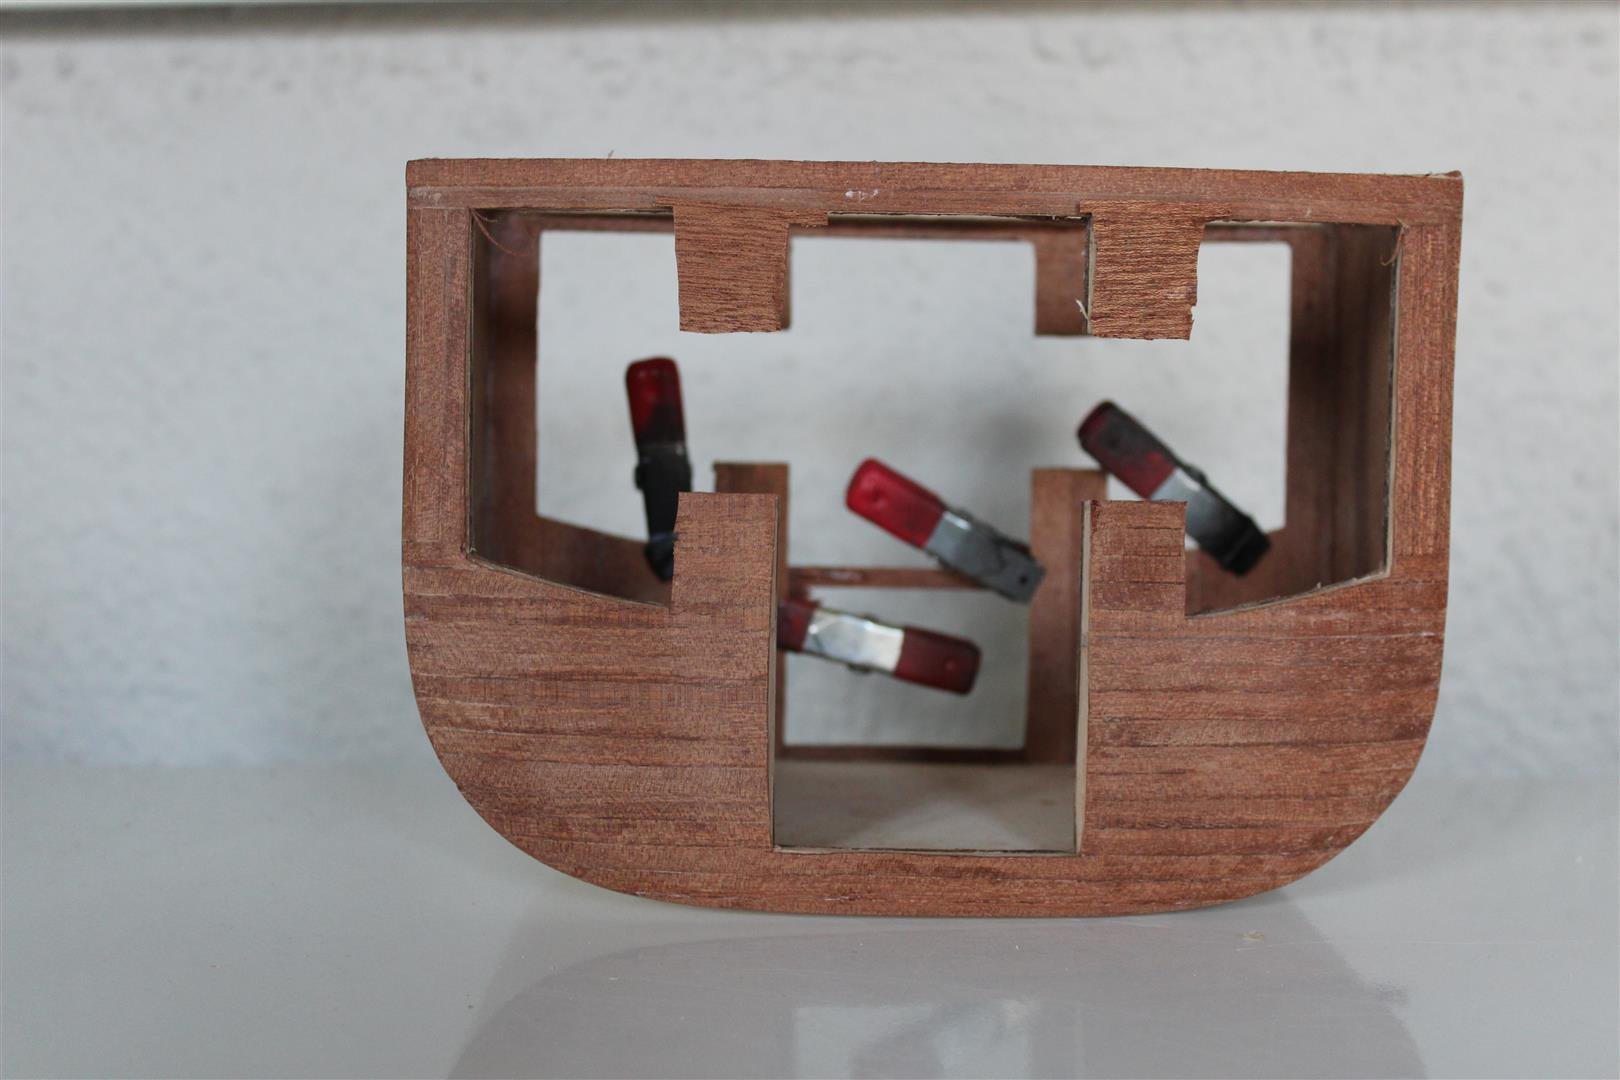
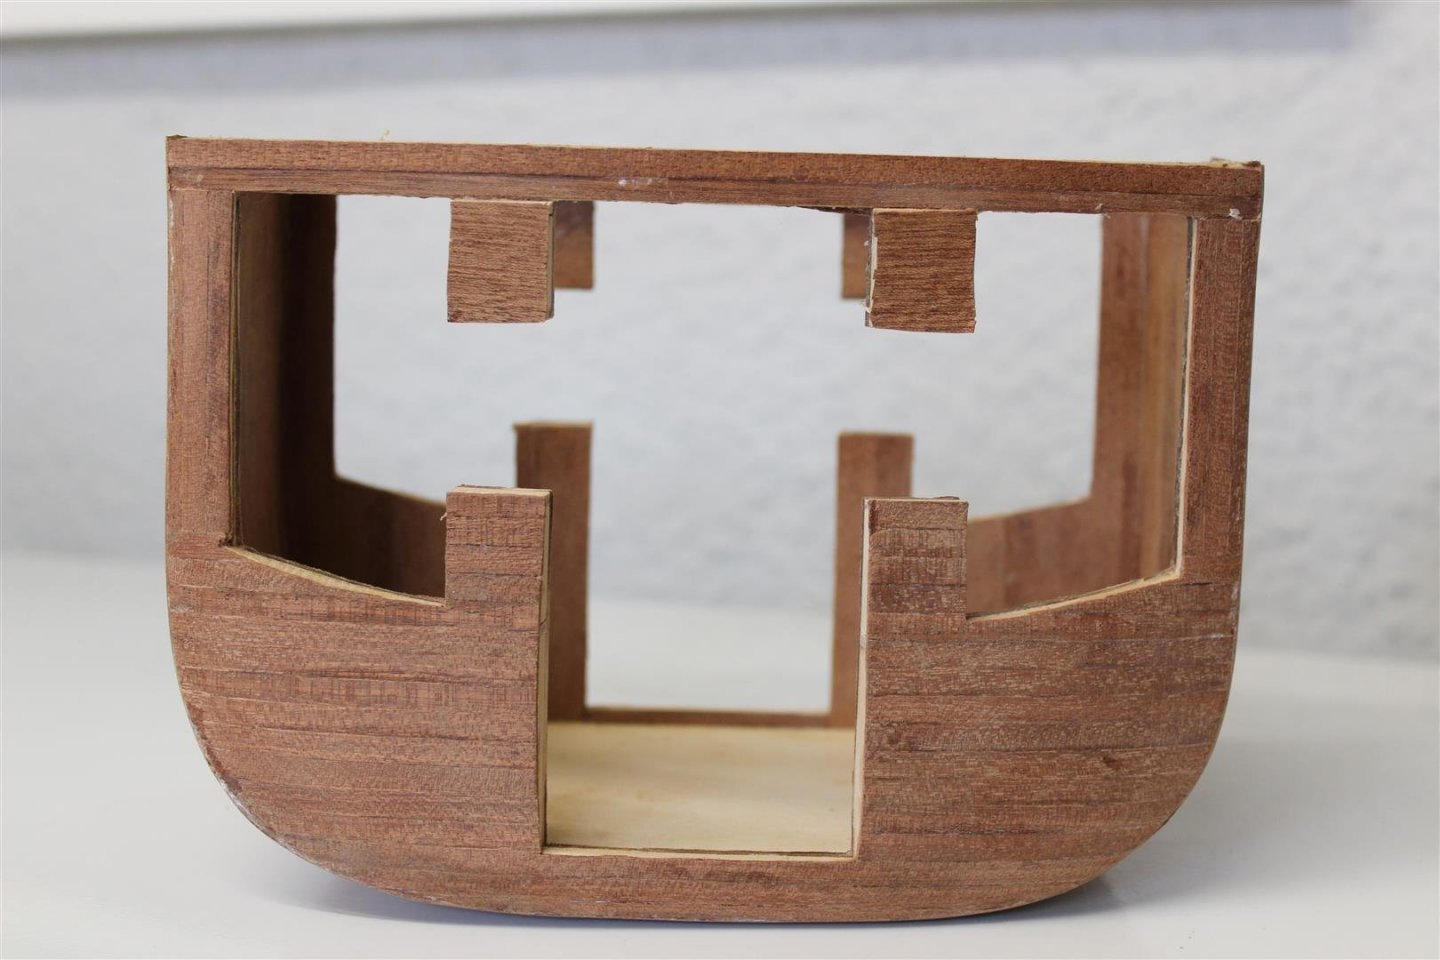
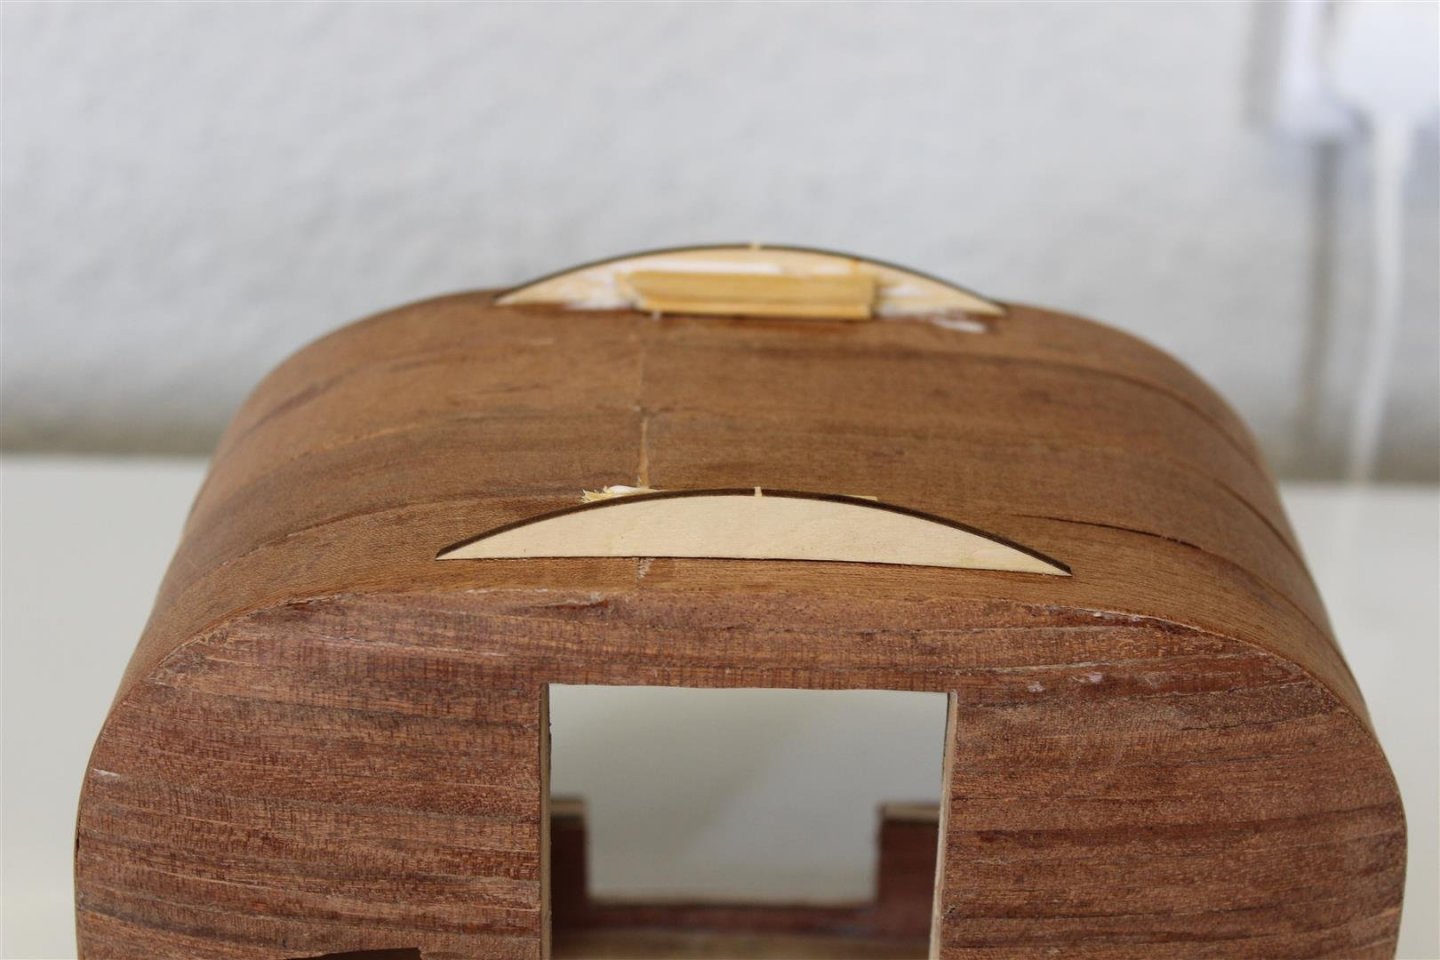
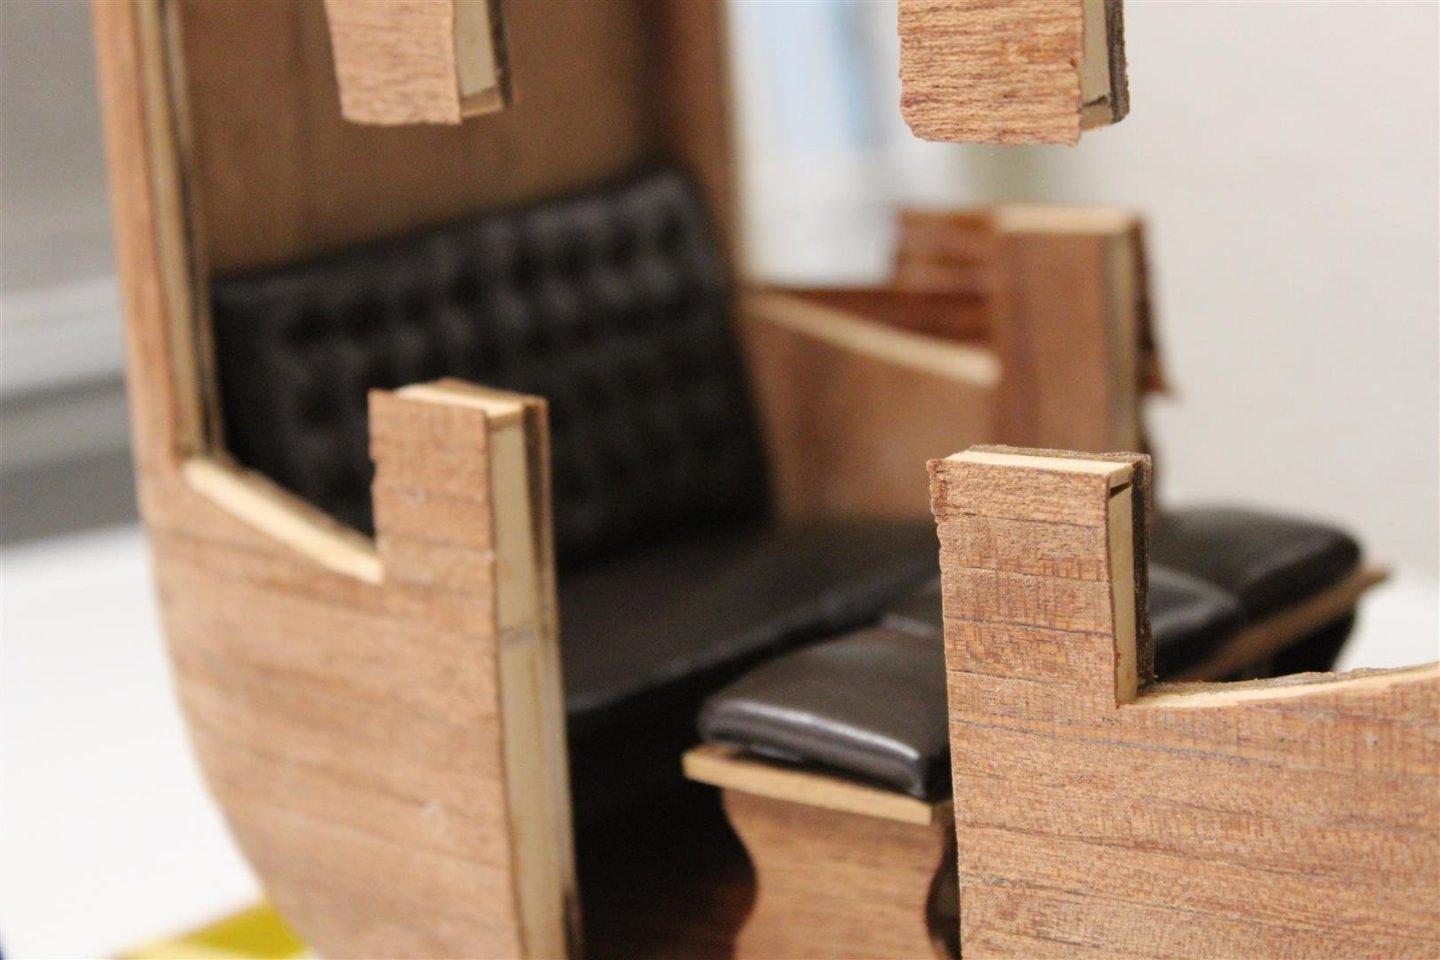
good evening everyone well i did get a bit done on the coach, the area under the driver position is apparently called the winch box, still to go in the a flap, behind which sits a 9vt battery to power the lights


- 150 replies
-
- 11
-
-
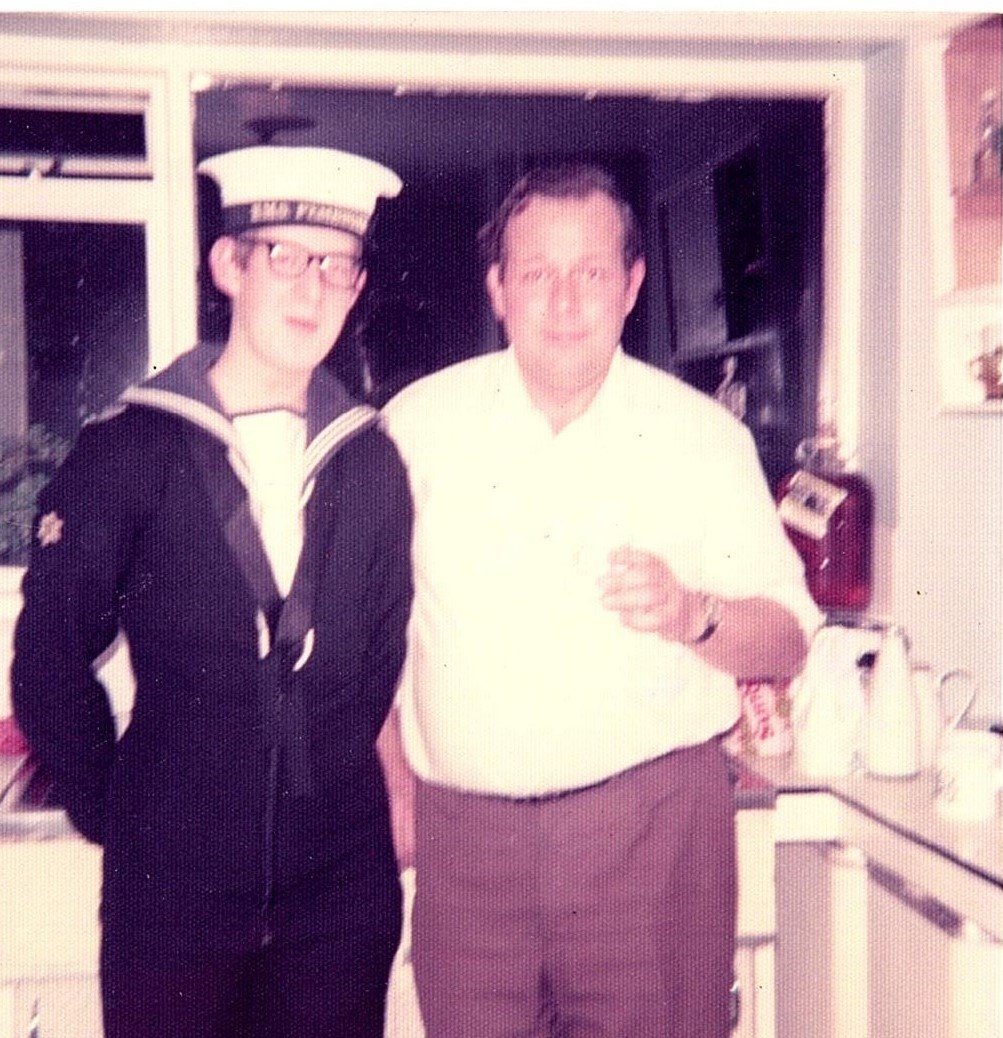
good evening everyone been quiet on the building front last few days, life got in the way and i have a new project, my mum gave me all the family albums that she has for safe keeping, they are all pre digital, so loosing them would actually mean loosing them, i have started to scan them into my Pc, done 500 so far, about 4000 im not interested in and another couple thousand i will be doing over the next few weeks me with dad in 74 on Christmas leave during my trade training and must be 75 to prove that i did used to build fly things
.jpg.d258bb4d599dd8538c022434e7a67622.jpg)
- 150 replies
-
- 13
-
-
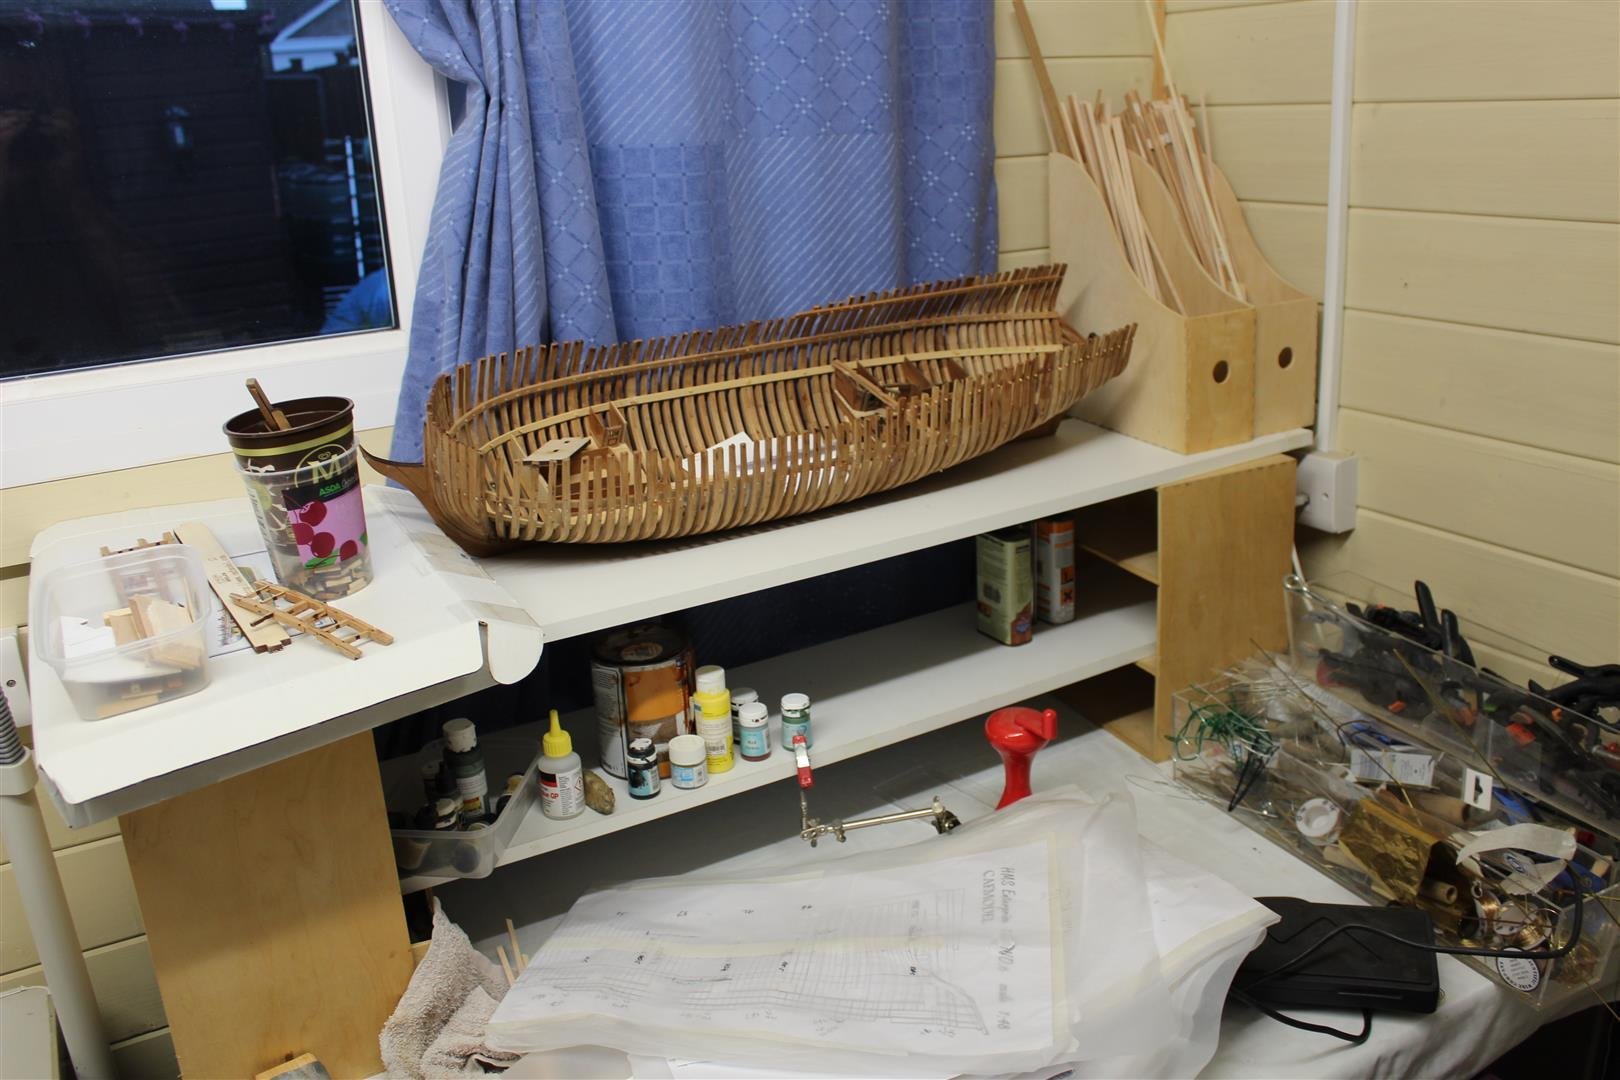
Have a look at a company called CAF the Enterprise is a fully open build in 1/48 they are a sponsor of this site and link is in my build logs and also on home page
- 355 replies
-
- 2
-
-
- vanguard models
- Sphinx
- (and 1 more)
-
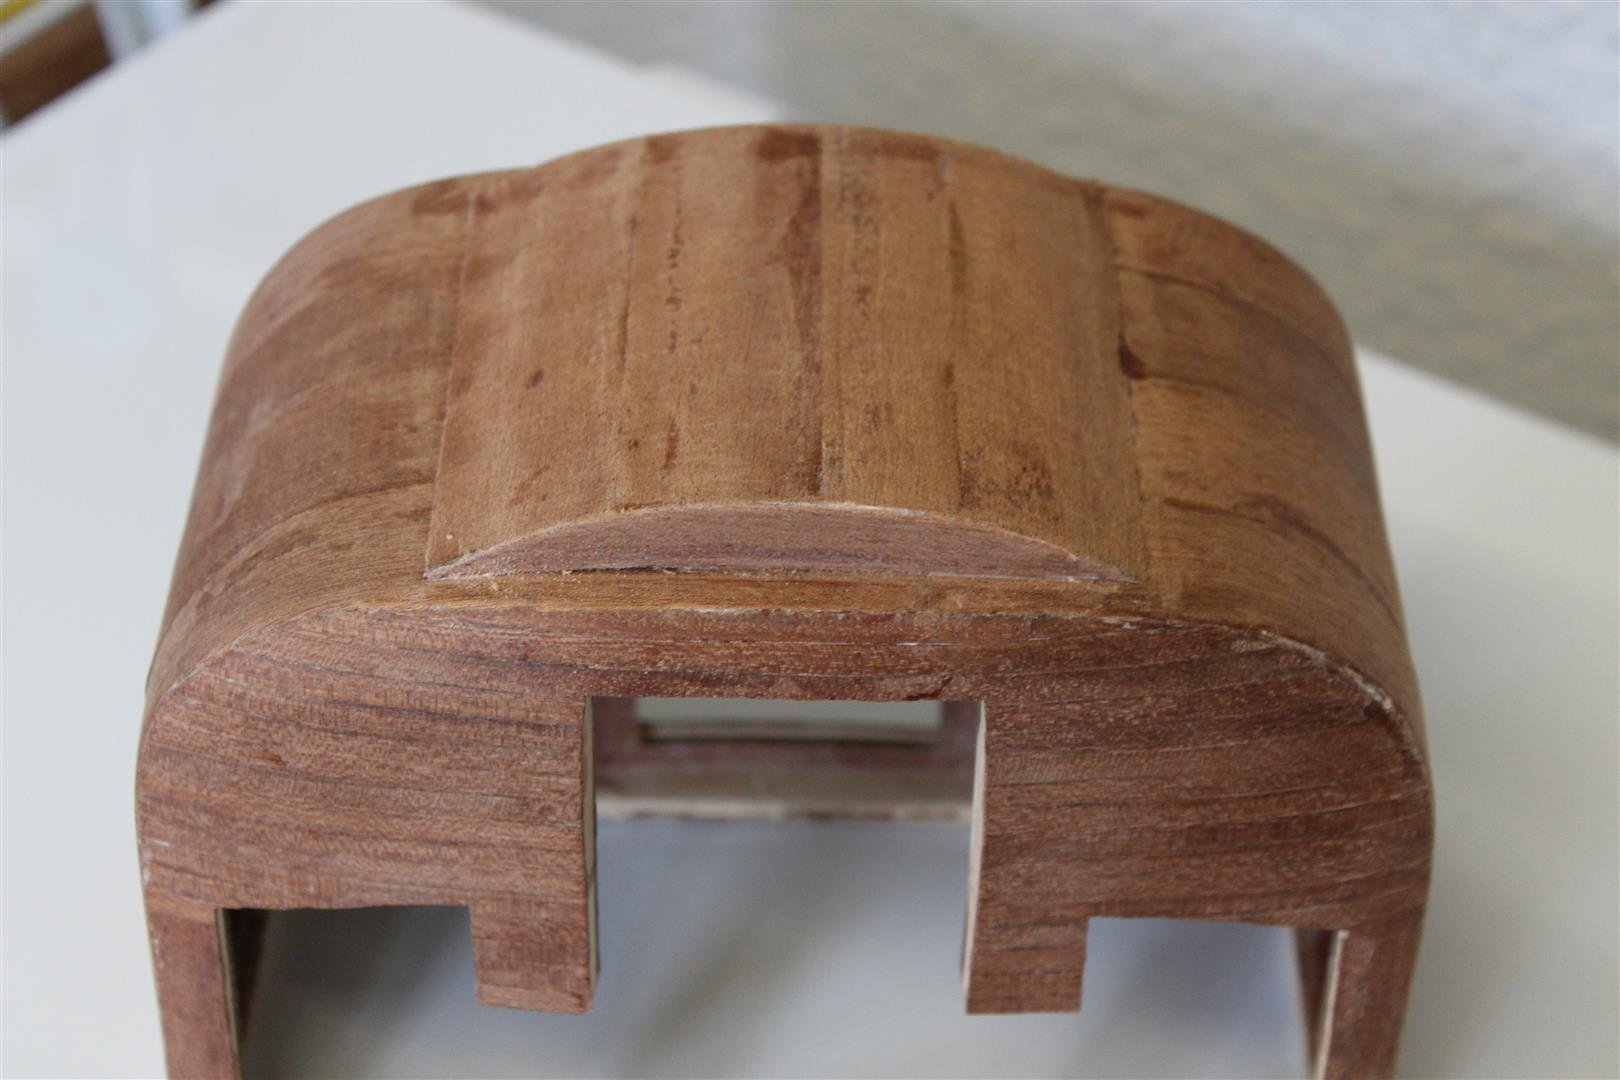
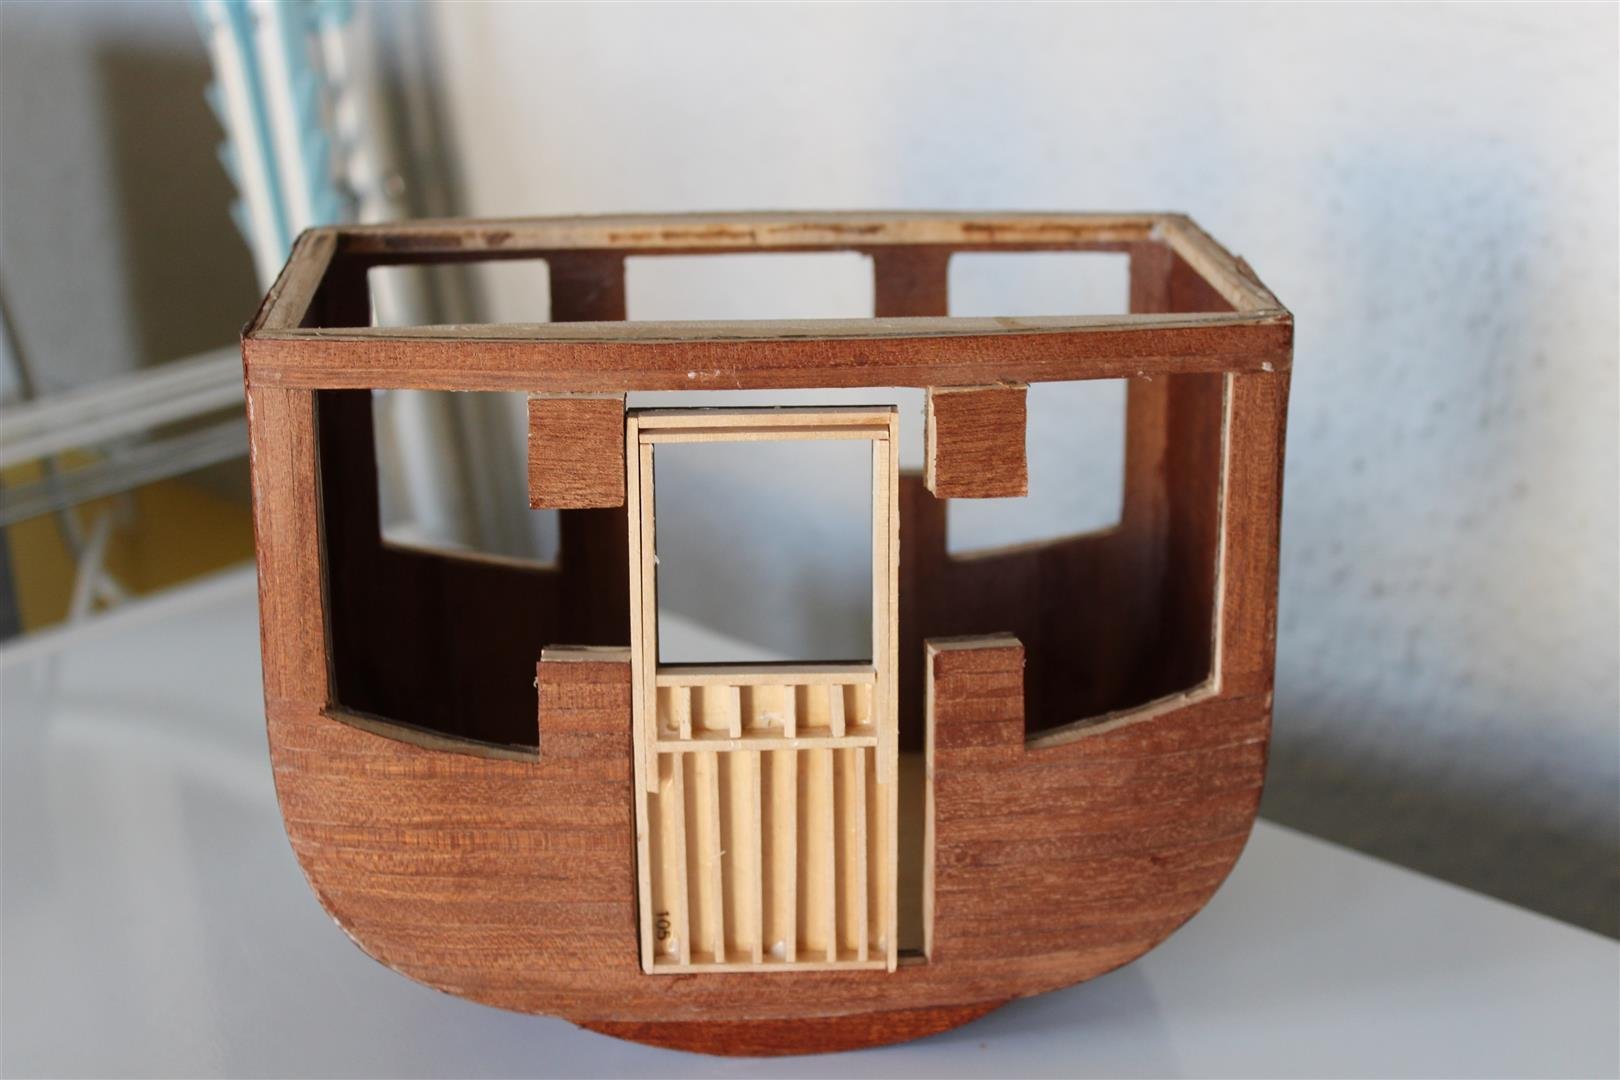
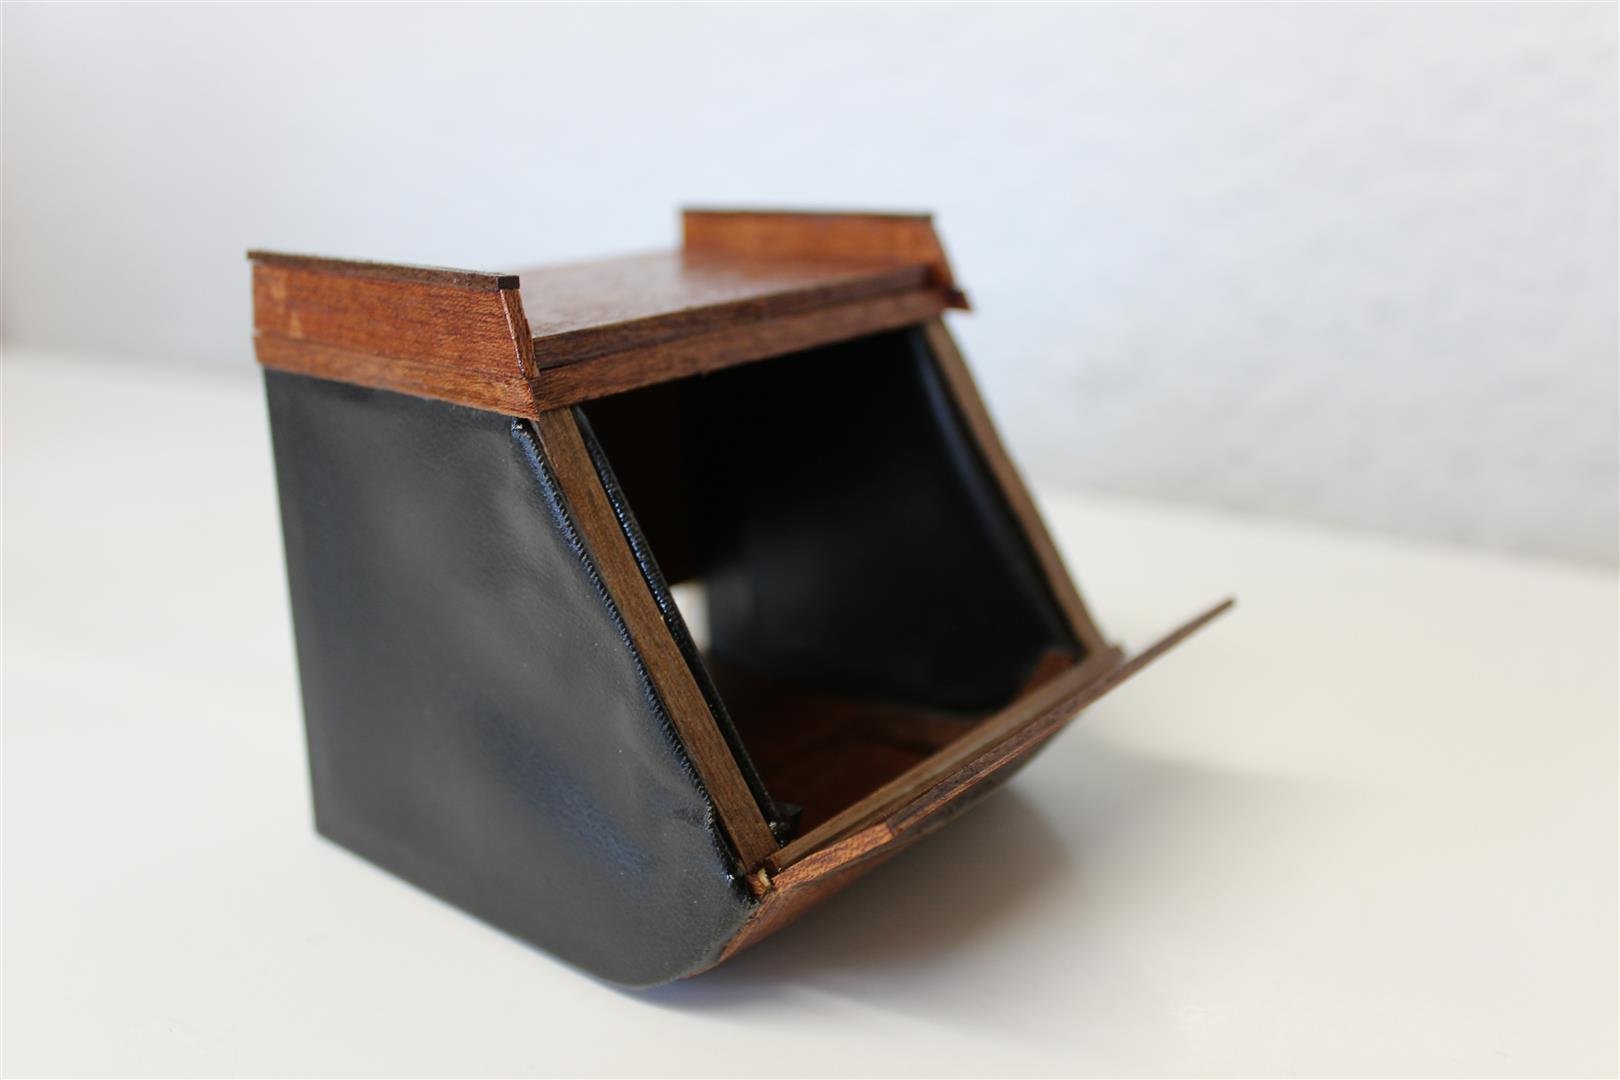
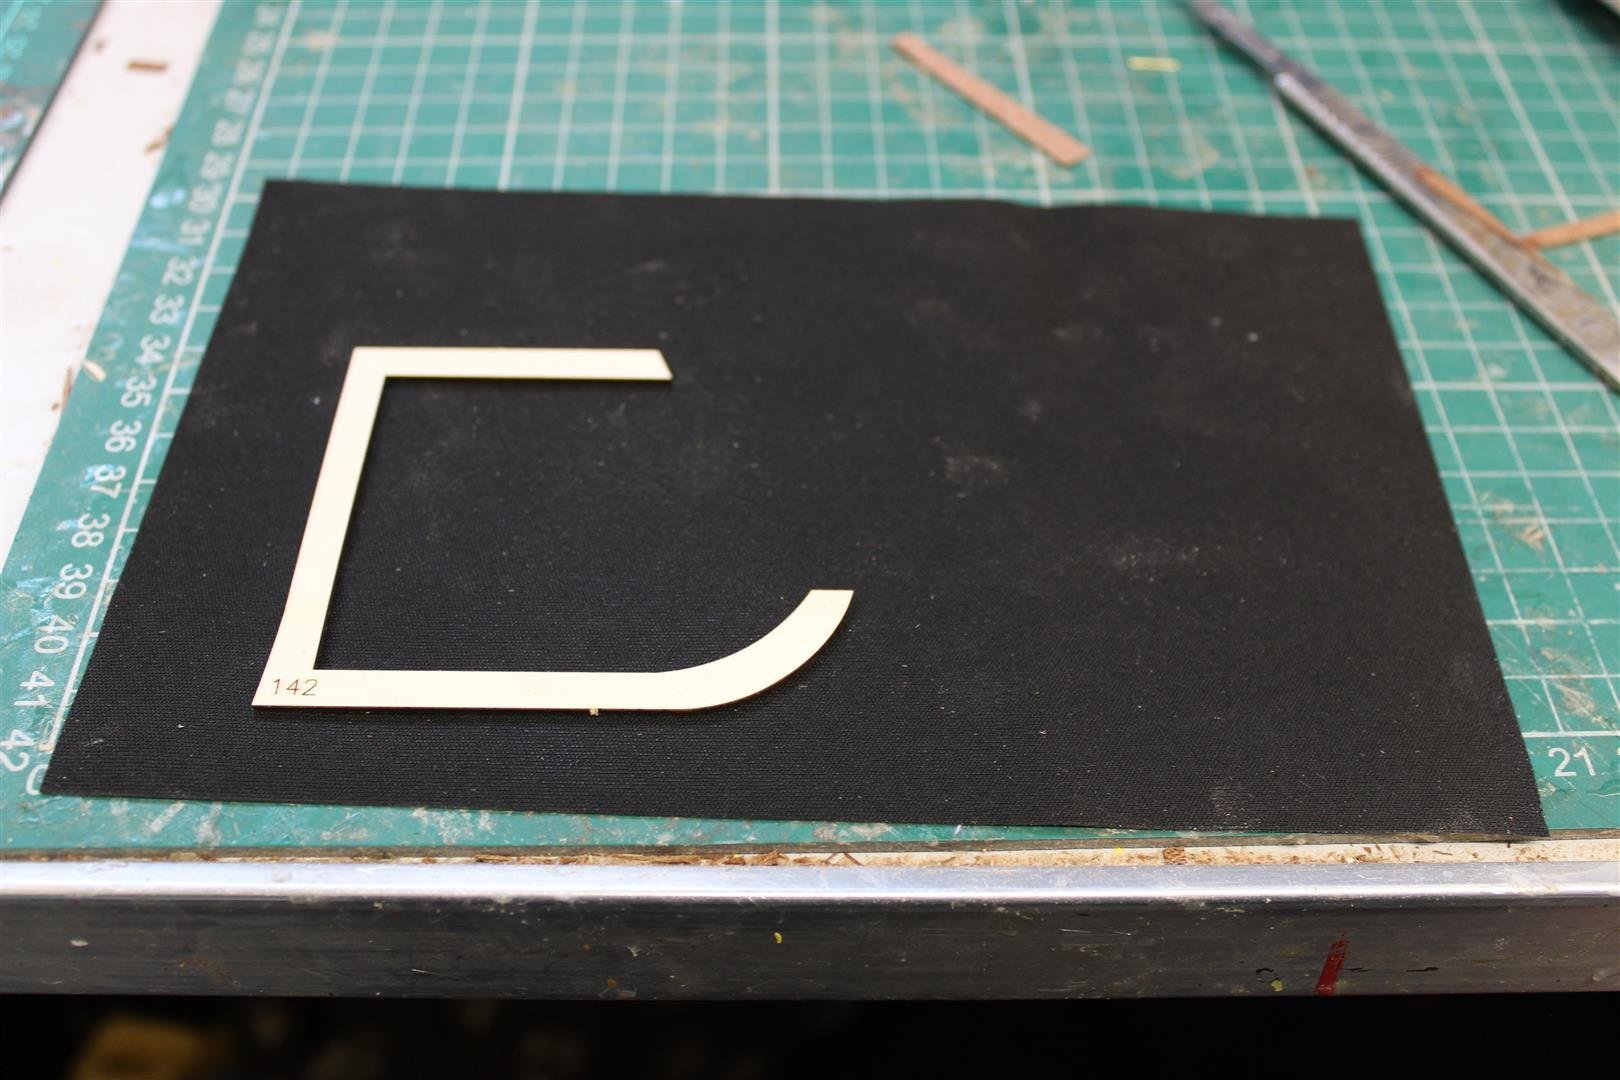
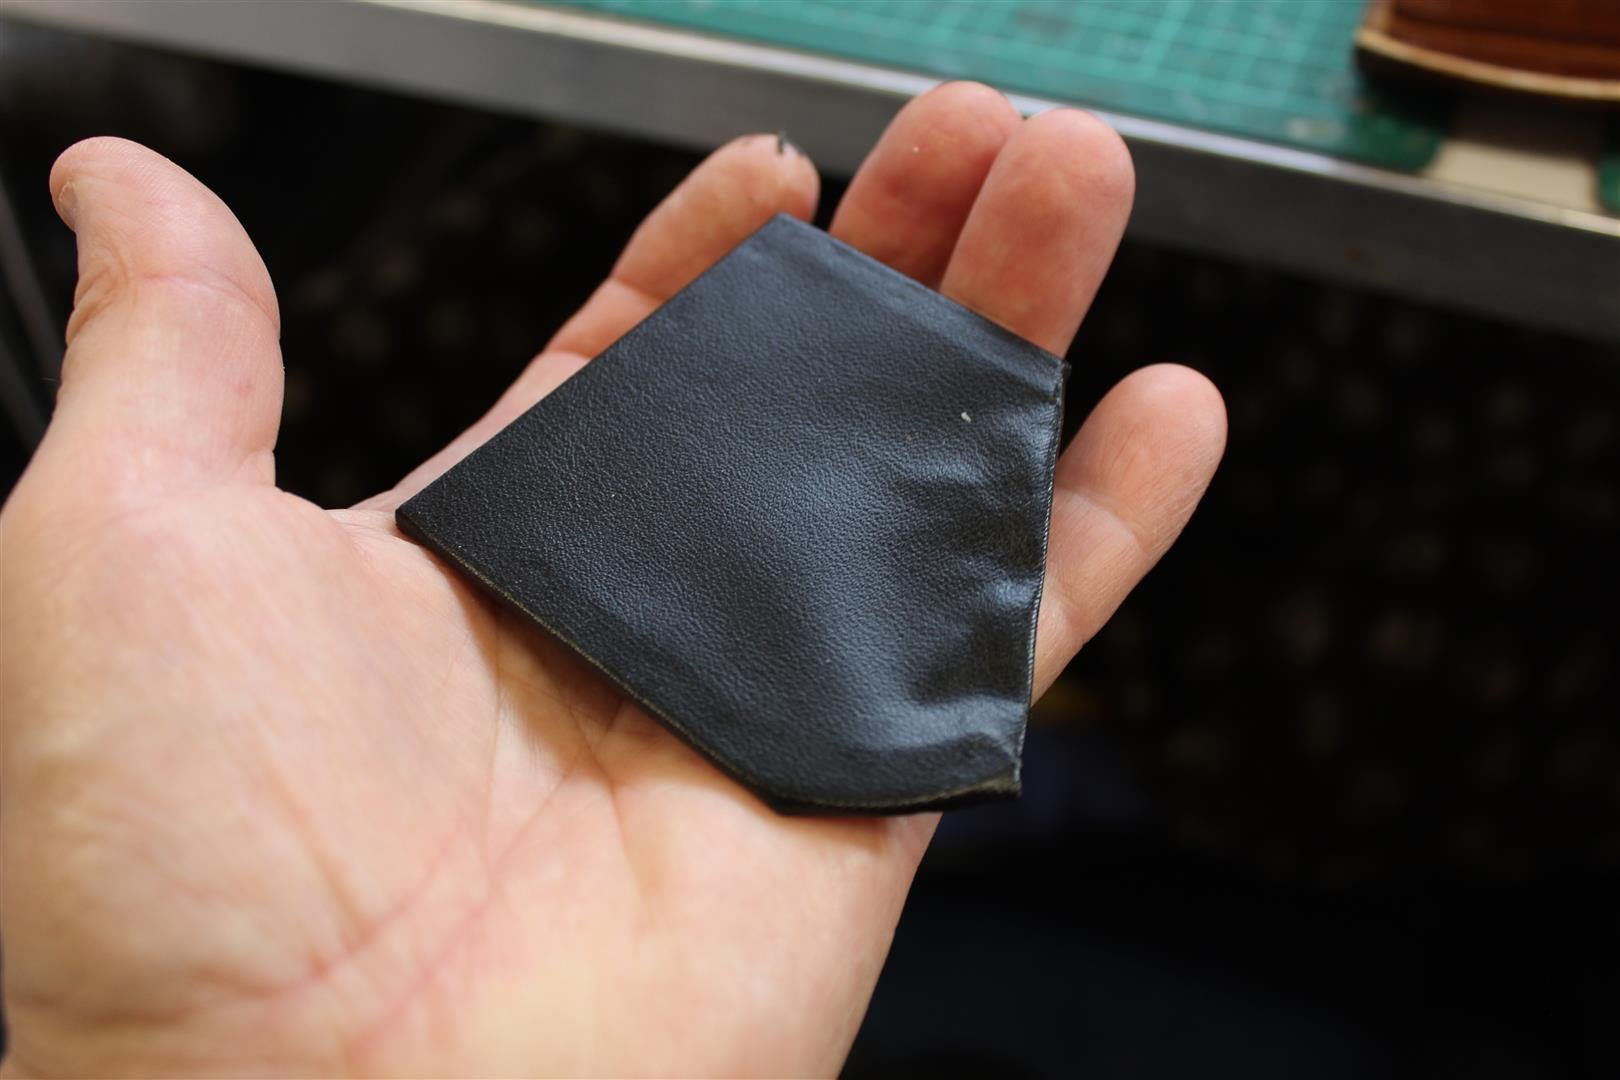
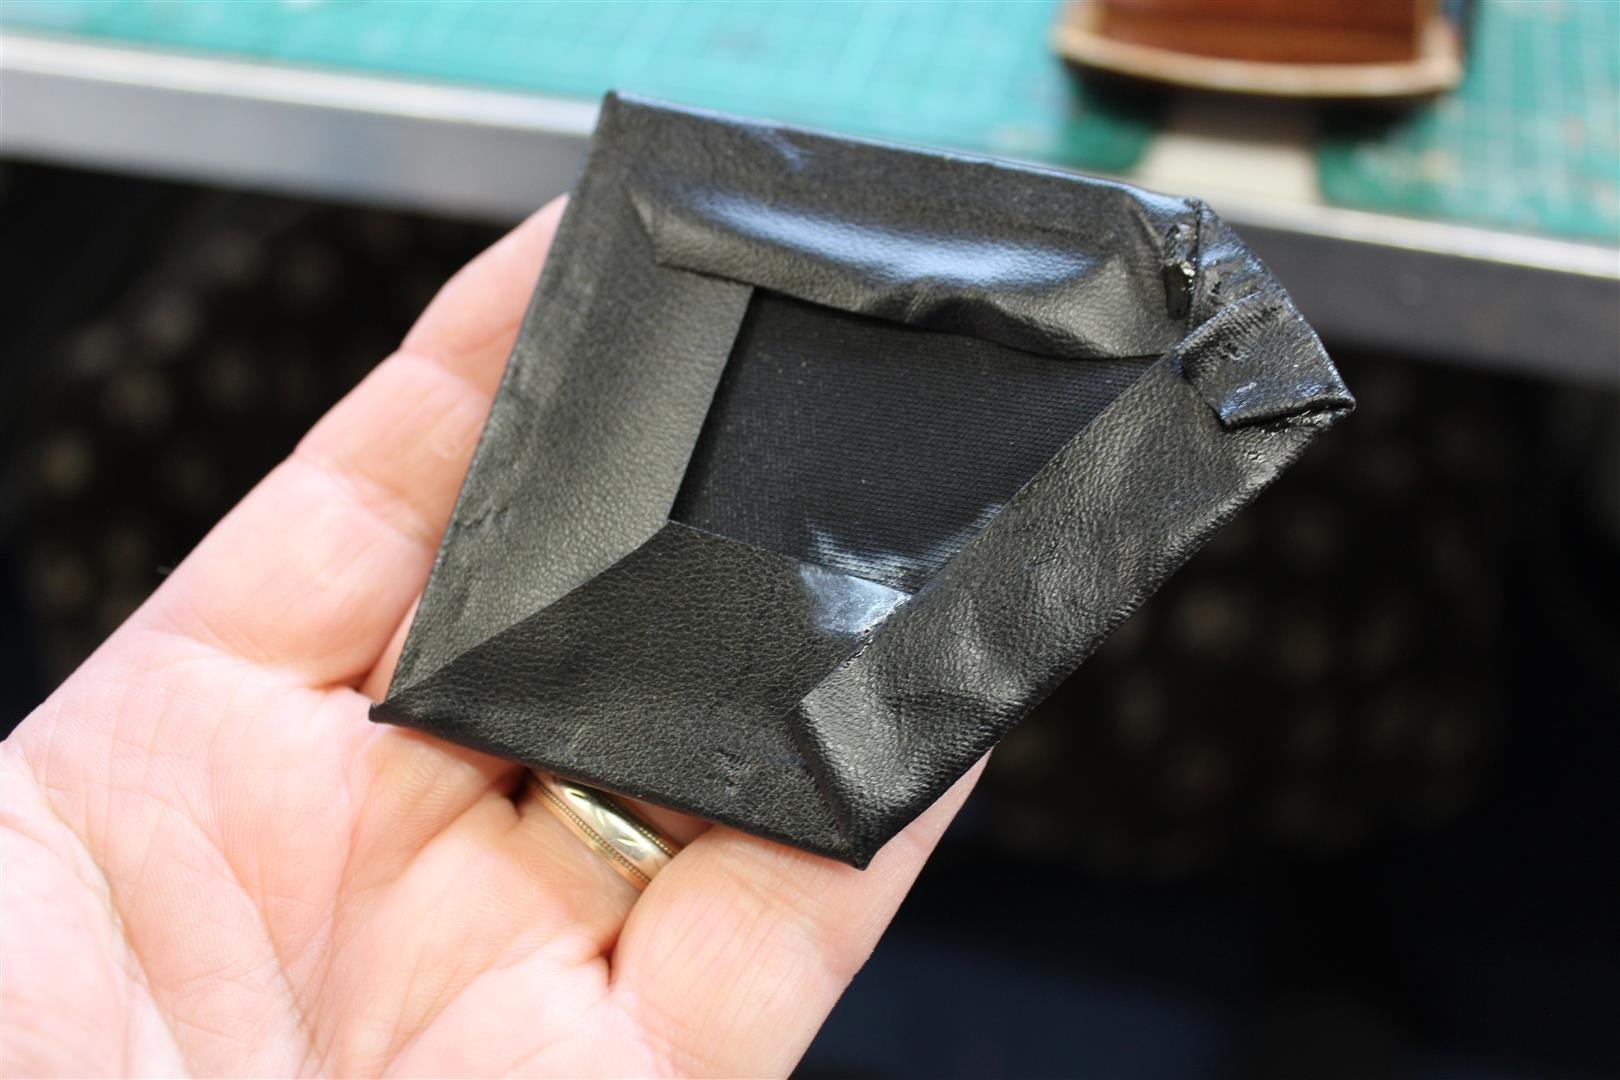
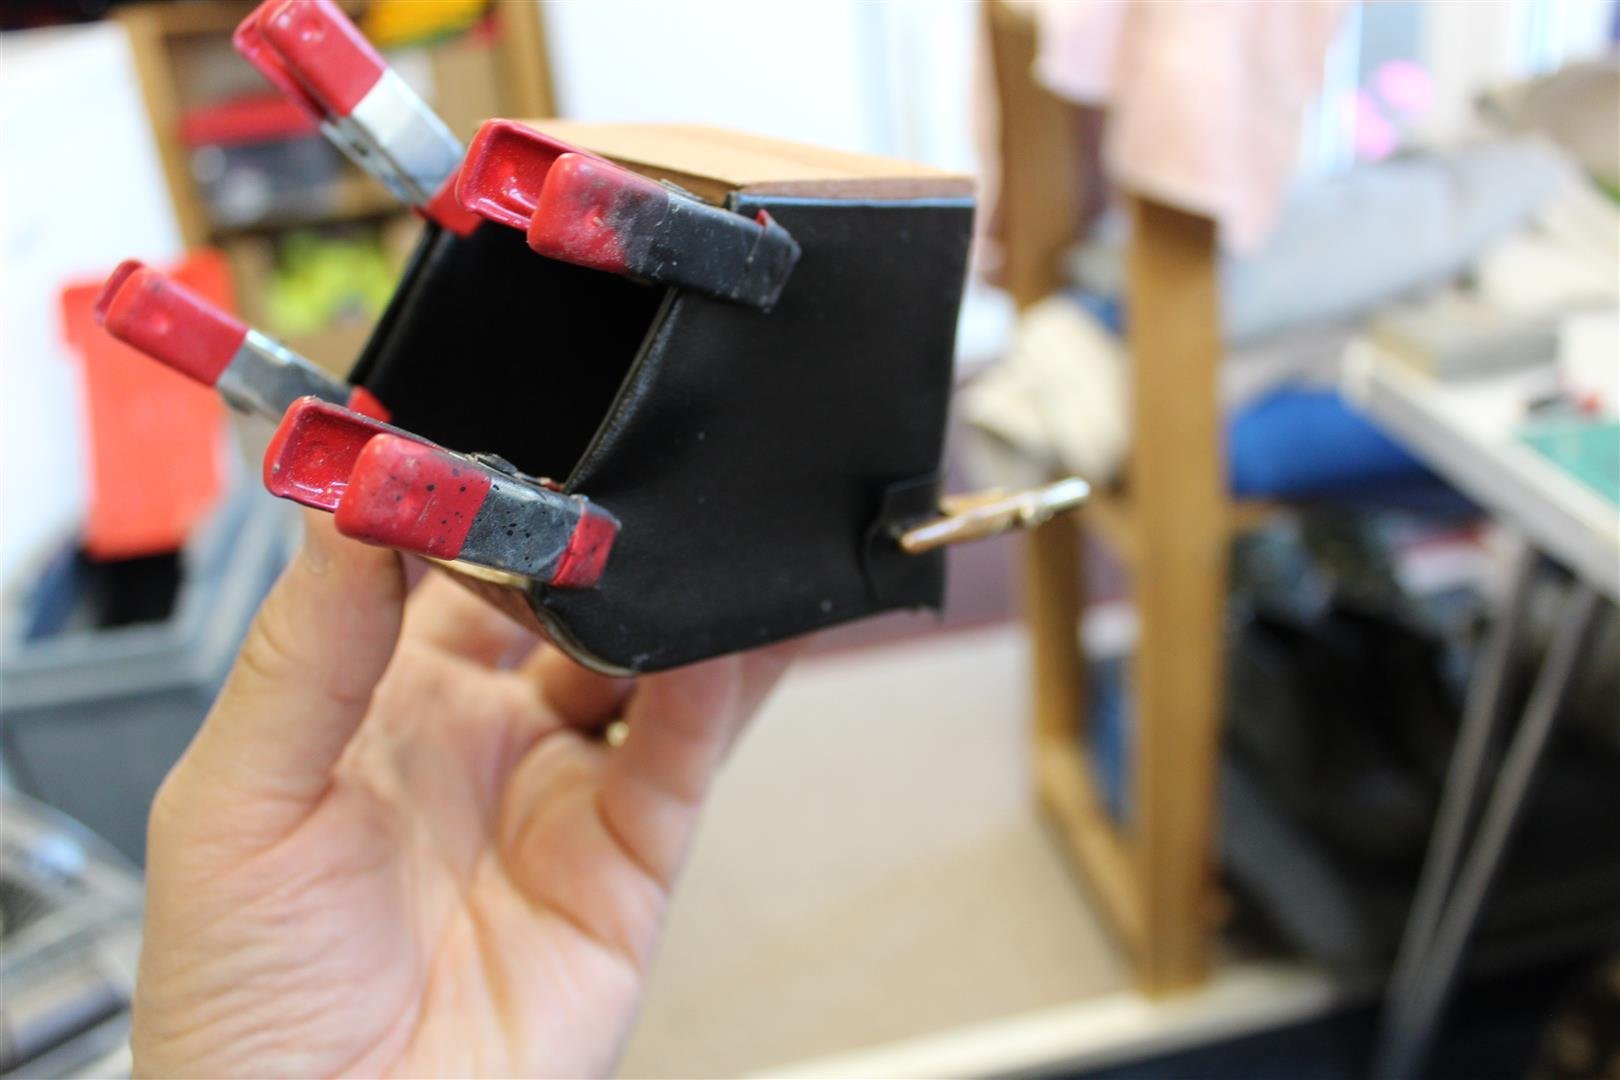
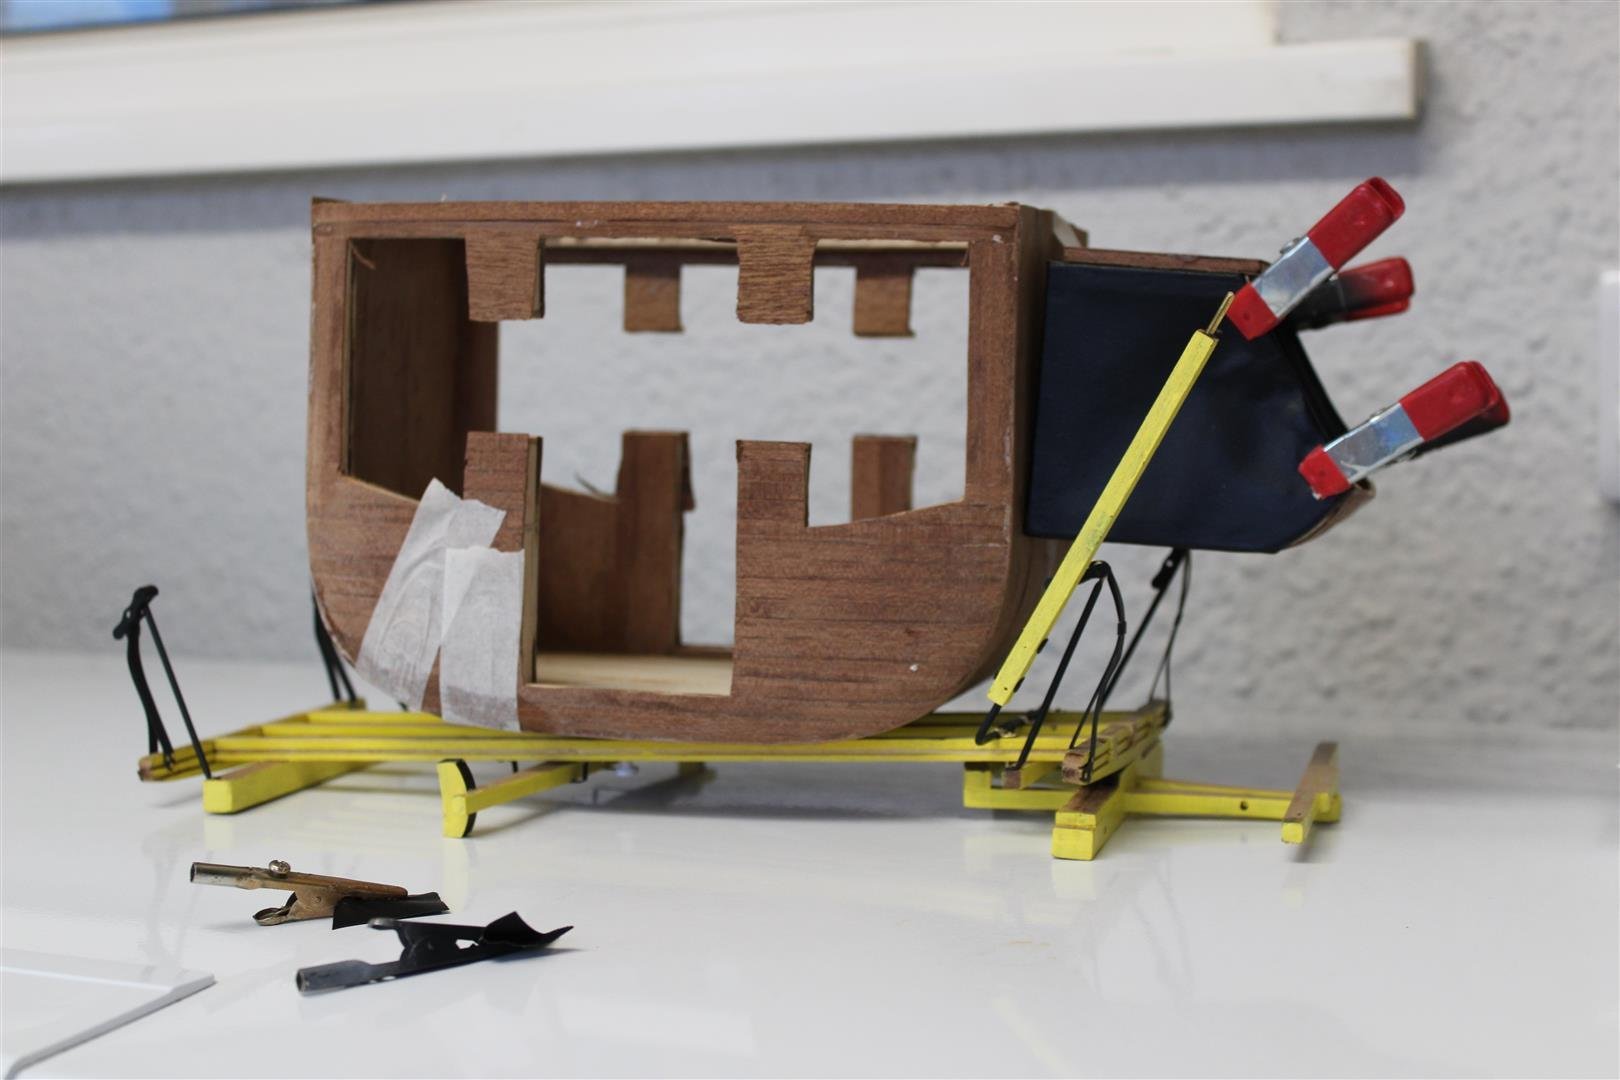
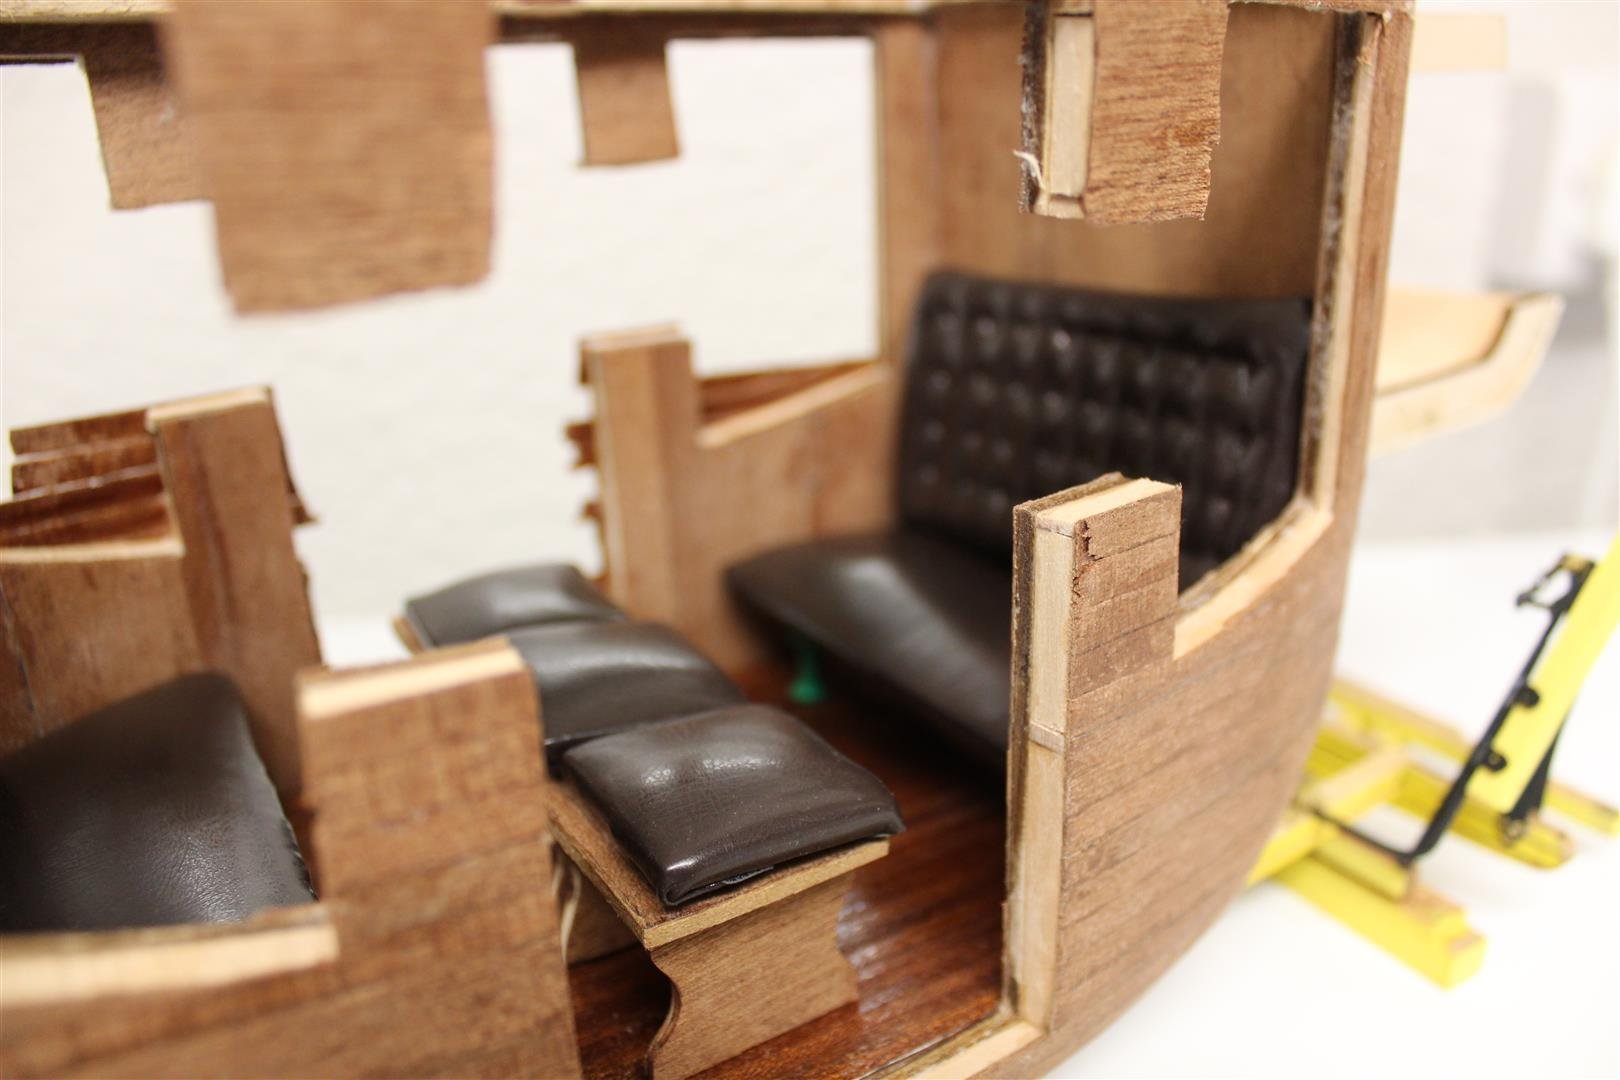
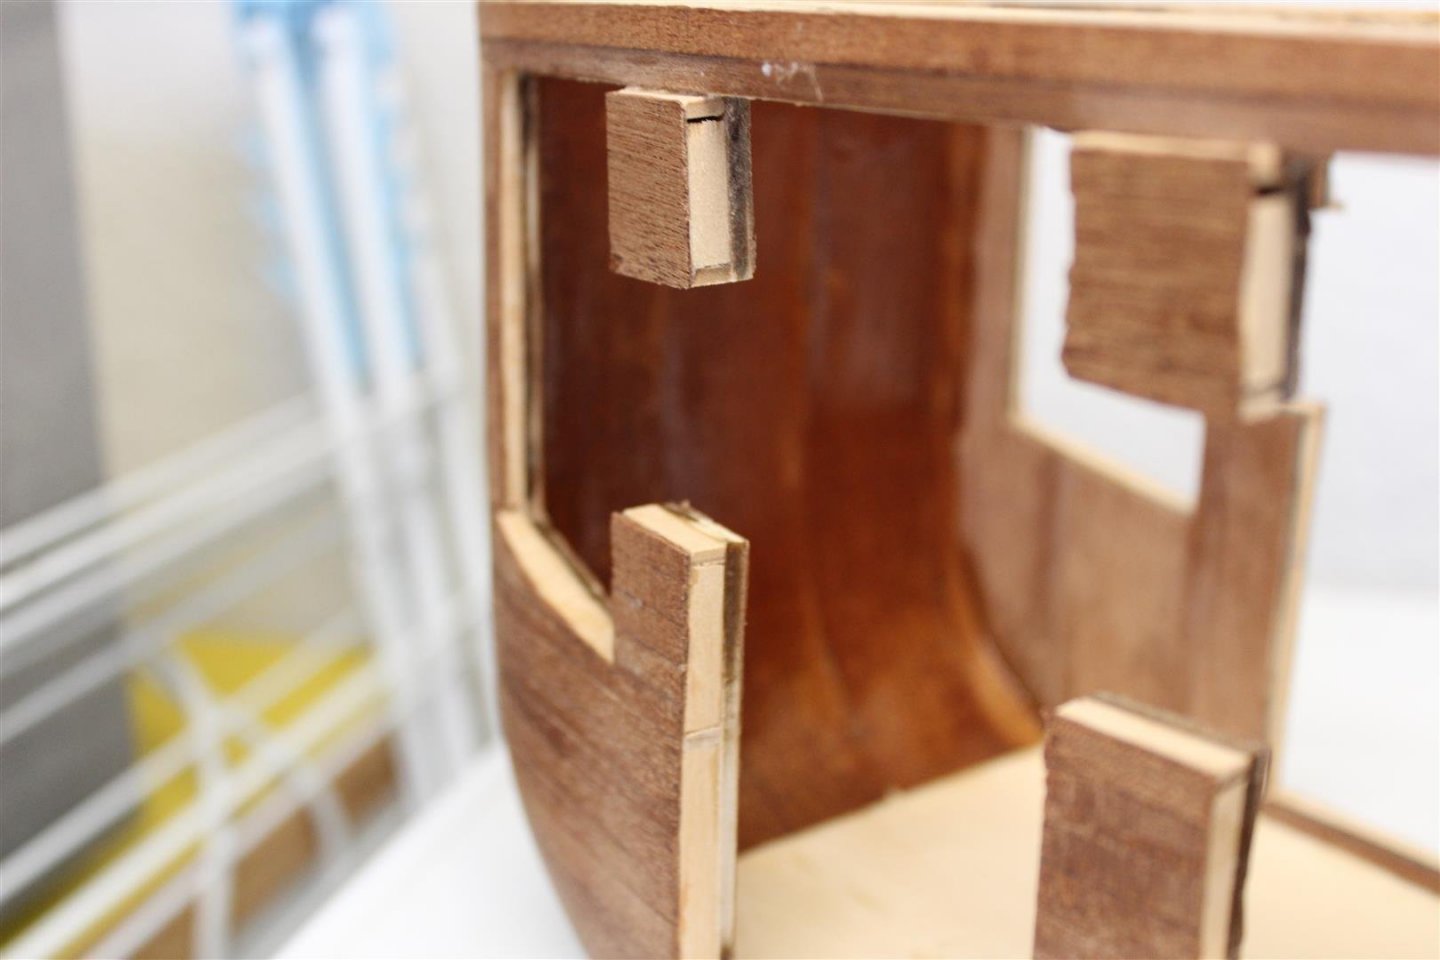
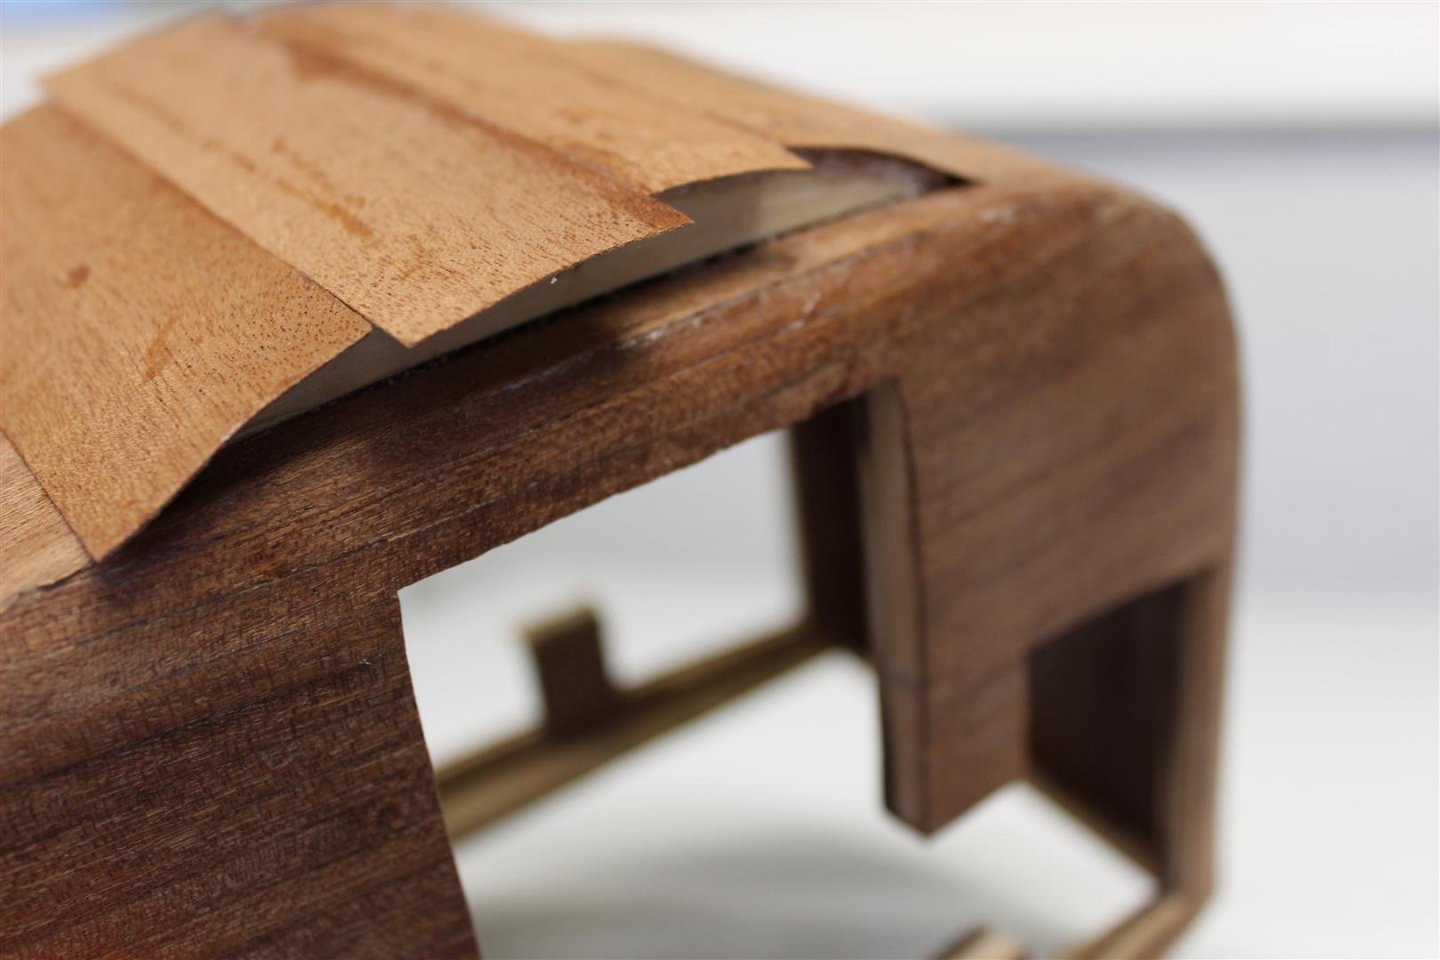
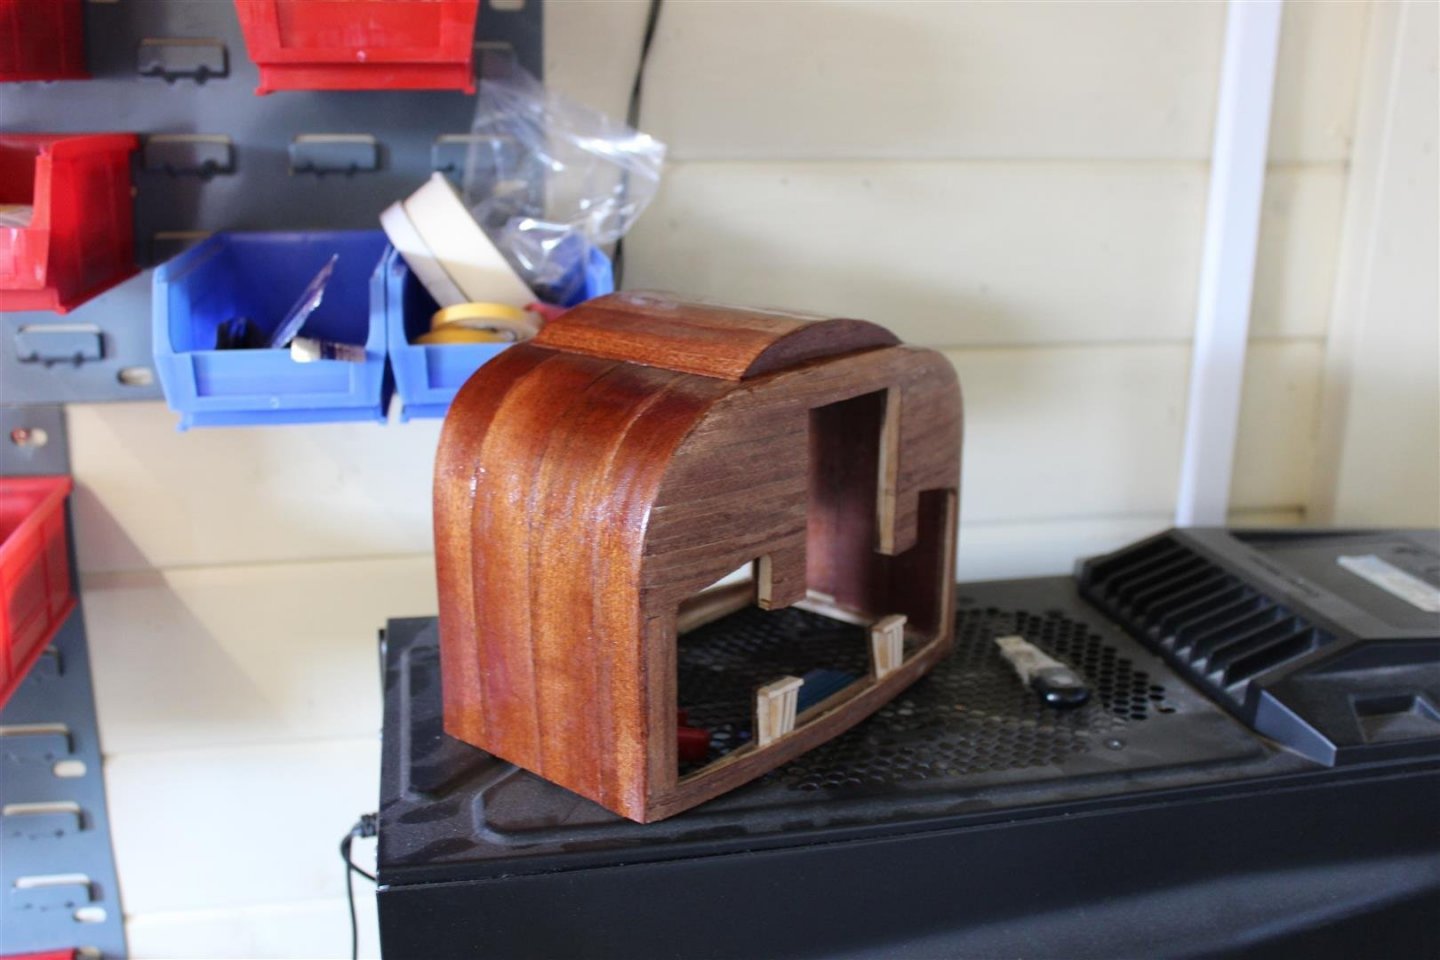
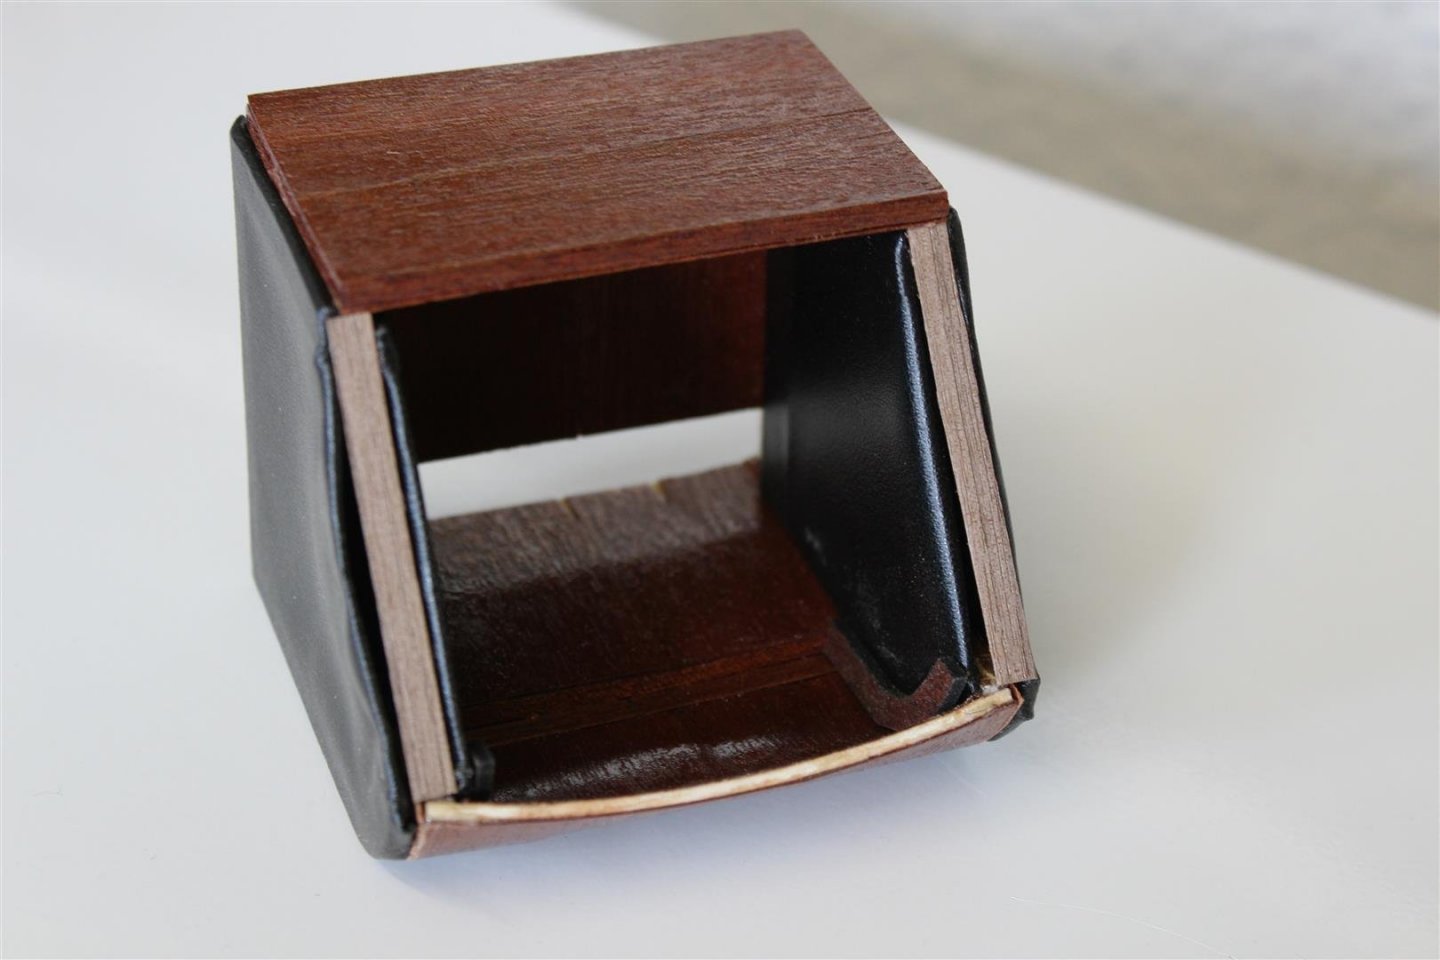
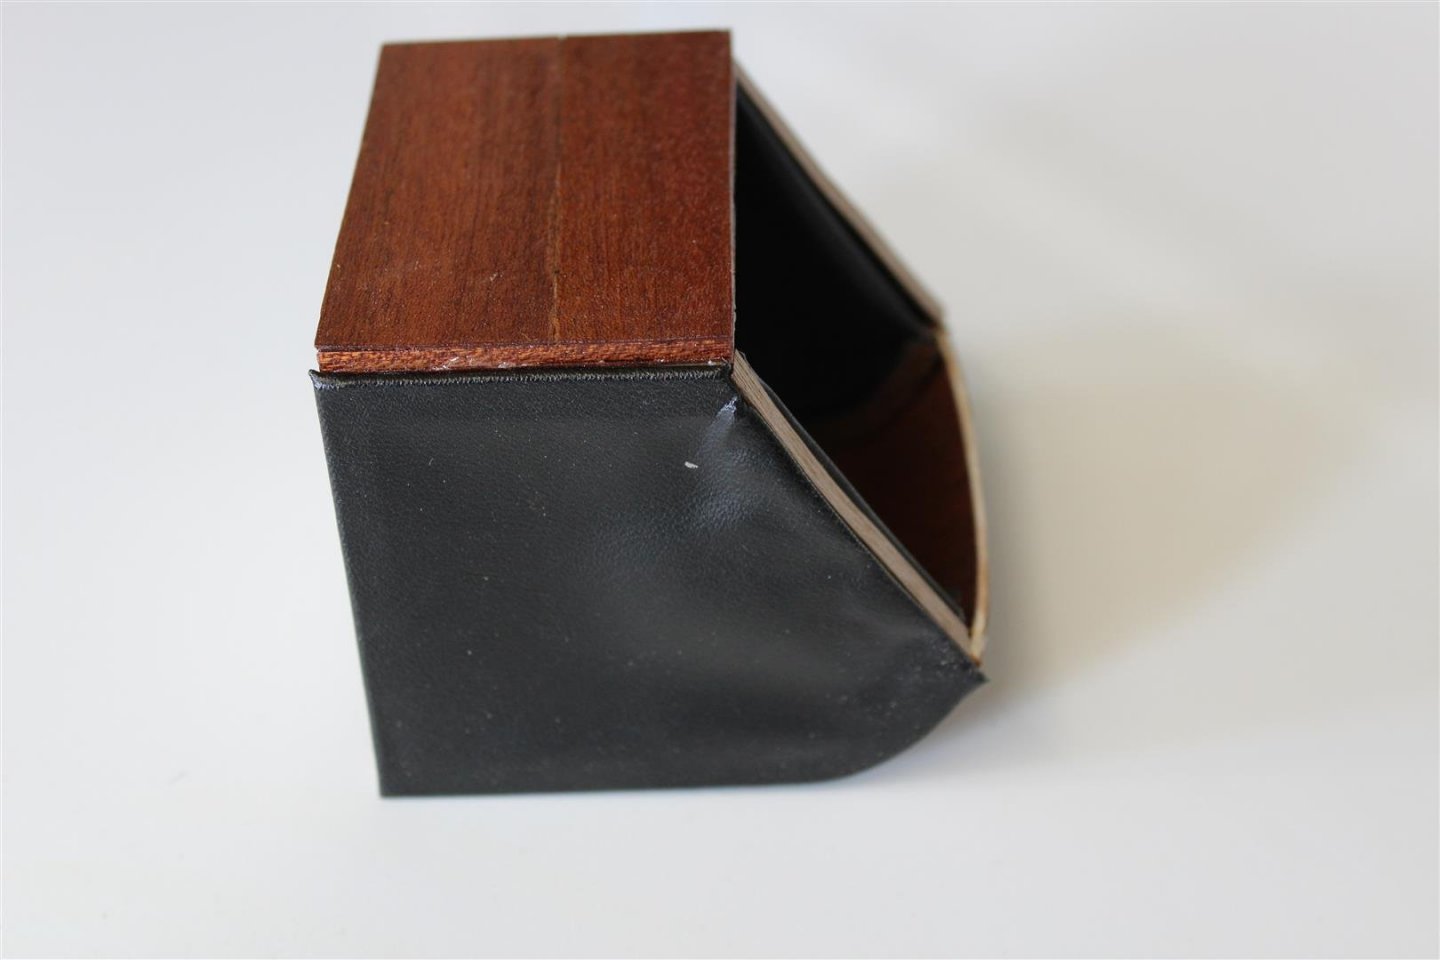
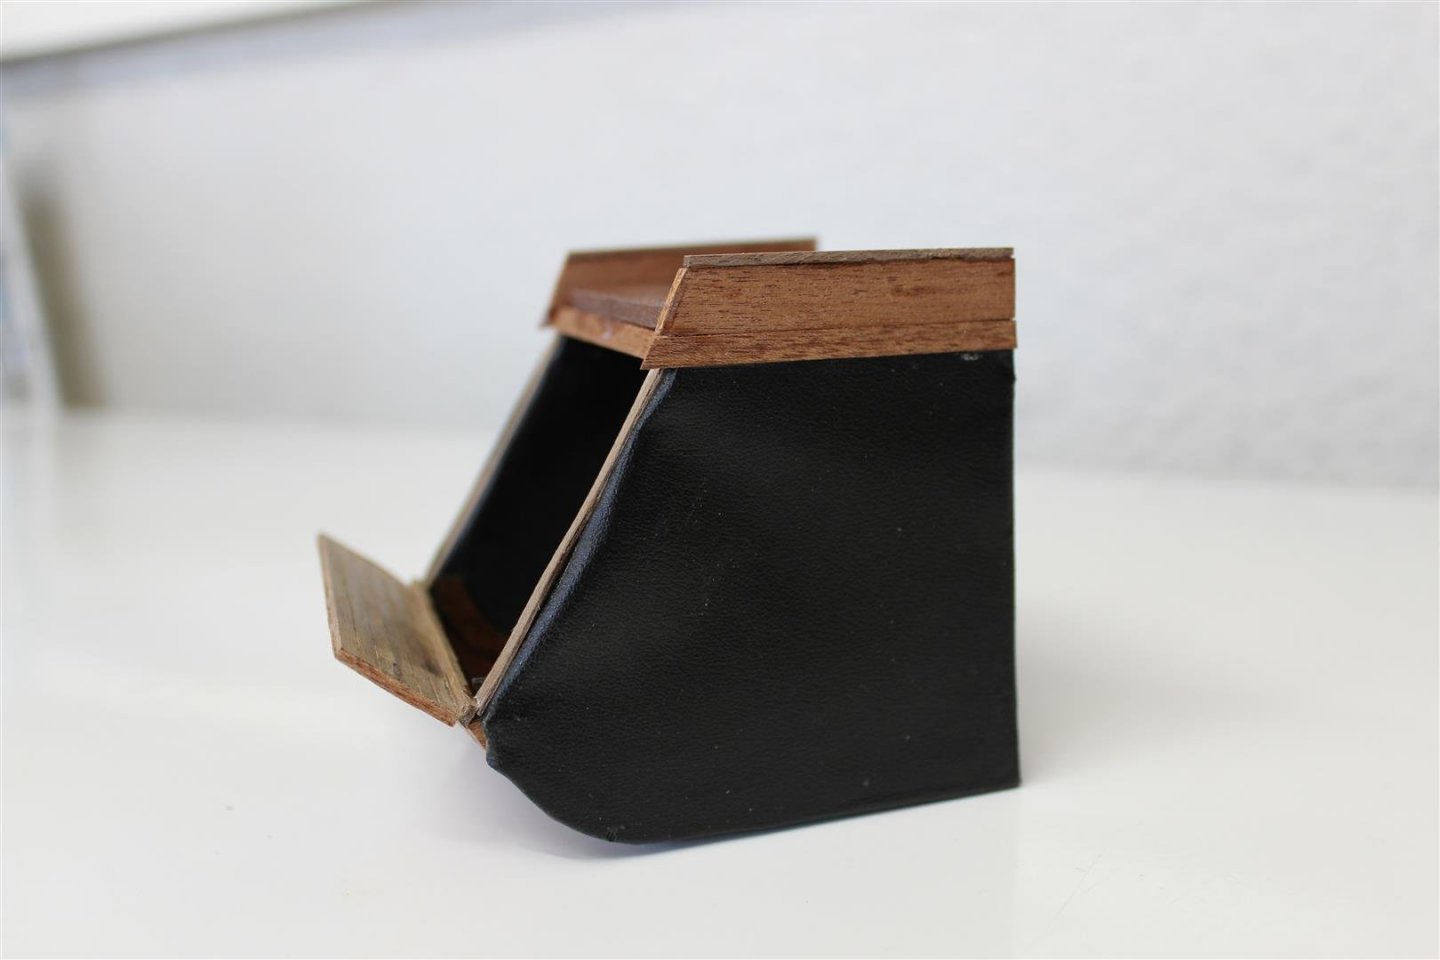
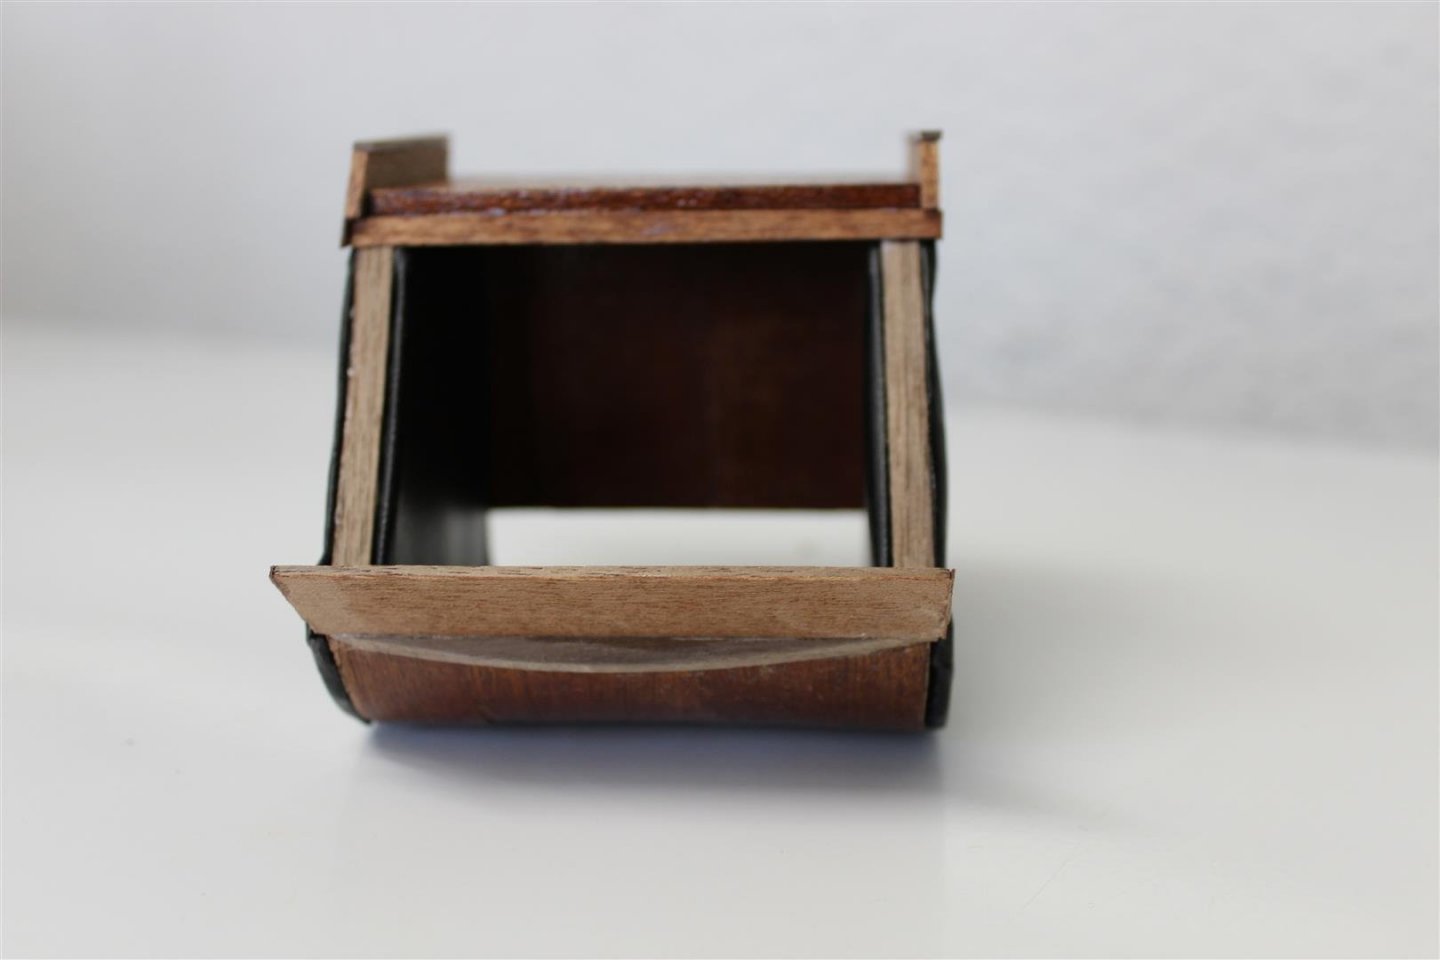
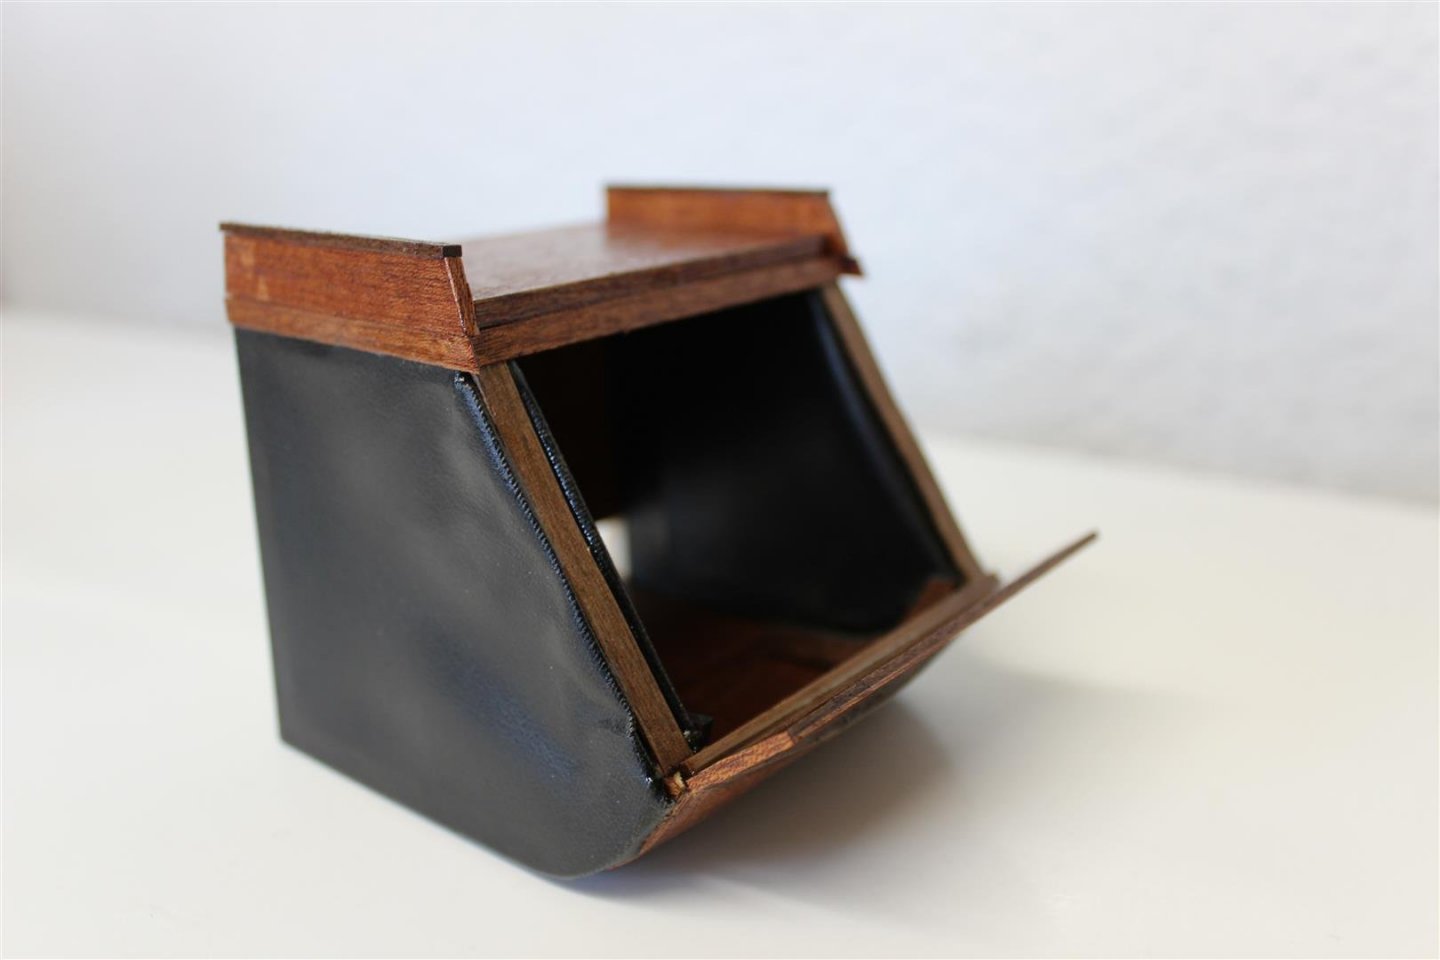
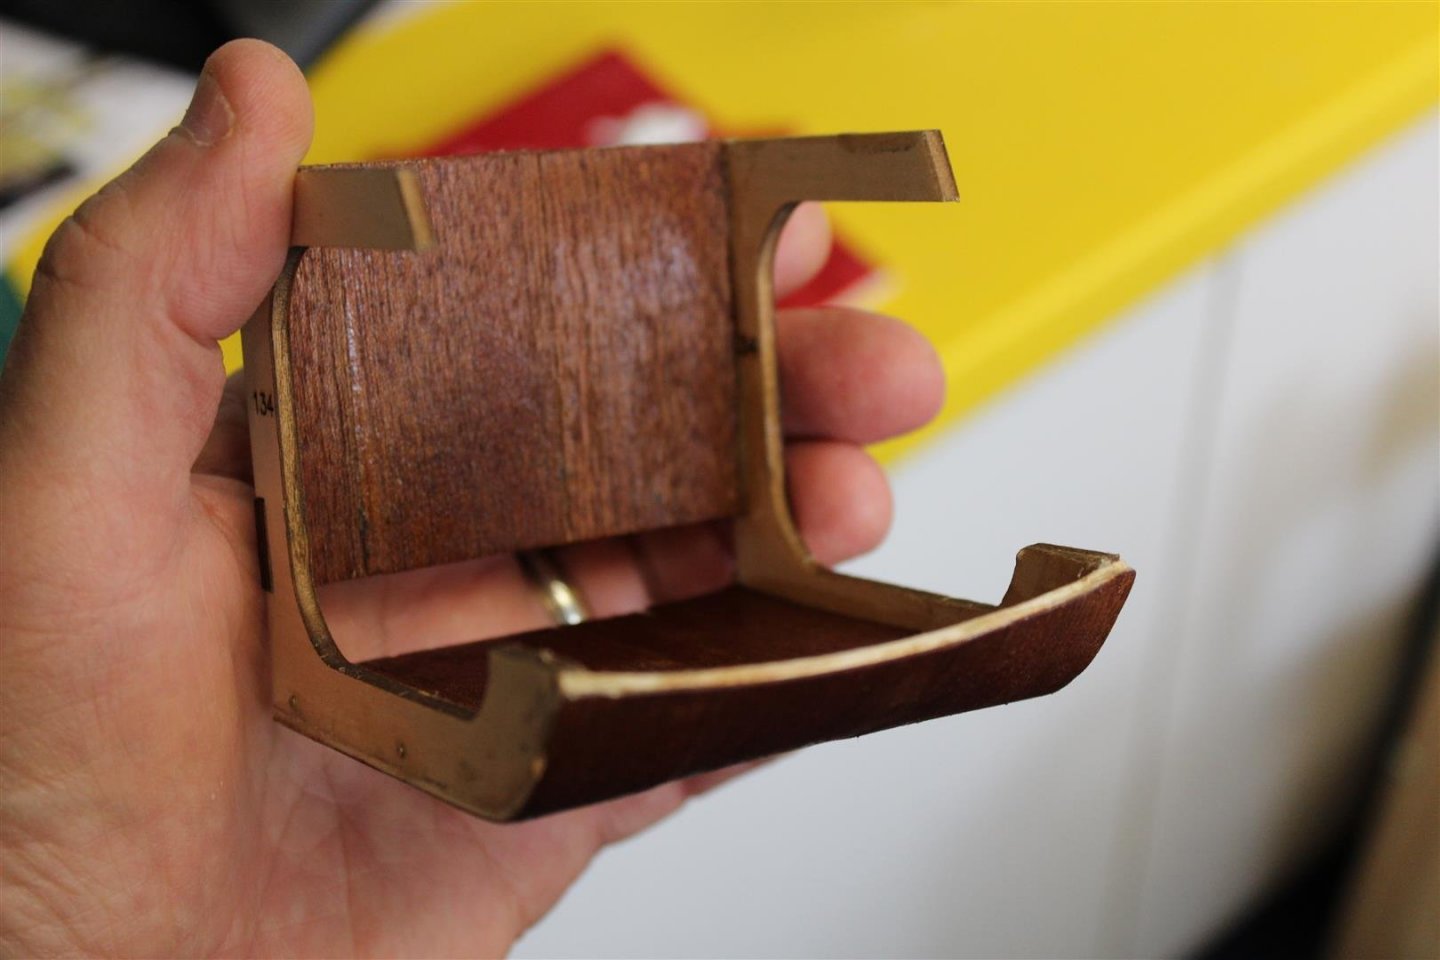
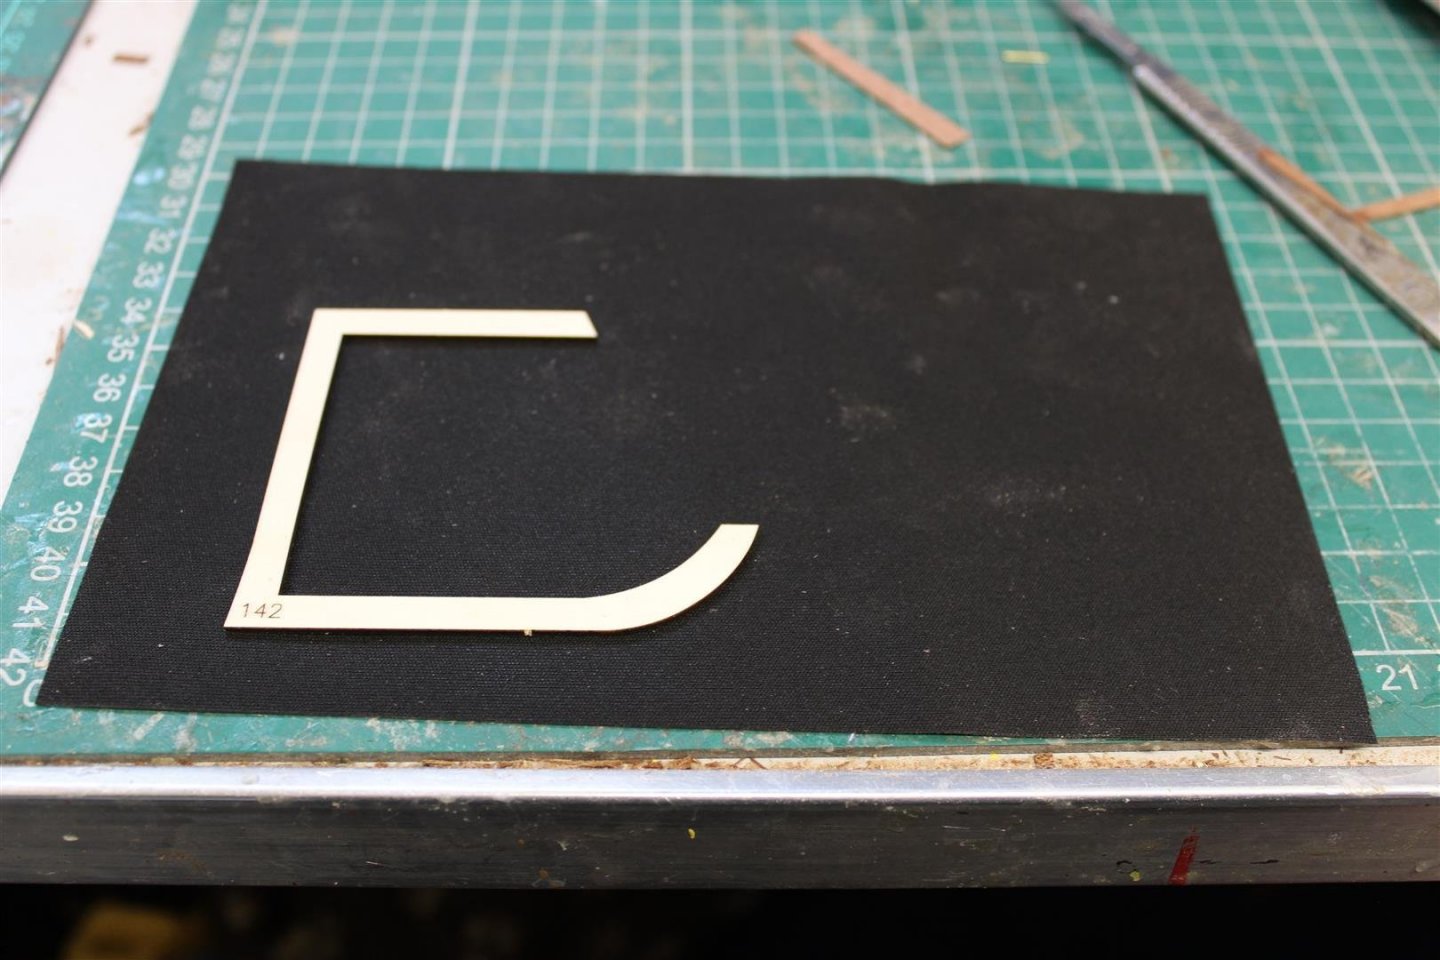
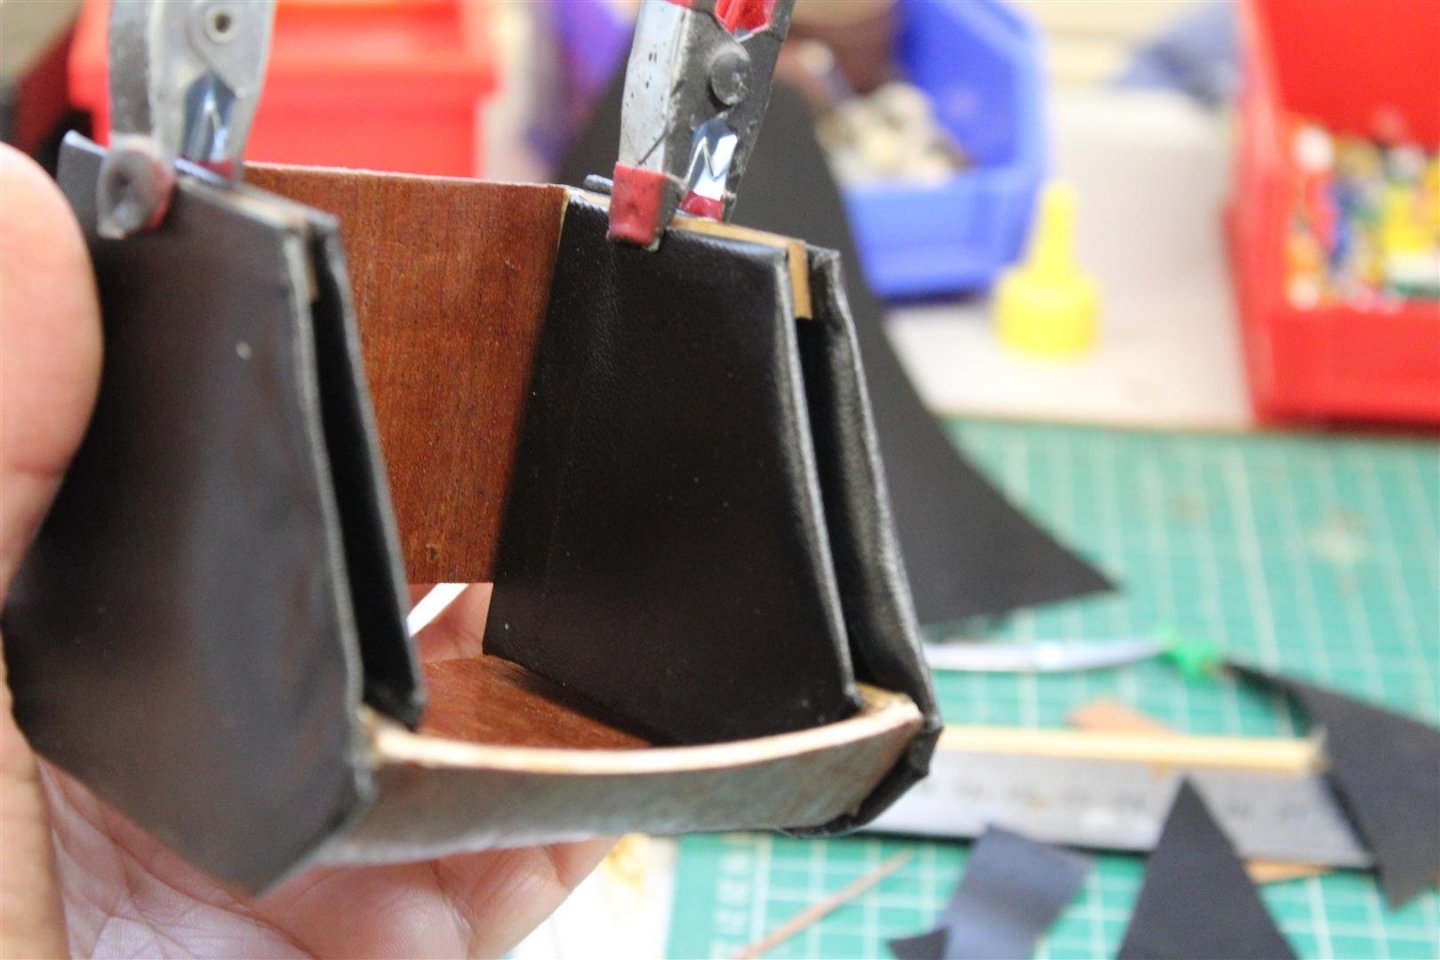
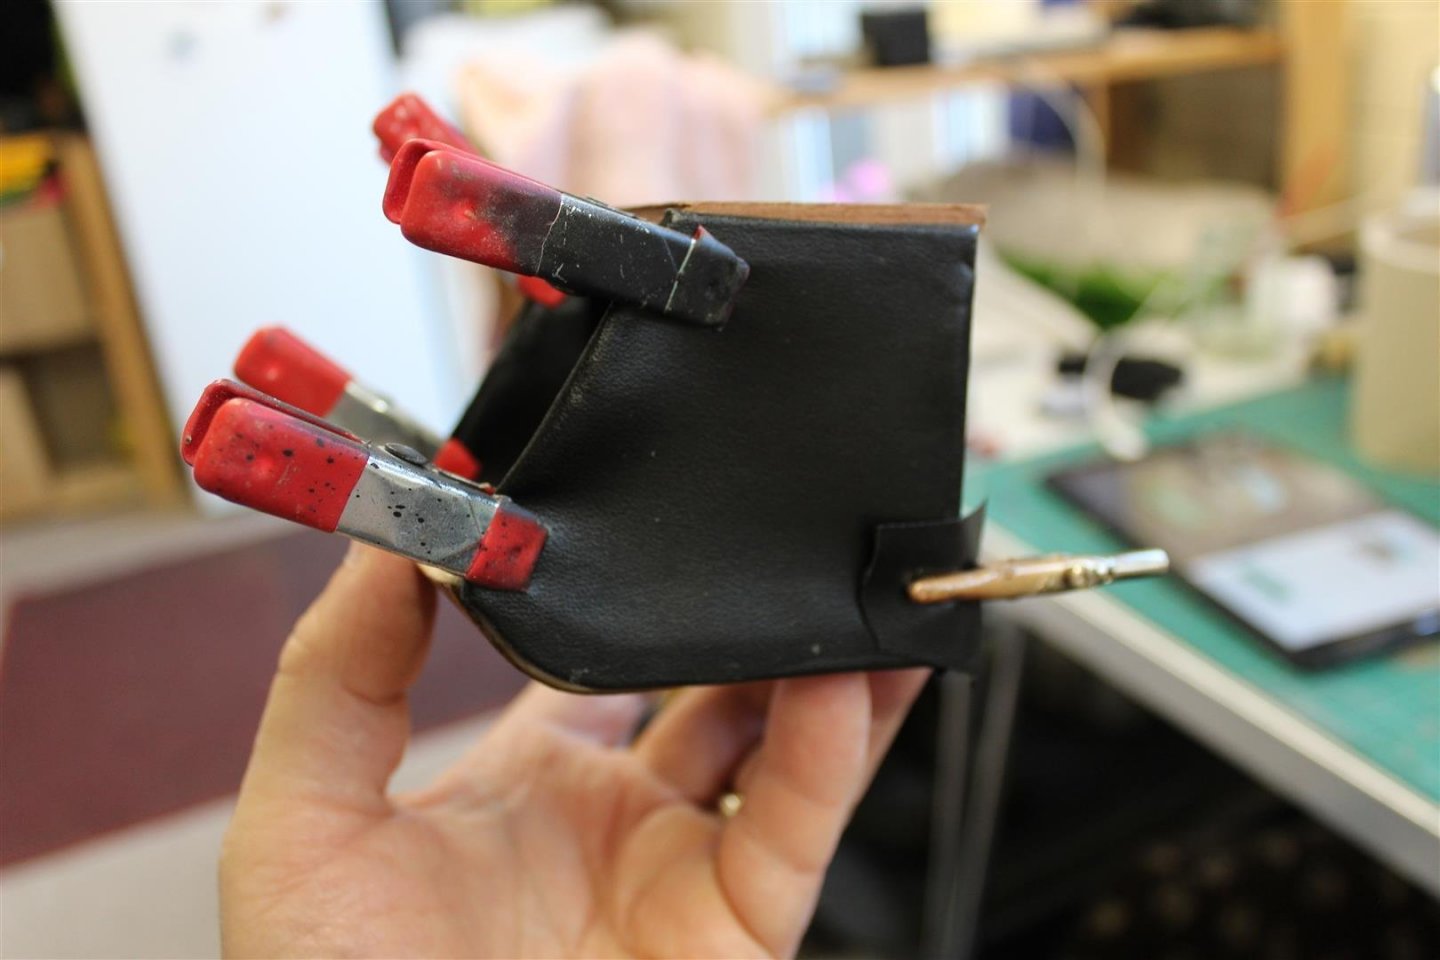
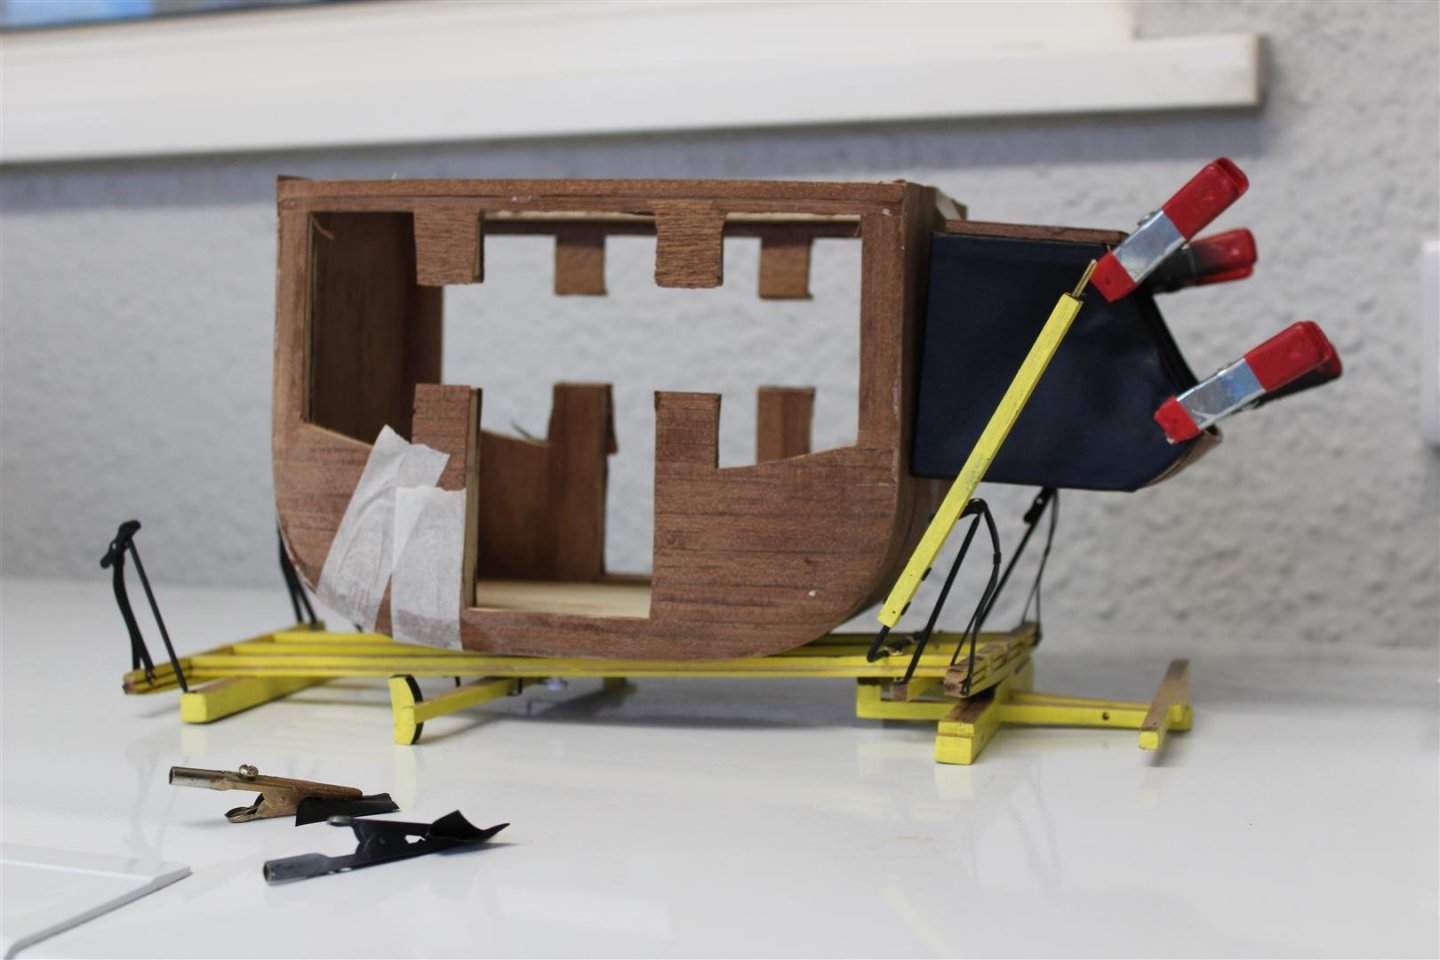
good evening everyone most of the outside cladding is done now and i have been doing a lot of sanding on her today what do you call the box the crew sit on, well what ever it id called, work has progressed on that as well the side panels are leather (well simulated) and this confused me for a while, the material is used to cover both sides of the wooden pieces and pulled across the open area, so why not make it one piece quite a lot still has to be done before i can put this into place, and yes i keep looking at the enterprise, worrying myself on where to restart on her


- 150 replies
-
- 14
-
-
thank you mark thank you OC
-
thank you Mike
-
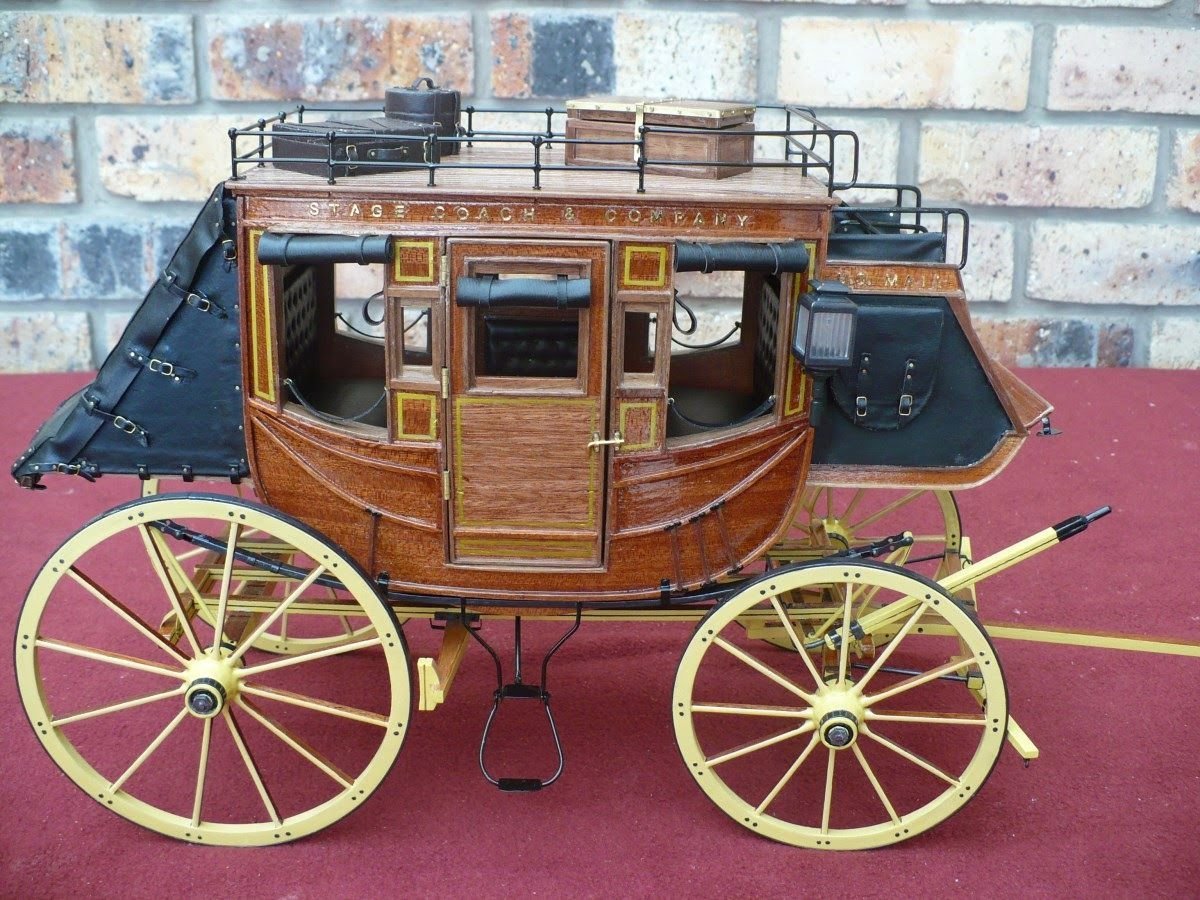
well she made it back into the mancave, but the stagecoach must be completed first, i have promised myself

- 312 replies
-
- 20
-
-

-
- enterprise
- caf
- (and 1 more)
-
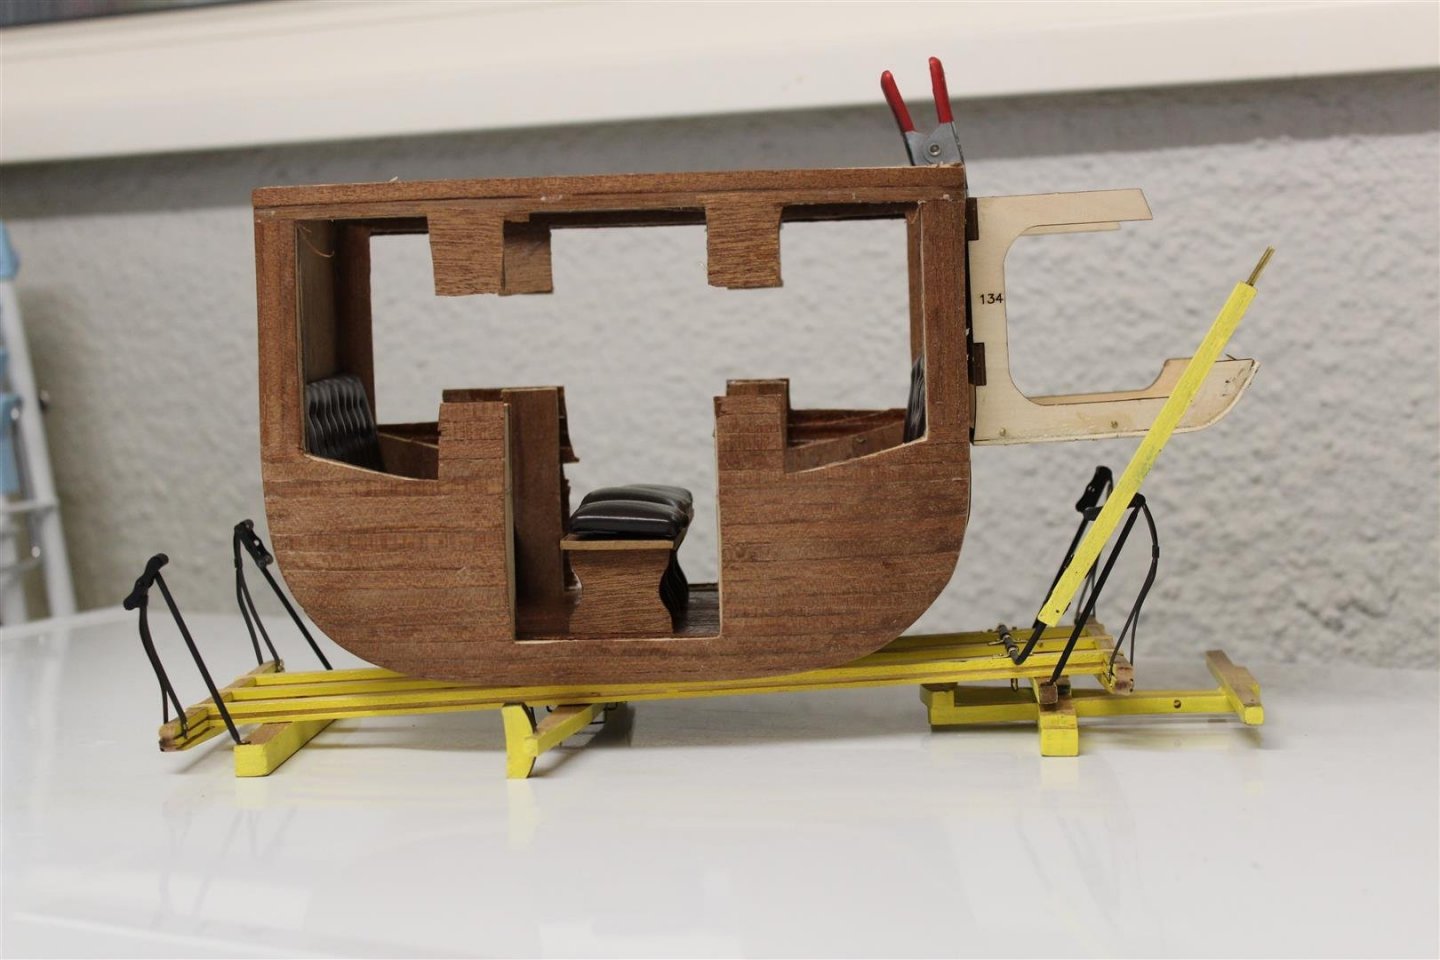
good evening everyone thank you for the comments, i got the Enterprise out of storage, did a lot of contemplating, and thought i need to finish something, I have very little to show for this year, other than the display case, im aware its not a race but that’s me so the coach continues both sides are now pretty well covered, and the wrapping of the ends is going on, a lot of sanding is required the final couple are with the seats just placed in for now to see how she looks


- 150 replies
-
- 14
-
-
so pleased you updated this log, i will be restarting my soon
- 60 replies
-
- 1
-
-
- enterprize
- caf
- (and 1 more)
-
Good idea mark
.JPG.5a1f126d7ebca3a5e8553fc78a589044.JPG)