HOLIDAY DONATION DRIVE - SUPPORT MSW - DO YOUR PART TO KEEP THIS GREAT FORUM GOING! (Only 66 donations so far out of 49,000 members - Can we at least get100? C'mon guys!)
×


Kevin
-
Posts
7,010 -
Joined
-
Last visited
Content Type
Profiles
Forums
Gallery
Events
Everything posted by Kevin
-
 not many seats available, in fact there are two and one of them is for me, I never expected anyone to follow, its free popcorn, coffee and bar over in the corner
- 317 replies
-
- 6
-

-
- enterprise
- caf
- (and 1 more)
-
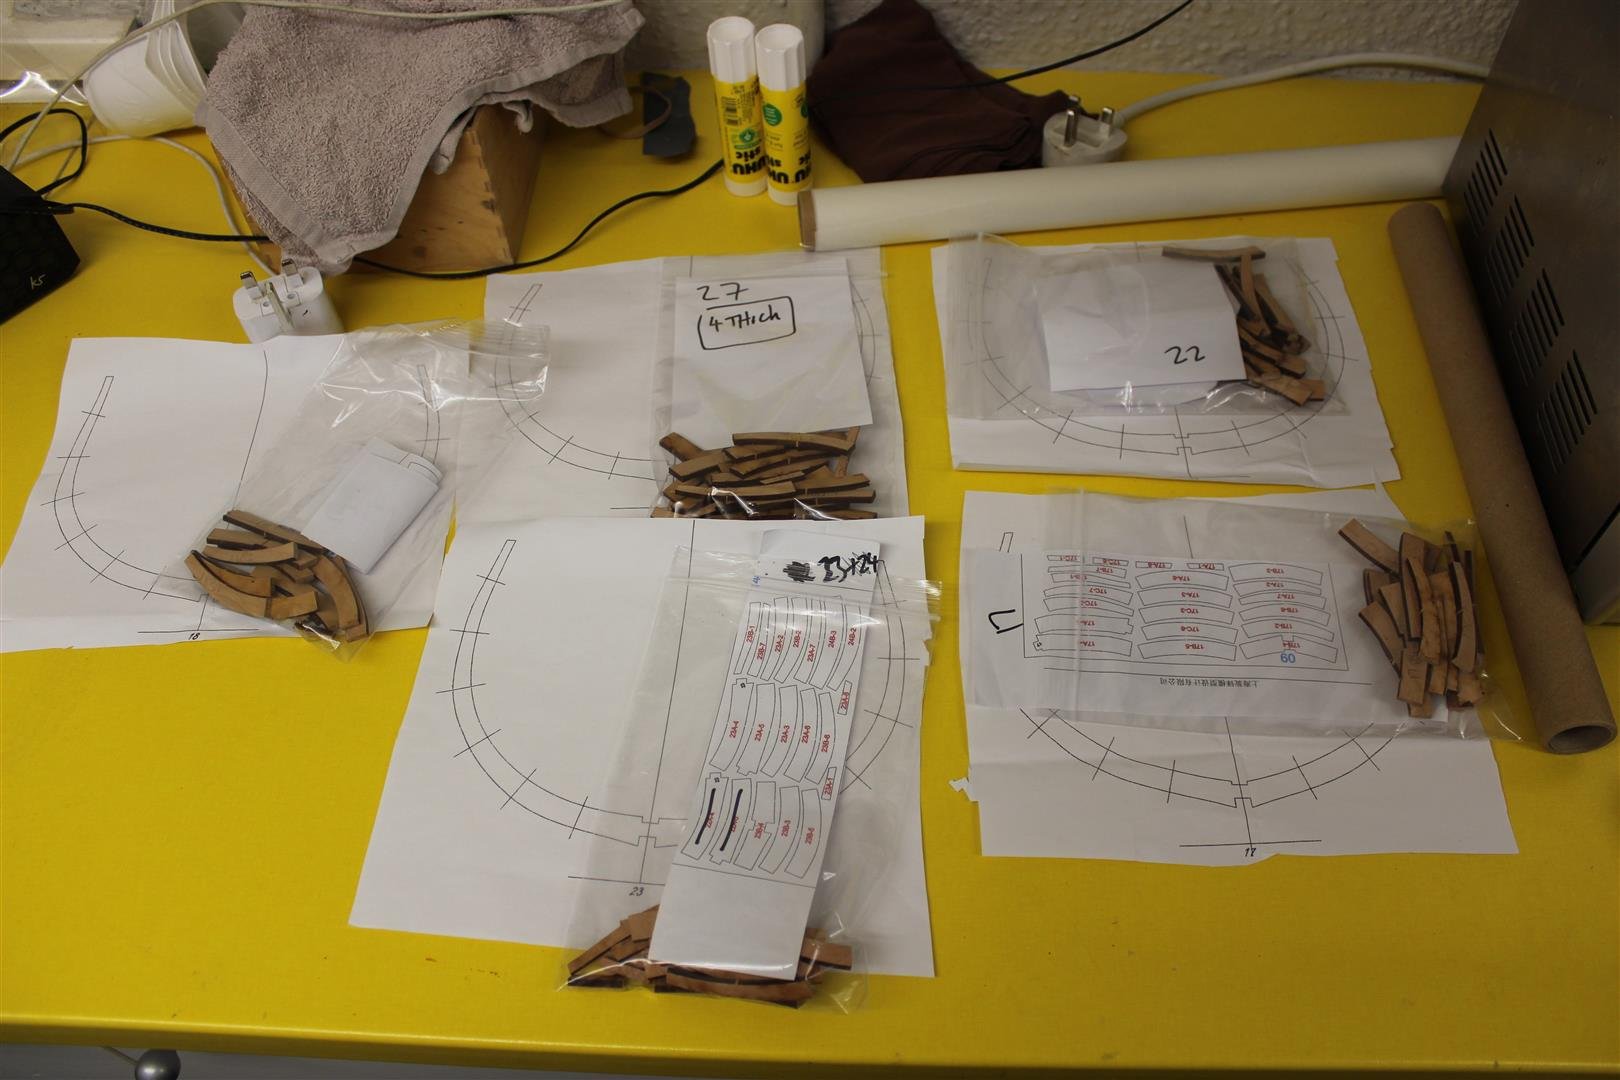
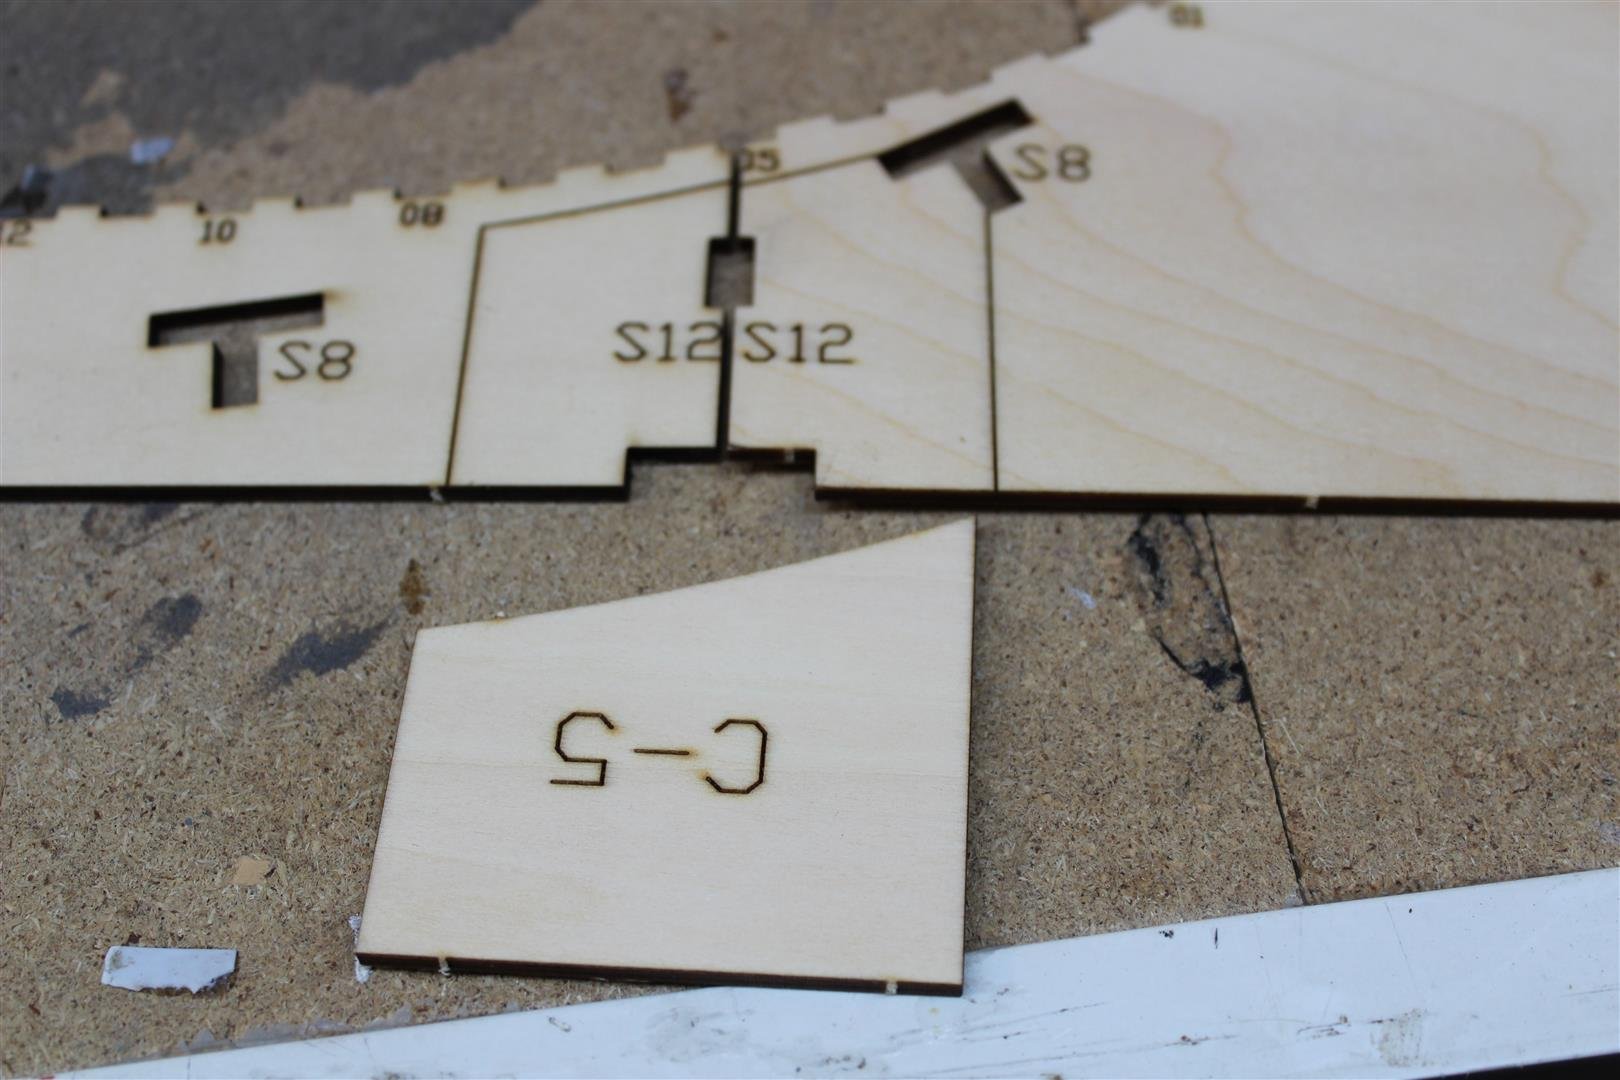
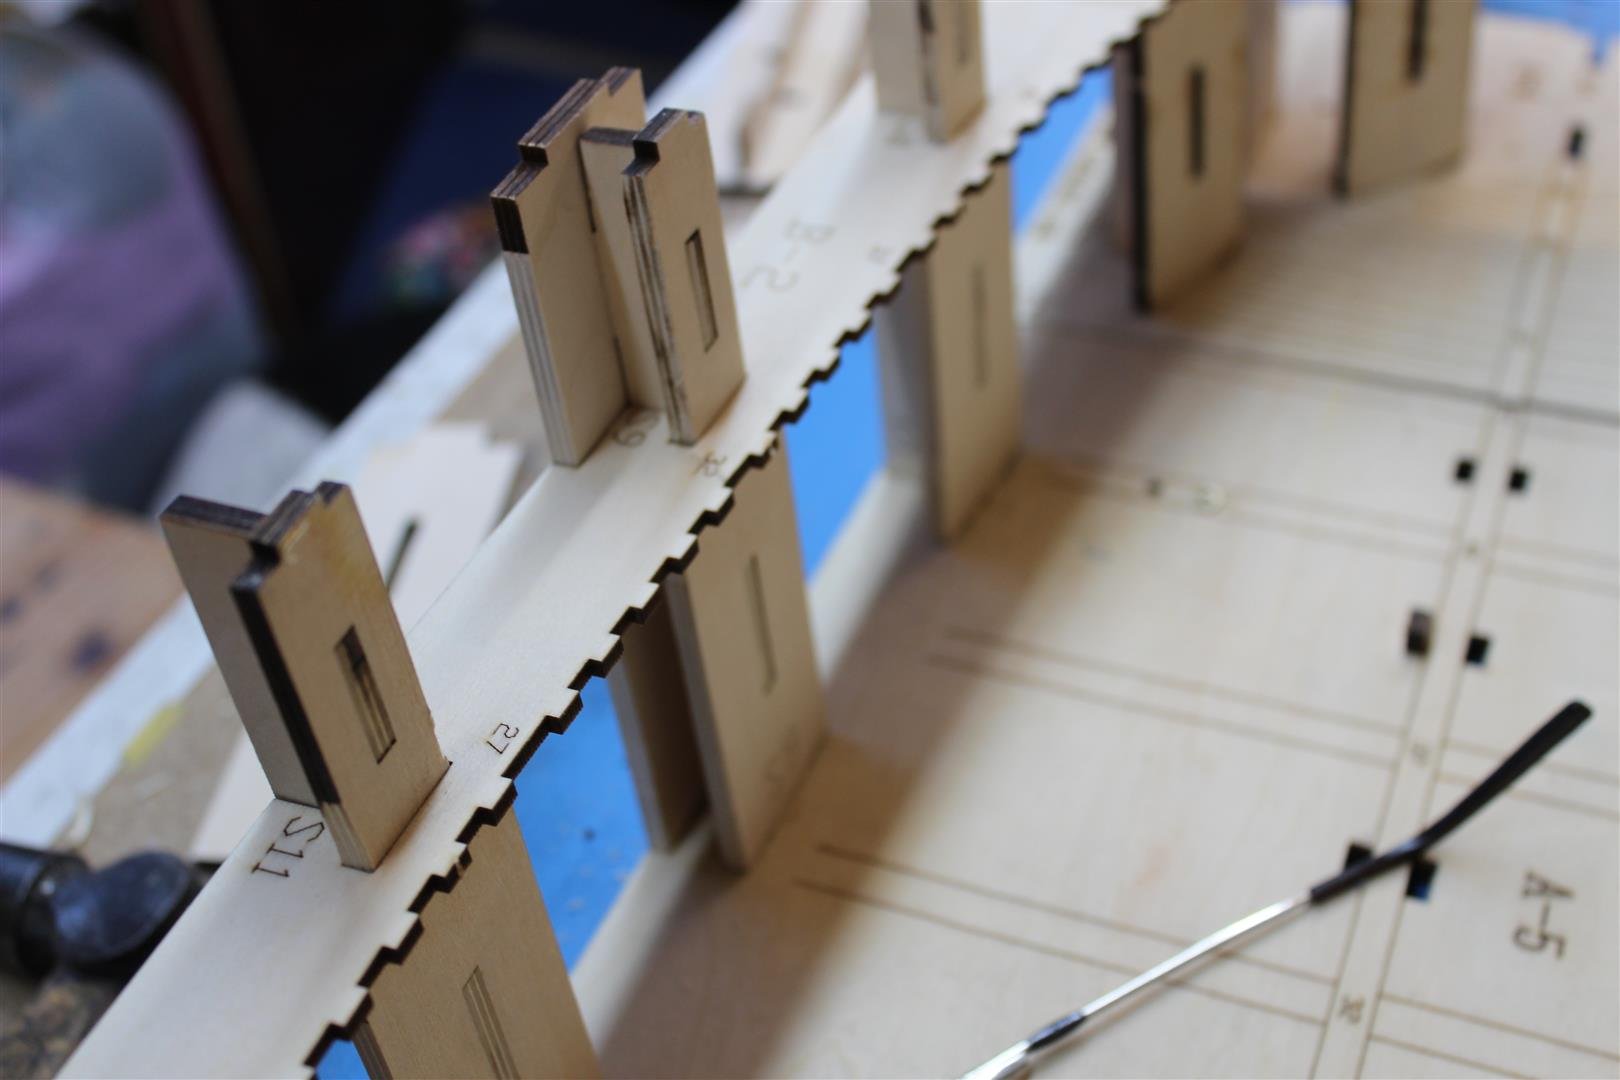
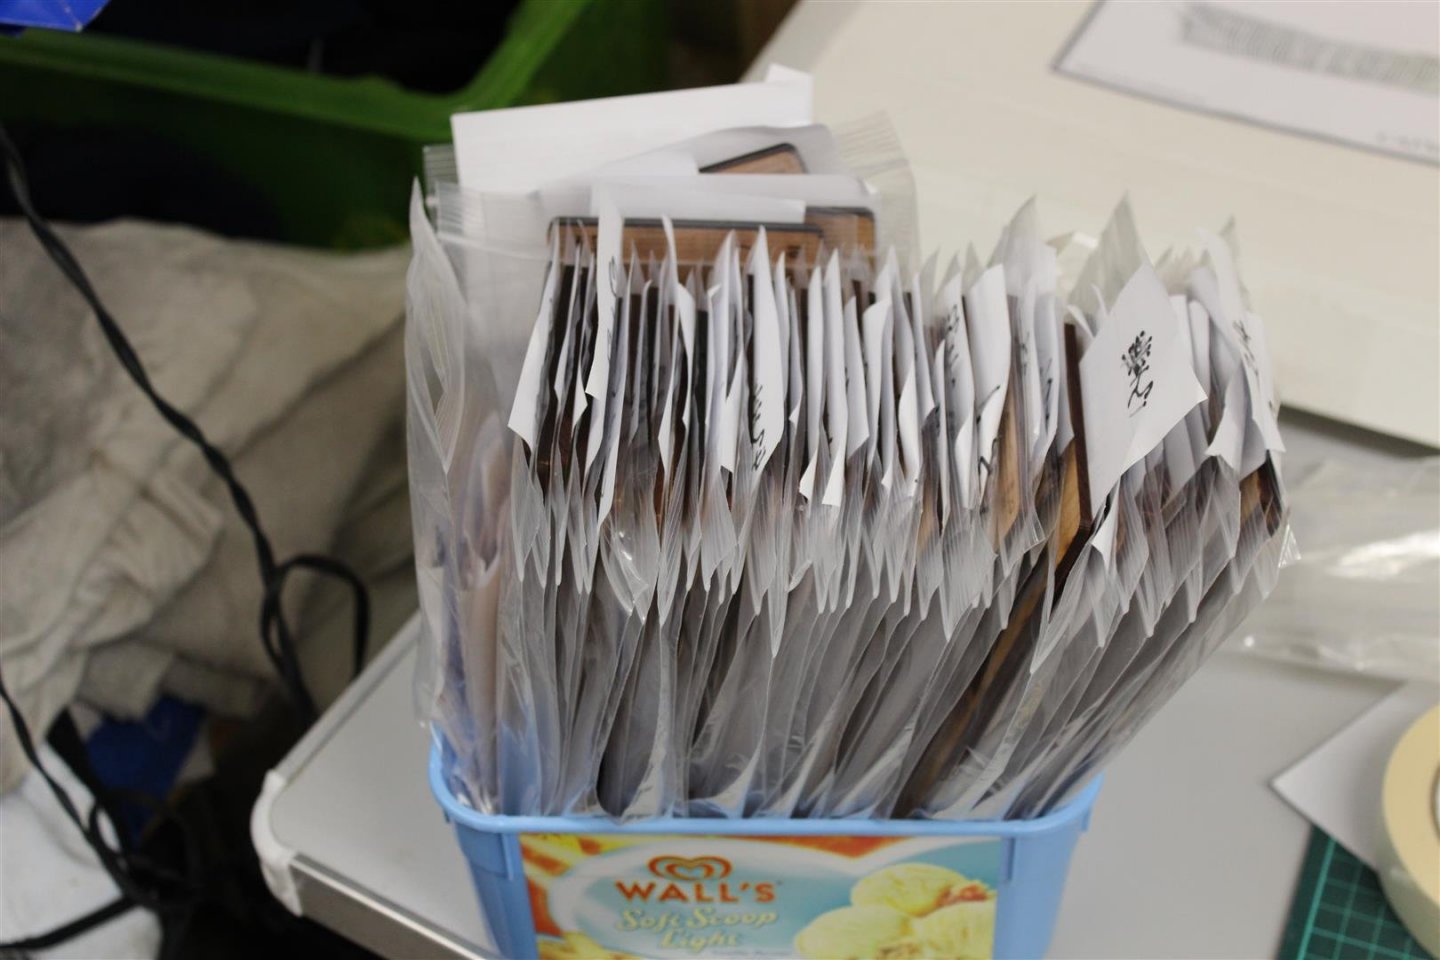
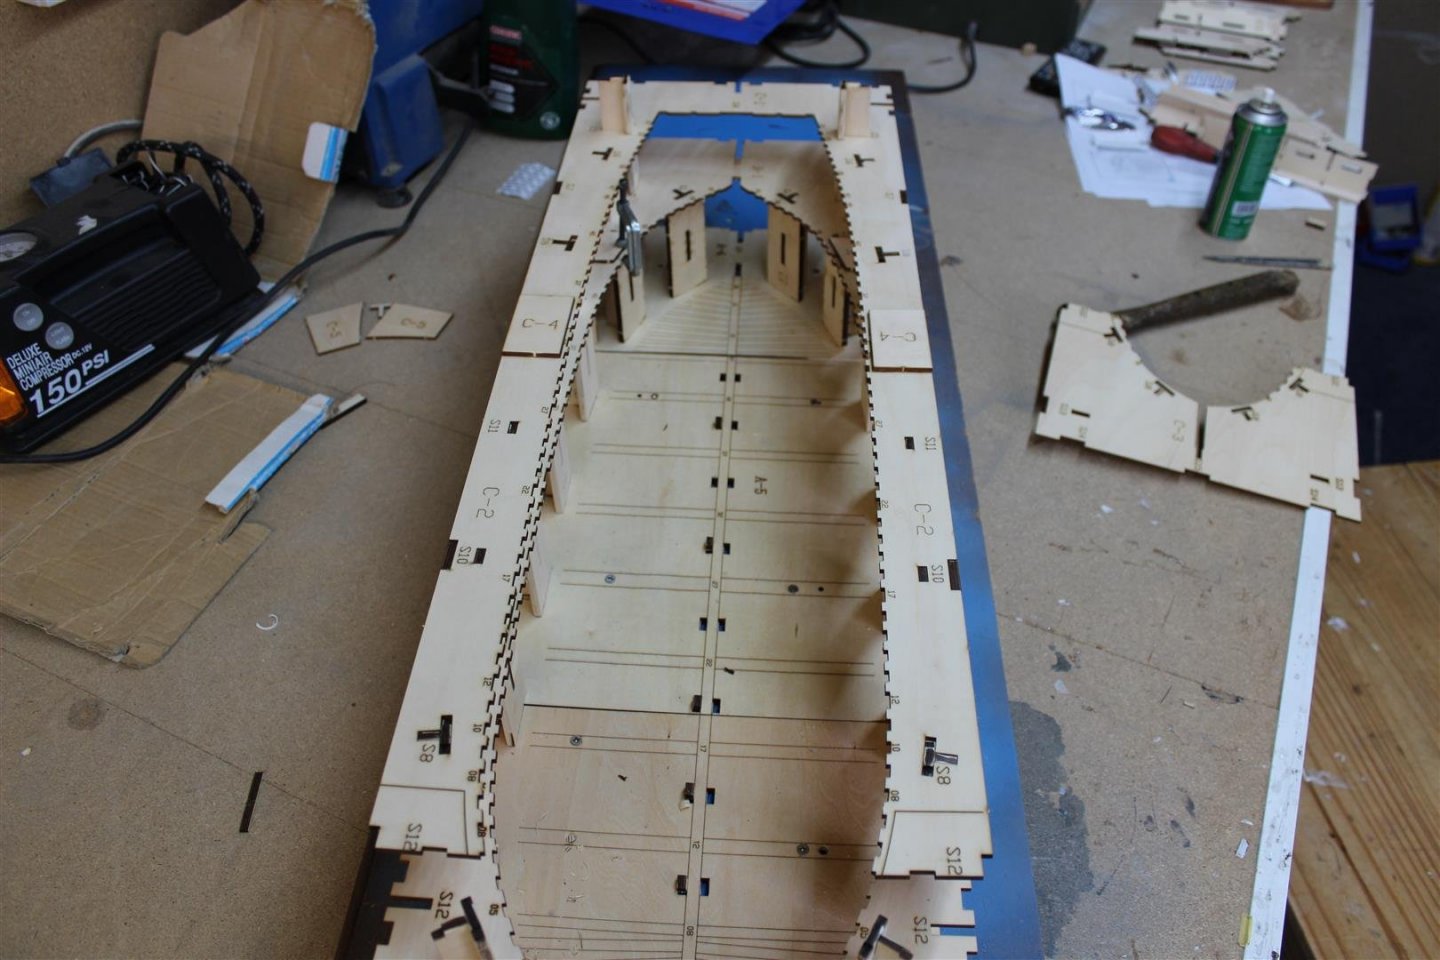
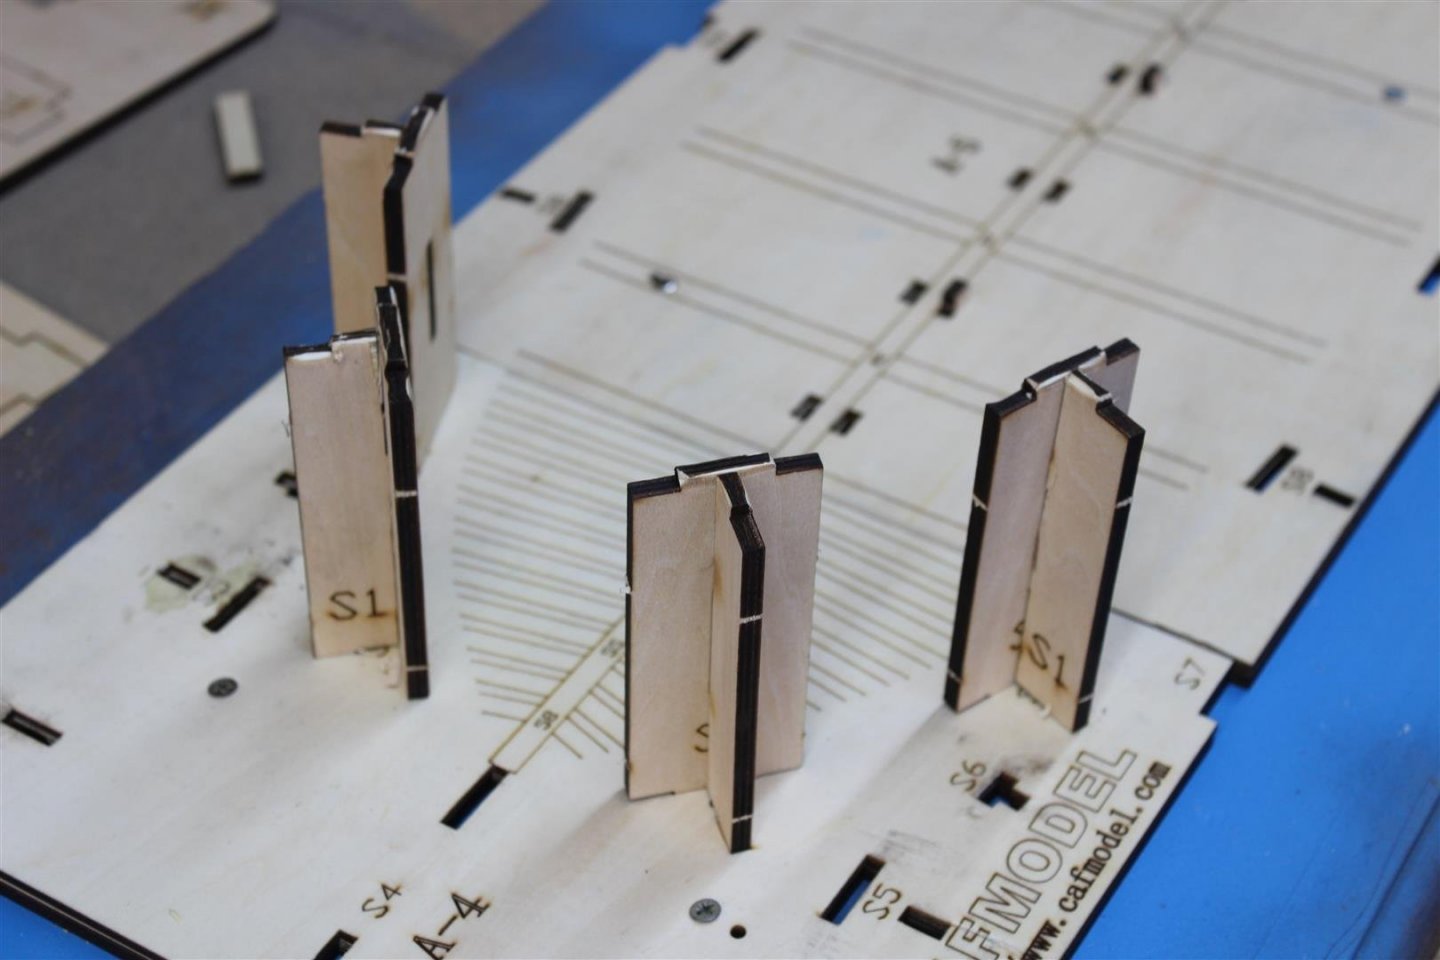
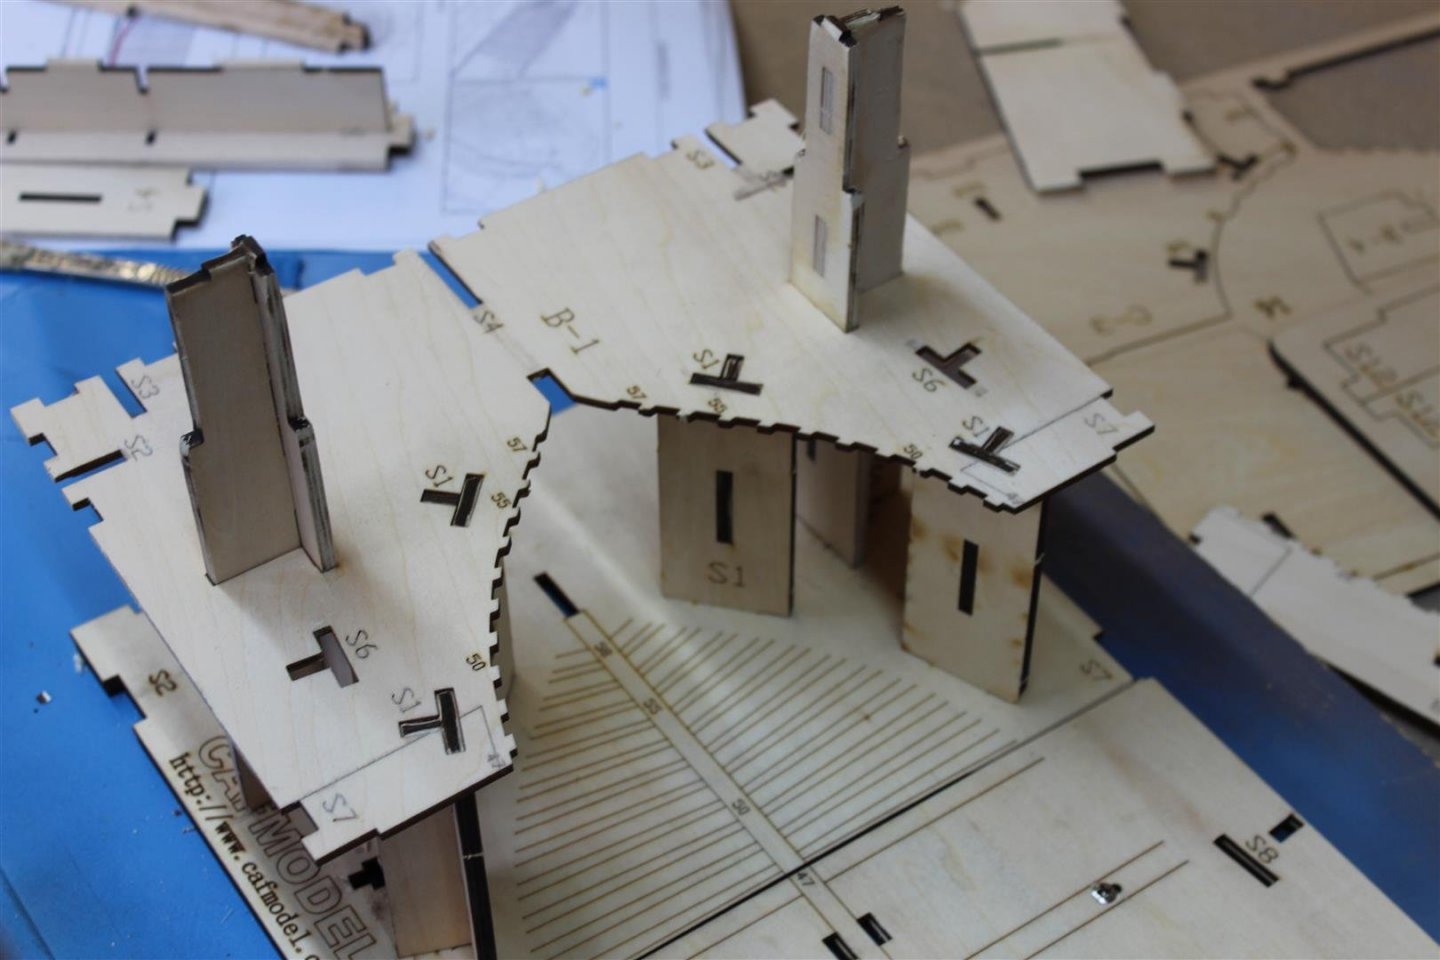
good evening everyone thank you for comments and likes Day 6 keel and frames i have a little routine going on now all the frame parts have been identified and bagged doing a few at a time they have been removed from the frets and the ends have met the bench sander as required the required plan is found and frame built up so far 6 have been completed the top two in the photo are going back uder the weights as they are just out for the photo

- 317 replies
-
- 22
-
-
- enterprise
- caf
- (and 1 more)
-
i hope you find what it is that troubling you, but more clutter, like fenders or fish boxes would not go amiss, lovely work
-
Morning ASAT its fun though, no longer will i be able to moan about not being right, if it wrong, its got to be me https://www.cafmodel.com/hms-enterprise-1774-p0034.html
- 317 replies
-
- 3
-
-
- enterprise
- caf
- (and 1 more)
-
lol i will build it, and they will come (or words to that effect)
- 317 replies
-
- 4
-
-
- enterprise
- caf
- (and 1 more)
-
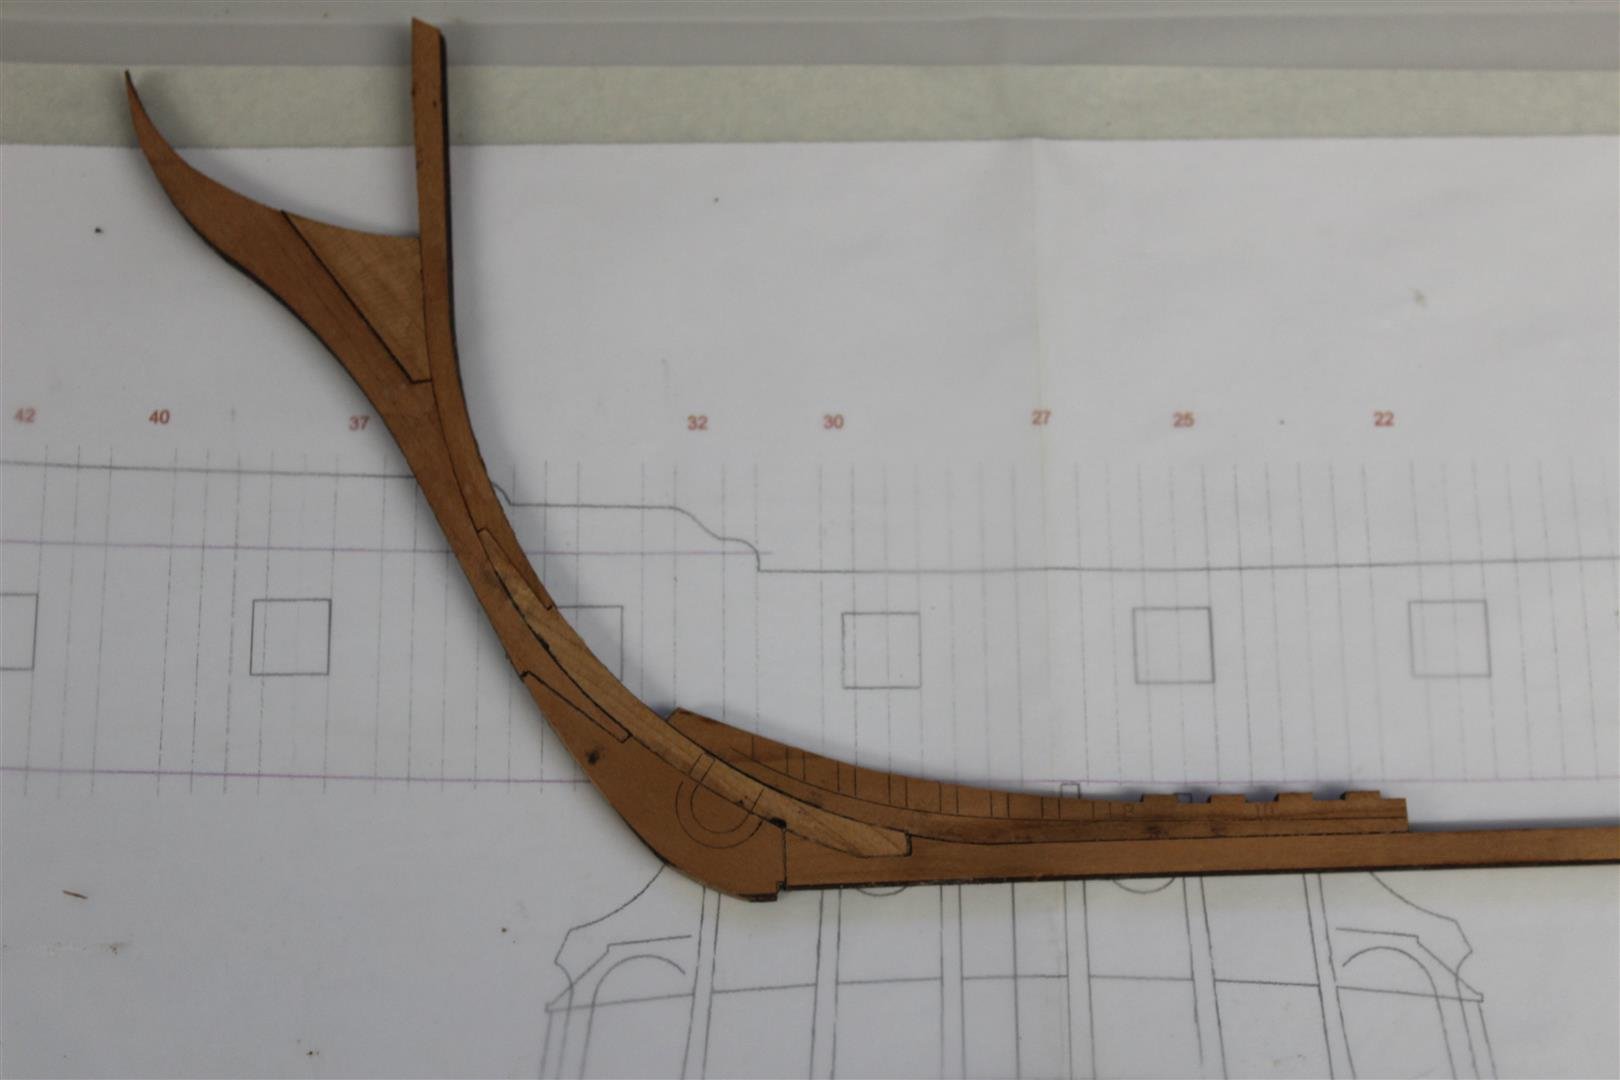
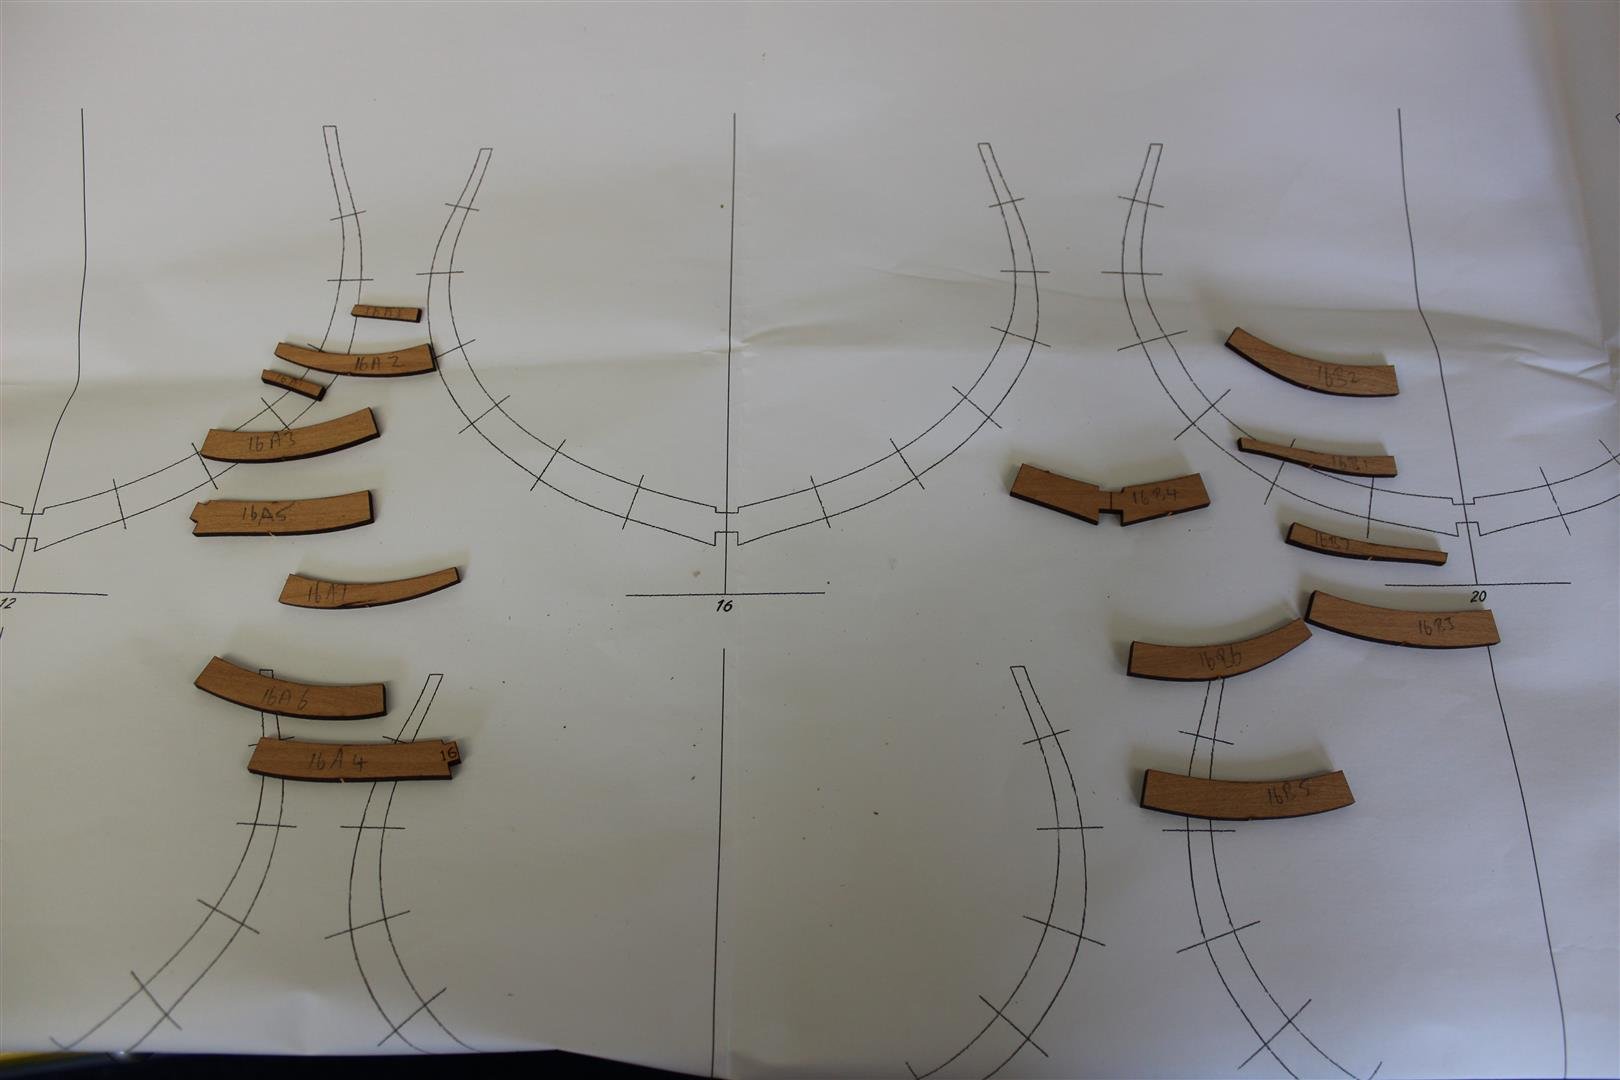
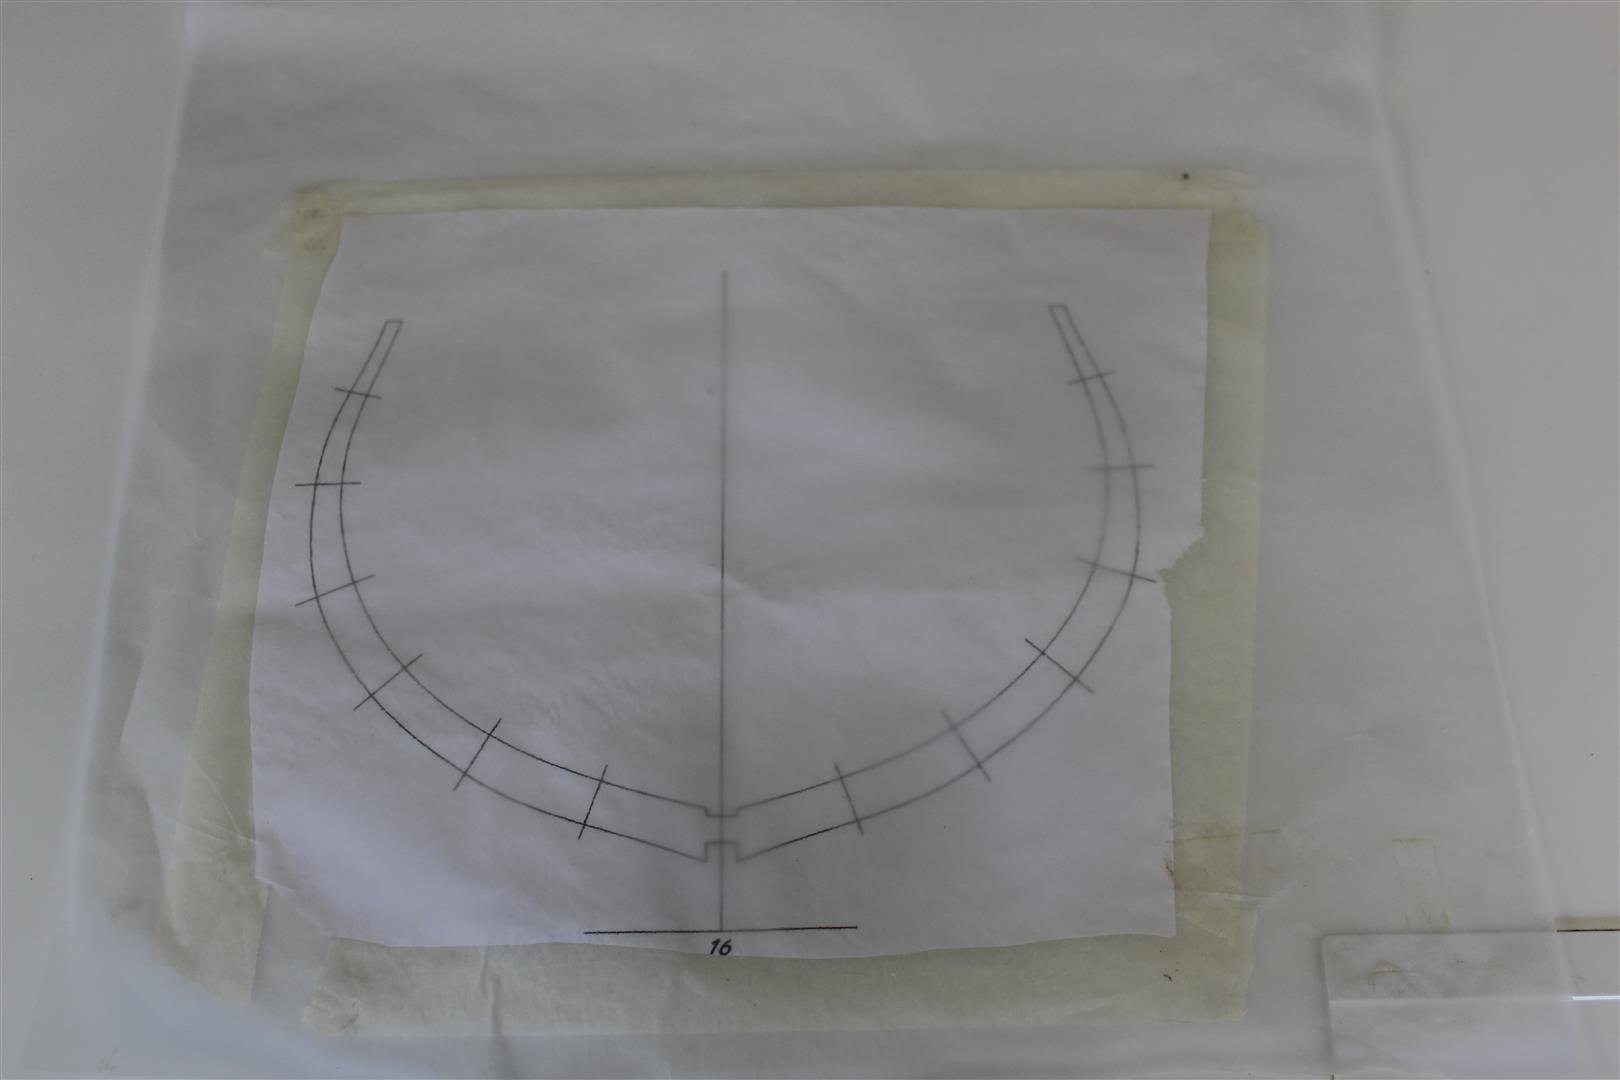
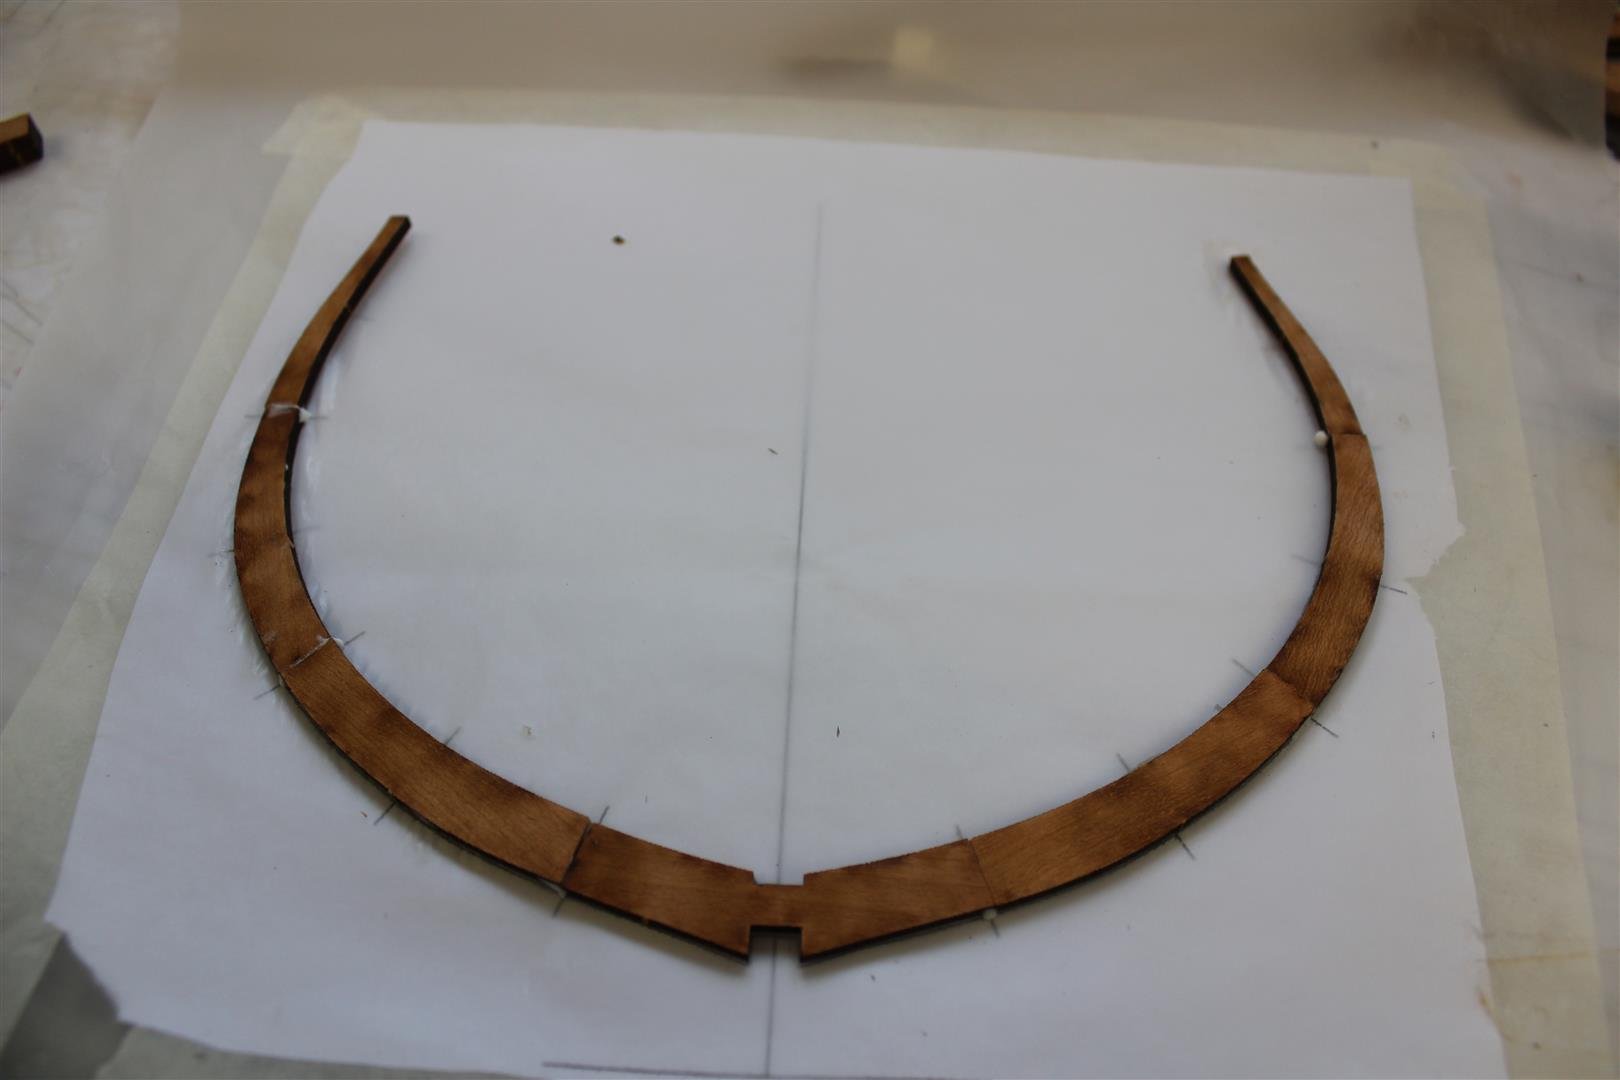
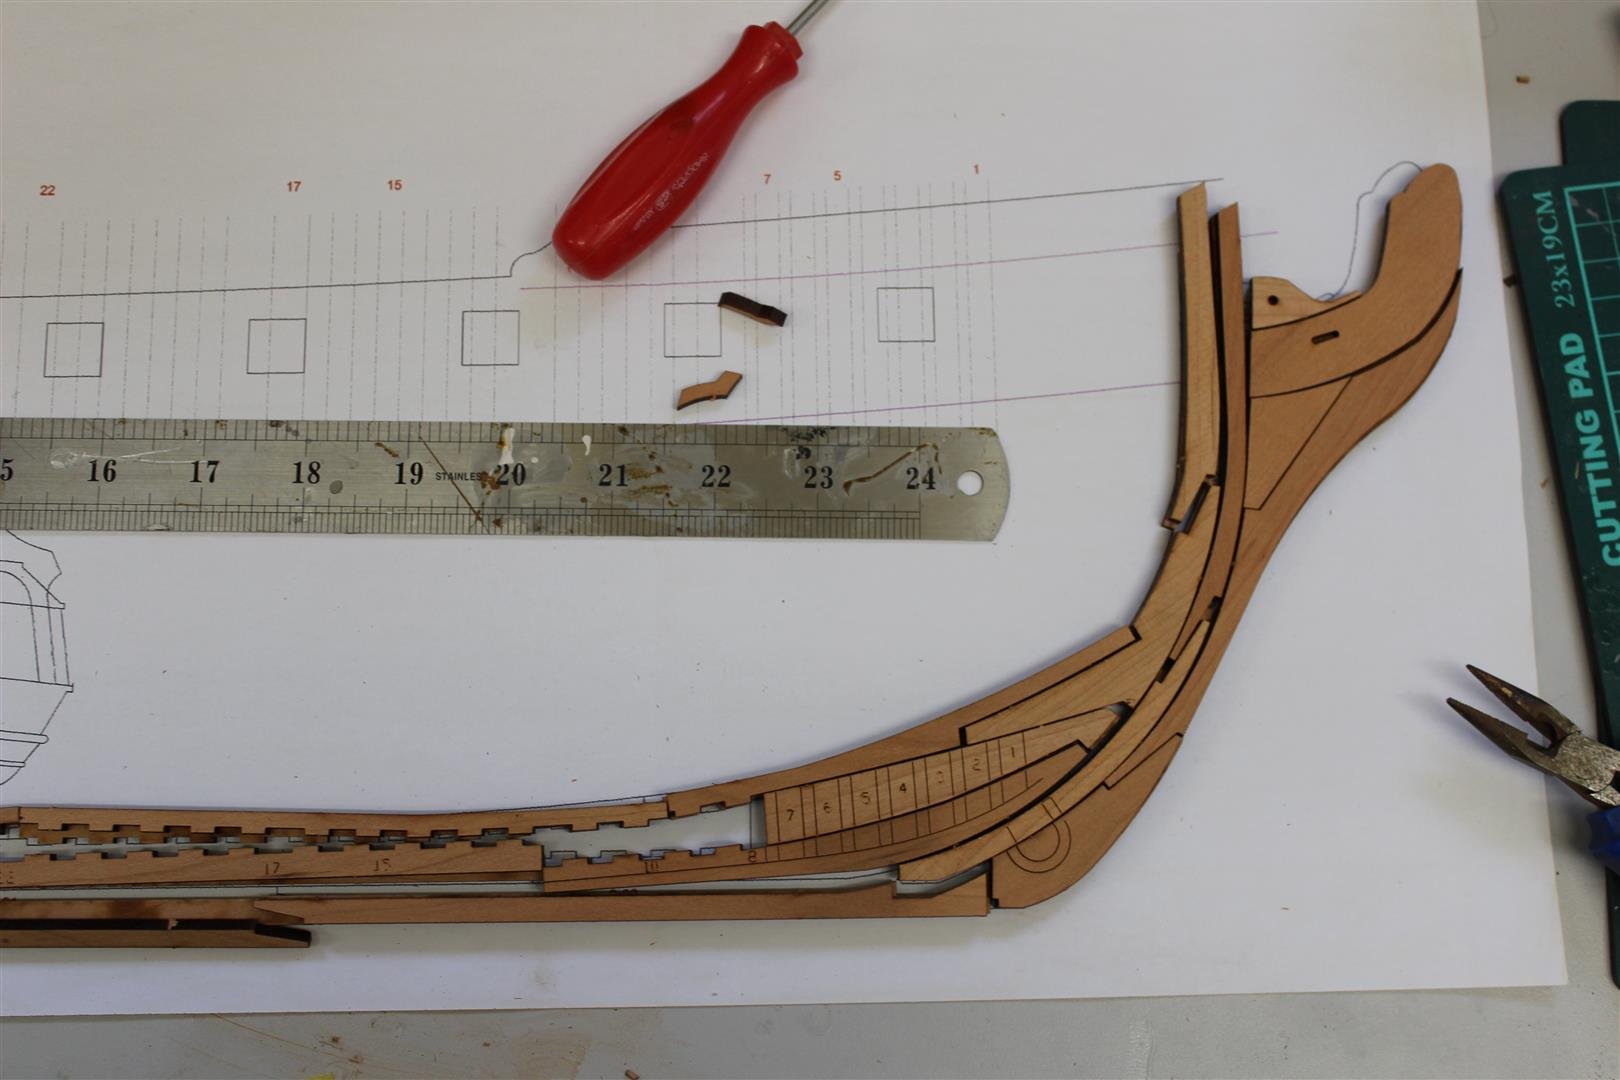
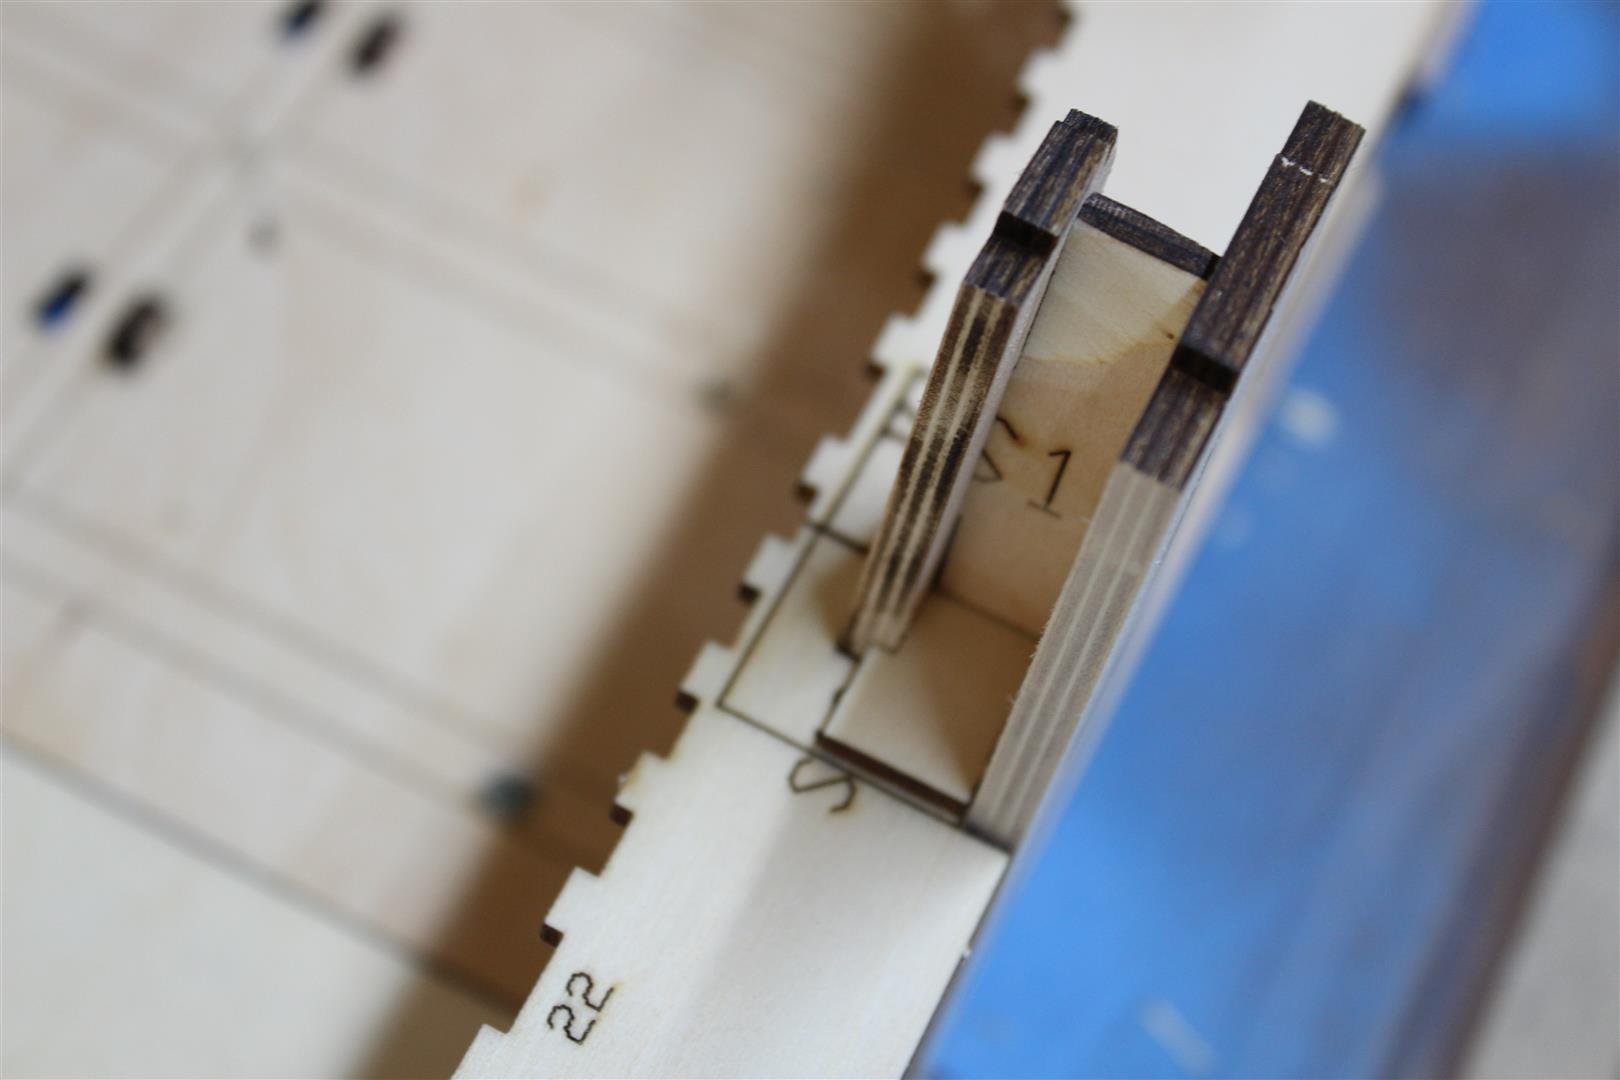
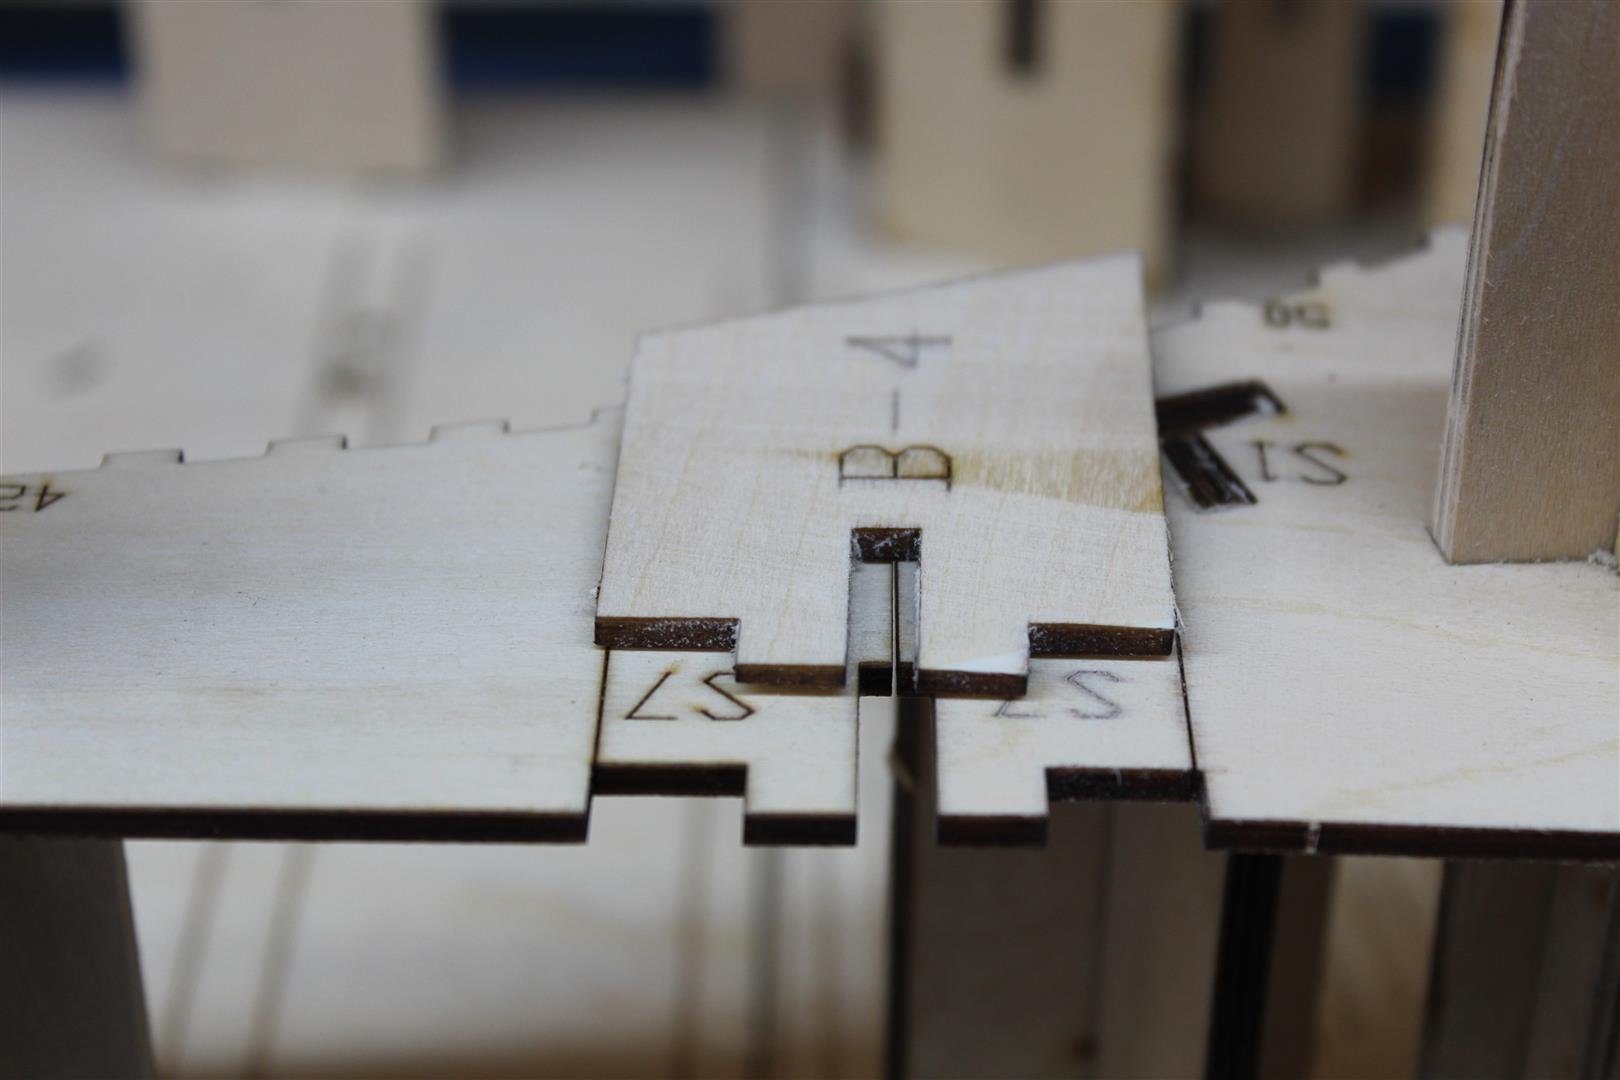
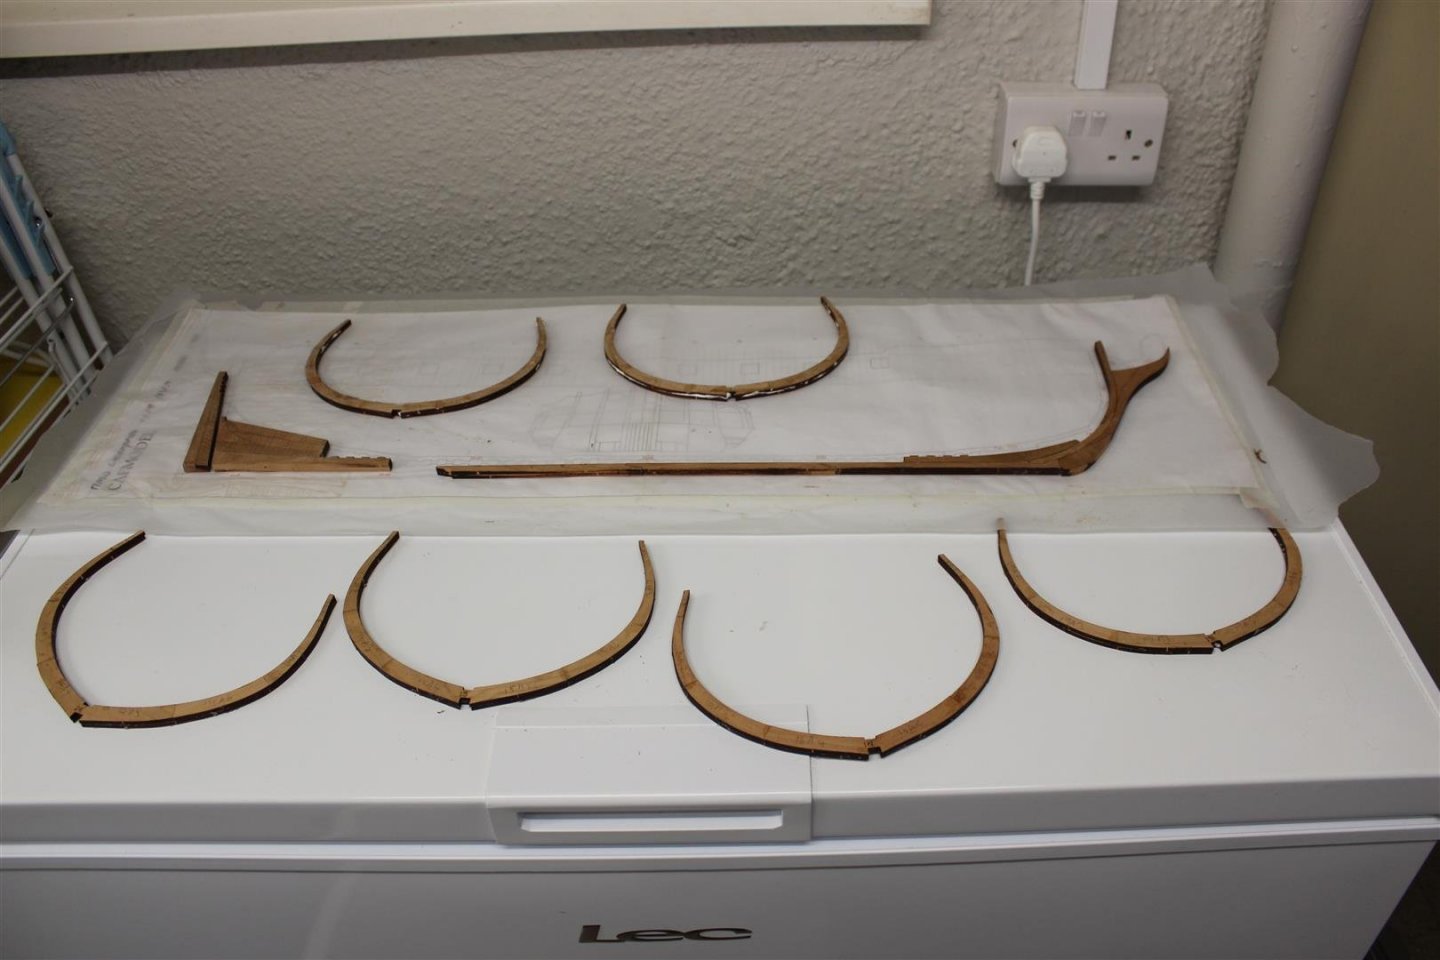
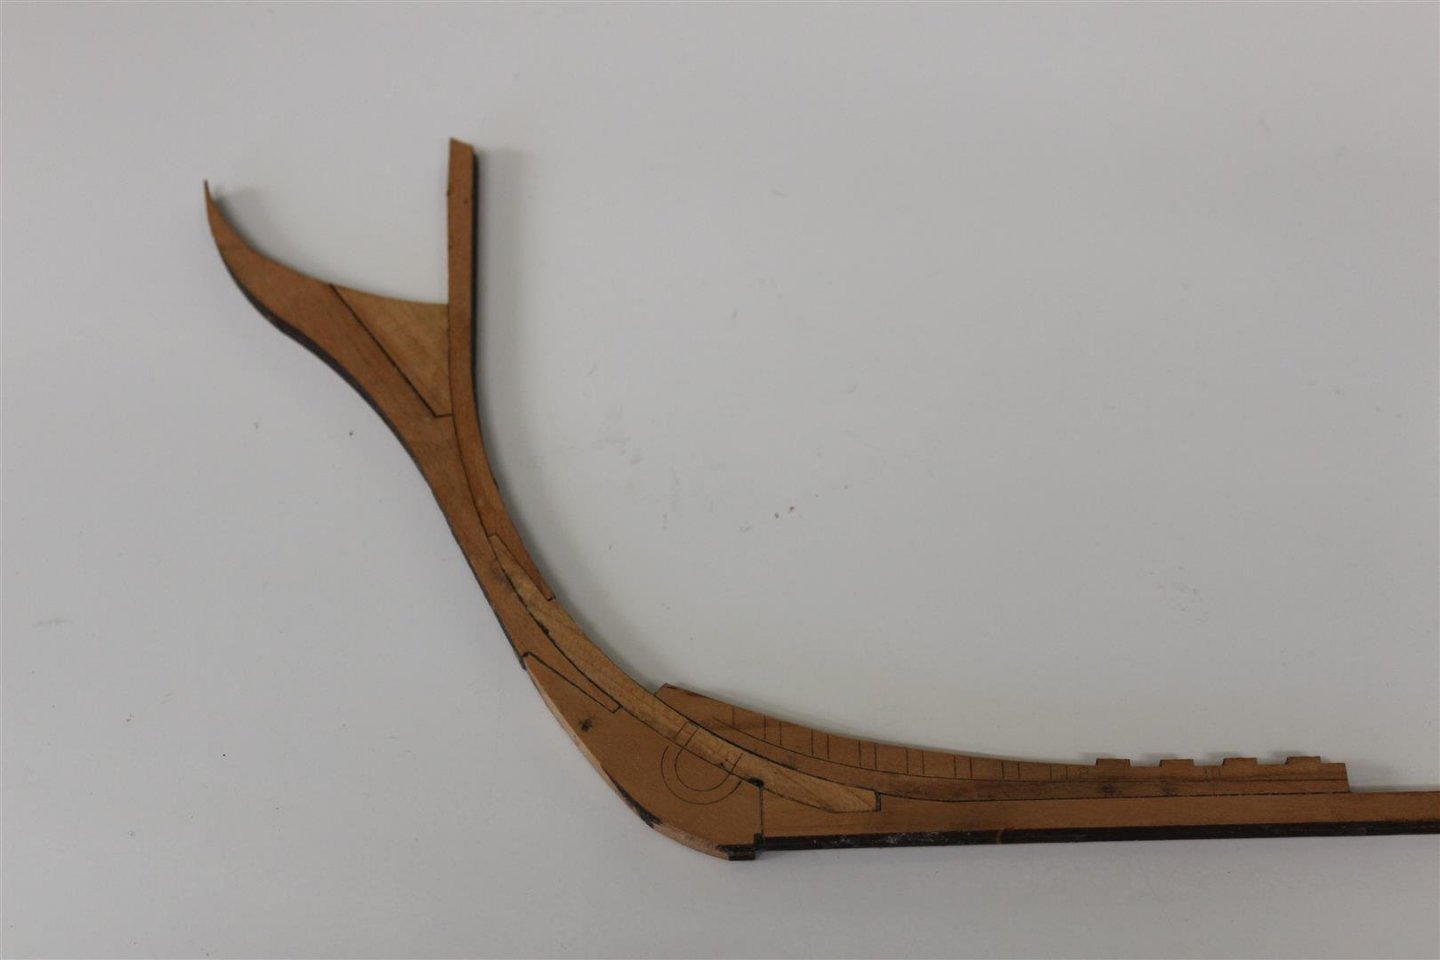
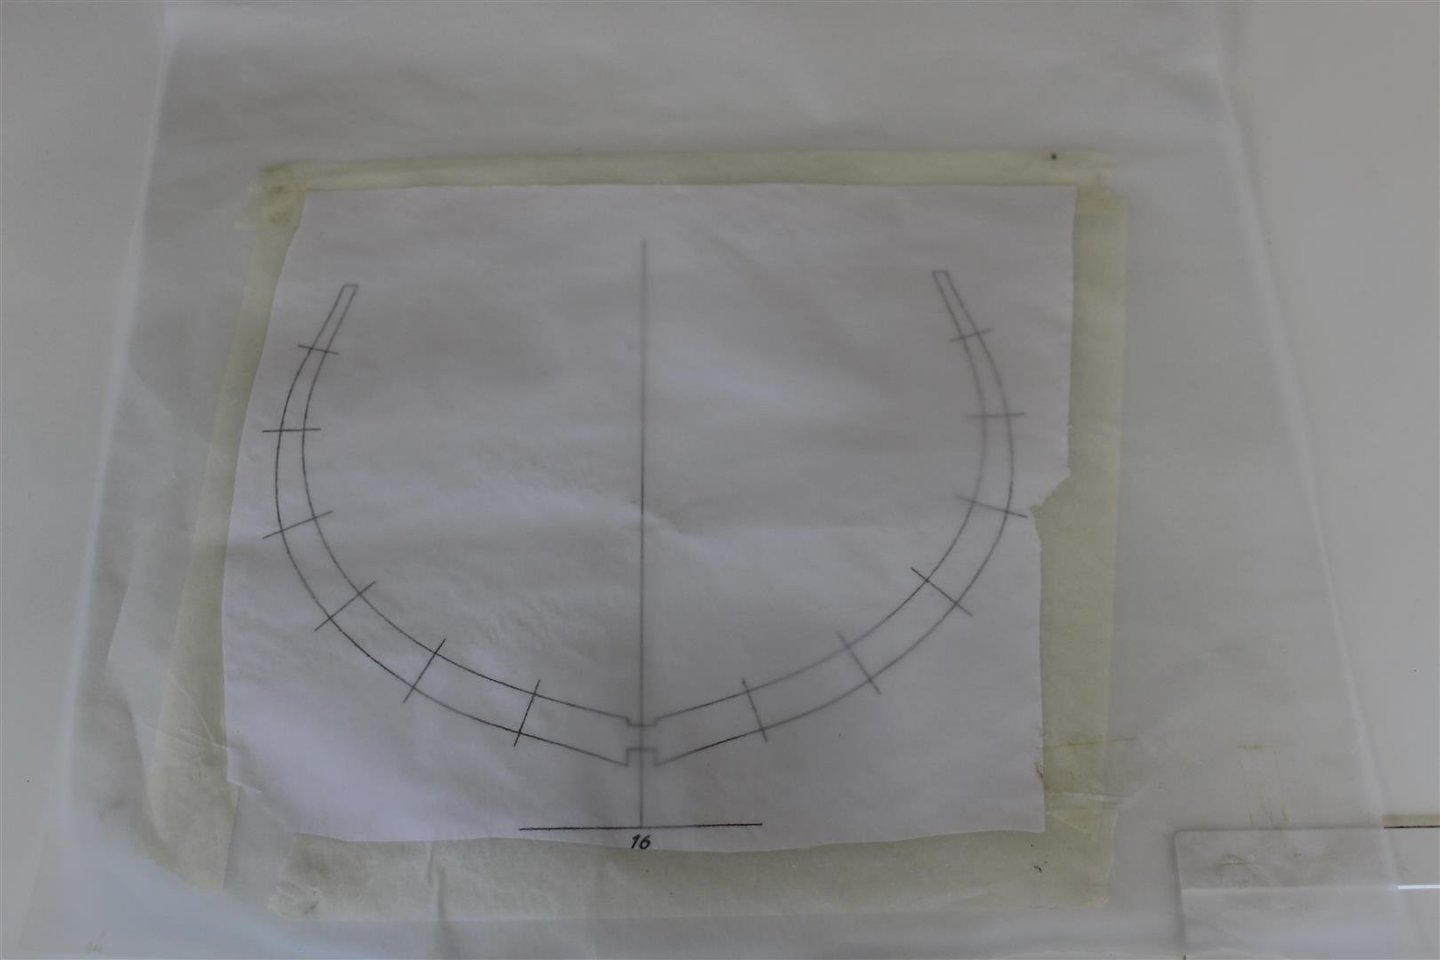
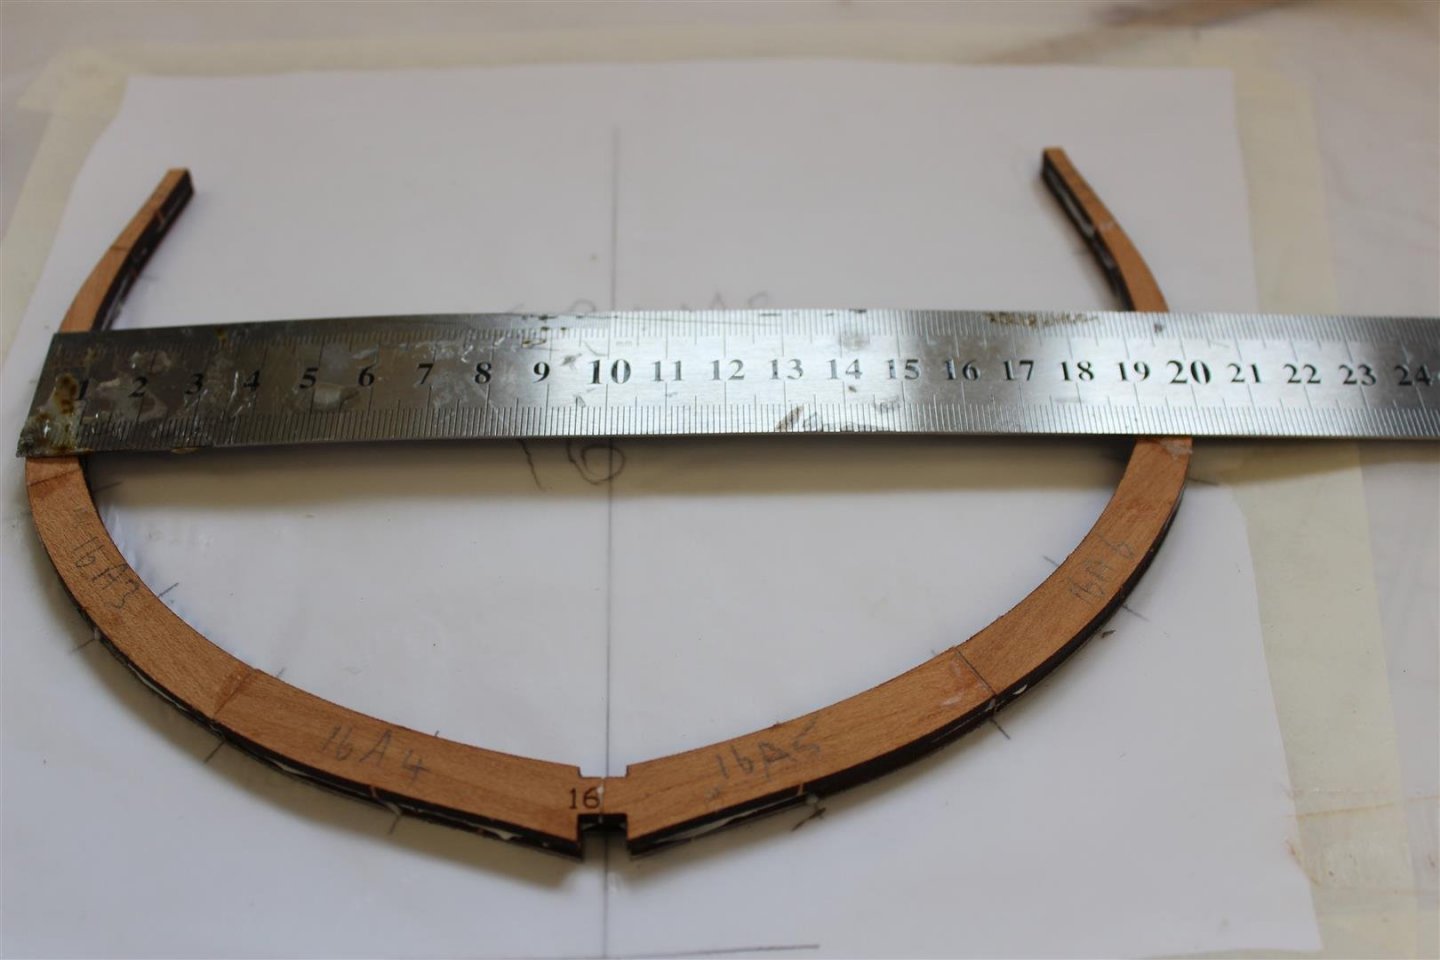
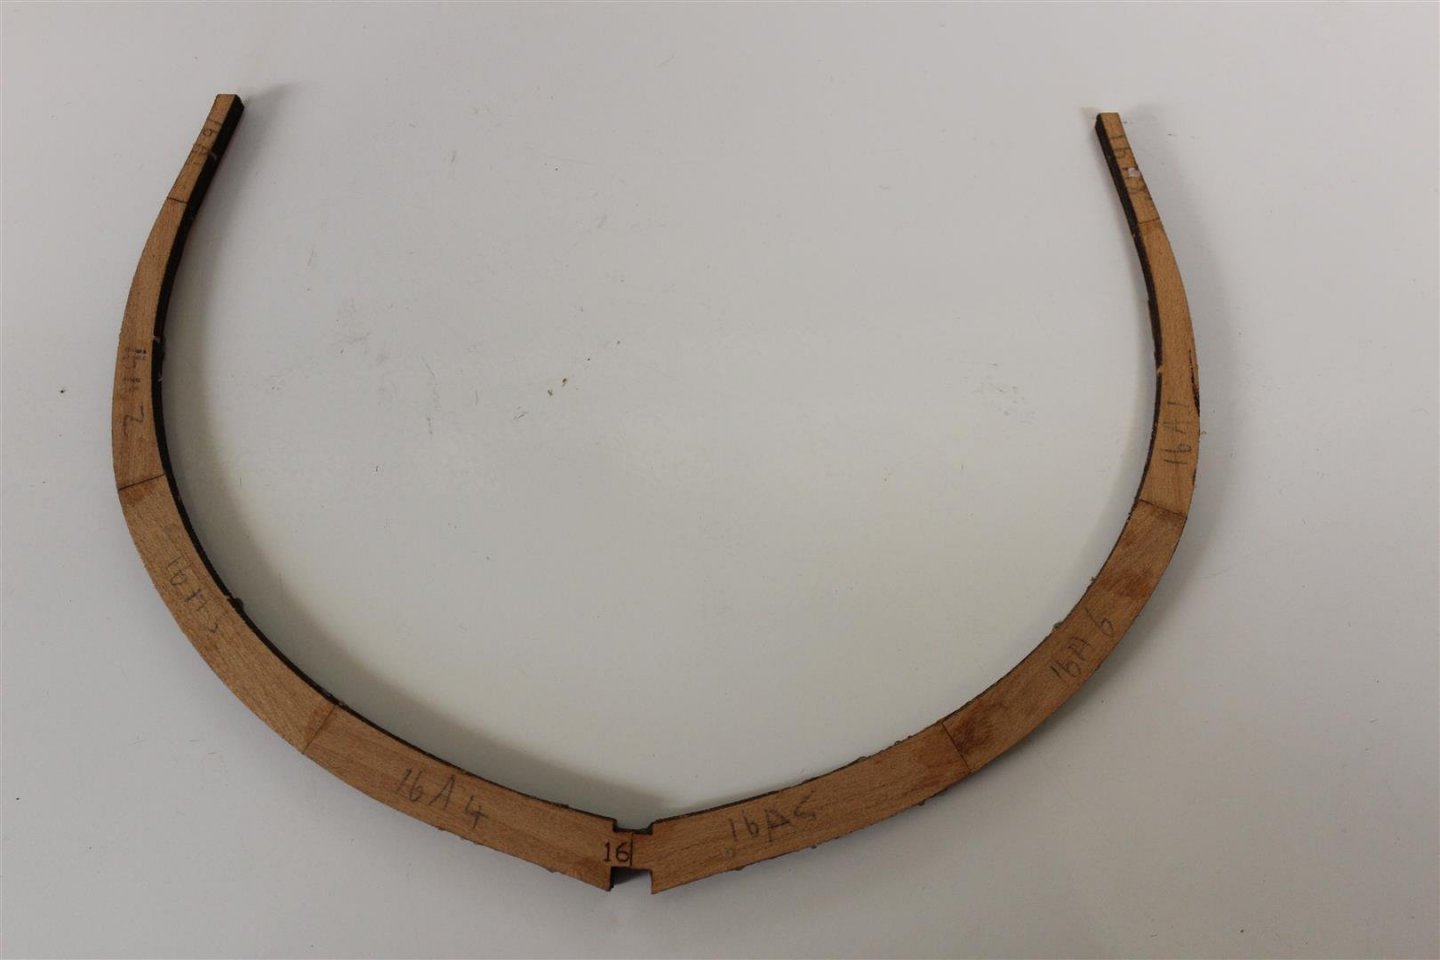
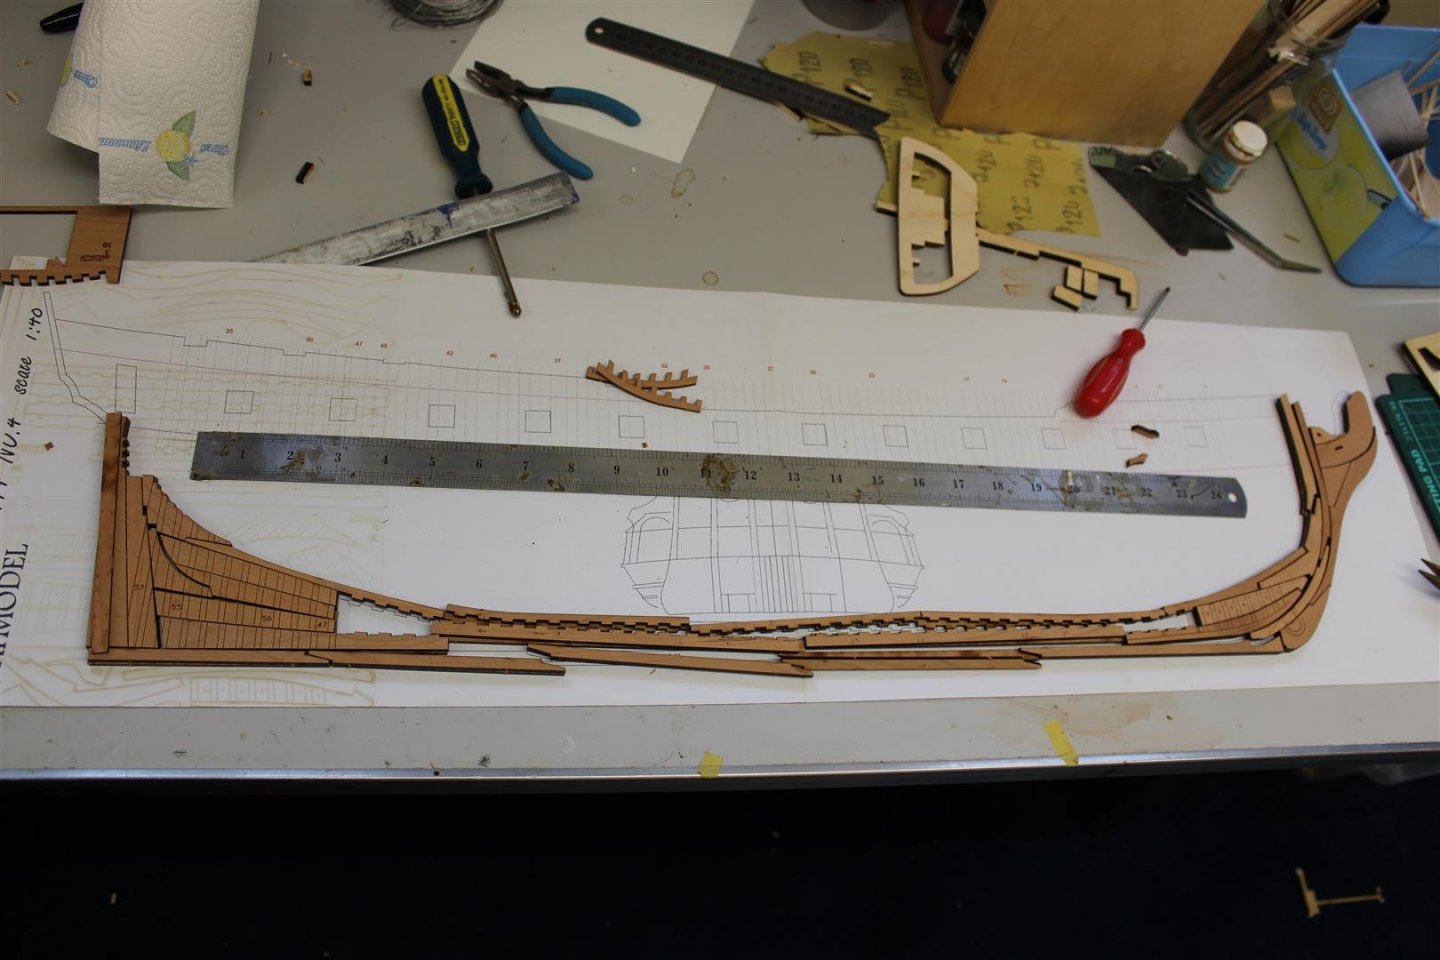
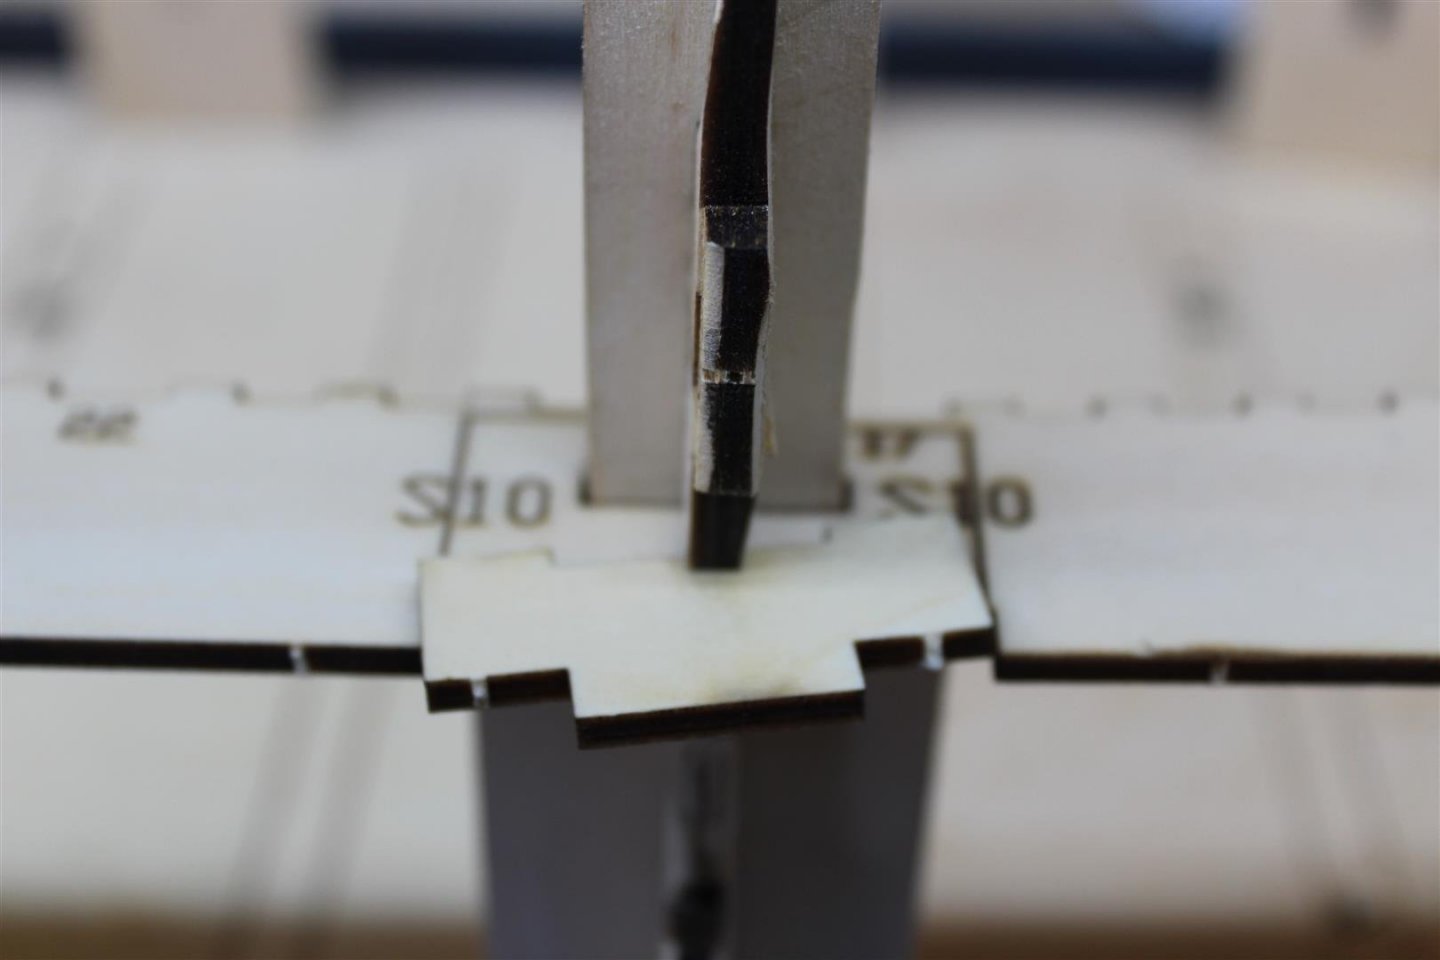
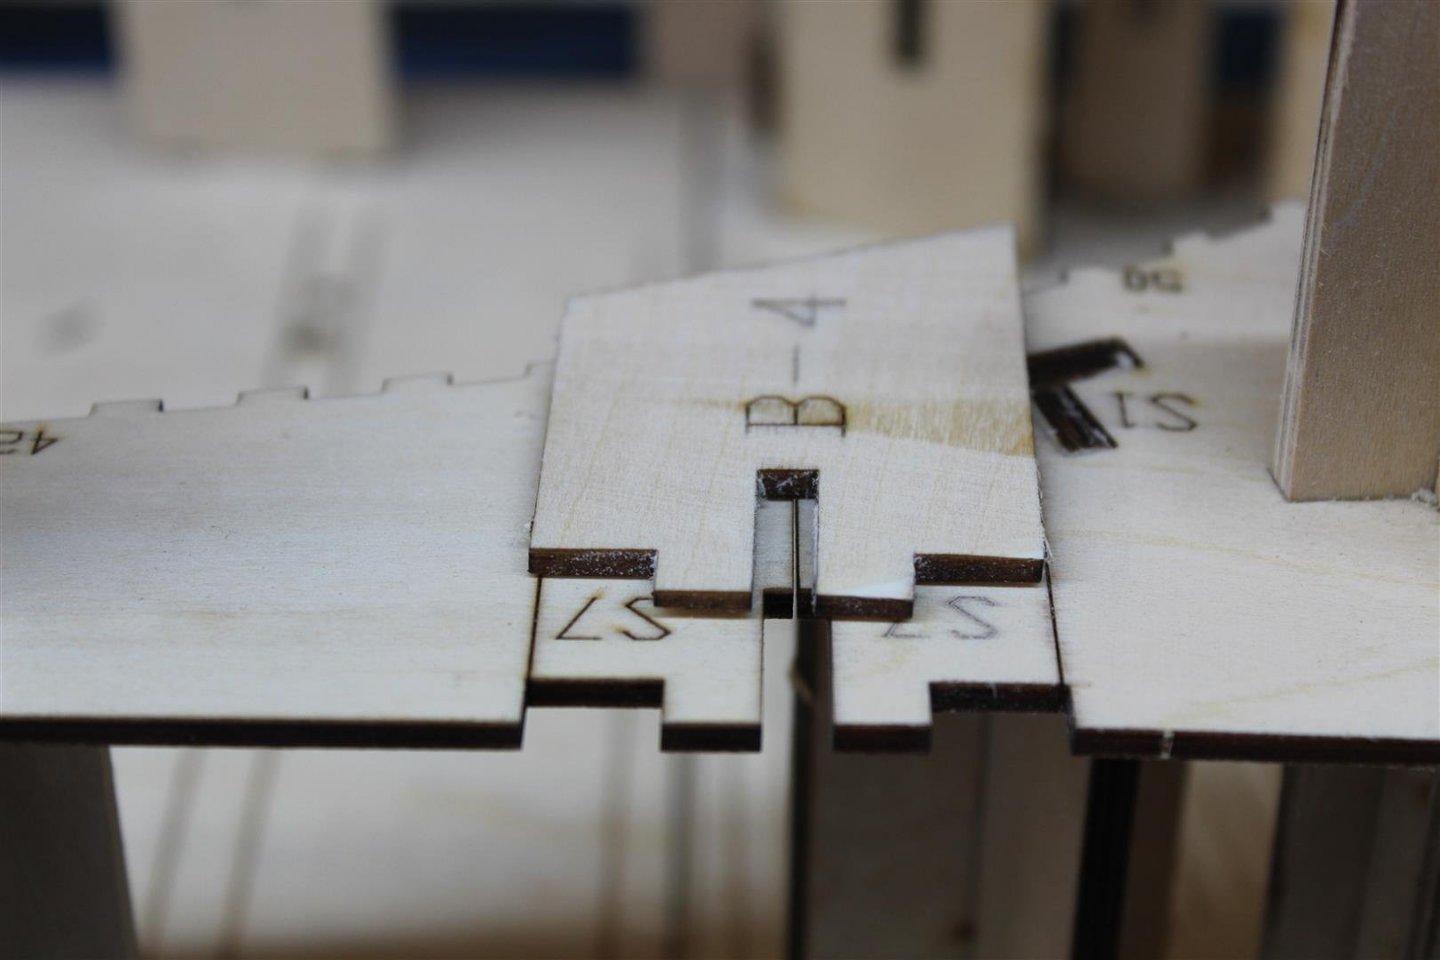
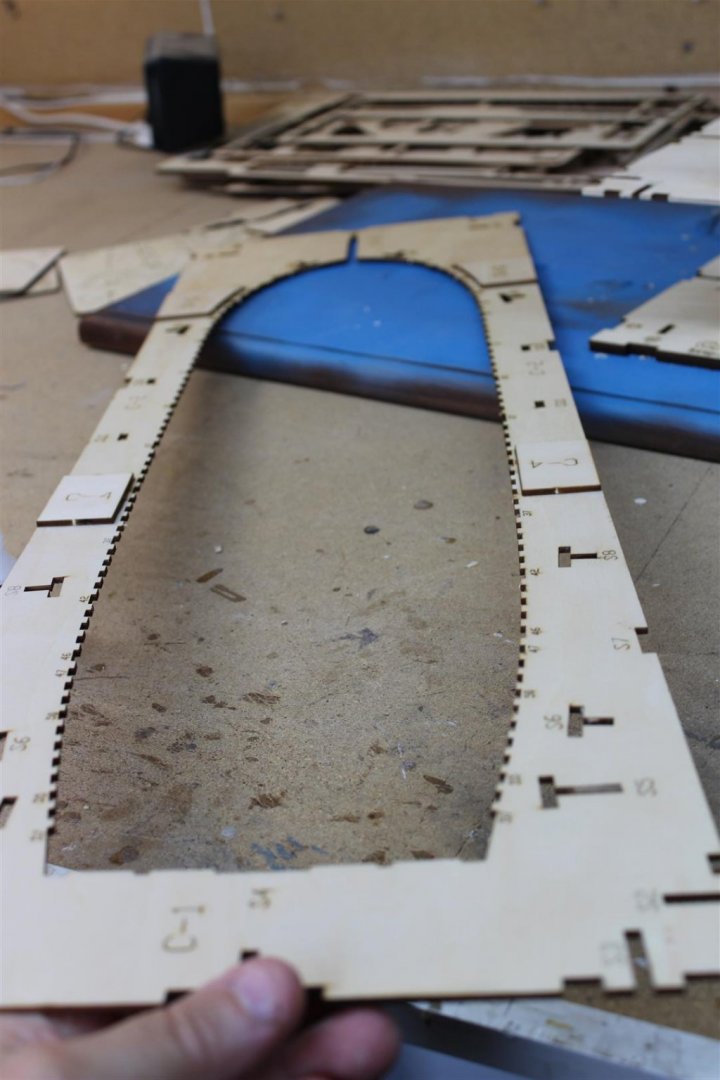
good evening everyone day 5 keel and a frame 16 well after a slow start, i am getting a bit more confidence now, i have made a few mistakes, and as a result the gaps look wider than they are due to sanding with paper and not the bench sander as a result the edges are rounded off, but surprisingly it is all very tight and square i looked through the wooden bulkhead sheets and picked number 16 at random looking through the drawings i identified all frame 16 parts, as they possibly have a couple of bits from the previous frame (15) and possibly from the next(frame 17) and marked with item number all mating surfaces went against the bench grinder Parts A and B were separated found the corresponding paper plan, tracing paper laid on top and secured all B items were turned upside down, in this case item B4 was secured to the tracing paper with UHU glue stick, the rest of B items had wood glue added to mating edegs and again had UHU added to keep them in position then all A items were laid on top in a overlap weighted for a couple of hours


- 317 replies
-
- 23
-
-
- enterprise
- caf
- (and 1 more)
-
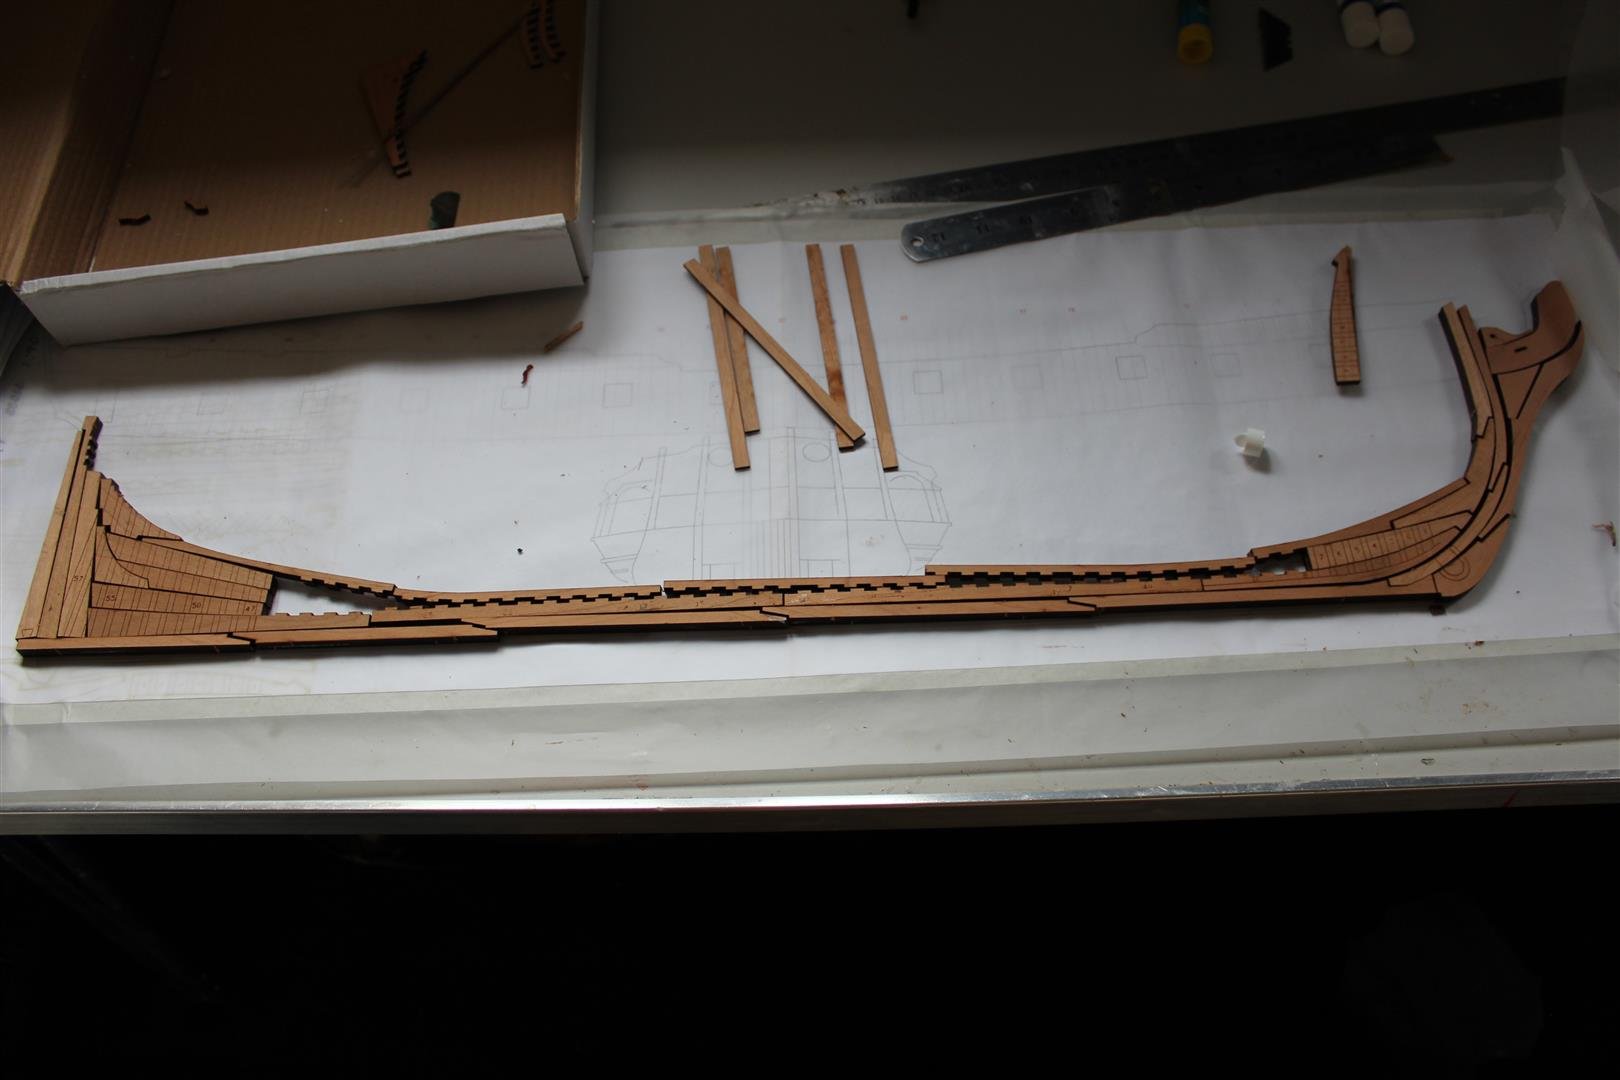
day 4 keel assy well i made a start, all the ummm;s went out the window, and well two pieces have become one and lots more looking like they will fit ok, sanding by hand is not working for me as it is rounding off the edges so i will use the desk sander tomorrow in the garage
- 317 replies
-
- 17
-
-
- enterprise
- caf
- (and 1 more)
-
Thank you OC very different to any thing i have done before, but very enjoyable, how ever it will be very hard to hide mistakes, and i keep changing my mind about how to do things, bit like the chicken or the egg, are you and family well?
- 317 replies
-
- 3
-
-
- enterprise
- caf
- (and 1 more)
-
i believe this is the way on purpose, i should ne more precise in my statement, everything is about 1mm to long, sorry for the confusion, i will change what i wrote
- 317 replies
-
- 2
-
-
- enterprise
- caf
- (and 1 more)
-
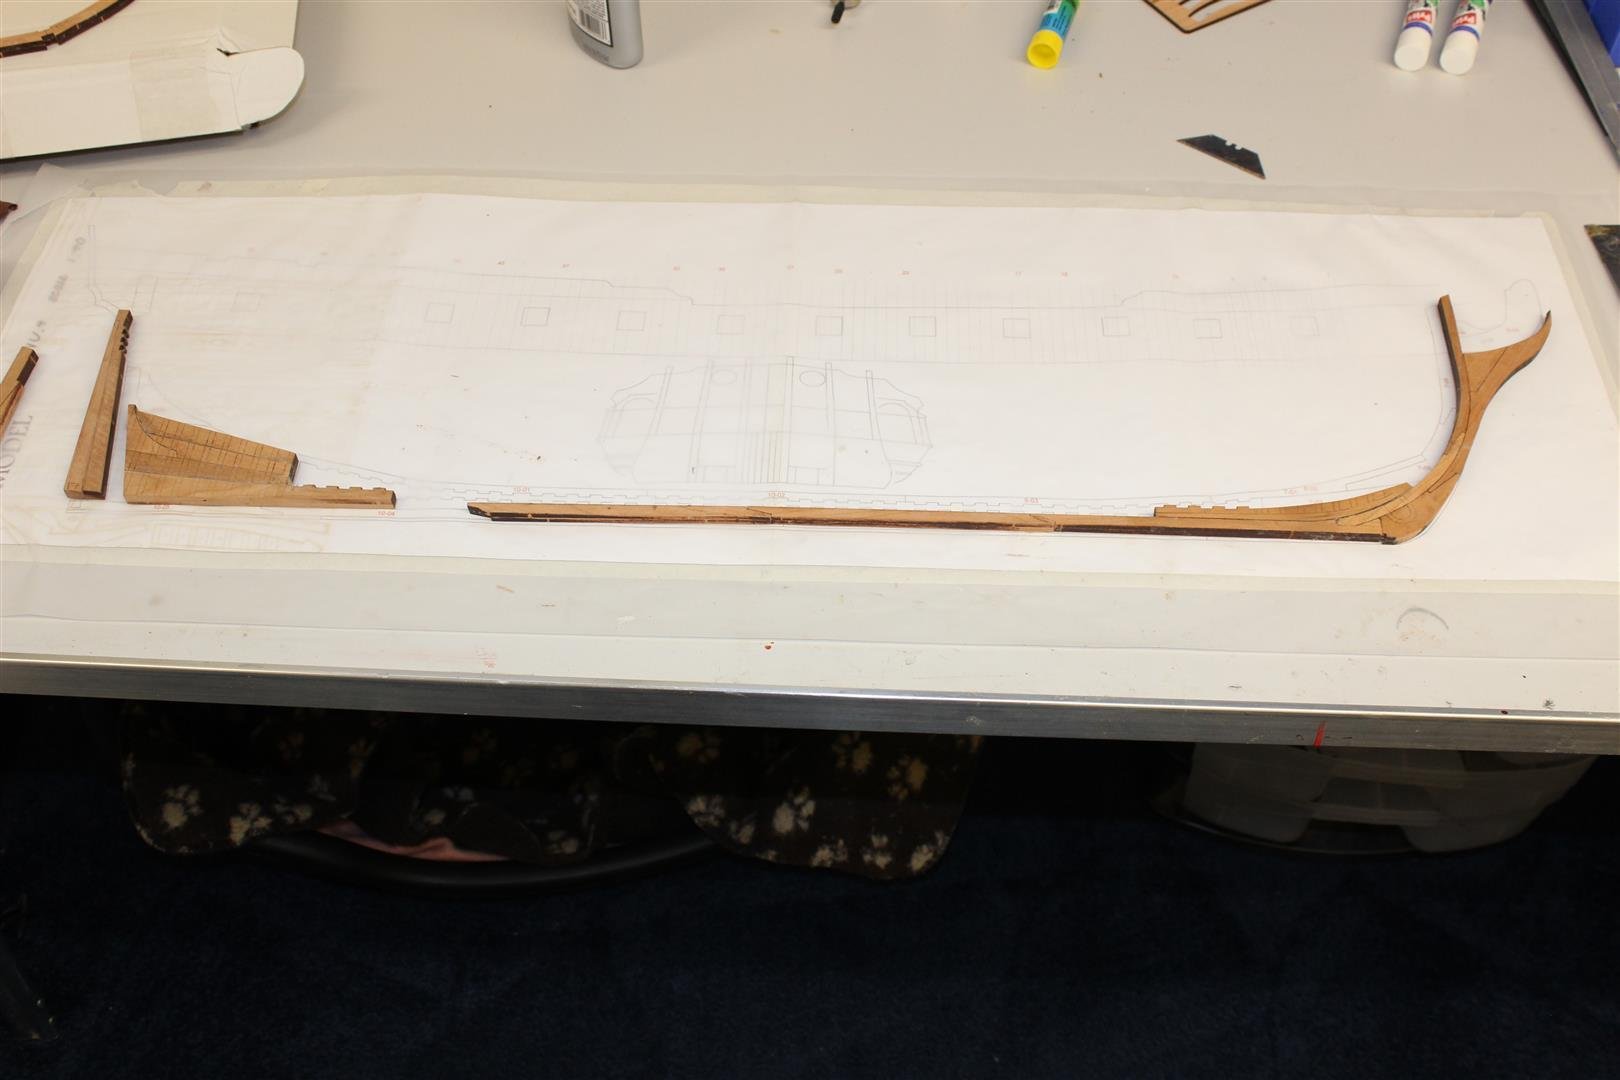
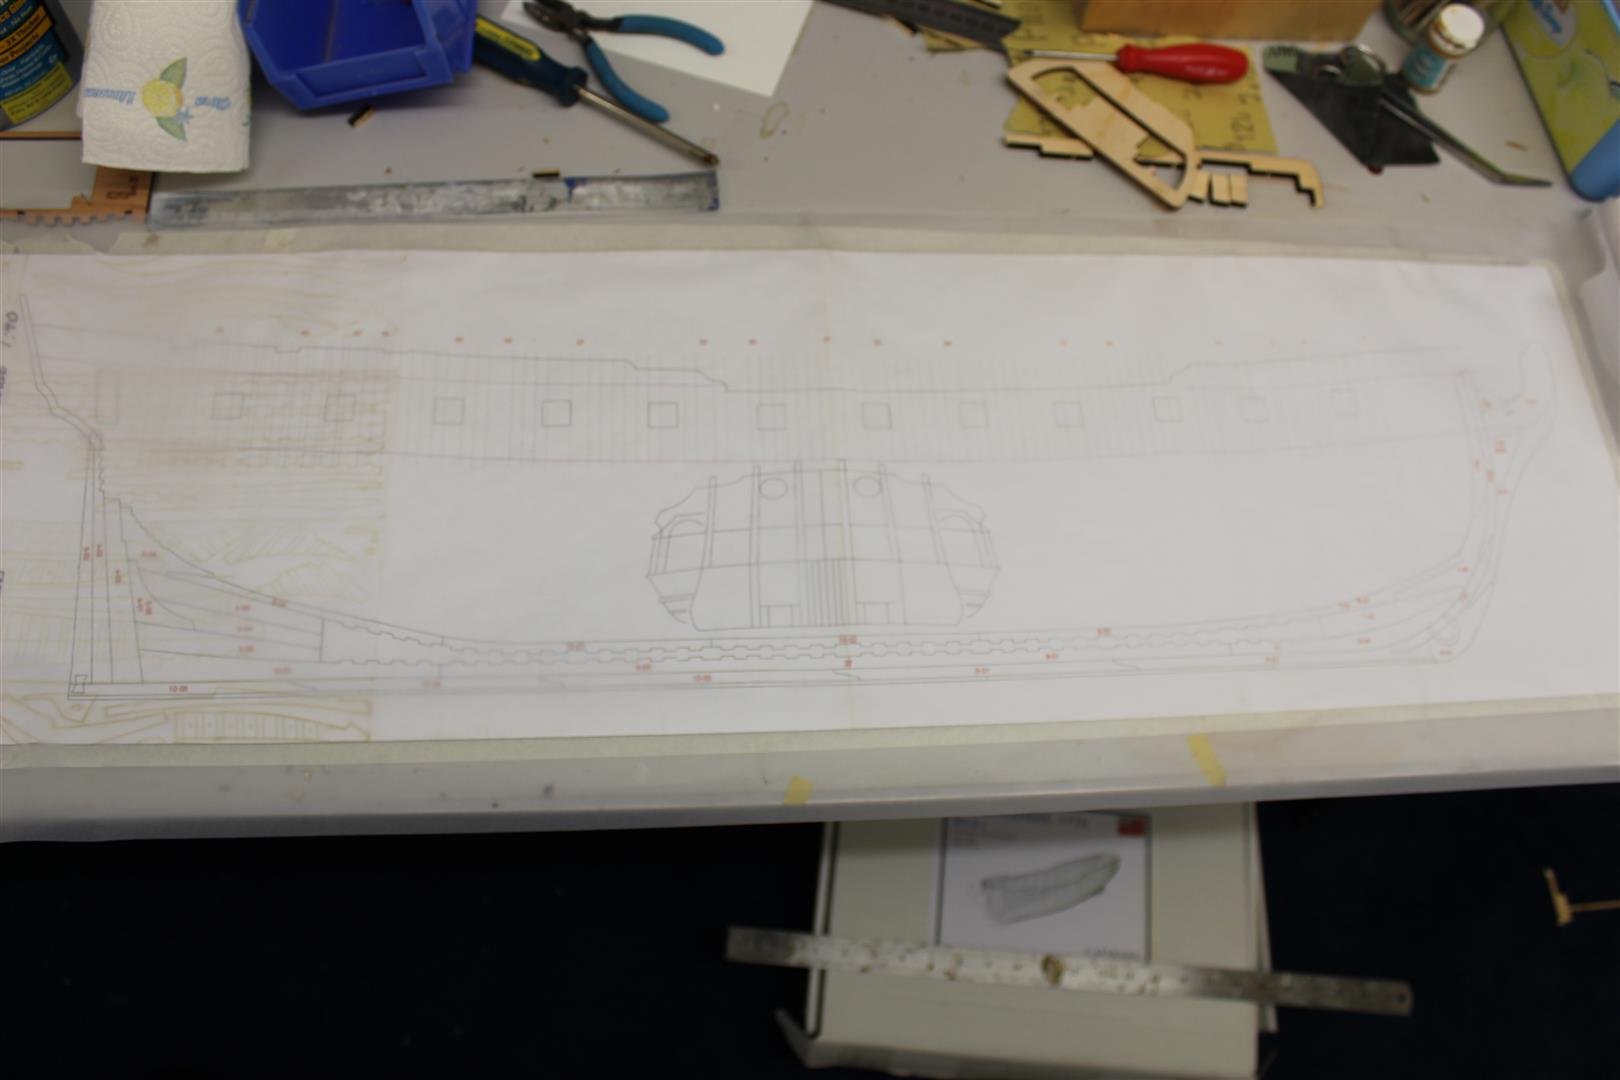
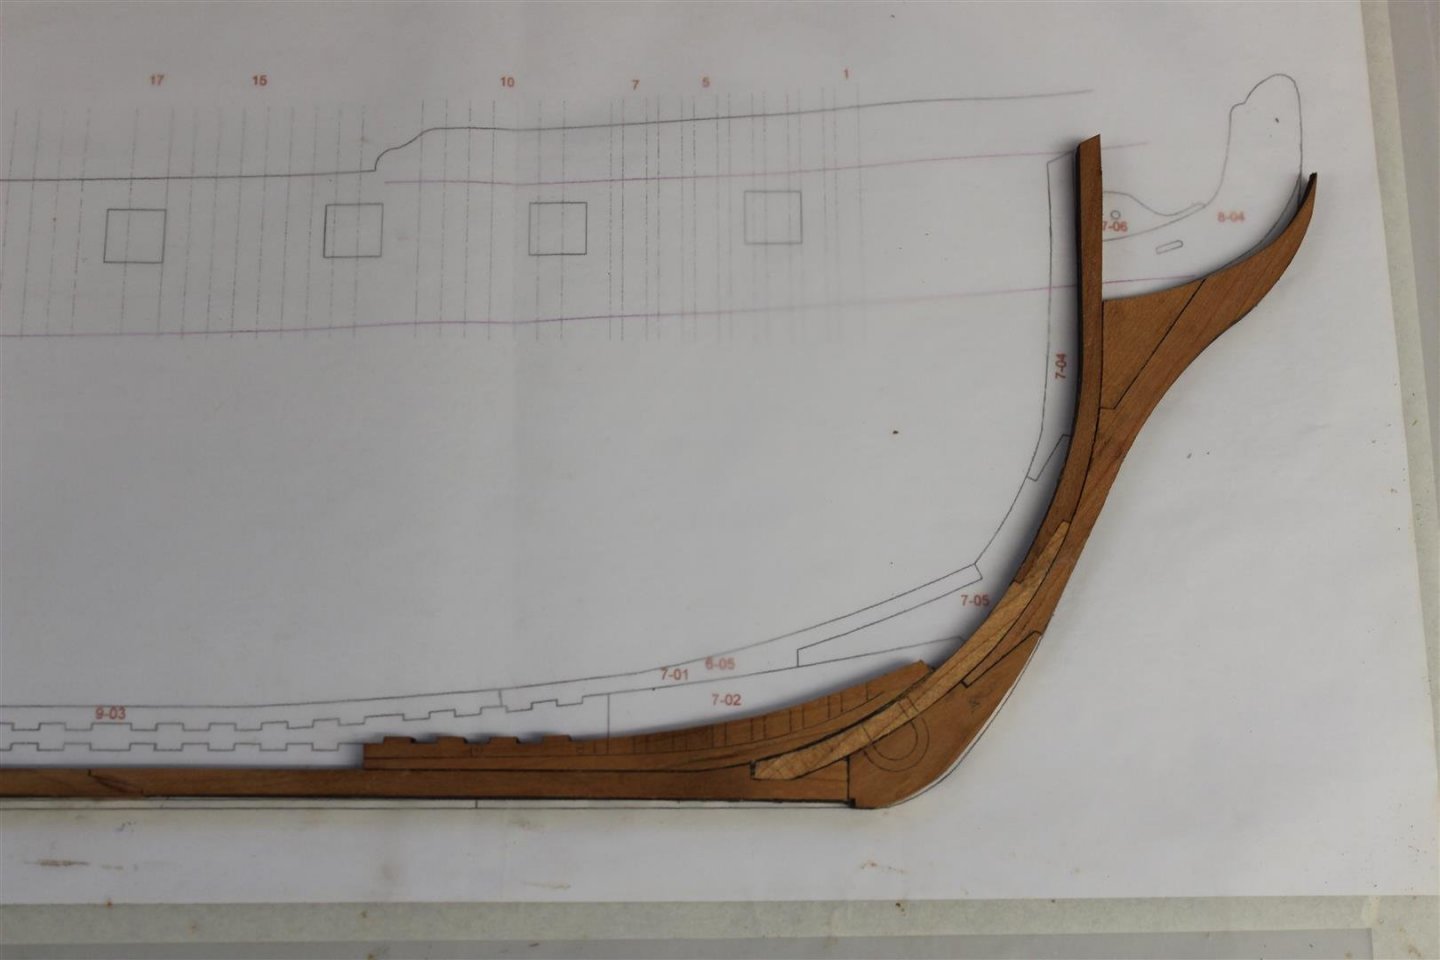
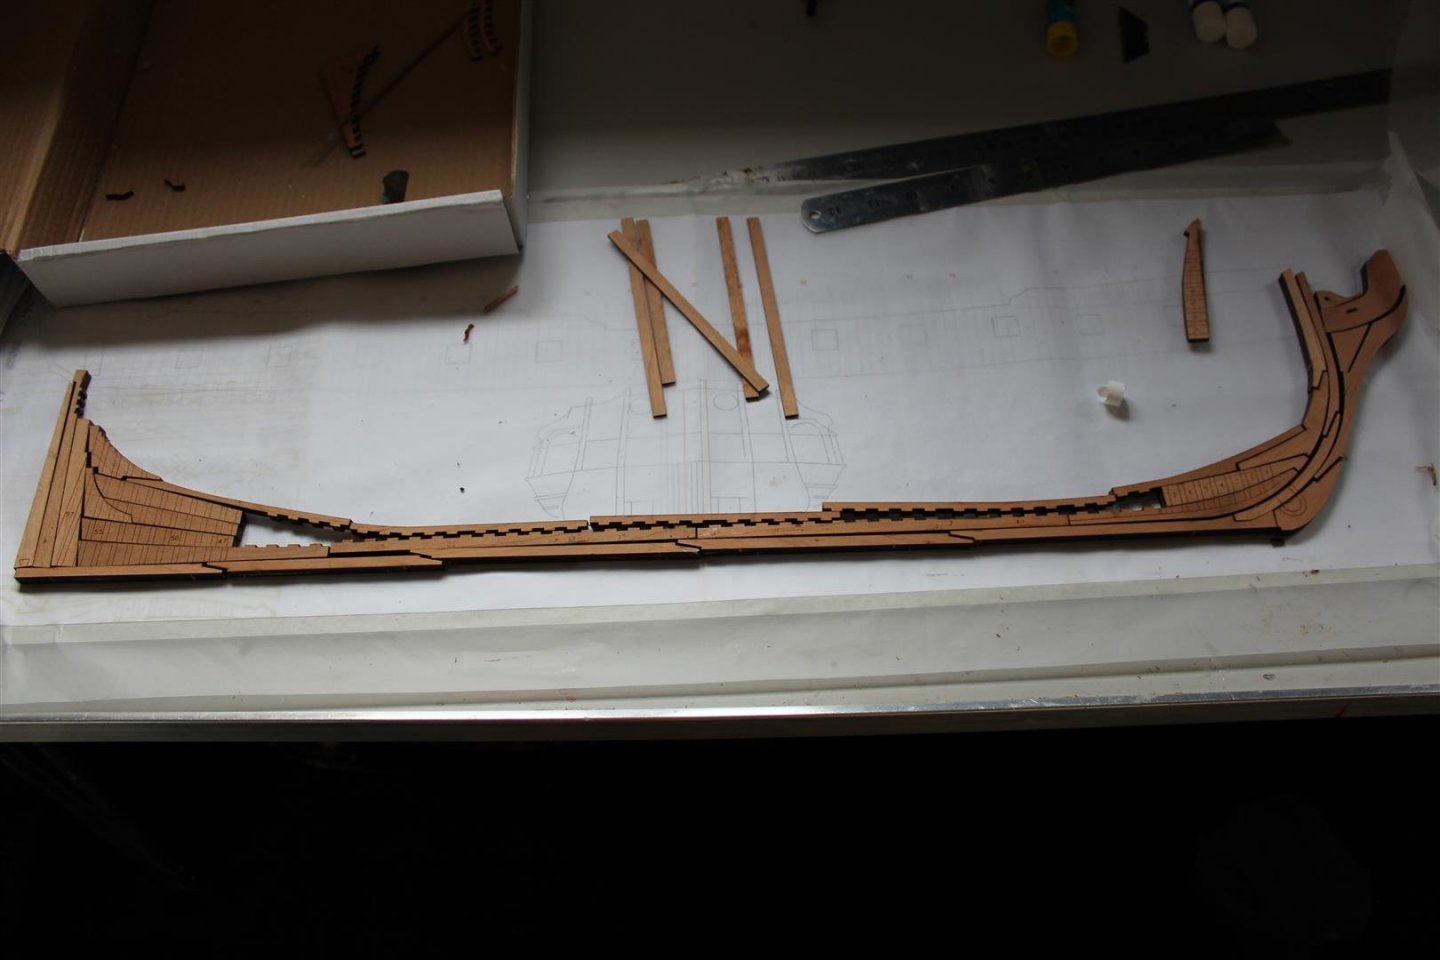
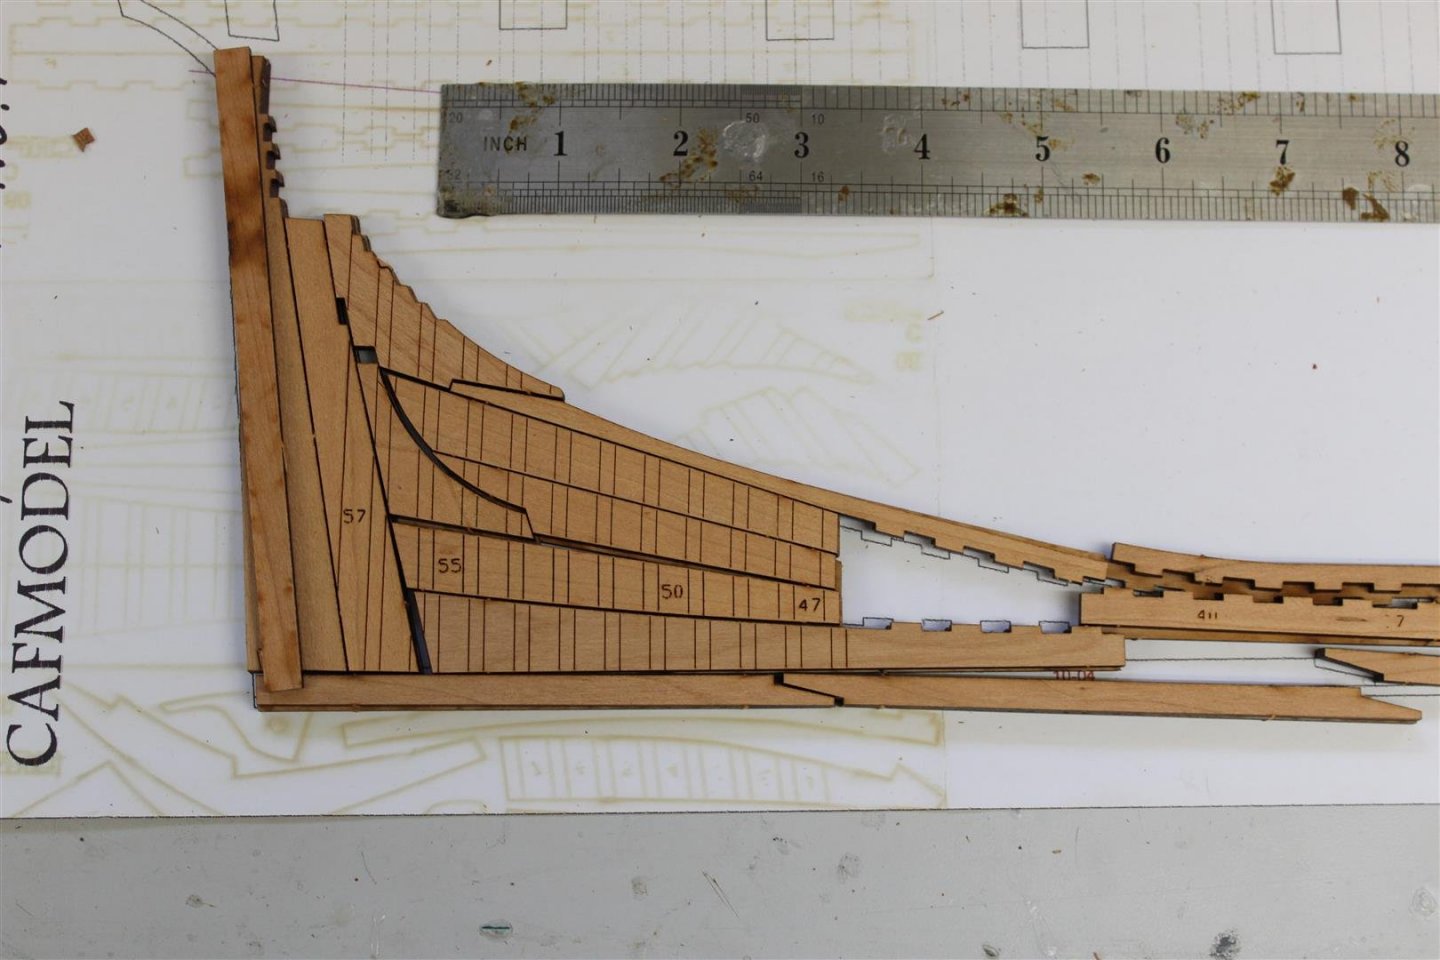
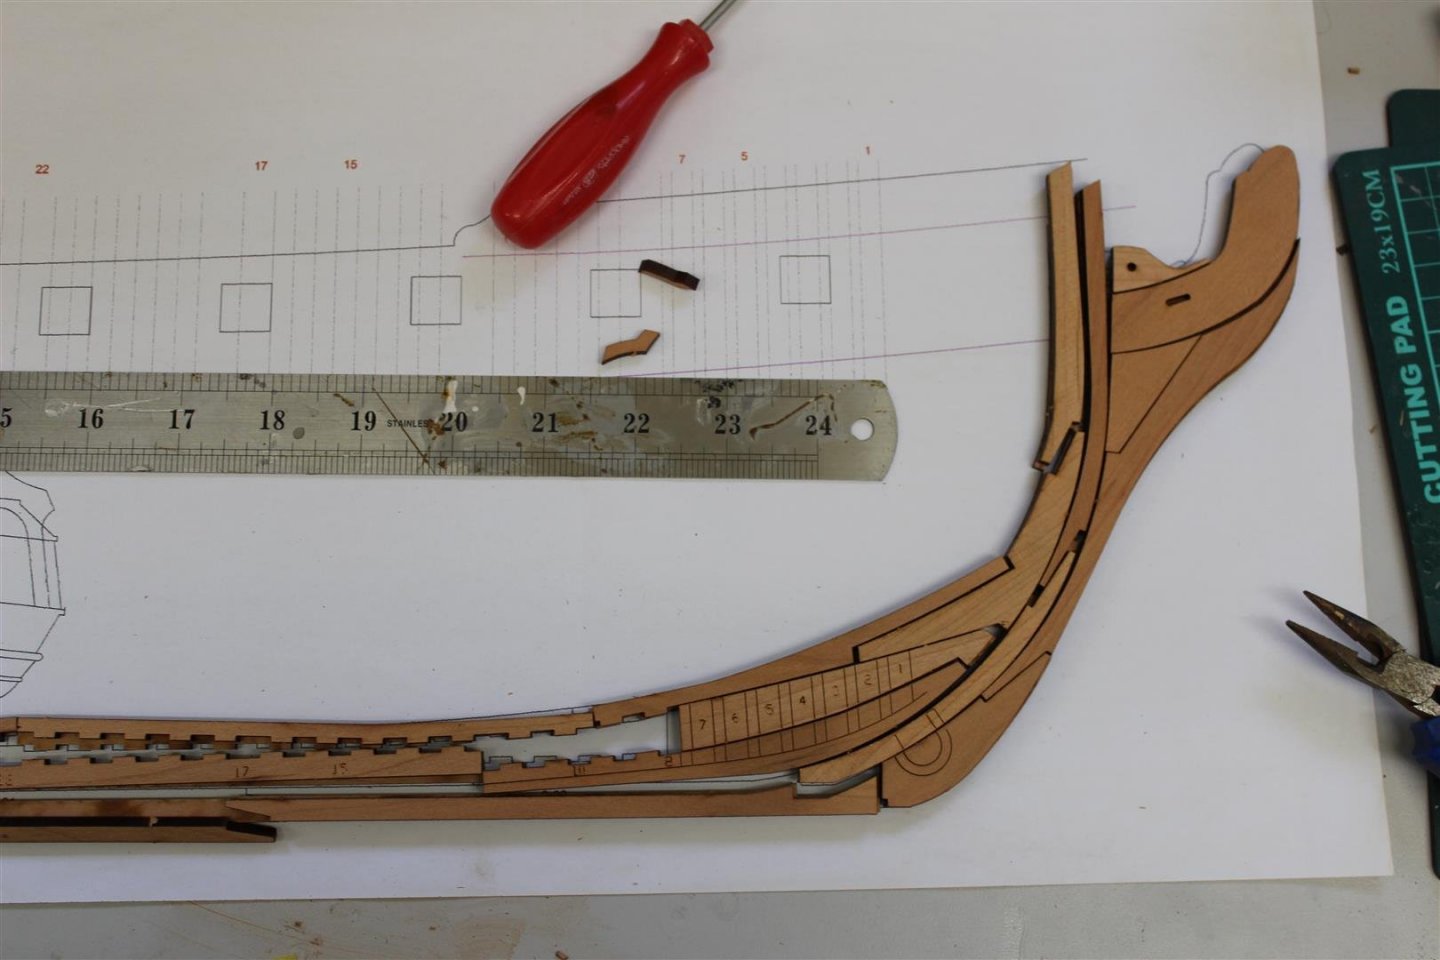
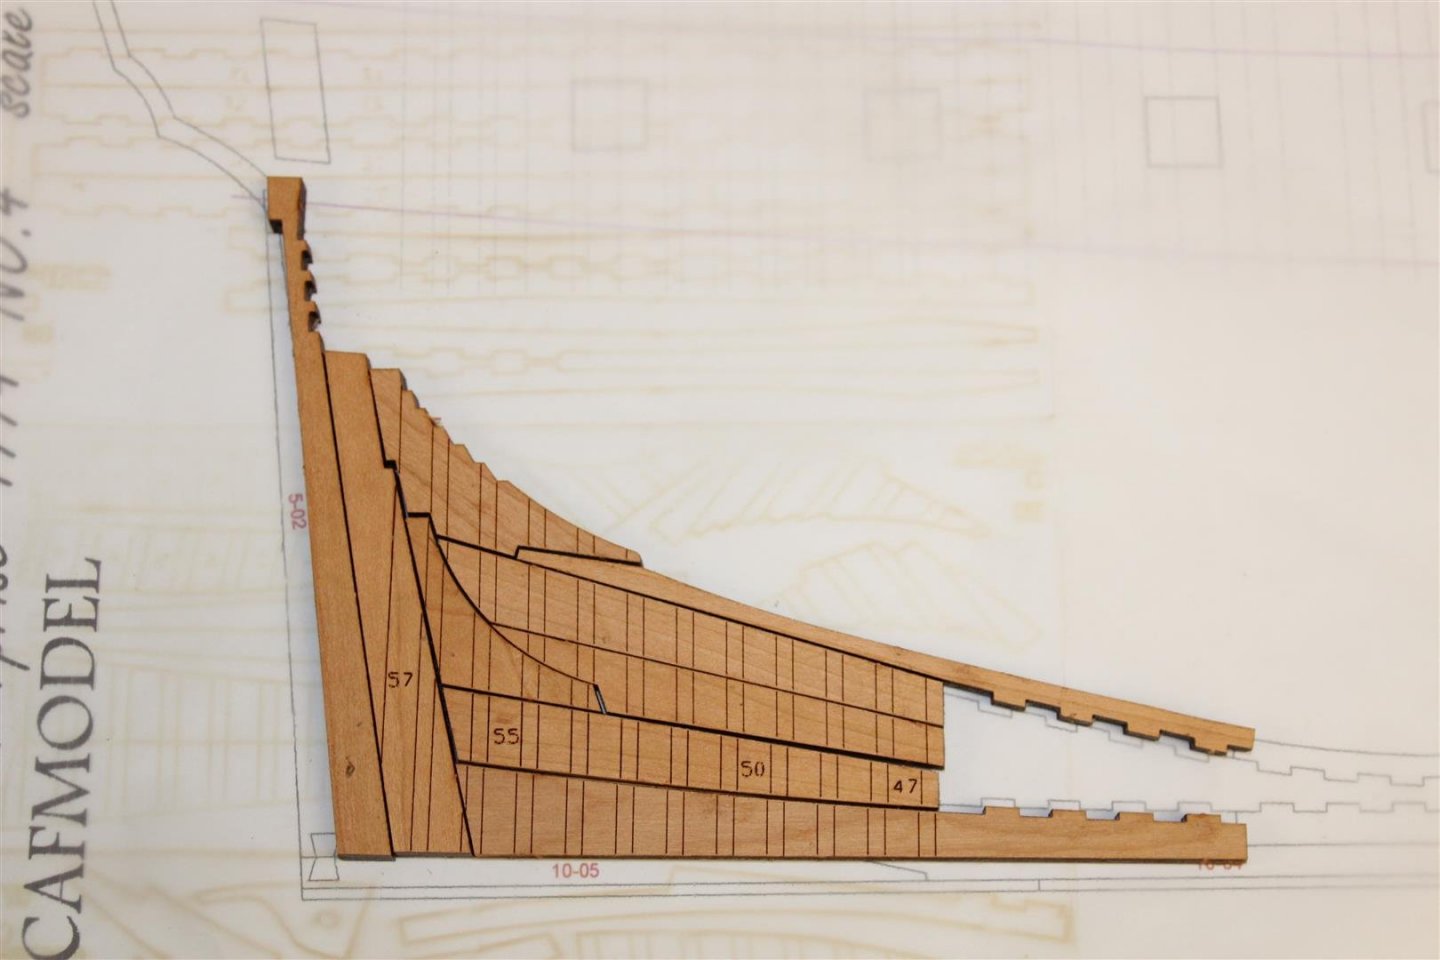
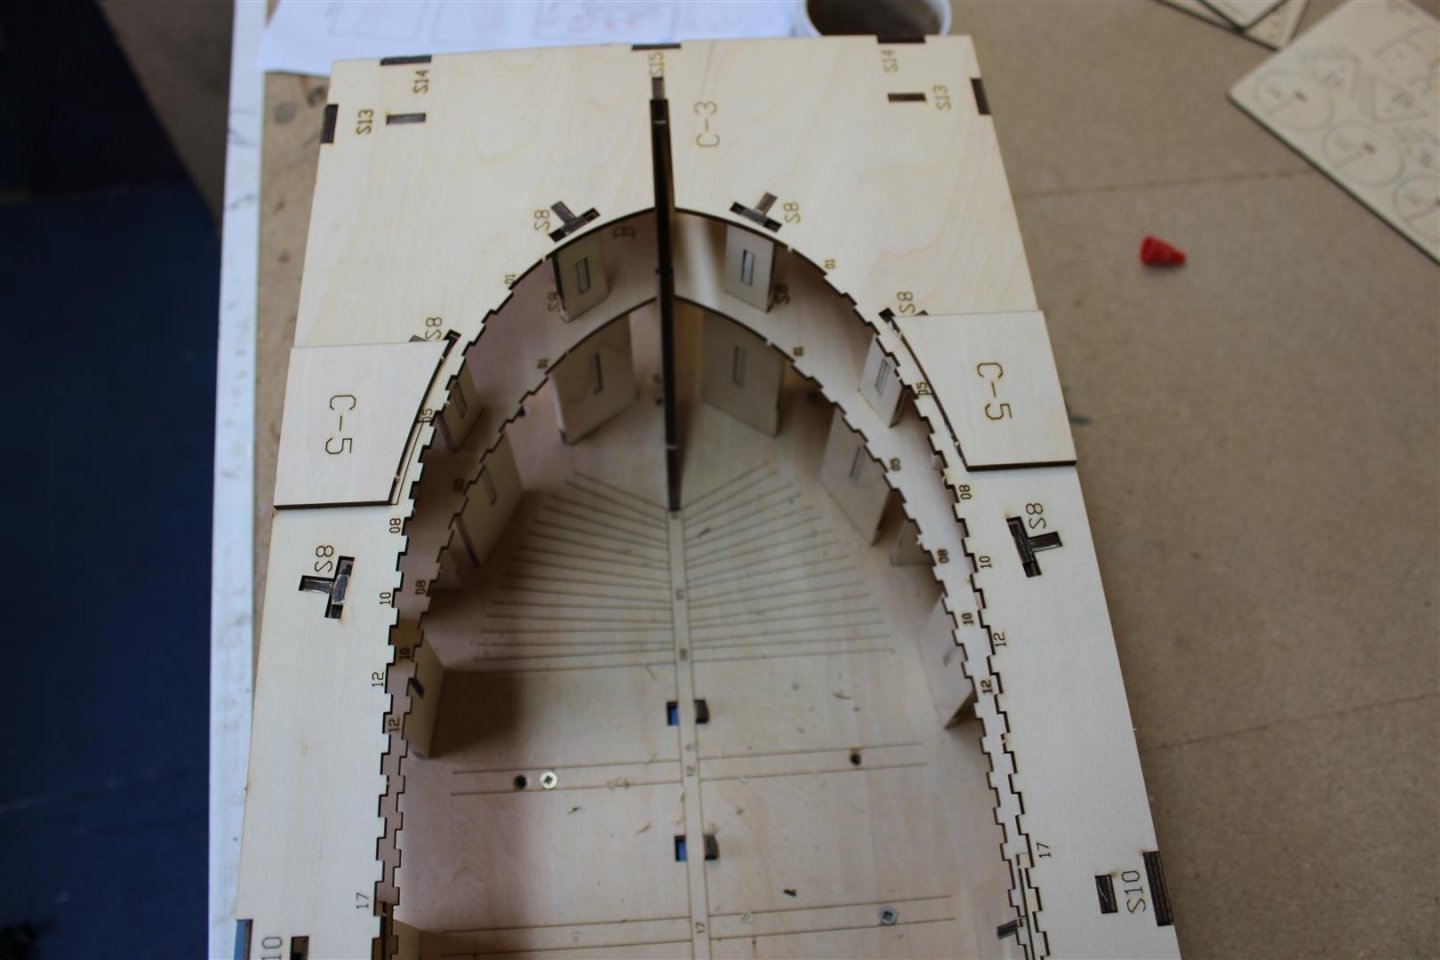
day 4 keel assy good evening everyone where do i start all the keel pieces have been glued and have set i have tracing paper over the plans held in position but i now need to make it all fit, do i make up the false keel as per the plans, mark it off and build upwards, i presume like a real vessel, Everything is over sized lengthways by about 1mm, i presume i hand sand it down to remove the burn and slight angle from laser cutting, yes im concerned i am going to mess it up
- 317 replies
-
- 12
-
-
- enterprise
- caf
- (and 1 more)
-
very nice indeed, i love the paintwork
-
lol at this rate i will have it all finished by the weekend
- 317 replies
-
- 5
-
-
- enterprise
- caf
- (and 1 more)
-
there are several good builds on here at present, but for an advanced/ nearly finished look here https://modelshipworld.com/topic/836-amerigo-vespucci-by-schiffebastler-mantua-scale-184-italien-sail-training-ship-build-1931/?tab=comments#comment-11810
-
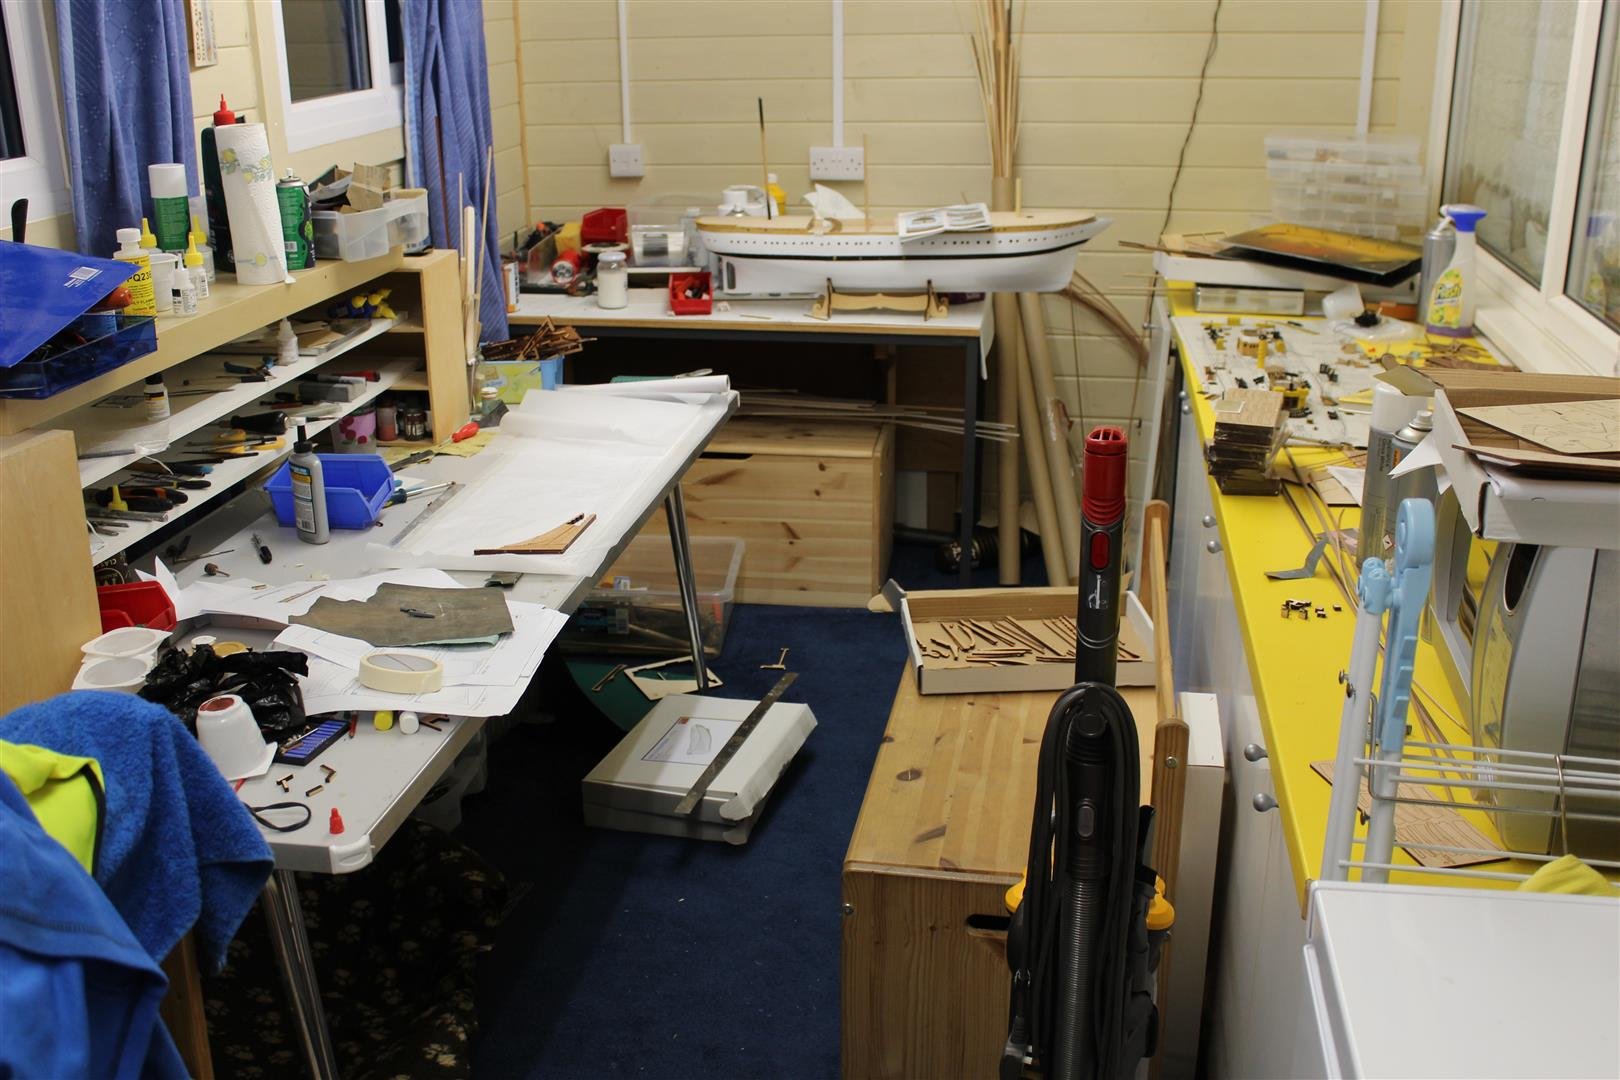
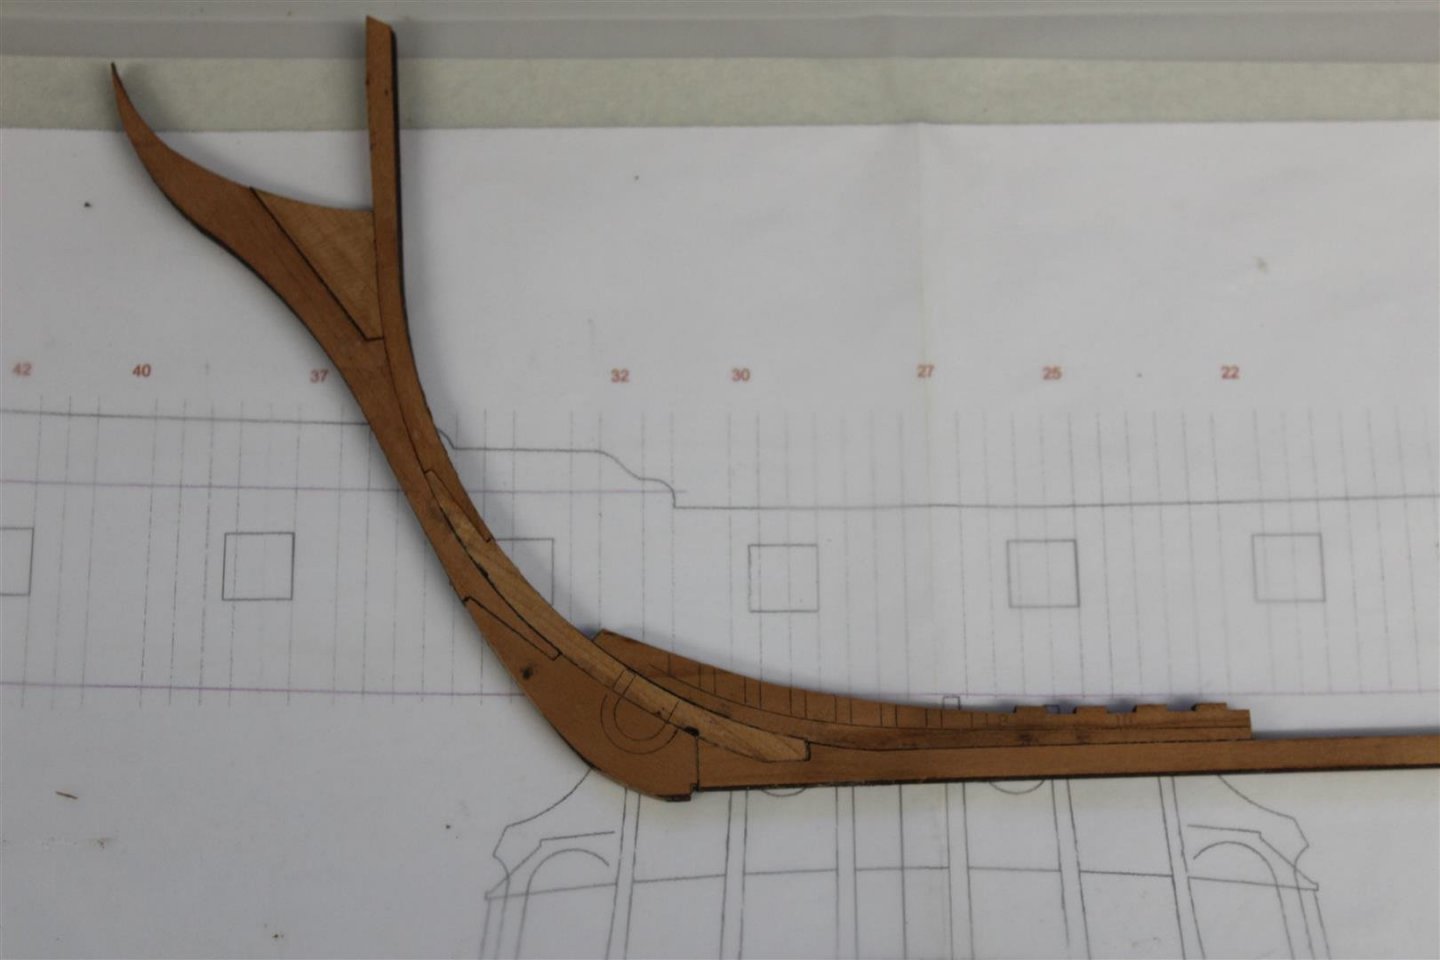
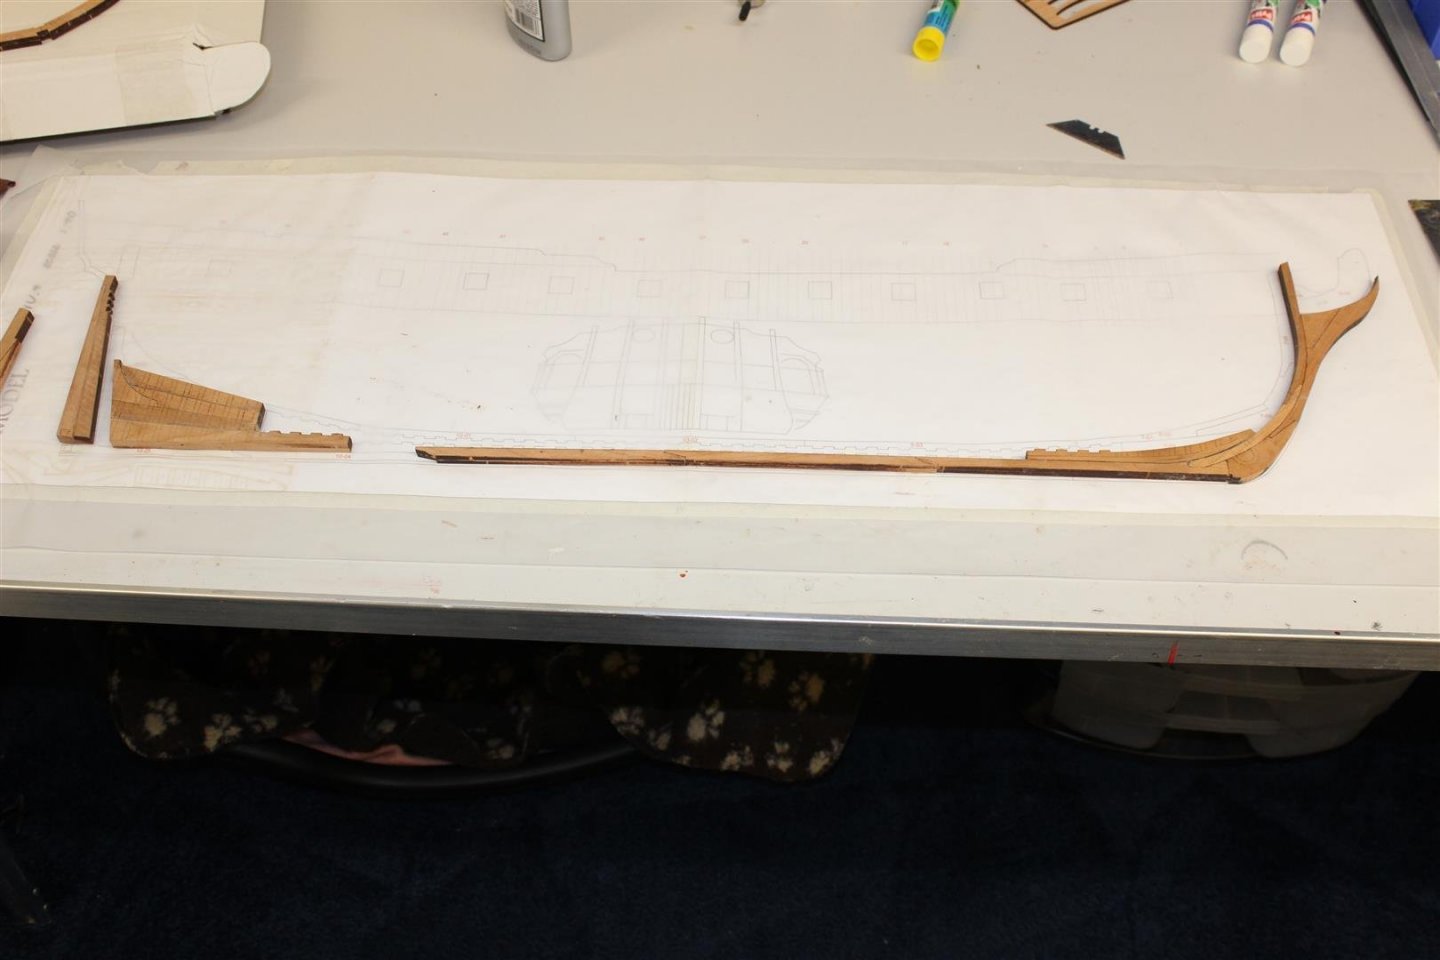
Day 3 frame completed, started keel i never realised just how many items make up the keel, and each item is made up from 2 half i bought some recommended glue titebond quick thick it is not so wet as my normal PVA glue the two half's are glued back to back after having a very light sanding the plan sheet has been covered in tracing paper to protect it, and allows me to put the items in a rough position, as they need to be sanded, to square the ends off one of the boats will be put away tomorrow


- 317 replies
-
- 23
-
-
- enterprise
- caf
- (and 1 more)
-
she looks great, i am starting to understand a lot more how these vessels were put together and as a result im so happy i have taken the chicken route, and got a kit,
-
very nice indeed, Congratulations
-
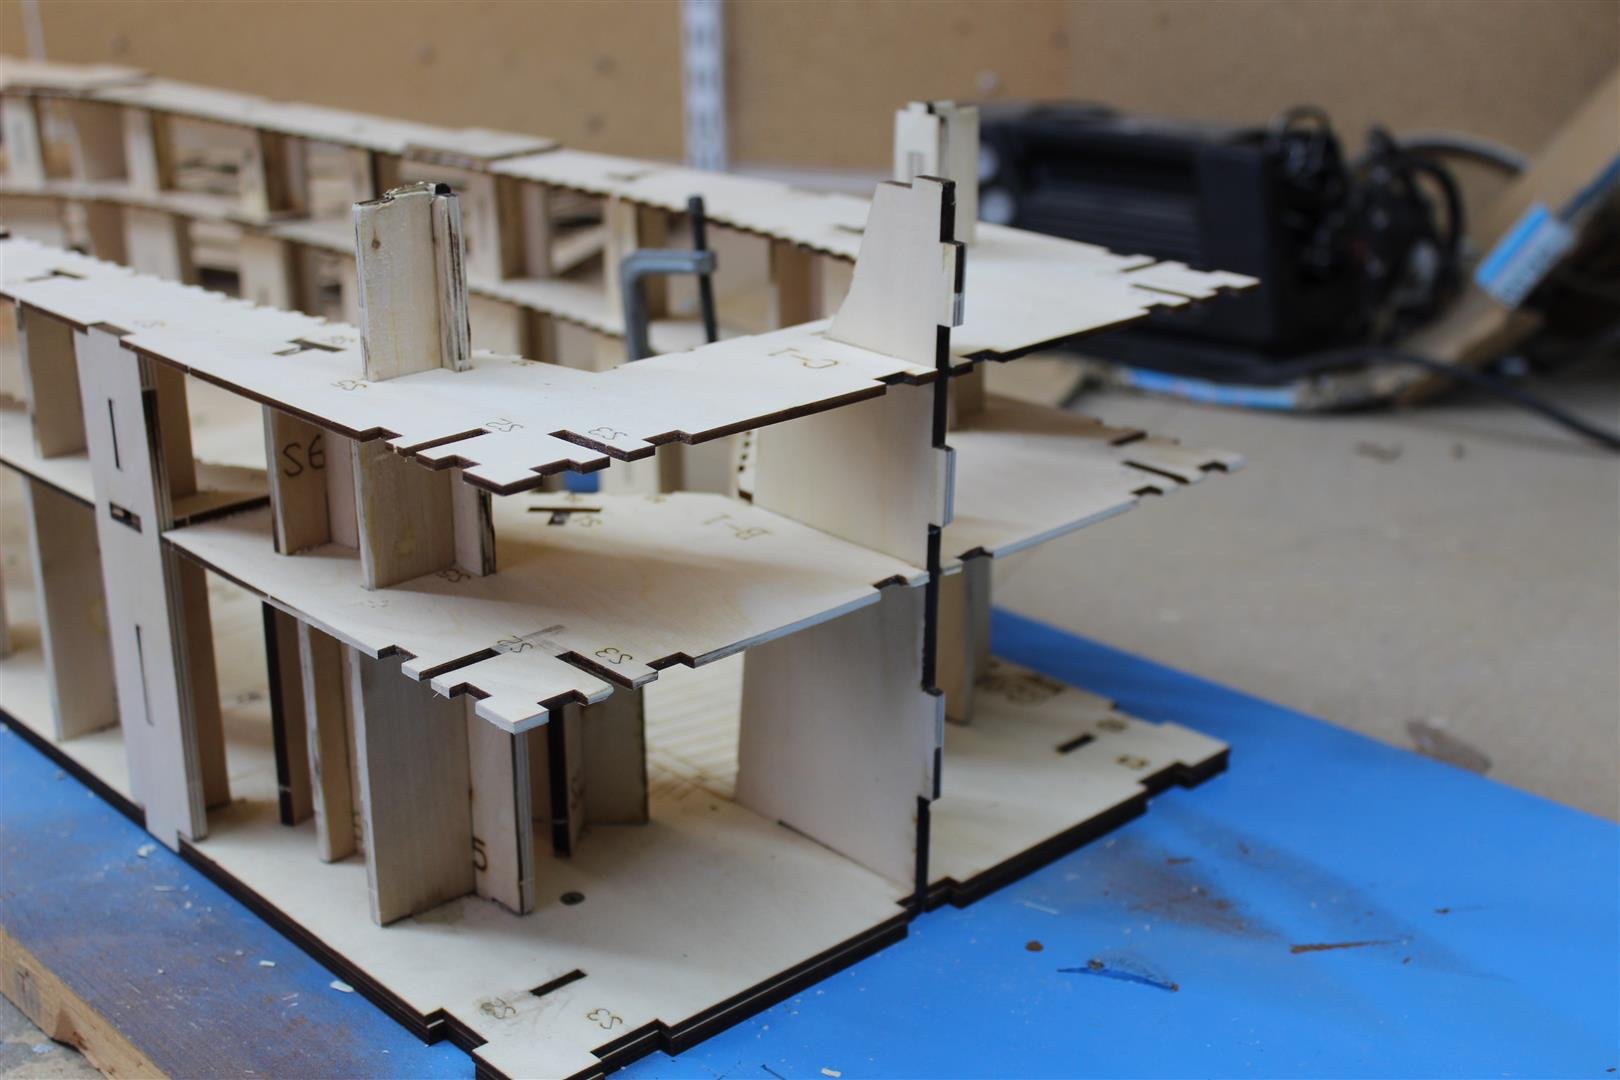
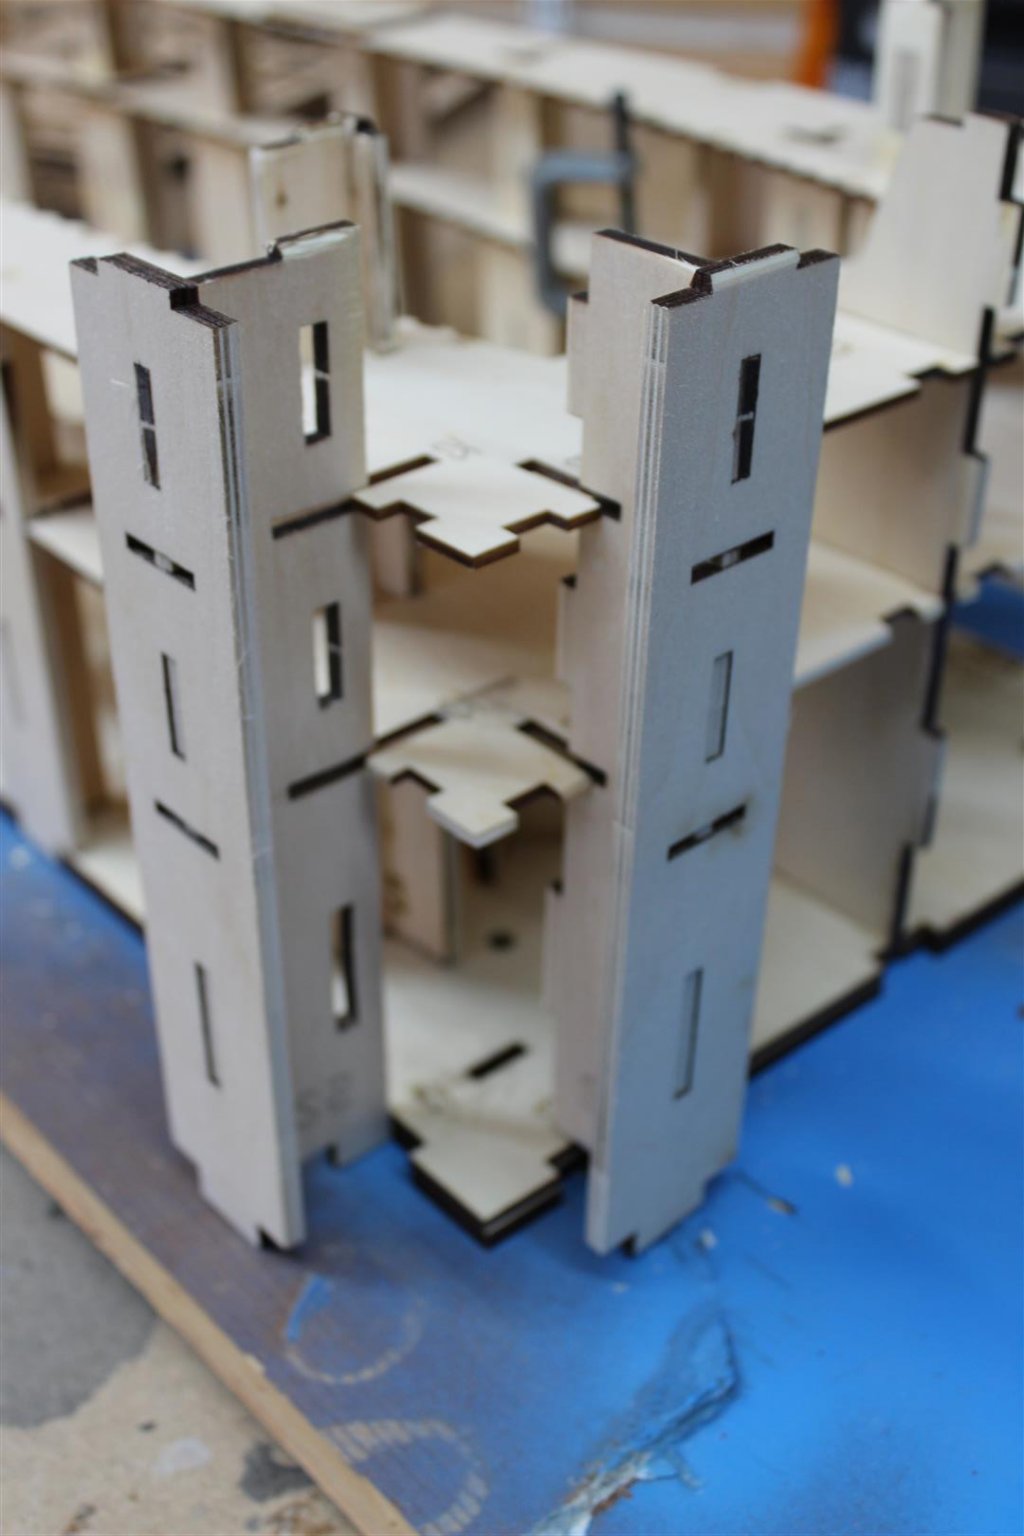
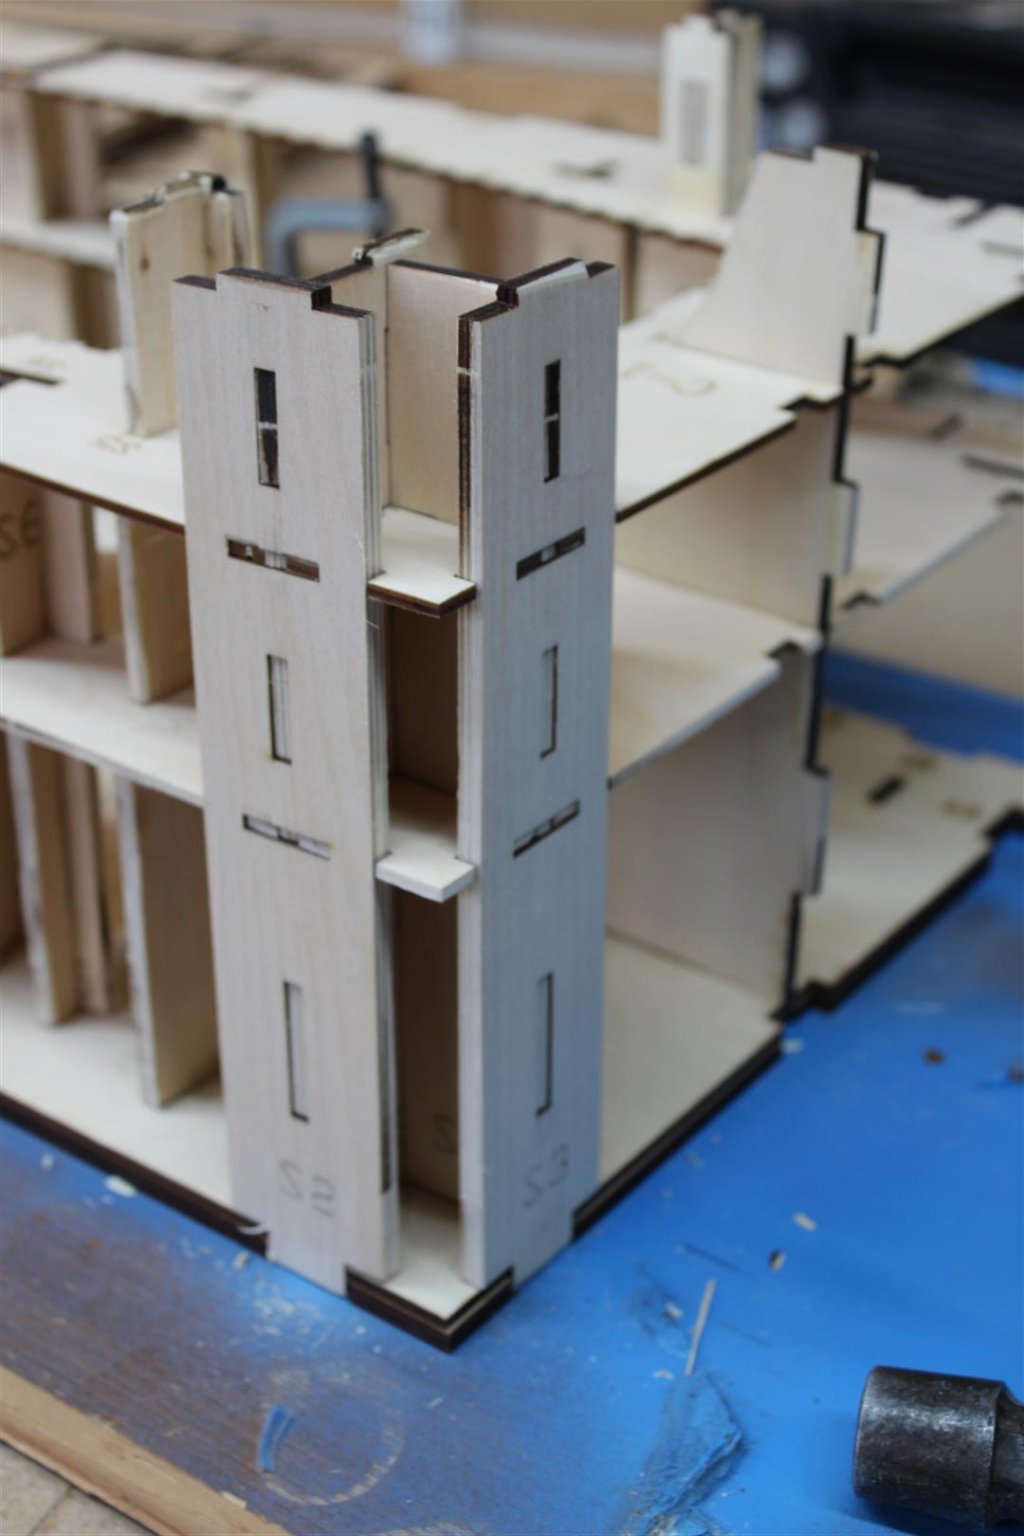
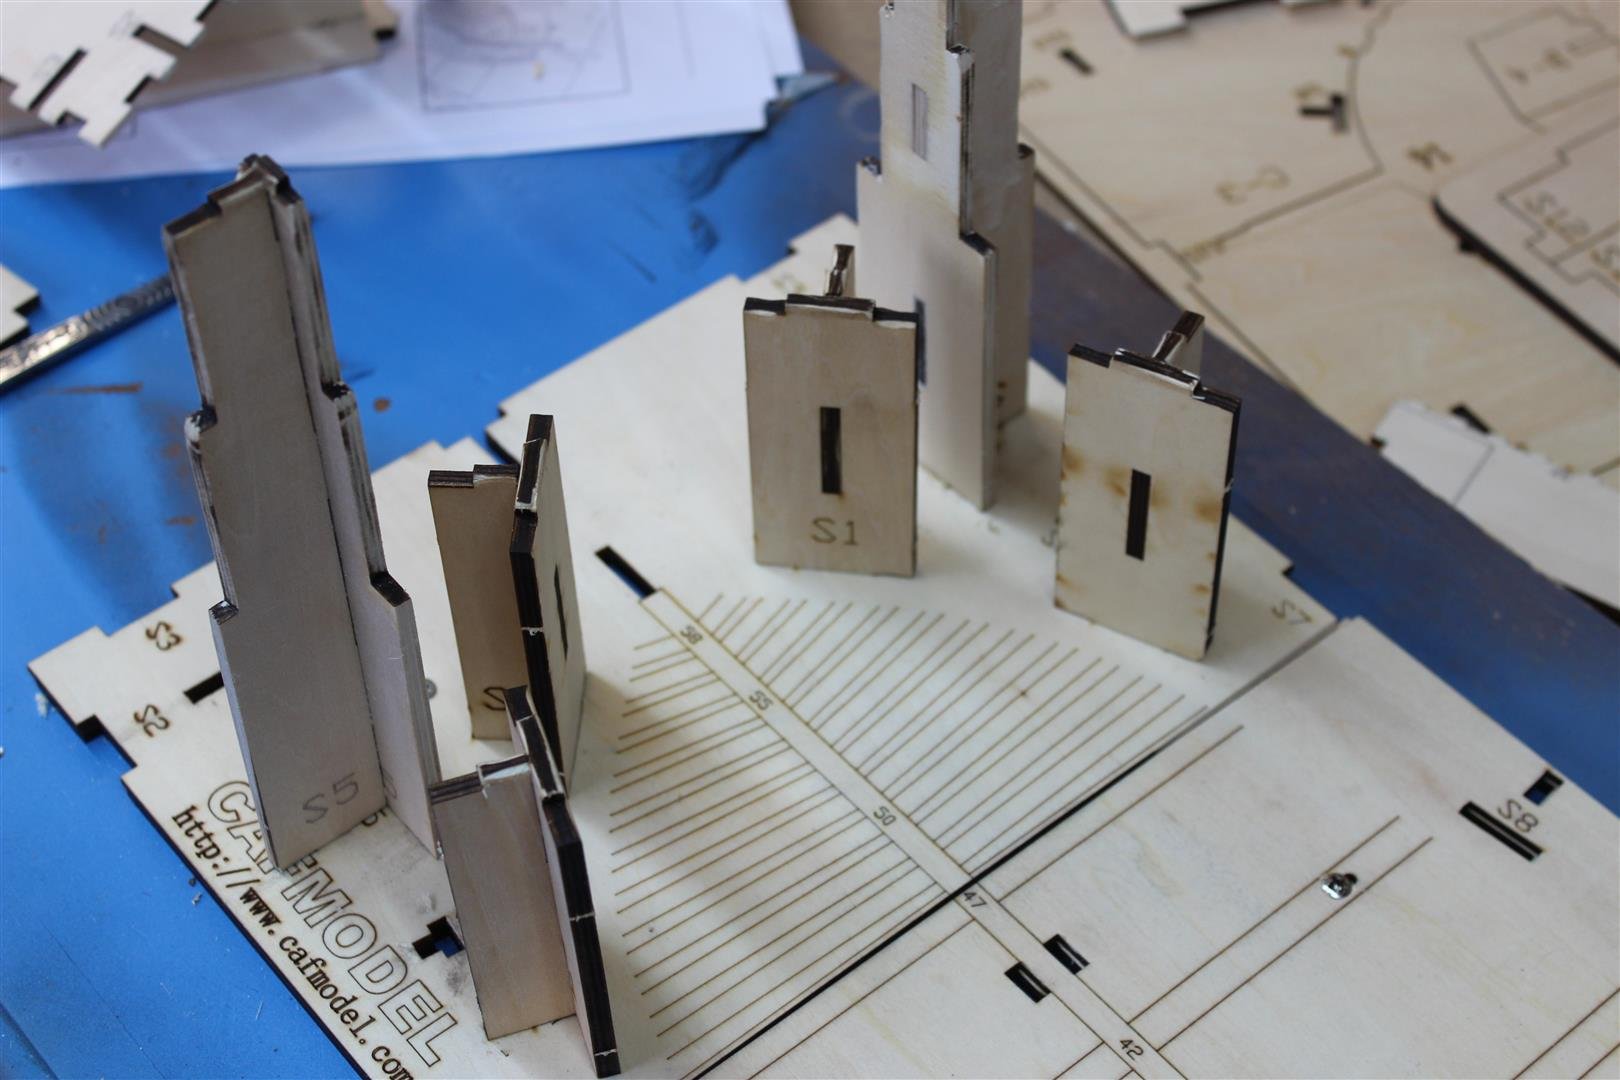
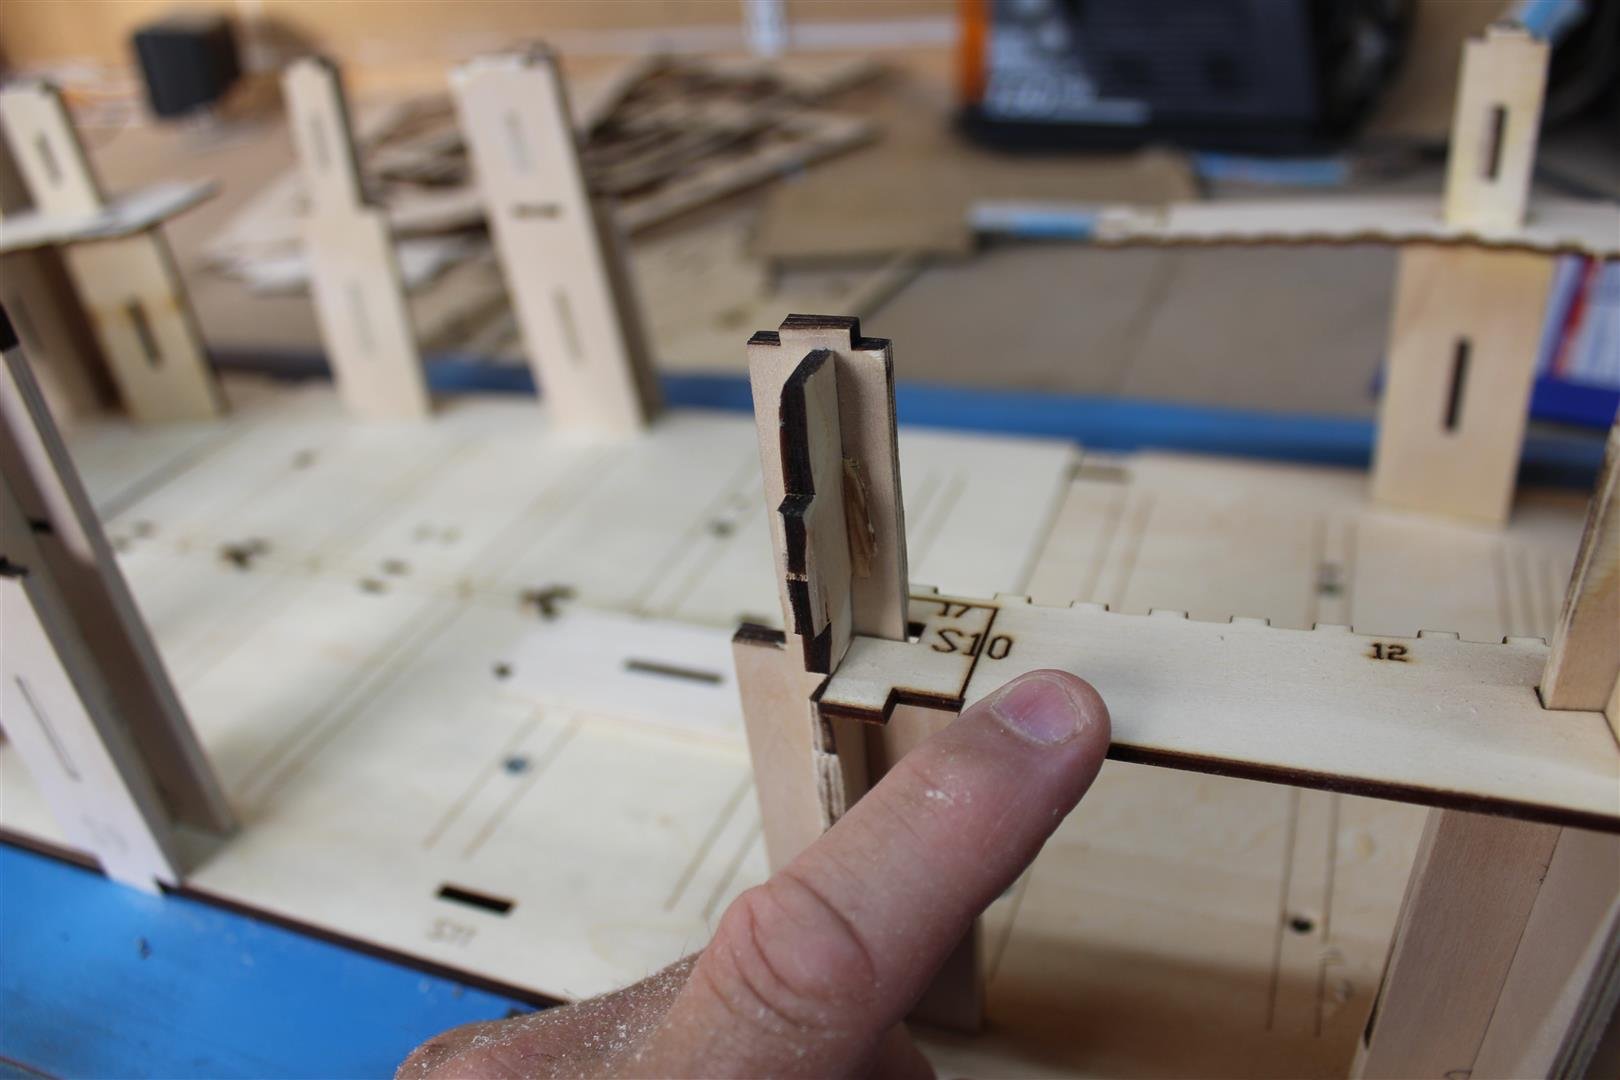
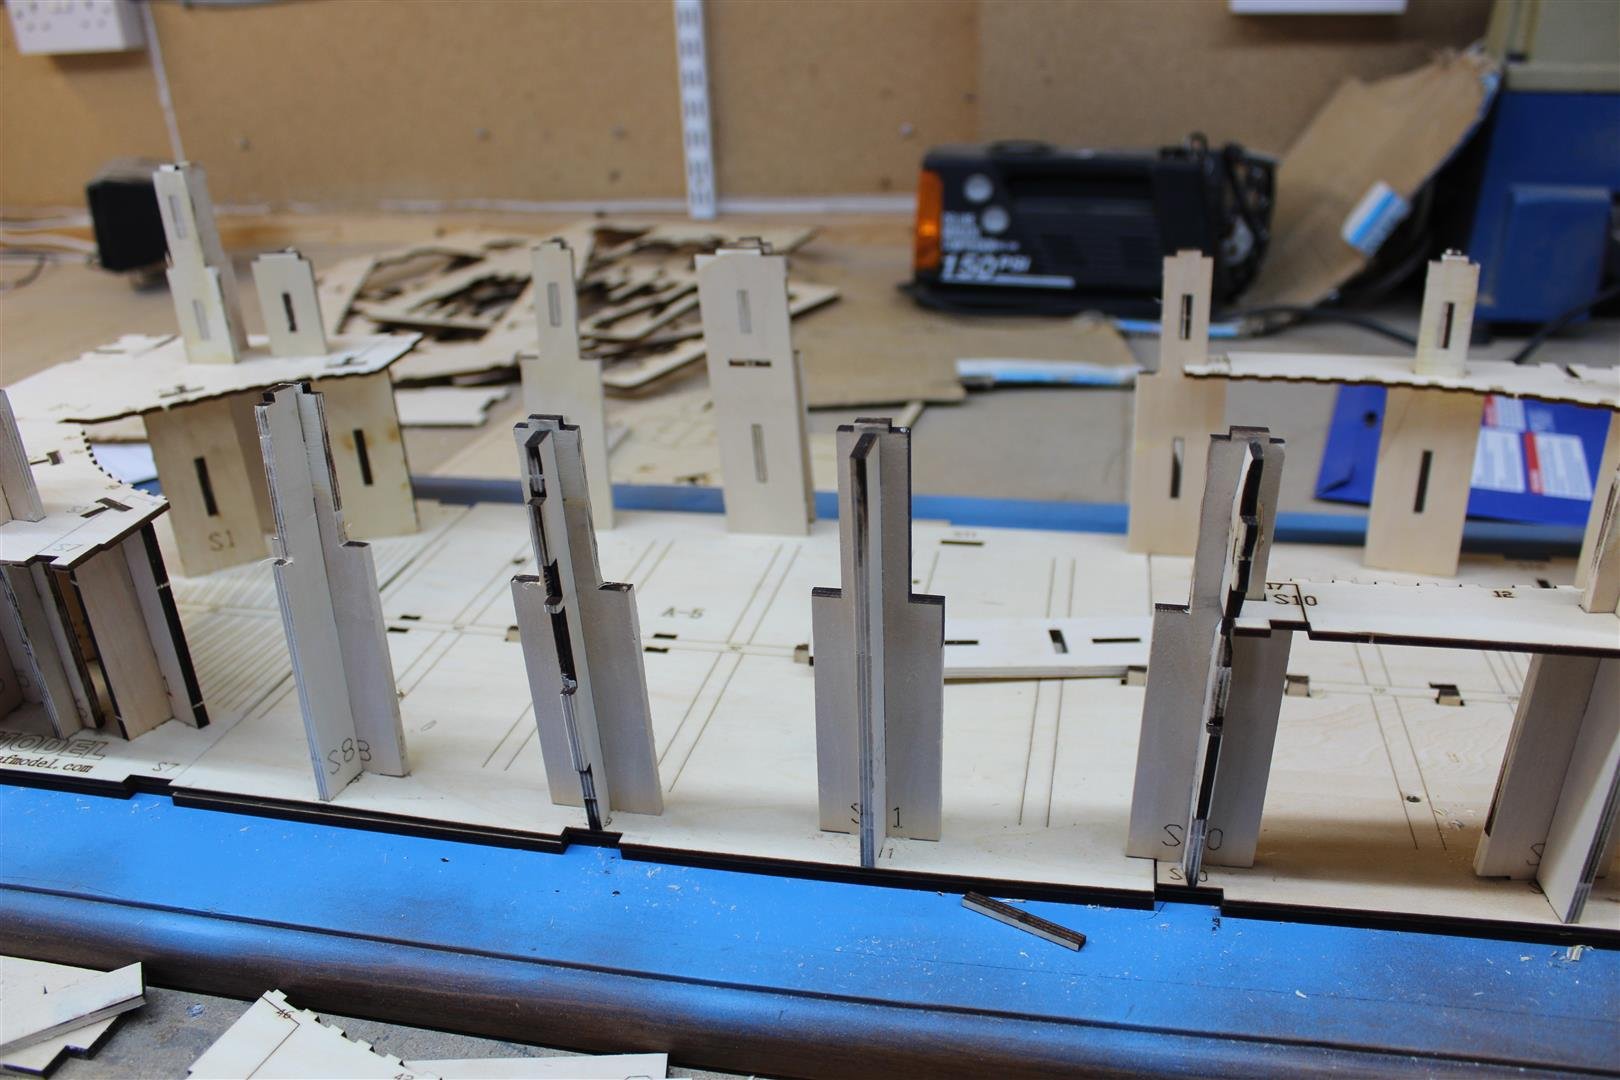
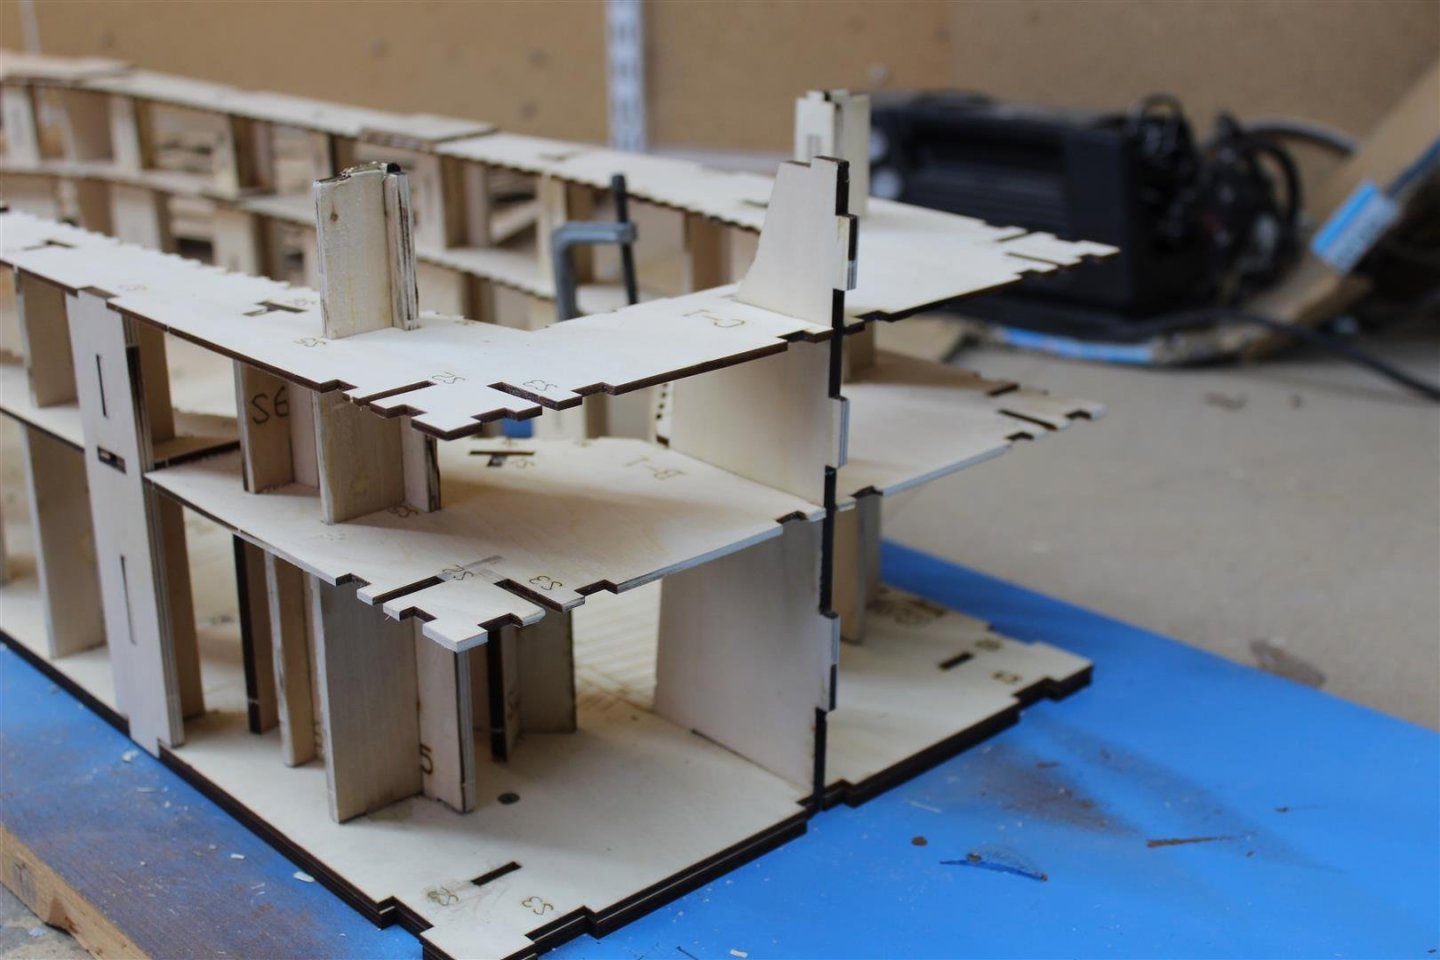
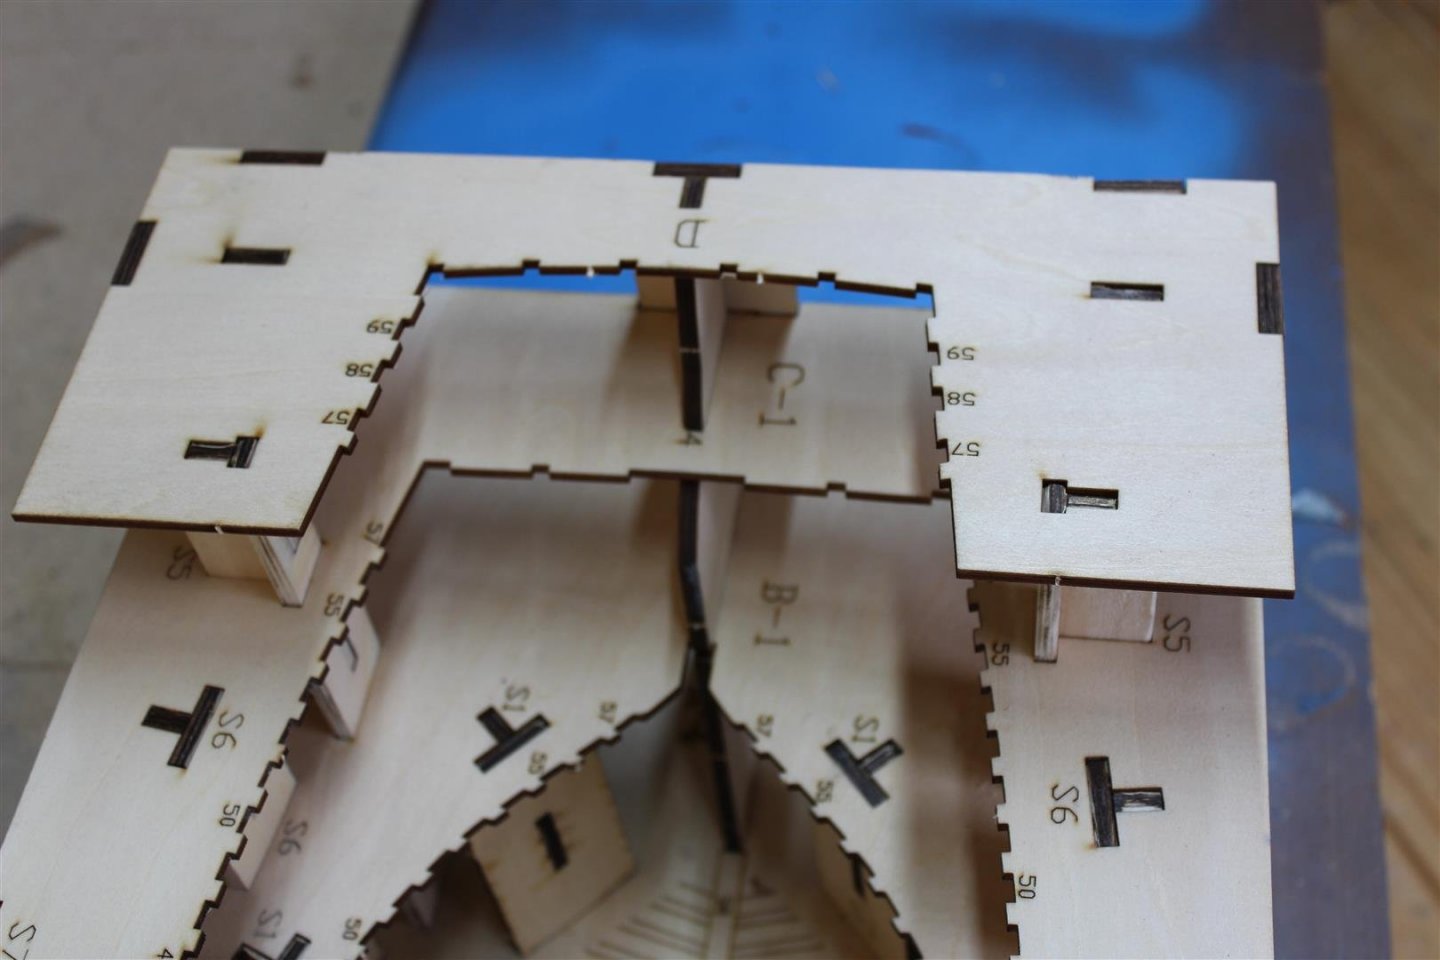
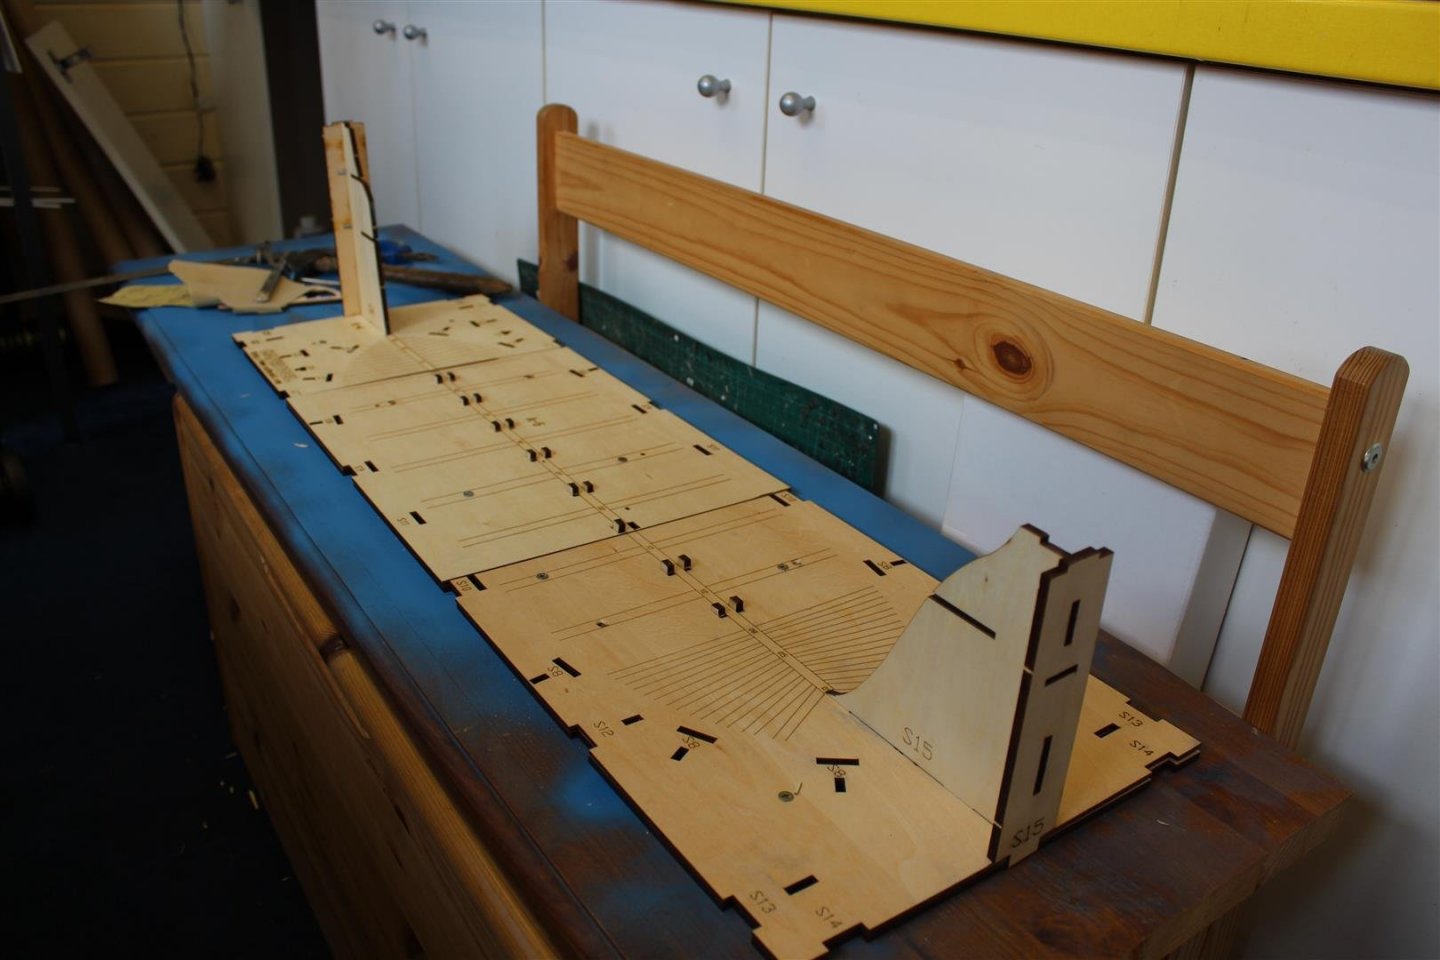
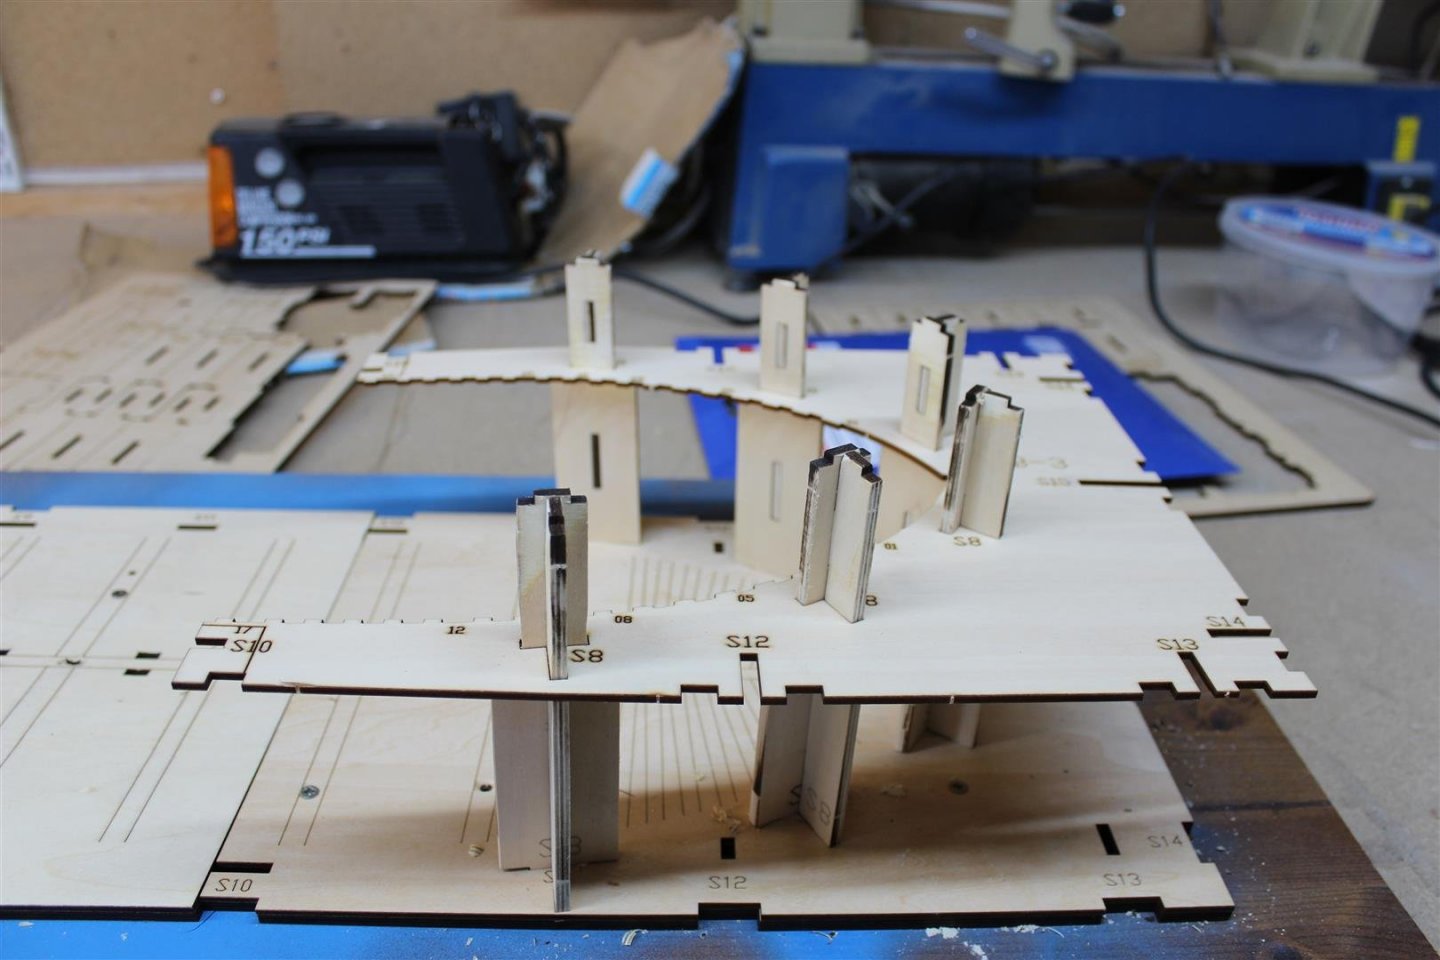
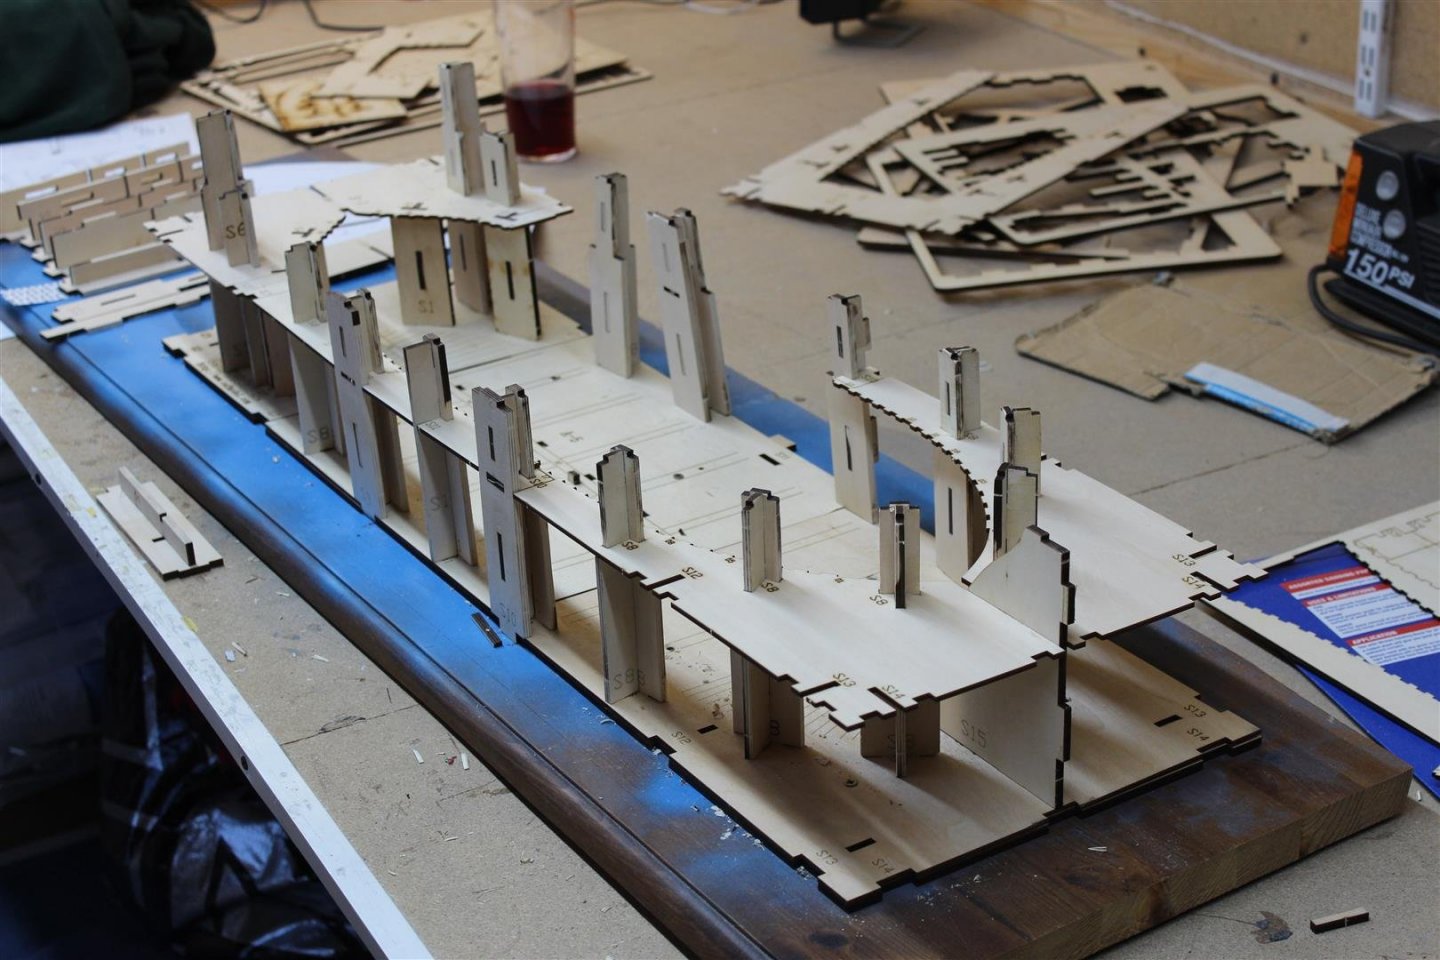
day 3 building frame complete well the frame is complete, and the top level is removable to allow access to the build no glue has been used other than on 4 connection strips in the end i was happy the way it all fitted, after my initial problems


- 317 replies
-
- 18
-
-
- enterprise
- caf
- (and 1 more)
-
Bob this is still just the frame, my main concern was the slots in the baseboard not matching, but as it has gone together (post sanding) im happy and few decent phots in the instruction would have been so useful no doubt, in the future, all this will be in landfill, or lol with a 1/2 built keel on the shelf of doom as for cost £334/2=£167 per build day
- 317 replies
-
- 4
-
-
- enterprise
- caf
- (and 1 more)
-
i have read reports where others had had the same issue, but the kit itself is fine, but yes it made me grumpy yesterday
- 317 replies
-
- 3
-
-
- enterprise
- caf
- (and 1 more)
-
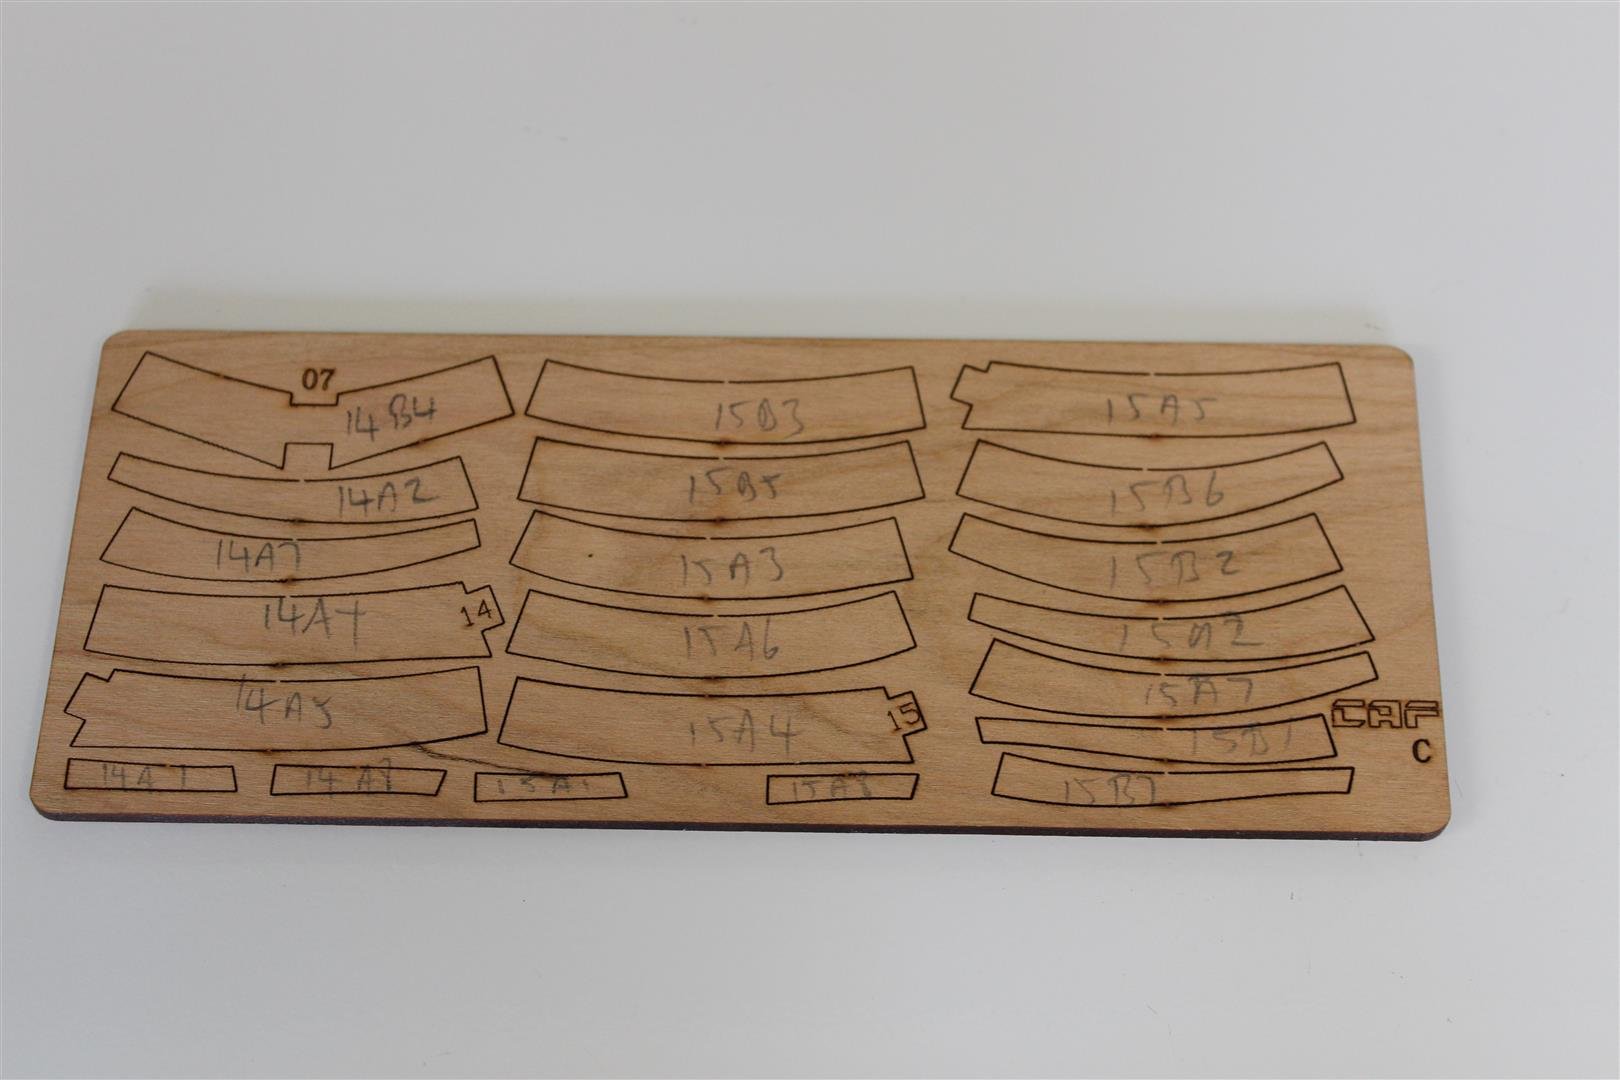
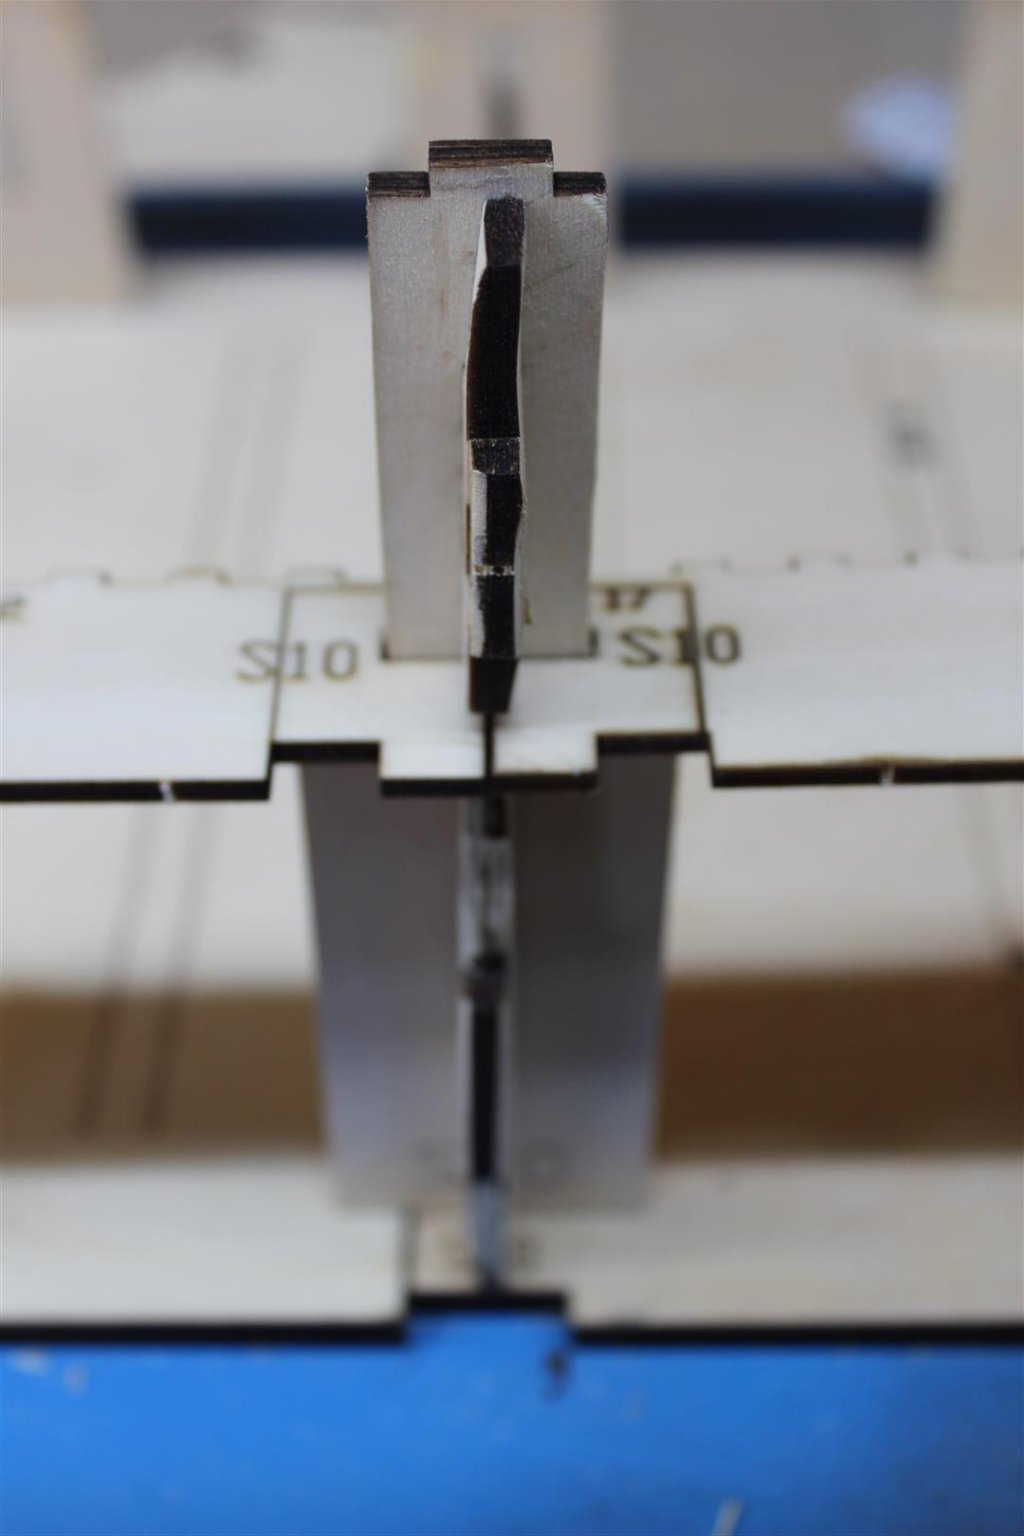
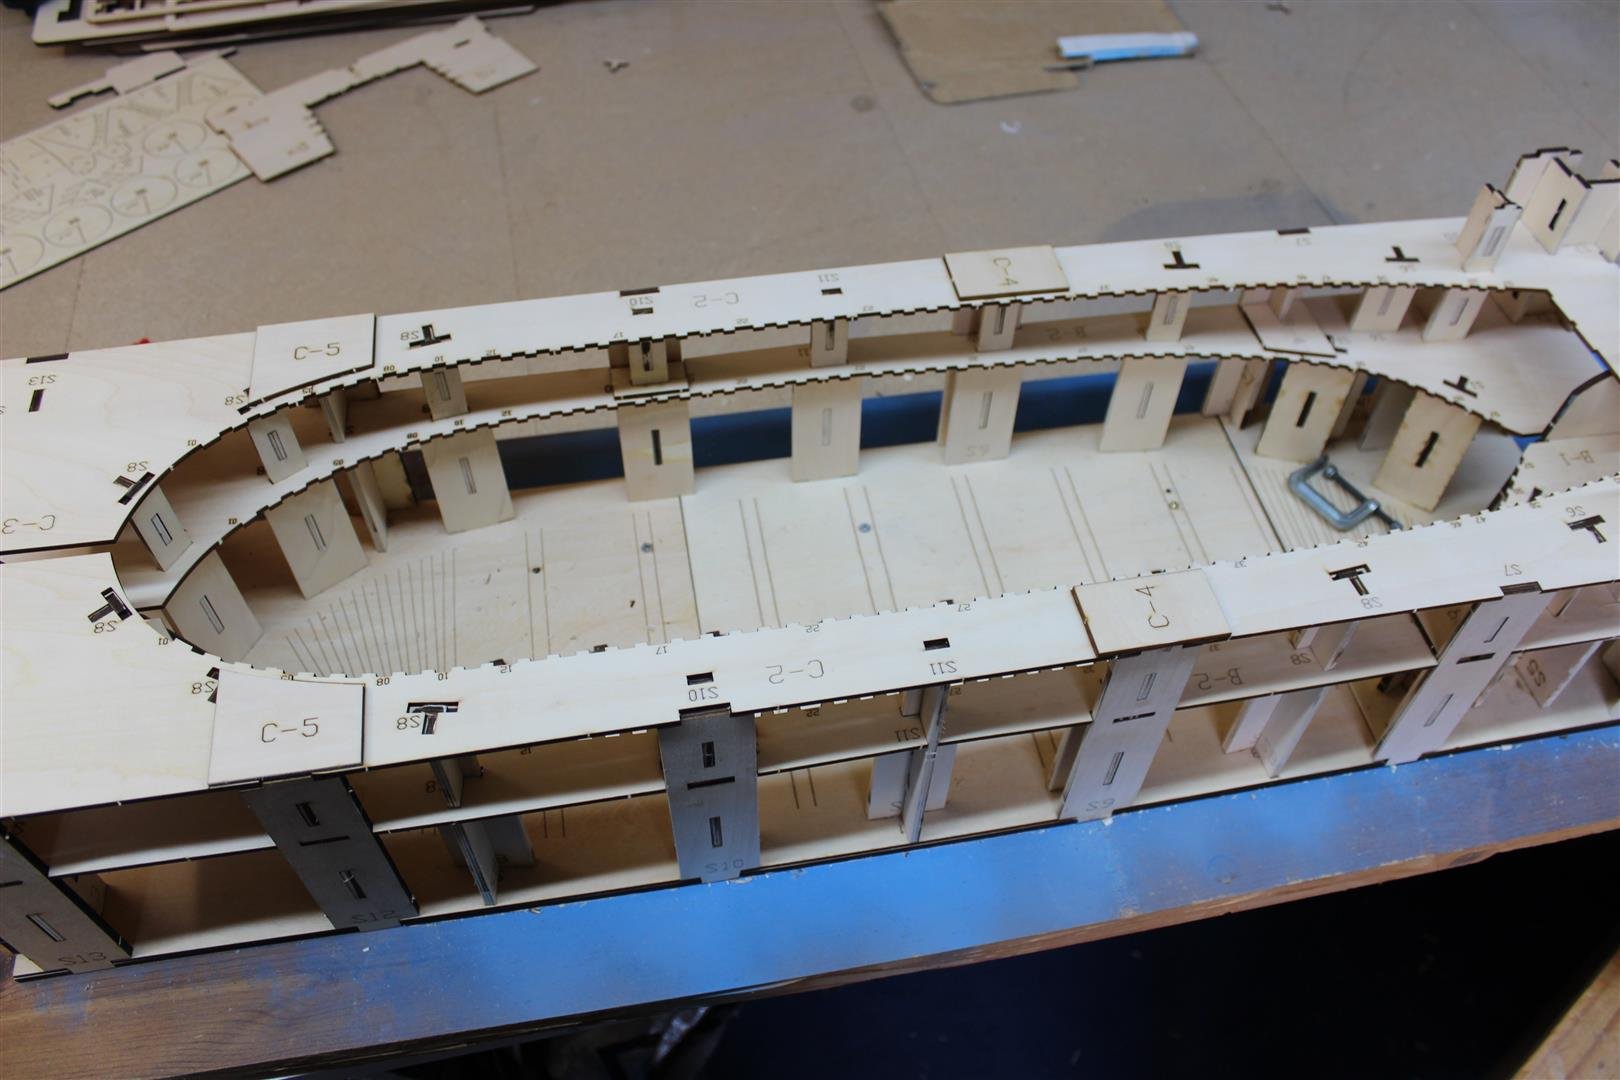
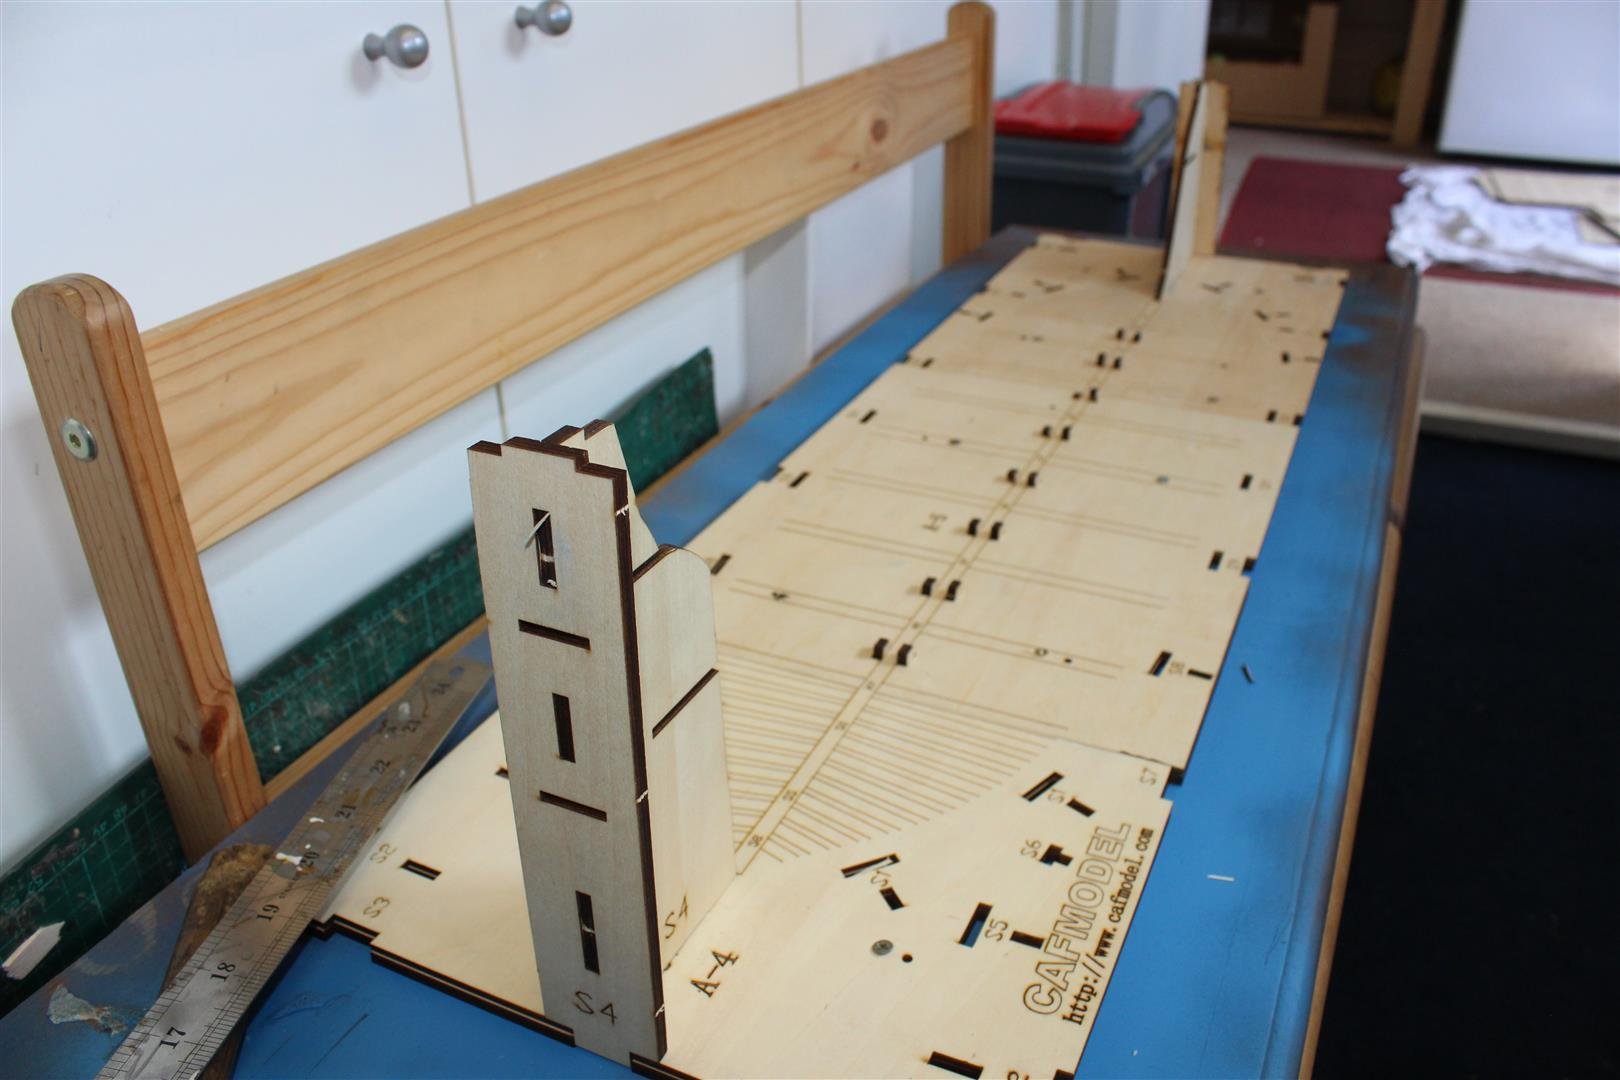
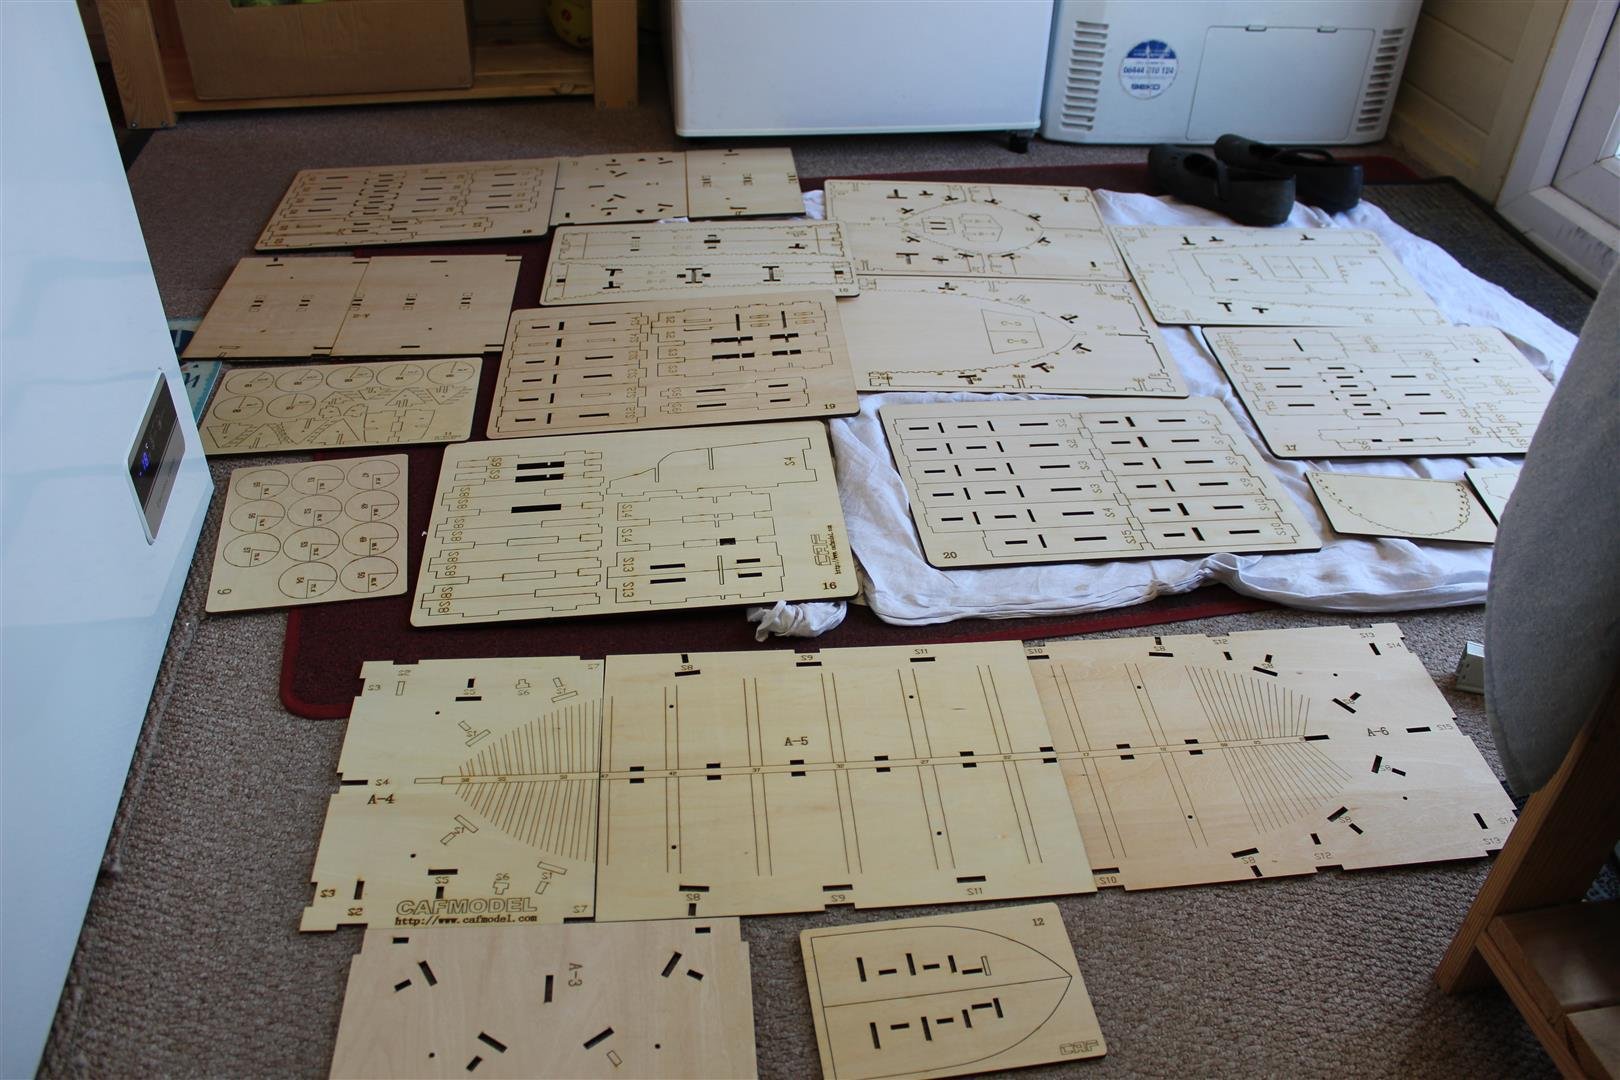
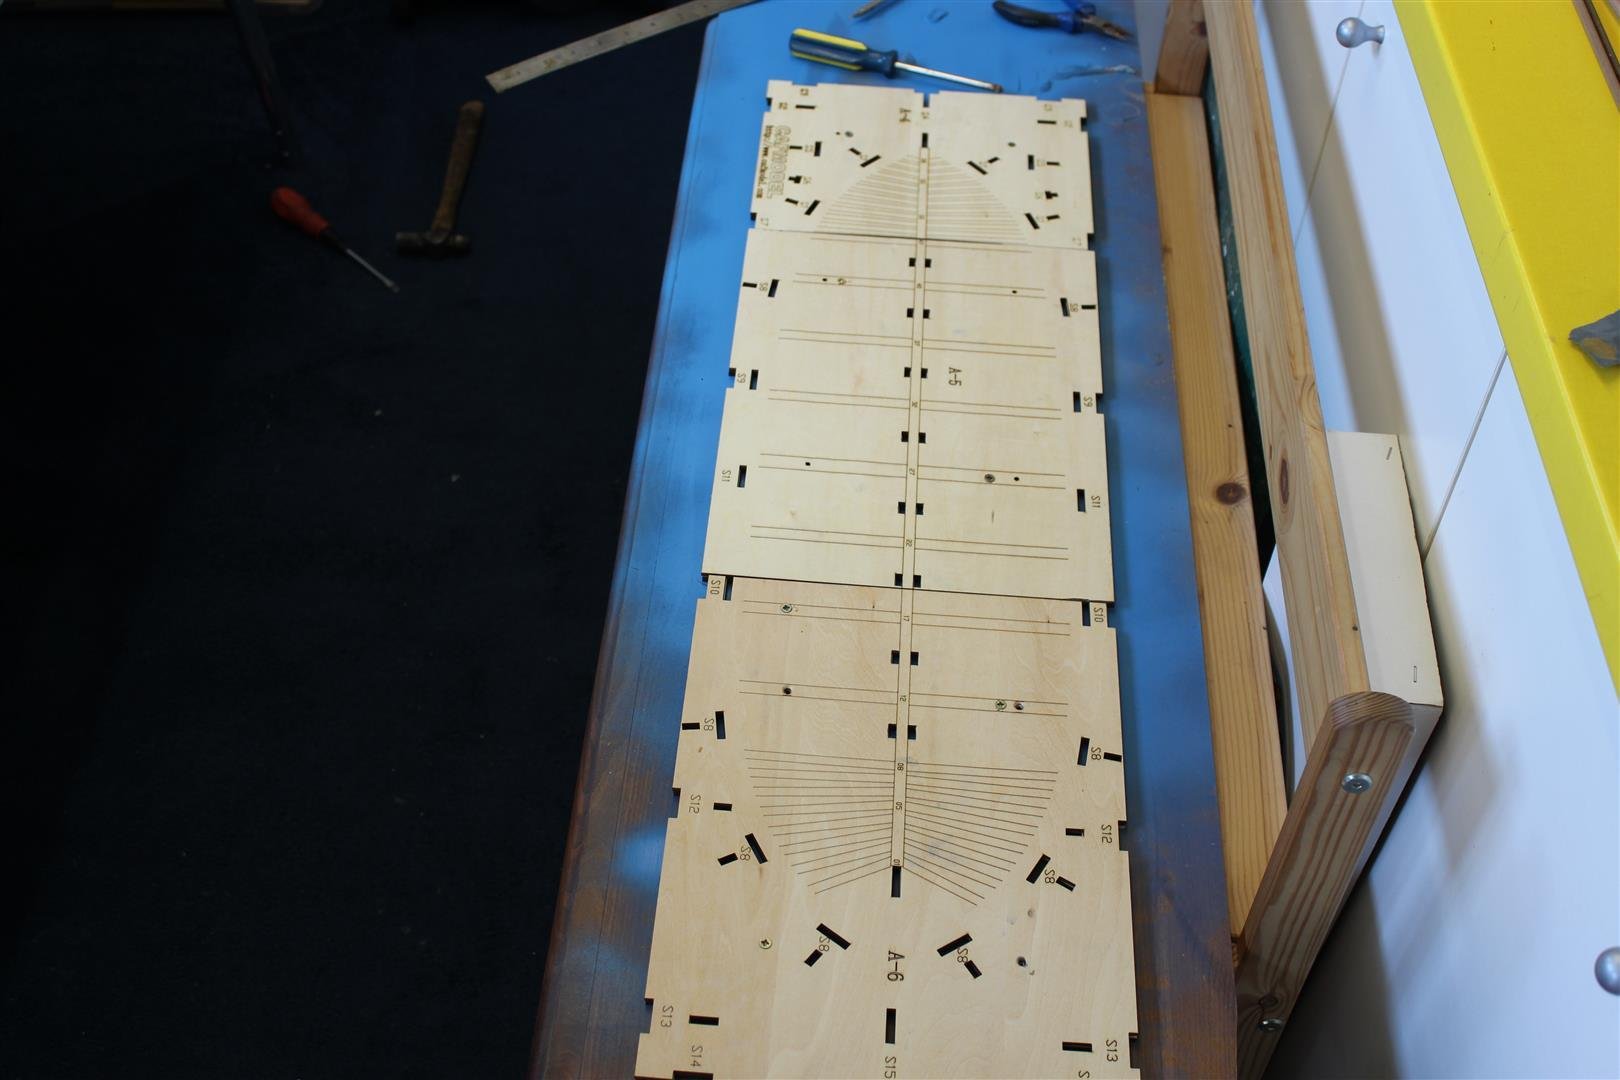
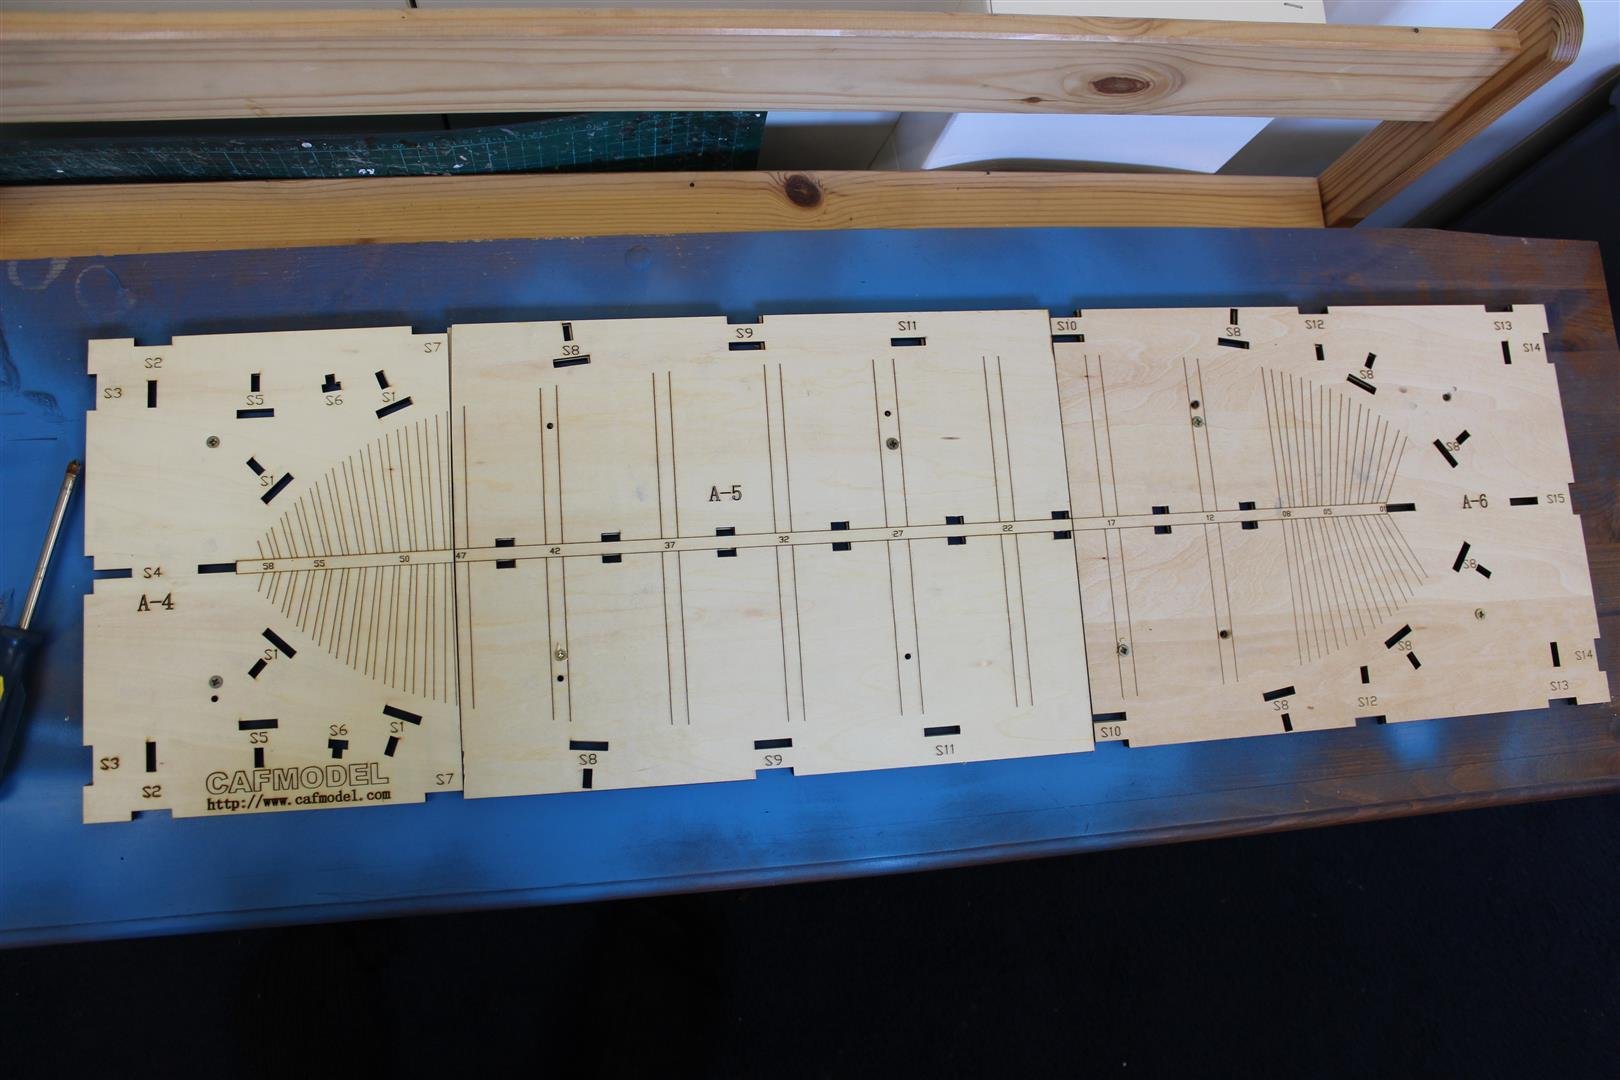
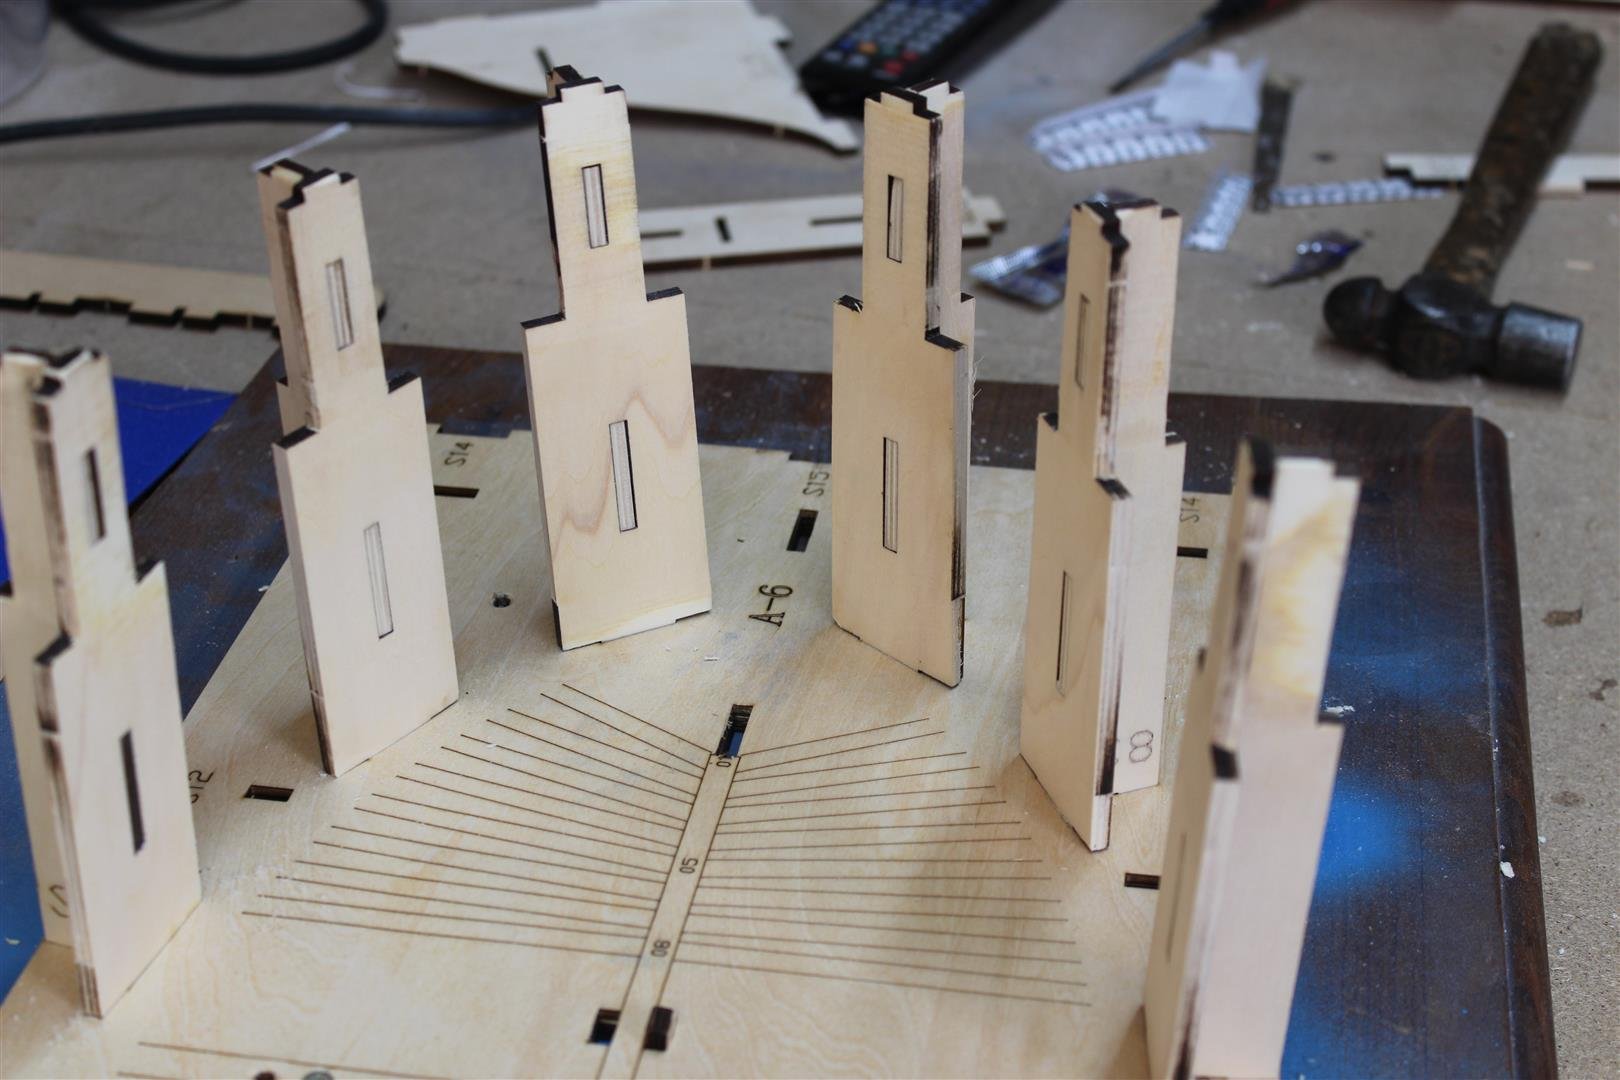
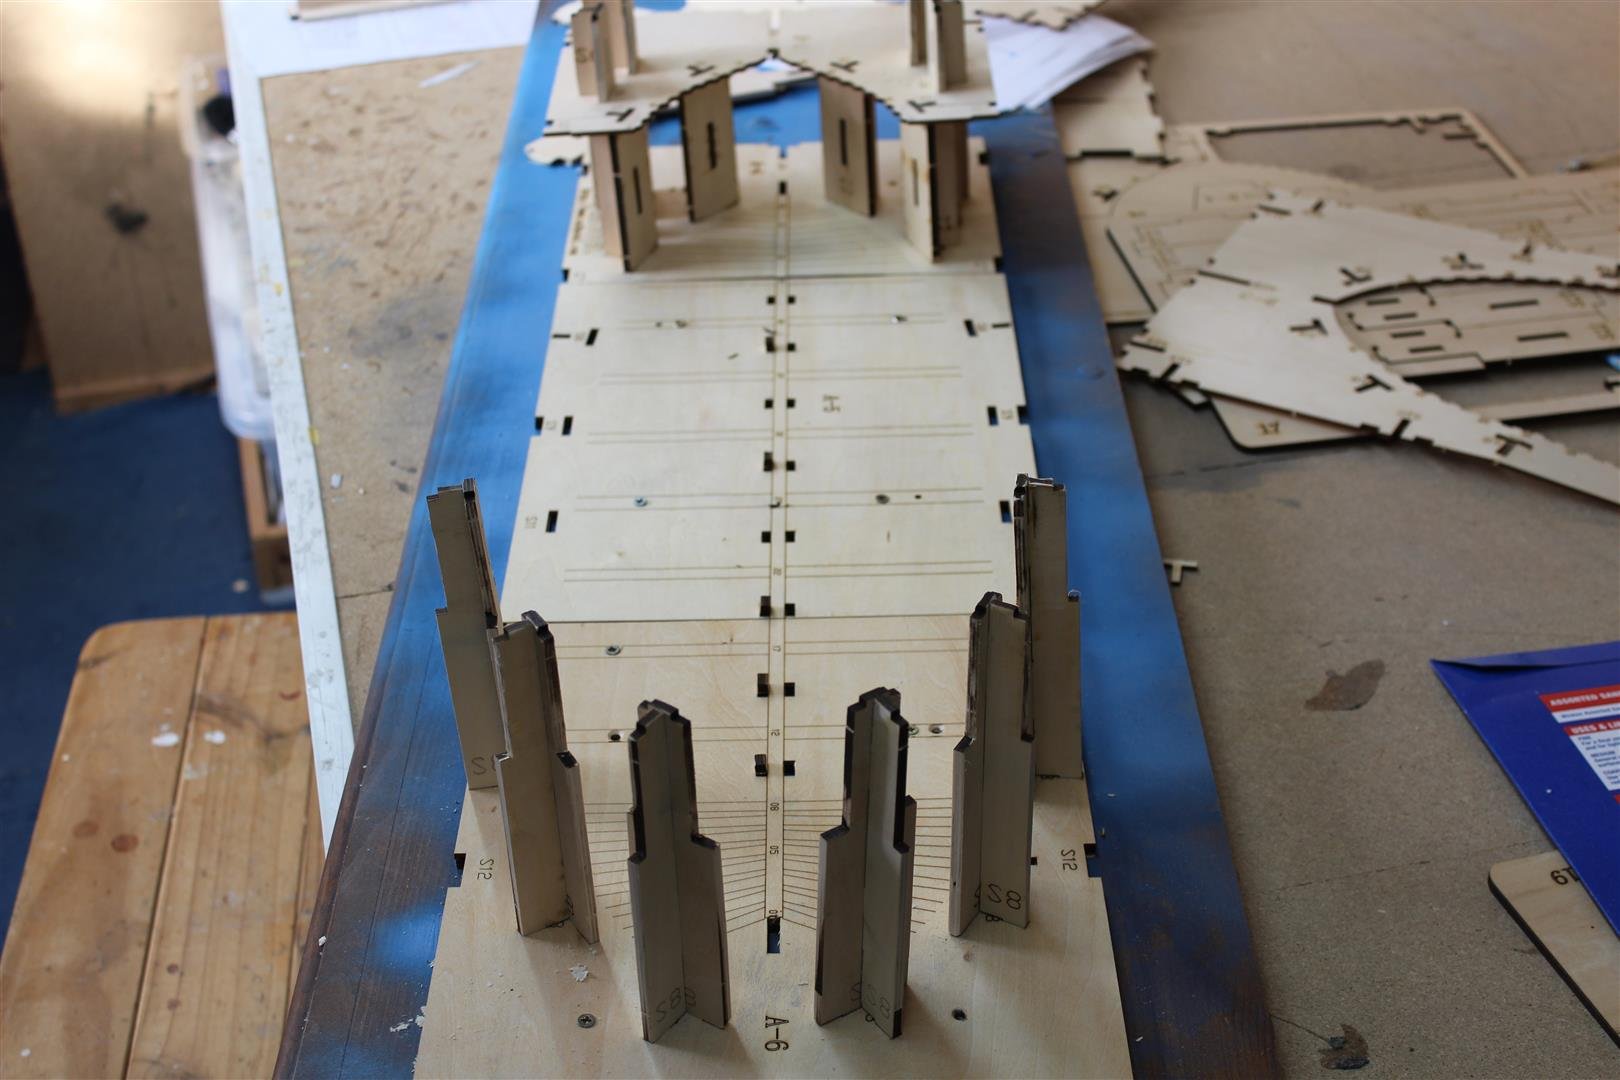
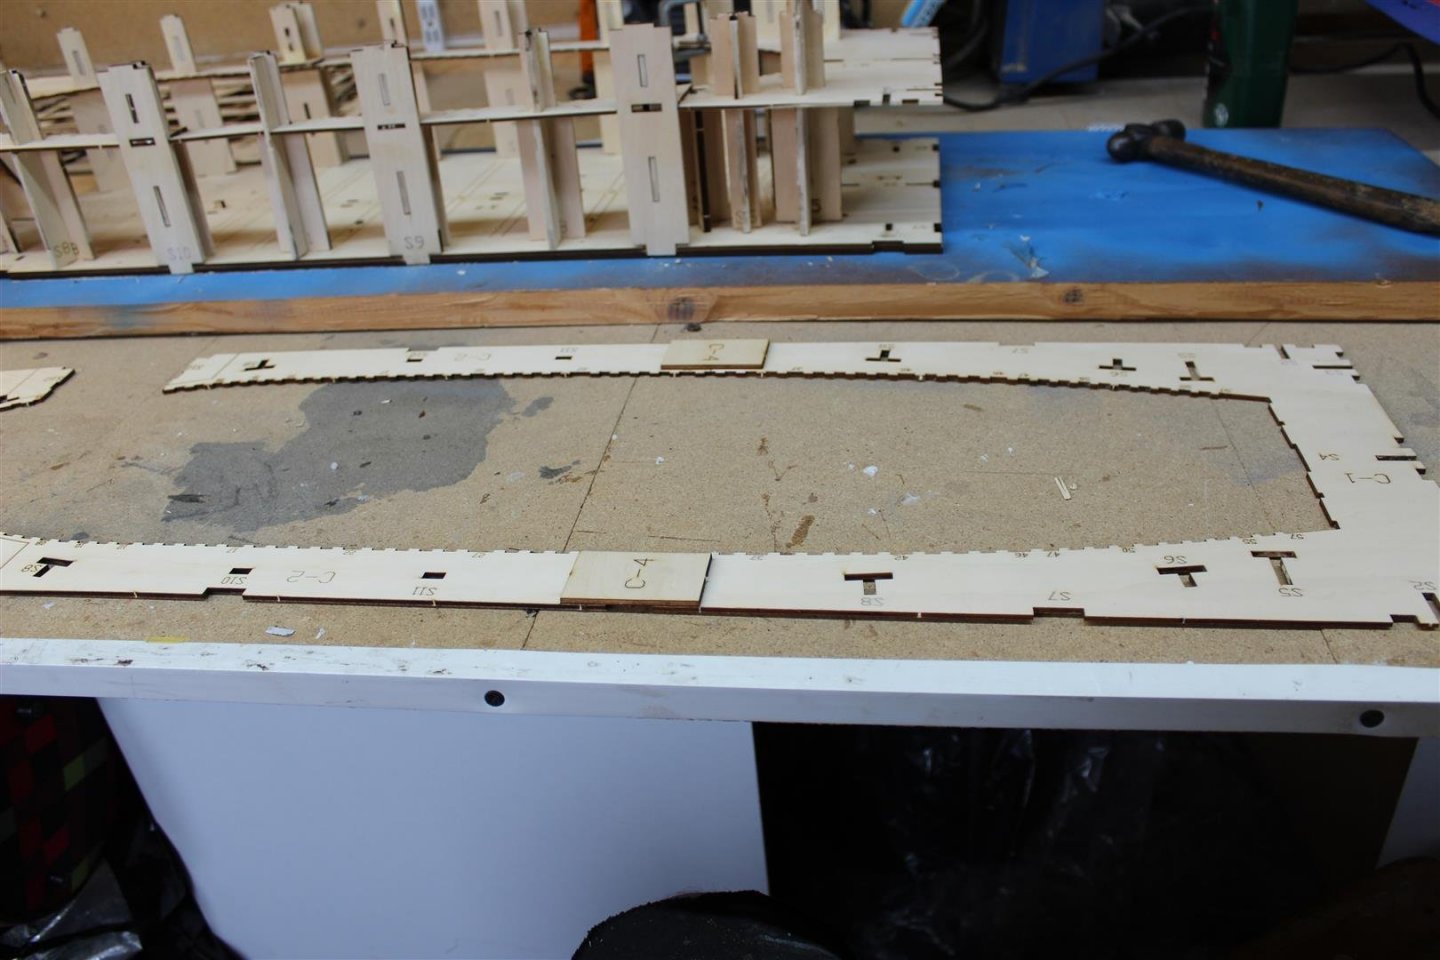
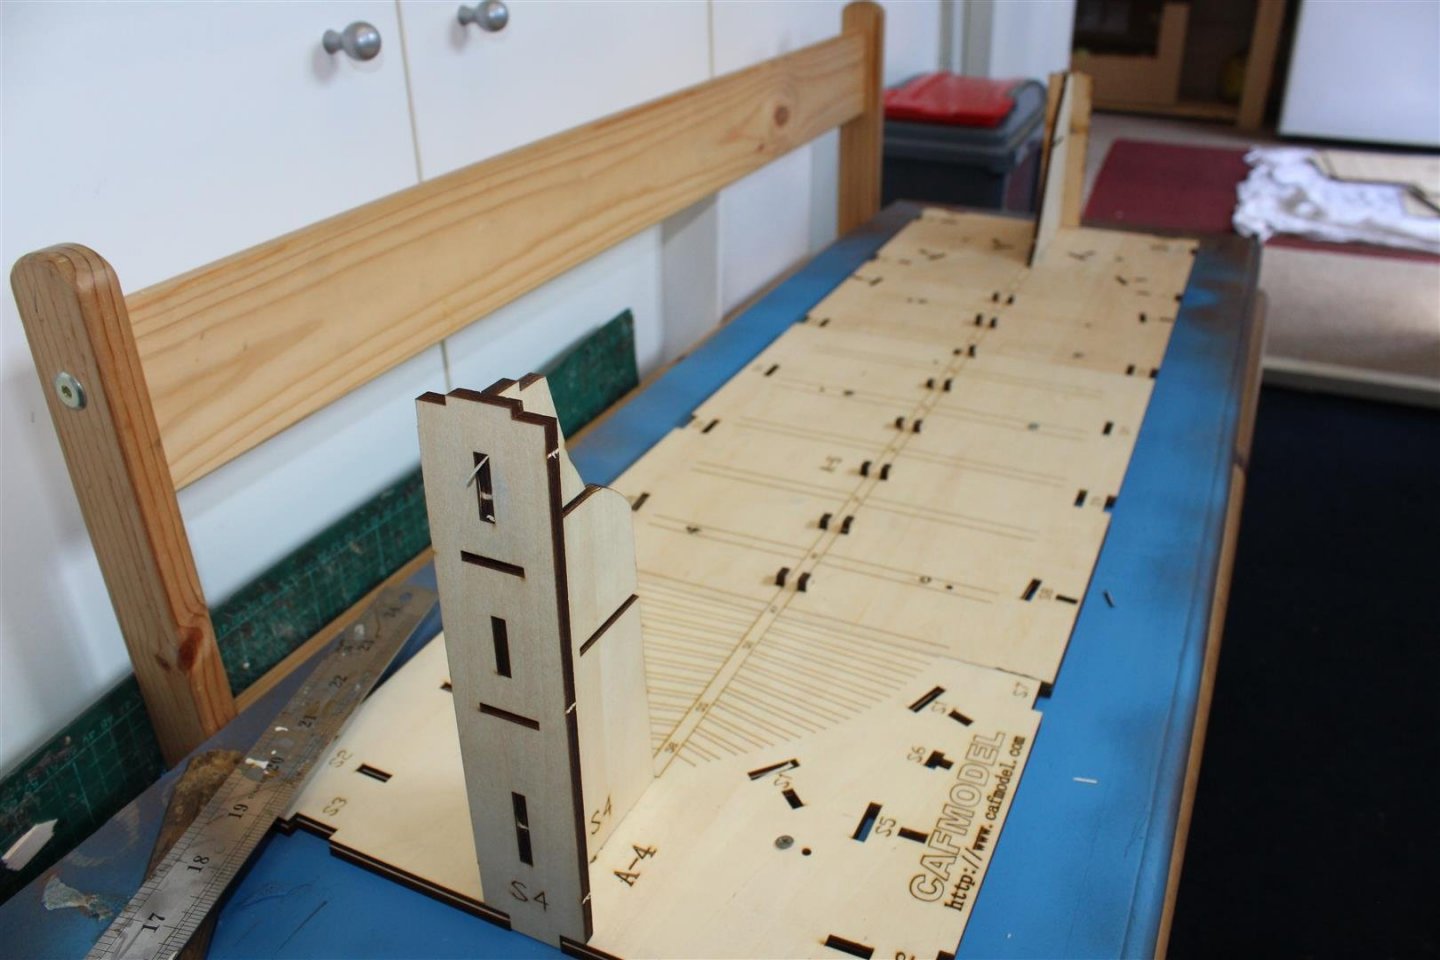
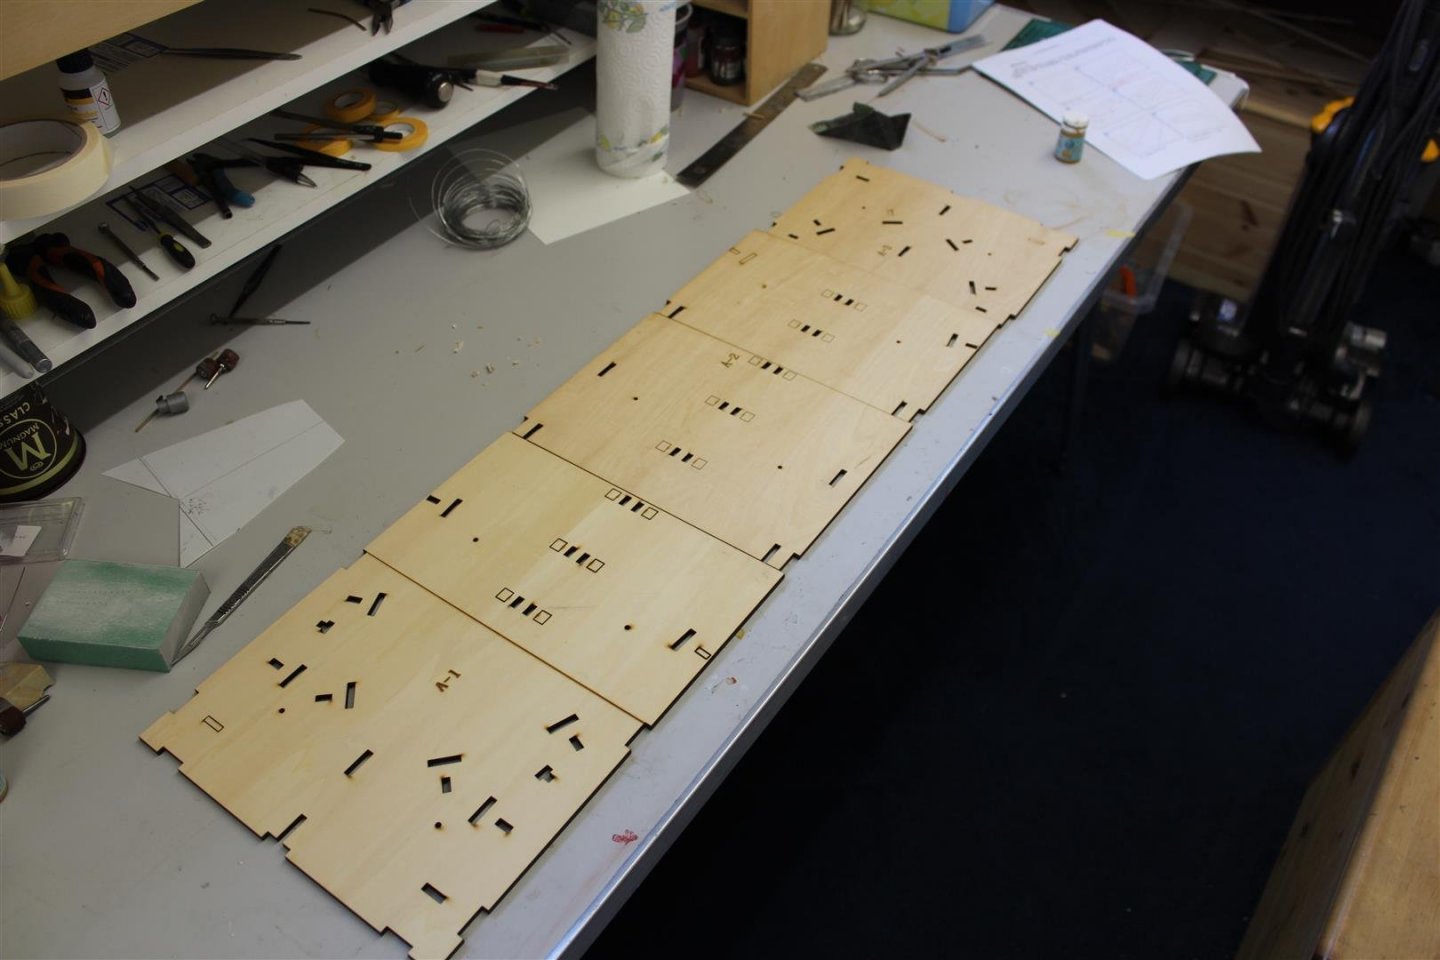
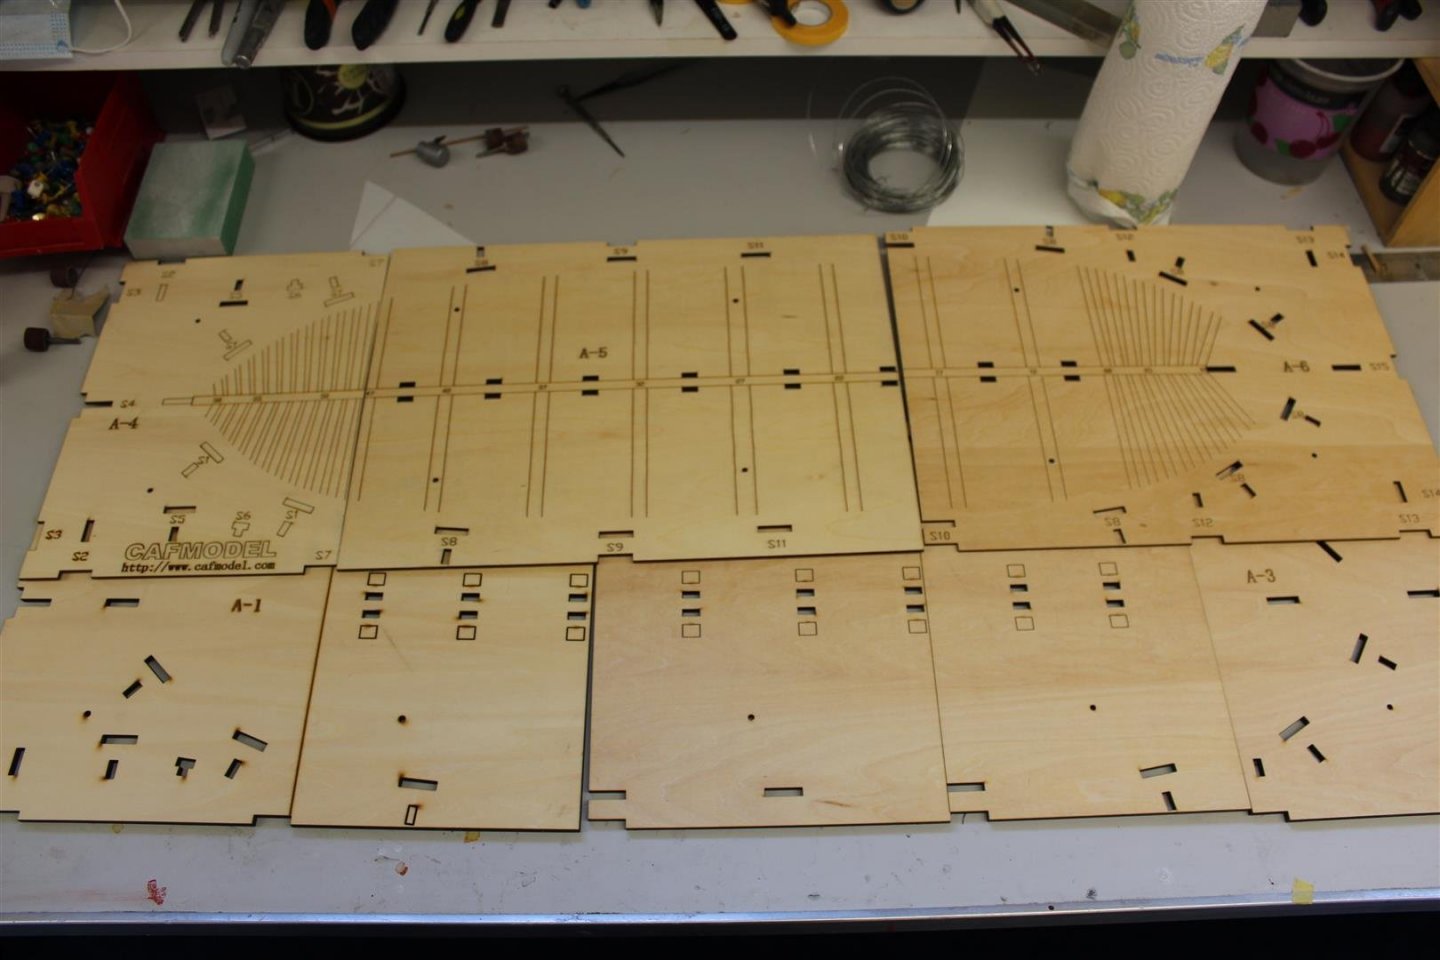
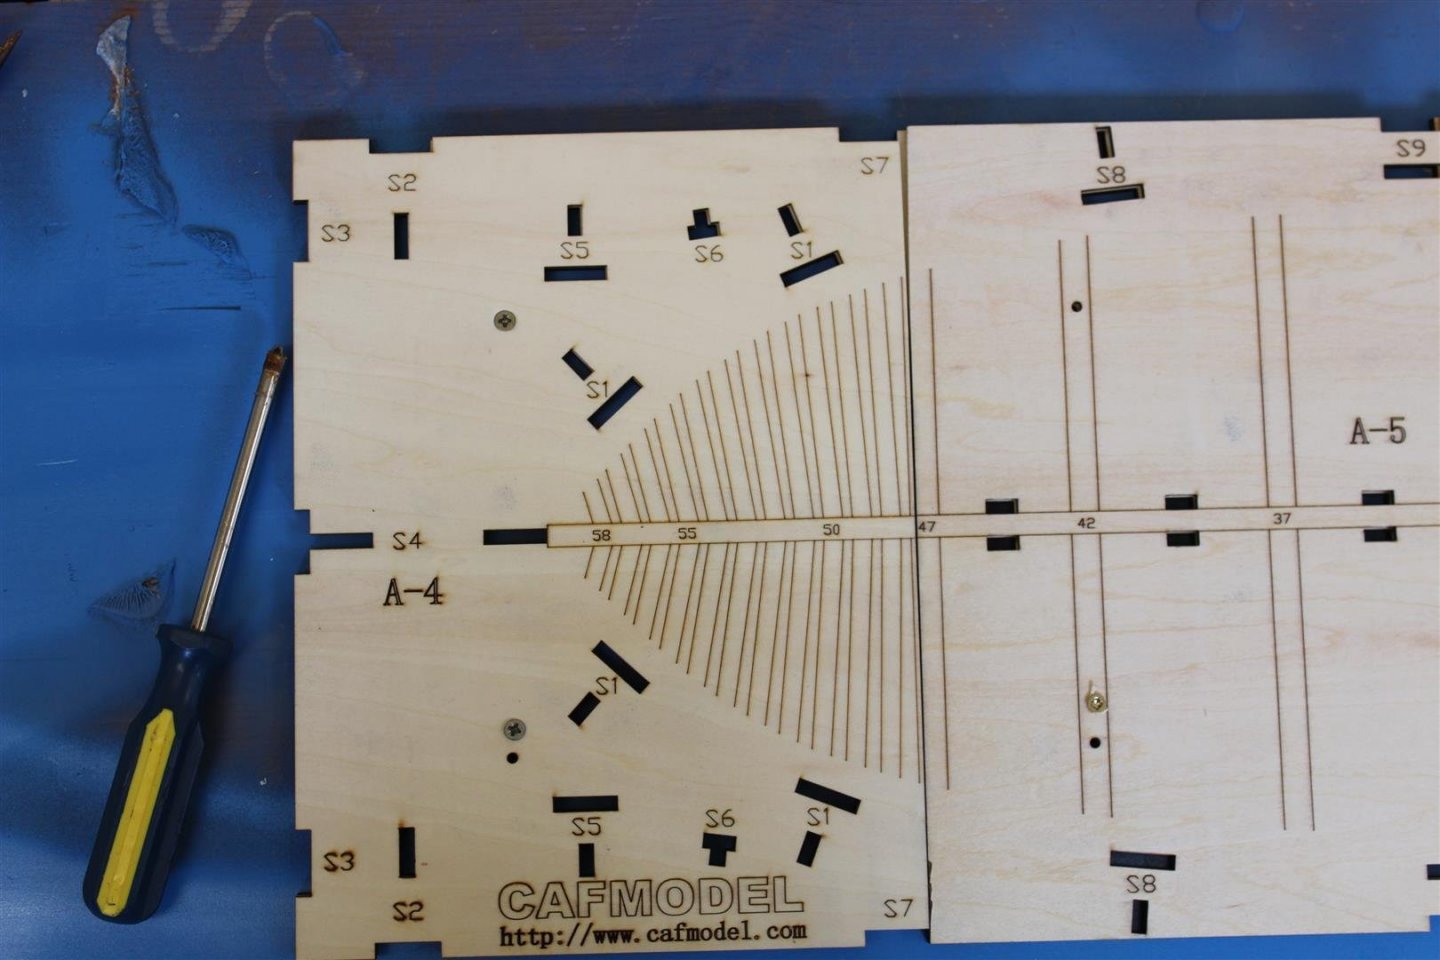
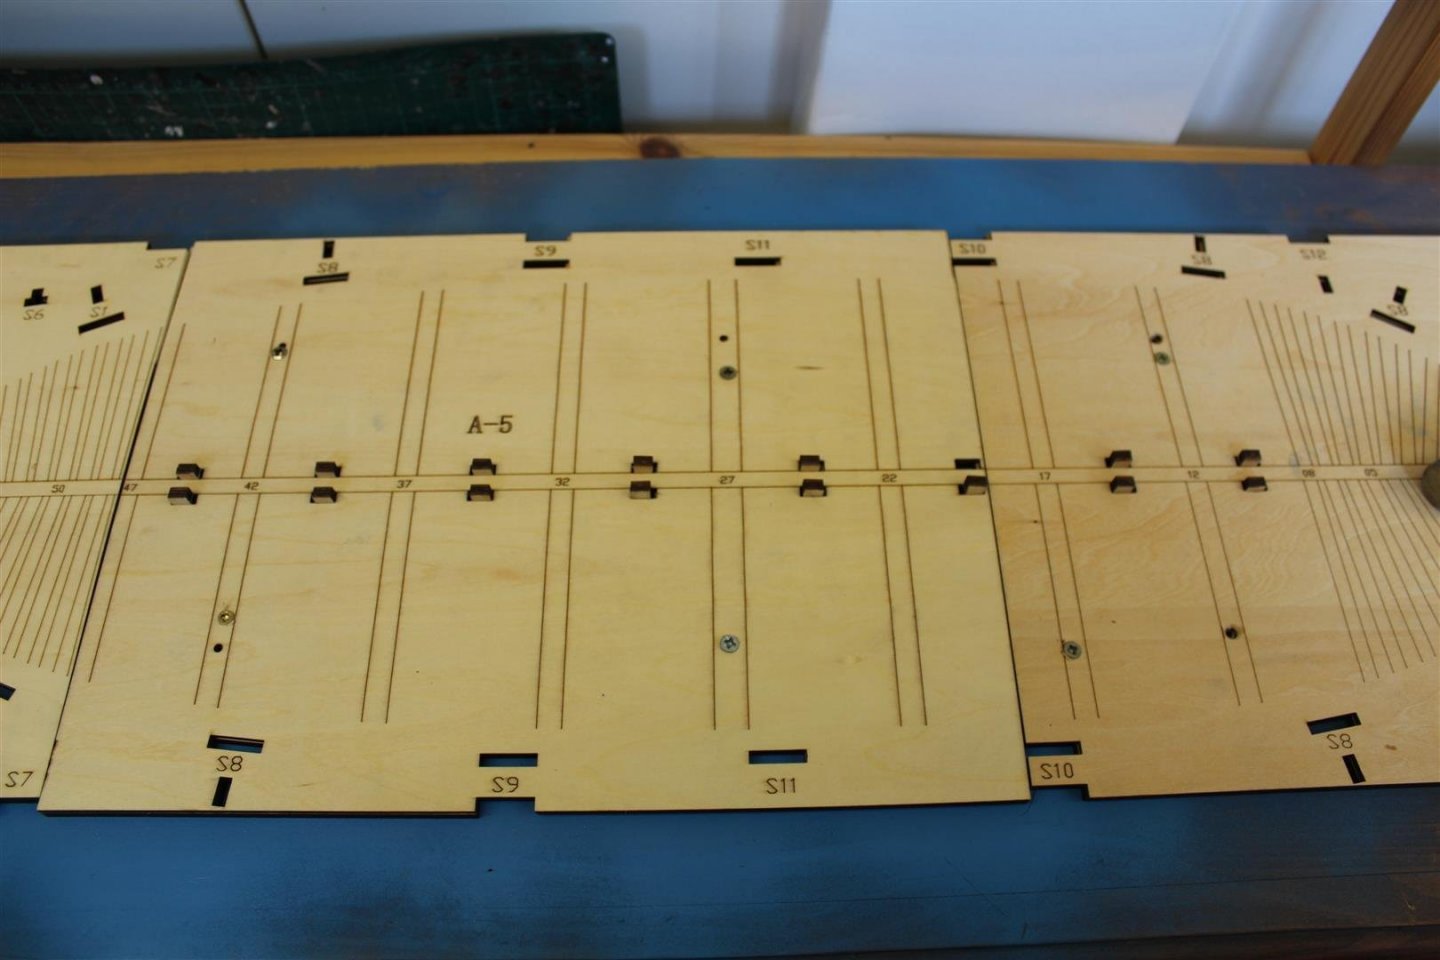
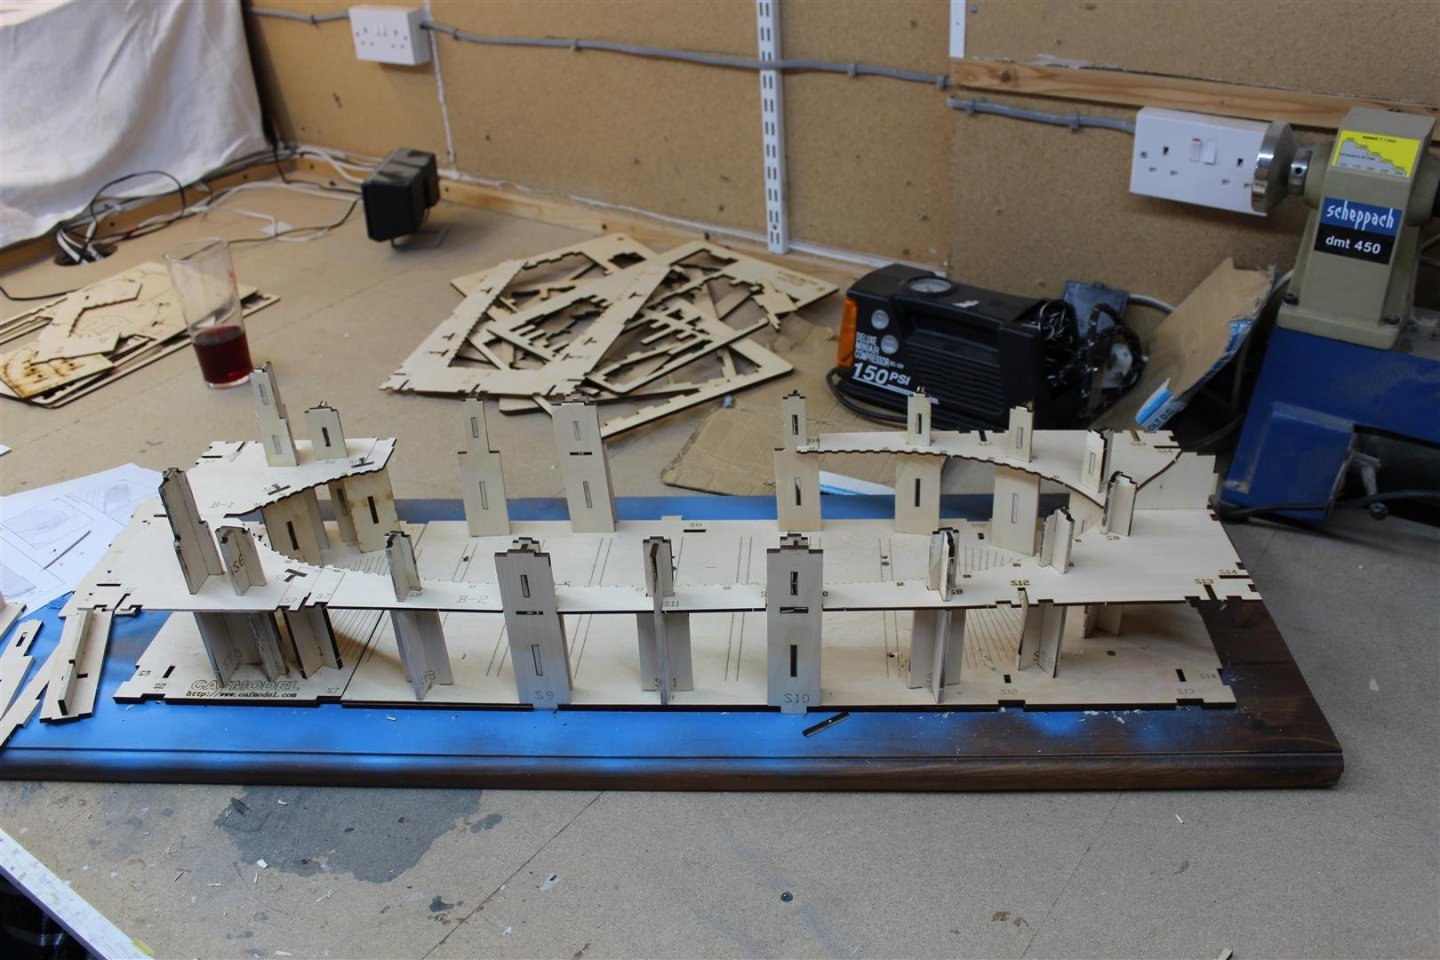
good evening everyone day 1 project Enterprise Building frame this are most of the bits for the frame, in very good quality ply i started this yesterday, but with little success, it was after a good nights sleep that i got my head around the project, but first the moans, the overlap baseboard are not working correctly, nothing fits, and non existent instructions made up from two layers which overlap, and top one should line up with lasered slots on the bottom one. they are then meant to be screwed through to a decent bench however, it took me ages to line mine up, not all the base boards are cut at 90degs and as a result not all the lasered slot match the ones in the lower boards, but some are spot on, so it is not something i have done wrong not everything is cut at right angles straight keel line, but as a result some of the slots are not matching the lower ones things then started to go wrong then, as i was working blind, i was making the assemblies up and putting them in place but everything is about .5mm to large, and requiring far to much force, and as the slots were off set,as well i was fighting a loosing battle so went bed Day 2 after some thought over night i made a plan check the base again for alignment remove all the sub assemblies and sand everything on the bench sander, including removing the laser burn with my dremmel and all of a sudden i had a different building frame, not much i could do with the slightly offset slots (about 20) apert from remove a bit of wood which has worked fine i have a set of photos now for anyone wanting to follow the build progress


- 317 replies
-
- 23
-
-
- enterprise
- caf
- (and 1 more)
-
get me a 1/24 in a cutaway oberon class sub kit and you might have a deal
- 317 replies
-
- 3
-
-
- enterprise
- caf
- (and 1 more)
-
im normally quite good at doing build logs it's just that i tend to leave projects 1/2 way through, but always return
- 317 replies
-
- 2
-
-
- enterprise
- caf
- (and 1 more)