HOLIDAY DONATION DRIVE - SUPPORT MSW - DO YOUR PART TO KEEP THIS GREAT FORUM GOING! (Only 13 donations so far - C'mon guys!)
×


Kevin
-
Posts
7,008 -
Joined
-
Last visited
Content Type
Profiles
Forums
Gallery
Events
Everything posted by Kevin
-
 Thank you @Tankerman i have actually drawn the line at 7.2mm so i will go just a little deeper tomorrow, it was very handy having the laser etched cannon template handy, otherwise i could have been in a right mess tonight
- 312 replies
-
- 3
-

-
- enterprise
- caf
- (and 1 more)
-
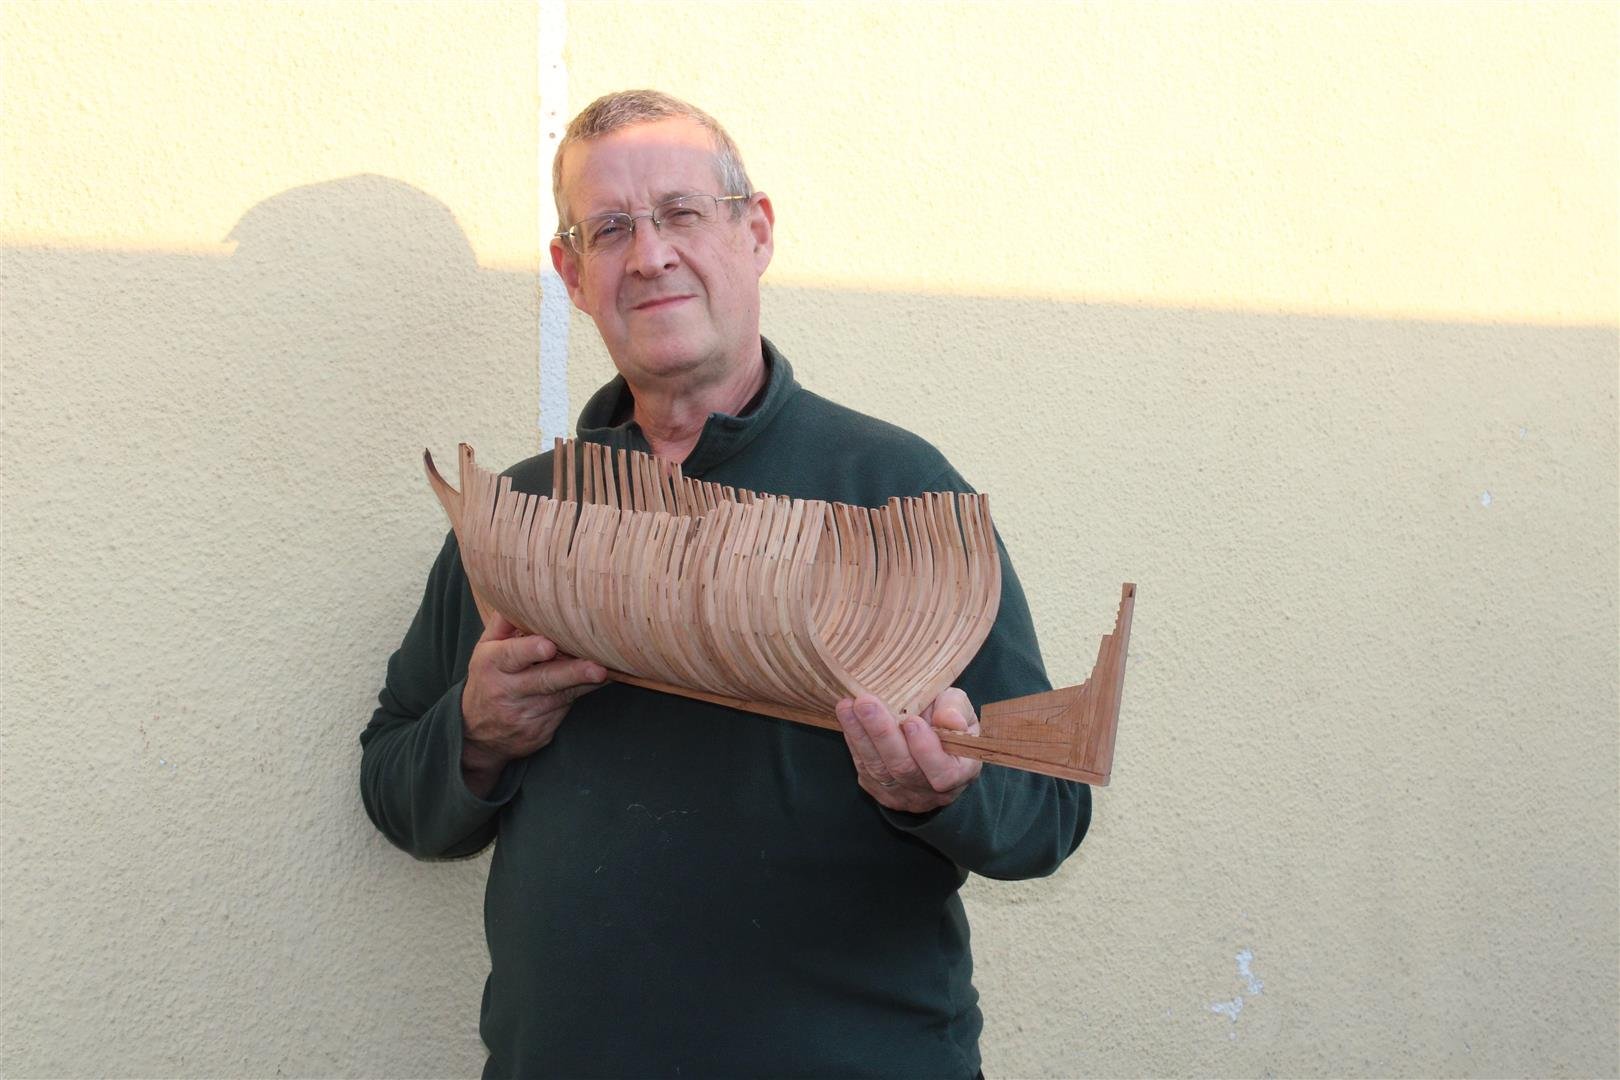
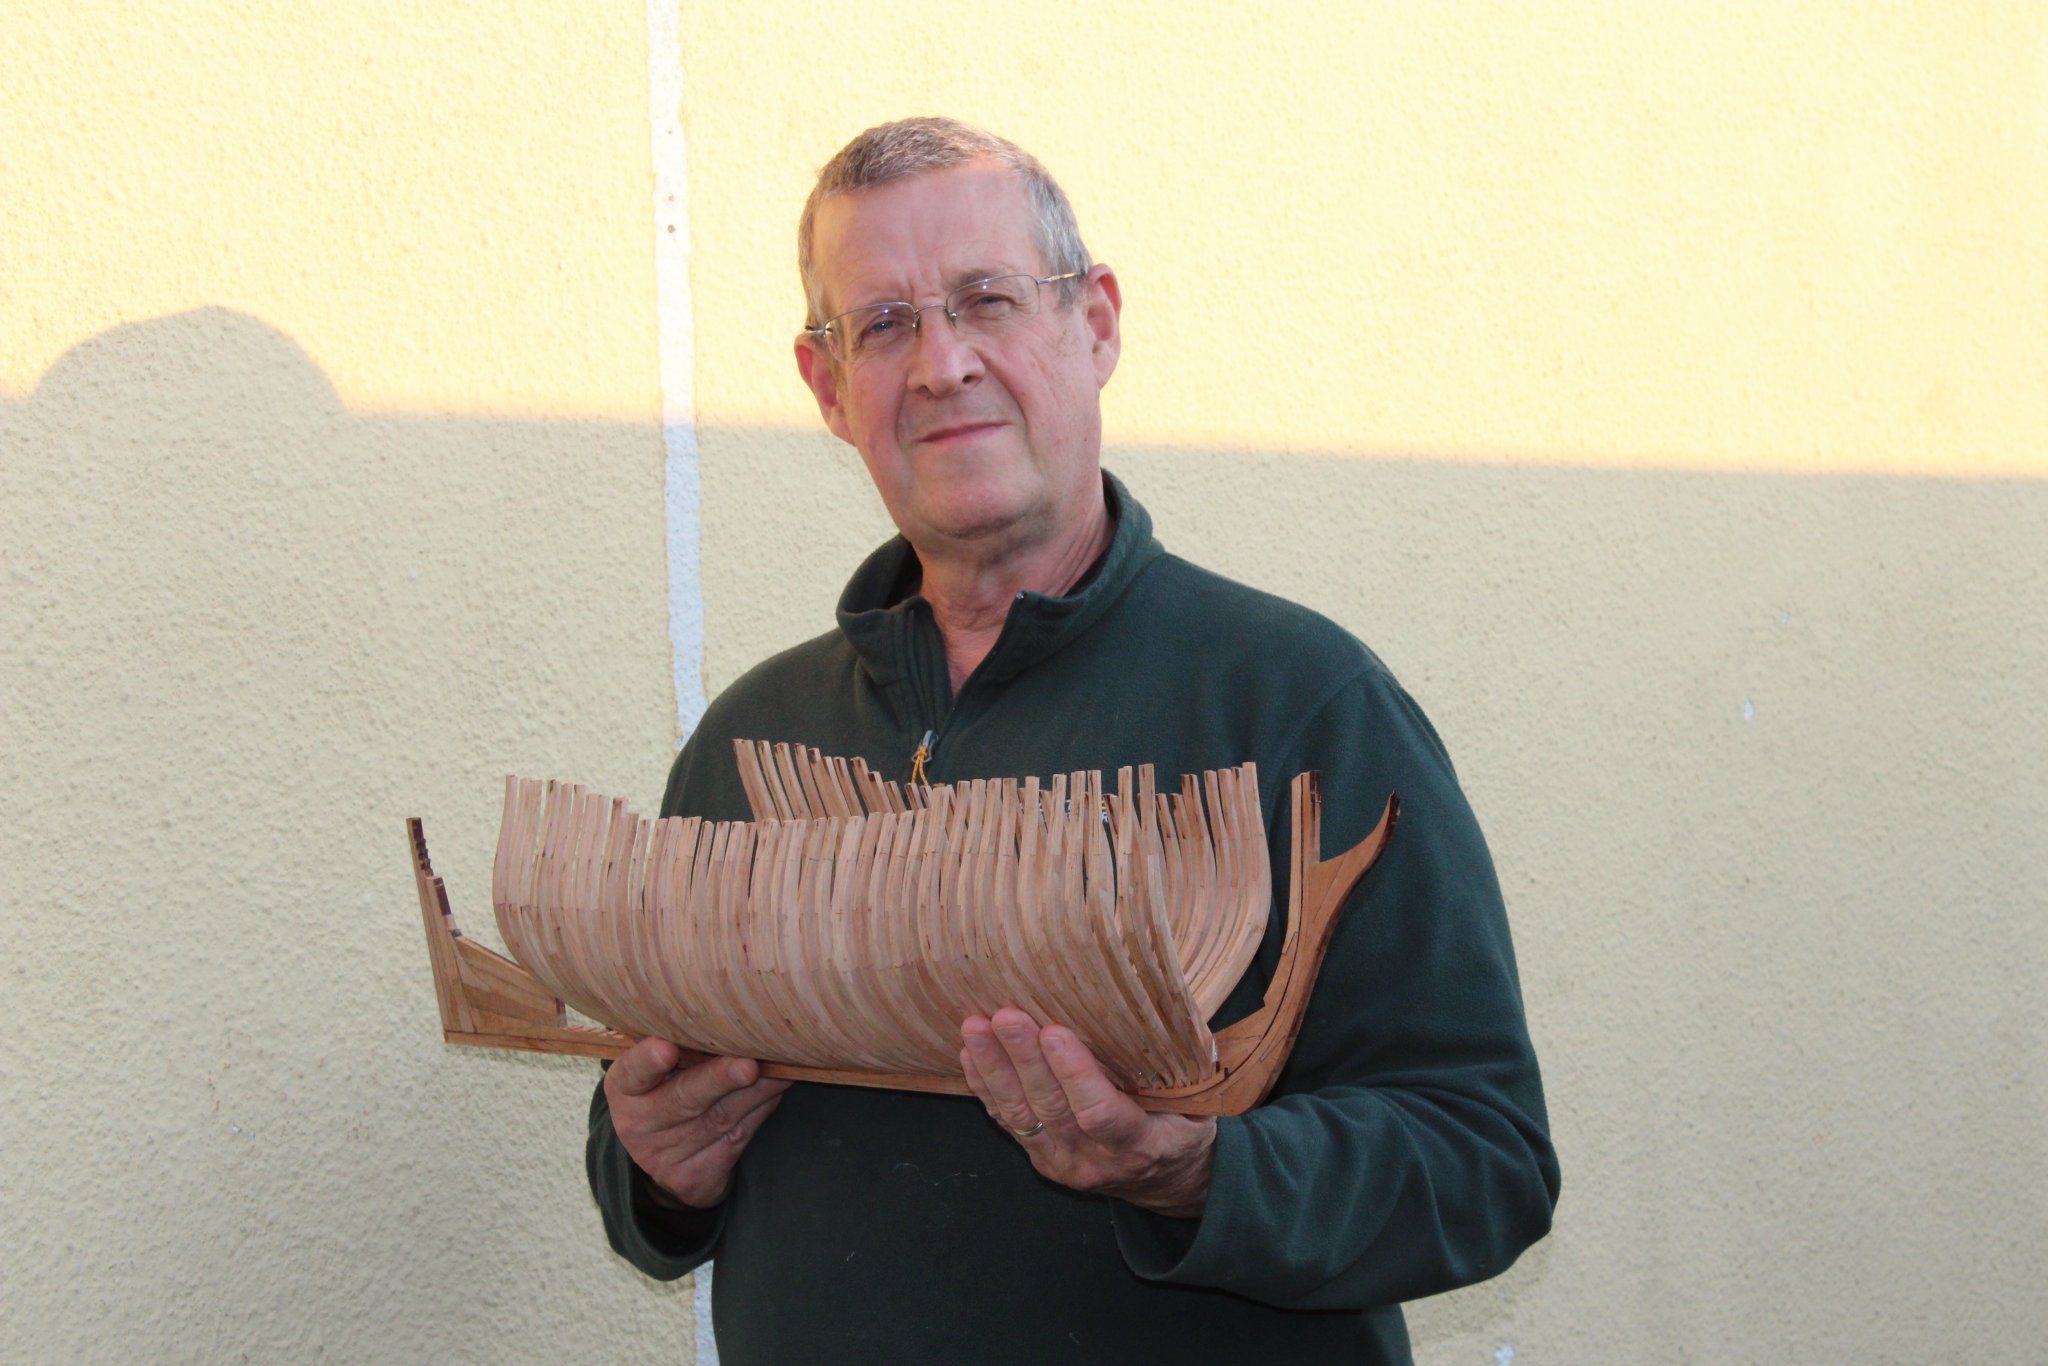
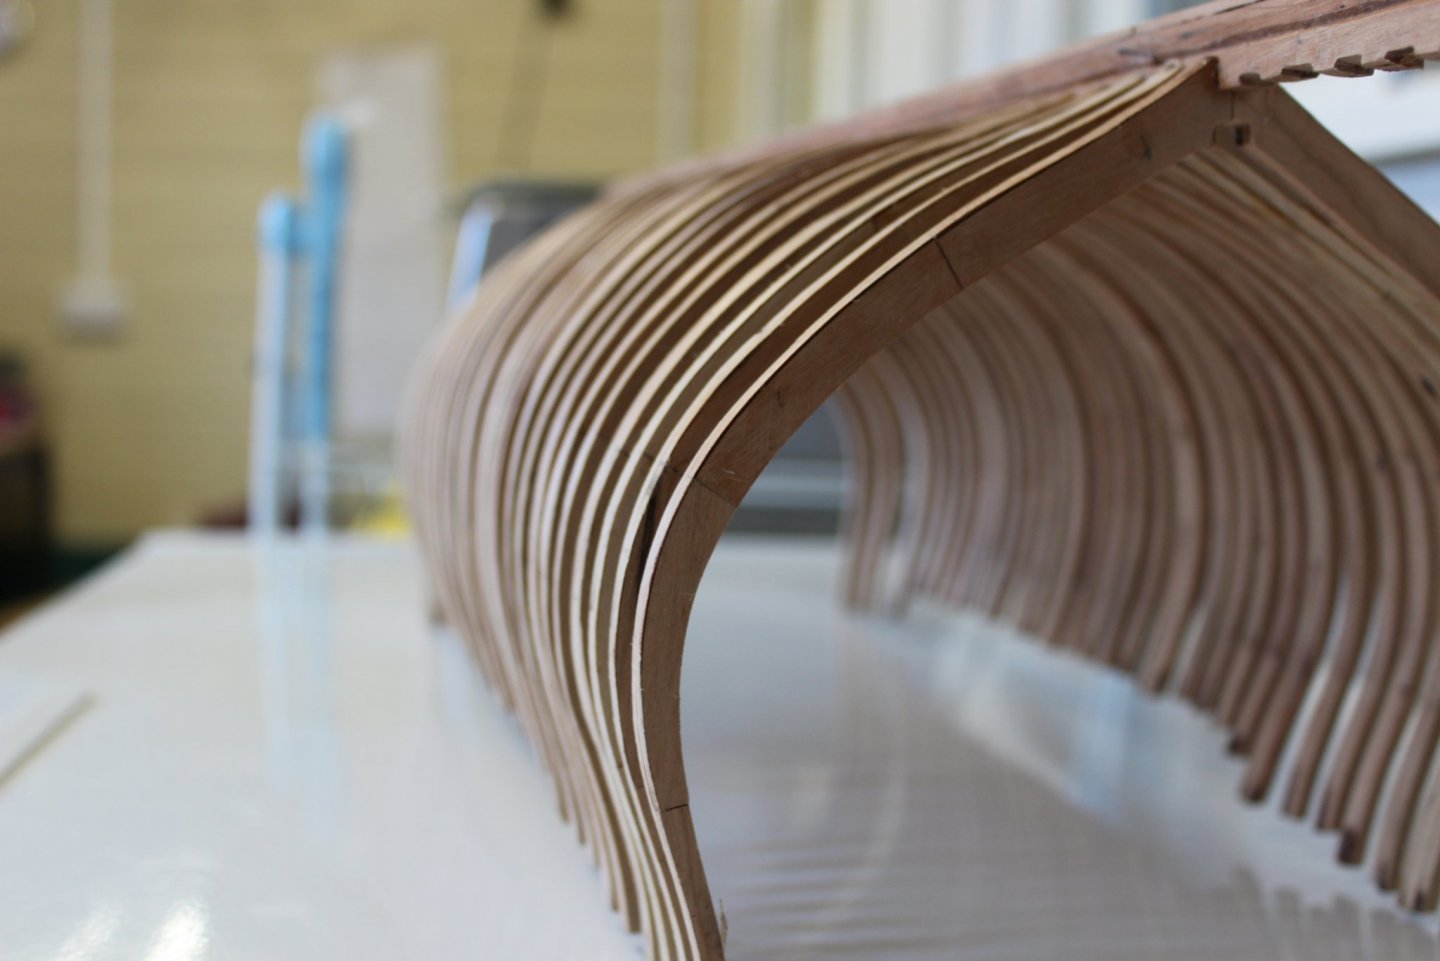
thank you been getting dark over here much earlier, and the flash is kicking in, mading the wood appear quite washed out, not had many outside photos of this build, but this is one of them, i did go for the cheaper option, and maybe there is a more of a mismatch in wood colours, BUT, i also never expected it to come together like it has, so im more than happy
- 312 replies
-
- 12
-
-
- enterprise
- caf
- (and 1 more)
-
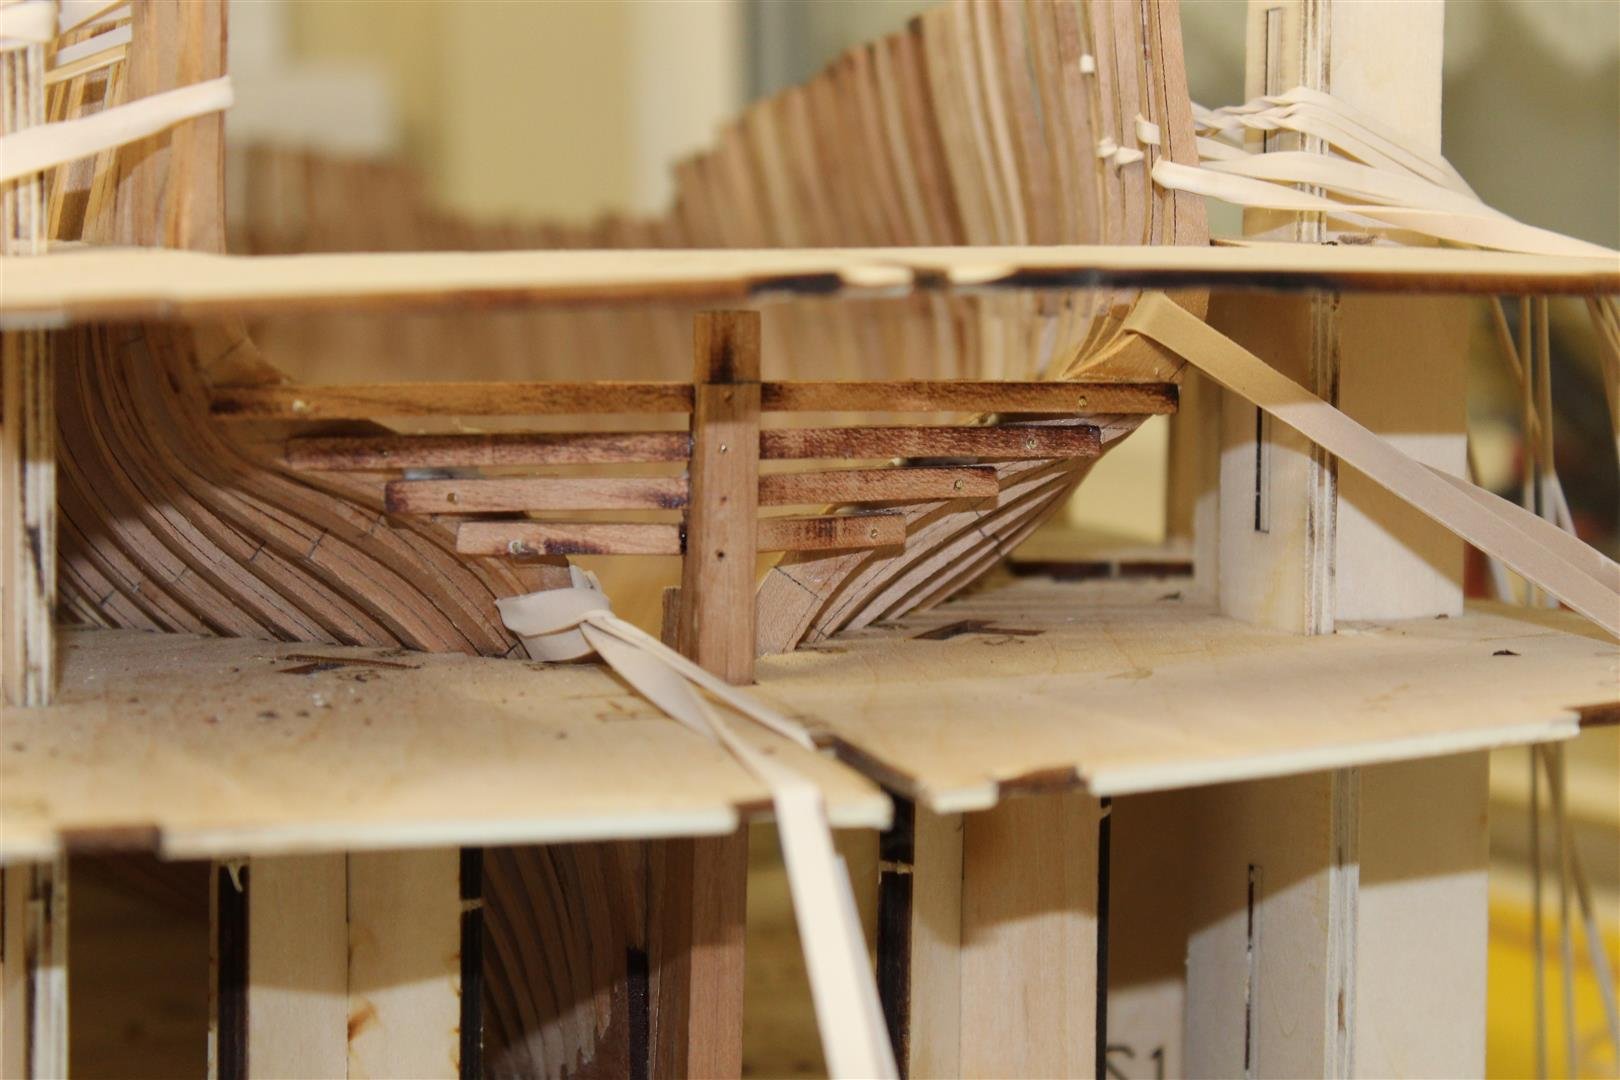
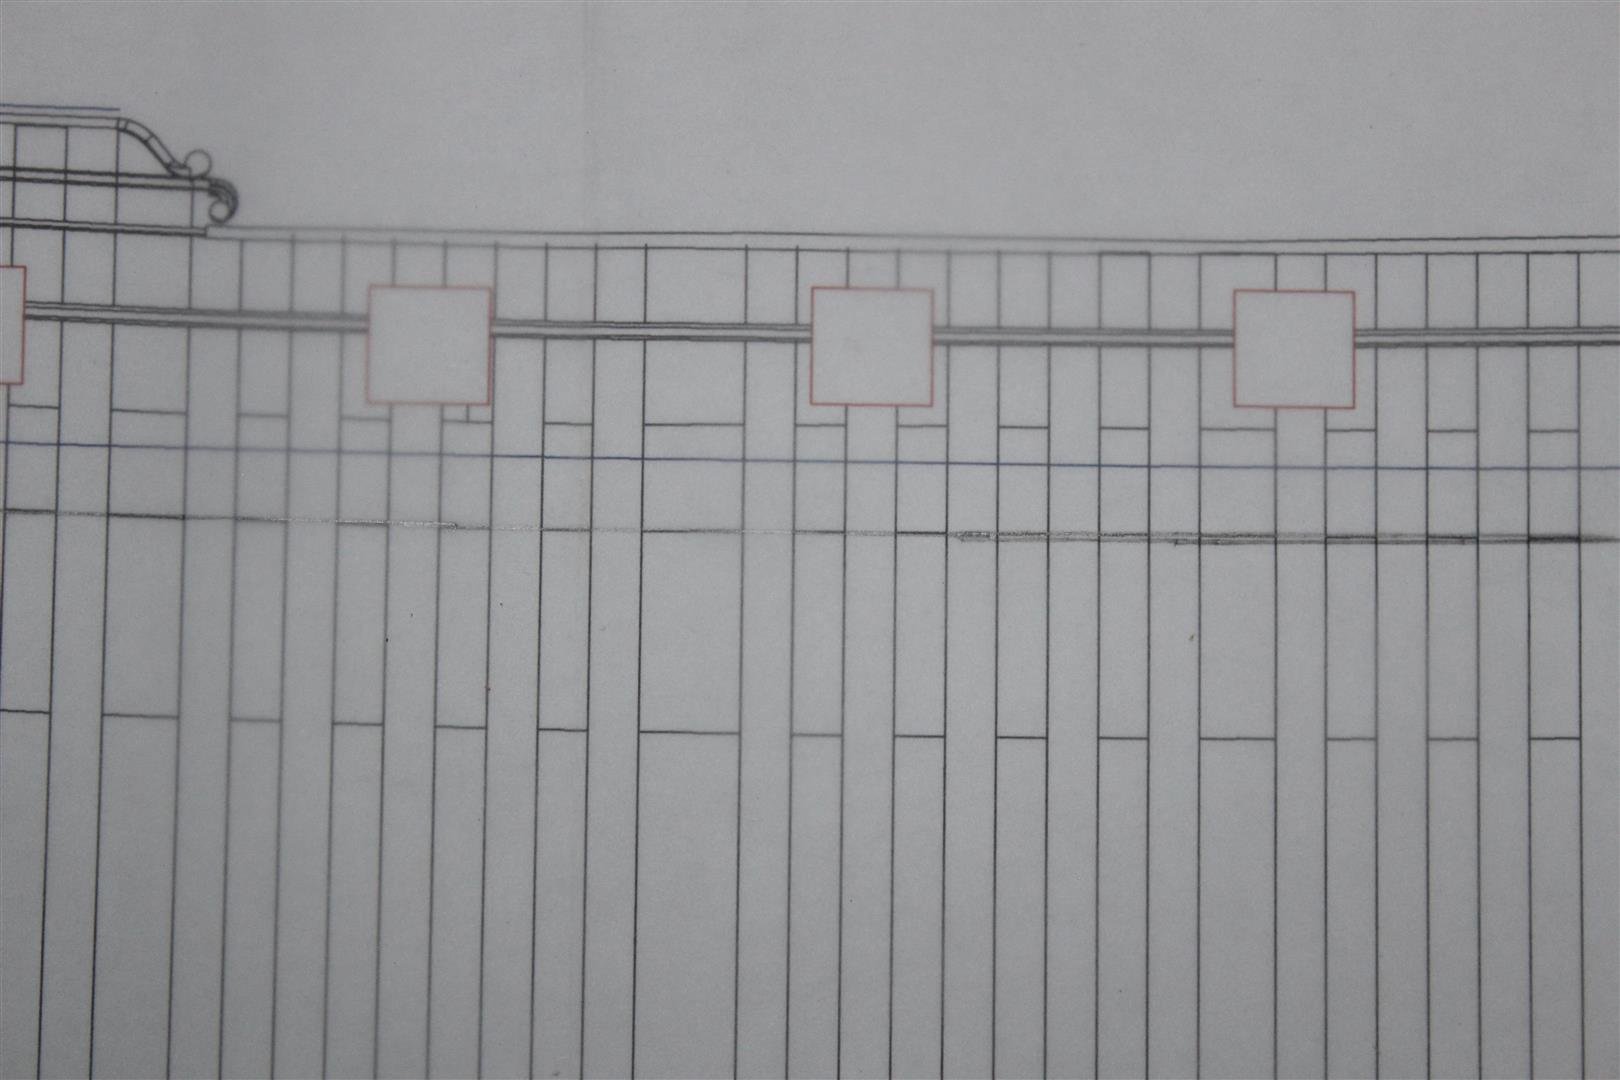
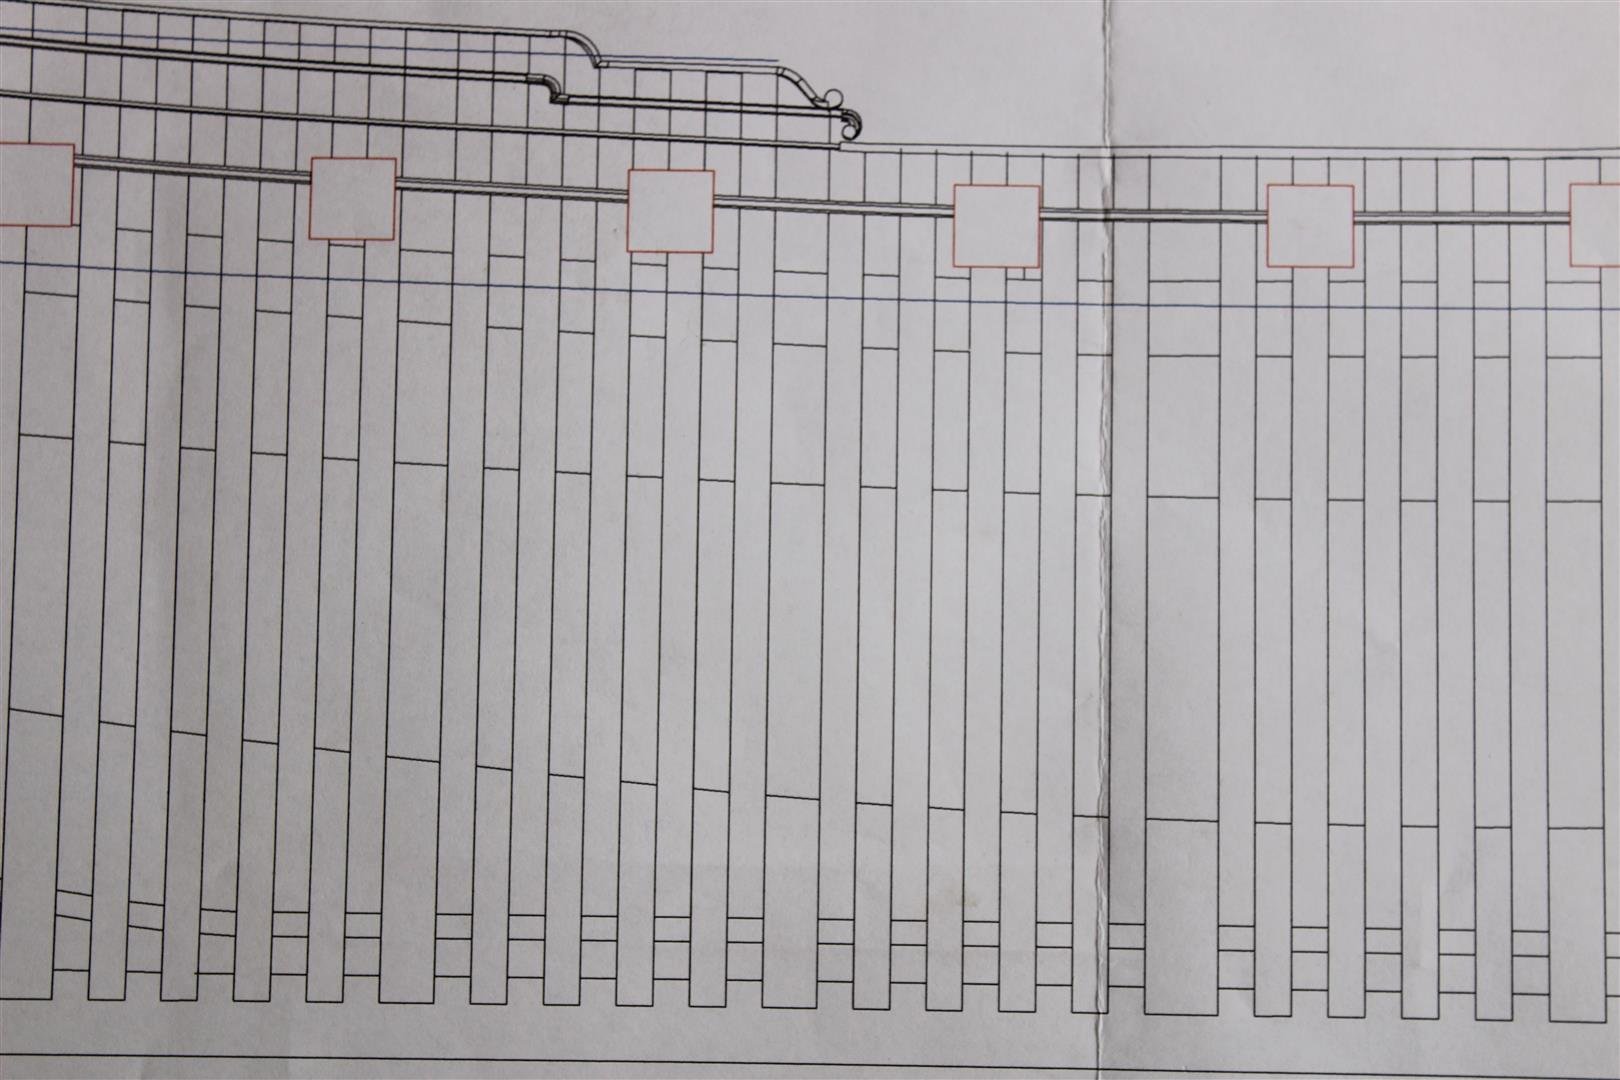
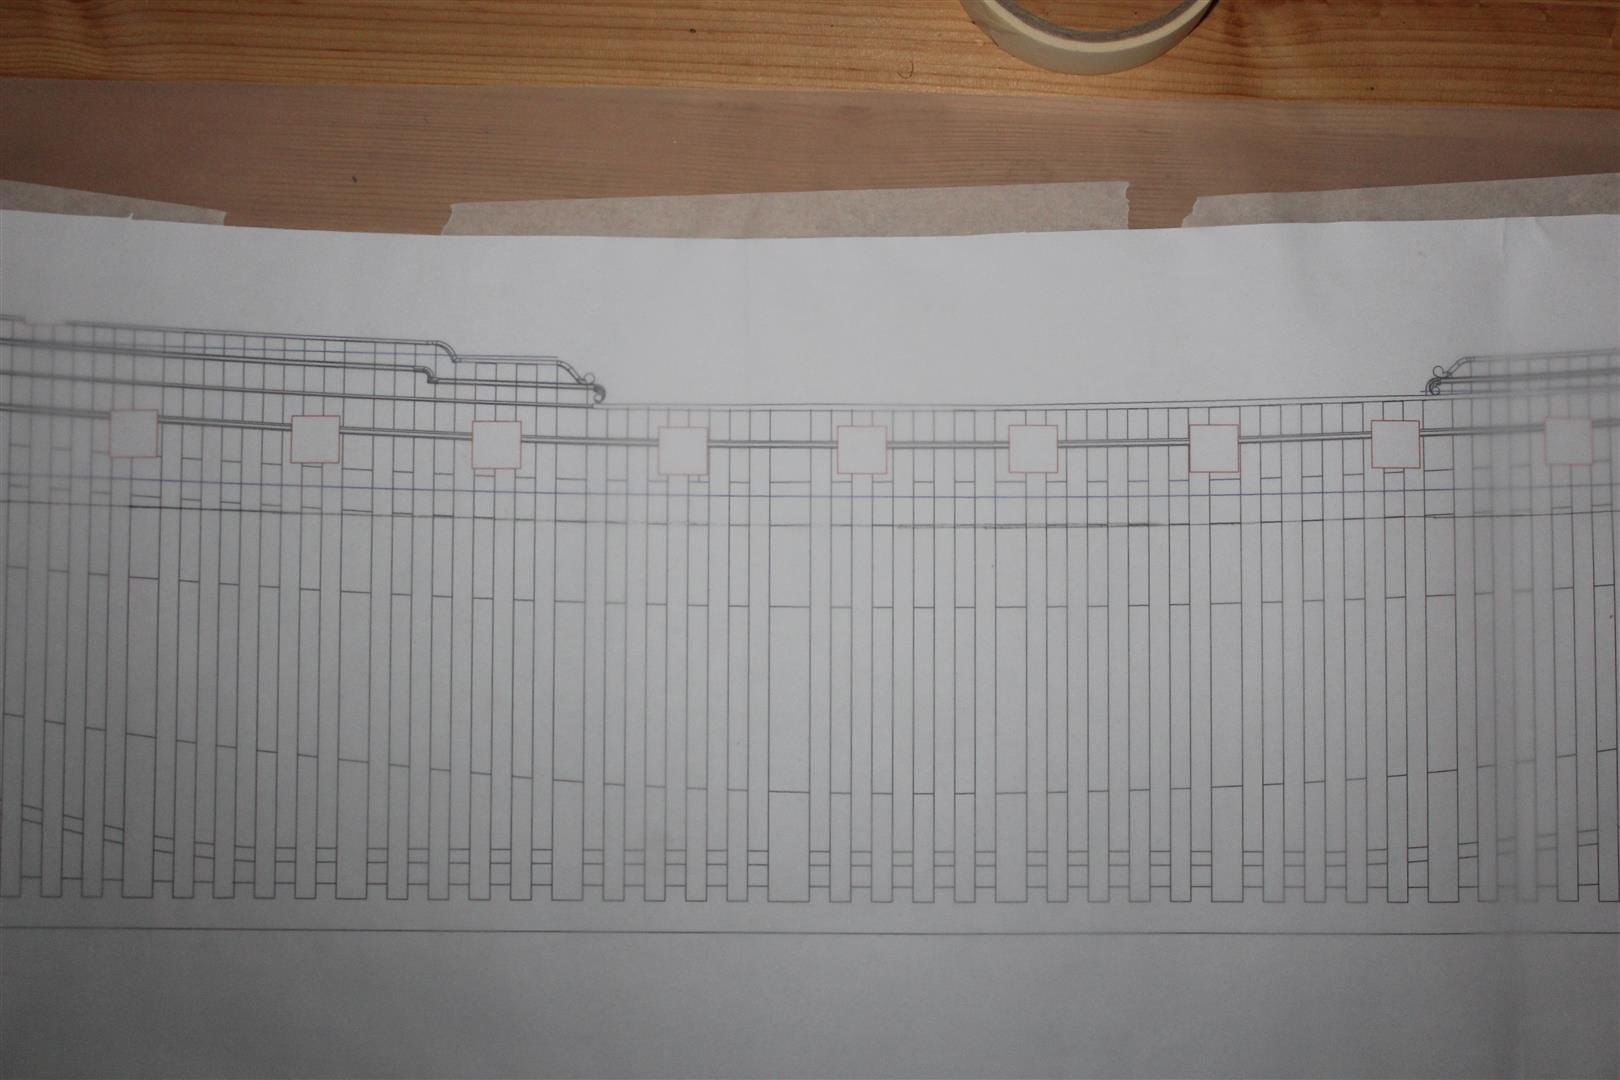
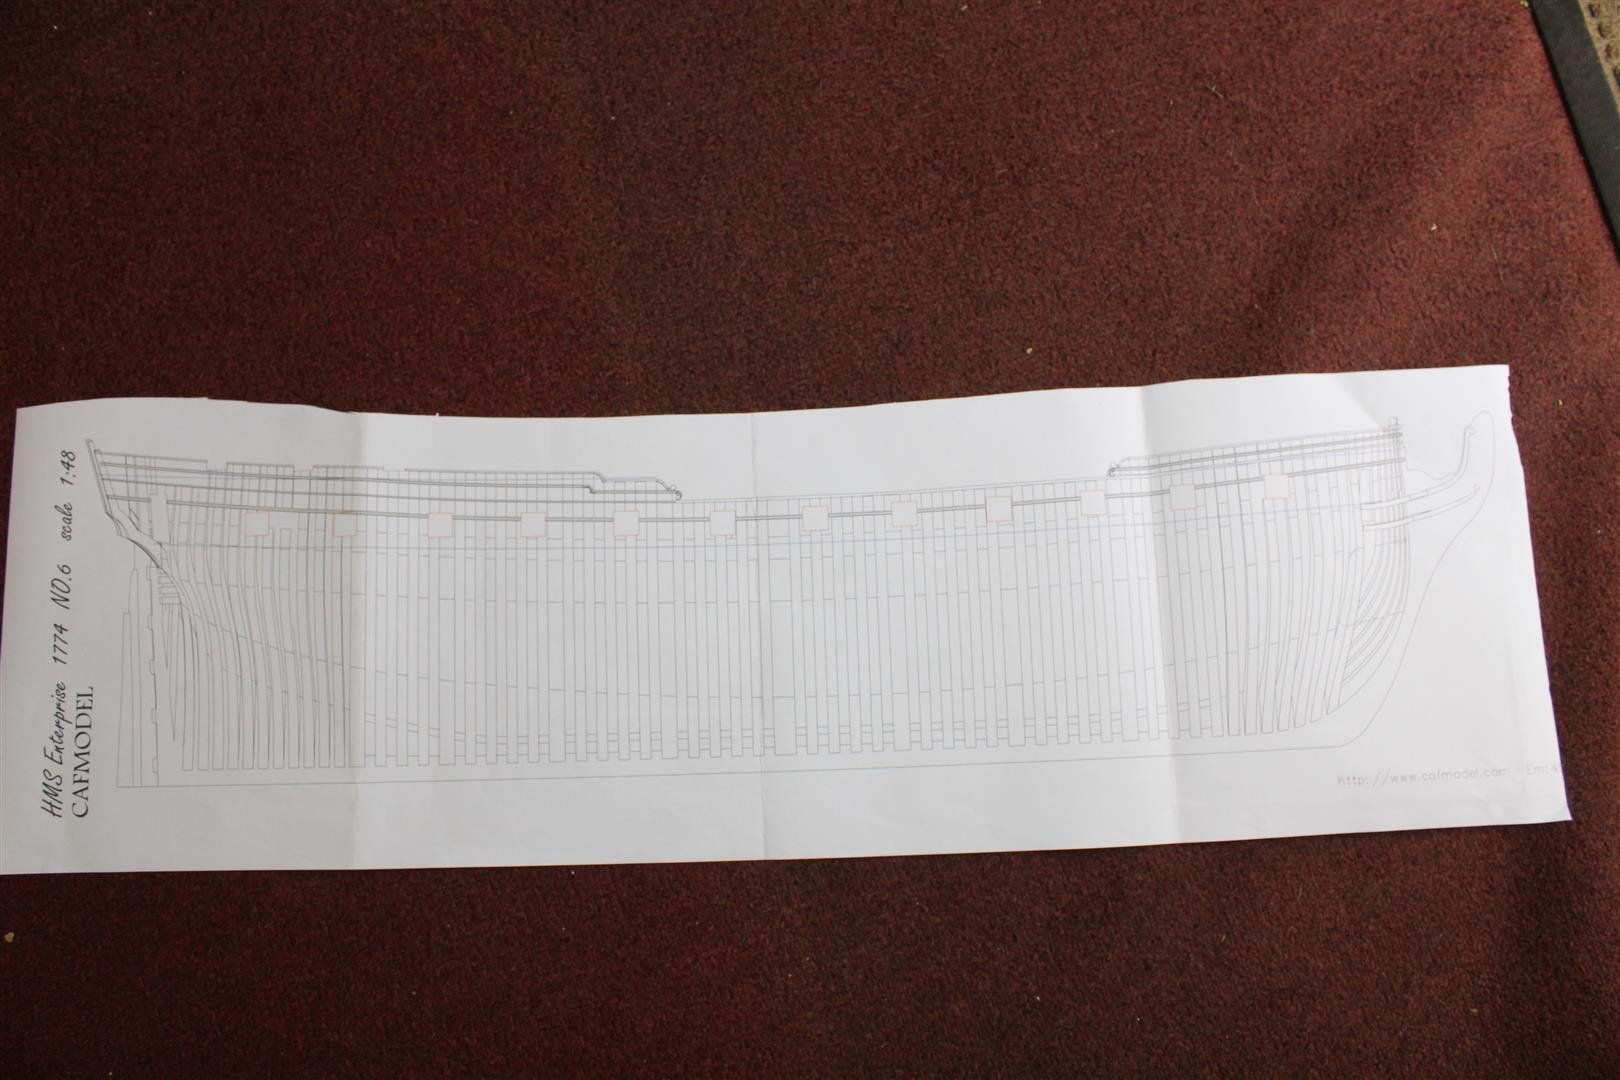
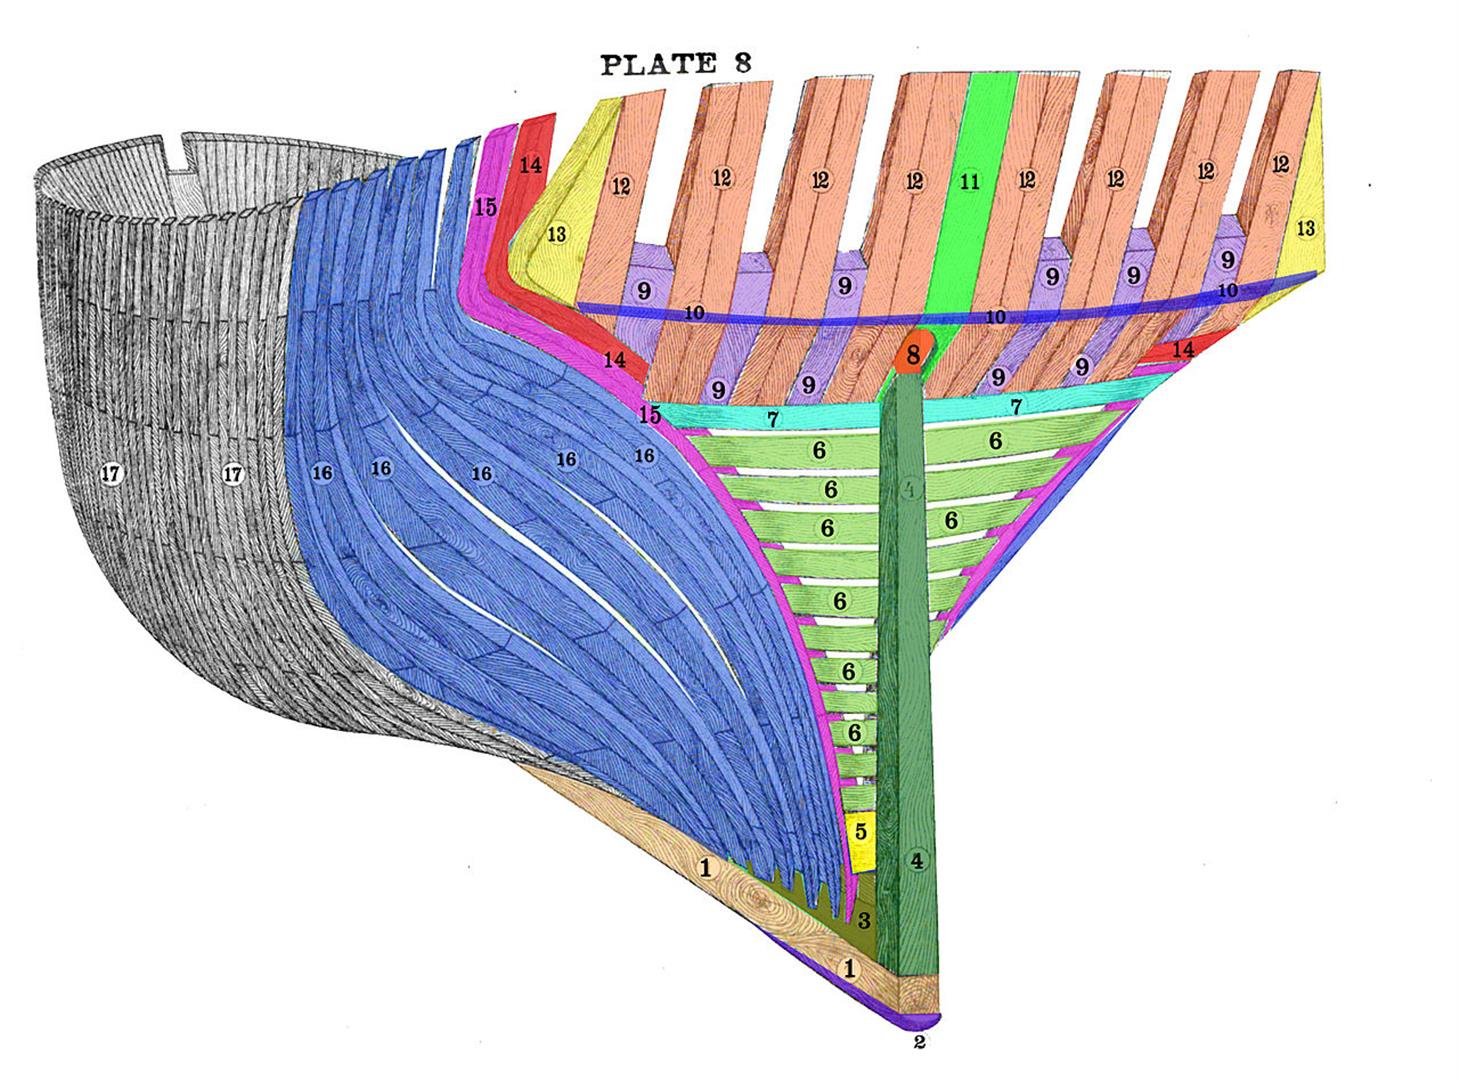
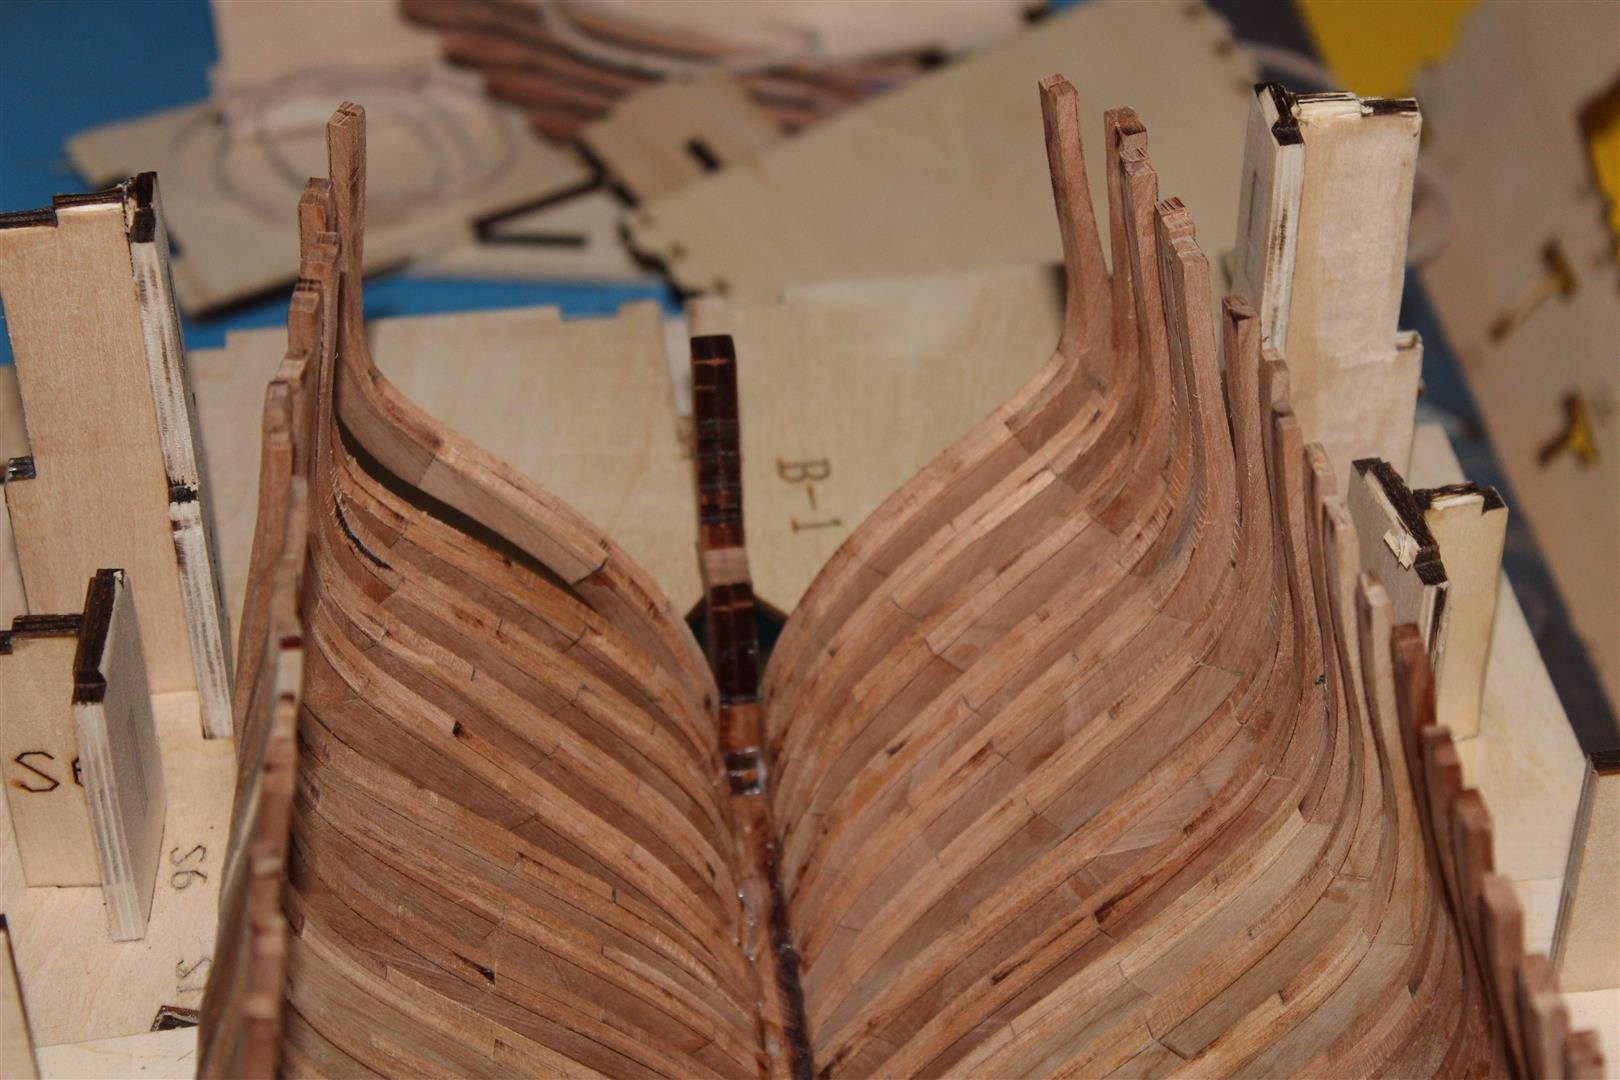
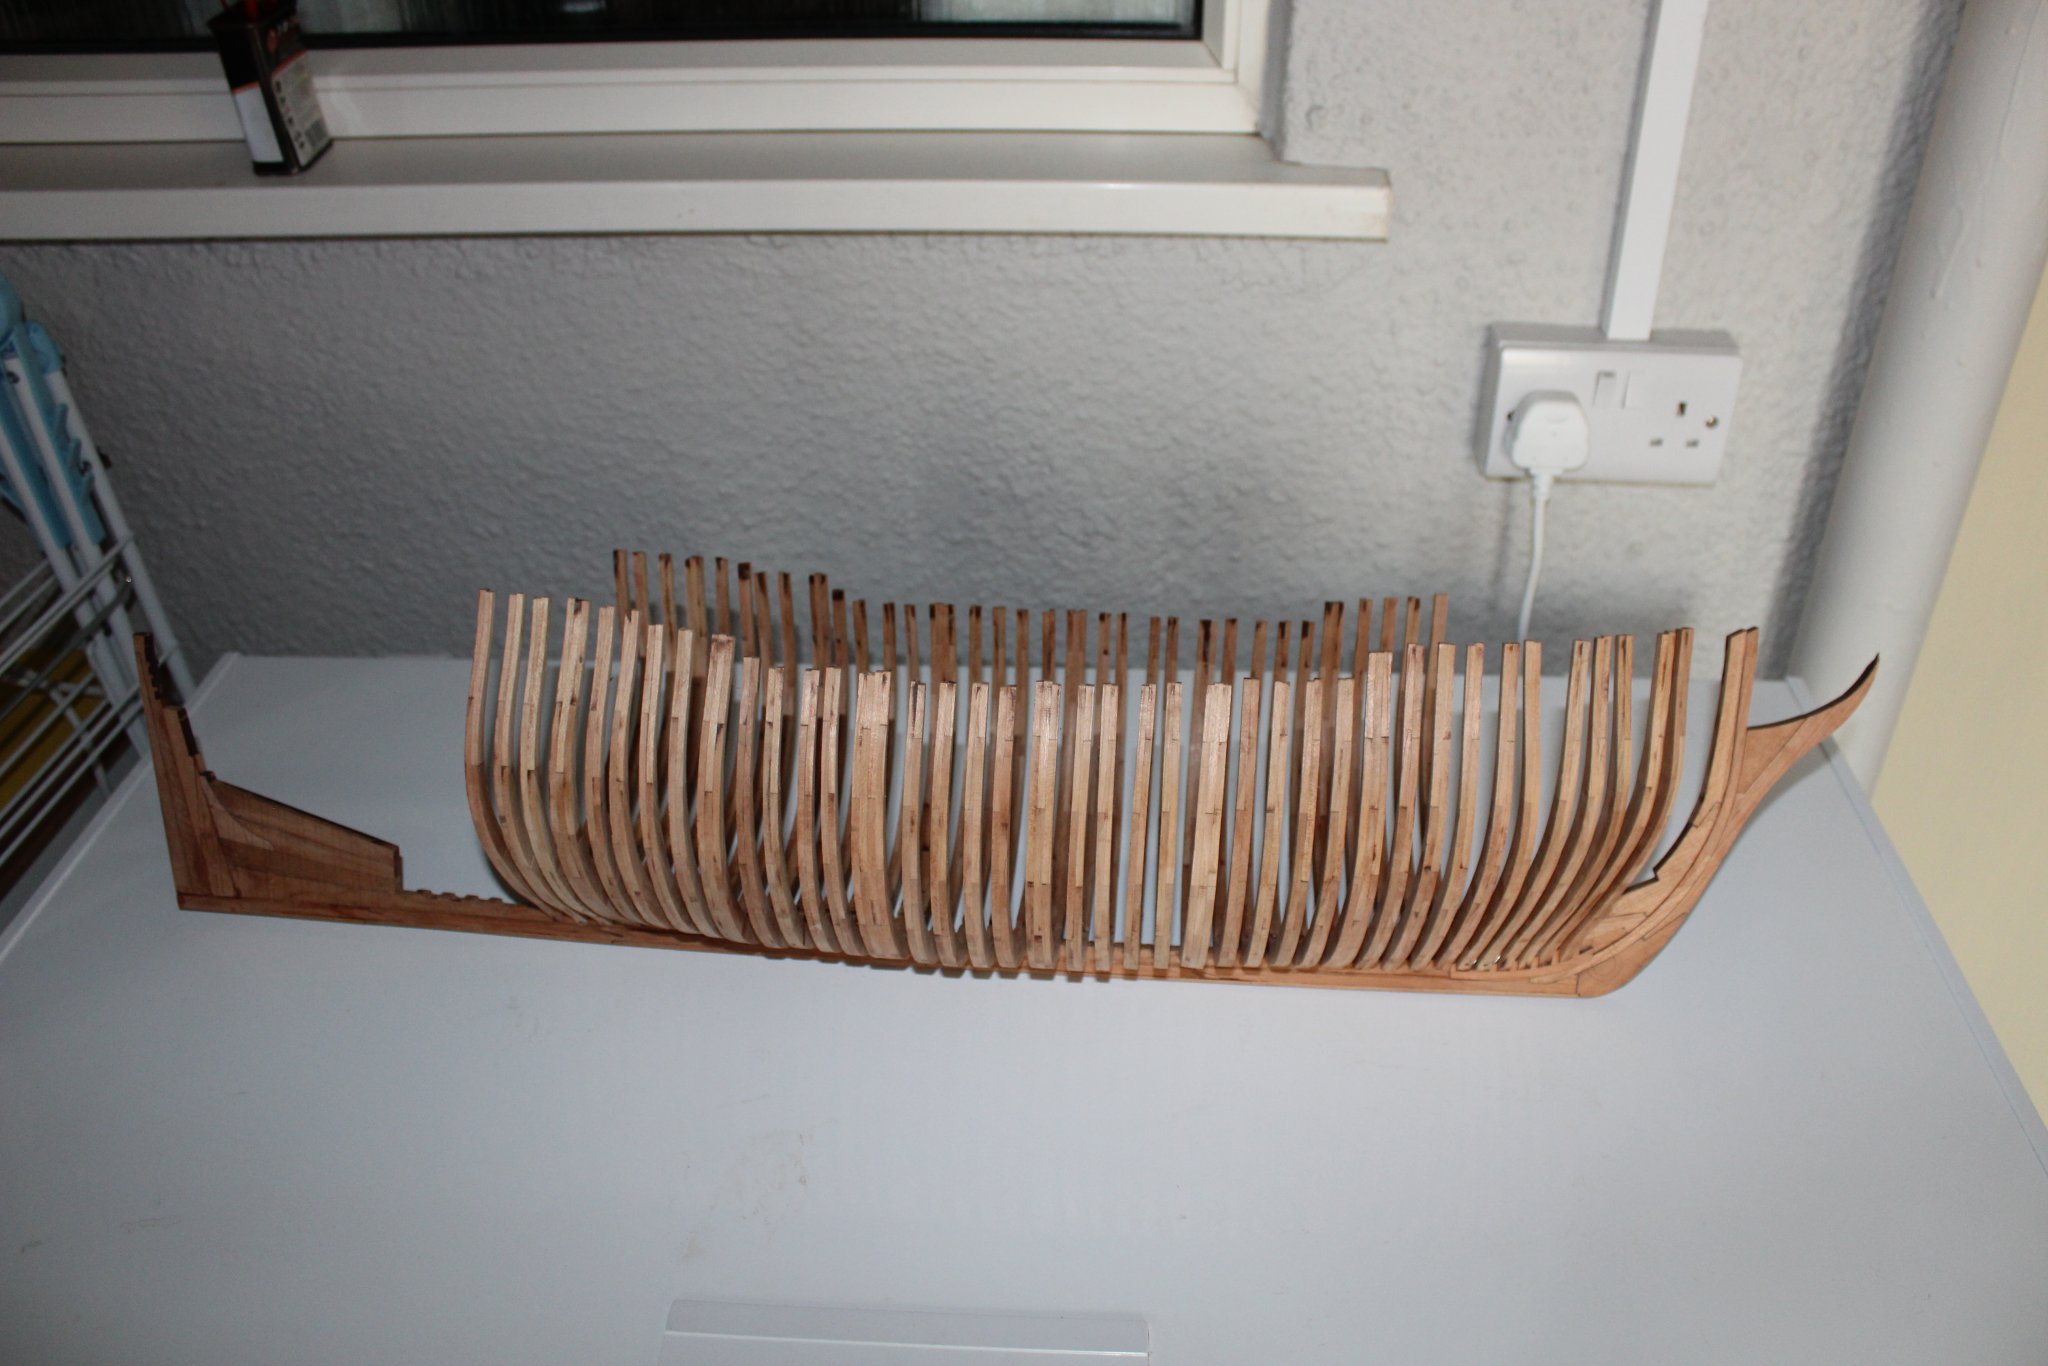
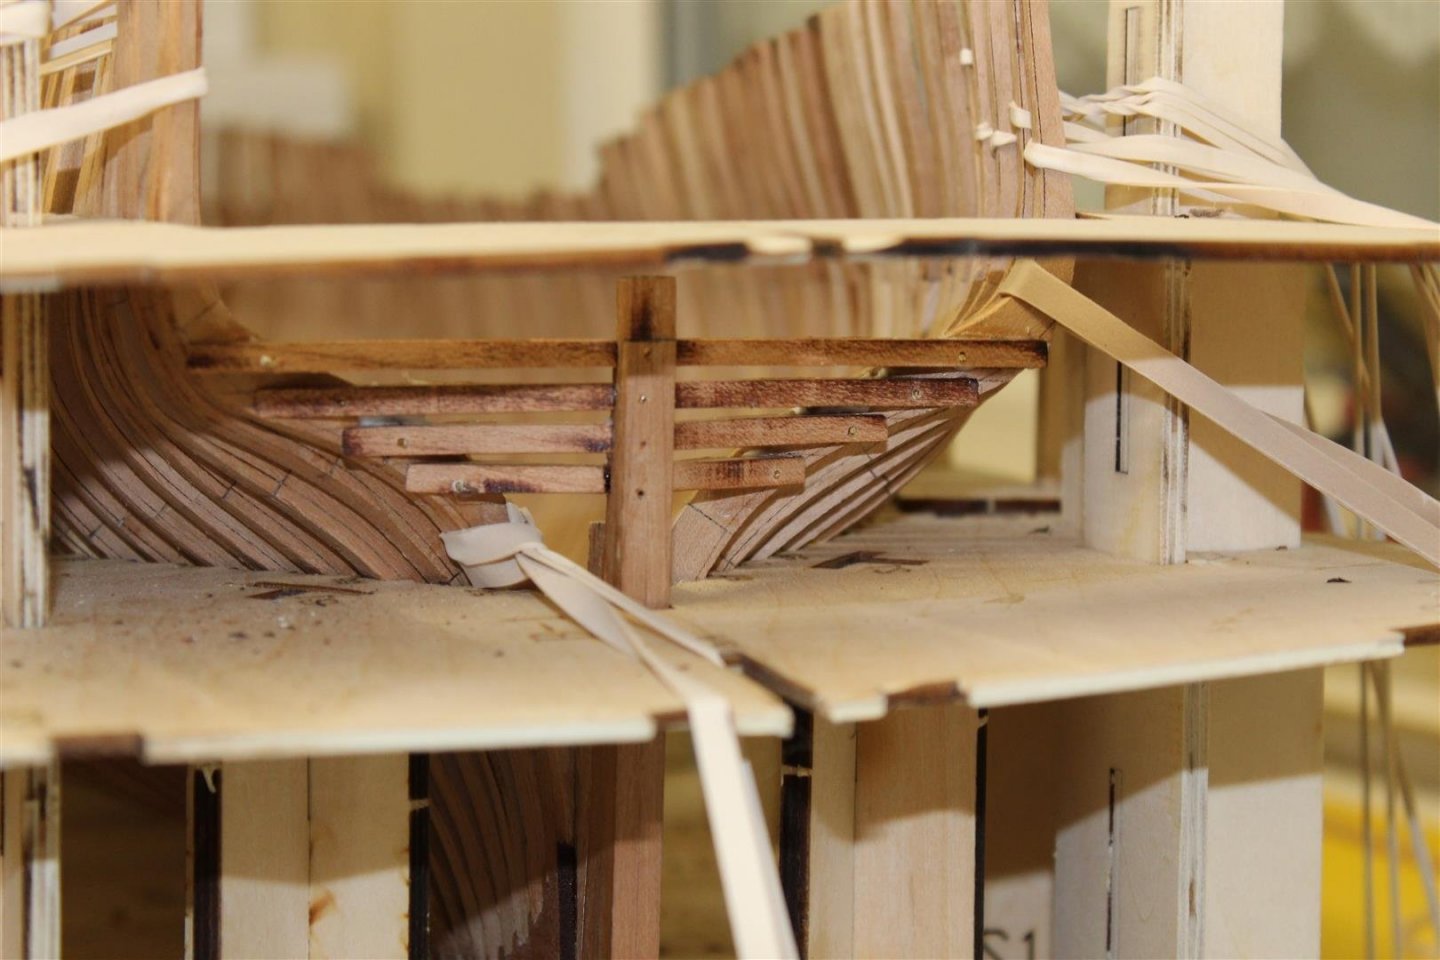
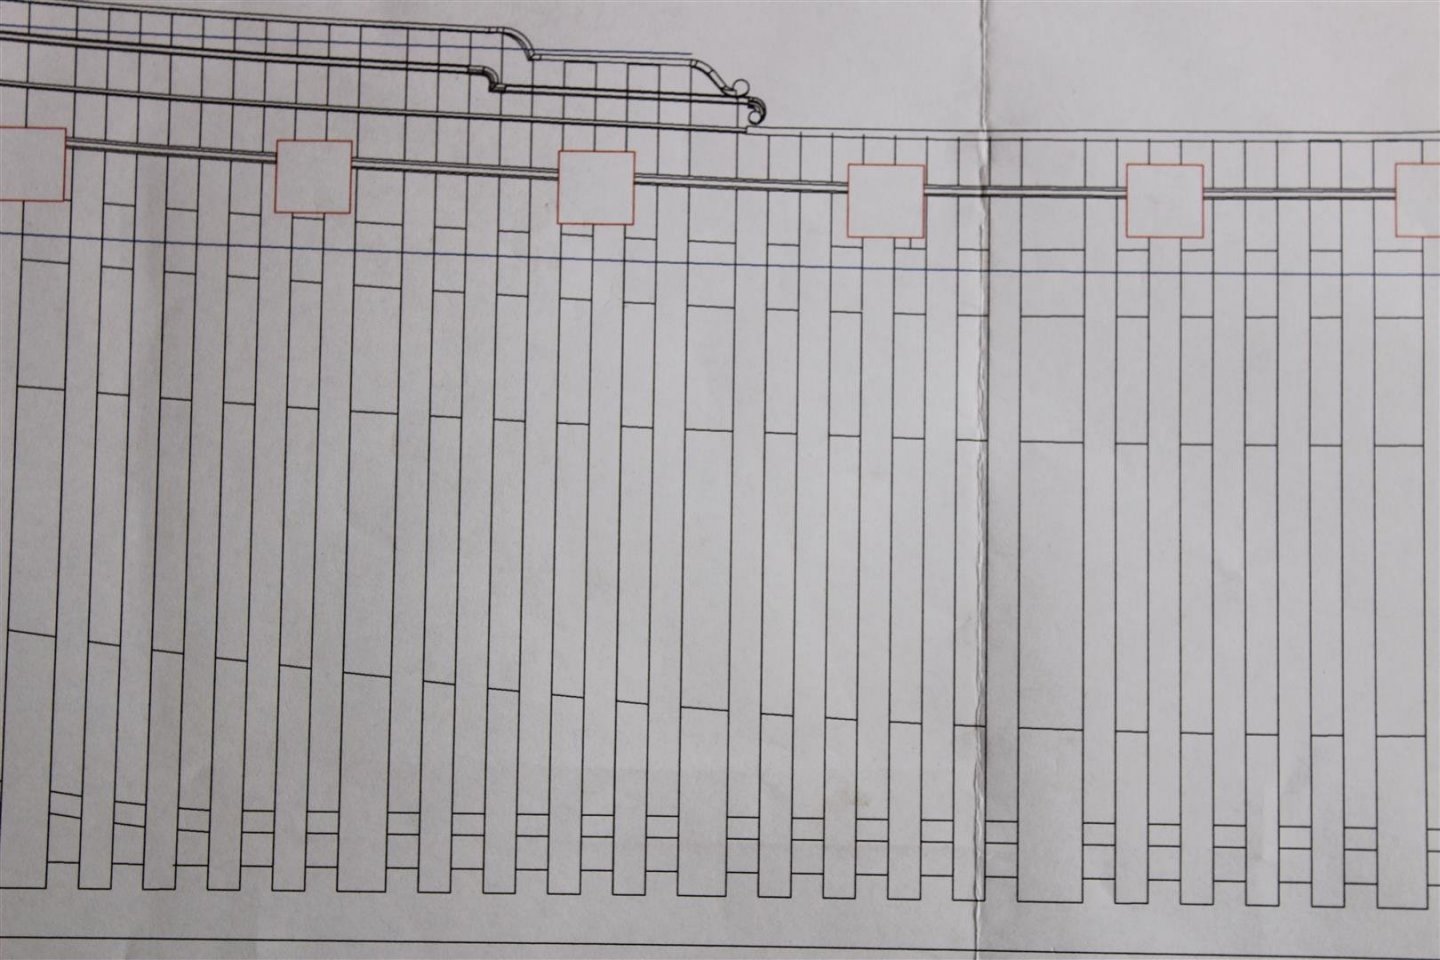
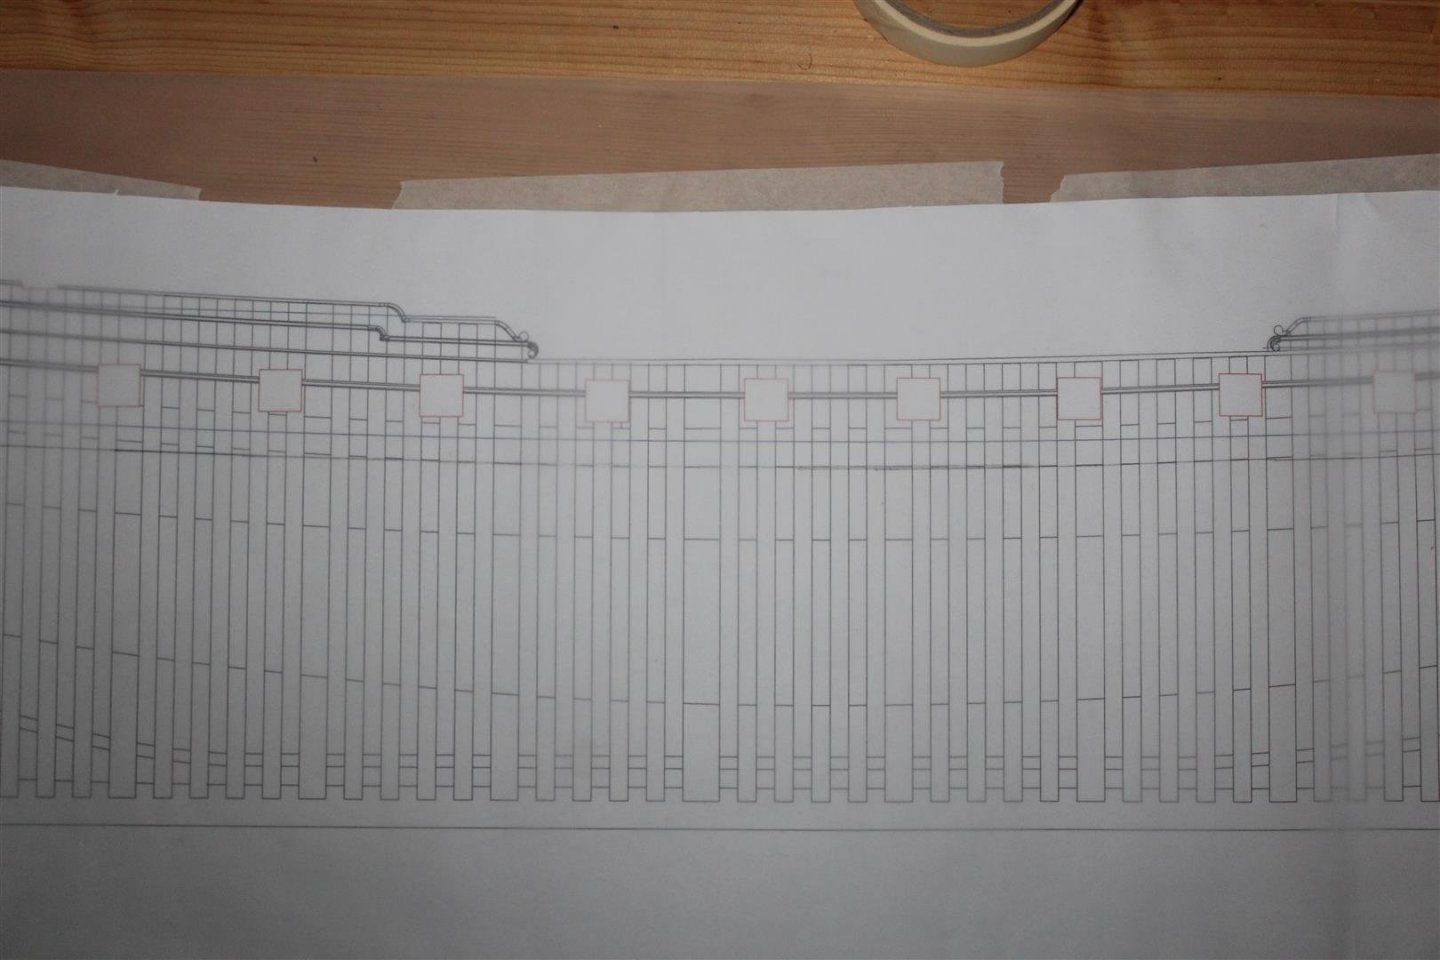
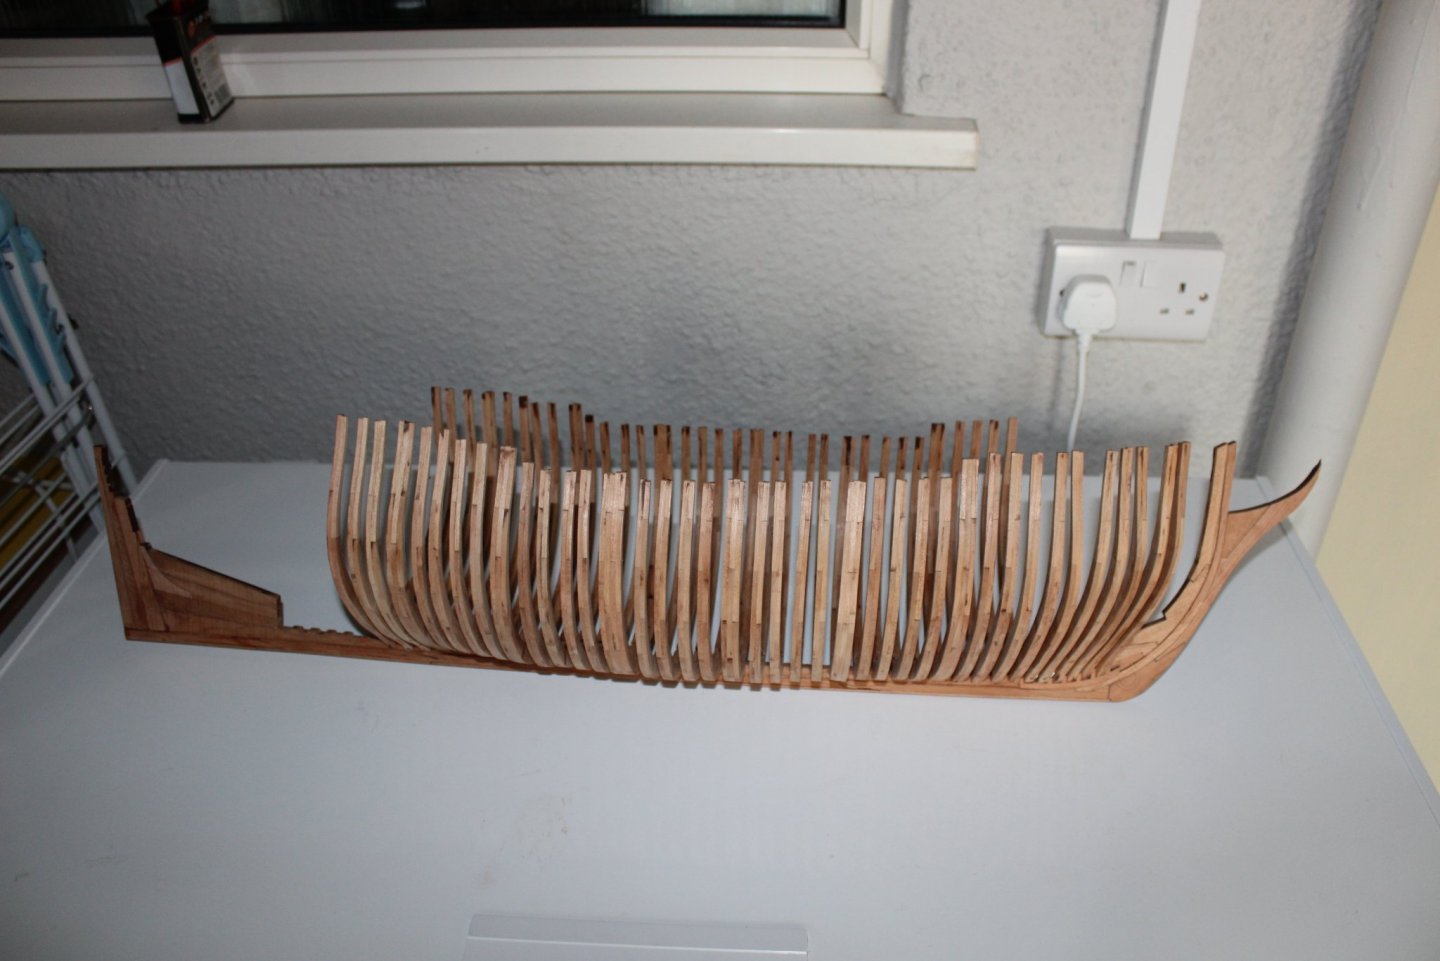
good evening everyone day 23 transom timbers fitted the last frame (57) caused me a bit of trouble, it is wider than the jig, so was lifting the keel away from the jig base, im glad i spotted it before fixing the stern timbers in, all i had to do was fair them off roughly and it dropped back into place the timbers themselves all fitted exactly as per the instructions, and i also pinned them into position what is the proper name for the stern timbers? sorted nearely made a big mistake tonight and put the deck mounts in the wrong position, I presumed the blue line on the plans was where the boards go, but looking ahead, i could see that the cannons would be far to high so i checked another build and found the blue line refers to the top of the deck, which means i would have been 7mm to high, the build i found was after he had actually finished and had to rip it all out so i have protected the plans with tracing paper, and drawn a new line under that, so i now have my deck beam heights


- 312 replies
-
- 17
-
-
- enterprise
- caf
- (and 1 more)
-
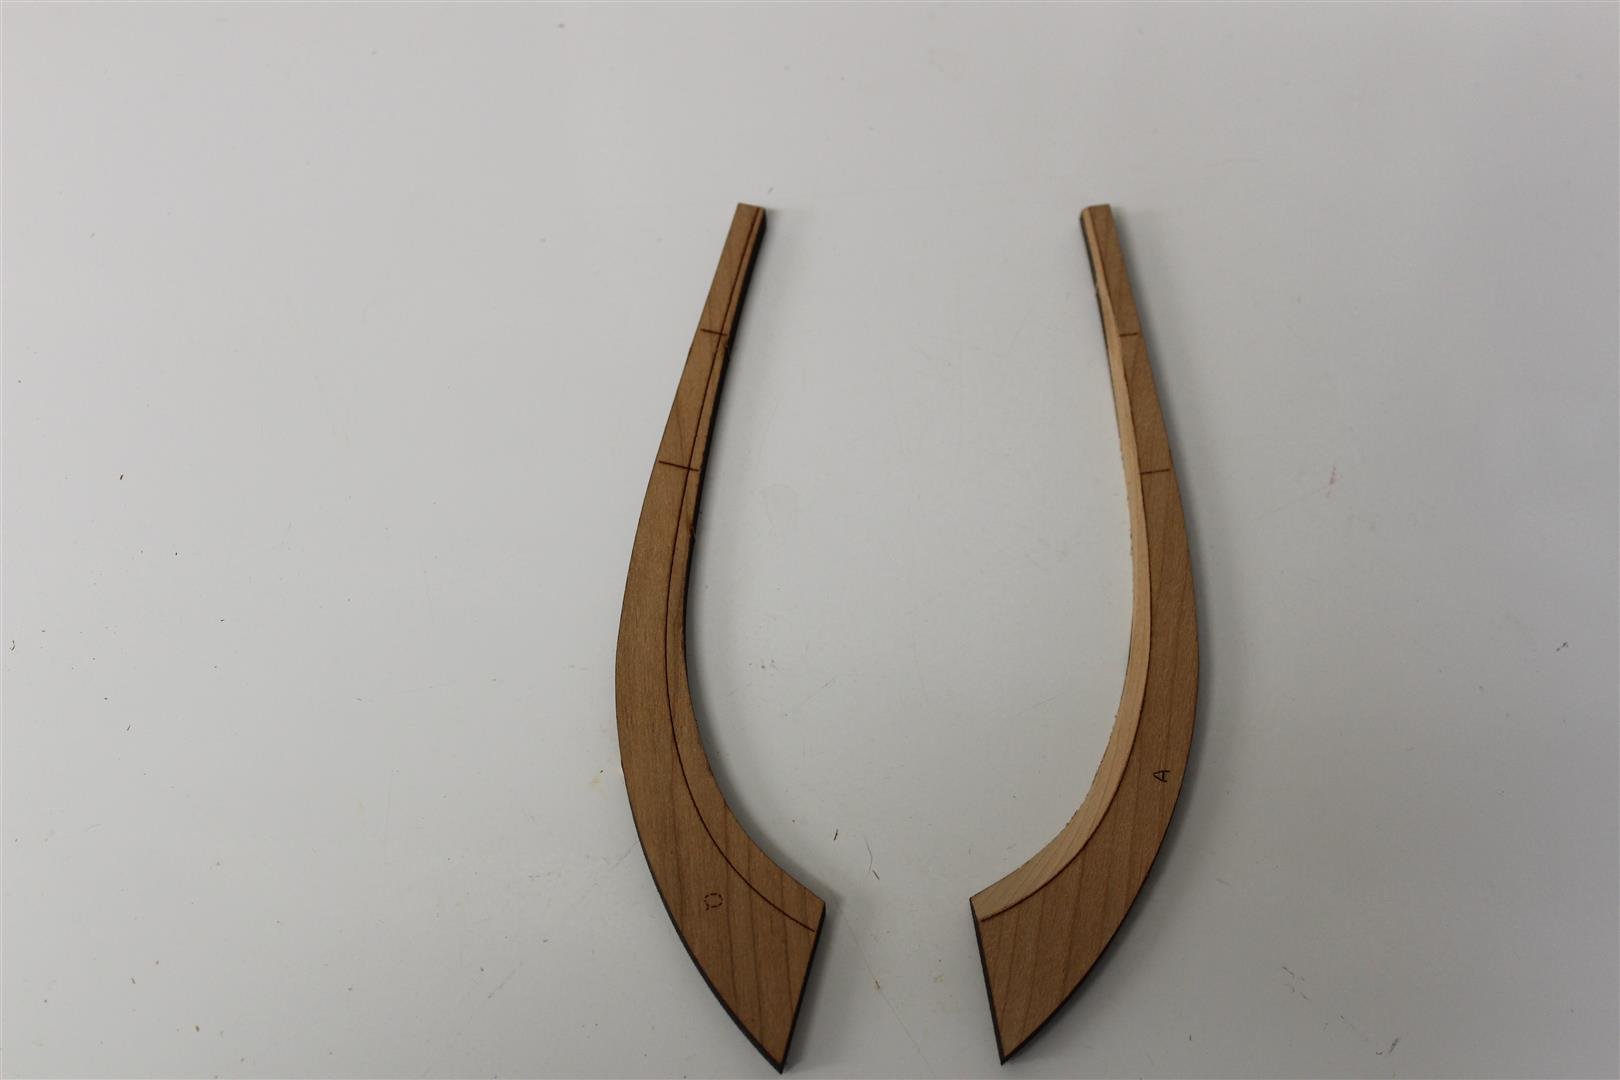
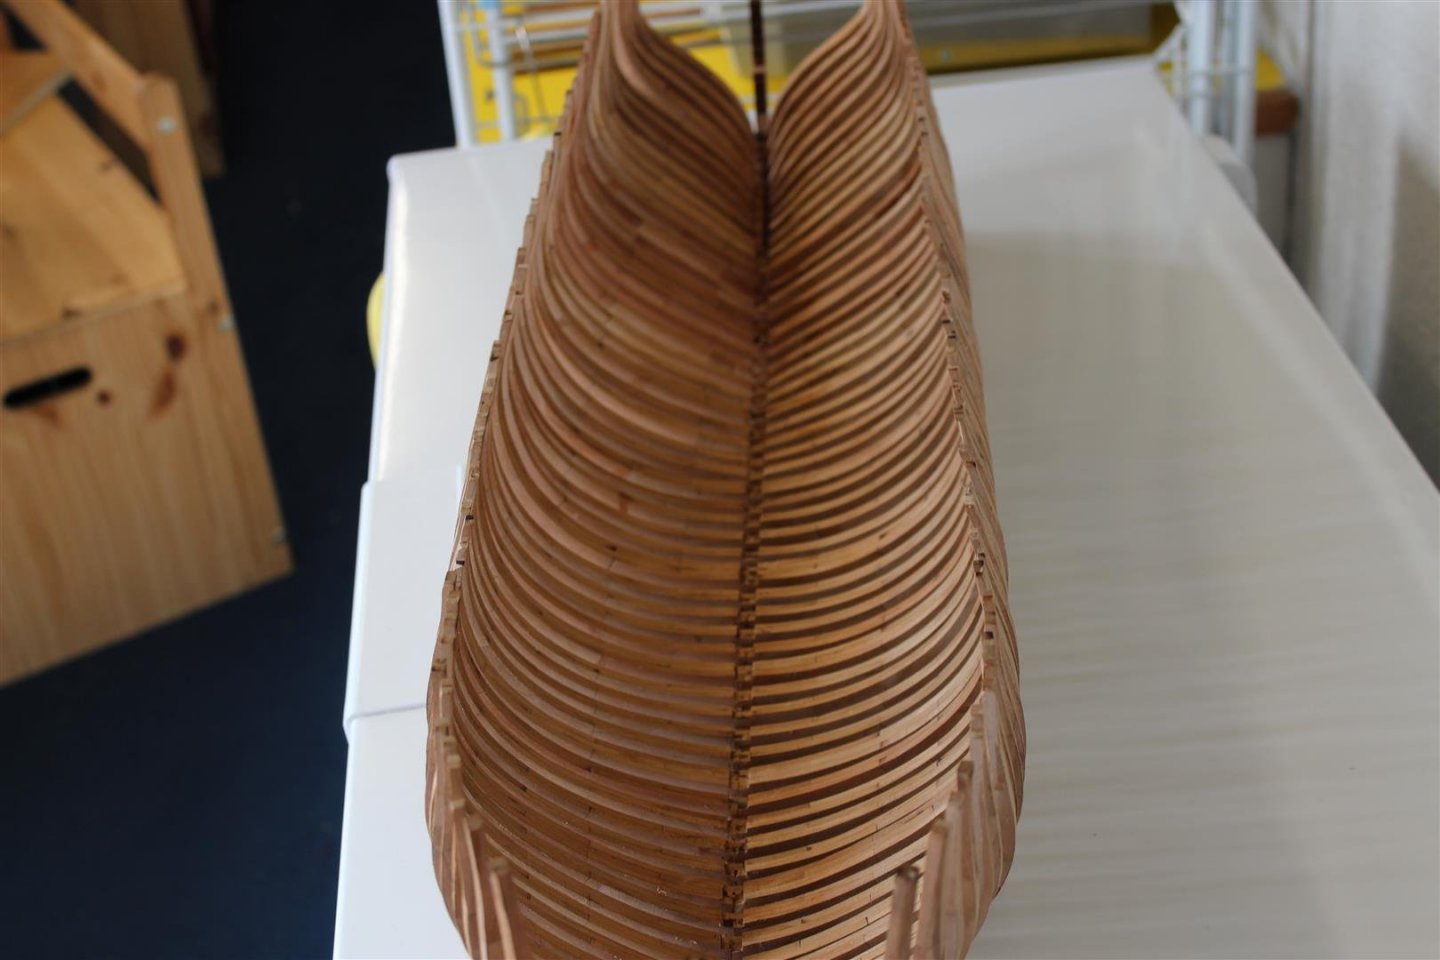
Good afternoon everyone day 22 hawse timbers fitted thank you for comments and likes i would like to think im getting better at the wooden kit building, or the quality of the kit is, lol must be the latter thats the hawse timbers in, although i needed to remove a bit of wood

- 312 replies
-
- 22
-
-
- enterprise
- caf
- (and 1 more)
-
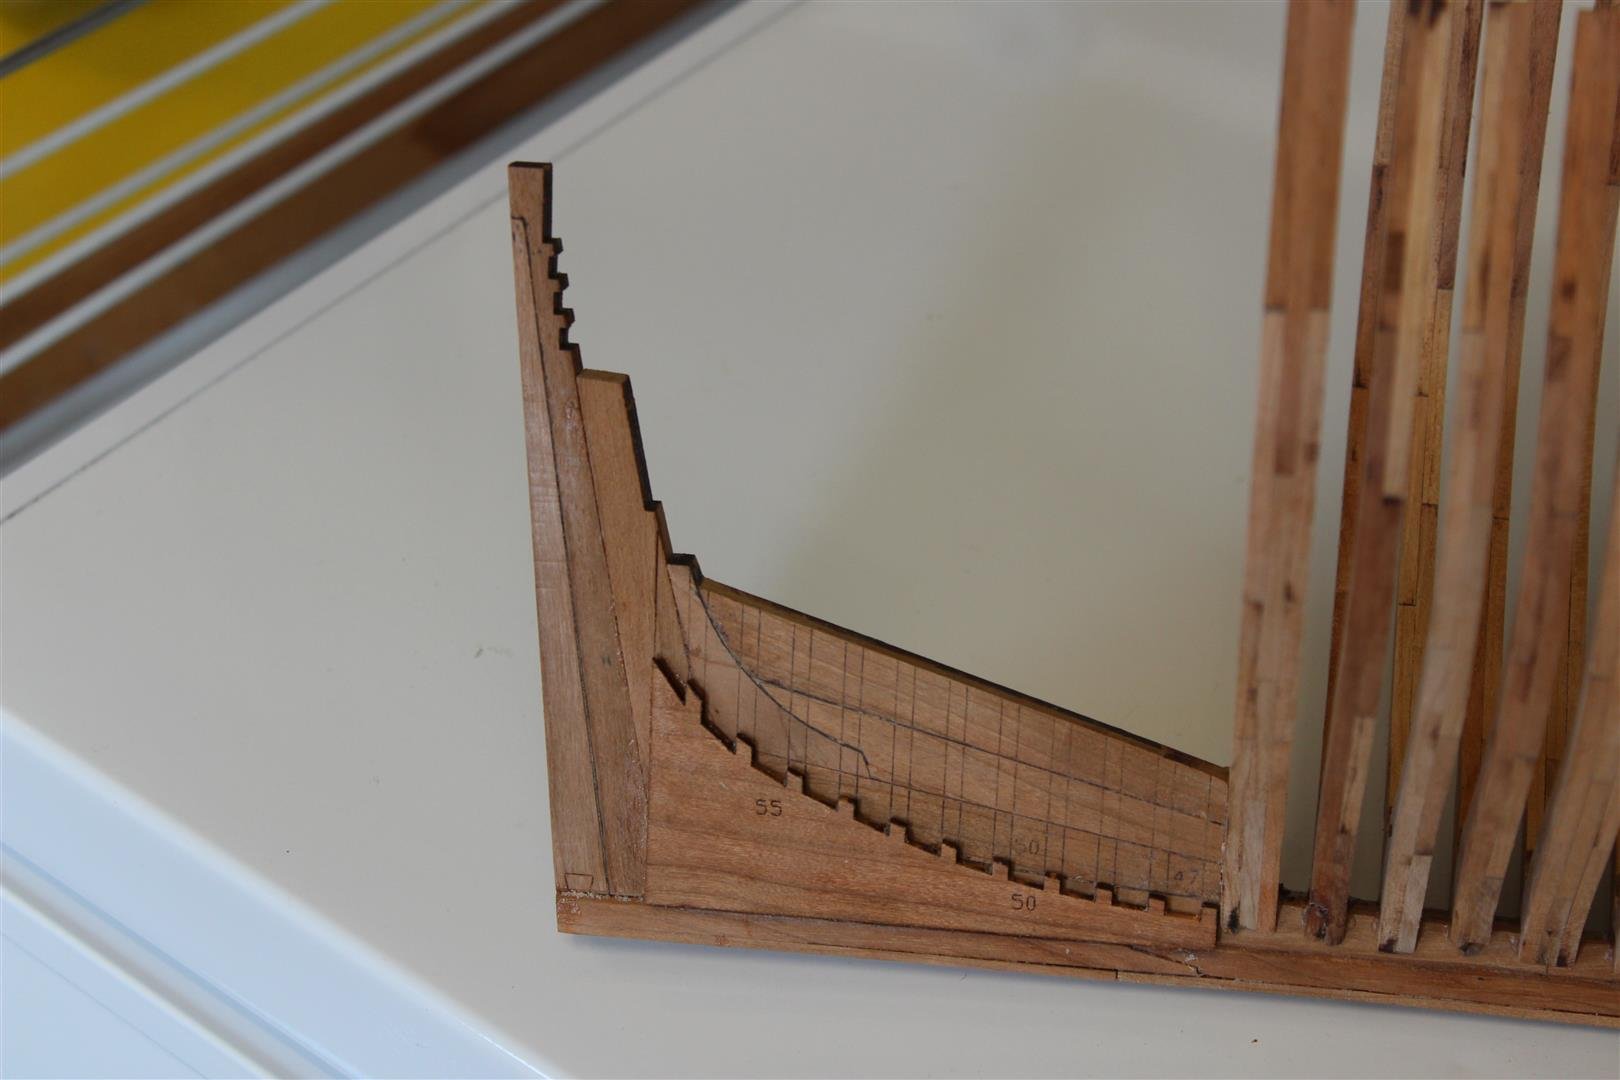
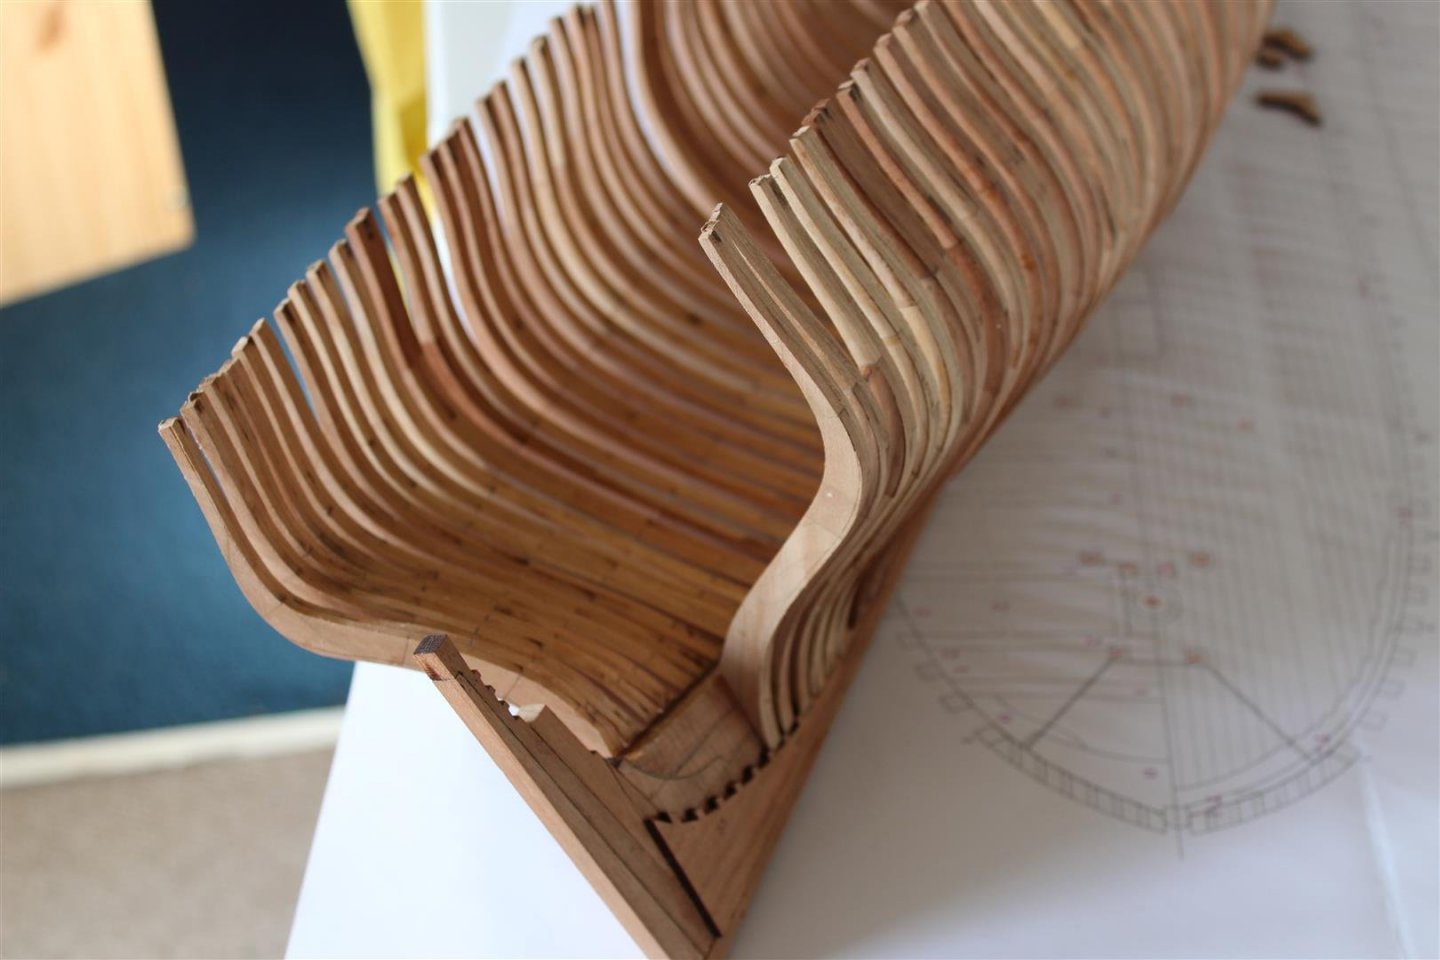
at wood supplied by @cafmodel is very good, once the Char is removed it needs nothing else doing to it, other than the bevel, which is marked where required. however i have not bevelled mine, i will use the marks as reference when the time of sanding arrives
- 312 replies
-
- 3
-
-
- enterprise
- caf
- (and 1 more)
-
Thank you OC, hows family, i will look in on you log in the morning, im struggling to stay awake tonight,
- 312 replies
-
- 1
-
-
- enterprise
- caf
- (and 1 more)
-
very nice indeed, you much have quite a display of built up models now
- 164 replies
-
- 1
-
-
- vanguard models
- flirt
- (and 1 more)
-
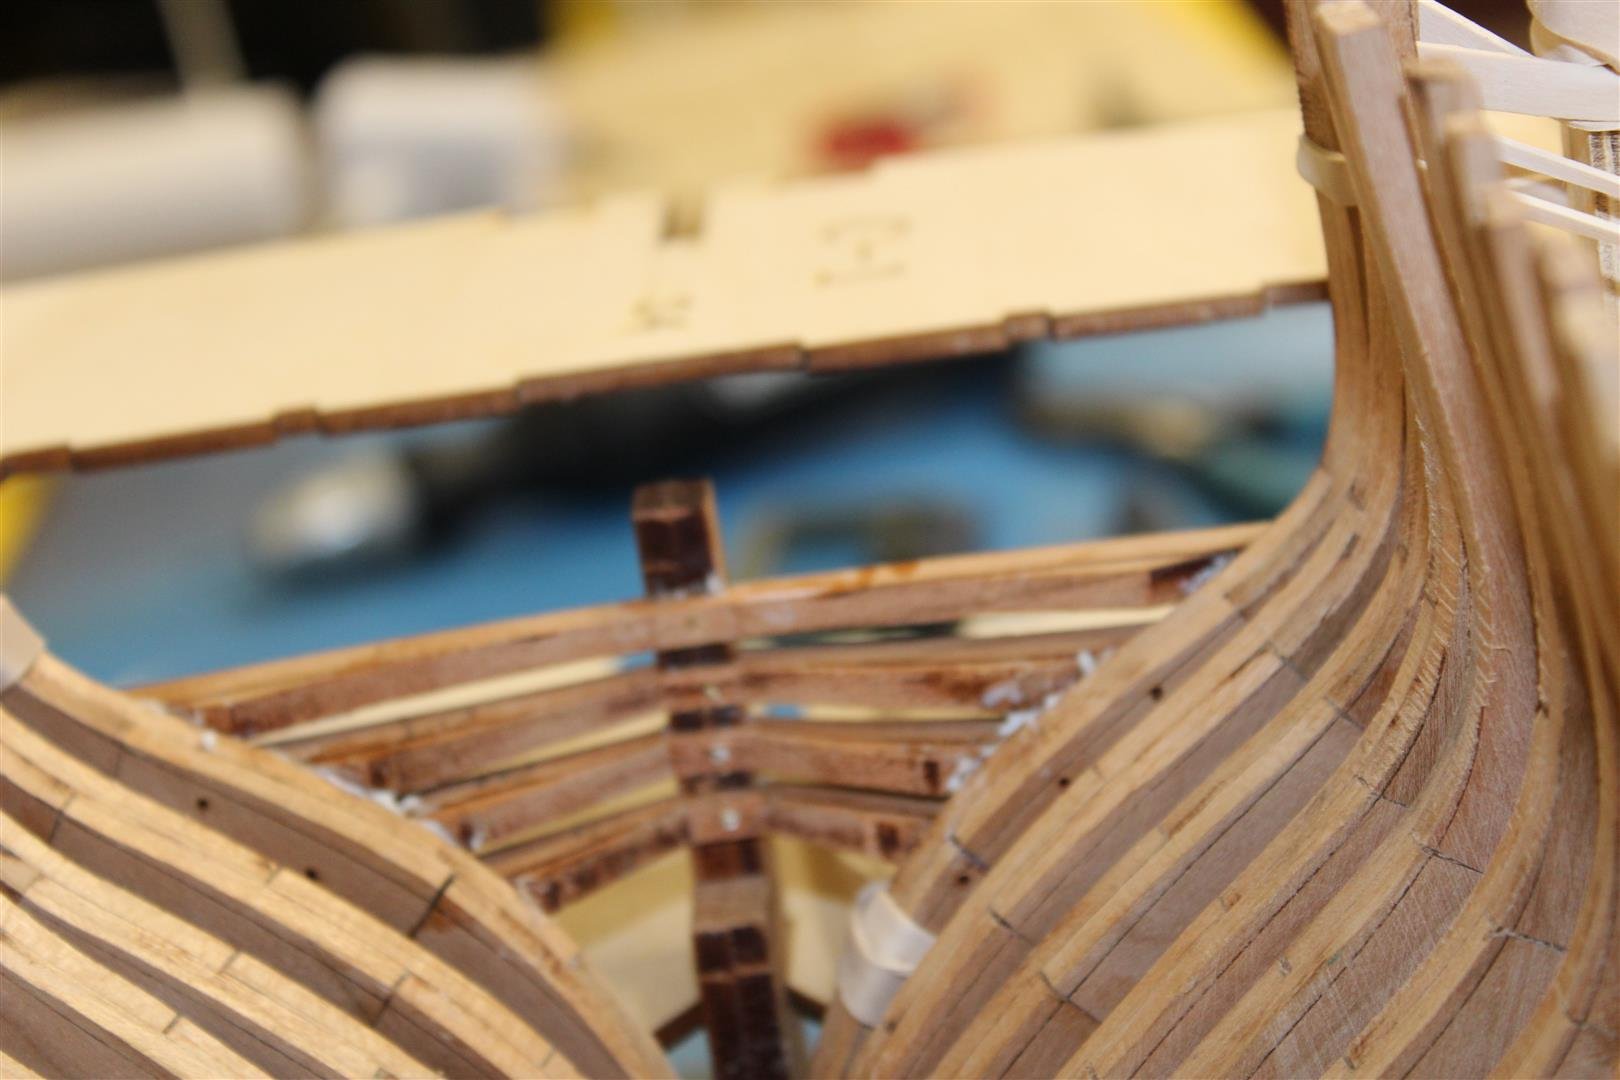
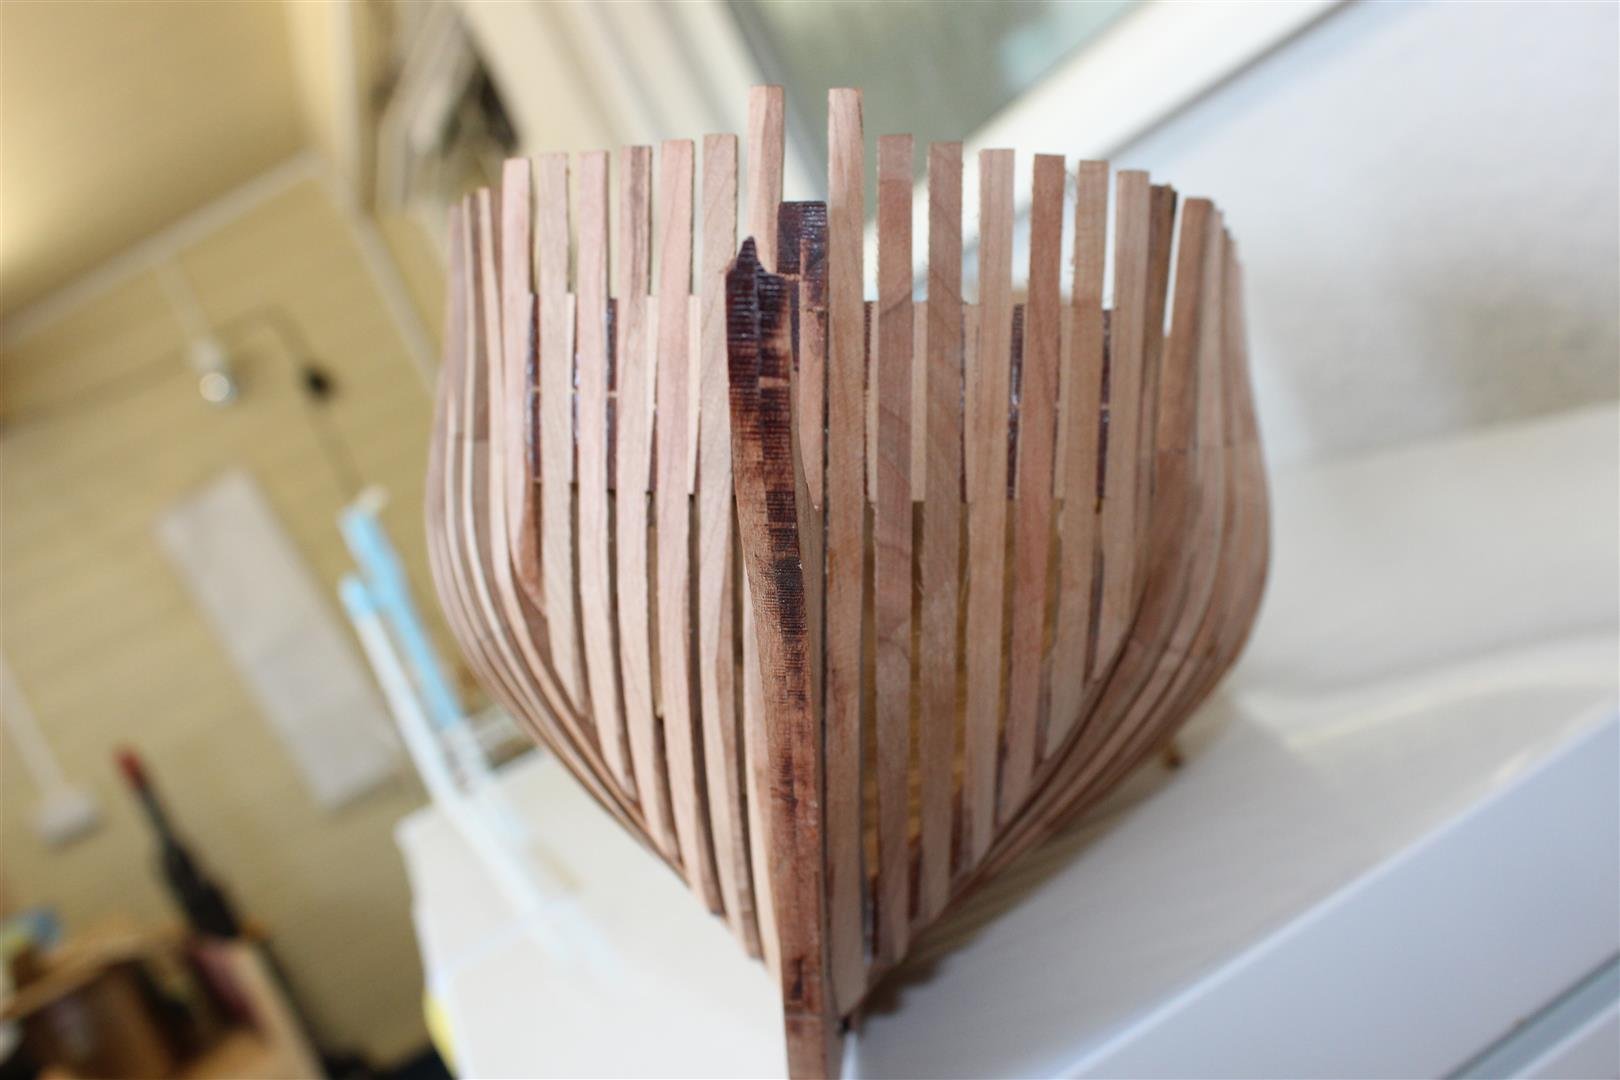
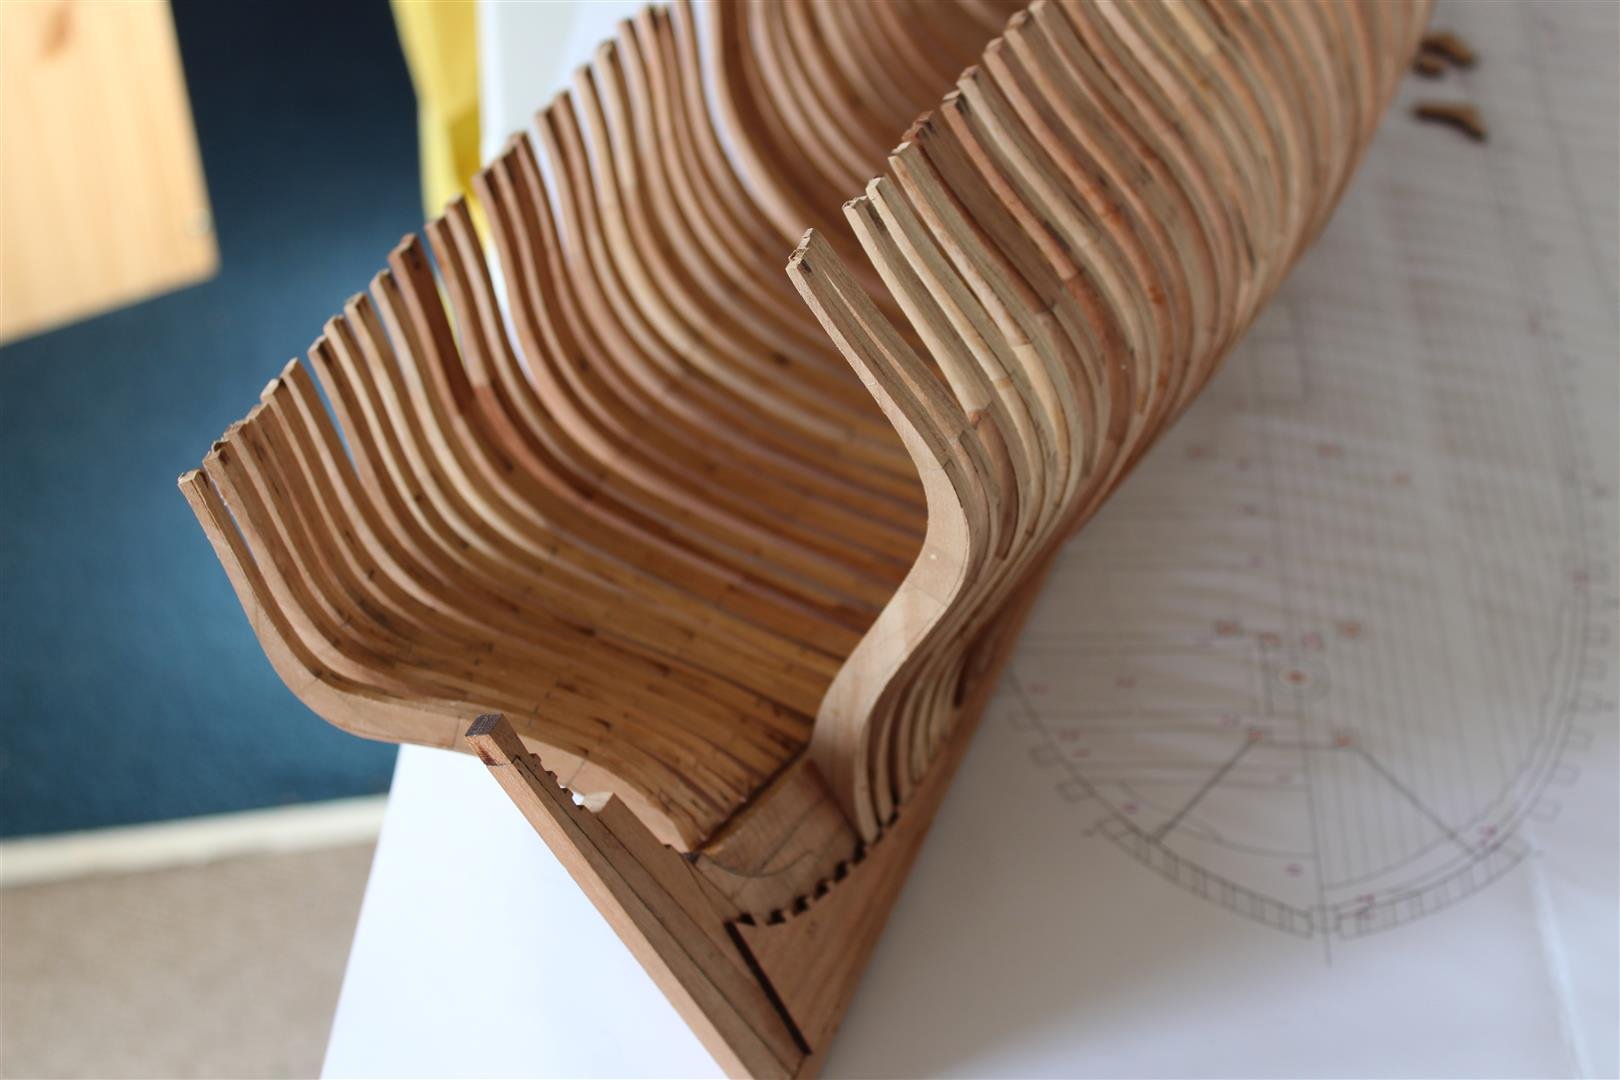
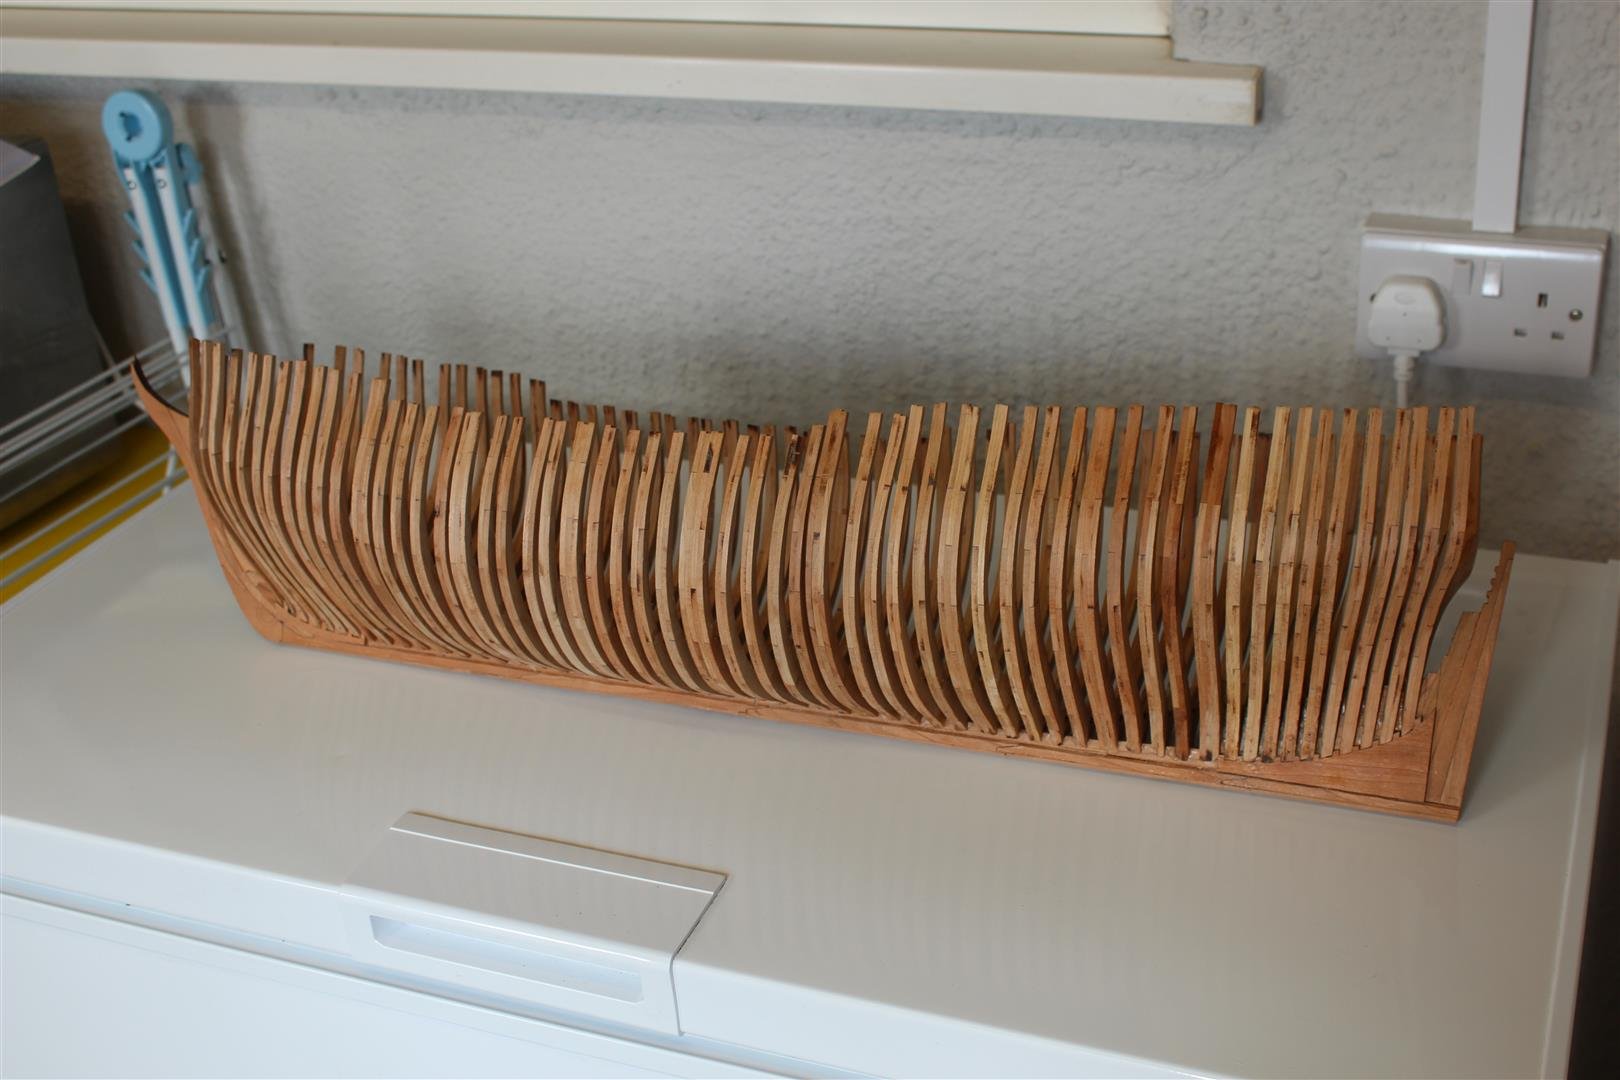
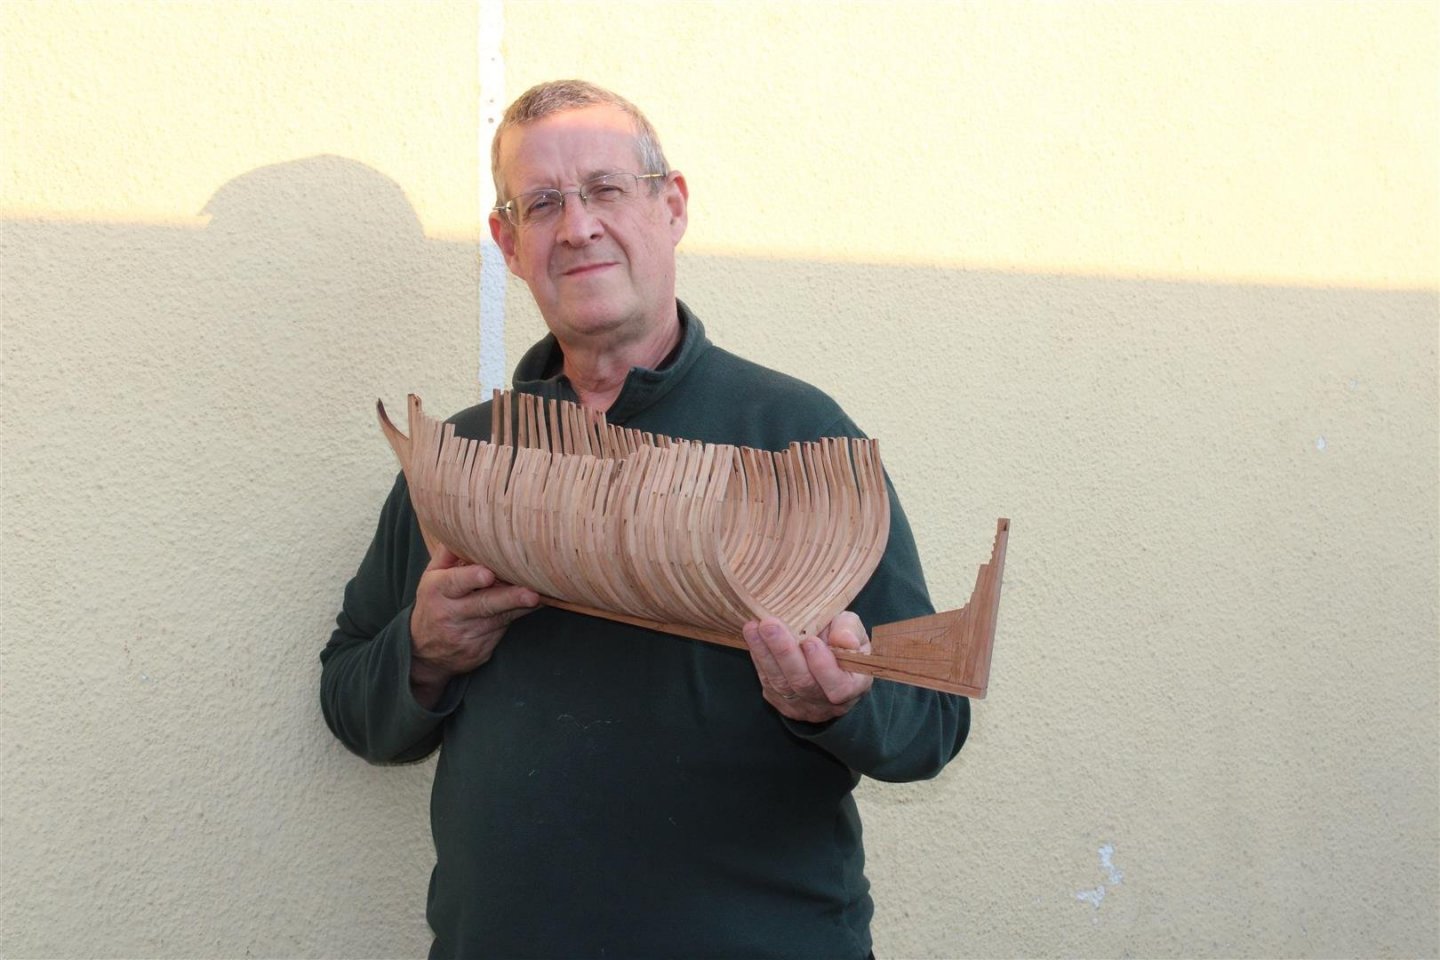
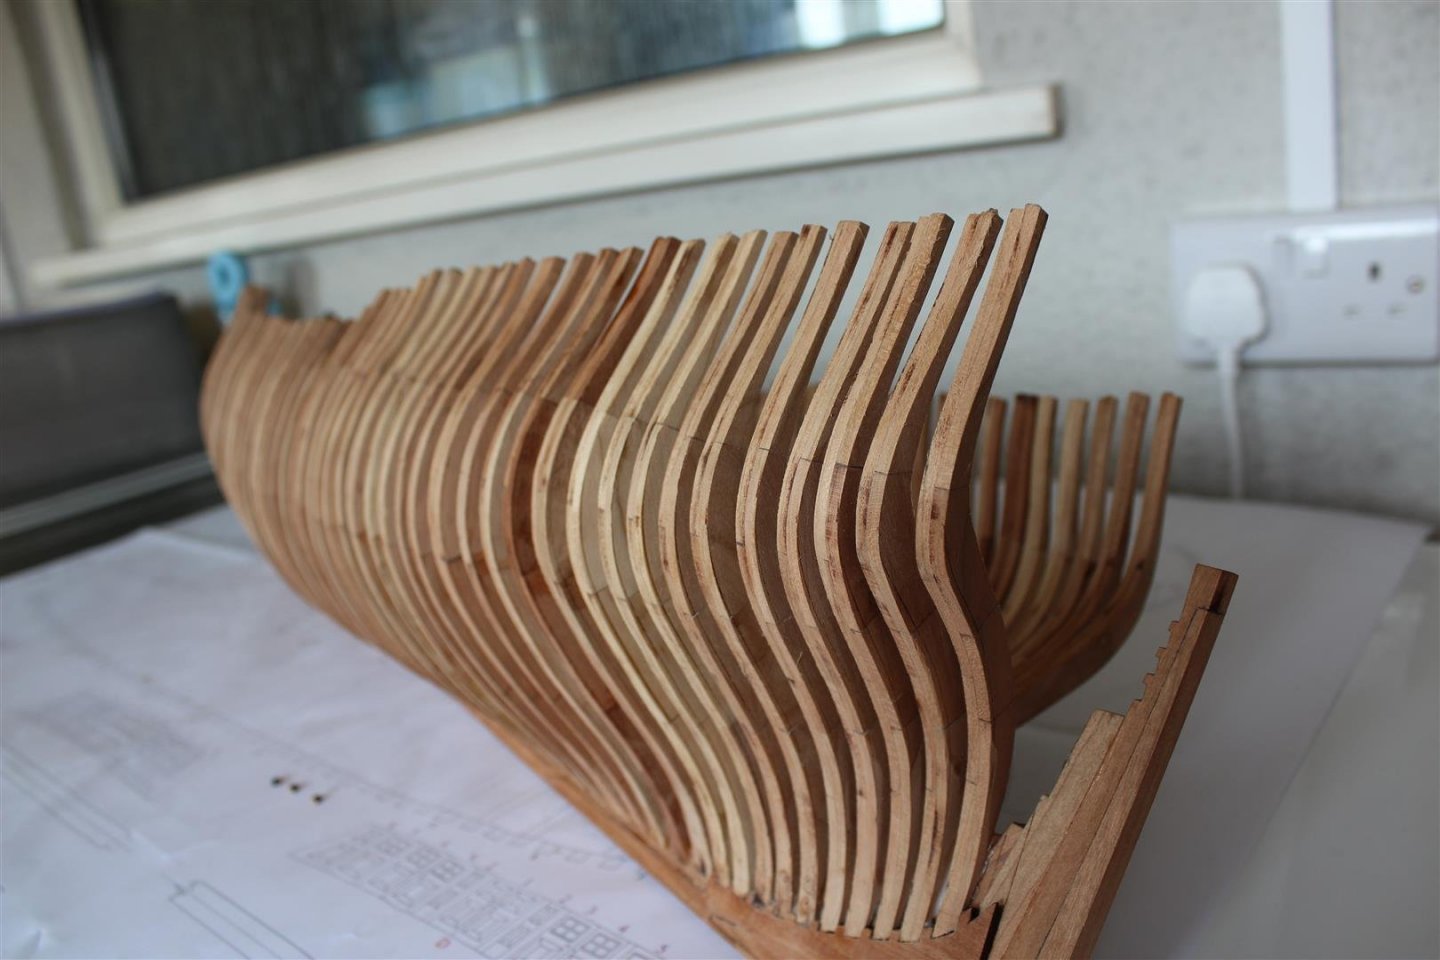
good evening everyone Day 21 last of the cants been a quite week, lots of things happening, and not a lot of boat building, but today the last of the stern cants were put in, that leave the hawse timbers and stern timbers, Parts 2 and 3 arrived and i will show photos at a later date


- 312 replies
-
- 22
-
-
- enterprise
- caf
- (and 1 more)
-
lovely review James, that is quite an upgrade in quality over the Enterprise
-
yipeeeeeee parts 2&3 are in the UK, been stuck in Holland for over 24 hours, Presently at Castle Donington
- 312 replies
-
- 10
-
-
- enterprise
- caf
- (and 1 more)
-
just seen your work on MSW Faceboook, well done
-
Welcome to MSW and good luck on the builds, i enjoyed my Victory build, as with many others, so there is a lot of advice around the site
-
just catching up, glad your feeling better looking through your log, i love your work, lol i was trying to read the writing under your last build photos
-
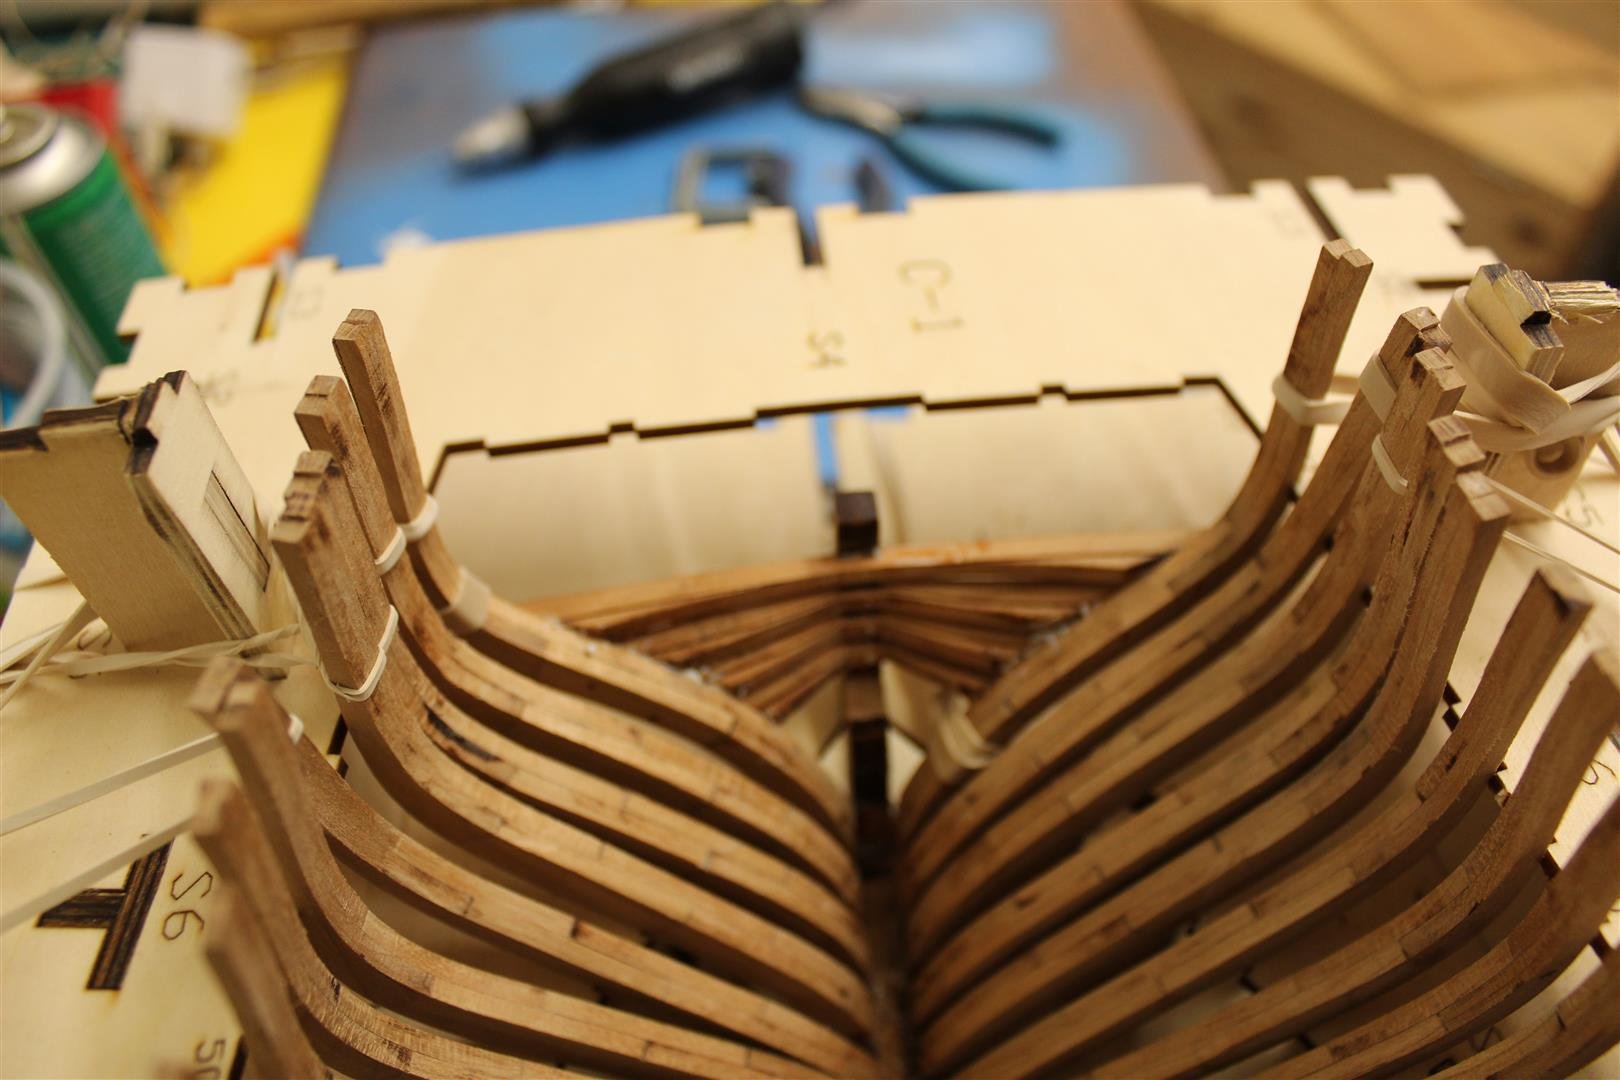
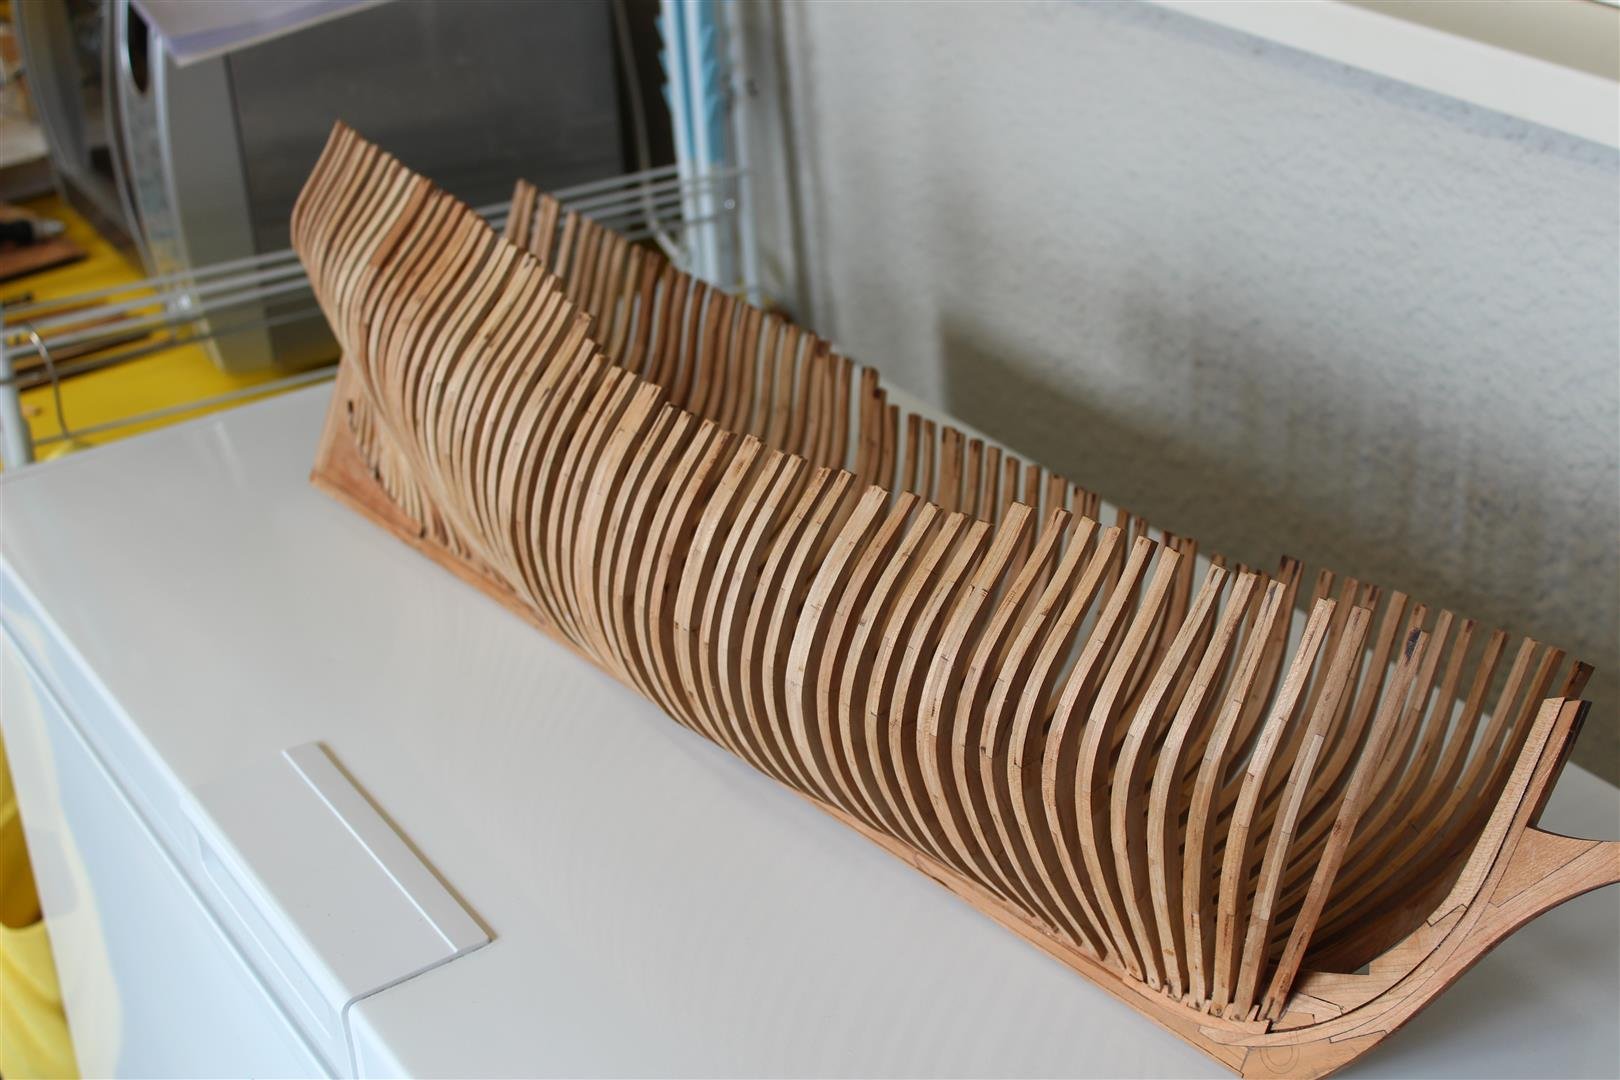
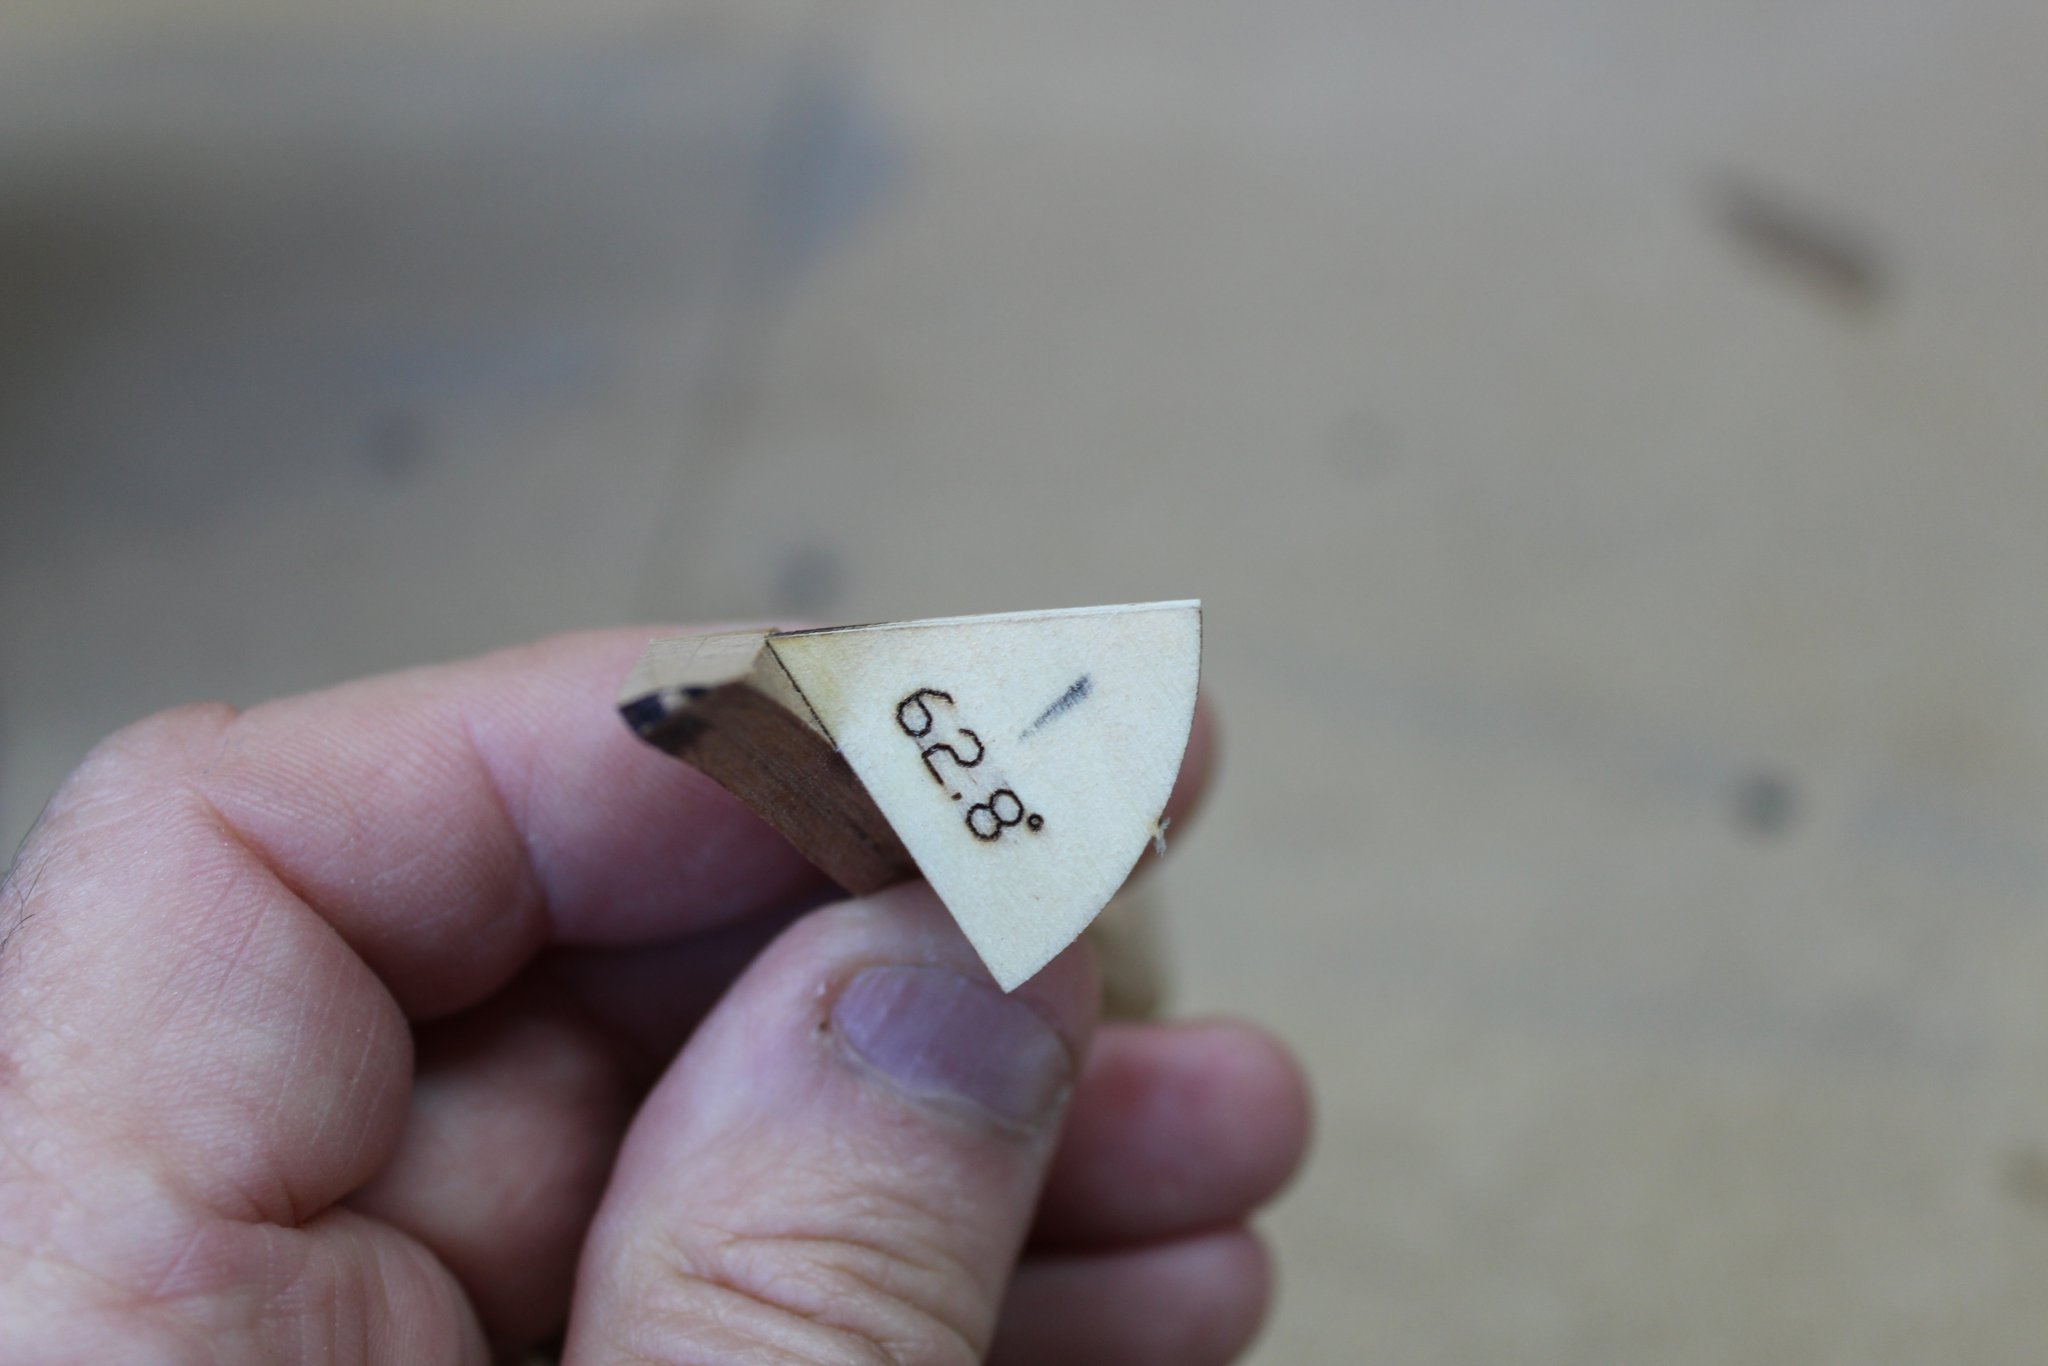
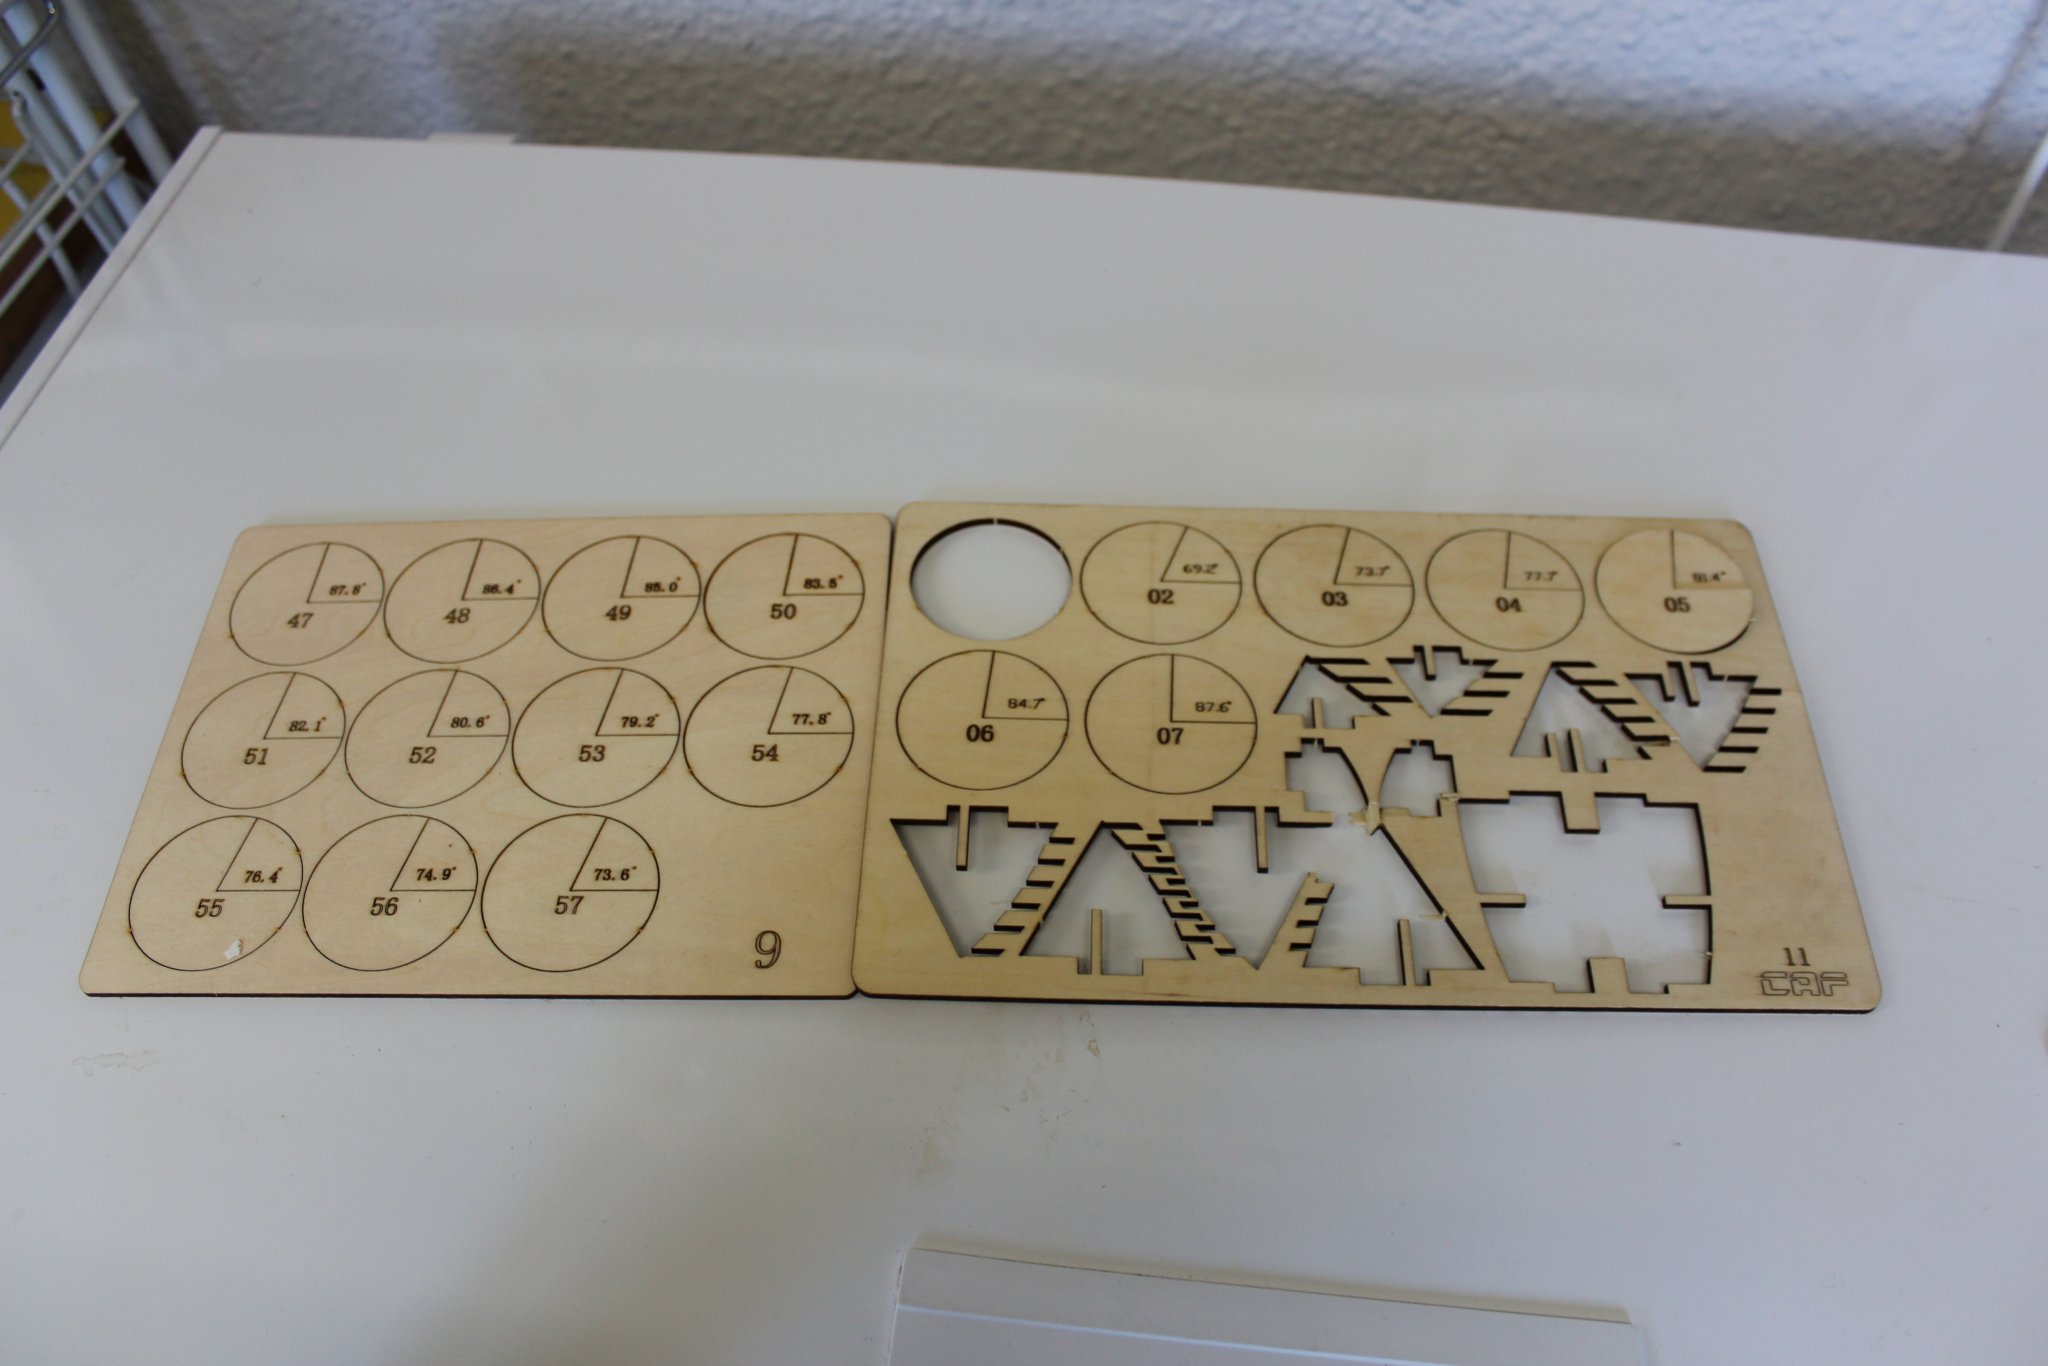
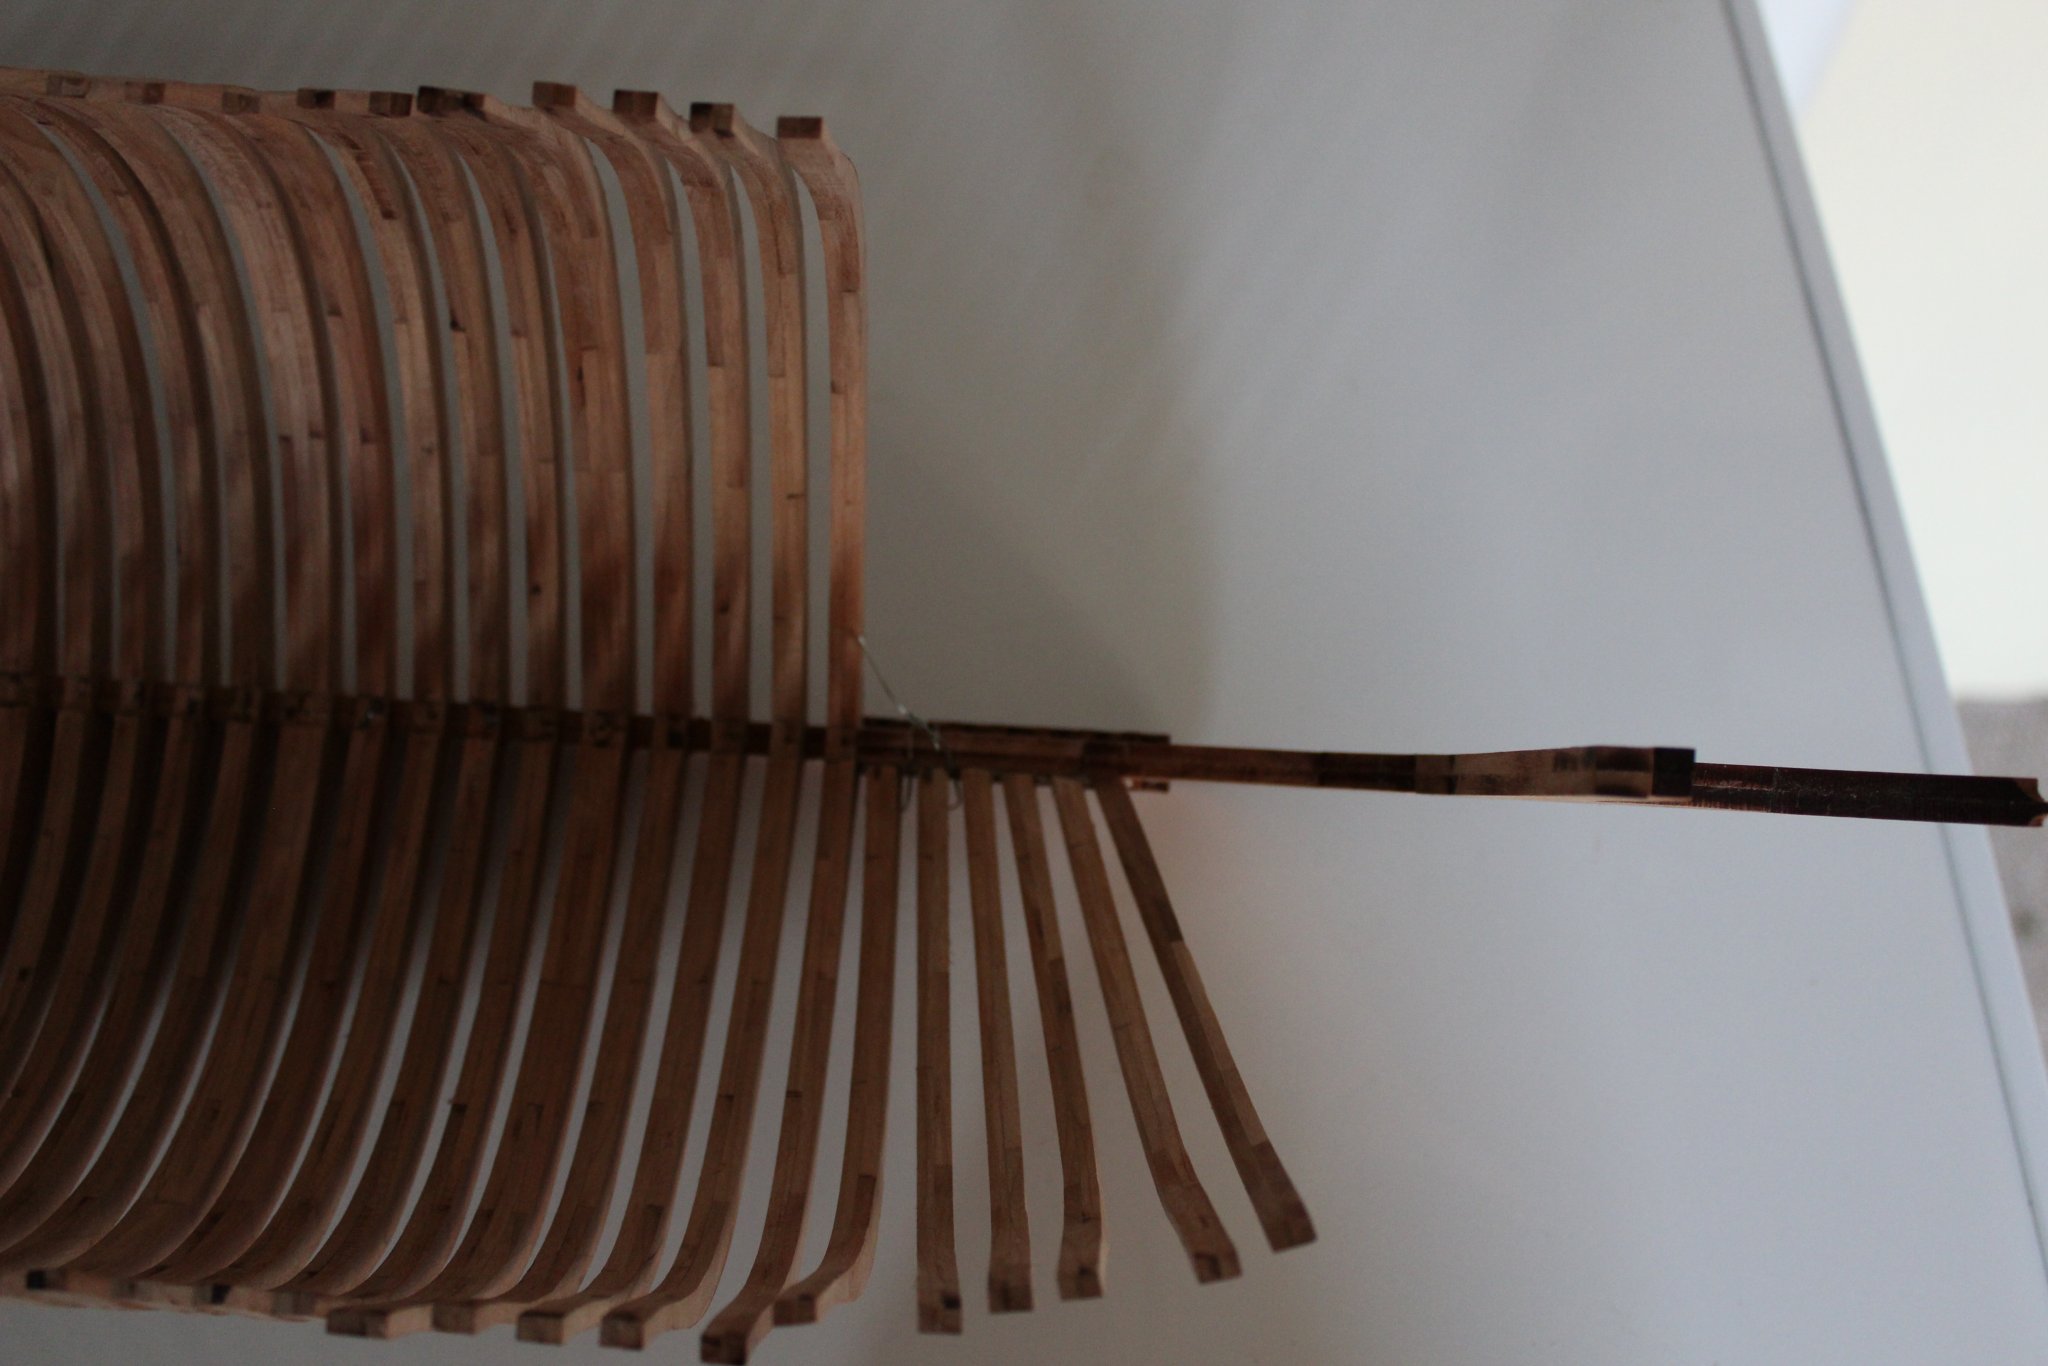
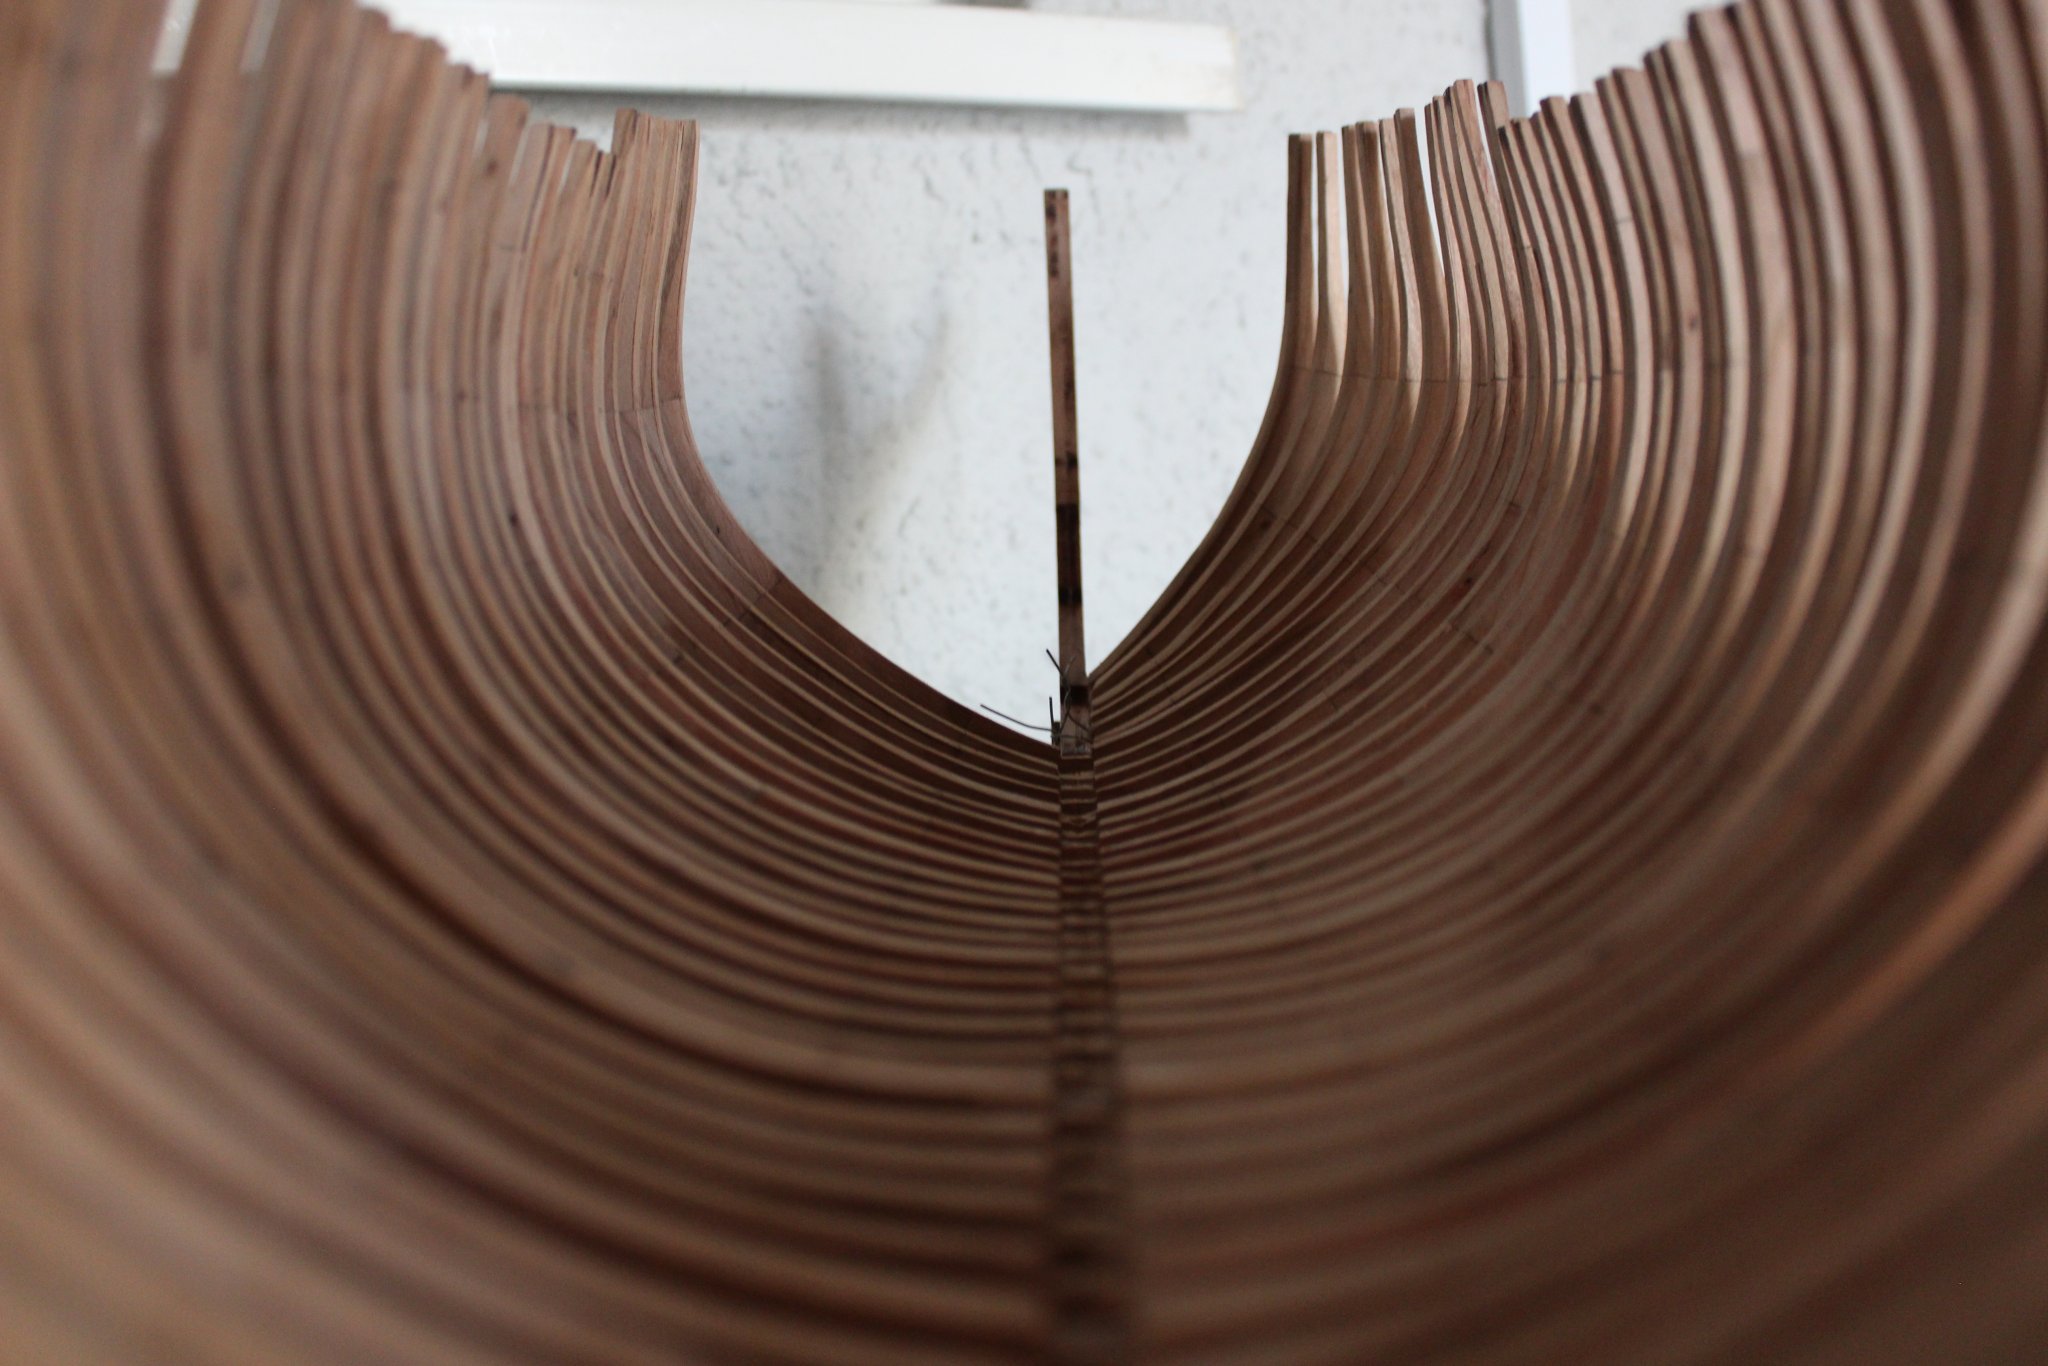
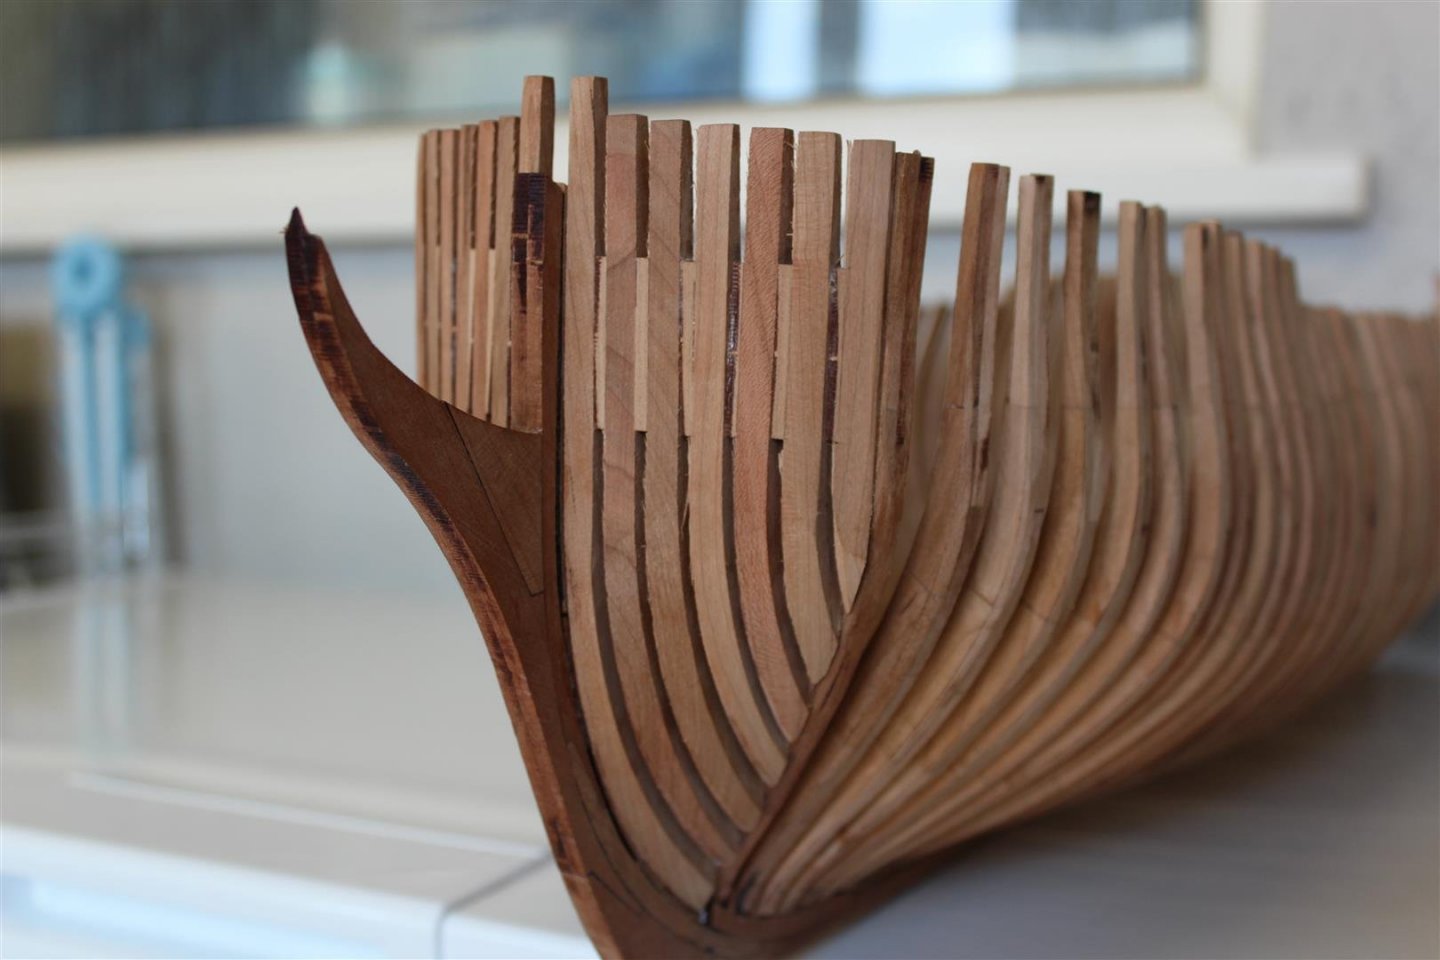
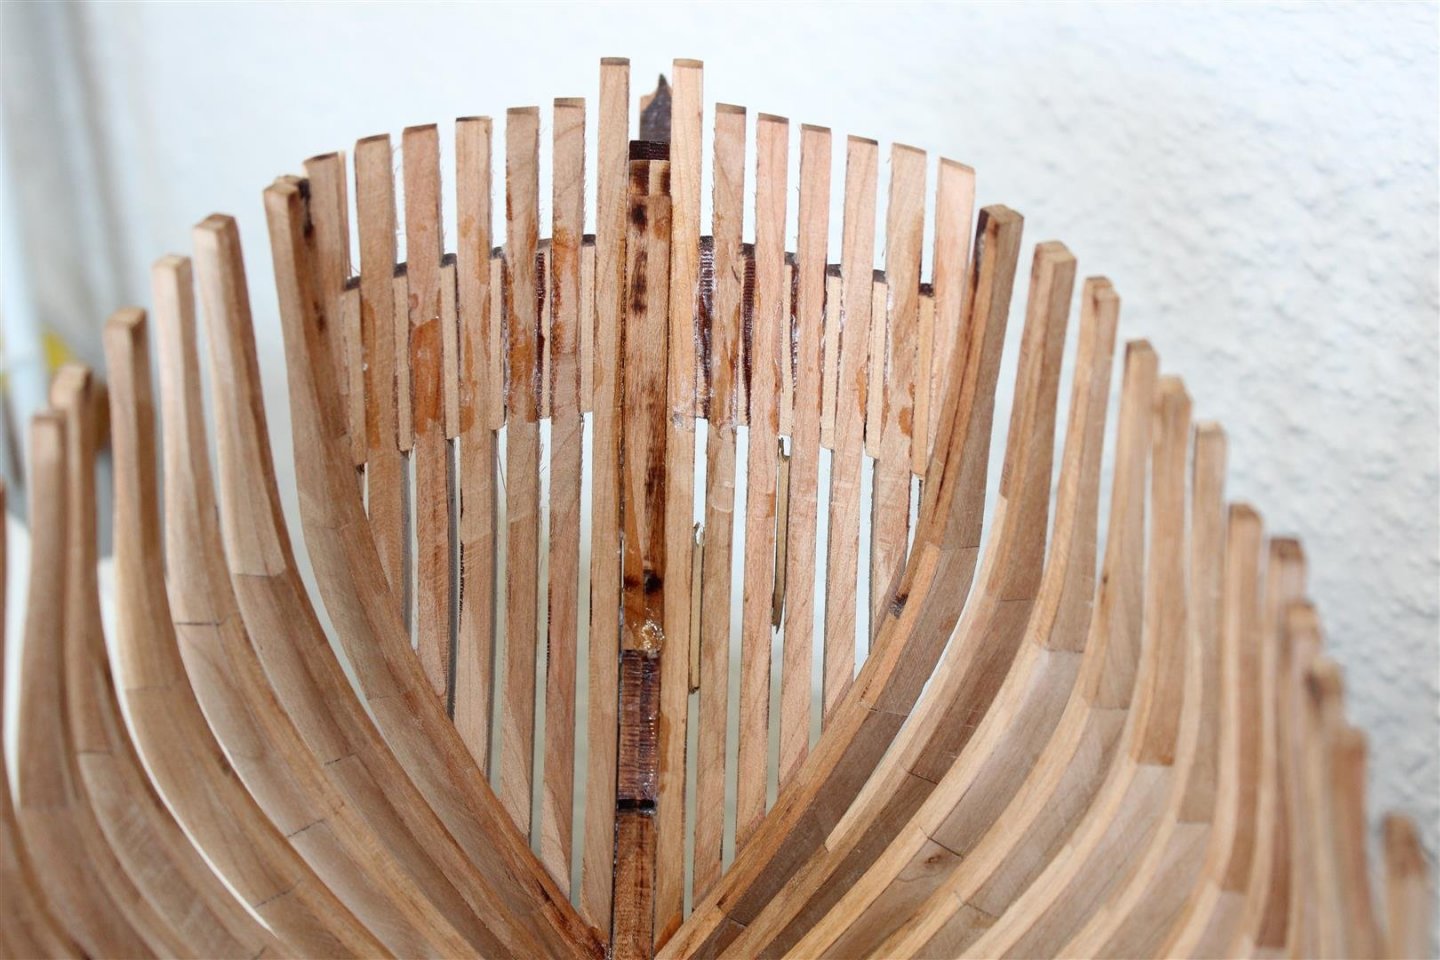
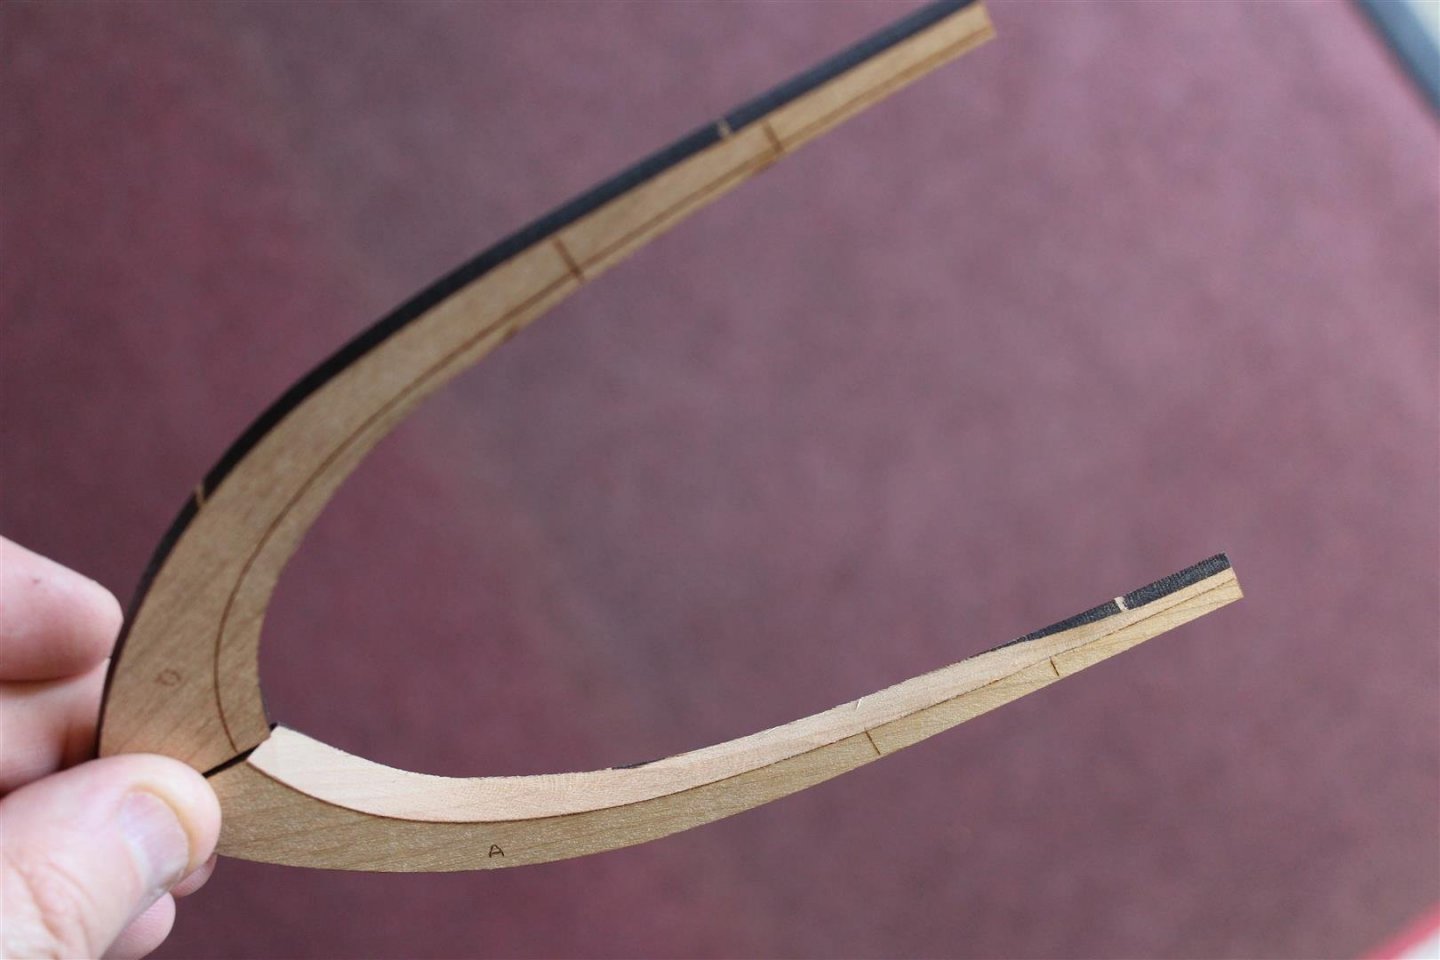
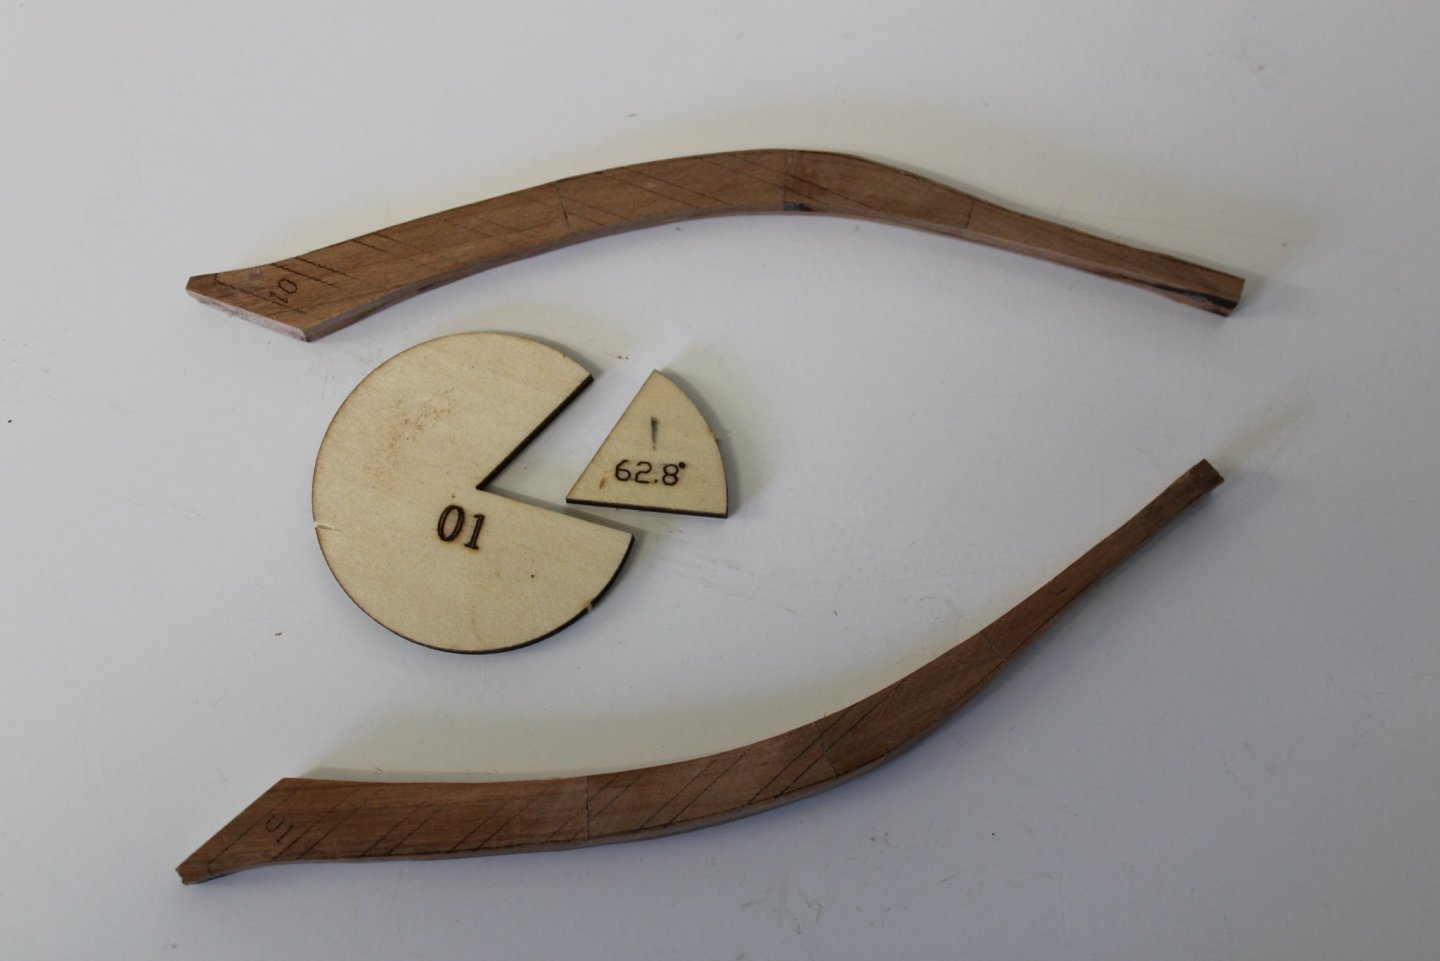
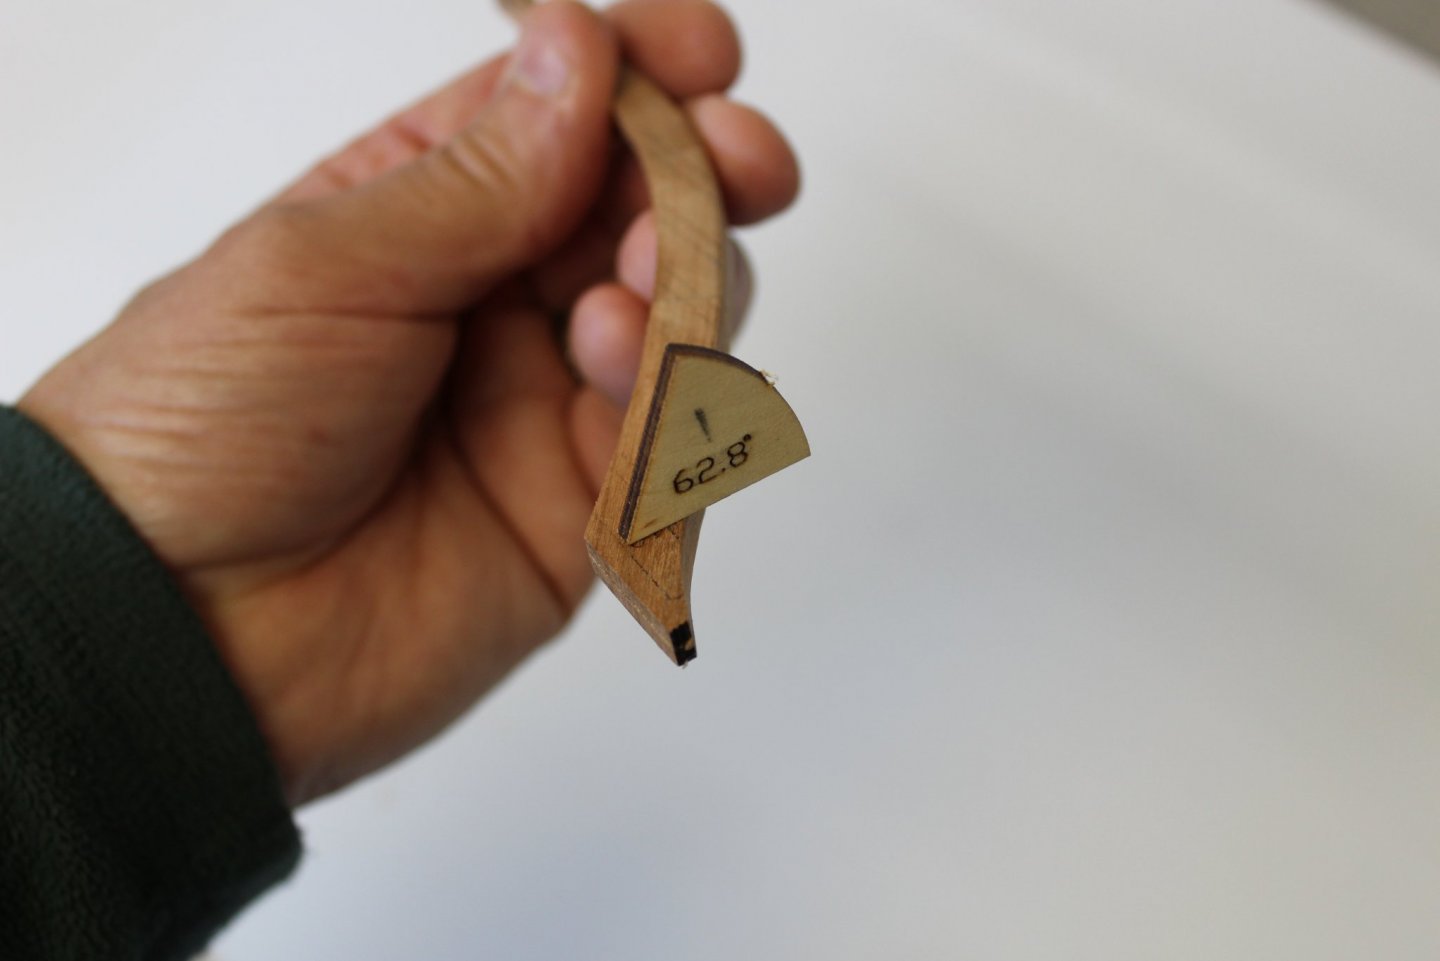
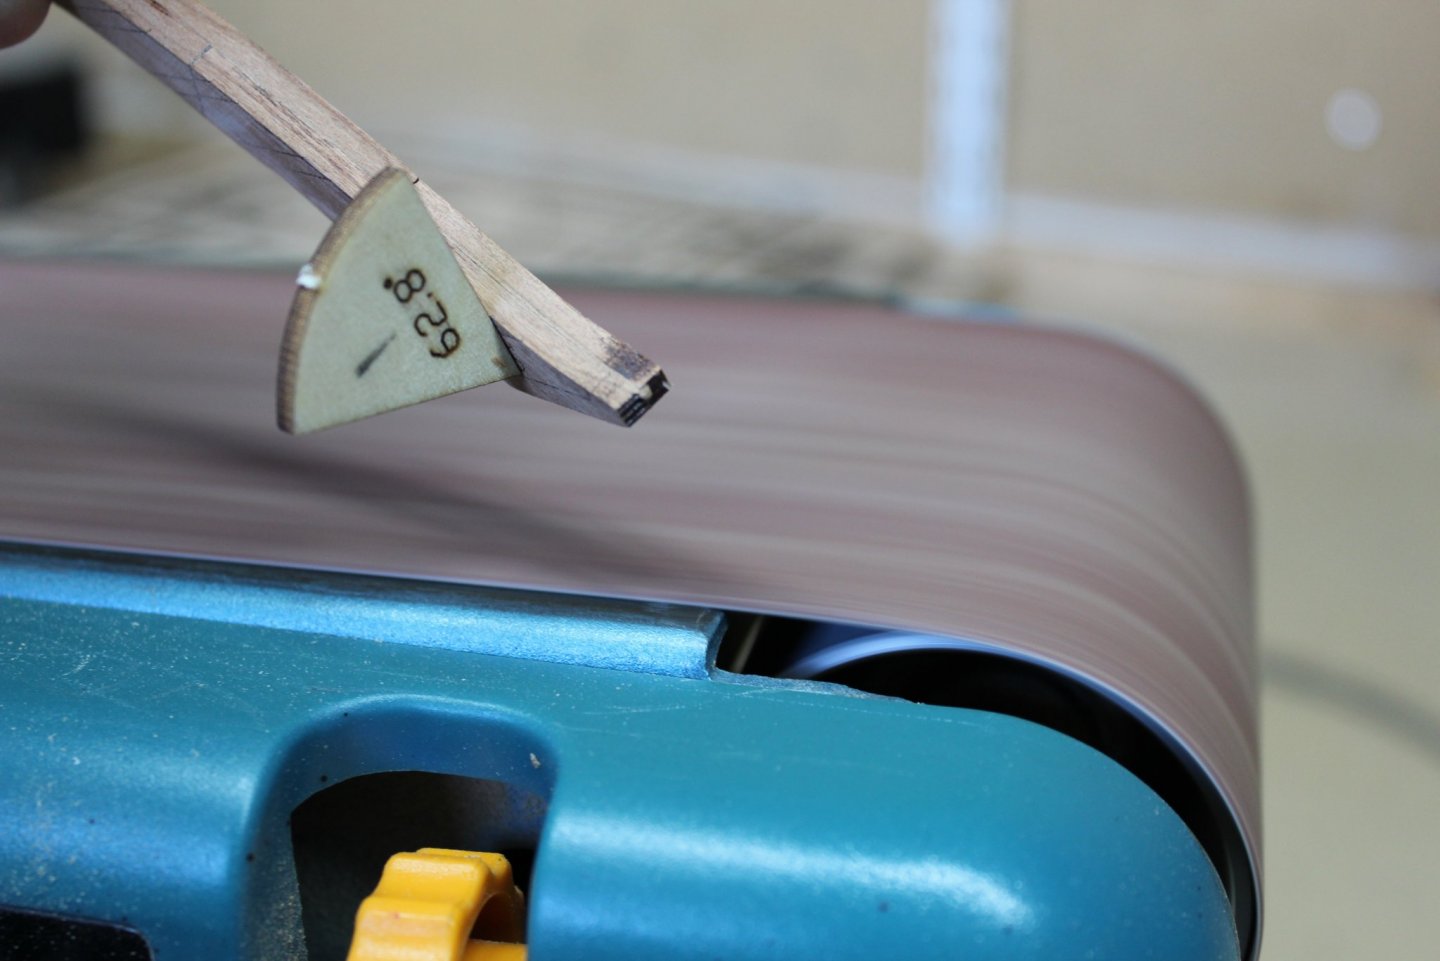
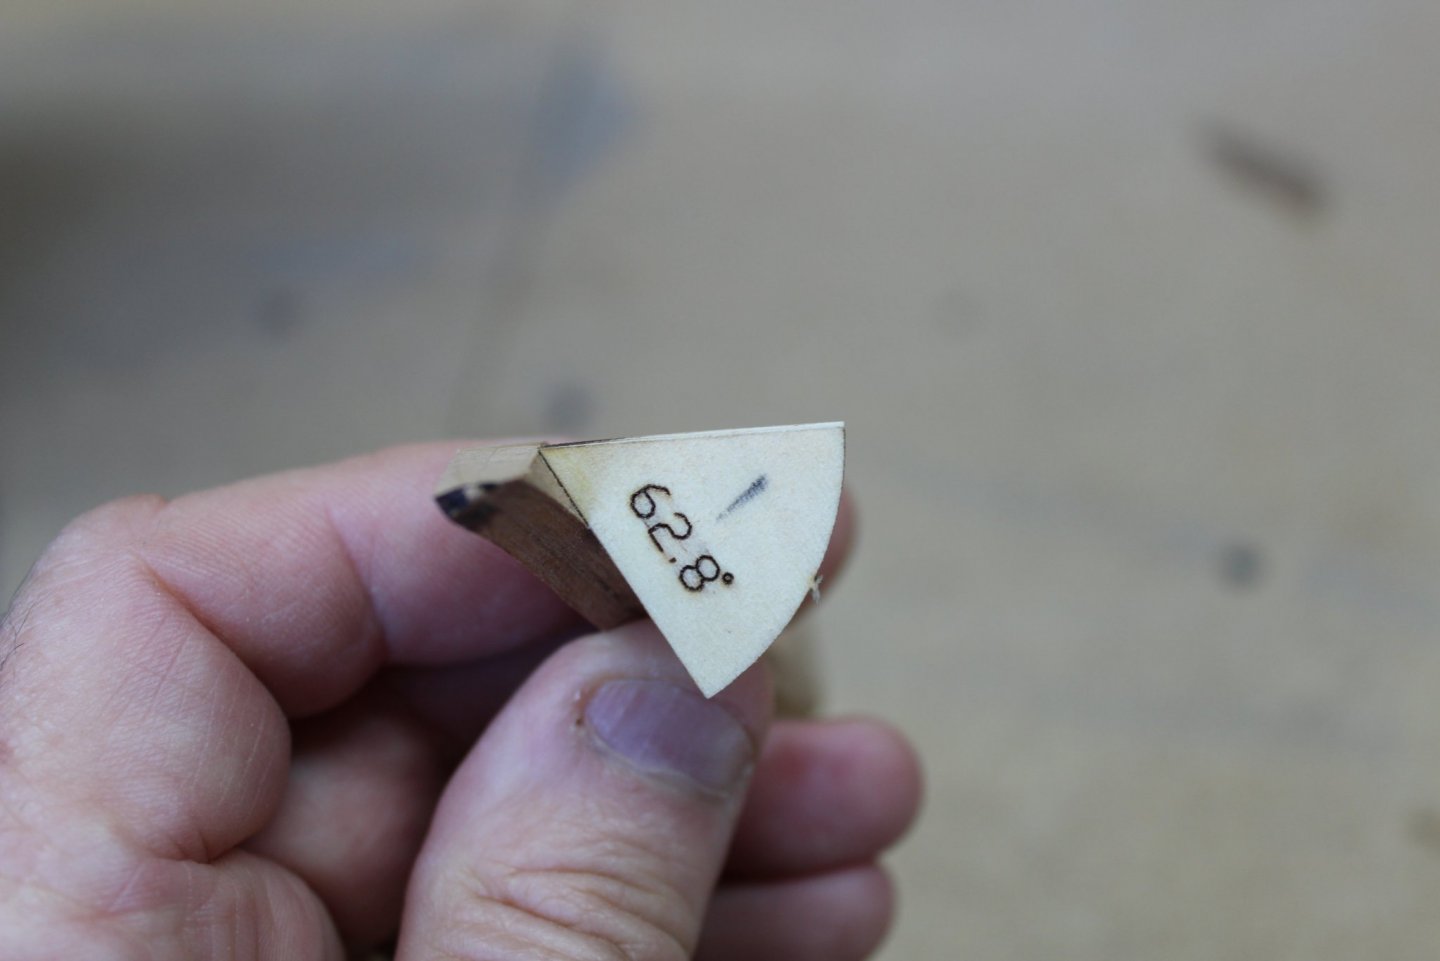
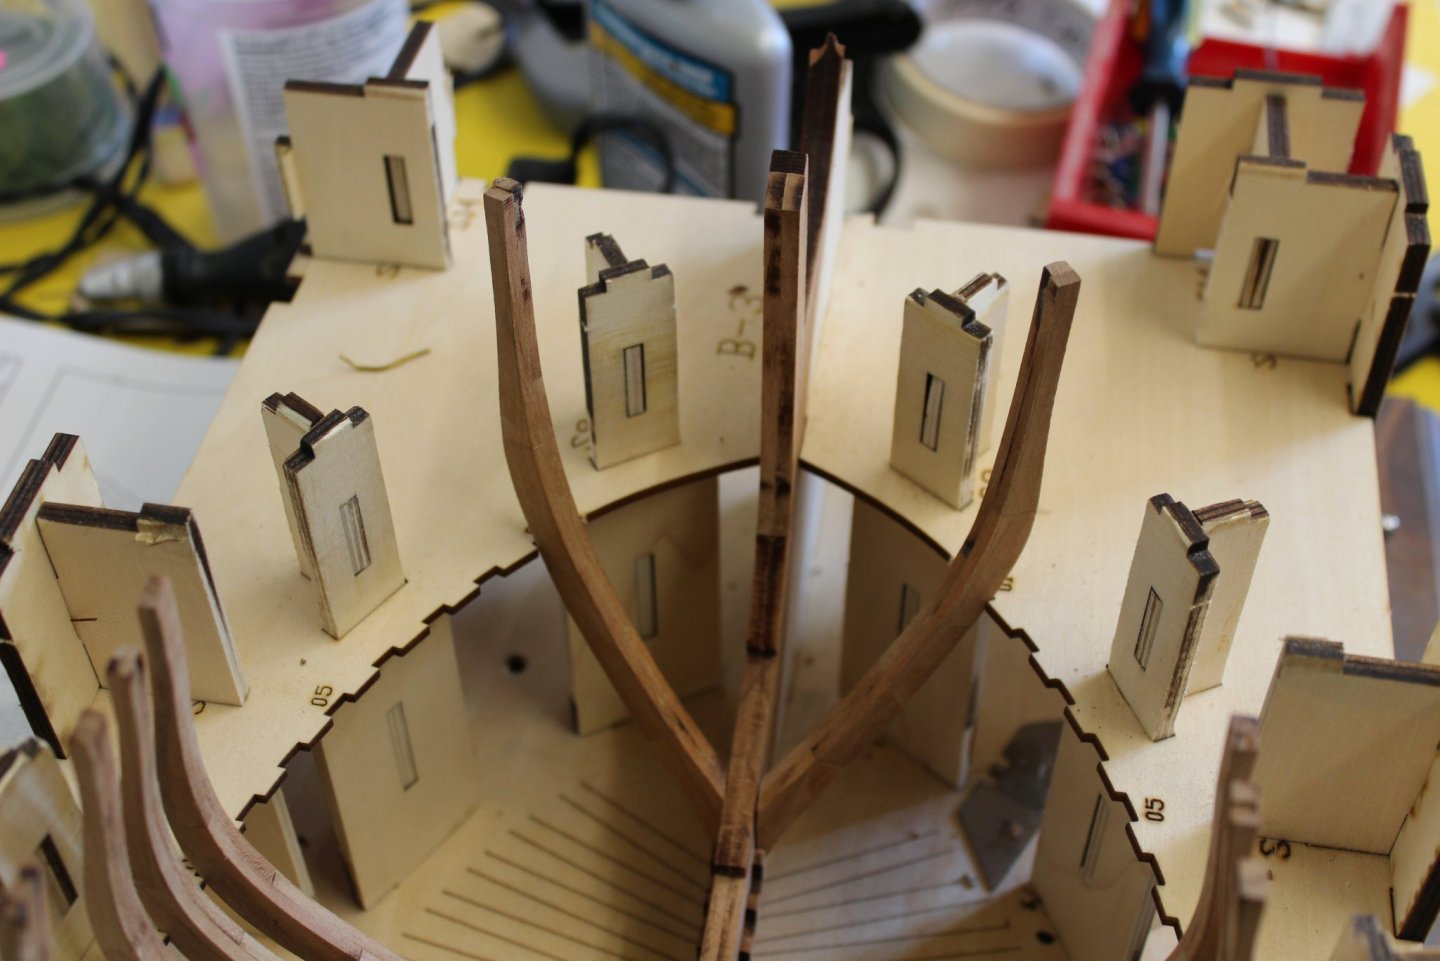
good evening everyome Day 19 full frames and cants i delayed putting the cants in for as long as possible, they seamed quite difficult, so best to leave them, but the time had to come i may have mentioned it previously. that there are laser etched lines on a lot of the ribs, these provide a rough fairing line, so the same goes for the cants, also there is a angle template provided for each numbered cant to help achieve the correct angle, this template is to set up the bench sander at the correct angle, mine kept moving so i devised my own answer by gluing the template to the cant and then sanding to the correct line, it worked having done that, i then found i did not have enough room to get access to pin the cants, so i removed the top level of the jig glued starboard cants 2 to 7 in position, when the glue set, i removed the hull from the frame to pin, this will be repeated on the stbd side the hull drops back into the jig quite easy, im not sure how difficult its going to be to put the top level back on


- 312 replies
-
- 31
-
-
- enterprise
- caf
- (and 1 more)
-
its taken me 4 days to think of an acceptable answer, and i still dont have one, for me this works well, and it gives use without the skills to make a semi decent representation, in a much shorter time, however i wish i had the skills to do my own full scratch, after all this is still just a kit
- 312 replies
-
- 3
-
-
- enterprise
- caf
- (and 1 more)
-
1930 BENTLEY 4.5 LITRE by MadDogMcQ - AIRFIX 1:12th Scale
Kevin replied to MadDogMcQ's topic in Non-ship/categorised builds
well done, she looks fantastic, on what is a old kit, im surprised there is not a retooled version by now Congratulations -
lovely work, im missing mine, didnt think i would
-
Many Happy Returns