omarcs
-
Posts
108 -
Joined
-
Last visited
Content Type
Profiles
Forums
Gallery
Events
Everything posted by omarcs
-

Cutty Sark by NenadM
omarcs replied to NenadM's topic in - Build logs for subjects built 1851 - 1900
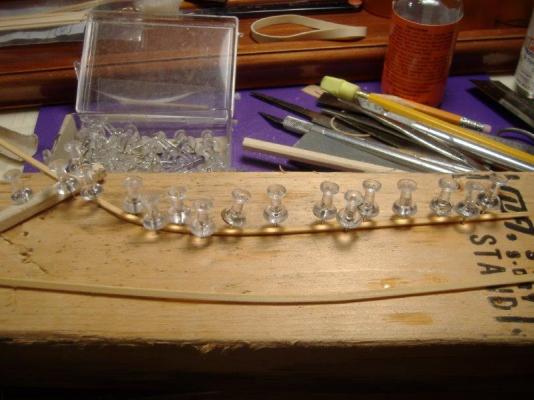
I made twenty three 1mm eyebolts using your method. Really easy. I wrapped the bell wire around a 1mm T-pin. Thanks for the tip. Now to figure out where they are located. Omar -
Really? 3 inches? AAAAAAAAAArgh. now back to my gigantic 1:150. Great Model!!! It encourages me with my build. Omar
- 120 replies
-
- 1
-

-
- mystic
- motor yacht
- (and 2 more)
-
Cutty Sark by NenadM
omarcs replied to NenadM's topic in - Build logs for subjects built 1851 - 1900
I like your little rings. Currently, my rings are just circles glued on various items. This looks like a good way to really get the rings attached into the ship. I have some very small diameter wire that should work. Thanks! Omar -
Welcome to the Cutty Sark Group!! Regarding cases, I used Plexiglas when I had it made 40 years ago. The plex is still clear, but I have never had it facing normal light conditions since my model languished for 40 years. I did learn you should not leave the paper on for 40 years, the adhesive dries out and it is very difficult to remove. Again, welcome. Omar
-
I will follow your build with great interest since I am building the same kit Omar
-
Cutty Sark by NenadM
omarcs replied to NenadM's topic in - Build logs for subjects built 1851 - 1900
While contemplating glass in the portholes I thought of model railroad water. We accept a shiny surface as water because it is the right color and shiny, not because we touch it and it is wet. So, what you might need is a black shiny surface. if the "glass" is painted black and then covered with something clear and shiny you would probably have a window. I am thinking of a clear gloss liquid like varnish or clear gloss paint, or does the admiral have clear gloss finger polish? I have yet to do my portholes... all need to do is remember this when I get to that point. Omar -
I have been using canopy cement with some success. Model airplane guys use it and it pretty much glues anything to anything and it dries clear.
-
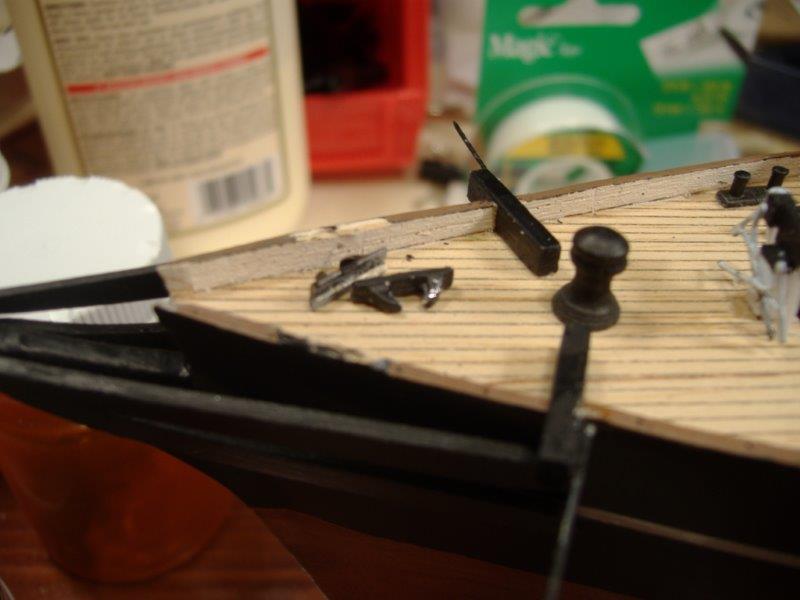
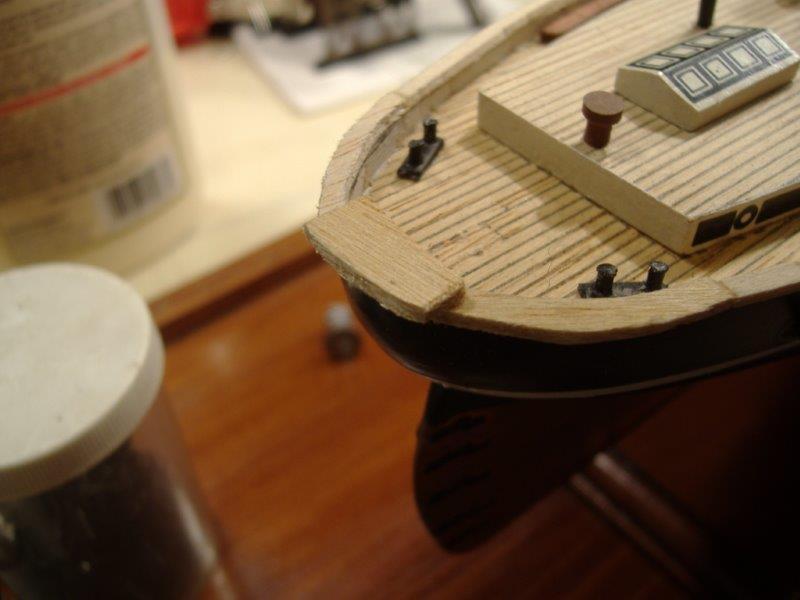
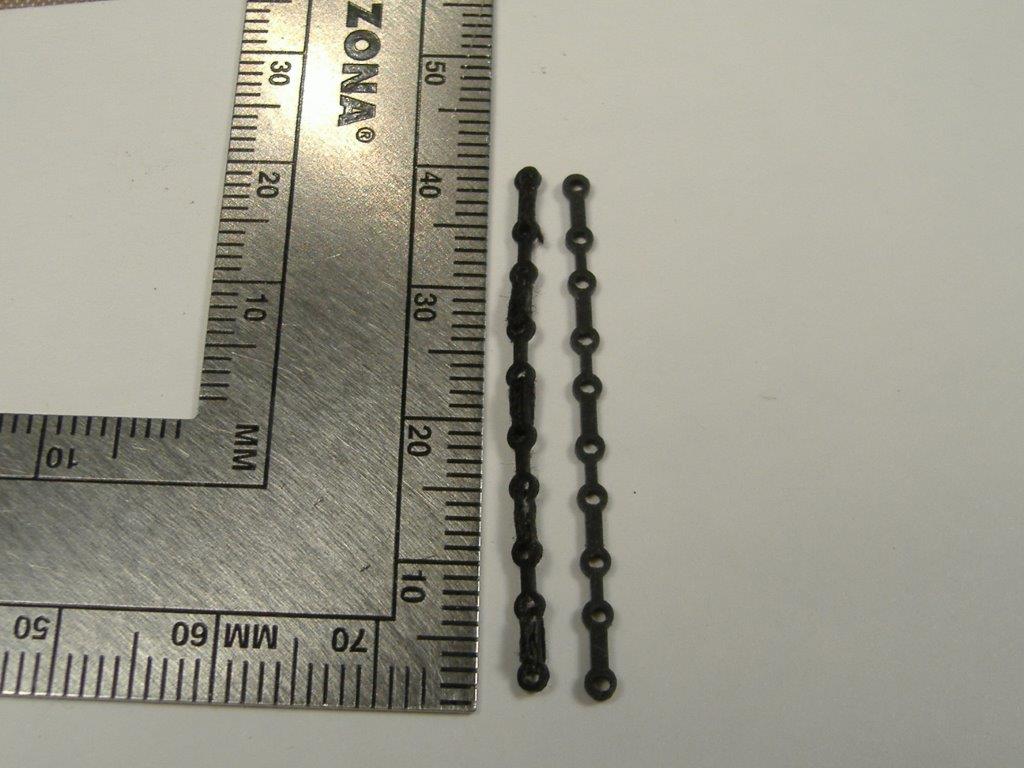
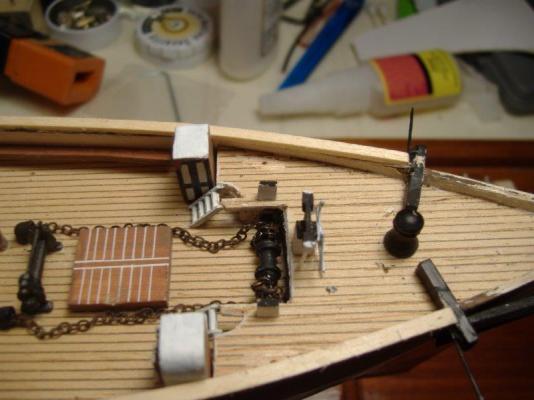
After putting 1 set of bow guard chains on and not liking the result, I added a rail on the top gallant bulwark. I was able to soak the basla and bend it. I used titebond glue which sets rapidly so I did not have to try and figure out how to clamp it. The stern wood bending did not go well, I got kinks in both sides so out came the razor saw and I cut off the offending sections. I cut pieces that mostly fit and used a rasp to bring to finished shape. I diluted the paint (craft type acrylic) and got the look I wanted which was to look similar to existing paint applied 40 years ago. And now I have a deck littered with stove pipes, bits, wheel house. Lifeboats are on a cookie sheet with other parts I removed. No wonder I am not finished - I keep removing stuff. Admiral liked the finished rail!! I was not happy with bow guard chain but I check size in scale and it is about 4 foot (1 meter) tall and that seems to me to be about right so I will see how it looks on new rail. Omar


-
try a store that has scrapbook items. Bet they know. Michaels, Hobbylobby, or a local entrepreneur scrapbook store.
-
I am amazed at what you did at this scale. My build is at about this scale and so you certainly present a challenge. Seeing that it can be done helps me to at least try to accomplish something similar. I must remind myself that this is my first build an you have done others; but the challenge is there. Your sail making information will certainly help. I have found paintings with only 4 sails set and this, I think, will be sufficient to show sails and rigging. Thanks! Omar
-
I am building the scientific version of Cutty Sark. I would suggest you use the Scientific plans as only a suggestion. I find scientific plans close, but due to the internet, better plans and this forum, I am making a number of changes. But, over all I am pleased. What you don't get with a solid hull is doing the planking of the hull. everything else that a kit builder does, and many thing a scratch builder does is what you will be doing. I suspect you will spend much time in the build forums seeing how others tackled the "opportunities" you will face. Remember, it is a hobby and we are pulling for you - we are all in this together. Is the true question: how would Red Green work in duct tape? Omar
-
I have noticed a lot of variations for the Cutty Sark. I think Campbell and current ship represent different periods in time. I look at photos of other models and they don't look like Campbell or current ship. I have decided this captain (me) will make it to make me self happy with it. Every time I make a change the admiral rolls her eyes; mutters something about not going there... Omar
-
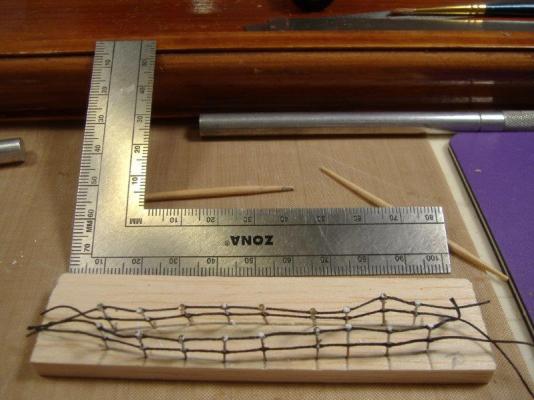
Busy summer with little work on ship. I am working on the railings for the bow now. The kit came with brass pins to make magic happen. I used thread for chain (Campbell has chains at bow and solid rail for stern) and they are okay, but the kit does not have a rail on top of the bulwark so they look pretty lame. I will have same problem at stern. And to think I could be drinking Cutty Sark rather than building it. I have been contemplating the missing rails and I think this latest development means I need to add the rub rails. The painted hull isn't going to make it easier. The one on top of the bulwark will be easiest; I will try it first. Good thing this is a hobby. HAHAHAHAHAHAHAAHAHA Omar
-
Historic Naval Ships Association has this book on their web site at http://www.hnsa.org/doc/luce/index.htm 37 chapters of all kinds of information in text and illustrations.
-
Rats. You have confirmed my darkest suspicions. At least I have some ideas on how to accomplish the task. Thanks!
-
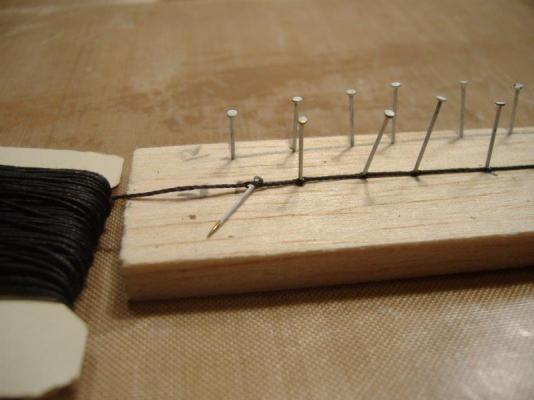
I am stumped on how to make the stanchions. I have a bunch of brass nails and somehow I am supposed to turn these into the stanchions. Are the stanchions ropes through metal stands or are they all metal? My CS is about 1:140 Thanks Omar
-
Wooden Ships by Peter H. Spectre and David Larkin This book covers wooden ships from simple very early boats through contemporary wooden power craft. The best part is a section on building a full size replica of SUSAN CONSTANT, a ship from around 1607. The thrust of the section is the build with many great photos. But, additionally, there are photos of a model ship. The whole book aided my understanding of why wood ships are built as they are. It compared and contrasted merchant ships to warships, as well as different classes of warships. This is a good read for an over view of wooden ships The photographs answered a few questions I had about the build I am doing, even though my ship was not specifically mentioned. Omar Lehr
-
- 2
-
-
where did you get the kit? I have made a number oj card buildings but no ships.
-
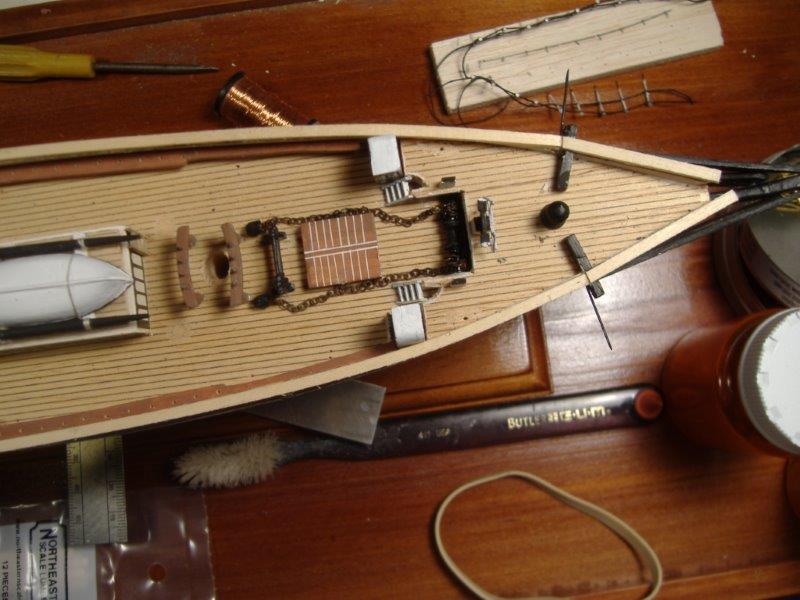
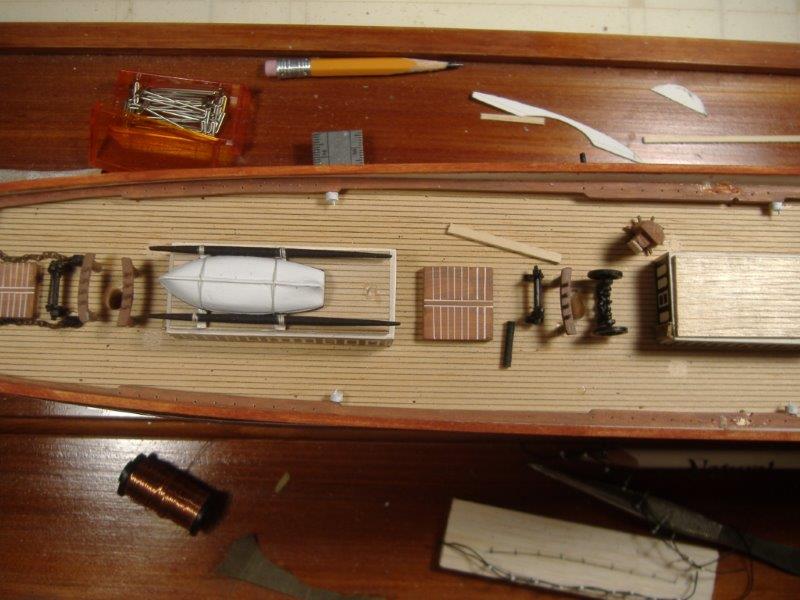
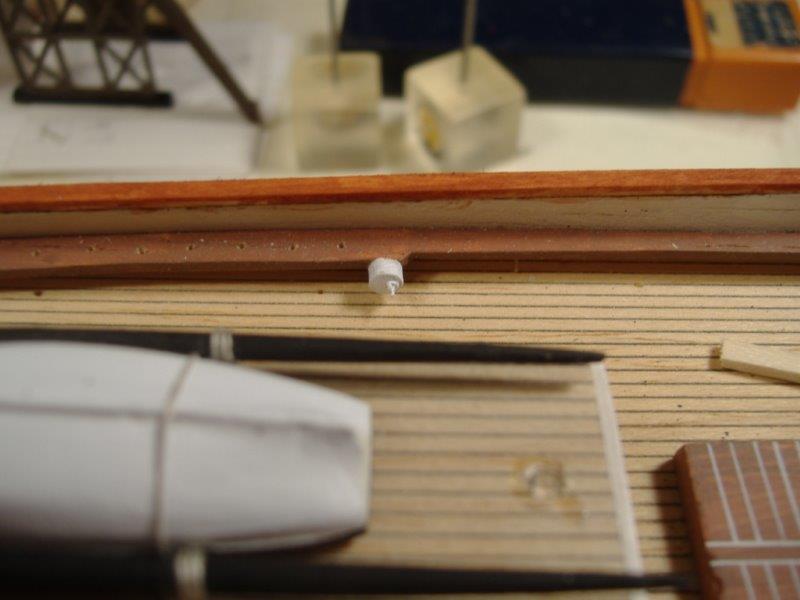
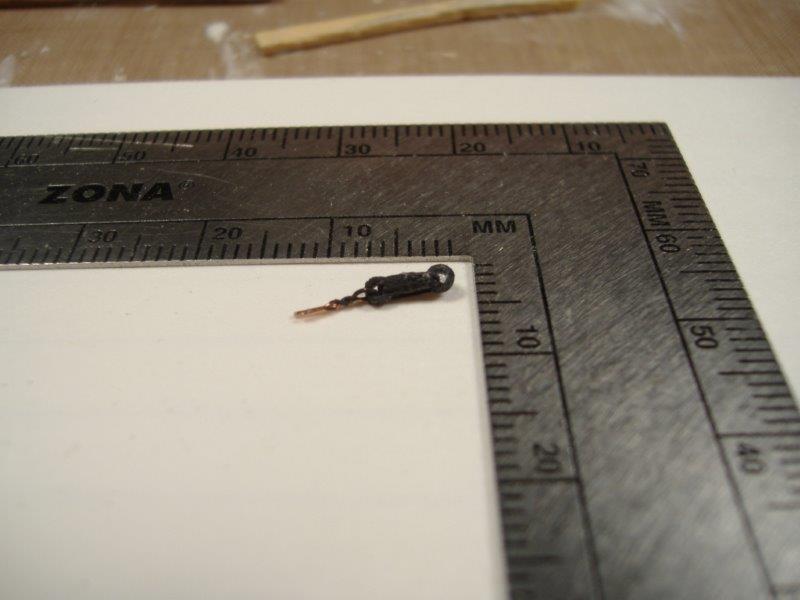
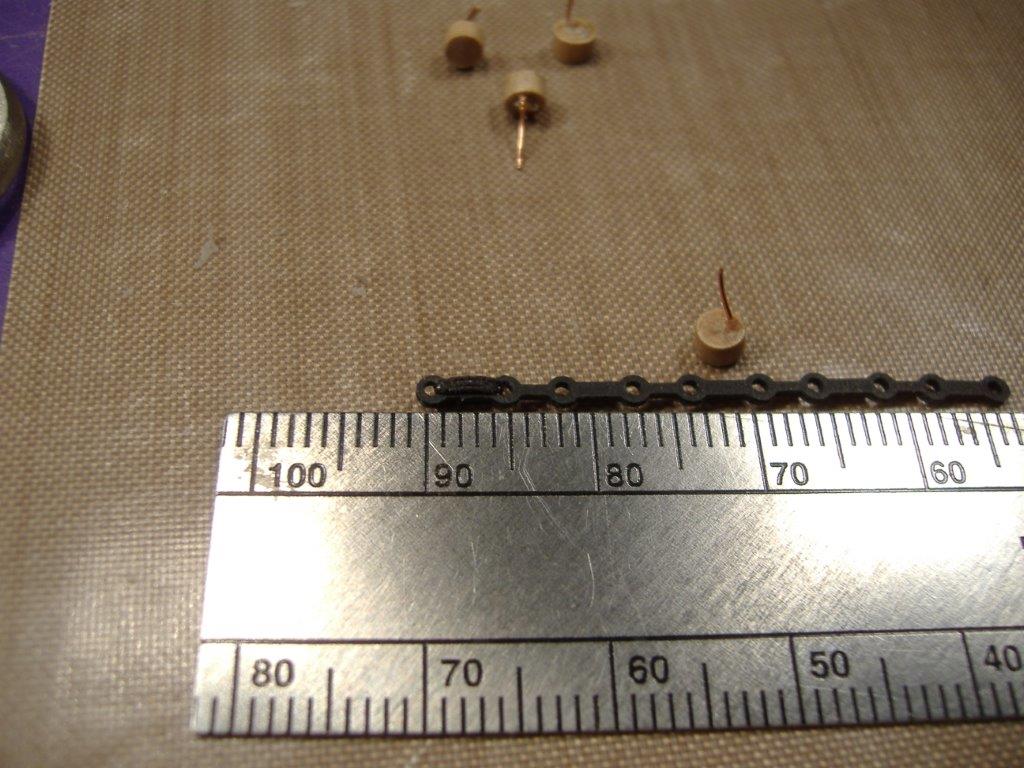
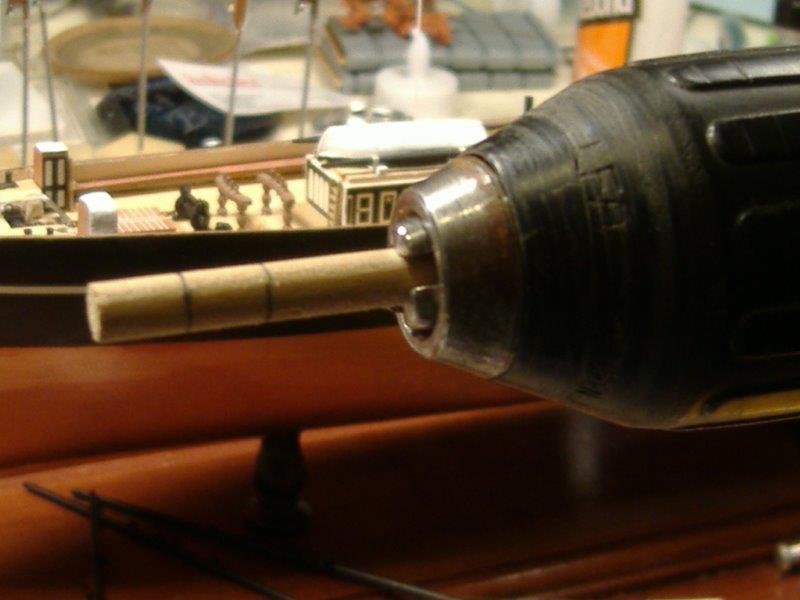
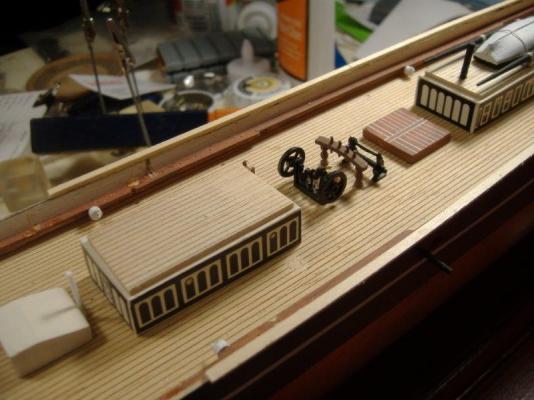
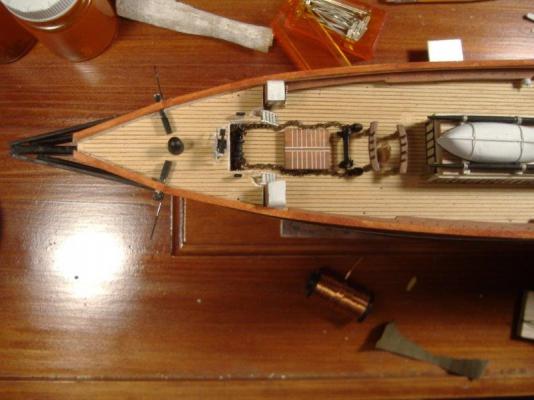
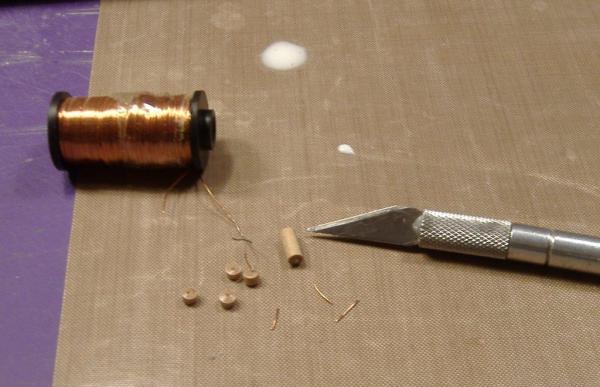
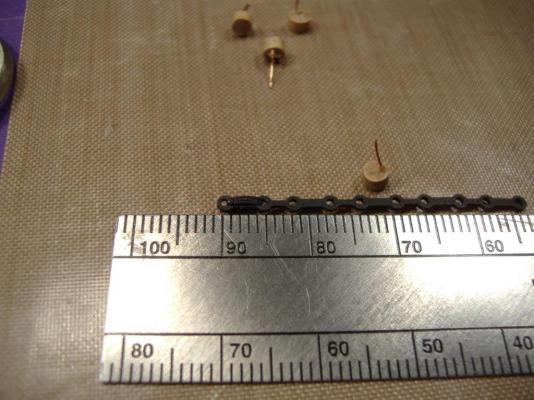
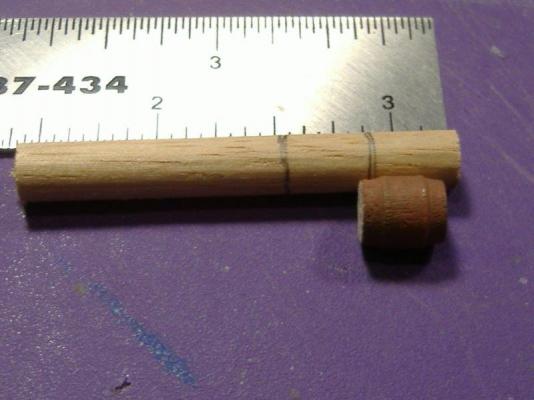
some more little things. Made rail winches from dowel and wire from broken door bell. I also decided to thread the dead eyes. Can't seem much detail, but they have a better bulk. In the bottom picture it is 'after' on left and 'before' on right side. I also got to remove life boats so I could get to rail


-
some more little things. Made rail winches from dowel and wire from broken door bell. I also decided to thread the dead eyes. Can't seem much detail, but they have a better bulk. I also got to remove life boats so I could get to rail
-
Cutty Sark by NenadM
omarcs replied to NenadM's topic in - Build logs for subjects built 1851 - 1900
what a terrible event. I am glad you and family are safe.- 4,152 replies
-
- 2
-
-
- cutty sark
- tehnodidakta
- (and 1 more)
-
JIm Lad raises a point I just started contemplating: Question 2: If the anchors were stowed for sea, the cables would be unshackled and brought inboard and the anchors stowed on the forecastle. " My question is where I might find a picture / drawing of an anchor stowed on deck. AND your ship is GREAT!!! I love build photos showing solved issues. Thanks!!
-
Using the kit as a starting point is an interesting idea. I will know about this scale and how to approach the new build. I also will know what I will want to change to make a better model. Good idea.
-
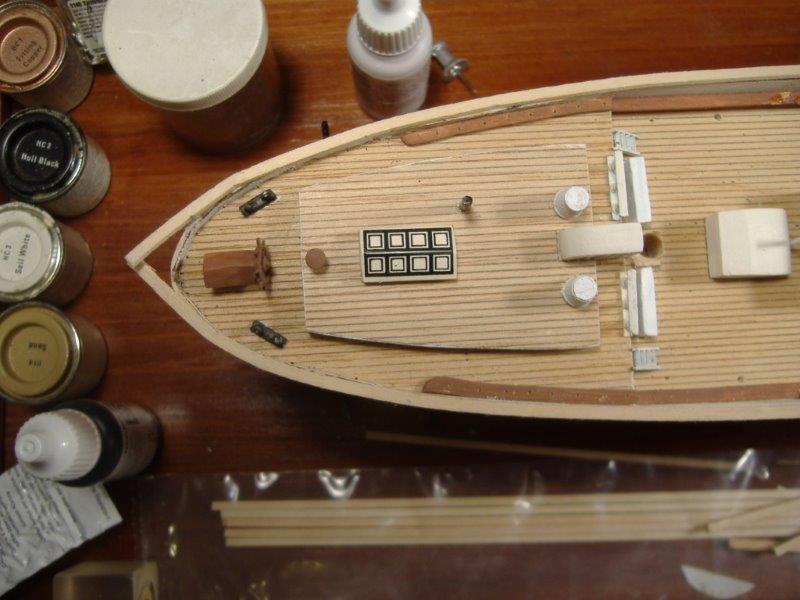
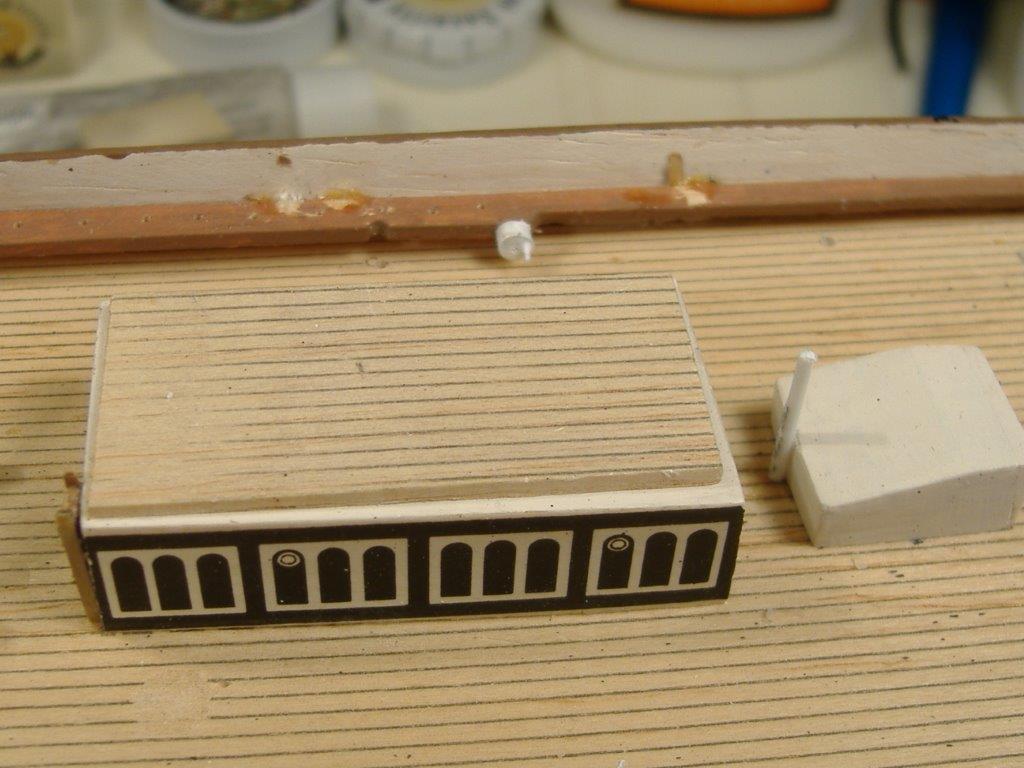
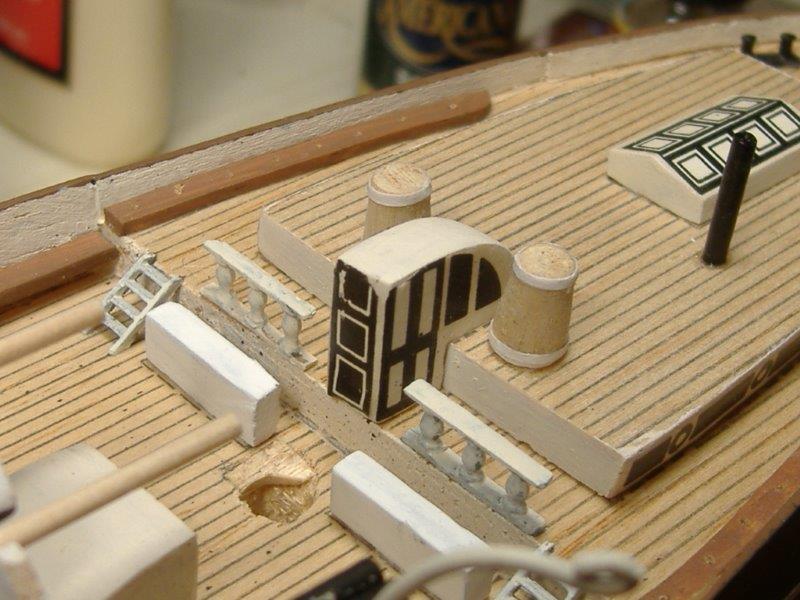
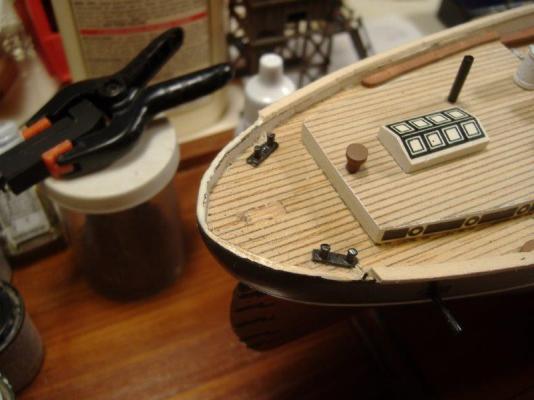
Decided I needed to make harness casks. The kit just had barrels, not the tapered ones shown various plans. The rail on the front of the poop bothers me. No room for fire buckets - like I know how I am going to make them. The rail and fire bucket look fairly straight forward. Also working on ship's boats and extra spars and yards. I have the chains on the life boats and spars on racks. The 8 sided spare spar is bothersome, First attempt at 8 sides was dismal. I think I need to start with a square shape, rather than a round one. Jury duty last week. Actually sat on a trial. An interesting experience trying to apply the actual law to the facts presented in order to give a just result.


-
What is the best glue for cast metal parts?
omarcs replied to vas1949's topic in Metal Work, Soldering and Metal Fittings
Canopy cement I was at a train show today and a gentleman recommended "canopy cement". He said you could glue glass to metal if you wanted to. Said canopies stay glued to aircraft even during crashes. Also suggested putting a little glue on each surface and allow to get tacky before putting pieces together, like contact cement. Also said a little glue is too much. needs to cure 24 hours. Also, you can use it to make small window. Comes out white and dries clear. will work on wood. I think I will give it a try.