KenW
-
Posts
1,232 -
Joined
-
Last visited
Content Type
Profiles
Forums
Gallery
Events
Everything posted by KenW
-
 Hey Victorpapa. If you want to see Gary's progress on his FA build, you can access Gary's build log at: http://modelshipworld.com/index.php?/topic/4927-fair-american-by-garykap-model-shipways-scale-148/?hl=%2Bfair+%2Bamerican Cheers
 -
I can only add to what has already been said. And, I wonder when Janos will open a figurehead/carving business since I will need some help on my next model. Cheers.
- 1,477 replies
-
- 3
-

-
- essex
- model shipways
- (and 1 more)
-
Hey JS - your model looks great! I agree with 'CaptainSteve'; all movable lines are considered running rigging and therefore not coated with tar. Chuck Passaro's documentation of the Syren ship shows he used tan lashings for the deadeyes. So, not coated (tan) is my vote. Cheers.
- 974 replies
-
- 1
-
-
- rattlesnake
- mamoli
- (and 1 more)
-
Happy New Year! Thanks for all the nice comments and for all the 'likes'. I'm glad the photos may be of help to someone. Cheers.
- 455 replies
-
- 1
-
-
- fair american
- model shipways
- (and 1 more)
-
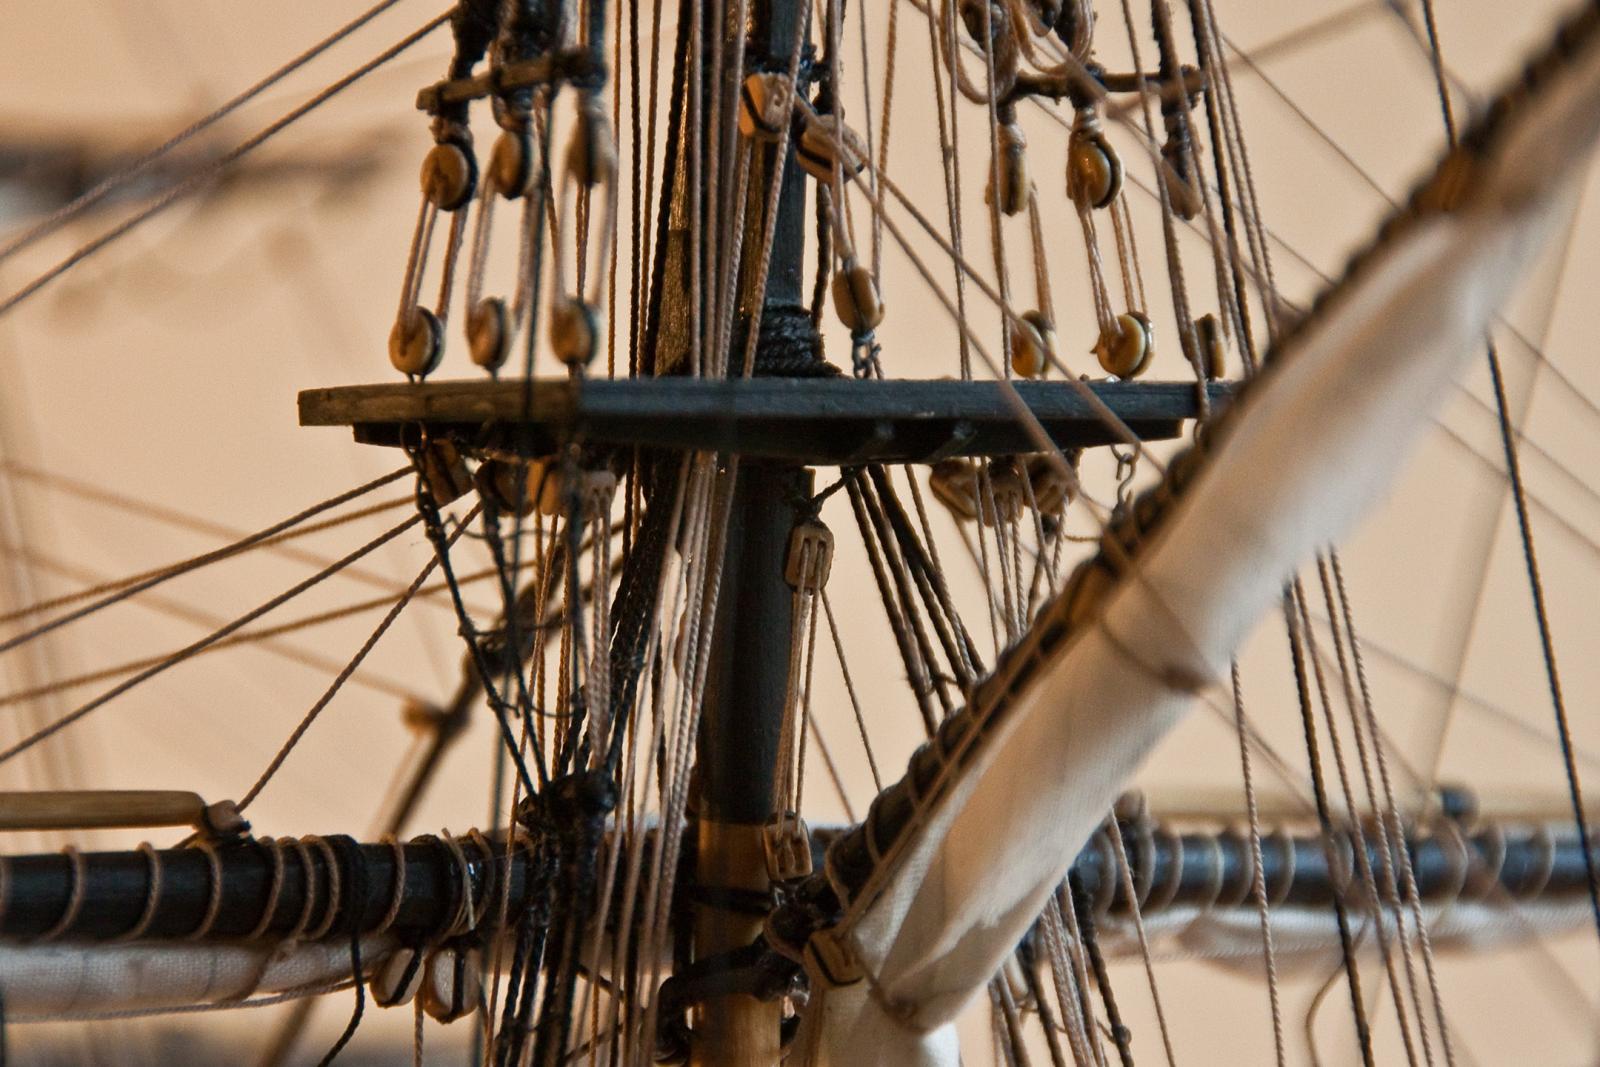
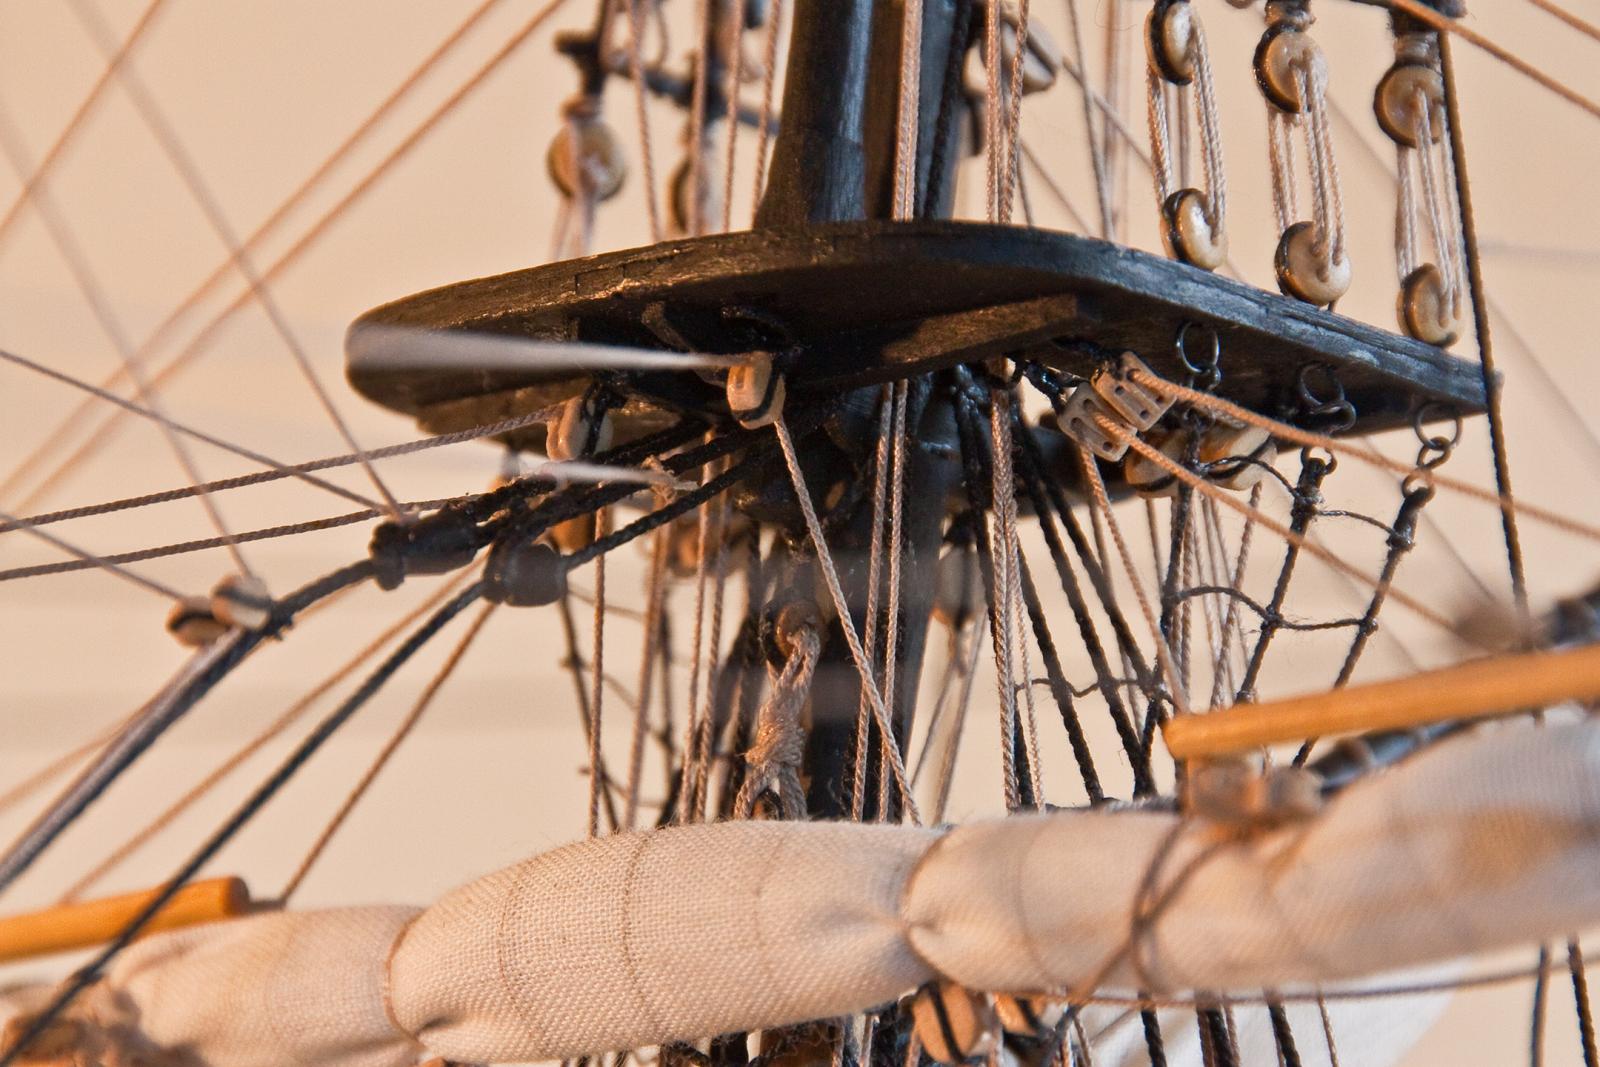
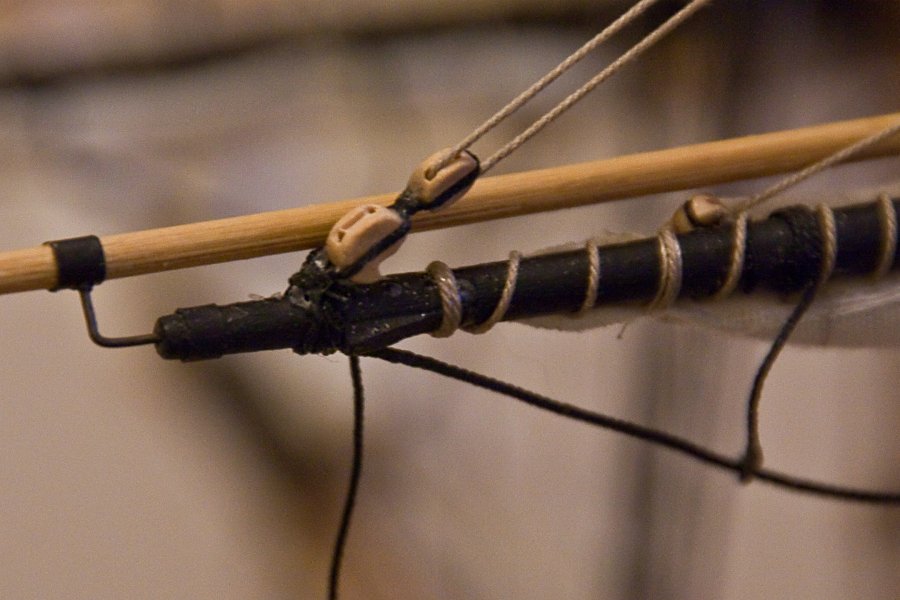
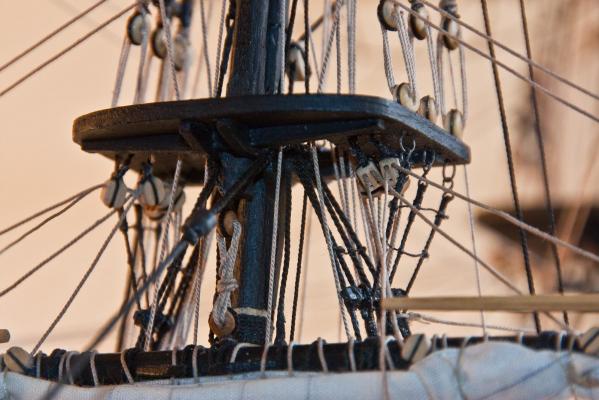
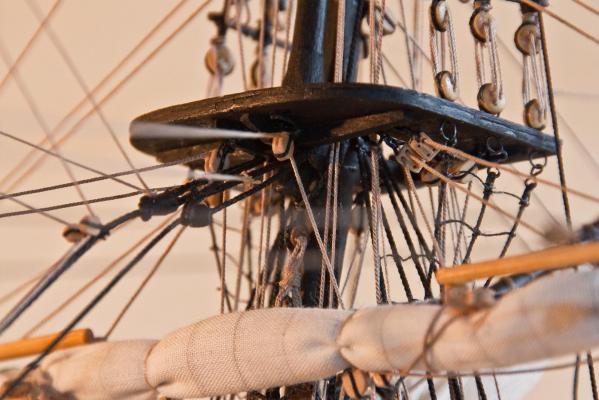
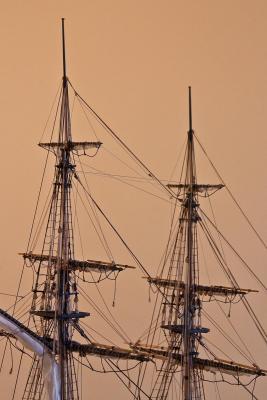
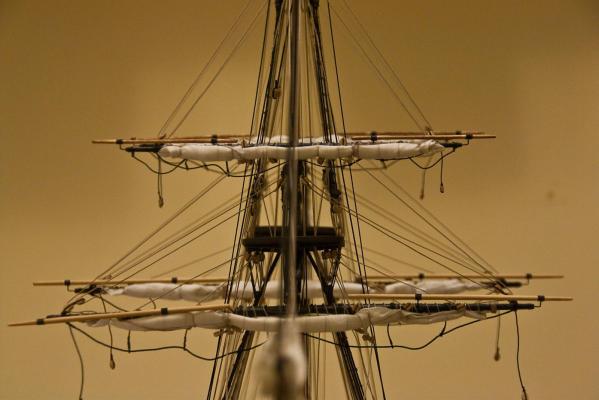
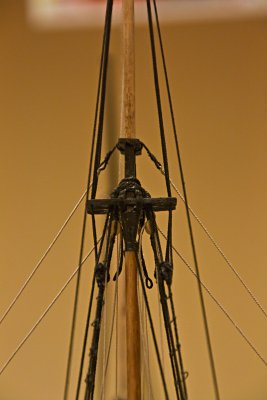
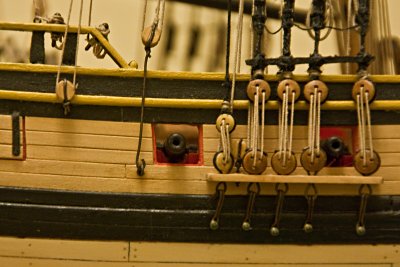
I was able to get some time in the shipyard today so I took the best photos I could of the ‘mess’ of lines and blocks under the tops (as requested by GaryKap). I don’t know if this will help anyone because I feel that it looks just like the photos included in the instruction booklet. My photos are in color, of course. The foremast top looking aft: The mainmast top looking forward: The mainmast top looking aft: The boat as seen from the dock: Now it's on to the spritsail.

- 455 replies
-
- 17
-
-
- fair american
- model shipways
- (and 1 more)
-
I have a, perhaps, stupid question. When the ship's boat is lashed to the Rattlesnake, do you mount it on formed masts? And if so, which masts do you use? On my Fair American, the lower masts seem quite long to fit on top of the gallows. Thanks.
-
Happy New Year. I think your gun deck looks fantastic. I keep asking myself - are you planning on using inhaul/outhaul tackles? At least on the portion of the deck that is visible? Great job. Cheers.
- 2,191 replies
-
- 2
-
-
- confederacy
- Model Shipways
- (and 1 more)
-
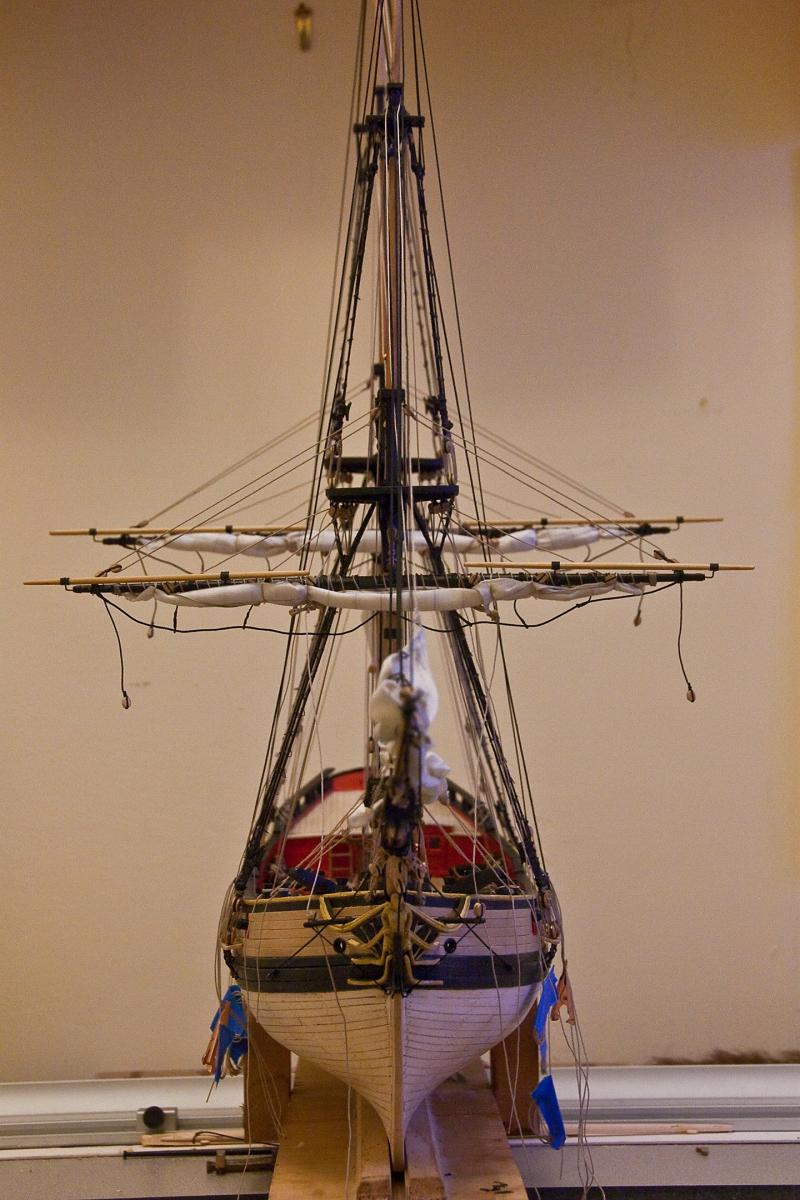
Hey Augie: The length from the tip of the bow sprint to the end of the boom is 28 inches. The lower main course is 12.5 inches and the height not counting any stand is 23.5 inches. Happy Holidays to you and your family. Cheers
-
Ed: There is nothing like grand kids to re-awaken memories of how fearless you once were. Happy Holidays to all.
-
Ed and Gary: Here is my method of determining the size of lines and their blocks: I use the Syren documentation. Since the Syren is a 1:64 scale ship and the FA is 1:48, I use a line that is one size bigger than the Syren doc. states. i.e. if the line on the Syren is .012 then I use .018; if the Syren is .008, then I use .012, etc. For blocks, if the line is .012 then I use a 1/8 block. For .018, I use 5/32. For .025 I use 3/16. That seems to look right and has worked so far. I use both line and blocks from Syren. Happy Holidays and happy modeling. Cheers.
-
Hey Ed. Hope you are enjoying the holiday season. As to my rigging of the lower yards: I tried to follow the FA plans as much as possible - i.e. as much as I could comprehend. So, my trusses were rigged exactly as shown on page 34, lower right corner, of the instruction manual. I did make a change by rigging the sling from the cap as shown in Petersson on his page 34. The truss rigging is also shown on Petersson's page 36. I did not attach jeers. Other than that, I don't know what tye from the lower yards you refer to. As for the "two double blocks stropped to the lower main yards above the sling cleats", I don't know what you mean there either. There are double blocks used for jeers, but, as I said, I didn't add jeers. There are two pairs of double blocks stropped to the tops above the sling cleats for the bunt lines and leech lines. Perhaps these are what you're referring to. Don't know if this explanation helps. Happy Holidays.
-
I just want to wish everybody Happy Holidays and enjoyable and successful modeling in 2015. Cheers.
- 455 replies
-
- 2
-
-
- fair american
- model shipways
- (and 1 more)
-
Thanks Greg, Bob and Gary and the 'likes'. Gary: With all the blocks and now lines under the tops, is getting pretty hard to take a photo showing what is going on up there. Even if I could get a decent close up, I don't know if it would help. But I will try with my next posting. As for the display stand, I'm using the one that either came with the kit or was part of the order with Model Expo. When completed, the model will go to my son and I expect him to get a display case. Thanks again.
-
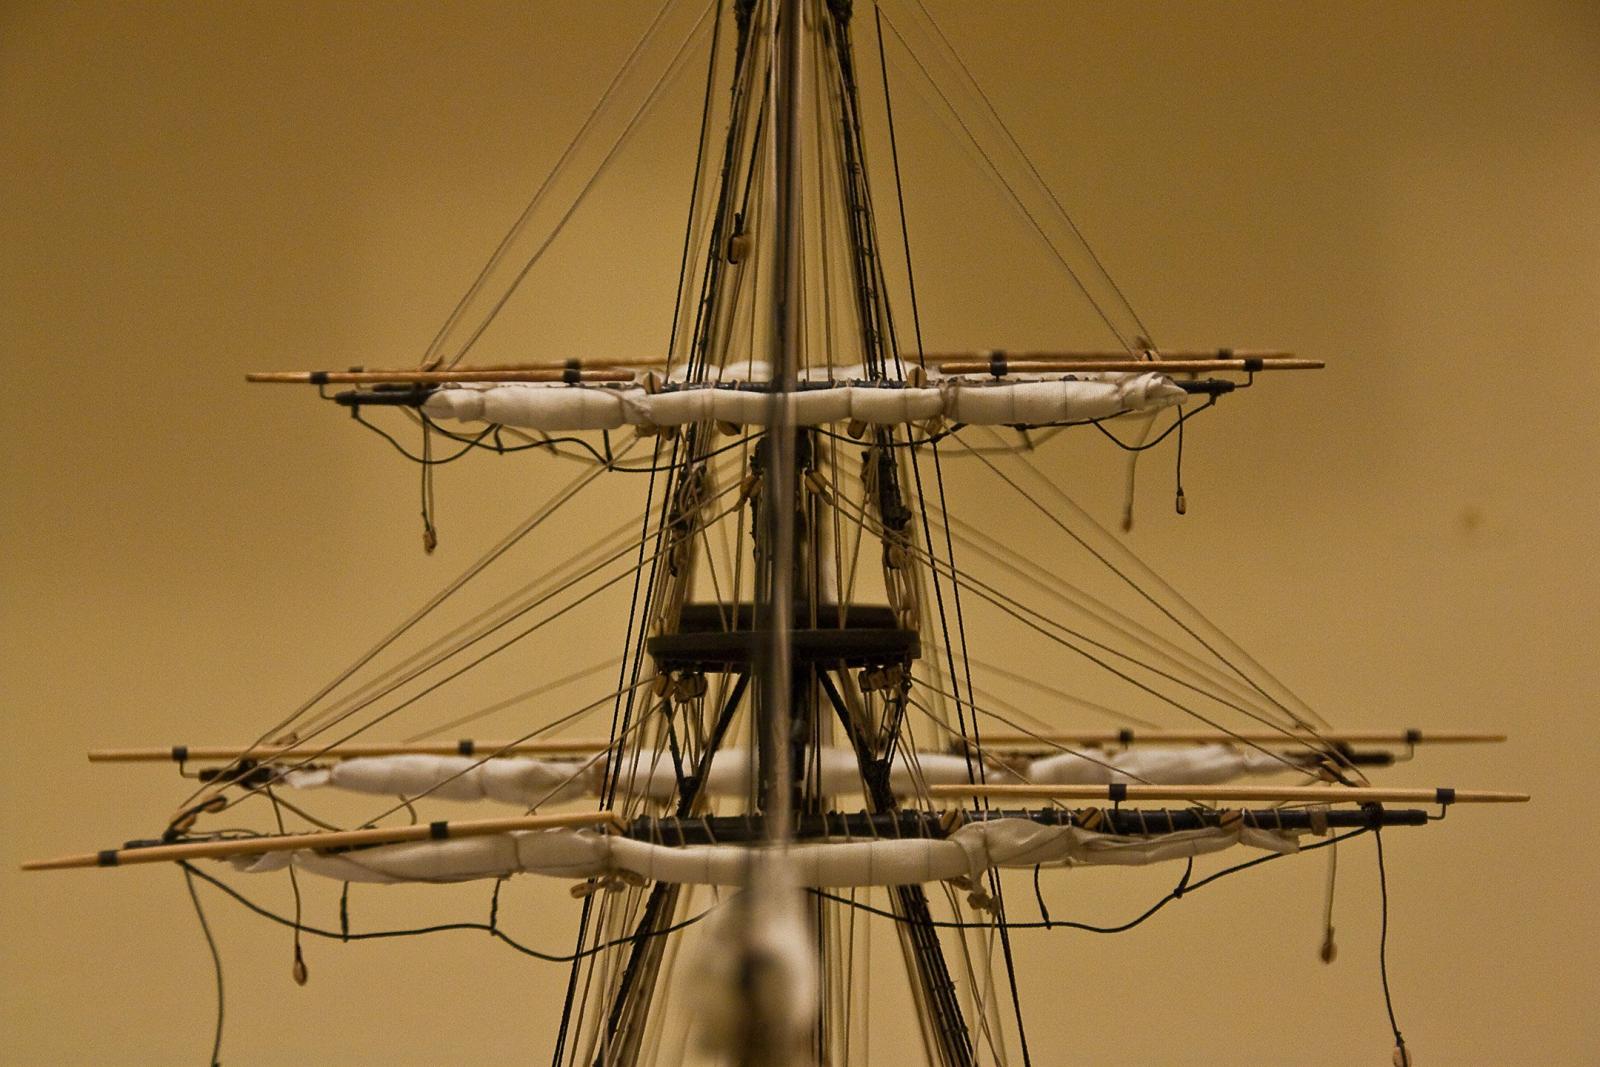
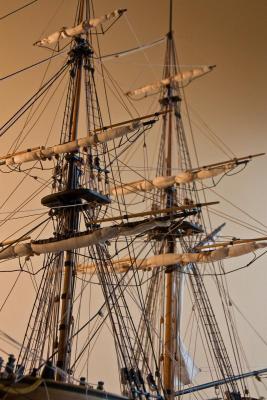
The topgallant yards have been mounted and fully rigged, including the braces. All went without incident. Again, I used Lees and Peterseen whenever the FA plans were incomplete or unclear. Next up is to finish the rigging for the topsail (braces) and lower yards (braces, sheets and tacks) as well as mounting the spritsail yard.

- 455 replies
-
- 12
-
-
- fair american
- model shipways
- (and 1 more)
-
Thanks Gary. I wish google would allow me to print these pages. The only reason I haven't bought Harland's book is the price. Anyway, welcome back and happy modeling. Cheers.
-
Thanks Brian. I have been reading your AVS build log and am enjoying your progress. Cheers.
-
Both topsail yards have been mounted on the ship. Keeping track of all the lines can be daunting at times. I’m not totally convinced that the furled sails add much to the look of the model, but they are a valuable tool which forces me to learn what all these lines are for and what they are called. There were two issues that are worth mentioning with the topsail yards: First, I rigged the topsail lifts differently than the FA rigging plans. I tied a “span” around the topmast caps as per page 85 of Lees. The lift line was seized to the “span” and then down to a block at the end of the yard. From there the line went up through the block seized between the topmast shrouds above the futtock staves and then down to one of the cleats tied to the topmast shrouds just above the dead eyes. Secondly, I am continuing to find that when I reduced the distance between the gun ports in order to create more space between the aft guns and the housing front, I didn’t know what I was doing. That type of change has to be really well thought out. Because the distance between the gun ports is smaller, the channels are shorter. And short channels don’t leave enough room for the shroud dead eyes AND all the other lines that have to anchor themselves to the channel. So, the block that serves as the anchor for the halyard runner had to be attached to an eye bolt drilled into the hull. It doesn’t look too bad, but it is not close to being historically accurate. Oh well, on to the top gallant yards.
- 455 replies
-
- 12
-
-
- fair american
- model shipways
- (and 1 more)
-
Ed: I knew that my explanation was complicated. I'm glad you waded through it. The sheets and tacks are going to be tied off as per the FA plans with slight modifications based on Peterseen. One thing I noticed is that the plans have two places to tie off the lower main braces and no where to tie off the lower main sheets. So since the main braces go forward and the main sheets go aft, the sheets should be tied off at the cavil near the stern. Both the sheets and the tacks will start at an eye bolt in the hull and tie off as per the (modified) plans. (See Peterseen)
-
I'm no sailor either, but my understanding is that the blocks and tackles, etc. were stowed when not in use. Only the pendants were 'permanent'. Cheers.
-
I found that one thing about adding furled sails to the FA model, it really helped to learn the names and purposes of the lines used to furl the sails. I don't know if the effort really helped the look of the model; but adding furled sails definitely was worth it from a learning perspective. Cheers.
- 455 replies
-
- 2
-
-
- fair american
- model shipways
- (and 1 more)
-
Hey Ed: Oh boy, this is not easy to describe - and I'm assuming I have it right, which I may not. Clue line: The clue lines start by seizing a line around the yard on both starboard and port sides. They then go down to a block in each clue of the sail and up the a clue block seized to the yard near where each line started. If you have sails, they are used to pull the clues of the sail up to the yard to assist in furling the sail. The lines then tie off, in the FA case, on a belaying pin. Sheets: The sheet blocks seized to the yard is for the sheet of the yard above the yard where the block is located. That is, the sheet blocks on the lower yard are for the topmast sail's sheets. Bunt line/leech lines: These lines attach to the sail and, again, are used to haul up the sail to assist in furling. On the lower yards, there are one leech line and two bunt lines on each side of the yard. They go up through blocks seized to the front of the yard, and then to the blocks seized in under the main top and then down to a shroud cleat. On a model without furled sails, the Syren documentation uses 'stopped' lines for the bunt and leech lines. I assume that means using a line with a figure eight knot in one end and the other end goes through the blocks under the top and down to the shroud. If you look at Bob's FA build log, the Syren Documentation, and Peterseen's book, you will see a group of blocks kind of hanging from each side of the yard. That is the clue, sheet and tack blocks in the case of the main lower yard. On the fore lower yard, there are two blocks and a line with a stopper knot. That is the clue and sheet blocks; and the stopper line is the tack line. The clue line still attaches to the yard, runs through the block and back up the the clue block attached to the yard. The sheets and tacks run from the group of blocks to their tying off points. I know I have probably confused you completely. I hope that someone who reads this can explain it better. Good luck.
-
Upon reading the post by Joe (JPZ66), I'm wondering if the head method that the link describes has any possibility for bending planks for the hull of a model. We would need 3D bend, and I don't know if that would work. I'd be willing to try it. Has anyone else tried it?
- 1,051 replies
-
- 1
-
-
- cheerful
- Syren Ship Model Company
- (and 1 more)
-
Thanks Augie and Brian. I just modified the photos - I didn't like the colors. Better now. Thanks for the comments. Cheers.
-
I finished installing the fore lower yard. It was pretty much the same as the main lower yard and, as usually happens; the second one was easier than the first. In fact, there is not really much need for another build entry, but it gives me a chance to post another photo (from a different angle).


- 455 replies
-
- 7
-
-
- fair american
- model shipways
- (and 1 more)