HOLIDAY DONATION DRIVE - SUPPORT MSW - DO YOUR PART TO KEEP THIS GREAT FORUM GOING! (89 donations so far out of 49,000 members - C'mon guys!)
×


KenW
-
Posts
1,231 -
Joined
-
Last visited
Content Type
Profiles
Forums
Gallery
Events
Everything posted by KenW
-
 I add my wishes to all your other 'fans'. Get well soon.
- 2,191 replies
-
- 5
-

-
- confederacy
- Model Shipways
- (and 1 more)
-
God forbid it should be the red of NC State Wolfpack.
- 209 replies
-
- 7
-
-
- cheerful
- Syren Ship Model Company
- (and 1 more)
-
Thanks Augie
-
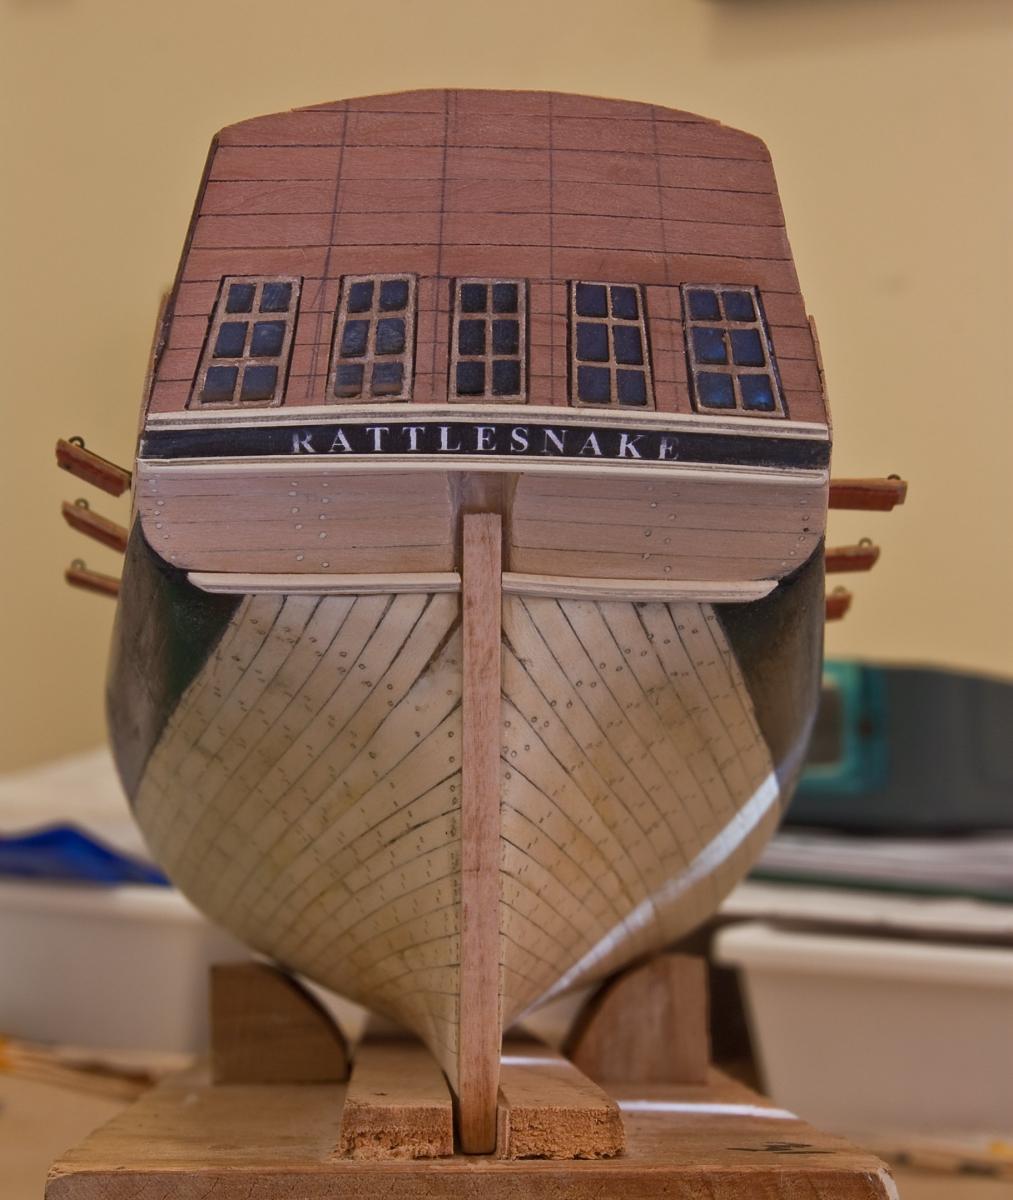
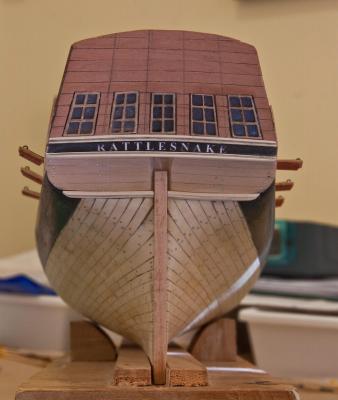
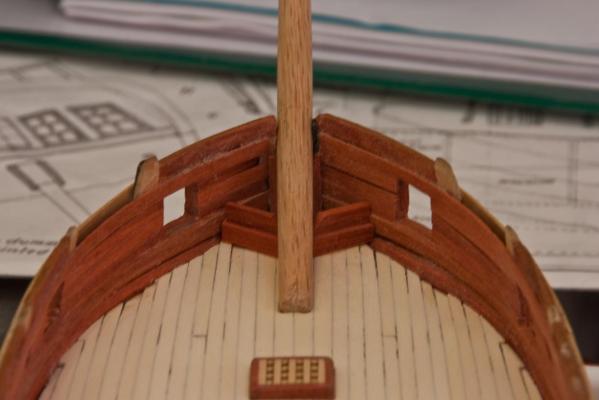
I’ve made some progress. The stern is improved with only the fancy metal decoration to be added. The pencil lines are for tree nailing that I forgot I hadn’t done. Also, six gun port doors are installed. I used the Syren kits and each door can open and close. However, I intend to rig all 20 guns, so the doors will always be open. And finally, I made a manger board; even though my forecastle and quarter decks will not be exposed. I will know the board is there. (The bow sprint is not glued yet.)
- 481 replies
-
- 9
-
-
- rattlesnake
- model shipways
- (and 1 more)
-
Congrats! Your health is always the #1 priority. Both your models look great as well. Cheers.
- 209 replies
-
- 7
-
-
- cheerful
- Syren Ship Model Company
- (and 1 more)
-
Excellent work. Especially considering your color constraints.
- 209 replies
-
- 7
-
-
- cheerful
- Syren Ship Model Company
- (and 1 more)
-
I agree with many of these posts: You are making a really good little model. I wouldn't mind receiving the decoy as a gift. Excellent job.
- 209 replies
-
- 6
-
-
- cheerful
- Syren Ship Model Company
- (and 1 more)
-
Thanks Augie. I never could spell.
-
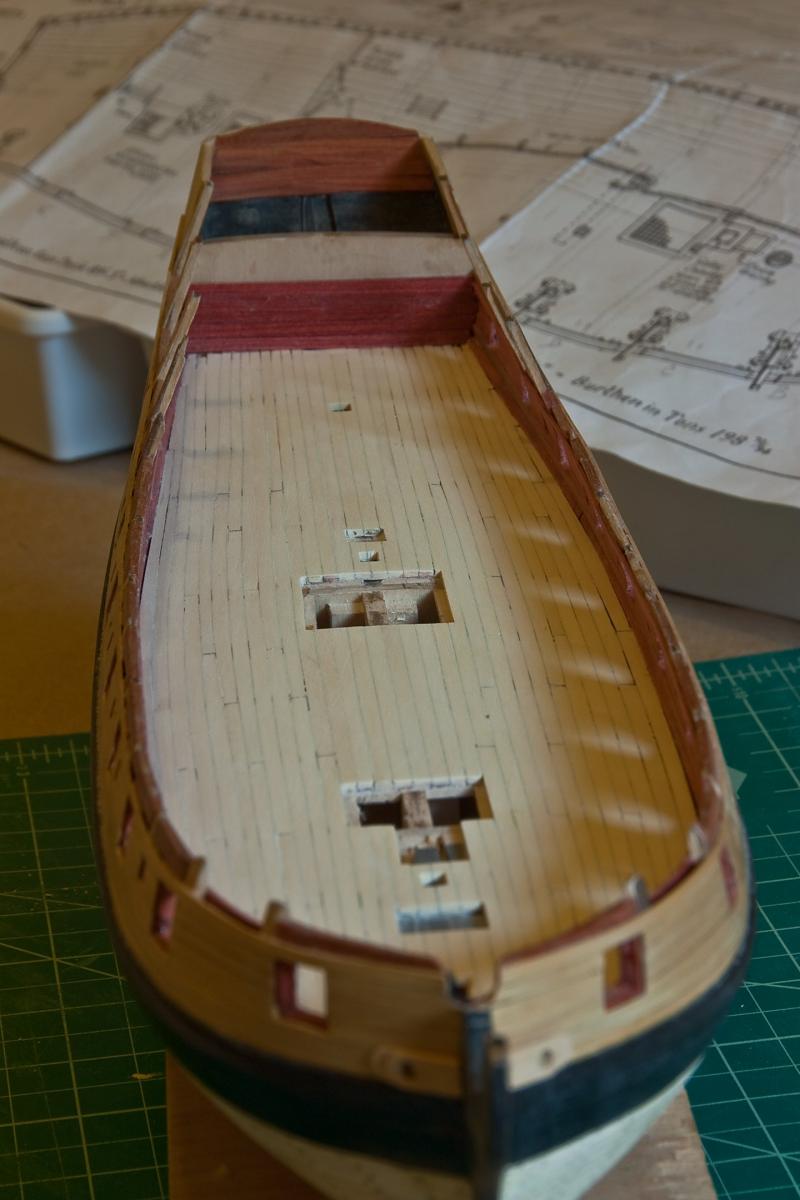
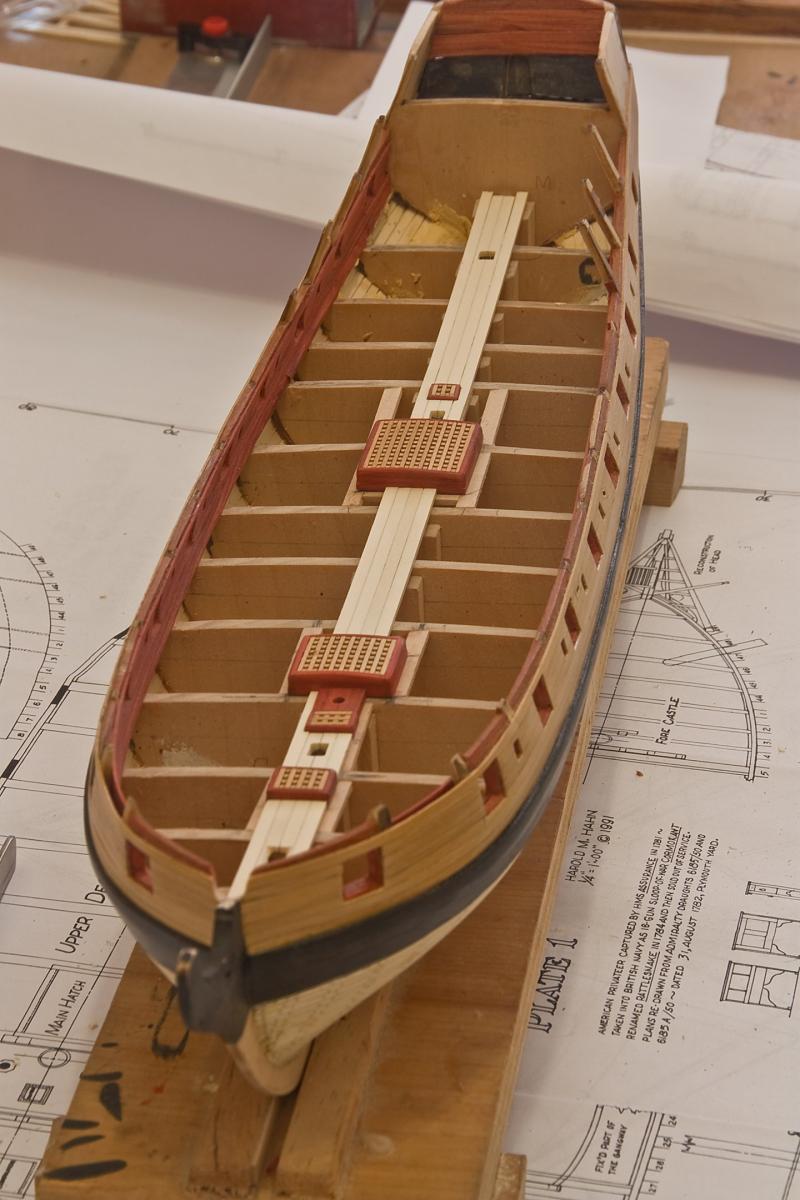
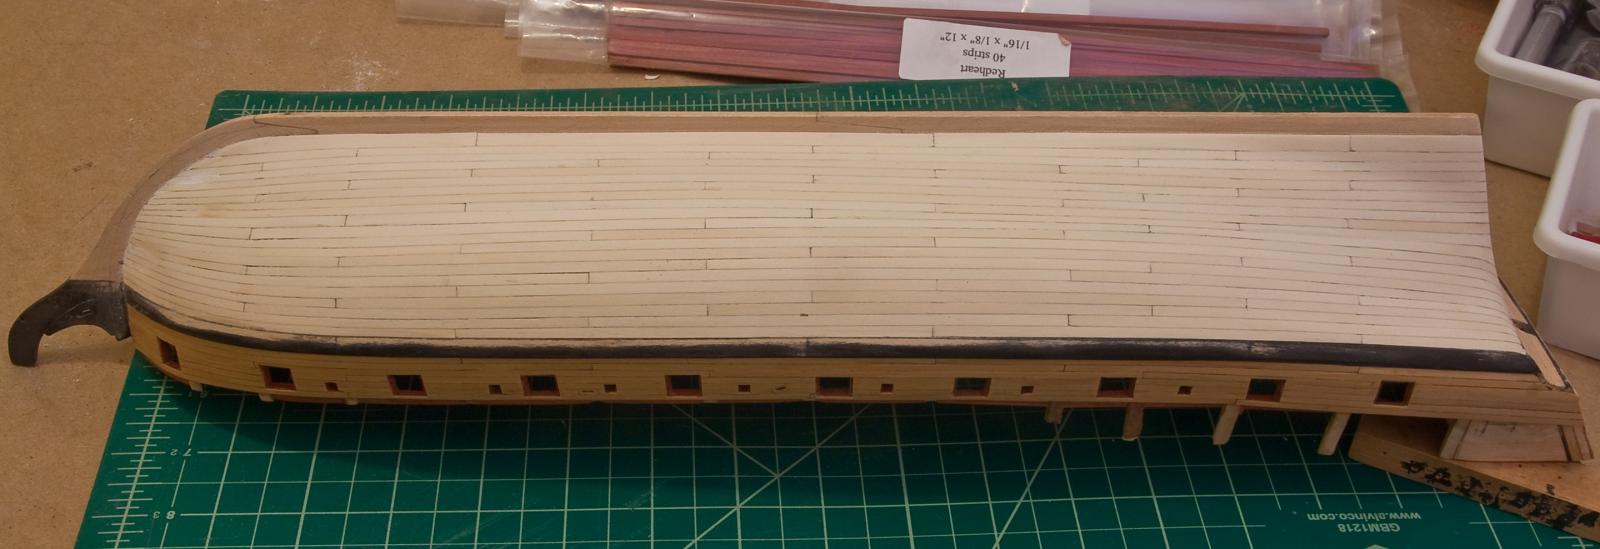
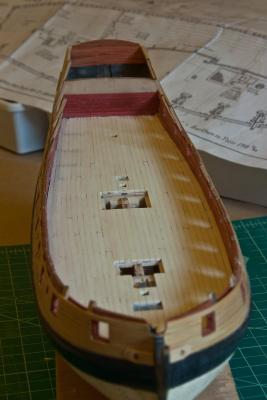
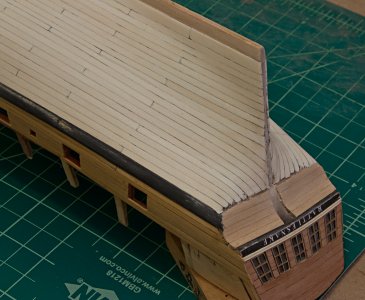
The deck is planked. I even managed to carve some scarf joints; two forward and two aft. I don’t think I’m going to do tree nailing for the deck, but I do have to tree nail the upper outer hull. Then I’ll be ready for deck furniture and the guns. There are also 5 gun port covers that I must make. Lots to do and so little time to do it.

- 481 replies
-
- 9
-
-
- rattlesnake
- model shipways
- (and 1 more)
-
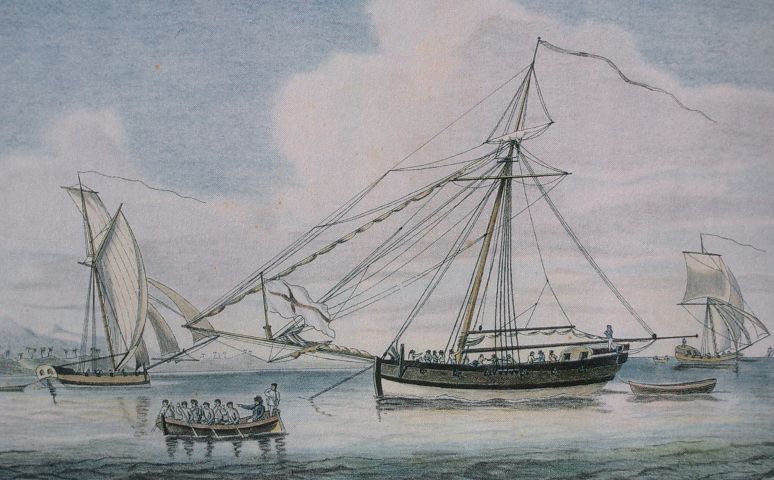
I'm enjoying following your log. BTW - I found this photo a few years back, and I thought you might like it. Looks like an Armed Virginia Sloop to me. Cheers.

- 831 replies
-
- 12
-
-
- Armed Virginia Sloop
- Model Shipways
- (and 1 more)
-
Cutter Cheerful 1806 by rafine - FINISHED
KenW replied to rafine's topic in - Build logs for subjects built 1801 - 1850
Great work as always. And,I wouldn't paint anything that covers your excellent work.- 525 replies
-
- 5
-
-
- cheerful
- Syren Ship Model Company
- (and 1 more)
-
Hey Dave - good questions. The outer bulwarks and counter are boxwood; and the transom is swiss pear. I may use walnut for the upper outer bulwarks. The carvings are something I'm still pondering. I may make an impression of the stern carvings from the cast metal and then make an impressions from that impression so that I can re-shape the carvings and perhaps improve them. I can't see myself doing those intricate carvings myself.
-
Thanks Scott. I suspected as much.
-
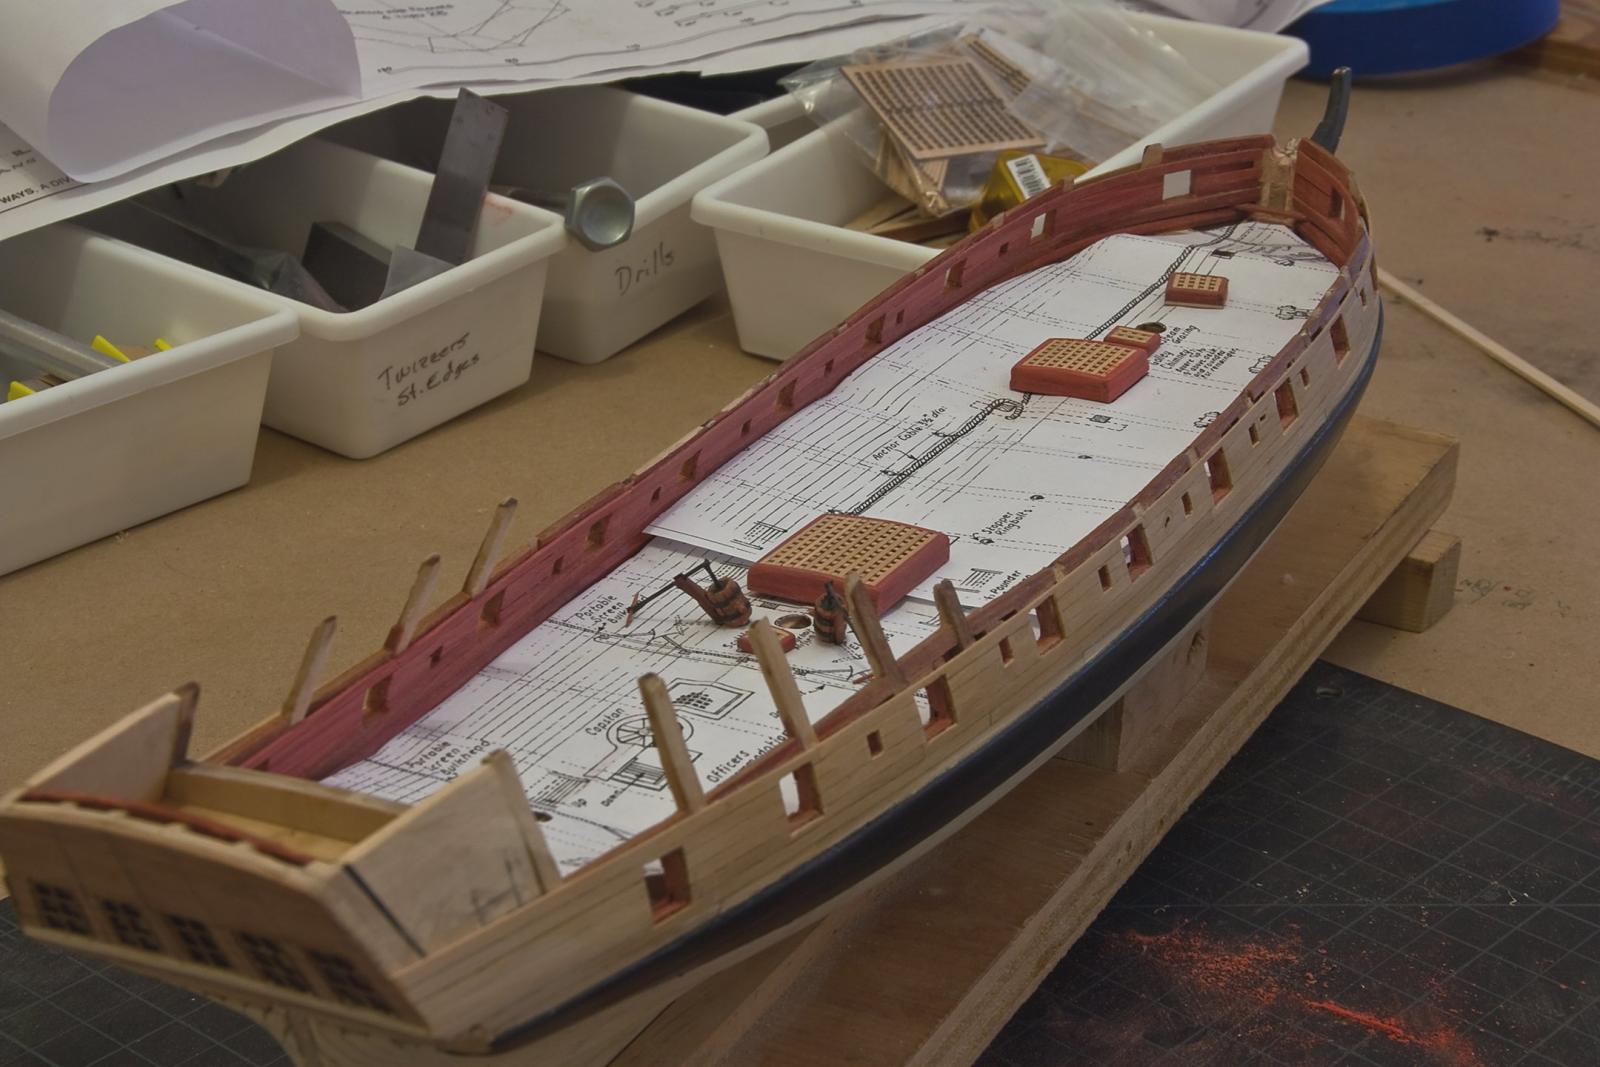
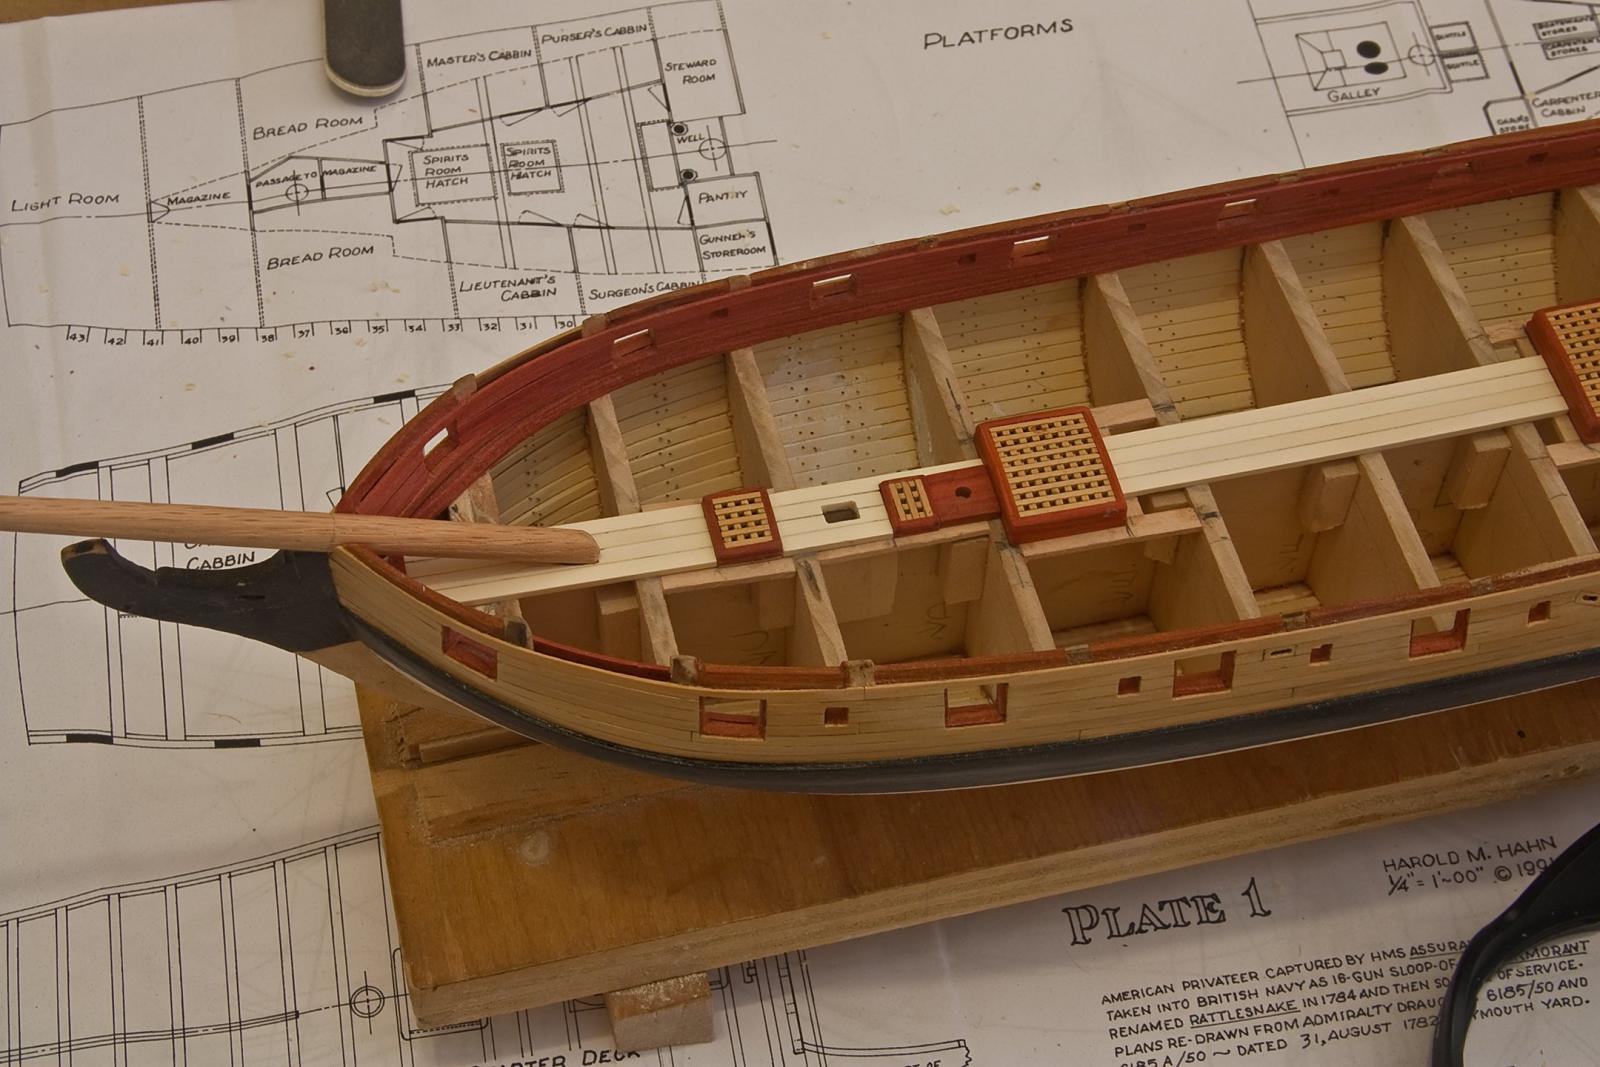
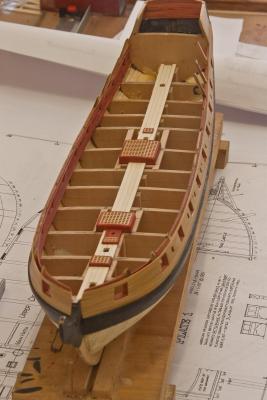
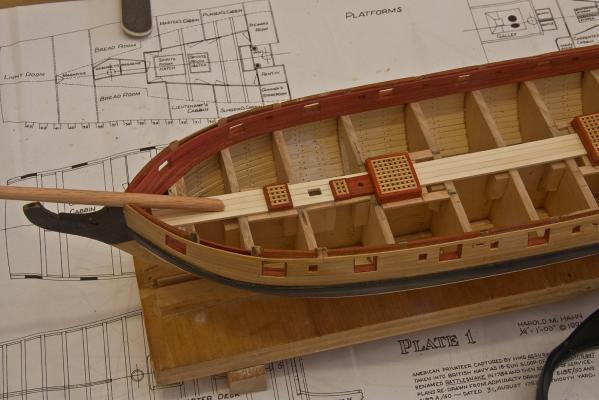
Thanks Augie. I used a #78 drill which is pretty small. Now I’m ready to plot out the deck and start planking. First I added a waterway and planked the inner bulwarks. Then I got the plans, made a copy, cut the deck out and put it all on the deck. Next I placed the hatches on the deck and added some scrap wood to insure that the hatches and deck planks have something to glue to. I started by adding four 1/8 inch planks in the center of the deck. Some carving was necessary, but I took my time (like I do when I’m making furniture). I also made the bow sprint to ensure it fitted properly. I want to plank the deck using the method described by Chuck Passaro in his Cheerful log. He says that ships built at this time were planked with curved and tapered planks. And, when I looked at the Rattlesnake plans, sure enough that is the way the deck planking is shown. So I mapped out the planks and used an artist tape at the half way point to check if my plan looked “correct”. Don’t know if it's “correct”, but I think it looks alright.


- 481 replies
-
- 10
-
-
- rattlesnake
- model shipways
- (and 1 more)
-
I also like the new method of planking. I'm in the process of lining of my deck. Is there any convention as to when a plank ends? Like perhaps when it gets to one half the original thickness? Your workmanship is excellent, as usual.
- 1,051 replies
-
- 3
-
-
- cheerful
- Syren Ship Model Company
- (and 1 more)
-
Almost there! And it is looking excellent. Cheers.
- 831 replies
-
- 5
-
-
- Armed Virginia Sloop
- Model Shipways
- (and 1 more)
-
Amazing work. And bravery to take that much off and start again. Very impressive.
- 452 replies
-
- 4
-
-
- cheerful
- Syren Ship Model Company
- (and 1 more)
-
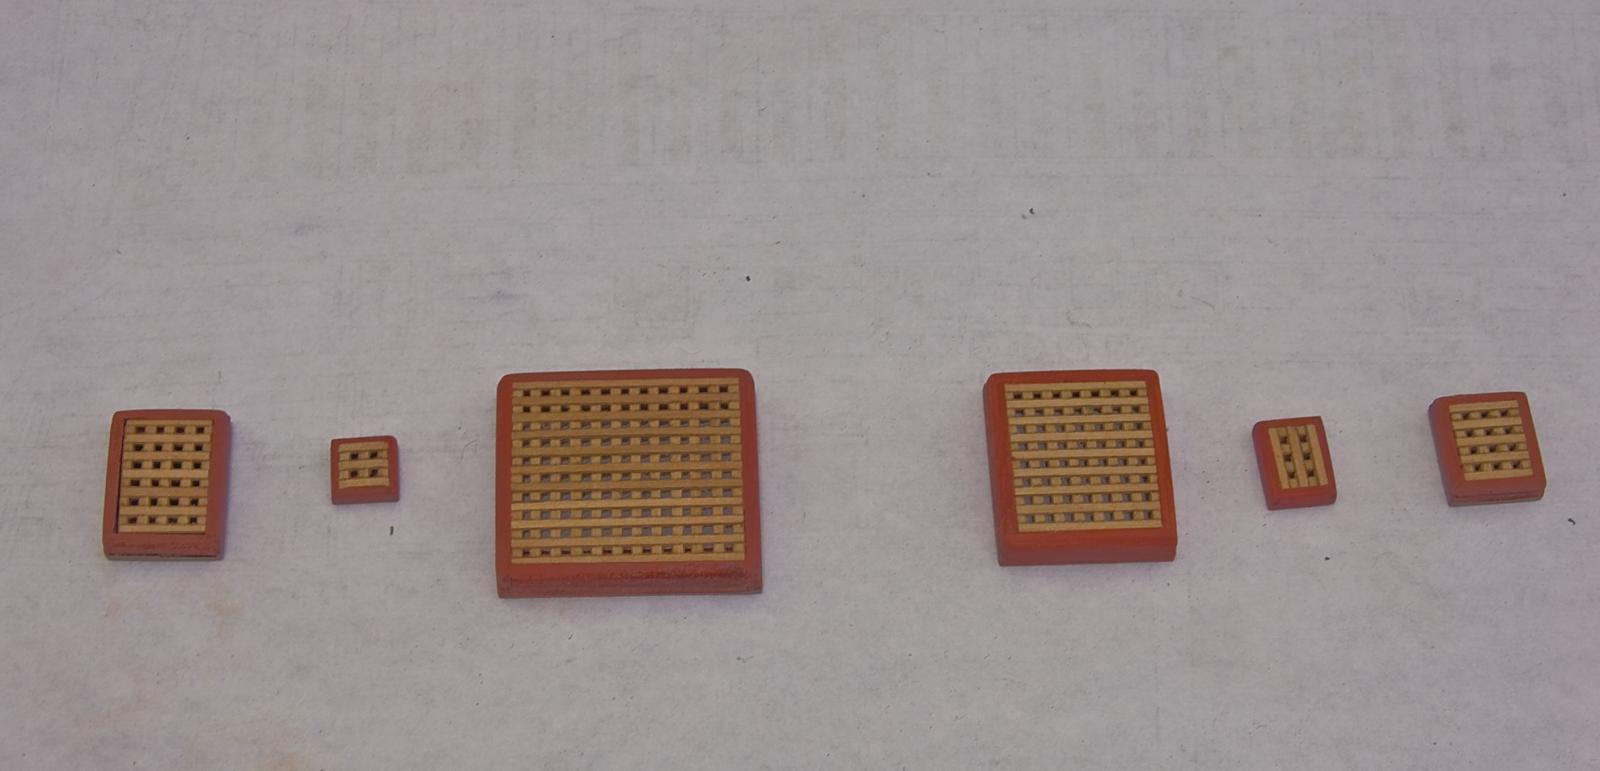
I haven’t made an entry in quite a while. A lot of distractions and work was slow. I’m not all that satisfied with the results of the overall planking of the hull. But the tree nails look good, if they don’t all line up properly. I did paint (stain) the expanded black stripe, a half inch thick, as the plans show. Looks O.K. I also made up the hatches with their coamings. I’m pleased with all the deck furniture I’ve made so far, including the new hatches. I don’t understand why I can make small, detailed binnacles, capstans, bulge pumps, etc. that I’m happy with, but I can’t plank a hull. I guess I just have to view a planked hull as a large piece of furniture.


- 481 replies
-
- 8
-
-
- rattlesnake
- model shipways
- (and 1 more)
-
WOW! The rigging techniques you are using are top class. I will have to re-visit these pages when I finally get to the rigging stage of my build. Keep leading the rest of us. Cheers.
-
It looks like you are getting off to a great start! I have a general question: Is the alligator clamp you got from your surgeon a better quality than a simlier clamp you can get from one of the mail order houses? Thanks.
- 209 replies
-
- 5
-
-
- cheerful
- Syren Ship Model Company
- (and 1 more)
-
Definitely looks like a model to be proud of. Excellent work. Congratulations. Look forward on watching your build of the Syren. Cheers
-
Great work! I like the turnbuckles. Can't wait to see the finished model. Cheers
-
Thanks Bill and Scott and the 'likes'. I've been using Chuck's method as described in his Cheerful log for the tree nailing. It looks pretty good. I'll post the results soon. Cheers.
- 481 replies
-
- 1
-
-
- rattlesnake
- model shipways
- (and 1 more)
-
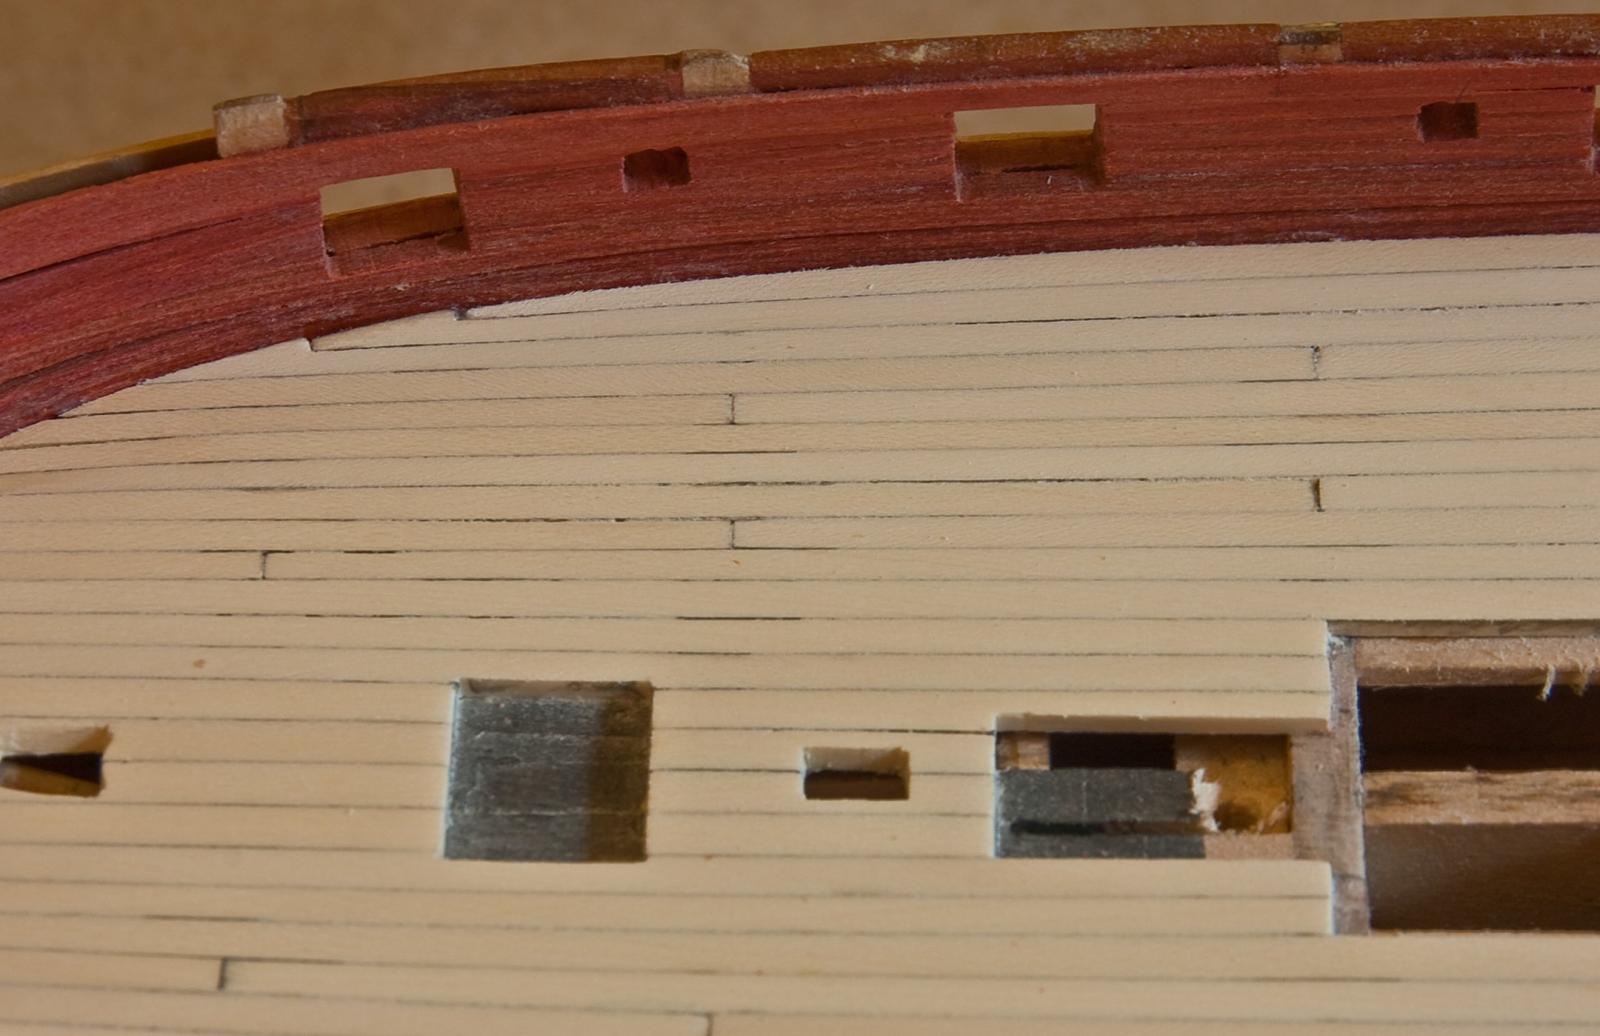
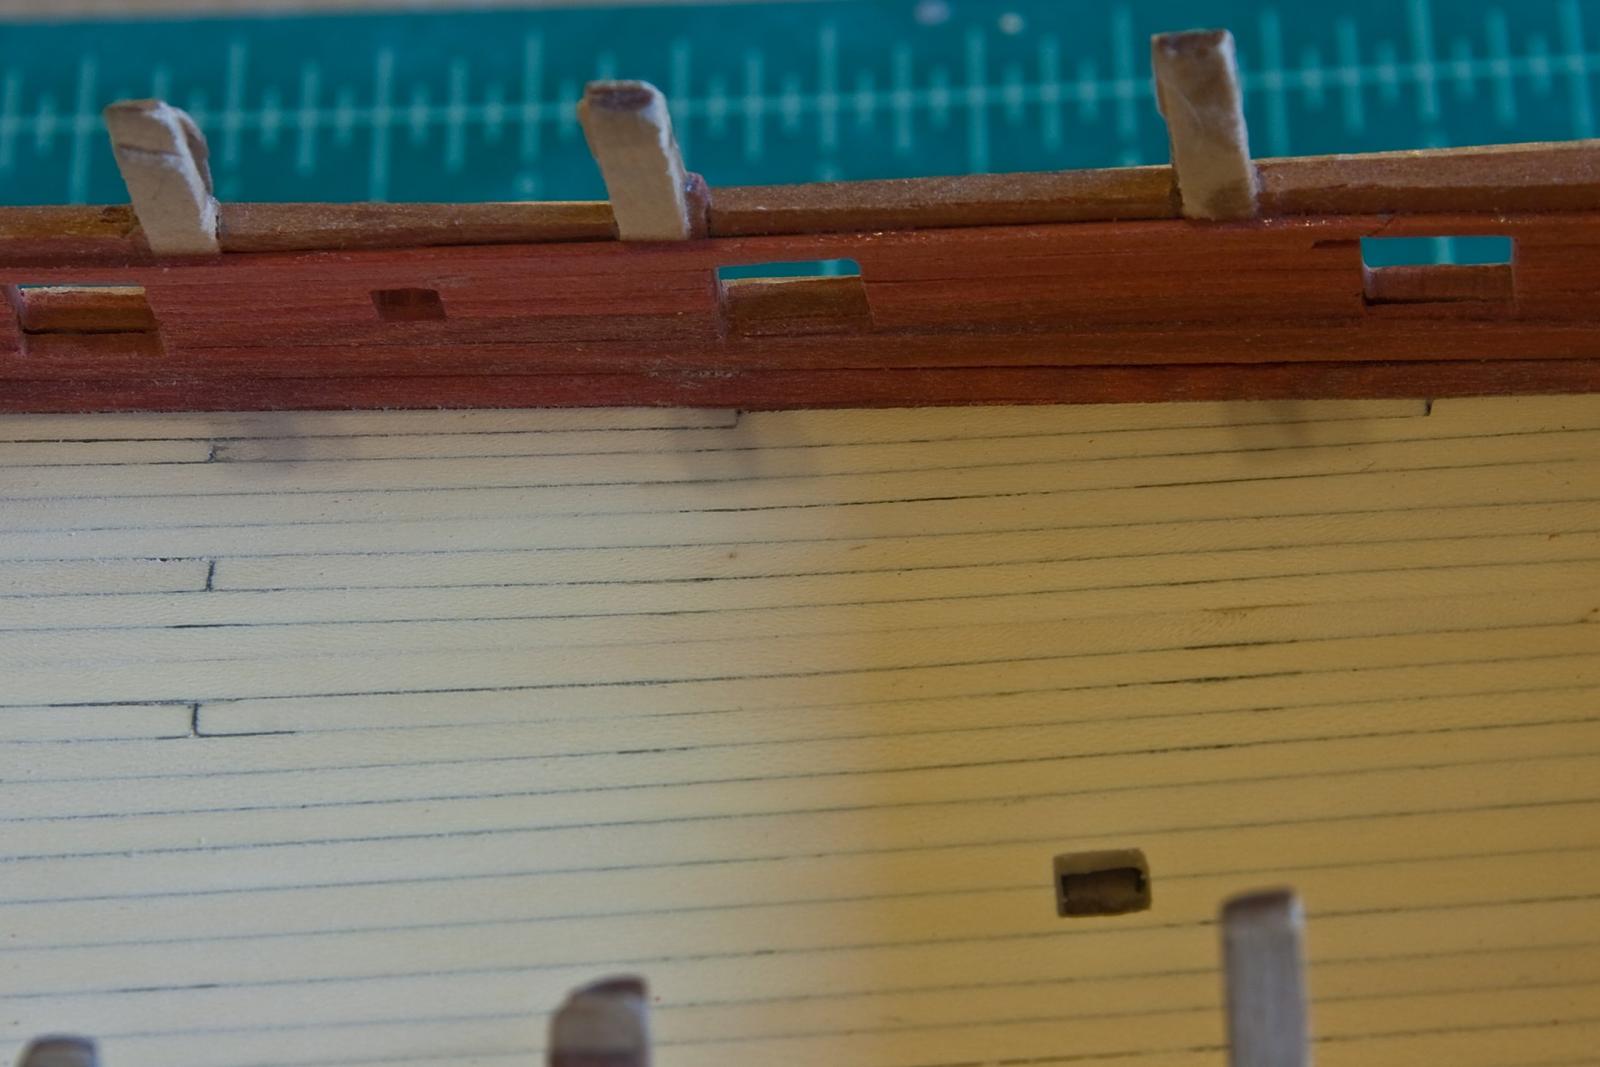
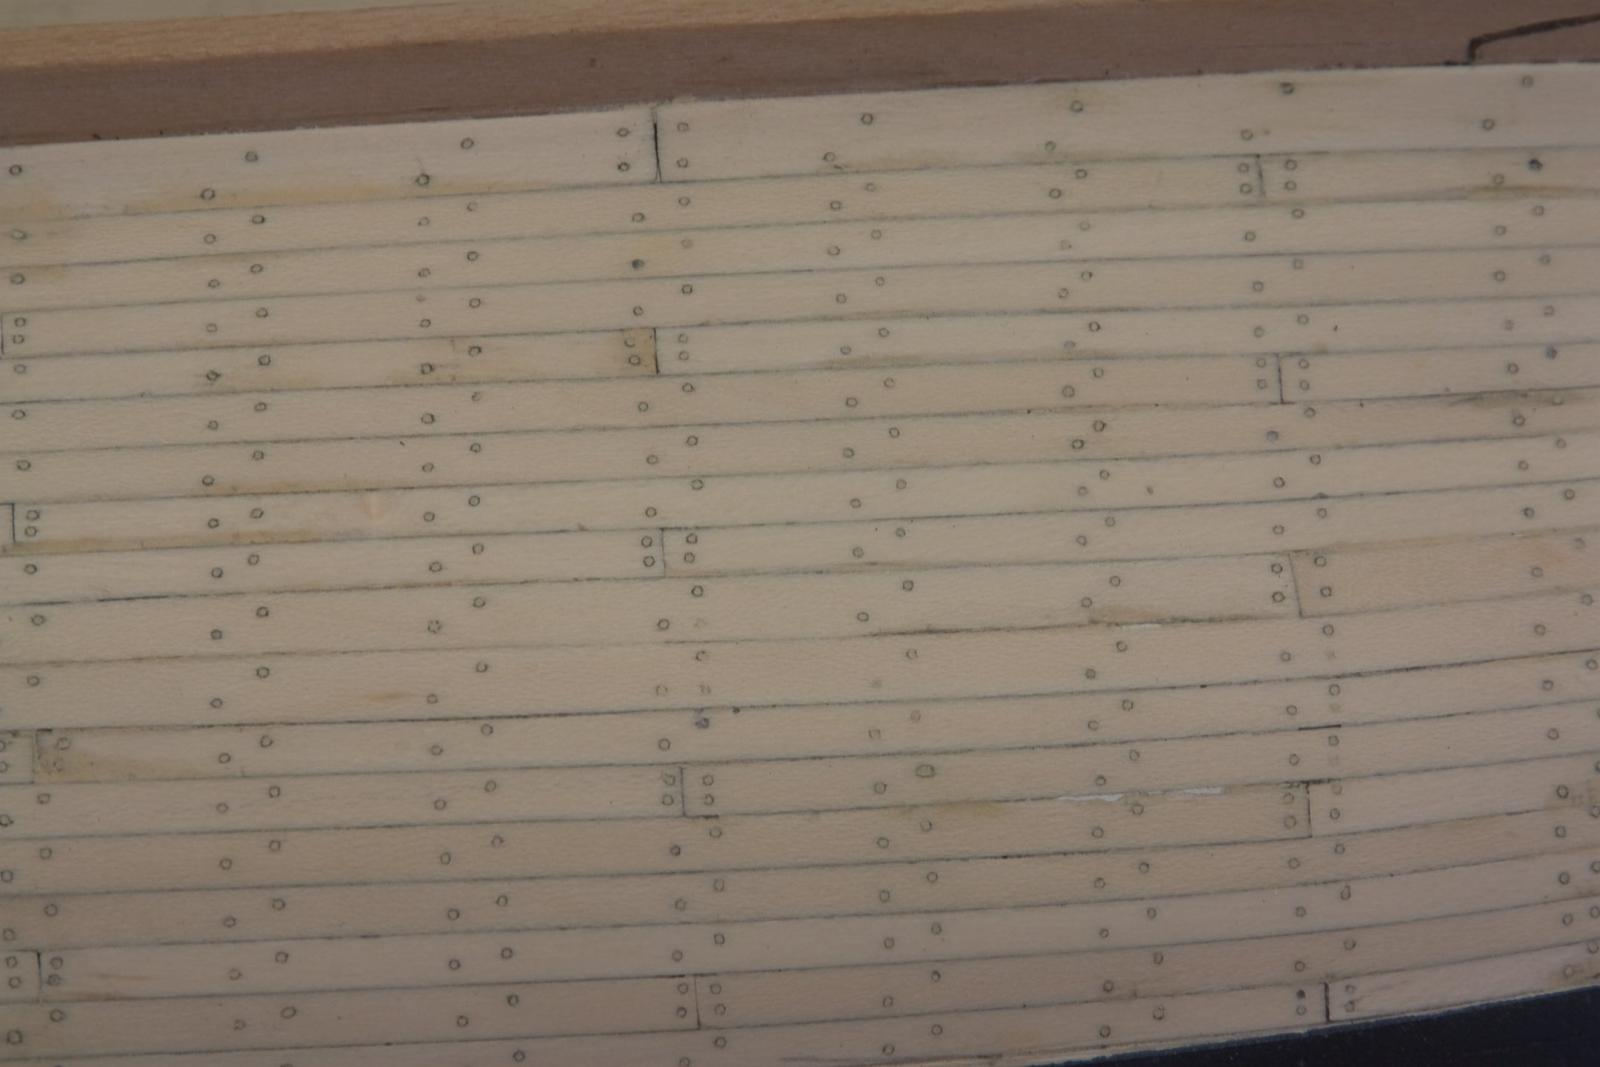
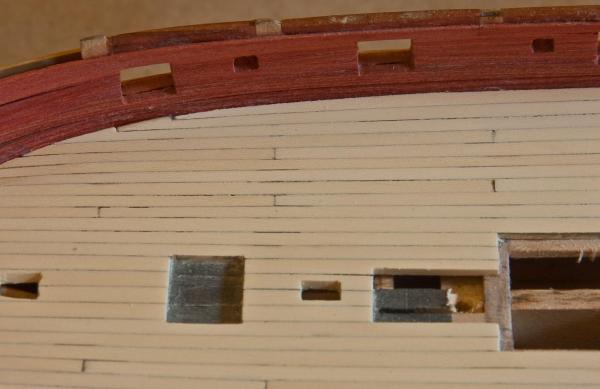
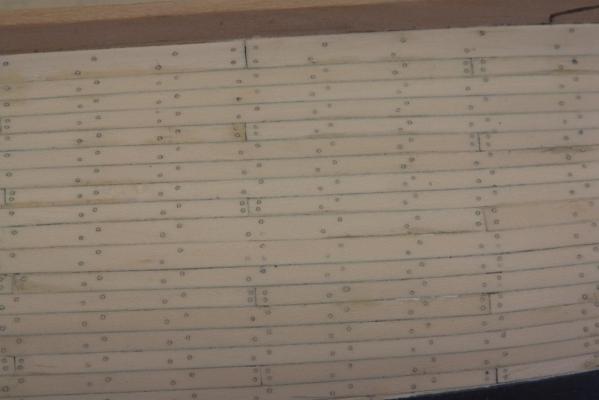
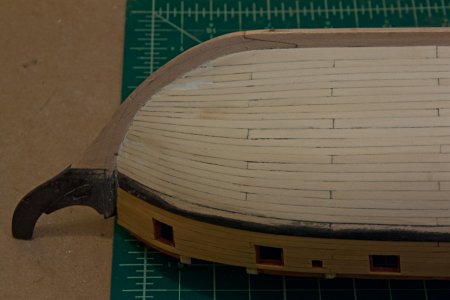
It feels like forever since I had made enough progress on my build to justify an entry in my log. But the lower hull is now fully planked. I’m not totally pleased with the result. Looking back, I think my planking plan was not as precise as it should’ve been; and the plan I had was not adequately followed. I will have to do better on my next model. Somehow the whole plan just seemed to dissolve as the end drew near. Hopefully, the tree nailing will distract from these problems. The obvious sanding on the ‘wales’ is to remove the lip between the wale planks and the lower hull planks. I decided that I want to adhere to the plans and have a half inch black band around the boat measuring down from the ‘top of the wales’. There’s still a lot of work to do. Now, it’s on to the dreaded tree nailing.

- 481 replies
-
- 9
-
-
- rattlesnake
- model shipways
- (and 1 more)