lambsbk
-
Posts
910 -
Joined
-
Last visited
Content Type
Profiles
Forums
Gallery
Events
Everything posted by lambsbk
-
To make your own I suppose a couple of bottle caps would work...without the rubber seals.
- 601 replies
-
- 3
-

-
- constitution
- revell
- (and 1 more)
-
At this scale you can't tell without looking closely but the coils are 2 pieces closely approximated. I made them with a device of my own with the following link (see the video in the post the post link below). I had a couple of small aluminum flat discs and drilled a small hole centrally to allow a straight pin to go through. There is a small spring under that followed by a clamp (I used hemostats). The rope was soaked through and through in dilute Elmers glue and then threaded through the far disc hole prior to insertion of the straight pin. Then apply the second disc followed by the spring and clip. When secure you can wrap the coil according. I then heat with a hair dryer and carefully (sometimes with a straight razor) remove the coil. Hope that helps.
- 601 replies
-
- 3
-
-
- constitution
- revell
- (and 1 more)
-
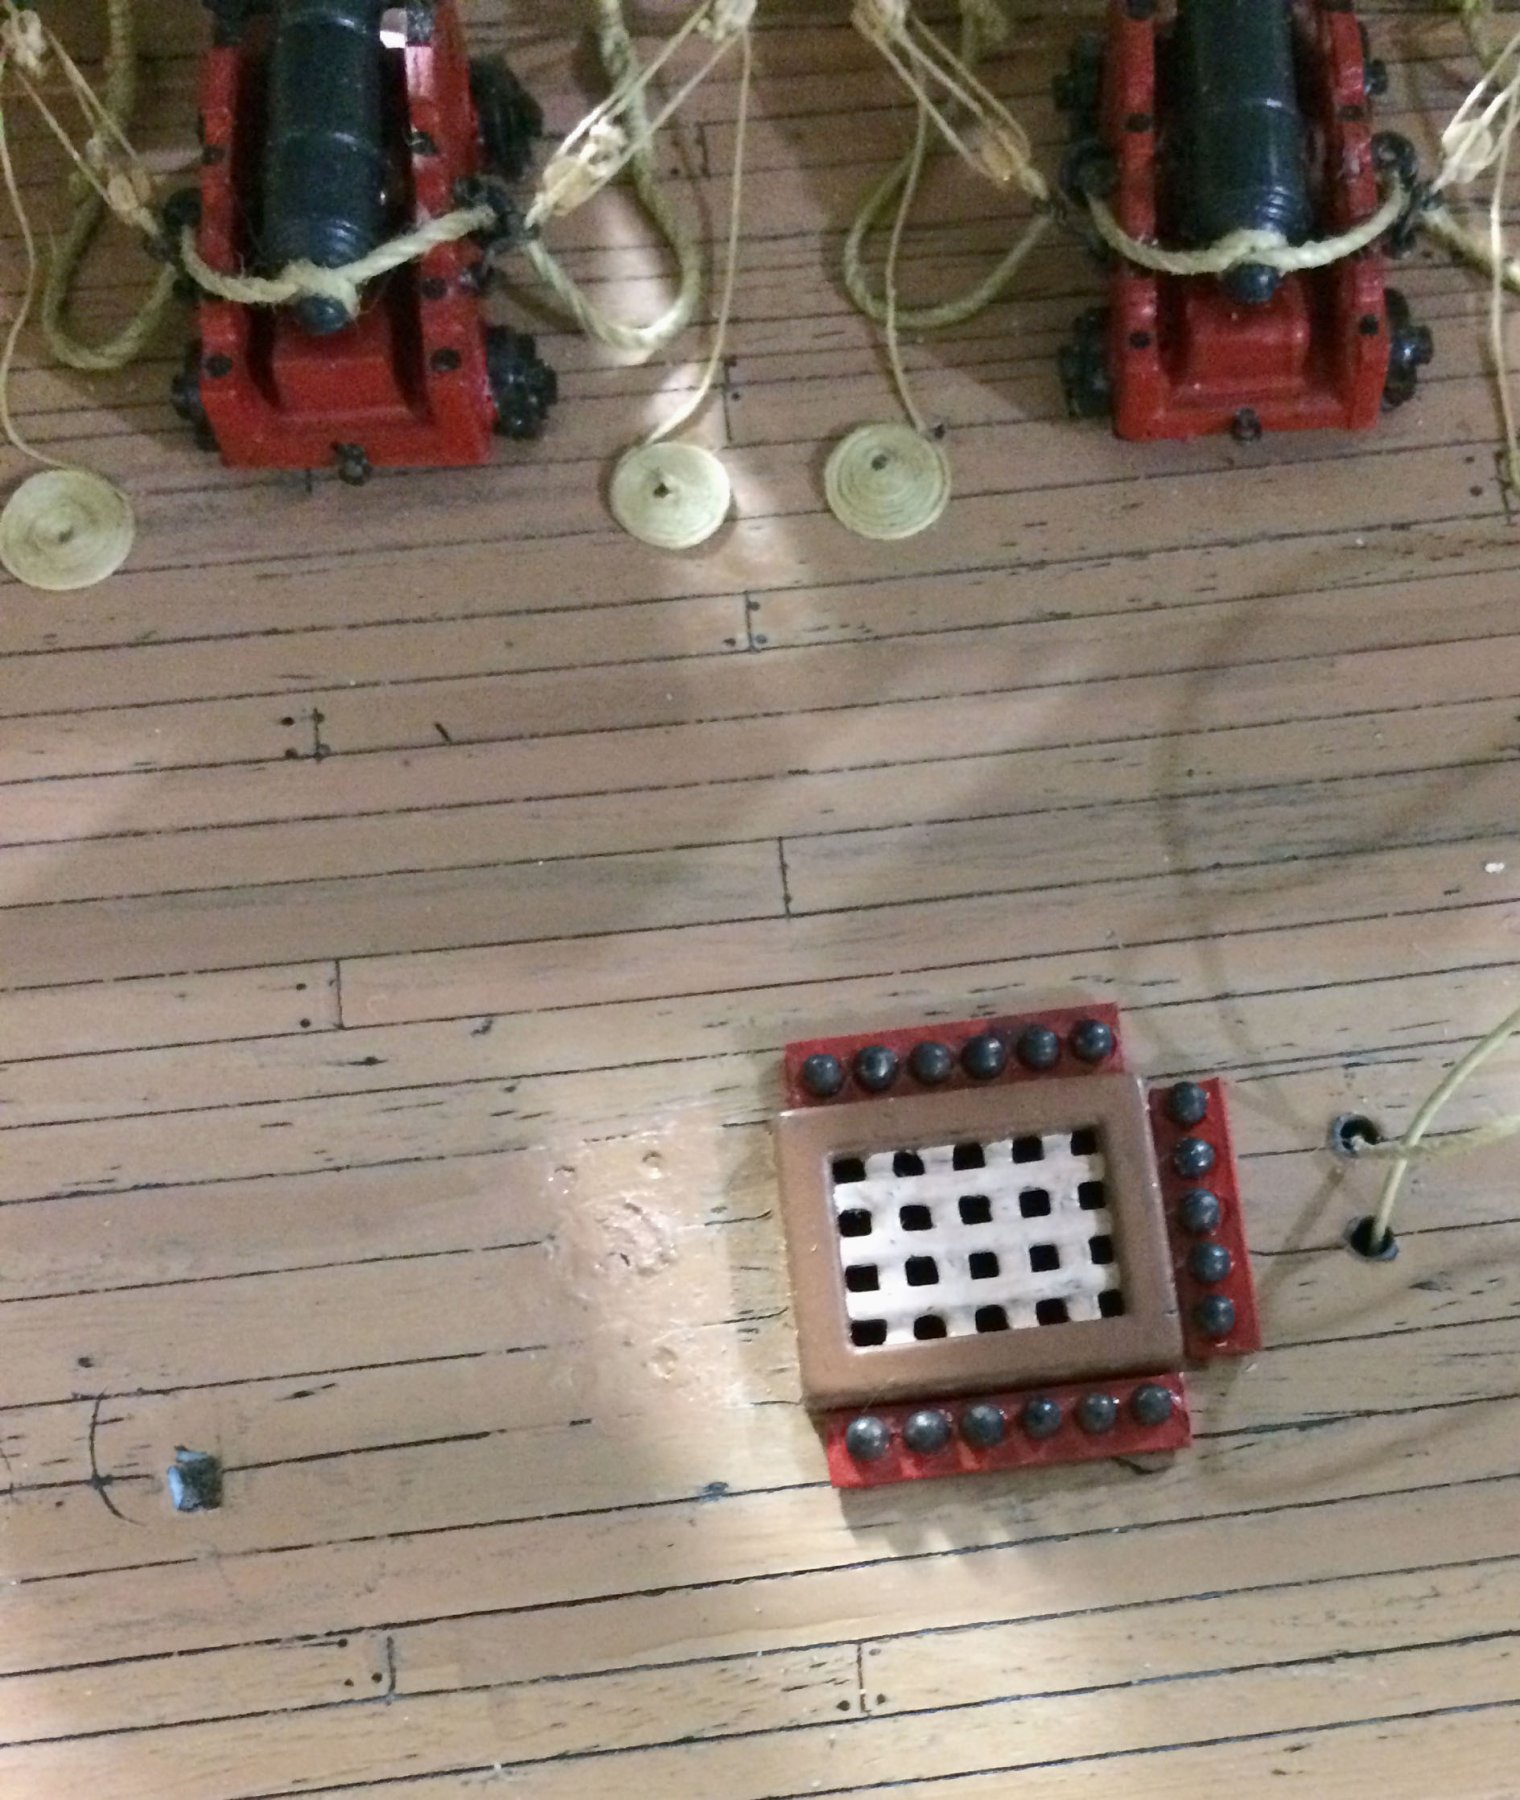
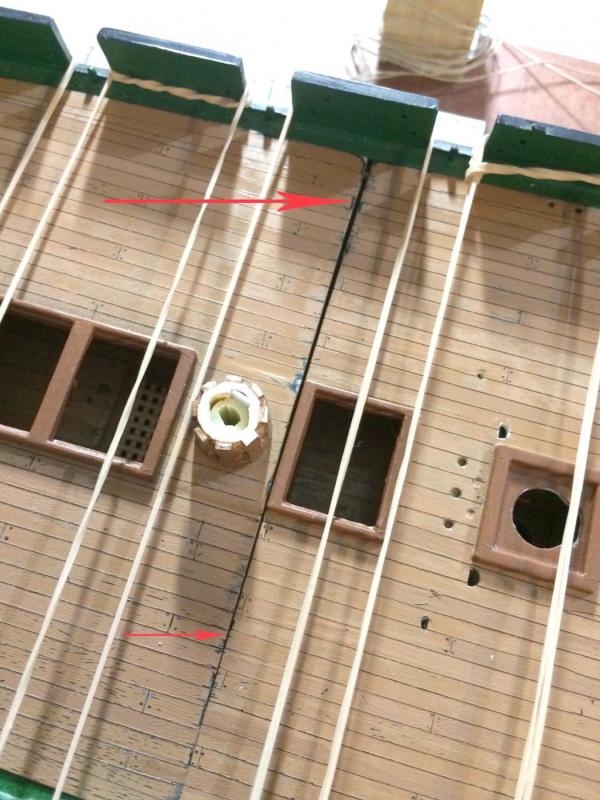
I scraped down the deck under the shot racks to bare plastic for the glue. That also gave the small amount of protruding wire a place to rest on the underside. I placed them here first since I am learning how to do this addition to the deck - this area will be seen the least - if at all - and is a good place to experiment.
- 601 replies
-
- 11
-
-
- constitution
- revell
- (and 1 more)
-
She seems to be coming along very nicely and you are making fast progress. I'm watching with a smile.
- 453 replies
-
- 6
-
-
- thermopylae
- sergal
- (and 1 more)
-
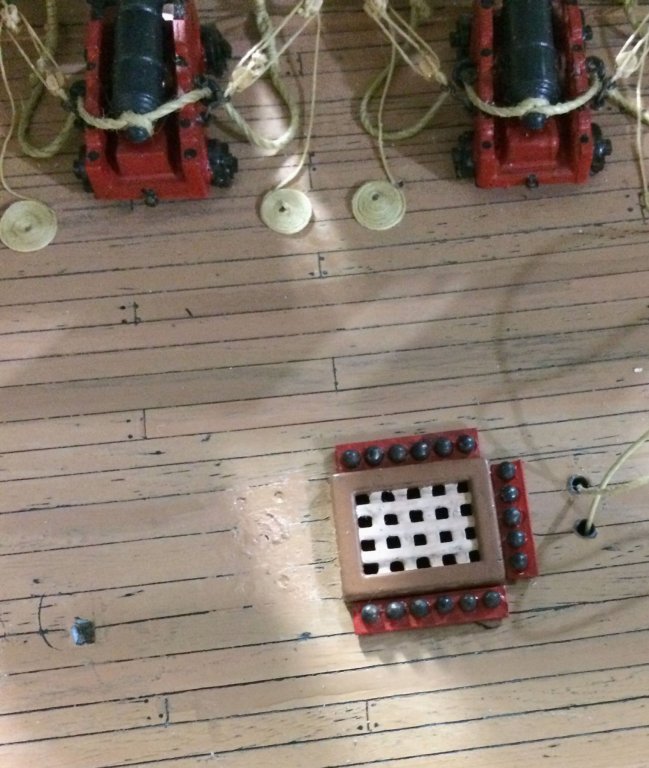
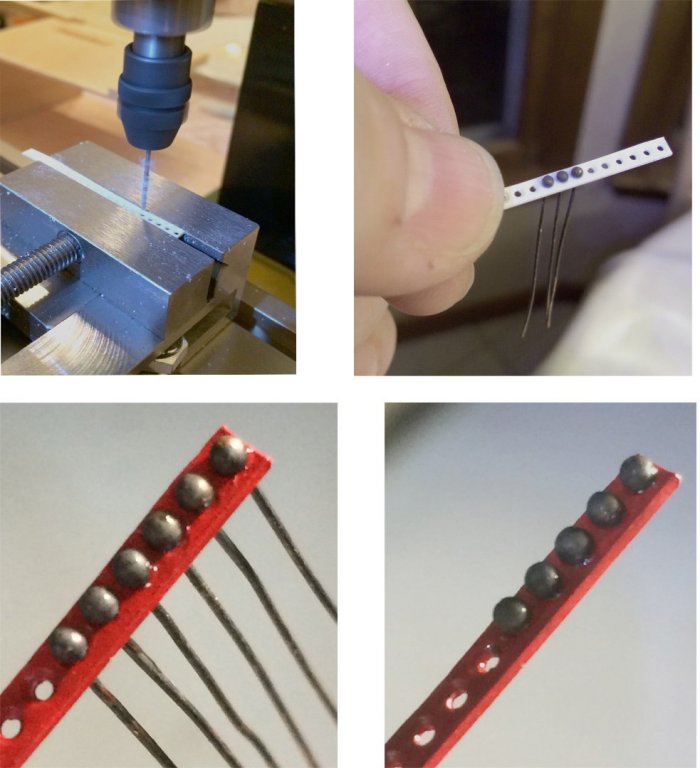
The prototype cannon ball rack is finished. It is pretty tiny but I hope will add to the look of the decks. I used the round bit to cup these every 2mm before drilling them every 2mm on center. Now that I have a procedure the rest should be easy to produce. Yup...I lost one when I squeezed the vise too hard. I changed the gluing method after this loss as well.
- 601 replies
-
- 8
-
-
- constitution
- revell
- (and 1 more)
-
I still very much consider myself a novice so thanks for the suggestion. I have absolutely no experience with resin casting and I am kind of anxious to move on with the build so I will wait and try casting down the line. Nice idea though.
- 601 replies
-
- 1
-
-
- constitution
- revell
- (and 1 more)
-
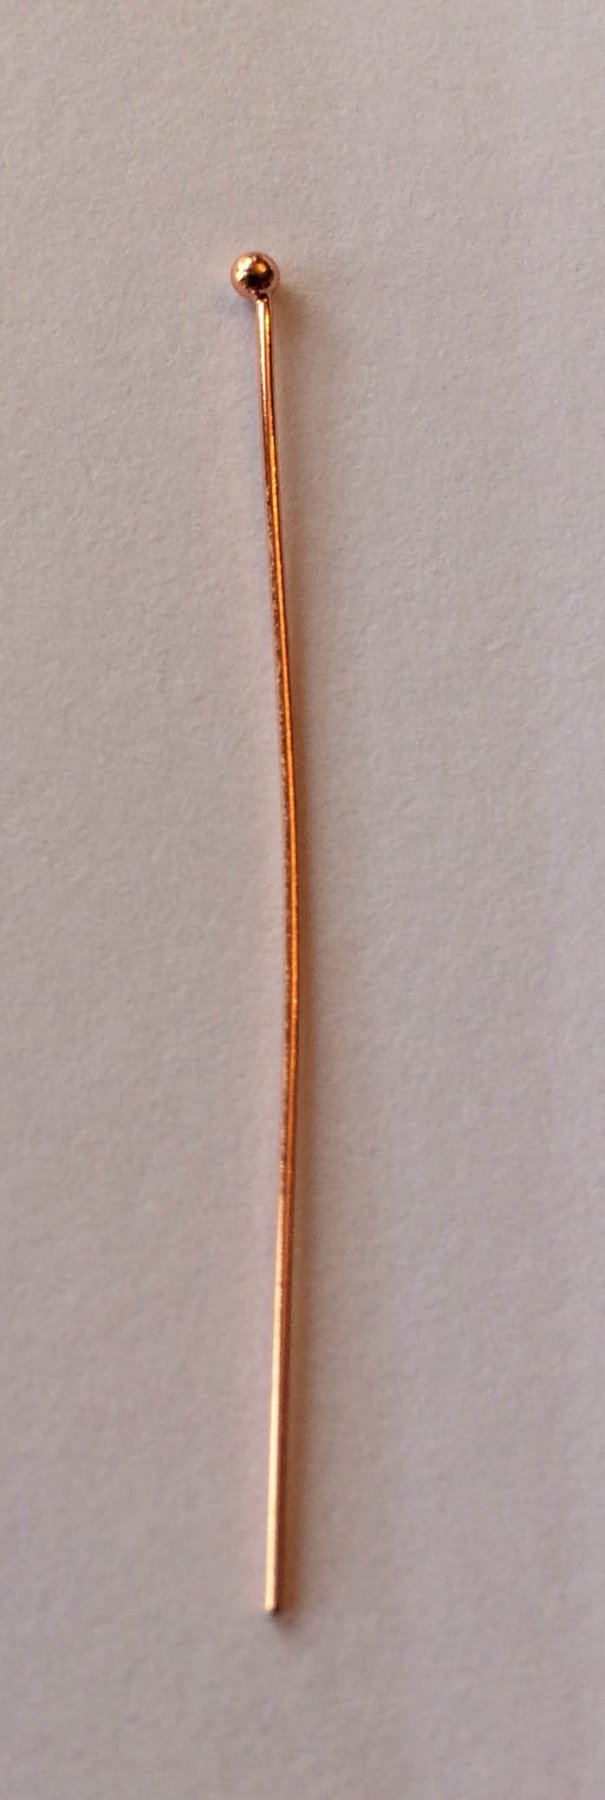
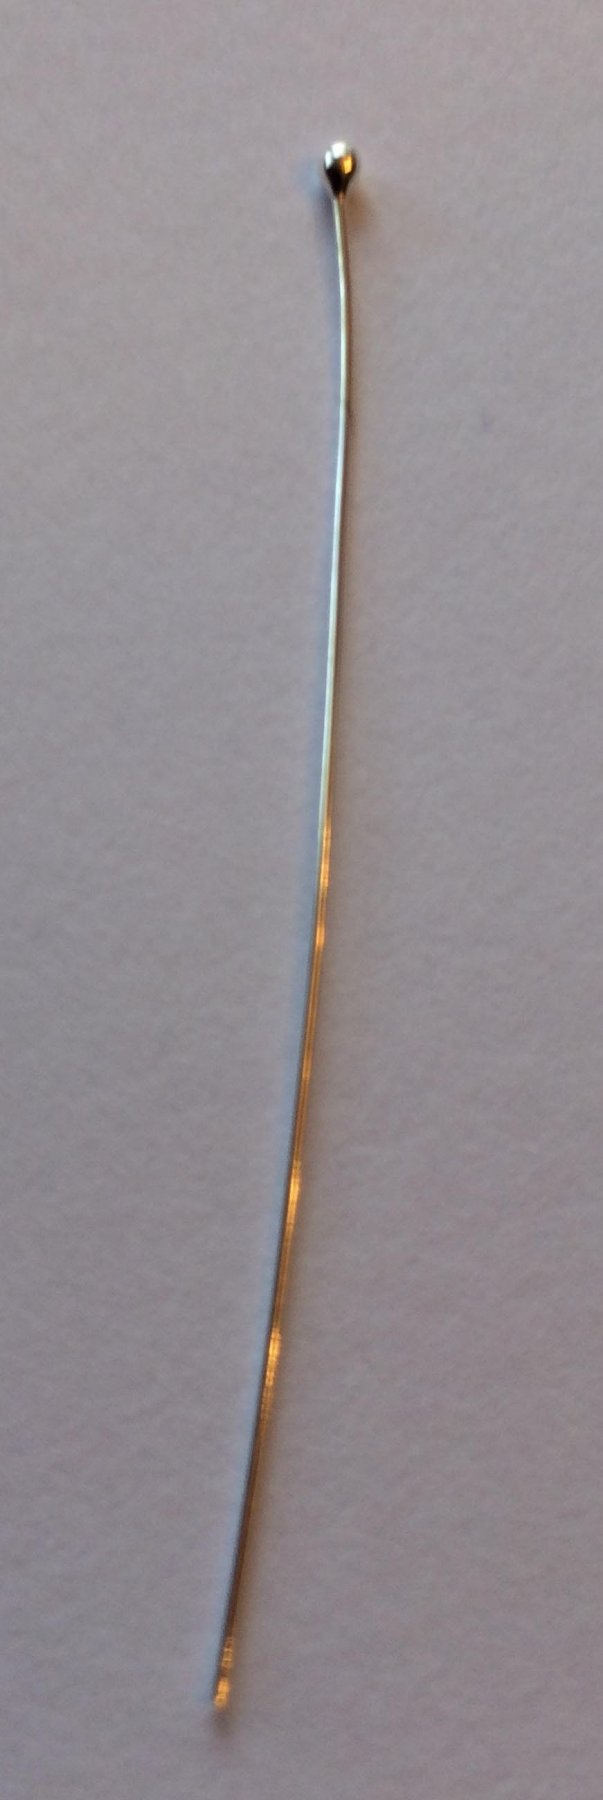
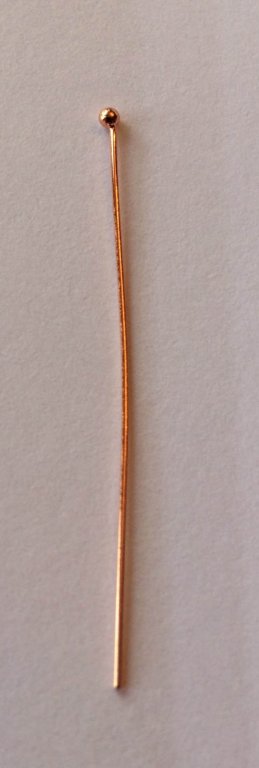
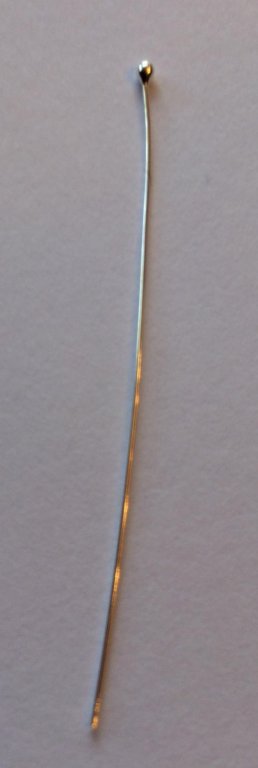
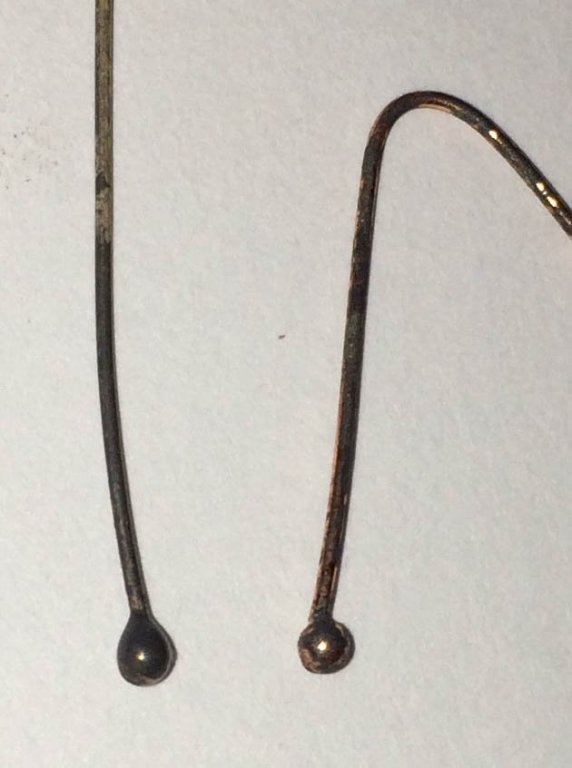
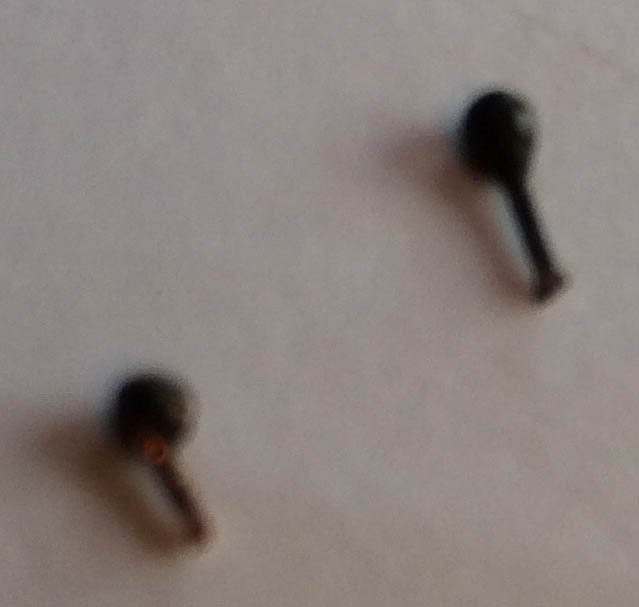
I decided to give round head pins a try at providing this scale. I am concerned about a ball bearing getting loose and rolling around as I work the rest of the model. I figured the pin would give me a way of making them more secure. I found some 1.5mm and 1.6mm pin heads online and ordered them. After confirming their diameter I blacked them and then cut them. although the last pic is blurry you can get the idea. The comings on the decks are too shallow for the shot racks. I am not worried about it on the gun deck since it will mostly be seen from above but I will need to add height the them on the Spar deck.
- 601 replies
-
- 4
-
-
- constitution
- revell
- (and 1 more)
-
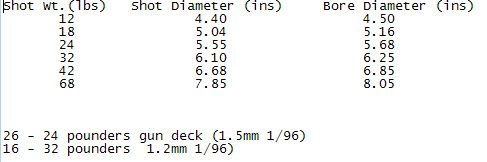
I turned my attention to the cannon balls this week.The attached chart was found online and gives me an idea of the shot size given the weight caliber of the shot. I hope these are accurate and in fact they seem to be based on the scale of canon on my build. The 1/96 calculations in the table are incorrect. So converting the 24 pound shot and 32 pound gave an actual diameter of 1.47mm on the 24 pound shot and 1.61mm on the 32 pound shot at 1/96 scale.
- 601 replies
-
- 1
-
-
- constitution
- revell
- (and 1 more)
-
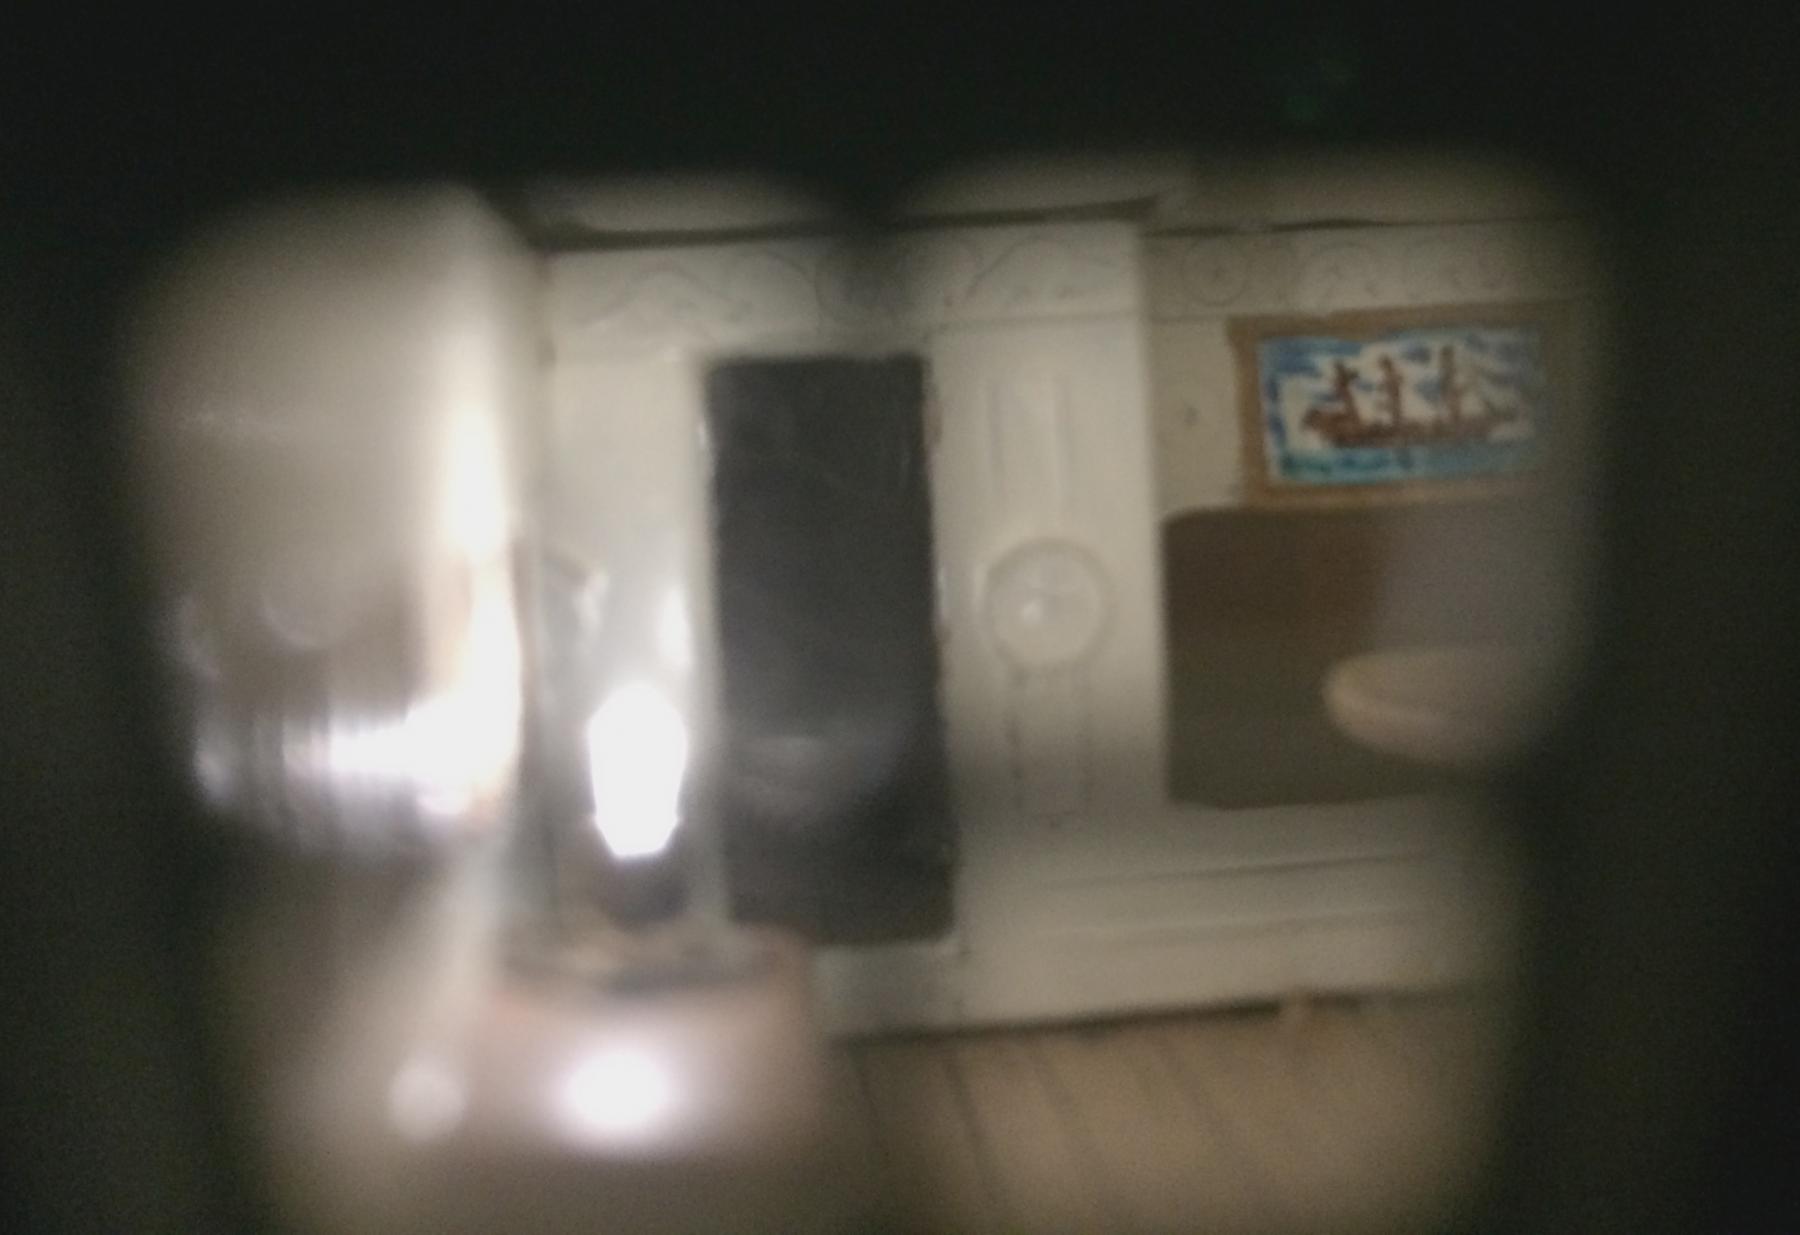
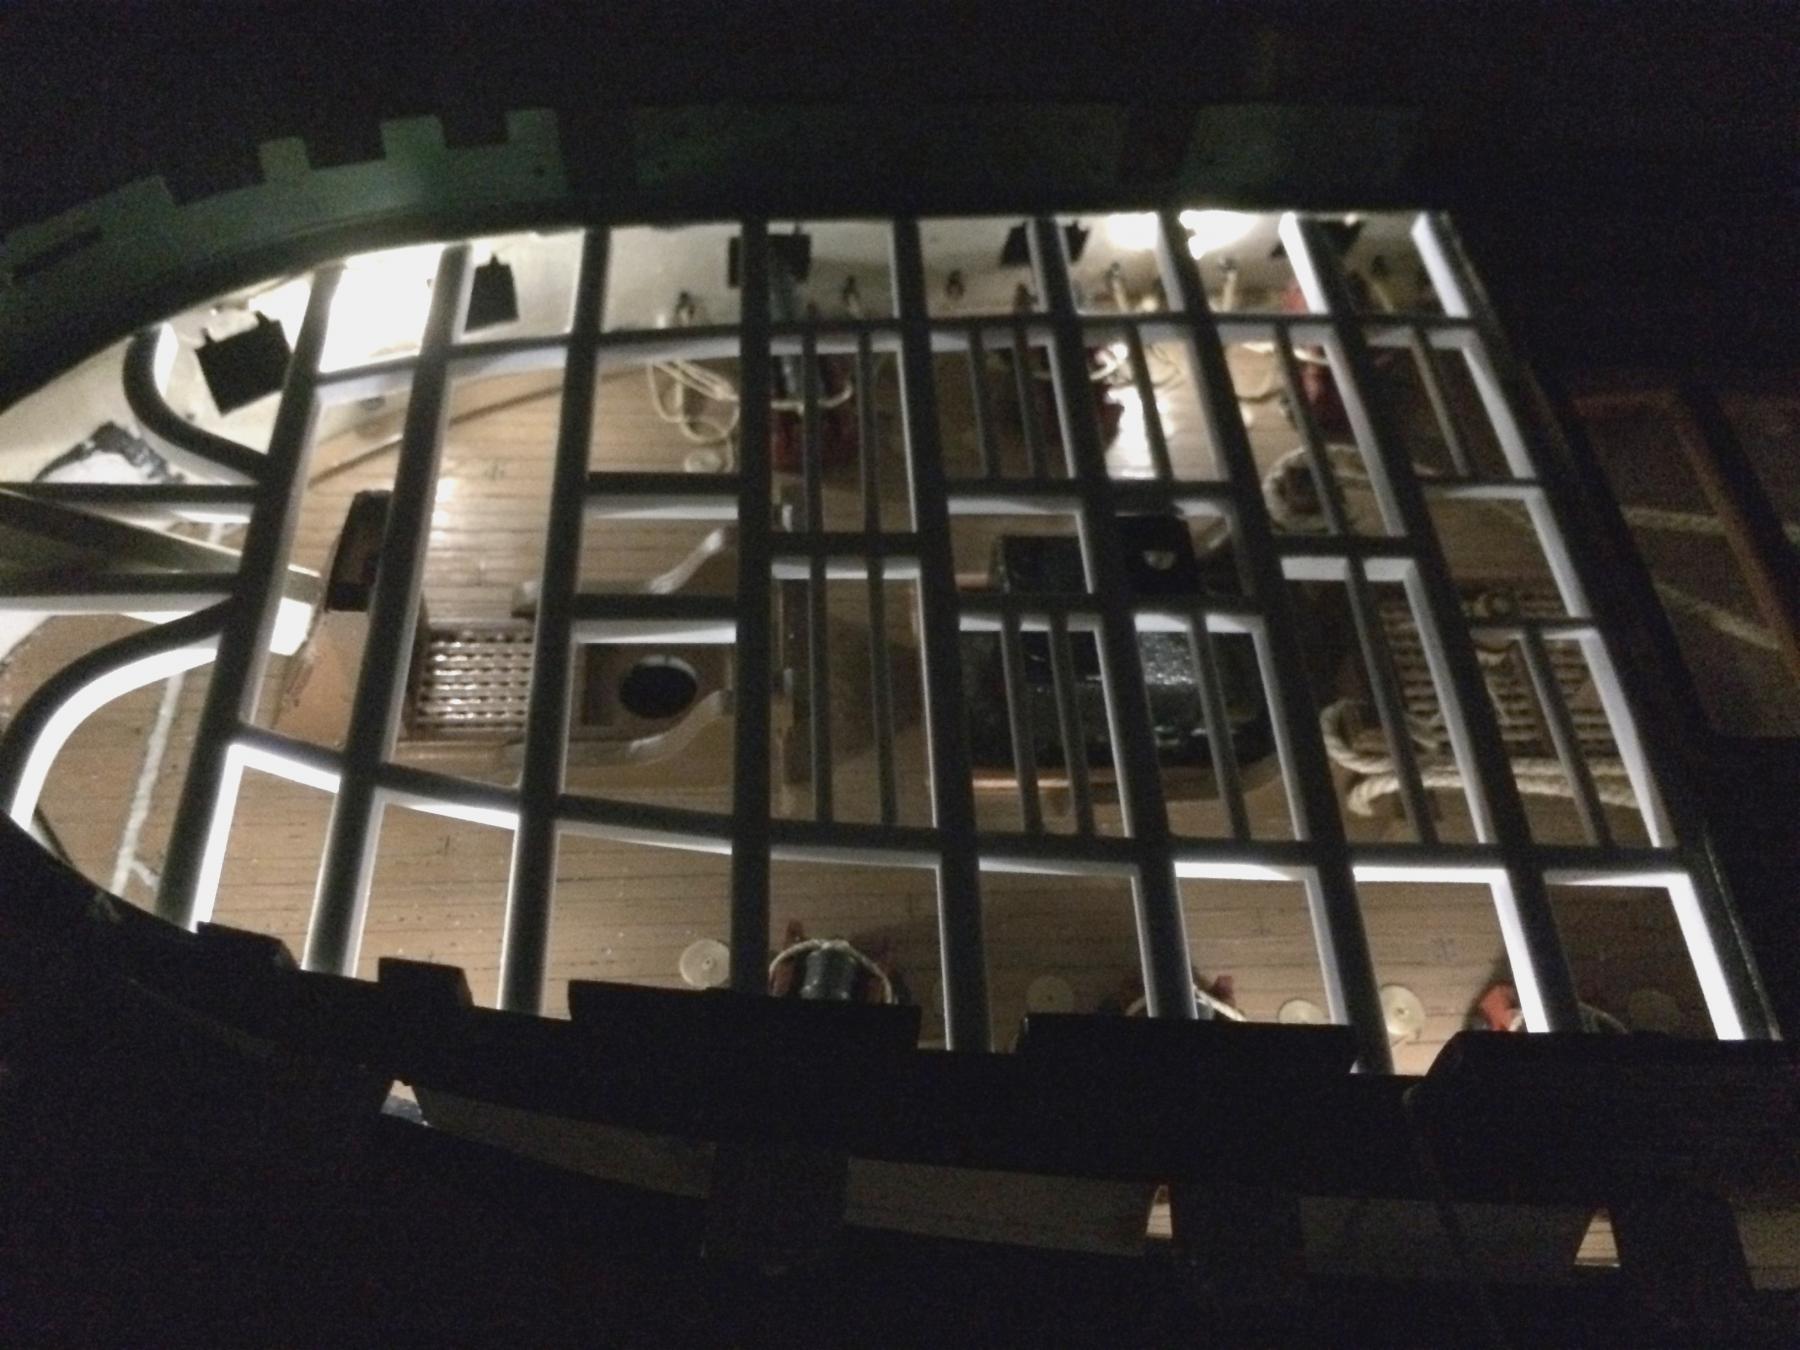
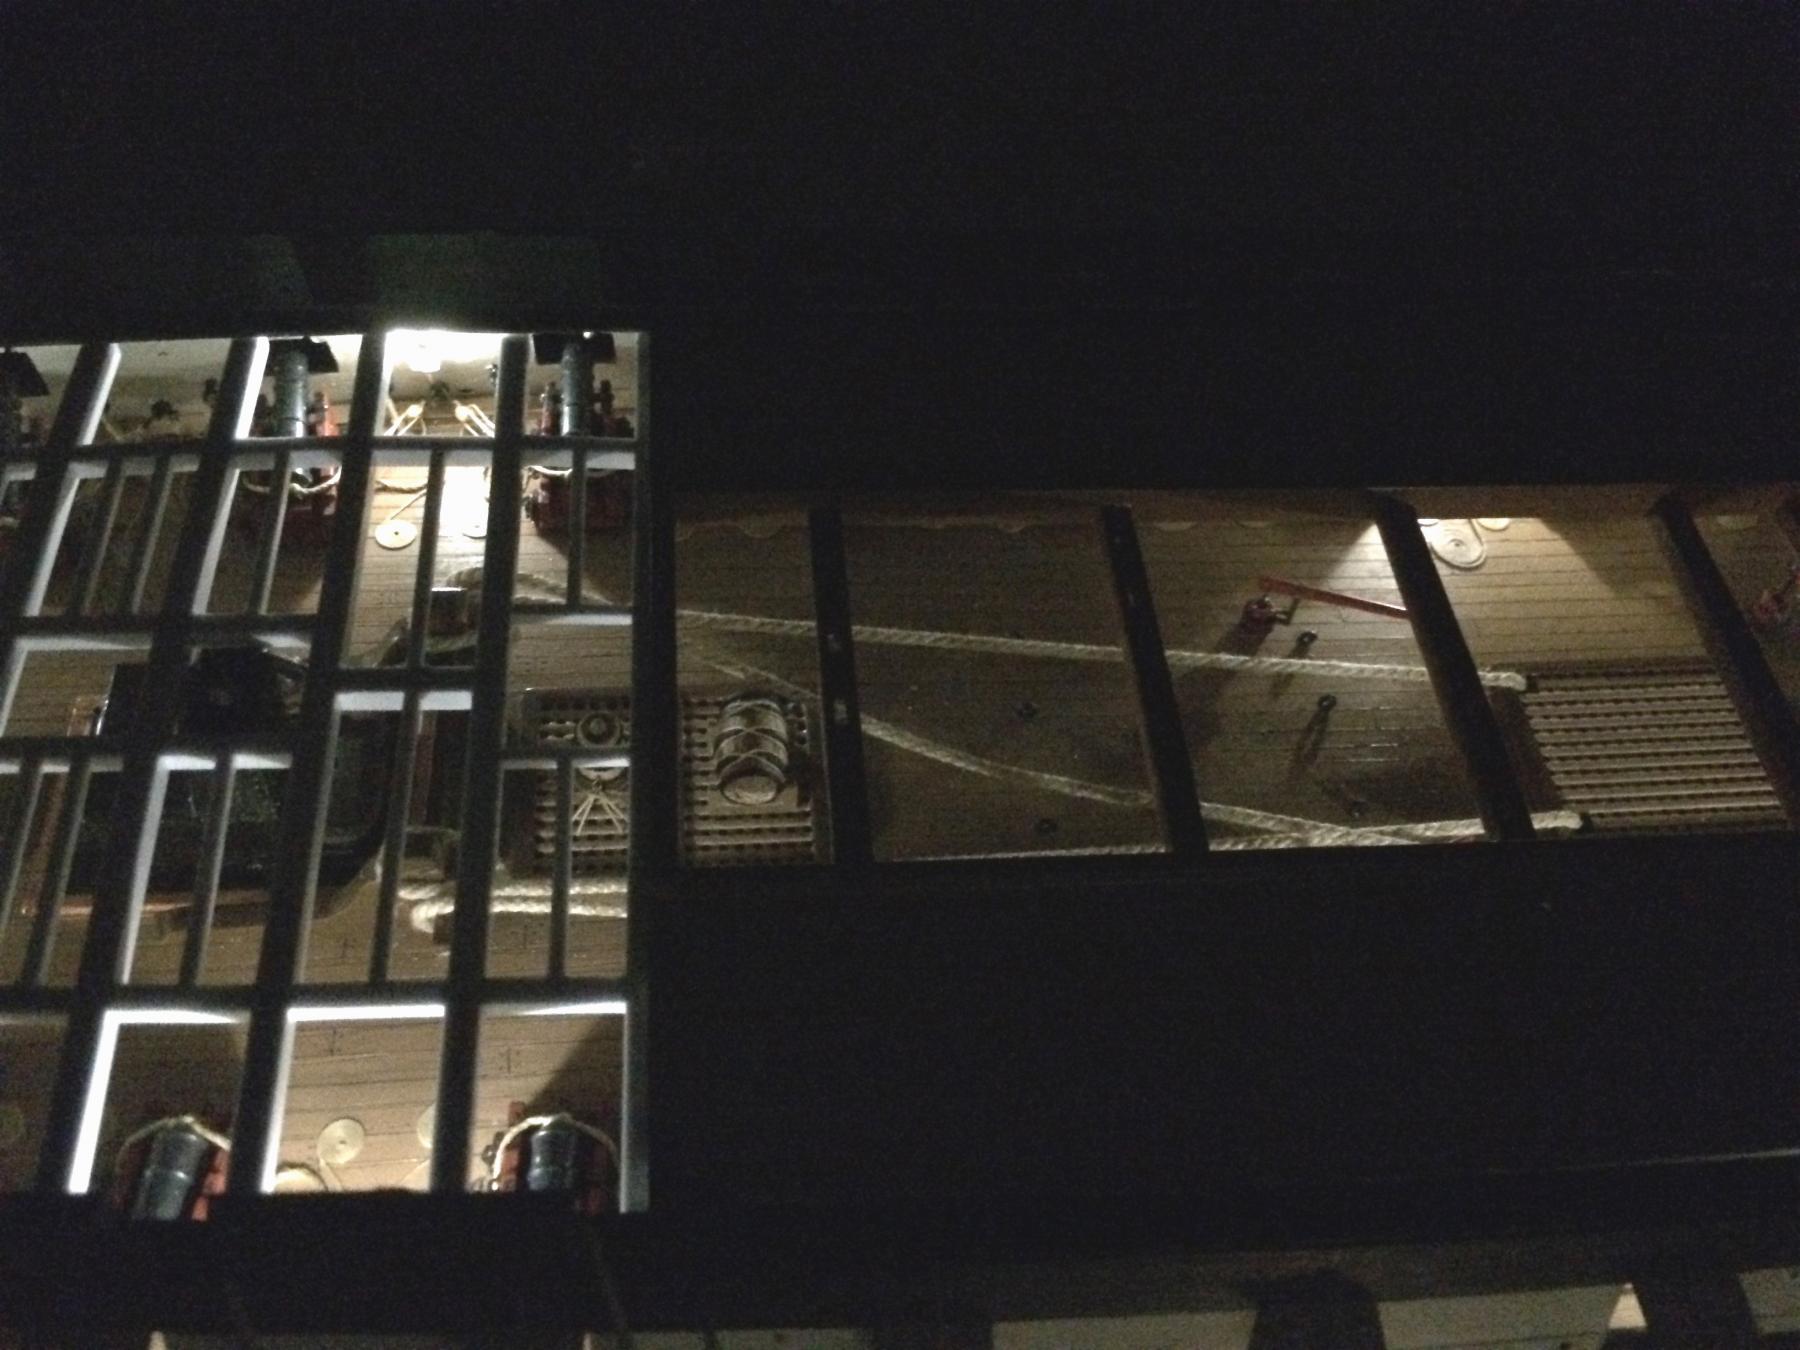
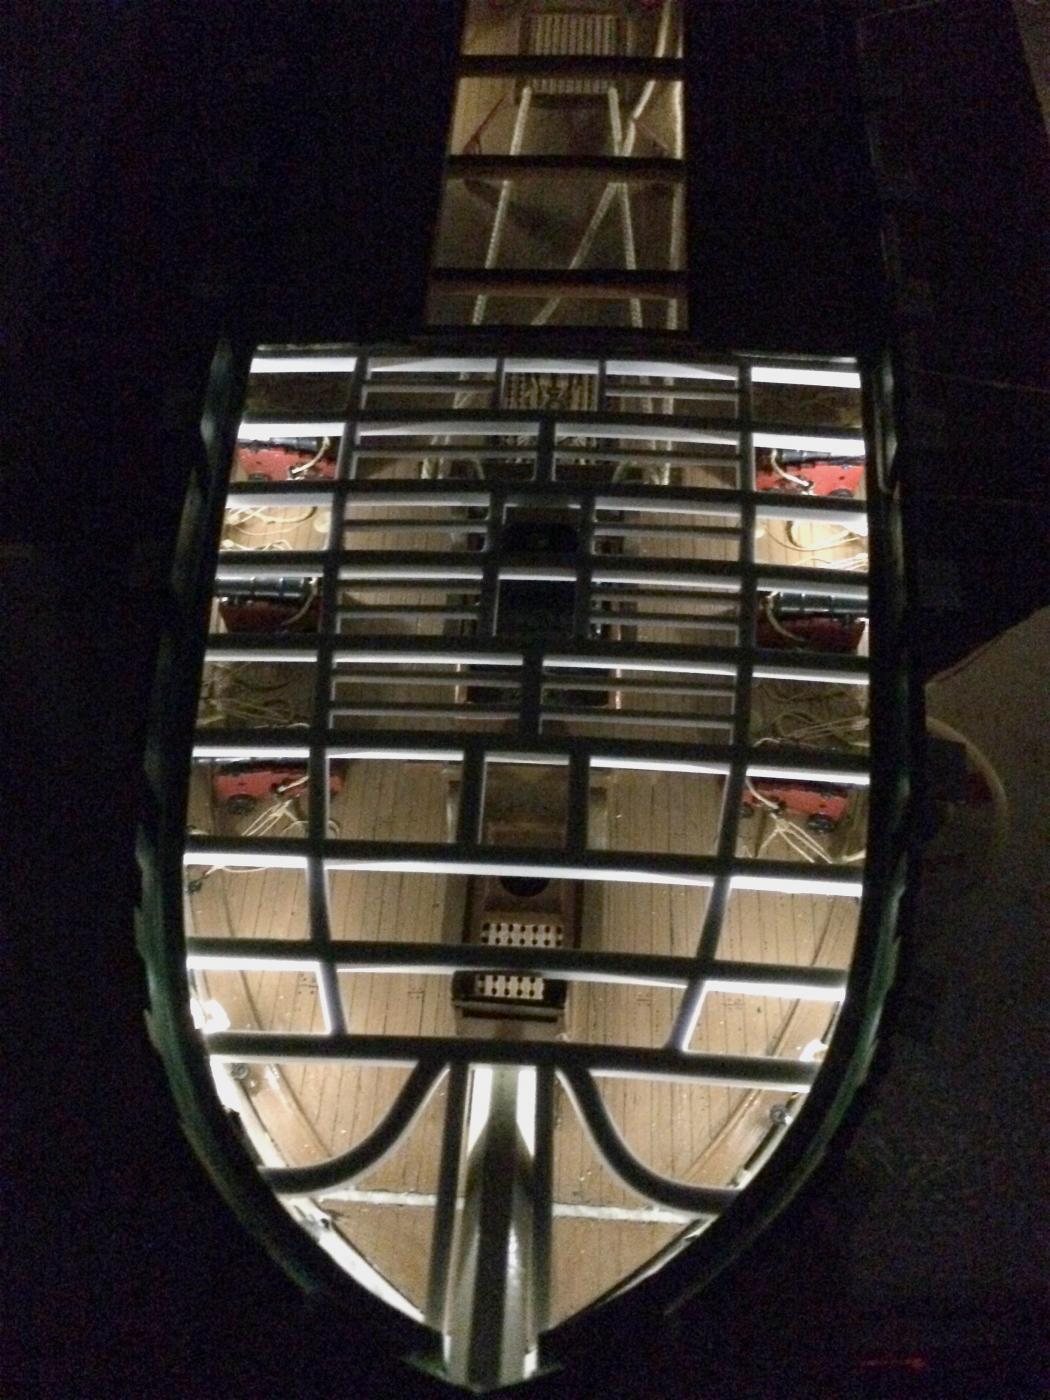
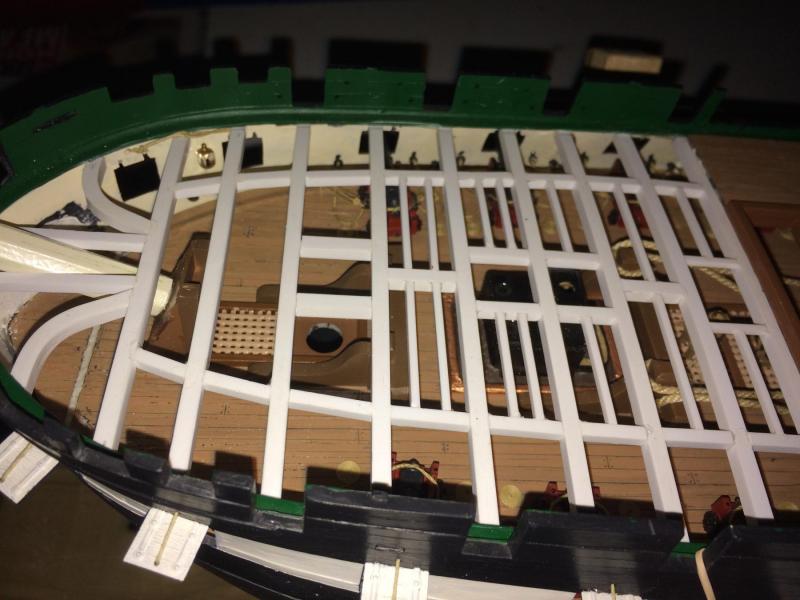
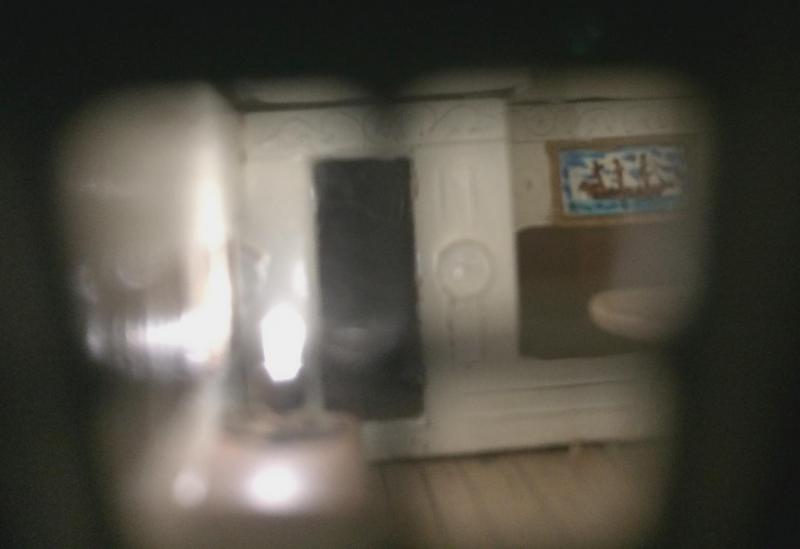
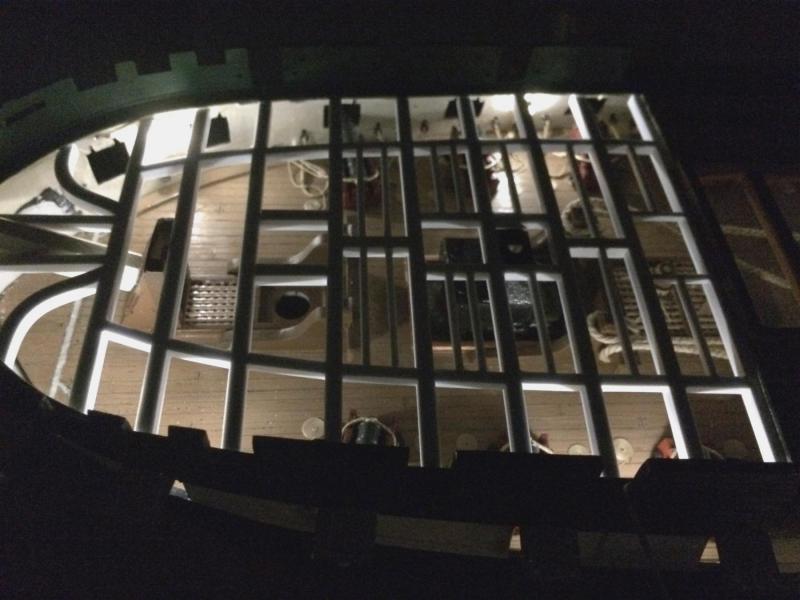
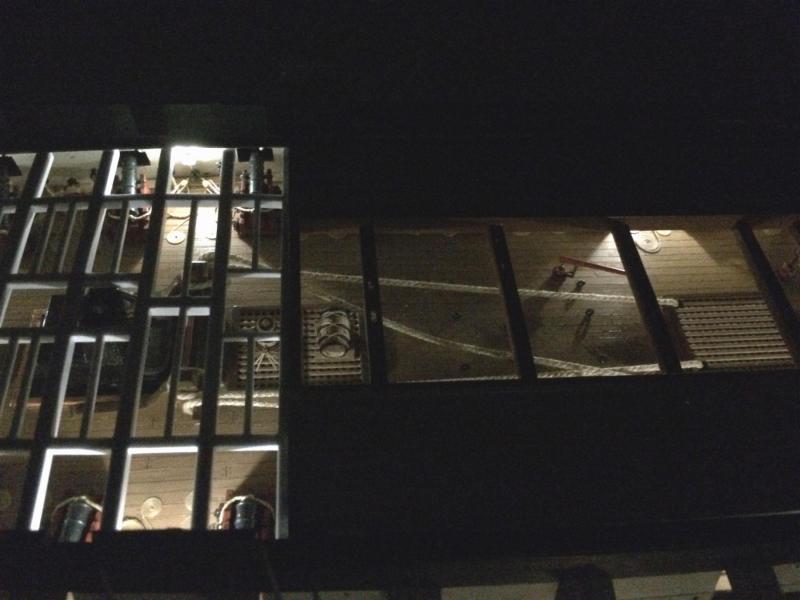
Before moving on I thought it prudent to see if the framing really allowed a better view of the gun deck - after all, if it didn't what's the point? So I hooked up the temporary light source, turned off the lights and result was very positive. The photos show with the natural light in pic 1 the eye is sort of drawn to the frame itself. But with the natural light off and the lanterns only the eye is drawn to the gun deck. I threw in a blurry pic of the captains quarters which looked really cool - the photo did not do it justice though. Dave

- 601 replies
-
- 12
-
-
- constitution
- revell
- (and 1 more)
-
Well the bowsprit bitts are actually next to a beam, the bowsprit fits between the beams, the lanterns are between the beams, the caboose fits snugly between beams, and the mid-deck section is married nicely to the fabricated beams. I am not that good guys. So in the words of Chiun: "every man is occasionally blessed with luck!" (I am an old 'Remo Williams' fan) Dave
- 601 replies
-
- 1
-
-
- constitution
- revell
- (and 1 more)
-
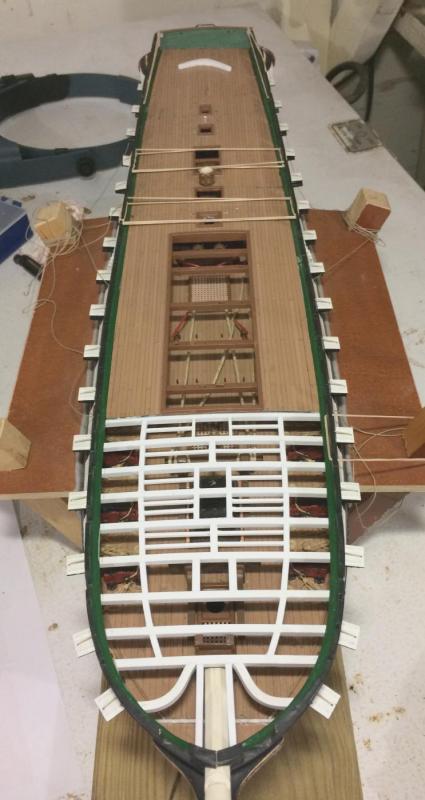
I dry fit the Spar Deck today after trimming the partially complete deck beams to make them fit to the bulwarks. The camboose is about as snug as it can be and in fact, the frames are holding it down and the camboose top is giving the deck some needed camber. It will probably have to be lowered or I will have to correct the beams at this area. The Gun Deck can now be completed - manger, anchor cable with messenger to the capstan and canon balls. I am still not sure of what colors to put on the beams. They are a bit glaring right now. I would like to match the color of the inner bulwarks for the beams bottom and sides but a neutral grey or contrasting brown color for the tops would look nice - like exposed aged wood. That is still in thought.
- 601 replies
-
- 13
-
-
- constitution
- revell
- (and 1 more)
-
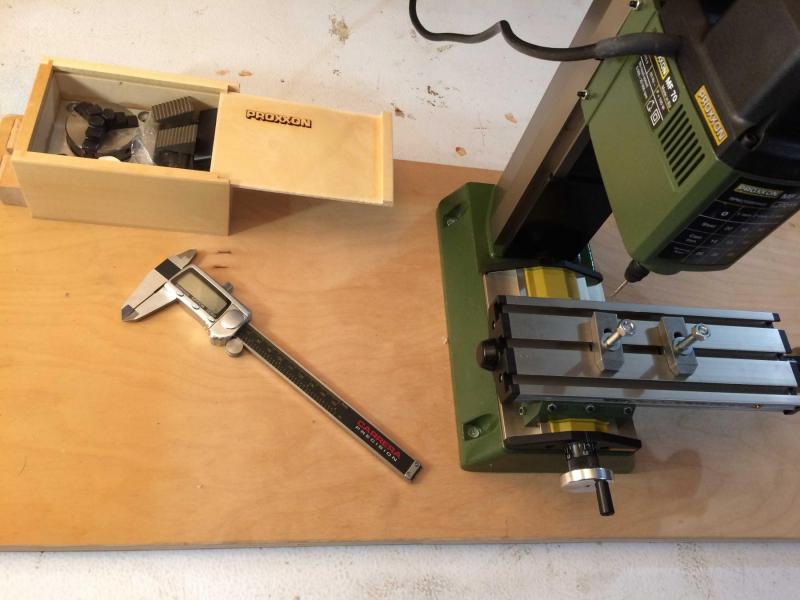
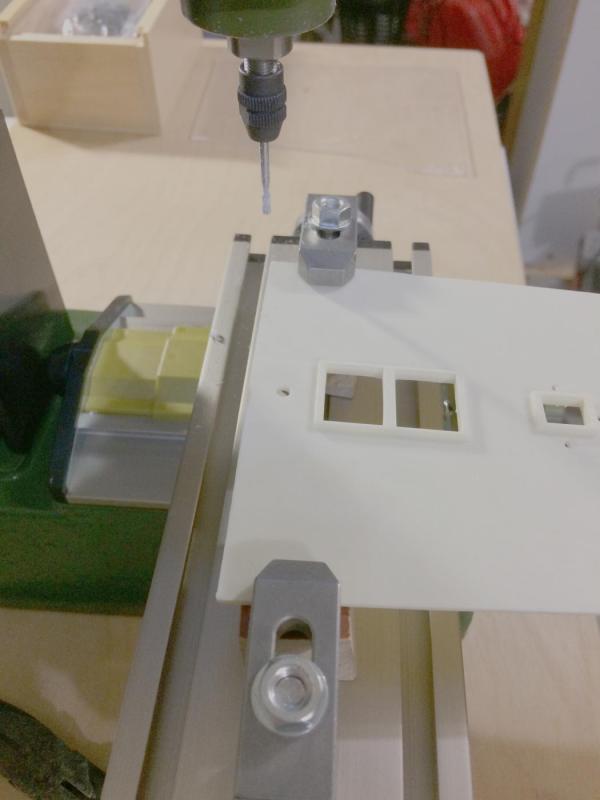
This is how I set up my mill. I screwed down the wood box and it holds the dividing head (which is excellent for dowels - but does not replace a lathe for longer work) and the various small tools and cutters.
- 601 replies
-
- 6
-
-
- constitution
- revell
- (and 1 more)
-
I did the surgery today. Here are the before and after pics dry fit to the ship. Once glued down I can dry brush the exposed plastic defects and should have a fair result. I will dry fit the main mast to be sure the rake did not change after the slight aft section shortening. Since I am going to add mast partners on all 3 masts it will not be a problem to widen the molded mast hole. I knocked off 2 gun port doors while doing this today. They are VERY touchy. Dave

- 601 replies
-
- 6
-
-
- constitution
- revell
- (and 1 more)
-
I don't really know Built. I used it for the second time today. I bought a dividing head and 5 assorted Proxxon bits to go with the machine. I mounted it on a portable board. The dividing head allows side spindle work and offset rotational work...can't wait to try that on my build but it is not needed yet. Good luck. Dave
- 601 replies
-
- 1
-
-
- constitution
- revell
- (and 1 more)
-
It has been too long. When I last left this build I was wrestling with the incorrect seam match for the aft and mid sections of the Spar Deck. Starboard is 0.85mm longer than the port side. Complicating this is the capstan which is already in place. Now, I could have chopped off the capstan and filed gently but accuracy would have been lost and I would have to repair or replace the capstan. I have been watching you folks on MSW and the tools used. One that shows up consistently is the MF70 mill. Although it seems I have been doing nothing on my build (actually I guess I haven't done anything on it ) I have actually been watching Ebay for an MF70 at a good price. 2 weeks ago I found one and bought it. I set it up tonight and here is my solution to the mismatched seam using the cylinder cutter. This pic shows a spare Spar aft section of deck. After carefully measuring the before cut and after cut seam - it seems I have my solution: 0.85mm taken off the starboard side and none on the port side. I will cut the build spar deck piece tomorrow and then I can glue that section and finally move forward. Dave
- 601 replies
-
- 8
-
-
- constitution
- revell
- (and 1 more)
-
I don't know Michael, but when all is said and done I'll bet your model is going to be more accurate and precise compared to the museum pieces. You are taking such care to follow the research. Well done mate. Dave
-
Nice idea on the Lego square Jesse. Merry Christmas to you and your family. Dave
- 1,306 replies
-
- 5
-
-
- syren
- model shipways
- (and 1 more)
-
Sweet looking ship Russ. Dave
-
I am really inspired by your quality fine detail work - and from what I can tell it looks like you use hand tools to achieve your results. Outstanding Jesse. Dave
- 1,306 replies
-
- 4
-
-
- syren
- model shipways
- (and 1 more)
-
Yep. I vote to keep the handles. (this is a democracy, right?)
- 1,306 replies
-
- 8
-
-
- syren
- model shipways
- (and 1 more)
-
Wow Jesse. It looks like your pumps are going to pump water when fitted. Well done. Dave
- 1,306 replies
-
- 7
-
-
- syren
- model shipways
- (and 1 more)
-
I loved seeing her sail Jerry. Good choice of music too. It has been a while since I have heard it. Vivaldi? Bach? Dave
- 553 replies
-
- 2
-
-
- sloop of war
- constellation
- (and 3 more)