


kpnuts
-
Posts
1,026 -
Joined
-
Last visited
Content Type
Profiles
Forums
Gallery
Events
Posts posted by kpnuts
-
-
Hi all well I know nothing about rigging so I'm going to do a cross between the Airfix instructions and ones I've downloaded off the internet (I could not possibly do them the way they are supposed to be, I don't have a clue as to where to start) I dont even know what the different lines are called.

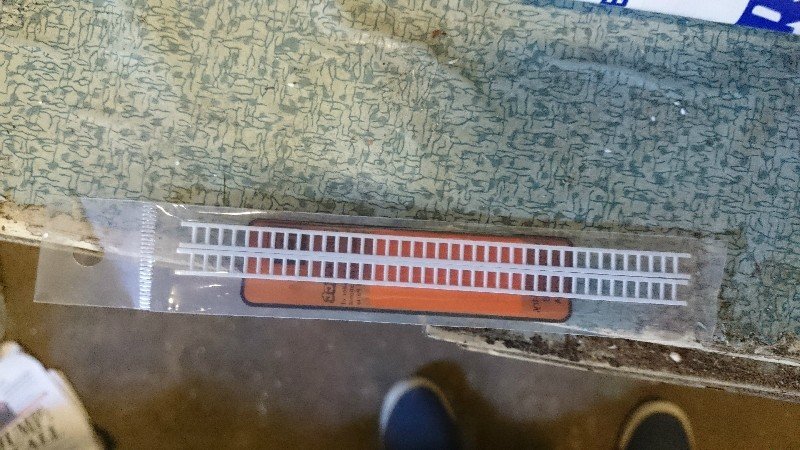
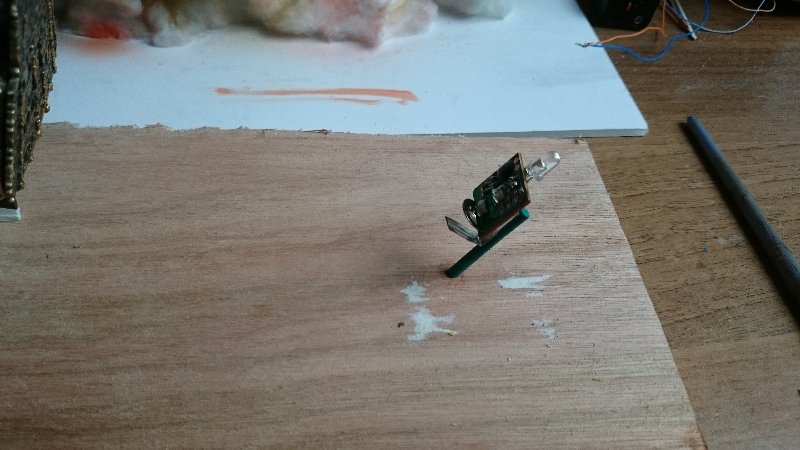
 also I bought this to do the ratlines with
 but This came with the Airfix Wasa kit
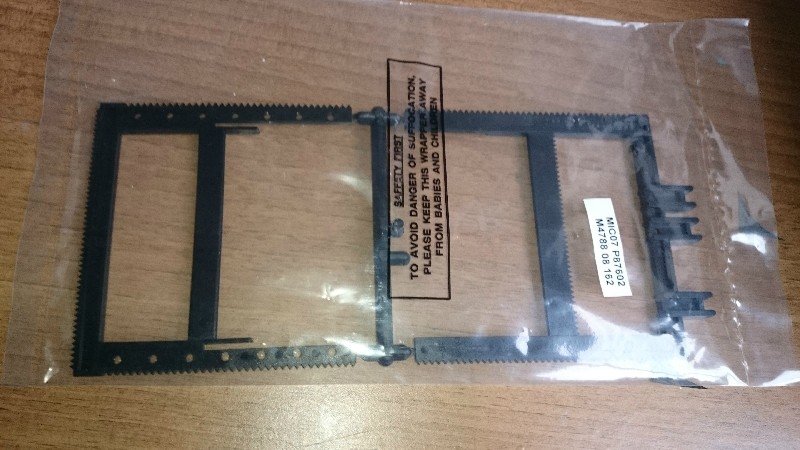 which would be the easiest to use.
-
-
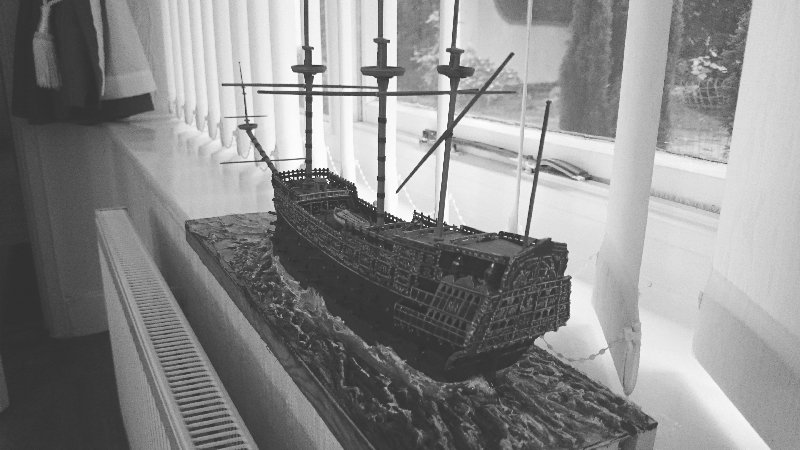
Hi all here is tonights update
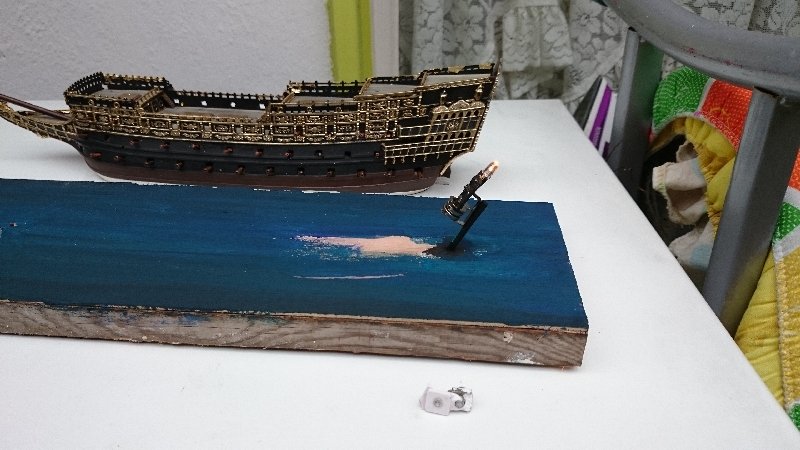
 Don hope this helpsFirst paint your base ( the deeper the water the darker and less other colours there would be) in this example its costal waters so not very deep ( you could add greens and browns for really shallow water showing the shallowness)
So here's your base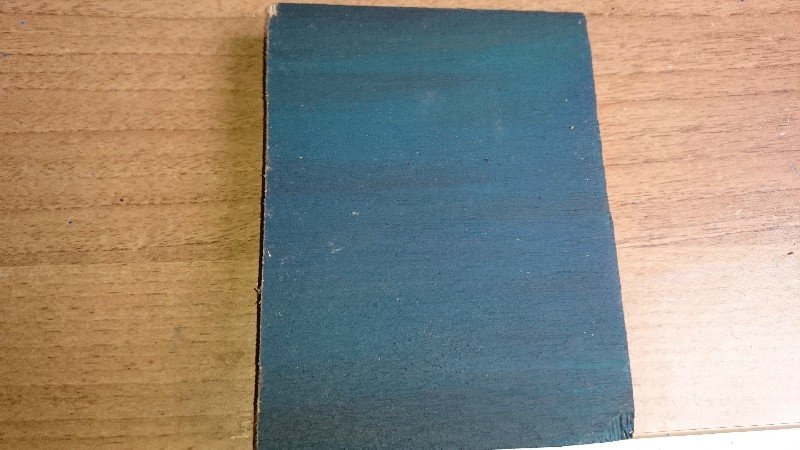
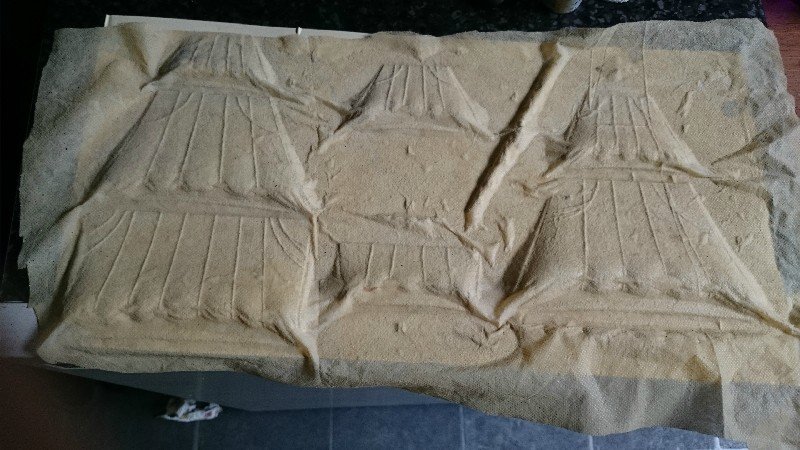
place ship wherever you want it (if the ship is to be removed wrap the hull in cling film to stop the sealant sticking to it.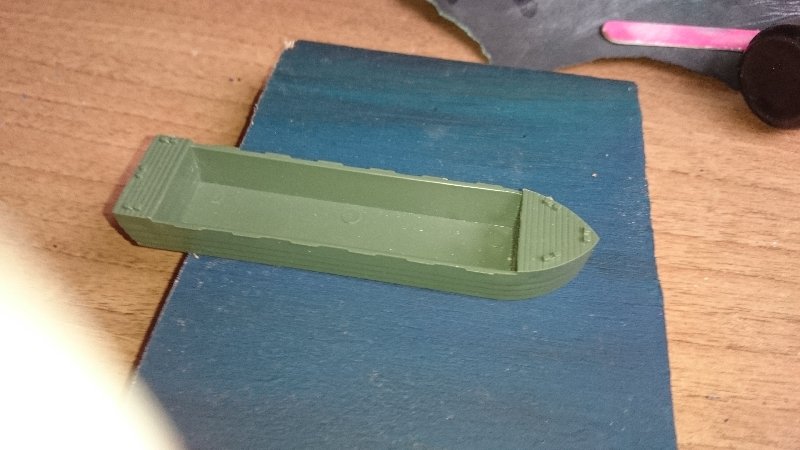
Get some clear bathroom sealant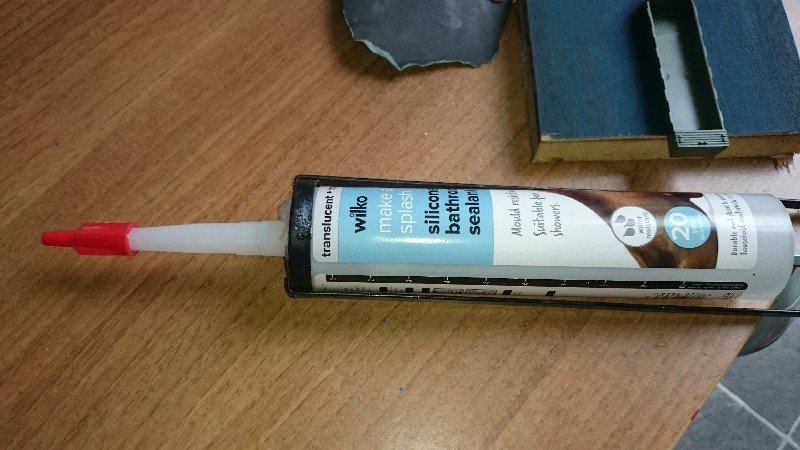
and apply to base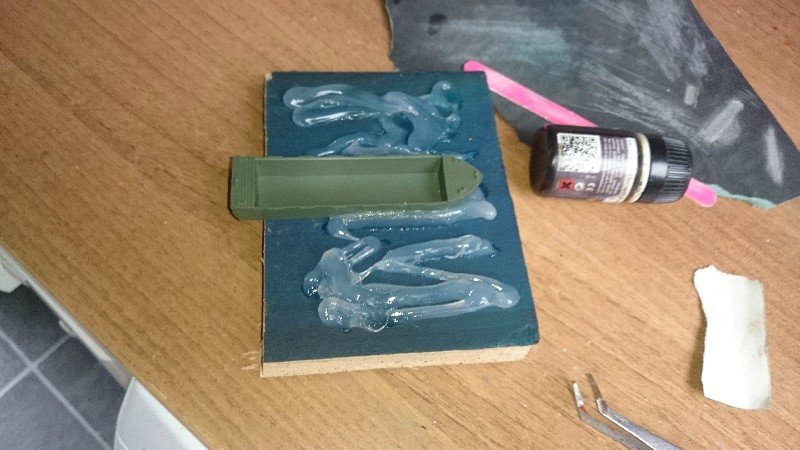
using a knife or spoon spread it roughly about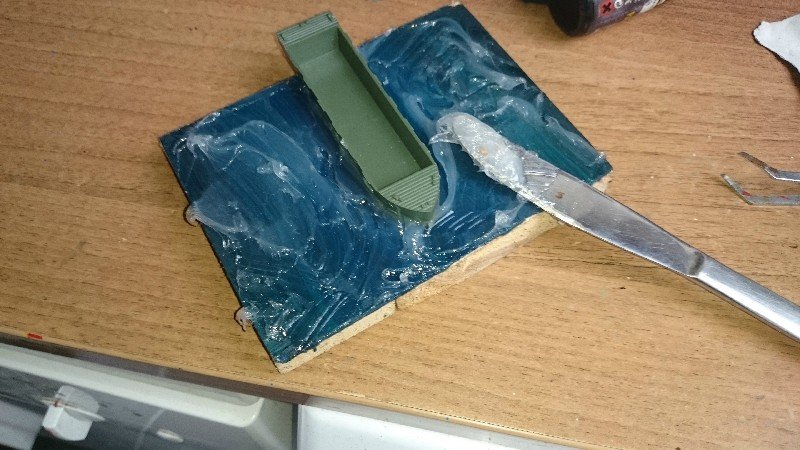
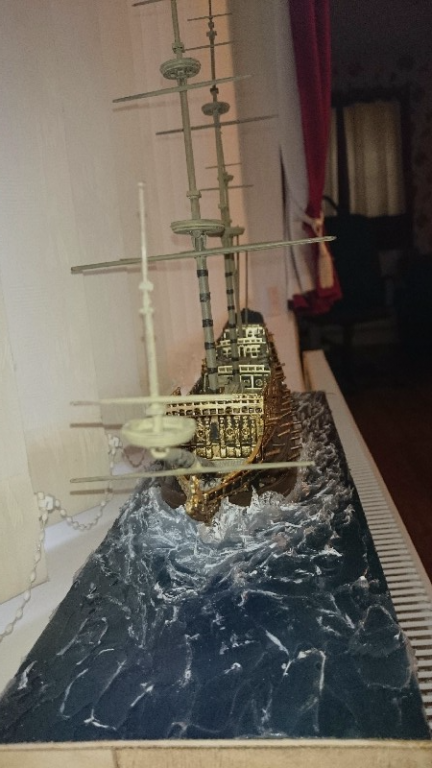
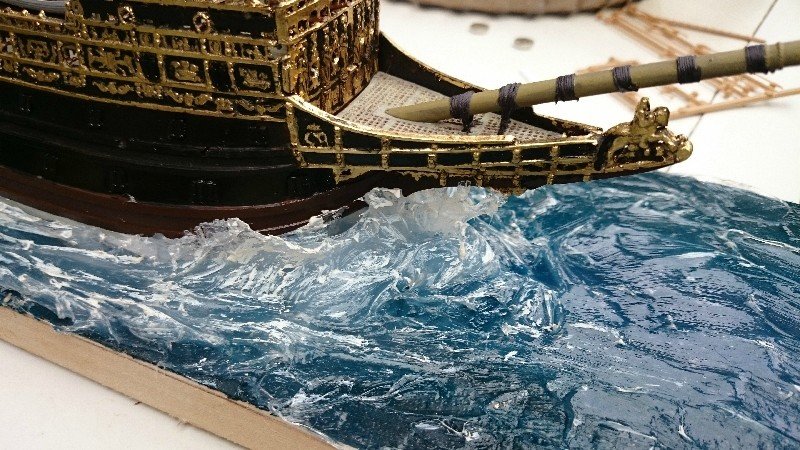
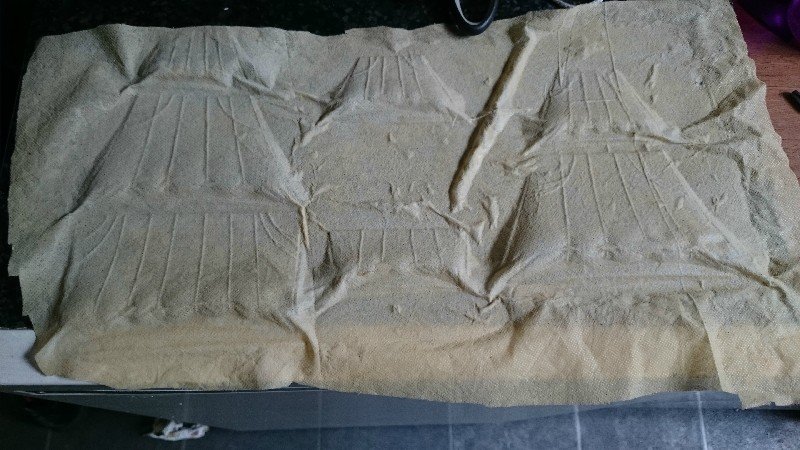
now press down with the knife or spoon and rapidly move in the direction of the wave moving upwards as you go and you will get a little peak, just like a wave, continue till you have enough, it should end up looking like this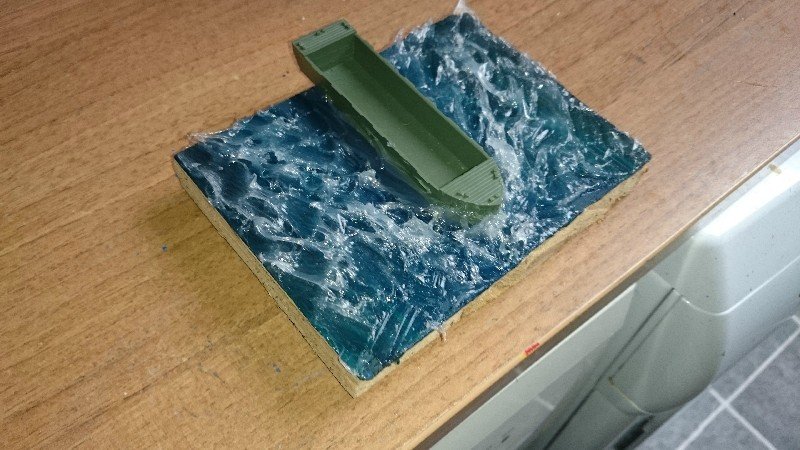
let it go off, if you need higher waves you can add more when its gone off, as I did on the bow waves
then just highlight with white paint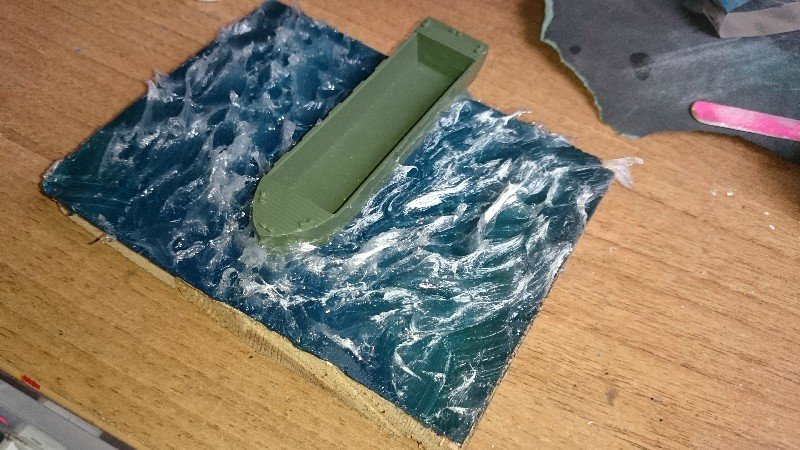
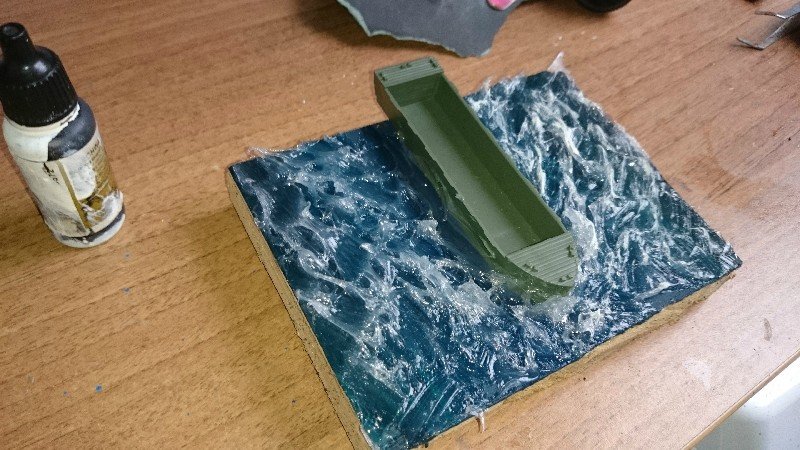
you can then use cotton wool for the foam on the very tops of the waves.
obviously you would take more care than I did on this example, but you get the idea. it really is easy I did this example in ten mins.
hope this is of use. -
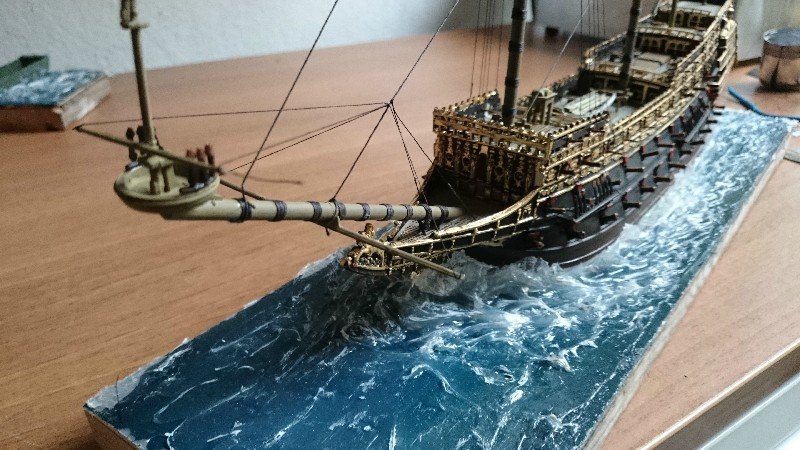
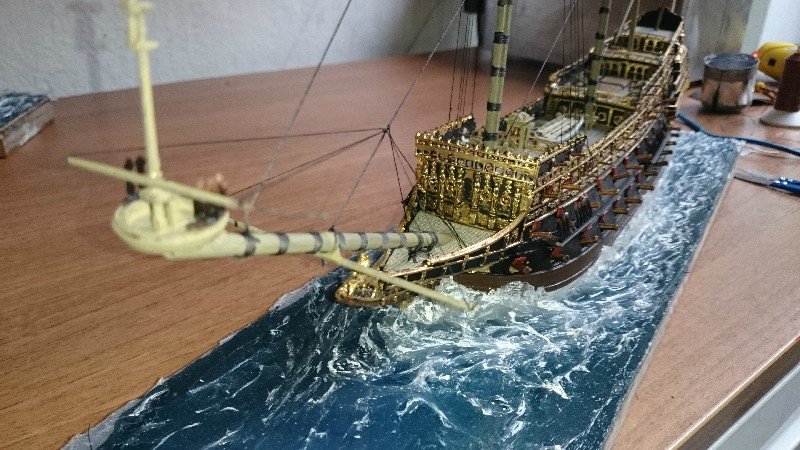
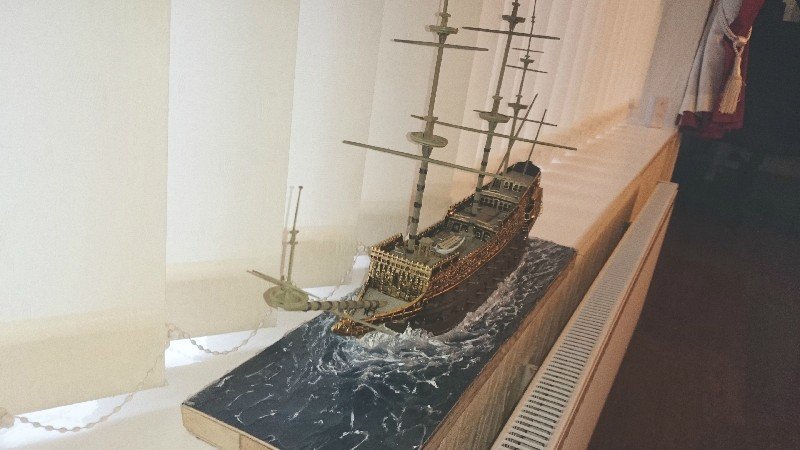
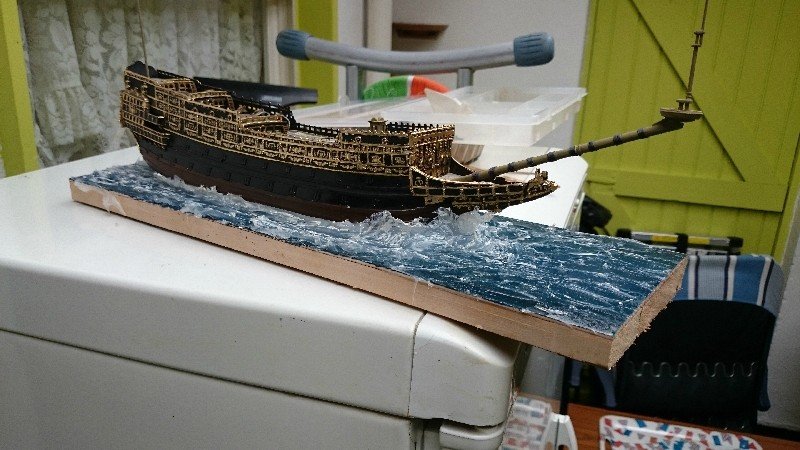
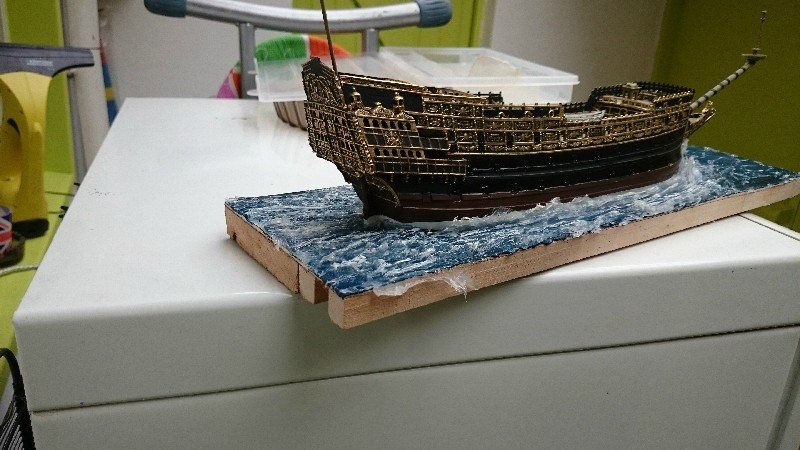
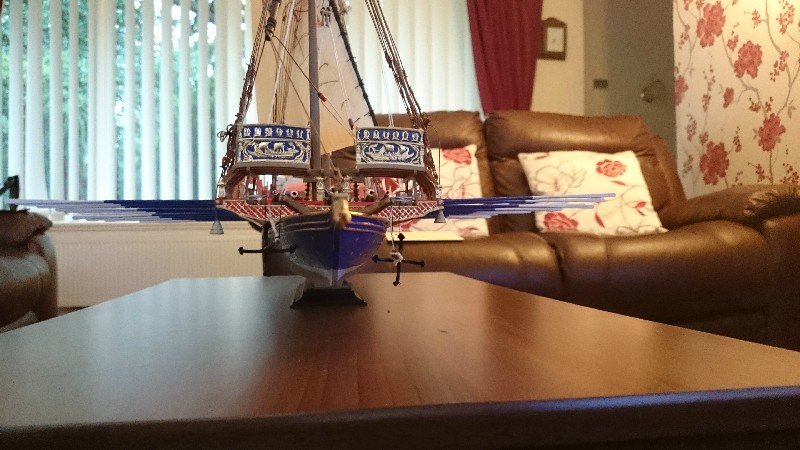
Hi all made a start on the water effects.

- CharlieZardoz, eridano, Brigg Fair and 3 others
-
 6
6
-
-
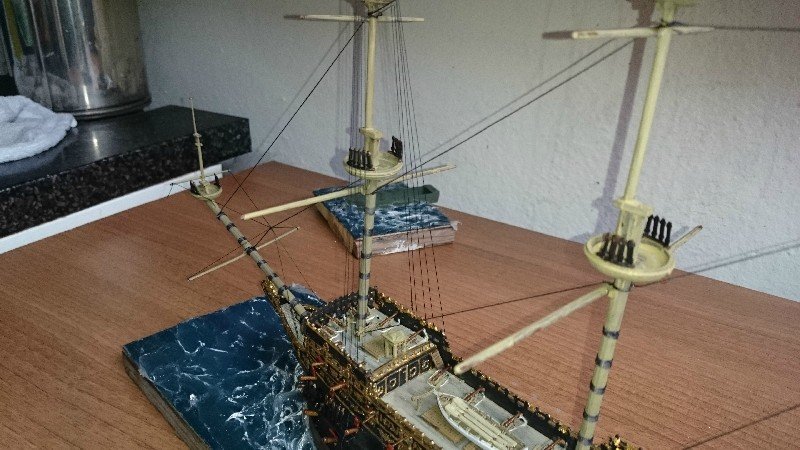
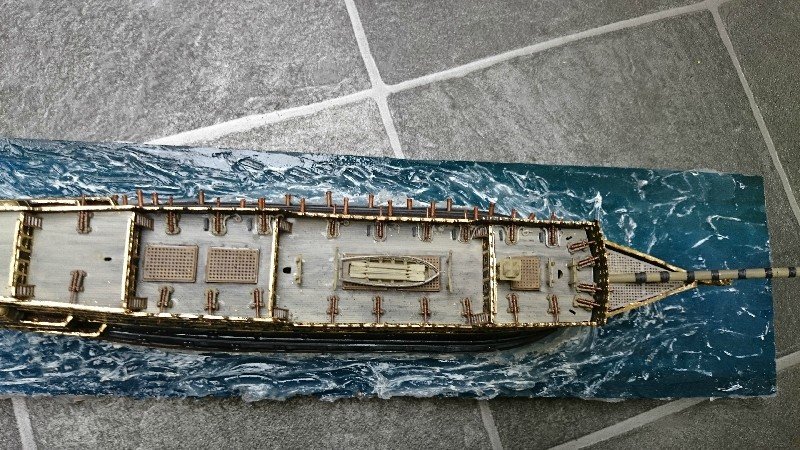
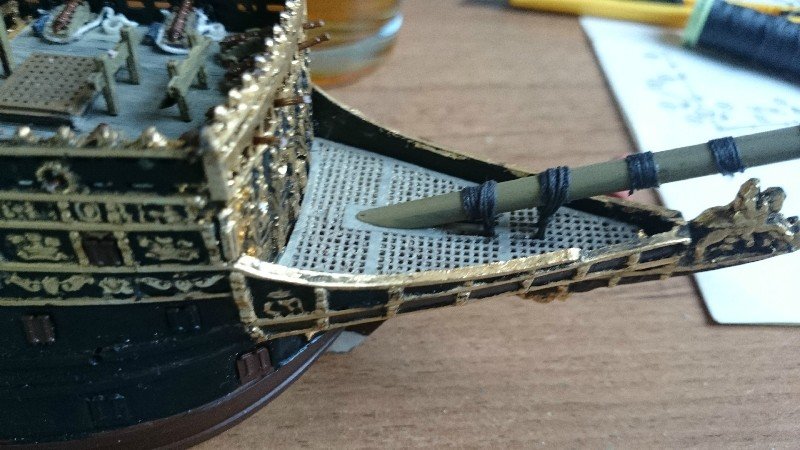
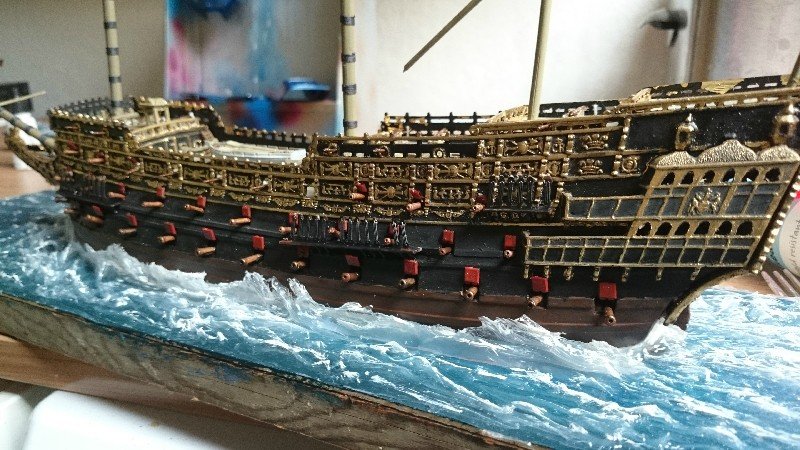
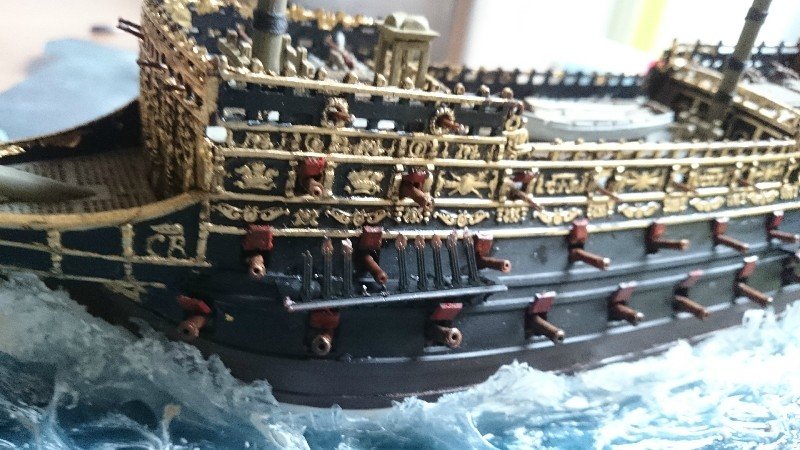
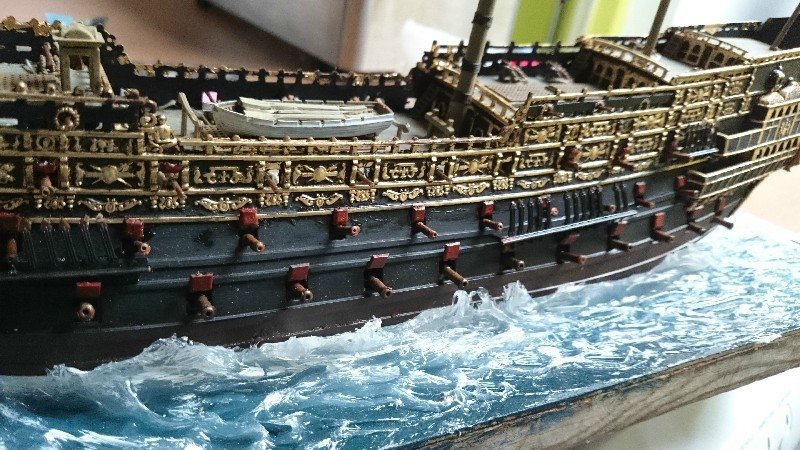
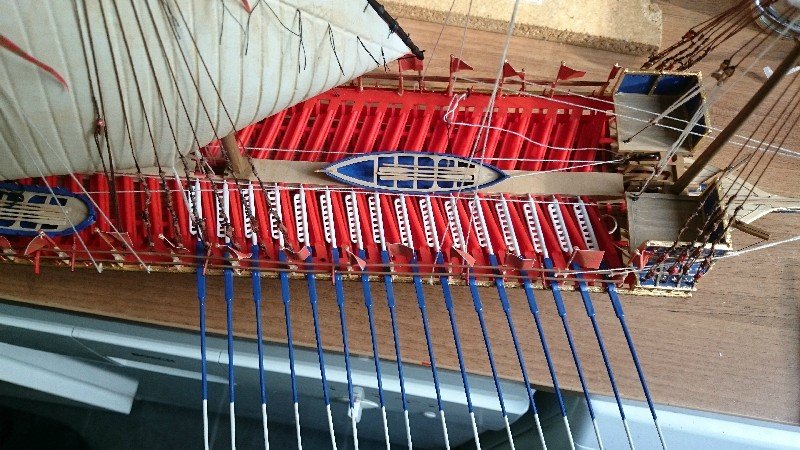
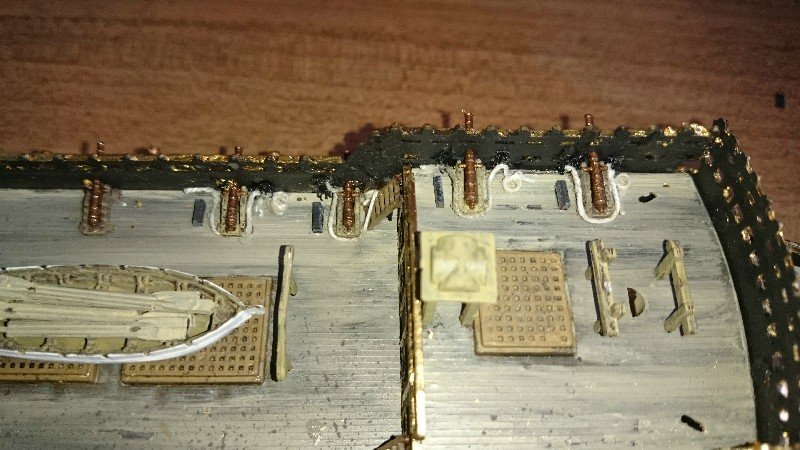
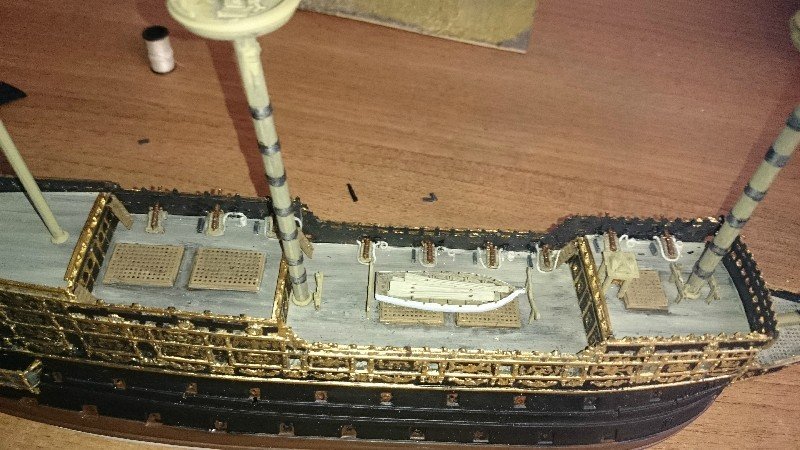
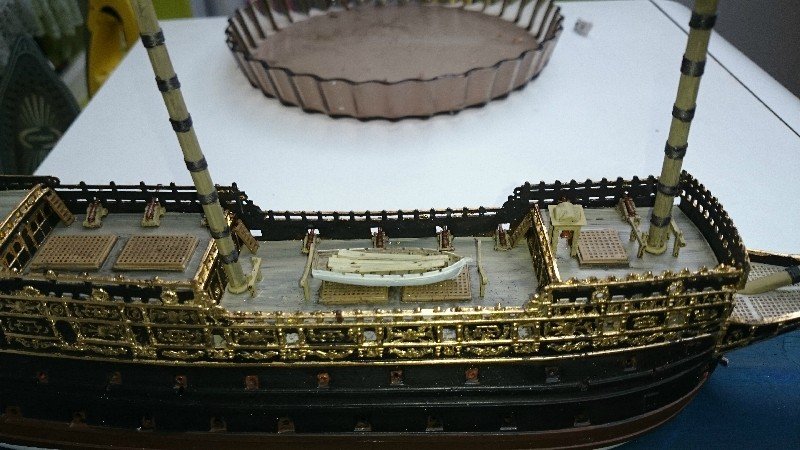
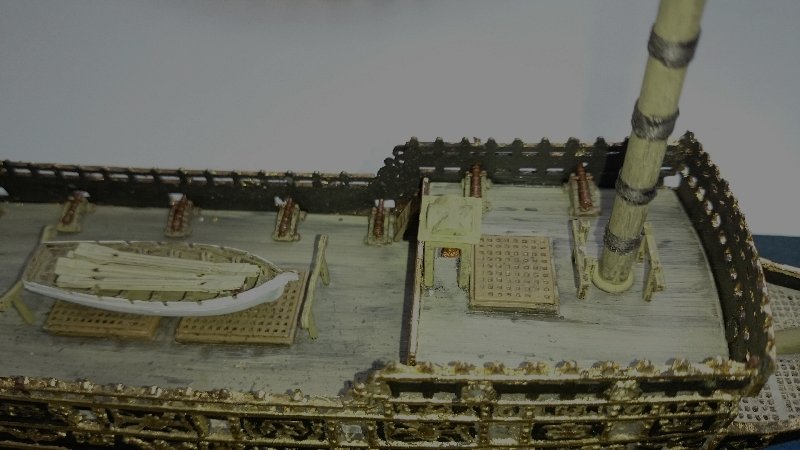
Hi all here is an update on this one. All the guns in place (still got to tie some down) all the closed gunports glued in.
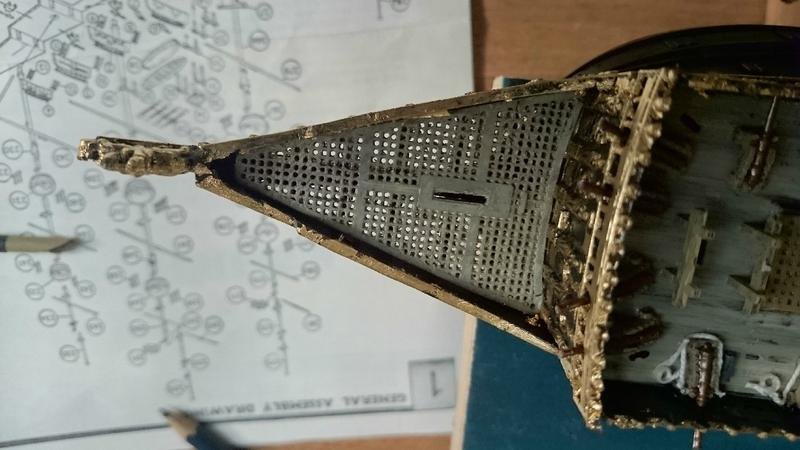
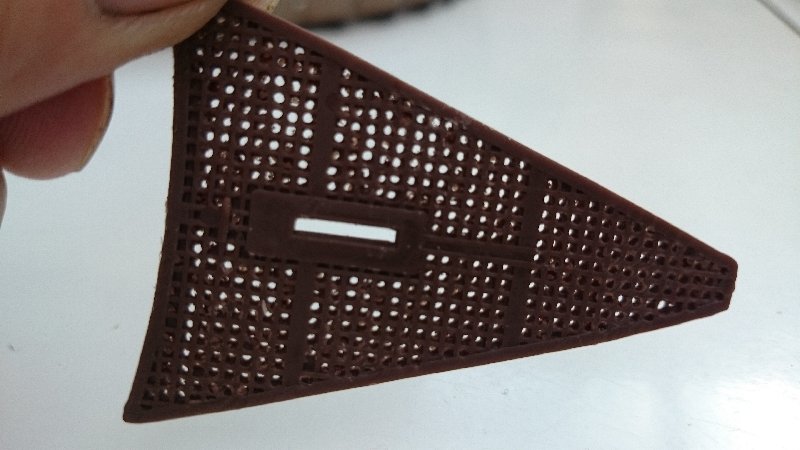
I've discovered that the slots in the grating for the bowsprit tie downs are not there so had to make them.
-
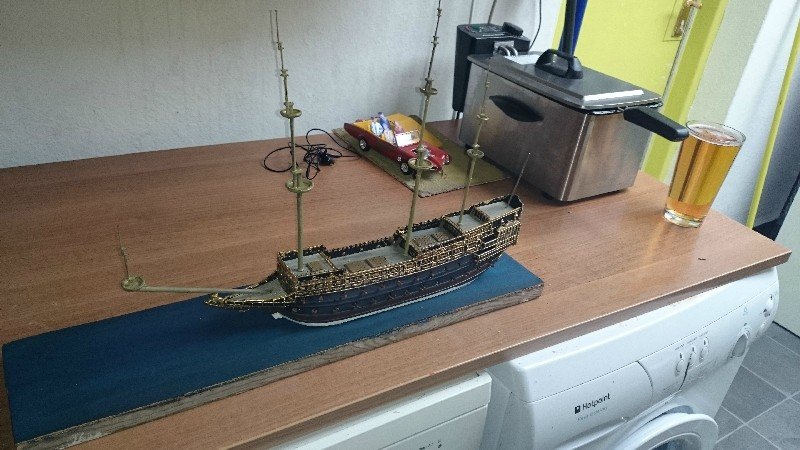
Well I had to have a celebratory drinkipoos. Thanks for the encouragement mate.
-
I loved the monkees too especially the car, its rare here too but I got it off ebay, if memory serves correct 27 quid so bit of a bargain too.Dun da da da,da its finishedI will post better pics tomorrow but here she is.I few suggestions for anyone building this, don't glue the trumpets on the angels on the stern till the kit is finished( cant count the number of times I've knocked them off). do not glue the side railings on till the end they were constantly getting in the way making it difficult on numerous occasions, and most annoyingly including the rigging stage, I know you tie some of the rigging off onto it but you could always tie off to the framework some where temporarily.other than that it is a great kit and all goes together well.

I would like to thank everyone for keeping me motivated on this kit, as without you I would have given up at the first hurdle.
-
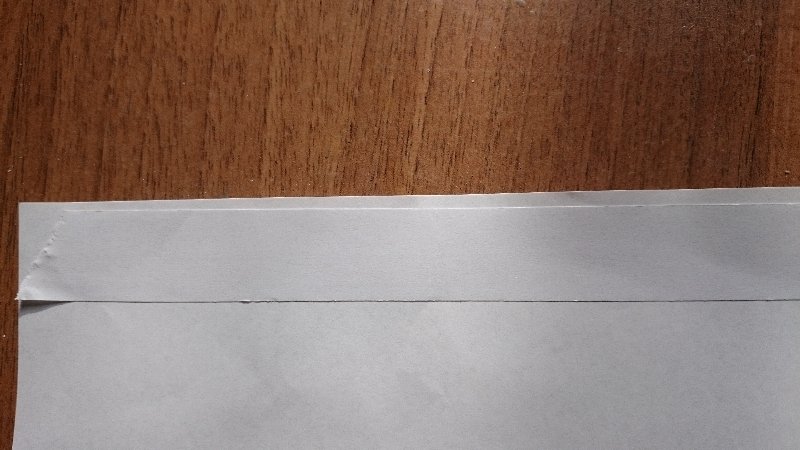
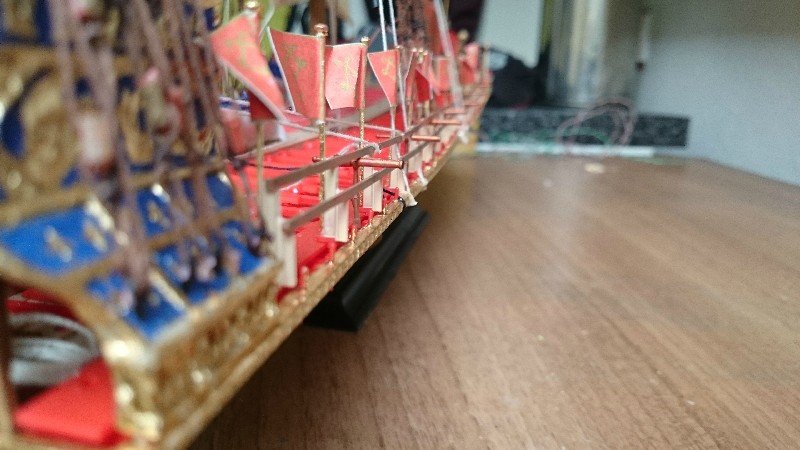
Hi all I've been racking my brains trying to think of a way to do the tassels round the canopy, I cant find any which match the cord I've done the flags on the mast with, so,came up with this.take a piece of double sided tape and stick it to a piece of paper
 tack that each end to a lollipop stick
 wind the gold thread round the lollipop stick
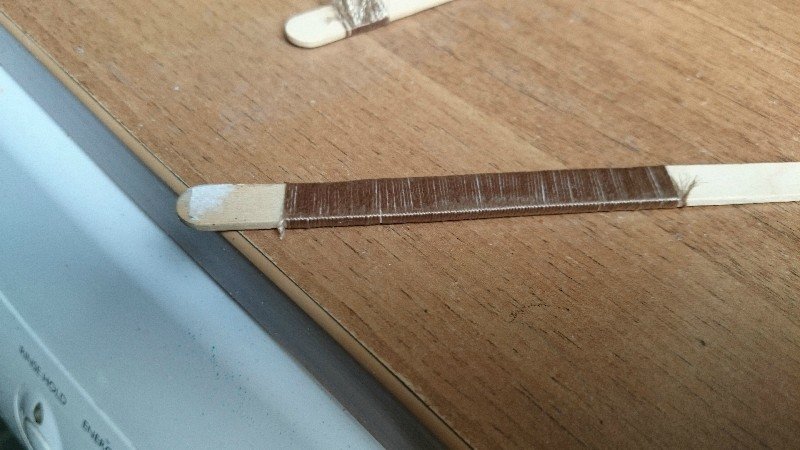 Cut along the edge
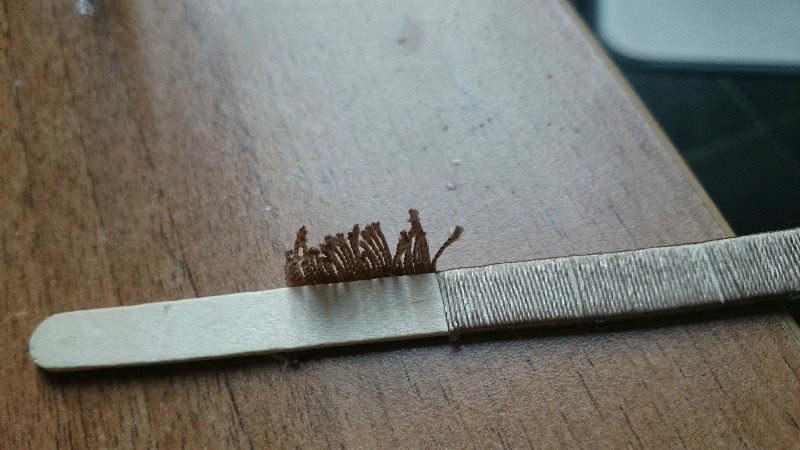 then glue in place
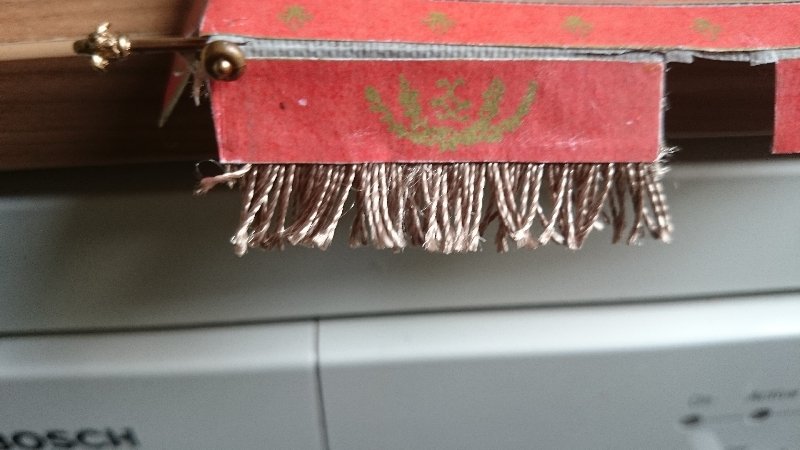
-
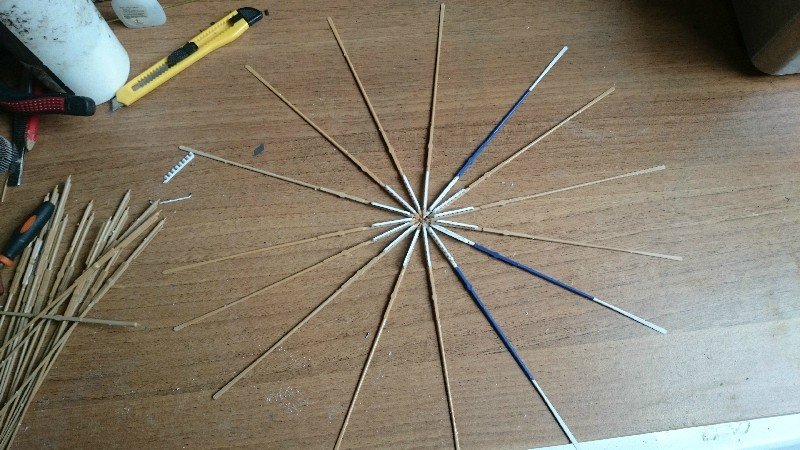
Hi all well the advantage of taking my boss to have her hair done is it gives me 5 hrs sitting in the car, so I've bought a bag of oars and glue with me so looking forward to hours of glueing oars.
-
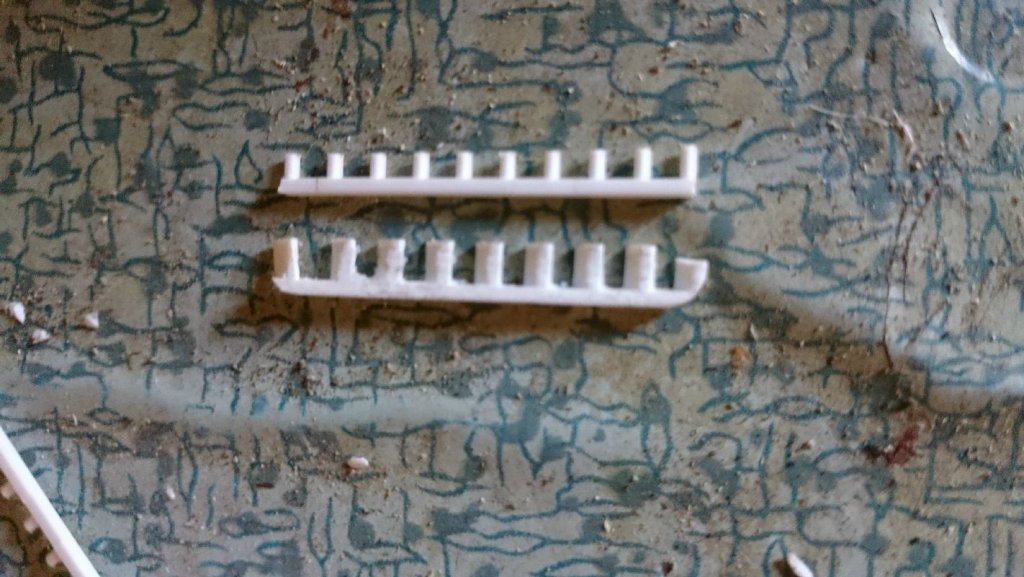
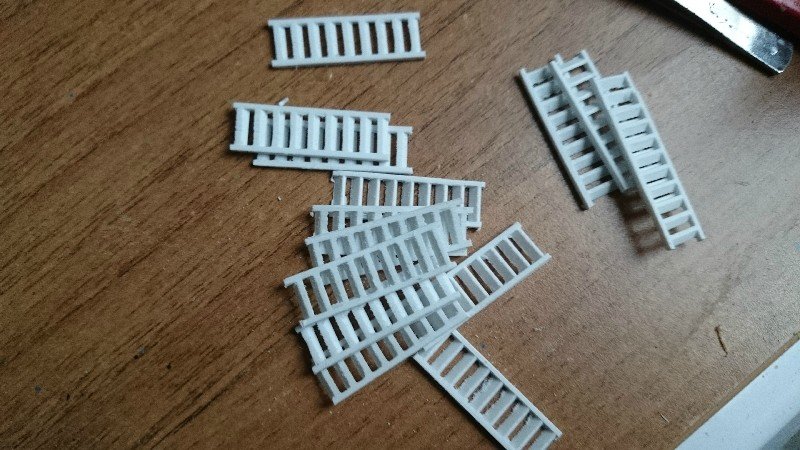
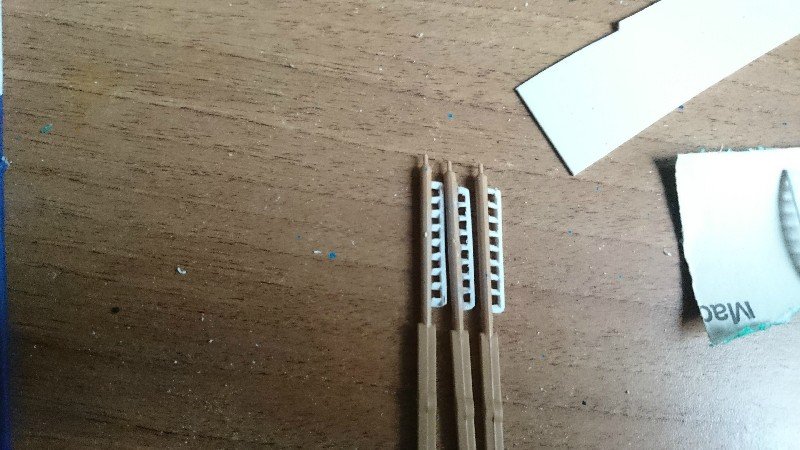
Well I've got to do all 64 oars again, I ordered some more ladders to do the handles with ( ordered more than I needed as I could see them being usefull for other things) luckily I ordered the wrong bits.

now when you compare them, I just have to redo all of them
-
-
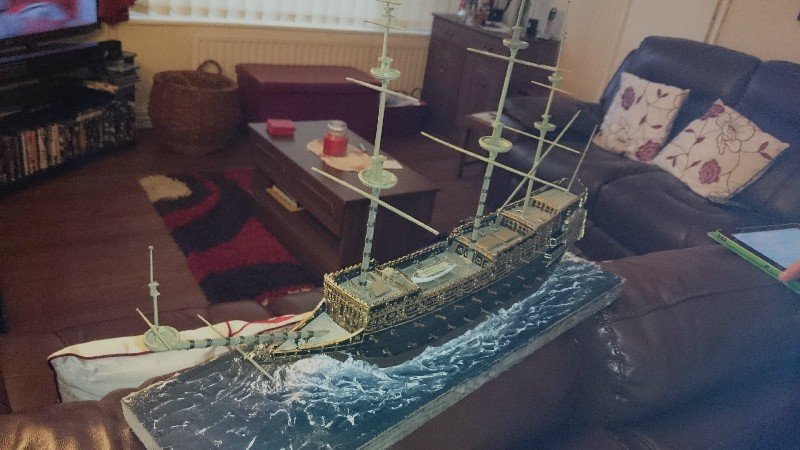
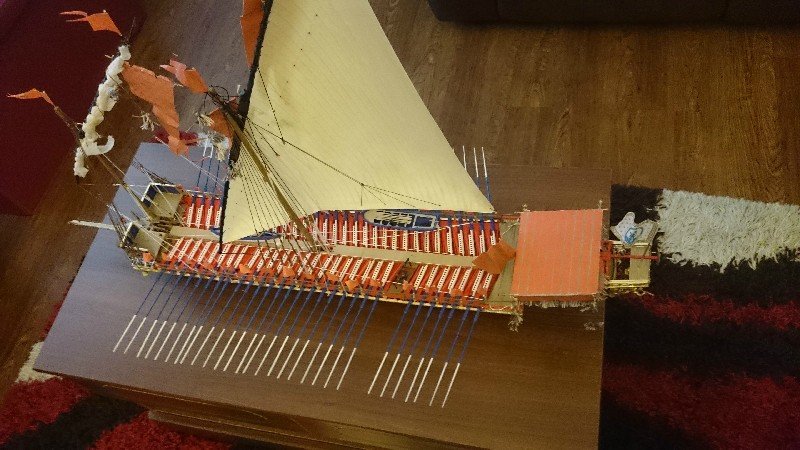
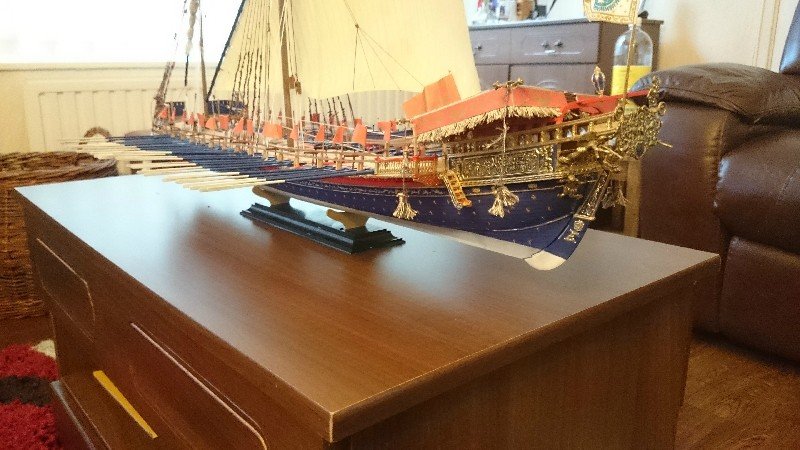
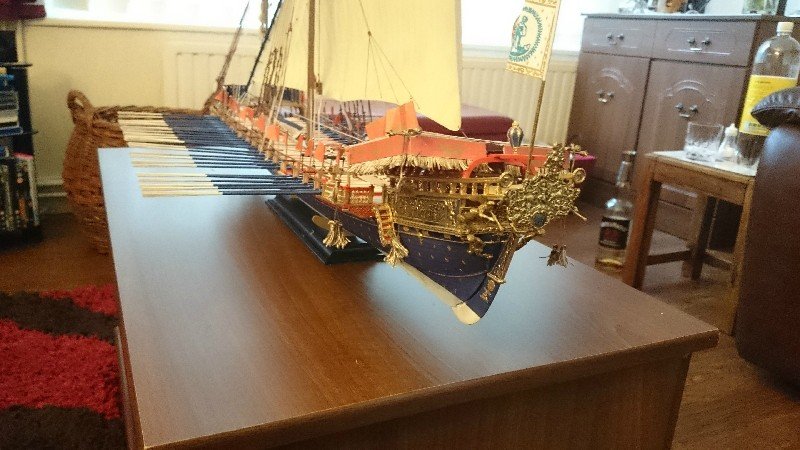
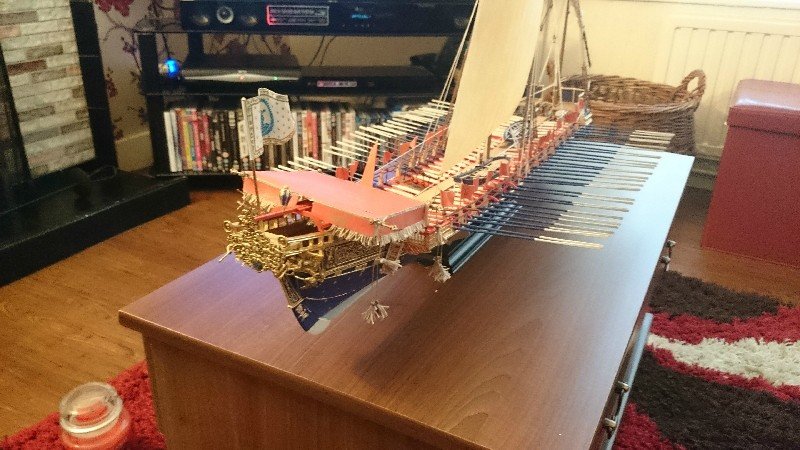
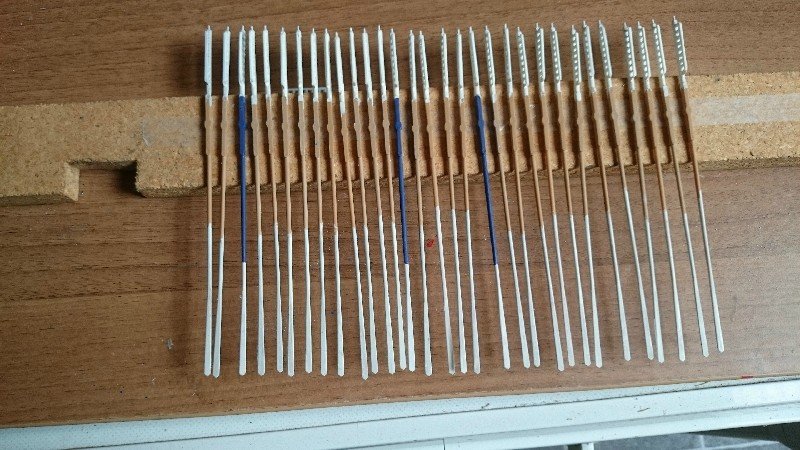
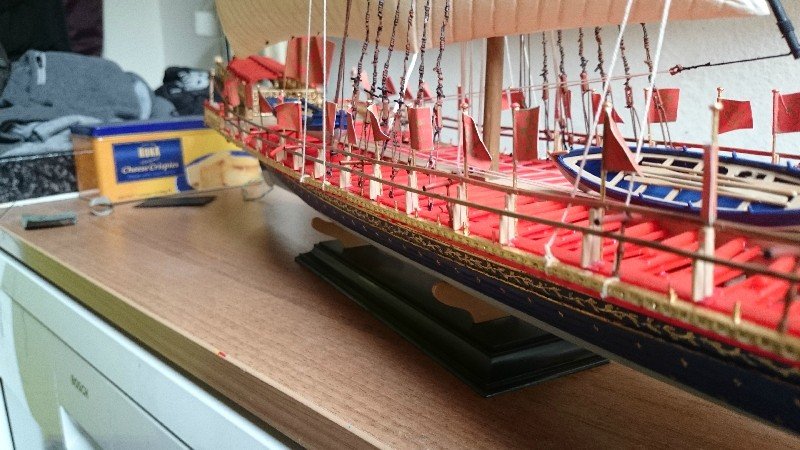
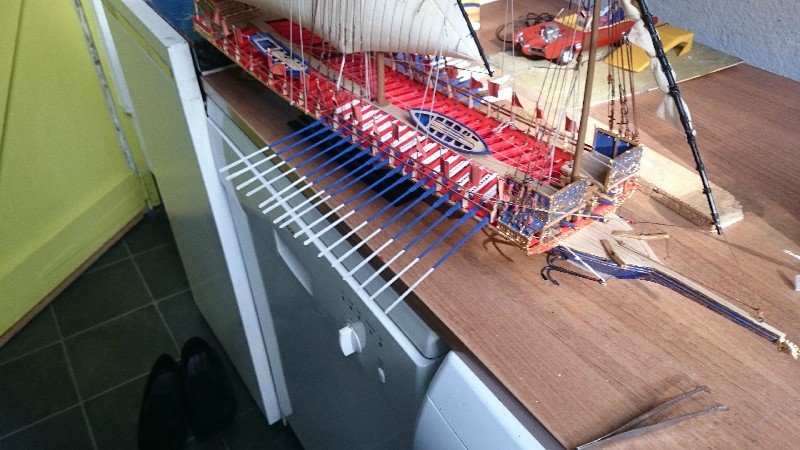
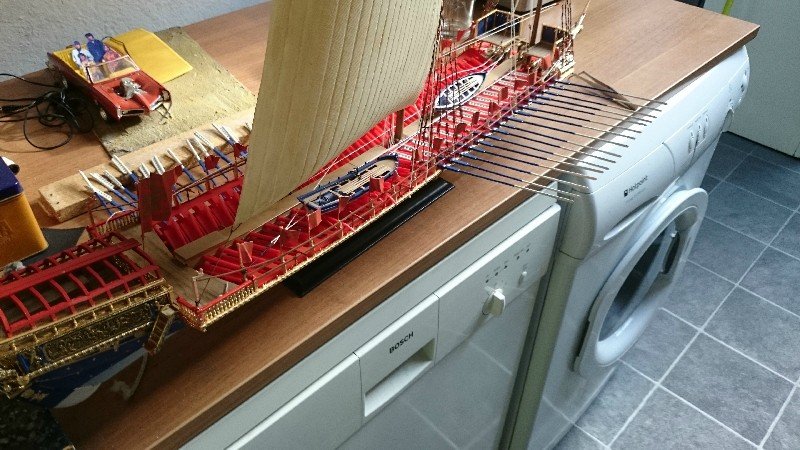
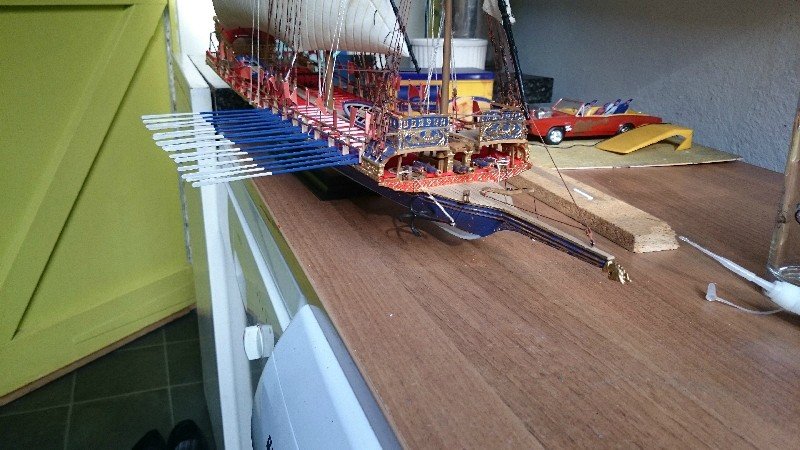
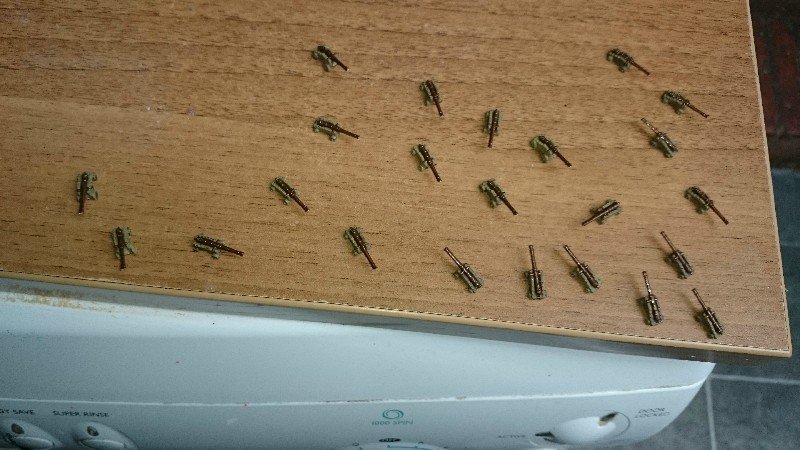
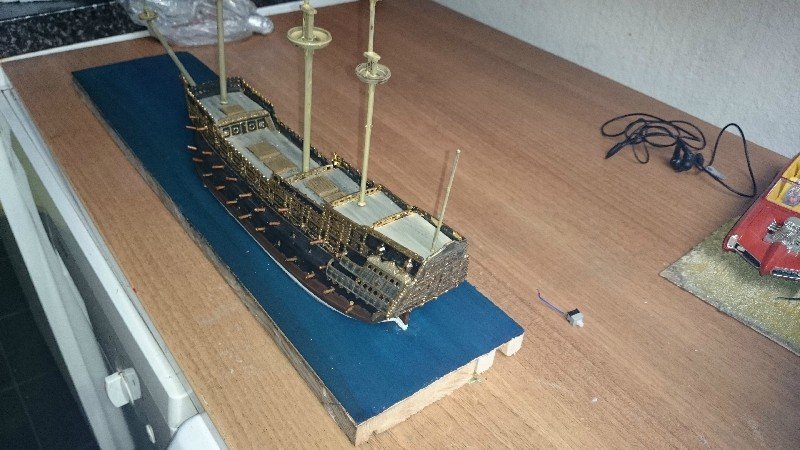
Hi all, well I think I'm on the last leg of this build, this is half way there with the oars
 just these left to do
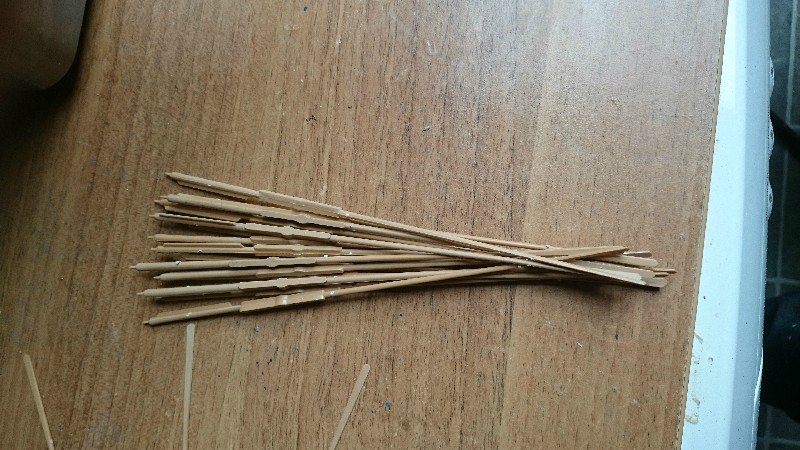 every single oar has this huge seam on it, so, only32 to sort
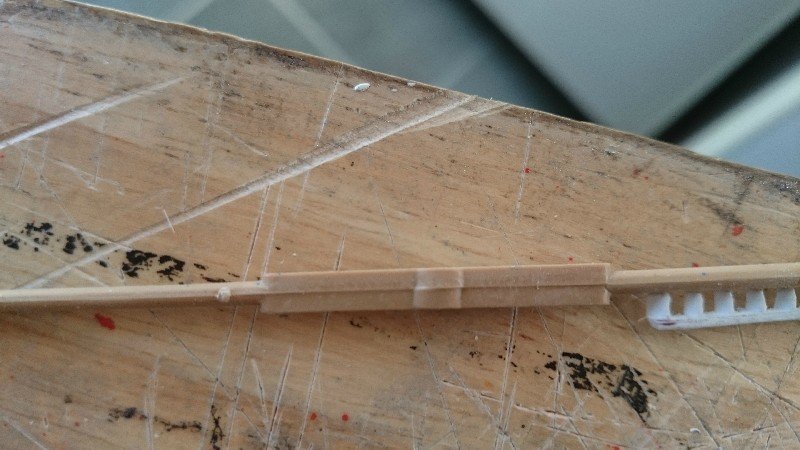
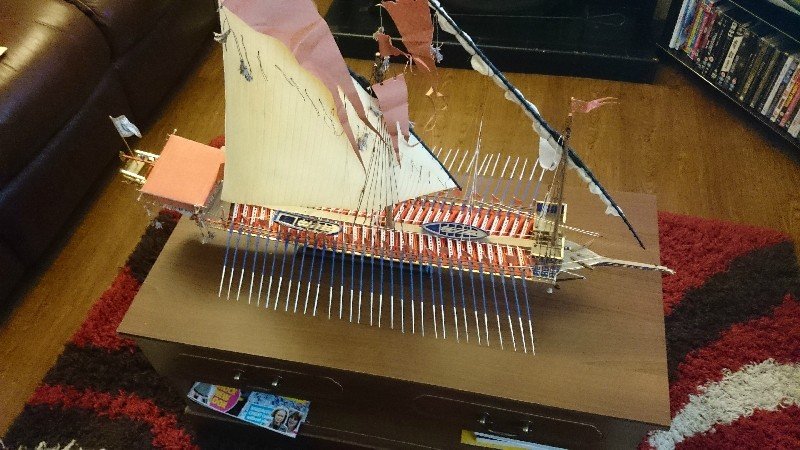
 I really feel this is nearing the end now, once I add the oars it will be huge, no idea what I will do with it when done, I had my warspite dio in the local library, but now thats back due to the library re-utilising the areas and no longer having room for it (a polite way of saying no one was interested in it) so now I've got that back too. argh I have no room.
-
-
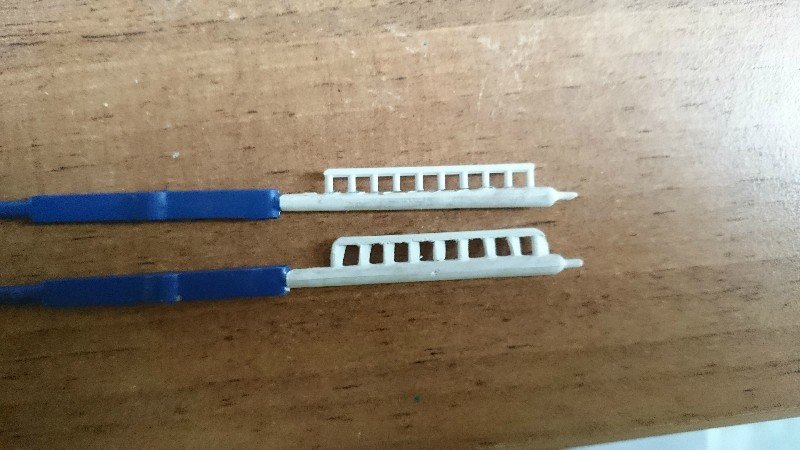
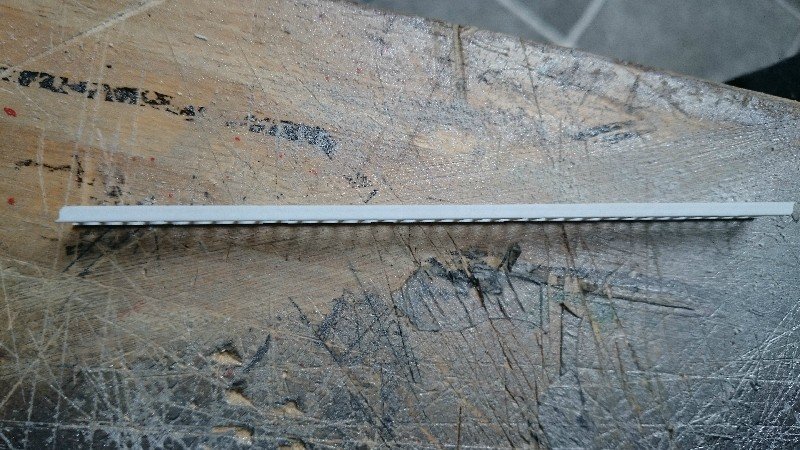
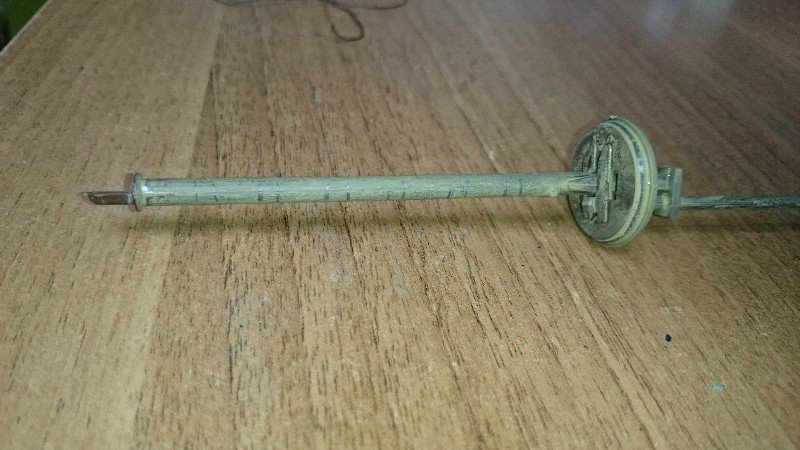
Hi all didn't like the oar handle, too irregular, so browsing the net I found these, they are OO gauge steps (1/87) so near enough.
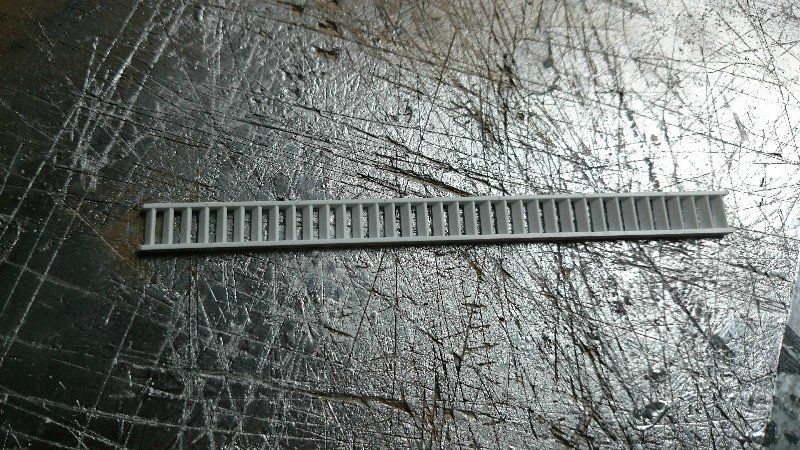
But as you can see they are too wide
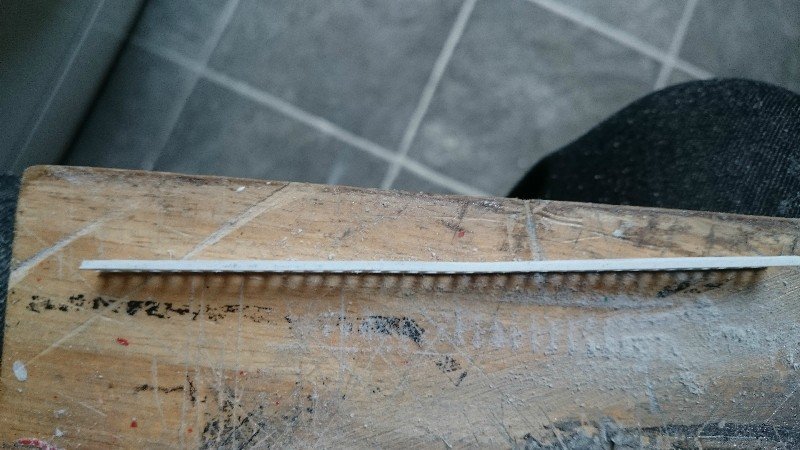
so with my guage
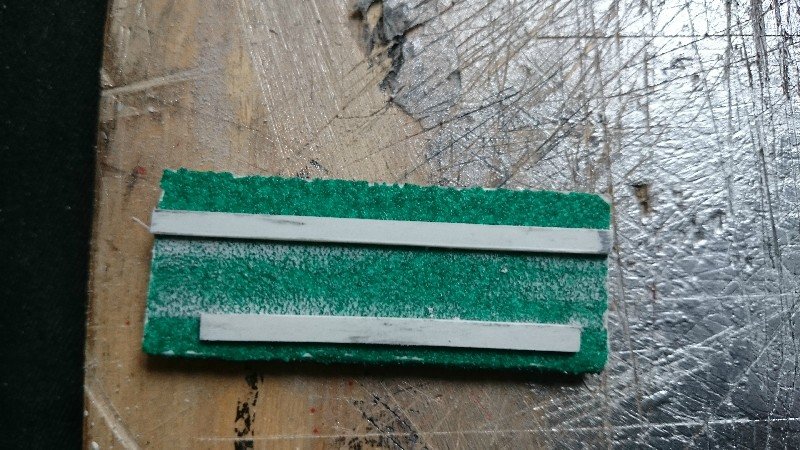
I whittled them down a bit
cut to length
split
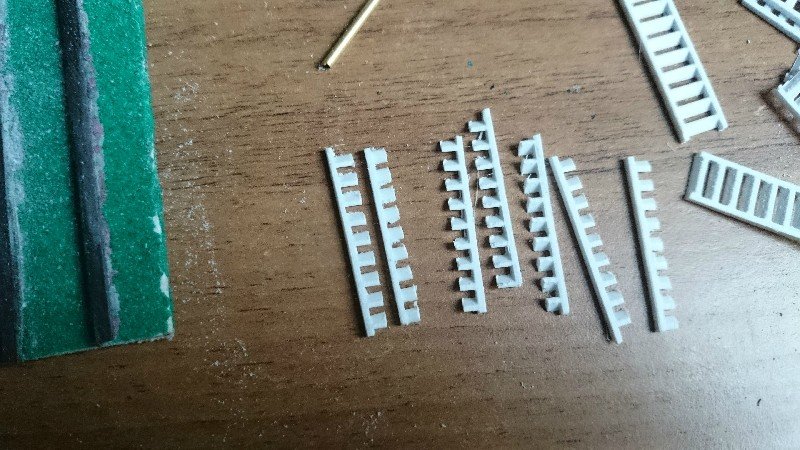
and with a little bit of fettling they will all look the same now
-
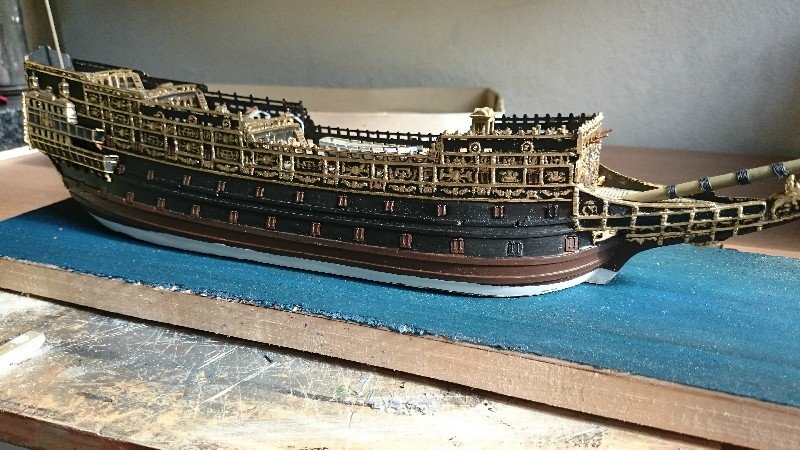
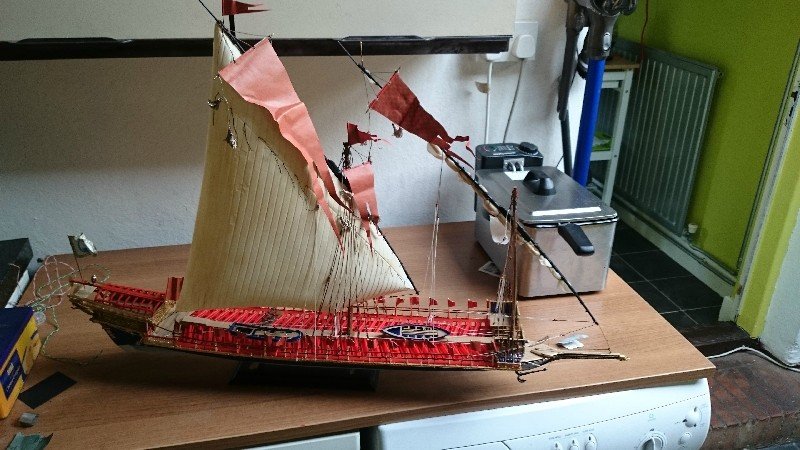
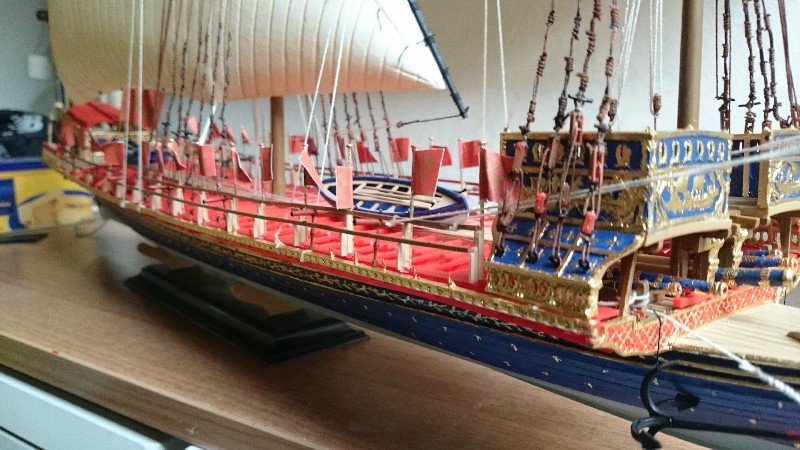
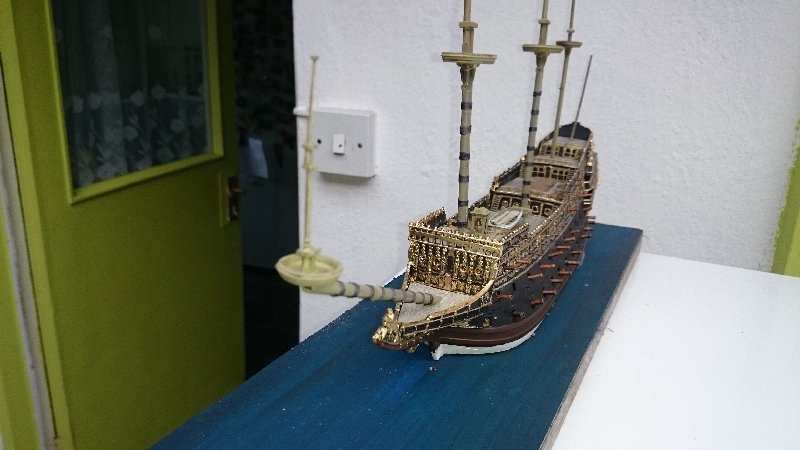
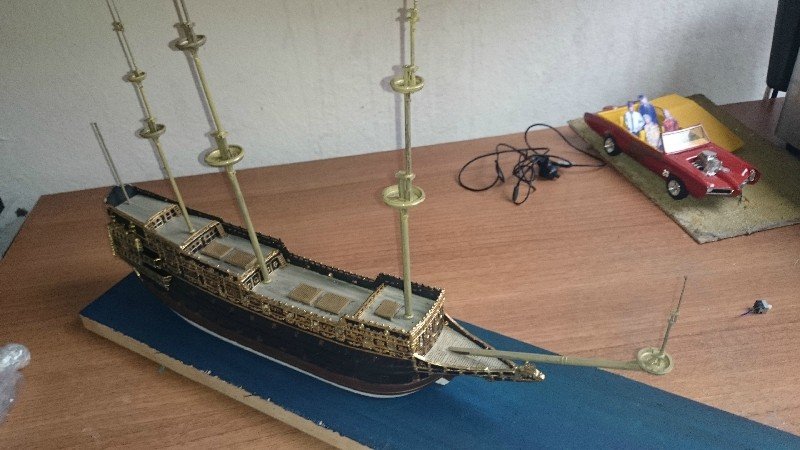
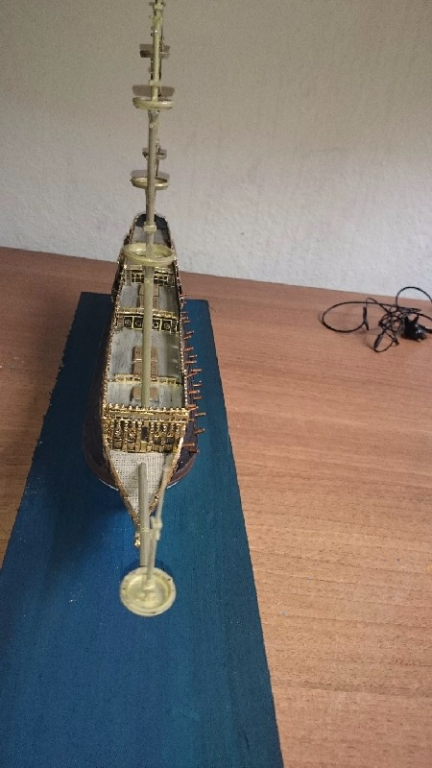
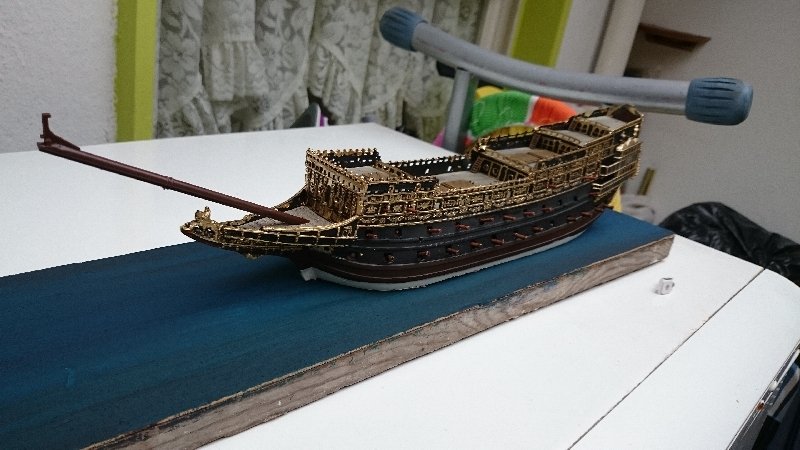
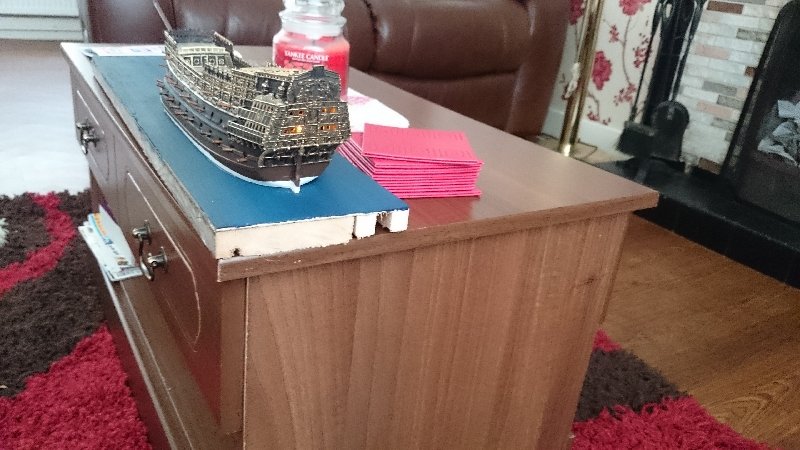
hi Edwin from stern to bowsprit she is 18.5 inches and she is 14 inches high I think I paid 29 quid on ebay for her. For such an old kit the fit is really good, no real problems so far.
-
-
-
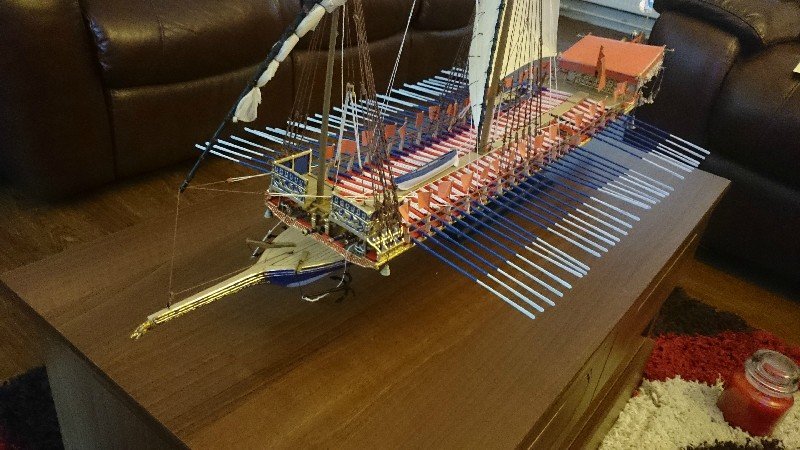
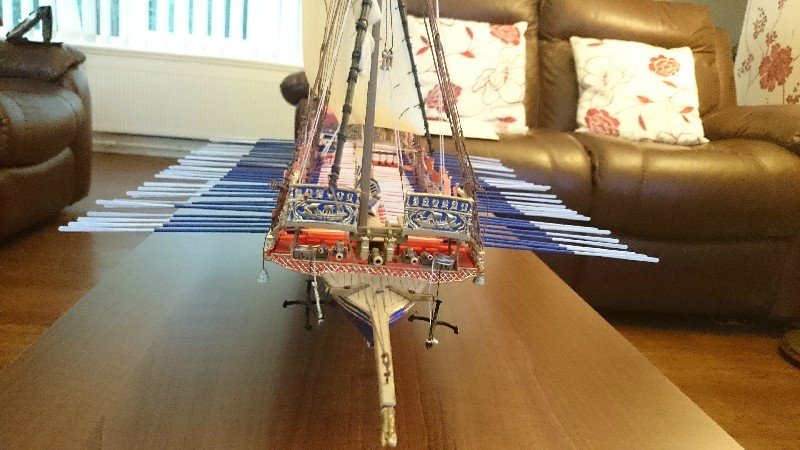
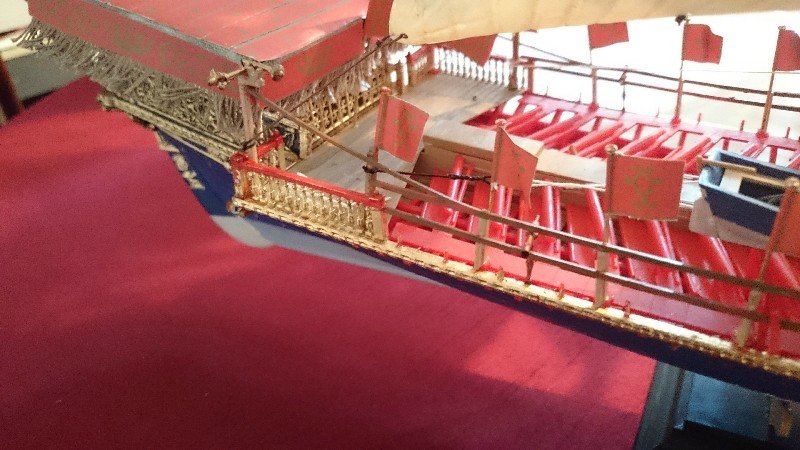
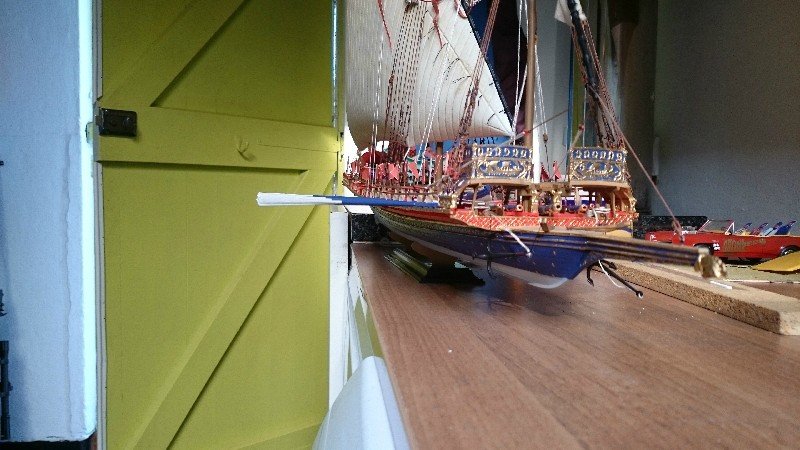
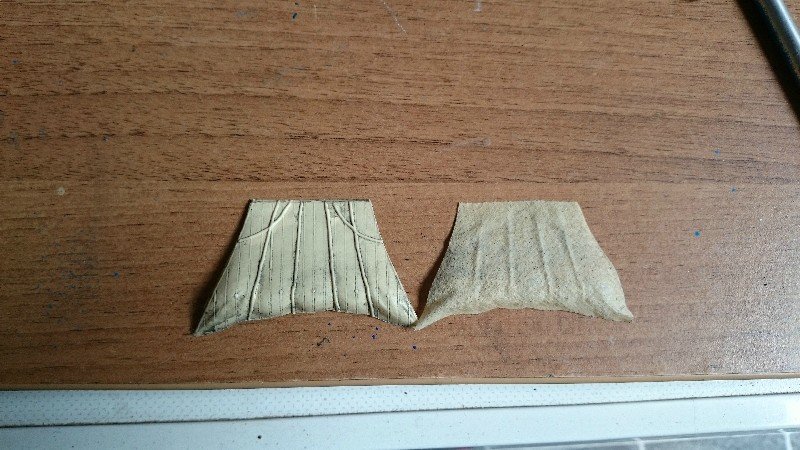
Hi all yes I made the row handles myself,thanks for the advice will have to see if I can get the ones I've done off without to much damage, is an update on this build someone told me the clew? was missing, well apparently this is it (the loose flap of sail from the furled sail)in the first picture.

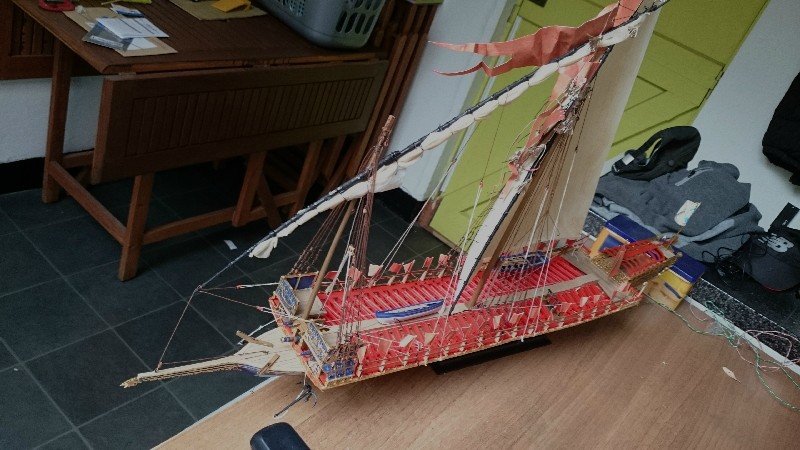
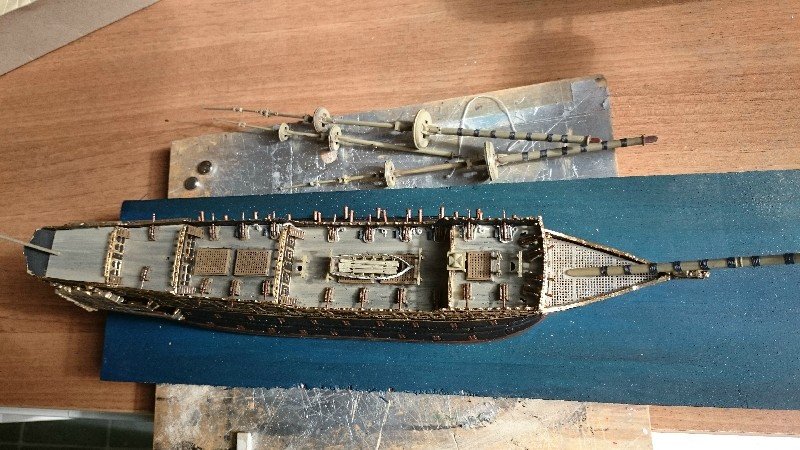
I've added all the cannons now as well.
-
-
-
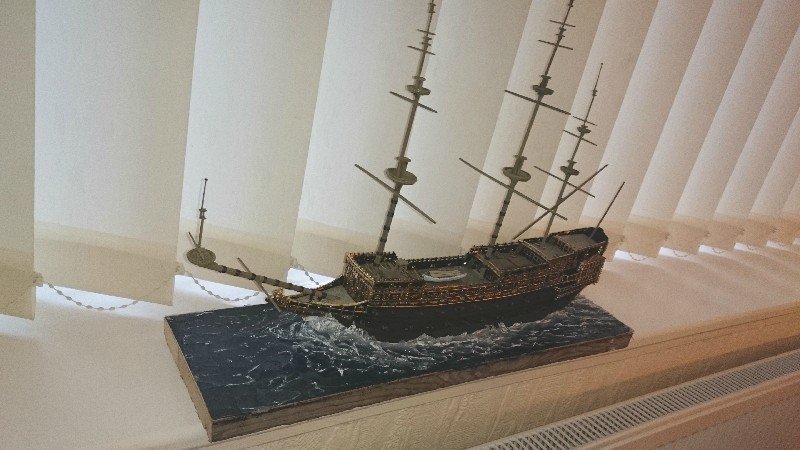
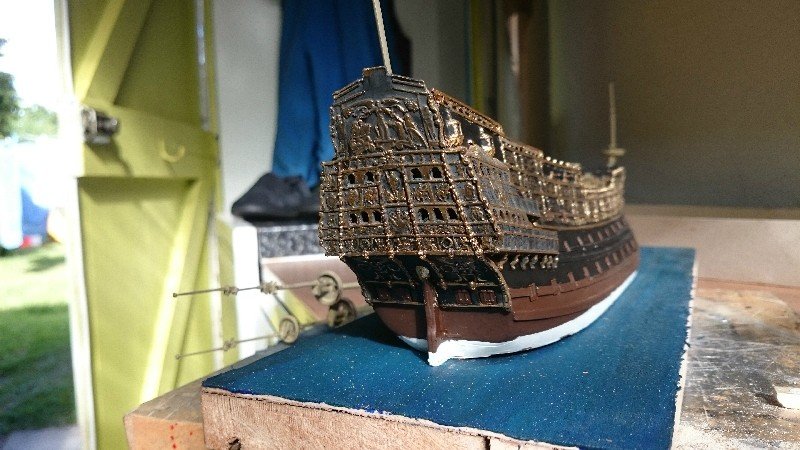
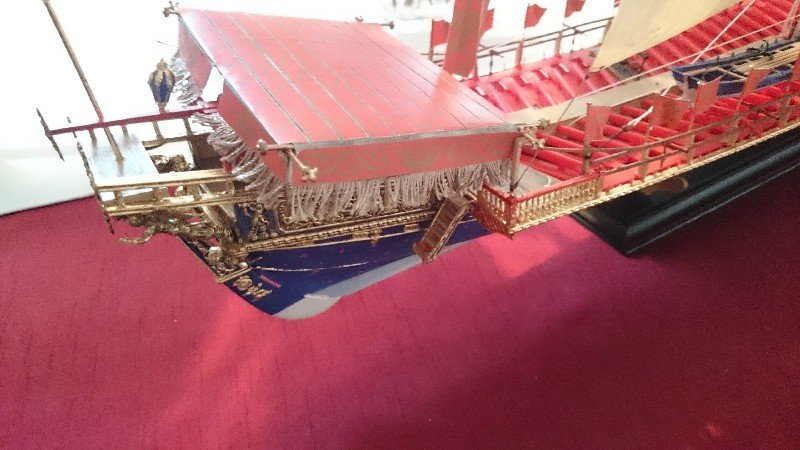
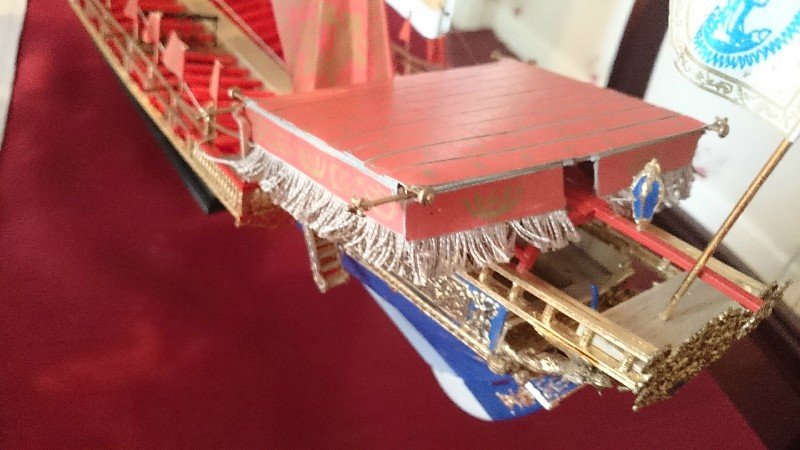
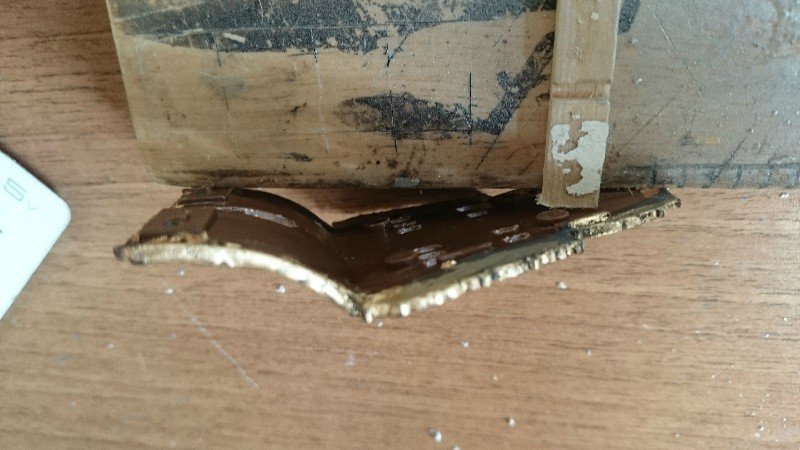
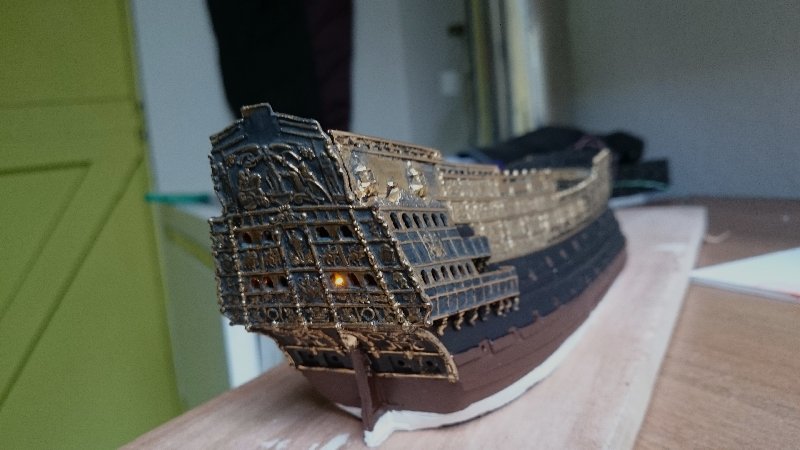
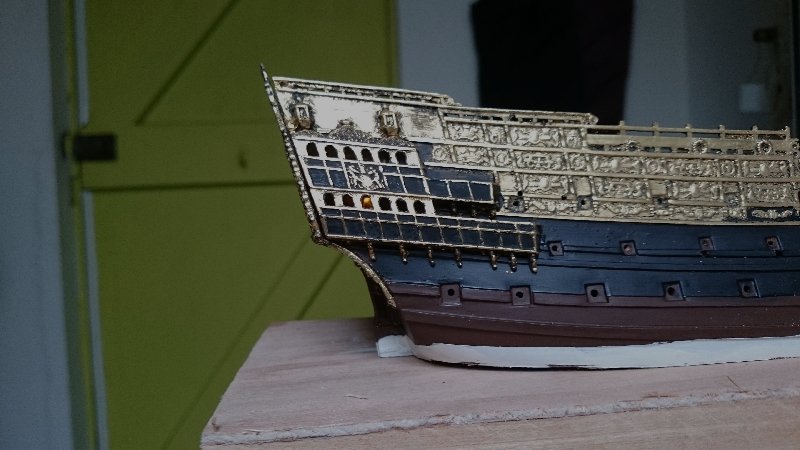
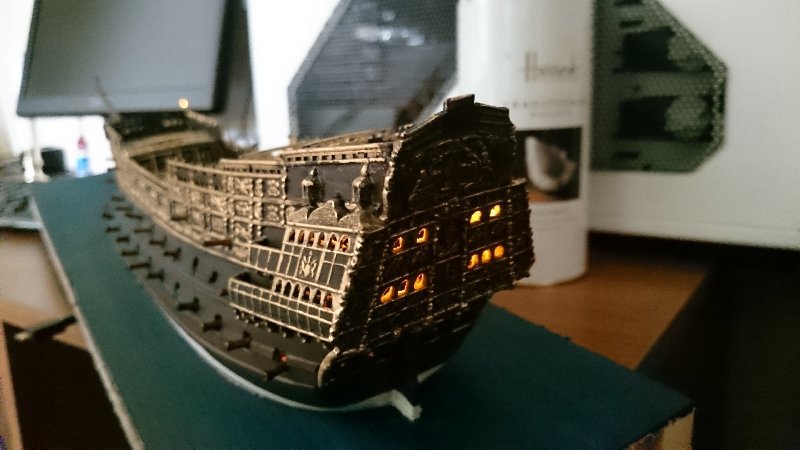
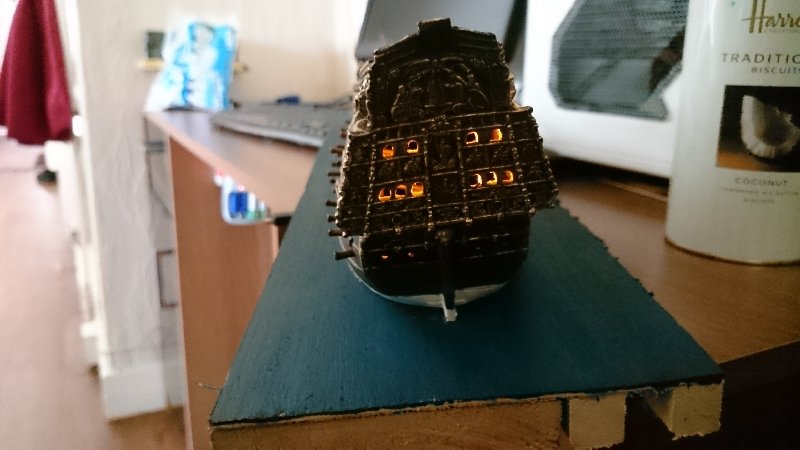
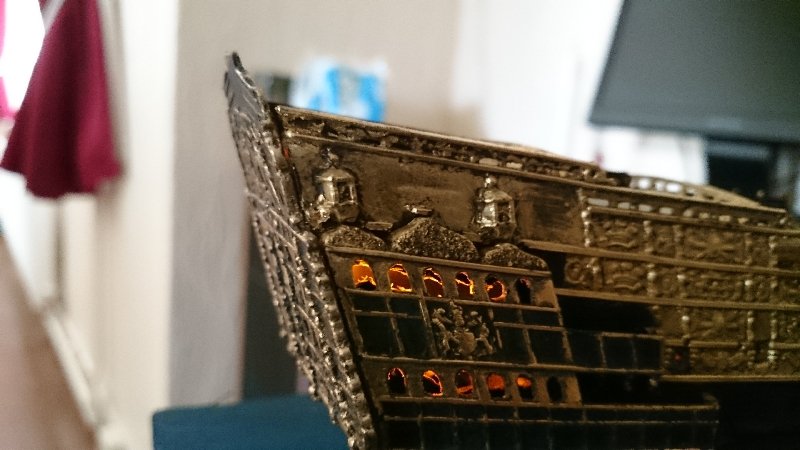
Hi all a small update on this, The transom sticks out past the gallaries on the sides and I didnt like the way Airfix just moulded them flat so I've rounded the edges and reguilded them
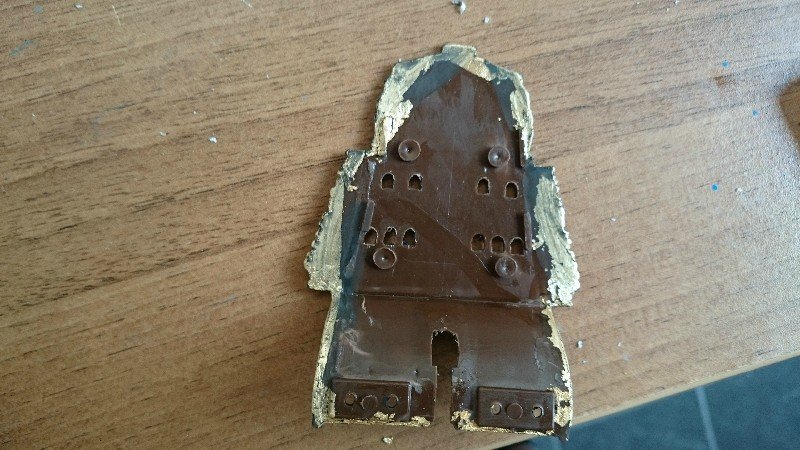
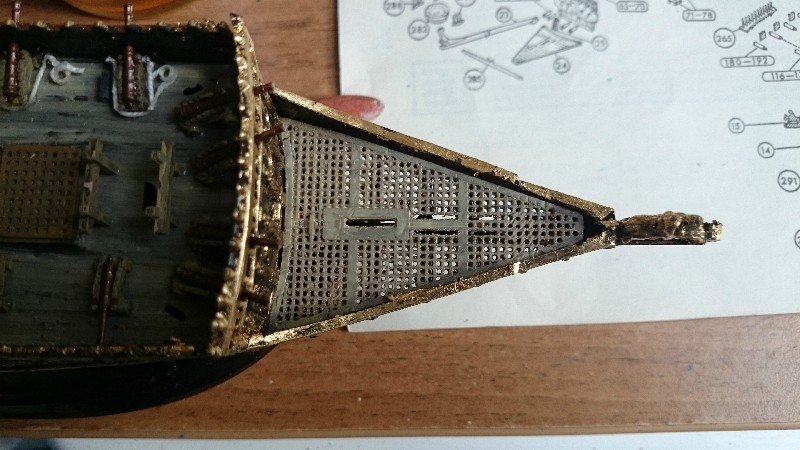
 also the grills on the prow are not moulded all the way through so I drilled all the holes out.

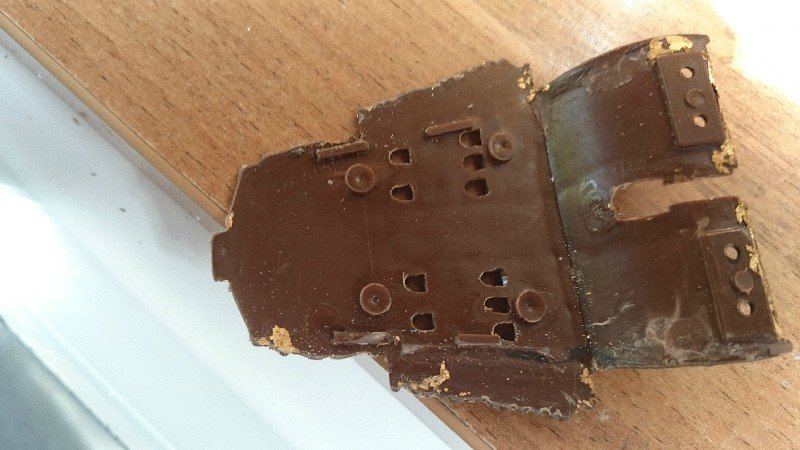
 and I've hacked the candle apart and reconfigured it
-
Firstly welcome aboard wishbone stash, what a friendly helpful bunch they are on here, one thing I would say about the missing sprues is from the last (very, very, very apologetic reply I got from them (must have been the mention that this build was on several forums and the fact that my being unable to continue it because they wouldn't send the parts had been mentioned) they told me in future to phone with problems as phone call get treated with priority. personally I like emails as I have proof of all communication whereas with a phone call what proof have you got you made it or what was said in that phone call.
Just to say that is what they told me in the last email.And I am humbled that my build has inspired you to build it I'm sure you will do a much better job of it.PS are you going to guild it as well.
Anyway a little update on the Reale, I thought I would try to improve the way the rowers handles are depicted.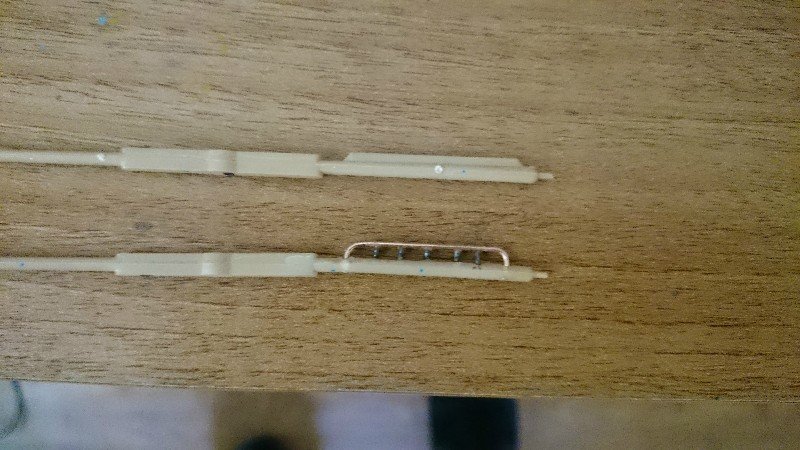
 so, only 29 more to go
- mtaylor, foxy, popeye the sailor and 1 other
-
4
-
There are some amazing plastic kits out there and with the aftermarket parts I'd say they could challenge wooden kits.
- GLakie and popeye the sailor
-
2

RMS Titanic by popeye the sailor - Academy - PLASTIC - 1/400 scale
in - Kit build logs for subjects built from 1901 - Present Day
Posted
looking great Denis