Javlin
-
Posts
1,681 -
Joined
-
Last visited
Content Type
Profiles
Forums
Gallery
Events
Everything posted by Javlin
-
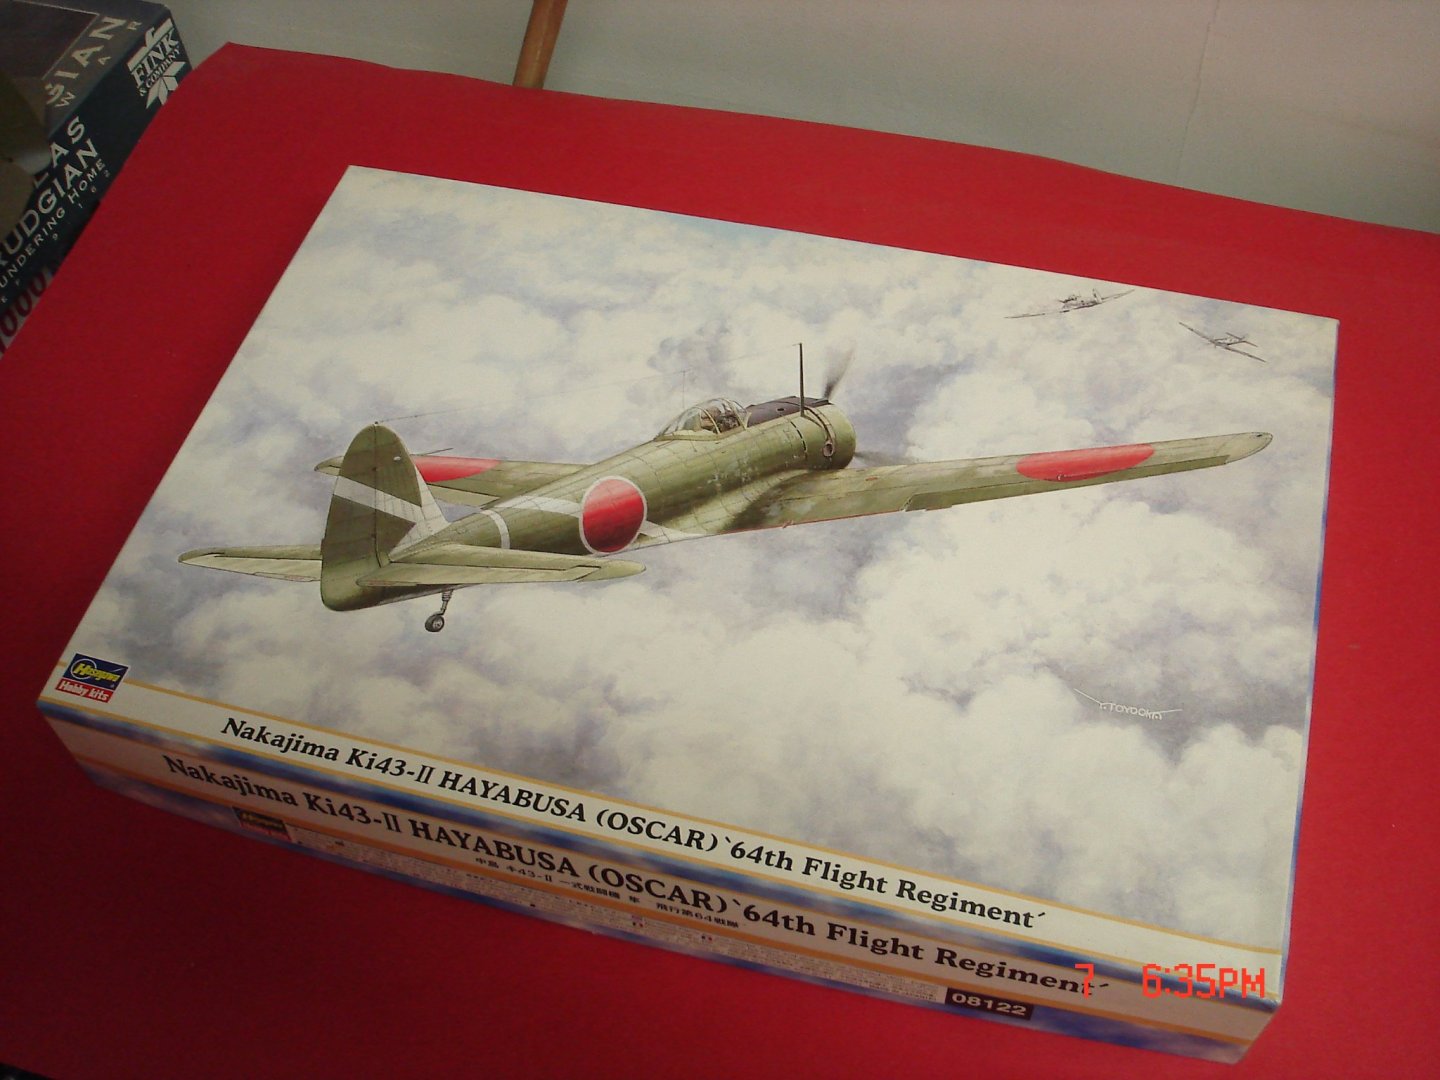
KI-43 Oscar by Javlin - FINISHED - Hasegawa - 1/32 - PLASTIC
Javlin replied to Javlin's topic in Non-ship/categorised builds
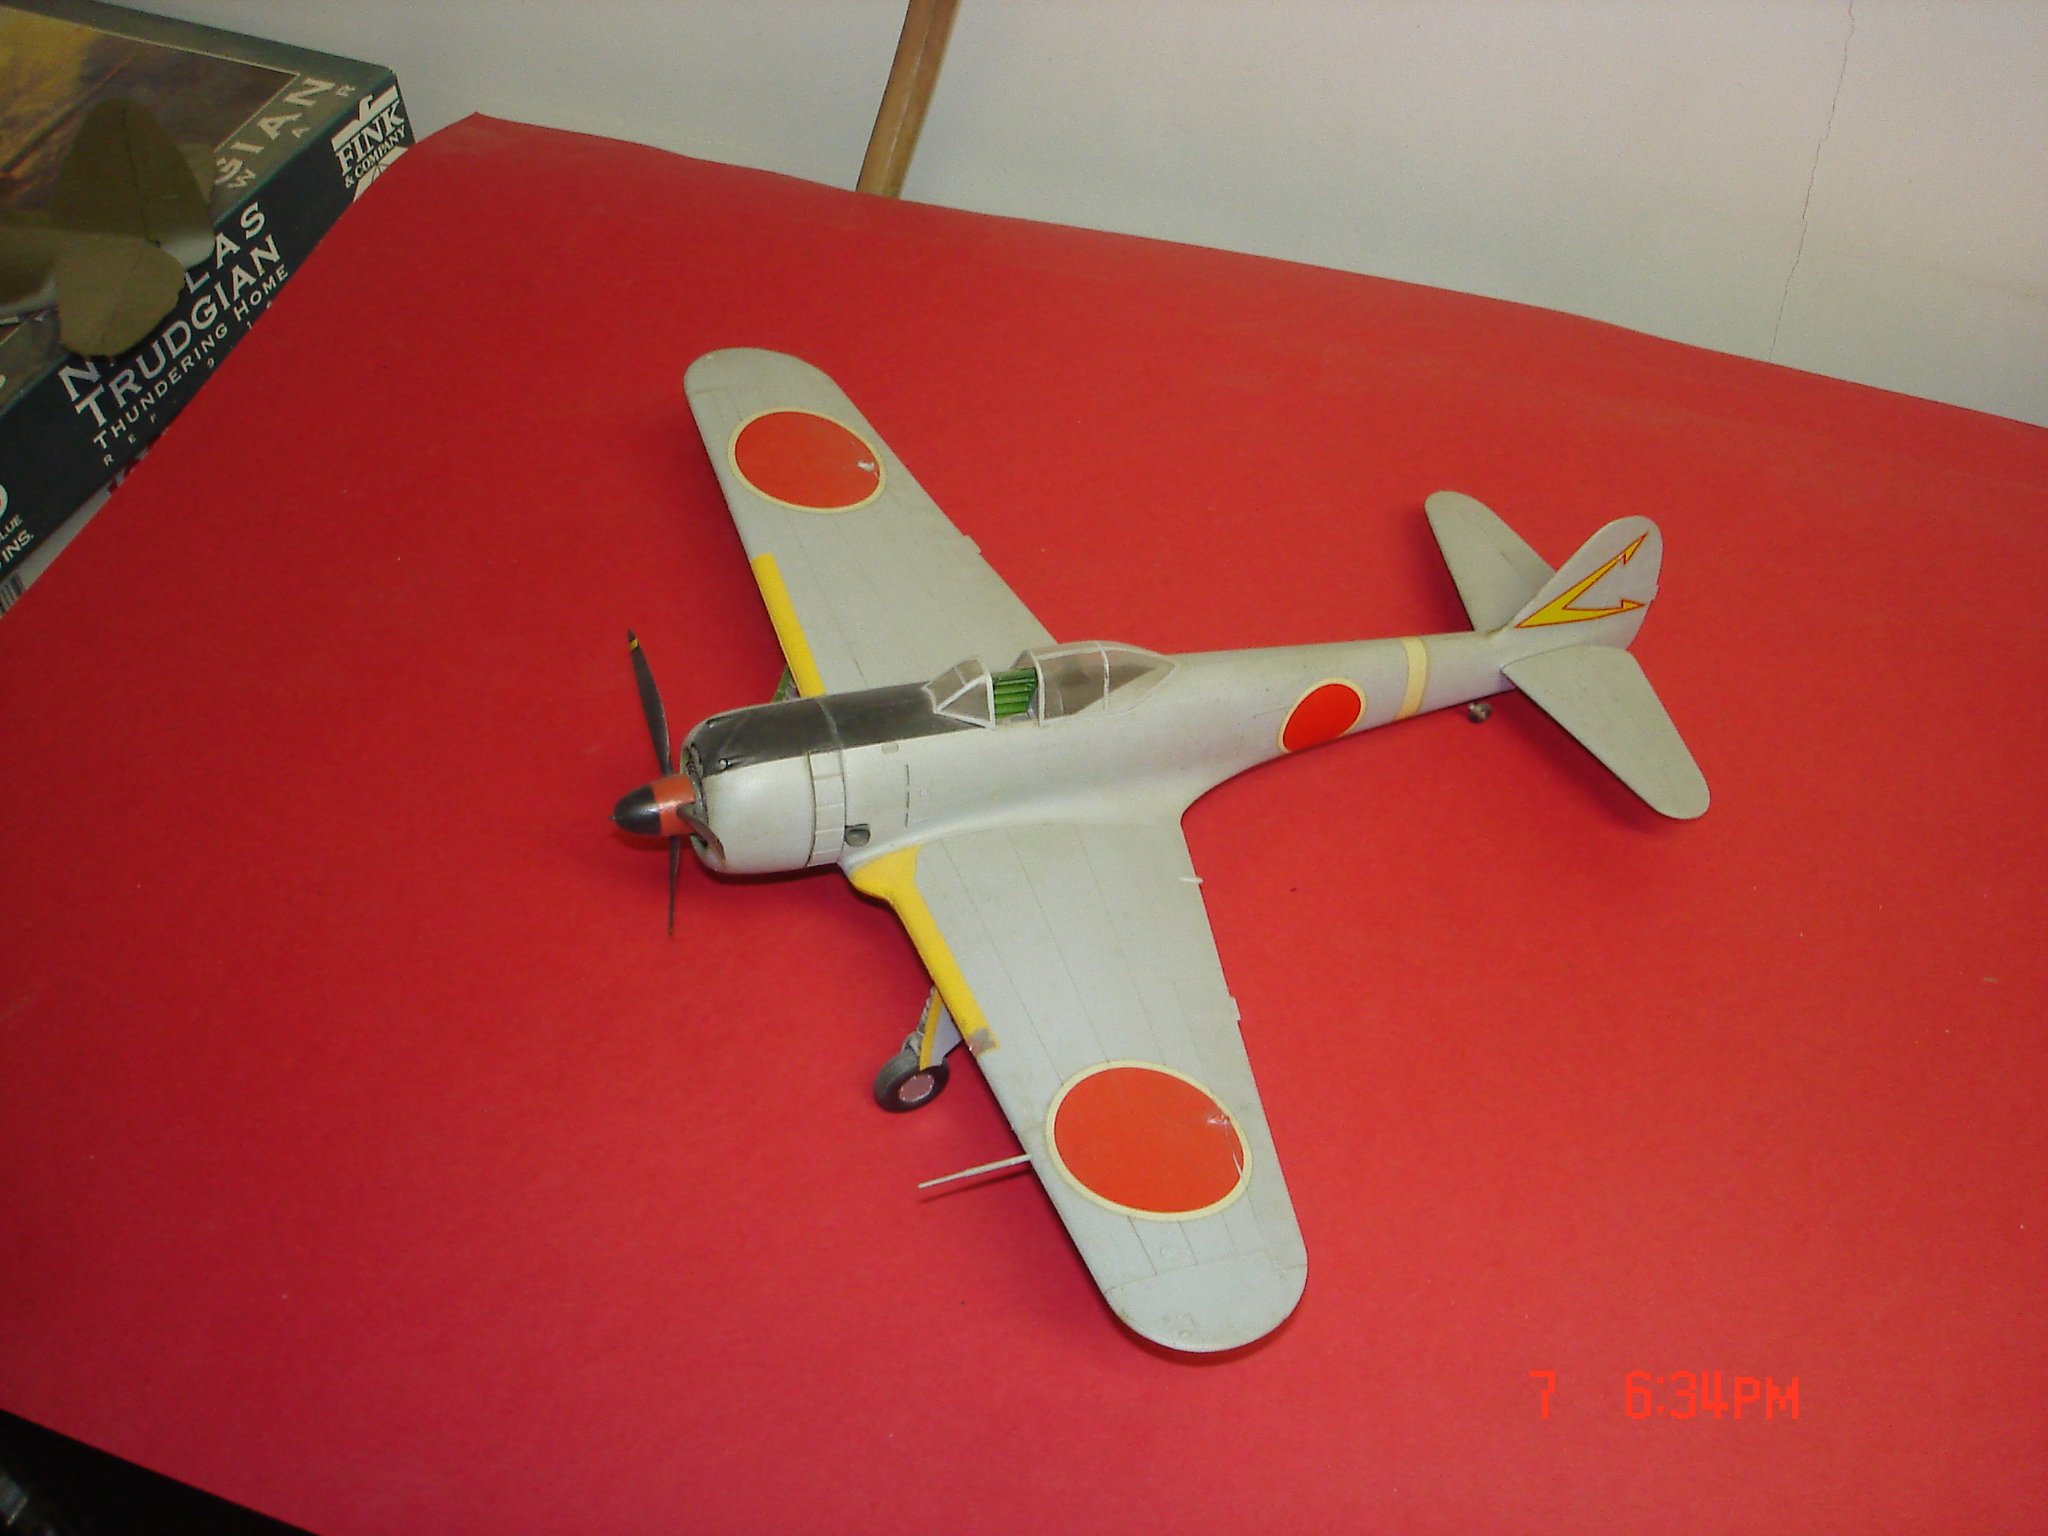
Just about there.......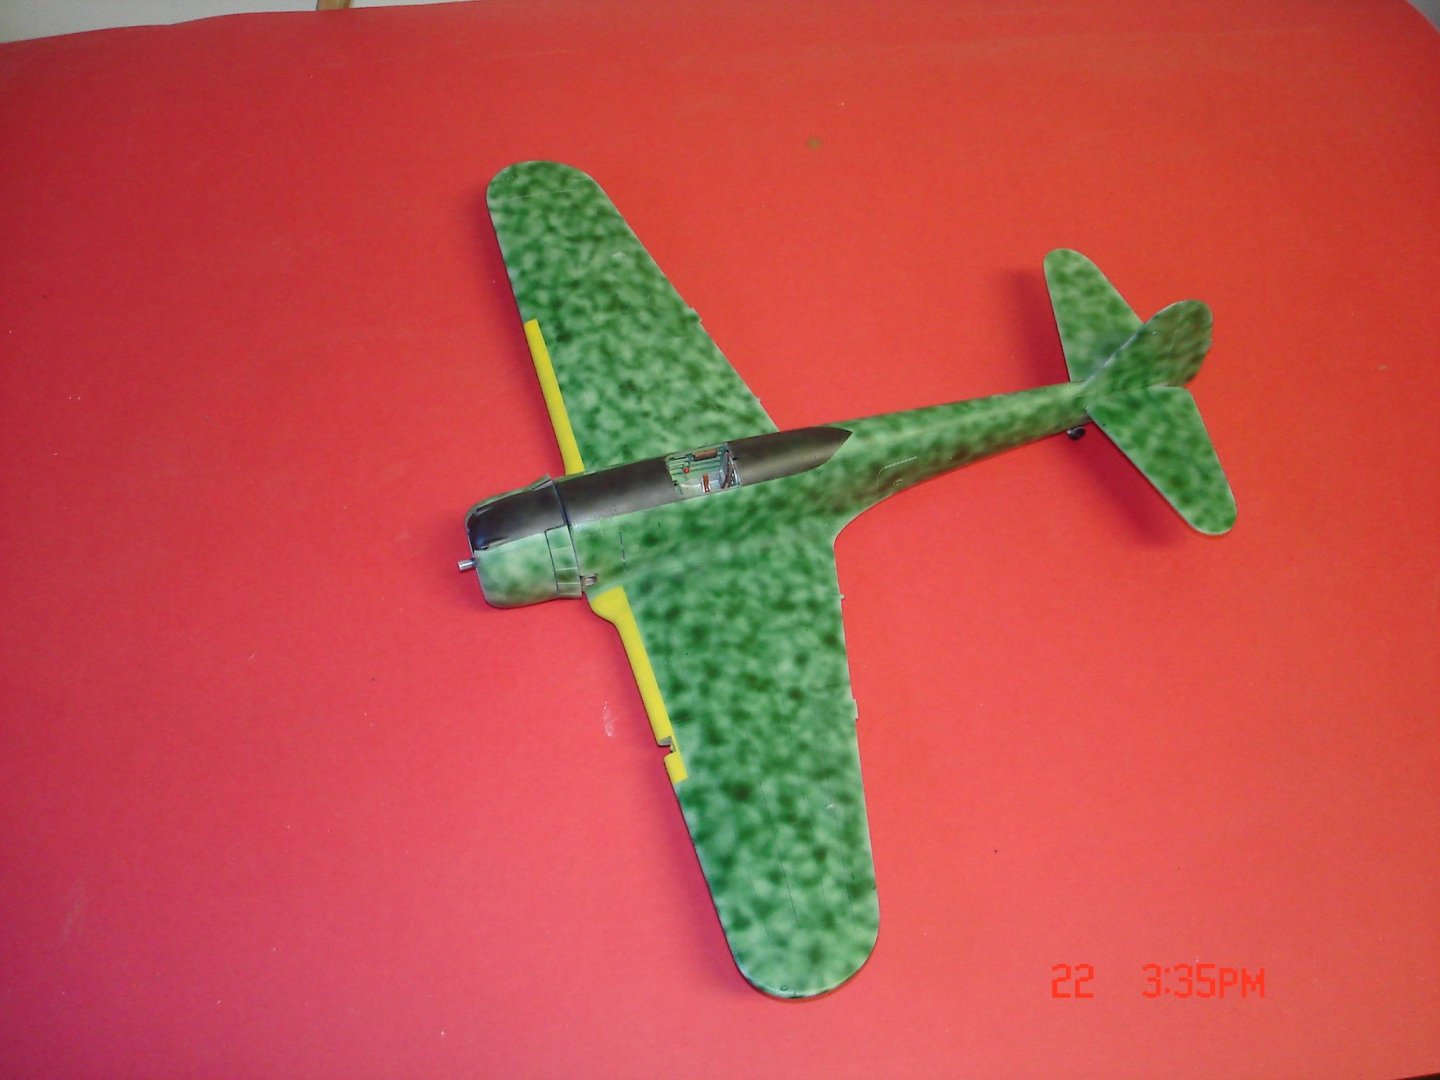
- 48 replies
-
- 10
-

-
KI-43 Oscar by Javlin - FINISHED - Hasegawa - 1/32 - PLASTIC
Javlin replied to Javlin's topic in Non-ship/categorised builds
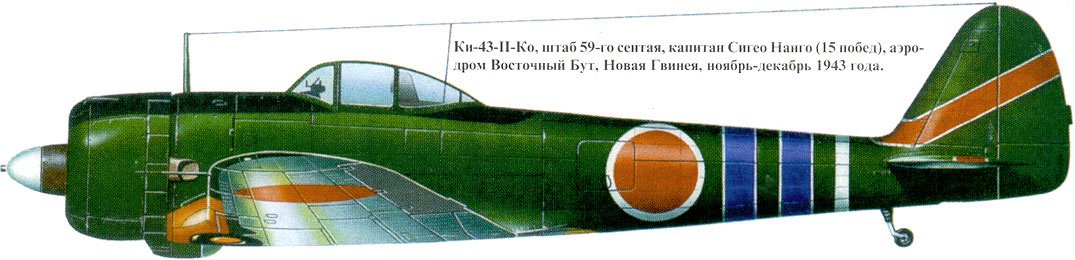
Thks after the post I went and laid down a little more paint filled in some areas looks better to me atleast I think once the decals happen and possibly some weathering it will be close to the profile. -
KI-43 Oscar by Javlin - FINISHED - Hasegawa - 1/32 - PLASTIC
Javlin replied to Javlin's topic in Non-ship/categorised builds
I have my Badger Renegade set up with a fine tip up close I say 1/16" line it's my primary gun.I have two others I bought as a kit (Badgers) one gravity feed and the other siphon with medium on the gravity big areas. -
craft stick bridge by Lucius Molchany - FINISHED
Javlin replied to Lucius Molchany's topic in Non-ship/categorised builds
Just a bridge in the head Phil or a resemblance to a another? Kevin -
KI-43 Oscar by Javlin - FINISHED - Hasegawa - 1/32 - PLASTIC
Javlin replied to Javlin's topic in Non-ship/categorised builds
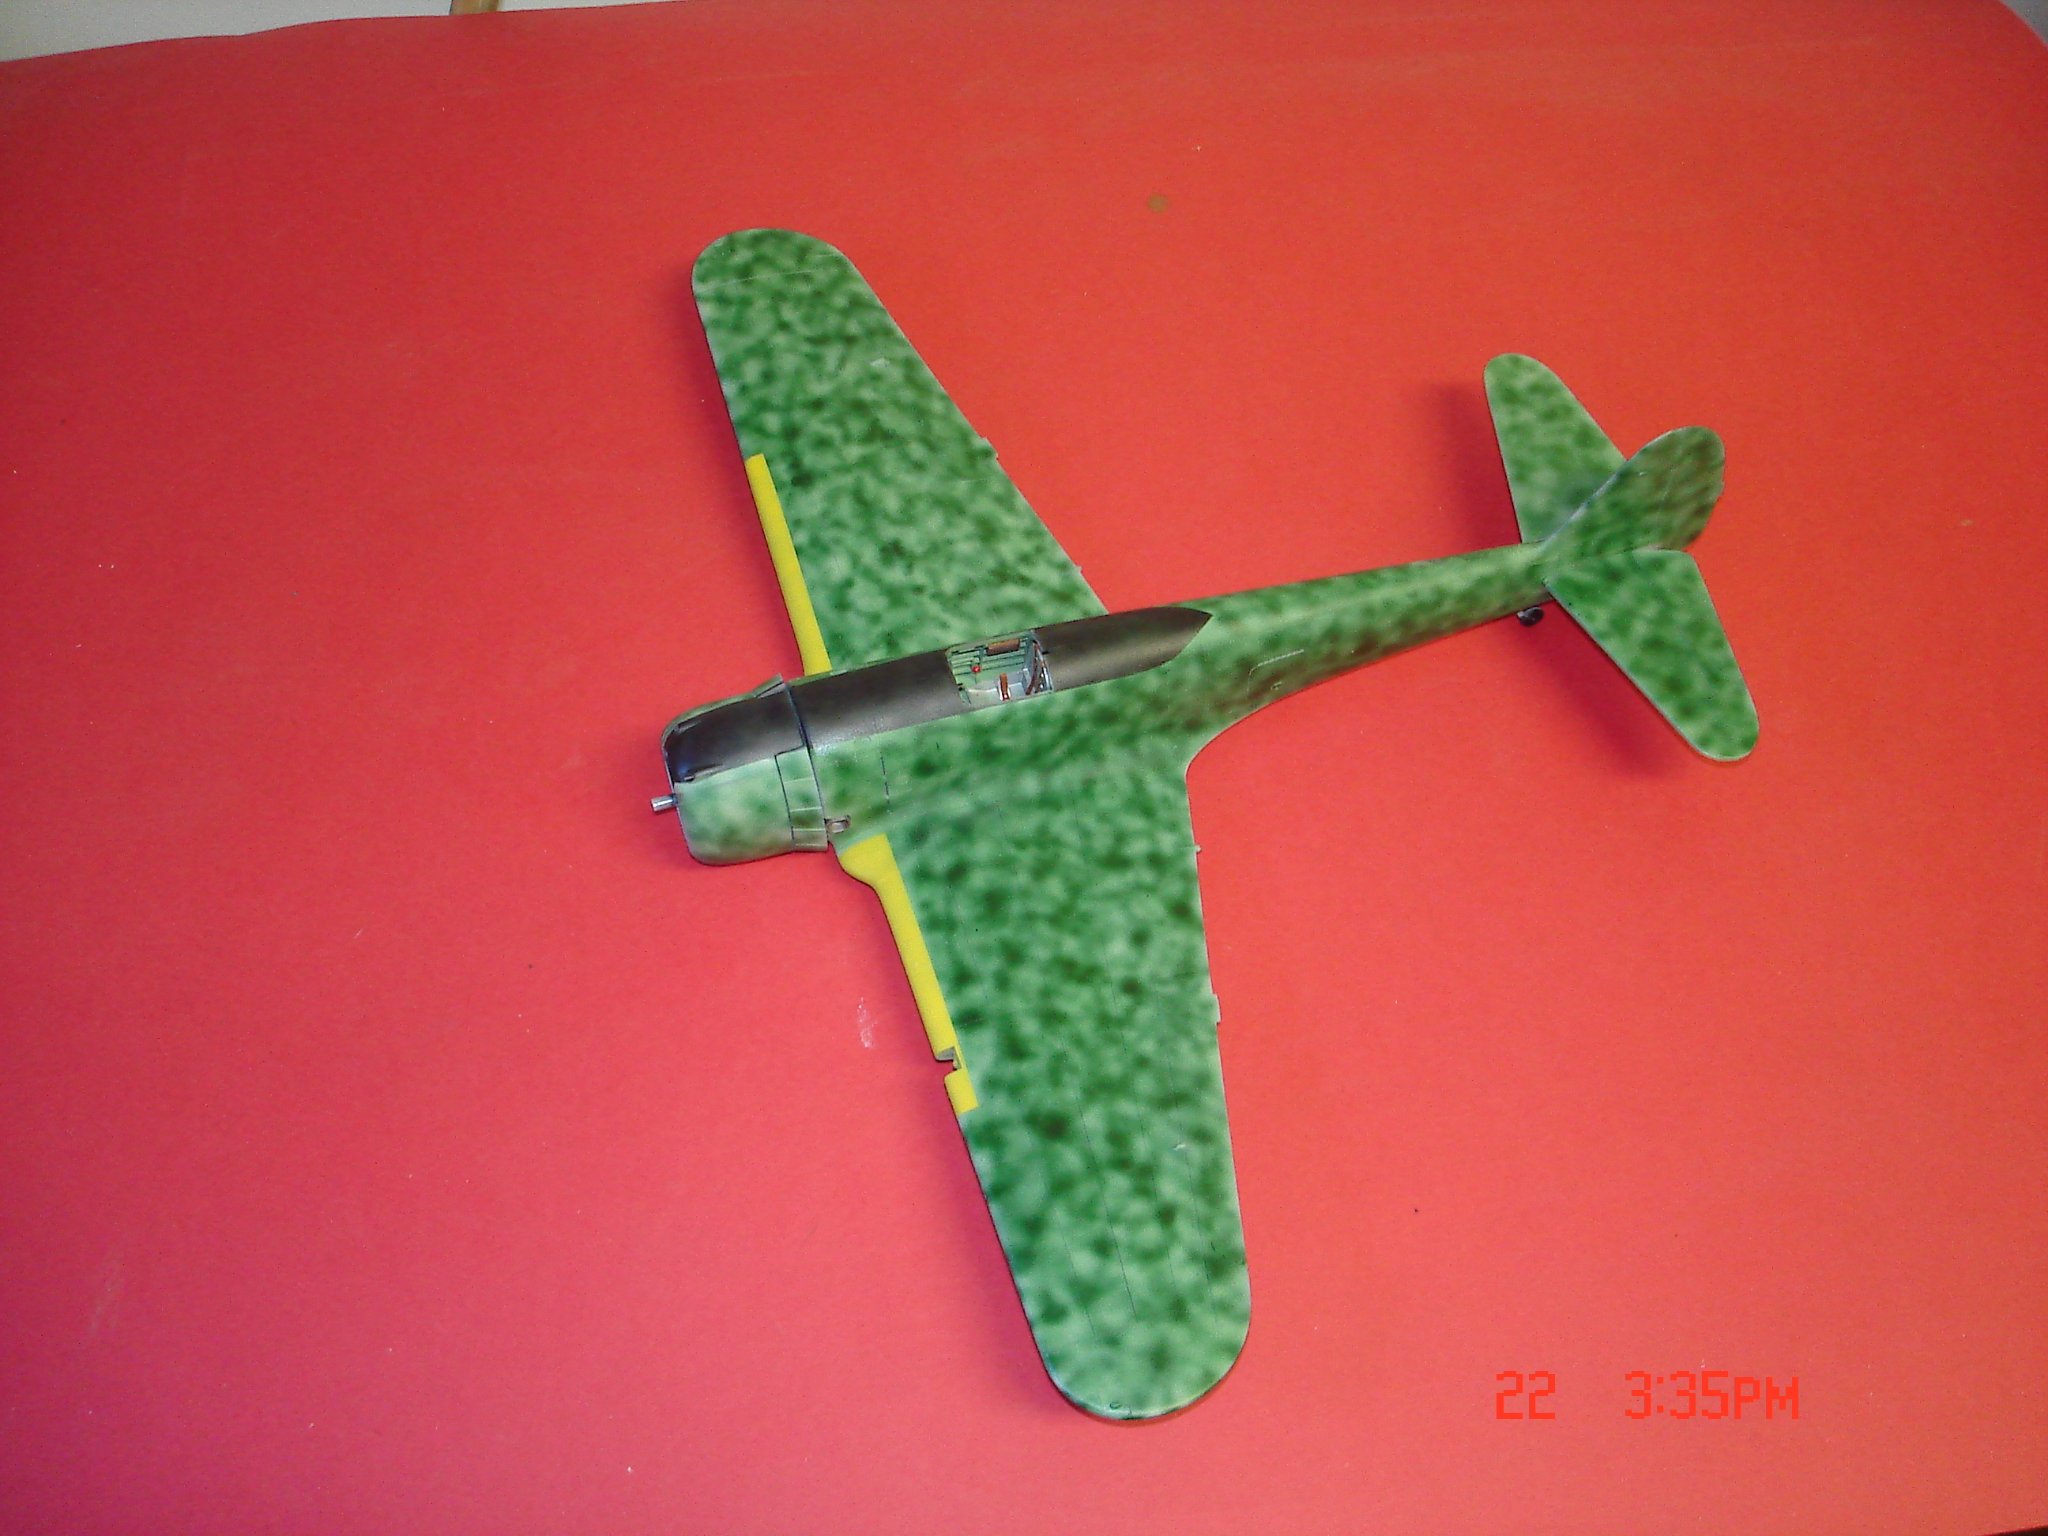
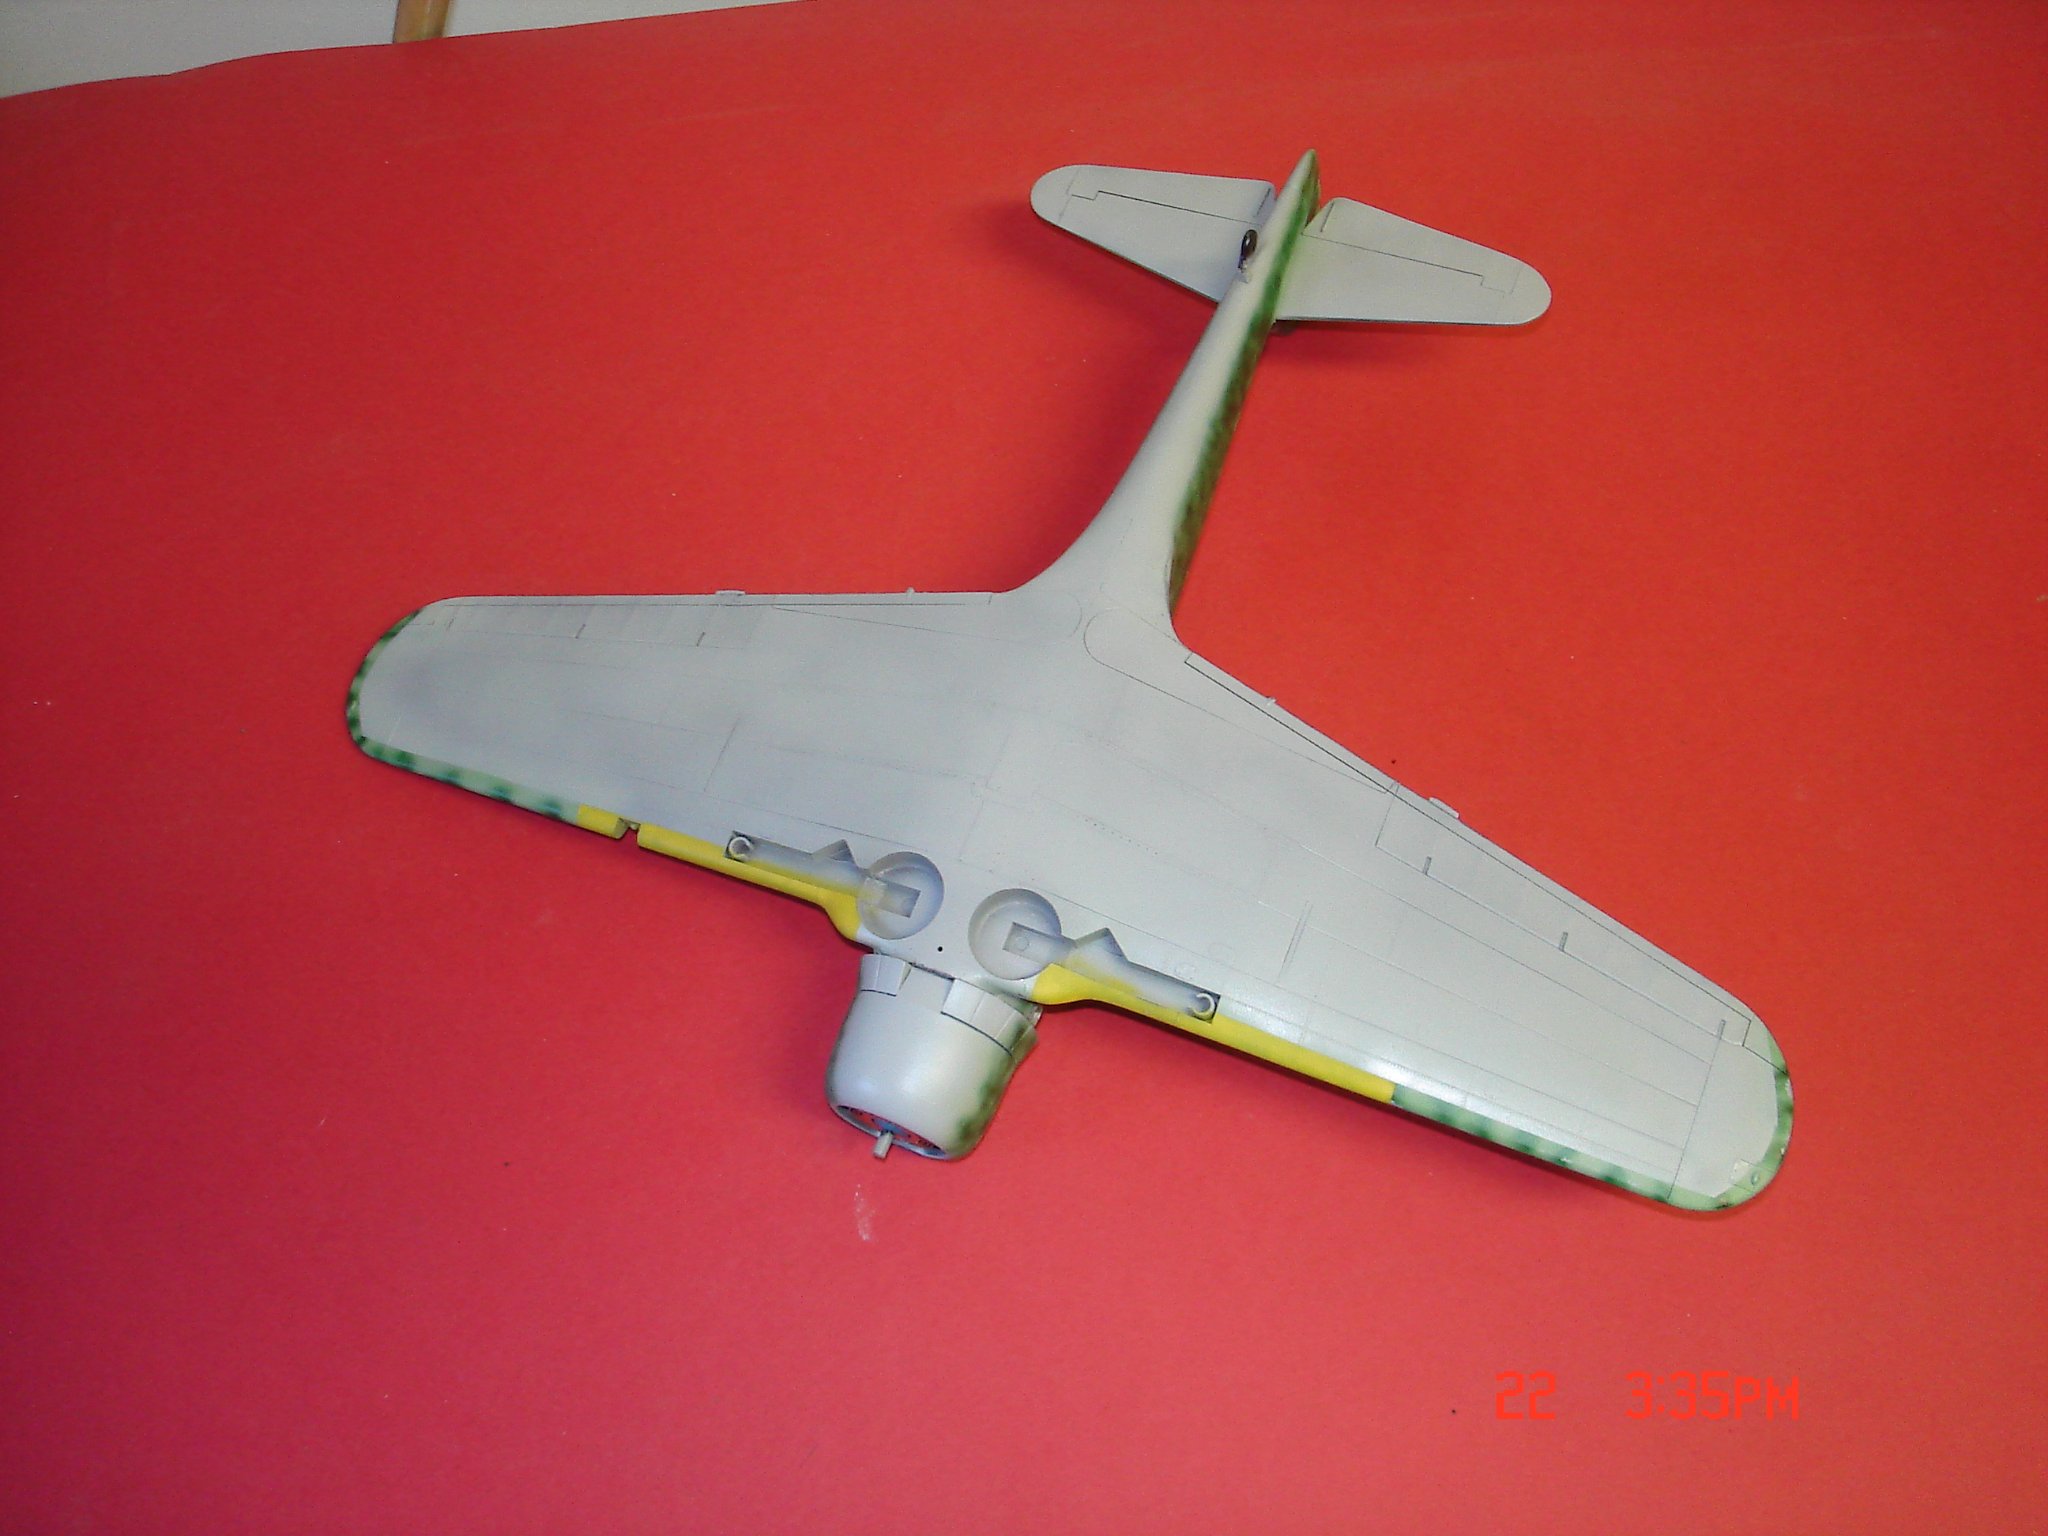
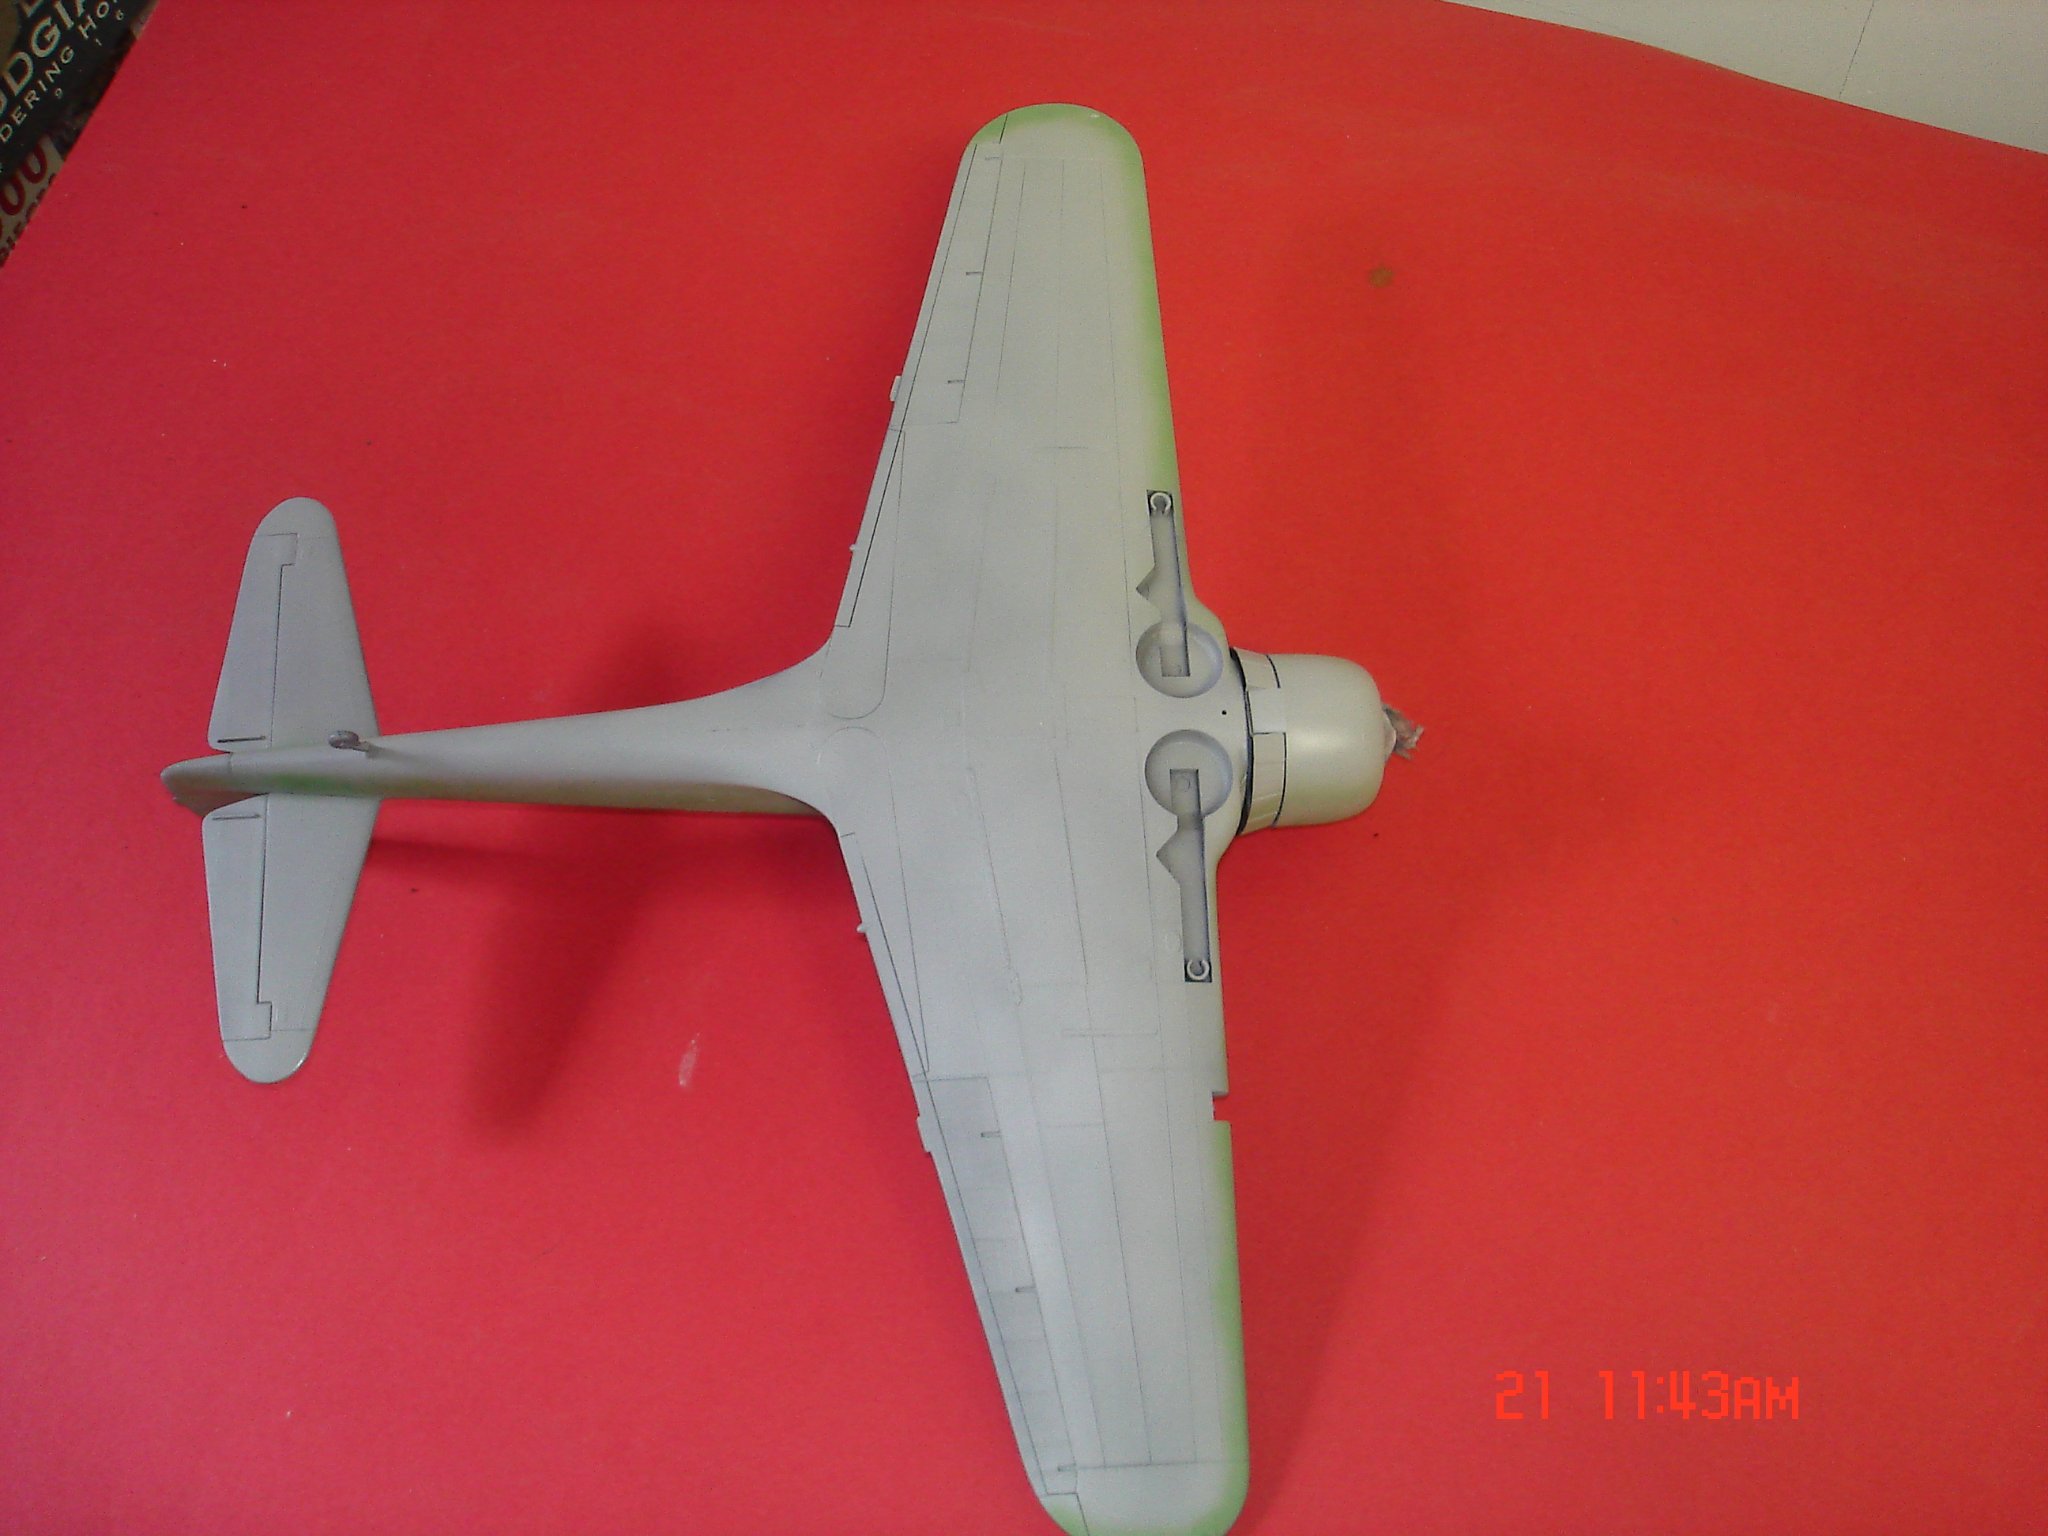
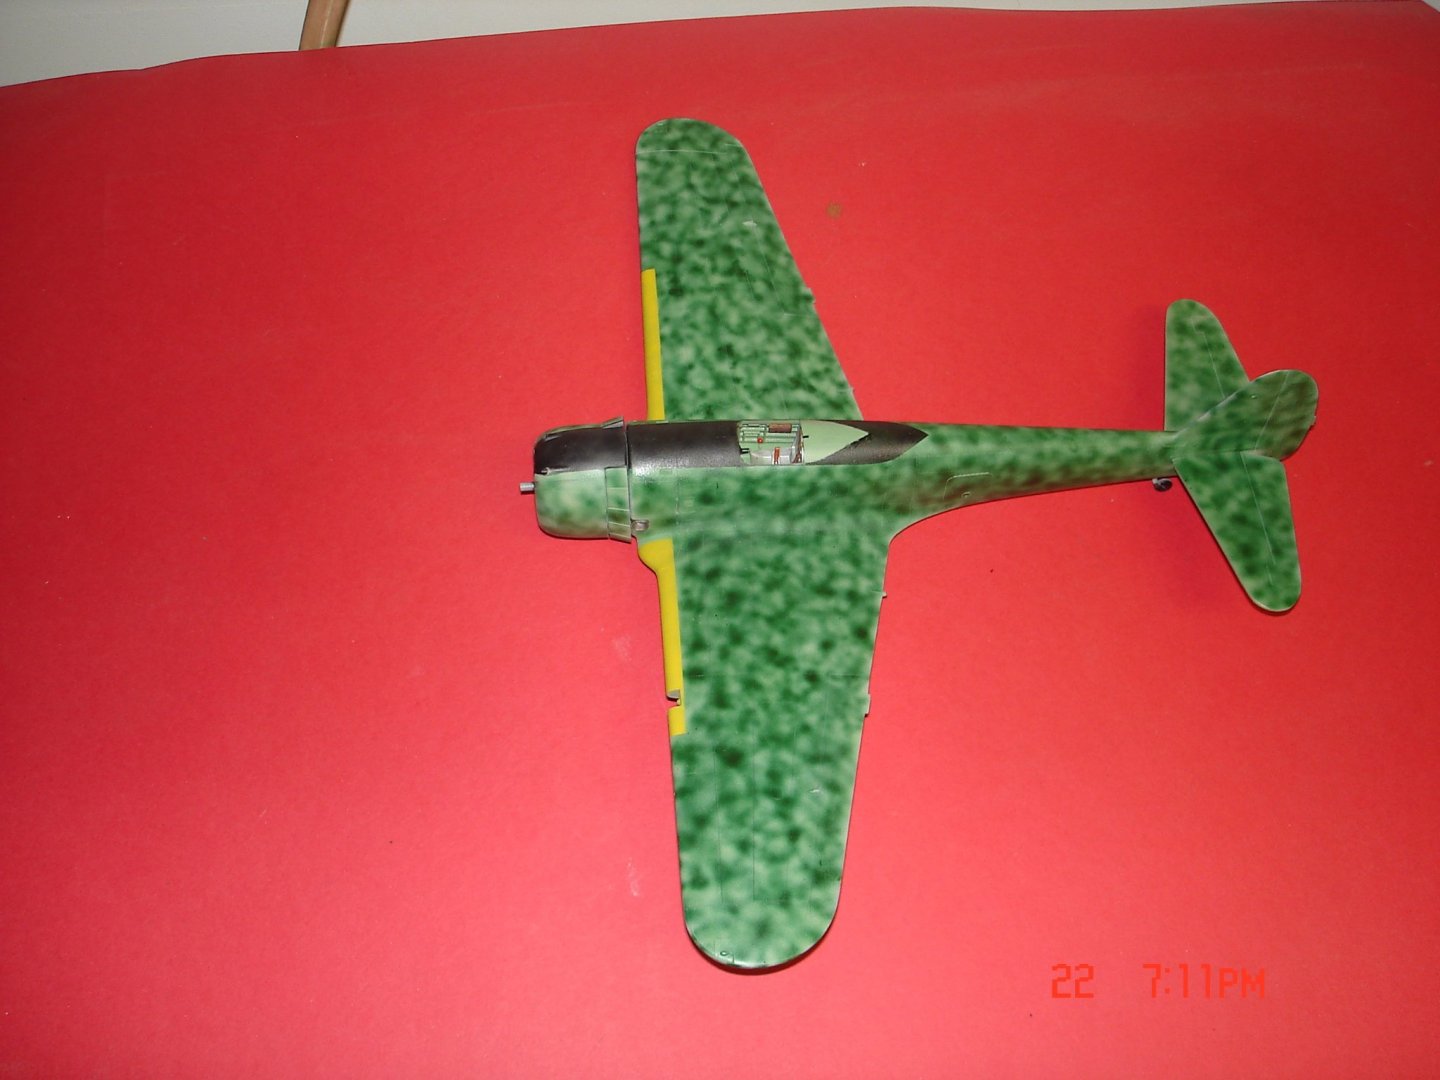
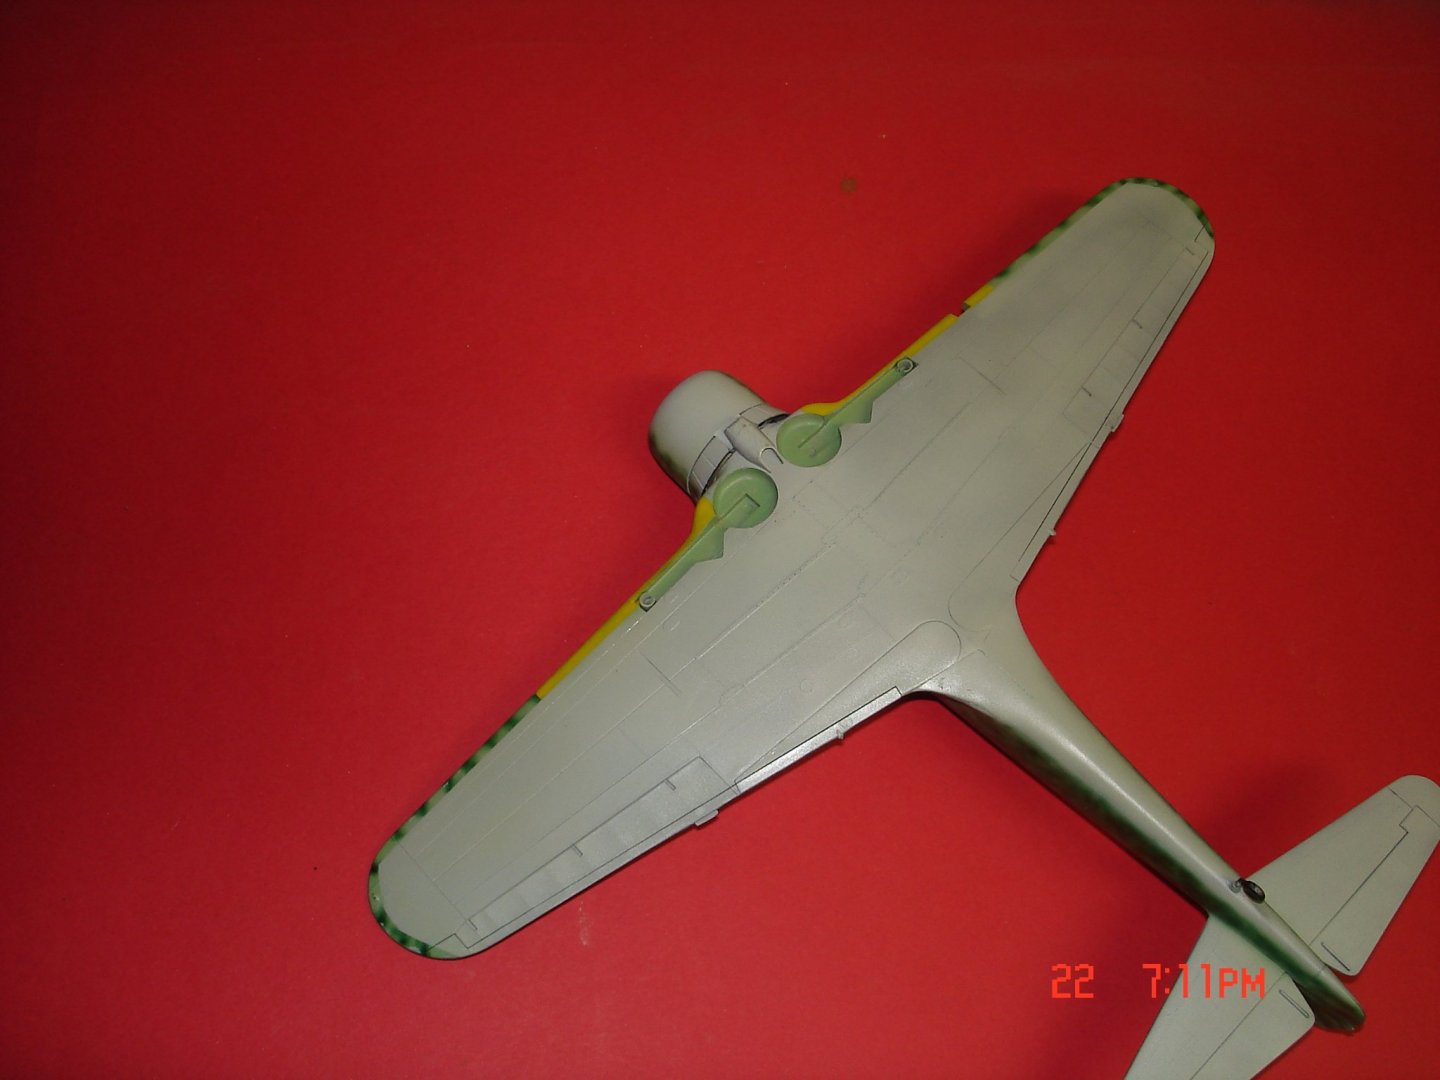
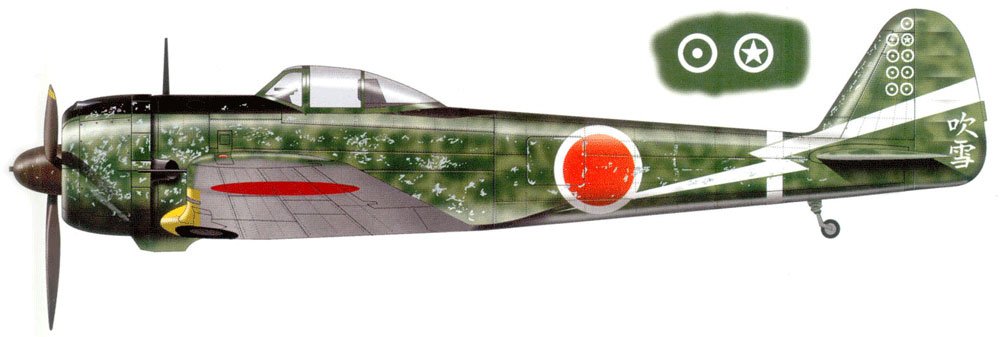
Got the camo laid pictures show me I need to creep a little more to the yellow ID band area.I almost thought I would have to repaint the r/wing but all came out methinks I would make irregular dots all over then go back and connect them with the gun running the whole time till I felt it looked pretty much like the profile. Kevin Tomorrow the yellow bands,anti-glare and the wheel wells with tomorrow night I start the future.
- 48 replies
-
- 13
-
-
KI-43 Oscar by Javlin - FINISHED - Hasegawa - 1/32 - PLASTIC
Javlin replied to Javlin's topic in Non-ship/categorised builds
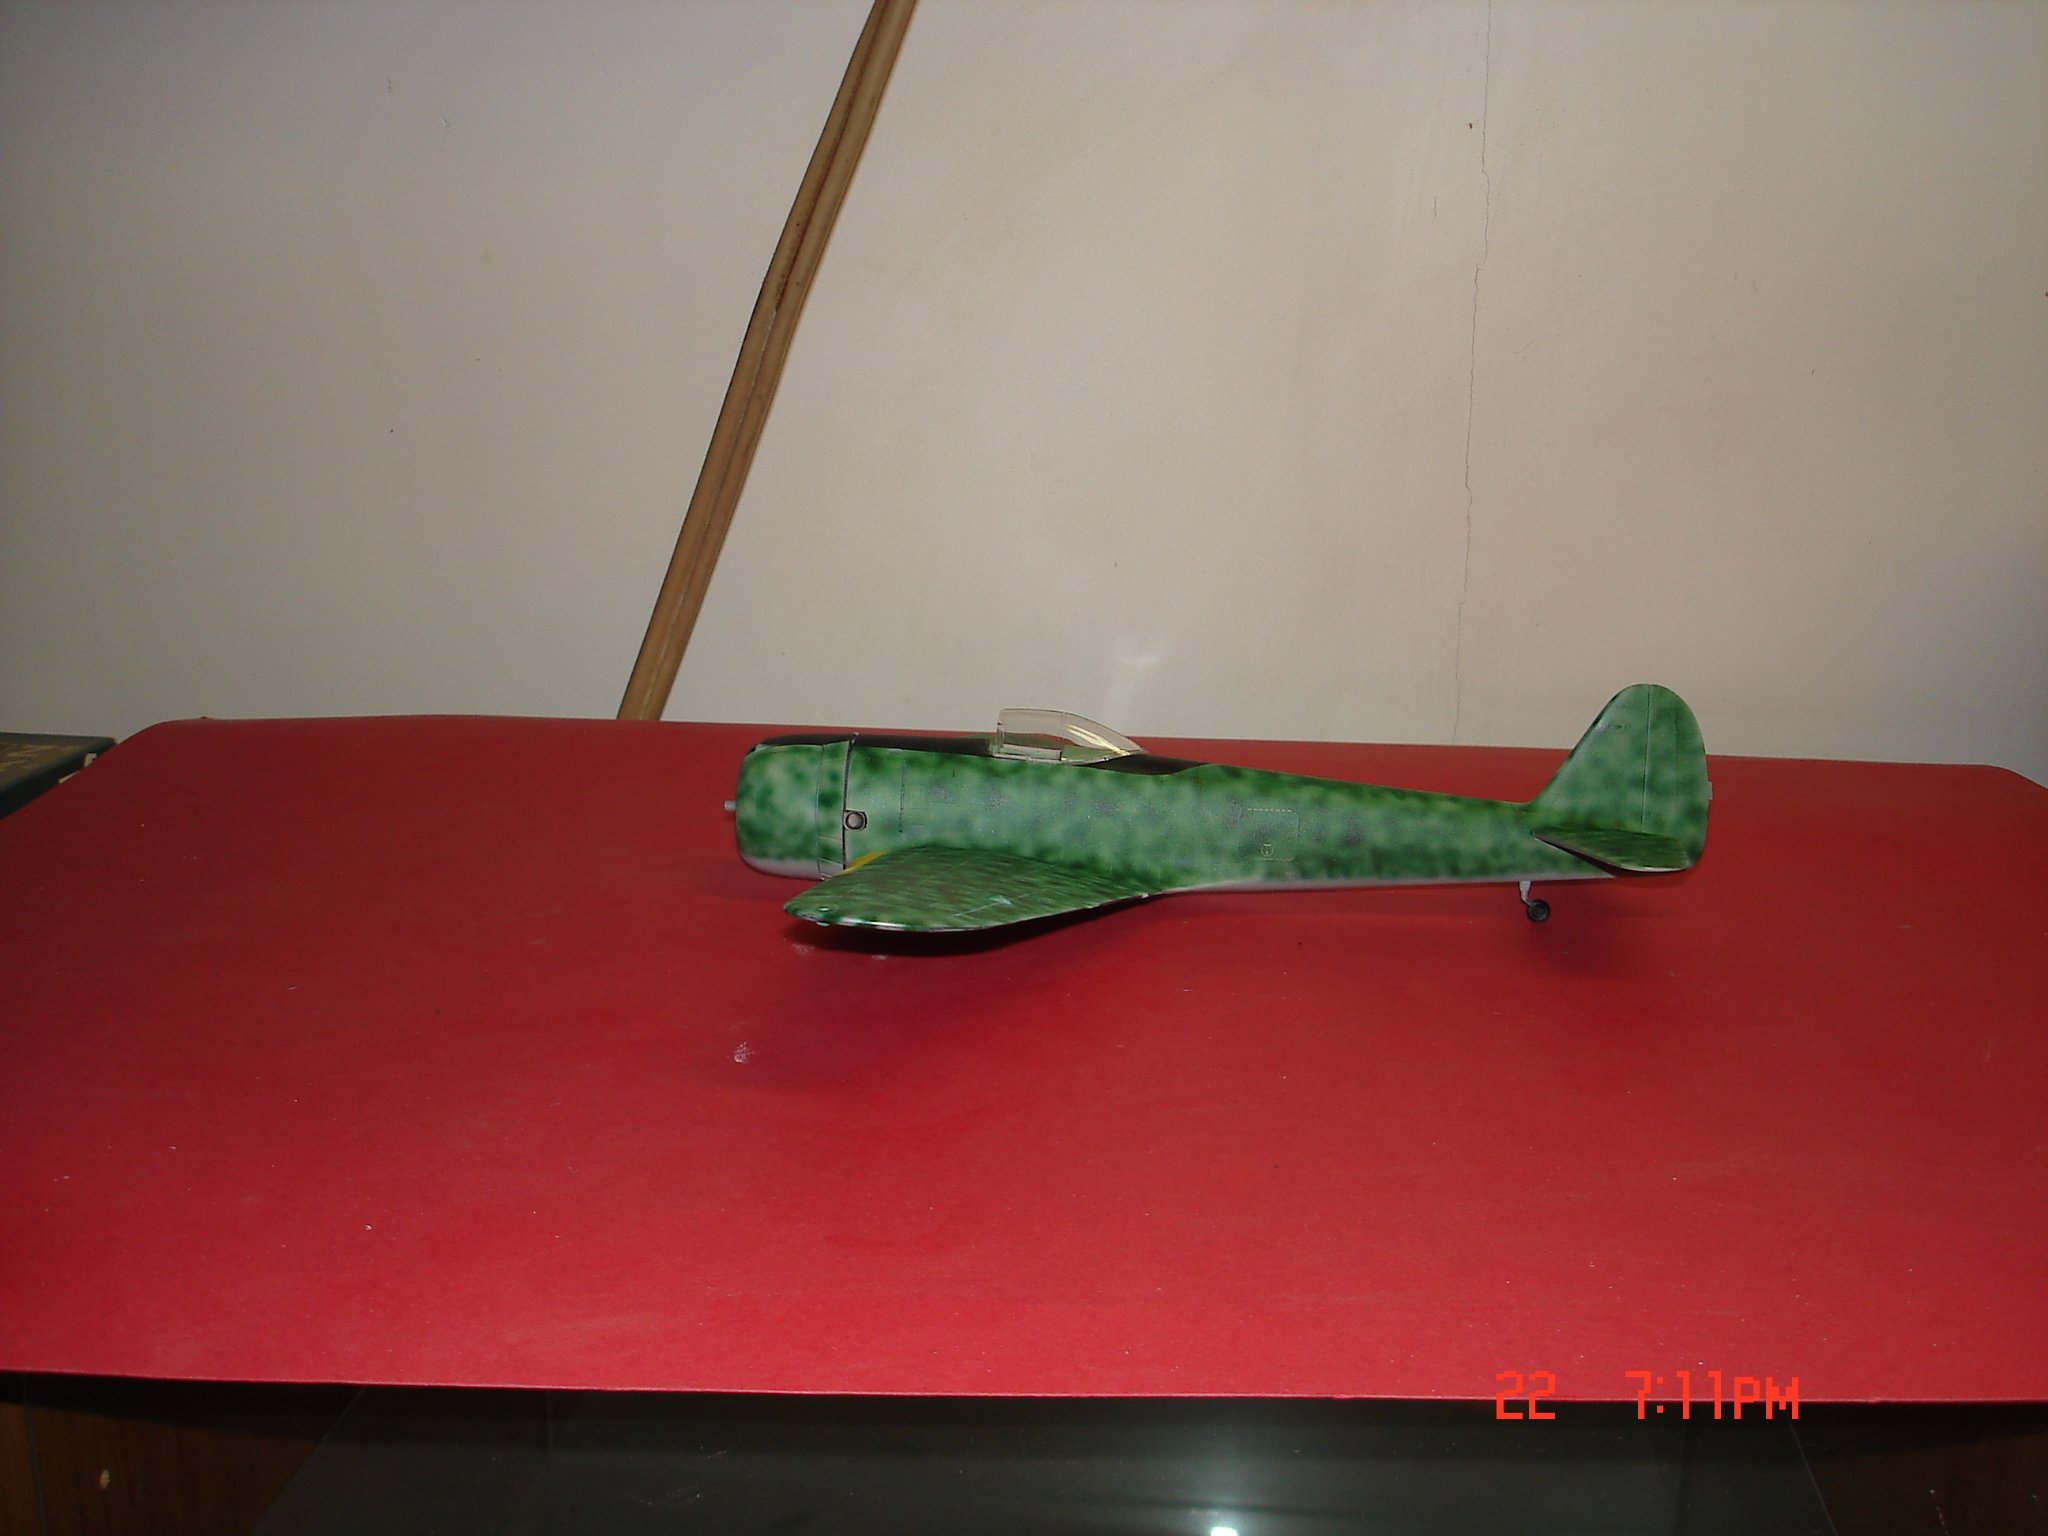
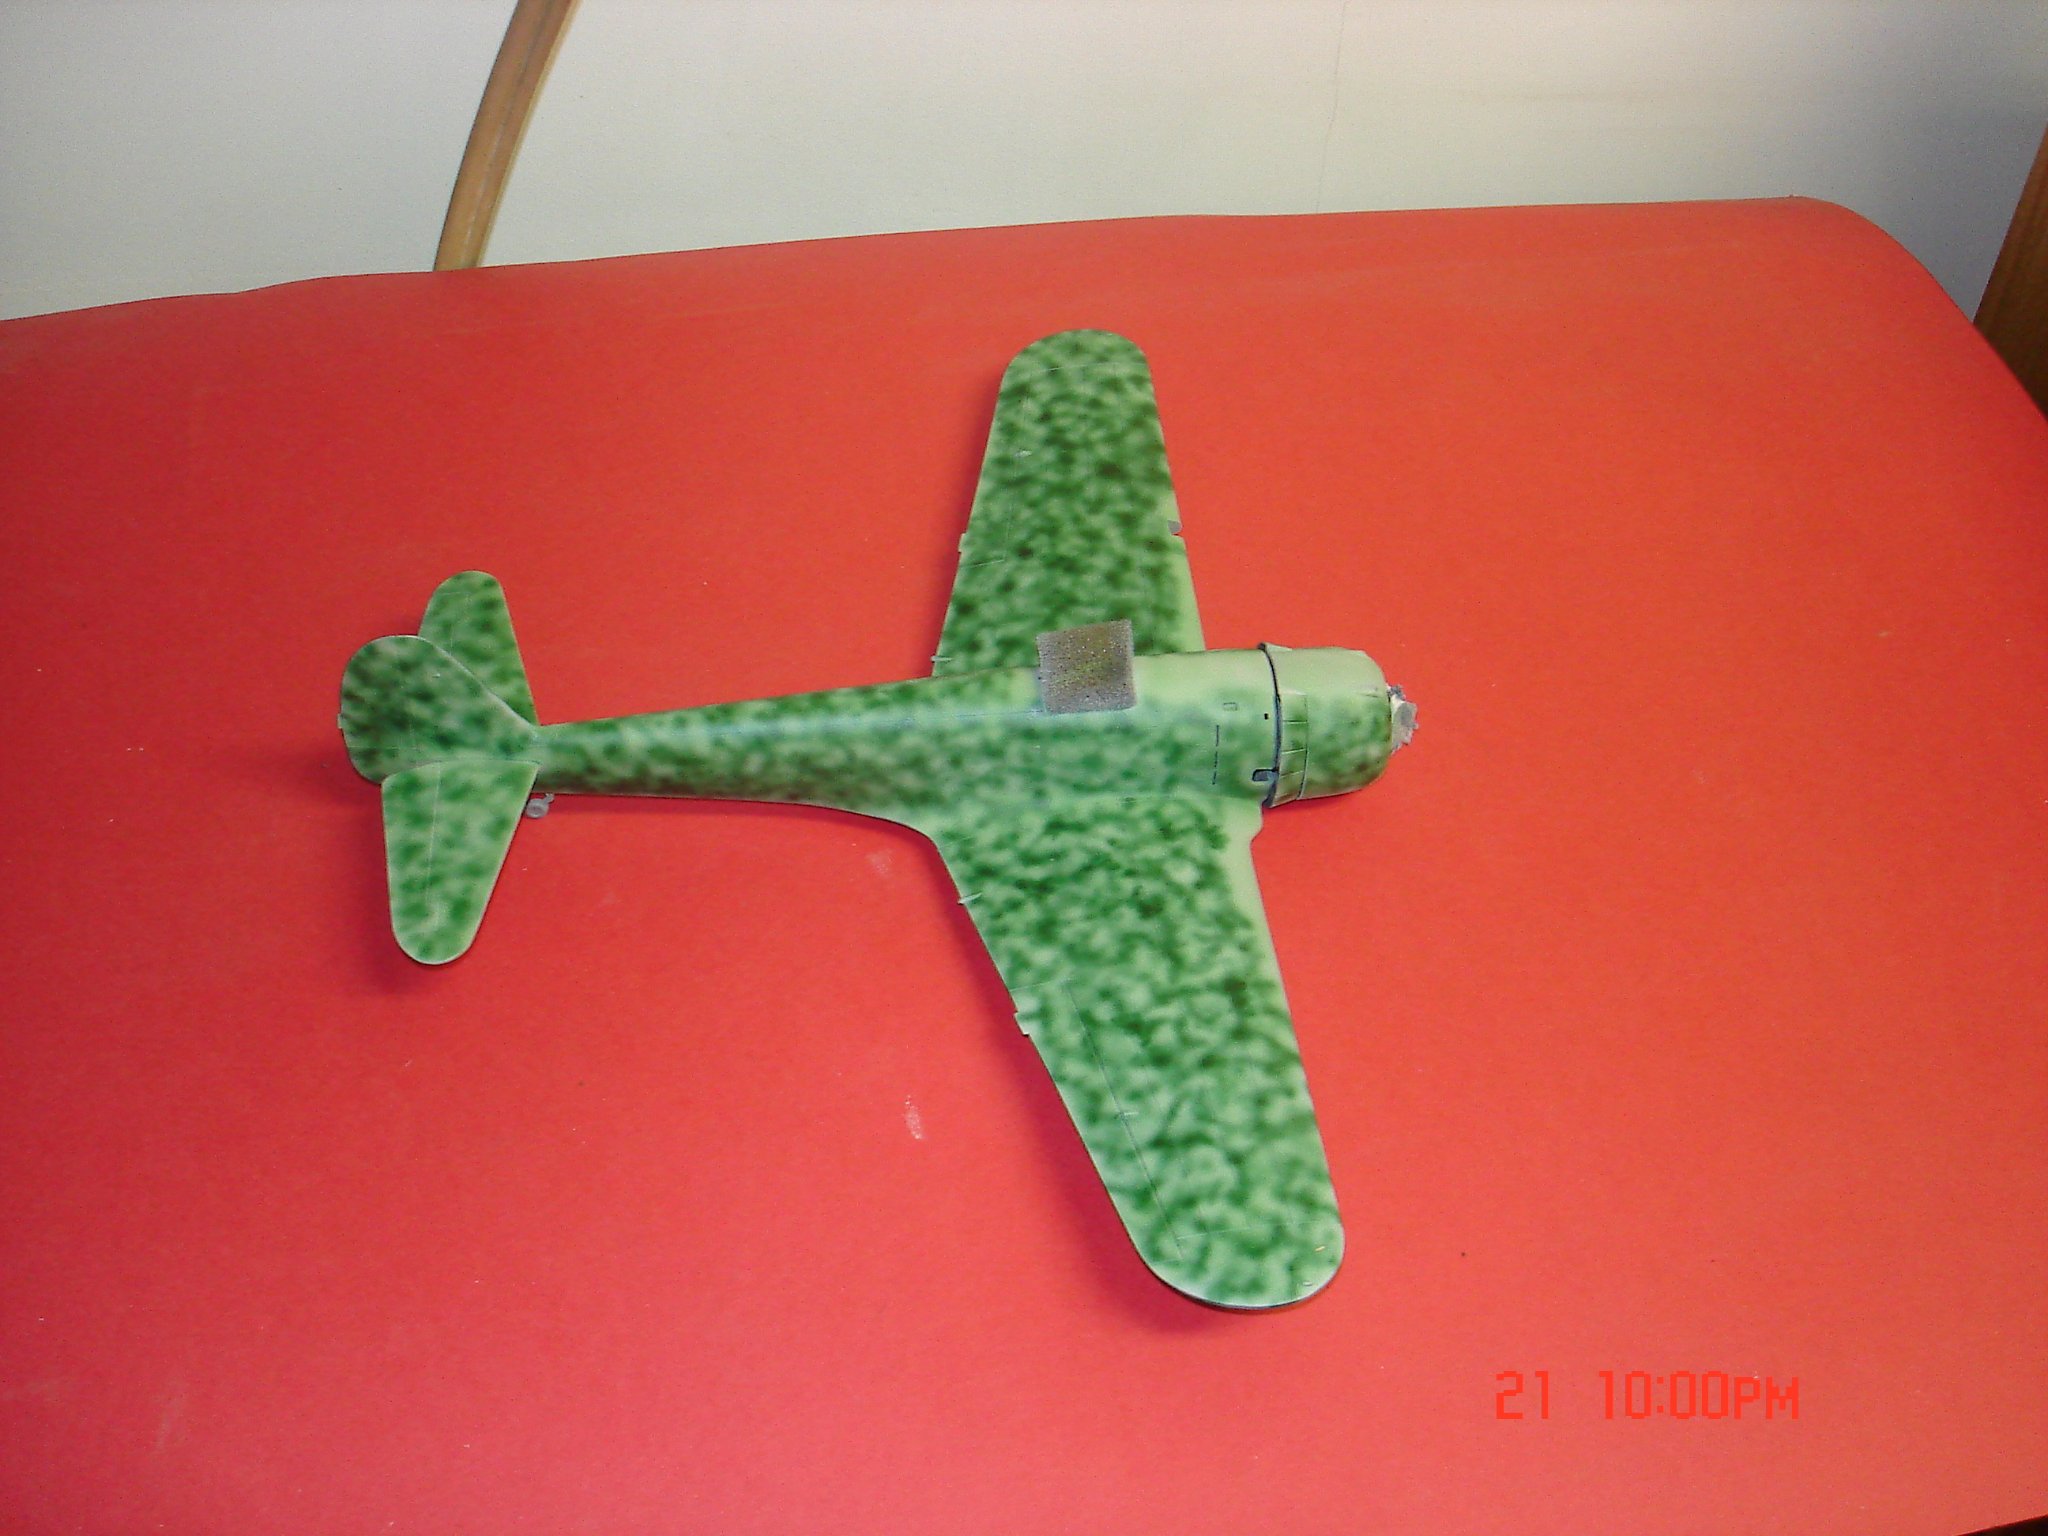
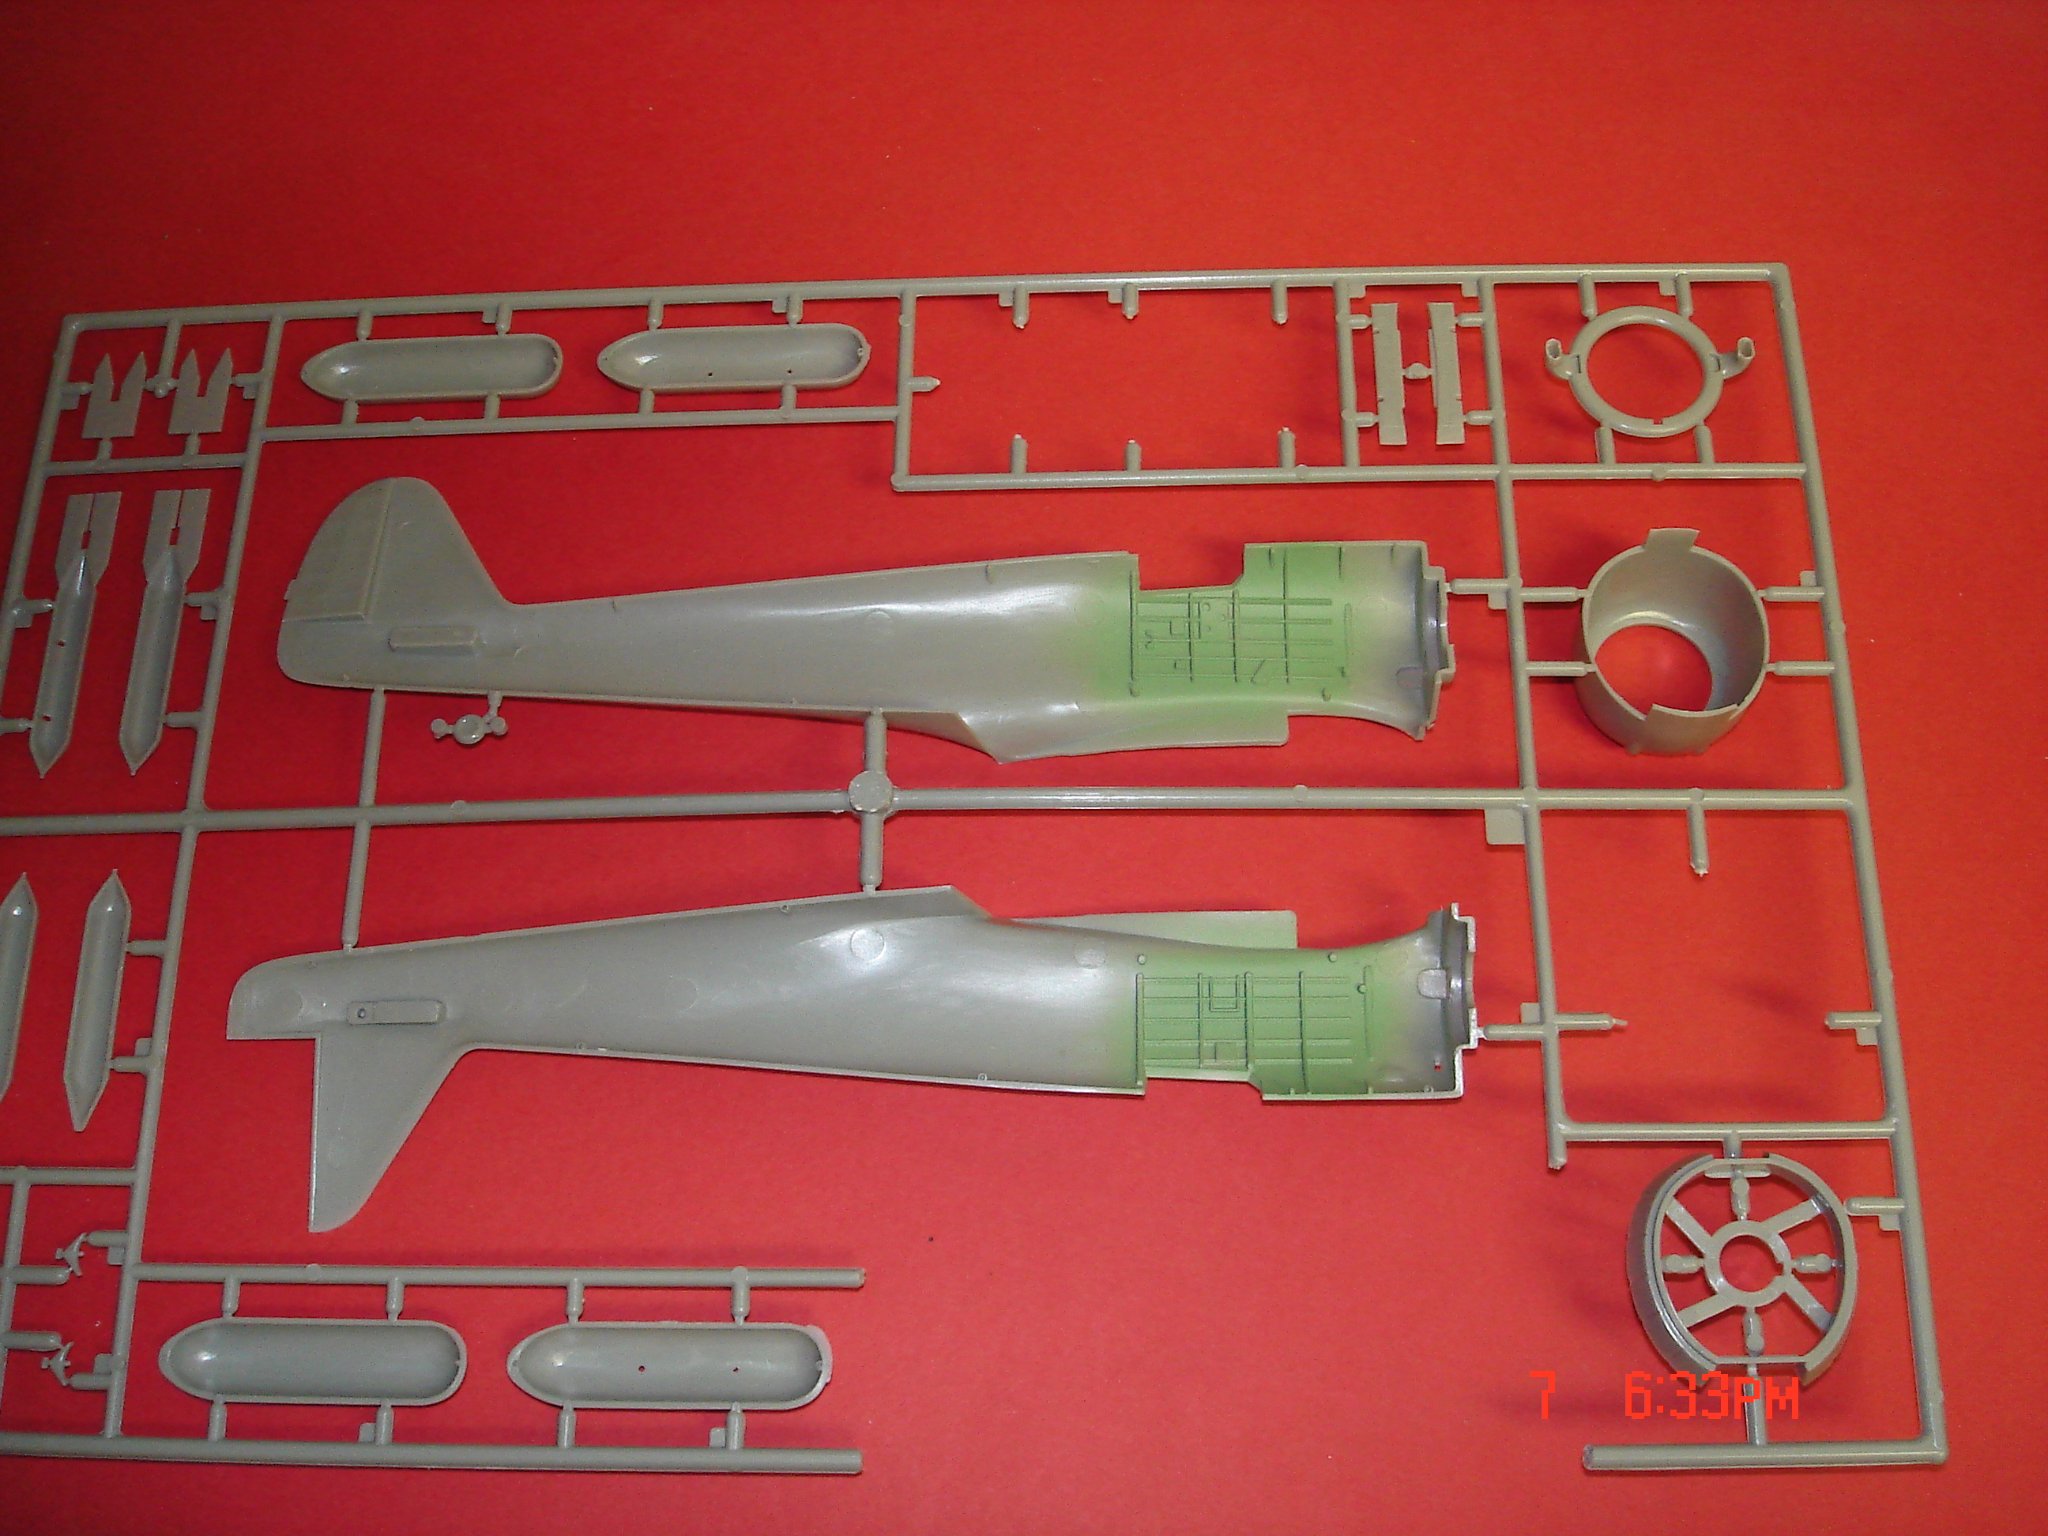
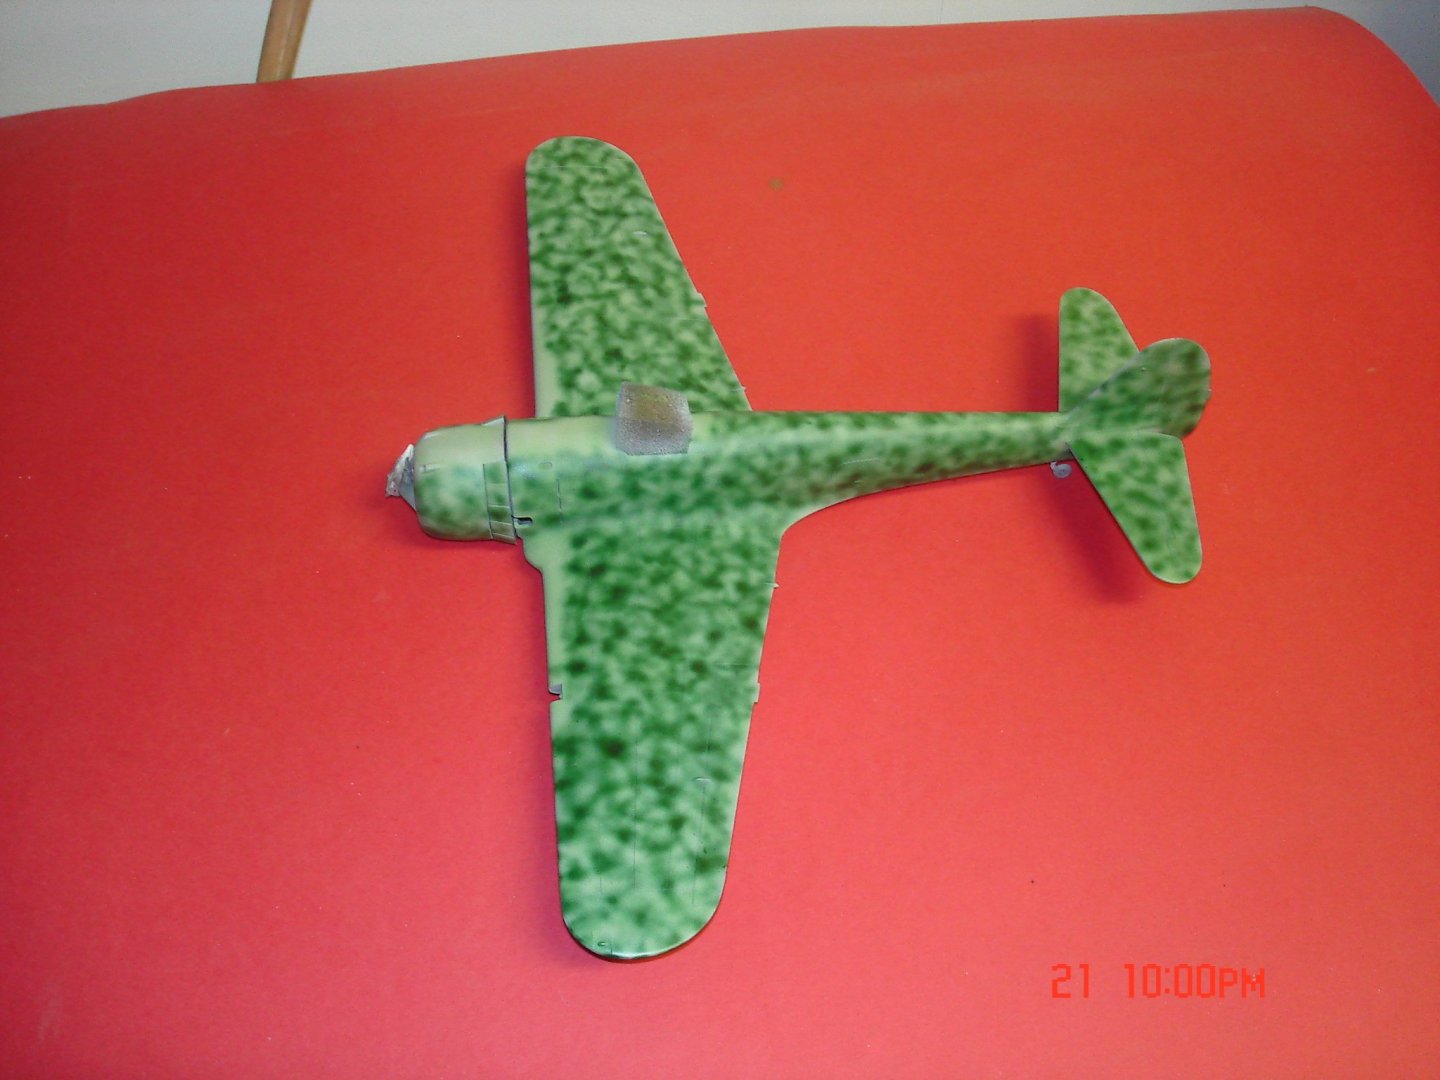
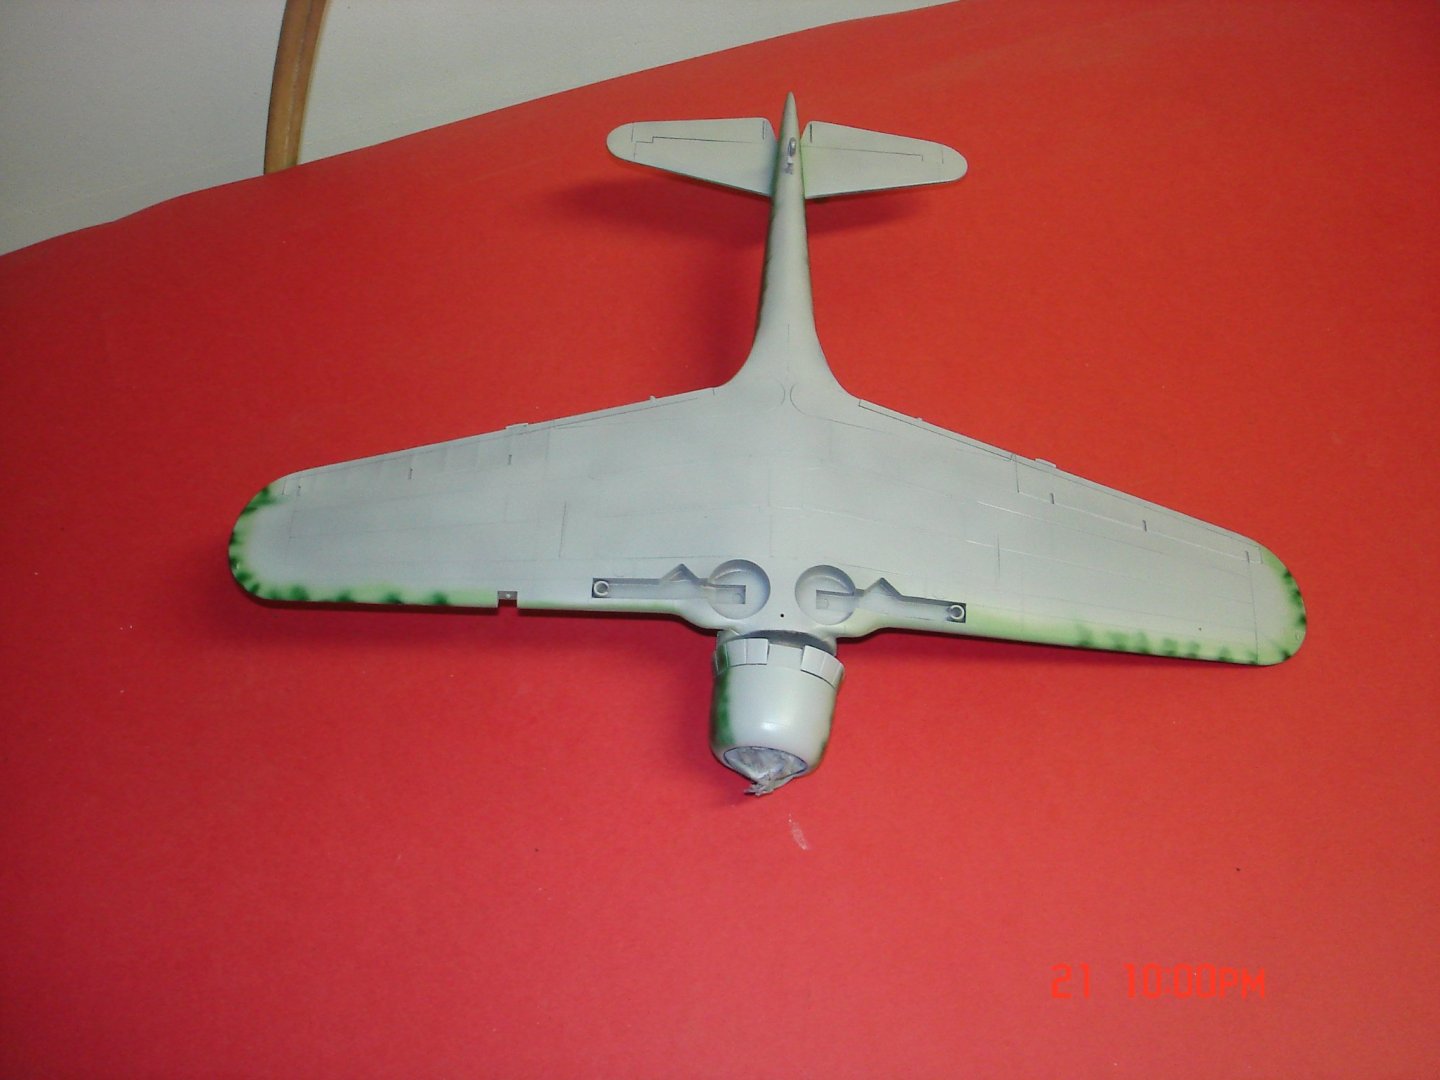
Got it Dan I have used just it just been a while and thought clean up was turpentine thks again.You can see now which plane is going to be the finished product.I started with a semi-gloss black base,SnJ AL,Japanese Sky Grey and I am now on the Pale Green a very thin coat as the grey.The camo folds under on the outer wing edges will tape off and respray the grey when I do the yellow ID wing bands.I say acrylic's are a PIA going through my Badger Renegade after the PG I ran Tamy acrylic thinner,ammonia,alcohol and two doses of turpentine.The cleaning may seem excessive but I lost one Badger a few years back after acrylics having forgot to clean it all together and came back 24hrs later lock up tighter than a drum.If I had thought about it would of soaked it in ammonia would of done the trick But that's one reason I use alot of enamels I have done that 24hr deal and it sprayed and I cleaned it.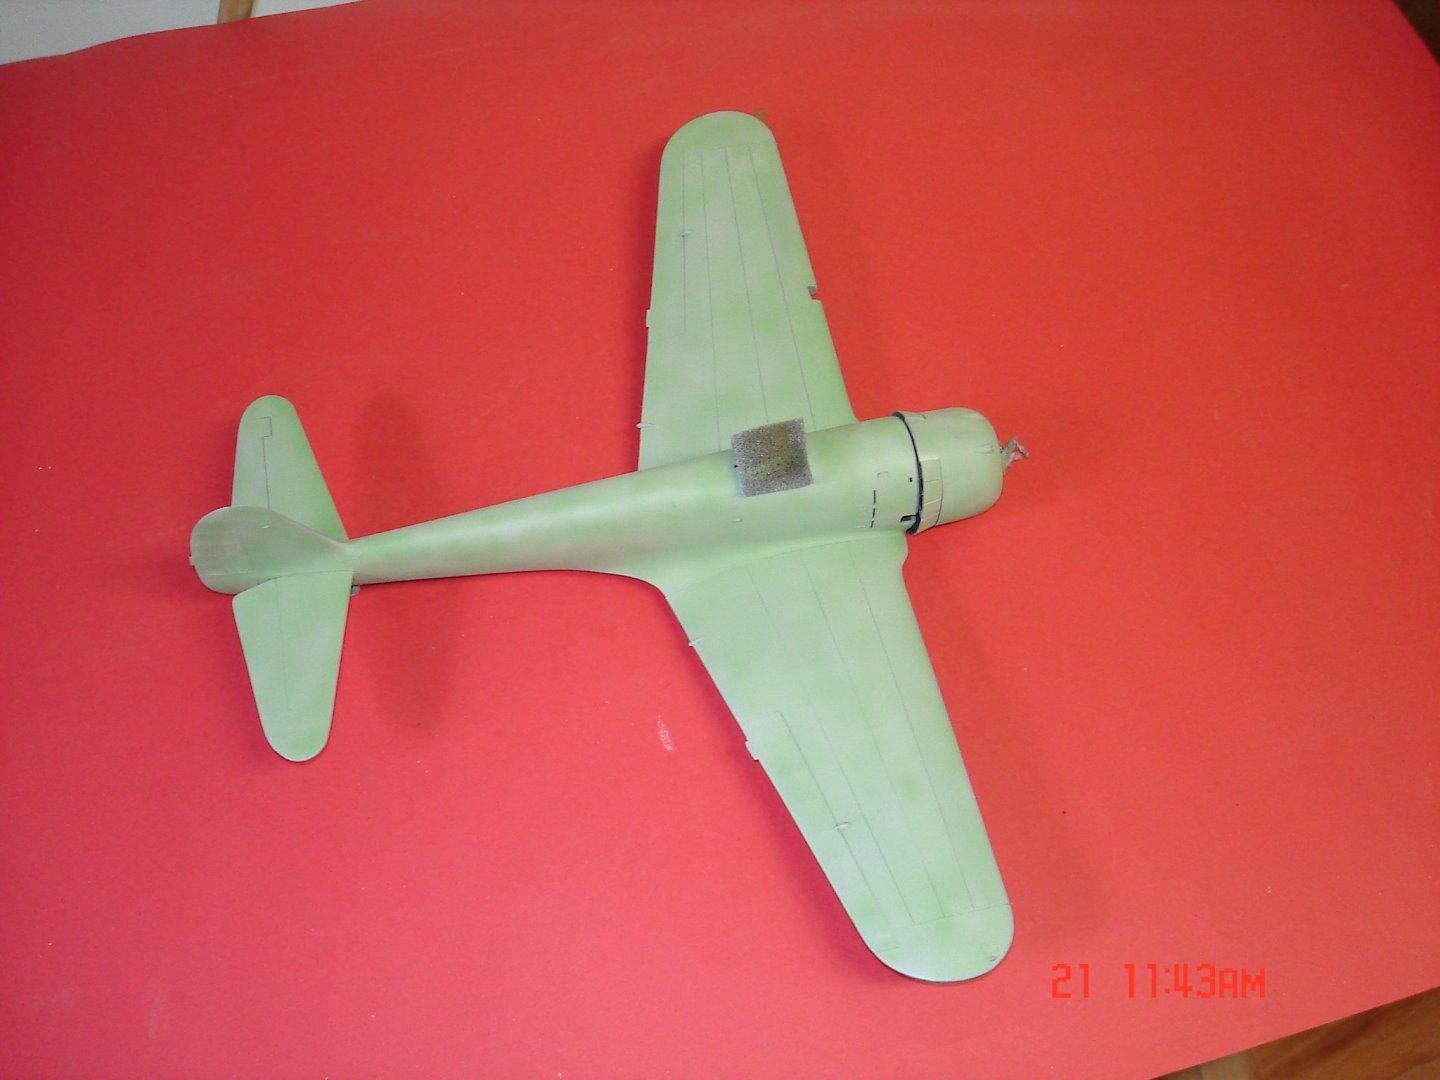

-
KI-43 Oscar by Javlin - FINISHED - Hasegawa - 1/32 - PLASTIC
Javlin replied to Javlin's topic in Non-ship/categorised builds
Thks Dan got a question can never remember when using Tamy wash is that over acrylic? -
KI-43 Oscar by Javlin - FINISHED - Hasegawa - 1/32 - PLASTIC
Javlin replied to Javlin's topic in Non-ship/categorised builds
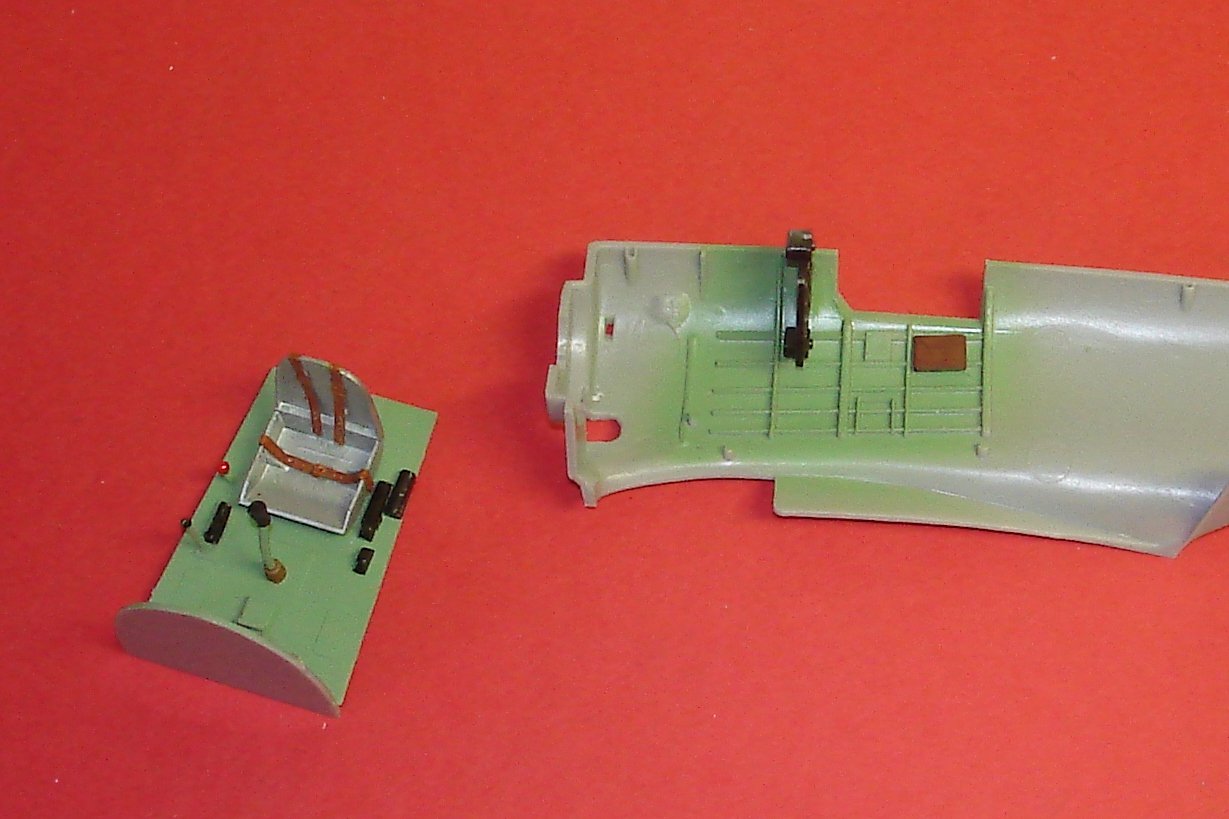
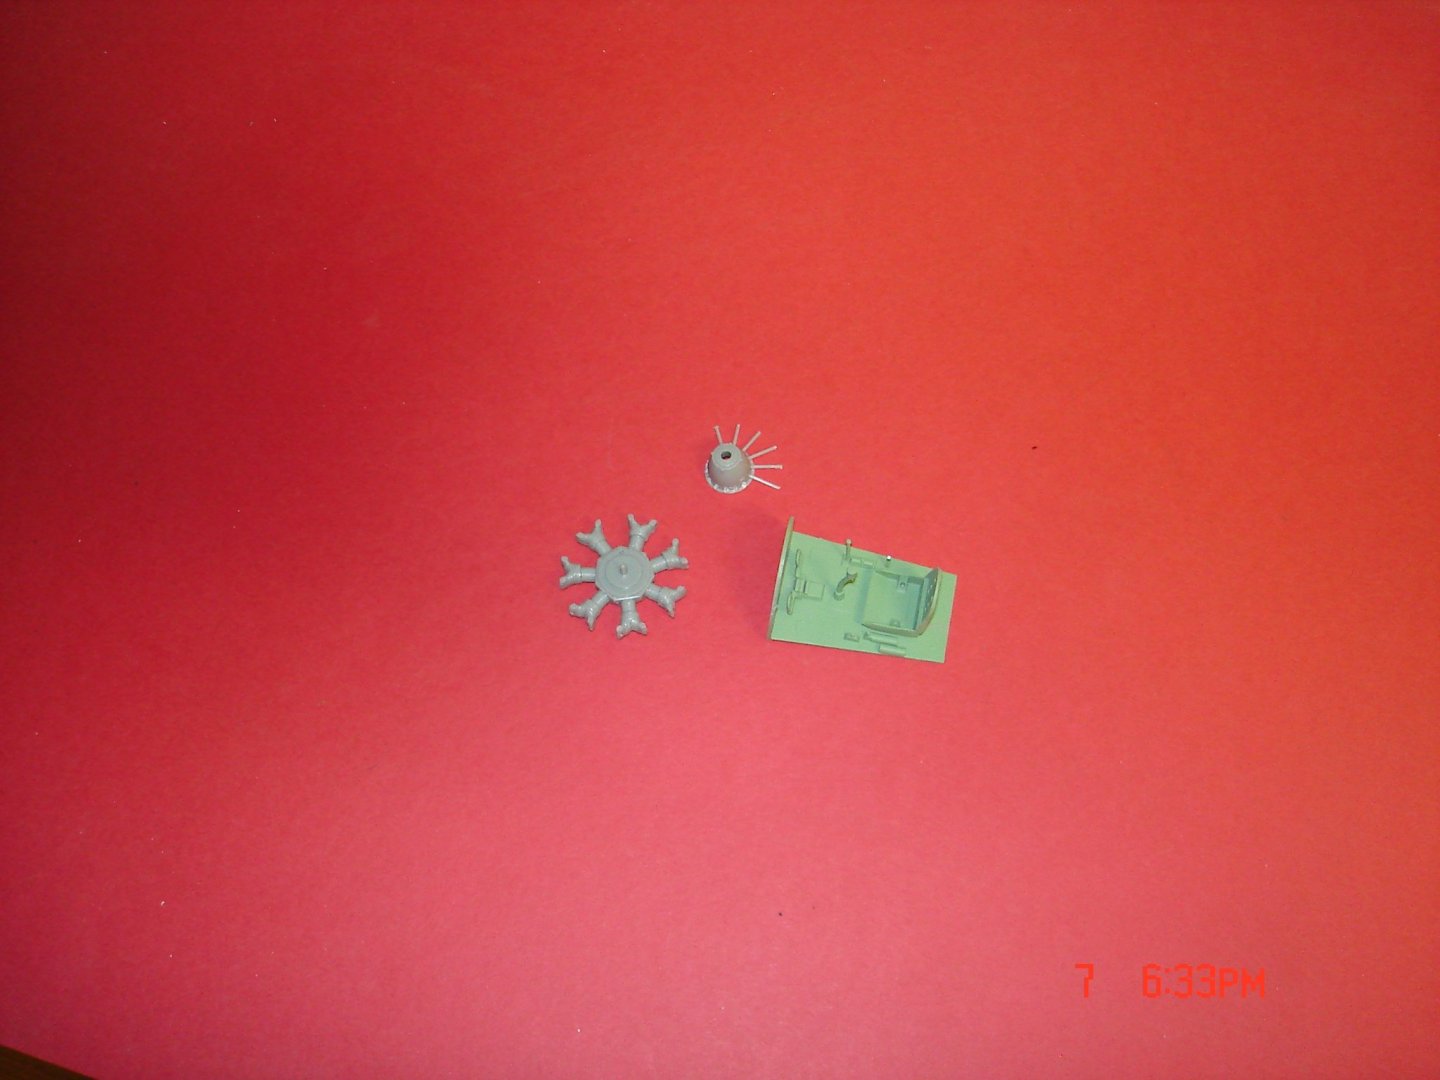
The fuse is drying as I type their was no decals for the IP so a light coat of silver and four drops of future on on each dial for the lens.The seat belts are Brit and 1/48 scale and the satchel on the right side is PE 1/48 also looks the part typical Hase copit a little sparse.The wings and tailplanes have already been glued and sanded as well as the wheels kind of boring stuff so no pics but she should really start moving now. Kevin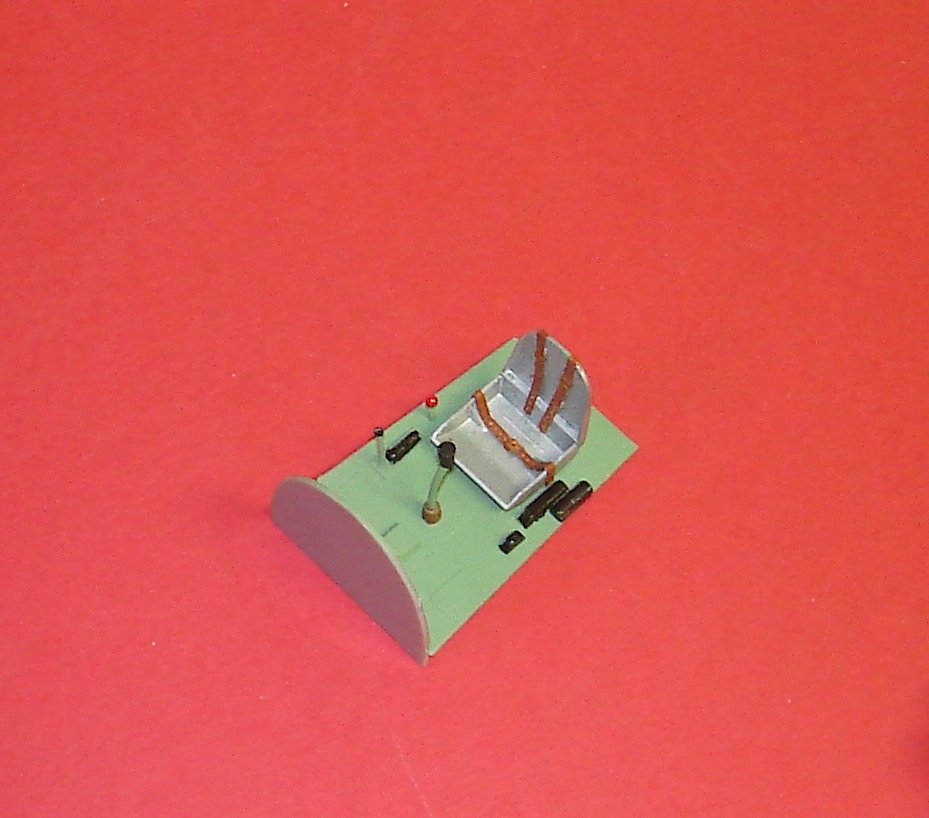
-
KI-43 Oscar by Javlin - FINISHED - Hasegawa - 1/32 - PLASTIC
Javlin replied to Javlin's topic in Non-ship/categorised builds
Not 100% on that Chris but having been in the auto industry for 40 years it's a pretty educated guess lots of air in that area. -
KI-43 Oscar by Javlin - FINISHED - Hasegawa - 1/32 - PLASTIC
Javlin replied to Javlin's topic in Non-ship/categorised builds
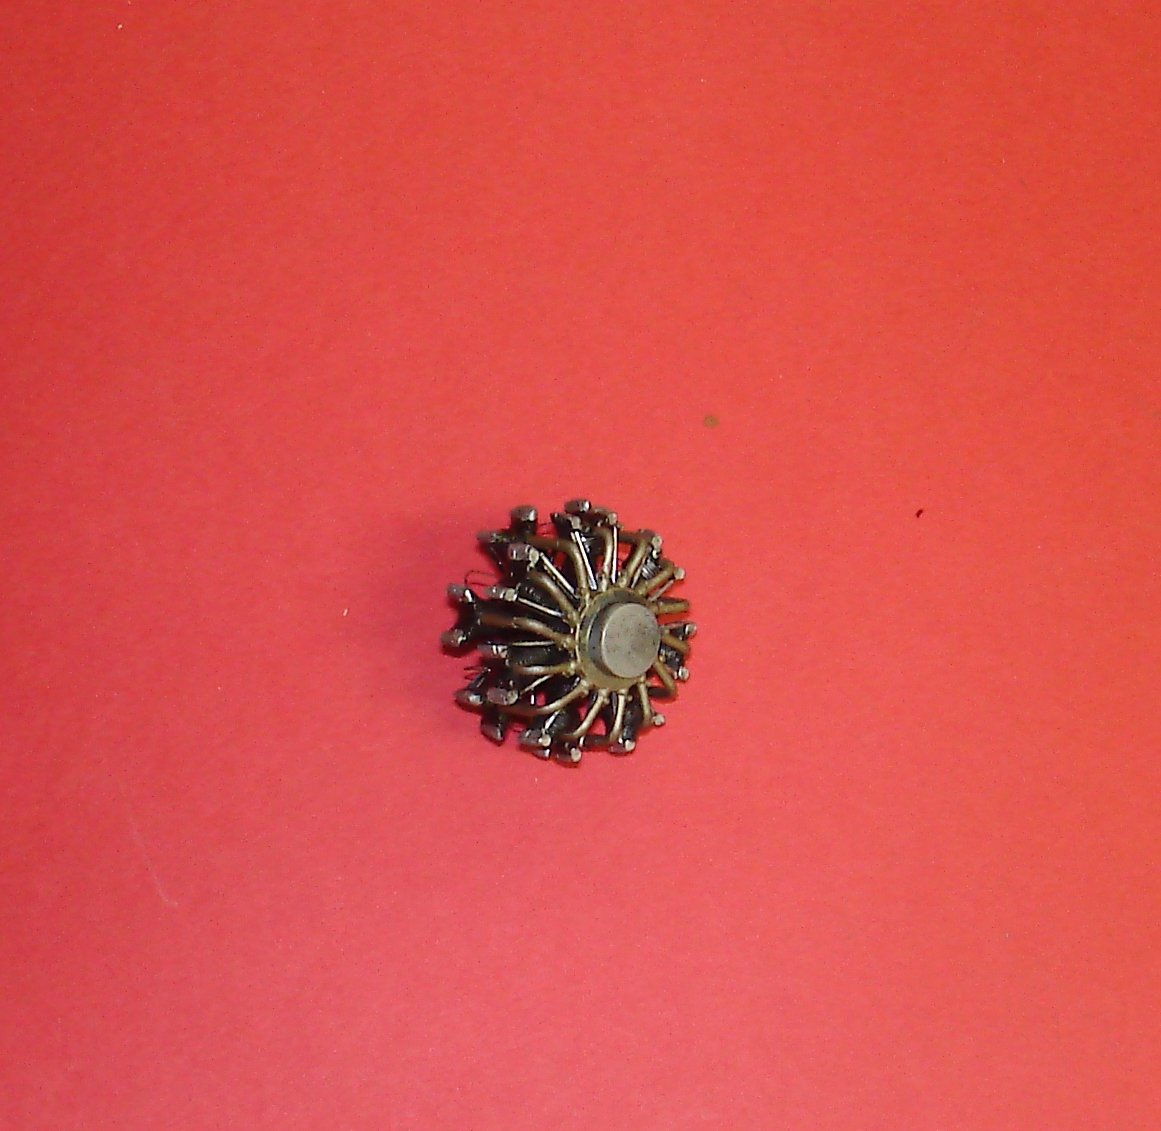
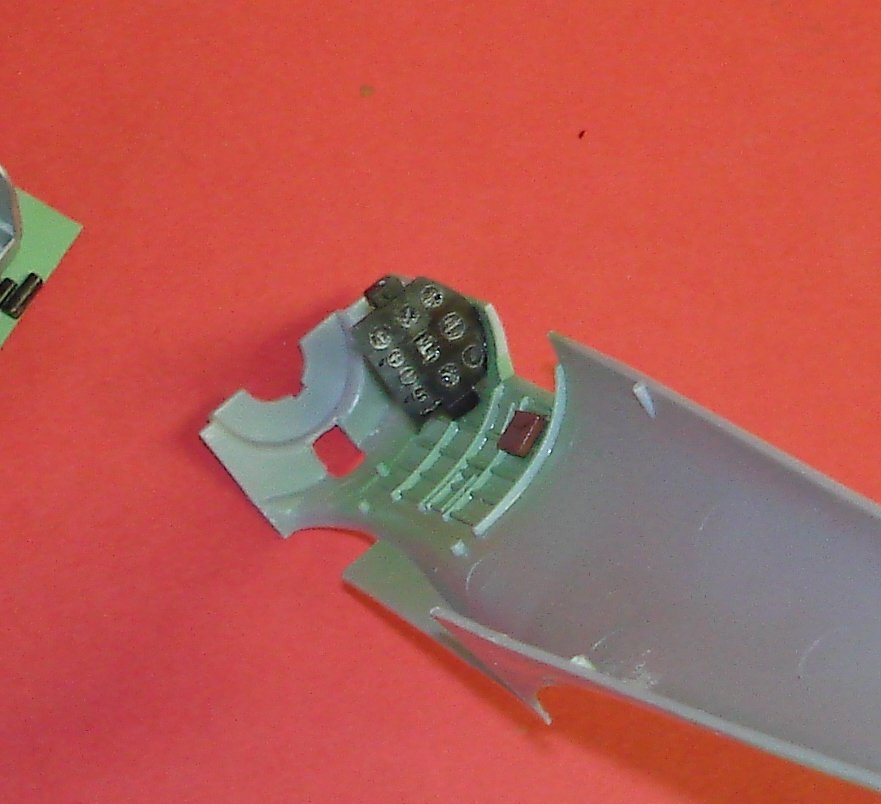
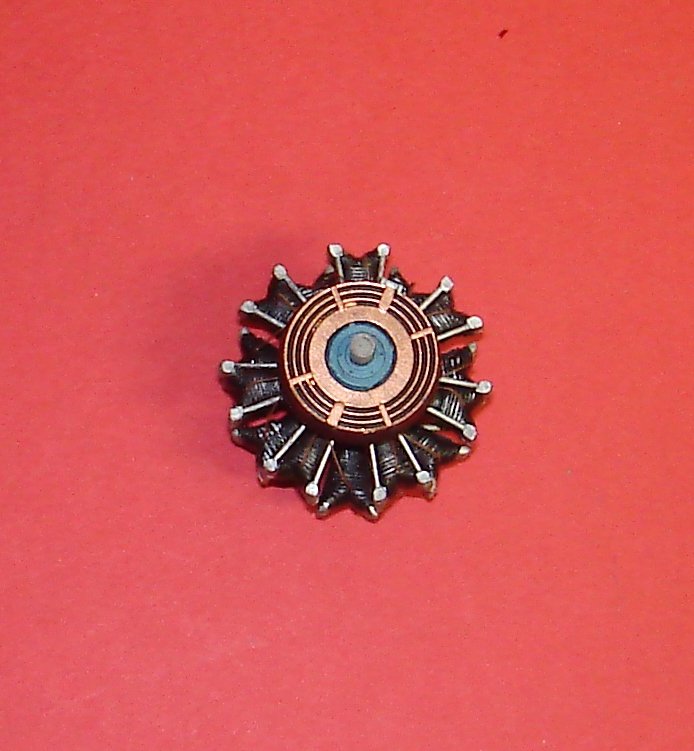
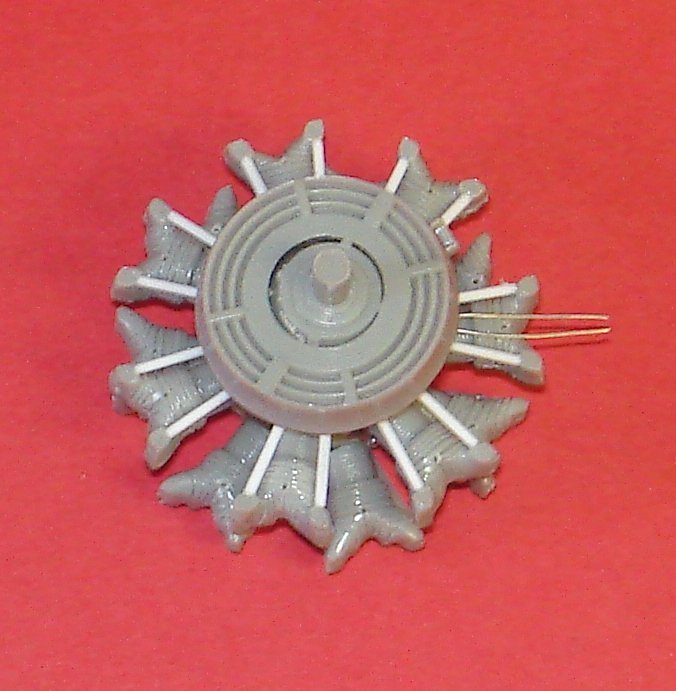
Well I am just about complete on the engine you will see how much the oil cooler hides the engine but it's better.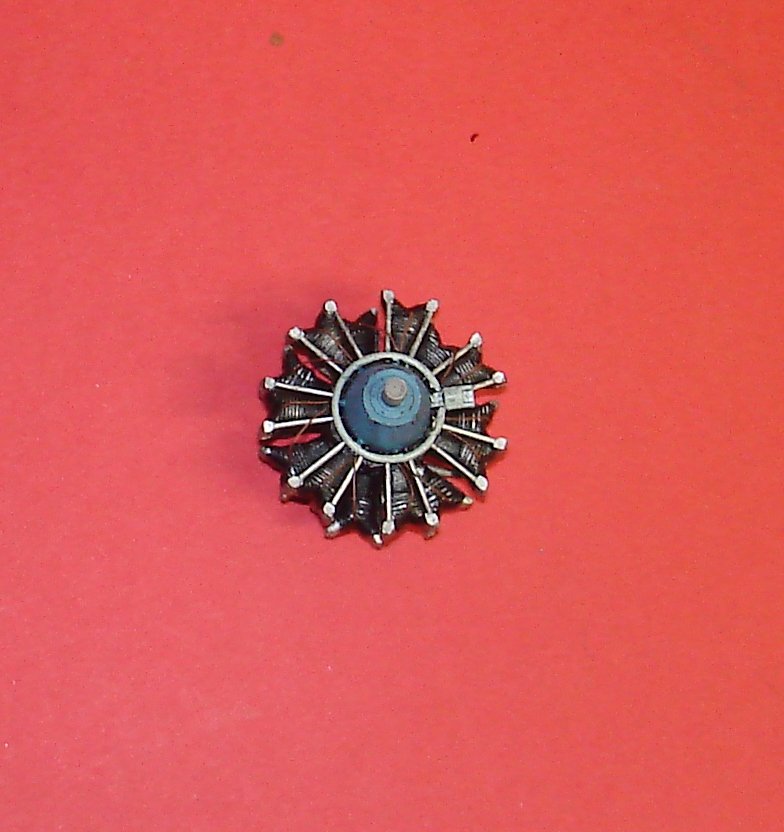

- 48 replies
-
- 12
-
-
Dare you Not you are coming along just fine brother
-
Now that definitely is one motor that never came through the machine shop lots of talk about it even that one was still sat in a crate at Big Daddy's in FL but again it was 1985 20 years after the beast inception.Now you know why I do not do cars after 40 years in the industry but I still luv upgrades just hate repair.Lets see what you can do to that 427cid beast Craig will be looking in.
-
Very Nice work Dan like the effect on the overall grey scheme I have this one in the stash Kevin
-
KI-43 Oscar by Javlin - FINISHED - Hasegawa - 1/32 - PLASTIC
Javlin replied to Javlin's topic in Non-ship/categorised builds
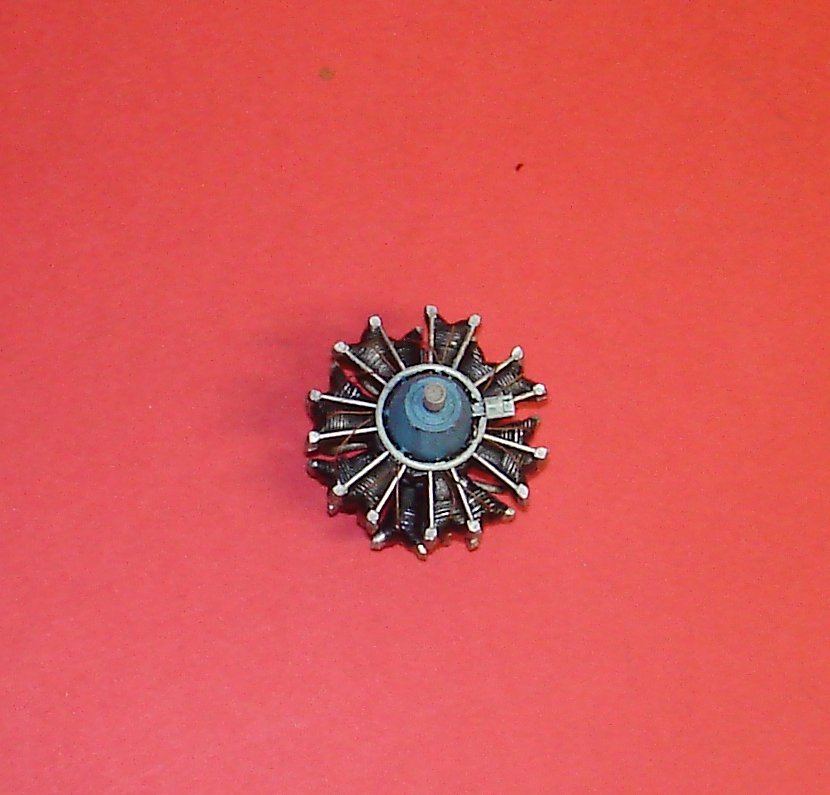
Were I am at thus far I think my push rods look much better than the kits on the back of the engine painting coming shortly.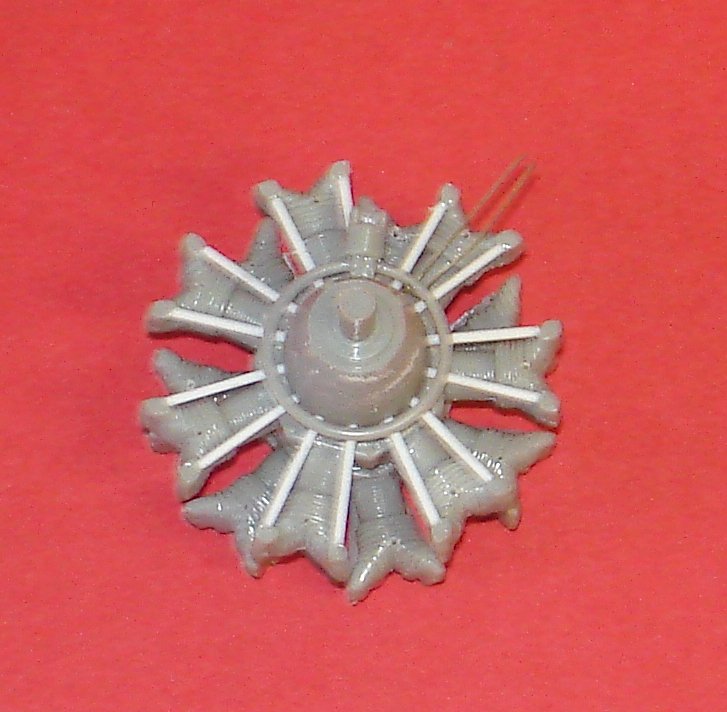
- 48 replies
-
- 10
-
-
Spitfire MK I by Danstream - Tamiya - 1/48 - PLASTIC
Javlin replied to Danstream's topic in Completed non-ship models
That was the answer I see guys use lead pencil for the effect. -
KI-43 Oscar by Javlin - FINISHED - Hasegawa - 1/32 - PLASTIC
Javlin replied to Javlin's topic in Non-ship/categorised builds
Thks Chris it is enamel from Testors makes sense I have no issue removing enamels over silver might just be easier he found with the future in play give it a shot. -
KI-43 Oscar by Javlin - FINISHED - Hasegawa - 1/32 - PLASTIC
Javlin replied to Javlin's topic in Non-ship/categorised builds
So that looks real for the Japanese their paint just did not stick I take he using enamel over the future to help in the lift? I used acrylic over the enamel and that stuff was just to hard to chip. -
Spitfire MK I by Danstream - Tamiya - 1/48 - PLASTIC
Javlin replied to Danstream's topic in Completed non-ship models
Nice job Dan just the right touch on the weathering pencils on the panels? -
She came out nice CD
-
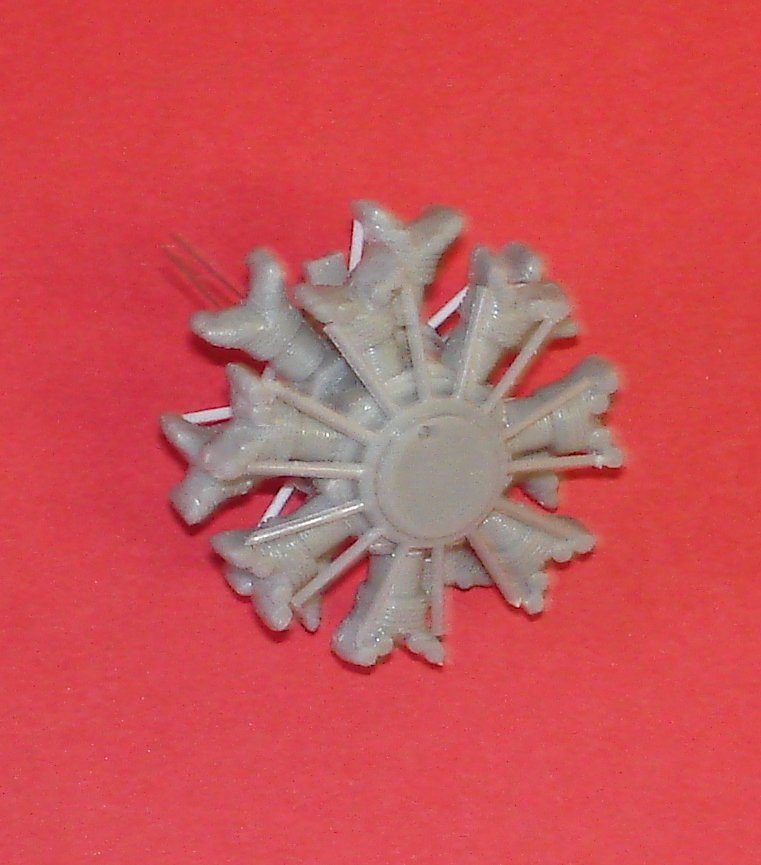
I have started the next build and cannot leave will enough alone.....I have already started cutting the for the rockers because none of them made it to the top of the cylinder head.I will be replacing with .030" plastic rod to weras I drill the crankcase slip the new rod(long) into the crankcase and slide it up to the rocker and glue.I think I will be adding ignition wires while I am at it just to hide it all behind the oil cooler behind the prop so goes it.I want a slightly different scheme than what the box depicts something from the 50th Sentai or the 59th Sentai with the blue which I have to paint no biggee.The old build of the Oscar is the same kit maybe 25yrs ago maybe longer! Kevin


- 48 replies
-
- 11
-
-
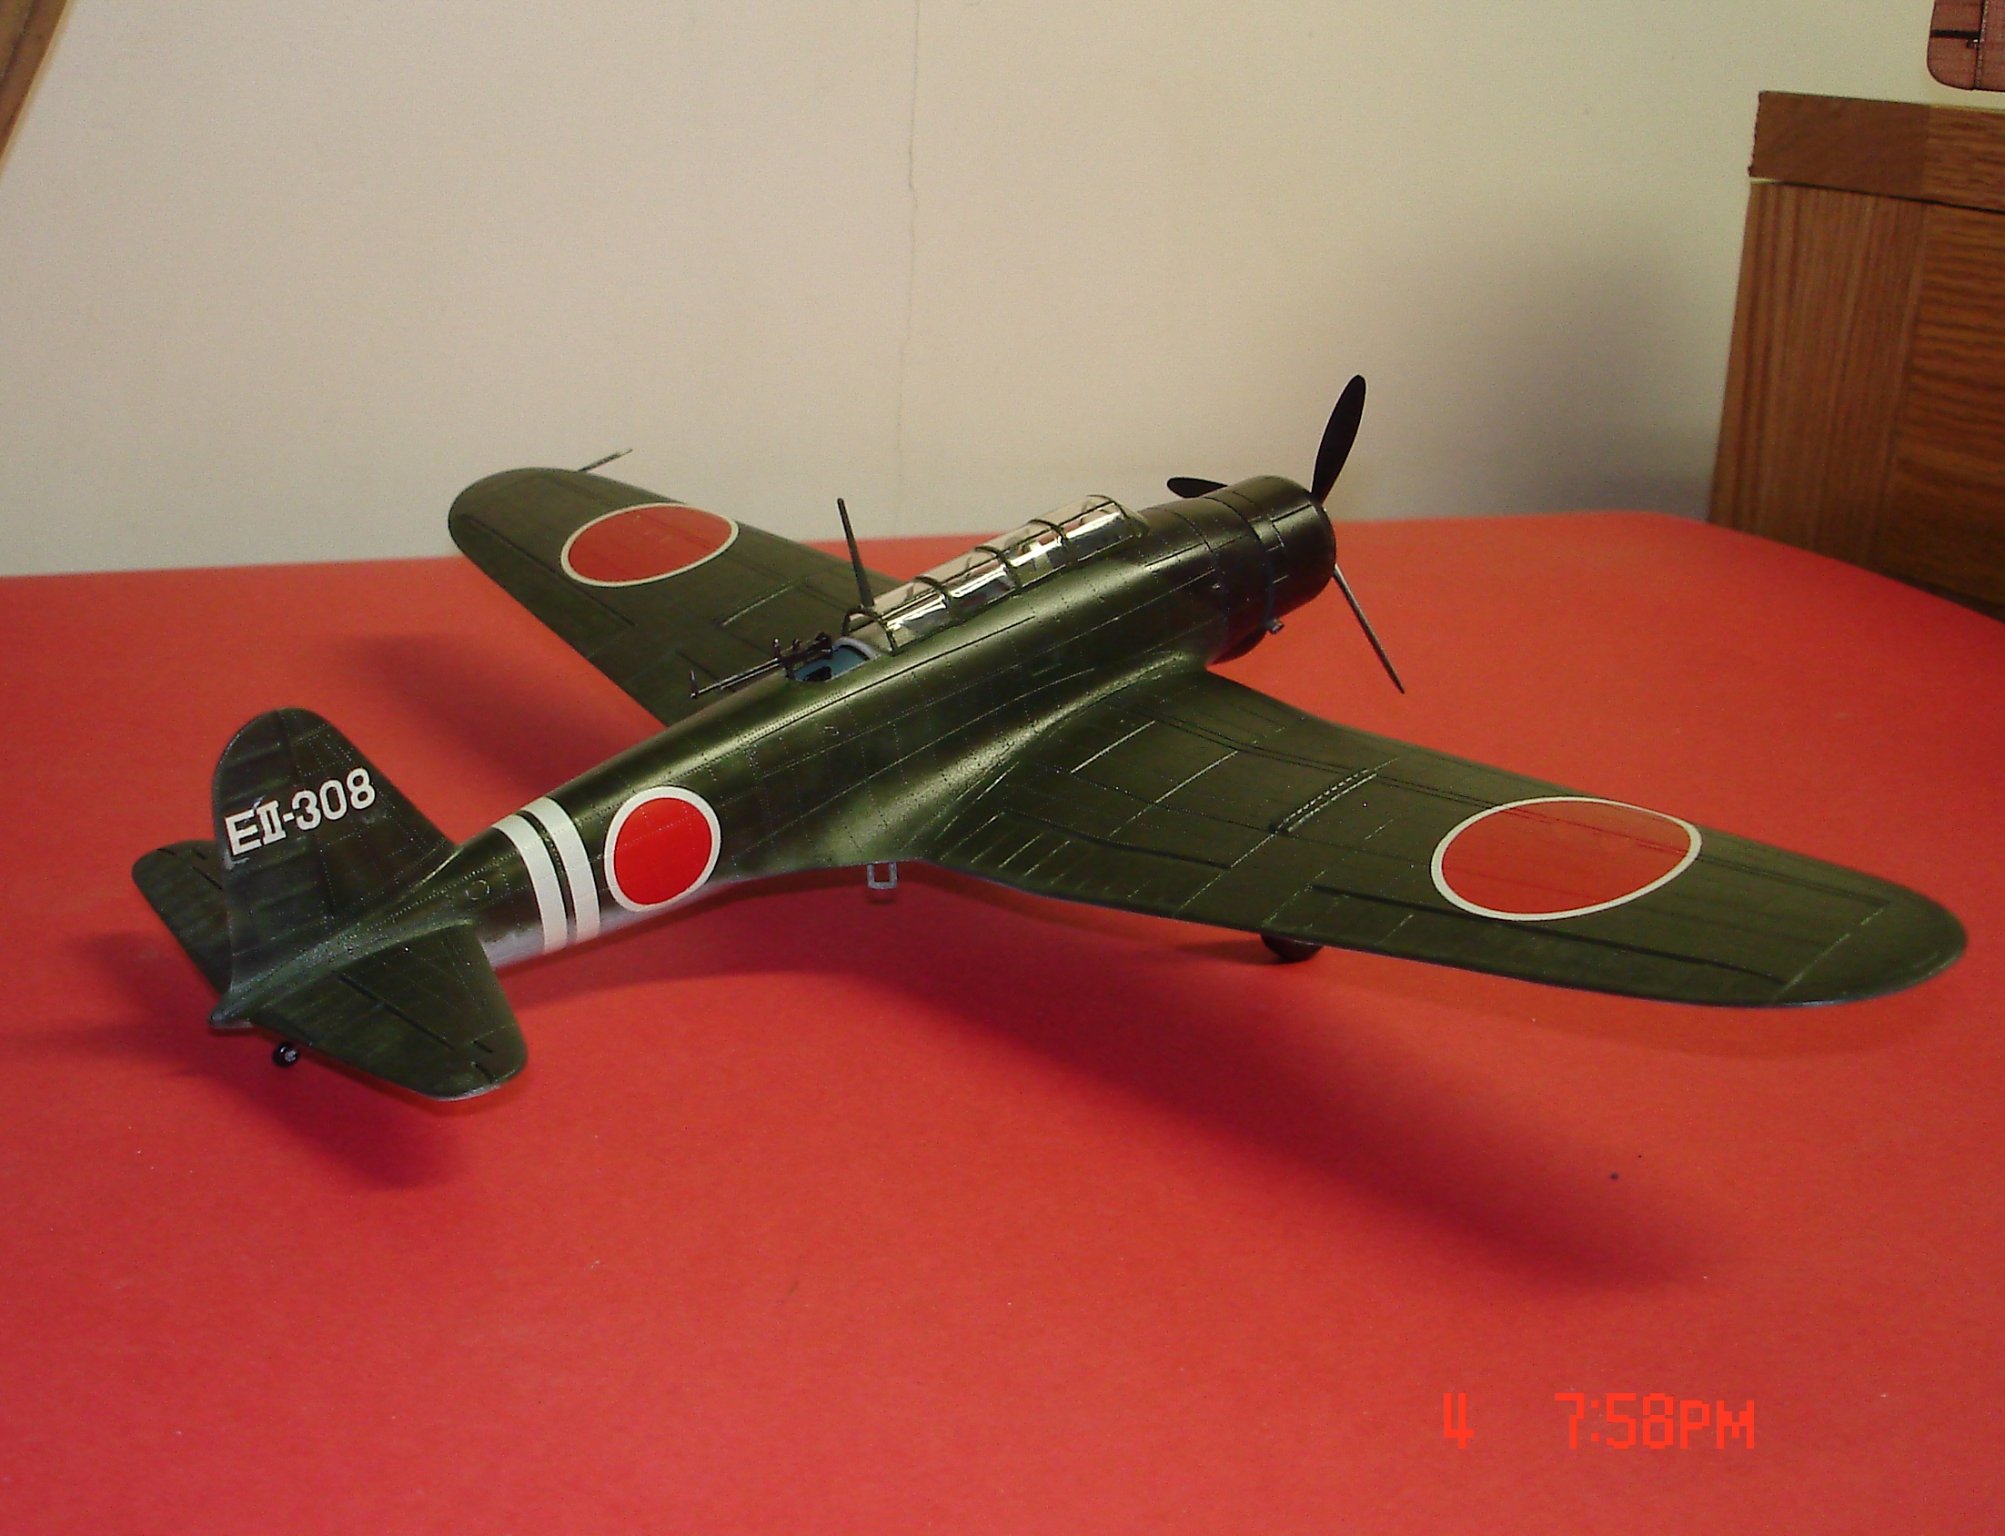
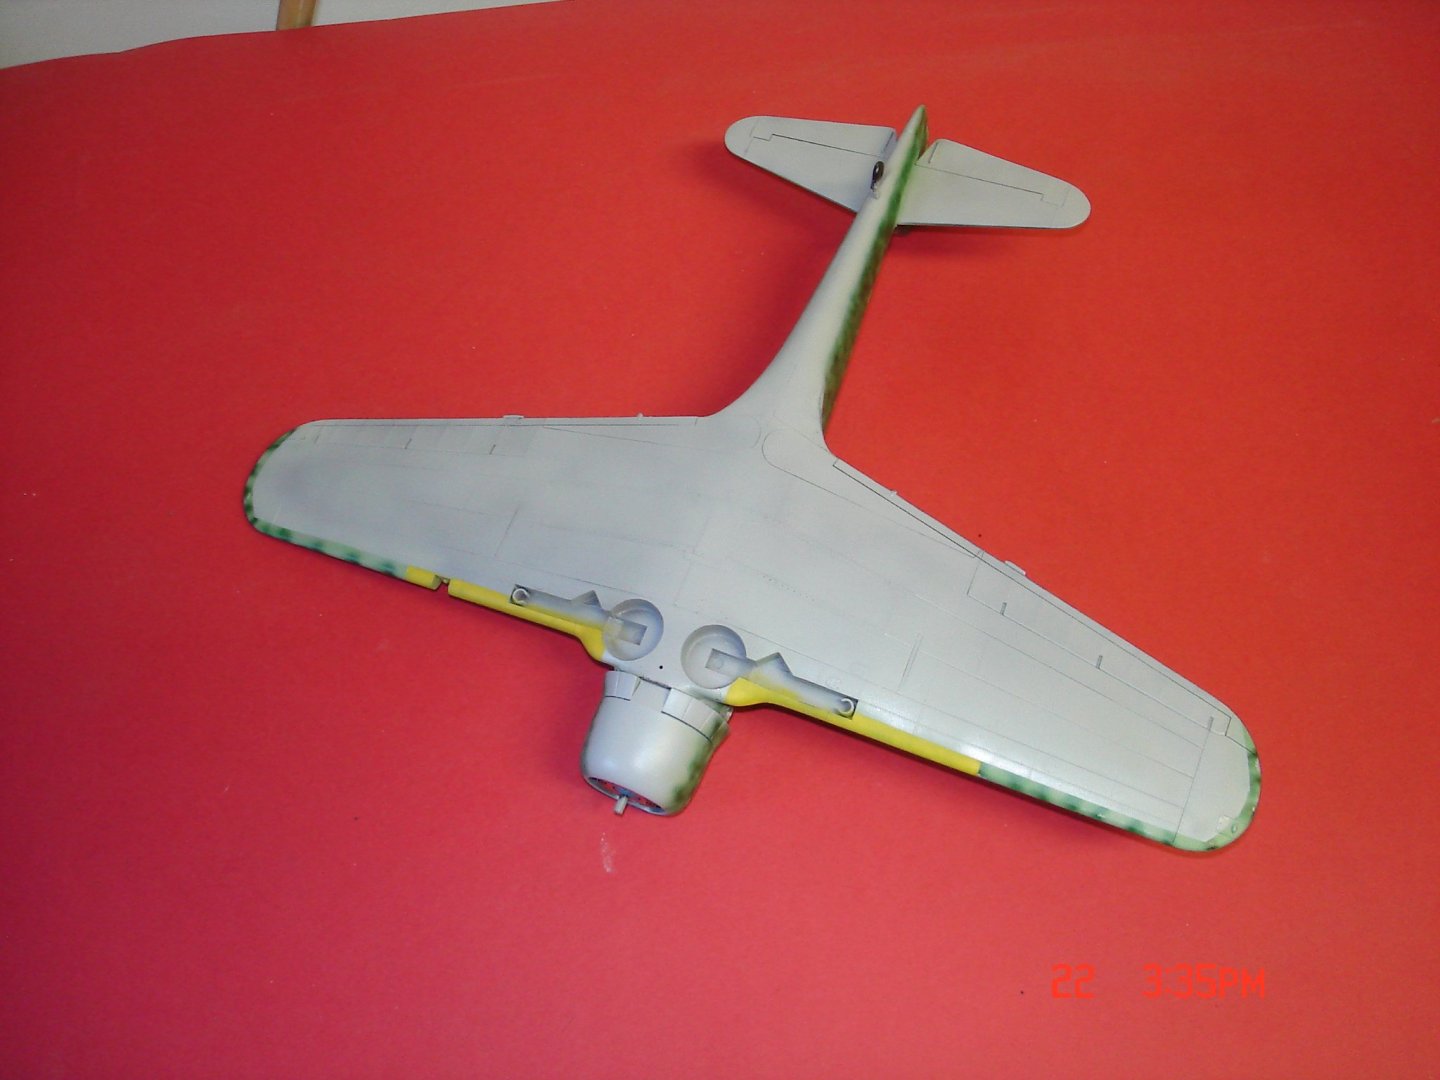
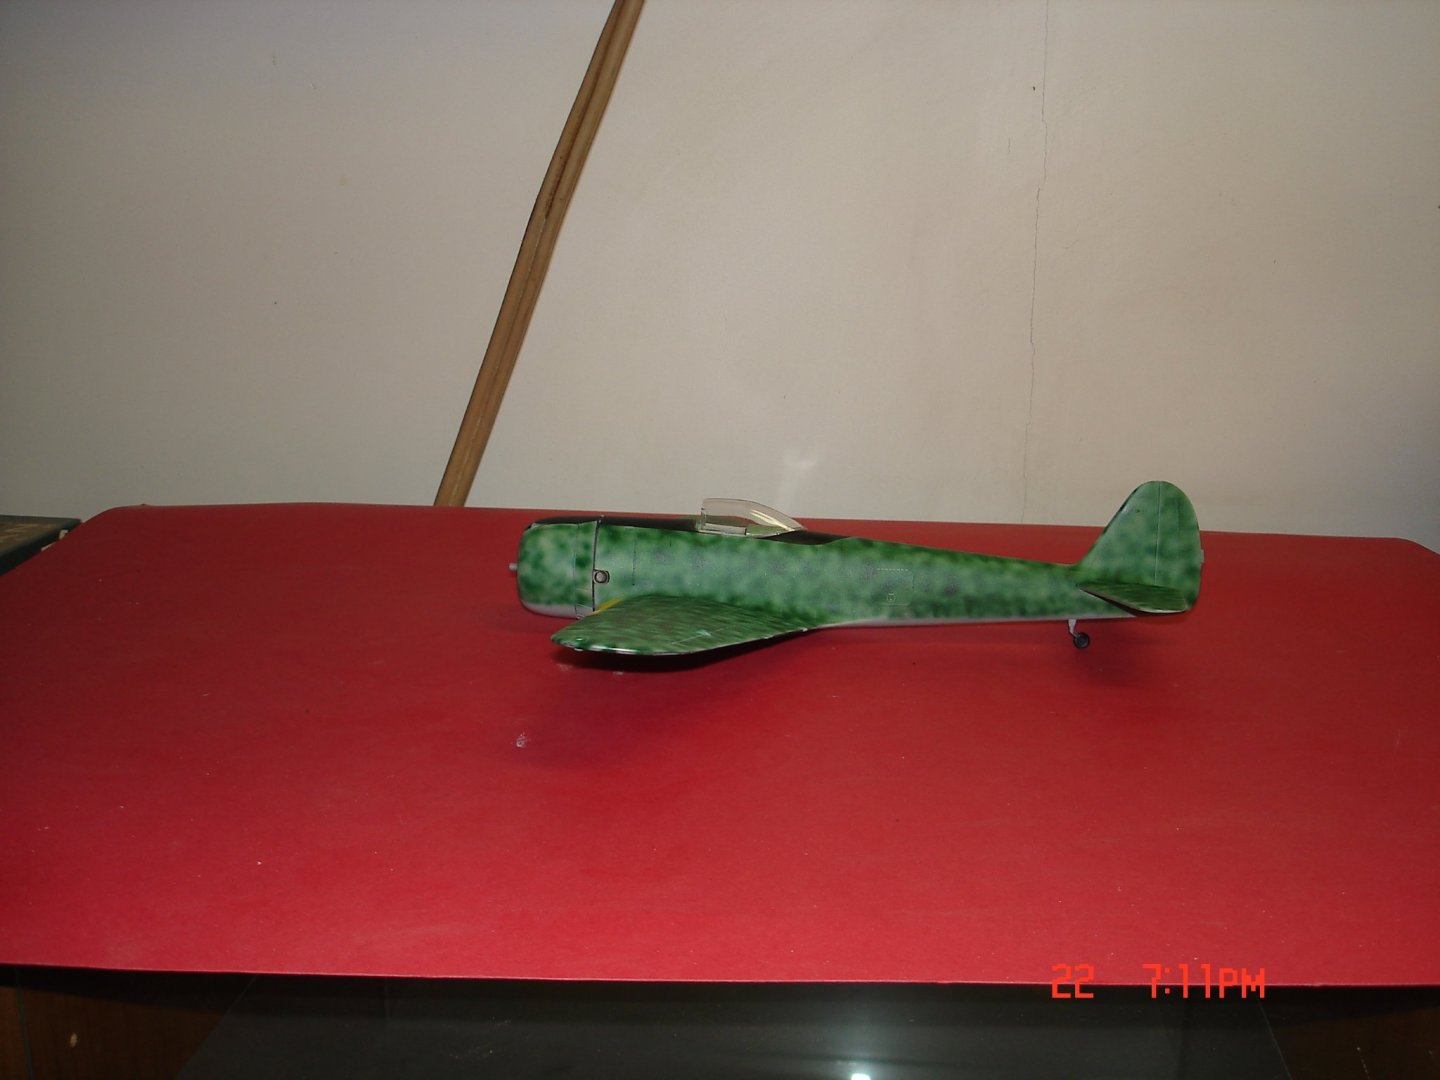
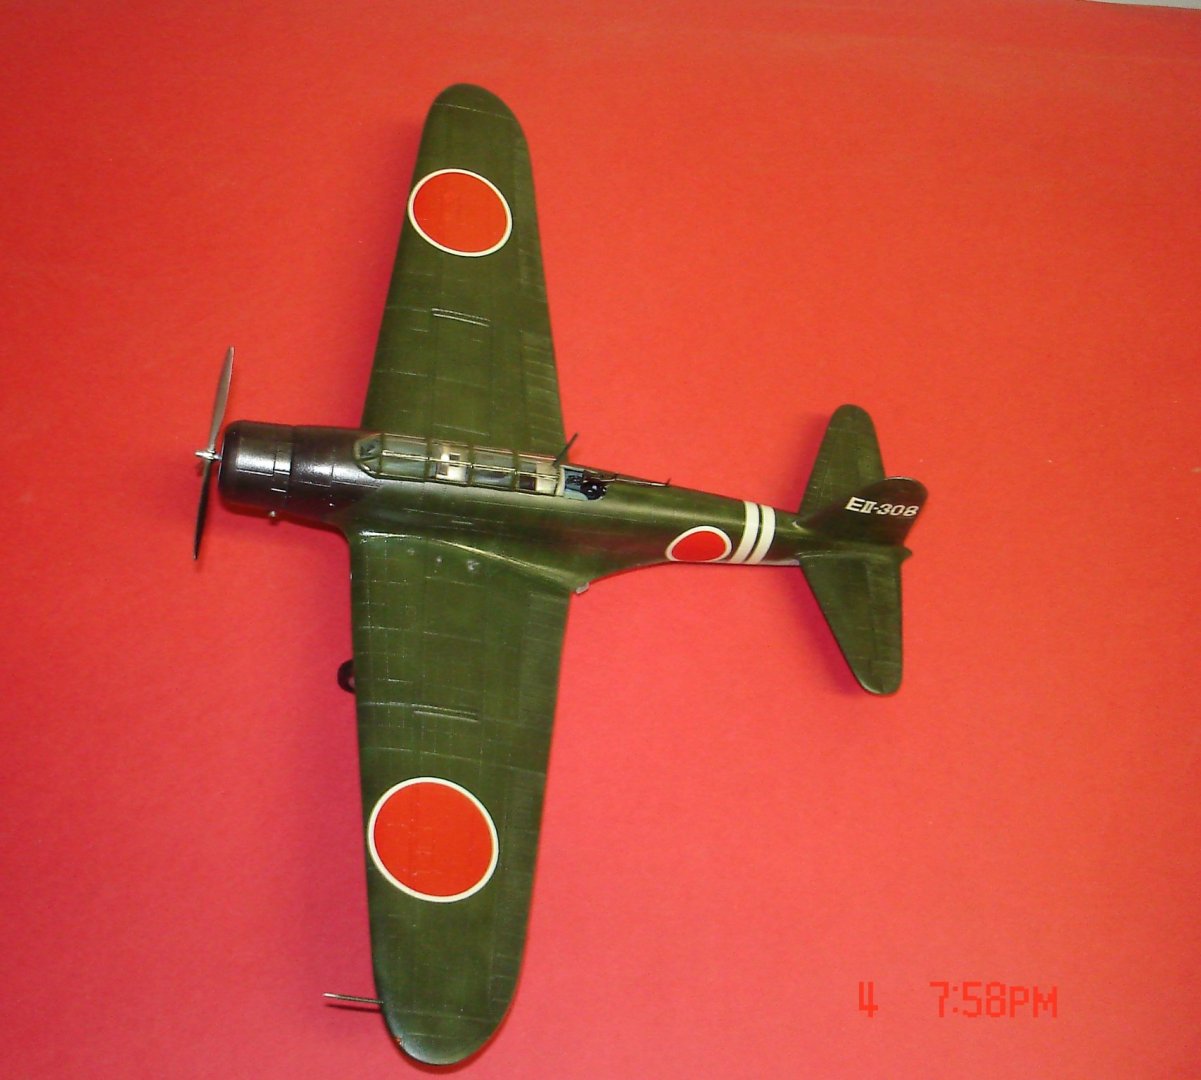
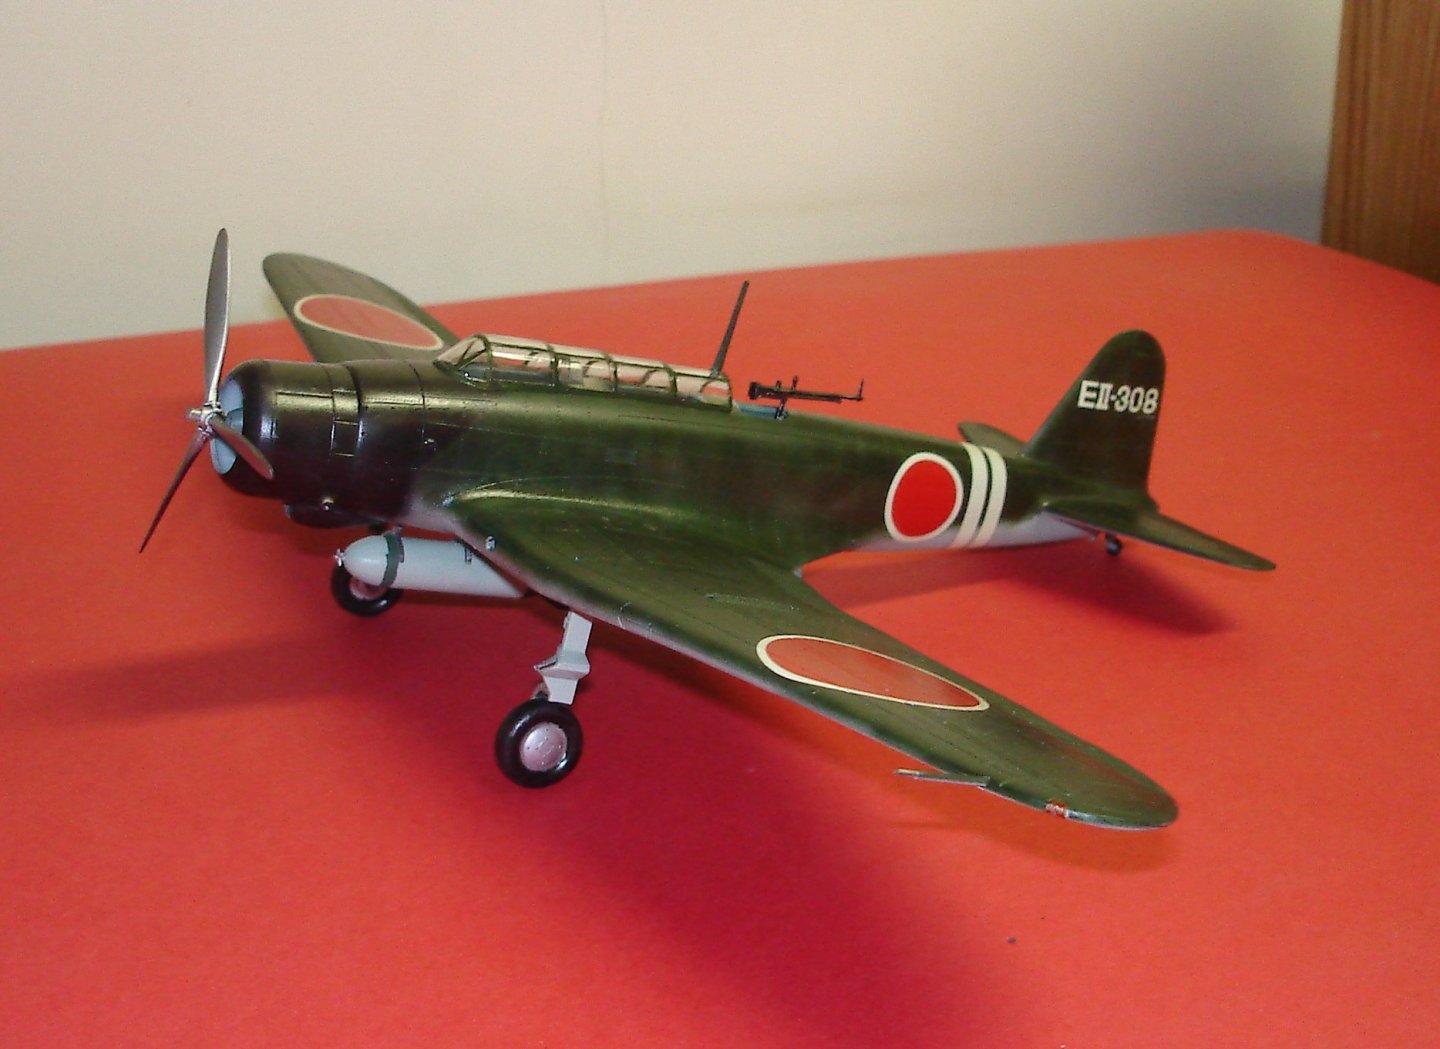
I do not know if this plane was in on that but the box art says she carried a torpedo and a different paint scheme to which I did not believe.I forsaked the torpedo because she would not fit under the plane with the wheels on Tailfins!so I went with the bomb.The next plane to hit the table is an easy one(old tooling) KI-43 Oscar Hasegawa 1/32 already started and will update later tonight/tomorrow.Thanks for looking in fellas. Kevin
-
Hey hey those would of been normal by the time we got the car in 1979 Craig but do carry on...........
-
I was the same way Mike in the beginning but alot of the ships and planes they built the lines are just to nice.
-
well calling this one finished ......The torpedo would not fit so I went with the 800kg bomb.The acrylic is a hard paint was giving me problems with scraping just left a few marks on the L/wing.I like Nichimo even for an old kit they have some nice details on there engravings the interior on this was so-so they have done better. I really was looking to do the box art in triple colors but seeing every other plane except one maybe a flight leader all had this scheme only seemed right to follow suit.What next? I am going to have to look around maybe something out of cache#2 WWI quick builds when I want soething more it's 1/32.

- 20 replies
-
- 12
-
-
Enzo Ferrari by CDW - FINISHED - Tamiya 1:24 Scale
Javlin replied to CDW's topic in Non-ship/categorised builds
She came out Nice Craig