Supplies of the Ship Modeler's Handbook are running out. Get your copy NOW before they are gone! Click on photo to order.
×


Shipyard sid
-
Posts
1,106 -
Joined
-
Last visited
Content Type
Profiles
Forums
Gallery
Events
Everything posted by Shipyard sid
-
 Greetings Jerry Just read through your log and realized that I have not commented at all. Well it looks good and once again you have really enjoyed yourself. Will you be moving house now, as it looks like you will have fleet soon, with the Bounty also on the way. You also appear to have played safe with no pointy ends, and I like that rolly up sail. Once again well done Jerry. What next?? You will soon be able to do your own tall ships race. DAVID
 -
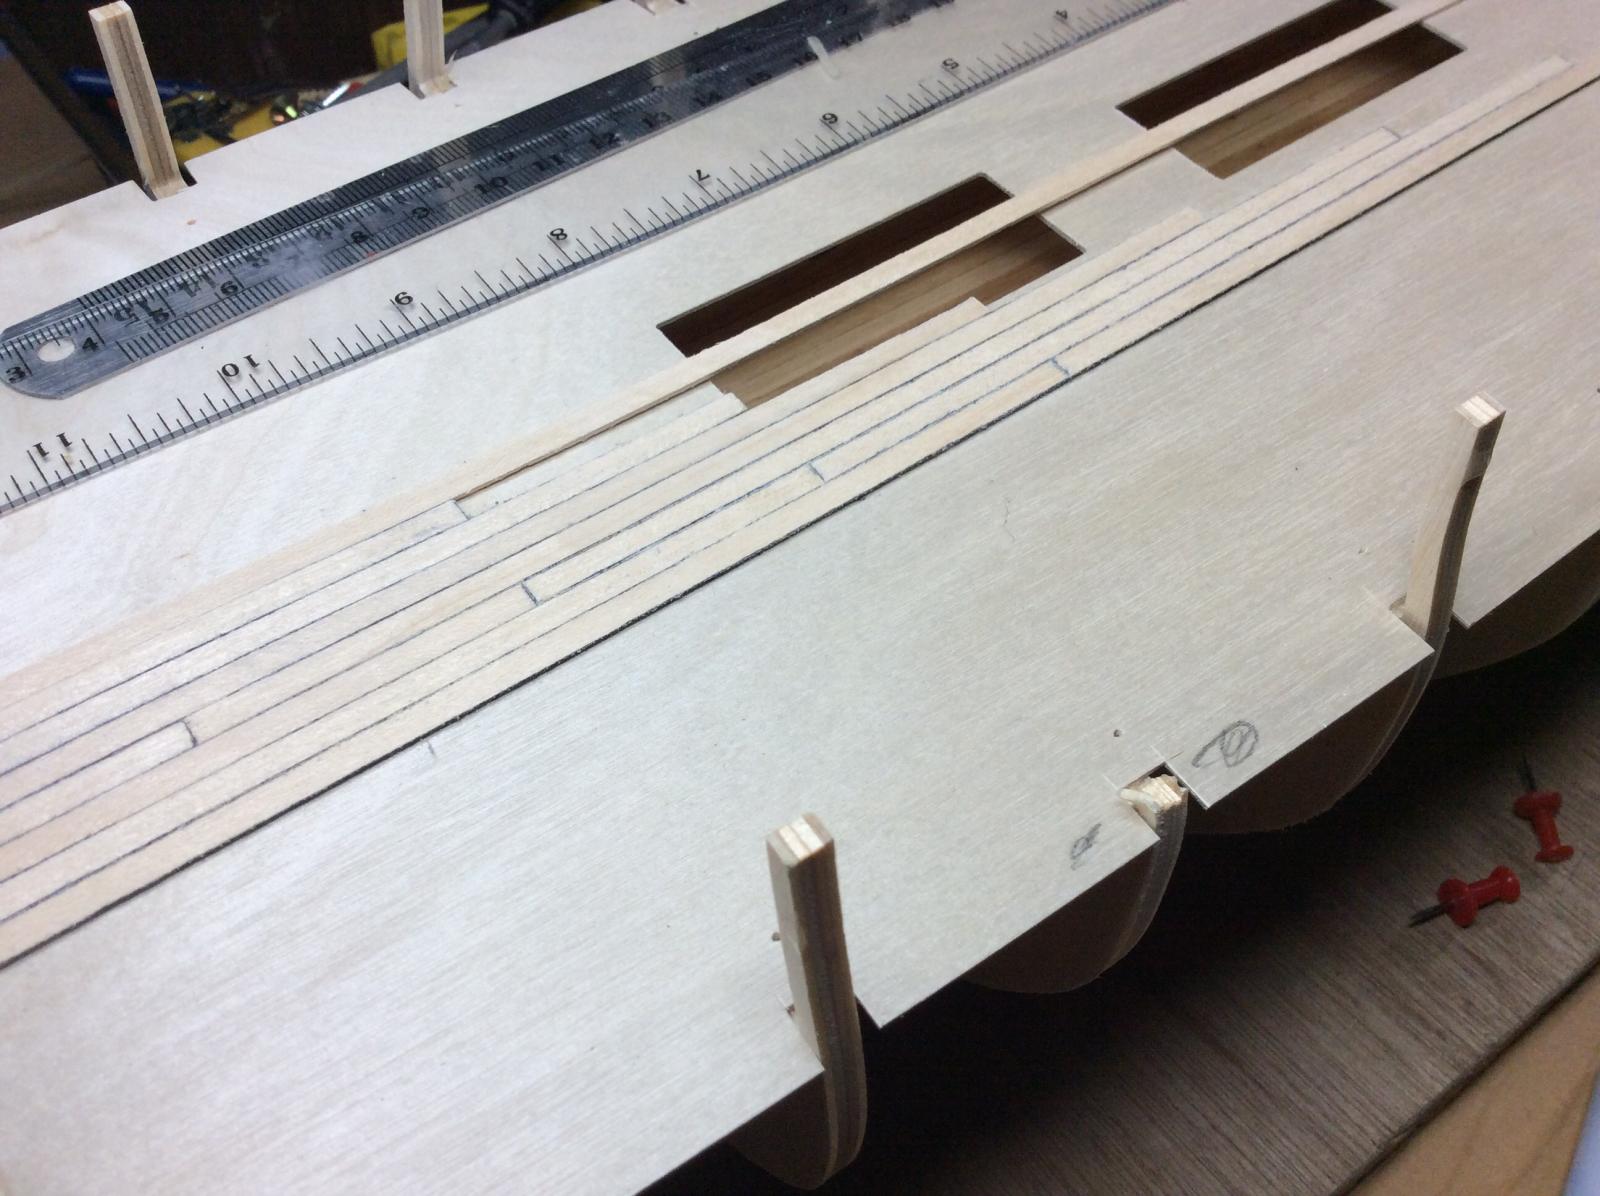
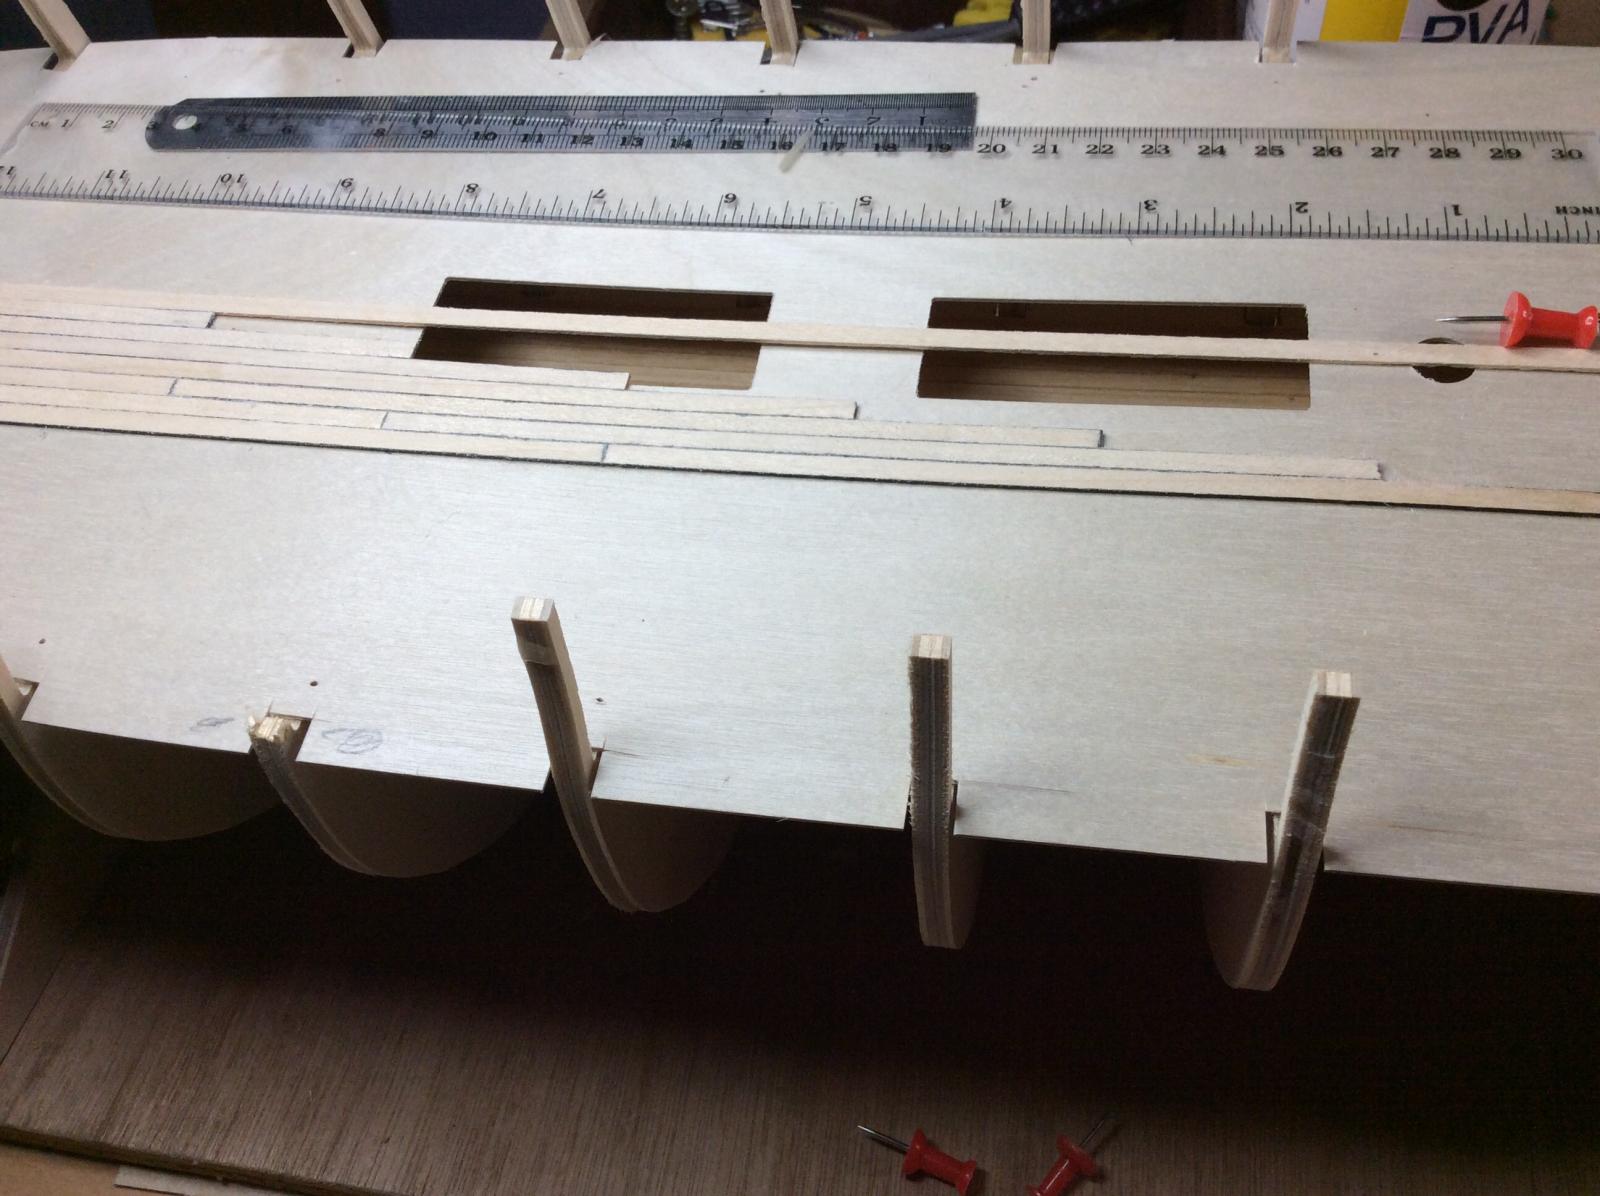
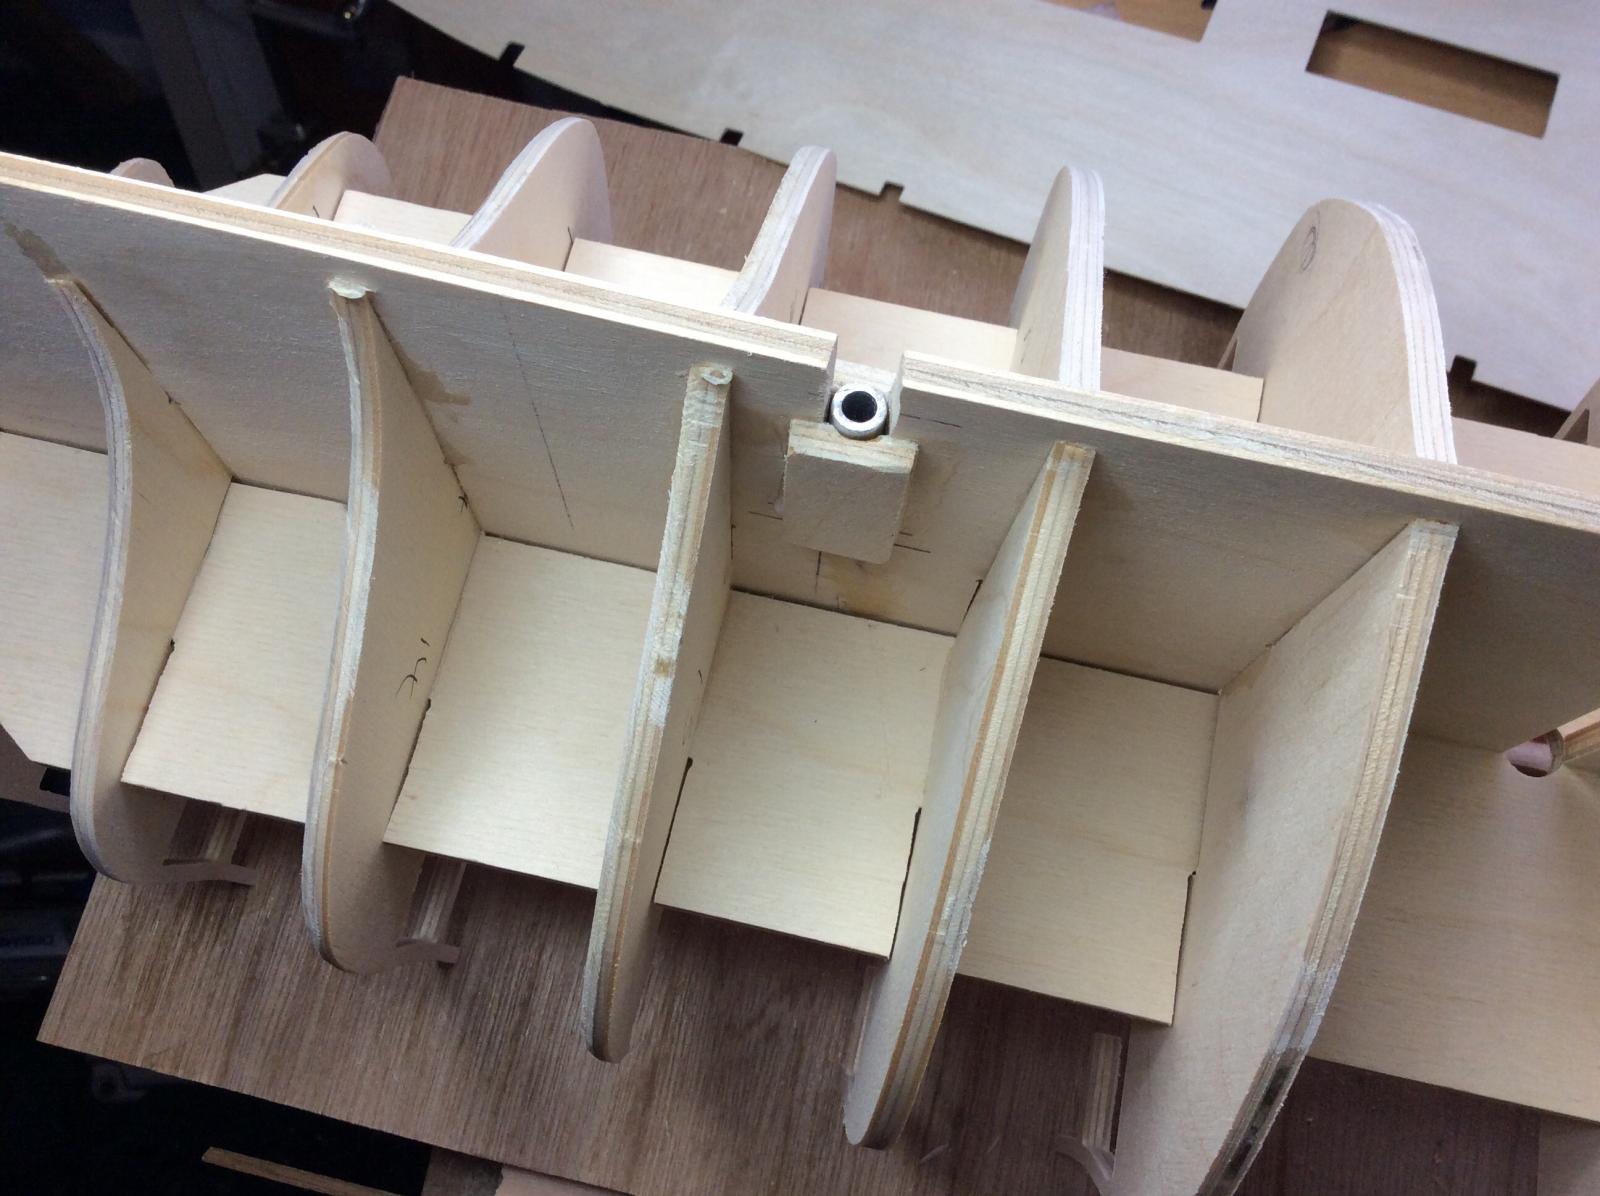
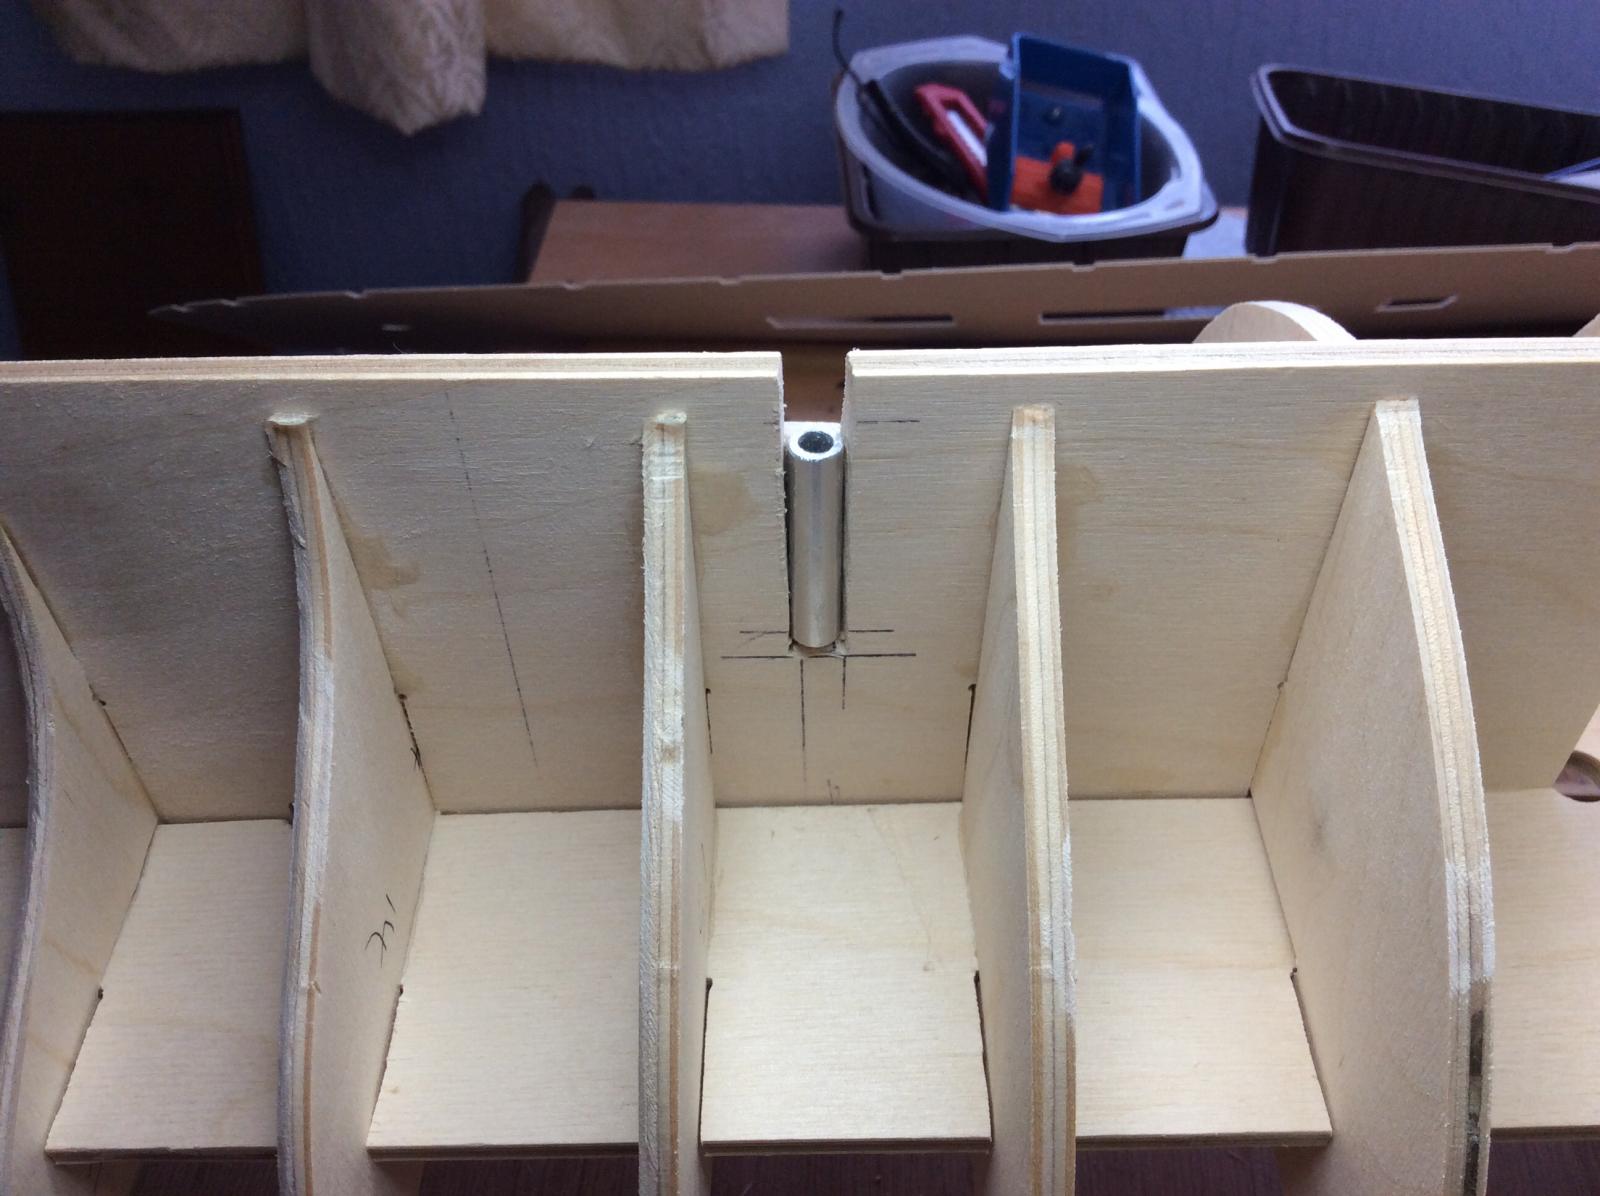
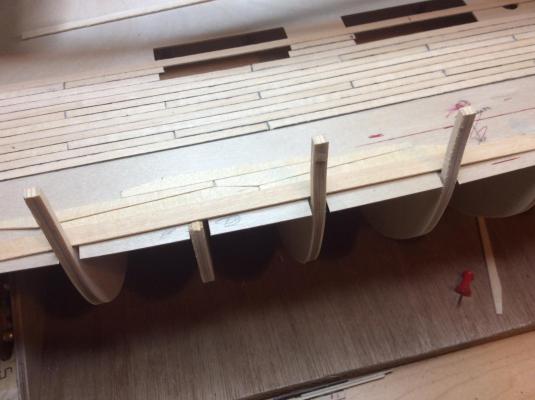
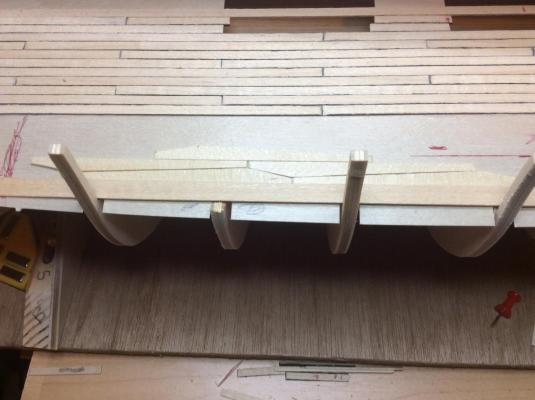
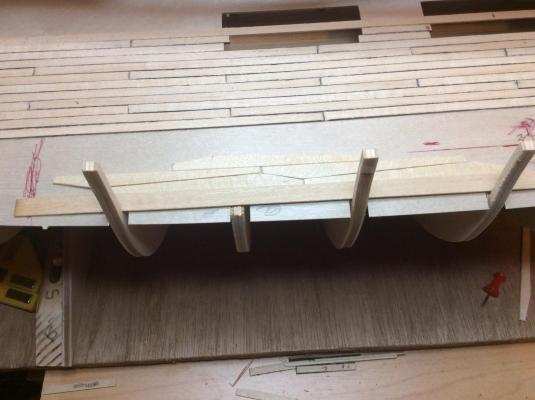
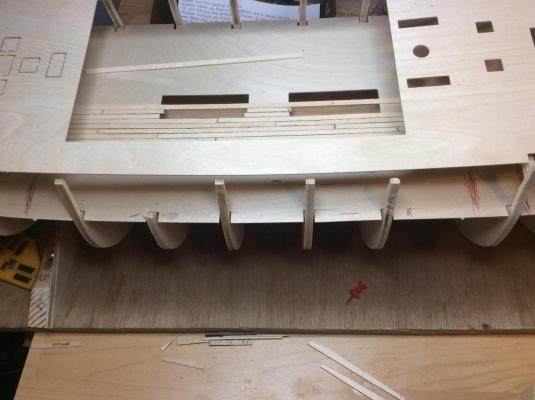
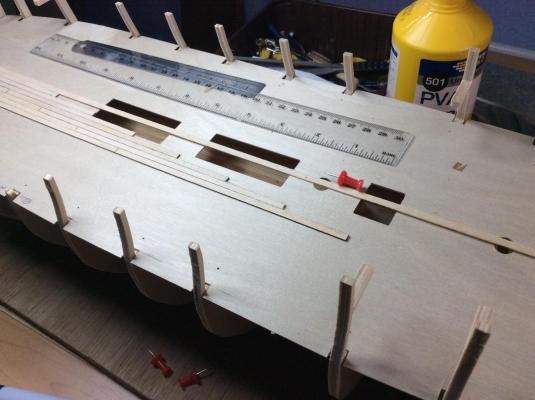
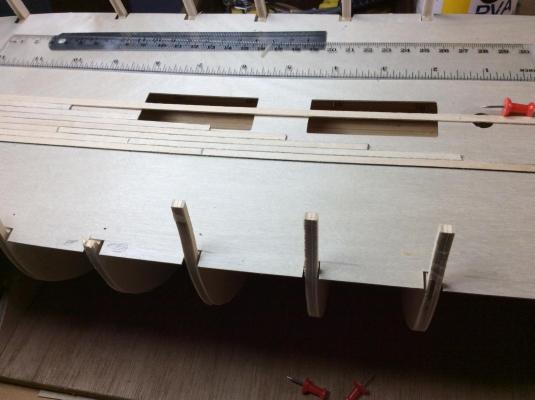
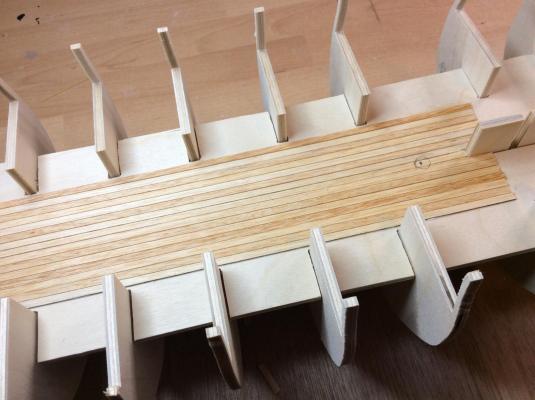
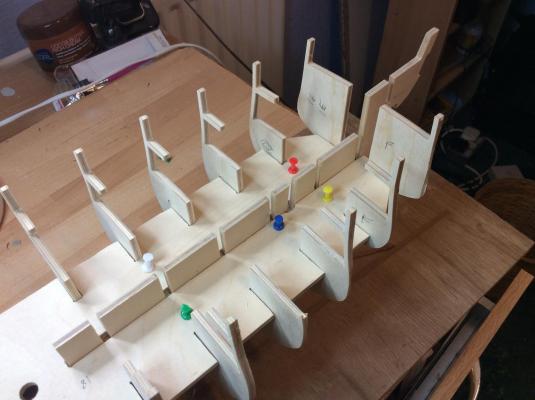
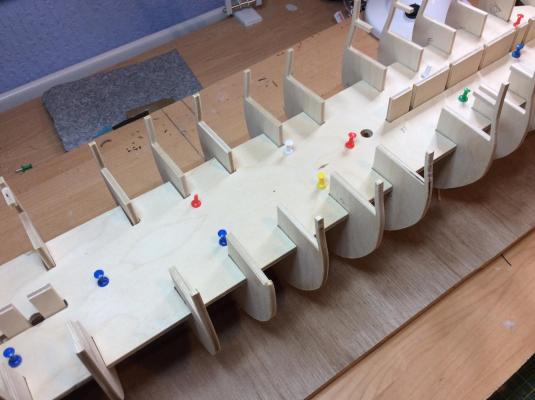
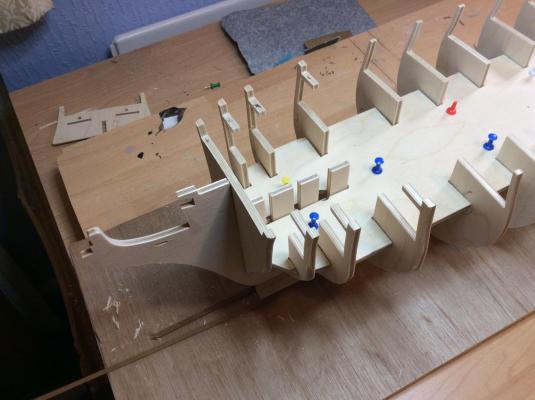
Greeting all Well a little more progress. And as I said earlier I would have a look at the 4 strake planks and see how it turns out. It will be in the same fashion as Ray's and in 80mm lengths. The deck planking now terminates on the port side. The waterway is 7mm planking and will be fitted at the inner wall uprights and parallel with the terminated planking. The strakes which are 6mm planking equaling approx 24mm will be fitted across from the waterway leaving a gap of approx 9mm to the terminated planking. The gap will then be infilled with planking strip, and can be made up to any dimension necessary. There is no way I will fit the strakes the total length of the deck, it will only be the visible length of the waist, which will satisfy me. Any way I am enjoying this build, although it's going a bit slow because of circumstances. Anyway thanks for your comments and for viewing. Here's a few photos which should explain things. DAVID
-
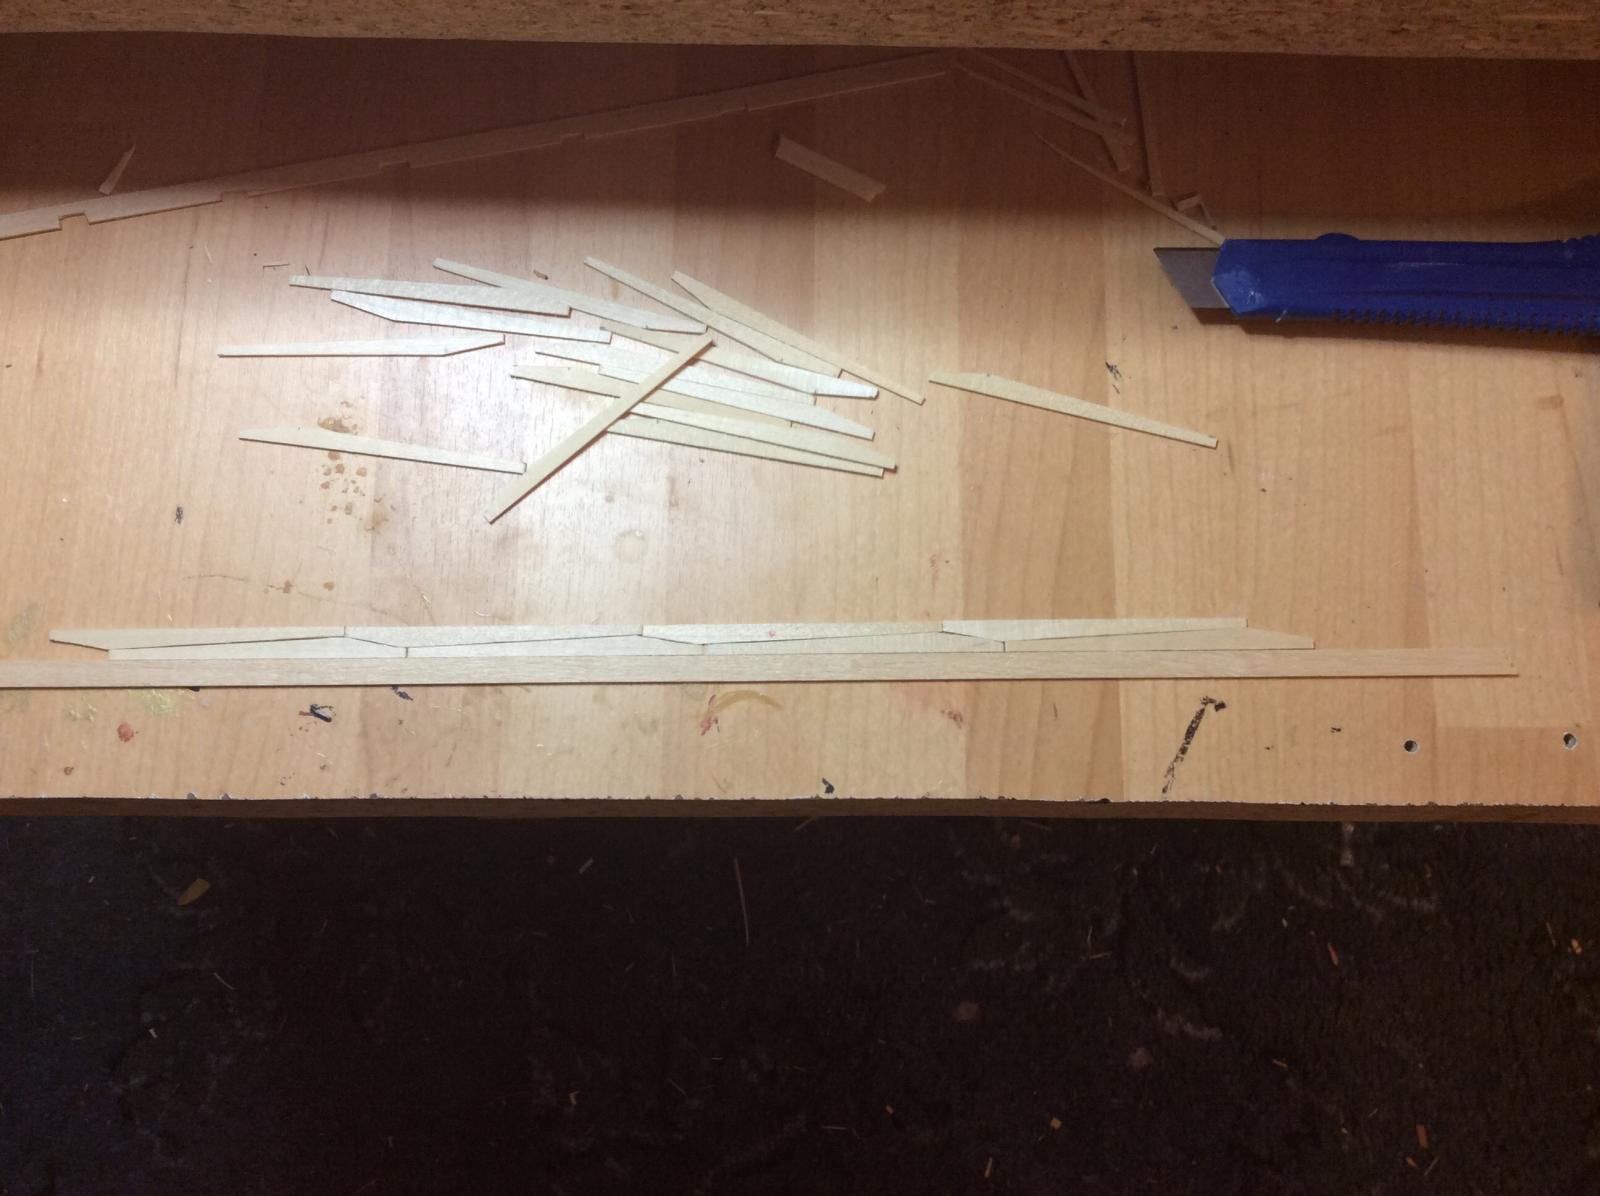
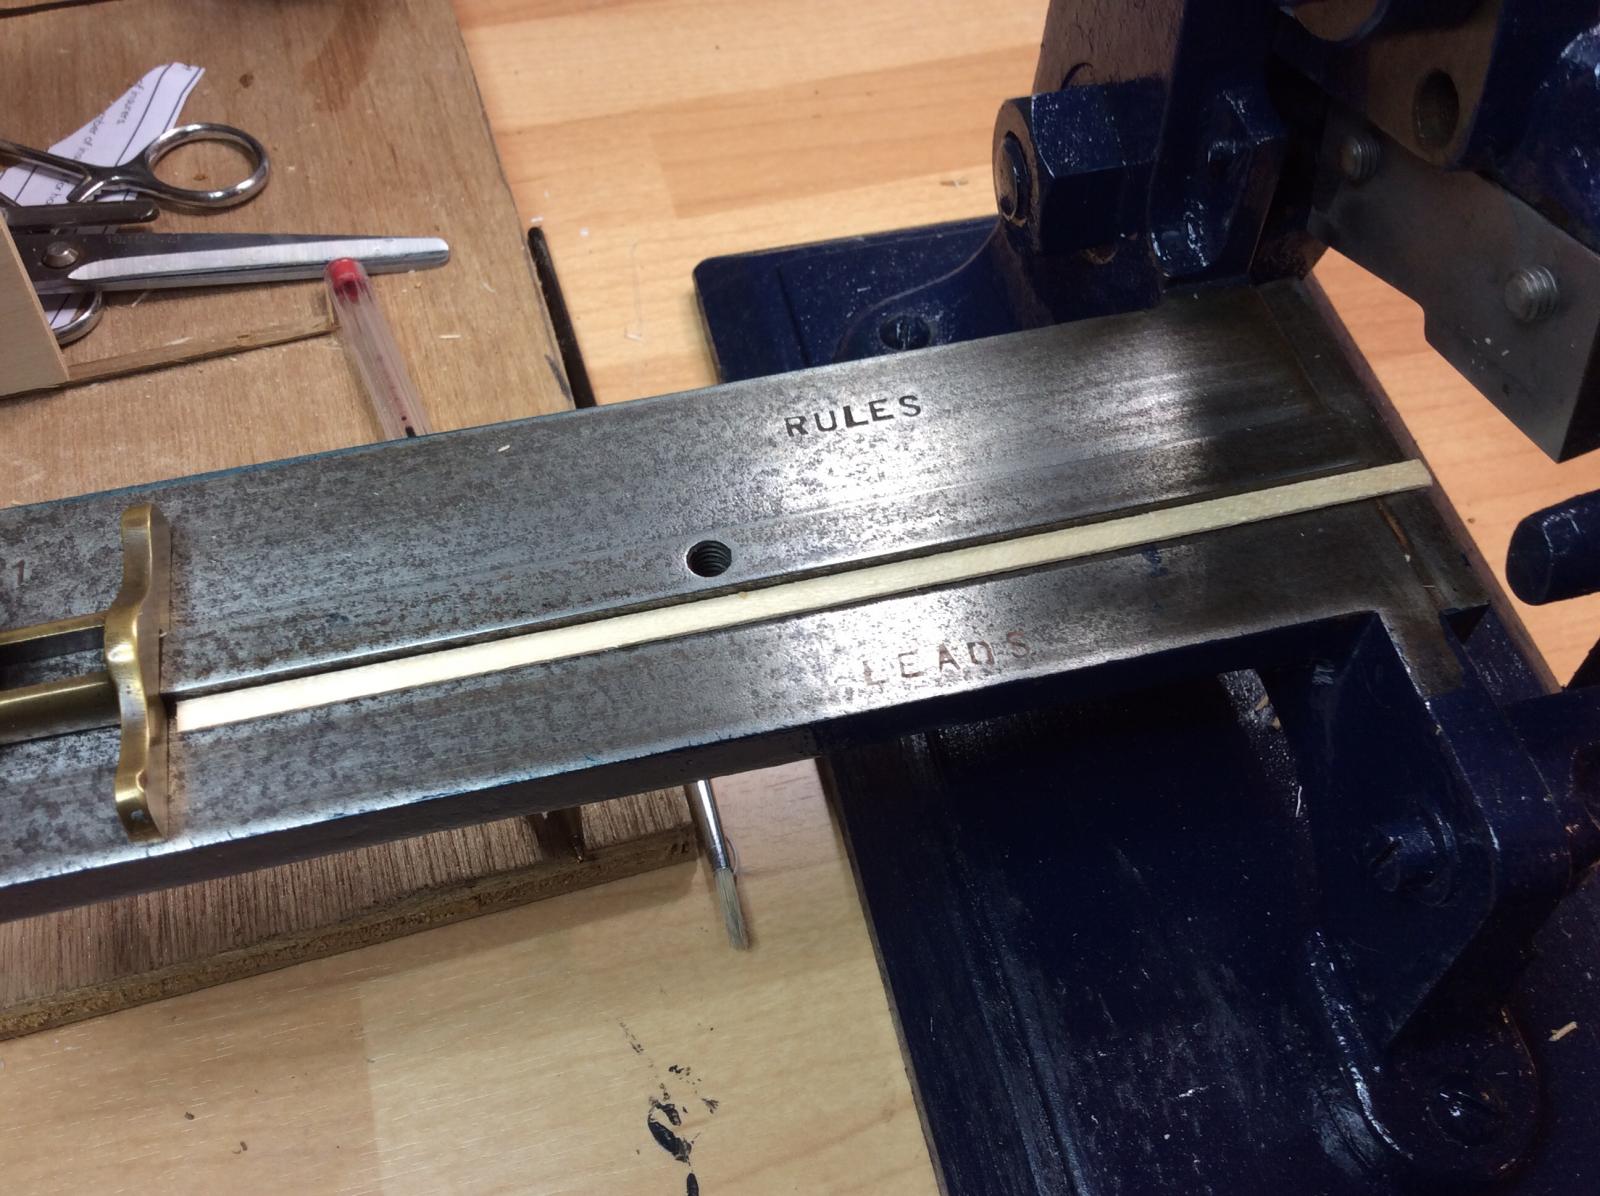
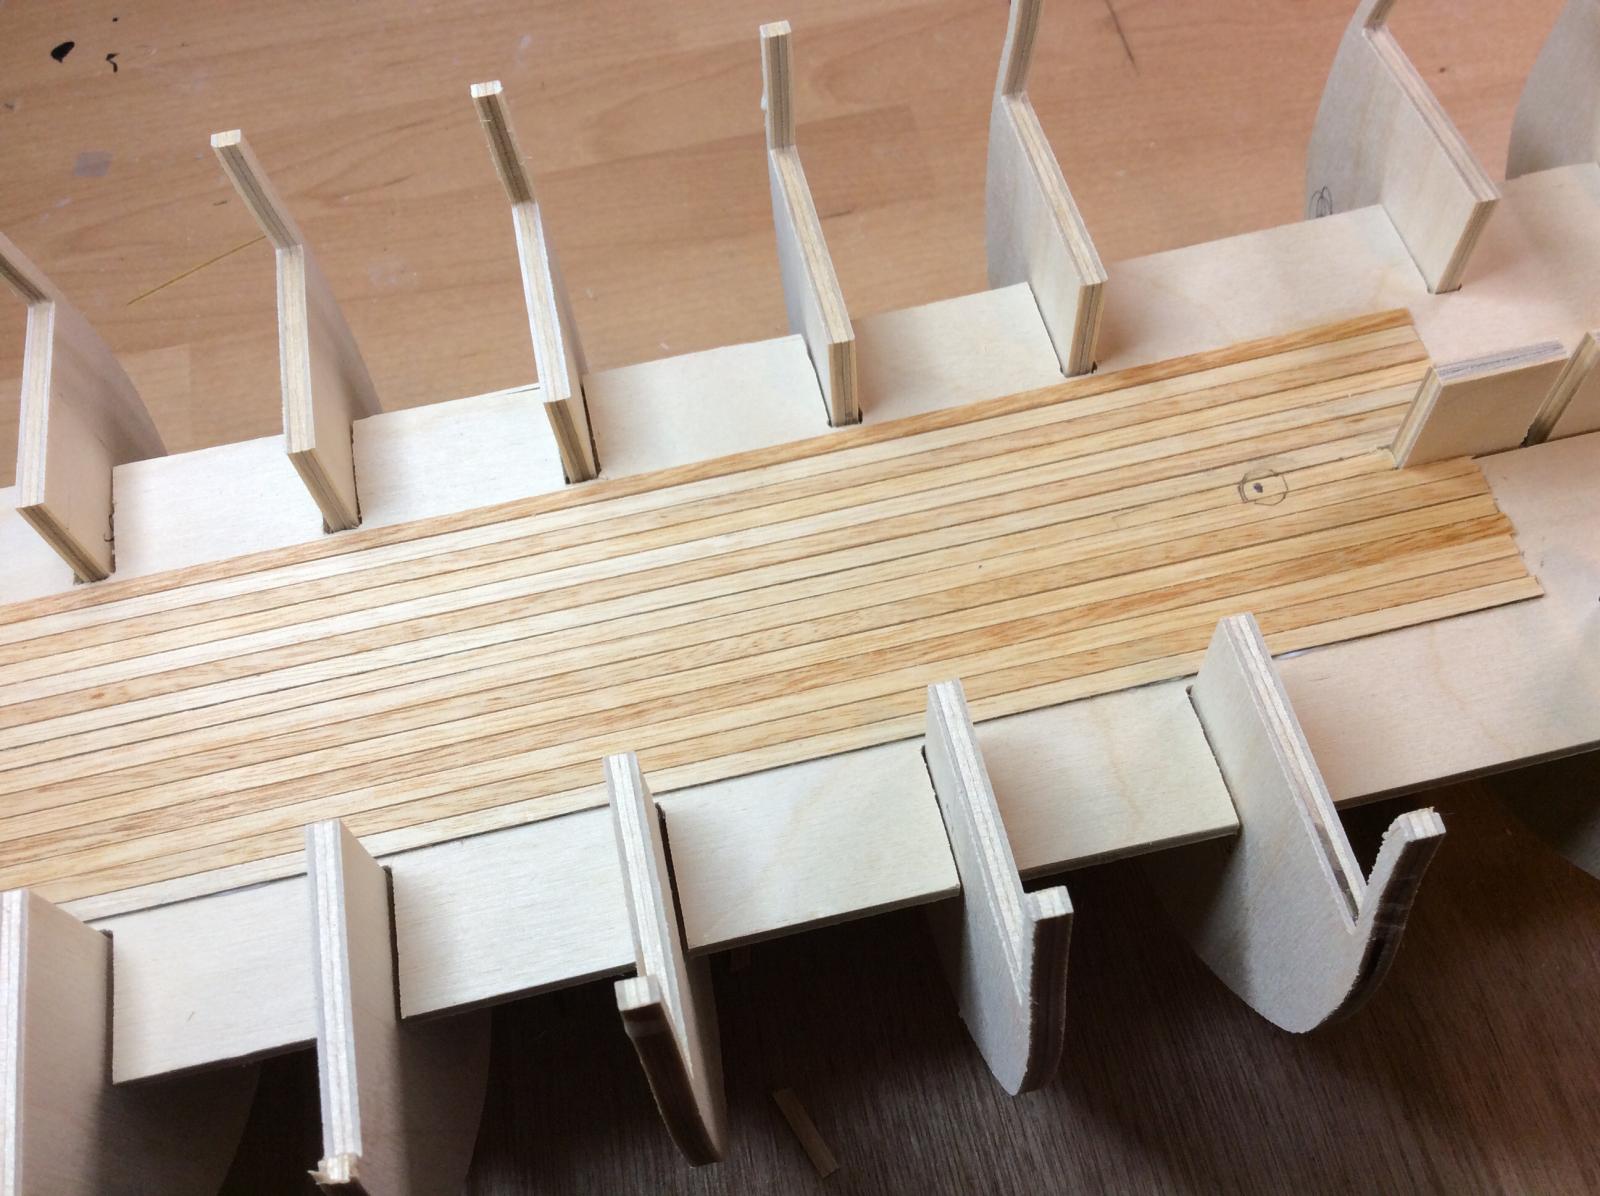
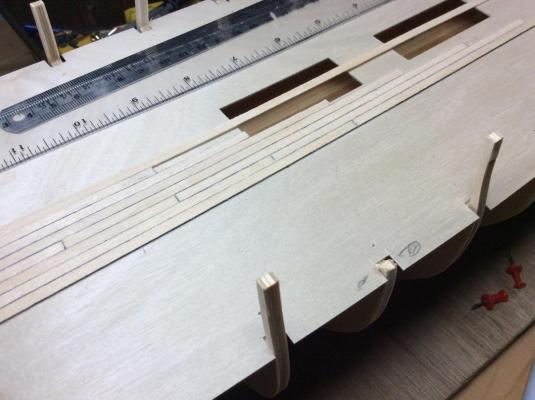
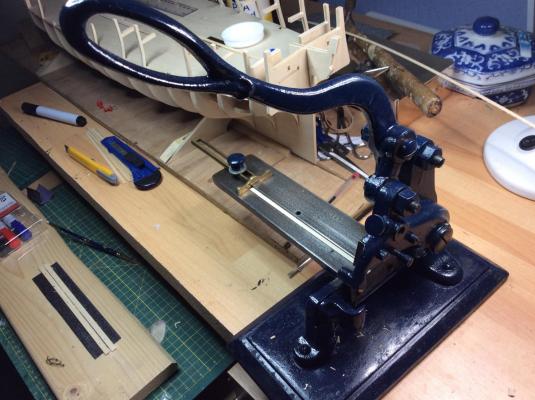
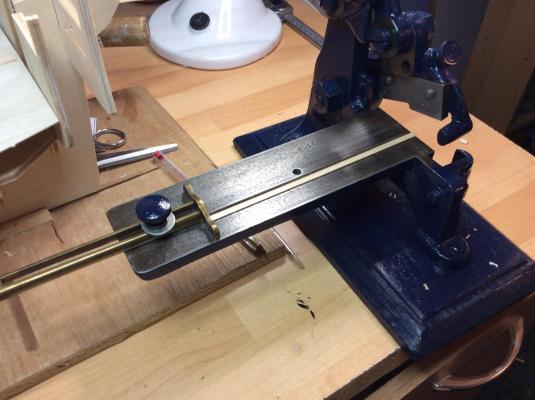
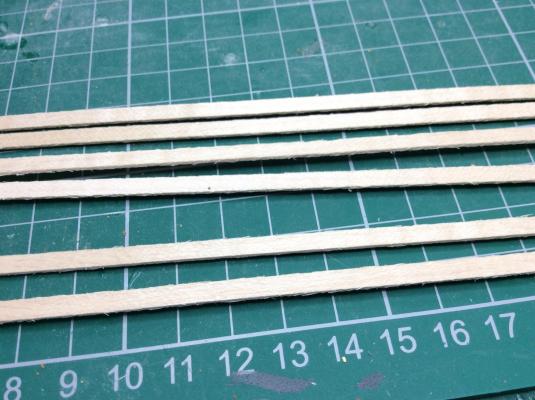
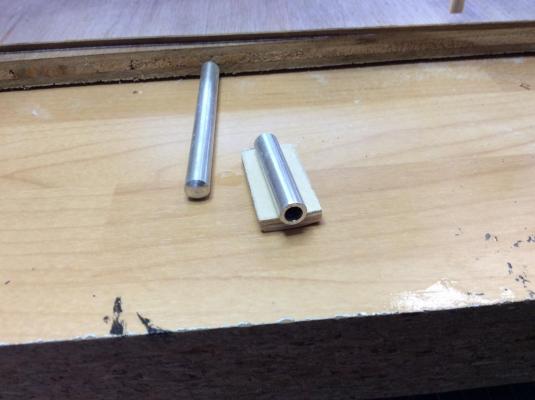
Greetings all Firstly thanks for all your comments. OK I have followed advice concerning the rough edges of the maple. I have laid a few strips to see how the deck might look with blackened edging on the strips, which I am not happy with. I was using marker pen which was a rubbish choice. The photo I have posted is the best area, I dare not show you the area behind it. !!! . I will order a few of the pens Ray used and see how it's goes with them. I decided to cut the strips into lengths of 160mm and just lay a simple shift system, and later have a go fitting that four strake planking, but there's no way it will be fitted along the full length of the deck, it will stop were its not seen. OK what do you think of my new chopper!! It's a tool which I am told is used or was used in the printing trade for cutting Leads and Rules Which is indicated on two areas of the tool. Maybe one of you chaps can enlighten me and others.what leads and rules are. Anyway I borrowed it off a friend and it cuts like a dream. I don't reckon there's many of these about !!. Here's a few photos and I shall return later with my deck sorted. Thanks a lot chaps. DAVID

-
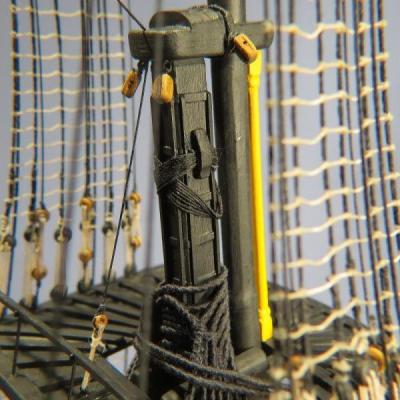
Hello again While I can remember, if you look at the photo ( Gil's) if you see the criss crossing thread , (don't know the name now) fit that now or before you start any rigging. It tells you to fit it later when it is surrounded with threads. The thread that fits onto it can just be tucked In between the mast and criss cross thread. DAVID
-
Hello Glenn Well done so far. You will find a few times that the masts will not feed through the blocks, just split the blocks and rejoin them . Keep enjoying it.DAVID
-
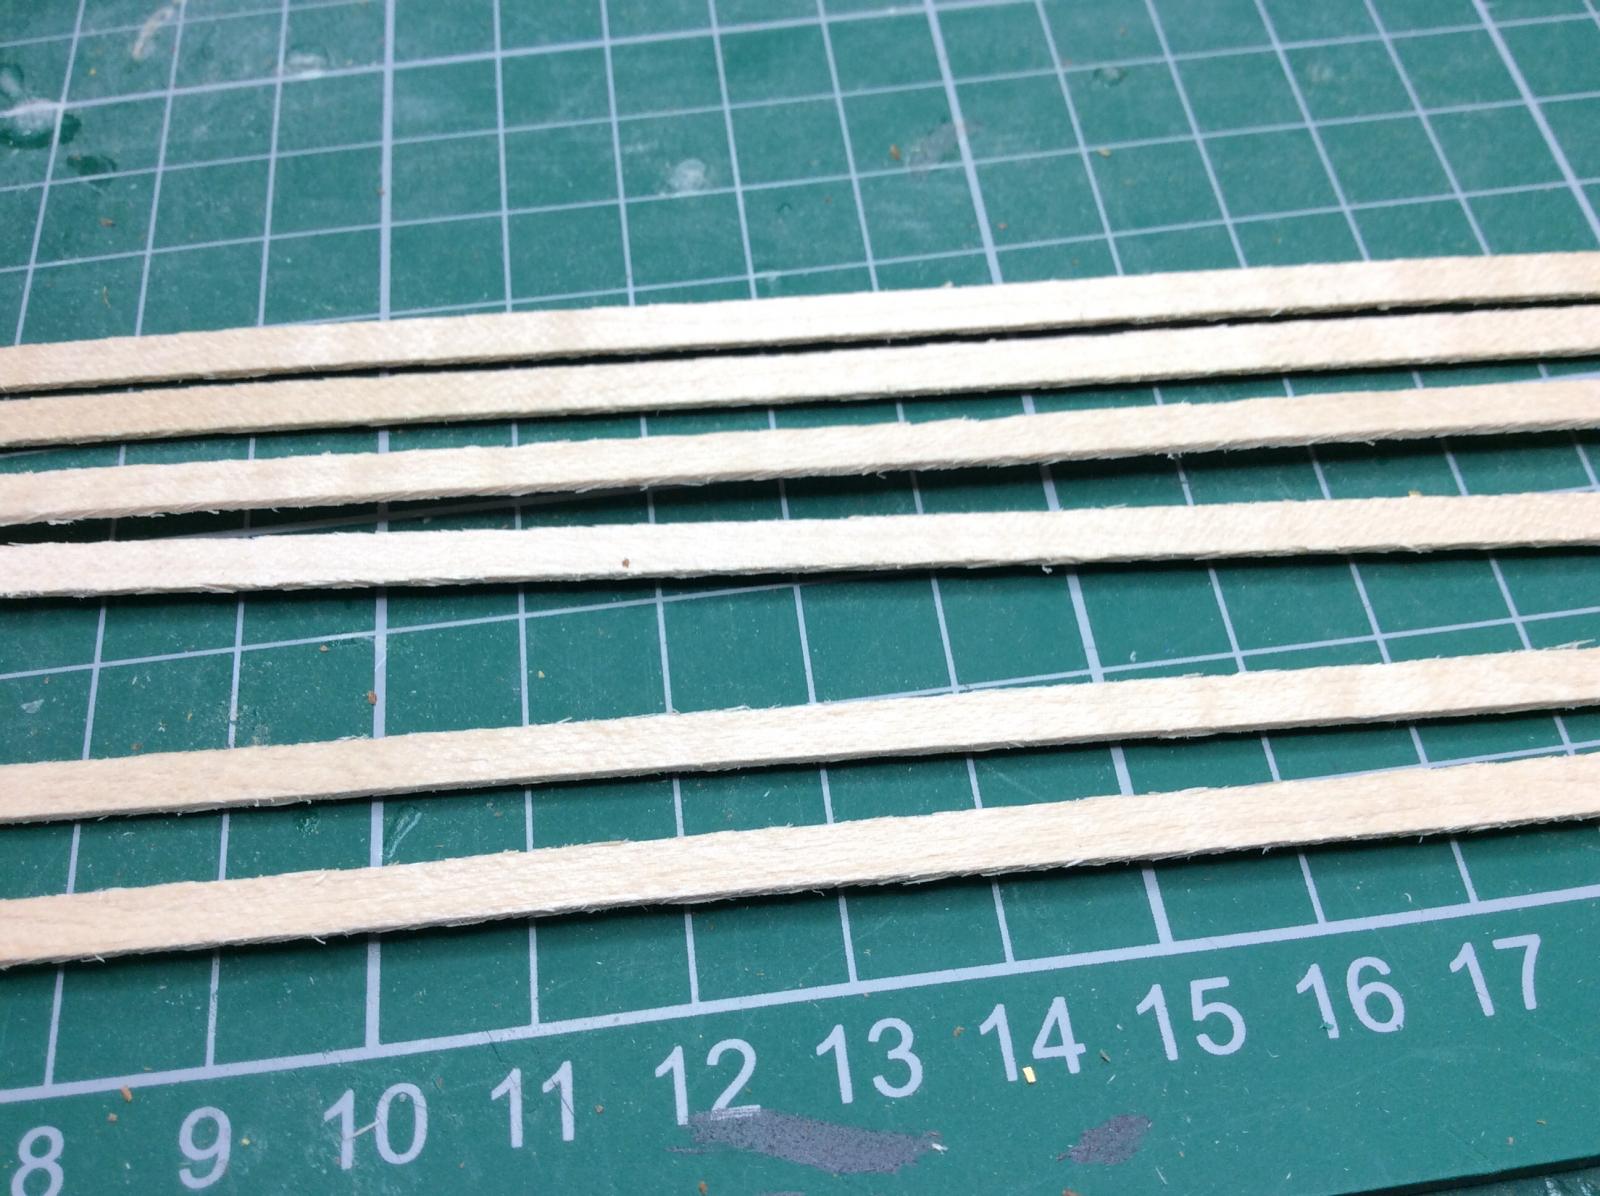
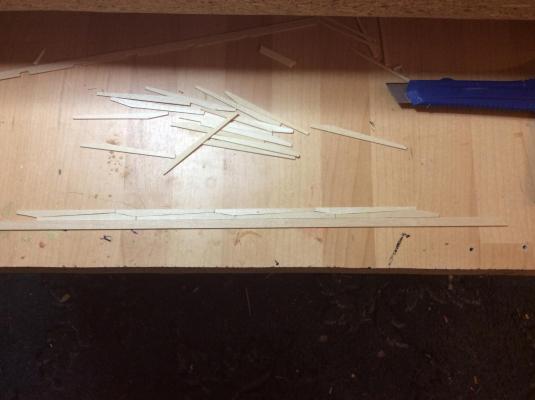
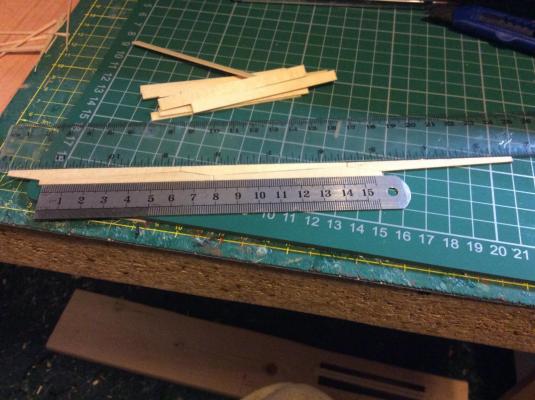
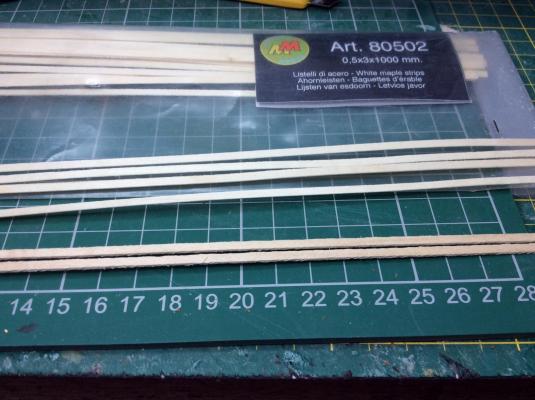
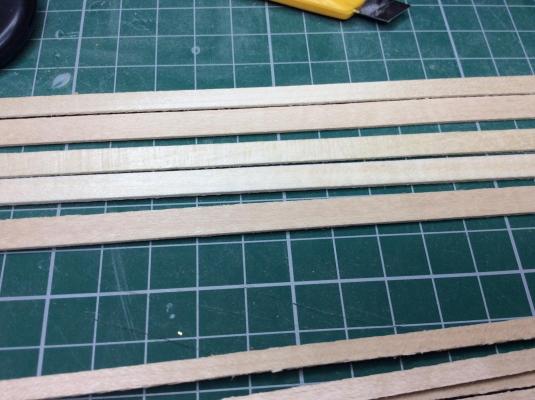
Greetings all Thanks a lot for your replies. Well I have made no progress apart from fitting the gun deck, as I have been waiting for the delivery of my 1mm maple strip from CMB which arrived today. The quality of the wider strips ( 5.6.7mm) is pretty good. But the the narrow strips 3mm and 4mm are very poor, which I had been advised. I have added photos of various strips were you can see the poor quality of the 3mm and 4mm, especially when you compare it to the mantua 3mm white maple. Anyway that's what I have got to work with so wish me luck. DAVID
-
Greetings Glenn Well done. Cracking work on the sticks, and a nice place to be. St James' Park isn't. It's not look good in Geordie land. Keep enjoying it. DAVID
-
Hello rich I think the best idea will be evergreen styrene strip, which I and many others used. Some thing about 0.5 mm x 2mm will do the trick. Just glue it around the waterline and paint it black to blend with the hull. Very easy. Regards DAVID
- 414 replies
-
- 1
-

-
- caldercraft
- victory
- (and 1 more)
-
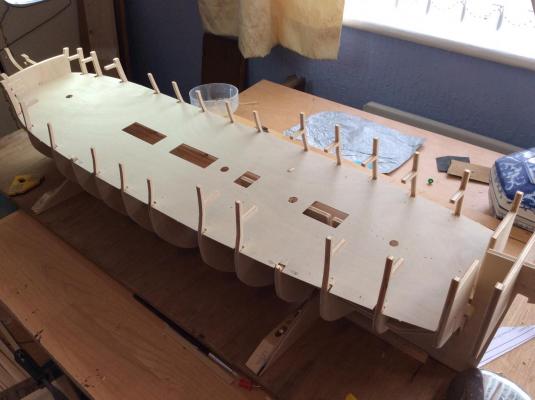
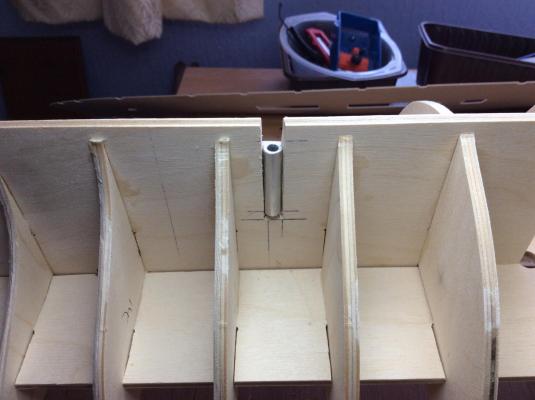
Greeting all Well here we go with another build. There was quite a few ships that I would love to build but frightened me off including the SOS and the San Felipe. So hopefully I can cope with the DIana which should keep me happy for a couple of years. I like others will replace the tanganijka strip with maple when I find how many strips are needed, as the supplied looks horrid. I will also need to purchase some decent dowel, as some of the supplied would come back if you threw it away. There are also a few castings that are not useable, so I shall just order them when I purchase the maple strip. One thing that did surprise me was no cannon balls are supplied, which one would have thought would be needed on the ship, after all it has cannons. I have made a start on the build as you can see, and all the bulkheads have been faired, but will obviously need some attention during the planking. You can see the planking on deck (18) which is the supplied timber, and is gladly unseen. So wish me lots of luck chaps , and off I go with my build, and please post loads of photos, I will definitely need them. Here's a few of mine. DAVID


-
Hello Robert Still buzzing along merrily well done. How many cannons are you rigging ???? Or have I missed that???? I think Sjors is colour blind, and I also think he is a bus driver. Wouldn't trust him at traffic lights. DAVID
-
Greetings Well what have we got here !!!! Cracking stuff, it's really coming on. You should also be proud of the young man ( makes him feel good) during he's Teacher training course. He could aspire to great things. Yes well done to you both. DAVID
-
Hello Glenn Excellent stuff. Yes enjoyment galore from now on in. I still want one !!! and that's no prob at all BUT !!! I am informed that the carpet goes and wooden floor must be installed. Lots of my octagons are hexagons, especially on the thinner dowel. Regards DAVID
-
Greetings Glenn I want one!! Am I correct in saying 10mm or slightly smaller dowel can be fed through the Collet. Looks like the masts will be a doddle. Now loads of enjoyment and sawdust. Well done Glenn. DAVID
-
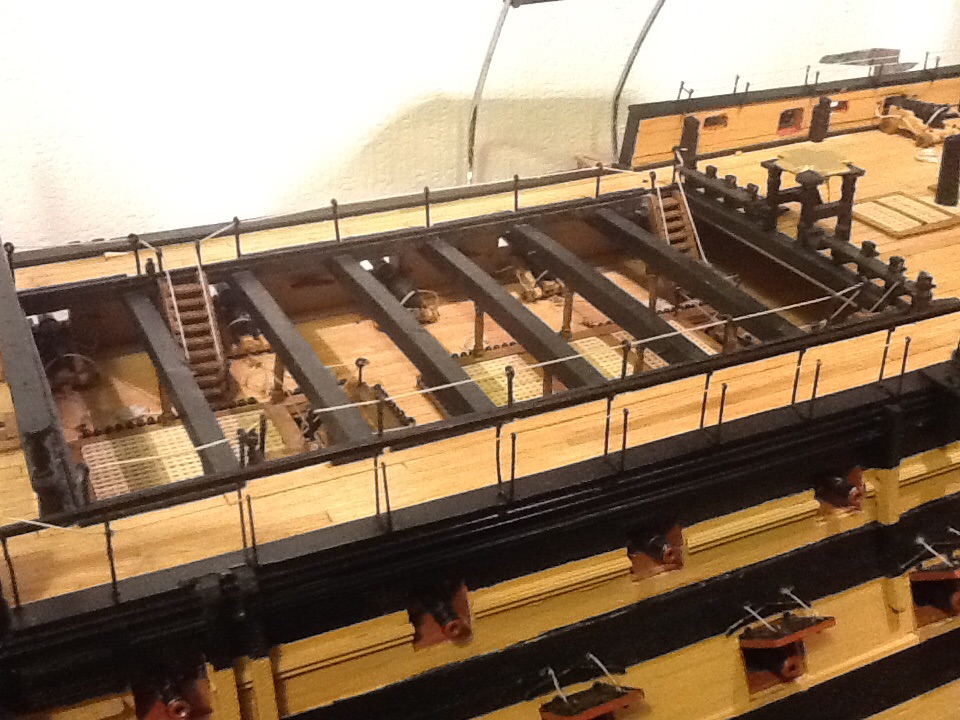
Greetings Robert The eyelets are CMB83506 for the breaching rings as Glenn mentioned. And you will be ok with the small ones that you don't like for around the carriage, as once they are fed onto the thread they are very easy to fit. I would order 3 packs of CMB83506 if you decide to use use them, as you will prob use them as an alternative for staunchings later. Have a look at the rail around the waist on my ship or the stair ways, and you will see what I mean. Regards DAVID

-
Hello Robert I think I did mention the cannon rigging earlier in a PM, but not sure as I have cleared my messages. You can paint the eyelets and feed them In sequence onto the rigging thread and also include part c83506 on the thread for the breaching ring. ( I think that's what they call it) it's a simple process as all you need to do is pre drill the holes for small eyelet to fit in the side of the carriage, and then locate the eyelets already threaded into the hole with a dot of ca at the hole. It makes it simple. I know you don't want to use those eyelet, But there is no prob with them when they are threaded. You could thread a few up and see how it would work out. Harden the end of the thread with ca and snip it an angle to make the threading easy. Anyway good luck with the rigging. DAVID
-
Greetings Robert It's looking really good. Yep excellent progress and you are certainly moving along. Good luck withe cannons, and keep up the good work and enjoy it. Keep an eye on those cannon balls.. DAVID
-
Greetings O Re Glenn. I will have a word with him tomorrow, I do need to see him about something. DAVID
-
Greetings This build I am sure will be of a lot of interest to my friend Glenn ( sargofagus ) who as you know along with friends are restoring a very large model of your ship at the Huegh battery in Hartlepool. I have pointed your build out to him, he's a cracking chap, and will be really be happy to hear from you. Enjoy your build, DAVID
-
Greetings Glenn Well done getting the lathe, and did you also order the three jaw chuck? Things should turn out ok now. Get it? Good luck with your masts, lots of fun now. DAVID
-
Hello George You sure are a patient chap. I would add a thin strip at the waterline and tidy up the tiles so they are flush to the strip . I am sure once you finish your second planking you will be very happy to see your progress. Good luck with your build, and keep posting with photos, if you ever need any information during your build, don't forget it is always here, so you just need to ask . Just enjoy youself George . regards DAVID
-
Greetings Robert Well that's got the tiles sorted, and all looks really good. I followed a few of the others and polished the tiles with brasso, then added two coats of varnish. But a couple of years on the shine has totally dulled off, and to be honest I think it looks a lot better dull. Well done Robert, keep enjoying it...DAVID
-
Greetings Ray Excellent work throughout your build, and now lots of cracking rigging work. I have only just purchased this kit and got as far as dry fitting the bulkheads. Yep your build is something special. Keep enjoying it . DAVID
- 536 replies
-
- 1
-
-
- diana
- caldercraft
- (and 1 more)
-
Greetings Glenn It's all coming on fine, well done, and good luck with the hammock cranes and the netting. Keep enjoying it. DAVID
-
Greetings Rich Yep that's the simplest way to sort it. Brush in pva, and sand it. There is no need at all to put primer on the hull. Good luck .DAVID