HOLIDAY DONATION DRIVE - SUPPORT MSW - DO YOUR PART TO KEEP THIS GREAT FORUM GOING! (89 donations so far out of 49,000 members - C'mon guys!)
×


Shipyard sid
-
Posts
1,106 -
Joined
-
Last visited
Content Type
Profiles
Forums
Gallery
Events
Everything posted by Shipyard sid
-
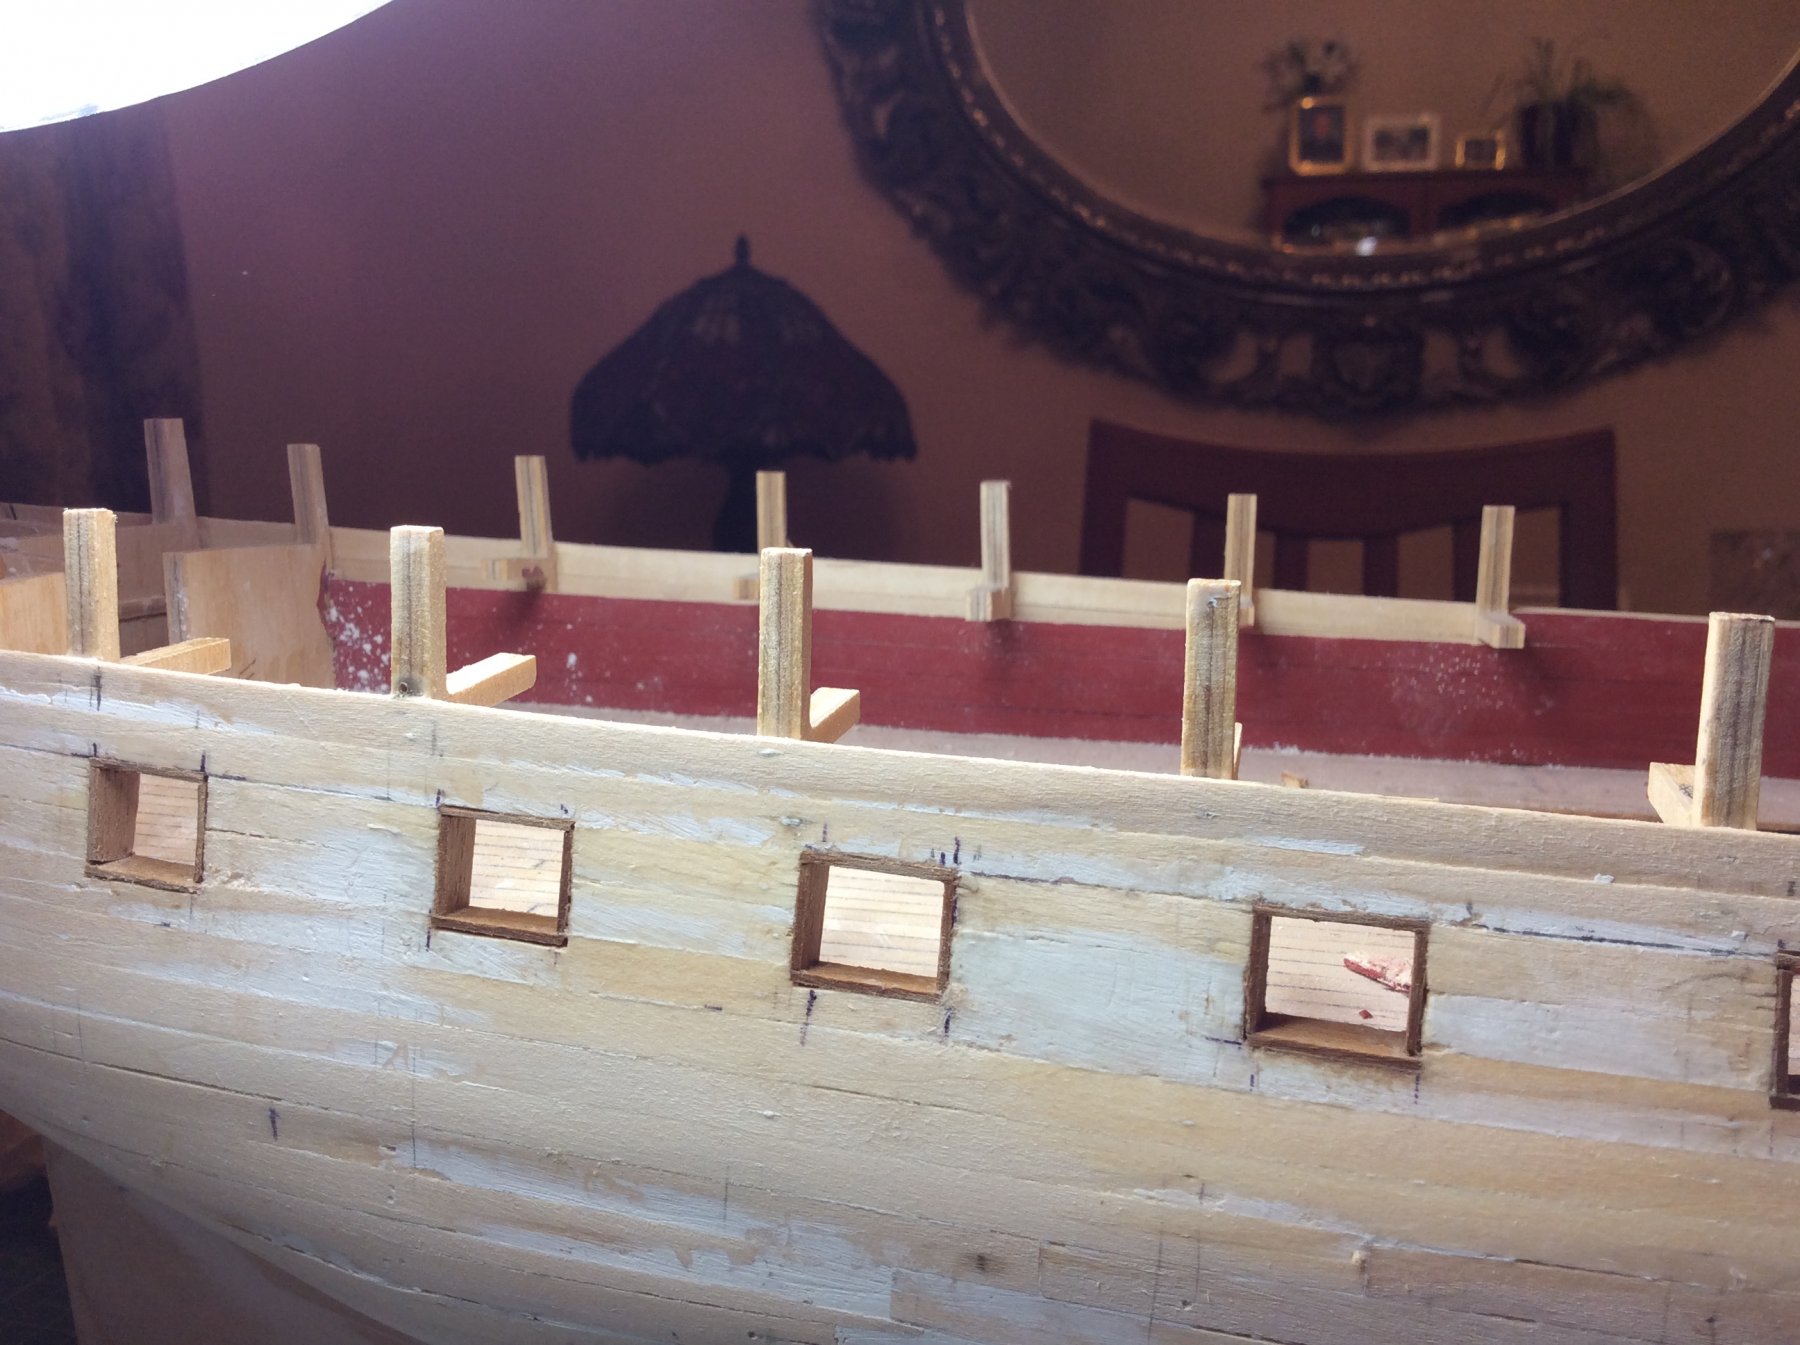
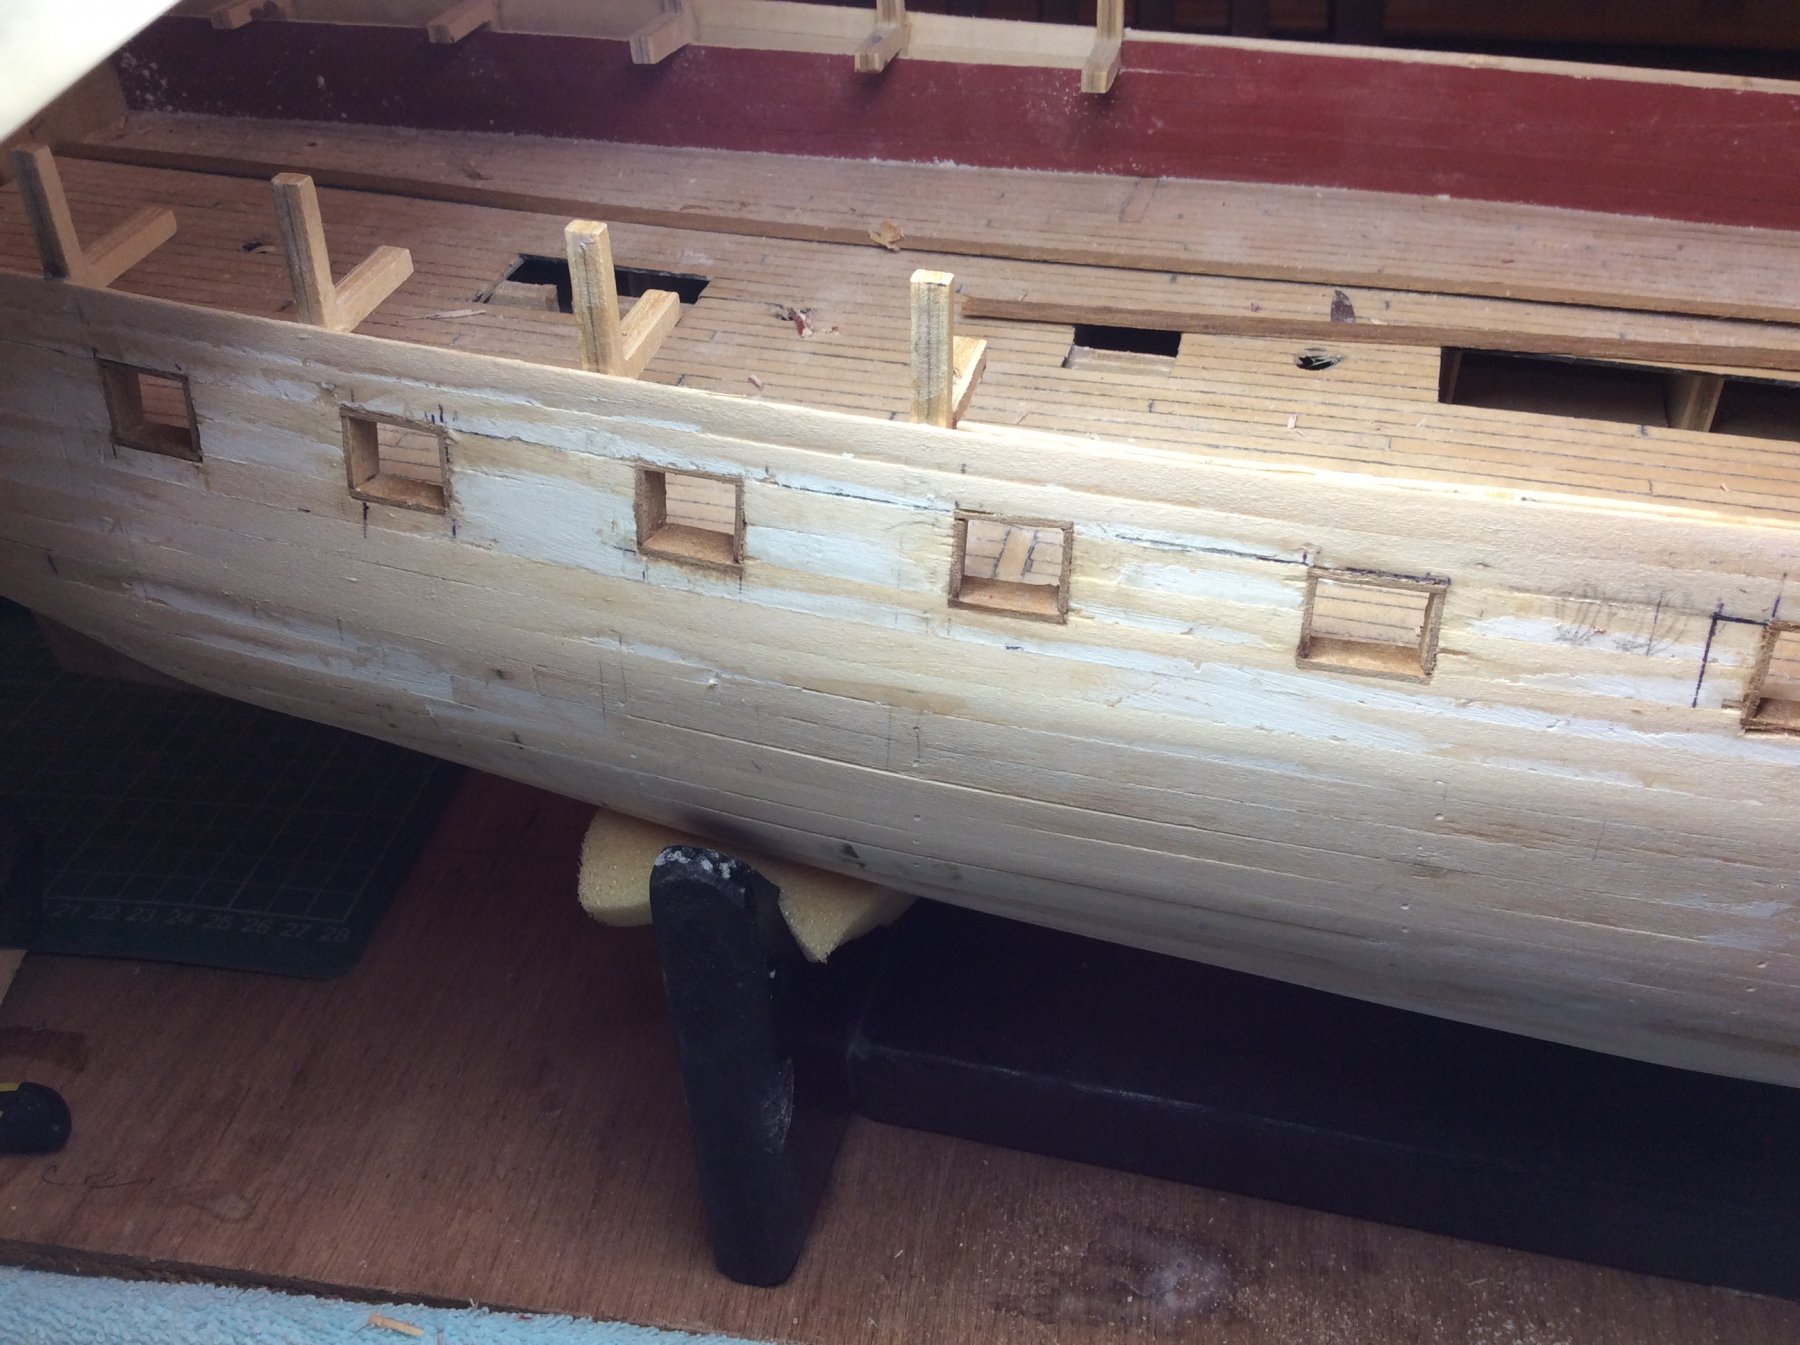
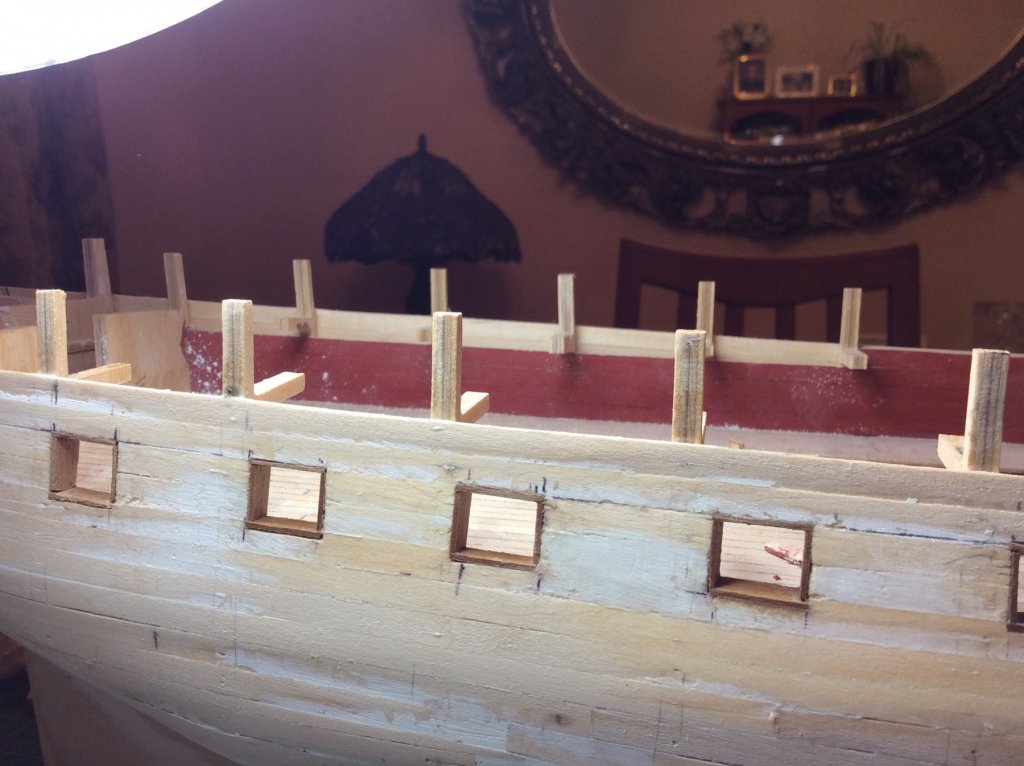
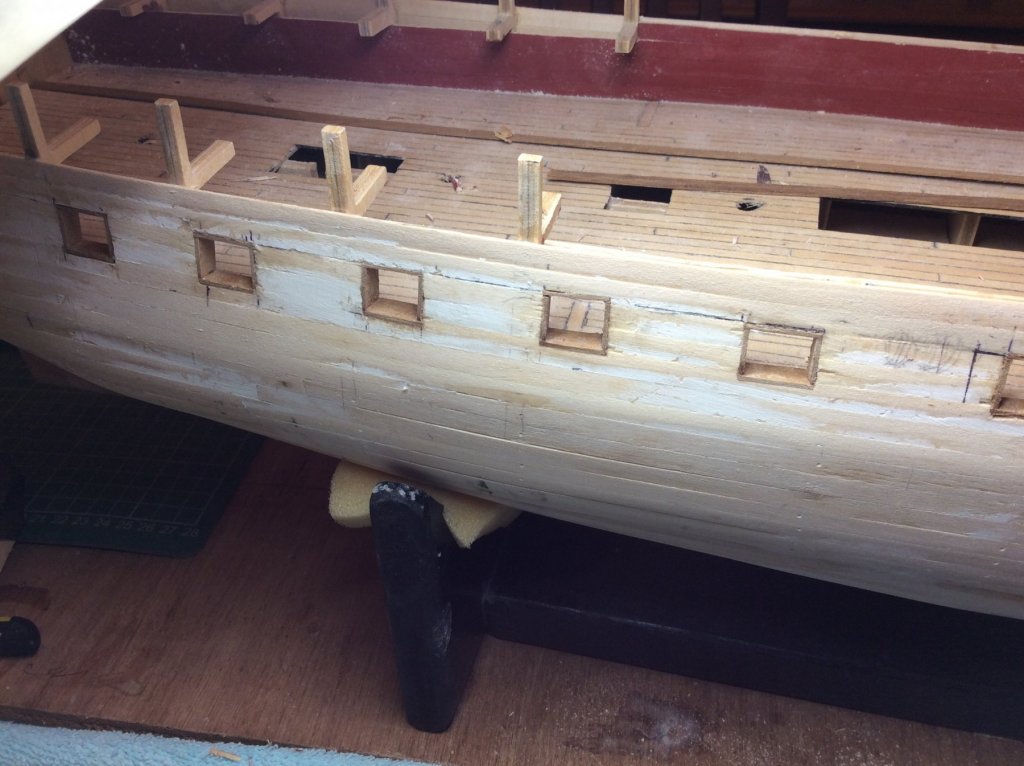
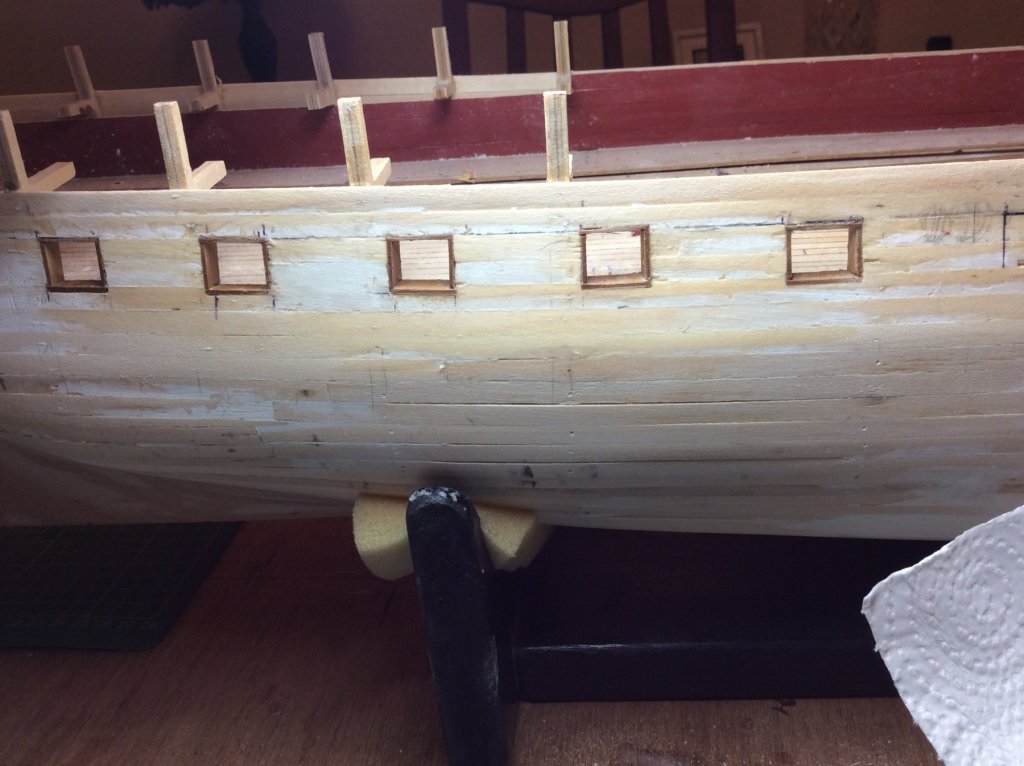
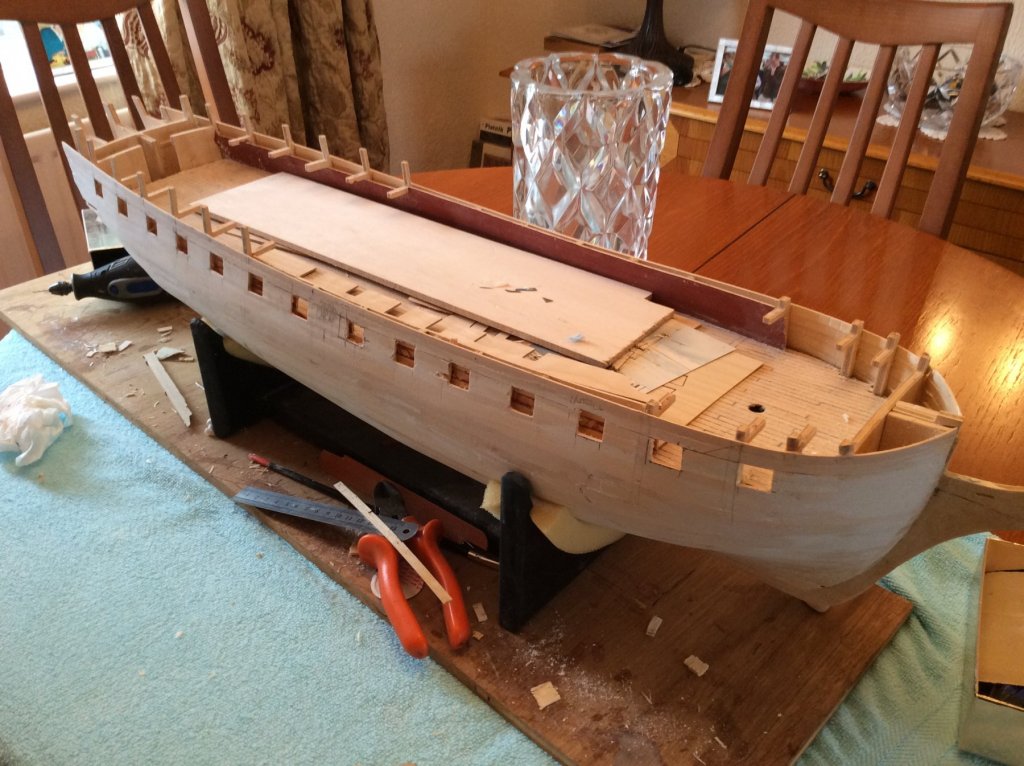
 Greetings all Well the starboard side gunport ports have all been lined in some sort of fashion as you can see, which I find a very disappointing standard, when I compare my work from a few years back. I think thing should be ok when I fit the second planking, so I shall now ignore the instructions and plank down to the wale as I cannot see any reason why not, and try to make the ports and run of the planking look some thing like decent. It is obvious this visible area of the hull is the most important. So here we go with a bit of planking, wish me luck. Thanks a lot for all your likes . regards . DAVID
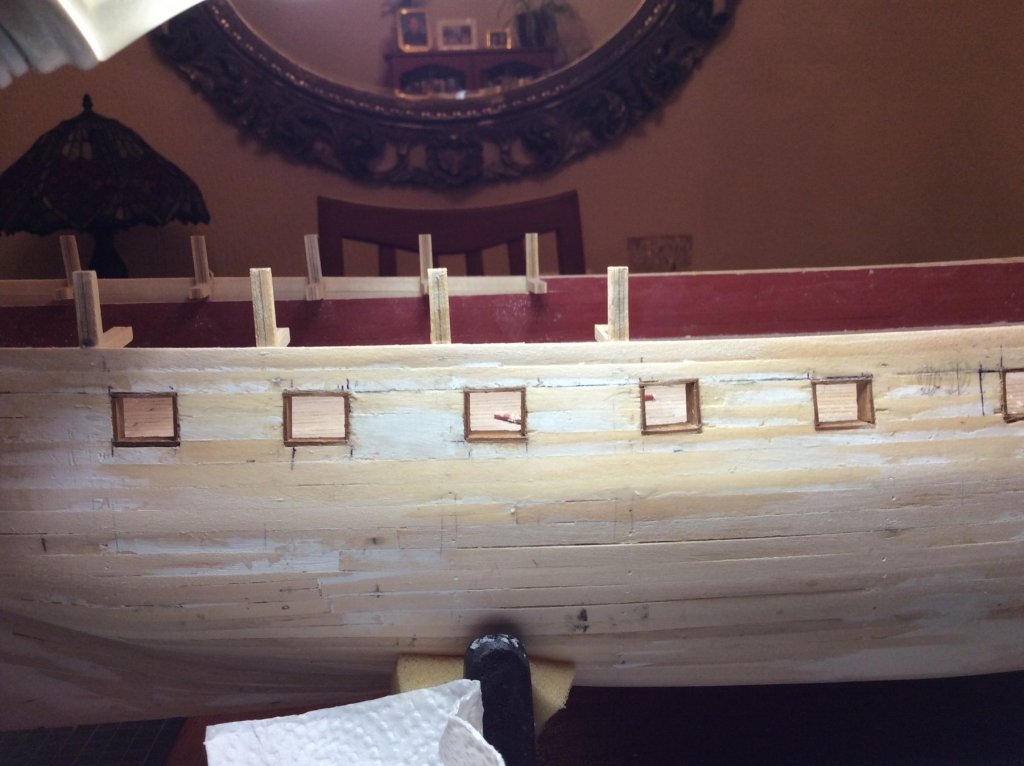
-
Greetings !! Well things are moving along now, it’s all looking good. Keep up the good work Kevin. Best regards DAVID
- 1,319 replies
-
- 5
-

-
- caldercraft
- Victory
- (and 1 more)
-
Ahoy- there ! Have you thought about sculpey for the making the figure head, or are you determined to carve it ? DAVID
-
Plankings looking good now, just take your time and enjoy it. Well done. DAVID
-
Ahoy-there Well there you go. I did not know anybody was building the Trincomalee. The question as been asked many times “Is there a kit for the trincomalee ? “. If there was one I am sure there would be a lot build logs for it. the quality of your work is excellent, So this is a must follow build for me. Like Gart ( Morgan) I live a twenty minute Walk from her, and pass her most days of the week. We have had a severe gale today and here she is swaying in the wind. Best wishes, keep up the good work. DAVID


-
Hello Kevin I tried to send you a message. But it did not accept your name so what do I put? Membership number or something of that sort? David
- 1,319 replies
-
- 4
-
-
- caldercraft
- Victory
- (and 1 more)
-
Hello Jason Truly stunning work, everything is so crisp and clean, and the quality of your work is outstanding. Regards. DAVID
-
Hello Kevin I was just preparing my script when I heard your mail ping in. It will be your own fault if you follow me when you start building your Diana , so don’t blame me !! Sometimes I wish I had never clapped my eyes on it, and took up Stamp collecting. But don’t let me put you off . Best regards DAVID
-
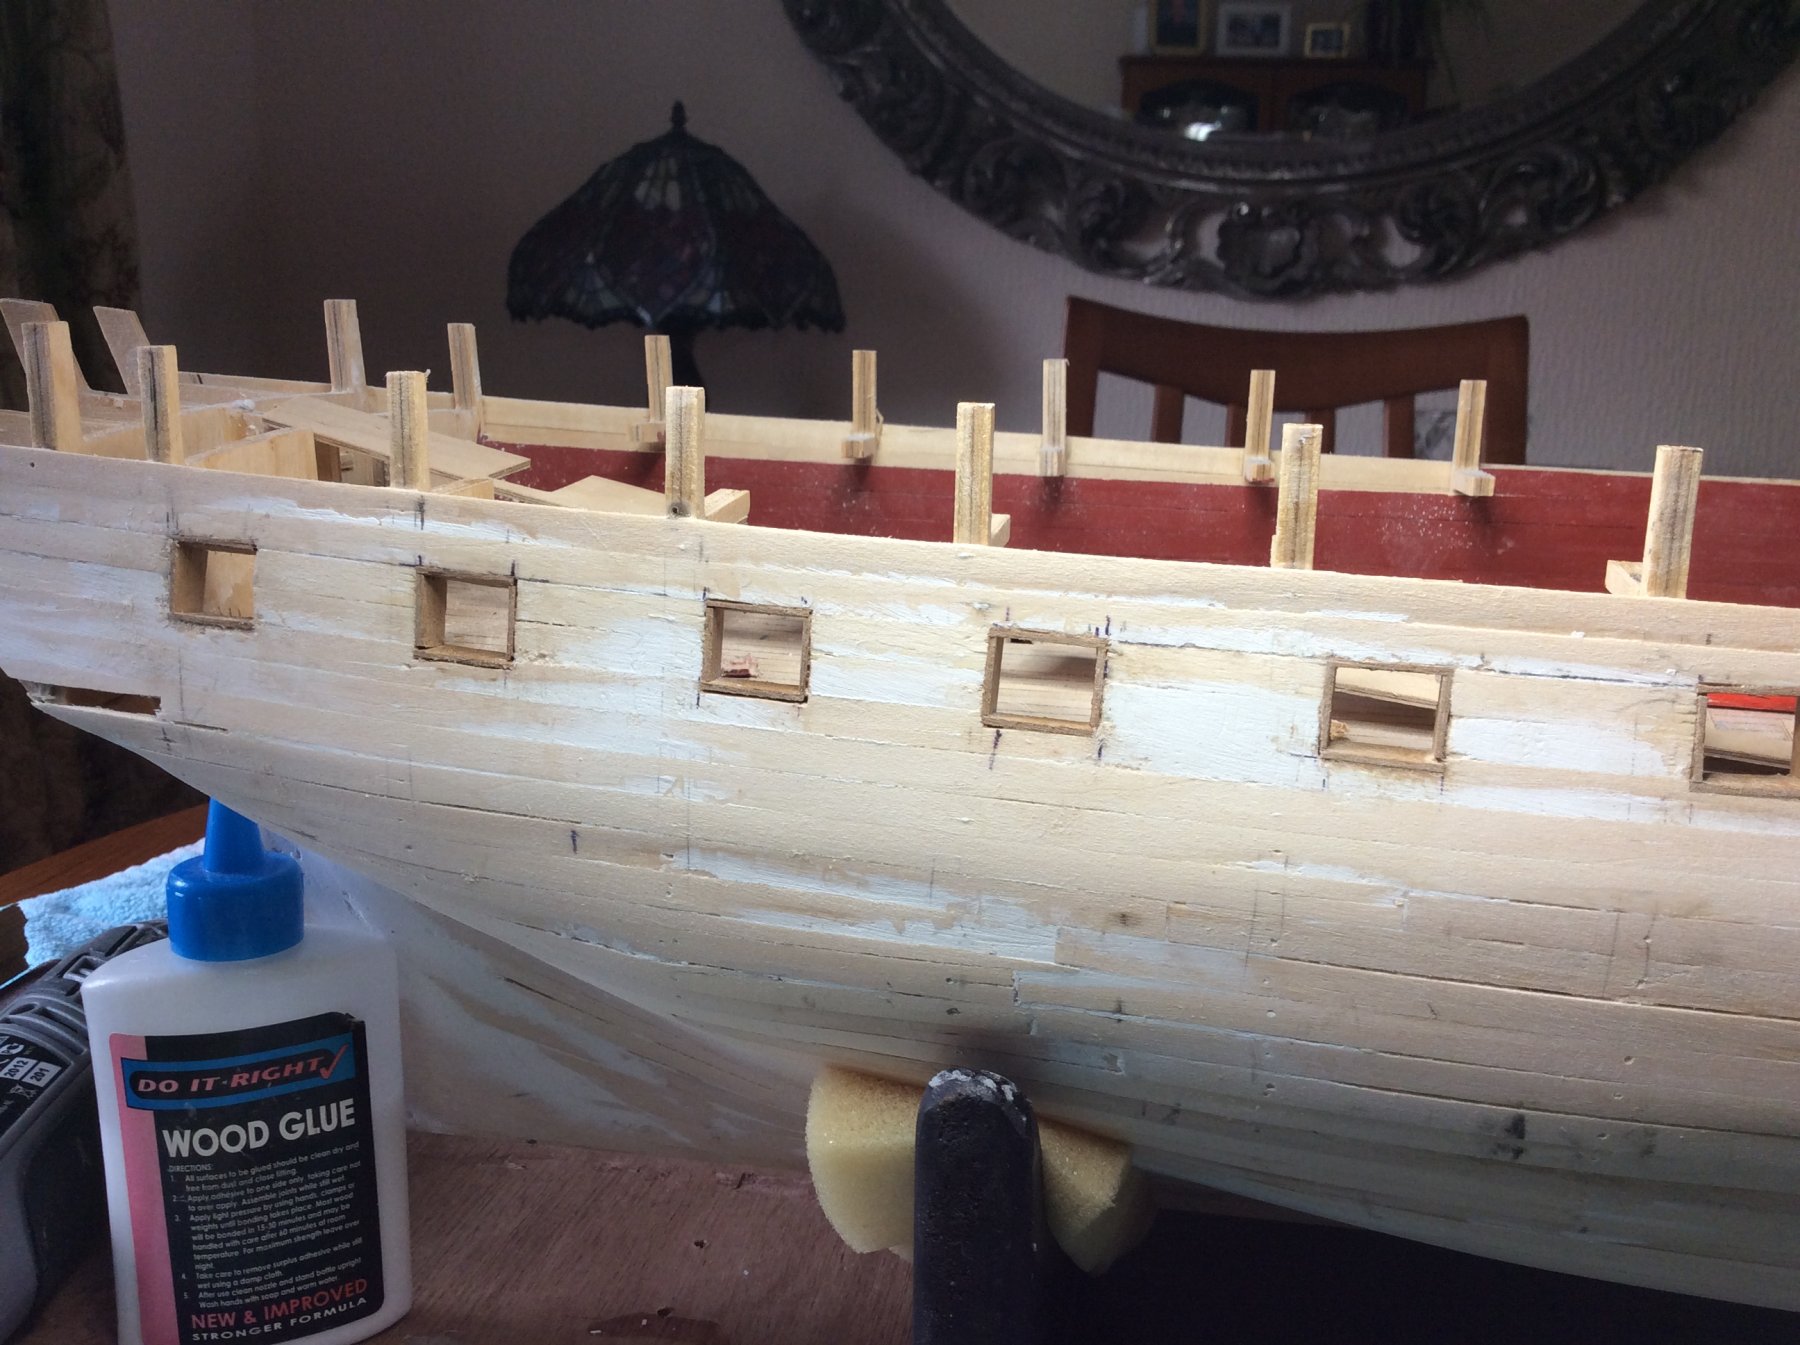
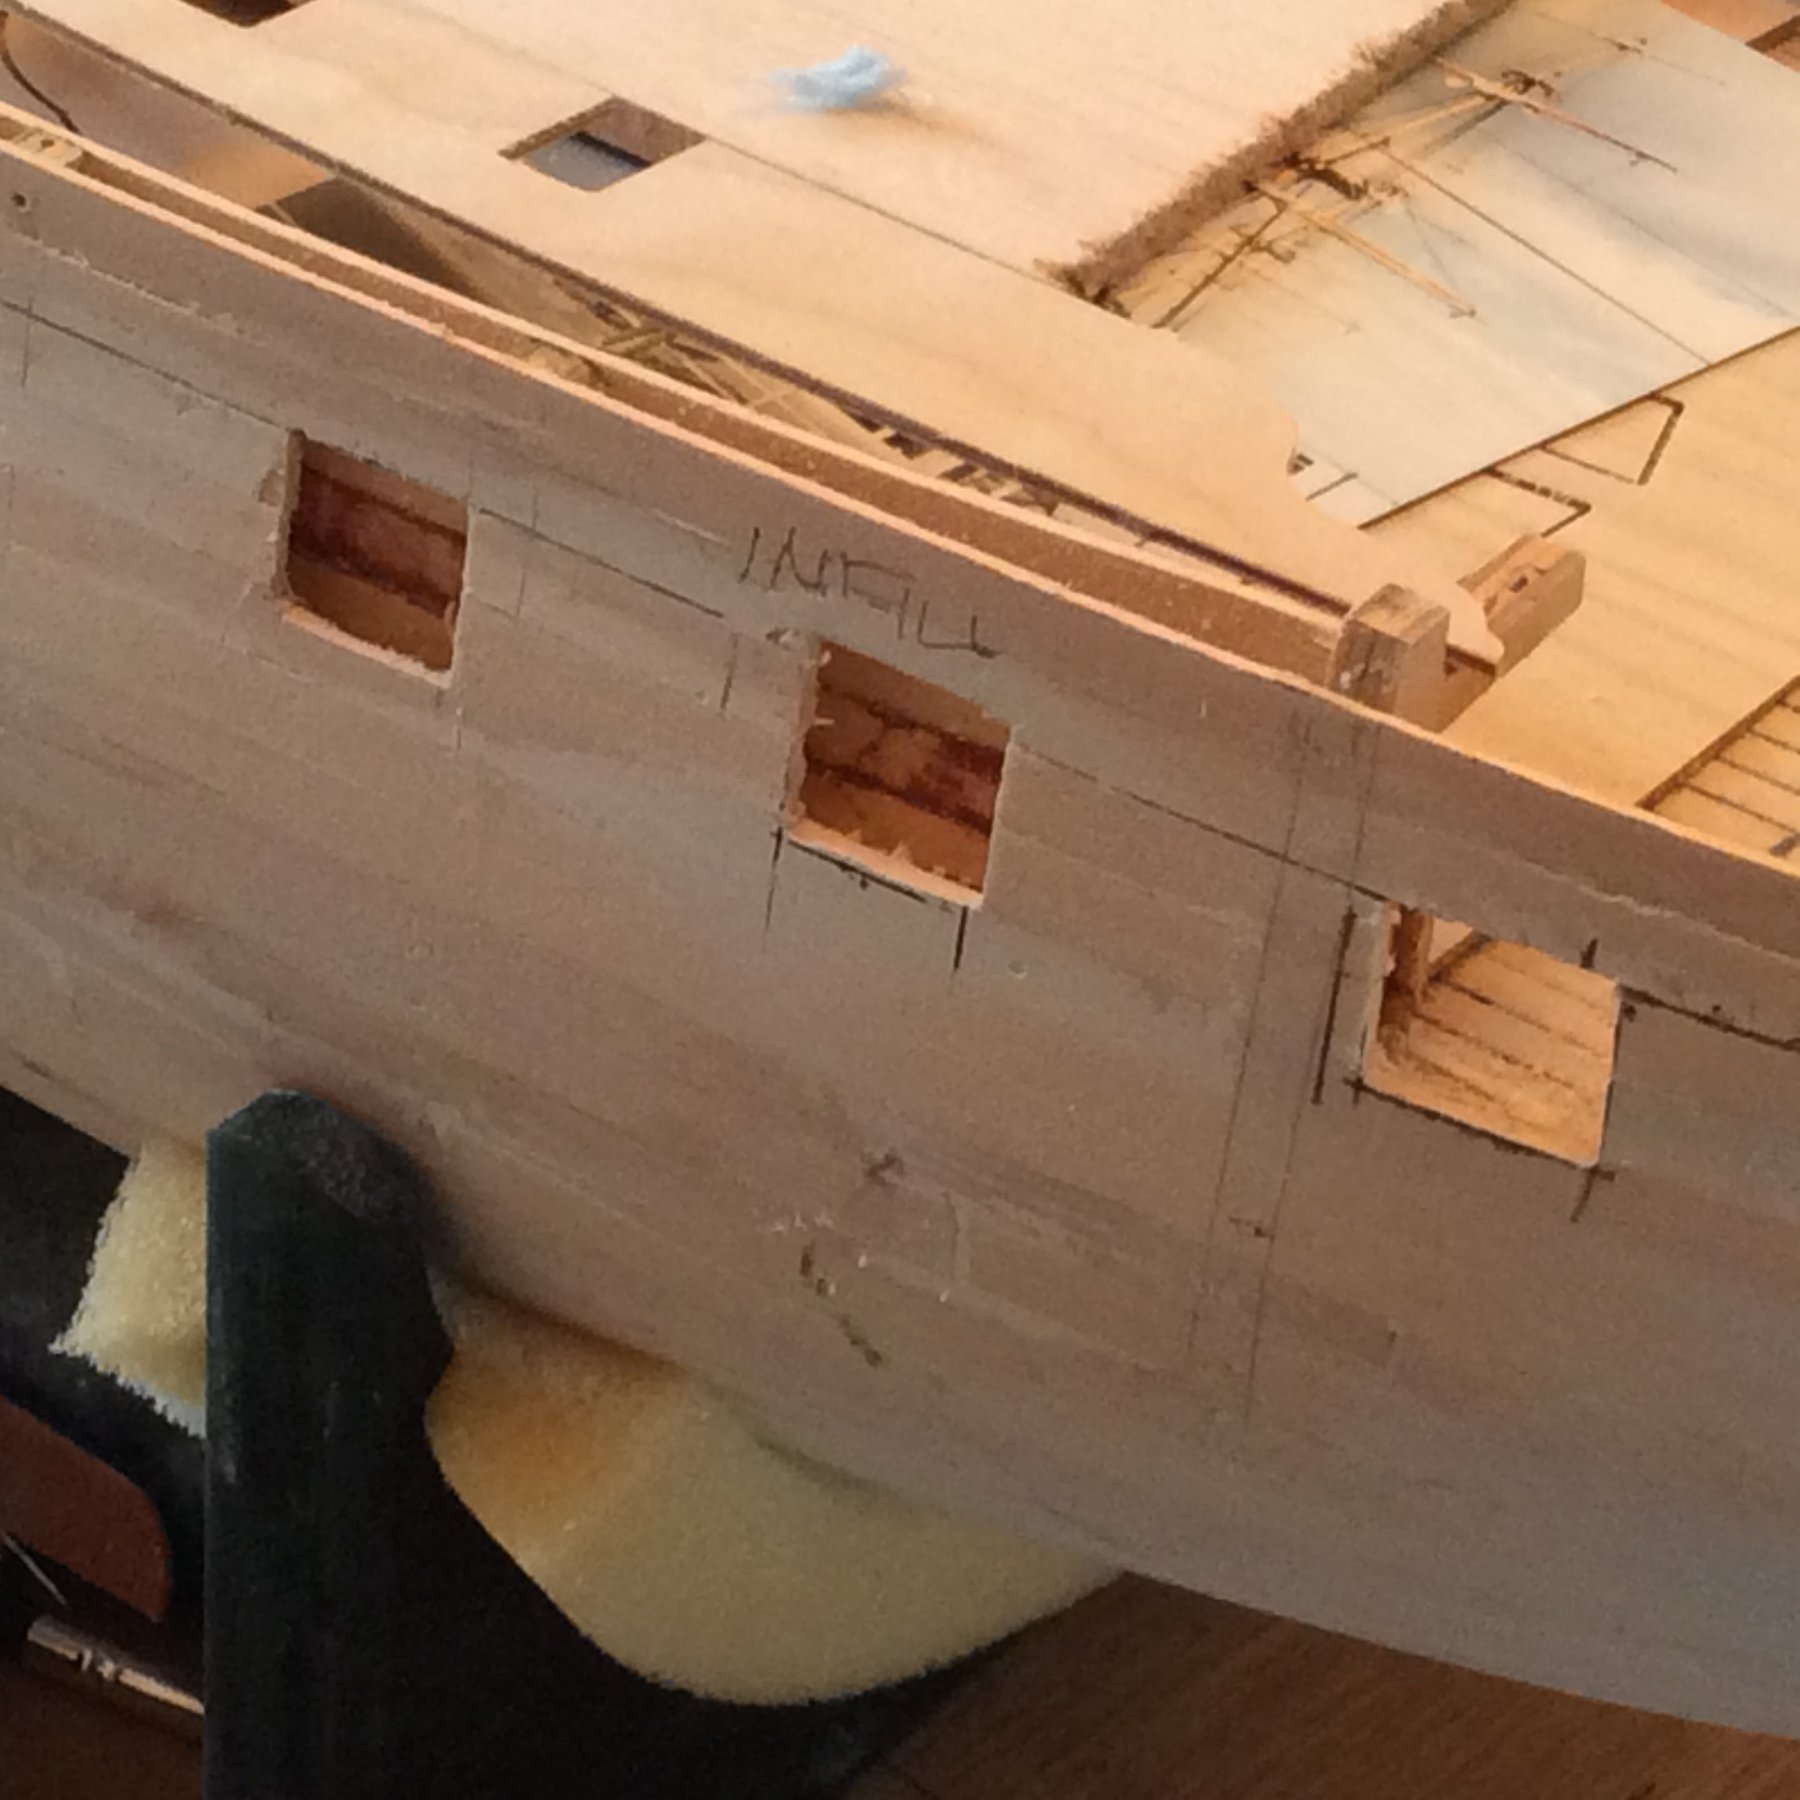
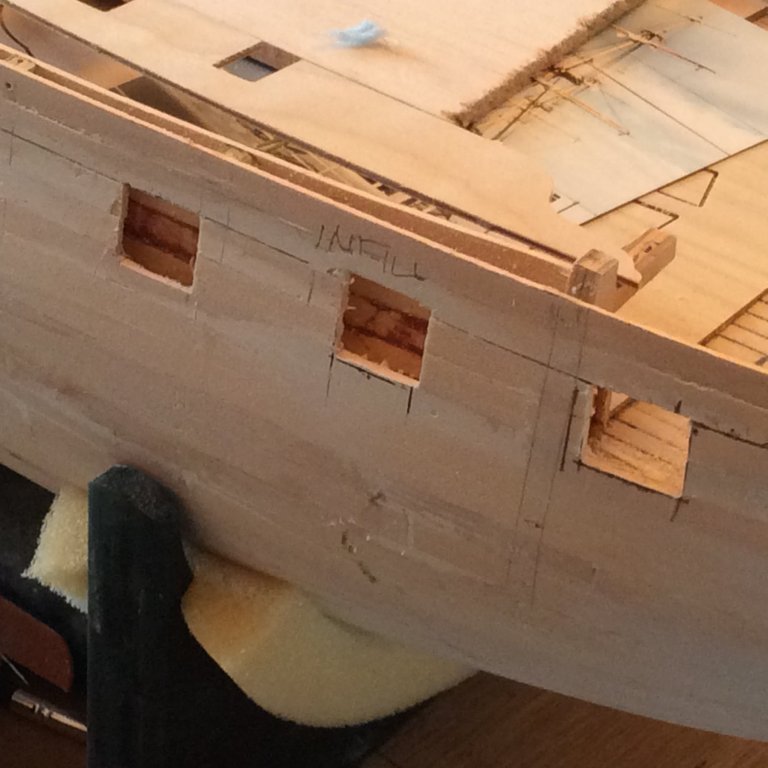
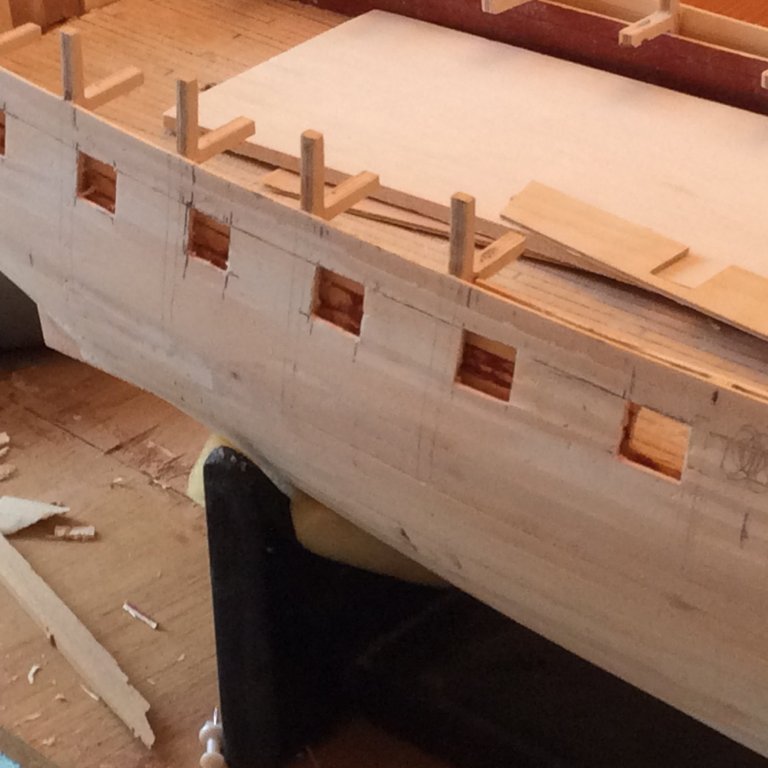
Greetings all Well I will be more than glad when I have all these gunports cut out and lined. I have only lined 12 of the starboard side. The strip is very brittle and the edges break away at times, and some of my work is more than poor, so it shall not be seen !!!. So I now need to know the size of the second planking strip which will hide the edges of to aforesaid gun ports. Looking at the plans it could be 277 but as I have not located my manuals I do not know what 277 is. BTW Jason is absolutely correct, the 6mm wide walnut strip is not wide enough to line the gunports. Regards . DAVID

-
Greetings Graham I have just returned to my build after a while away, and read through your log this morning, and well remember the beginning of your build. The quality of your build has been excellent throughout, as many other members have told you on numerous occasions. Just continue enjoying it. Best Regards DAVID
-
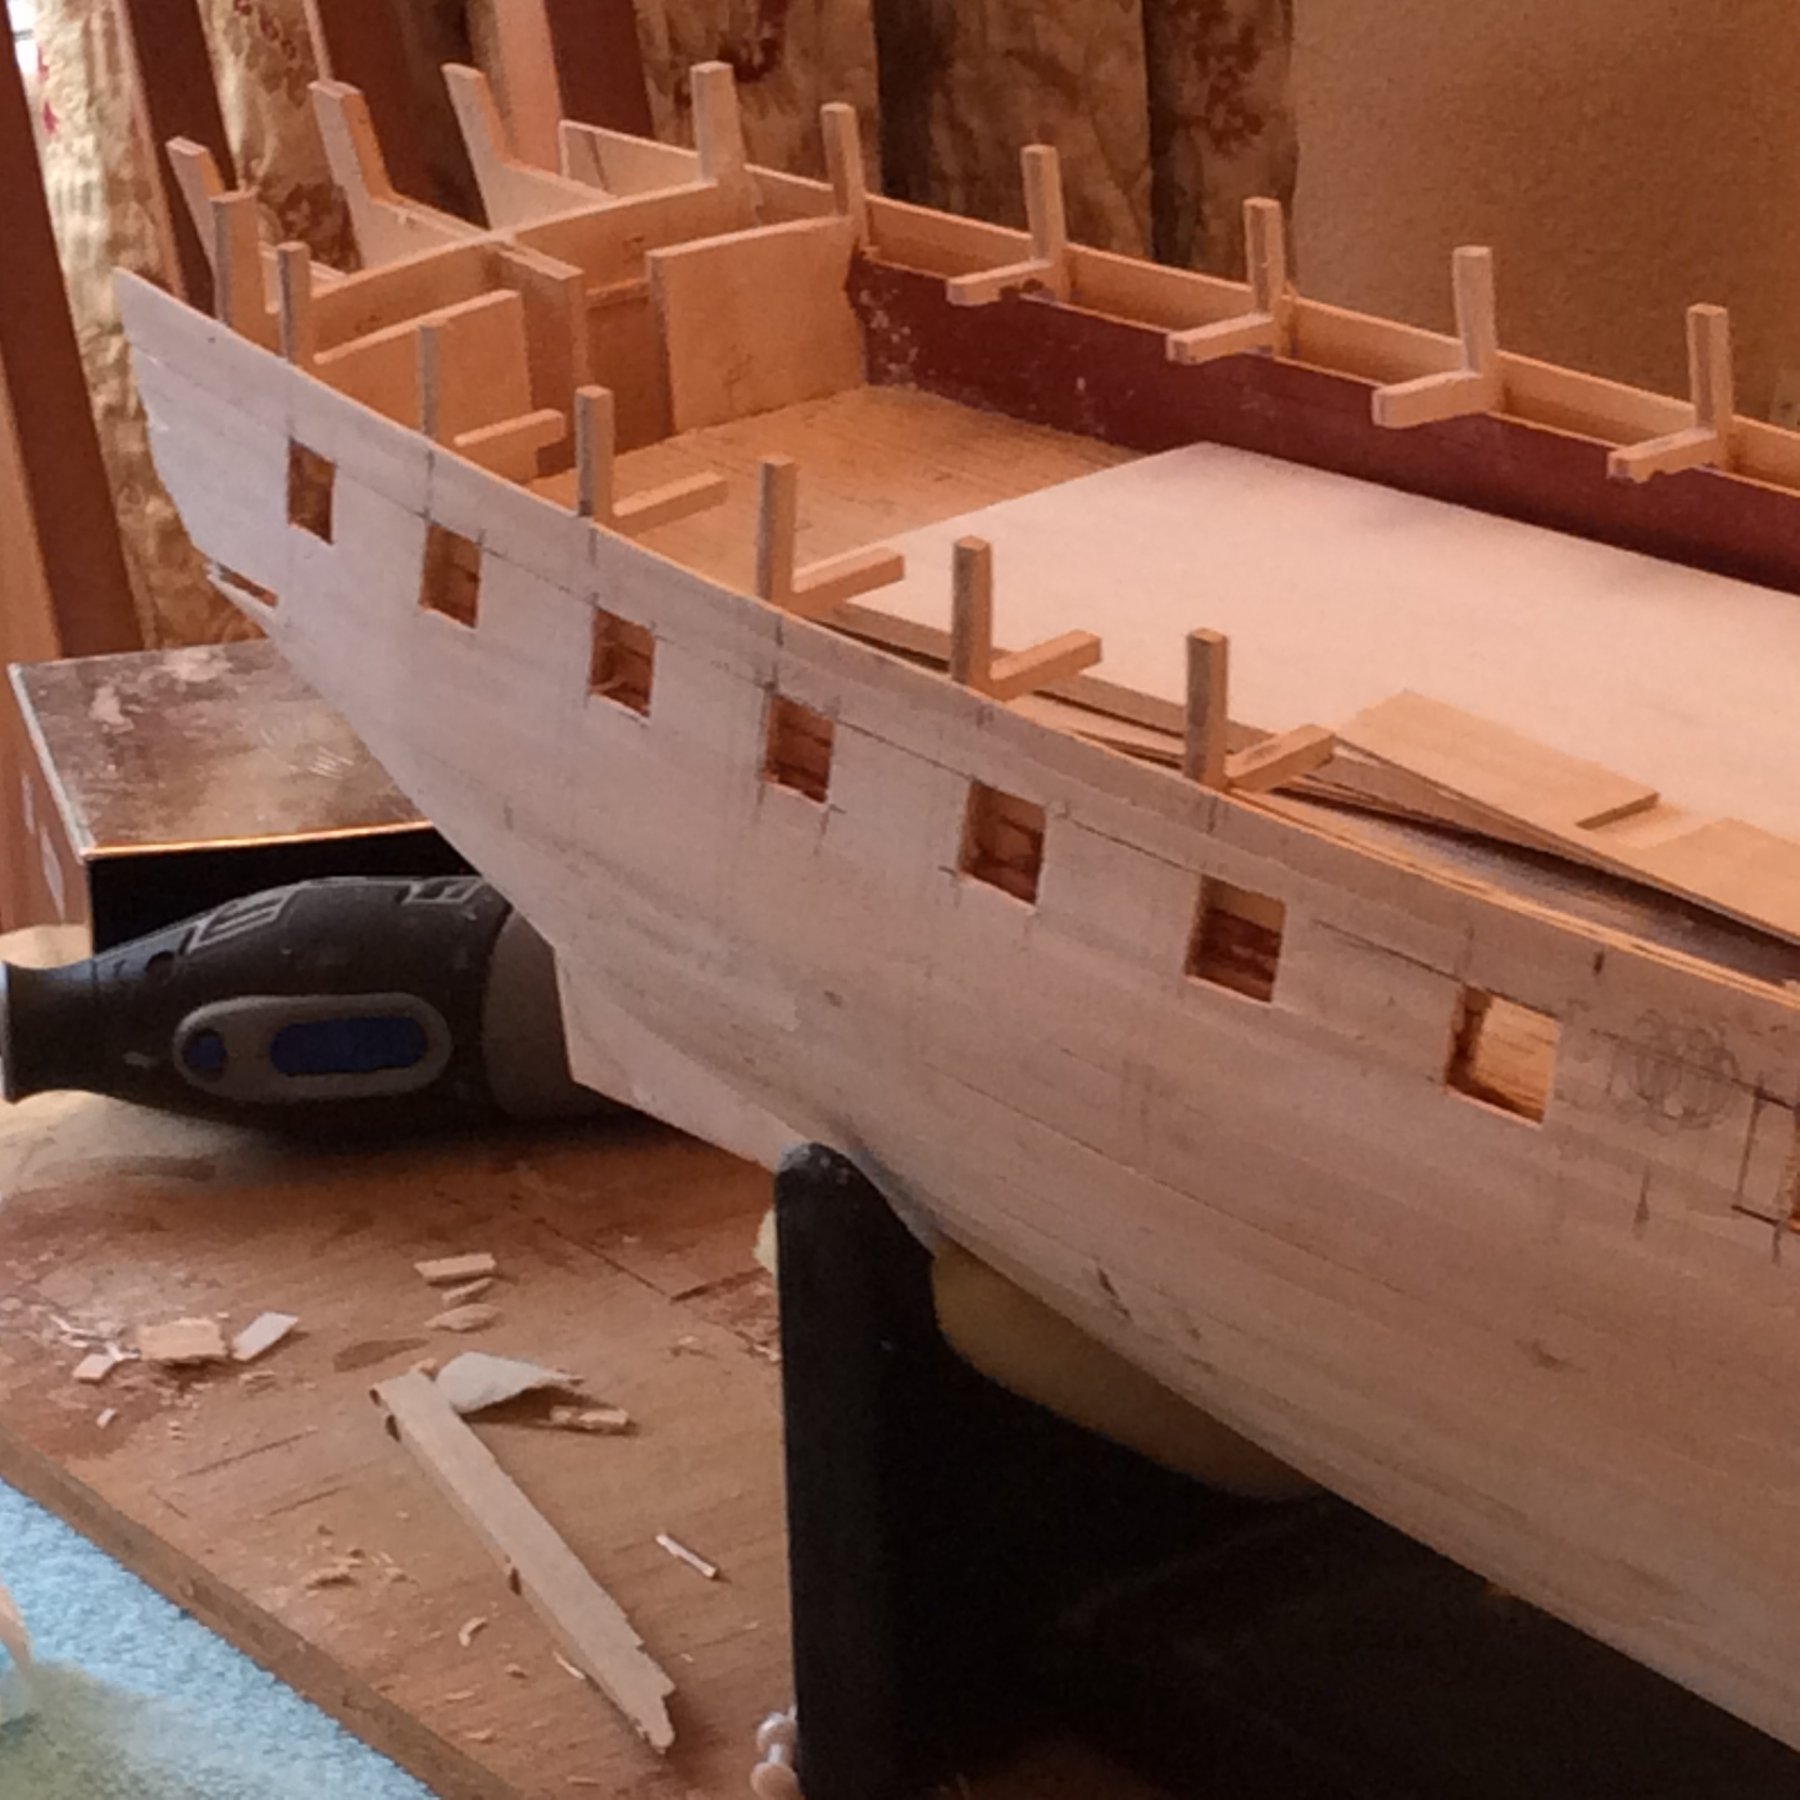
Greetings All I have taken my Diana out of storage, and decided to continue my build after approx three years. I tell a lie !!!!!. All I hear from friends is. “ Where’s that Diana ?” “ That Ship should have been finished by now” or “It’s about time you started building that ship again” or words to that effect. So I have given in to all the earache I get. As I said I have today got my self ready to continue. I had reached the stage of cutting out the gunports after finishing the first planking. The ports are roughly cut out on the starboard side, and I intend to line them next, and then start on the Port side. Unfortunately I cannot locate the two instruction books which I know are in the house somewher, but I do have all the plans to hand. What I need to know is the gunport sizes which I think are 14mm x17mm and if the four gunports with lids ( three at the stern, and one at the bow) are the same size. I also need to know the strip size I should be using for the linings. Thanks to you all in advance for your help. DAVID.

-
Greetings Paul I have not been around for a while. The rigging? The most enjoyable part of the build, with a few snags here and there. I made the mistake of not adding rings of thread around the deck and the belaying areas, before I started the rigging, and it became nightmare later, with all the rigging finished. I am prob telling you the road you know. Yep it’s a cracking build. Well done. Keep enjoying it. Regards DAVID
- 708 replies
-
- 1
-
-
- victory
- constructo
- (and 1 more)
-
Greetings OC. Just found you. Excellent work, the comments say it all. Just keep enjoying it. Regards. DAVID
- 455 replies
-
- 4
-
-
- slightly modified
- greyhound
- (and 1 more)
-
Hello Michael Yes as EJ says people have there own prefrerances for their plank bending. Your next task is to fit the gunport patterns which have very tight bends at the bows, probably the tightest on the ship. The patterns are broad and are 1.5mm ply. You will have to soak the ends at the bows. If you oversoak the ply the laminates can come apart, especially with the tight bends and thin ply. It might be a good idea to keep the scrap from the ply sheet when you remove the gunport patterns, and use off cuts to see how the ply responds on the curve around the bows if you follow. So that will help you to determine what you need to do. This is also were good fairing shows it's worth. RegardsDAVID
-
Hello michael So you are going to fit a thin strip on the front edge of bulkhead number 13 so that the planking run smooth across the bulkheads with no dip. Make sure the bulkhead upright (top of the bulkhead ) of number 13 also runs smoothly along the other uprights, as the gunport pattern number 270 fits along the face of these uprights, and check to make sure once again there is no dip. The positioning of gunport pattern 270 is VERY important as all the other gunport patterns link up to it. Take your time Michael and just enjoy it. Regards DAVID
-
Hello Michael It's me again !! You have four gunport patterns to fit before you start any strip planking. You should find the fairing for those pretty easy, but be careful at the tight bend of the bow, the pattern will need to be soaked for a while at the bow end. When you look at the bulkheads that then need fairing it's only the first five that need a lot of attention, and the fairing should be really well done, so take your time. You must make sure the strip you are using to test your fairing lays flat on all the faired faces of the curvature, across all the bulkheads. The curve around the bow is very tight, and if the strips do not lay flat on the faired face of the bulkhead, the strips will buckle or even break. The fairing of all the other bulkheads is not hard at all. Once you get the four gunport patterns fitted you are off and running with fitting of the strips. No twisting of the strips !!!!!!!!!!! Let them run naturally and infil the gaps with strakes. I am sure you will have no problem. Off you go then !!! Good luck 🌝🌝 we are all rooting for you. best regards. DAVID
-
Hello again Heinz Yep I reckon your build will continue for a long time yet. So a lot more fun to be enjoyed. Your build is excellent as it as been throughout your progress. Just keep enjoying it. Regards DAVID
-
Hello Michael Yep all is correct as Graham tells you. The top of the bulkhead 18 must be level with the central support, and is also secured to the central support at the centre, as it is shown on your last photo. Loose fit parts 106 & 105 and you will see the the whole area should be level ( but will not be perfect ) Once again Graham is absolutely correct, the poop deck fits on that area, and is incorrectly numbered. Make sure bulkhead 18 Is not twisted sideways as this is very important, and will throw the whole stern area out of position, then the ship is twisted as soon as you fit gunport pattern 270.!!!!. Bulkhead 18 also needs to be well beveled on the underside to accomadate the run of the planking and lower stern counter. You can bevel it (bulkhead 18) before you fit it in place and tidy the angle up when you fit the planking. And then Michael the fun begins. Catch you later, have fun. DAVID . NO TWISTING!!
-
Michael You will have to fair off the bulkheads which you have not done yet to the lowest point possible. Then just get on with your first planking. When you reach the point of planking the faulty area you will see what you need to do, to make the planking as good as it need be. Then you are going to sand all the hull, and probably use filler. Next you have the second planking to fit, and finally the copper tiles to fit, and so the fault never existed. It's no good just looking at it. Just get on with the planking. DAVID
-
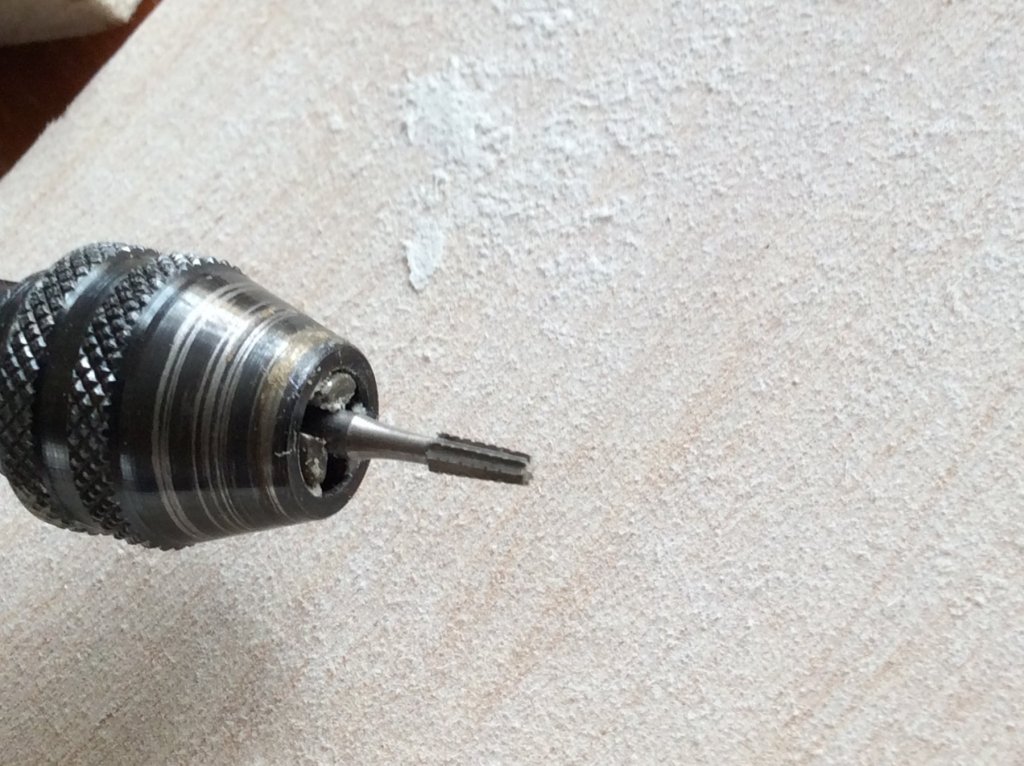
Greeting all I am about to cut out the 28 16mm x 14mm gun ports, after finishing the first planking. I have this fluted burr which isn't to bad, but would welcome advice on a decent product you may have used and would recommend. I am cutting through a double wall which will be 7mm, so the longer the cutting edge the better. Regards .DAVID
-
Greetings all Could anybody tell me if it is possible to add dialogue between photos when you post. Thanks a lot DAVID
-
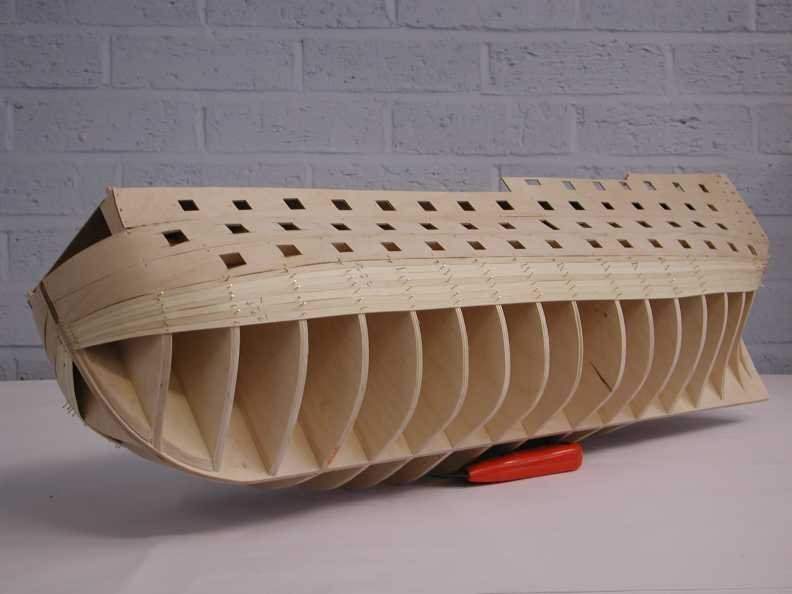
Hello michael Here's a photo to help you with fairing at the bows . Head down get on with it!!! DAVID
-
Hello Rich Yep both leaning back. Have look at sheet number 1. DAVID
- 414 replies
-
- 3
-
-
- caldercraft
- victory
- (and 1 more)
-
Thanks a lot Richard Thanks for the photos. It's coming along fine. Take your time and enjoy your build. Well done . Best regards DAVID