Nirvana
-
Posts
5,457 -
Joined
-
Last visited
Content Type
Profiles
Forums
Gallery
Events
Everything posted by Nirvana
-

Jim Byrnes Model Machines
Nirvana replied to Mahuna's topic in Modeling tools and Workshop Equipment
Jim, Thanks for that update, I thought we had to use two of the same grit but had to deal with the center that doesn't have any coverage. -
Jim Byrnes Model Machines
Nirvana replied to Mahuna's topic in Modeling tools and Workshop Equipment
Richard, It works both for sheets and strips, don't think it will work with sheets wider than 2 3/4". -
Jim Byrnes Model Machines
Nirvana replied to Mahuna's topic in Modeling tools and Workshop Equipment
So, I had a chance to get hand on a thickness sander type Model Byrnes, I have never had such a machine before. As I don't have a shop vac or a proper work shop I have done the little sanding outside when it's been nice weather. This machine, is amazing! It's quiet, the adjustment tolerance in the 10th of millimeter. Even on an unstable table the machine didn't "walk" due to the small vibrations. It's a very well balanced. I just hope to get the table saw some day. Jim and Donna, I thank you both for a true quality machine which is going to last me many years to come! -
Darrel, Amazing beautiful build log! Following it with huge interest. Thank you
-
Mike, Skeppsholmen is a very nice place to wander around, all the small coffee places and of course the variety of boats and their sizes. For others who hasn't been to Sweden and Stockholm, .... yet, this is certainly a place to visit. This island was the location for training of naval officers between 1879 and 1941. As for the longboat, very nice Mike! I have been away from the "shipyard" and have to attach the transom before doing any planking.
-
Gulfmedic, in order to get two clips like that, you need three and use the "ears".
-
Wood stirring straws which are flexible enough works as a stand in for the temp deck. The bulkheads are rigid. No flexing at all. Sanding and planking will be next. Pretty happy with it so far.

- 335 replies
-
- 4
-

-
- 18th century longboat
- Finished
- (and 1 more)
-
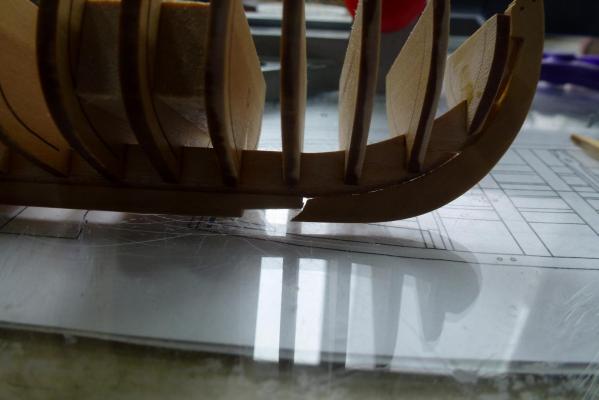
False decking accordingly to MikeY in Sweden, this to stabilize the bulkheads before fairing. First plank down matching the keel length.

- 335 replies
-
- 3
-
-
- 18th century longboat
- Finished
- (and 1 more)
-
Pops, Thank you for those words. However, I think everyone in here will remember when one has done a repair or modification, even though it may not be visible to others. Admiral is happy and impressed. I also got a nice and tight fit with the smaller false keel part without any modifications.
- 335 replies
-
- 3
-
-
- 18th century longboat
- Finished
- (and 1 more)
-
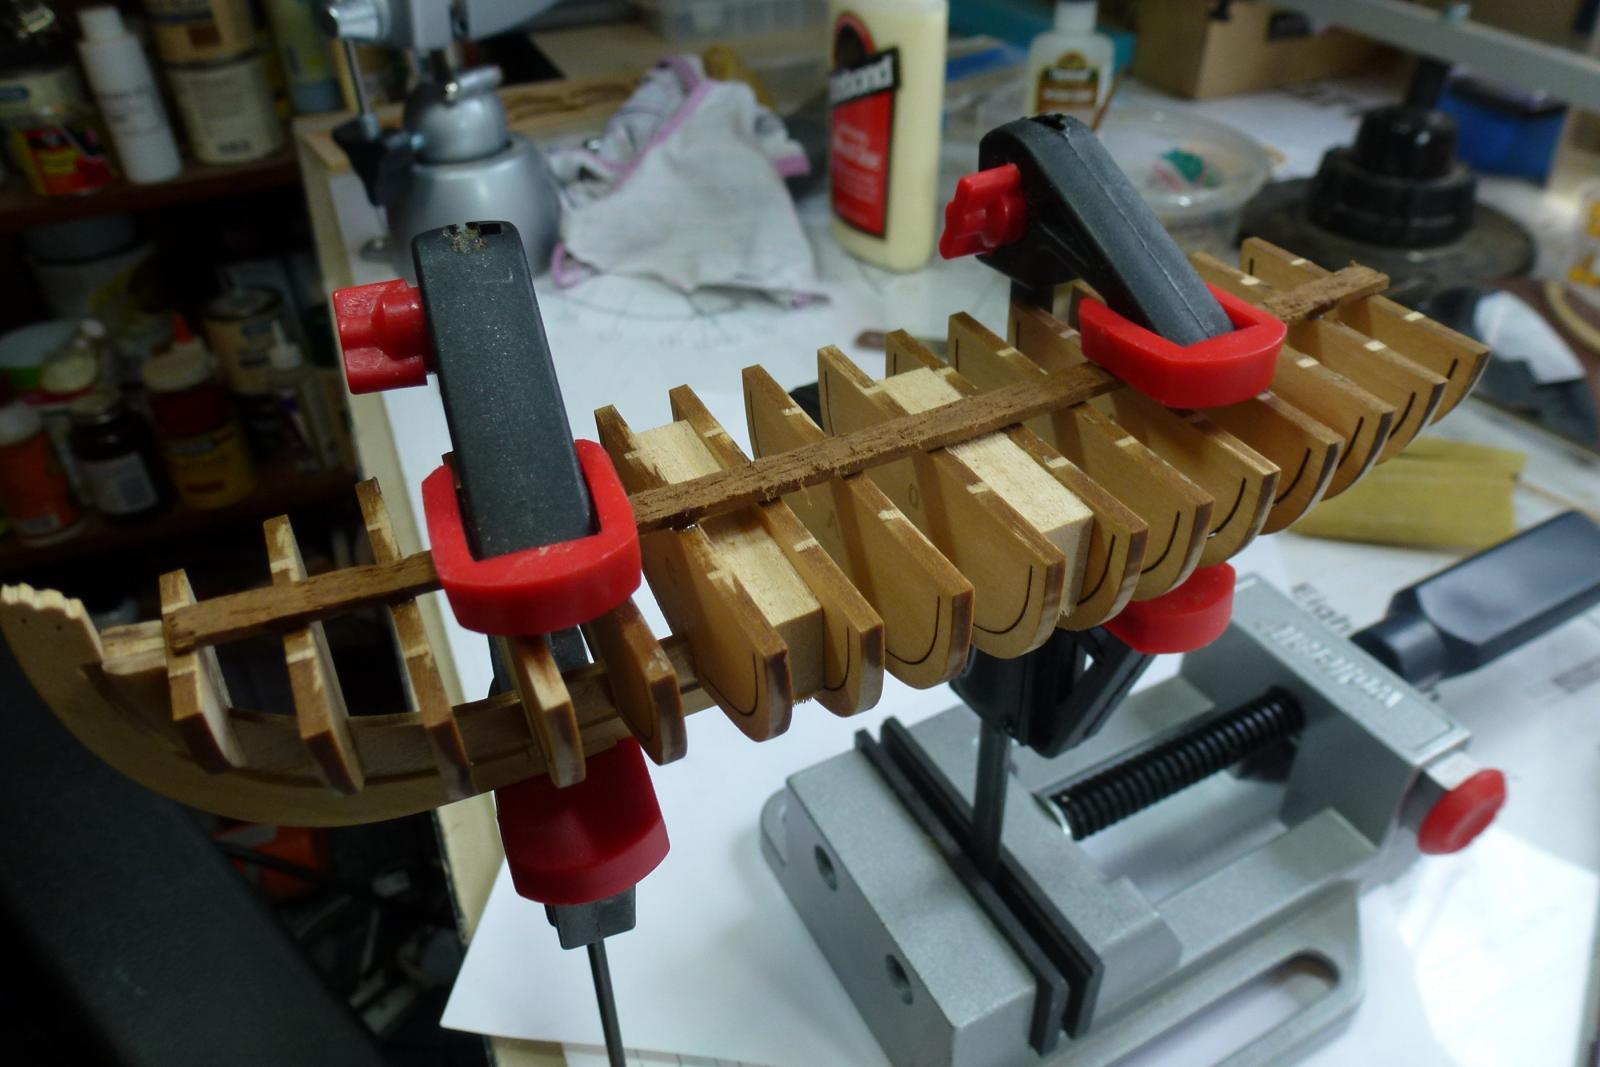
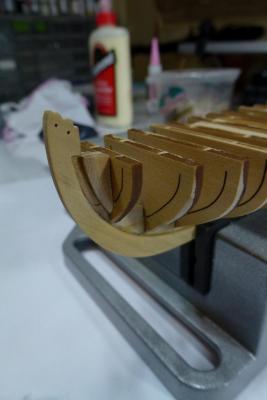
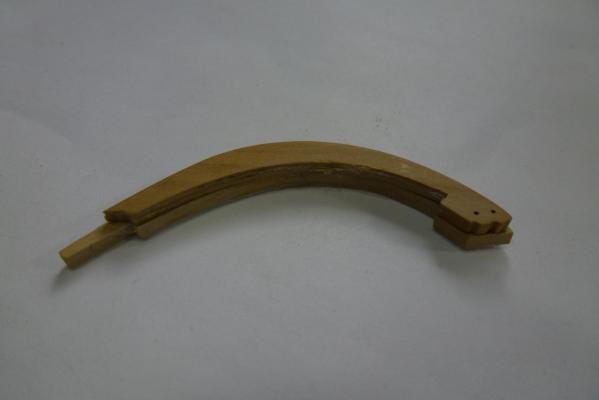
The new stem piece is in place, I preferred to attach the stem before the remaining piece from the false keel. The stem piece has little "extra meat" which is sand-able. On the other hand I got it perfectly straight! I even got the connection between the keel and stem tighter this time.
- 335 replies
-
- 5
-
-
- 18th century longboat
- Finished
- (and 1 more)
-
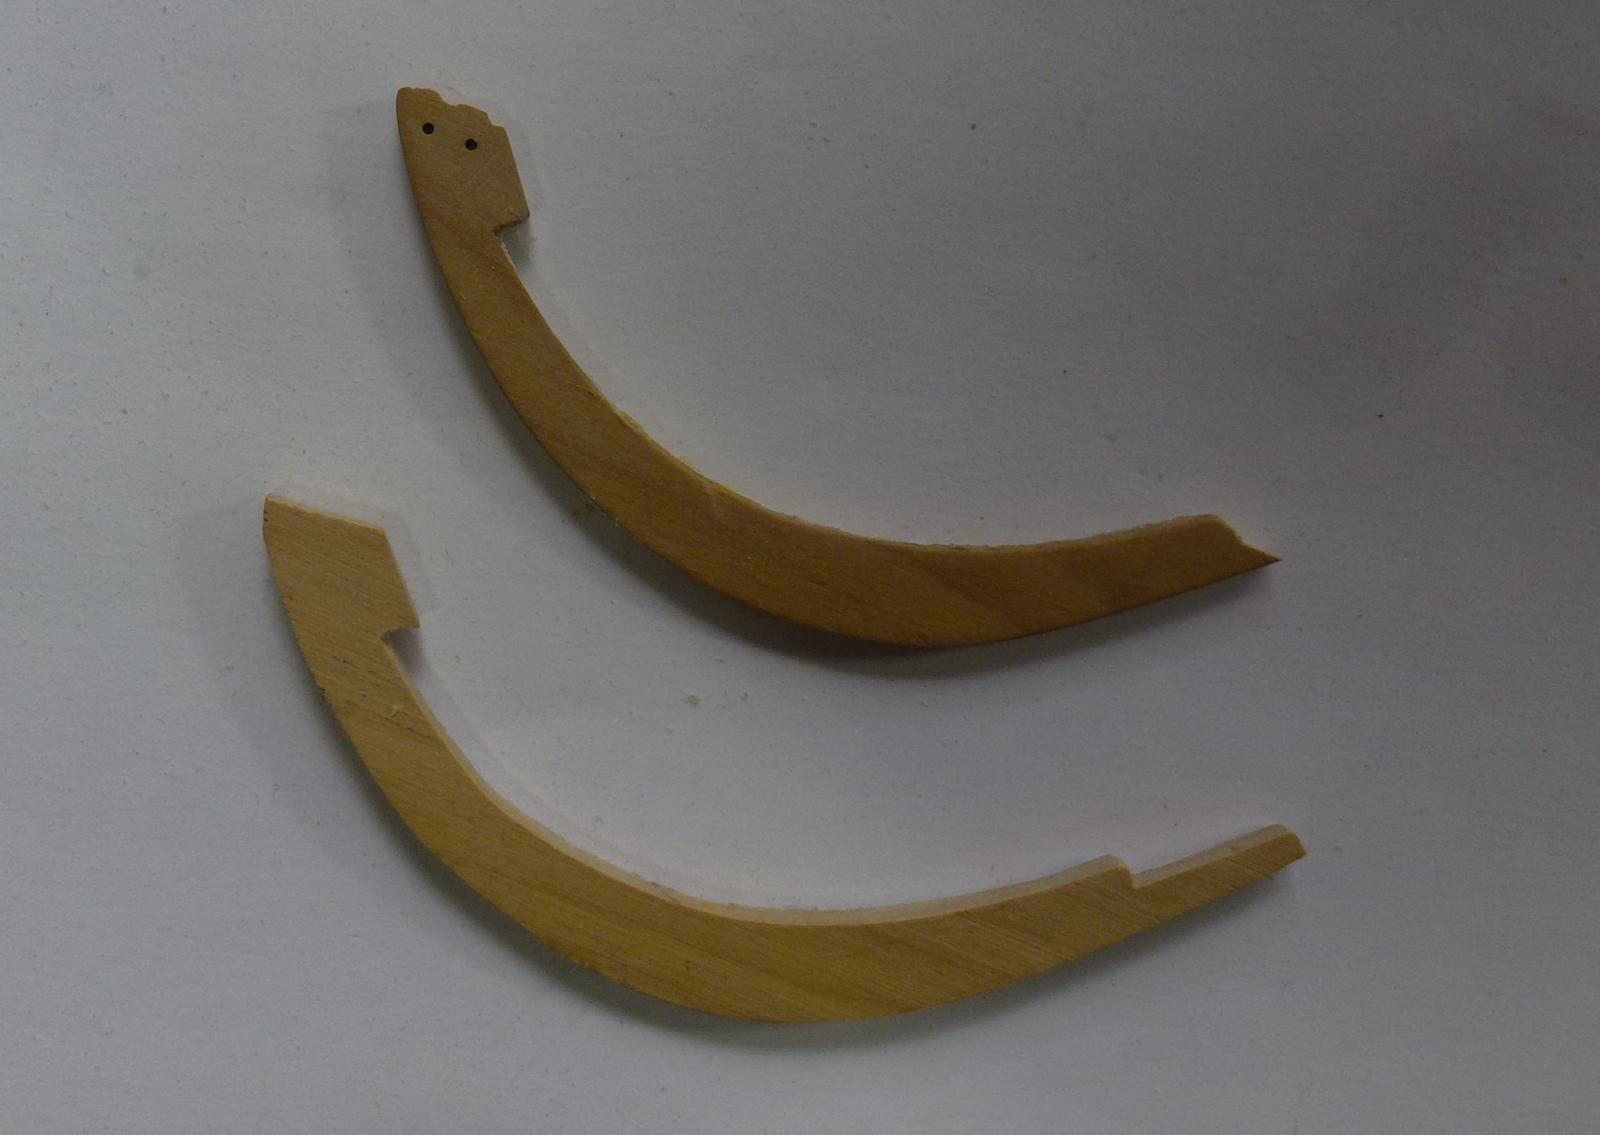
Having a somewhat new shaped stem again I used double sided clear tape and attached the broken piece for the final trimming.This pic shows the two separate. Here they are taped for shaping.
- 335 replies
-
- 5
-
-
- 18th century longboat
- Finished
- (and 1 more)
-
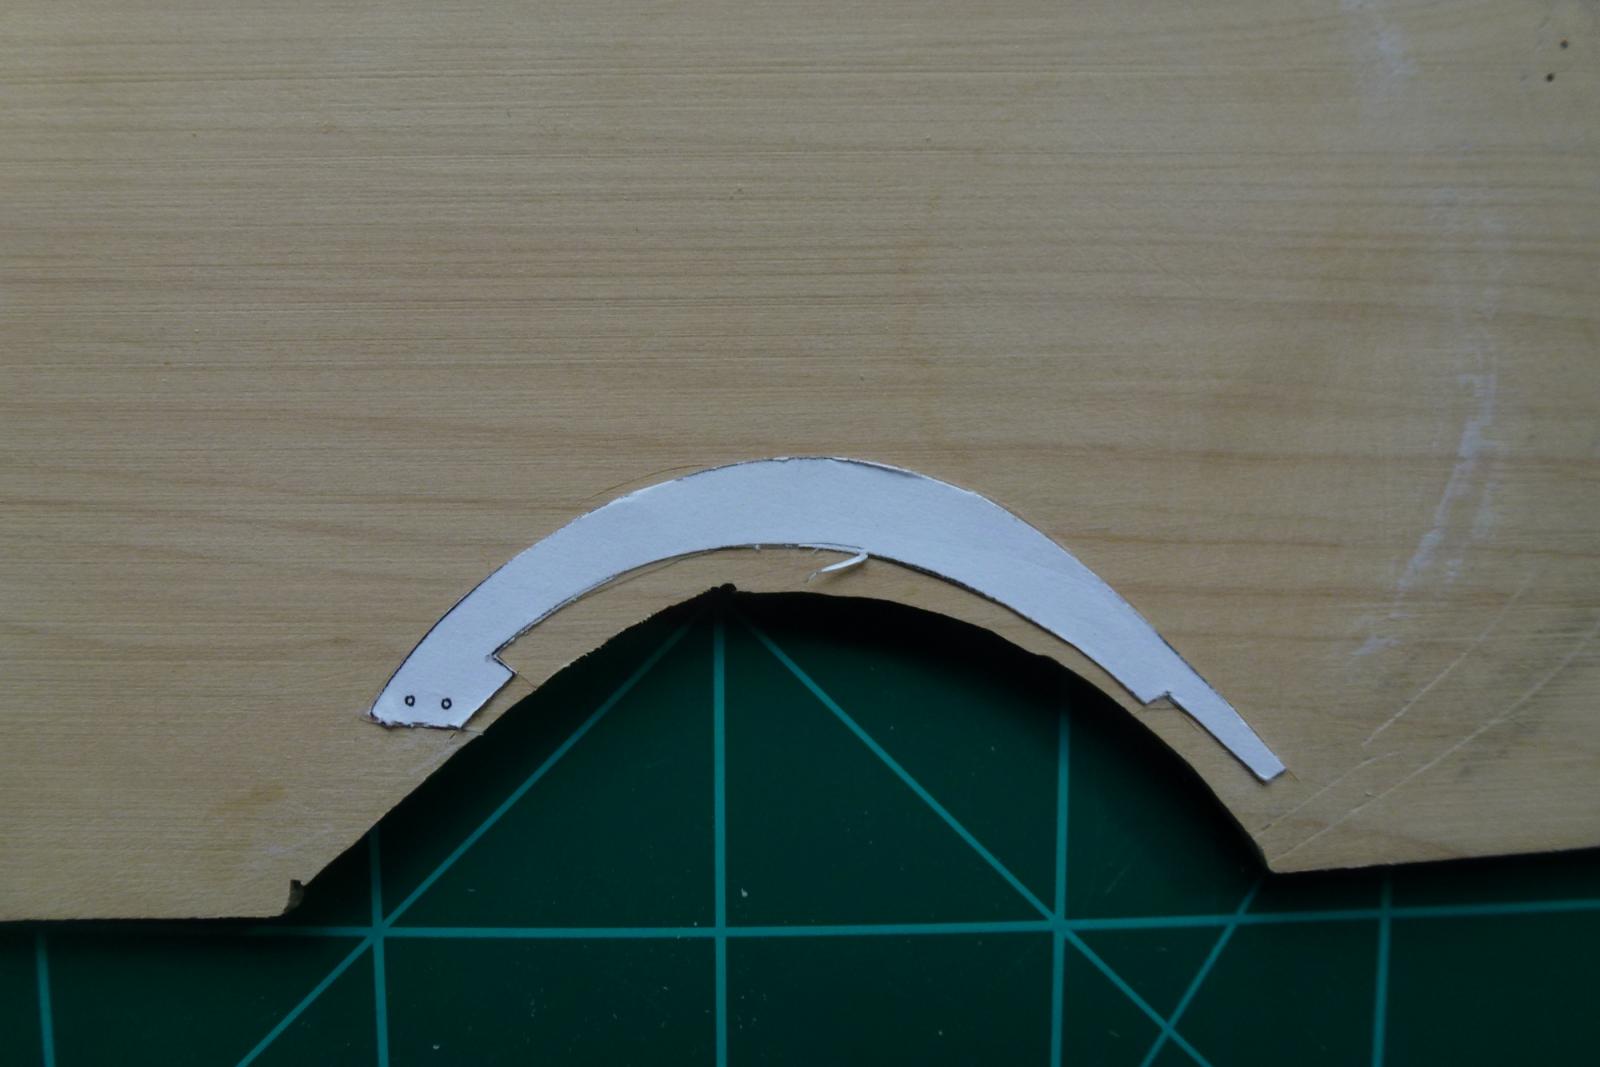
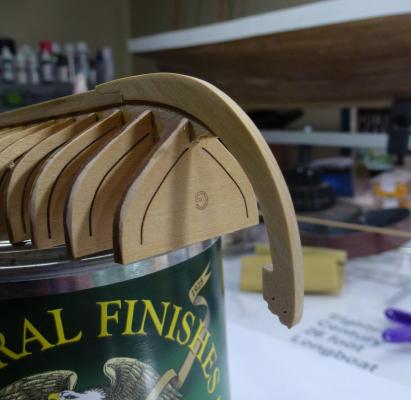
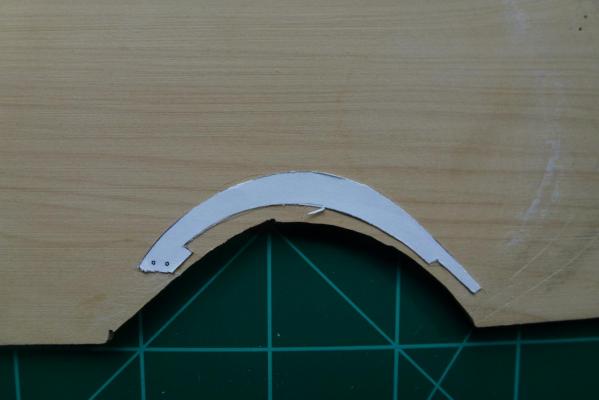
Put the plan in the scanner and had part printed. Used double sided clear tape and attached to the boxwood sheet. Next is the cutting and trim, and I should have another workable piece.
- 335 replies
-
- 4
-
-
- 18th century longboat
- Finished
- (and 1 more)
-
Sam, Keel and stem is out of Boxwood not the original material basswood. Otherwise your idea would work.
- 335 replies
-
- 1
-
-
- 18th century longboat
- Finished
- (and 1 more)
-
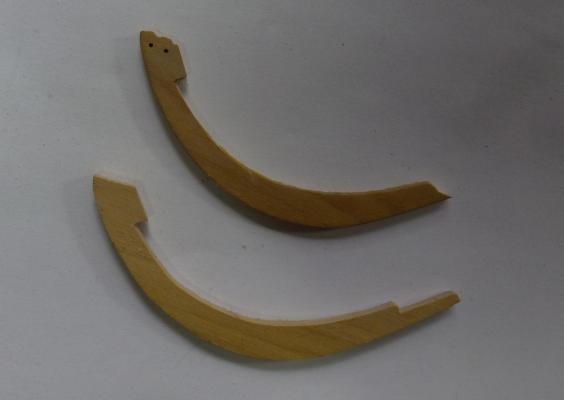
Okay, repair work commenced and turned out that the stem piece was broken where the keel meets up, didn't see until I had the stem fixed without checking with the false and true keel. Bummer, new stem is to be manufactured.
- 335 replies
-
- 3
-
-
- 18th century longboat
- Finished
- (and 1 more)
-
I have tears in my eyes, after being away from home for about a week (work), I came home to this How this happened I don't know, I always making sure the door is closed and secured, the admiral feels bad. Office/workshop door was open when I got home. But now I am back to square one. Don't like it at all as I were very happy with the results to date. Next is to call ModelExpo for replacement items....... sigh And start again. Didn't want this at all. :(

-
Not more experienced than you, This should have been done before putting the bulkheads in place..... I guess.. , which I didn't do with my longboat
-
Floyd my friend, A vise that is not true? Maybe depending on where you buy it from I presume. Smaller scale (1:4) shouldn't show it but in larger scale (1:3) it would. Just for an example....... My false keel and keel is straight as an arrow, maybe I was just lucky. Bulkhead will be fixed e.i Mike in Sweden with false deck. This to create a straight hull before planking. And to create a stronger holding while fairing the bulkheads. :D
-
Mike, how did attach the "false deck" since it has to removed before the bulkhead inserts are to be removed. Sent from my S5
-
Mike, yes I have the same odd spacing in that sequence. The distance between 0-A is greater than A-B. Whole whopping 1mm!
-
According to my digital caliper distance between bulkhead A-0-1 is 8.22mm -0- 7.12mm at the false keel, 8.67mm -0- 7.06mm at top. After measuring the distance between each bulkhead I noticed none are even at center-line. Maybe I should proceed without being to concerned.
- 335 replies
-
- 1
-
-
- 18th century longboat
- Finished
- (and 1 more)
-
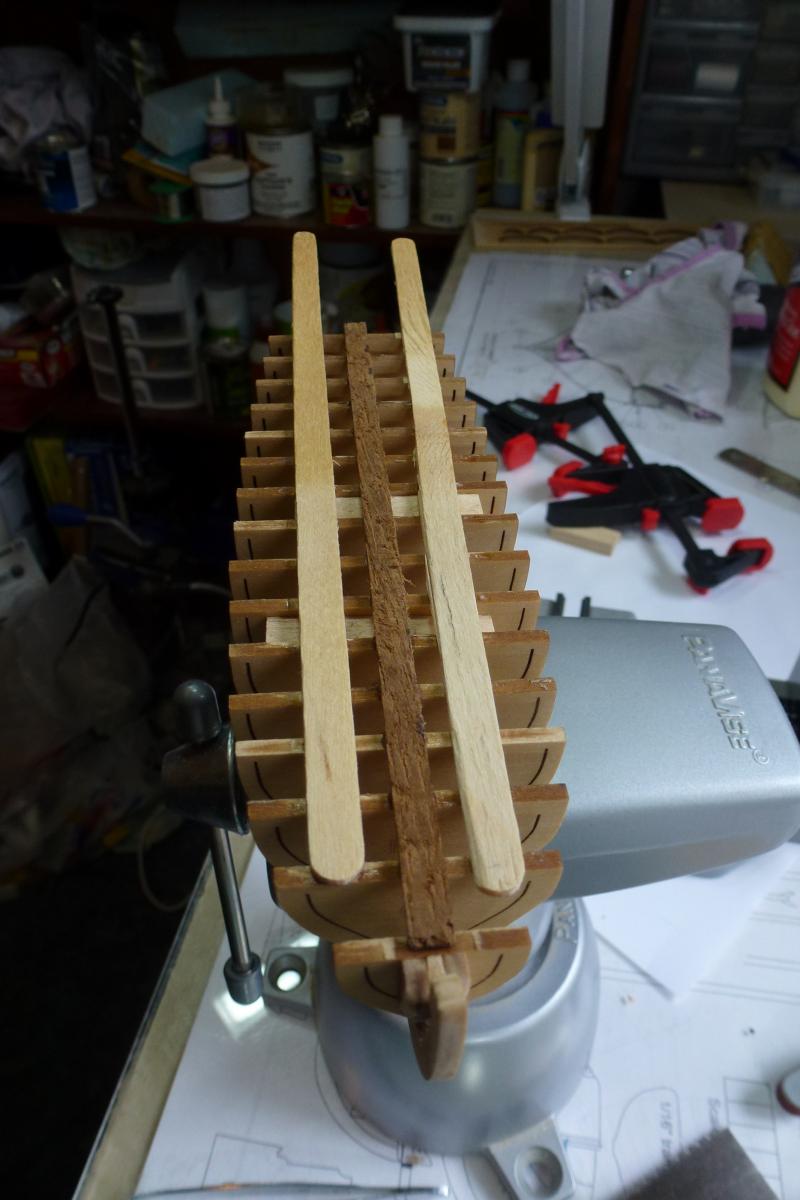
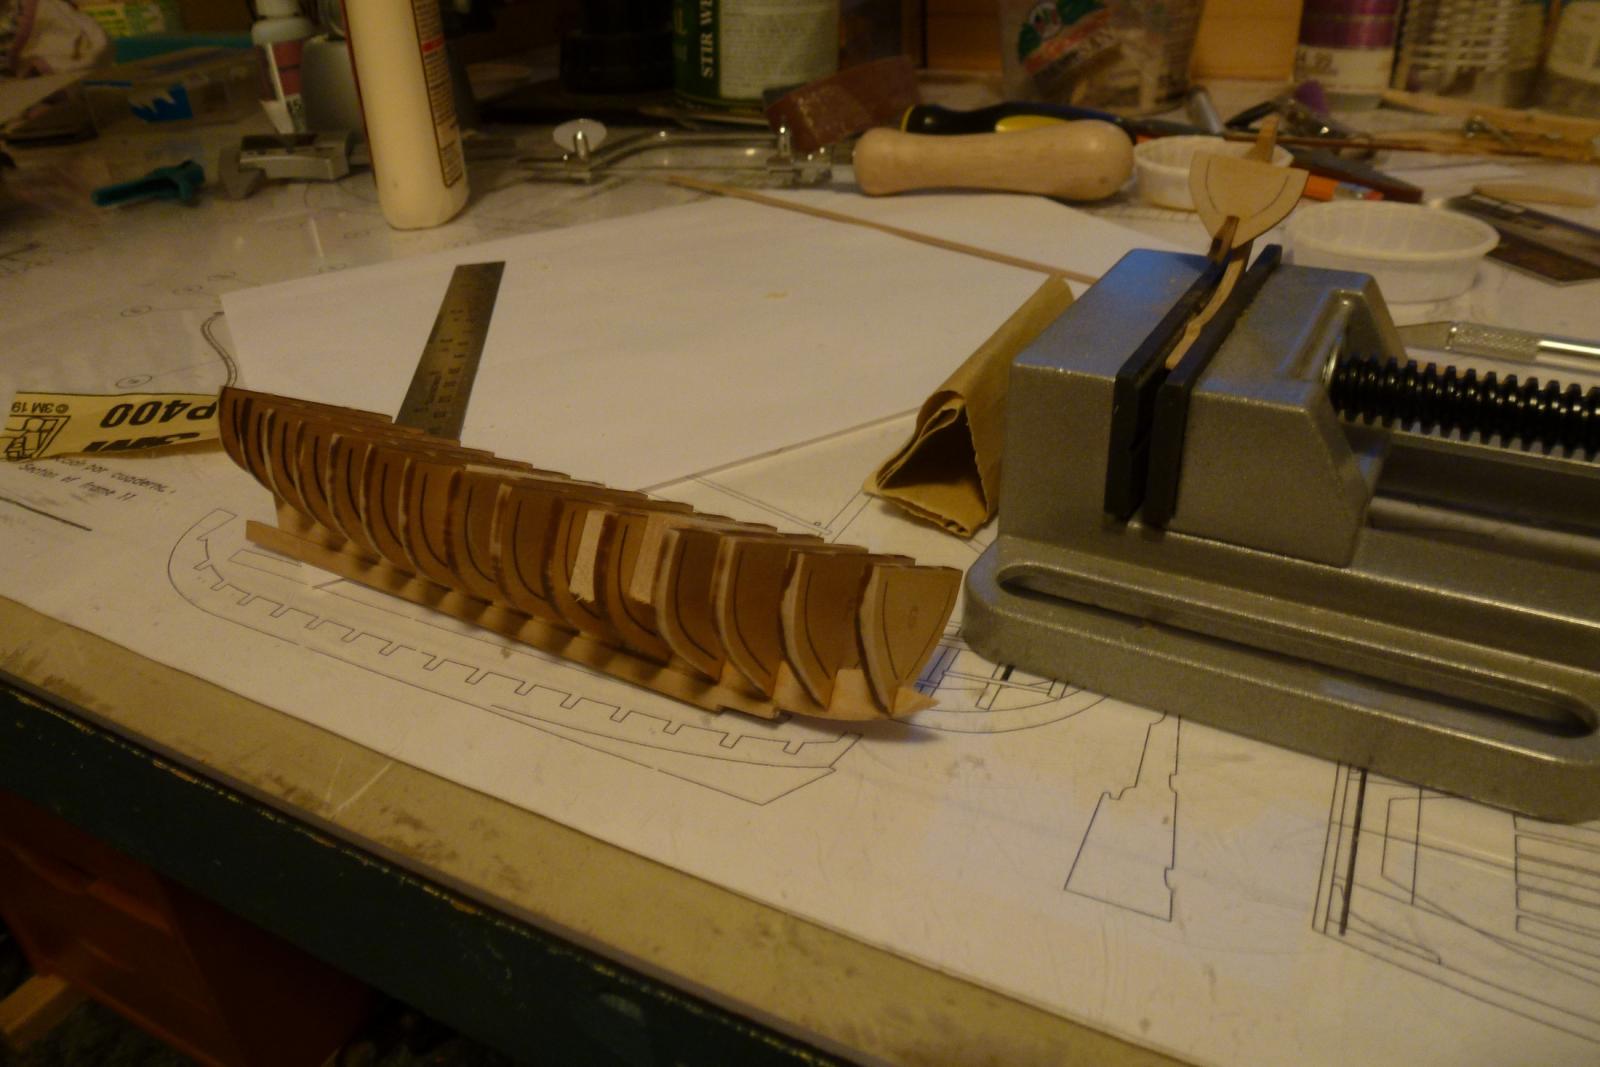
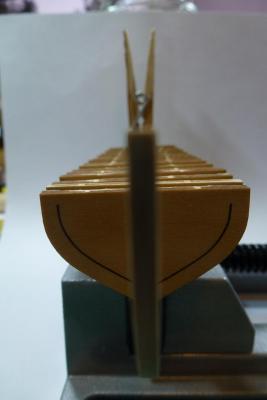
After having all the bulkhead into the false keel, I saw something disturbing in the profile and that was how the bulkheads was leaning towards each other. This is very prominent and obvious after bulkhead B and forward. I have no play (adjustment) at all. It's solid but not glued. The distance between each bulkhead are all even. Having a feeling the cuts from the material from MS is not accurate. Has anyone experienced the same? Don't know how to proceed as planking is next.
-
Since eye sighting can be difficult and a camera "doesn't lie", I thought why not use this to it's advantage. Using the screen on the camera and uploading to any image editing software I found it easy to see where adjustments were needed. The only bulkhead glued in place is 0. Still this one is adjustable. Using a cloth pin at the stern, the line up started to come out good. I am so happy to work this kit, just look at the bulkheads smiley face
- 335 replies
-
- 5
-
-
- 18th century longboat
- Finished
- (and 1 more)
-
Mike, As I were stationed in Karlskrona for the initial time of my military service we had free entrance to the museum, this was back in mid 80s and I don't know how much that has changed. But if you are making a trip it's definitely worth a visit. Sending you the link to their website. http://www.marinmuseum.se/
-
Mike, I guess I have to ask for a rain check regarding grill/beer. I will let you know when I am back in Sweden. Grew up in Åkersberga (NorthEast) if you are familiar with the surroundings. You take the train (Roslagsbanan) from Östra Station. About 40 minutes ride. I would suggest you to make a contact National Museum of Maritime (sjöhistoriska museet), as they have annual modelship builders day in the summer. inviting clubs, they should have somewhat of an eye of such. Another place to visit is Eskader (hobbystore). The owner knows about clubs as well. But hold to your wallet as a visit at Eskader might be expensive. Knowing by experience. As for the longboat, I beveled the false keel the way Mike-Stuntflyer described. It's thin, it's delicate but I think it was worthwhile.