Nirvana
-
Posts
5,457 -
Joined
-
Last visited
Content Type
Profiles
Forums
Gallery
Events
Everything posted by Nirvana
-
 It's rough, but the picture gives me indication of trimming and bevel the edges.
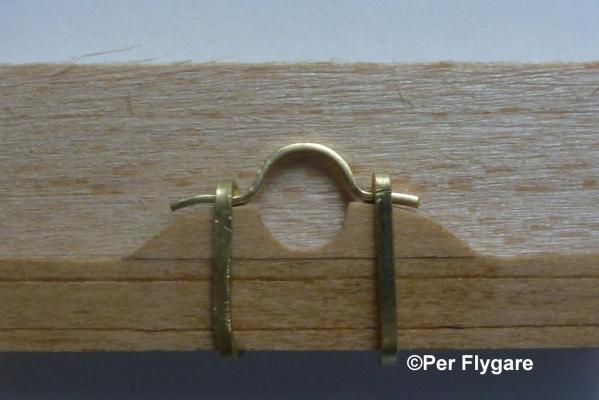
- 335 replies
-
- 6
-

-
- 18th century longboat
- Finished
- (and 1 more)
-
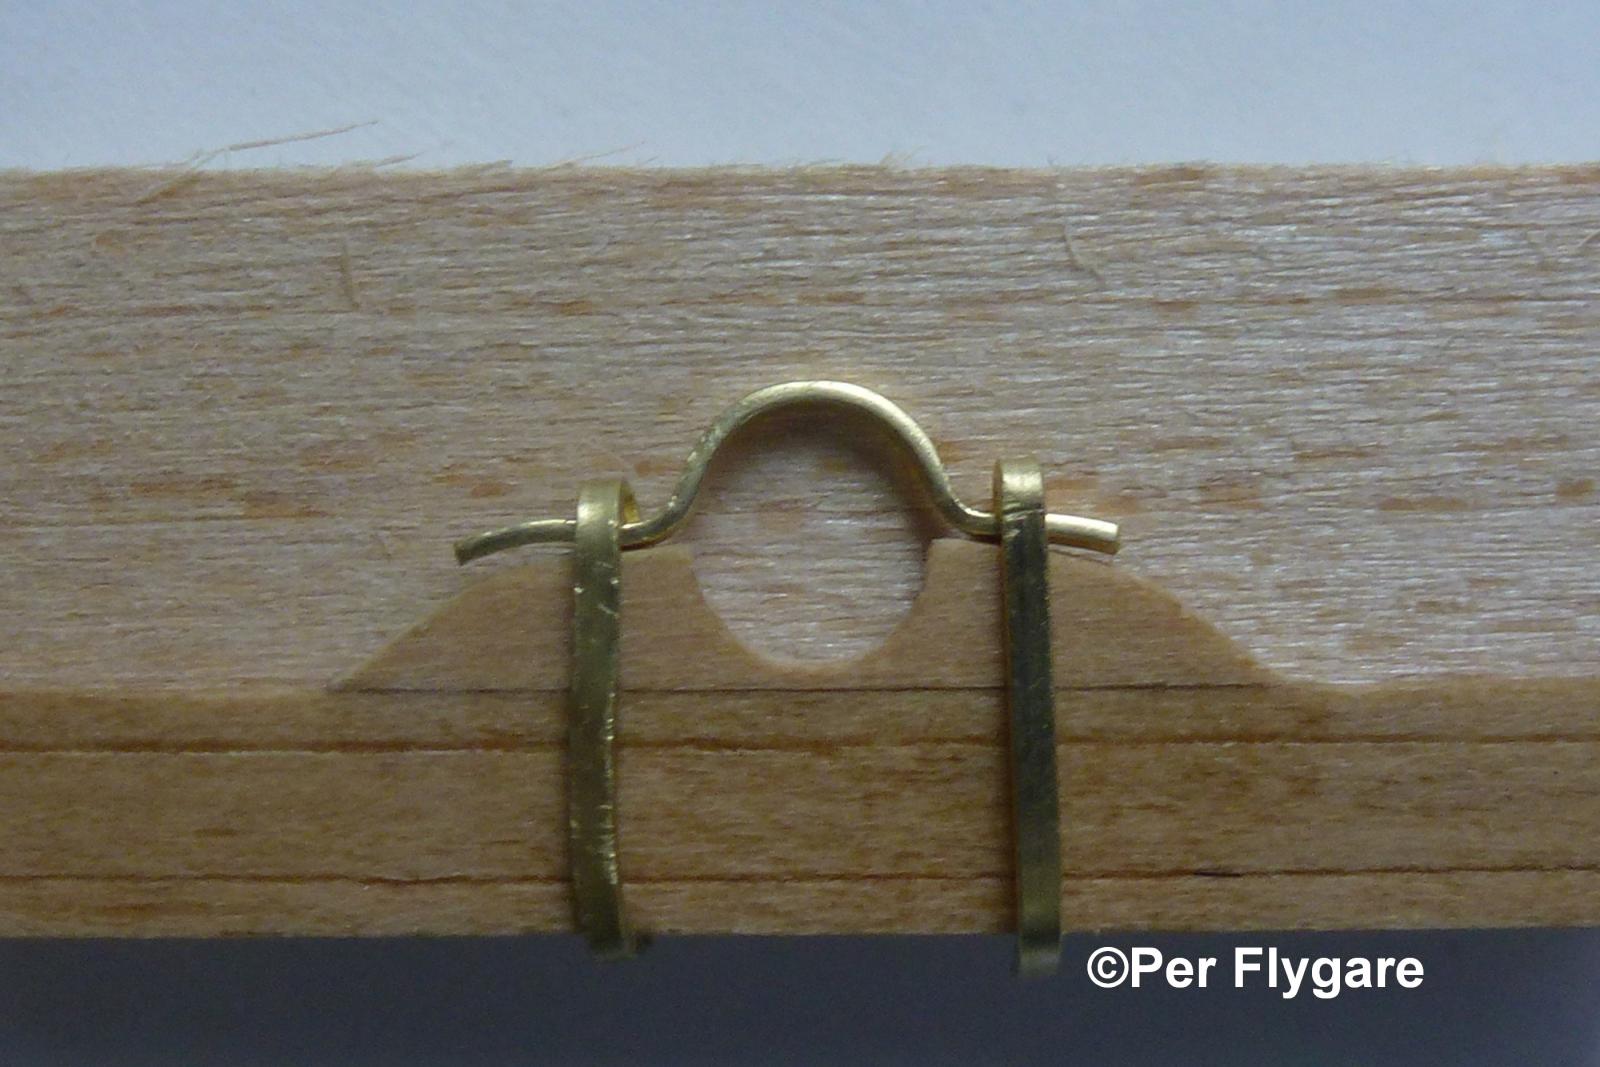
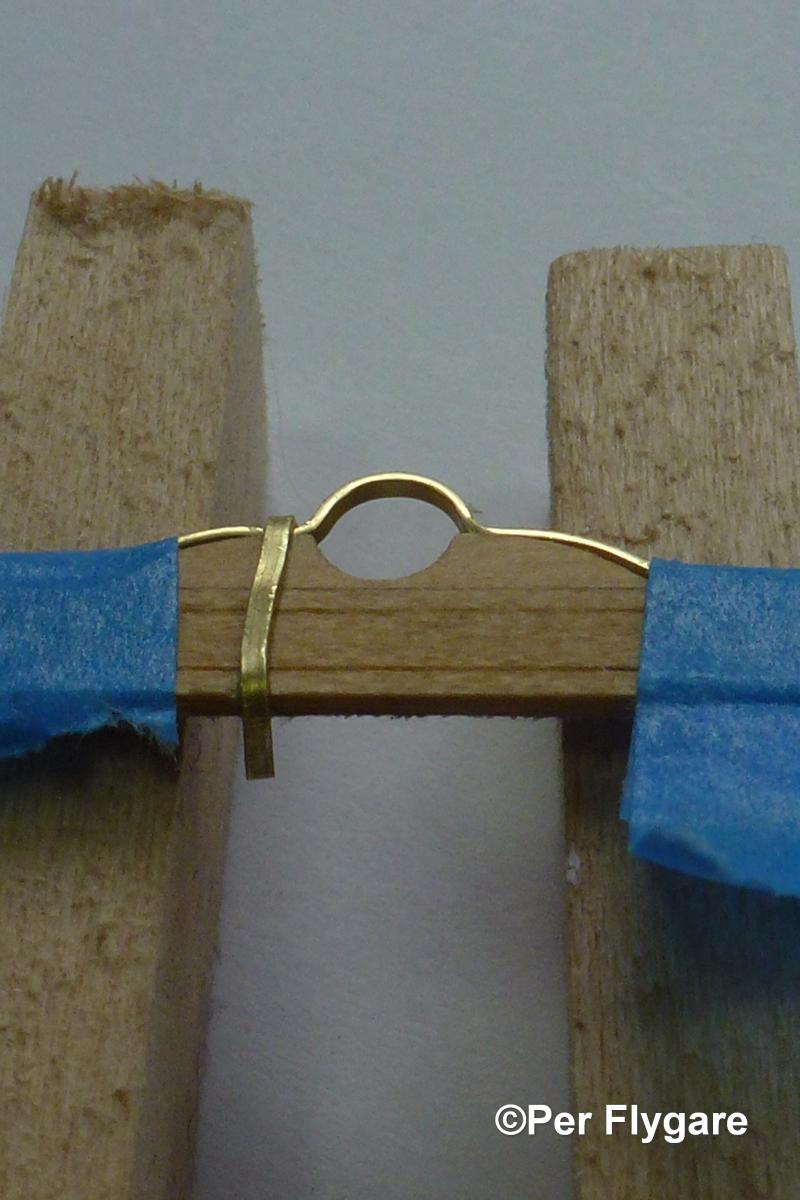
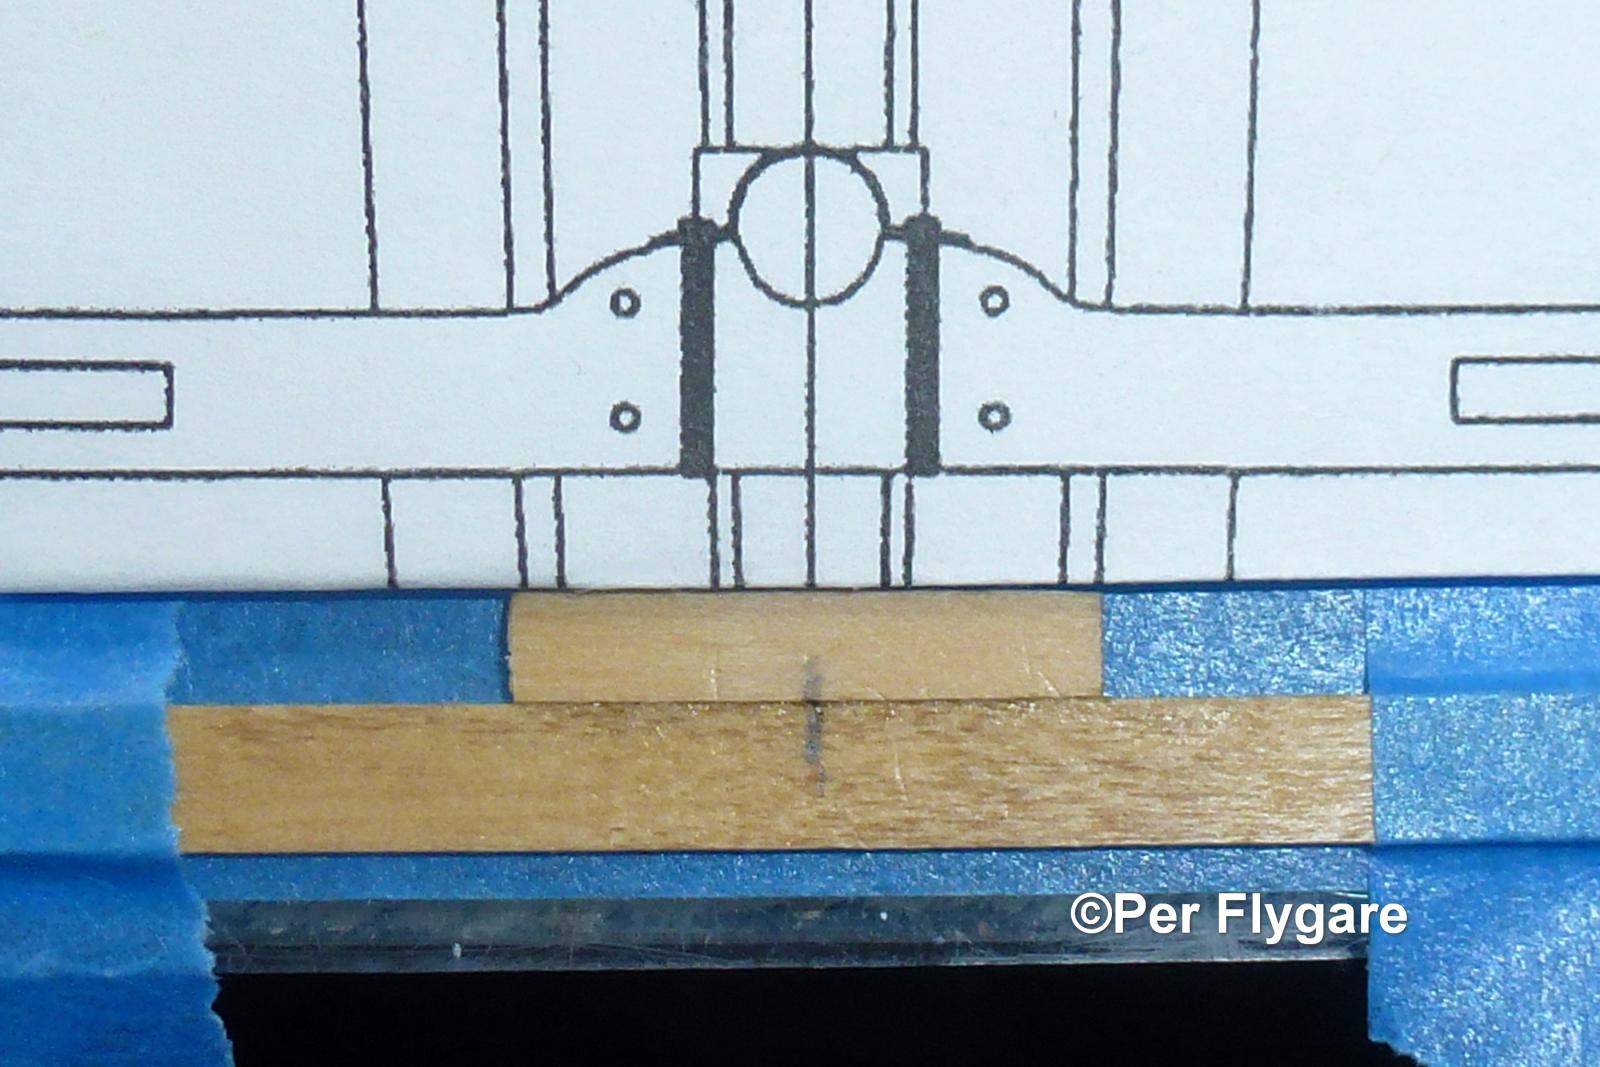
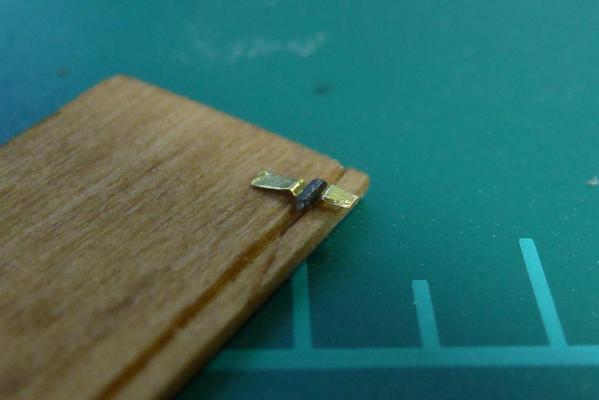
The band strap that "secures" the mast ring to the thwart is not cut equal see the bottom side. Will not be visible once in place.

- 335 replies
-
- 8
-
-
- 18th century longboat
- Finished
- (and 1 more)
-
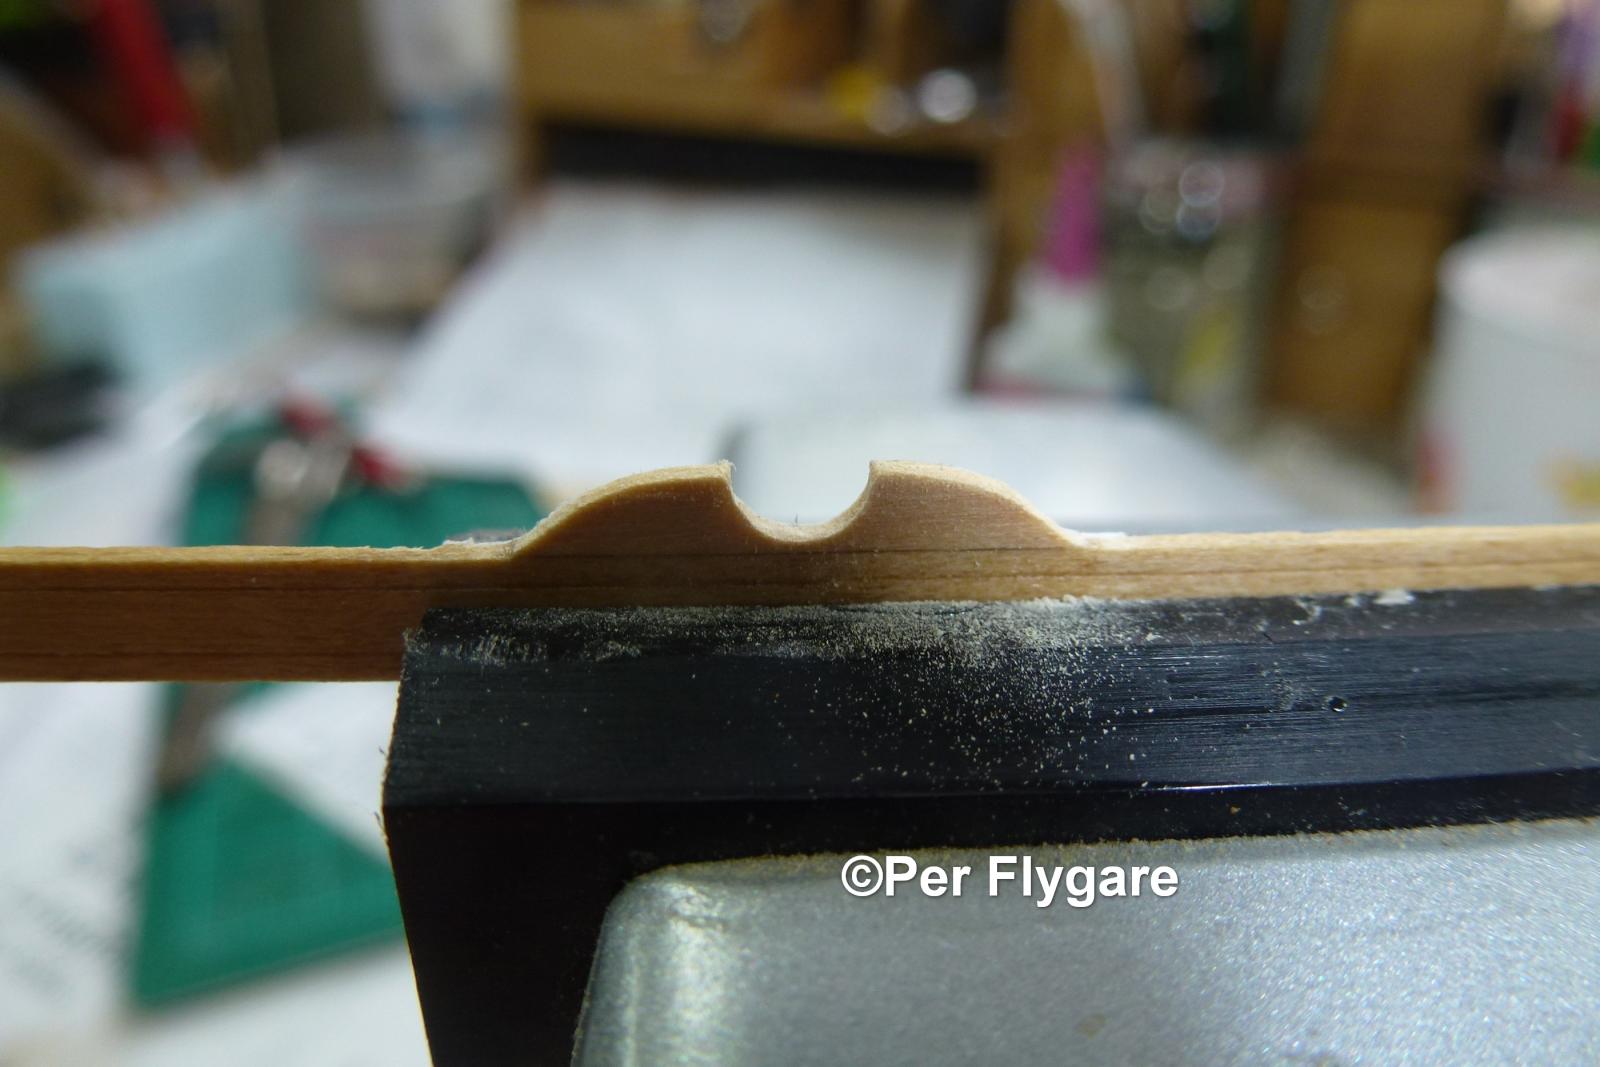
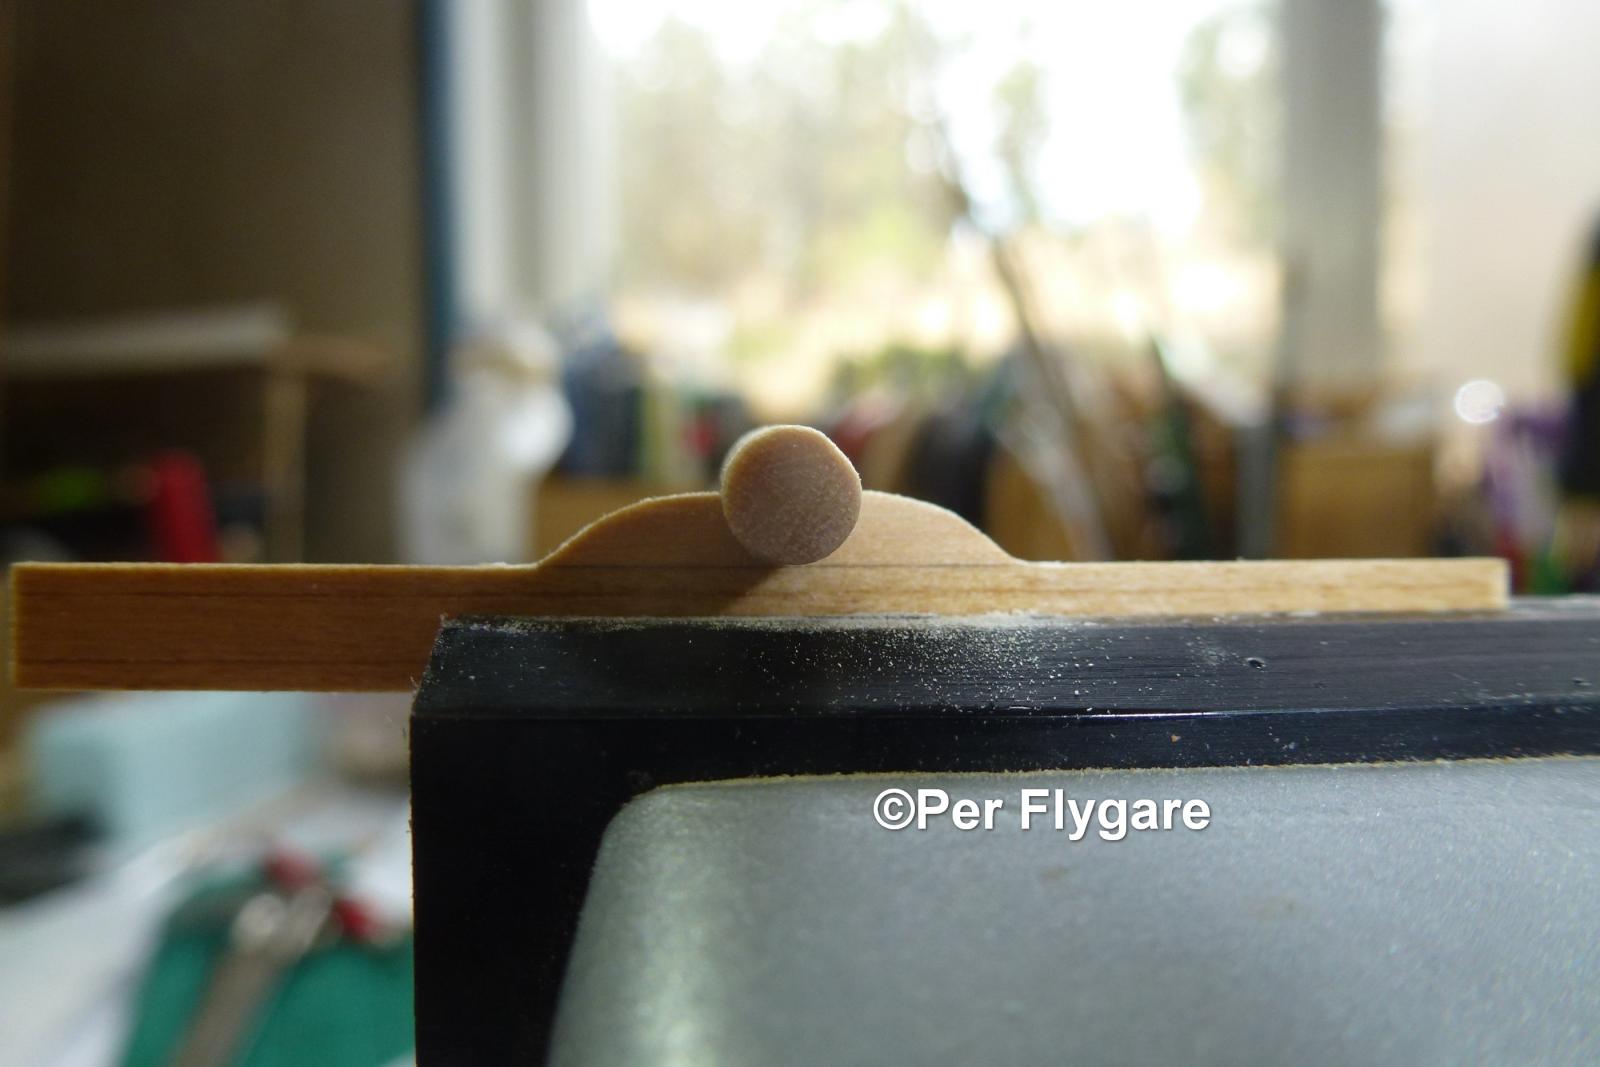
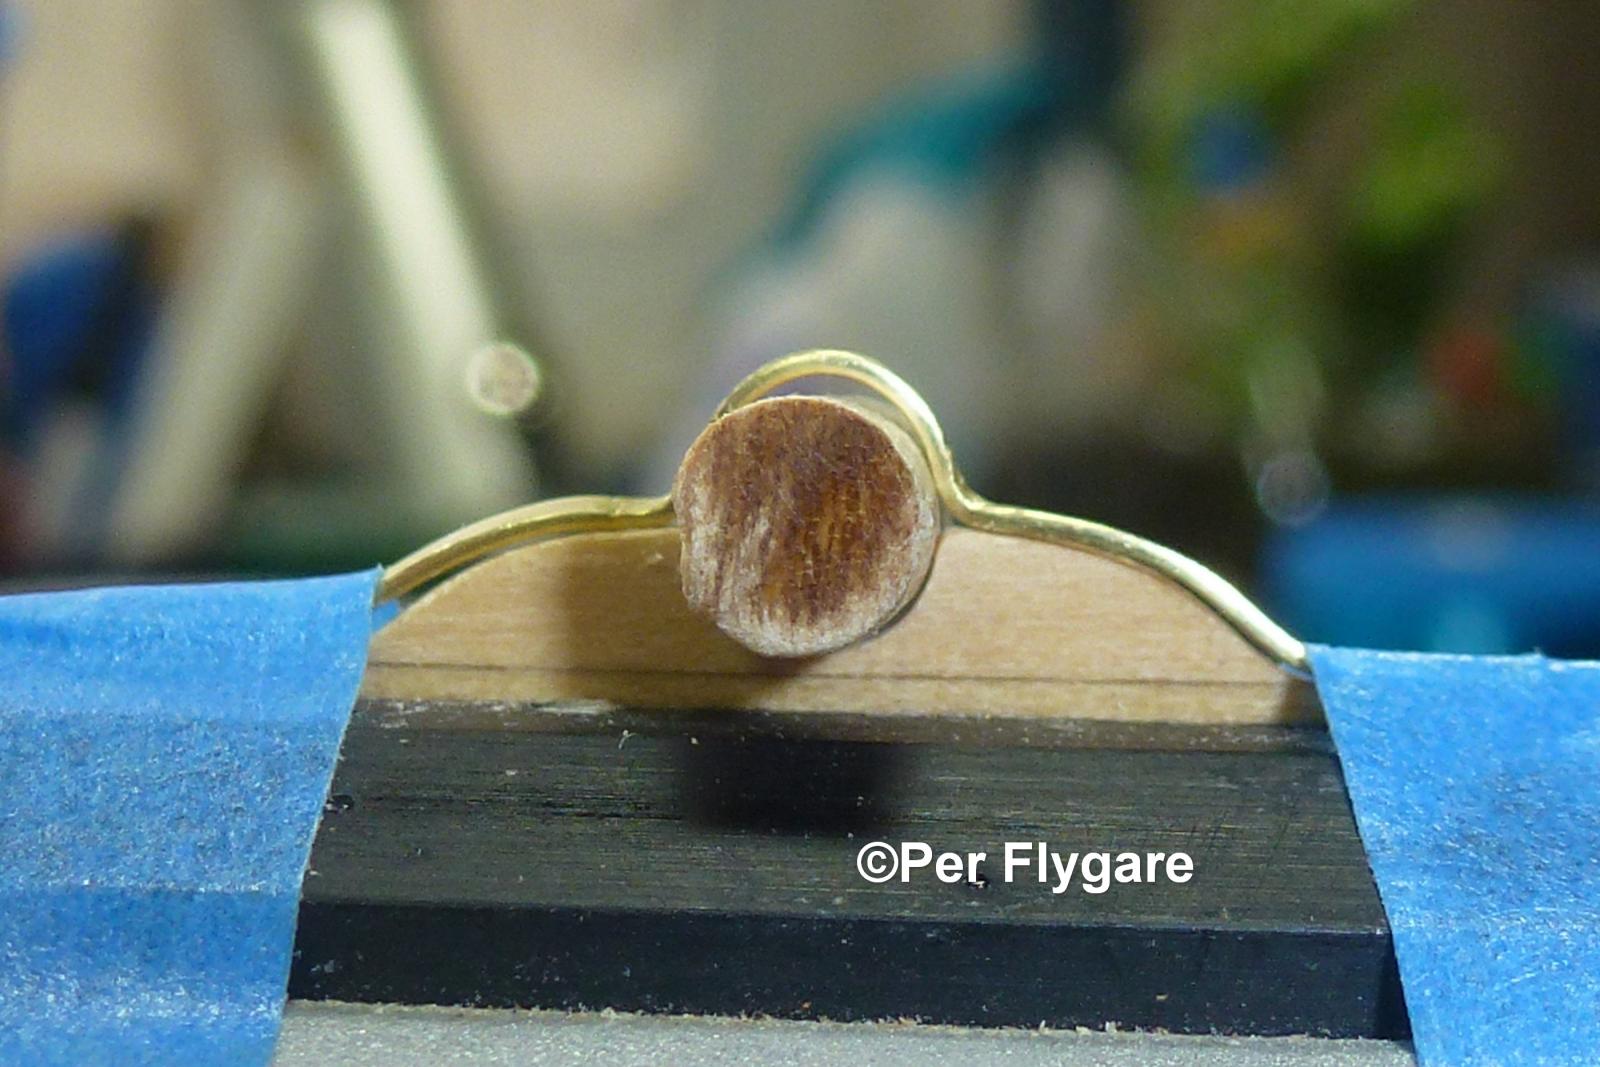
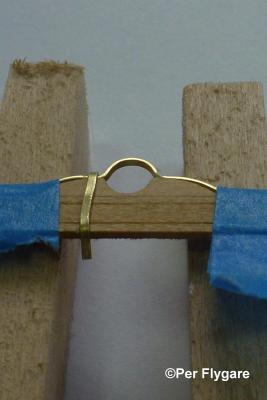
Progress with the mast thwart, I did cut a small piece from the mast material to get the right diameter. Thereafter the half circle in the thwart was made along with other side of the "iron ring" (brass).


- 335 replies
-
- 7
-
-
- 18th century longboat
- Finished
- (and 1 more)
-
Found this product thanks to a friend in FB. Glowforge is US company based in Seattle WA! What it seems to me, the machines are made in the USA. Check the machines out, there are three versions of them, starting at USD 1995
-
Wow Erik, Seems like we are at the same point in our builds. Very inspiring. Your longboat looks very nice.
- 222 replies
-
- 5
-
-
- 18th century longboat
- model shipways
- (and 2 more)
-
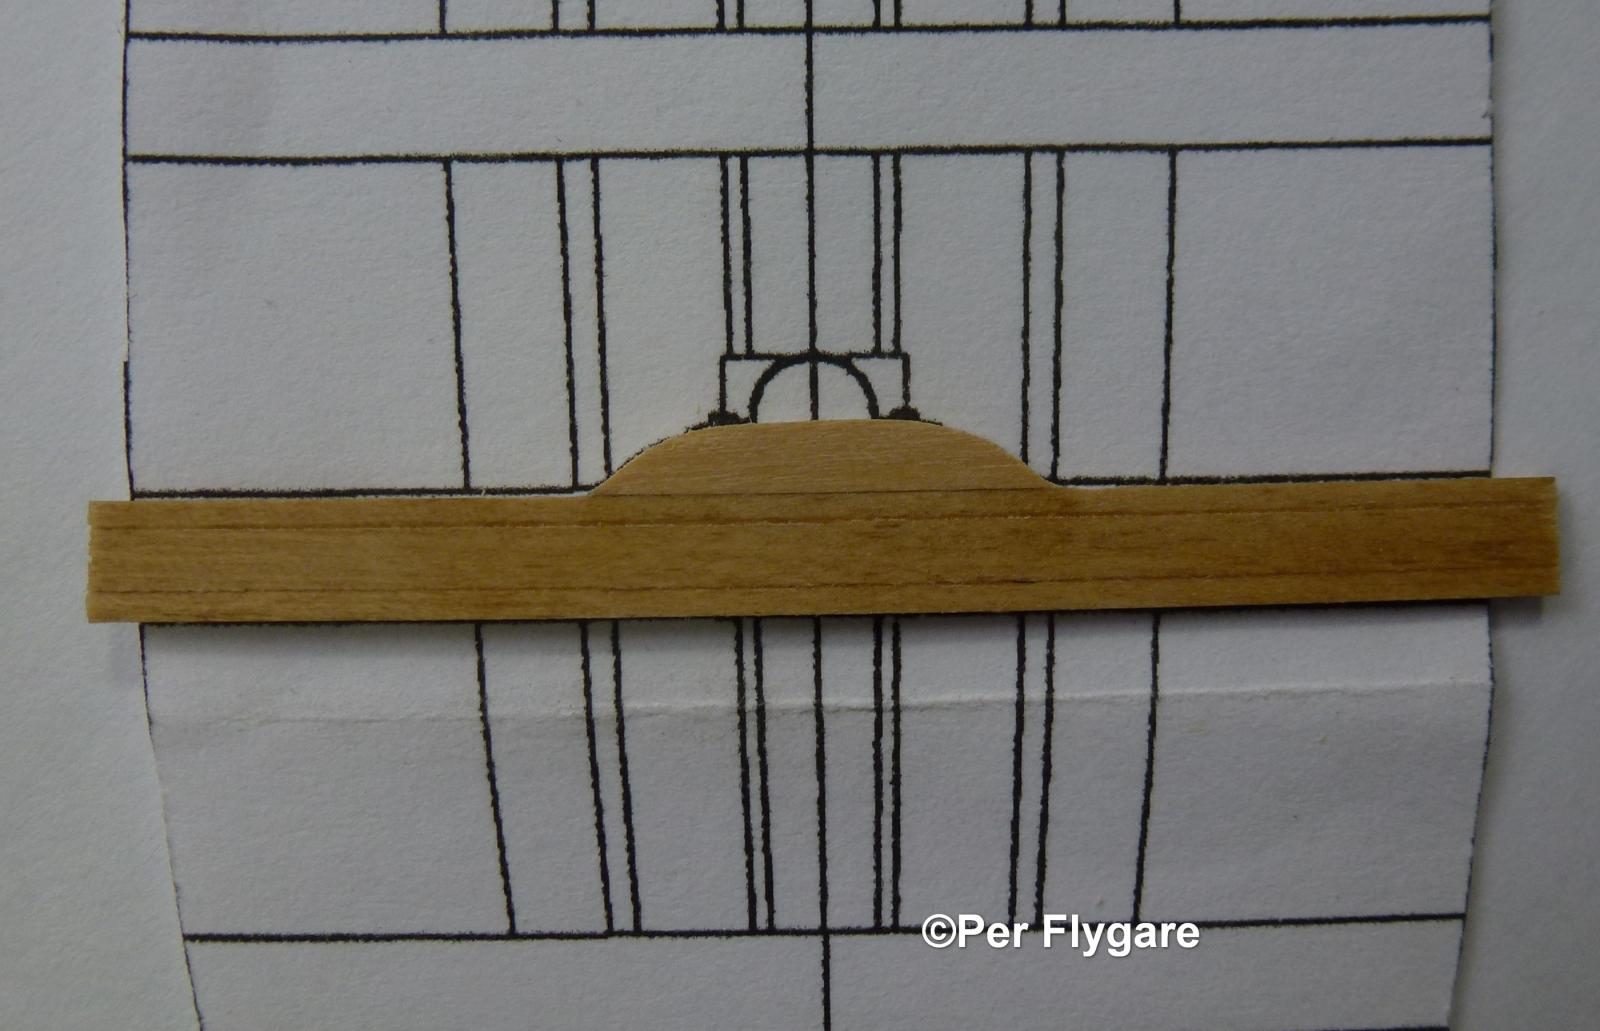
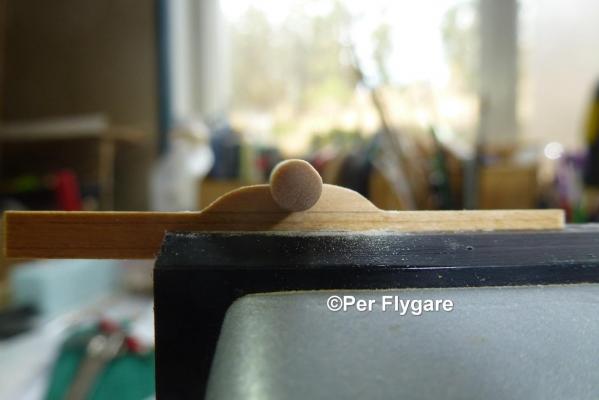
The twart for the mast is being made as per instructions from Chuck, CA glue has become my friend.

- 335 replies
-
- 8
-
-
- 18th century longboat
- Finished
- (and 1 more)
-
I have the MS Bluenose awaiting as next project. During the time I have gattered a library of various books and practicums related to her. I have extra wood for her as well from Jeff (HobbyMill), blocks and rigging line from Chuck - Syren Ship Model Company. One book I can recommend, which can be to help is Frank Mastini's book Ship Modeling Simplified. A book very much based around the Bluenose. Good luck which ever you choose.
-
Okay, Here is a link to the newspaper (in Swedish) along with pictures and video from the found. Solen It has also been confirmed from The Swedish Maritime Museum this is the ship.
-
Yesterday (Wednesday), another Swedish ship from 17th century was found. This time at a depth of 6m (about 18t). She is slightly bigger than Wasa with 66 cannons. Her name is Solen (the Sun), built in Lubeck 1669, sunk 1694. Armament: 16x24 pounder 8x18 pounder 24x12 pounder 2x8 pounder 14x6 pounder 2x4 pounder 4x3 pounder Length: 45meter Width:12 meter
- 10 replies
-
- 15
-
-
- 17th century
- 66 cannons
- (and 1 more)
-
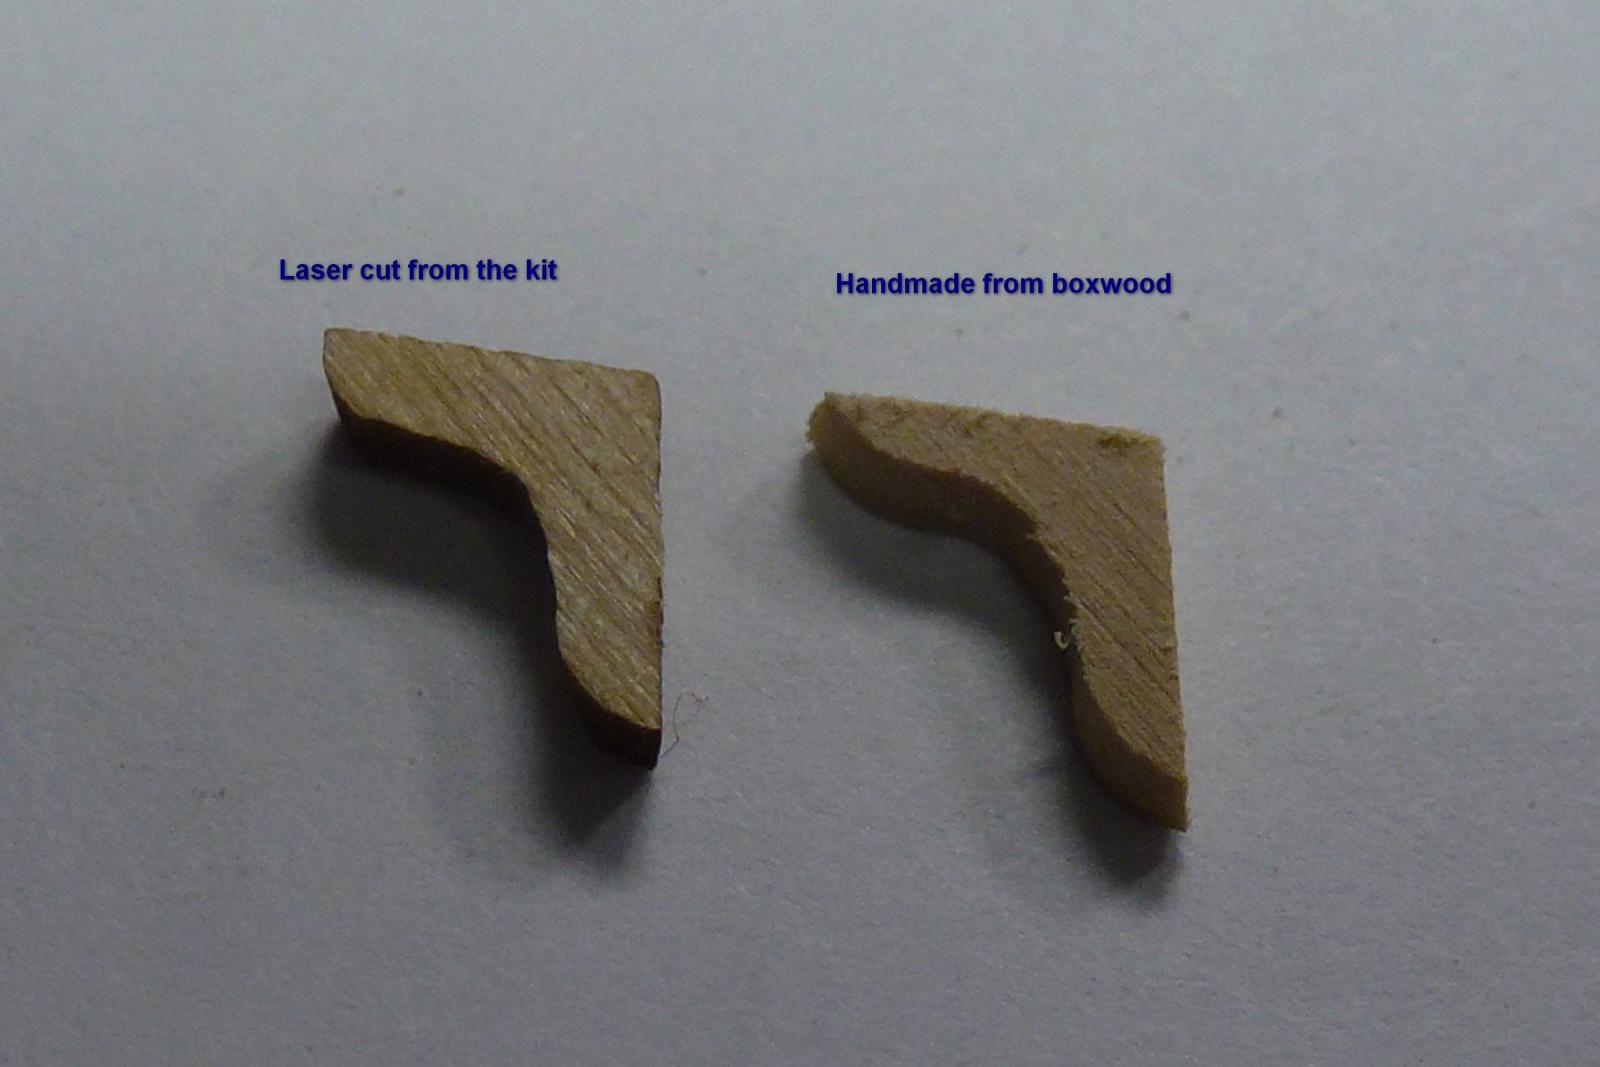
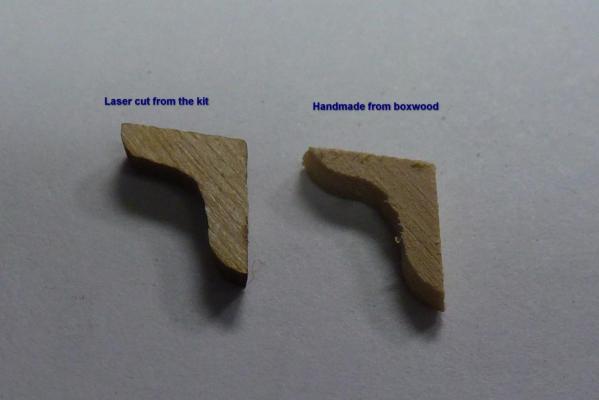
Again, I am trying to figure out whether to go painted or au natural. As above the piece from the kit but painted and 50/50 varnish on the boxwood. Leaning towards the painted in order to get some contrast, but the natural looks good too........ HELP! Maybe doing two sets and then take it from there......hmmmm
- 335 replies
-
- 5
-
-
- 18th century longboat
- Finished
- (and 1 more)
-
I broke a knee today....... Well at least it wasn't my own knee, but one for the longboat. This resulted I made one more before realizing Chuck already had made sure of two extra from the laser cut board. However, take a look at this I am more than pleased how the boxwood knee turned out. Now I am wondering if I should do all six of them in boxwood. On the other hand if they are to be painted then it won't matter but if I leave them natural then I should do it?!
- 335 replies
-
- 6
-
-
- 18th century longboat
- Finished
- (and 1 more)
-
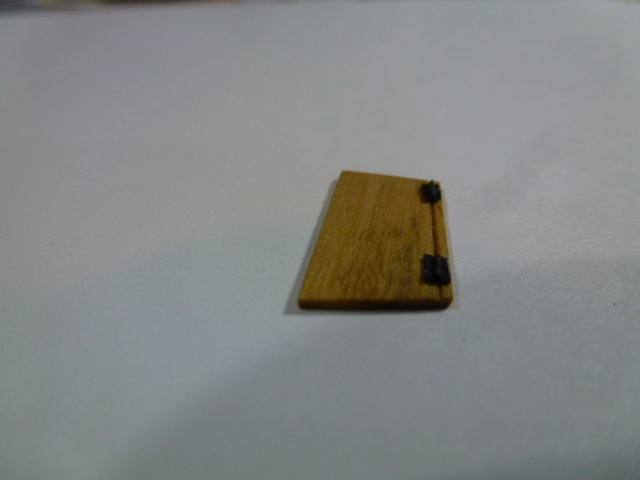
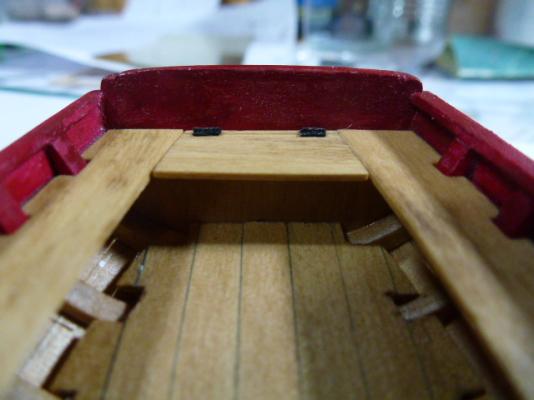
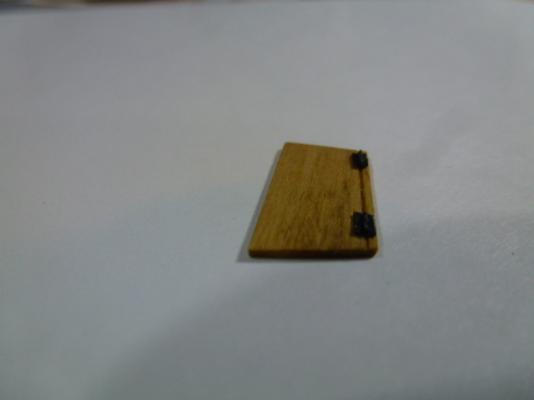
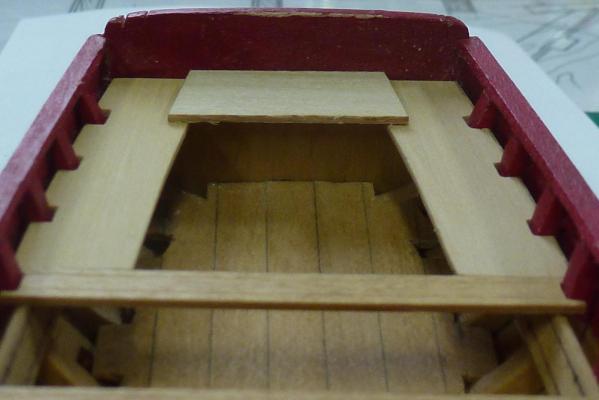
Locker with hinges in place but not glued.
- 335 replies
-
- 10
-
-
- 18th century longboat
- Finished
- (and 1 more)
-
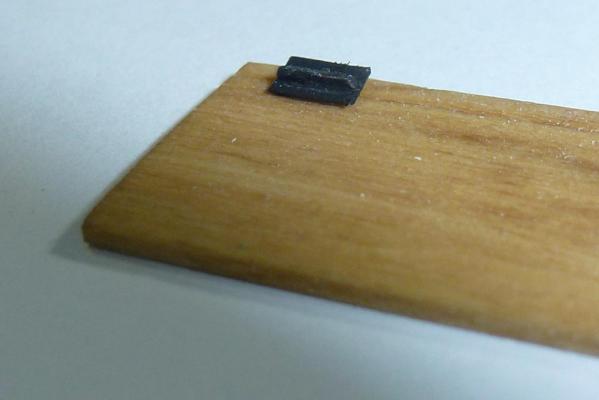
The hinges are made and in place. They turned out the way I wanted them. Working with the 110gram paper was quite an easy approach. I have decided not to paint the seats. Looking at the picture it looks like I could have put simulated "going through bolts" in place.
- 335 replies
-
- 6
-
-
- 18th century longboat
- Finished
- (and 1 more)
-
Mike, I would hang it on the wall in the workshop, as decoration. Our workshops should have a nautical theme.
- 100 replies
-
- 6
-
-
- model shipways
- 18th century longboat
- (and 1 more)
-
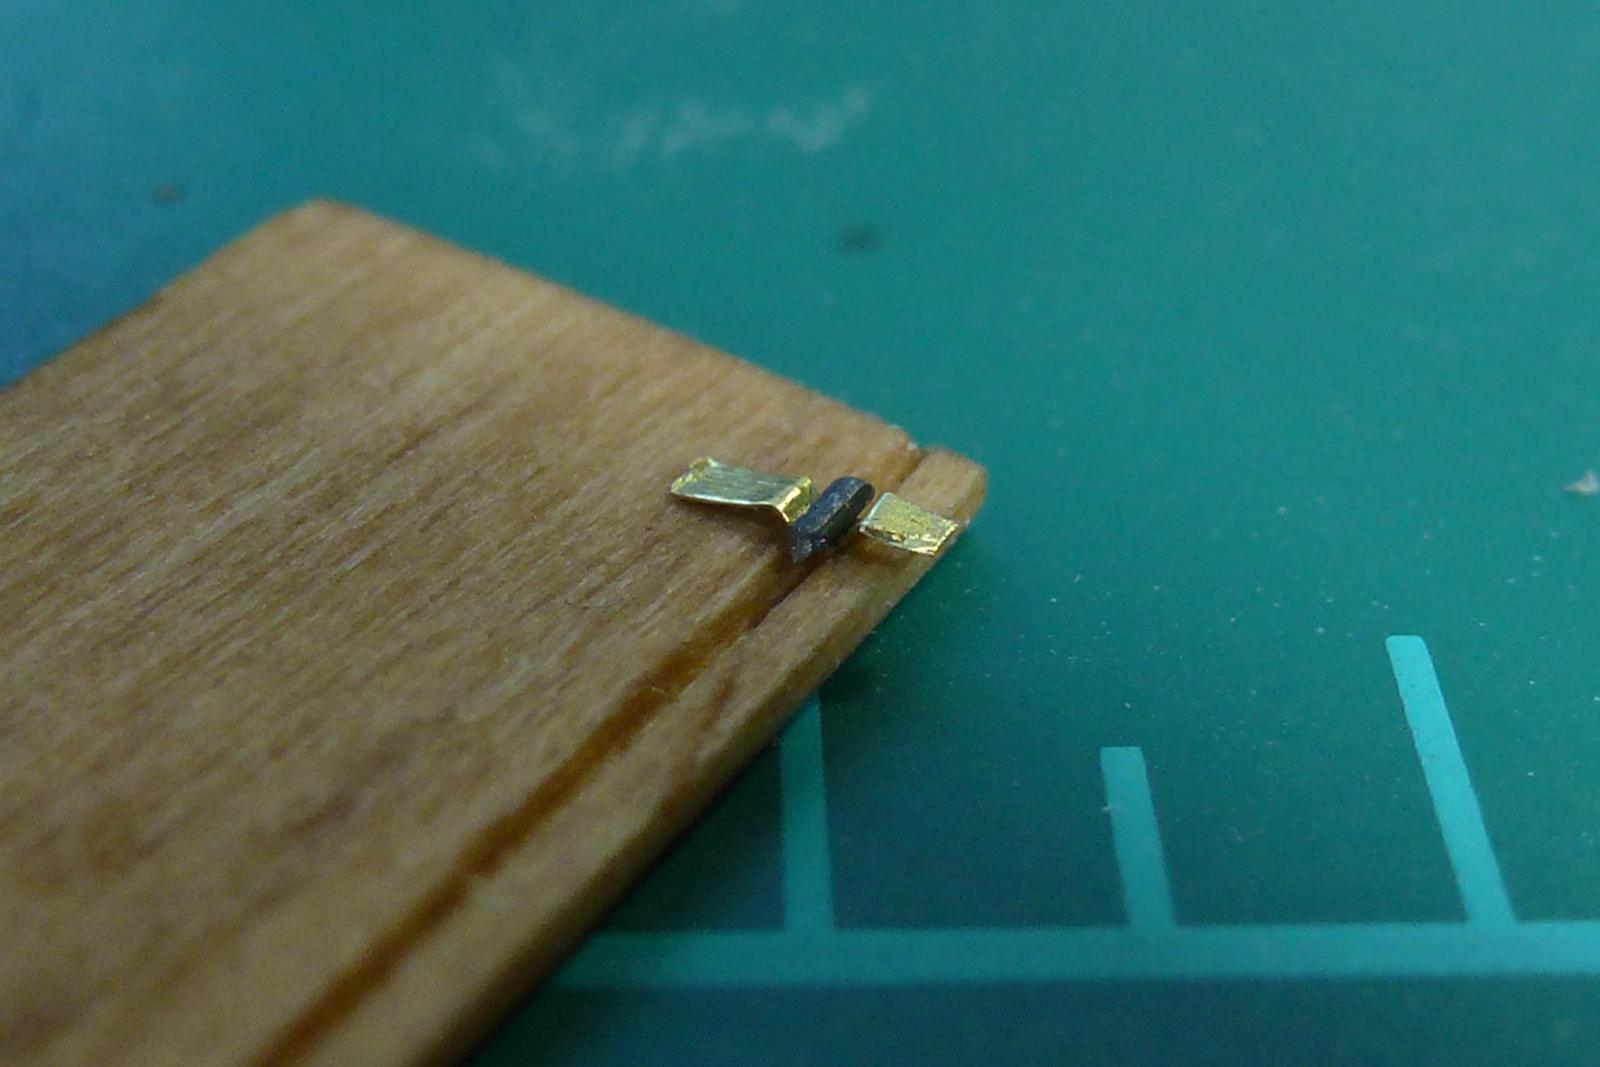
I still don't know whether to go with natural or painted cockpit. After some experimenting the hinge in the last picture is a 110gram papercard with the 28 gauge black wire from the kit. I did a trial with brass but I didn't like it. I like this version better.
- 335 replies
-
- 7
-
-
- 18th century longboat
- Finished
- (and 1 more)
-
Dave, As I follow this build log, I thank you for this input as next one is the Bluenose.
-
Charlene, for first planking not bad at all. I think Jerry forgot to mention one thing to you, that is bevelling the frames before planking. He should know
-
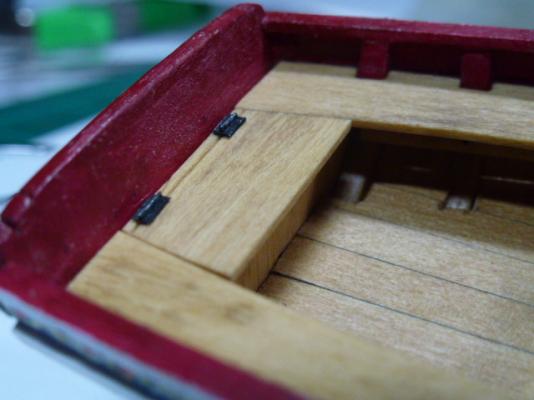
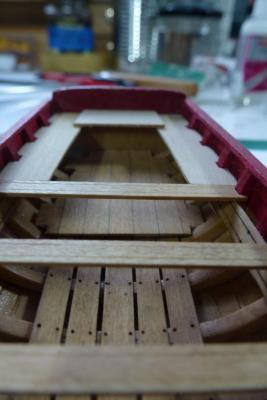
Well I don't know but with the 50/50 varnish the seats turns out fair.
- 335 replies
-
- 10
-
-
- 18th century longboat
- Finished
- (and 1 more)
-
Mark, I don't what to say..... but Thank You. As for the photos I am using a 5 year old 8mb pixel Panasonic Lumix camera. No macro lense is being used. No photoshop or editing has been taking place either. I feel that the details of mine should be better.
- 335 replies
-
- 3
-
-
- 18th century longboat
- Finished
- (and 1 more)
-
MRJG, That's a lot of money into paint. And then your building area that is immaculate clean. Looking very good!
-
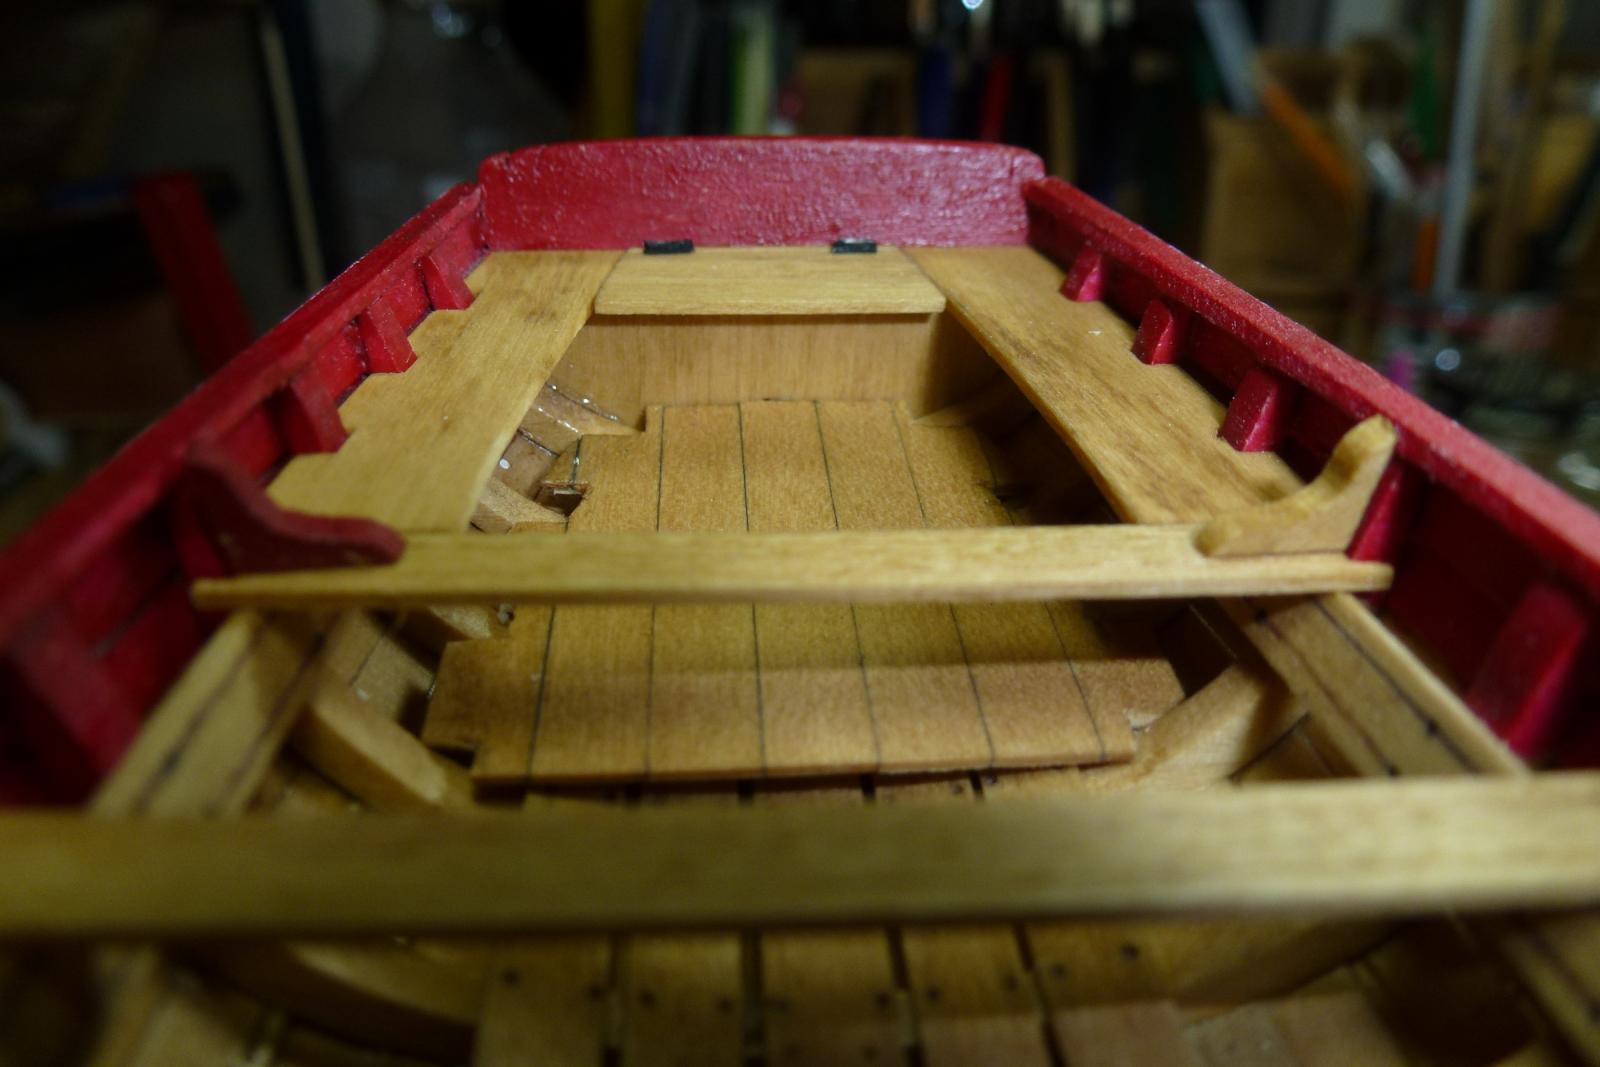
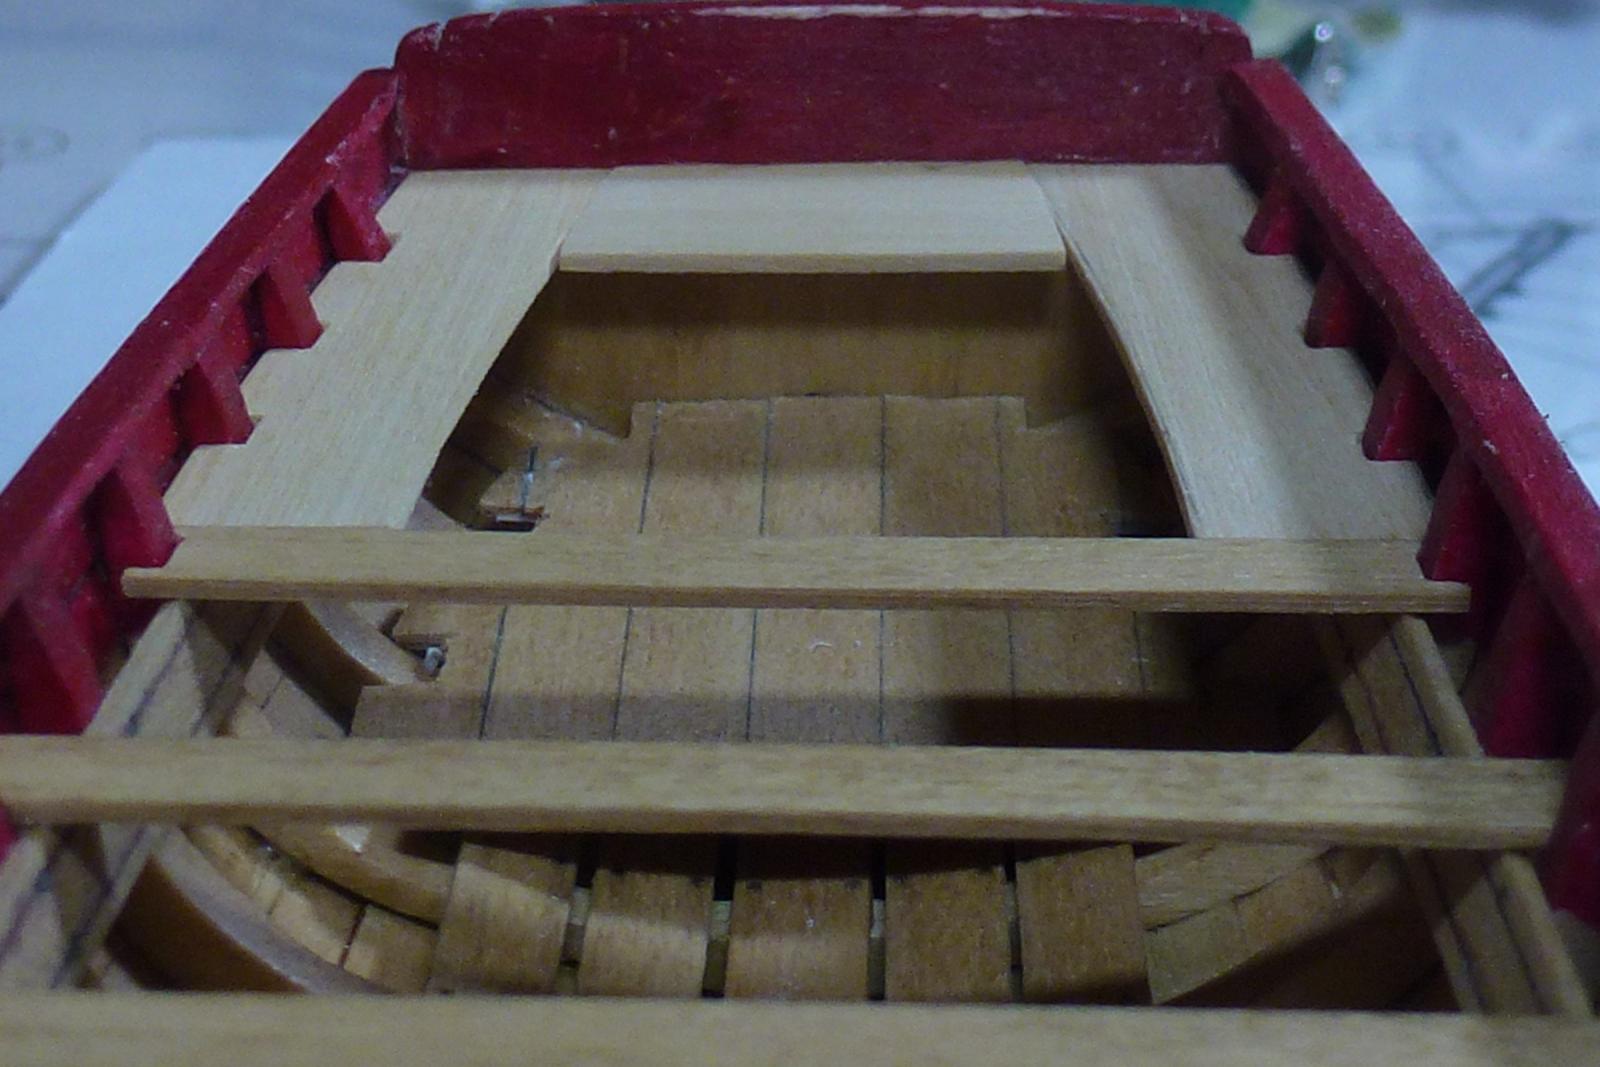
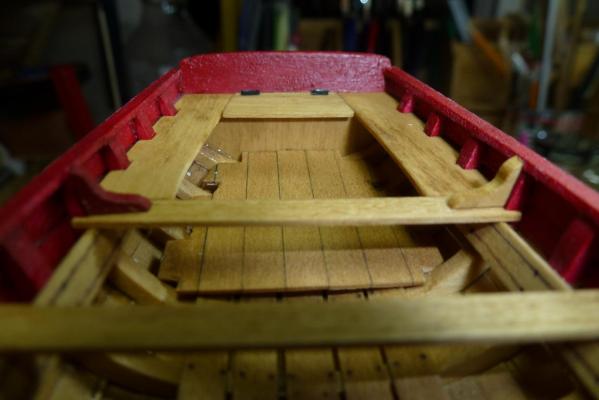
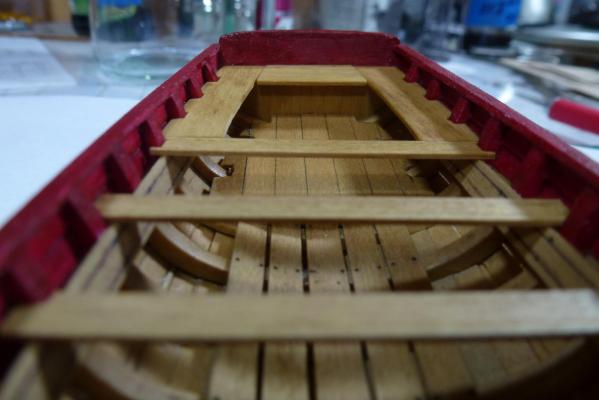
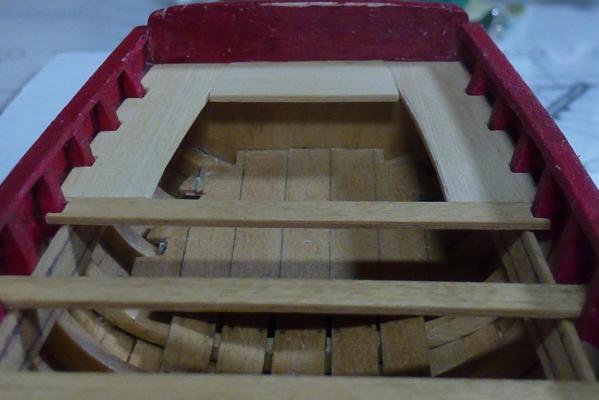
With some trimming I feel the seats are in my comfort zone. I am not to do the locker parts as per instructions. It will all be one and a solid part, hopefully I will pull this off.
- 335 replies
-
- 8
-
-
- 18th century longboat
- Finished
- (and 1 more)
-
MRJG, A warm it's been awhile since a new build log of this amazing kit has been presented. Btw, have you bought the whole paint collection of Testors?
-
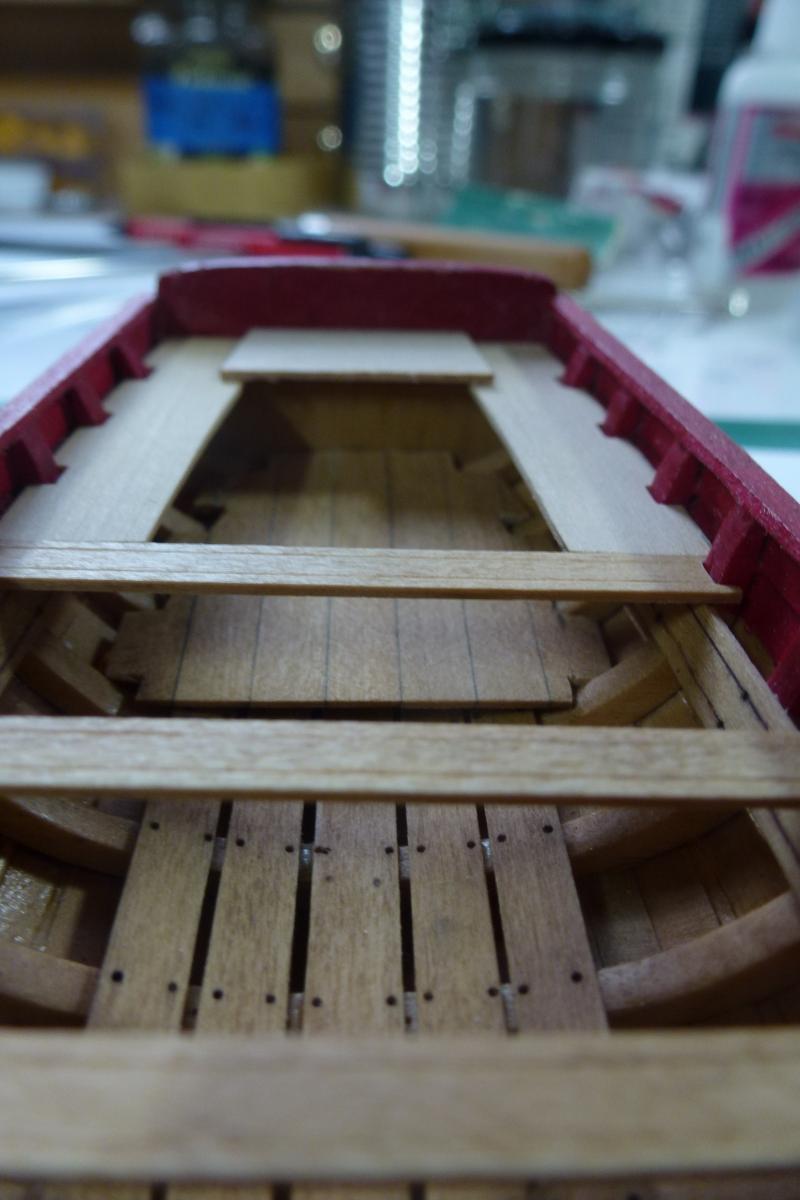
The cockpit is under construction. Again I am using boxwood instead of the provided material from the kit. The seats are wider, as per instructions from Chuck and will be slightly trimmed. Using the locker part as guide I have an idea how much to trim. Gee, photos are more revealing than you think....
- 335 replies
-
- 6
-
-
- 18th century longboat
- Finished
- (and 1 more)