HOLIDAY DONATION DRIVE - SUPPORT MSW - DO YOUR PART TO KEEP THIS GREAT FORUM GOING! (89 donations so far out of 49,000 members - C'mon guys!)
×


Nirvana
-
Posts
5,451 -
Joined
-
Last visited
Content Type
Profiles
Forums
Gallery
Events
Everything posted by Nirvana
-
 Charlene, Seems like the 8th grader are holding you back from modeling (ship, that is). Here is a suggestion. You take along what small project that is in need to be done for the Bounty, now in order to keep the kids from bothering you have them to read the story of the Bounty. It's a win win situation......
 -
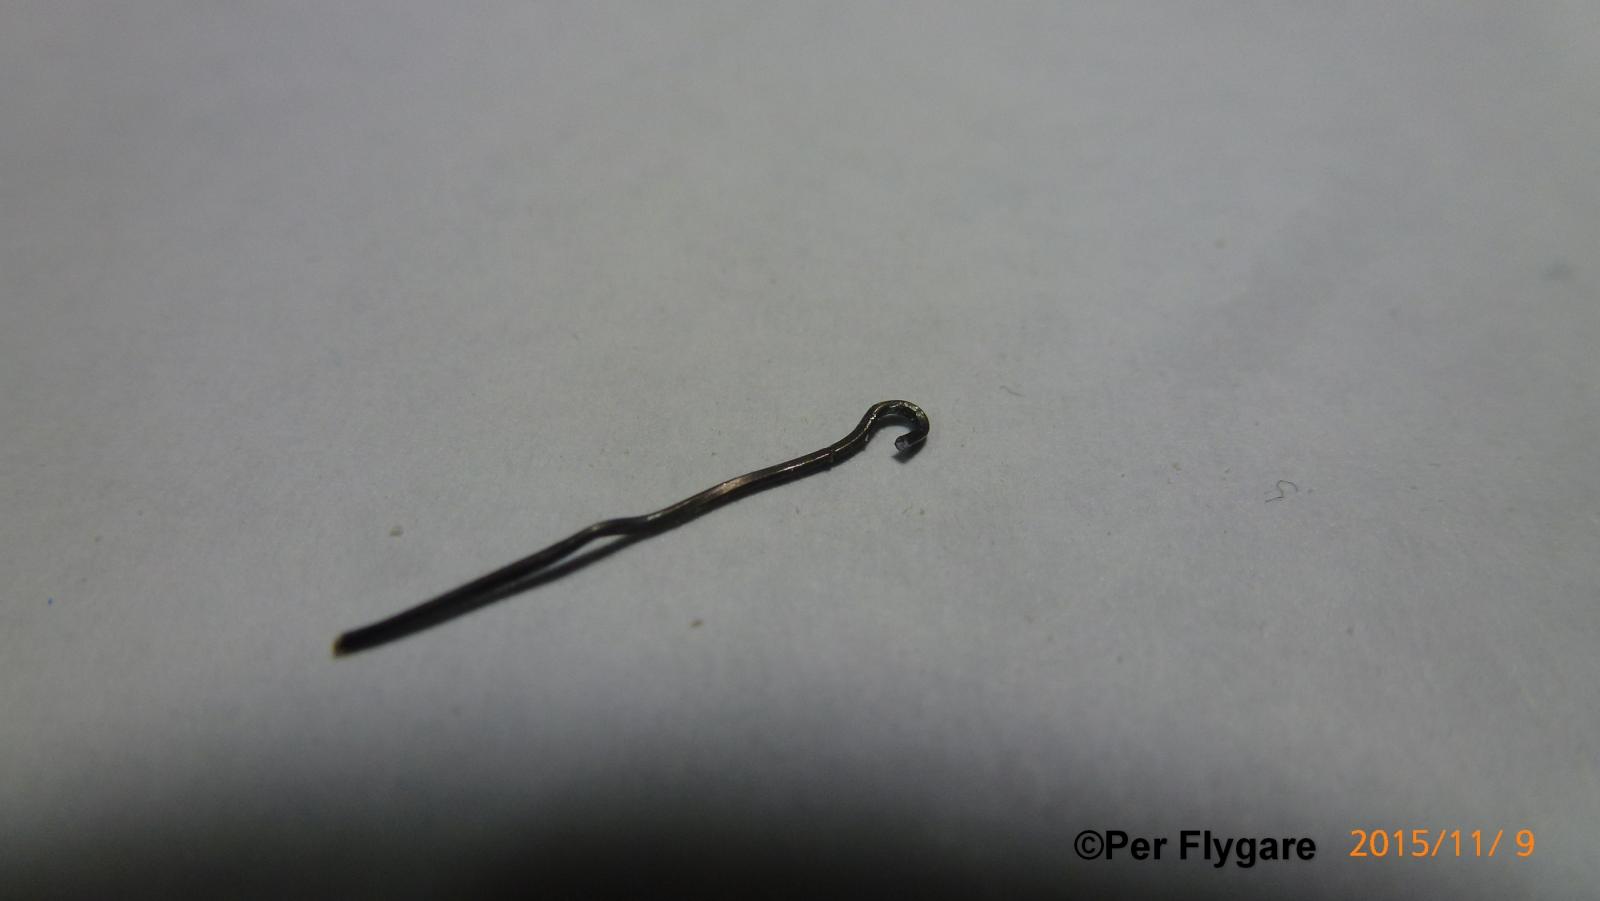
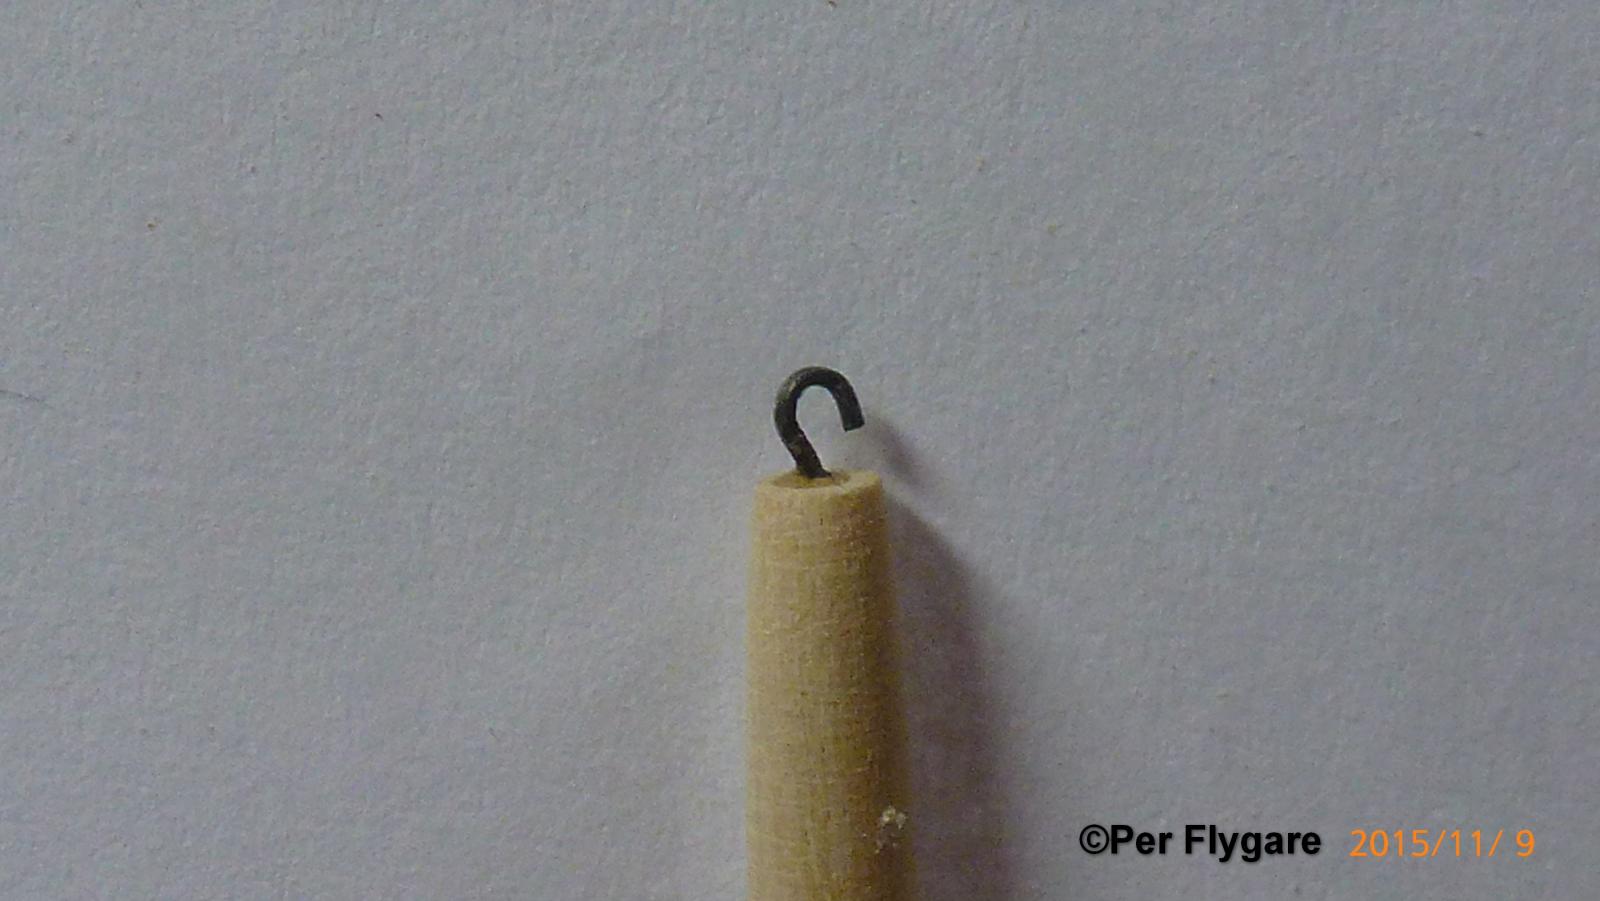
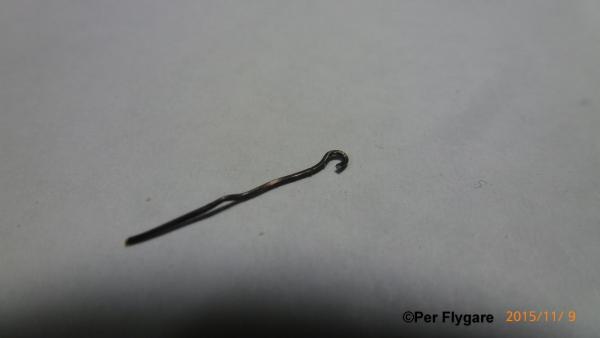
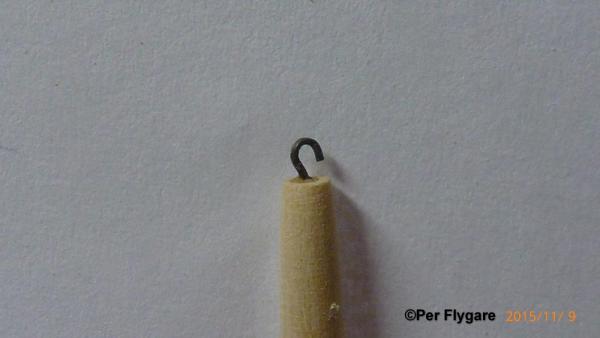
Production of booms and mast has been going on all throughtout the afternoon. Making the hook for the boom was a little tricky and two of them disappeared, the third remained and turned out best as well. And the hook installed in the boom.
- 335 replies
-
- 11
-

-
- 18th century longboat
- Finished
- (and 1 more)
-
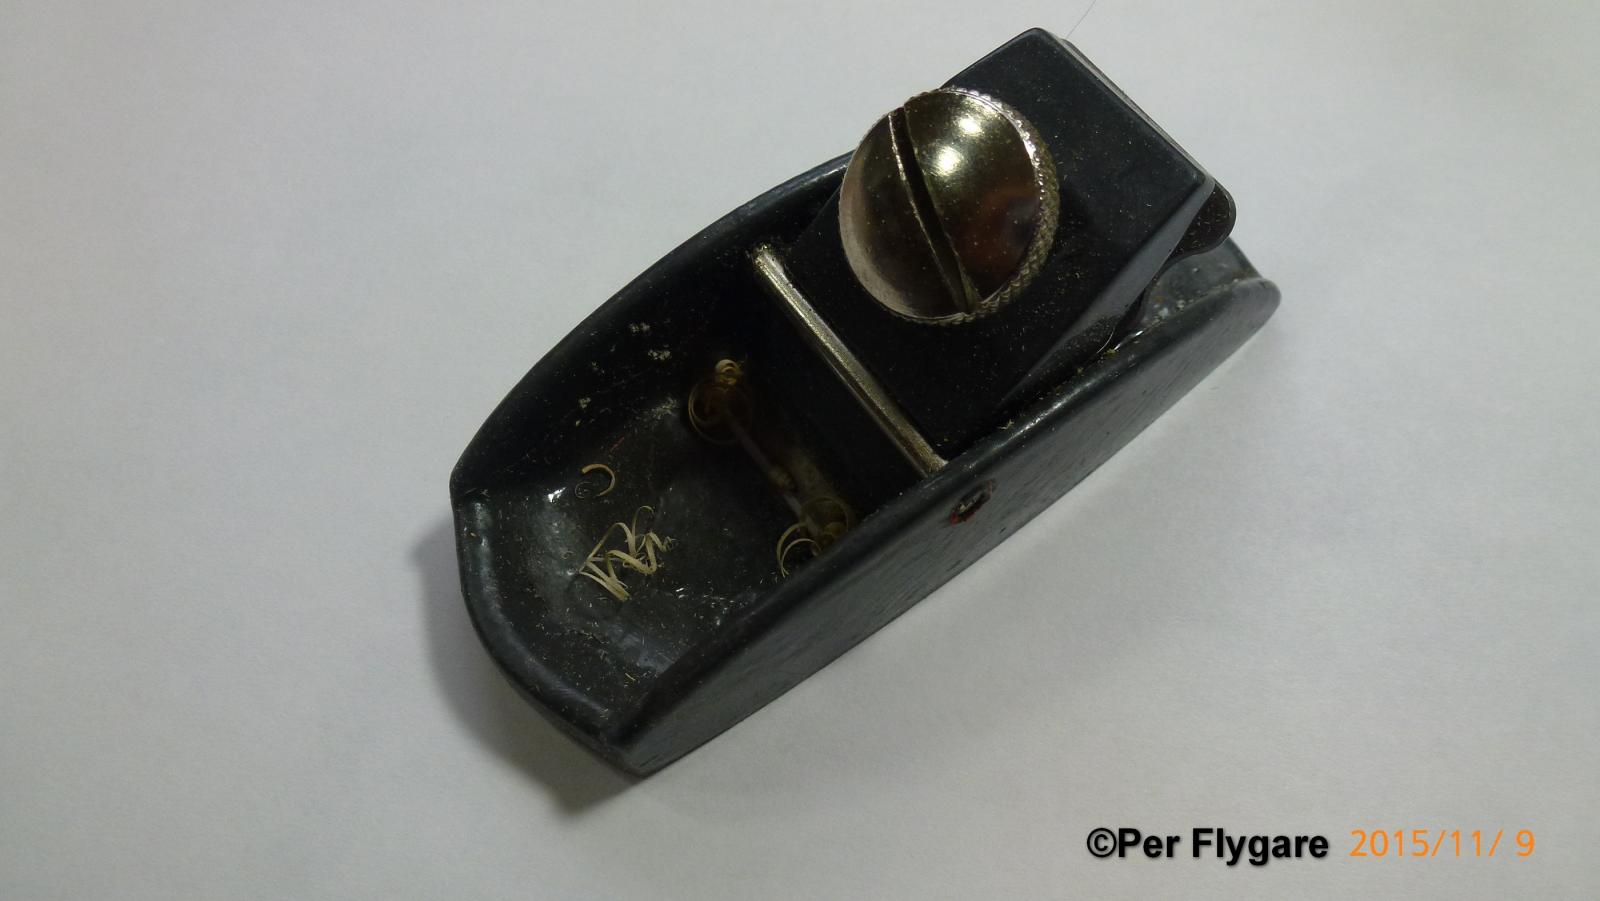
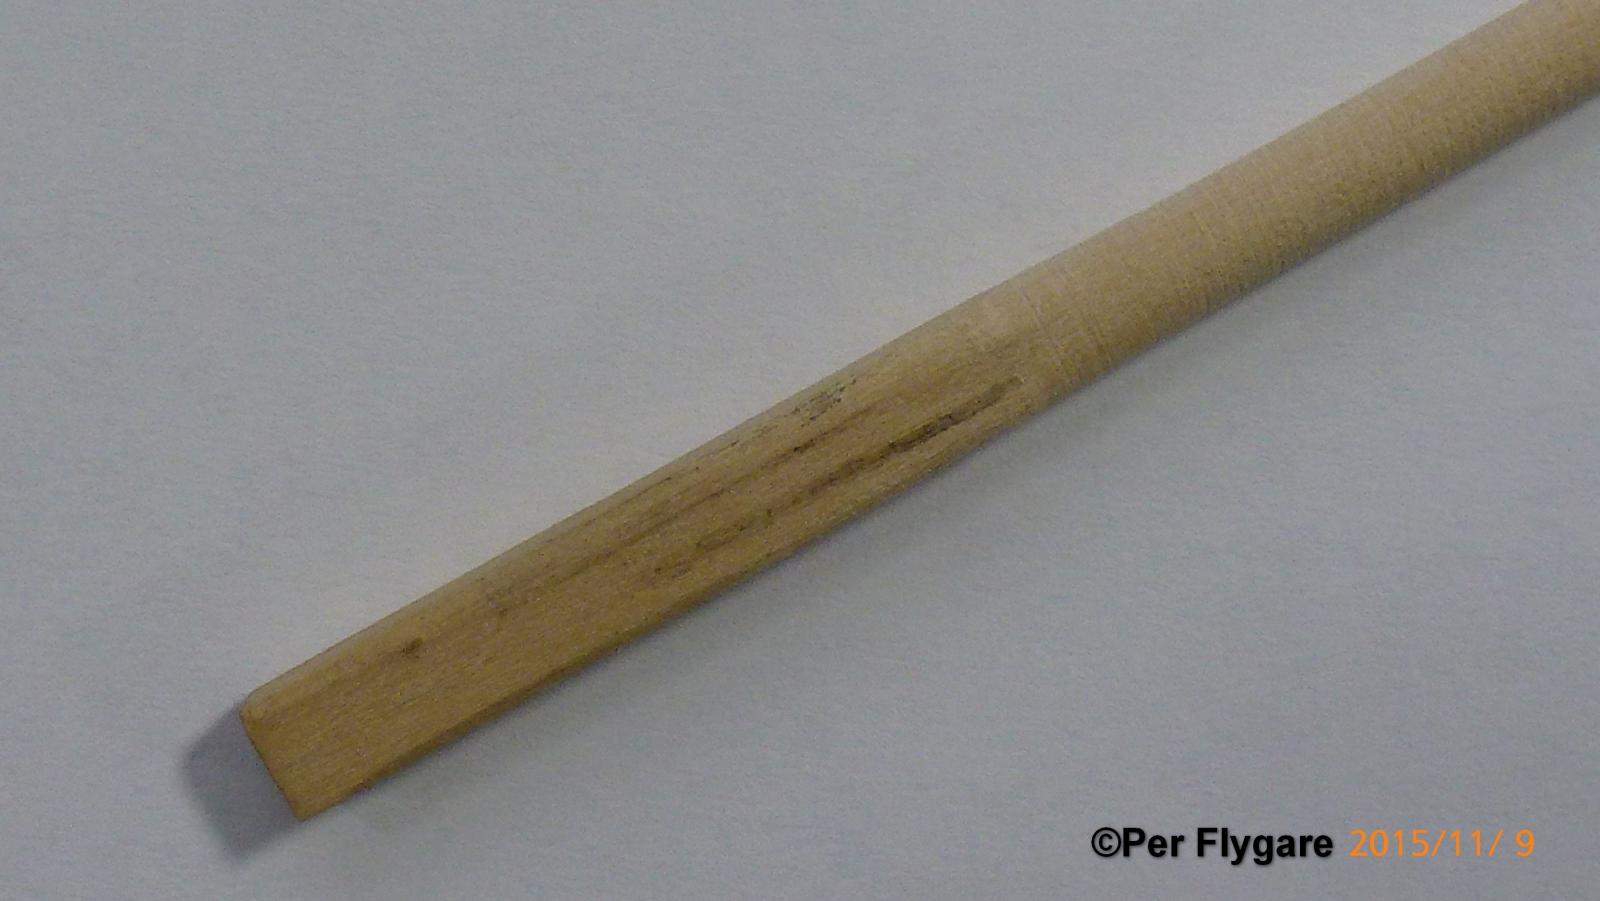
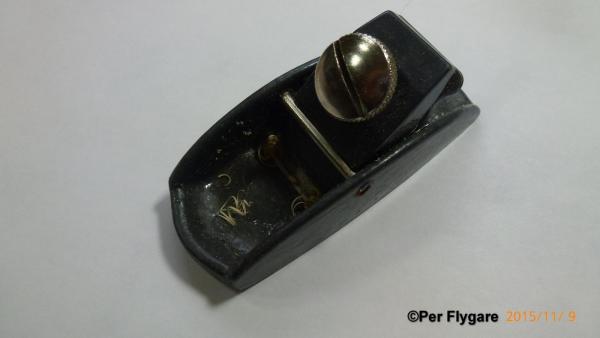
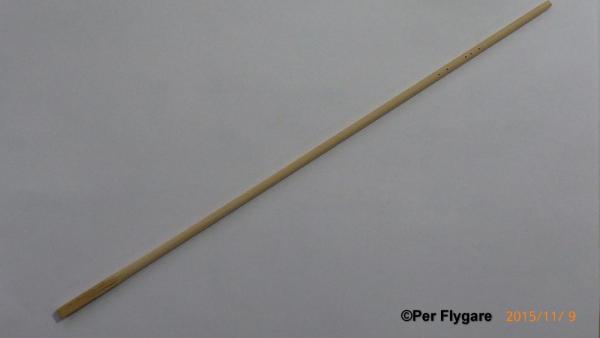
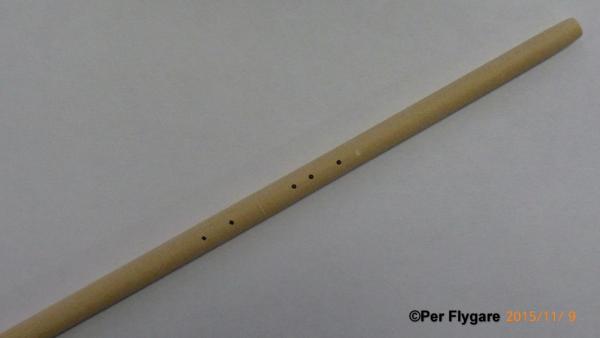
The mast is under "shaping" I used the 5/32 x 5/32"" Boxwood from HobbyMill and got going. The boxwood is so much more dense and harder than the kit wood. So it's little more forgiving and takes a little more time to work. The first thing I did was to measure and drill the holes for the sheaves in the upper part of the mast. After that I took out my little planer that I brought back from Sweden last summer. This giving the square an octagon shape. After that I placed the material in my power drill and gently starting with a 120 grit paper taking it down to the right dimension.

- 335 replies
-
- 9
-
-
- 18th century longboat
- Finished
- (and 1 more)
-
Mario, Thank you for the correction regarding location. I don't know where I saw Irvine in connection with Vanda-Lay.
- 19 replies
-
- 2
-
-
- VandaLay
- Industries
- (and 6 more)
-
I appreciate the apologies and accept them. No hard feelings taken, but I was hoping we could stick to topics. Let us leave this behind and move forward. For all others that hasn't tried the tools available, now it's time to try them out. This is what America was based on, small businesses creating a small new area for enthusiast just like us. We can complain about prices that is in general, but go ahead and try to make the same tool for yourself, the trial and error and material will cost you more than buying it from someone who already has a great idea and a product to use. Clare this one is for you They still have the tree-nailing tool. Does it work good? I am truly curious about it and is it a time saver? What about various tree-nail sizes? And yes, I like the Seinfeld series too..... Funny for the part of it - There is a Vandelay Industry company...... and they are into printing and screening Back to modeling - ship modeling that is!
- 19 replies
-
- 5
-
-
- VandaLay
- Industries
- (and 6 more)
-
Thanks to John, one of our great moderators I decided to - I will do another review for the other product hoping not to get the same "stupid replies" . The funny tunes belongs in another topic.
- 19 replies
-
- 3
-
-
- VandaLay
- Industries
- (and 6 more)
-
The replies for the tool review I just done made me re-considering doing another review. This company is real and is trying real hard to establish themselves on a tough market. I didn't expected these kinds of replies and it make me sad. Thanks guys
- 19 replies
-
- 3
-
-
- VandaLay
- Industries
- (and 6 more)
-
Mike, did you inserted a pin at the end of the mast for the mast step? I have made the mast step piece to be attached inside of the boat. It has a tiny hole so maybe a pin is better than trying to shape the mast?!
- 100 replies
-
- 2
-
-
- model shipways
- 18th century longboat
- (and 1 more)
-
Don't confuse Vanda-Lay industries with Vandelay industries, two completely different things.
- 19 replies
-
- 3
-
-
- VandaLay
- Industries
- (and 6 more)
-
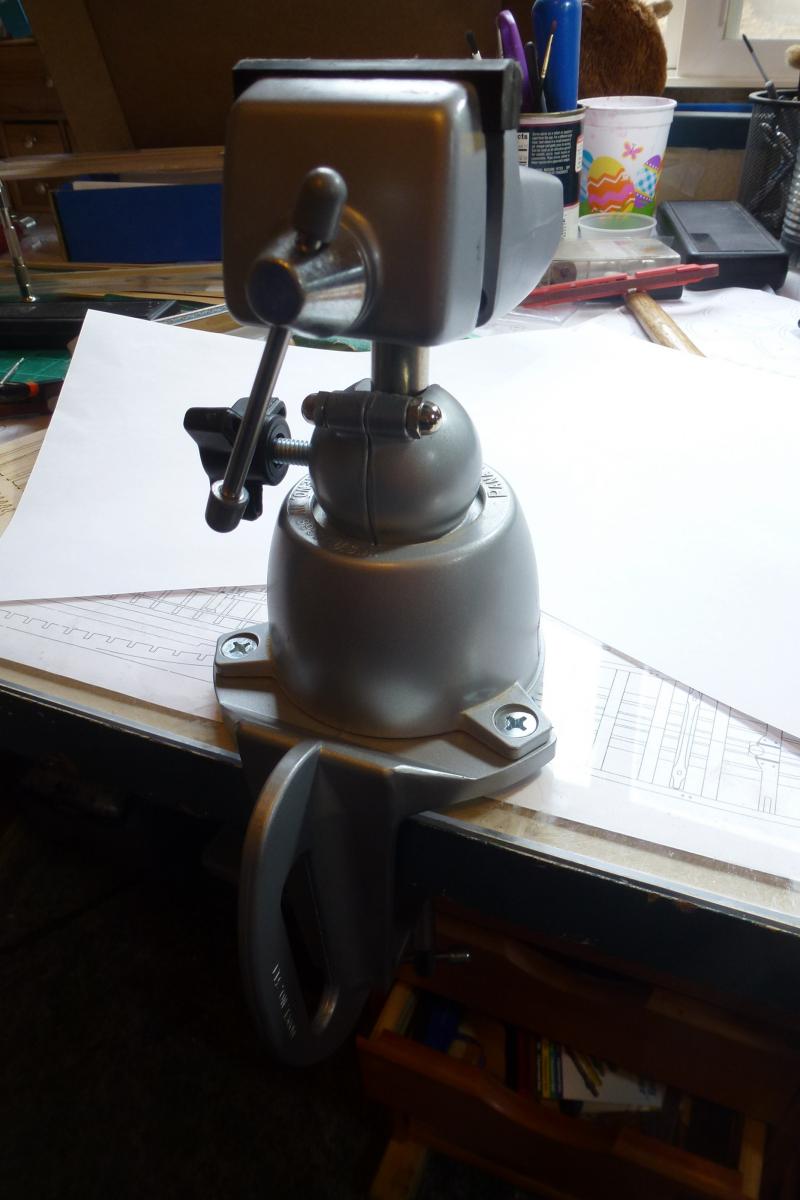
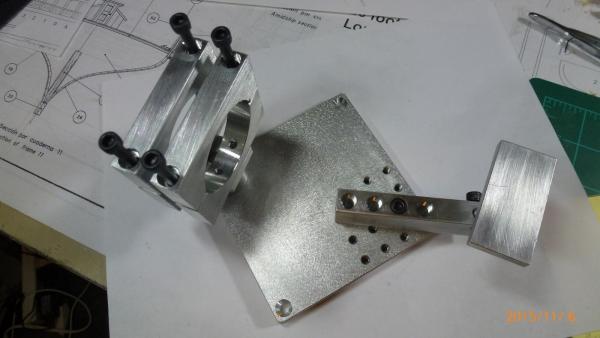
This review and introduction of the VandaLay Industries - product Hold it Plus - is from a pure personal point of view and not related to the company. I bought this along with another tool that will be reviewed as well. Vanda Lay is located in Irvine, California and is a small family business. I was impressed by the courtliness of the owner himself when he answered the phone and I realized I had caught him on personal time, together with his wife they were on their way to get one of their kids. He took time with me and the order over the phone, excusing that one (this particular unit) was not complete for direct shipping. He said probably by Friday he had time to do something about it. As I was not in any rush to get the " Hold it Plus" I was very surprised receiving my whole order five days later!! That's including shipping. The bottom holding piece is cnc'd from heavy aluminium, other pieces of aluminum is very lightweight and I am suspecting it is T-1011 (aircraft aluminium). All the pieces fits perfectly together. The assembly is easy even without instructions. It is very straight forward. Think "Bottom plate and work upwards." One of the areas that are need of Loctite is the assembly of the drill frame. Here the Loctite Threadlocker Blue 242 is a good choice. It holds and locks but still when needed easily broken. One locking screw seems to be missing, both in pictures from the company itself but also not part of the "kit" The locking screw I am looking for is for the swivel base of the drill. Most mini drill i.e Dremel, Proxxon and more are supposed to fit with the "Multi fit clamp" Here I would recommend adding some kind of padding, both for more even tension but also for not get any marking on your power tool. I have the Dremel XPR 400 the most powerful of the Dremels, when turning it on , even without the padding there were no vibrations. On the other hand, here is where I would like to see a more model shaped clamp. There is way to much space for the powertool to start wandering off the line of work. I don't think "One Clamp fits all" is the way to go. As for the other tool from this company I am to make a review of I am afraid it will be the same as for the fitting. There are room for improvements. Overall, I do look forward of working with this accessory especially for small part jobs. It is sturdy and will last forever. I am working on creating an instruction for this tool, both assembly wise but also for various work. One area I notice this can be useful is making many belaying pins in a sequence, like a mini lathe.

- 19 replies
-
- 10
-
-
- VandaLay
- Industries
- (and 6 more)
-
Augie, My warmest (because it's cold outside) and happiest birthday wishes to you. You better get well soon as I am also missing your fabulous build log with regular updates. I will have a grogg for you tonight.
- 2,191 replies
-
- 5
-
-
- confederacy
- Model Shipways
- (and 1 more)
-
Wondering if drilling the holes prior shaping would be better.
- 222 replies
-
- 4
-
-
- 18th century longboat
- model shipways
- (and 2 more)
-
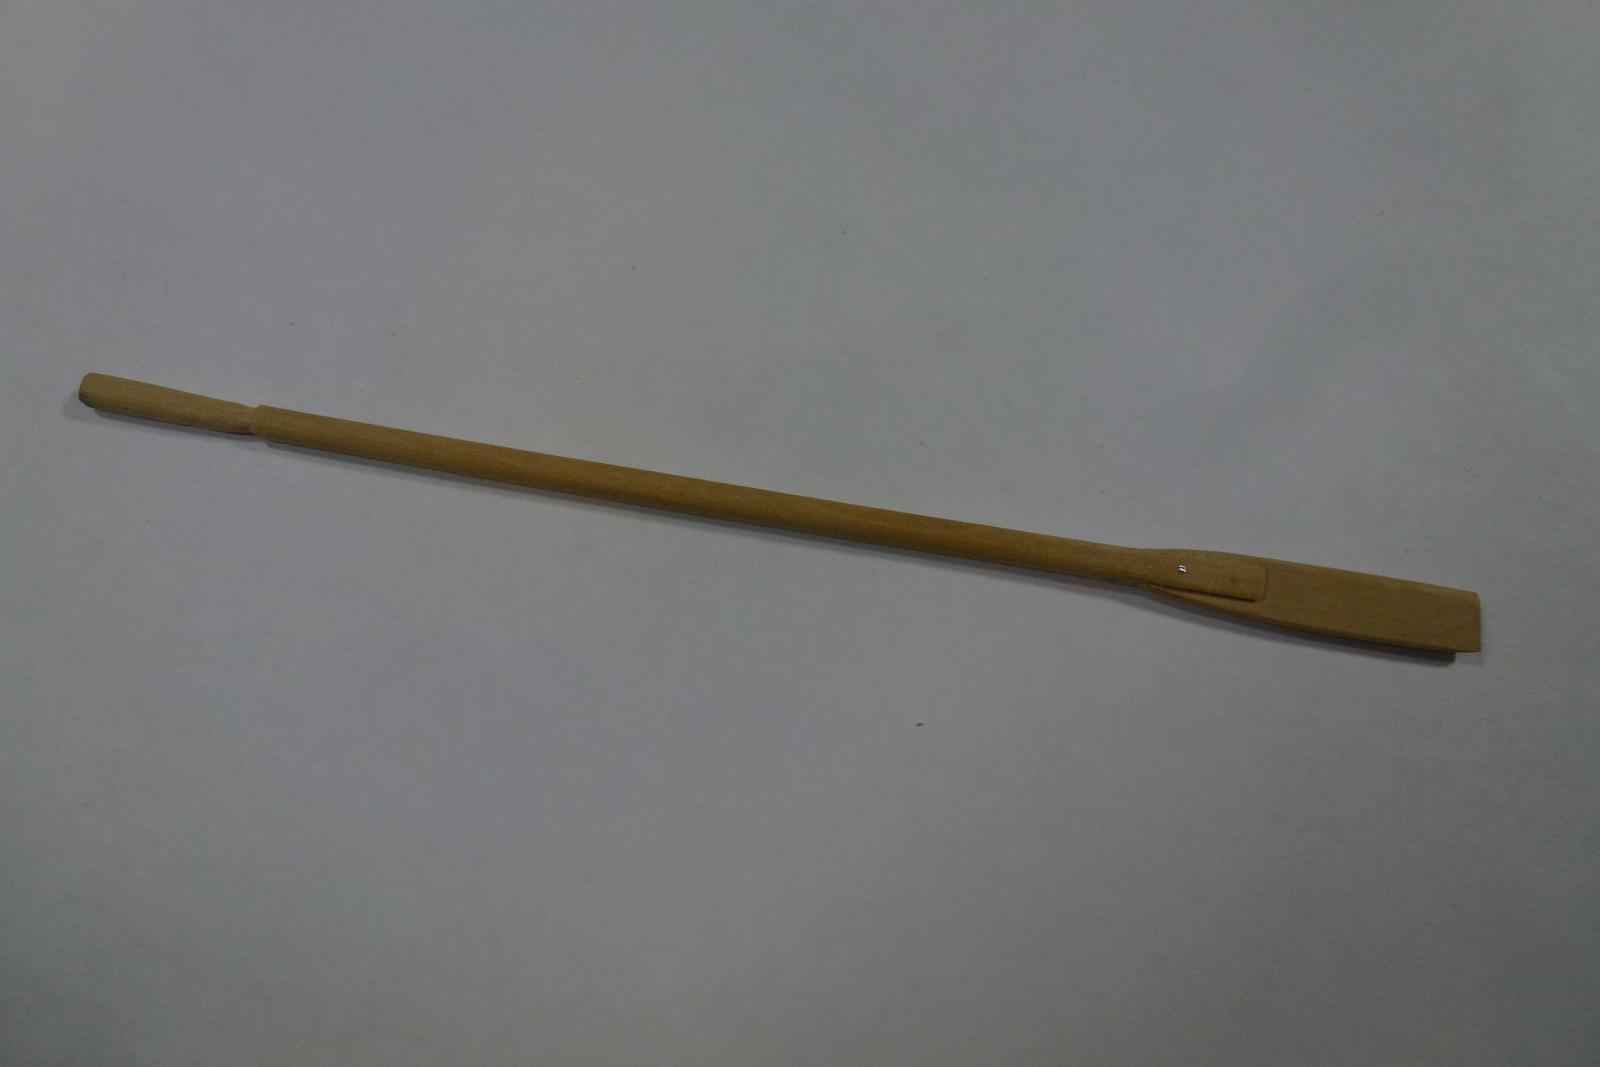
My first attempt making my own oars. This one is from the beginning a 5/32" square boxwood piece with a 1/16" boxwood plank

- 335 replies
-
- 10
-
-
- 18th century longboat
- Finished
- (and 1 more)
-
Erik, I am to use the boxwood which I got from HobbyMill. And it is a square piece which has to become octagon before any rounding and shaping can take place.
- 222 replies
-
- 4
-
-
- 18th century longboat
- model shipways
- (and 2 more)
-
Erik, I like that simple contraption of yours. I am about to do my mast and booms so your idea comes handy because I have been pondering how to taper the masts instead of doing by hand. Thanks for the idea.
- 222 replies
-
- 4
-
-
- 18th century longboat
- model shipways
- (and 2 more)
-
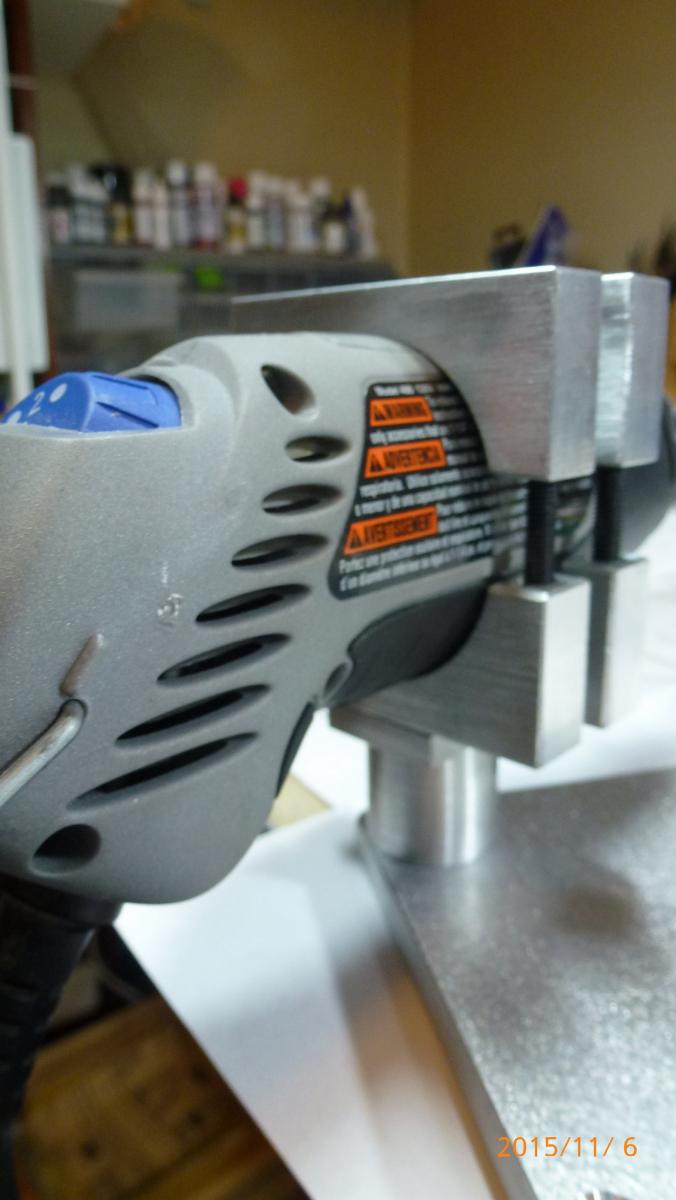
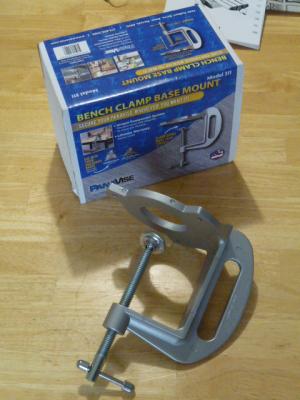
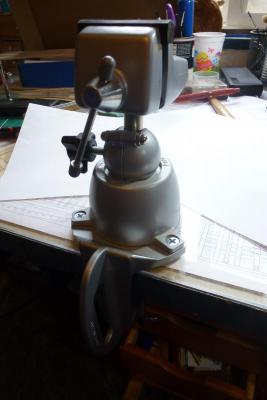
Jazzchip, I would recommend you to look into the brand Panavise. They have several different vises but the best of it they have a variety of clamps or just vacuum base as well. I received the following clamp yesterday and it is doing the job without marring.
-
Joss, Making the belaying pin is not that hard, take it from me. It was the first time doing them for me, please check my build log. A dremel with a chuck, something to hold the Dremel insert the right size square boxwood and as Chuck explained to me "use files to shape" Good luck.
- 33 replies
-
- 2
-
-
- model shipways
- 18th century longboat
- (and 1 more)
-
Augie, We will all be thinking of you for a quick recovery. Btw, your Confederacy looks amazing and your log will help me once the day comes.
- 2,191 replies
-
- 4
-
-
- confederacy
- Model Shipways
- (and 1 more)
-
I am surprised how the boxwood is changing color so quickly being exposed to air. A newly sanded area is so lighter than a sanded area from two hours ago. However, the windlass is now varnished.
- 335 replies
-
- 4
-
-
- 18th century longboat
- Finished
- (and 1 more)
-
Mark, Thank you..... Next step will be the installation of the windlass.
- 335 replies
-
- 2
-
-
- 18th century longboat
- Finished
- (and 1 more)
-
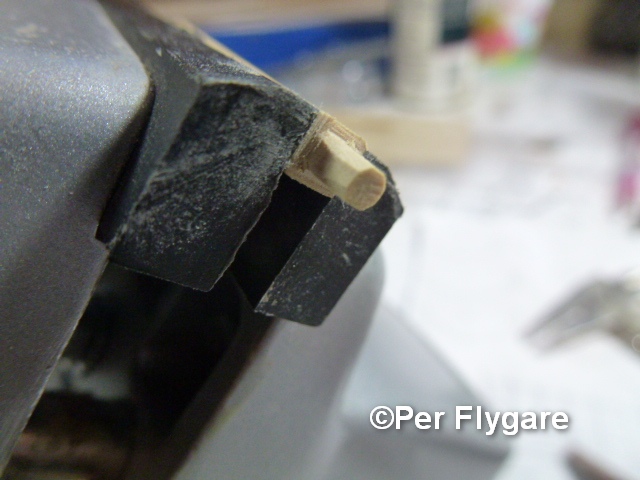
So I decided to go ahead and to have the windlass. I made a made a new windlass even though the "old" one was more than okay. The tricky part was to make octagon ends, these are only 2.5mm or 3/32" wide.

- 335 replies
-
- 7
-
-
- 18th century longboat
- Finished
- (and 1 more)
-
Allan, that explanation and pictures along with Jaagers it all make sense. Thank you both of you.
-
I am scratching my head over this. Many of are building the longboat, and the plans shows a very low seated windlass. I have been thinking over this and the purpose of it, can anyone shed some light in this matter?
-
Gil, Are you trying to make me jealous? I know what you have been up to, that business card you gave me says it all......... I am glad you had a good time off-shore. Just wish I could have enjoy such time too........
- 755 replies
-
- 1
-
-
- finished
- caldercraft
- (and 1 more)
-
Mark, I understand it completely why to have a windlass on a bigger ship and I appreciate your knowledge along with Chuck's and yes, from that perspective it should be there. Having a longboat for dropping the ship anchor in another location further away makes perfectly sense. I have finished the windlass but still after some deliberating with myself I am oblivious, not knowing which way to go. The windlass turned out real good, but I don't like the look this part of the boat, it just doesn't look right to me. I did a fast sketch and I think I know why they had a windlass.... The longboat had the big ship anchor on line in tow, then by either sailing or rowing (primary) to a farther point dropping the ship anchor and get going for another 15 yards dropping their own. This way the windlass in the longboat could be used for pulling with less effort. Correct me if I am wrong, the windlass on the longboat is not for the use of the longboat itself, but together with the mother ship. Other longboats I seen in drawings doesn't have the windlass......
- 335 replies
-
- 5
-
-
- 18th century longboat
- Finished
- (and 1 more)