Nirvana
-
Posts
5,464 -
Joined
-
Last visited
Content Type
Profiles
Forums
Gallery
Events
Everything posted by Nirvana
-
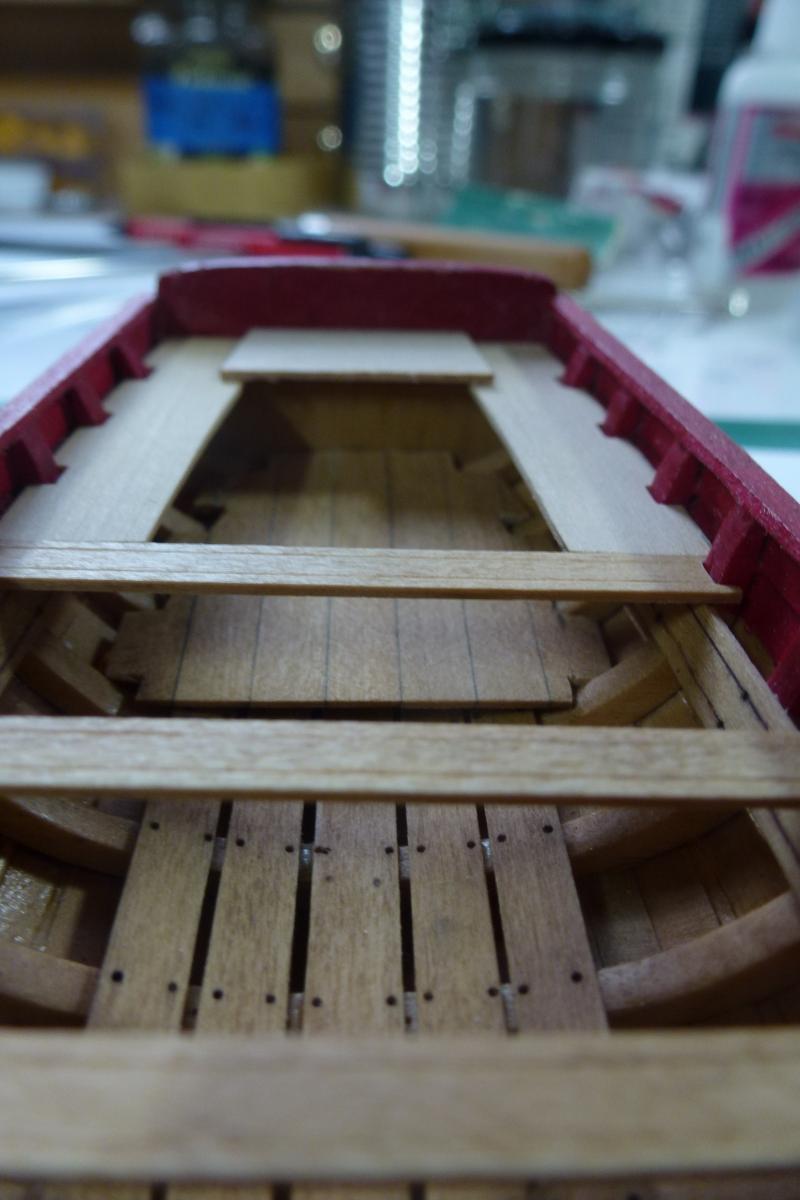
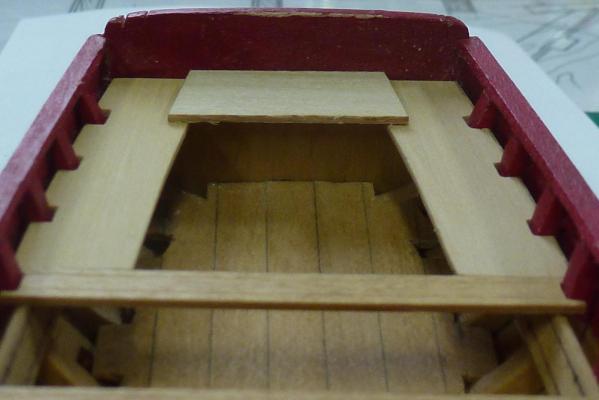
 The cockpit is under construction. Again I am using boxwood instead of the provided material from the kit. The seats are wider, as per instructions from Chuck and will be slightly trimmed. Using the locker part as guide I have an idea how much to trim. Gee, photos are more revealing than you think....
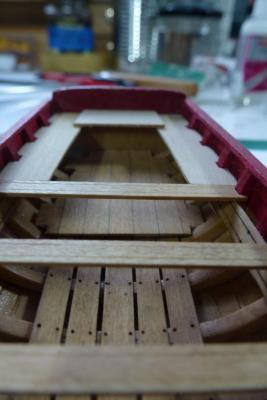
- 335 replies
-
- 6
-

-
- 18th century longboat
- Finished
- (and 1 more)
-
Charlene, I just found your build log, I am glad you are back at the "yard" and inspire more women to start this great hobby. I am trying to convince my Admiral...... The Bounty is coming along nicely! Oh, almost forgot, Welcome to MSW
-
It's build logs like these that truely inspires, and there are many of them. Extremely well done Augie. :-)
- 2,191 replies
-
- 4
-
-
- confederacy
- Model Shipways
- (and 1 more)
-
Erik, that looks very nice and don't bother about the splotchies. I have a hard time to detect them. As for the varnish, I have an ample collection of Min-Wax varnishes that I have blended back and forth. And found the mixtures that I like. It's all in the builder eyes and perspective how a model will turn out. Don't be disgourage - it will be amazing! Chuck got me back on the right track!
- 222 replies
-
- 6
-
-
- 18th century longboat
- model shipways
- (and 2 more)
-
Augie, again my hat off to you. This build log is just amazing and will be a lot of help once I will commence the build of my USF Confederacy. Superior build and fantastic details.
- 2,191 replies
-
- 6
-
-
- confederacy
- Model Shipways
- (and 1 more)
-
Erik, that's the way I did the platforms. Looking real good.
- 222 replies
-
- 2
-
-
- 18th century longboat
- model shipways
- (and 2 more)
-
Now that is a true brickstove, you better get the pig roasting as well.
- 308 replies
-
- 2
-
-
- finished
- model shipways
- (and 1 more)
-
Dremel 8050 Rotary Tool Recall
Nirvana replied to jhearl's topic in Modeling tools and Workshop Equipment
Thank you John for the head up. I called Robert Bosch help center, phone number 1-855-866-1291 (this for US customers), they are providing with all necessary labels and box for shipping. Turn around time is about 14 days. -
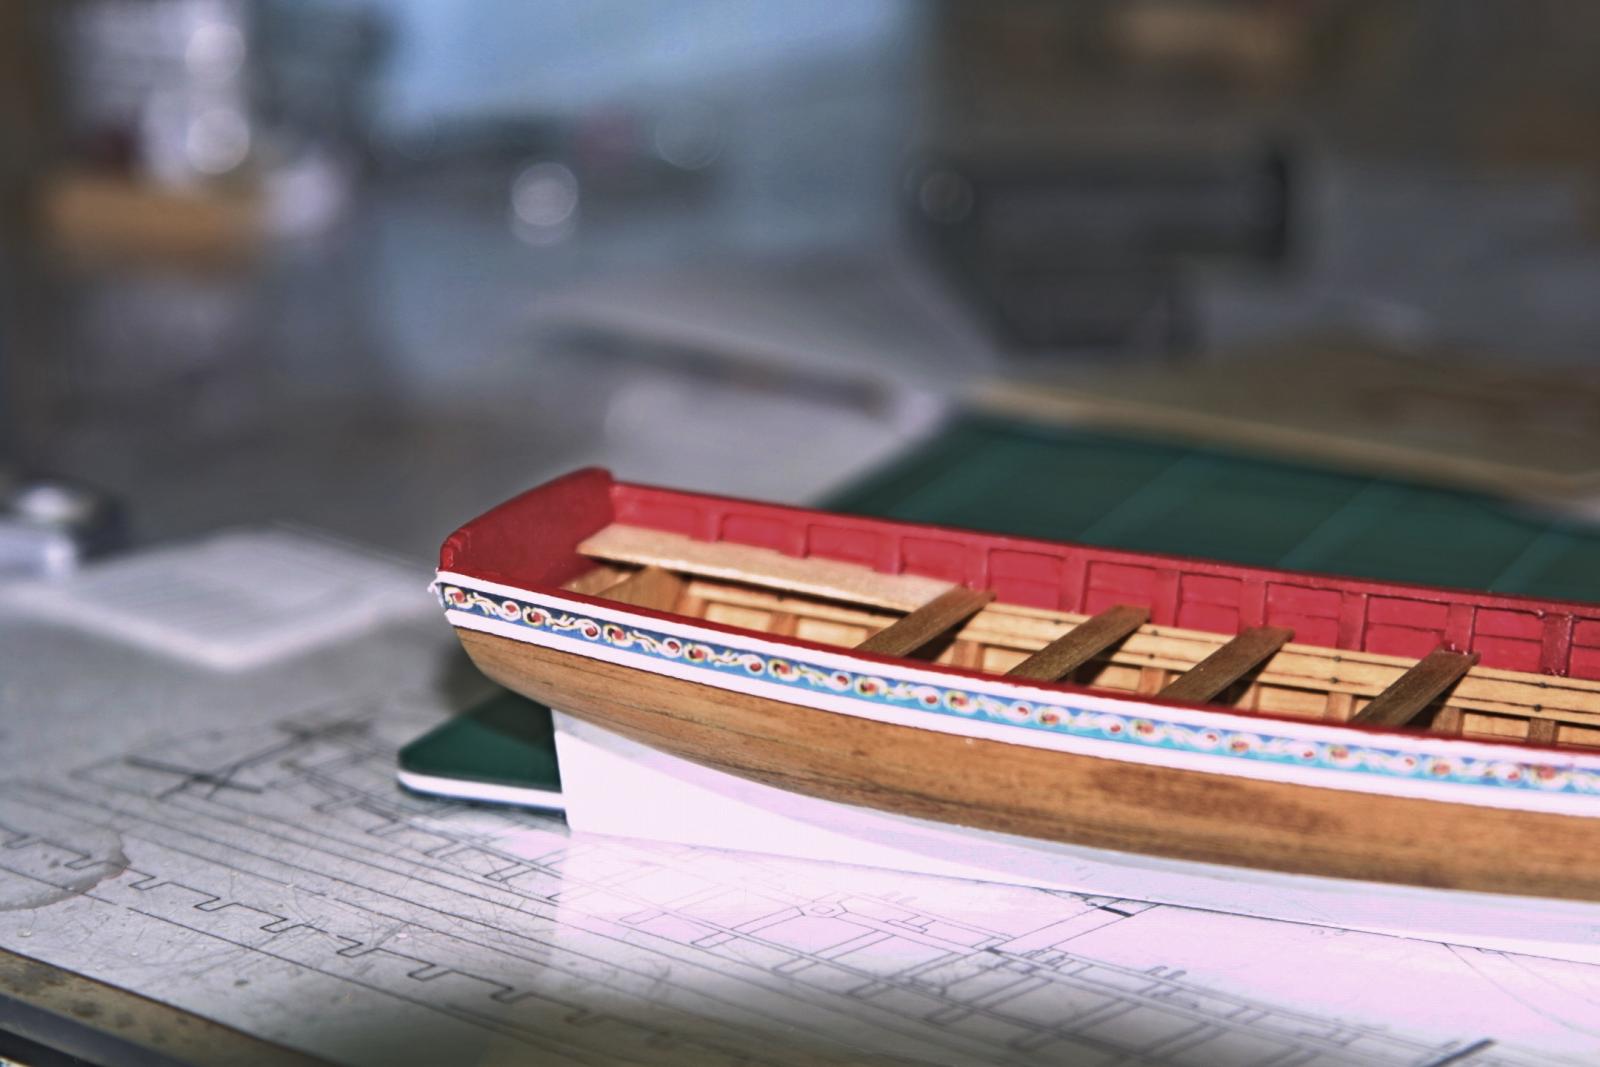
Trial part for the cockpit seats... These parts came fair, I will try to do the same with the material from Jeff.


- 335 replies
-
- 8
-
-
- 18th century longboat
- Finished
- (and 1 more)
-
Model workshop layouts
Nirvana replied to StebbinsTim's topic in Modeling tools and Workshop Equipment
Tim, see the pm I sent. -
3D printer at Home Depot
Nirvana replied to twintrow's topic in CAD and 3D Modelling/Drafting Plans with Software
I can see many areas these type of machines can be useful, but for ship modeling? As for standards we are looking for, I have a hard time to imaging the 1000 dollar machine will deliver the quality and details we are looking for. Now here are some questions; As for learning how to create the small 3D piece to manufacture at homebase: Is it worth the learning curve of software for the items we look for? Is it worth the cost of filament that each machine demands? (Each detail has to get a final finish) Is it worth the cost of trial and error, even though the 3D software says one thing? Is it worth the time working the machine instead utilizing the time towards the model you are building? Is the final finish of the part worth all the time and effort and cost? Again just my two cents, I do believe the 3d printing maching will have a market ..... later on, what I have seen is promising! I don't want to step on any-ones toes, but the bottom line, I think what we have of today of mechanical machines type Byrnes will satisfy many of us, this along with hand tools. -
Antanas, again a fantastic build. Very nicely done.
- 13 replies
-
- 1
-
-
- 95mm boat
- master korabel
- (and 1 more)
-
Thank you Chuck, I am trying to give this longboat the right justice for it's detail. Thanks again for creating this kit for us!
- 335 replies
-
- 2
-
-
- 18th century longboat
- Finished
- (and 1 more)
-
3D printer at Home Depot
Nirvana replied to twintrow's topic in CAD and 3D Modelling/Drafting Plans with Software
I certainly can, in my defence which is weak, I will still be holding a tool or material to be fed. I know I will be attacked for this because the software being used with the printer is considered a tool. And a person has to design the item he or she wants to get printed. You need to be able to understand at least the basics in 3d design. Just my 2 cents. -
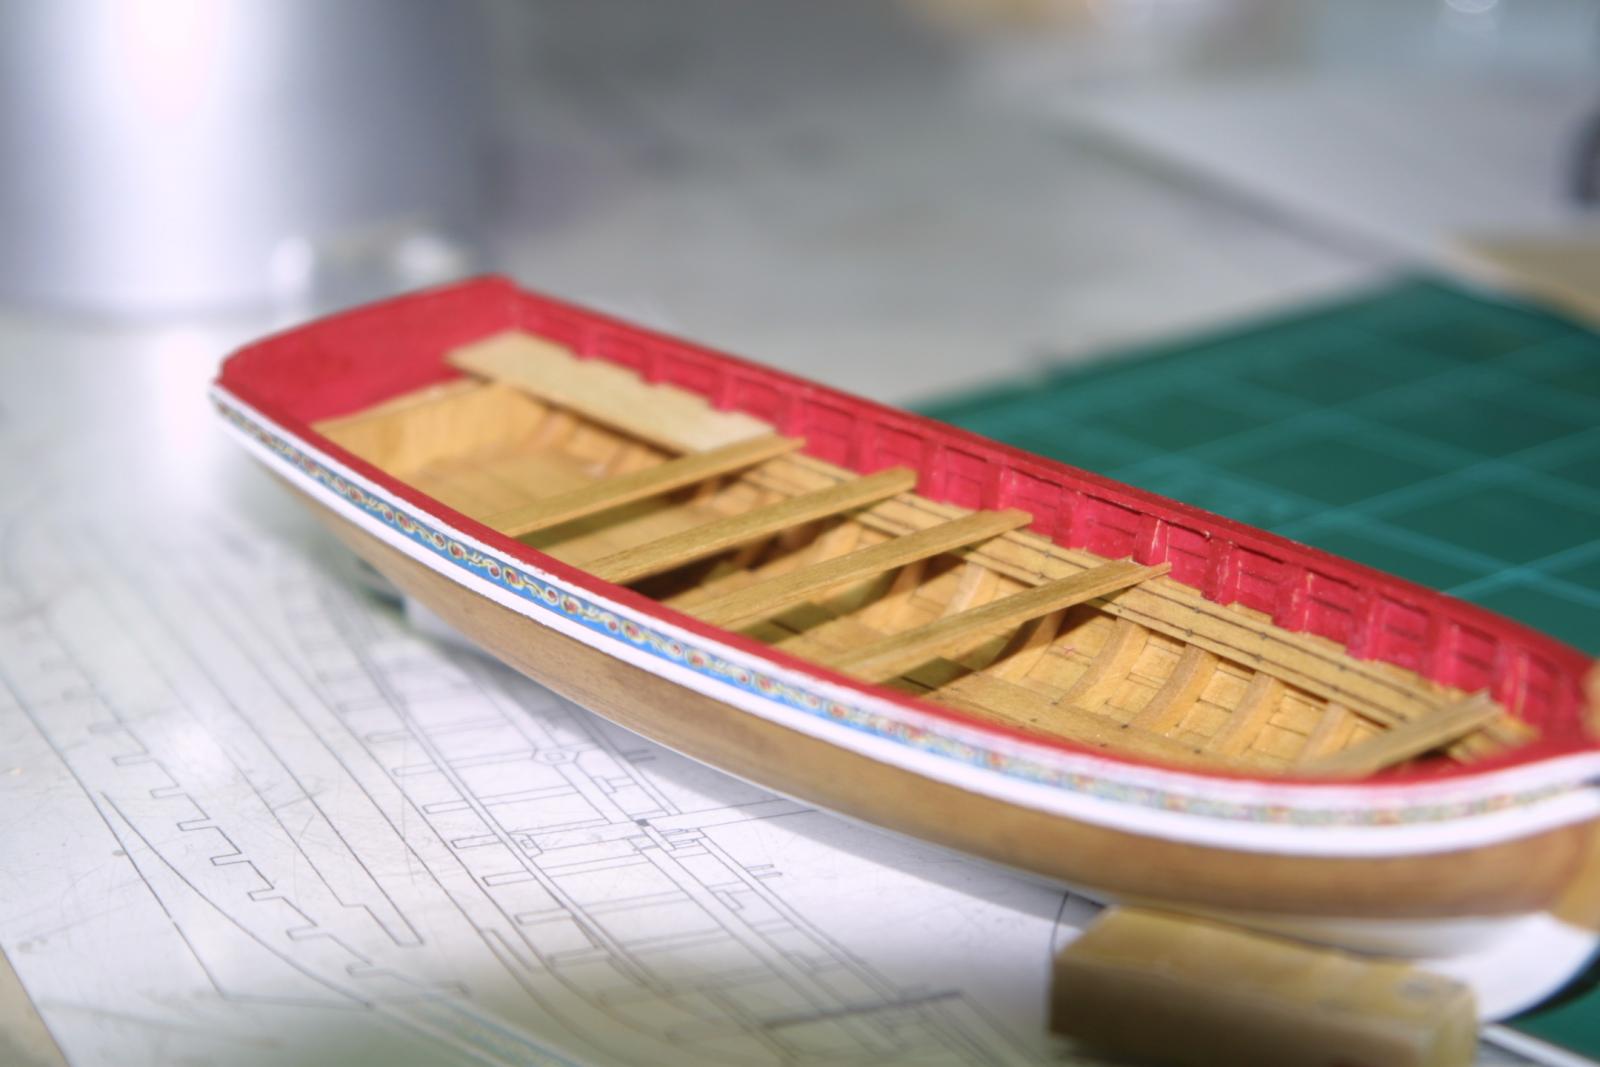
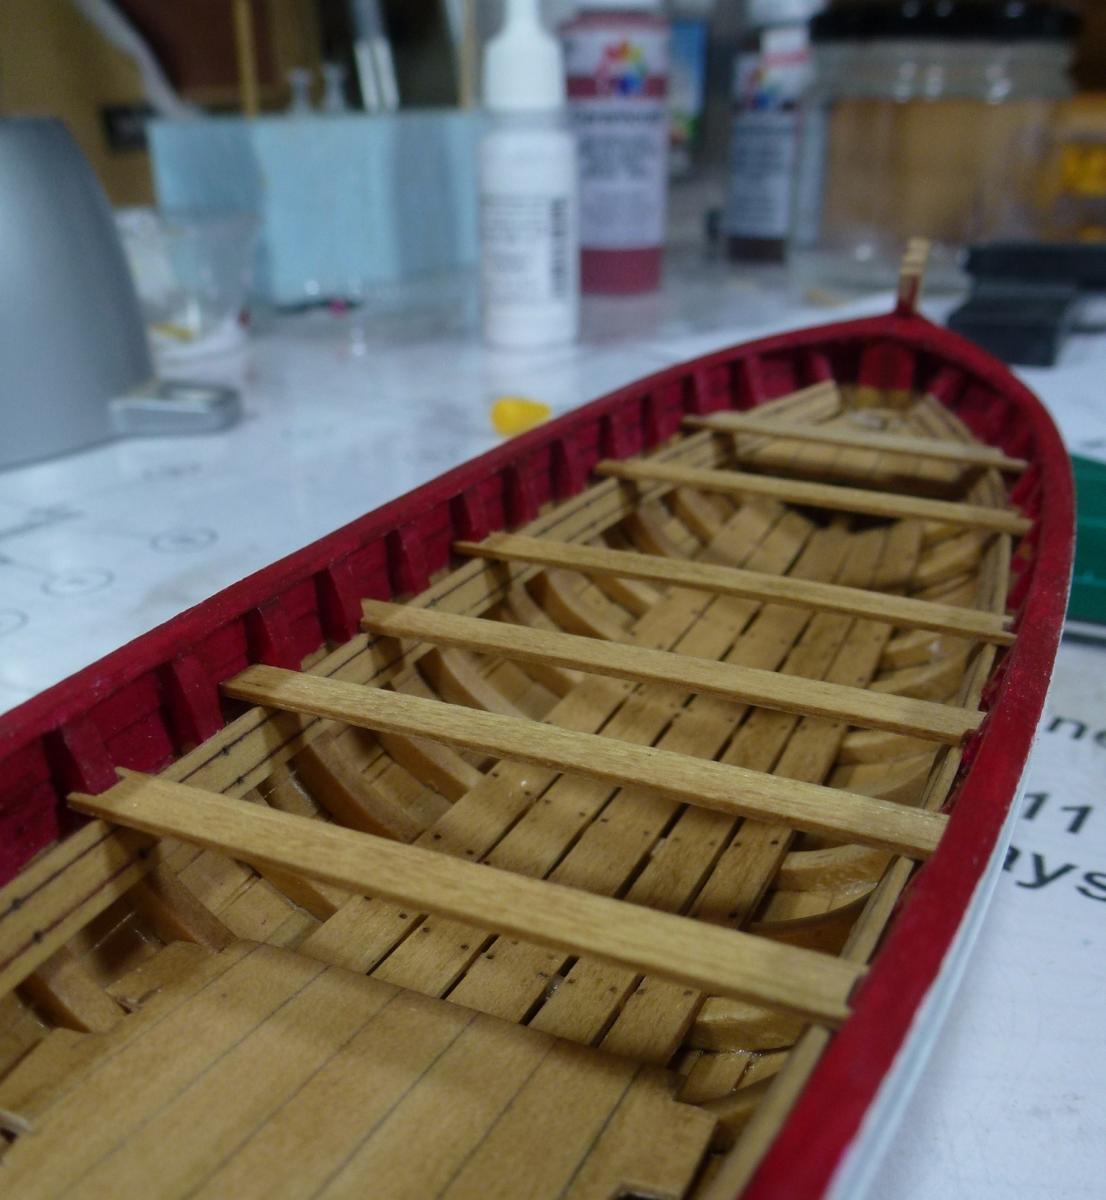
Most thwarts in place, only two unglued and the one between G and H missing. Slowly progress but I enjoy all the trimming that comes along with each part.

- 335 replies
-
- 9
-
-
- 18th century longboat
- Finished
- (and 1 more)
-
3D printer at Home Depot
Nirvana replied to twintrow's topic in CAD and 3D Modelling/Drafting Plans with Software
Check this website for "hobby 3D printer" Dremel is not mentioned at all. -
3D printer at Home Depot
Nirvana replied to twintrow's topic in CAD and 3D Modelling/Drafting Plans with Software
Tom, I am off half day tomorrow and will go to my local Home Depot to see this product, do need other supplies. However reading the spec's I am not impressed at all. Wondering if any of the staff of Home Depot knows how it works. Looking forward to hear your opinion. Thank you -
3D printer at Home Depot
Nirvana replied to twintrow's topic in CAD and 3D Modelling/Drafting Plans with Software
Chuck, That C64 is another part for retirement. An original in box are more expensive today than in the "glory days". You are lucky. If Dremel has released a 3D printer available through Home Depot that says a lot about what is happening on that market. That doesn't mean I will buy one ....... not in a long time, if ever. Byrnes table saw along with a Sheerline 4001 lathe has higher priorities. And modeling should be more about hand crafting than machining in my humble opinion. Wood workers or hand crafters 30 years plus ( I am stretching the timeline to cover myself, as I don't know when the first 3D printer came out), would probably say this is a disaster! Where will the charm and warmth of crafting be with machines doing our work? Just think about the model ship crafters in the 18th century just using hand tools and creating just amazing ships. Guessing, some of them would turn in their graves knowing what is available today. On the other hand Da Vinci would probably like it! He would had been happy with a 3D printer. But this is just my 2 cents. -
Design and Build a Custom Work Station
Nirvana replied to pompey2's topic in Modeling tools and Workshop Equipment
I like your Sketchup design. Great work with that software, as it was intended for! Cheers -
I like the idea of how to use the drill press for this type of application. I also have the 220 Model which can be set in angles with 15 degree increments.
- 277 replies
-
- 3
-
-
- model shipways
- 18th century longboat
- (and 1 more)
-
Erik, the updated pdf print from Chuck will do it.
- 222 replies
-
- 1
-
-
- 18th century longboat
- model shipways
- (and 2 more)
-
Antanas, I guess this build will go a little faster for you. Again I will pull forward a chair to enjoy this build.
- 13 replies
-
- 2
-
-
- 95mm boat
- master korabel
- (and 1 more)