Nirvana
-
Posts
5,457 -
Joined
-
Last visited
Content Type
Profiles
Forums
Gallery
Events
Everything posted by Nirvana
-
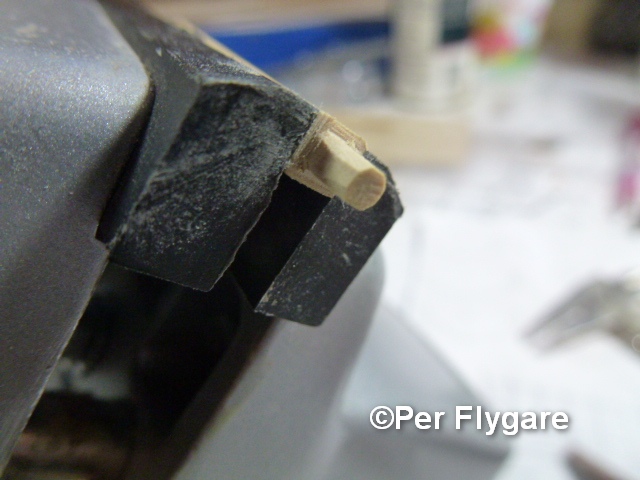
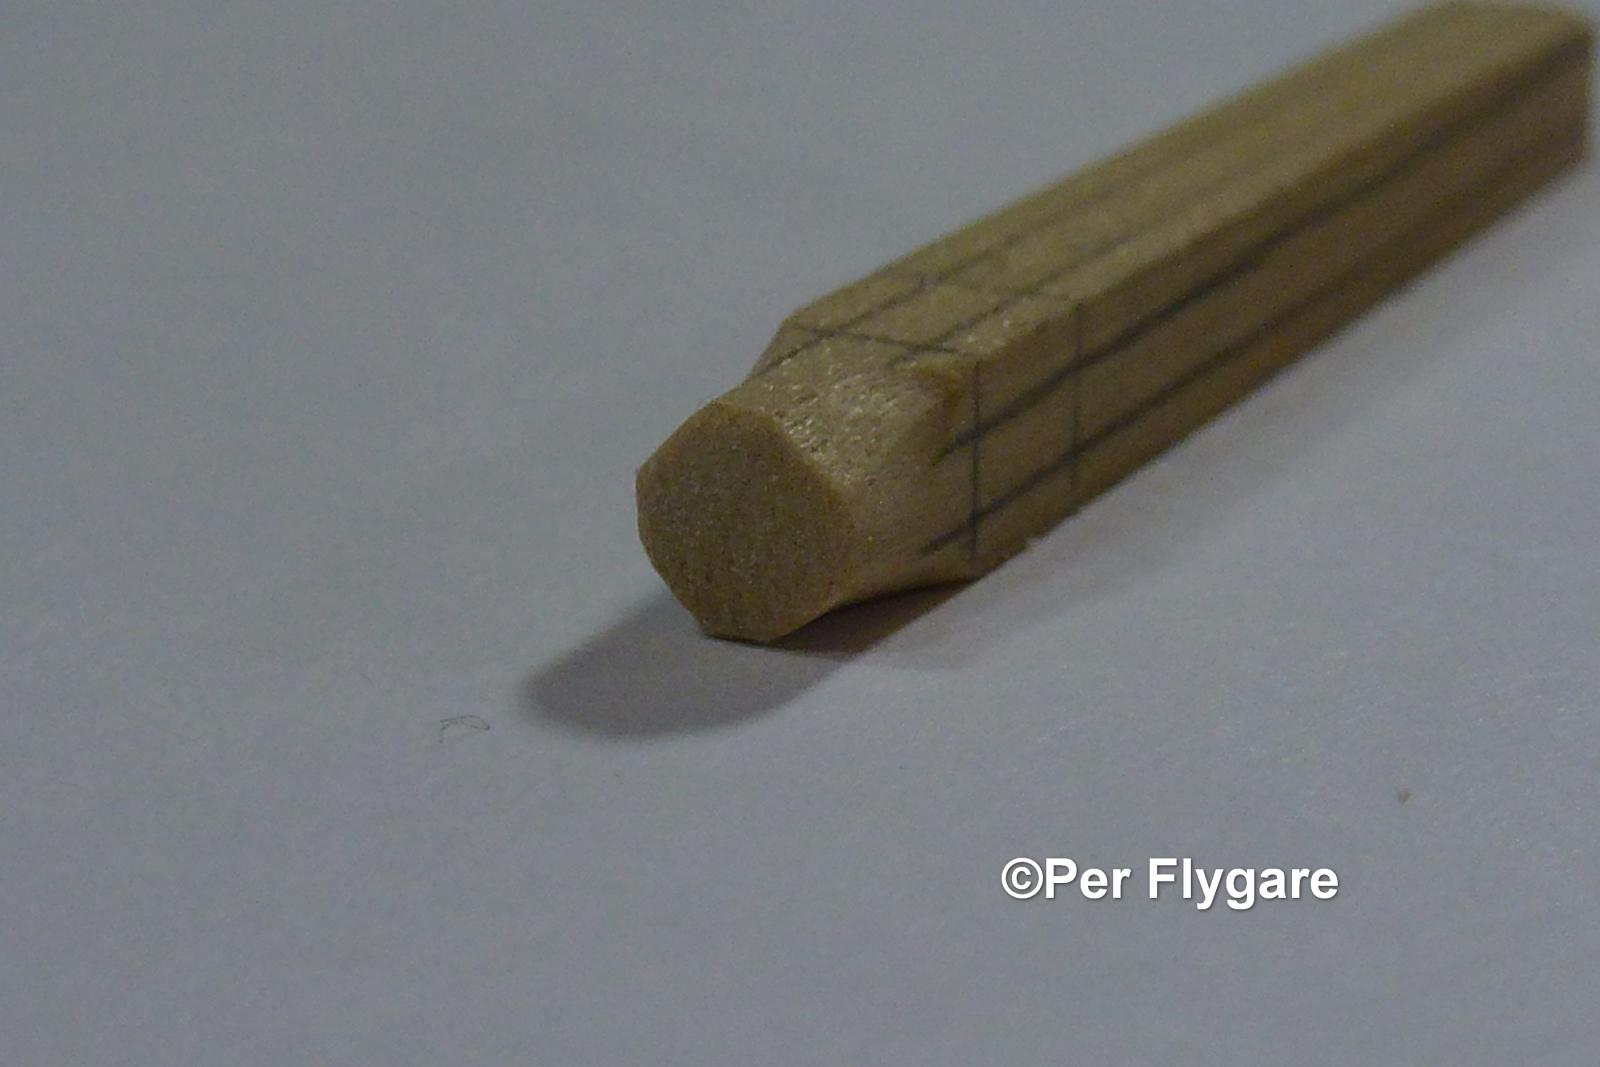
 So I decided to go ahead and to have the windlass. I made a made a new windlass even though the "old" one was more than okay. The tricky part was to make octagon ends, these are only 2.5mm or 3/32" wide.
- 335 replies
-
- 7
-

-
- 18th century longboat
- Finished
- (and 1 more)
-
Allan, that explanation and pictures along with Jaagers it all make sense. Thank you both of you.
-
I am scratching my head over this. Many of are building the longboat, and the plans shows a very low seated windlass. I have been thinking over this and the purpose of it, can anyone shed some light in this matter?
-
Gil, Are you trying to make me jealous? I know what you have been up to, that business card you gave me says it all......... I am glad you had a good time off-shore. Just wish I could have enjoy such time too........
- 755 replies
-
- 1
-
-
- finished
- caldercraft
- (and 1 more)
-
Mark, I understand it completely why to have a windlass on a bigger ship and I appreciate your knowledge along with Chuck's and yes, from that perspective it should be there. Having a longboat for dropping the ship anchor in another location further away makes perfectly sense. I have finished the windlass but still after some deliberating with myself I am oblivious, not knowing which way to go. The windlass turned out real good, but I don't like the look this part of the boat, it just doesn't look right to me. I did a fast sketch and I think I know why they had a windlass.... The longboat had the big ship anchor on line in tow, then by either sailing or rowing (primary) to a farther point dropping the ship anchor and get going for another 15 yards dropping their own. This way the windlass in the longboat could be used for pulling with less effort. Correct me if I am wrong, the windlass on the longboat is not for the use of the longboat itself, but together with the mother ship. Other longboats I seen in drawings doesn't have the windlass......
- 335 replies
-
- 5
-
-
- 18th century longboat
- Finished
- (and 1 more)
-
The octagonal end of the windlass as per instructions. I am still debating if or not to go with the windlass.

- 335 replies
-
- 5
-
-
- 18th century longboat
- Finished
- (and 1 more)
-
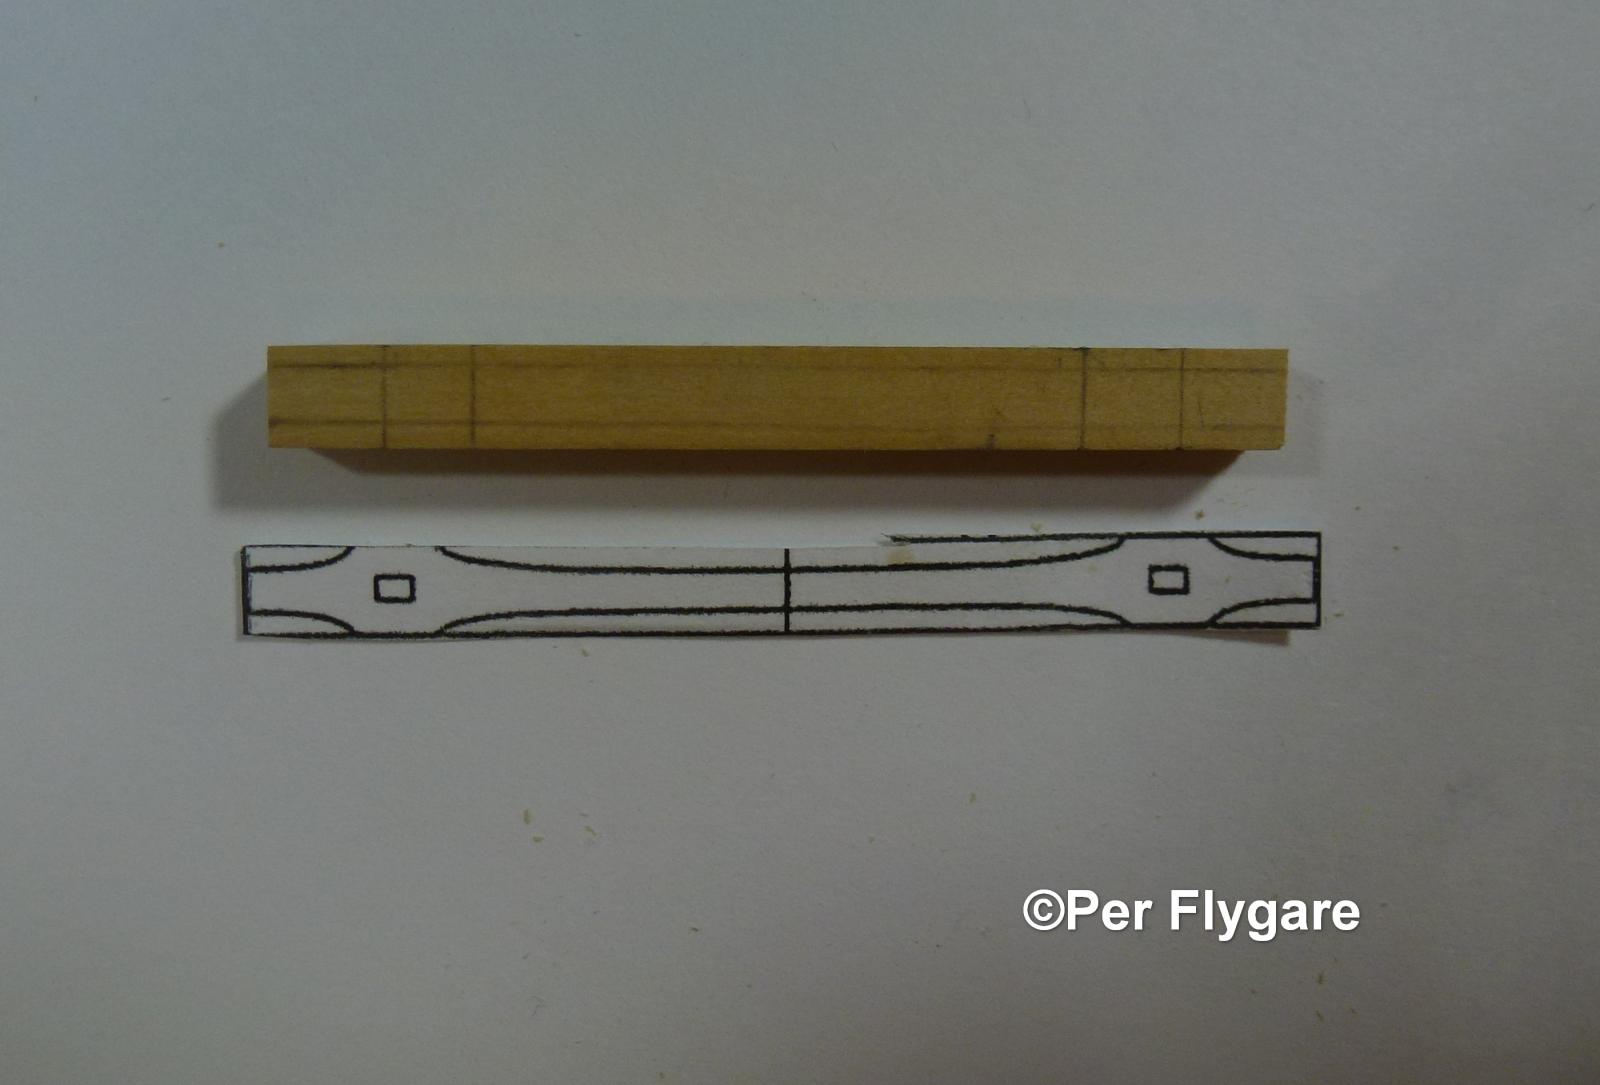
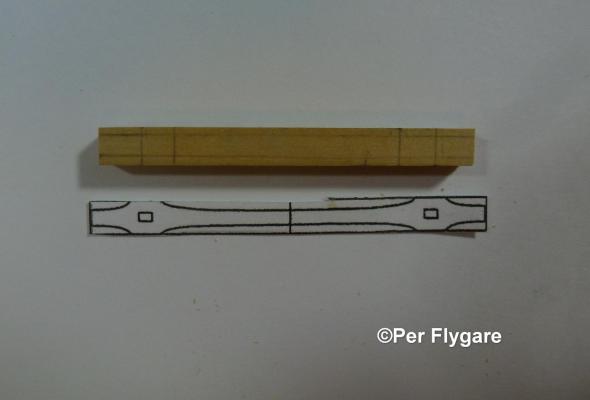
So I started working on the windlass, but then I wondered .... "a windlass this size on a 26ft longboat"? It doesn't make any sense. The windlass this size to scale together with a strong anchor and line could only been used to haul the big ship forward over shallow water or when no wind was to any advantage. I have been pulling out anchors by hand that a 40ft yacht has been using. Now I wonder did a long boat have a windlass at all? When I was in the Navy and we did our synchronized training with "rowing whale boats" which also could be sailed, we didn't have any windlass. The length of the piece according to plan doesn't match my boat so I did adjust it accordingly.
- 335 replies
-
- 5
-
-
- 18th century longboat
- Finished
- (and 1 more)
-
Micro-Mark MicroLux LaserKnife 2525 – A Review
Nirvana replied to mtaylor's topic in Modeling tools and Workshop Equipment
Sure a laser cutting machine would be fun to have, but can I justify the cost for my hobby? My scroll saw is still in the box, not used so far and I paid 150 dollars for it at a sale out, not the regular 210 as the price had been for the time being. When it comes to laser cut items, I will send my DWG drawings to Chuck and pay for the extra service. Guess I can get a lot of laser cutting for 2000 dollars plus. -
Erik, very nice work. Getting close to the rigging process.
- 222 replies
-
- 2
-
-
- 18th century longboat
- model shipways
- (and 2 more)
-
The replacement as for rigging from Syren Model Company.

- 335 replies
-
- 5
-
-
- 18th century longboat
- Finished
- (and 1 more)
-
Tony, I was surprised reading your question and found the measures in mm. I knew UK has been going through a "metrication" which started a long time and I thought the program stalled. Some reading later and I found the opposite. Seems like one of very few areas in UK using Imperial units is the speed limits on the road. Chuck, how hard would it be to have the metric measurement in future instructions along with a secondary imperial. I think most of us builder are very used to the metric. I enjoy building this little boat.
- 162 replies
-
- 2
-
-
- 18th century longboat
- model shipways
- (and 1 more)
-
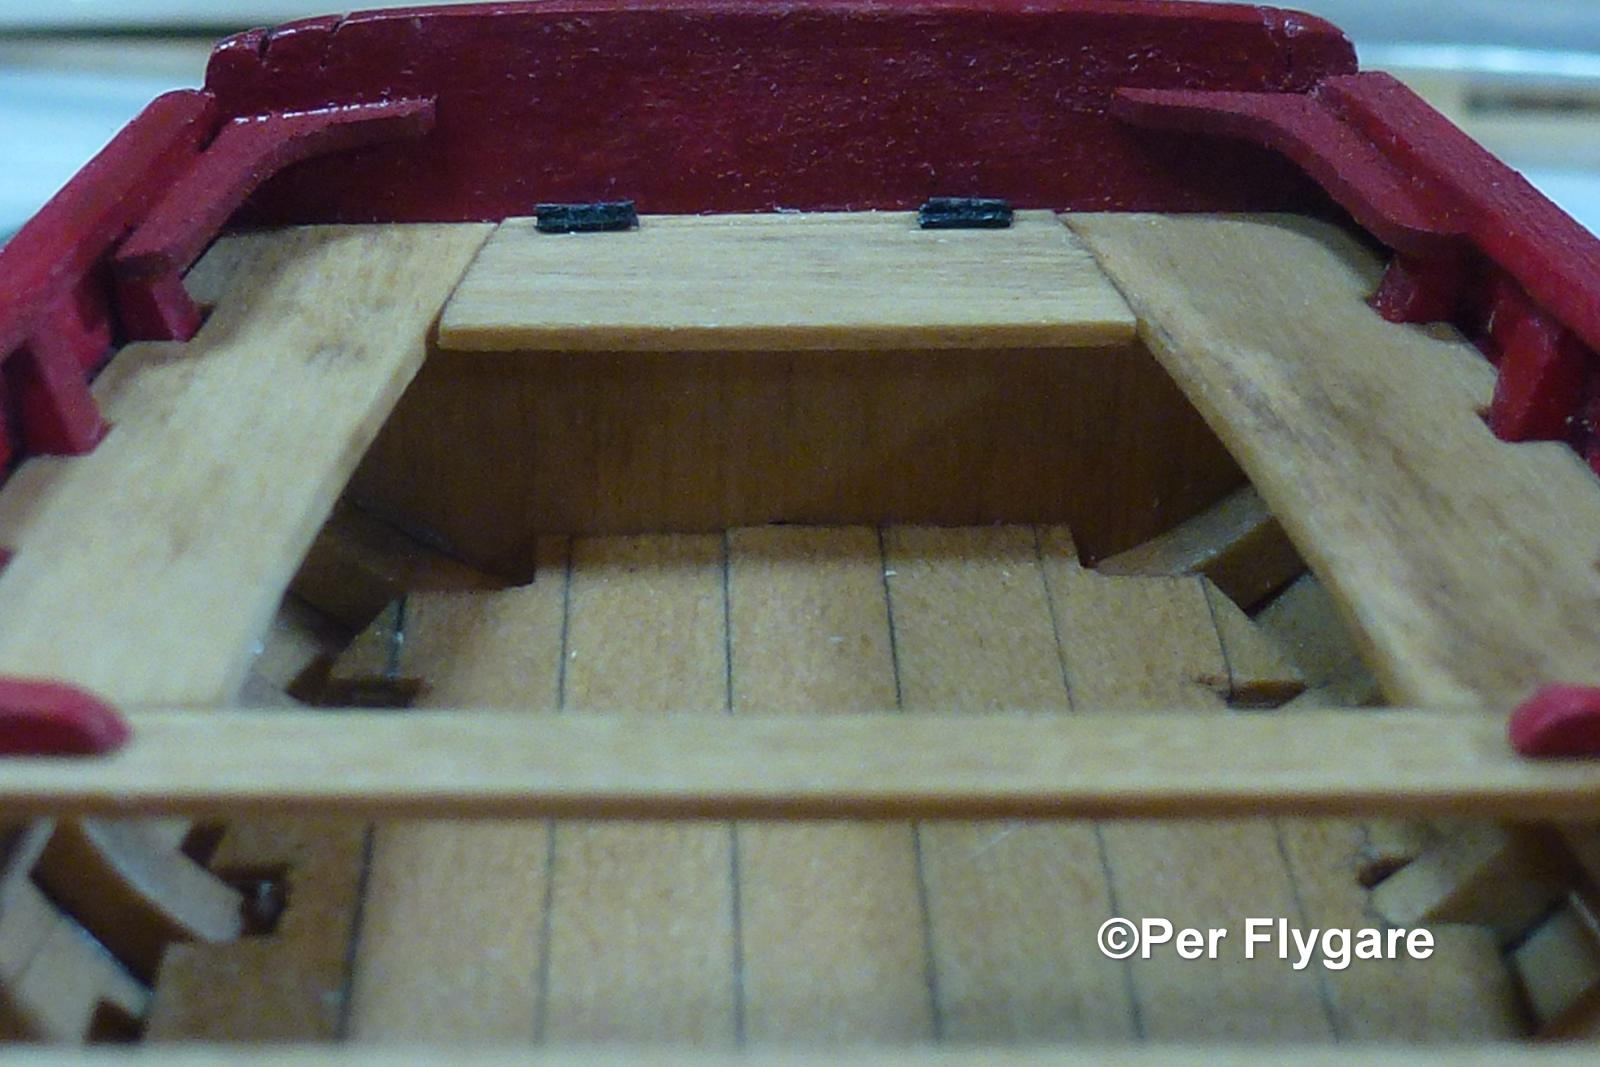
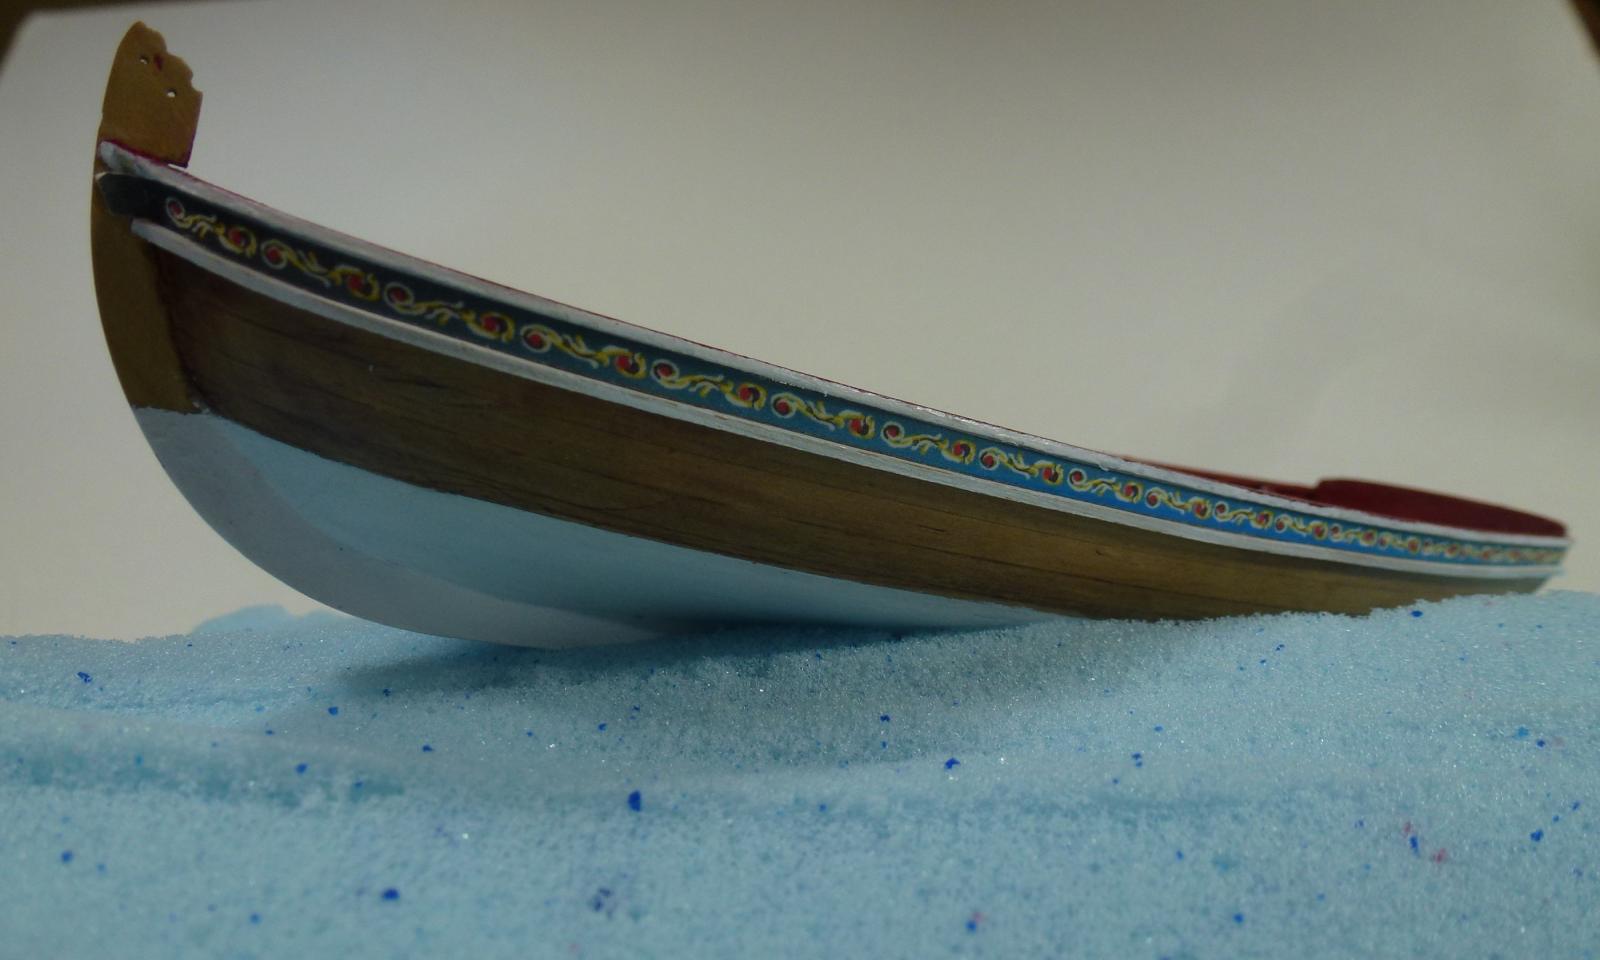
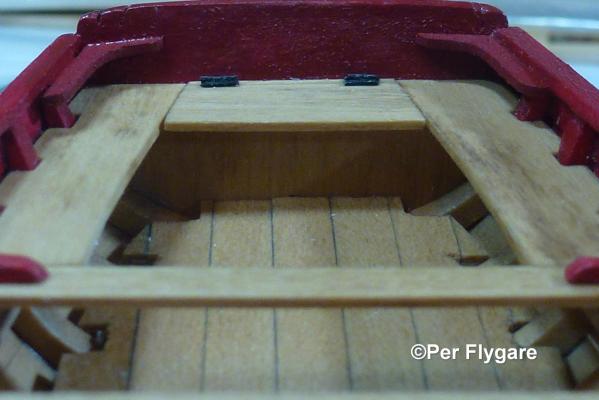
The progress of the night. Dang how pictures from the camera can reveal more than the eye can see... Well there is nothing to be done.
- 335 replies
-
- 6
-
-
- 18th century longboat
- Finished
- (and 1 more)
-
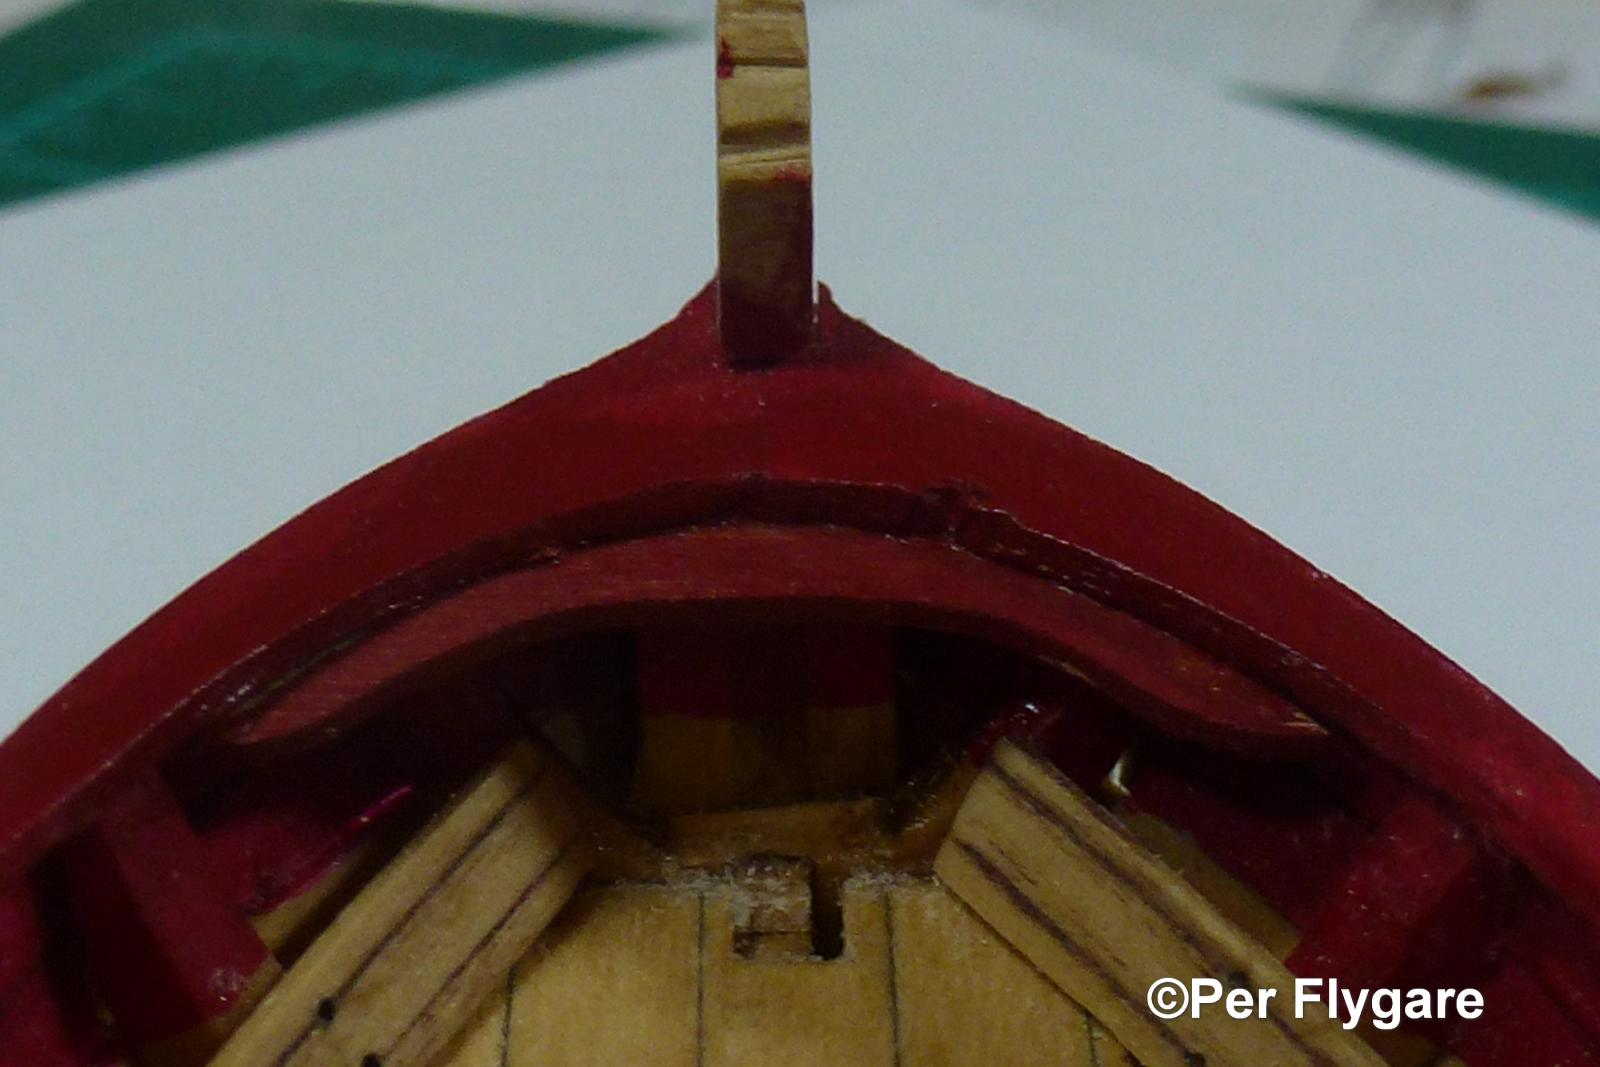
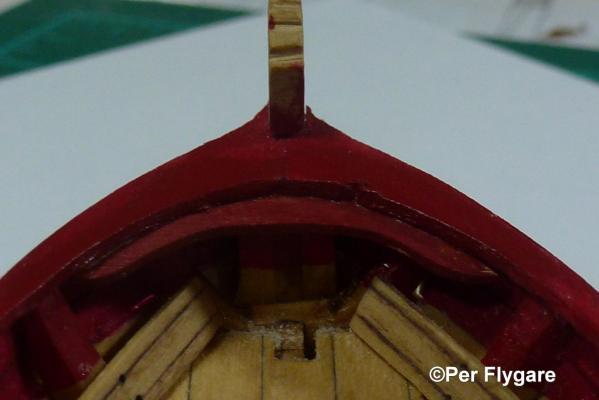
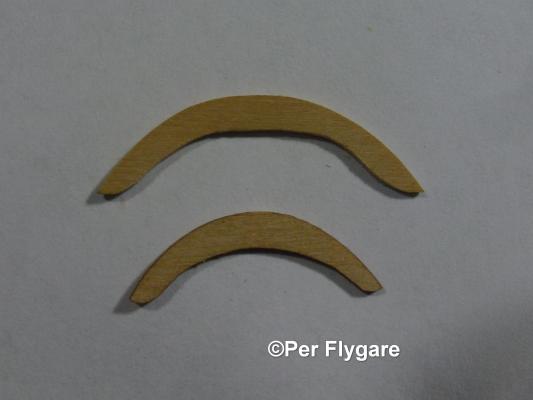
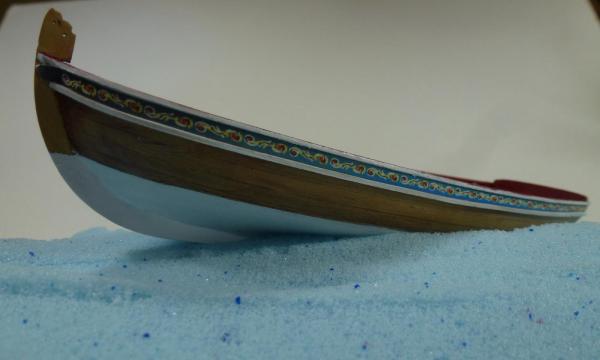
The piece that is inserted at the stem under the cap rail had to be resized. The provided piece was to small and had another curve than my boat. I am happy with the outcome and I think everyone can see which is the homemade and which came with the kit.
- 335 replies
-
- 3
-
-
- 18th century longboat
- Finished
- (and 1 more)
-
Well, I am working grave yard shift as a merchandiser, as I arrived to the place for this night (Tuesday to Wednesday), it turned out to be closed as an electrical fire had happened just a half an hour before my shift. I called my supervisor, who said after my explanation "enter your work hour as usual and enjoy your night off". Once back home I thought why not spend the night with the longboat as my workshift and sleep as I normally do during the day. So here I am in the workshop enjoying a weak drink and shaping the inboard details. Oh, I have company by the yard guard.

- 335 replies
-
- 5
-
-
- 18th century longboat
- Finished
- (and 1 more)
-
Just for the fun and having the memory foam.
- 335 replies
-
- 9
-
-
- 18th century longboat
- Finished
- (and 1 more)
-
One build log you should look into for great information is from Bhermann.
-
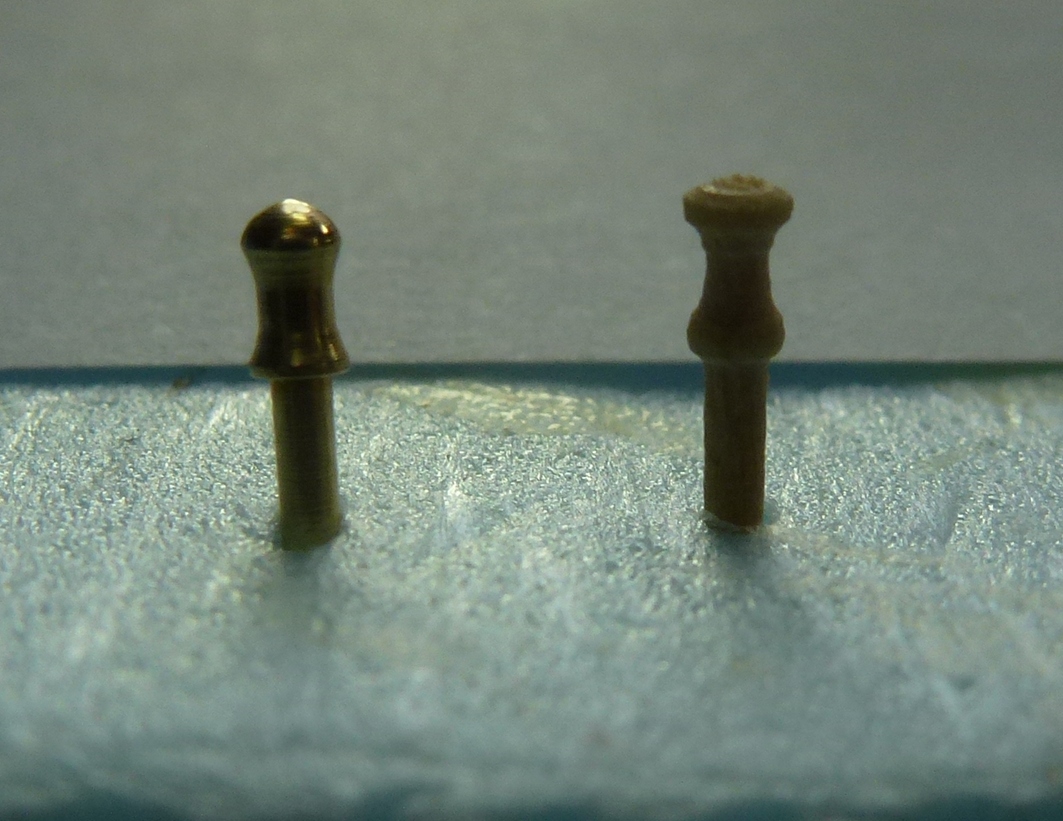
This is so much fun, I am truly enjoying this build. I didn't have to make a fifth nail, none of them broke. Now all of them are installed.

- 335 replies
-
- 9
-
-
- 18th century longboat
- Finished
- (and 1 more)
-
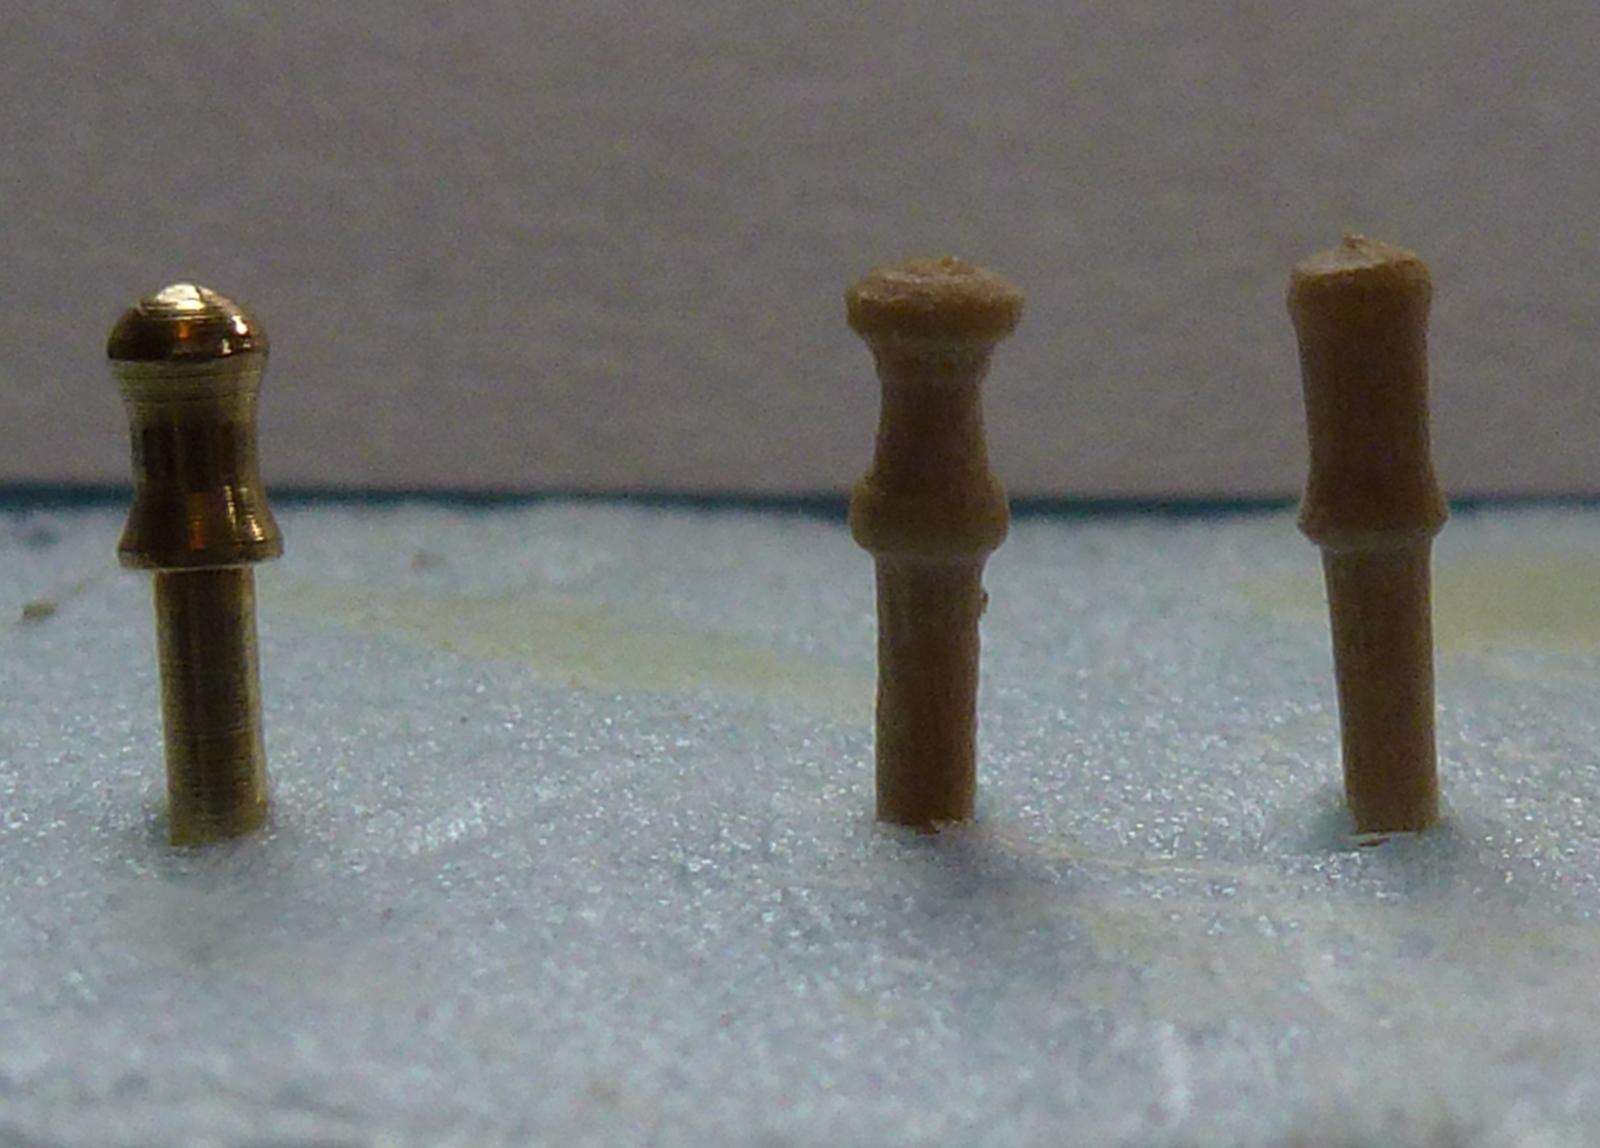
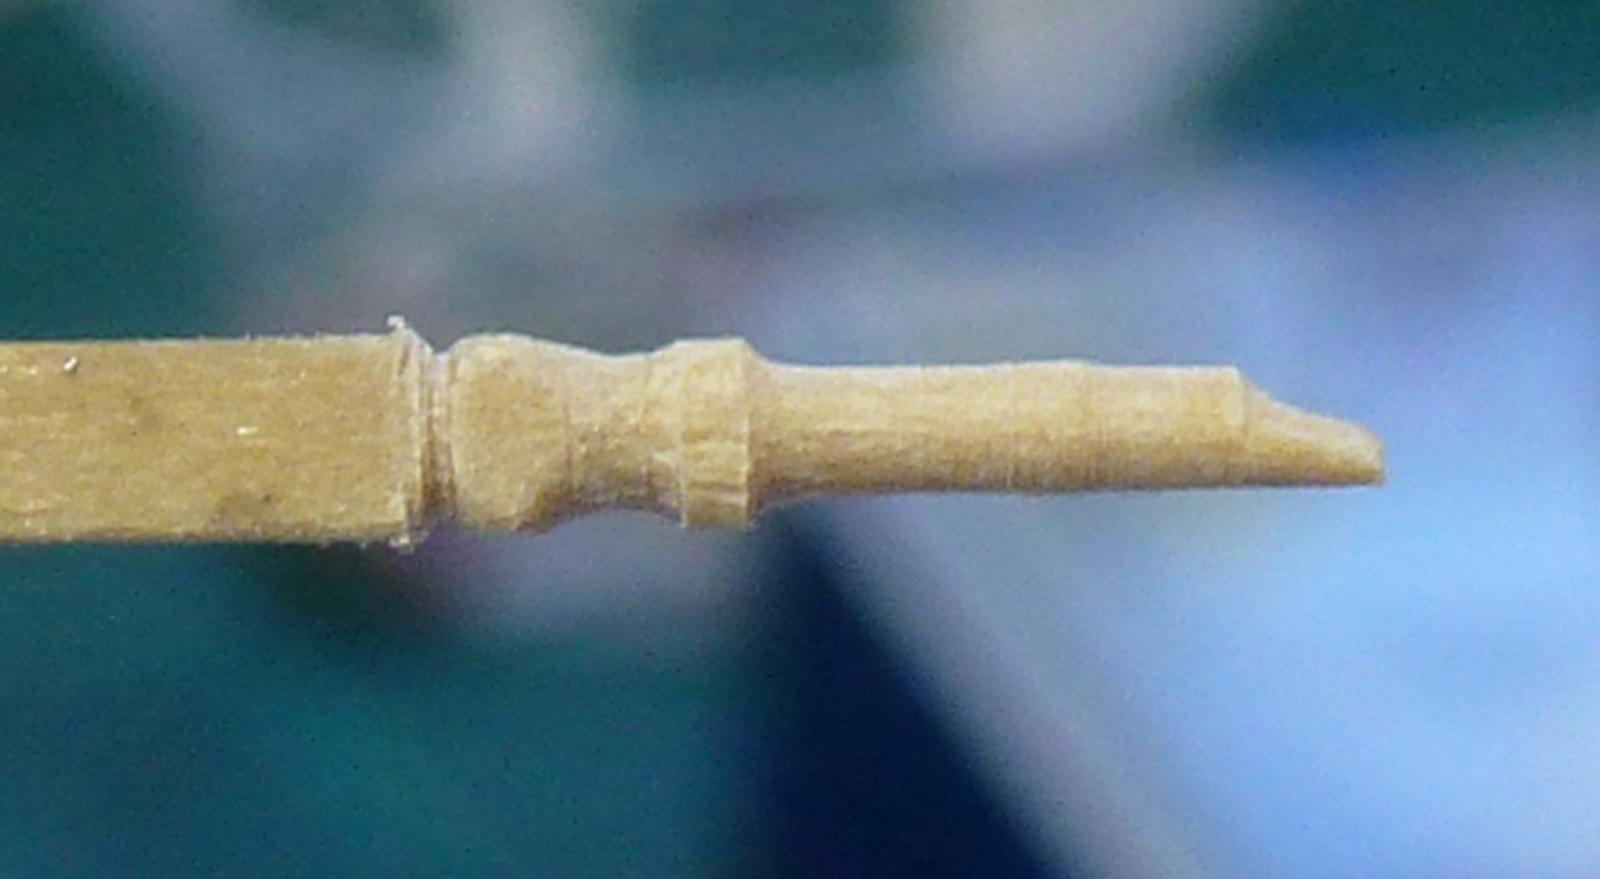
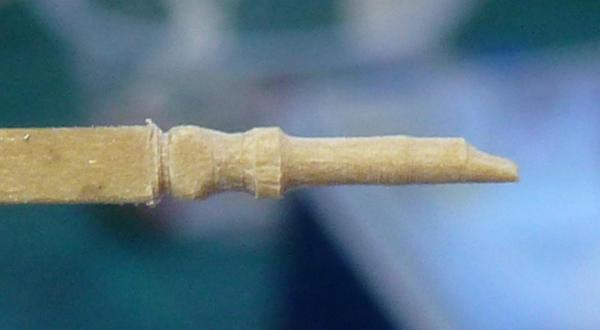
My first home made belaying pin, just a little time consuming but I do like the final product. Now I have to make another three (four, one extra for safety).
- 335 replies
-
- 9
-
-
- 18th century longboat
- Finished
- (and 1 more)
-
This is what Chuck wrote back to me upon my question - How did you do the fine belaying pins in the pictures? "The few times I made them using a Dremel. I used boxwood placed in the Dremel and just a small file to make them. One at the time like it was a mini lathe. I have the flex shaft with a small handle so I can hold it steady. That's about it. It takes a long time, and I usually spend a few hours at a time making them."
- 335 replies
-
- 5
-
-
- 18th century longboat
- Finished
- (and 1 more)
-
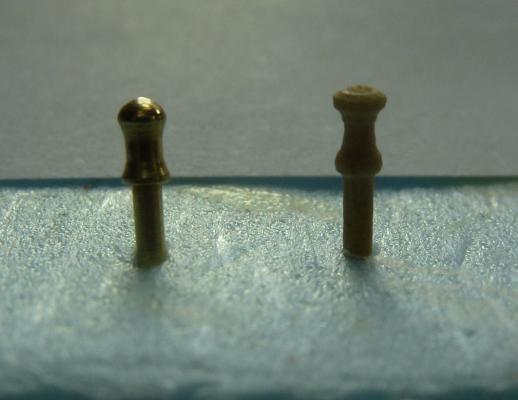
I think I am one of many who didn't like the brass pins provided with the kit I decided to take on the challenge of making my own. After a pm to Chuck, he explained how he did his. The Dremel with the extension shaft did the trick. This is my first attempt with the boxwood. And only a few minutes job. I used blade #11 along with some fine files.
- 335 replies
-
- 6
-
-
- 18th century longboat
- Finished
- (and 1 more)
-
John, I think I picked it up from another builder from the group build. Can't remember who. The wipe on is very easy to use and you will get a nice finish surface along with it. This specially for the keel and frames. Besides it gives you a protective surface. Looking forward to see your build log.
- 335 replies
-
- 4
-
-
- 18th century longboat
- Finished
- (and 1 more)
-
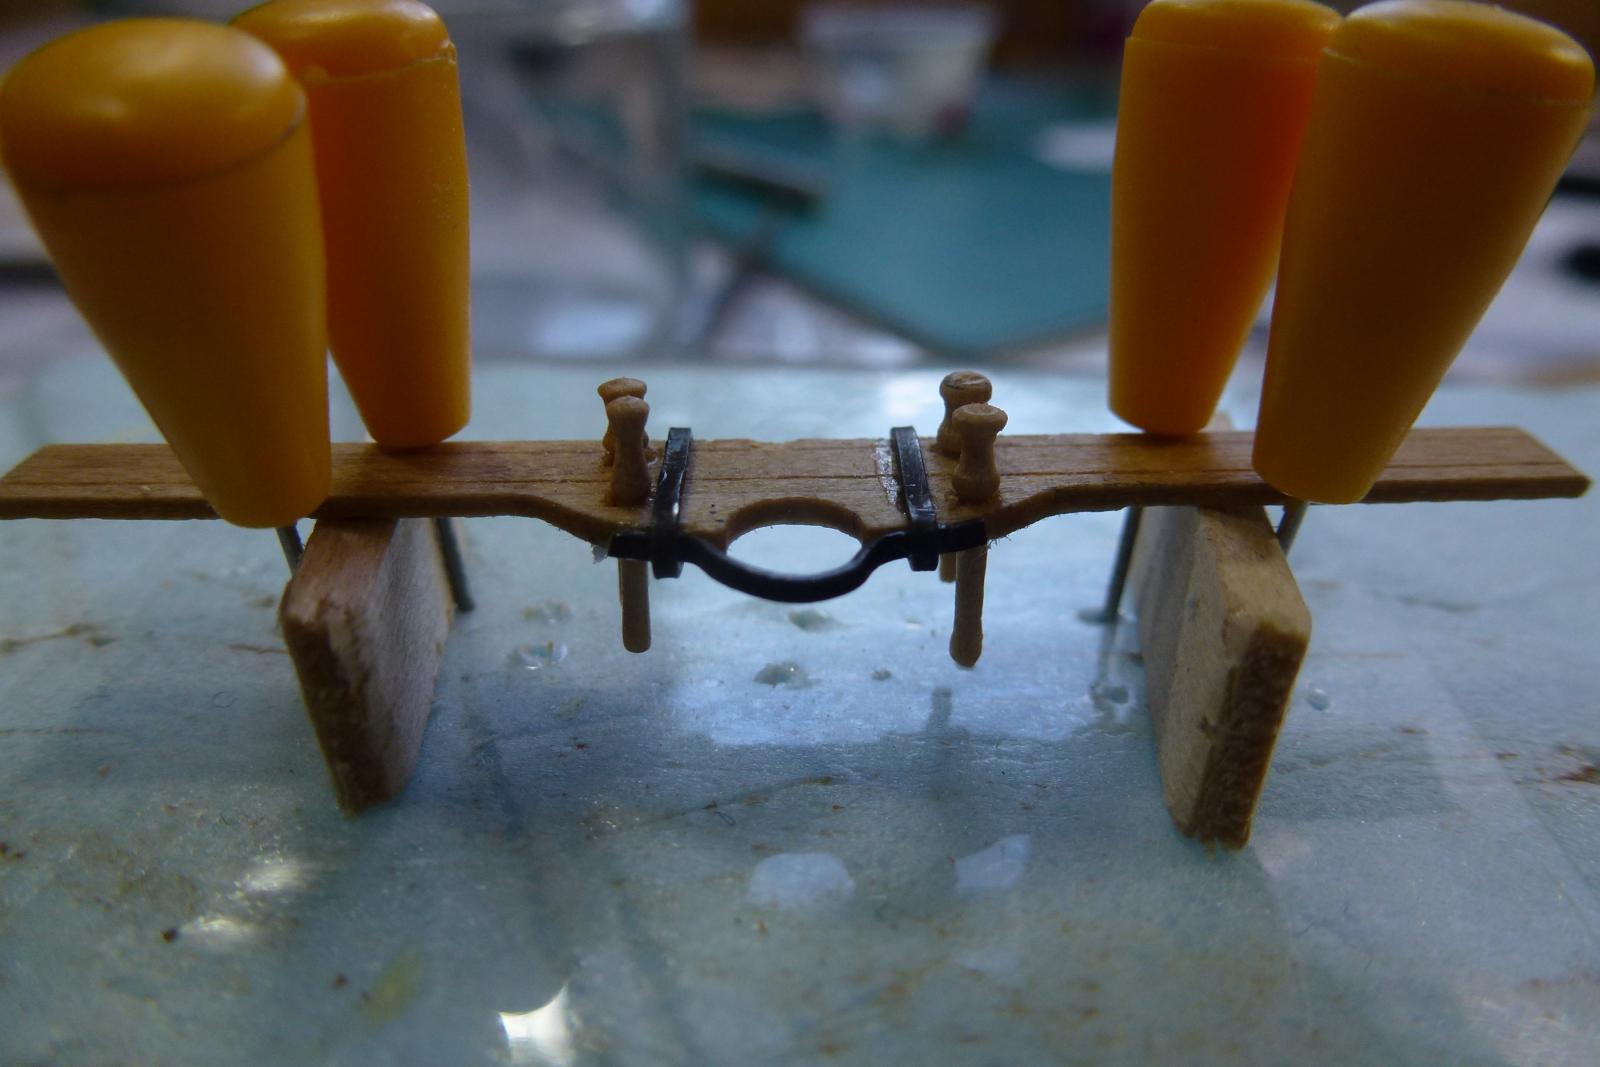
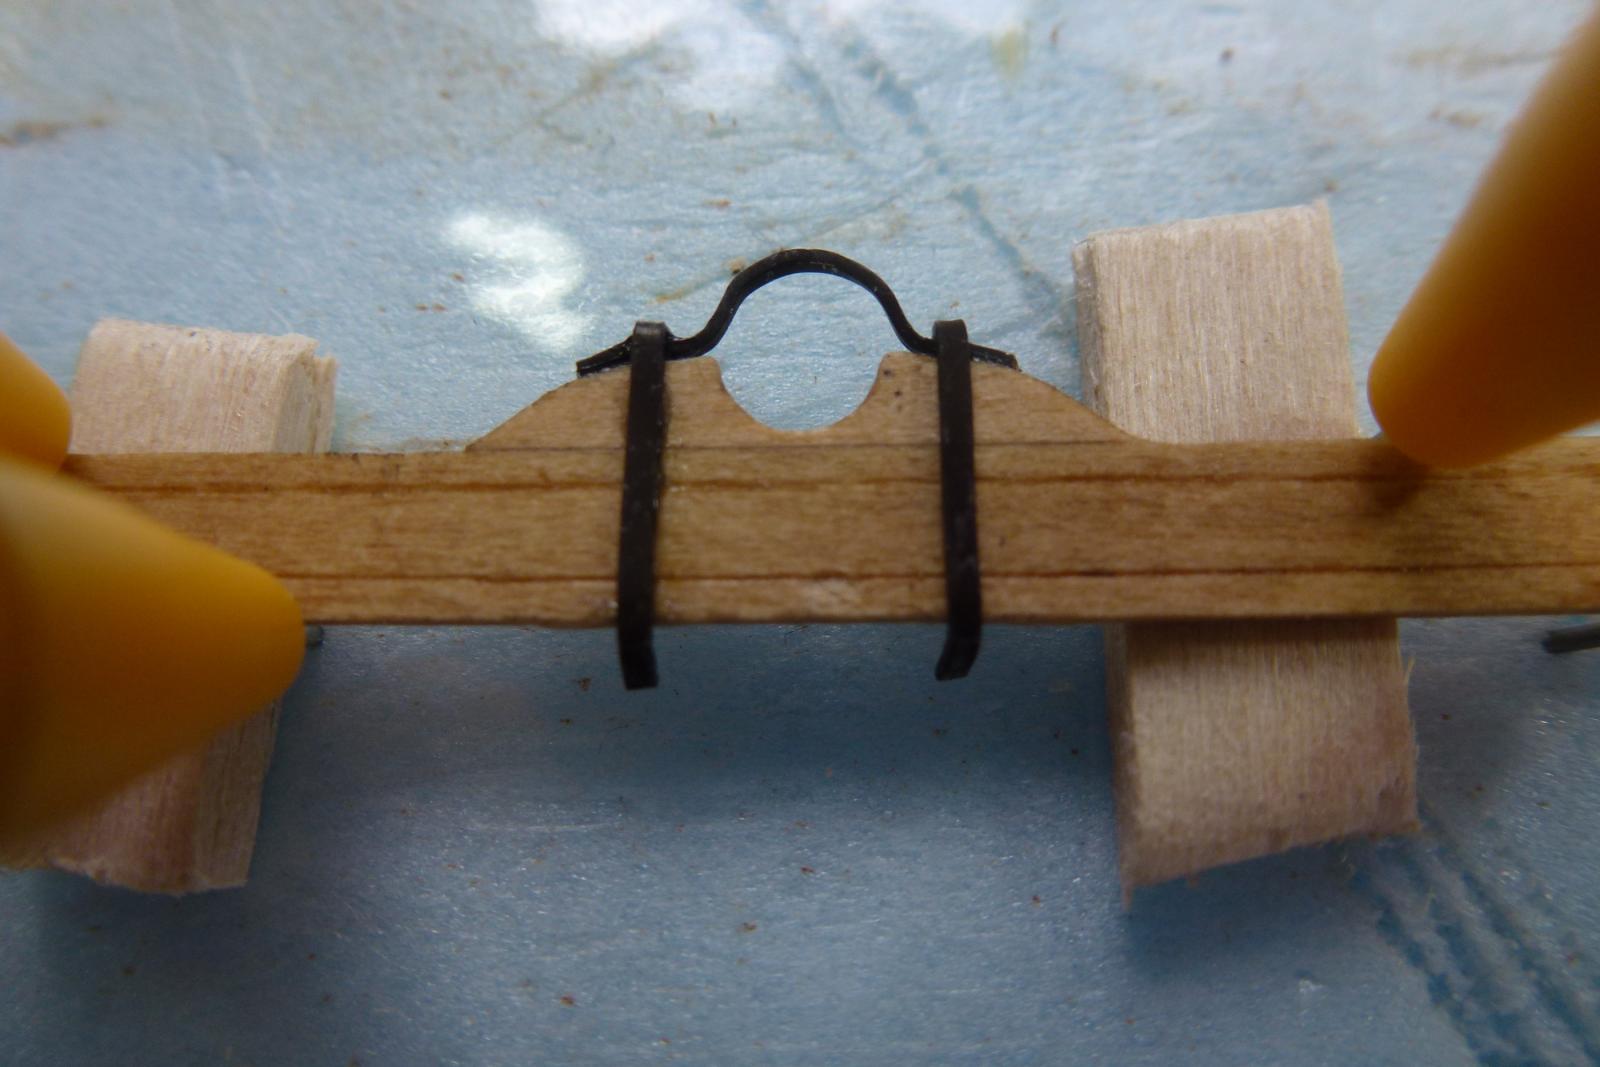
Once the glue settled, it was time to put a block between the foam and the thwart, this allowed me to attach the support band. Next up is the holes for the belaying pins.

- 335 replies
-
- 7
-
-
- 18th century longboat
- Finished
- (and 1 more)
-
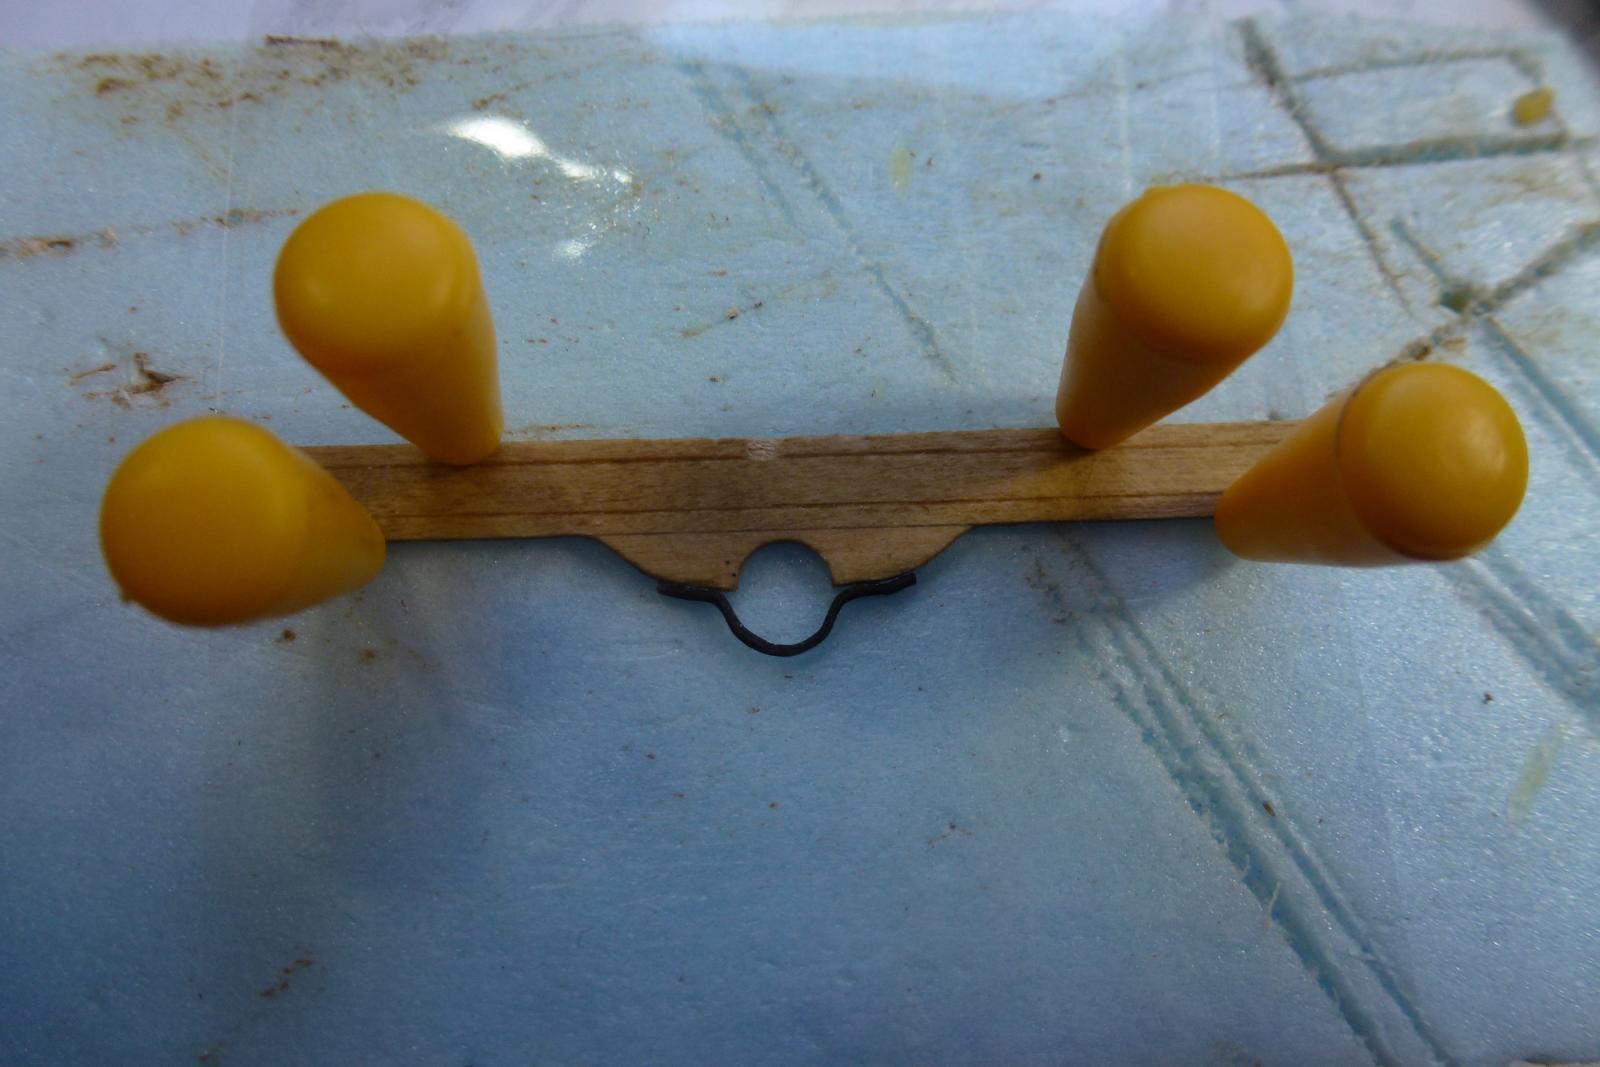
After some trimming and adjustment, I washed the brass to clear any surface from any grime and fat. This to ensure a better surface for the blackening. I am not using the Black-it product, but a product that I found at the local RR hobby shop. This product is probably the same as Black-it but seems to do a great job. This one is called rail weathering solution product number #49-104 and comes from Micro Engineering Company, it is recommended to start be diluted at 1:2. However, you can use the concentrate directly. Don't leave the cap off - the fumes can start blackening items in its surroundings! I learned this the hard but interesting way. One pint cost me back in 2009 USD 27.00 I used a piece of blue foam which I covered with clear tape and the pinned the thwart in place, then CA glued the mast ring in place. This way the two items doesn't get stuck to any other surfaces.

- 335 replies
-
- 7
-
-
- 18th century longboat
- Finished
- (and 1 more)
-
Erik, that mast thwart including the "brass fitting" looks extremely nice. Did you oxidized the brass or painted it? Very good job!
- 222 replies
-
- 6
-
-
- 18th century longboat
- model shipways
- (and 2 more)