-
Posts
935 -
Joined
-
Last visited
-
 Barbossa reacted to a post in a topic:
HMS Pegasus 1776 by Moonbug - Amati/Victory Models - 1:64
-
 CiscoH reacted to a post in a topic:
HMS Pegasus 1776 by Moonbug - Amati/Victory Models - 1:64
-
 Blue Ensign reacted to a post in a topic:
HMS Indefatigable 1794 by Blue Ensign - FINISHED - Vanguard Models - 1:64 scale
-
 mugje reacted to a post in a topic:
HMS Pegasus 1776 by Moonbug - Amati/Victory Models - 1:64
-
 gjdale reacted to a post in a topic:
HMS Pegasus 1776 by Moonbug - Amati/Victory Models - 1:64
-
 TJM reacted to a post in a topic:
HMS Pegasus 1776 by Moonbug - Amati/Victory Models - 1:64
-
 VTHokiEE reacted to a post in a topic:
HMS Pegasus 1776 by Moonbug - Amati/Victory Models - 1:64
-
 ccoyle reacted to a post in a topic:
HMS Pegasus 1776 by Moonbug - Amati/Victory Models - 1:64
-
 Moonbug reacted to a post in a topic:
HMS Pegasus 1776 by Moonbug - Amati/Victory Models - 1:64
-
Thanks Chuck, and also all ya'll following along. Always appreciate the encouragement.
- 312 replies
-
- Victory Models
- Pegasus
-
(and 3 more)
Tagged with:
-
 BobG reacted to a post in a topic:
HMS Pegasus 1776 by Moonbug - Amati/Victory Models - 1:64
-
 wvdhee reacted to a post in a topic:
HMS Pegasus 1776 by Moonbug - Amati/Victory Models - 1:64
-
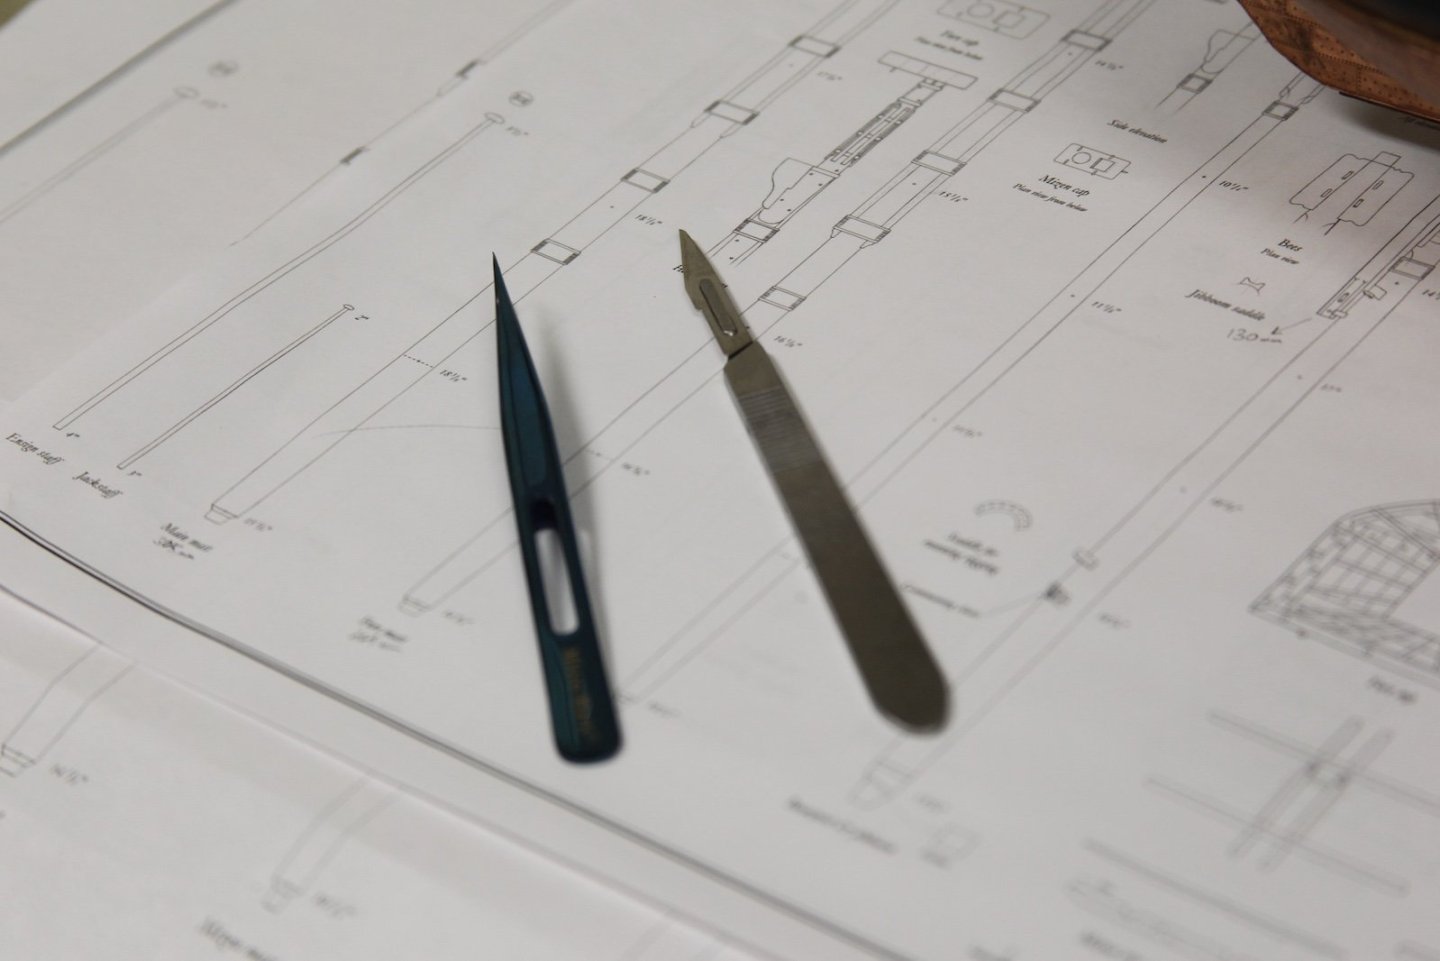
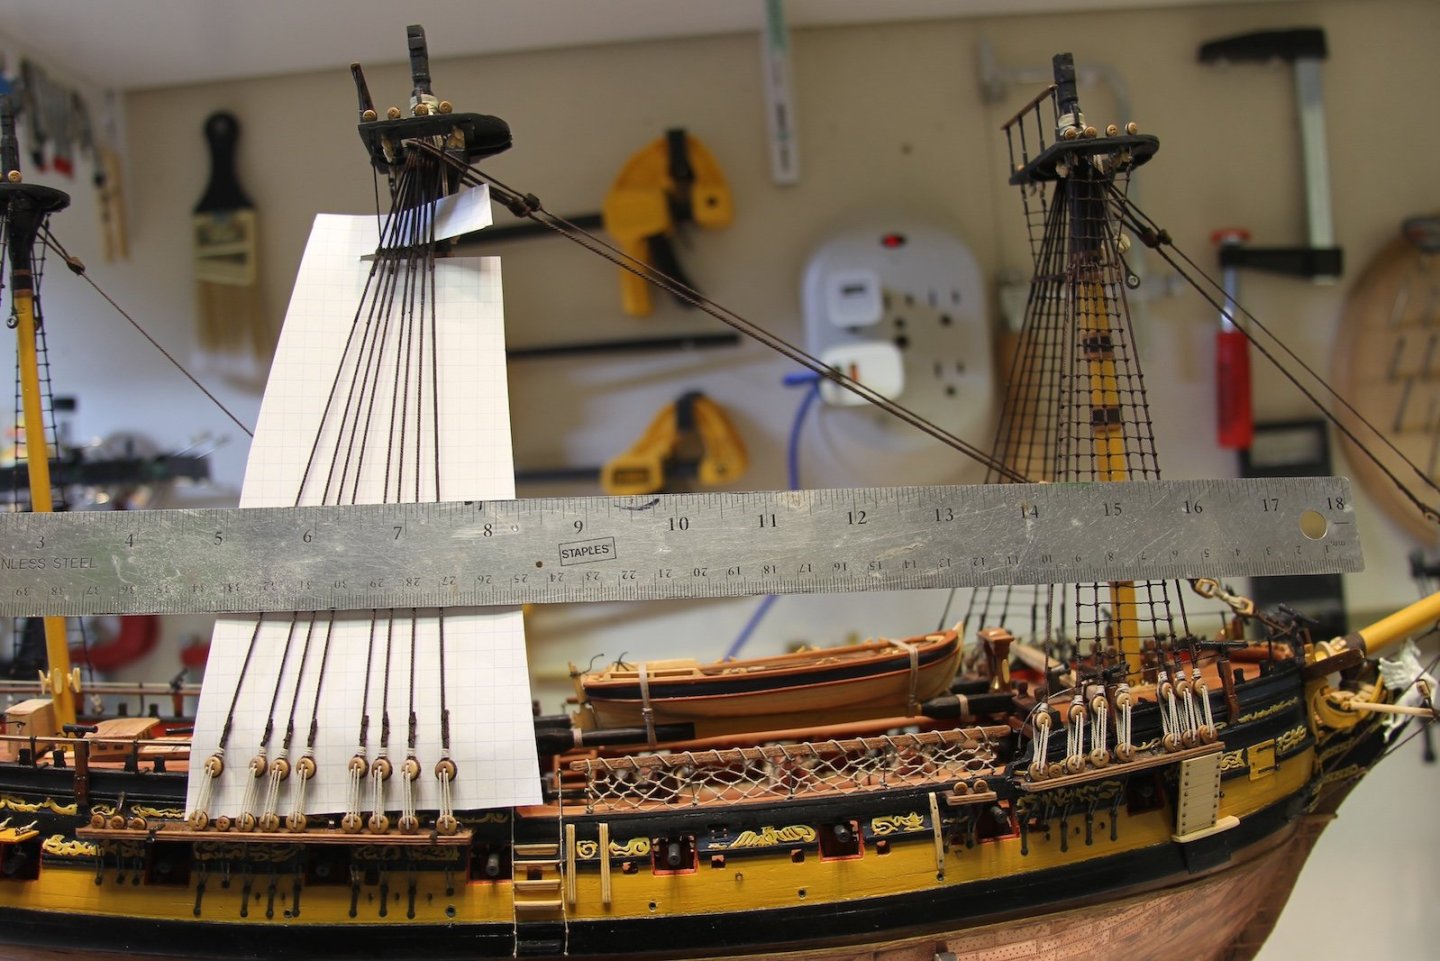
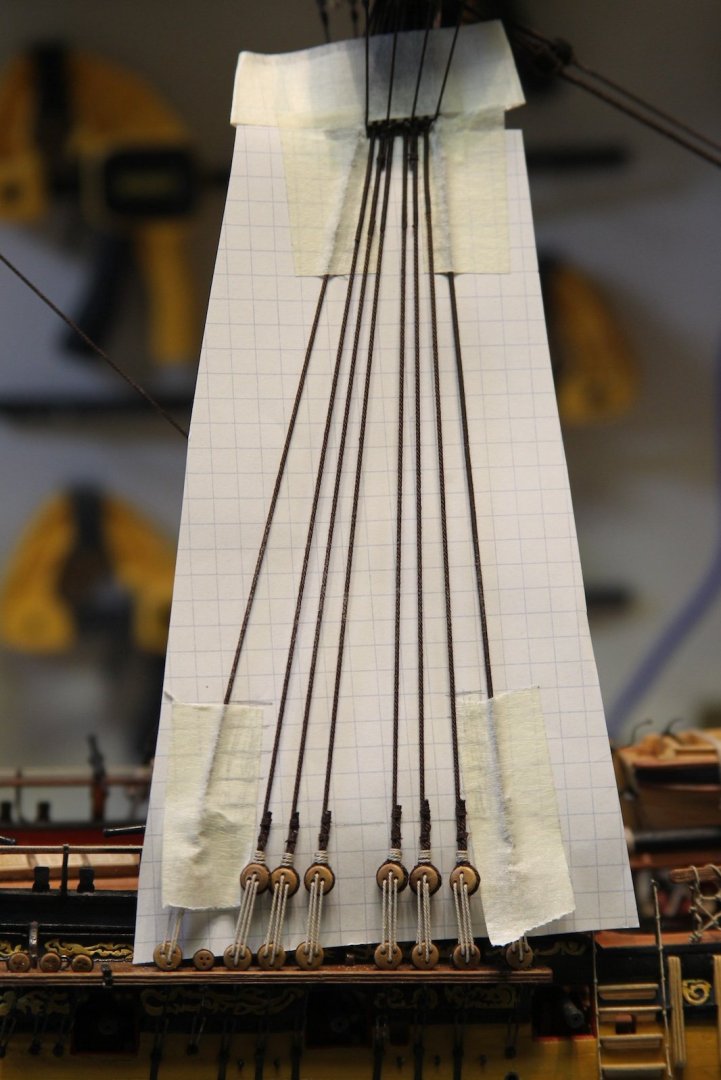
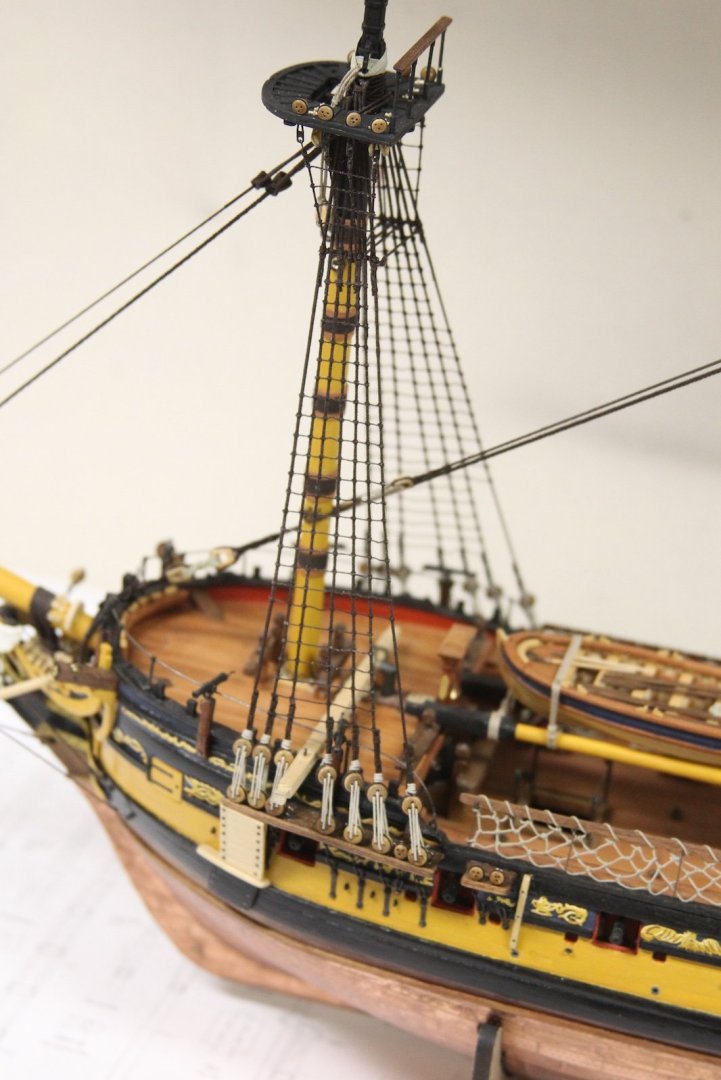
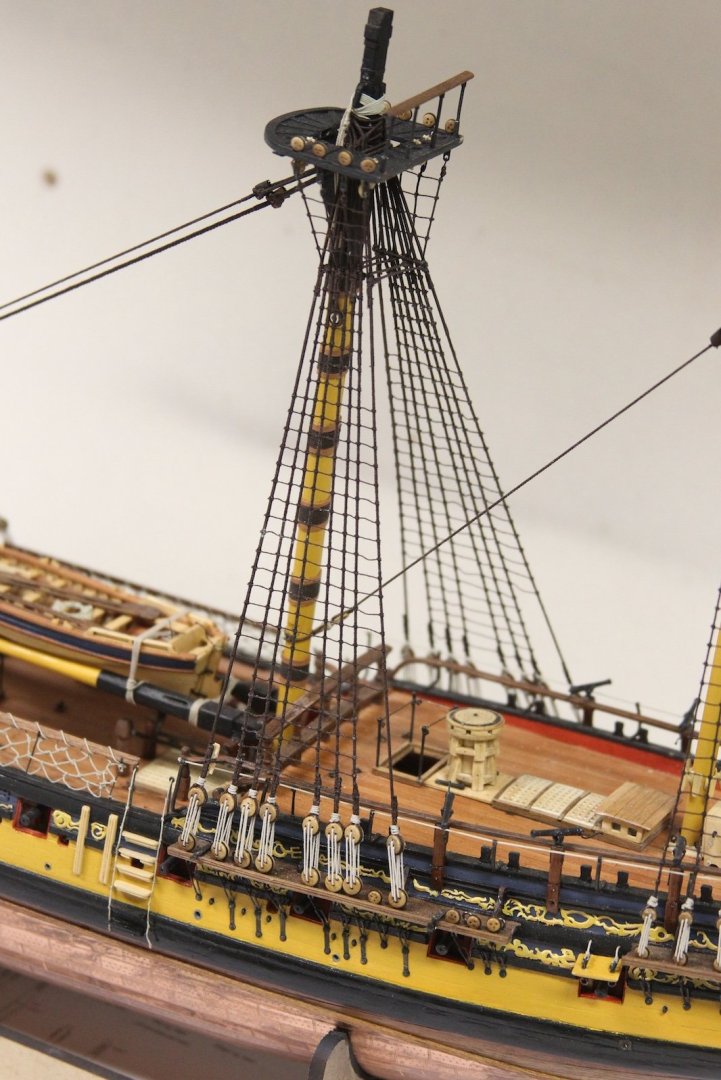
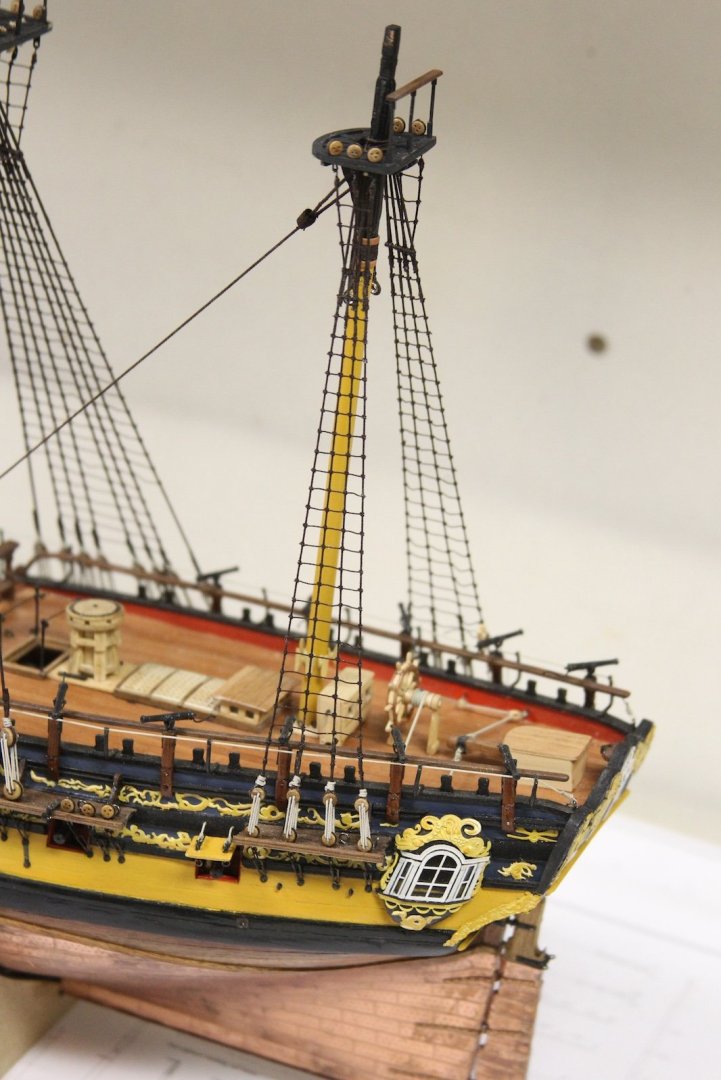
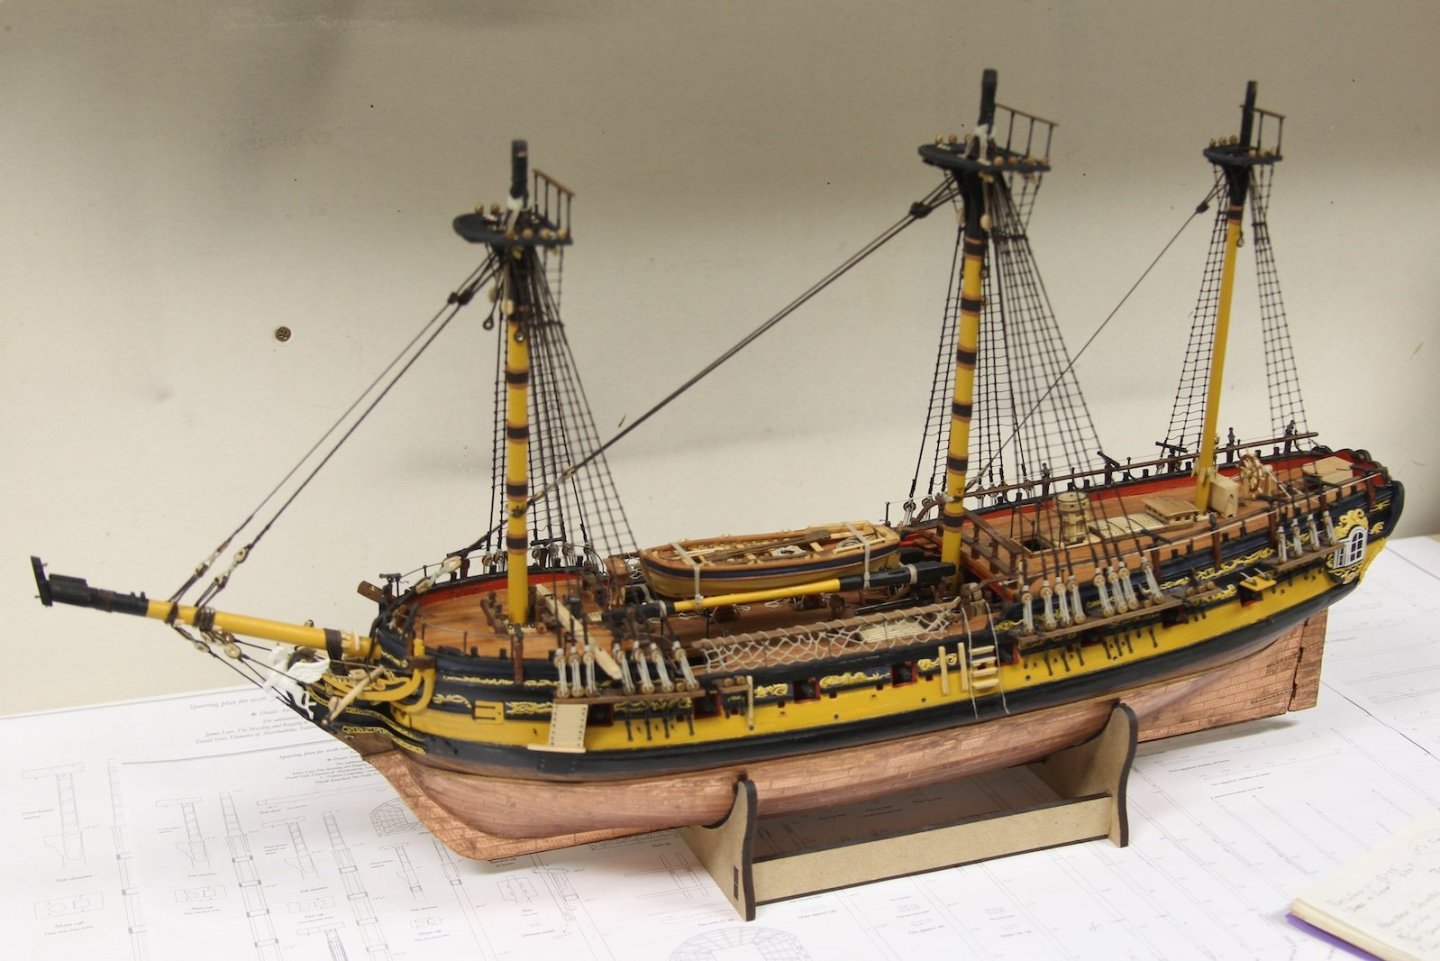
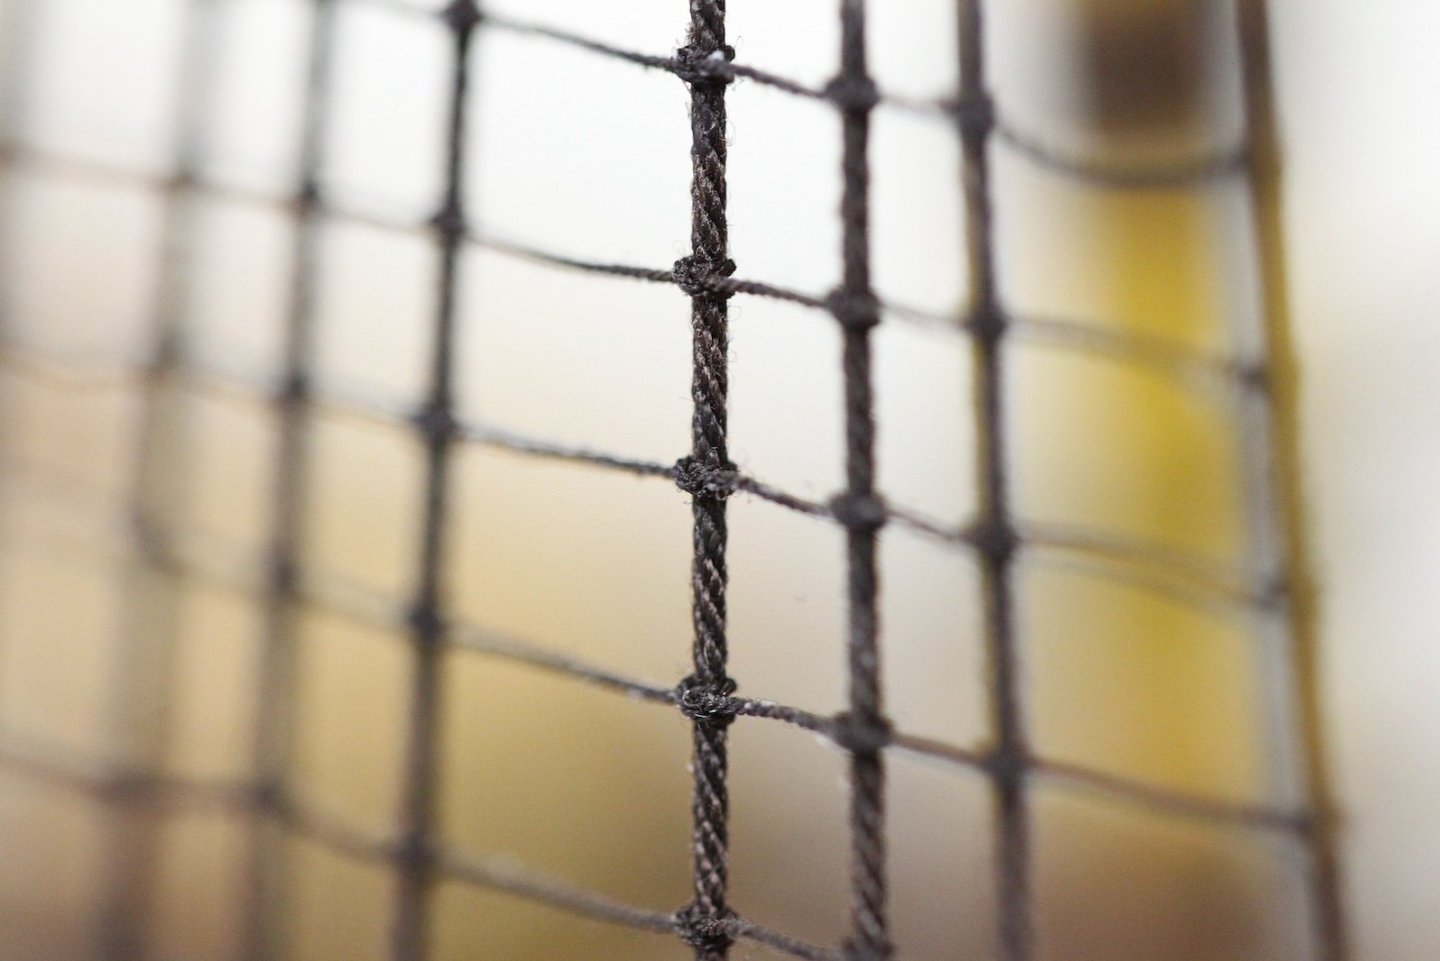
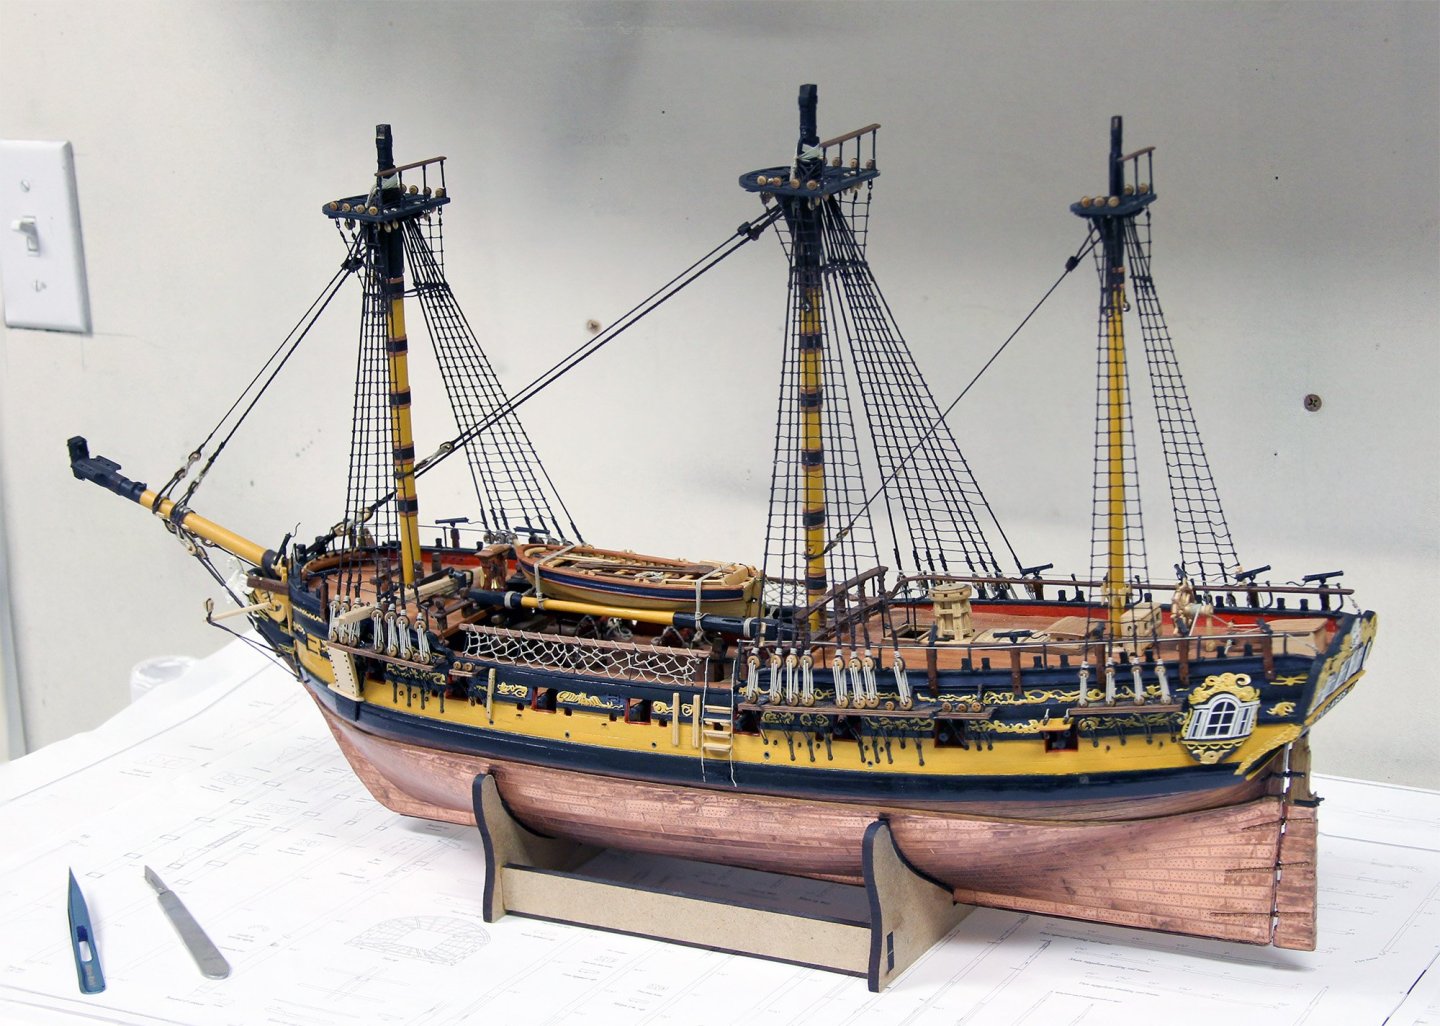
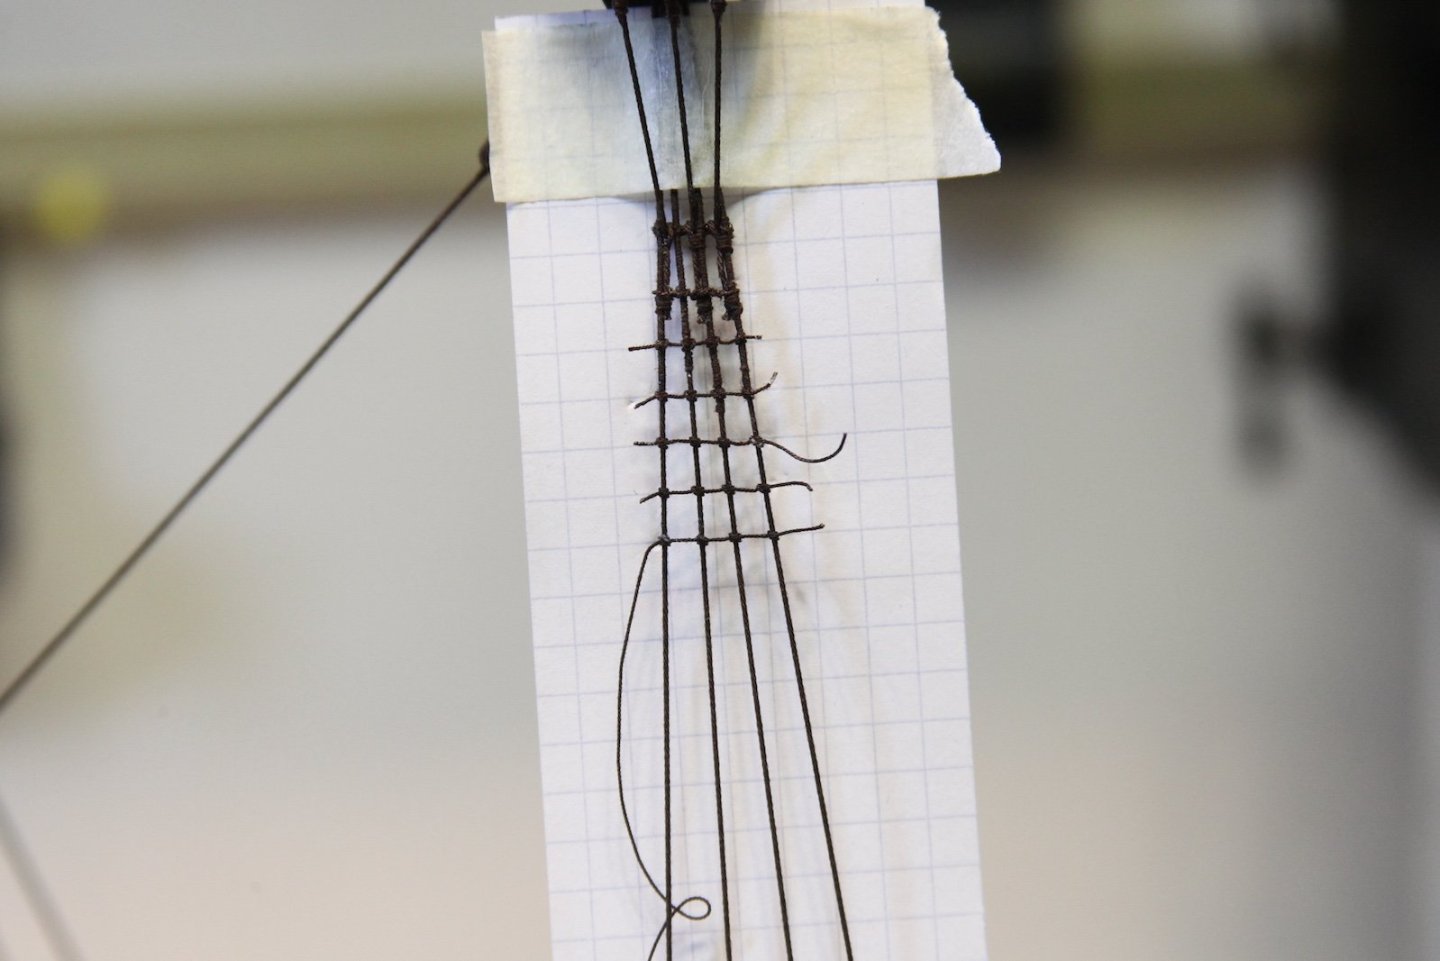
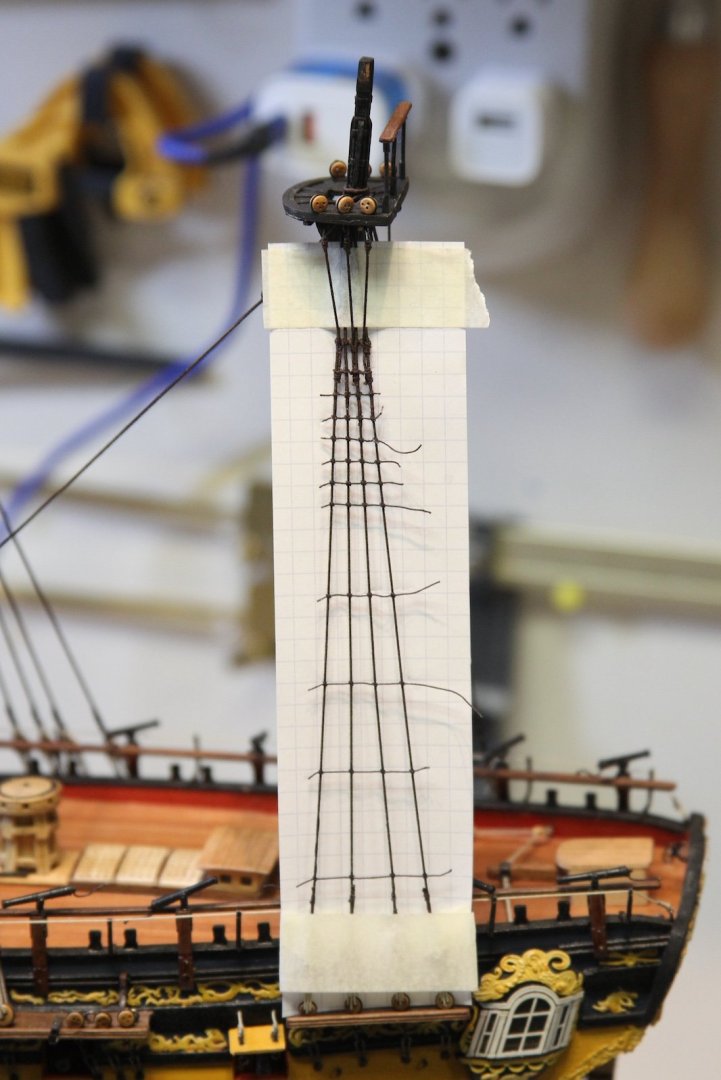
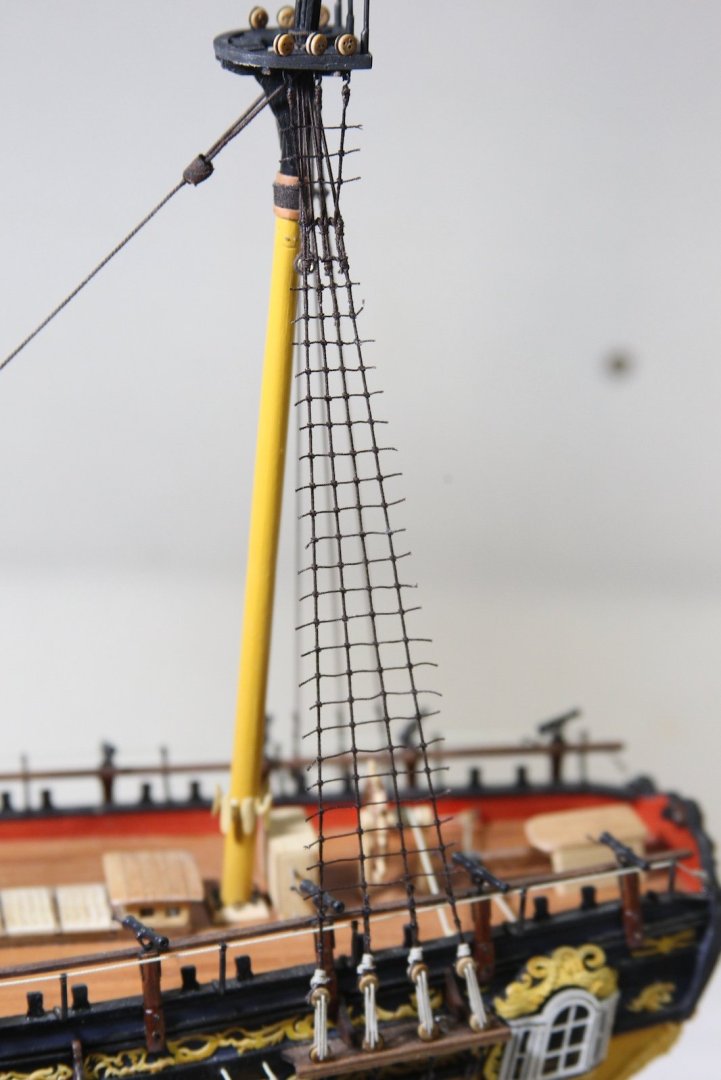
It's always a pretty big step when you knock off the lower ratlines. Just a couple of additional notes - the first six lines on the top and bottom of both the main and fore shrouds skip the foremost and aftmost shrouds. Otherwise the process is the same as the mizzen - skipping every few lines to prevent the shrouds from squeezing together or skewing. I used a long ruler to make sure my graph paper was positioned properly to the match the lines of the ship and the other ratlines. I also wanted to note here that it is quite important (especially at this scale) to let the diluted PVA dry completely before you try and trim the edges otherwise the knots will unravel and you'll have to redo some lines. After the end knots dry, I use a brand new blade on my scalpel, hold the end of the rope as tightly as I can with my smallest tweezers, then gently cut the rope as close to the knot as possible with a slow back and forth sawing motion using only the weight of the scalpel. Trying to "slice" the rope does not work here and results in pulling and fraying. This is also one of those places where it really does make a difference when you use higher quality lines - another benefit of making my own. The polyester fibers do have a tendency to slip a tiny bit, so going through and adjusting the clove hitches across each ratline is paramount to maintaining some semblance of evenness throughout the rigging. I have some a bit more slack than others, but overall I'm pleased with the end result. As we all know - this is one of those times when patience really does pay off. For those who are curious - a total of 784 clove hitches including the ratlines across the futtock shrouds.
- 312 replies
-
- Victory Models
- Pegasus
-
(and 3 more)
Tagged with:
-
 Moonbug reacted to a post in a topic:
The Mayflower by Knocklouder- FINISHED - Amati - 1:60
-
Love the perspective shot - not a small ship!
- 627 replies
-
- Indefatigable
- Vanguard Models
-
(and 1 more)
Tagged with:
-
 Moonbug reacted to a post in a topic:
HMS Indefatigable 1794 by Blue Ensign - FINISHED - Vanguard Models - 1:64 scale
-
 Moonbug reacted to a post in a topic:
Sloop Speedwell 1752 by Chuck - Ketch Rigged Sloop - POF - prototype build
-
 Moonbug reacted to a post in a topic:
Sloop Speedwell 1752 by Chuck - Ketch Rigged Sloop - POF - prototype build
-
 Moonbug reacted to a post in a topic:
HMS Pegasus 1776 by Moonbug - Amati/Victory Models - 1:64
-
Thanks @Blue Ensign- I appreciate it! I’ve been combing through your old Peg log as I go of course - so I’ll keep at it along with Dan’s - trying to note the differences between Lees and others as well. I haven’t been able to get ahold of the TFFM volume, but I have all the computer images from Greg - a little harder to distinguish specifics sometimes versus the print. thanks again!
- 312 replies
-
- Victory Models
- Pegasus
-
(and 3 more)
Tagged with:
-
 Moonbug reacted to a post in a topic:
HMS Flirt by TJM - Vanguard Models - 1:64
-
 Moonbug reacted to a post in a topic:
HMS Flirt by wvdhee - Vanguard Models - 1:64
-
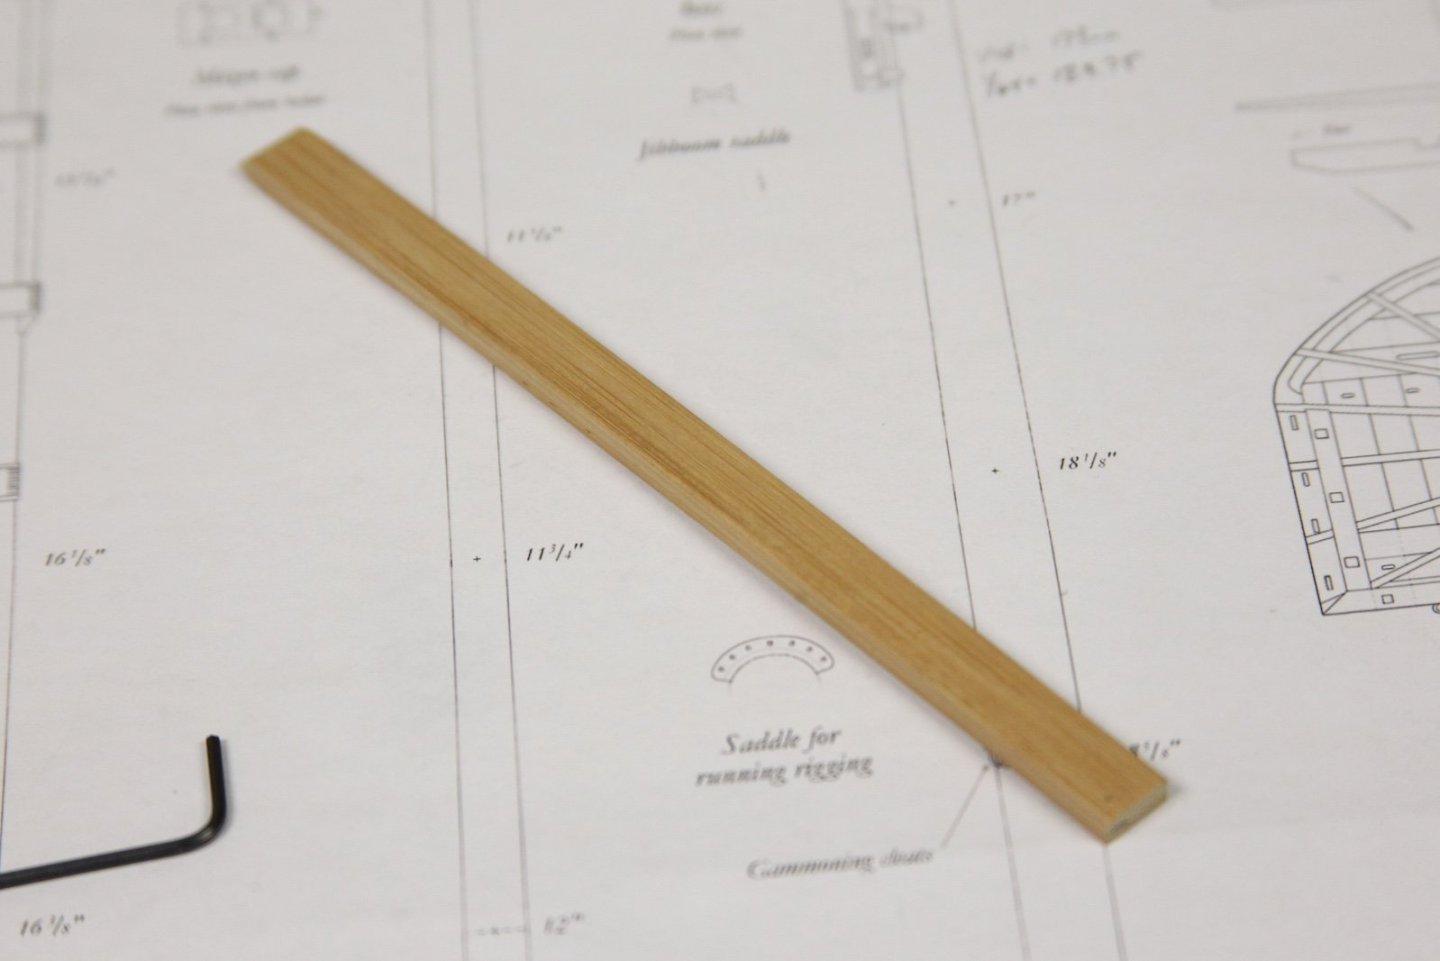
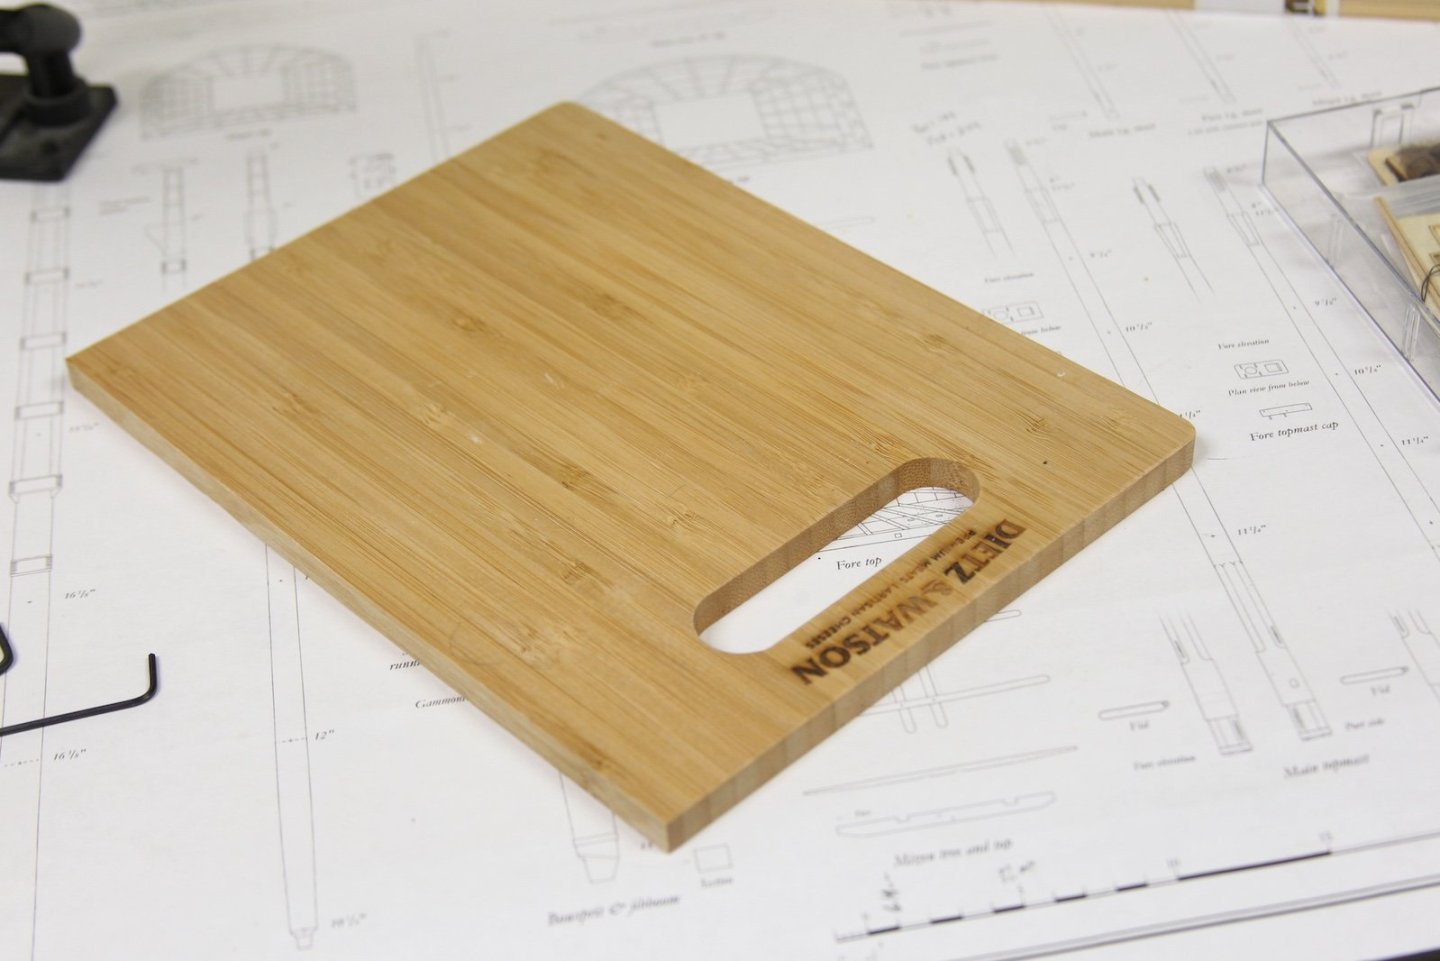
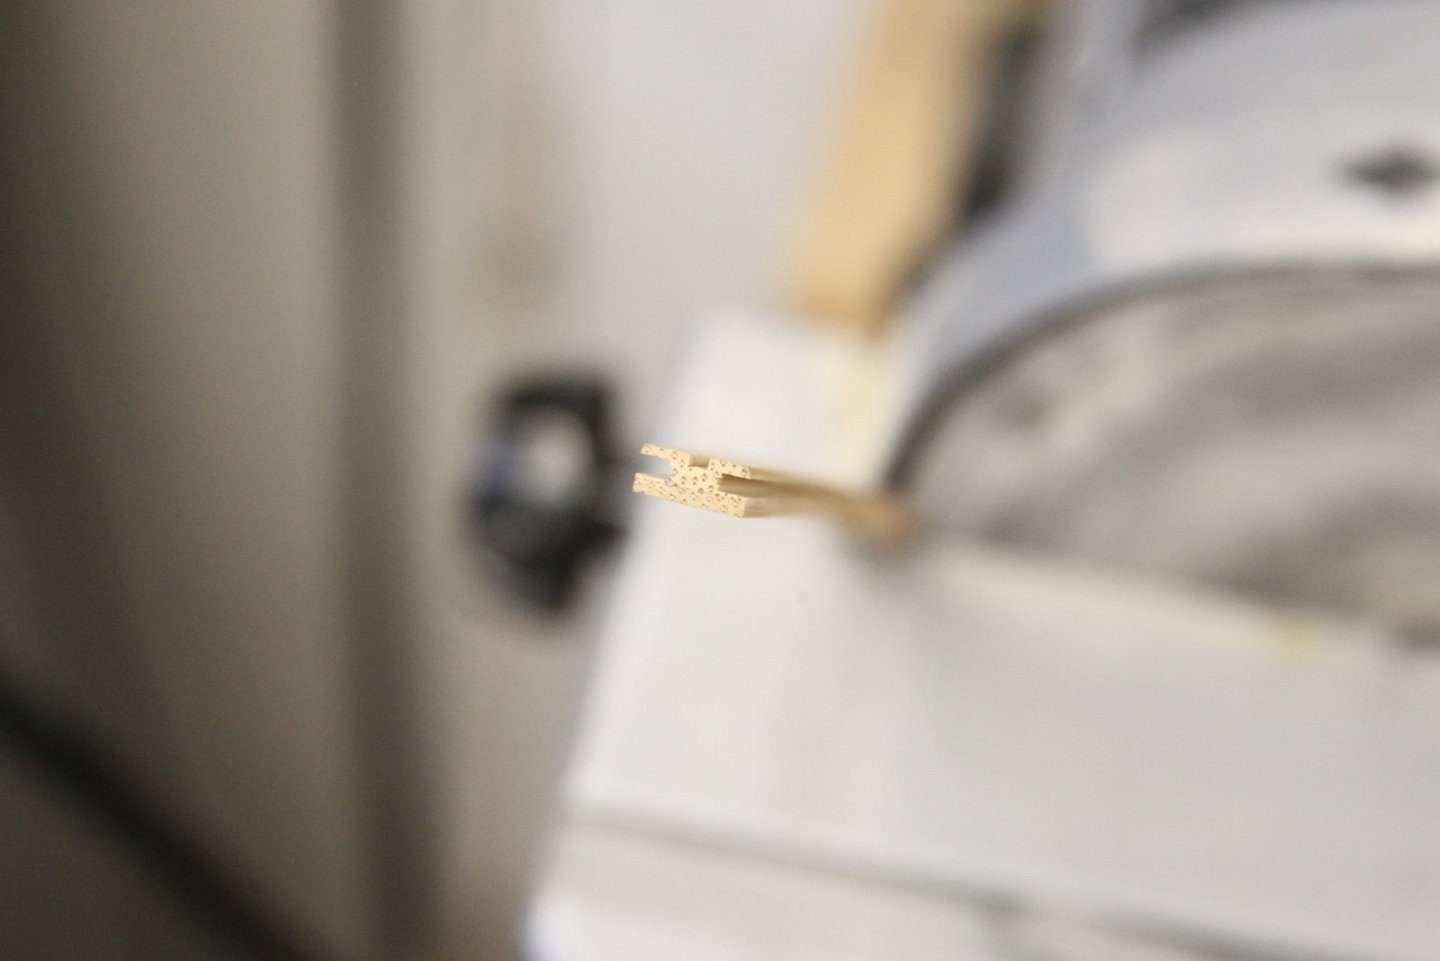
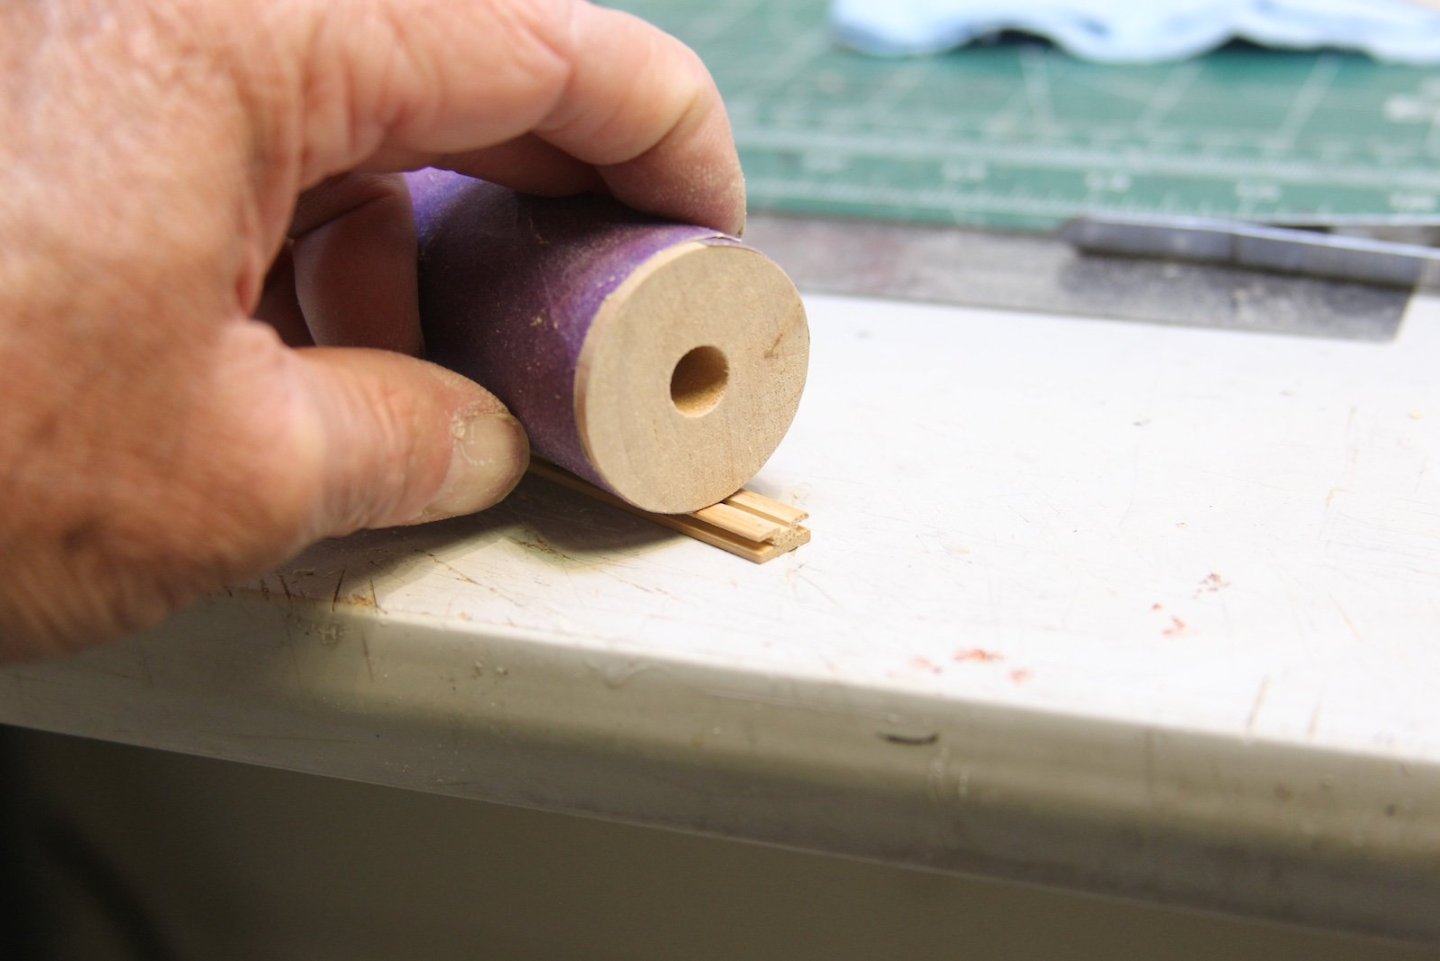
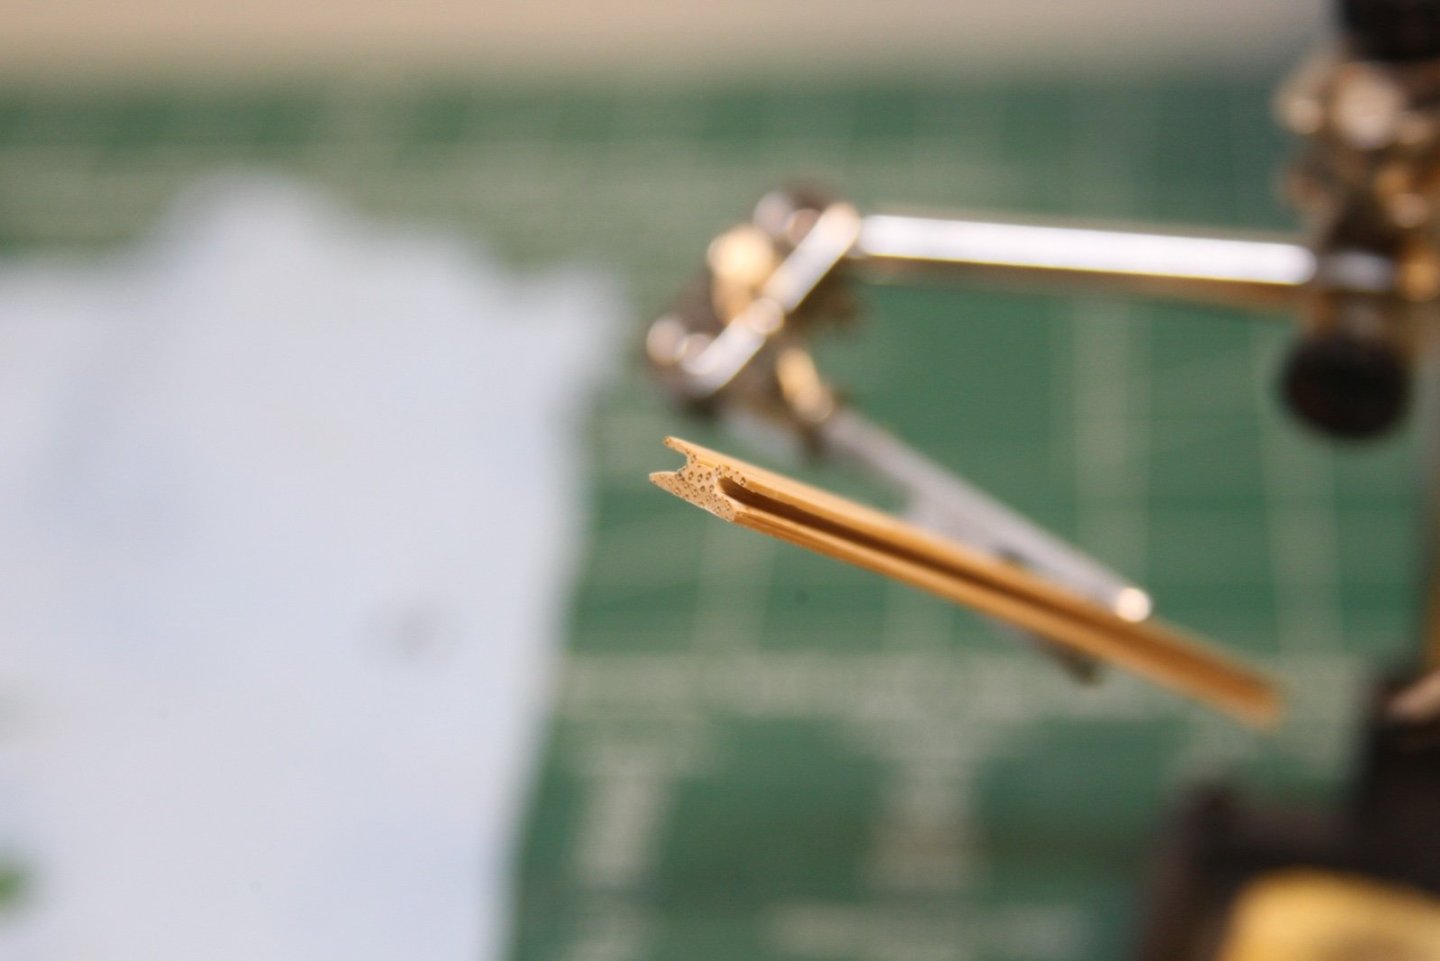
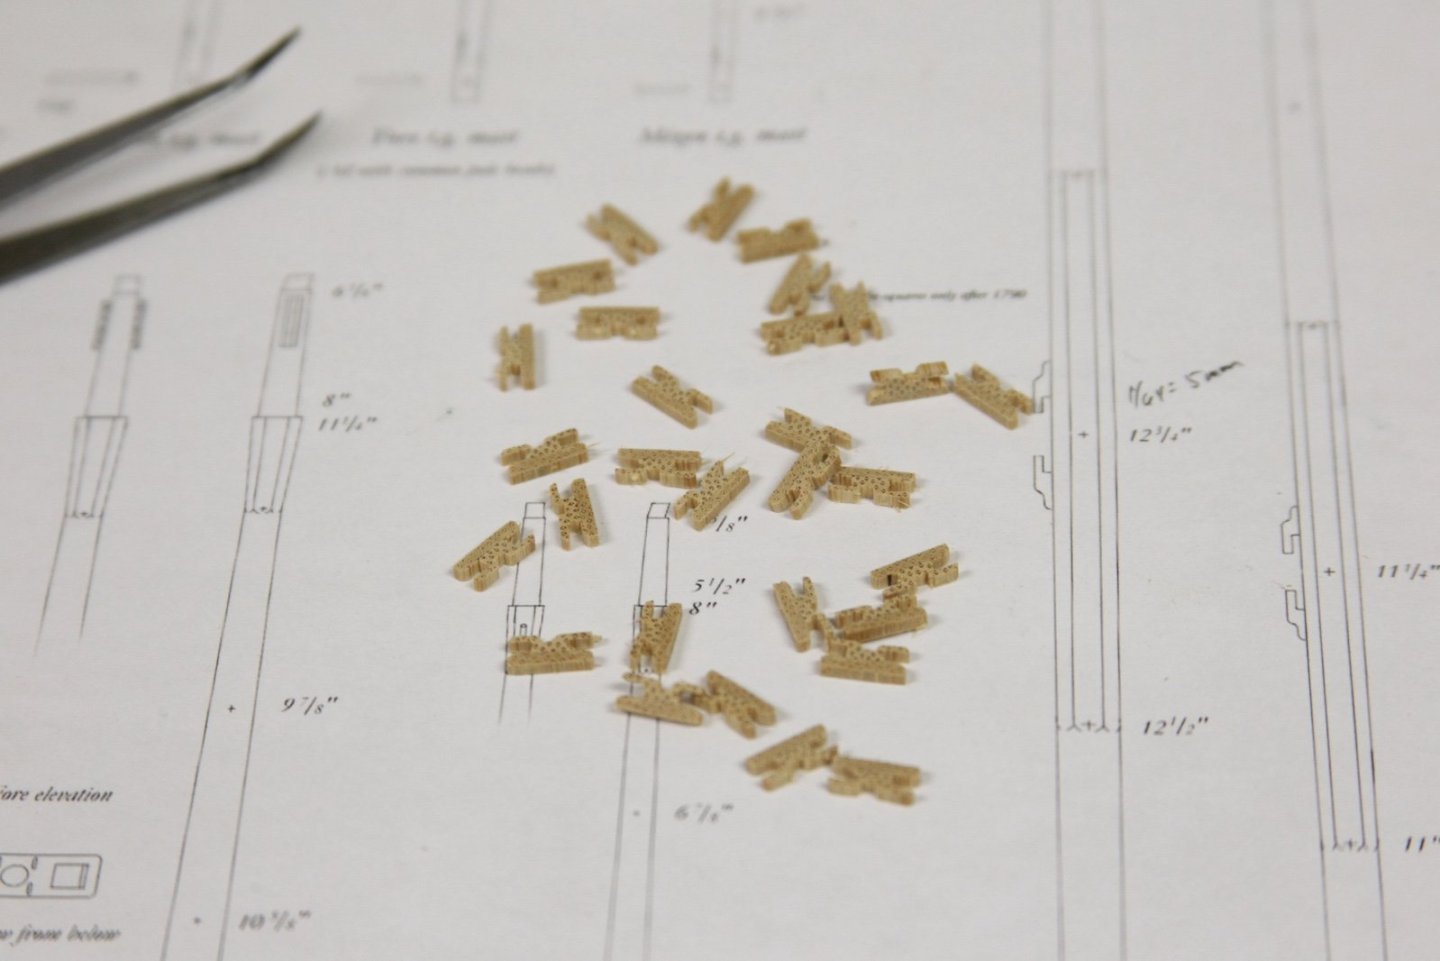
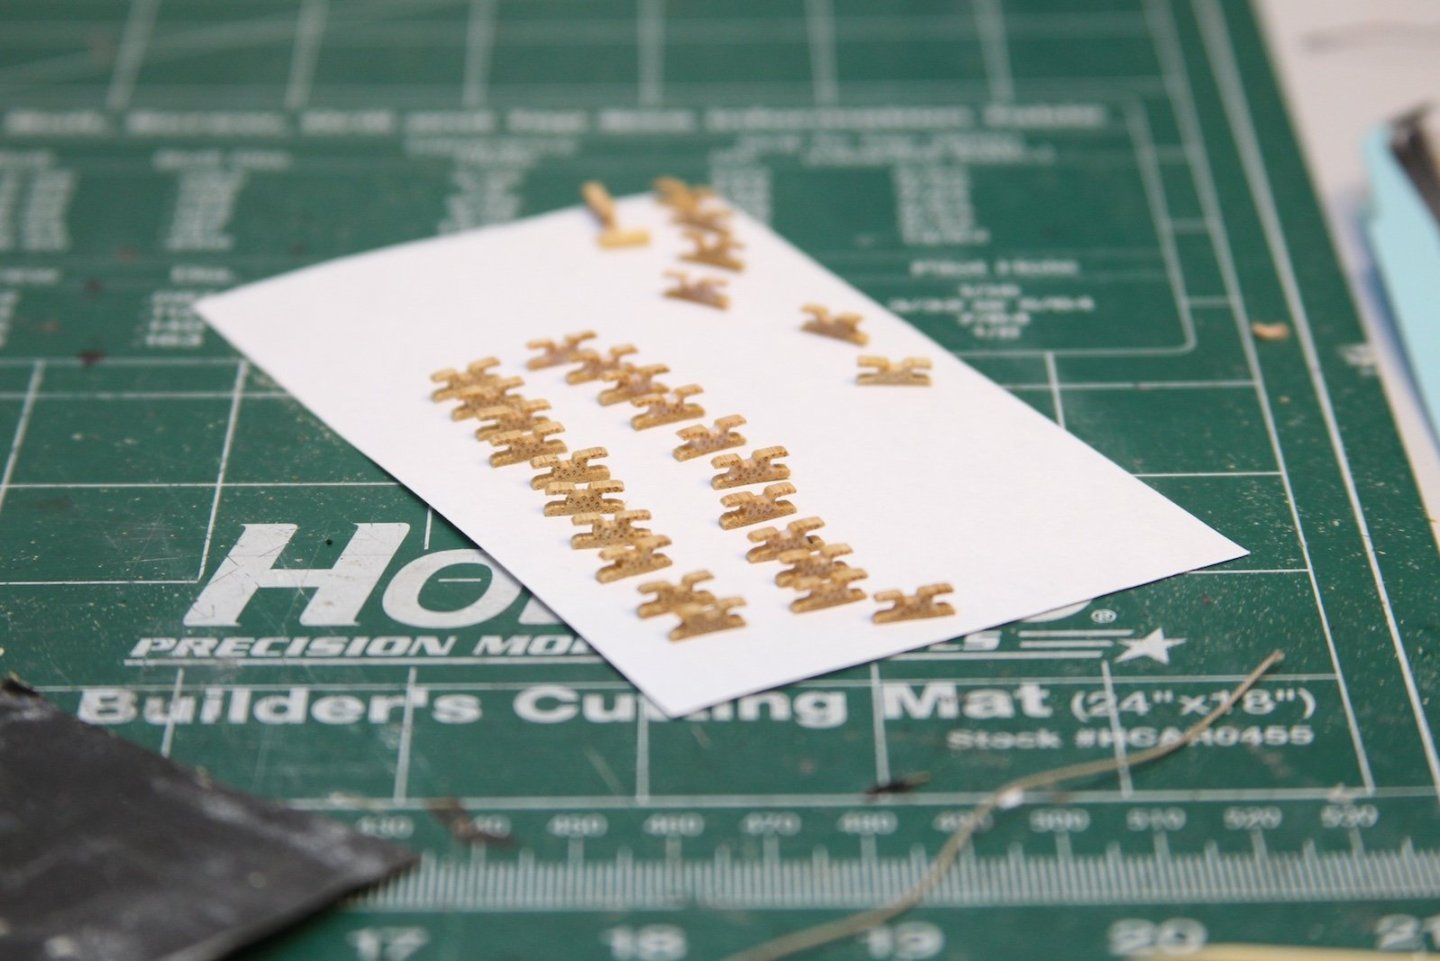
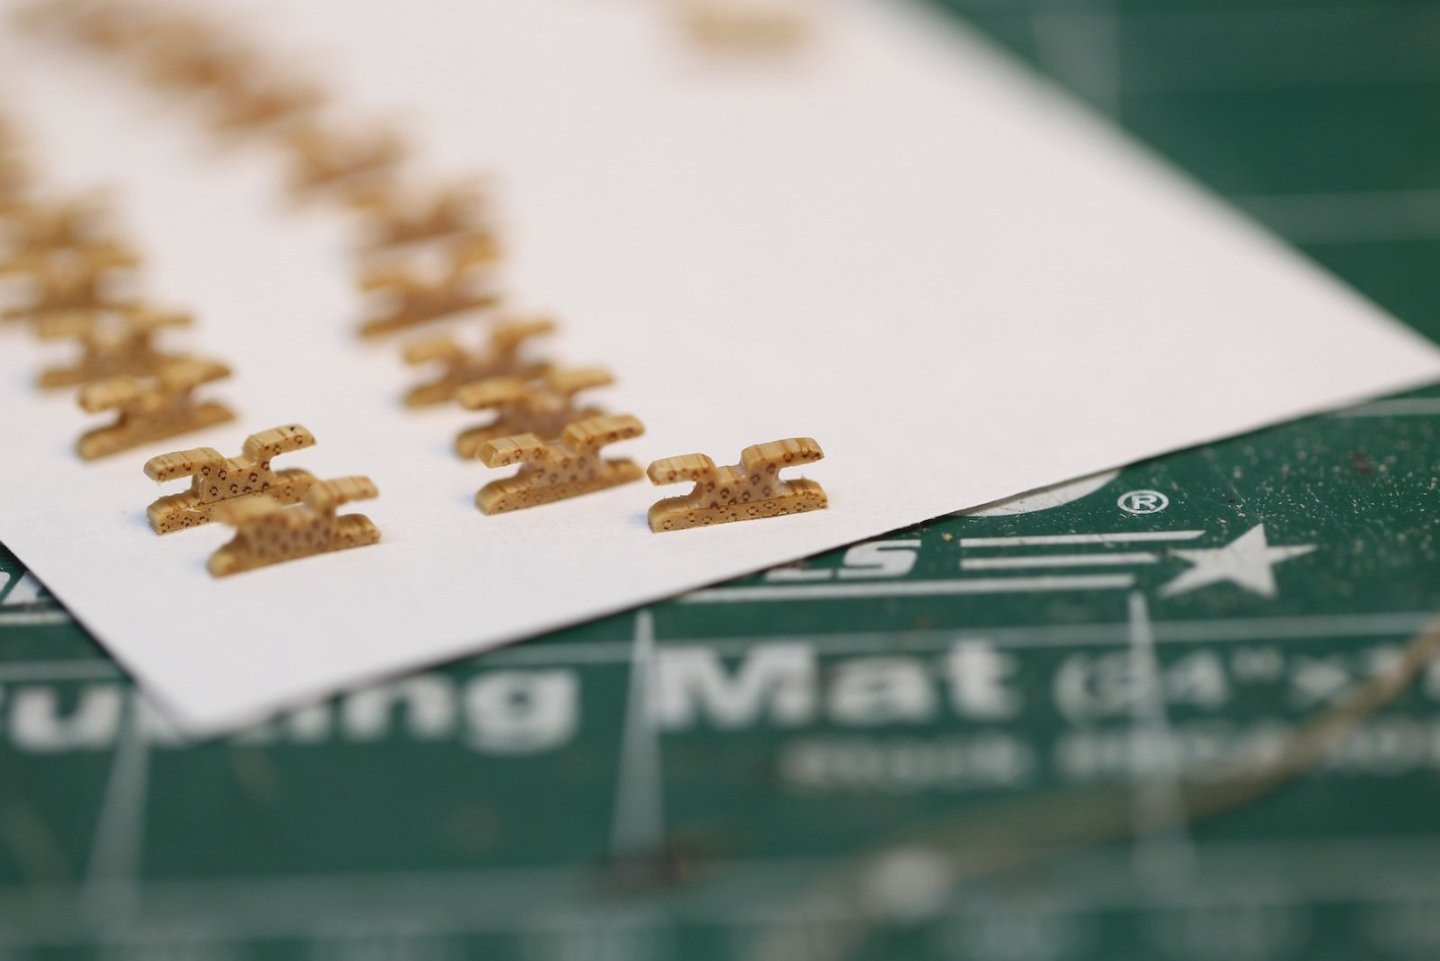
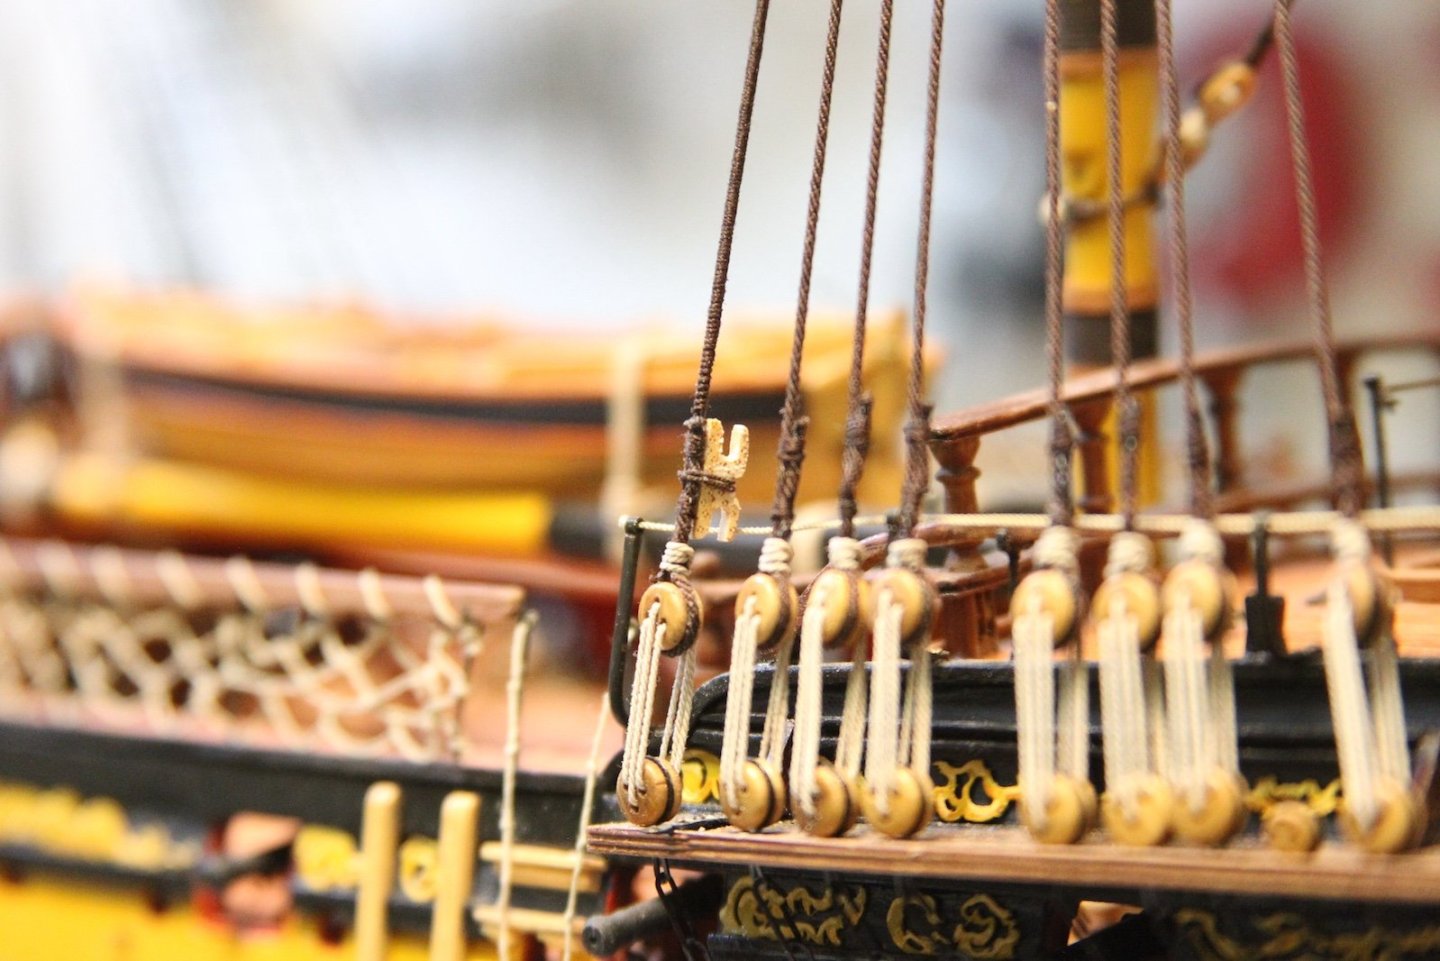
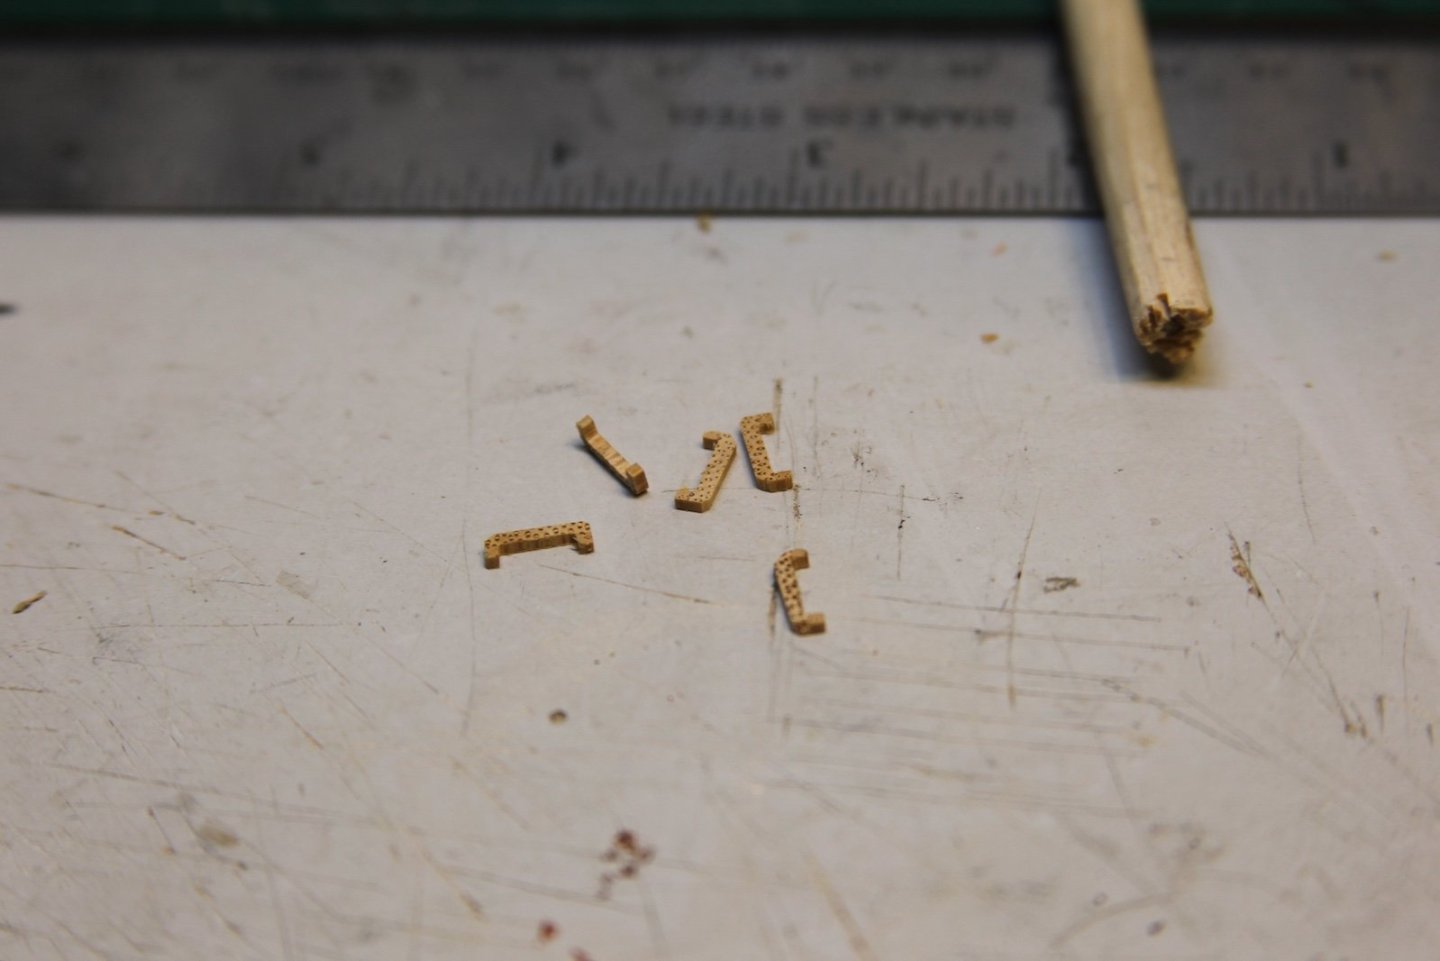
I took a break from ratlines this morning to work on some shroud cleats that I'll need soon. My inspiration for how to do these came from a variation of Dan Vadas. I started with a 4m thick by 10mm wide strip of this random (not sure what it is) hardwood that came from an extra cheeseboard the Admiral got rid of. First, I added a slightly thicker (just under 2mm wide) blade on the table saw to notch the sides deeply and the top shallow. The top is shaped with a round sanding tool then a round needle file. Varying degrees of VERY light sanding is down to create some shape to the grooves before I switch back to my thinnest table saw blade to cut over 30 cleats at 2mm thick each. If you're going to follow a similar method - make at least a handful more than you need as quite a few don't survive the process; particularly at this scale. After the they're cut, the individual cleats are then subject to even more delicate sanding to round out the edges. More are lost to this process as well regardless of how gently I apply 600 - 1000 grit sand paper. Each survivor is then dipped into water based wipe on poly to provide a modicum of strength for later rigging then left to dry. Here's a final product seized to the main foremost shroud to see how it looks. I mounted it by sticking it in place with the barest touch to CA before seizing it with .10mm line. I ended up with 28 or so workable cleats, which should be a couple more than I need. I actually had a pretty difficult time determining exactly how many I'd need. After scouring the FFM images I have, as well as some Swan logs here, I finally came up with a total of 26 - though it appears not all of them are rigged when all is said and done. Here's my list (applies to both port and starboard sides): Mizzen, Main, and Fore tops - the first two aft shrouds (12 total). Lower Mizzen - the foremost shroud (2). Lower Fore - the foremost three shrouds (6 total). Lower Main - the first two foremost shrouds and the fourth shroud (6 total). If someone (maybe one of the Swan experts @dvm27, @Blue Ensign, or @chris watton?) has a solid reference on how many shroud cleats are used and where they're used - I'd appreciate it greatly.
- 312 replies
-
- Victory Models
- Pegasus
-
(and 3 more)
Tagged with:
-
 Moonbug reacted to a post in a topic:
HMS Pegasus 1776 by Moonbug - Amati/Victory Models - 1:64
-
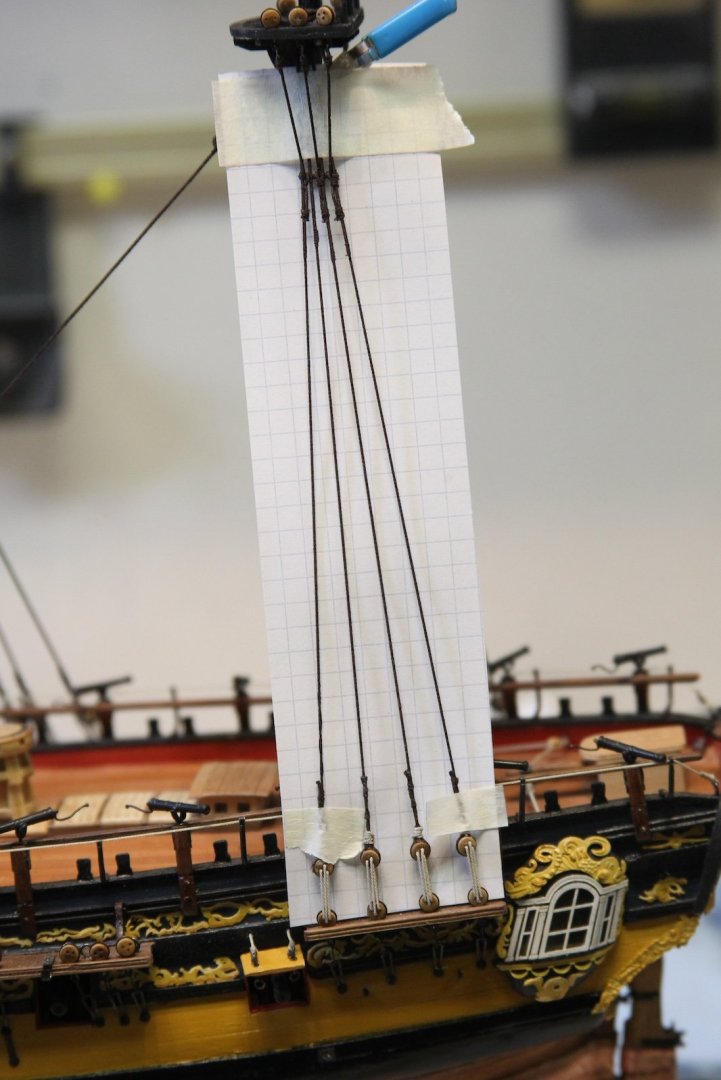
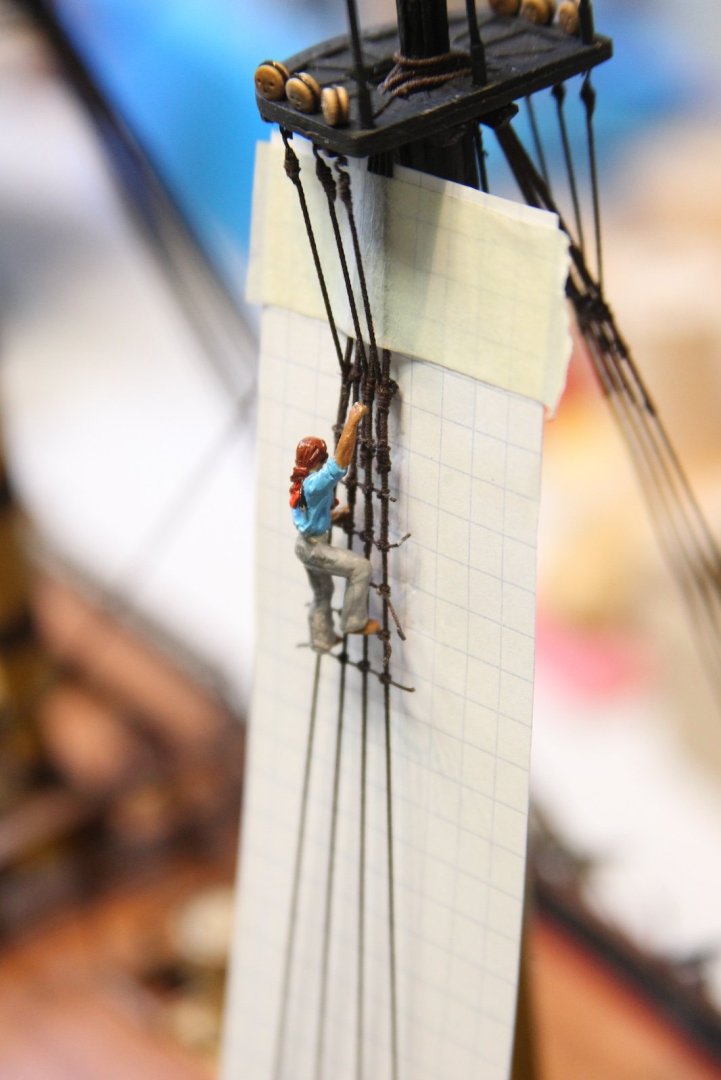
The Great Ratline Color Debate Chevy versus Ford. Coke versus Pepsi. Boxers versus Briefs. These are just a few of the most notorious debates in our world. For those of us here in "ship nerd land" - the color of ratlines is right up there with the others. I think at this point I've read nearly every post on this forum about ratline colors over the last few months as I've neared this time in the build. Just as I thought I got to a decision - I'd see something else to change my mind. Early on I was definitely leaning toward a natural (non-tarred) rope for the ratlines. But as I looked at other builds from some of the most stalwart builders leaning toward darker ratlines - I was swayed that direction. Then, I see shots of the Victory using tan lines (even though it's obviously using more modern rope) and I started rewatching "Black Sails" for the upteenth time - more tan ratlines. Ultimately - it because a matter of contrast and aesthetics. This build is already going to have plenty of contrast between the running and standing rigging, especially since I'll most likely use tan for the crow's feet. So I finally landed on darker ratlines. My lines are a little over .10 mm as that's the smallest rope I can make with three lines of Gutermann Mara 150 spun tightly. I went with a distance of 13" between the lines; which at 1/64 is close to enough to 5mm. I pulled out some graph paper with 5mm squares and cut it to fit behind the mizzen shrouds - also adjusting the bottom of the graph paper to parallel the ship's lines, then taping it off. After the first handful of clove hitches at the top, I used my seaman to see if my distance was what I was looking for - he seemed ok with it, so I pressed on. It should be noted that my first few clove hitches were super bulky because when I looked up a clove hitch to job my memory - I ended up following some funky version that had the line cross back through itself in an odd way. I took all those knots out and started again with the basic clove hitch getting a much smoother result. To avoid the dreaded tugging of the shrouds, I skipped a few ratlines at a time, then went back to make adjustments, and only when I was satisfied did I go back and tighten knots and coat them all with diluted PVA. After giving the glue a day to dry, I'll go back and clean up all the ends and press on to the other side and rest of the masts.
- 312 replies
-
- Victory Models
- Pegasus
-
(and 3 more)
Tagged with:
-
Thanks so much Brunnels and Bob - appreciate it! I do enjoy the rigging quite a bit. Sometimes it gets a bit tedious, but definitely reinforces patience. I do wish my dexterity wasn't slipping as I get older, but not much we can do about that.
- 312 replies
-
- Victory Models
- Pegasus
-
(and 3 more)
Tagged with:
-
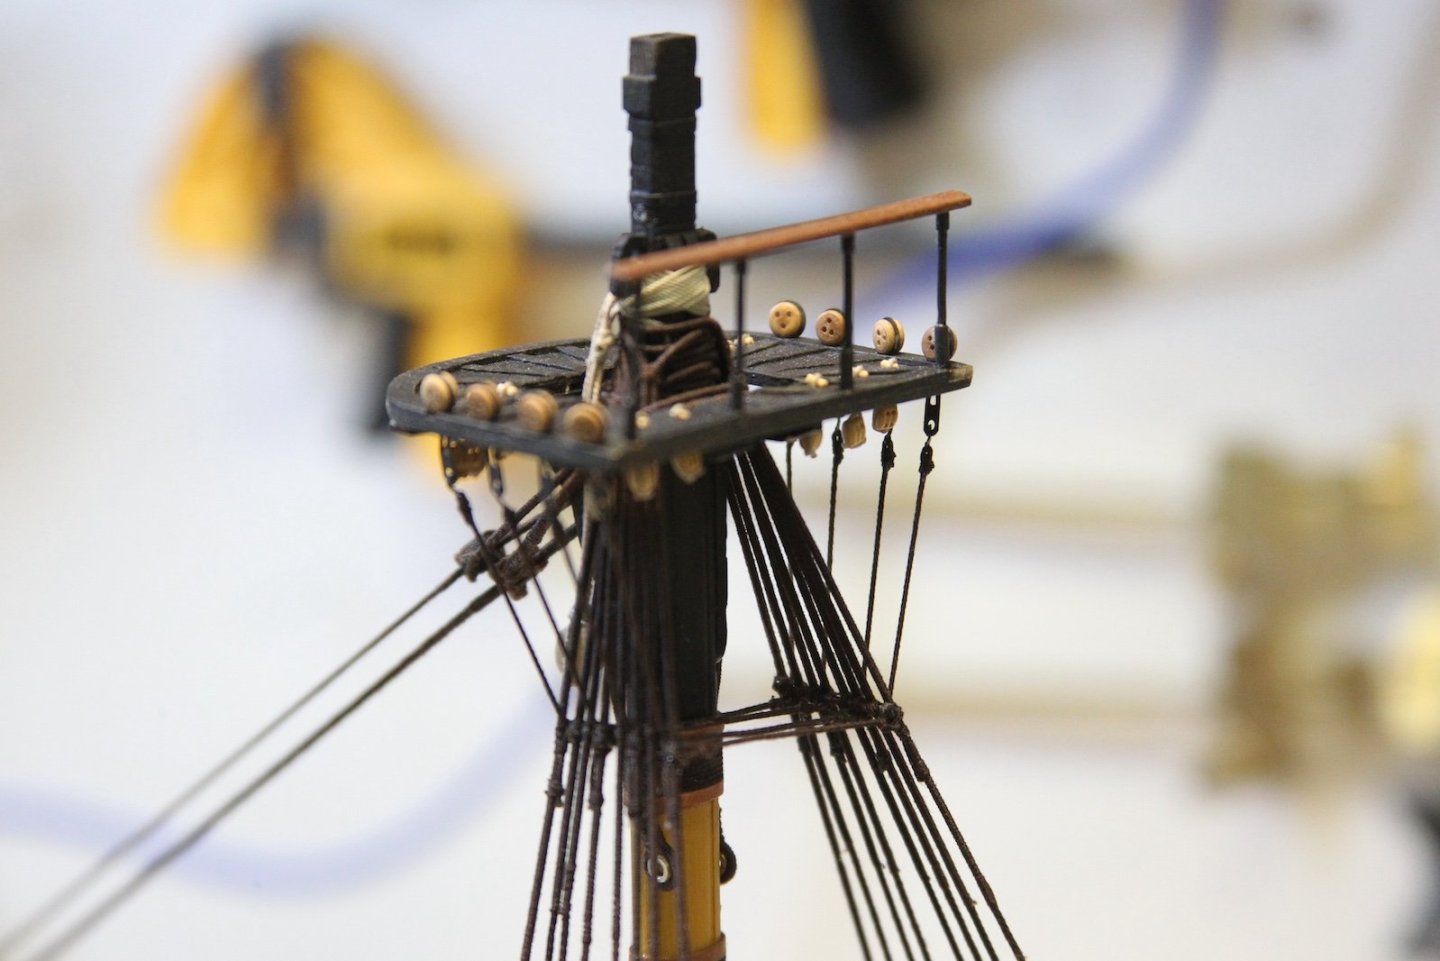
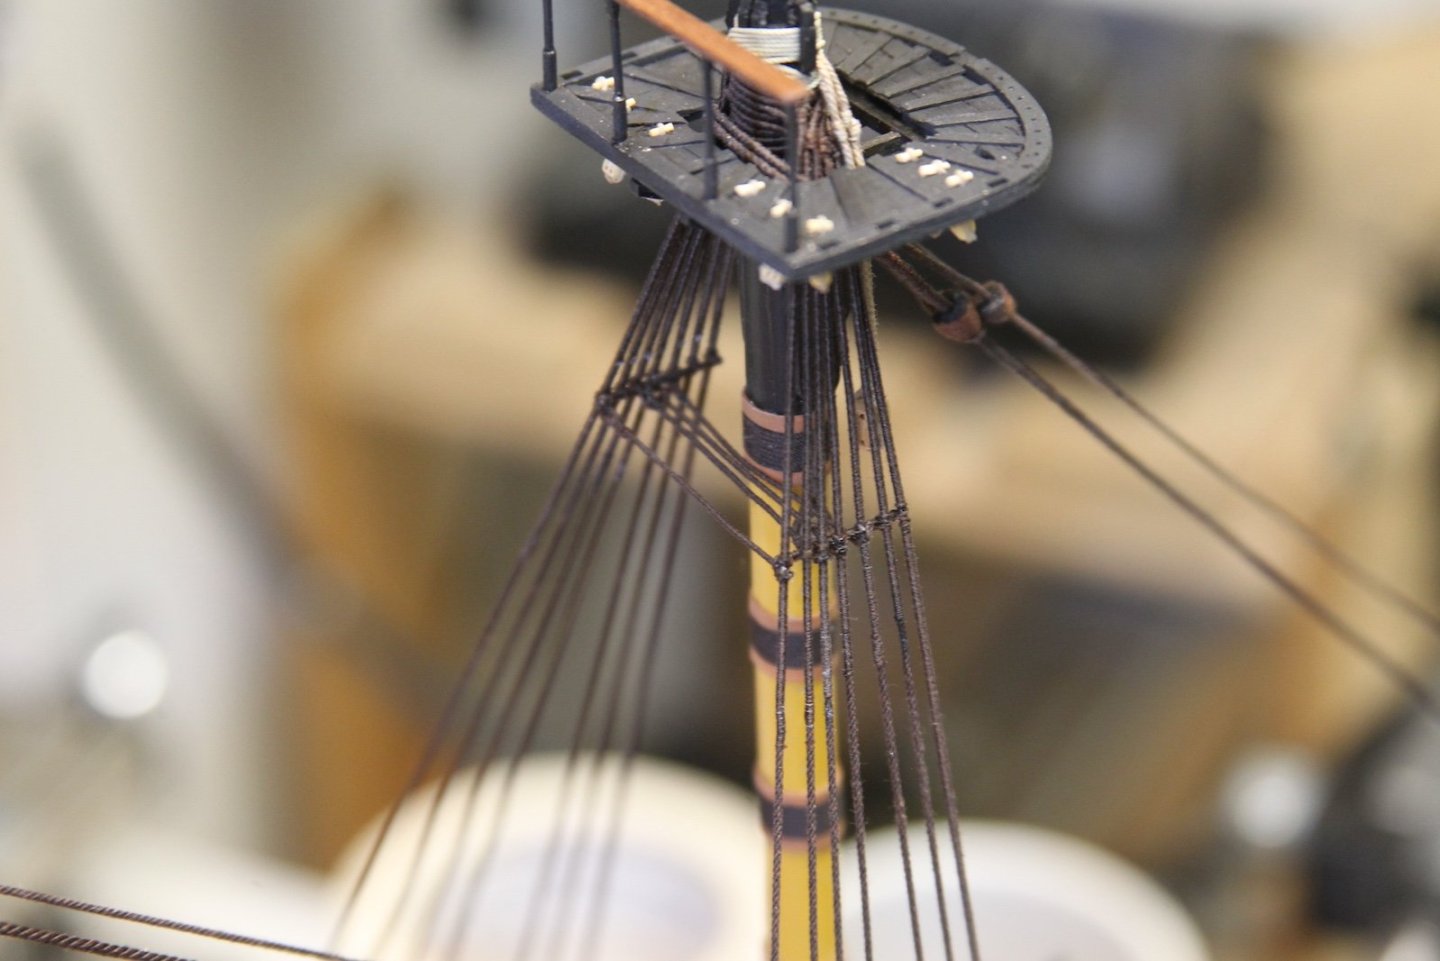
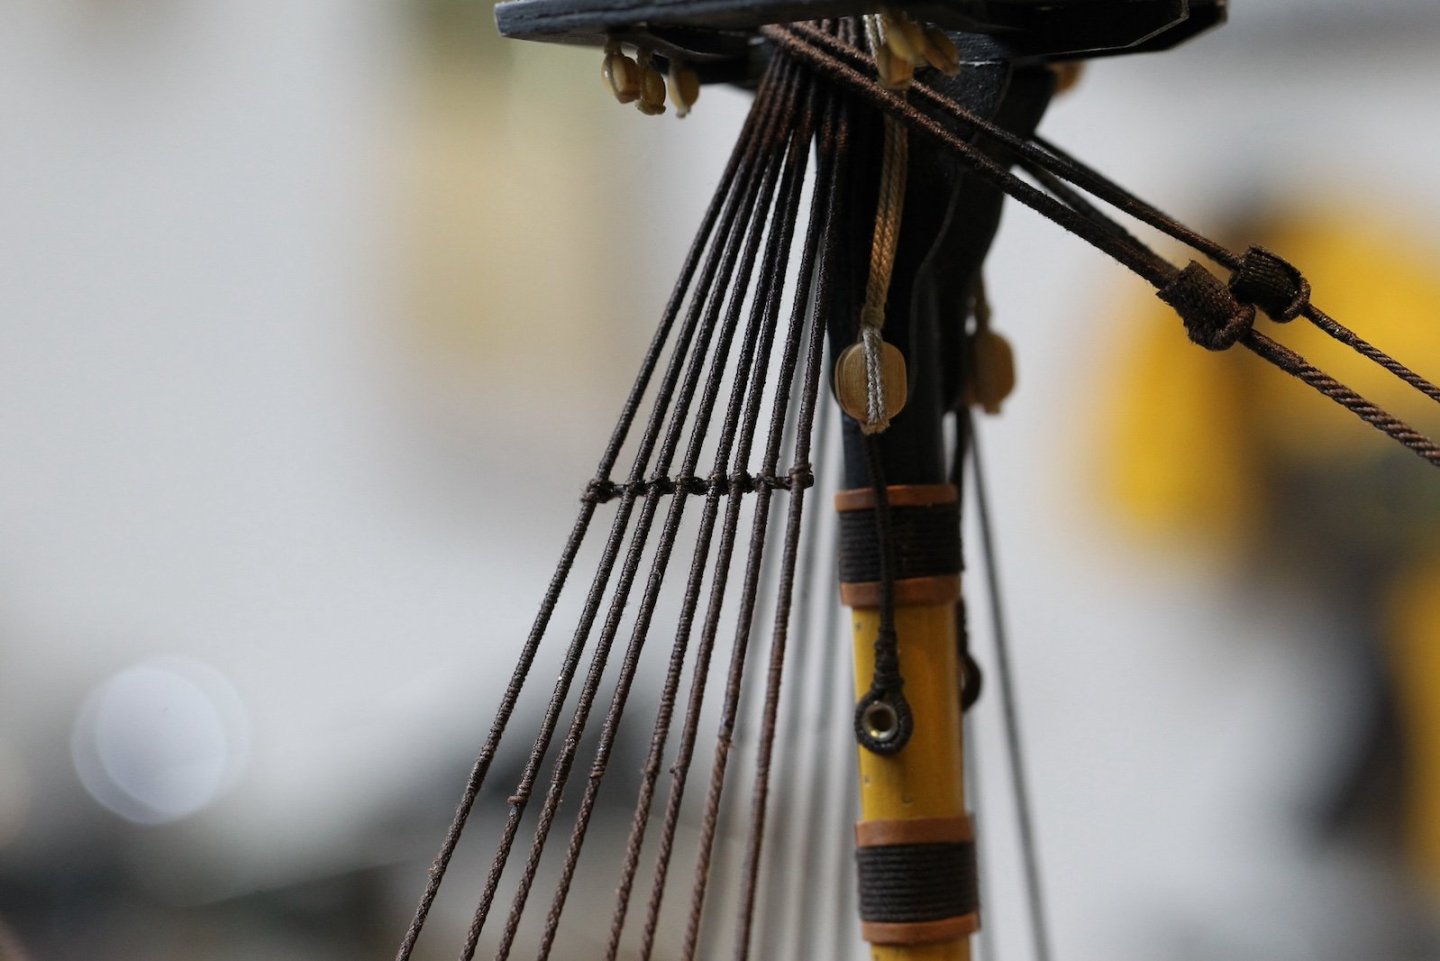
The futtock shrouds were pretty straightforward - particularly compared to the catharpins. I'm using my supply of 3 mm deadeyes throughout - even though I do realize they upper deadeyes are to be a bit smaller than the smaller of the lower deadeyes - and the mizzen deadeyes smaller yet. However, I have a pretty large supply of 3mm deadeyes, and the look is comparable in my opinion. So, a compromise I'm willing to make. I did however, make the futtock plates on the mizzen noticeably shorter by comparison. After the deadeyes are all loaded up, I selected my hooks. Instead of the supplied hooks - which unlike the deadeyes are clearly too large, I went with my leftover hooks from rigging the cannon. I'm pretty sure they're from Syren, but I have such a random supply of fittings at this point, I have a difficult time remembering from where my blocks, deadeyes, or hooks etc, all come. At any rate, I did have to widen the holes on these hooks to accept the lines, and definitely broke a few and sent a few flying across the room while doing it. The futtock shrouds for the fore and main are .57mm diameter at scale; I'll be using .50. And the Mizzen shrouds are .44mm; I'm using .40mm. To attach the lines - first I measured the approximate length that I would need - about 50 mm for the fore and mains and 40 mm for the mizzen. Then I seized them all the to the hooks first. I attached the hook to the futtock strap, looped it over the stave then seized it to the shroud. Keeping the line taught while seizing - but not so much that it pulled on the rest of the rigging - was accomplished with a very tiny dab of CA right where the upper seizing would ultimately cover it up. I also alternated from port to starboard with each one to keep the rigging balanced as I went along.
- 312 replies
-
- Victory Models
- Pegasus
-
(and 3 more)
Tagged with:
-
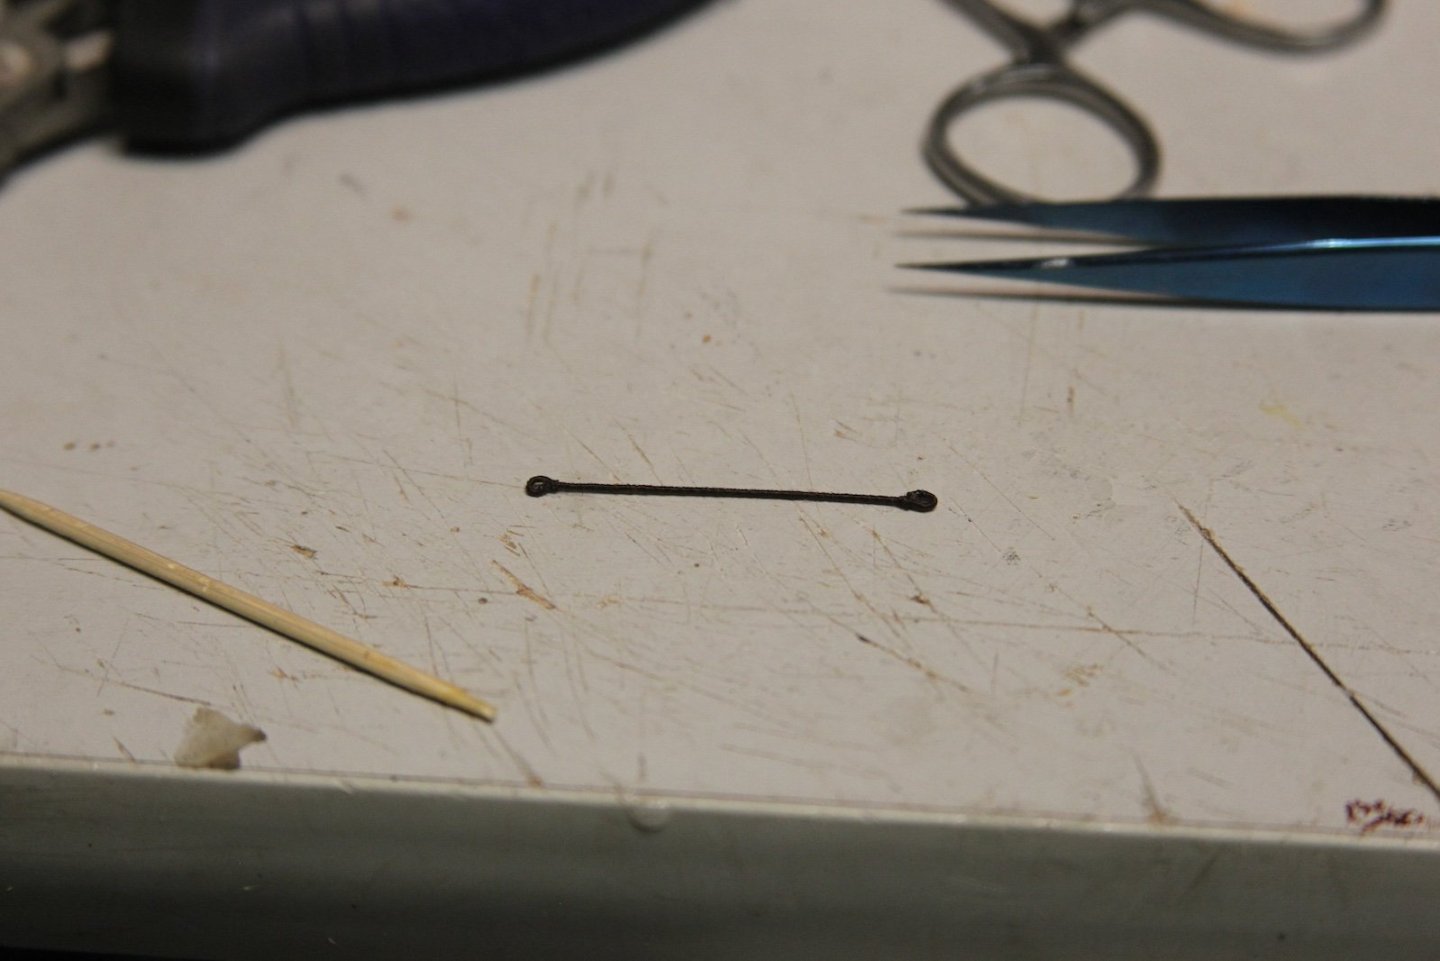
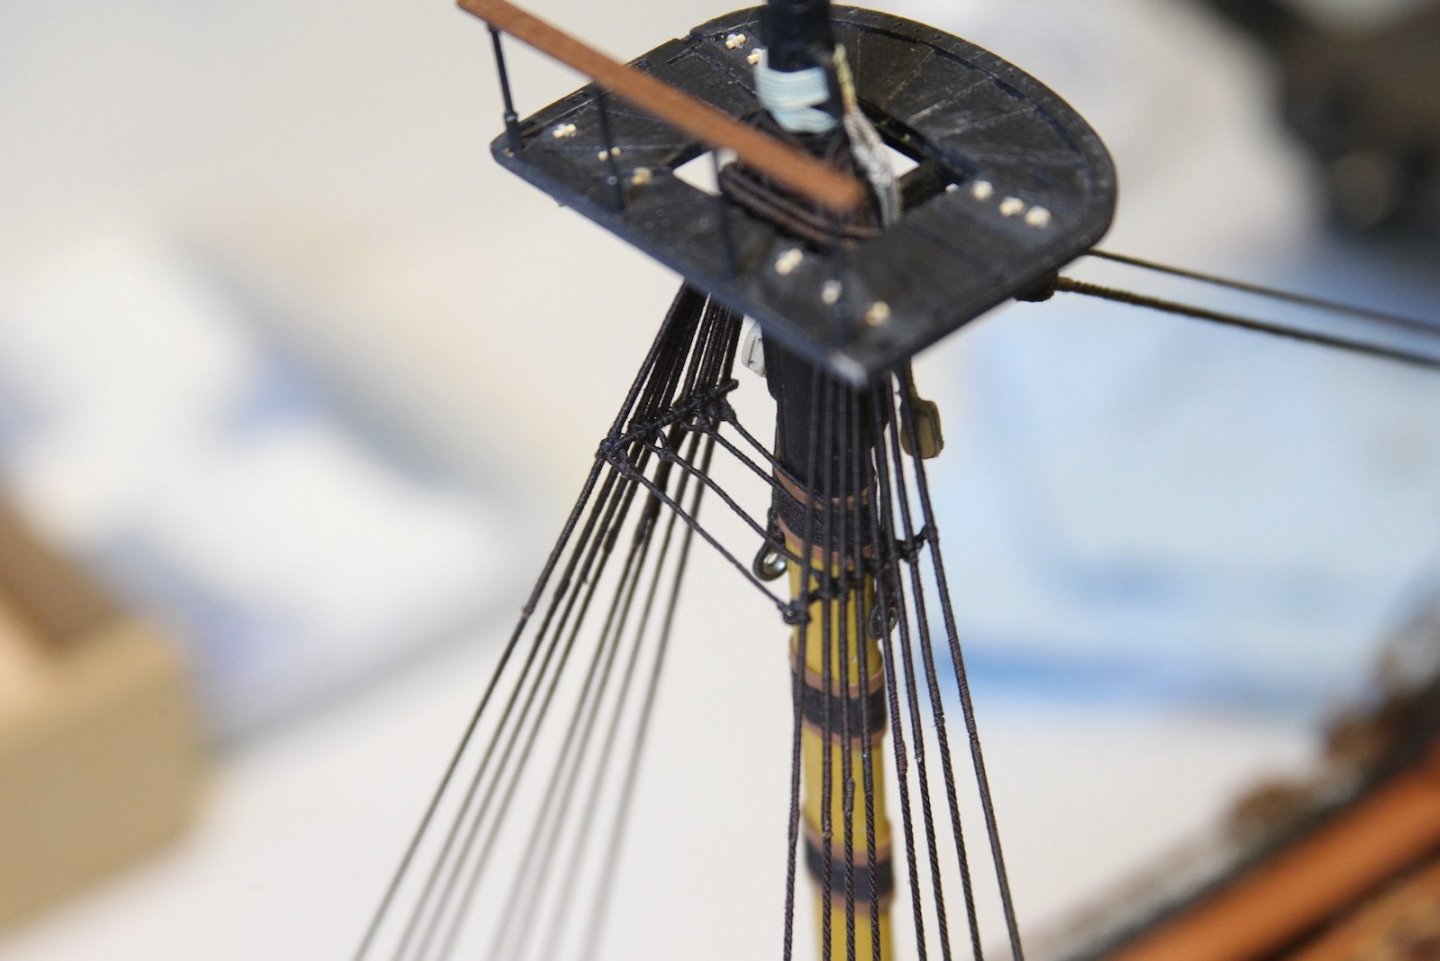
Only partly because a short business trip took me out of the yard for a few days - the catharpins have taken quite a bit more time than I would have liked. Others have said as much, but I am here to reiterate - these things are SUPER fiddly to get anywhere near correct. Each one has to be measured perfectly to link the shrouds under the mast tops, but that measurement is quite difficult to maintain when making the eye splices on the ends. I started by serving a .45mm diameter rope for the length that I would need to make all eight of the catharpins. Then, for each one I would start with an eye loop, remeasure the distance using a small piece of timber placed against the shrouds, then cut the other end of the catharpin a quarter inch long, unwind the served rope, then feed that serving thread through the line itself to create the splice, then wrap the thread to finish it. I had at least three than despite every effort ended up being just off enough to not work out. To get the catharpin attached to the shroud, I started by attaching one end at the bottom of the shroud, then feed the guy up to the futtock stave, pinch the other end to the opposite shroud, and then tie both sides off using a needle to feed the seizing through the eyeloop and around the shroud. It took about an hour for each catharpin start to finish. The last two pictures are the fore and main finished. There are a couple that are a smidge loose, but will tighten up when I attach the futtock shrouds.
- 312 replies
-
- Victory Models
- Pegasus
-
(and 3 more)
Tagged with:
-
Moonbug started following HMS Pegasus by Barbossa - Amati/Victory Models - 1/64
-
I like it Christian. The eyebolts on carriages for anything less than 1:48 scale is always a pretty big challenge and always seems to look bulky. I'm interested to see the finished cannon / carriage, but on the surface this seems to be a pretty good solution toward cutting down on knots, etc. You'll notice in all of my builds - I have not issues sacrificing some accuracy (within reason) for a more aesthetic look.
- 19 replies
-
Thanks very much Christian. I was so apprehensive about the rigging portion, I ended up taking almost a year and half off of the build! It was a combination of deciding to spin my own rope, as well as this being the most complicated rigging I'd faced. Once I got back into it though, I was happy I did. The complexity is actually an asset as it forces me to slow down and really take it one step at a time. Also - although it has ended up being a lot more work to spin rope, it has helped quite a bit as I can size it as needed.
- 312 replies
-
- Victory Models
- Pegasus
-
(and 3 more)
Tagged with:
-
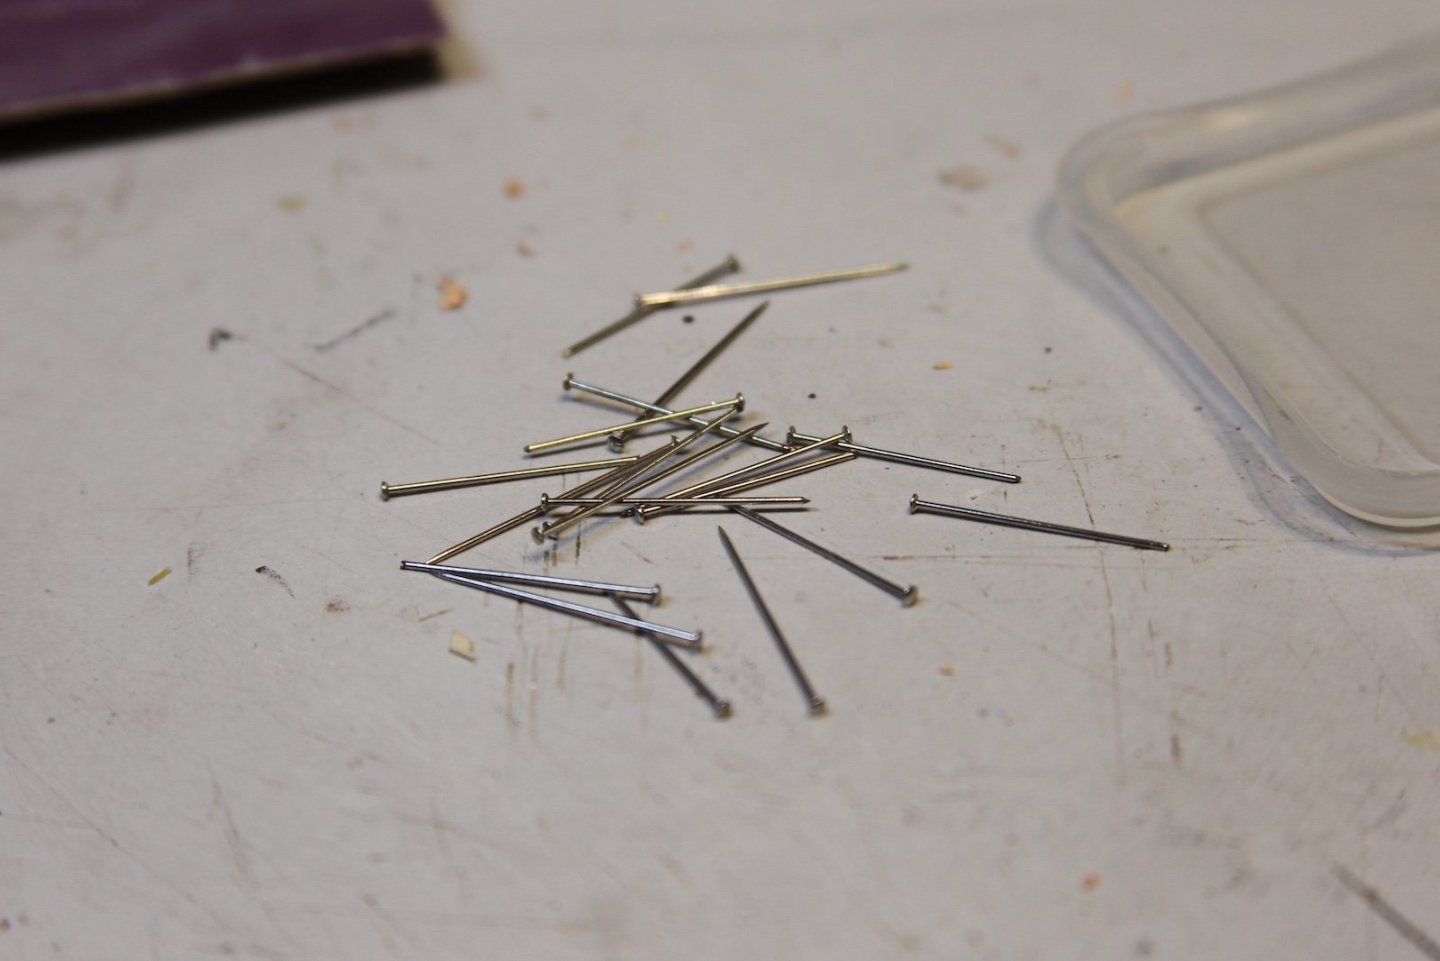
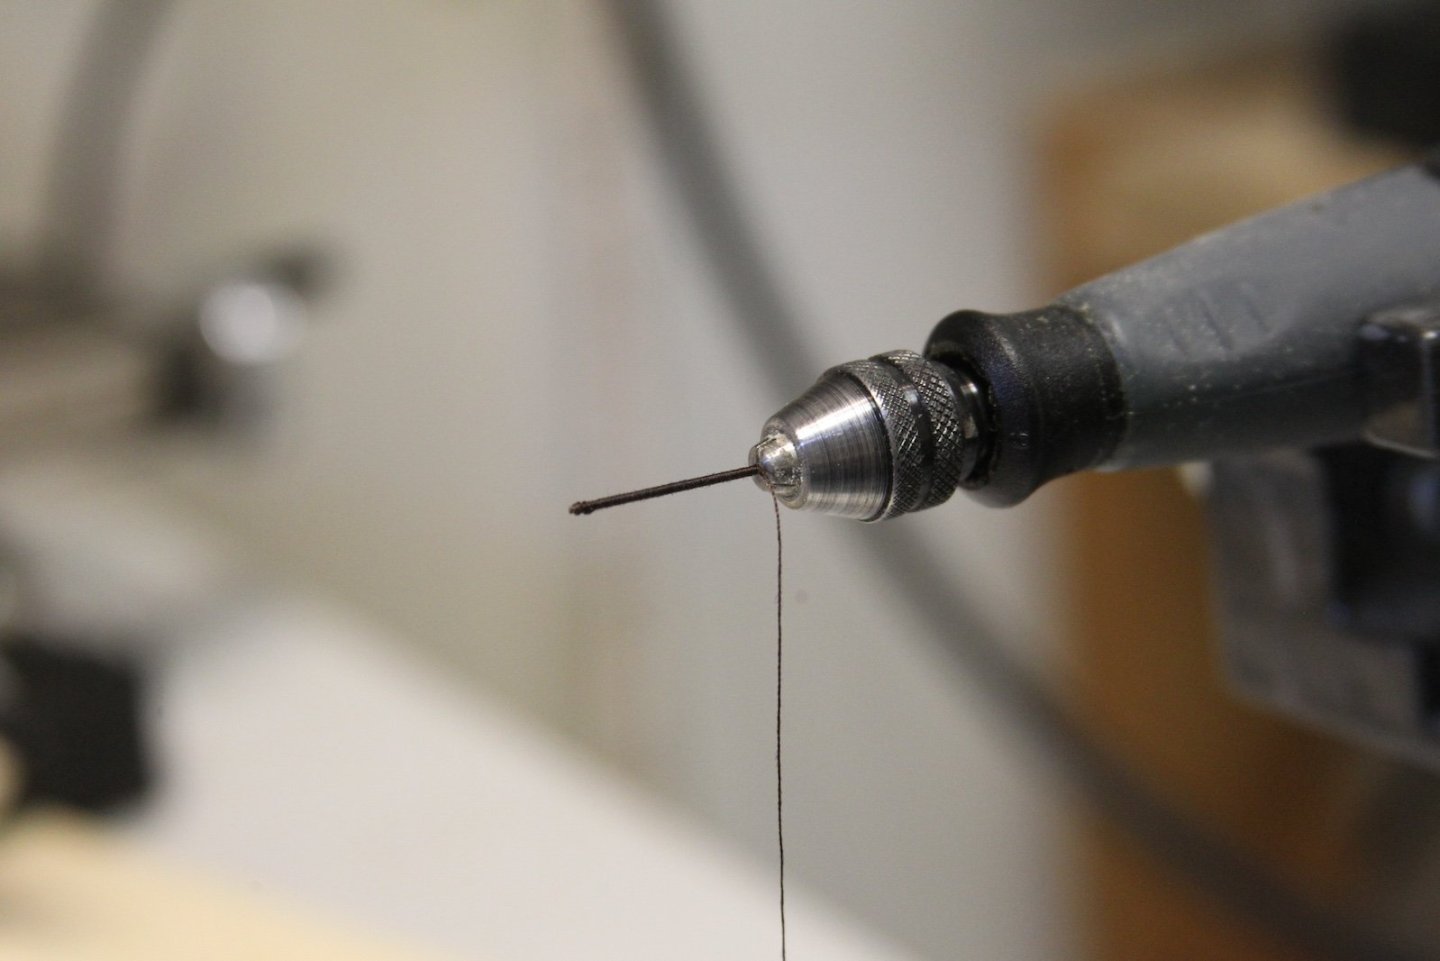
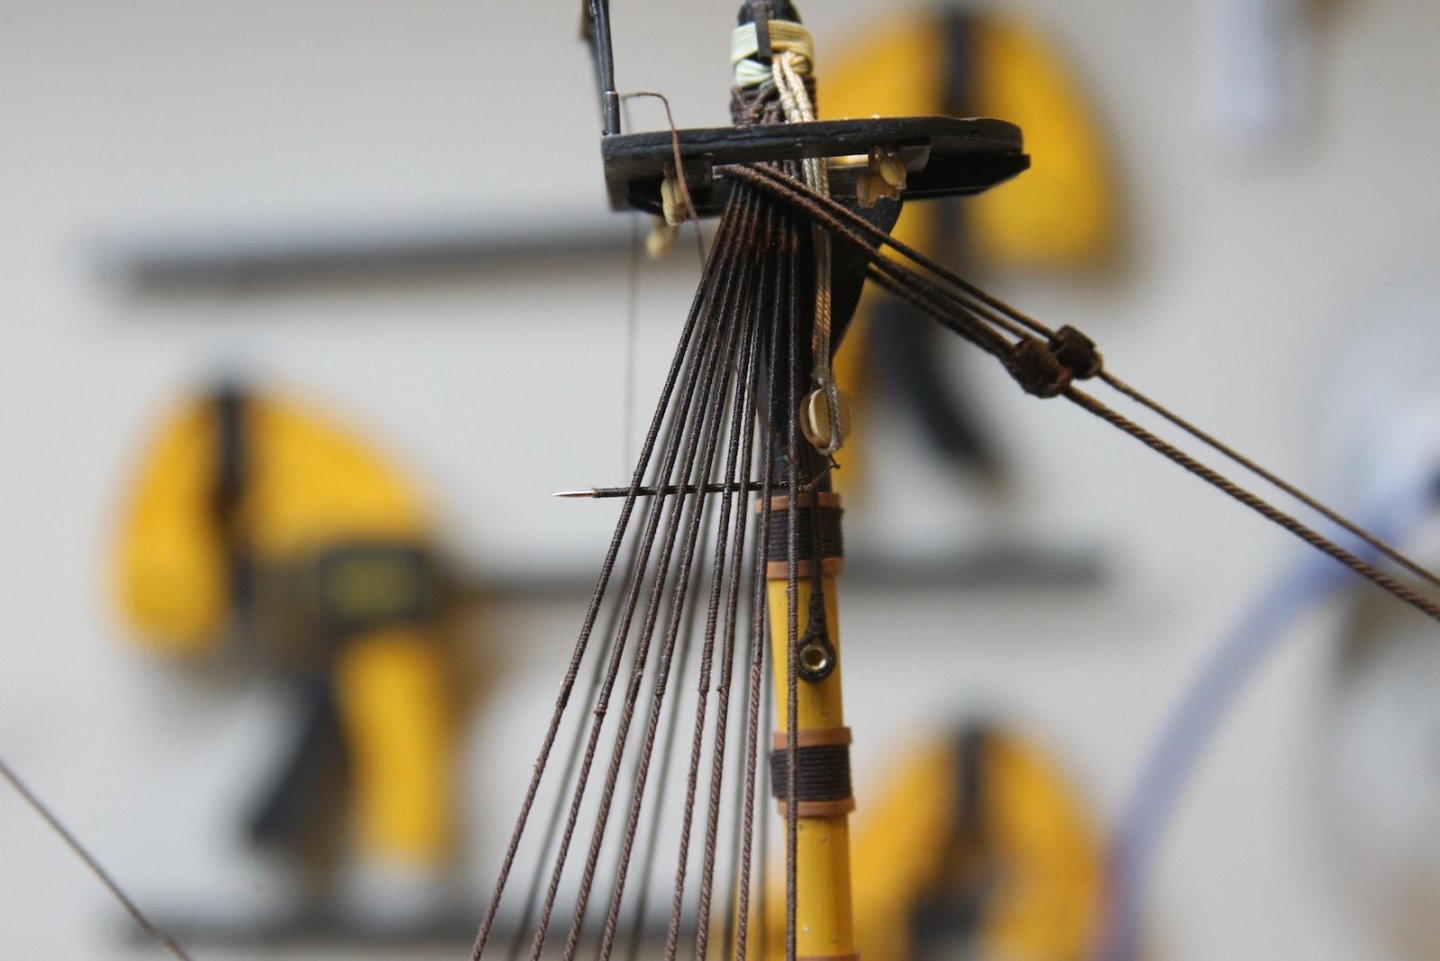
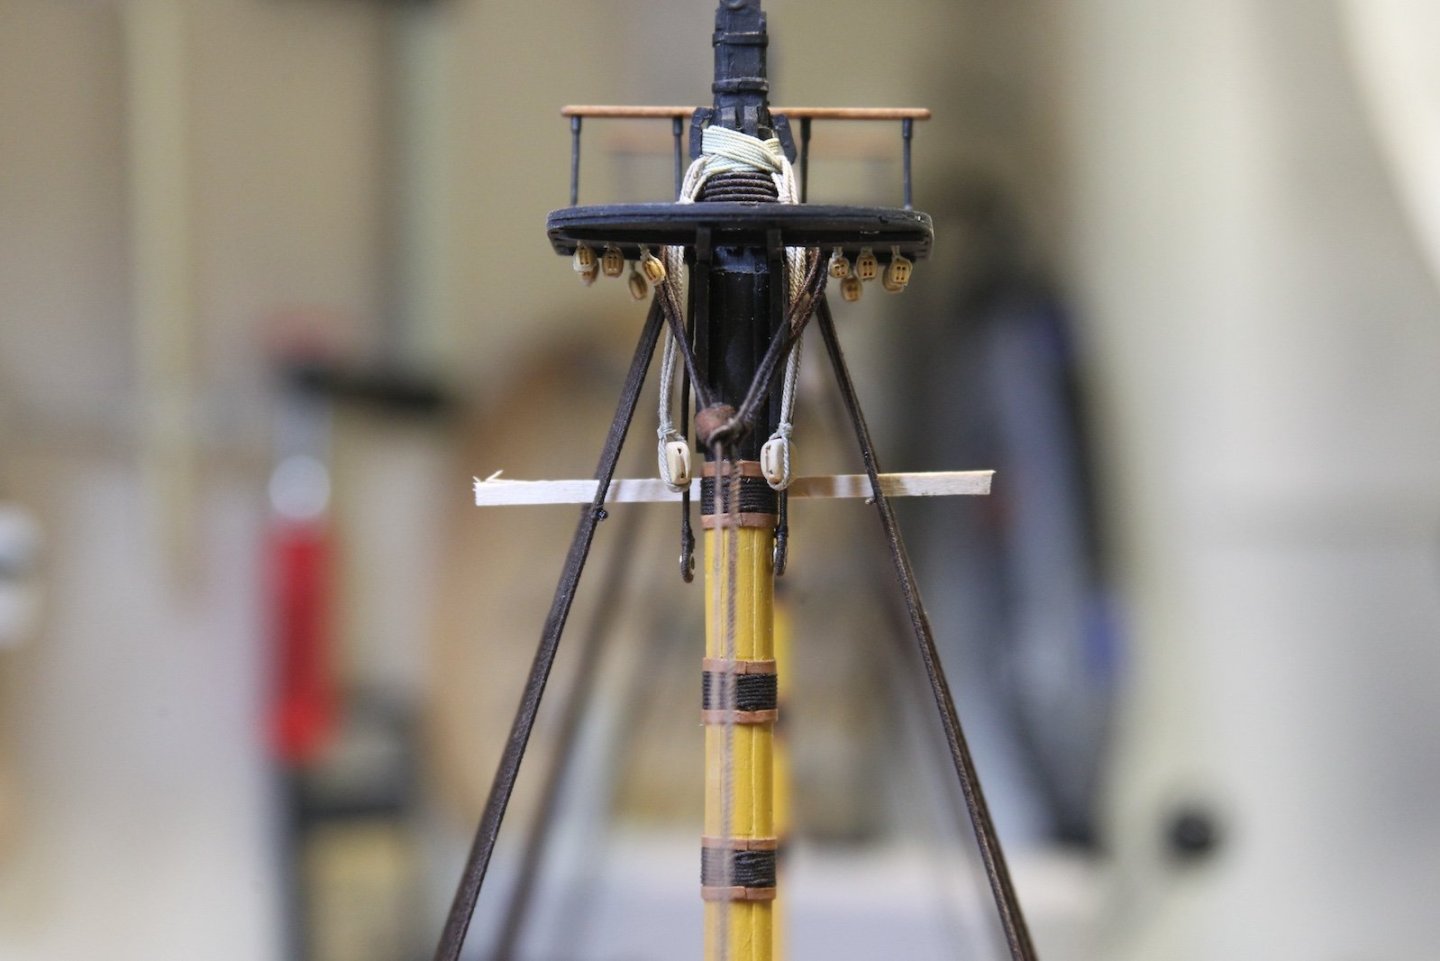
Now that the mast tops are affixed, I can add the futtock staves. The futtock staves are fitted the same distance below the mast tops as the mast head rises above it. The scale for these lines is .5mm, however I am skeptical of having just a served line. I've seen quit a few folks serve something more firm like a strip of bamboo or wire to create something more rigid to withstand the pull of other rigging. I'm taking this tactic as well, and for my futtock staves I'm opting to go with serving a straight pin, as they are just under 1mm. A smidge bulky, but still looks goo to my eye. The serve the pin, I loaded it into my dremel, started with a tiny touch of CA to hold the Mara 100 line in place, then I rotated the dremel by hand to serve the line. Another distinction here is that the plans and images I have from TFFM show the staves attached to the outside of the shrouds. However, as I understand it, most British ships had them on the inside of the shrouds. Also, the other builds that I follow for reference (mostly Dan Vadas) have them on the inside - so this is what I'll be doing. I measured the distance and lined up the staves, then used another tiny dot of CA on a couple of shrouds to hold it in place while I seized it to the shrouds. I cut off the ends of the pins with wire cutters, sanded a tiny bit, then touched the metal ends with a dark sharpie to match the serving line, etc. I was having a very difficult time matching the port and starboard futtock staves exactly to keep everything level. And then I stumbled on this idea - putting a small piece of timber across the staves to create a 'level' until I could place the opposite stave.
- 312 replies
-
- Victory Models
- Pegasus
-
(and 3 more)
Tagged with:
-
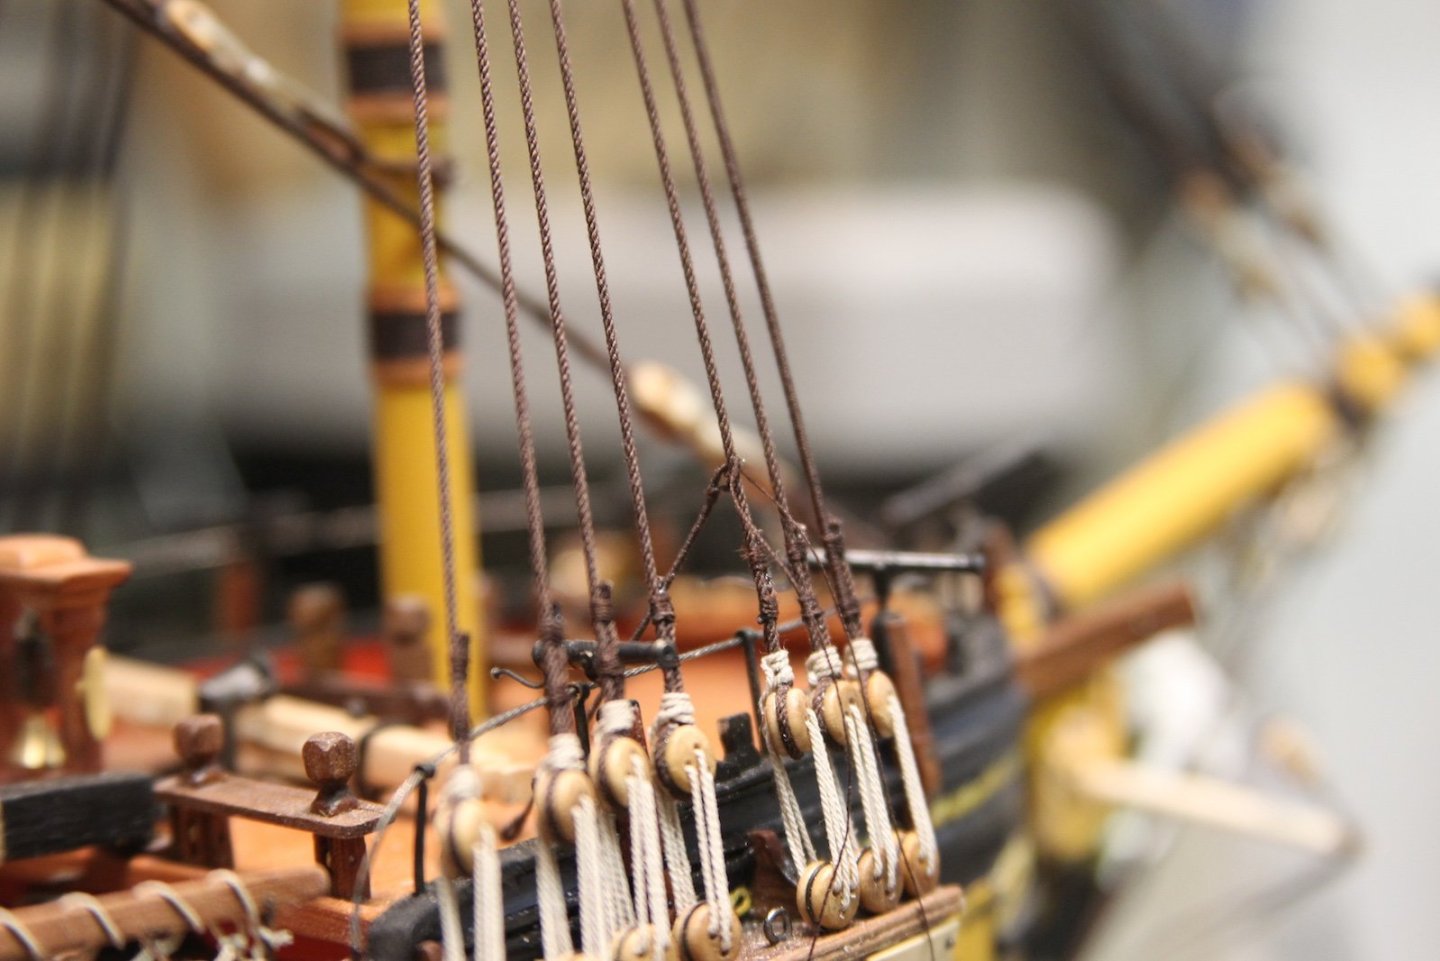
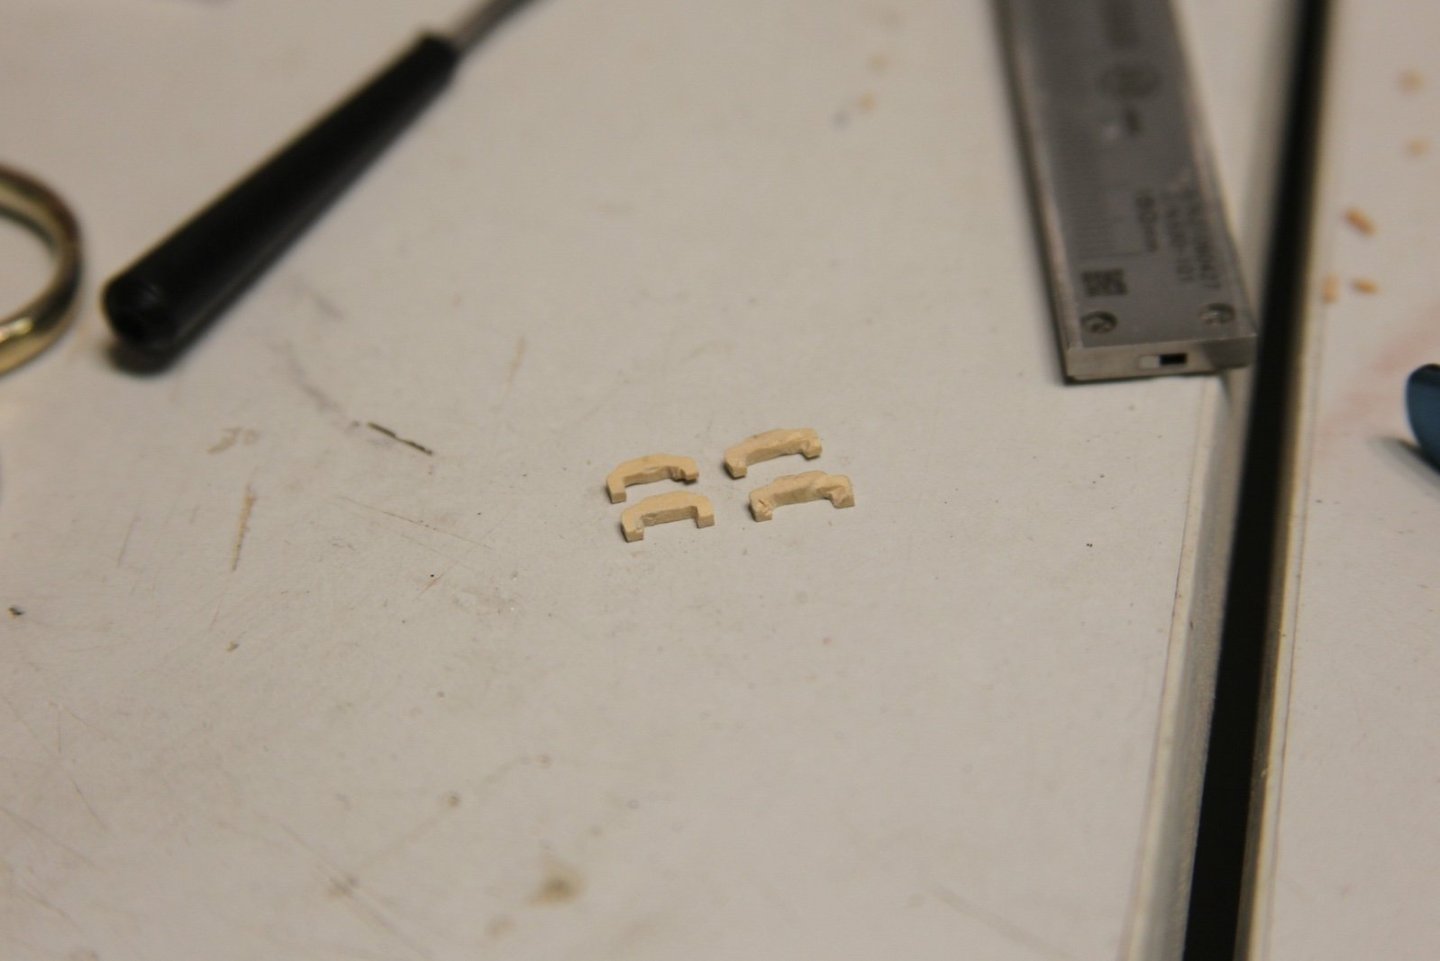
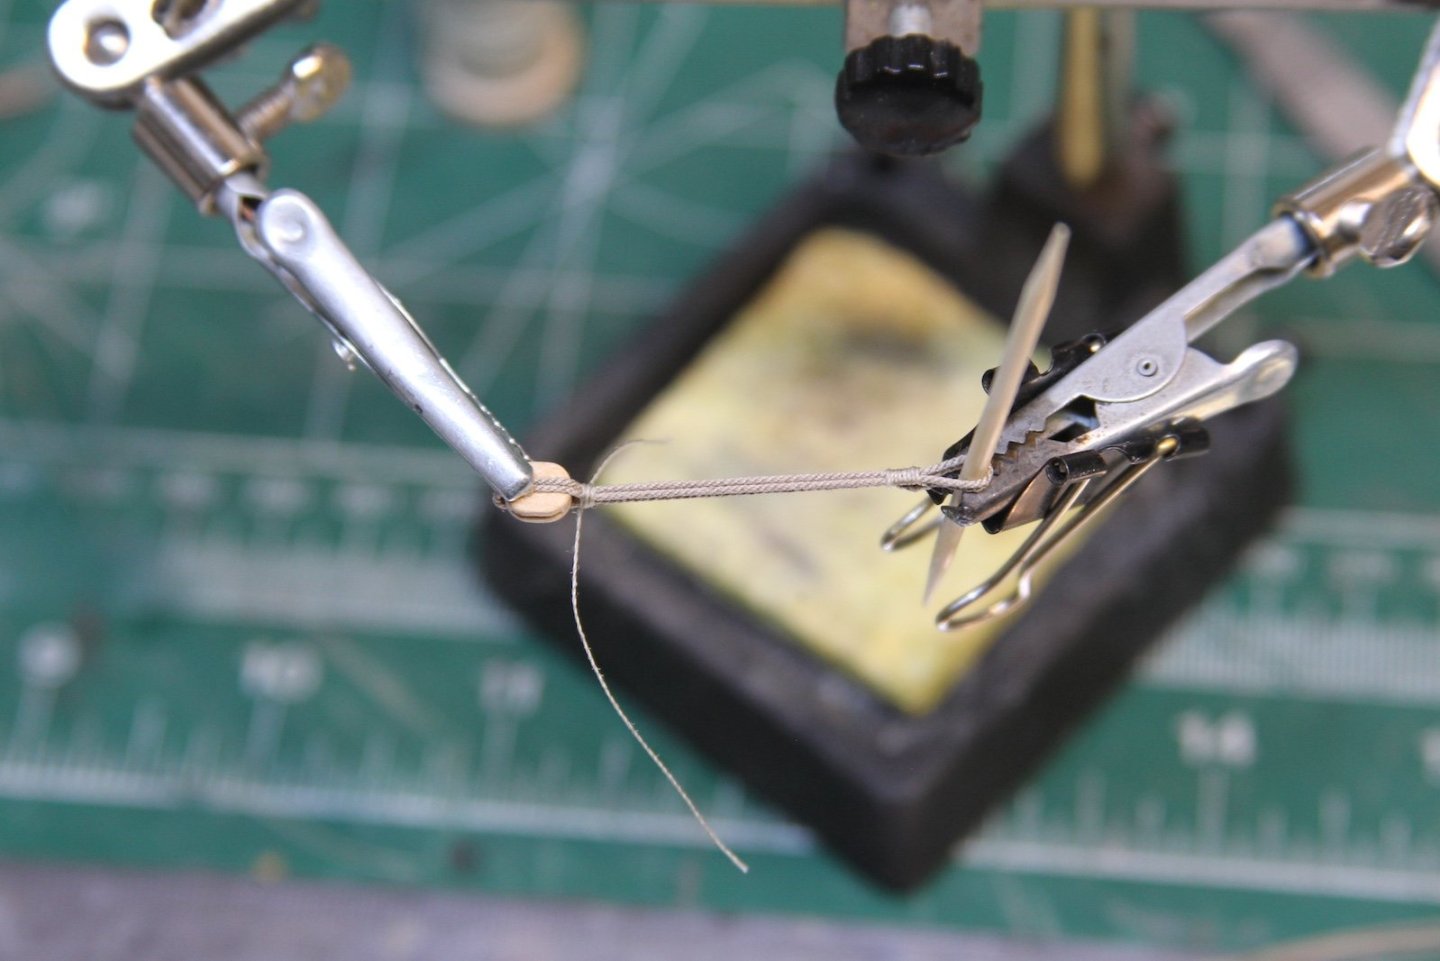
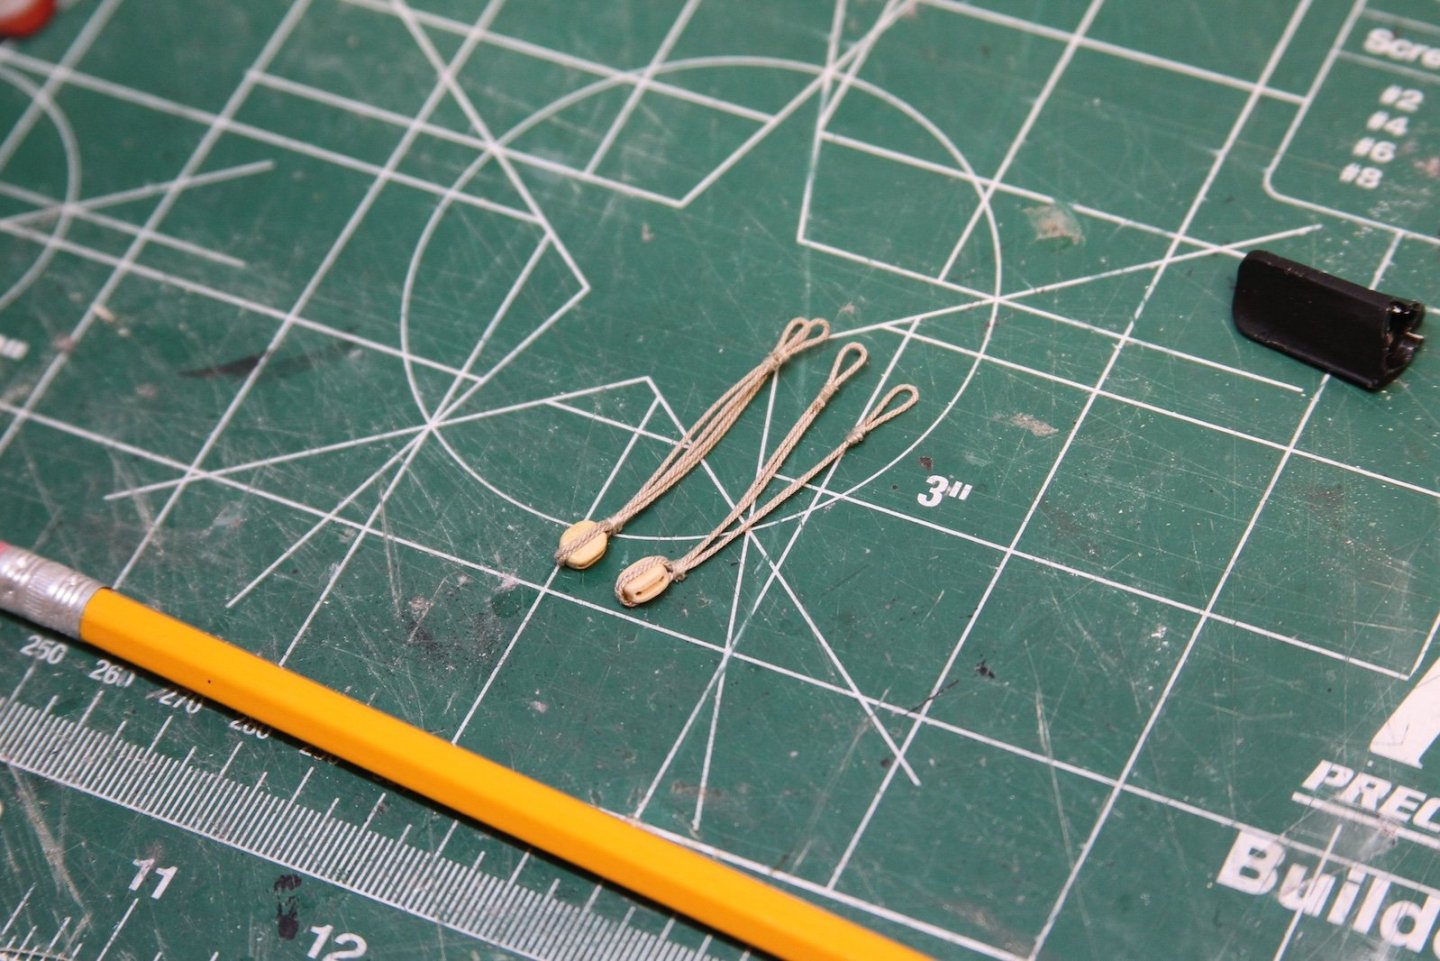
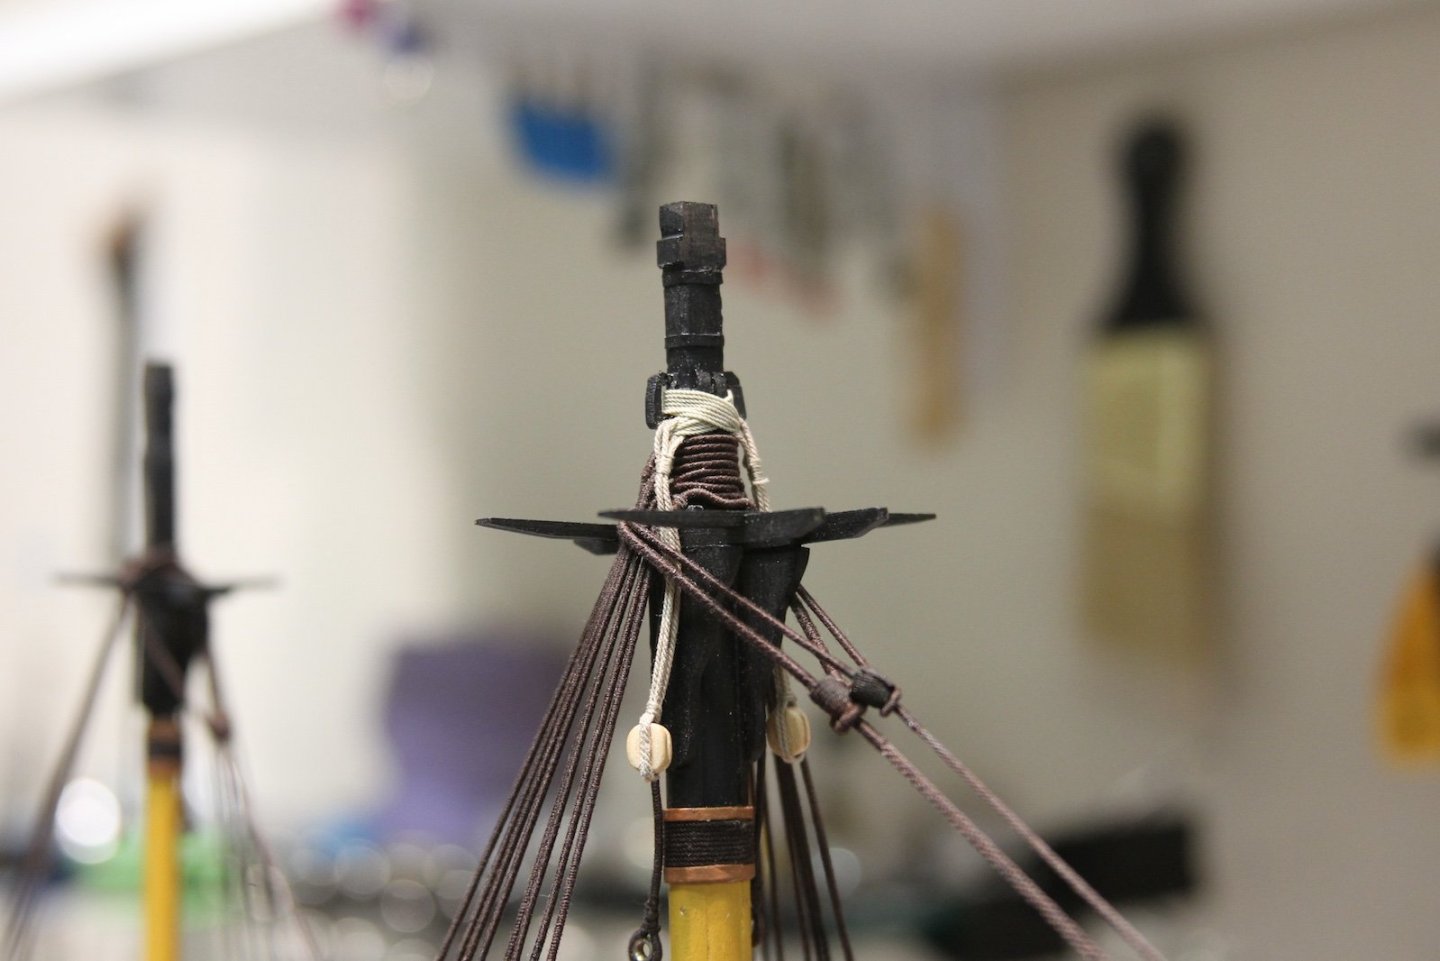
This is one of those infamous posts we've all had multiple times - defined as "a short post but a lot of work." I wanted to rig the jeer tyes prior to fitting the mast heads, as it just seems like it'd be easier to get these buggers at least somewhat correct without the masthead in the way. The jeers are the tackles for hoisting and lowering the lower yards and are comprised of 20" single blocks (about 8mm) double stropped with 7" (.88mm) line and lashed to the masthead with seven wraps of 3" (.38mm) line through two closed cleats. My .85mm line looked a little bulky around the block, so I used .75mm instead which I liked better visually. The cleats took me two iterations. The first is boxwood, and I tried to give them some nice shape and a little finesse with some sanding and they just ended up looking like they were cut out of wood by a third grader with a dull pair of scissors. So I tried again with some dense scraps of an unknown wood that used to be a pen case, and I simplified them to just rectangular closed cleats. Helpful that they'll eventually be painted black. Notice that I made an extra knowing at least one would either break or go sailing across the room. The double strop is made from a 90mm length of line turned into a closed loop by securing the ends together, then folded around the block creating a 45 mm long strop. I closed the loop by feeding a needle and mara 100 thread through the two ends and seizing it at the base of the eye. An eye is seized at the other end, then both strops are looped over the block and seized once again. The jeers are lashed to the mast through the cleats and the eyes with the aforementioned .40mm rope, while being careful to lay the rope as cleanly as possible around the masthead. It's not shown here, but I used a small clamp attached to the block to give it a little weight and tension while feeding the line through the cleats. The strops should hang down just long enough that the yard will sit at the level of the futtock shrouds when they are rigged later.
- 312 replies
-
- Victory Models
- Pegasus
-
(and 3 more)
Tagged with:
-
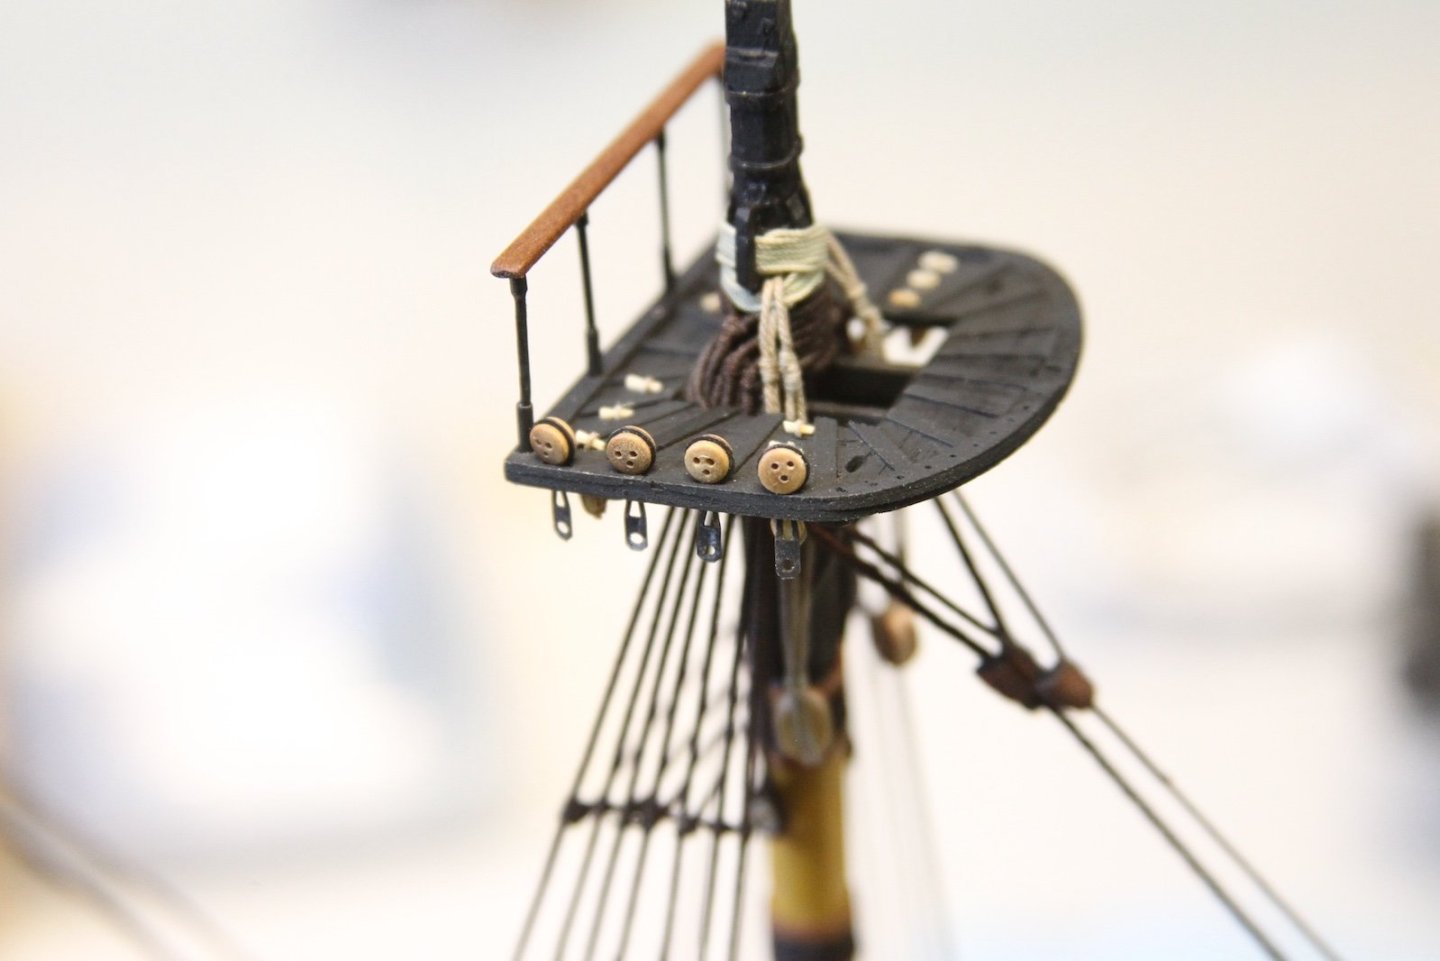
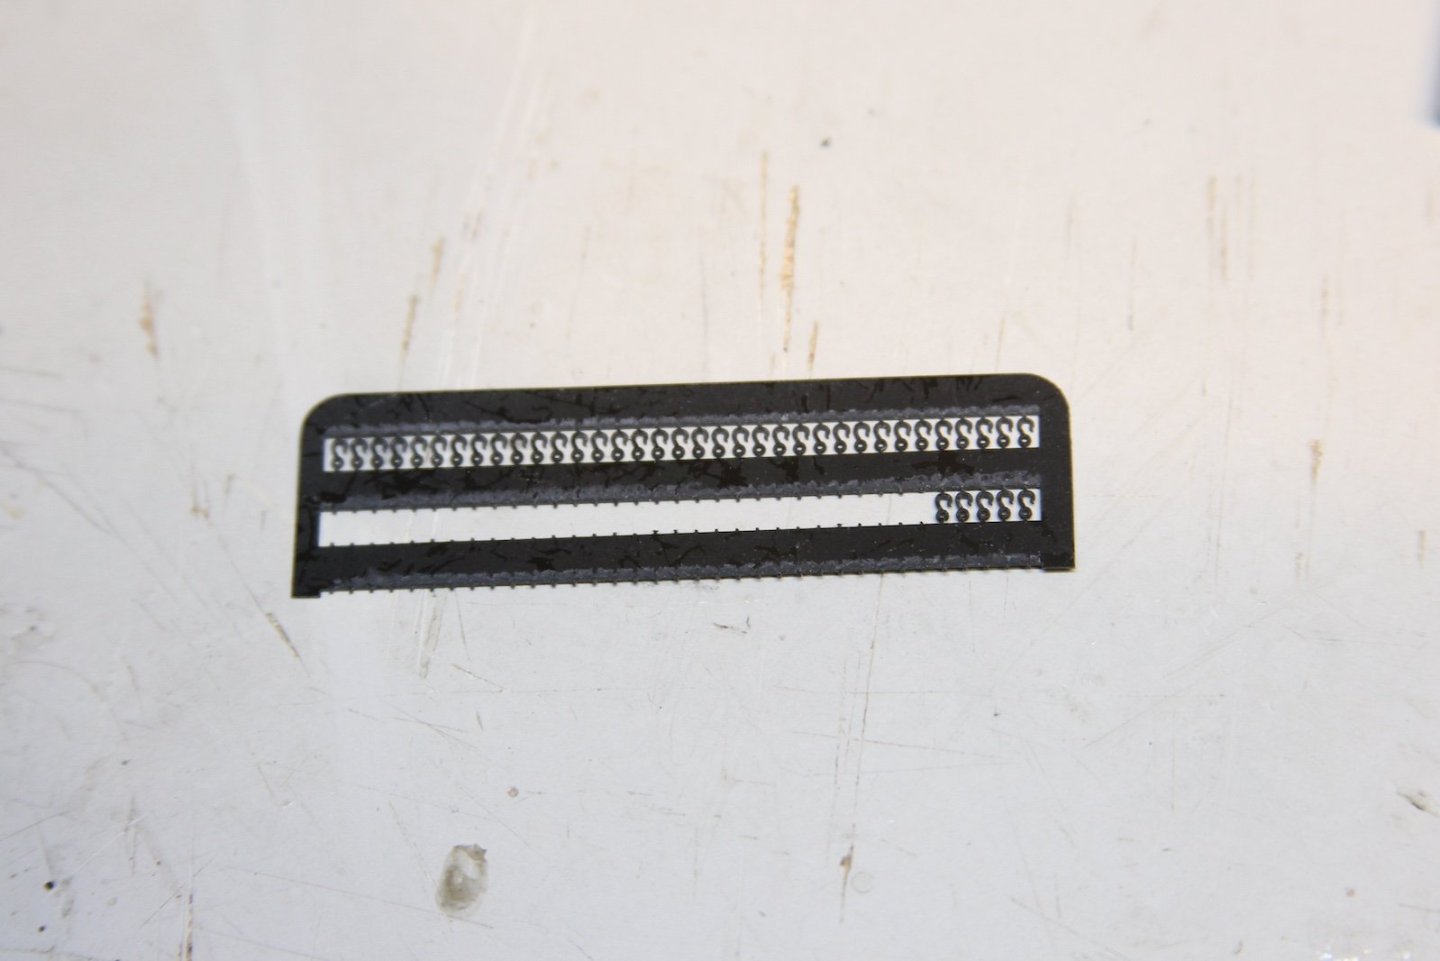
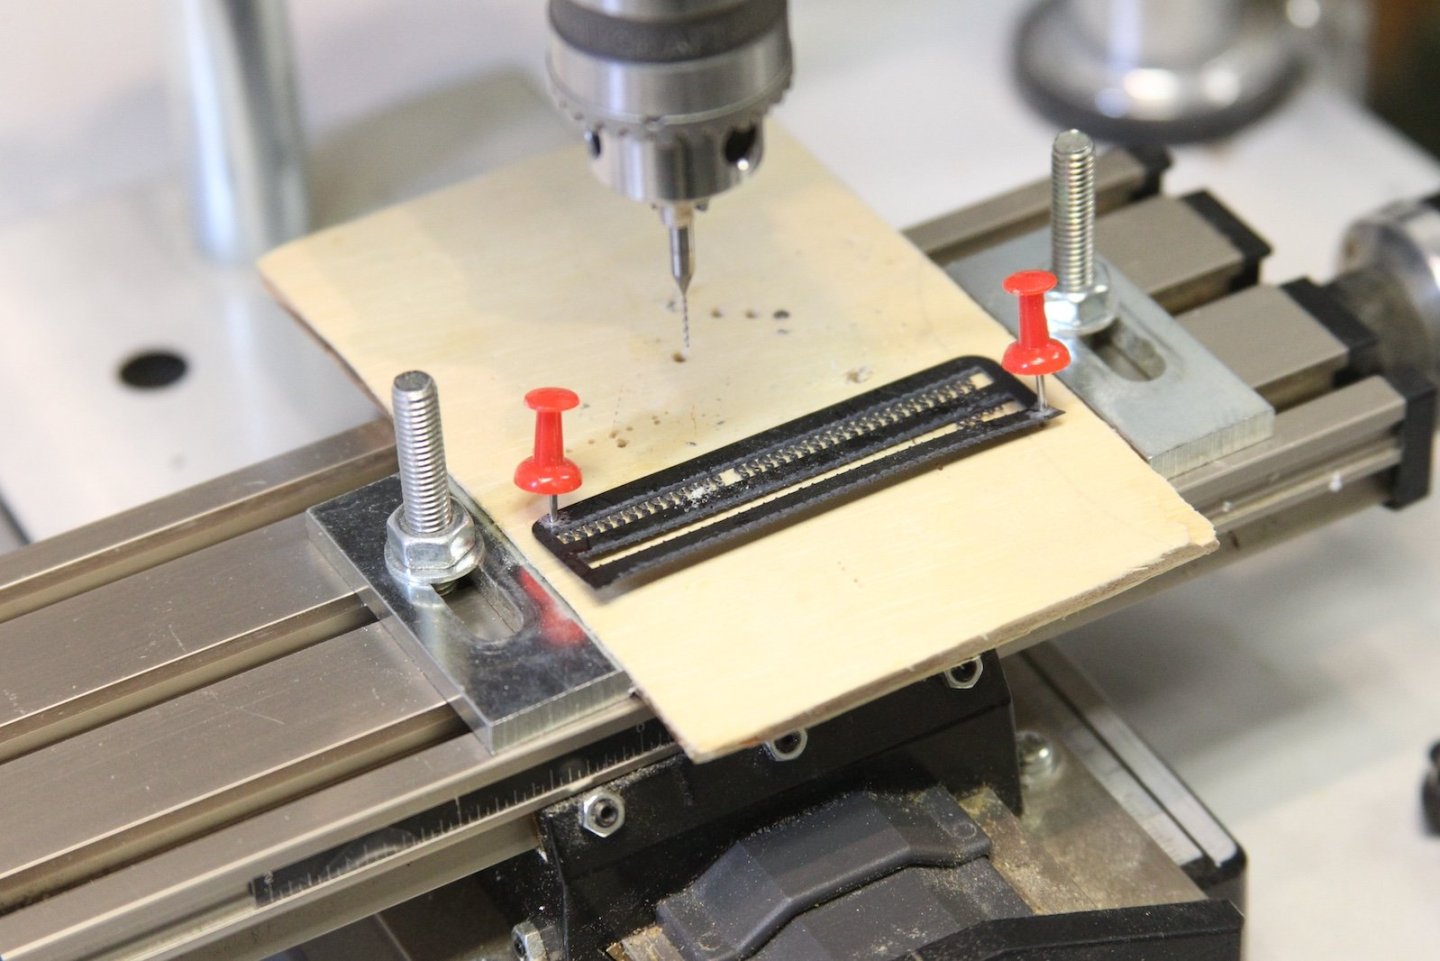
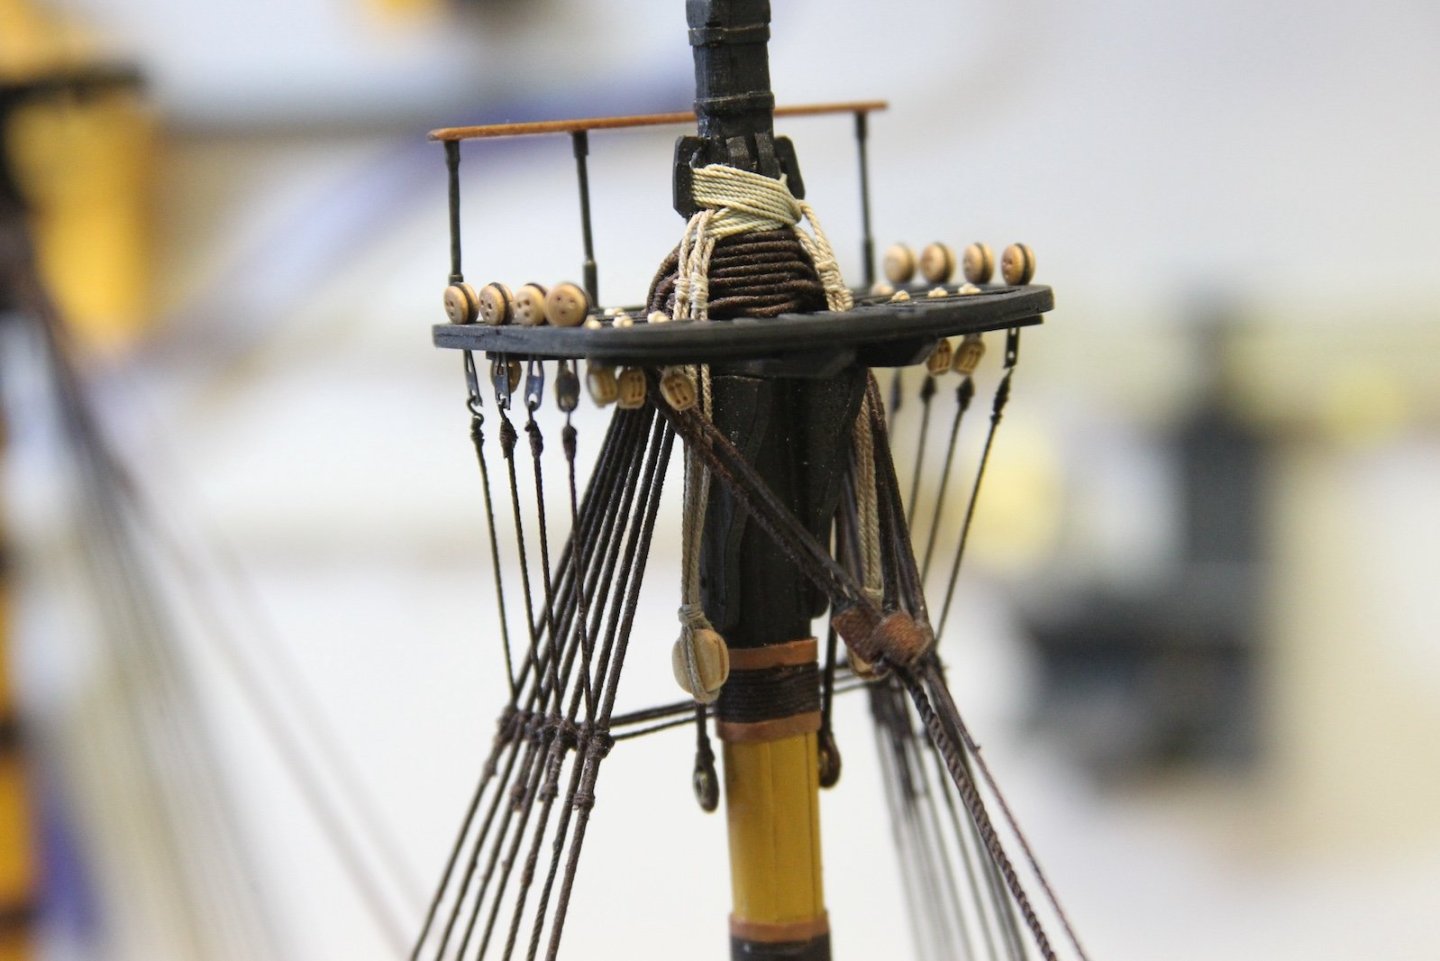
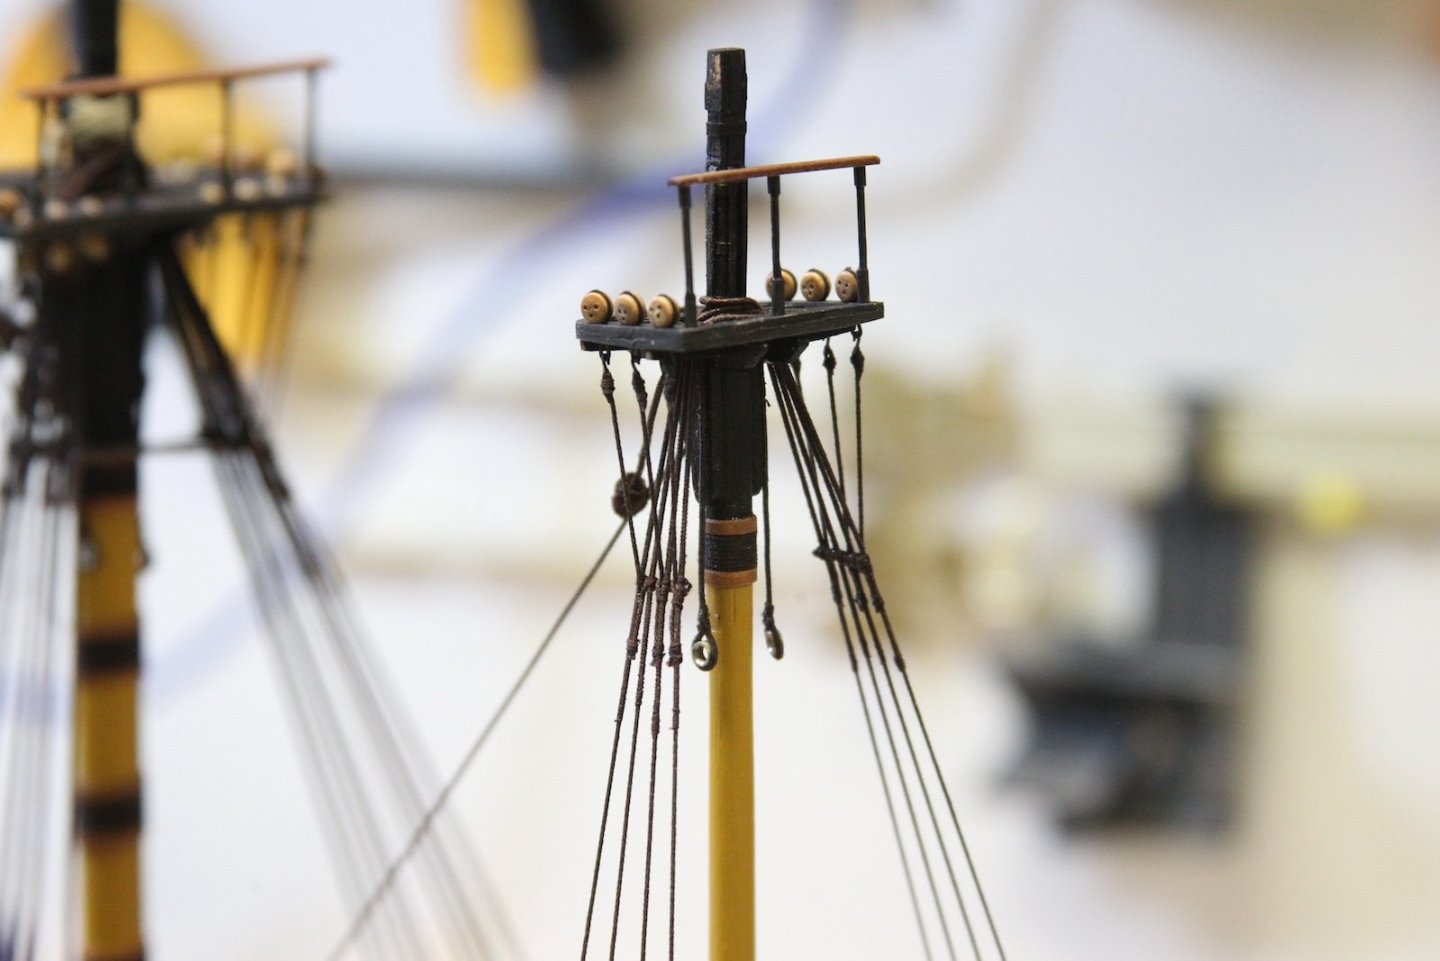
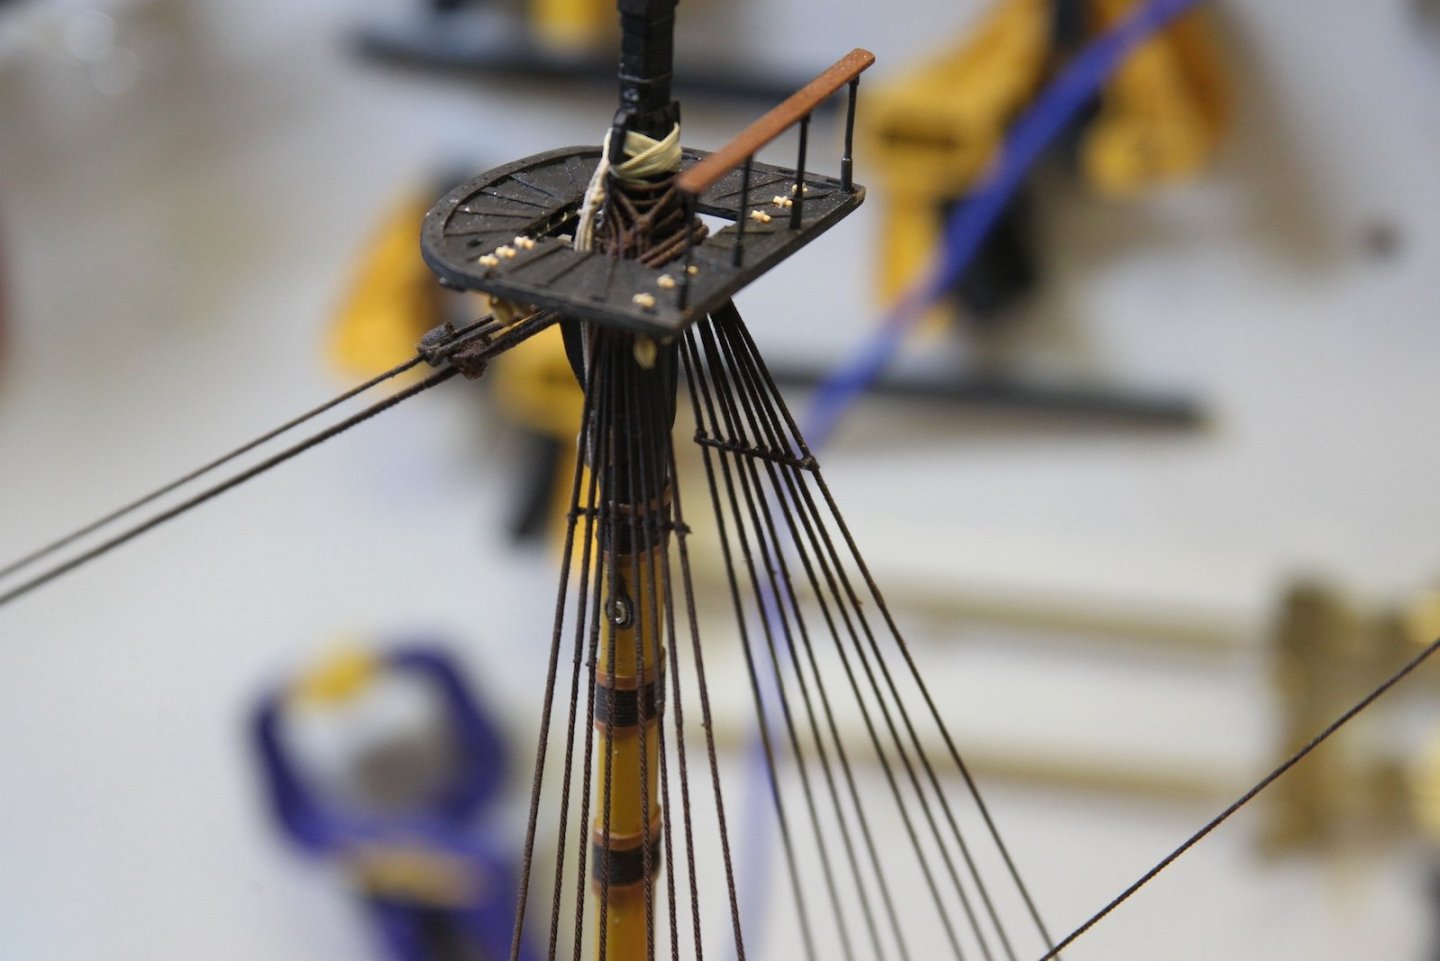
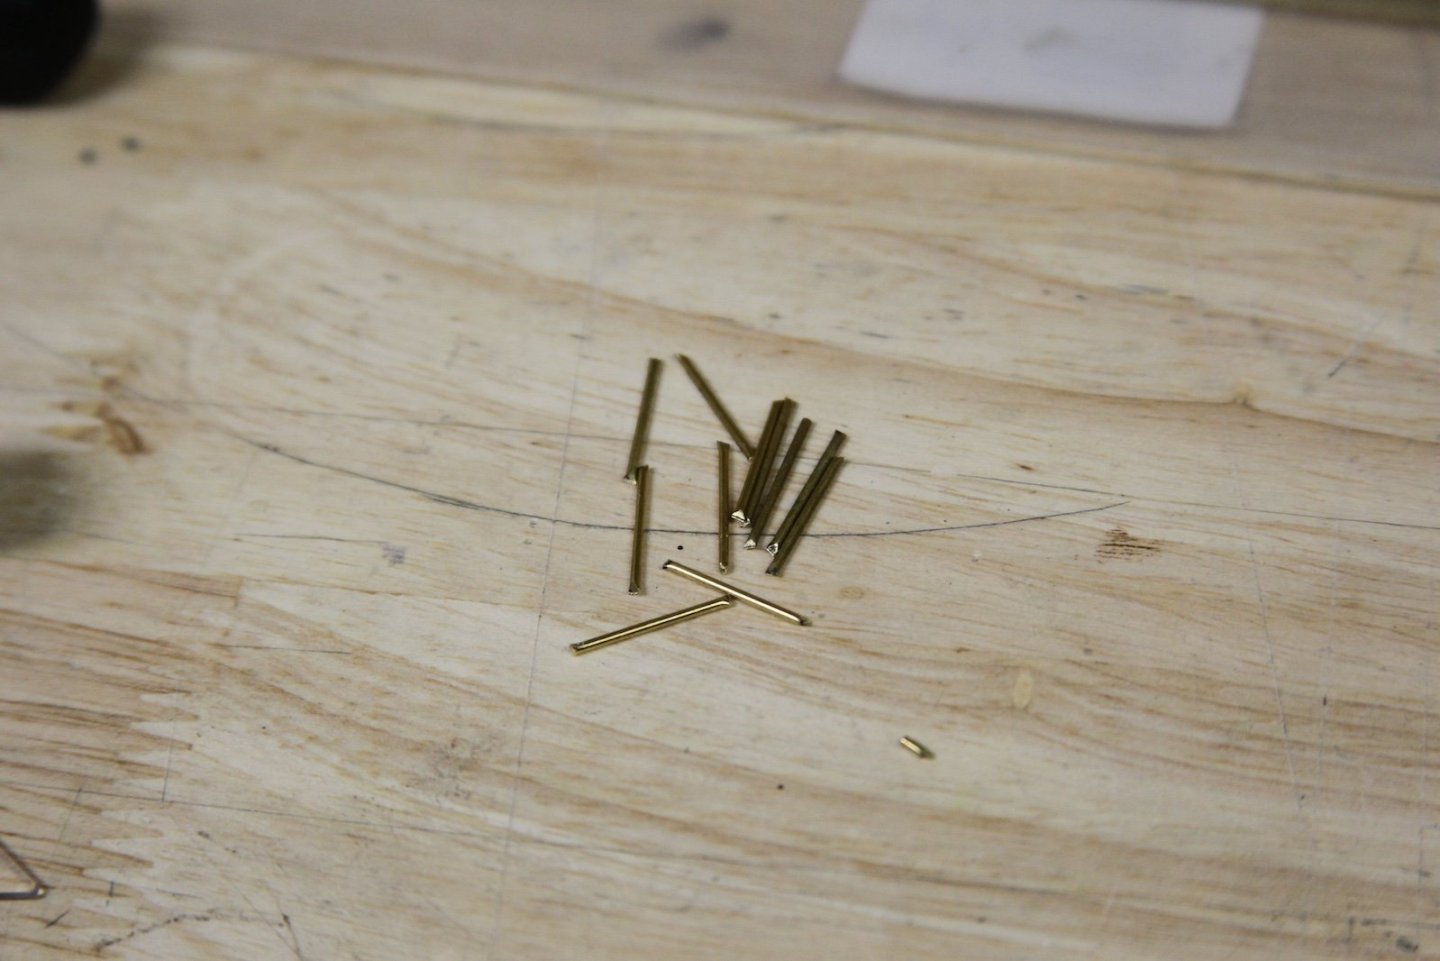
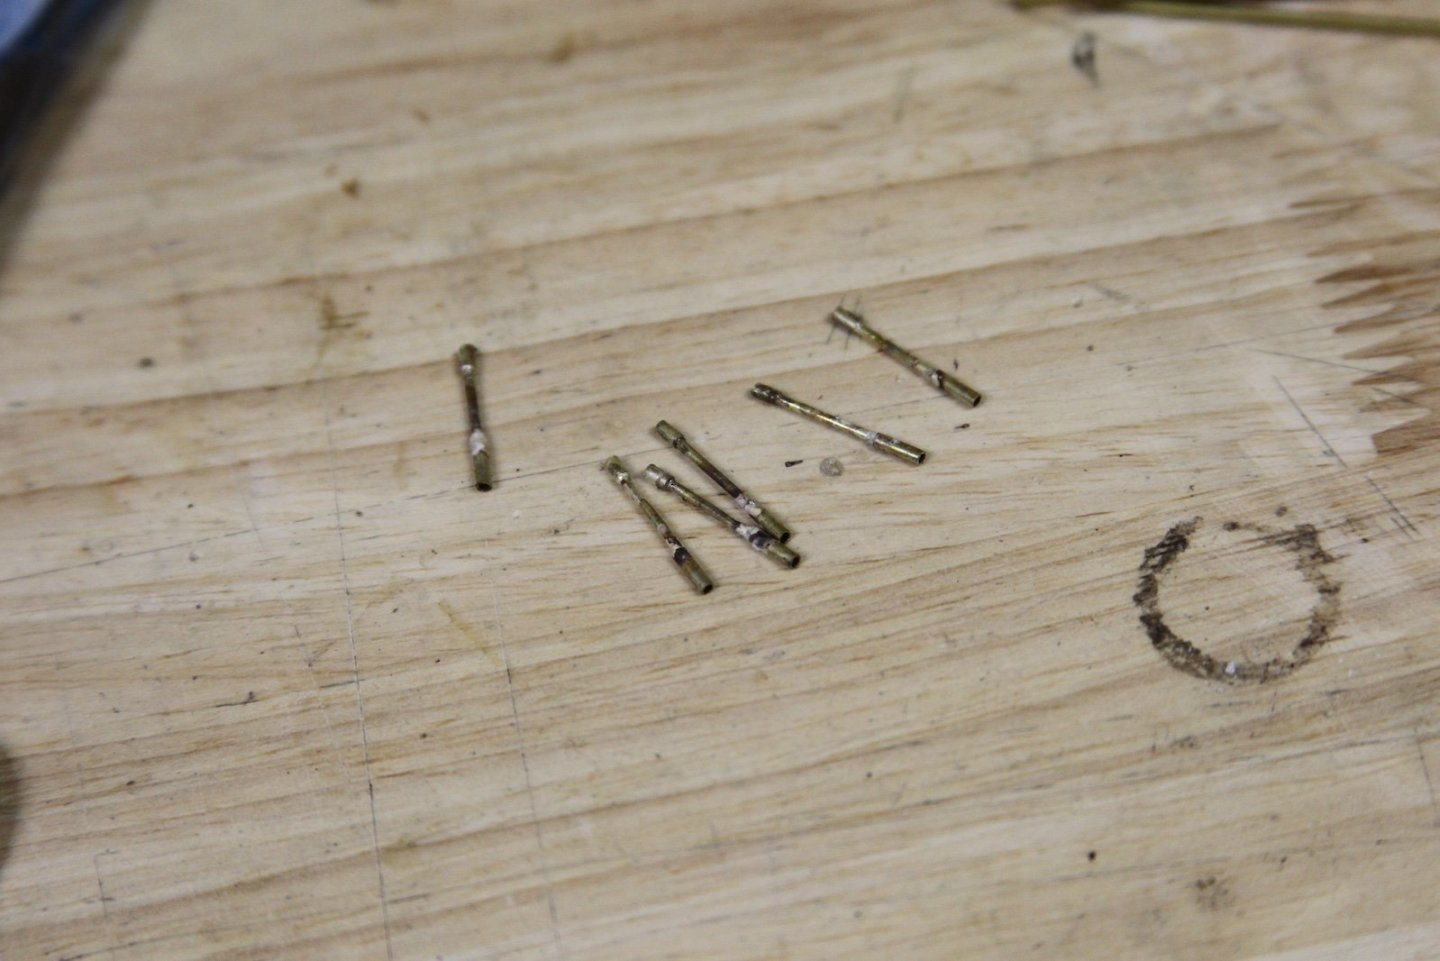
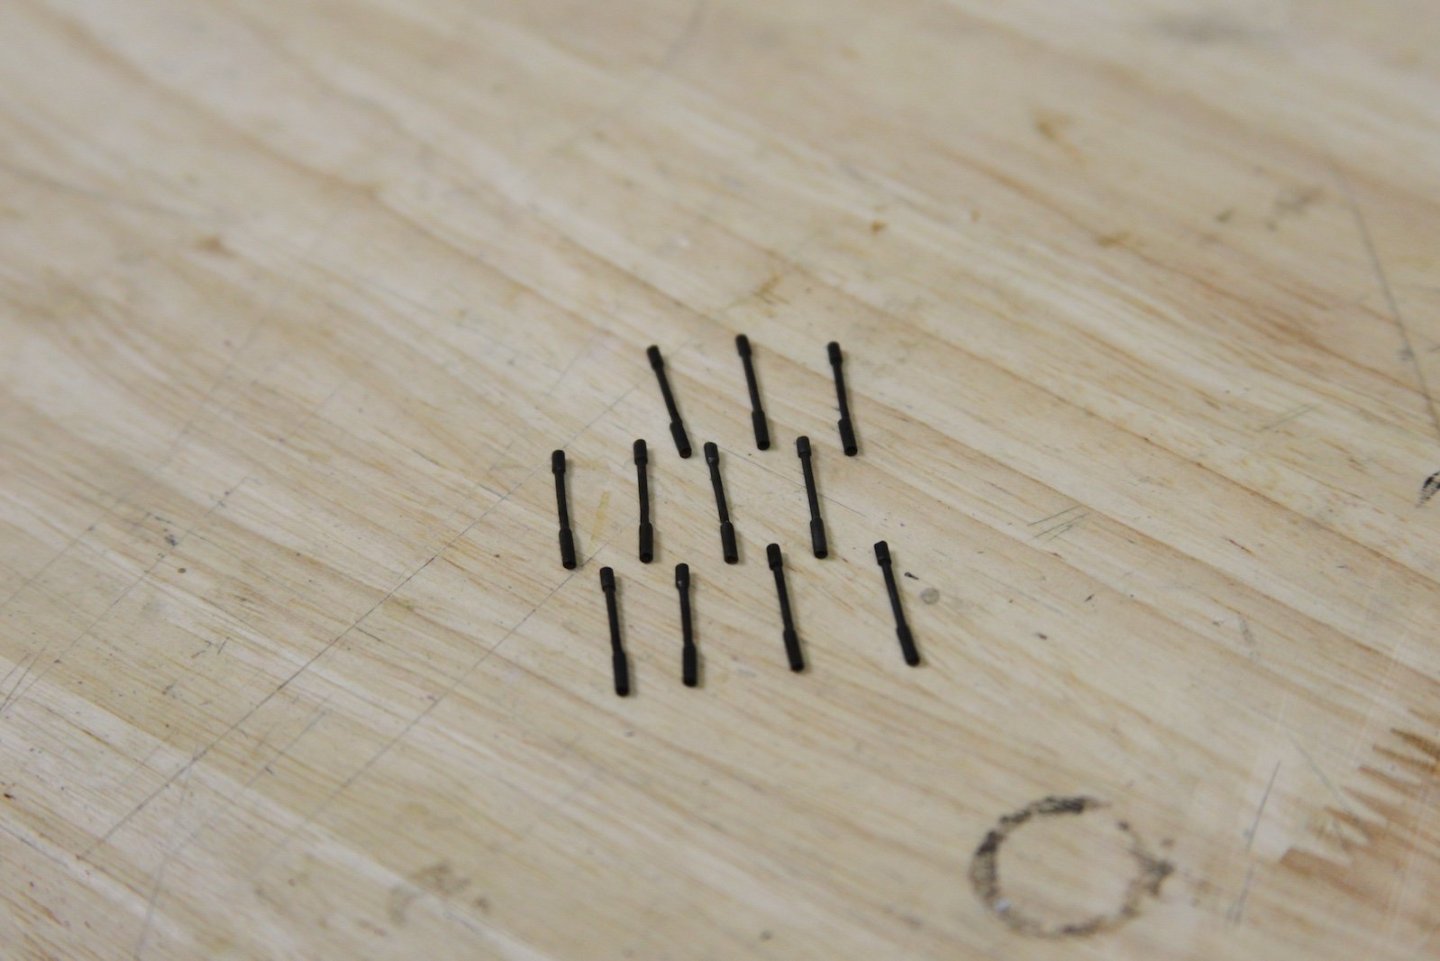
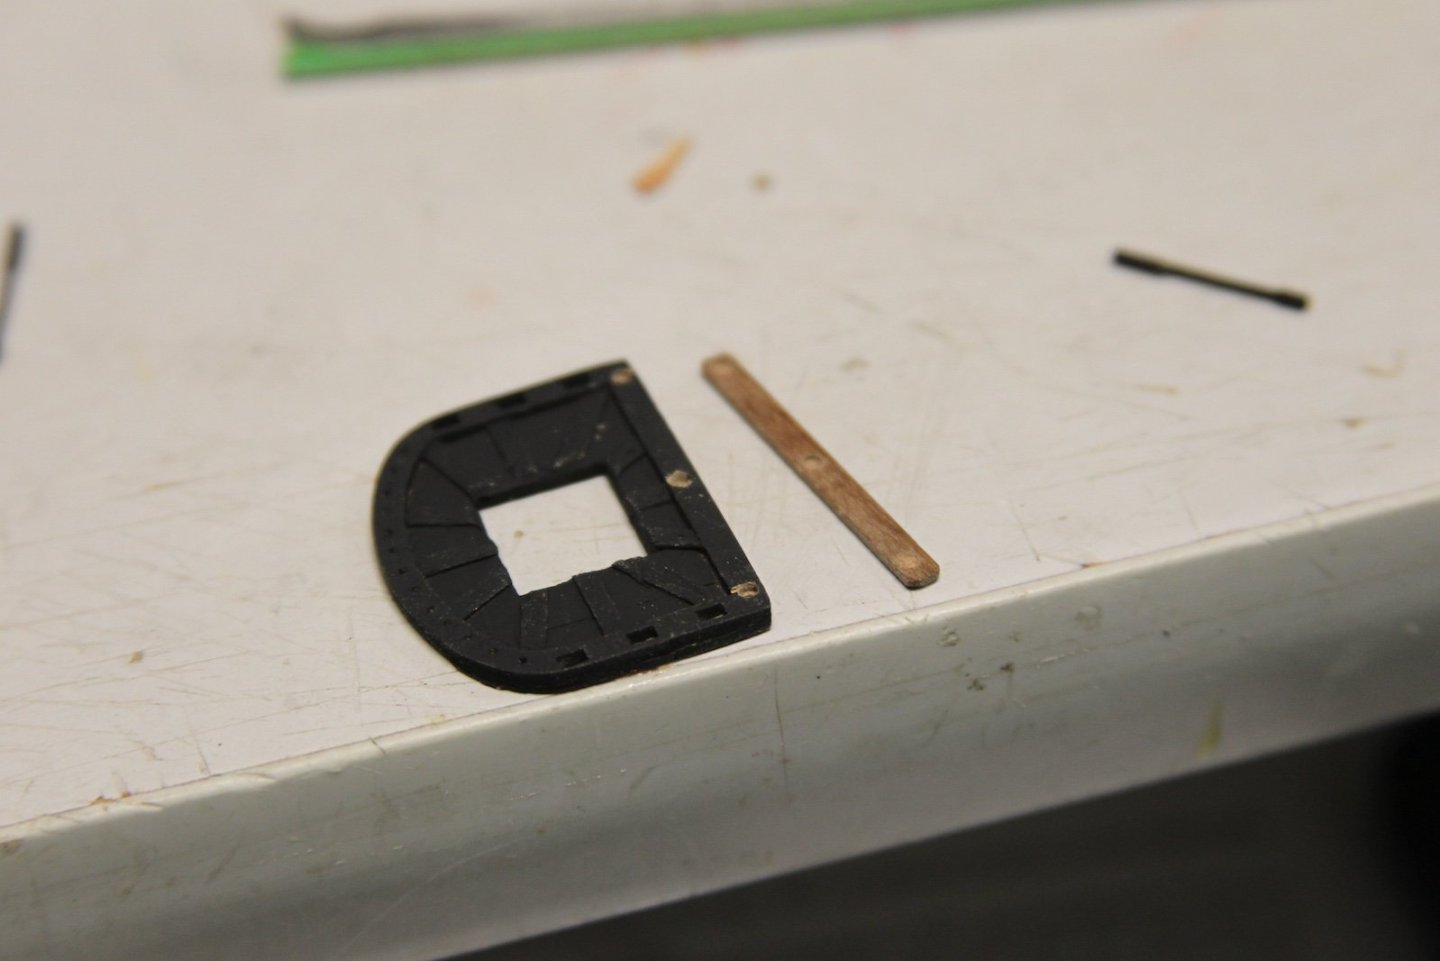
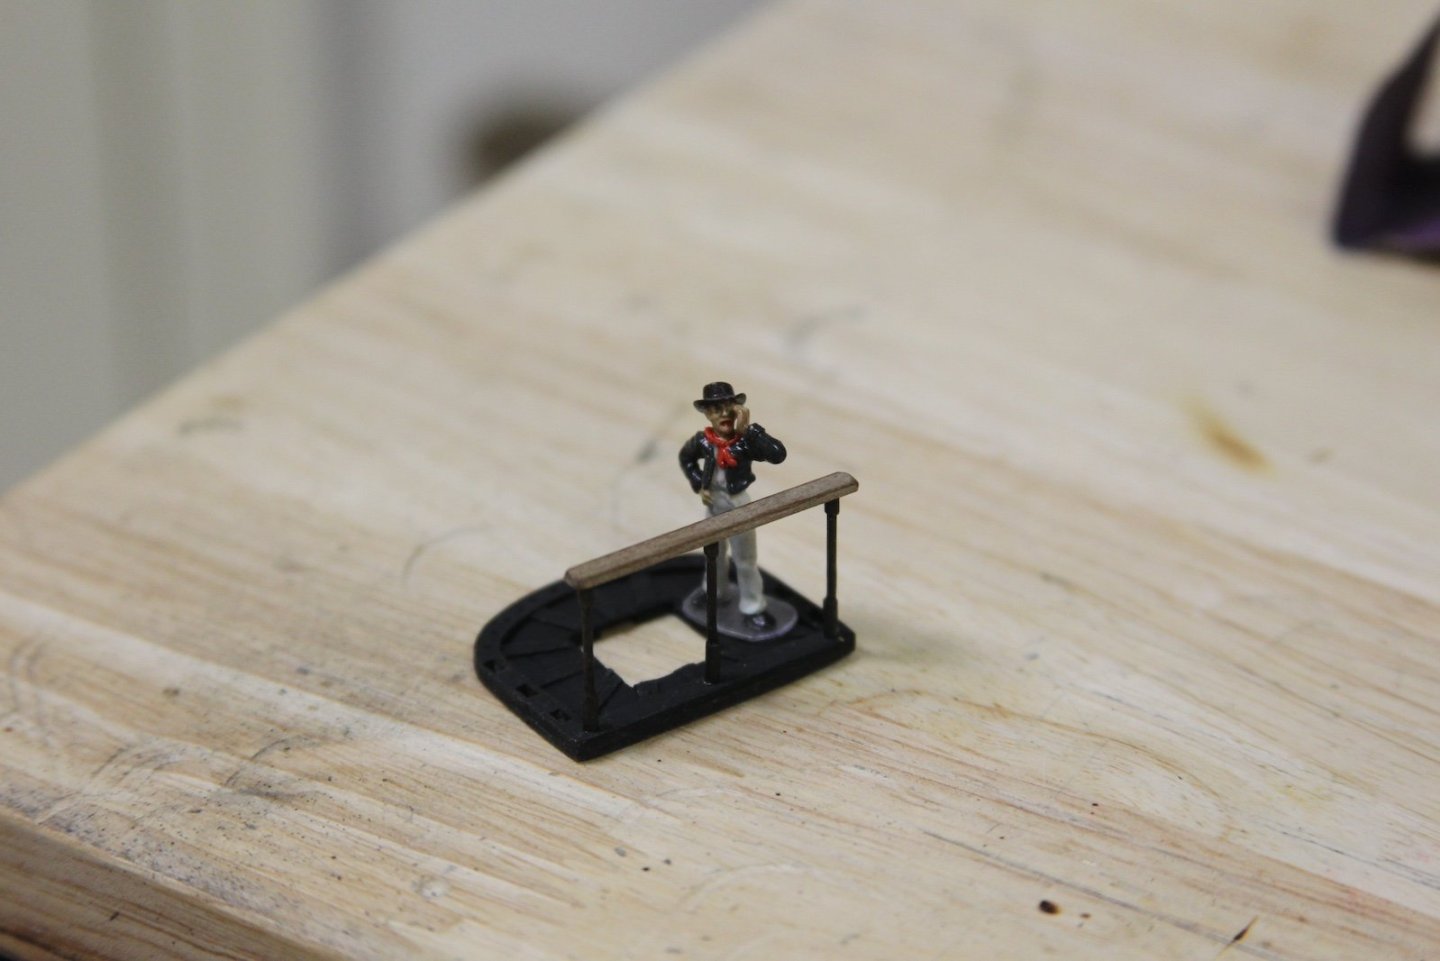
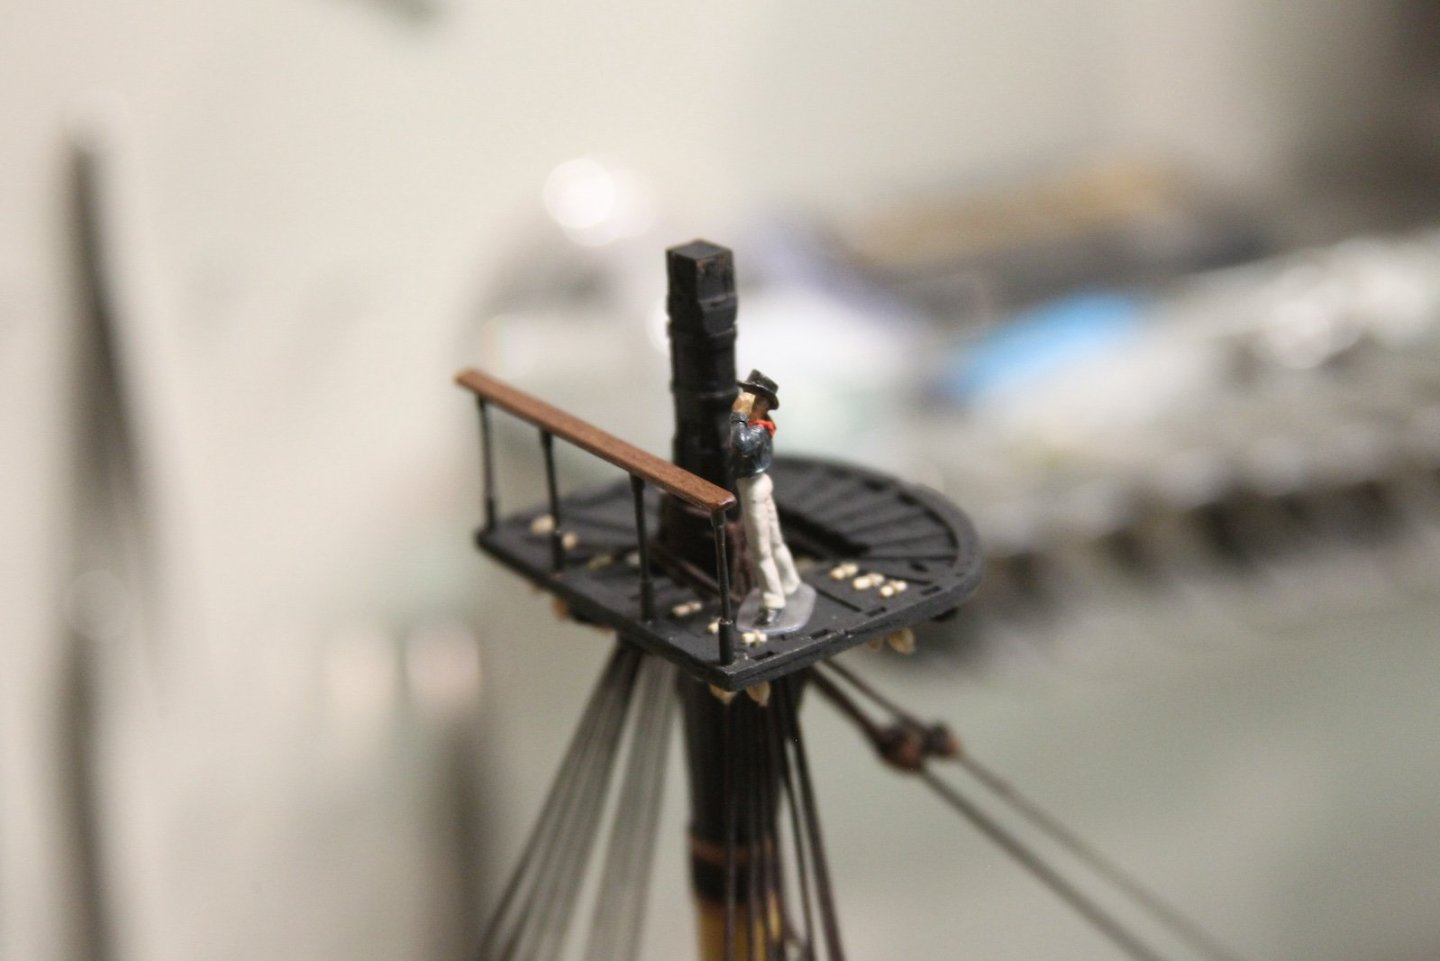
I wanted the stanchions and railings for the mast tops to match the main part of the ship, so I used brass tubing and walnut again. The stanchions are three parts - the main post is a 1mm brass tube cut to 15mm with each end sanded to a point to facilitate my later placement and soldering. The bottom of the stanchion is 2mm tubing cut to 5mm and the top is 2mm tubing cut to 3mm (missed taking a shot of these). The bottoms and tops are slid over the top of the pointy ends of the middle and silver soldered into place. The stanchions are sanded and blackened - my blackening process is laid out here in post #175. I bored out spaces in the mast tops and the railings to fit the stanchions then assembled them. The first mate let's me know that the sizing and scaling are pretty close to what I'm looking for.
- 312 replies
-
- Victory Models
- Pegasus
-
(and 3 more)
Tagged with:
About us
Modelshipworld - Advancing Ship Modeling through Research
SSL Secured
Your security is important for us so this Website is SSL-Secured
NRG Mailing Address
Nautical Research Guild
237 South Lincoln Street
Westmont IL, 60559-1917
Model Ship World ® and the MSW logo are Registered Trademarks, and belong to the Nautical Research Guild (United States Patent and Trademark Office: No. 6,929,264 & No. 6,929,274, registered Dec. 20, 2022)
Helpful Links
About the NRG
If you enjoy building ship models that are historically accurate as well as beautiful, then The Nautical Research Guild (NRG) is just right for you.
The Guild is a non-profit educational organization whose mission is to “Advance Ship Modeling Through Research”. We provide support to our members in their efforts to raise the quality of their model ships.
The Nautical Research Guild has published our world-renowned quarterly magazine, The Nautical Research Journal, since 1955. The pages of the Journal are full of articles by accomplished ship modelers who show you how they create those exquisite details on their models, and by maritime historians who show you the correct details to build. The Journal is available in both print and digital editions. Go to the NRG web site (www.thenrg.org) to download a complimentary digital copy of the Journal. The NRG also publishes plan sets, books and compilations of back issues of the Journal and the former Ships in Scale and Model Ship Builder magazines.



.thumb.jpg.63de63bd9ff3a8188868ac58dfcc309c.jpg)


