Search the Community
Showing results for tags 'victory models'.
-
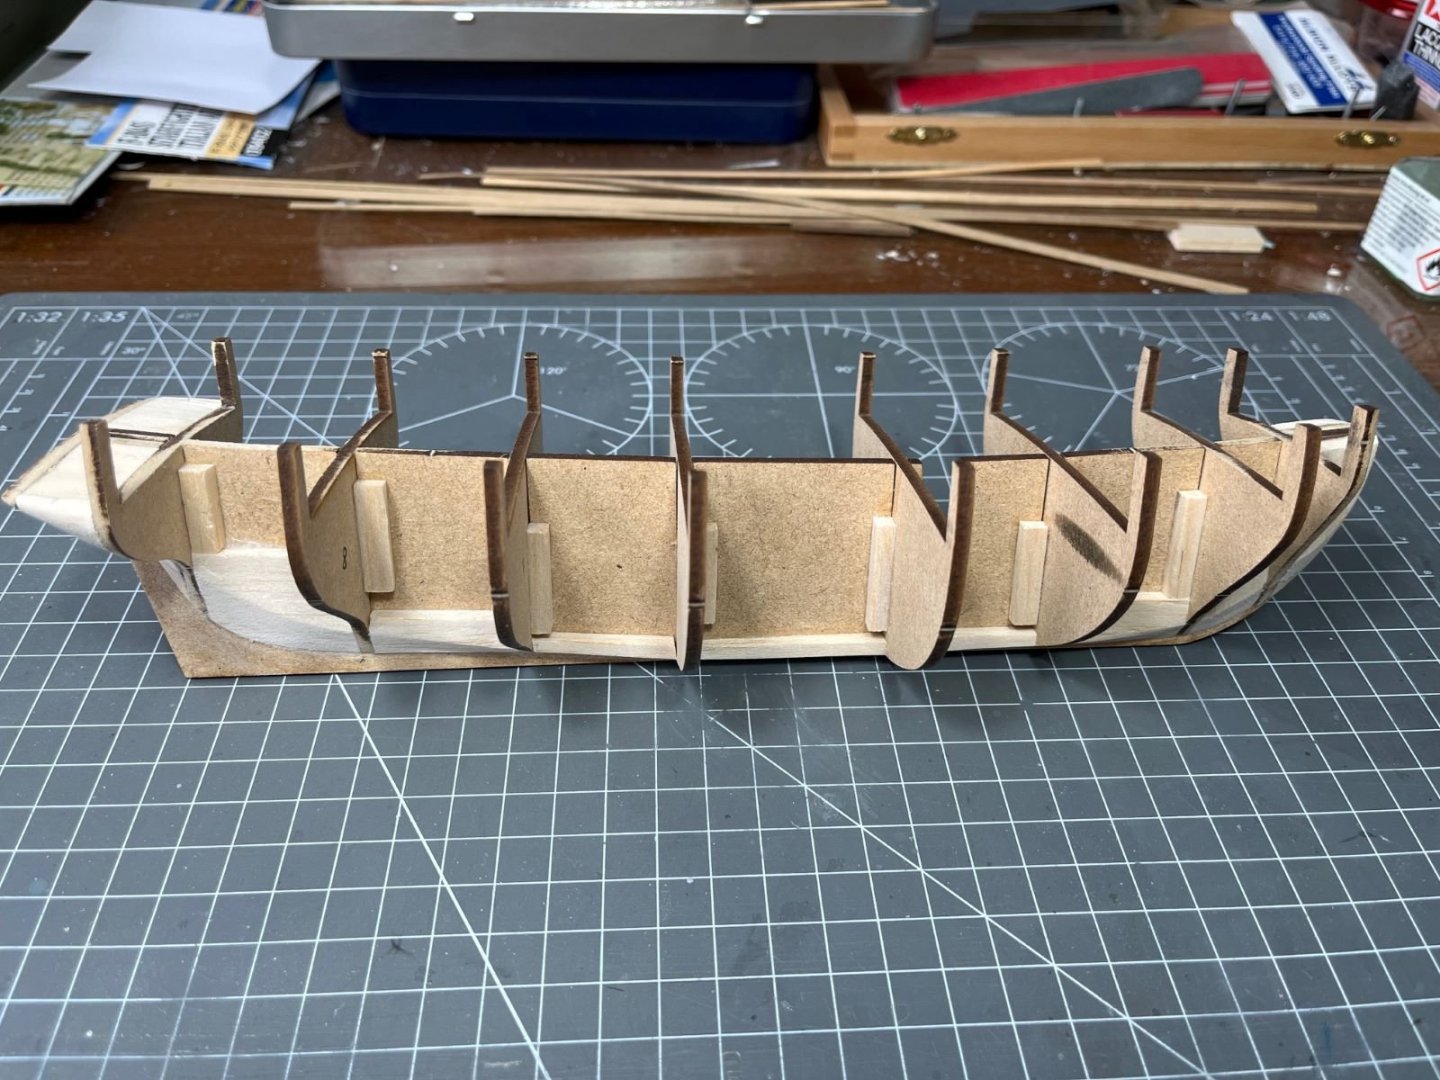
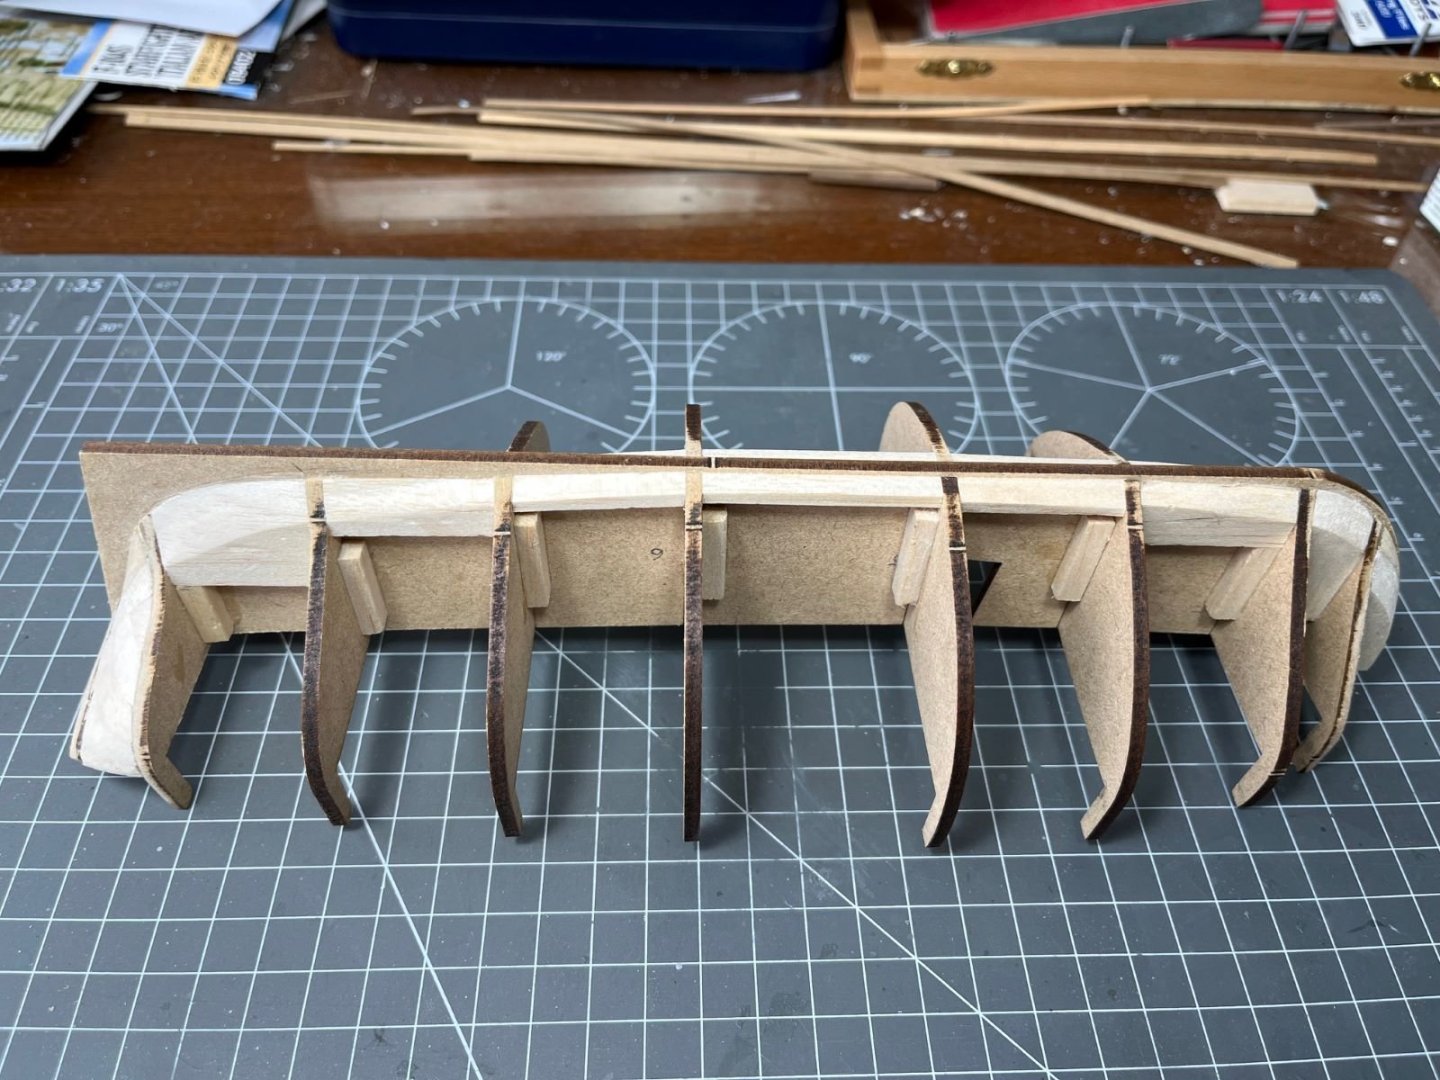
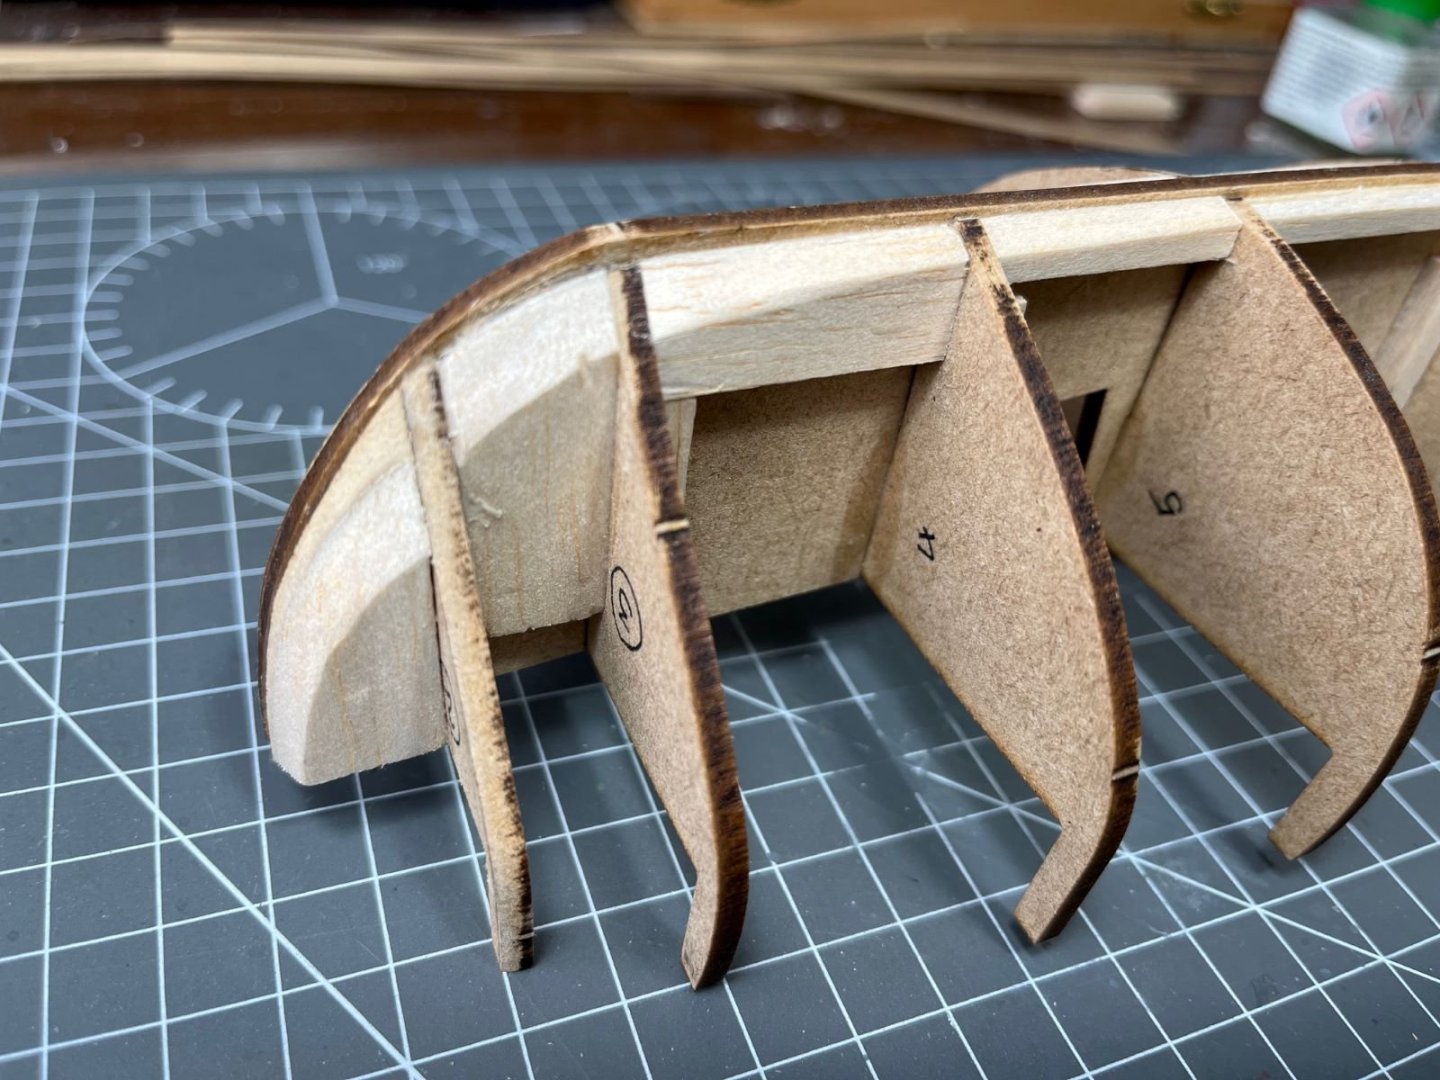
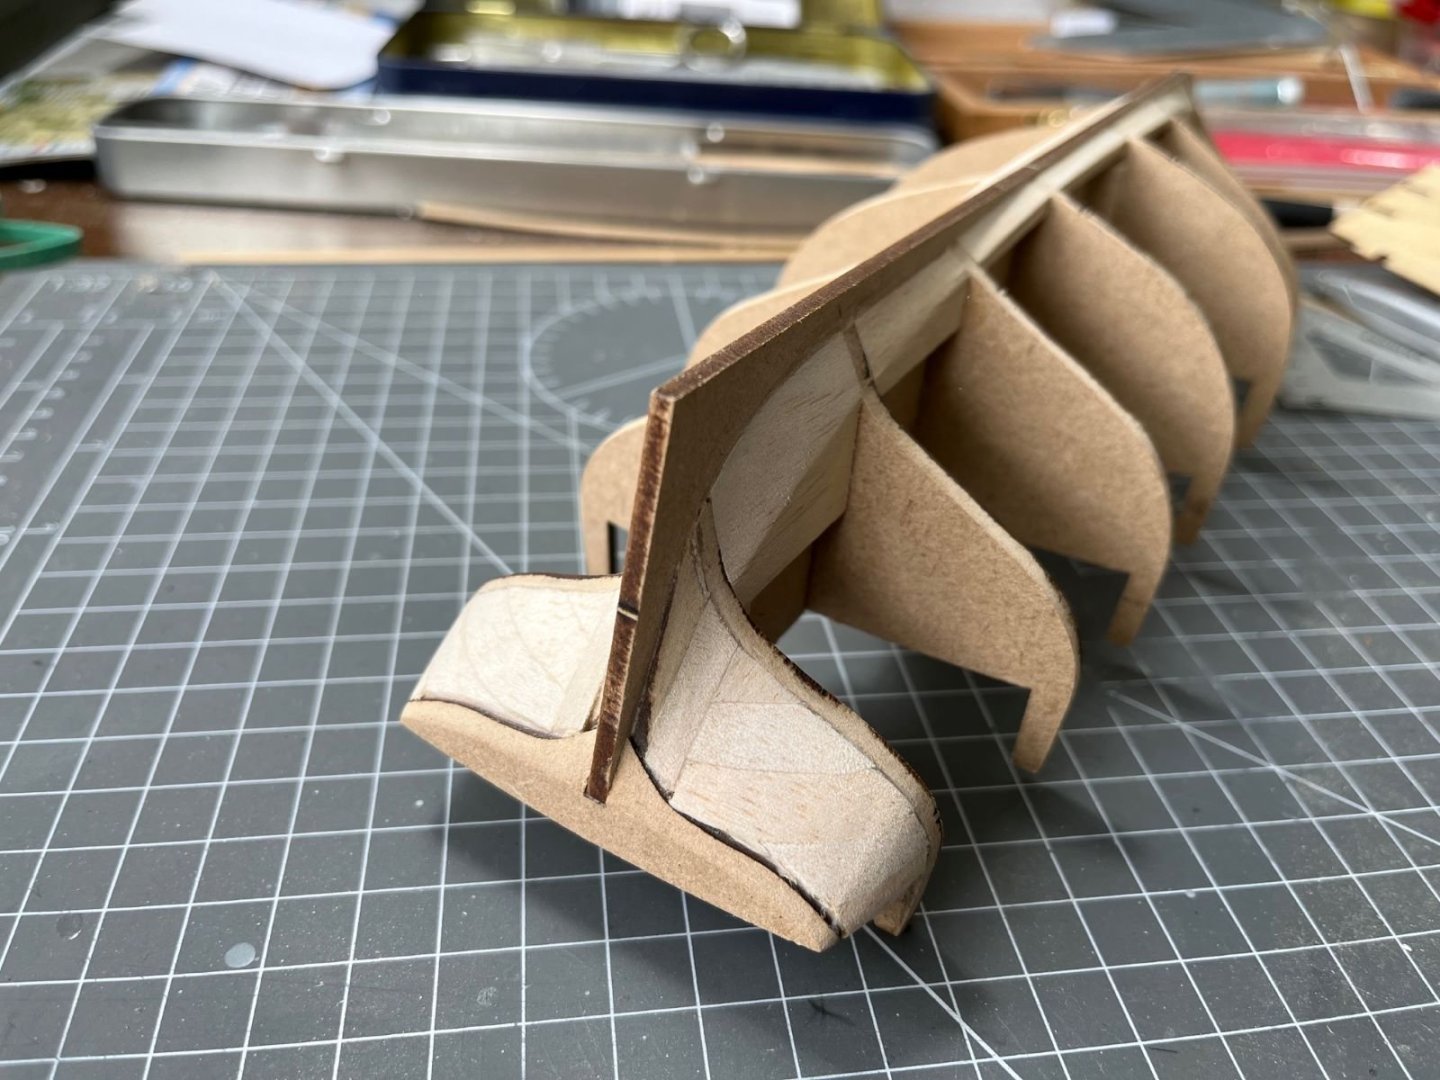
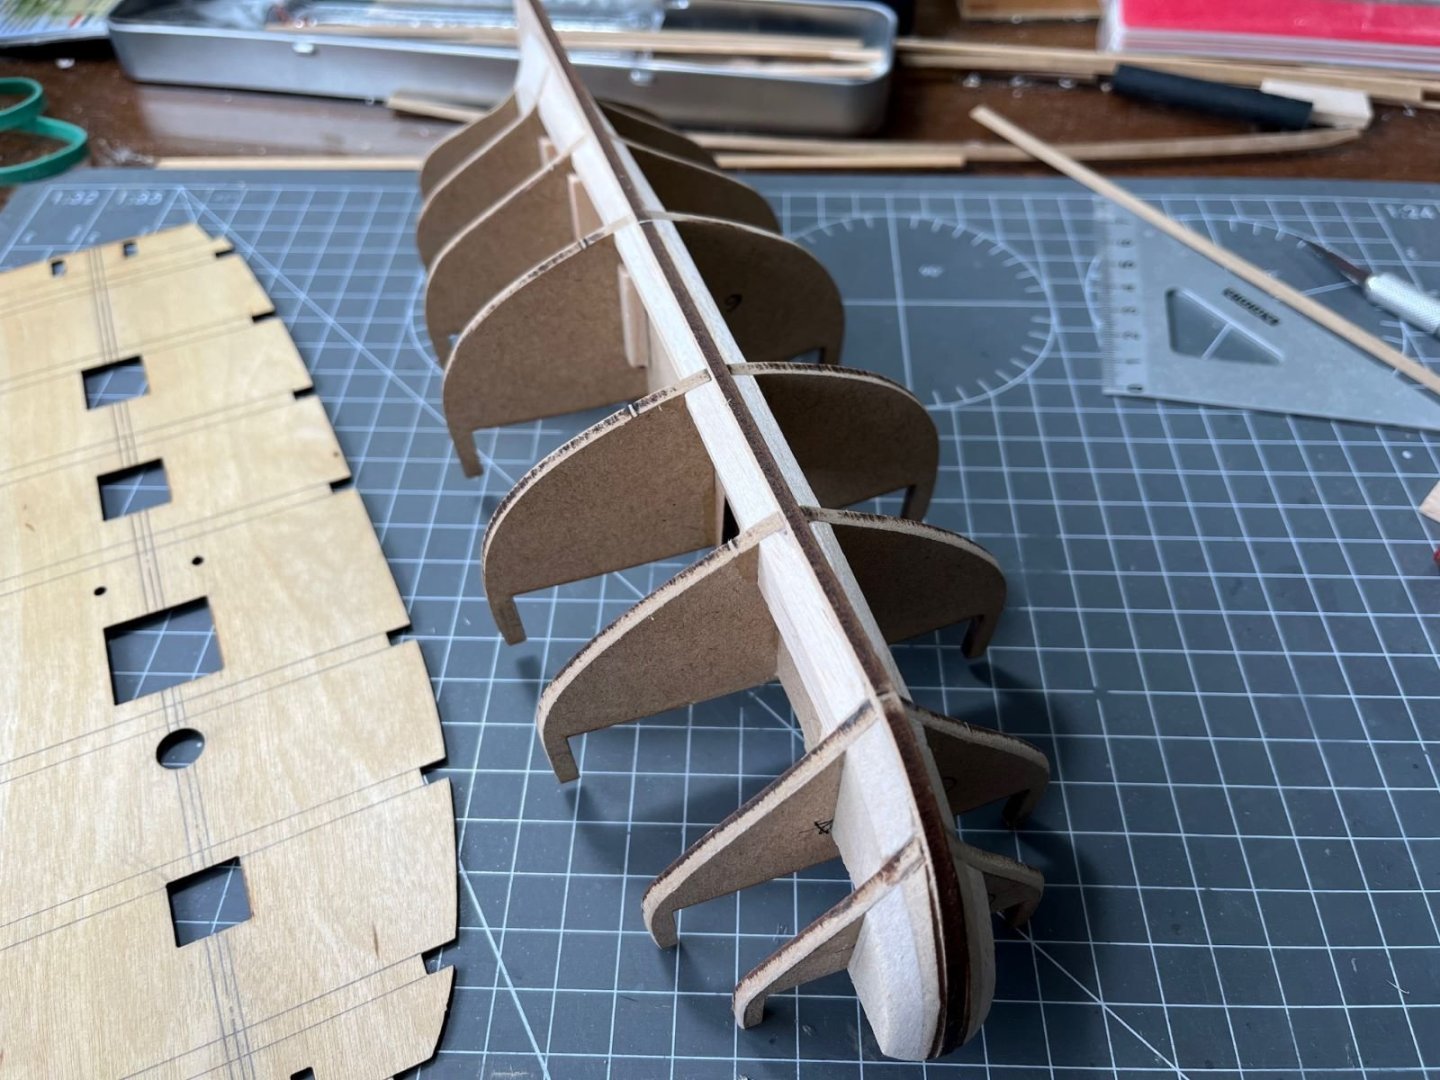
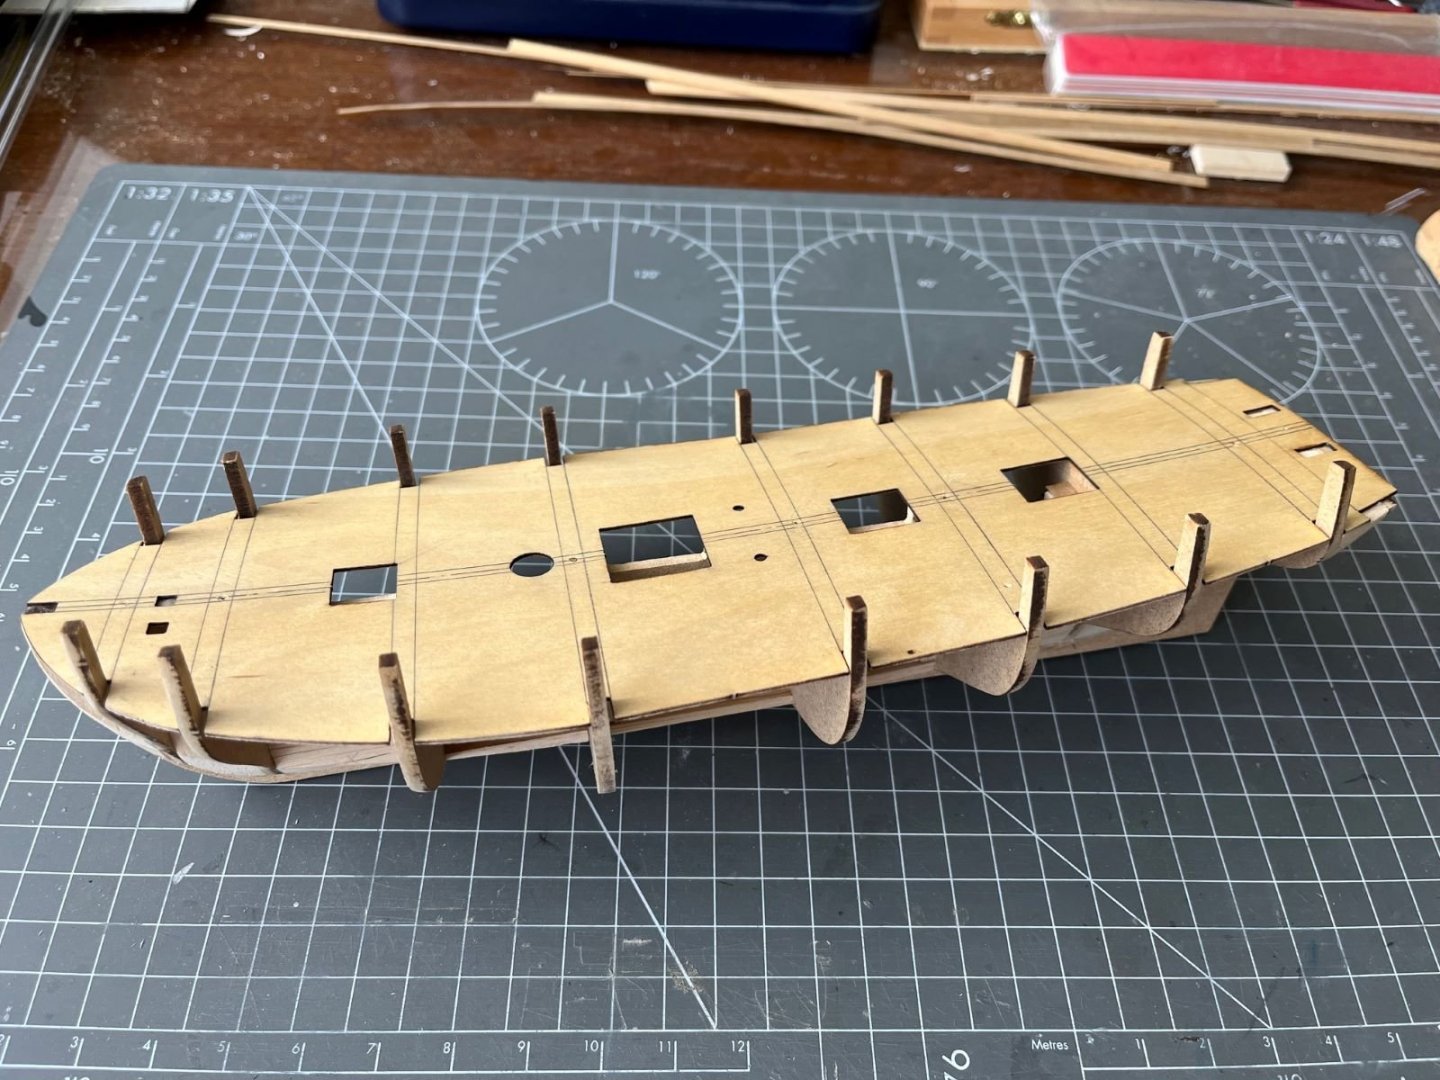
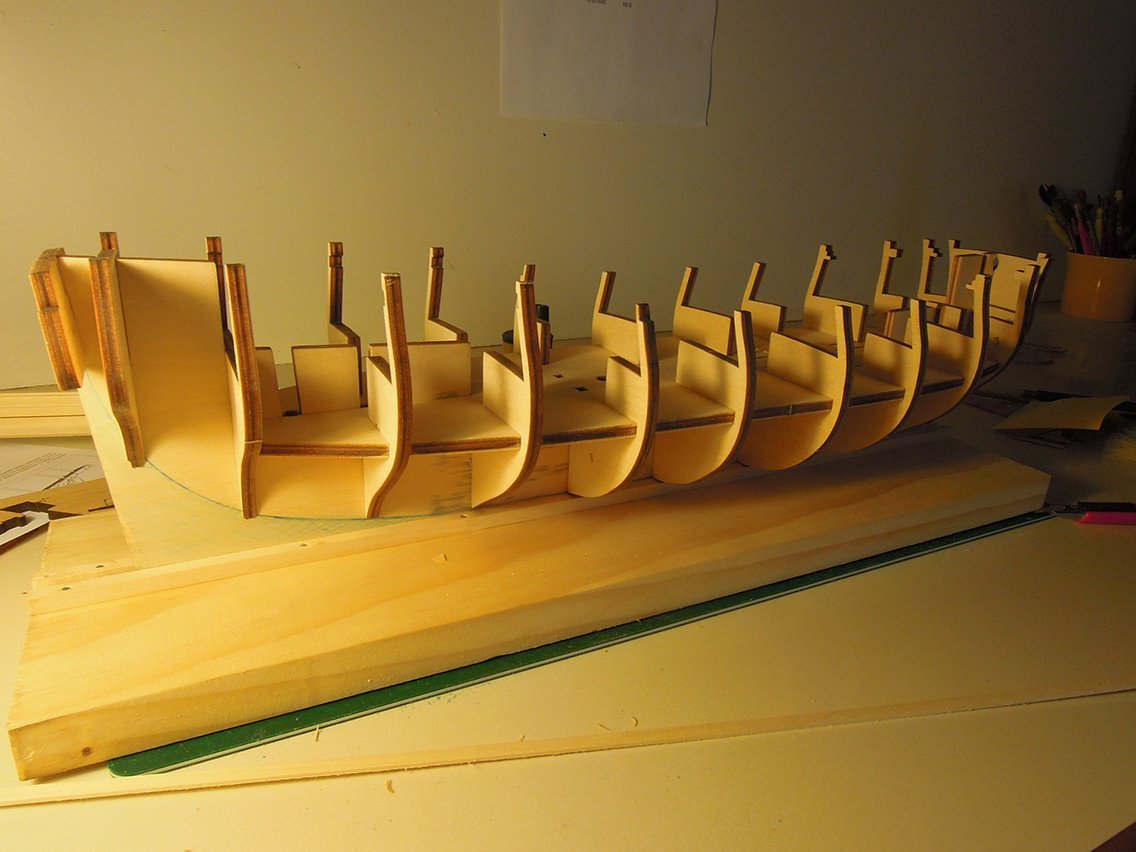
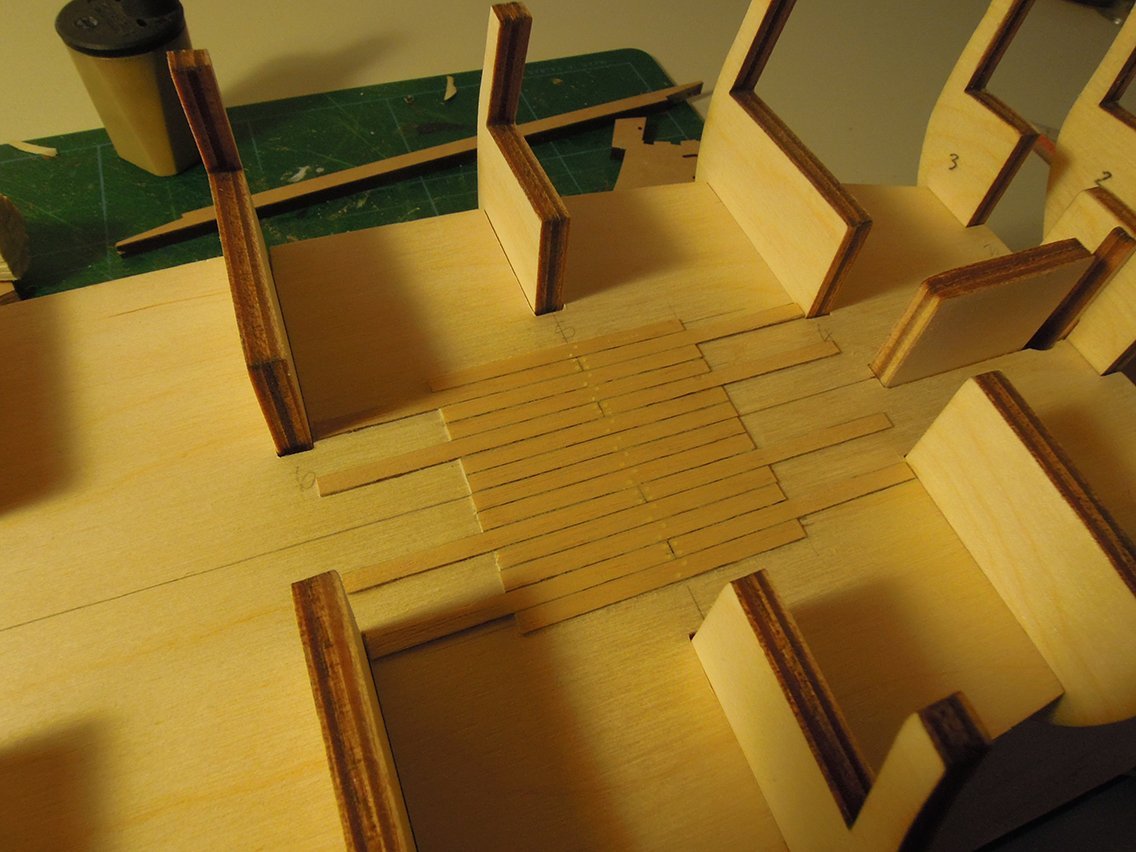
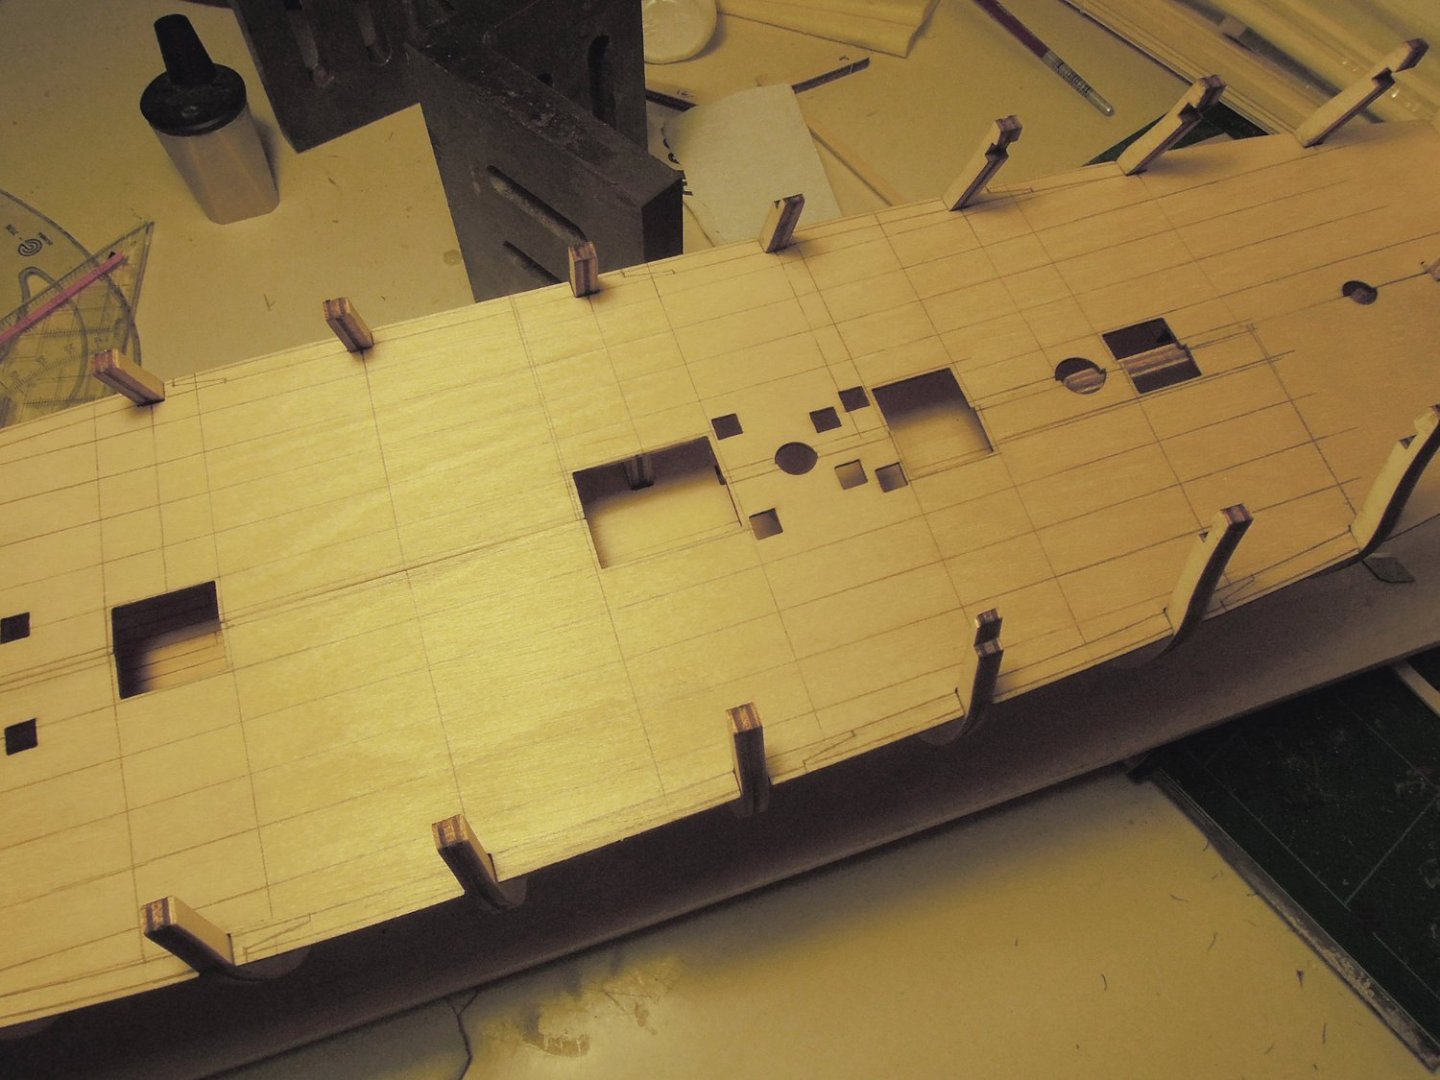
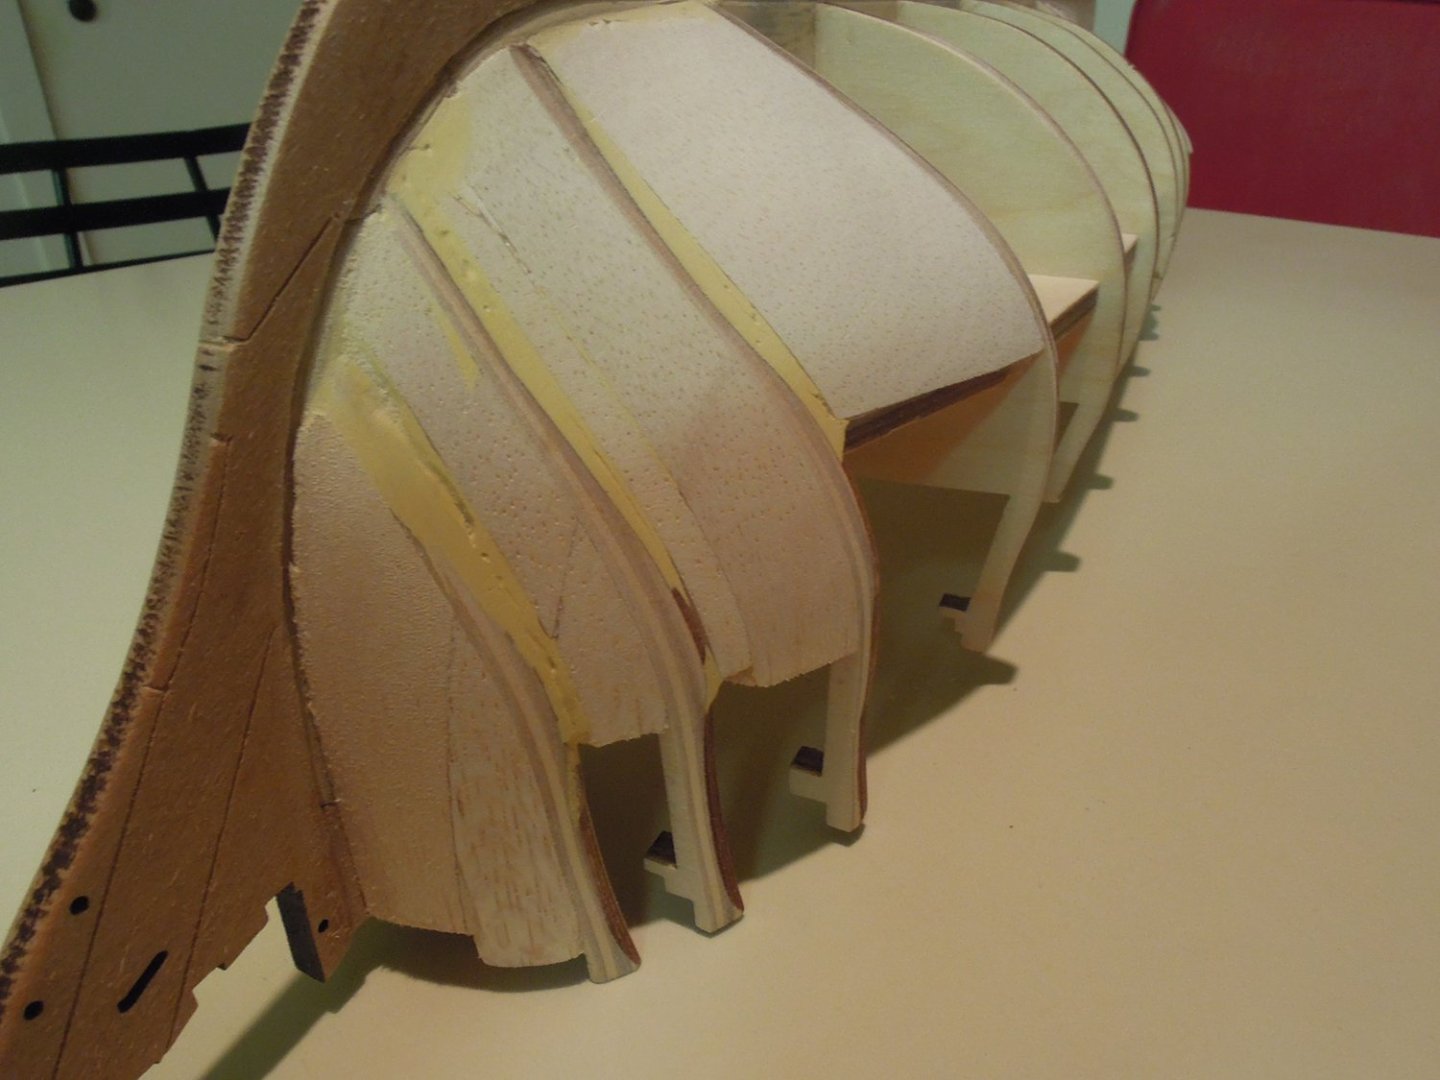
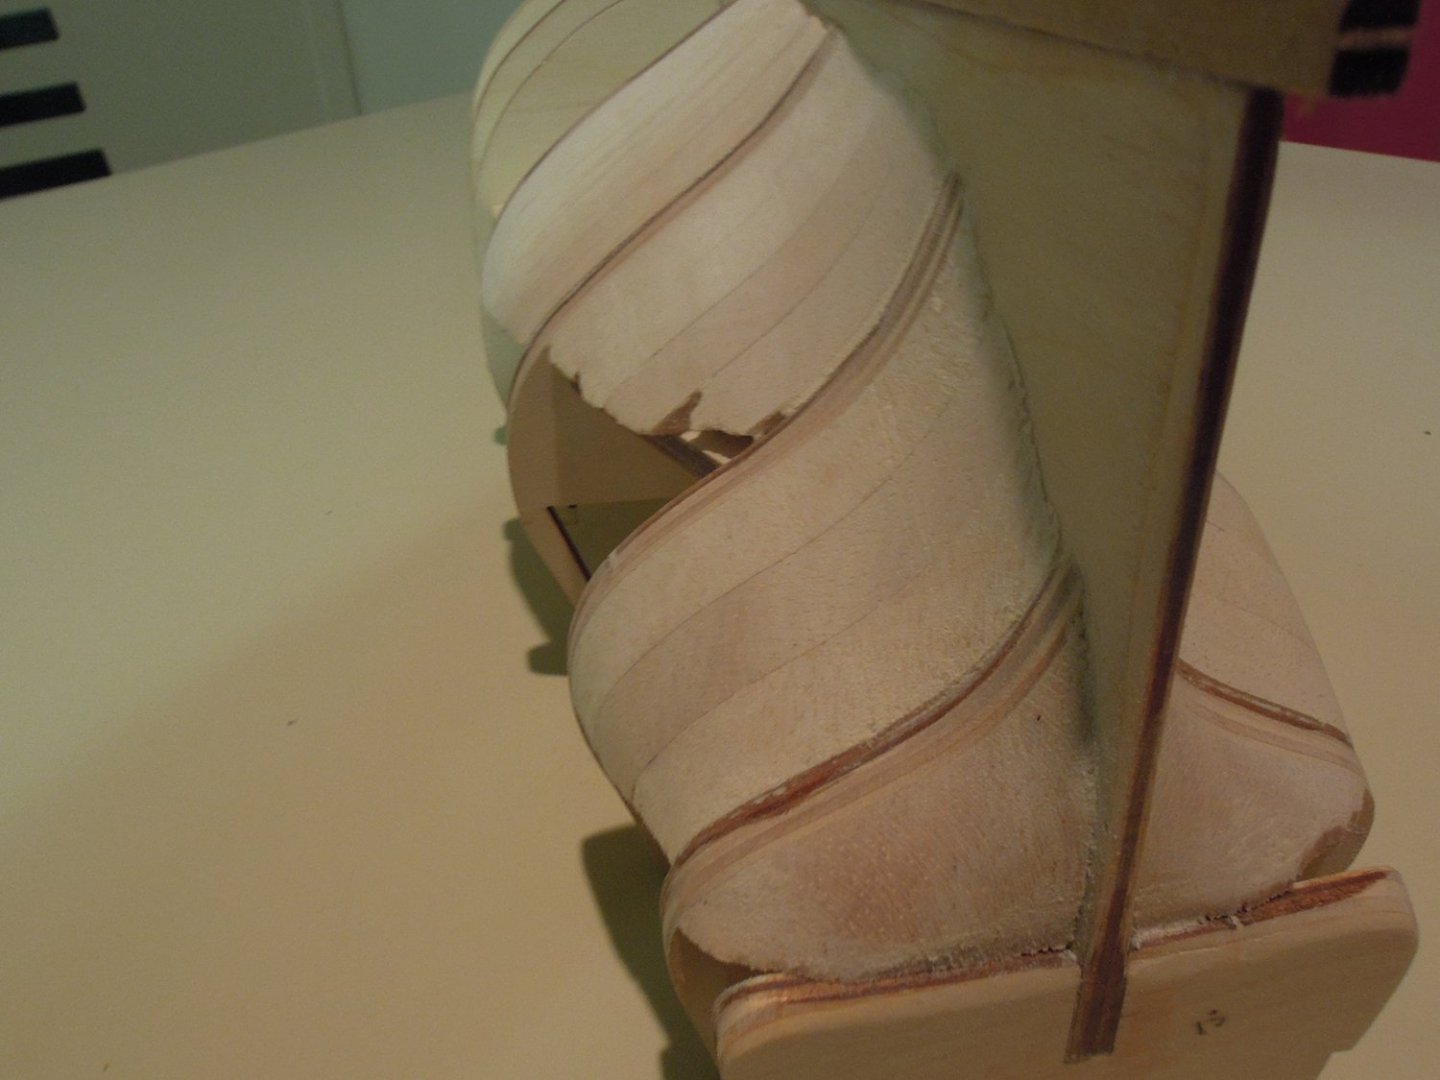
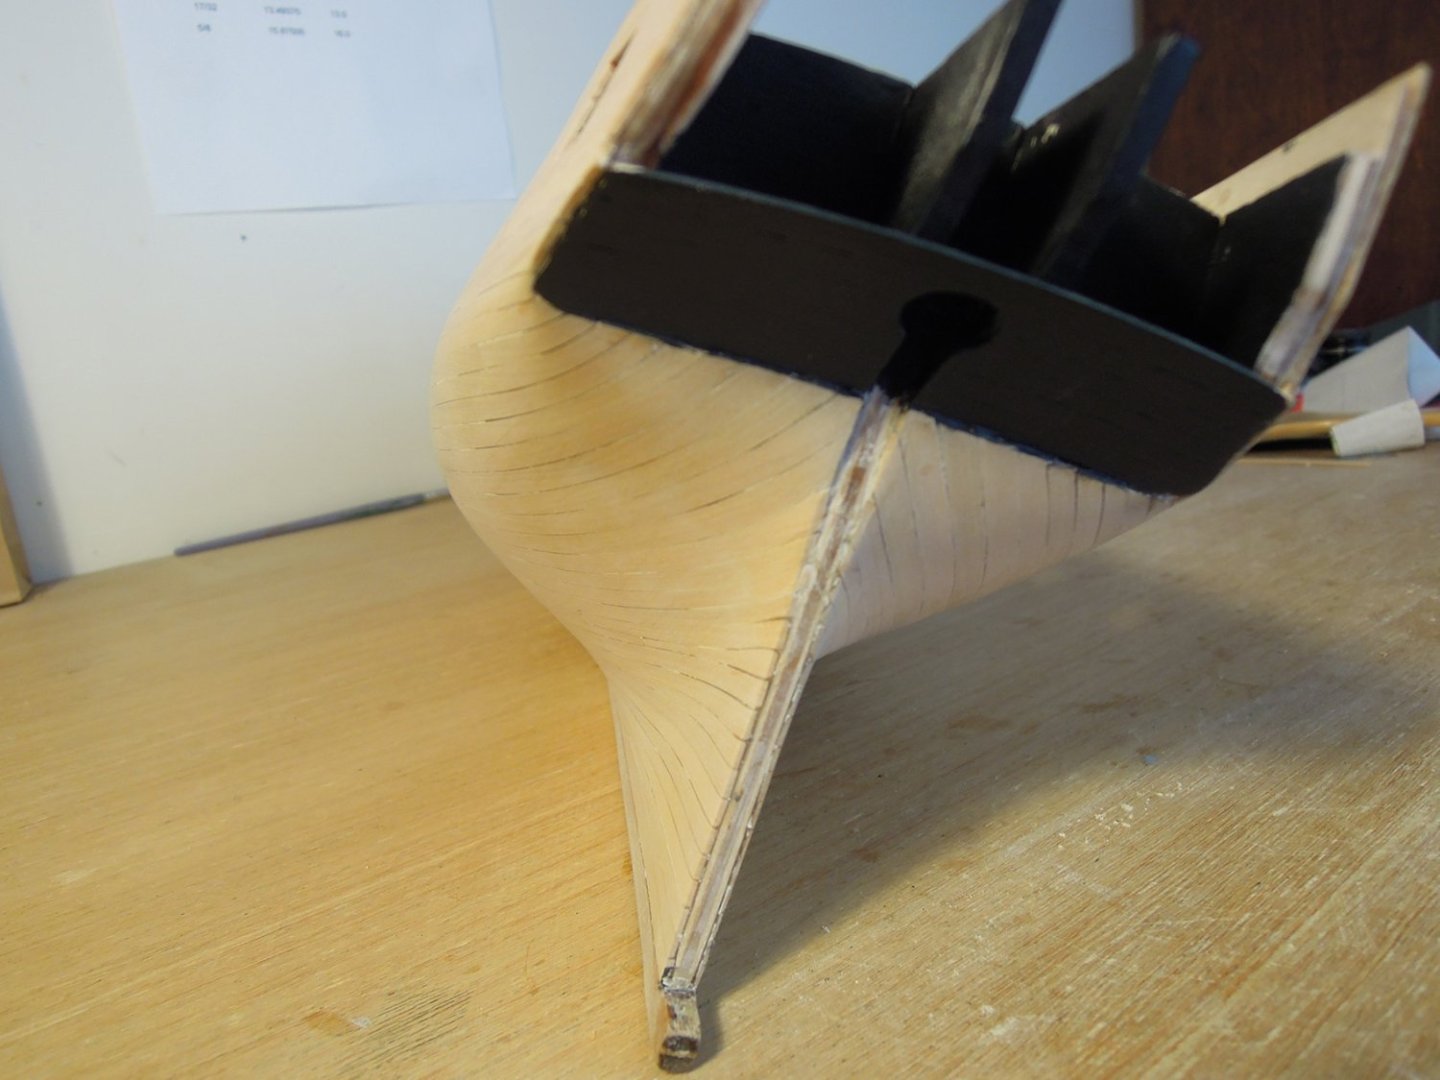
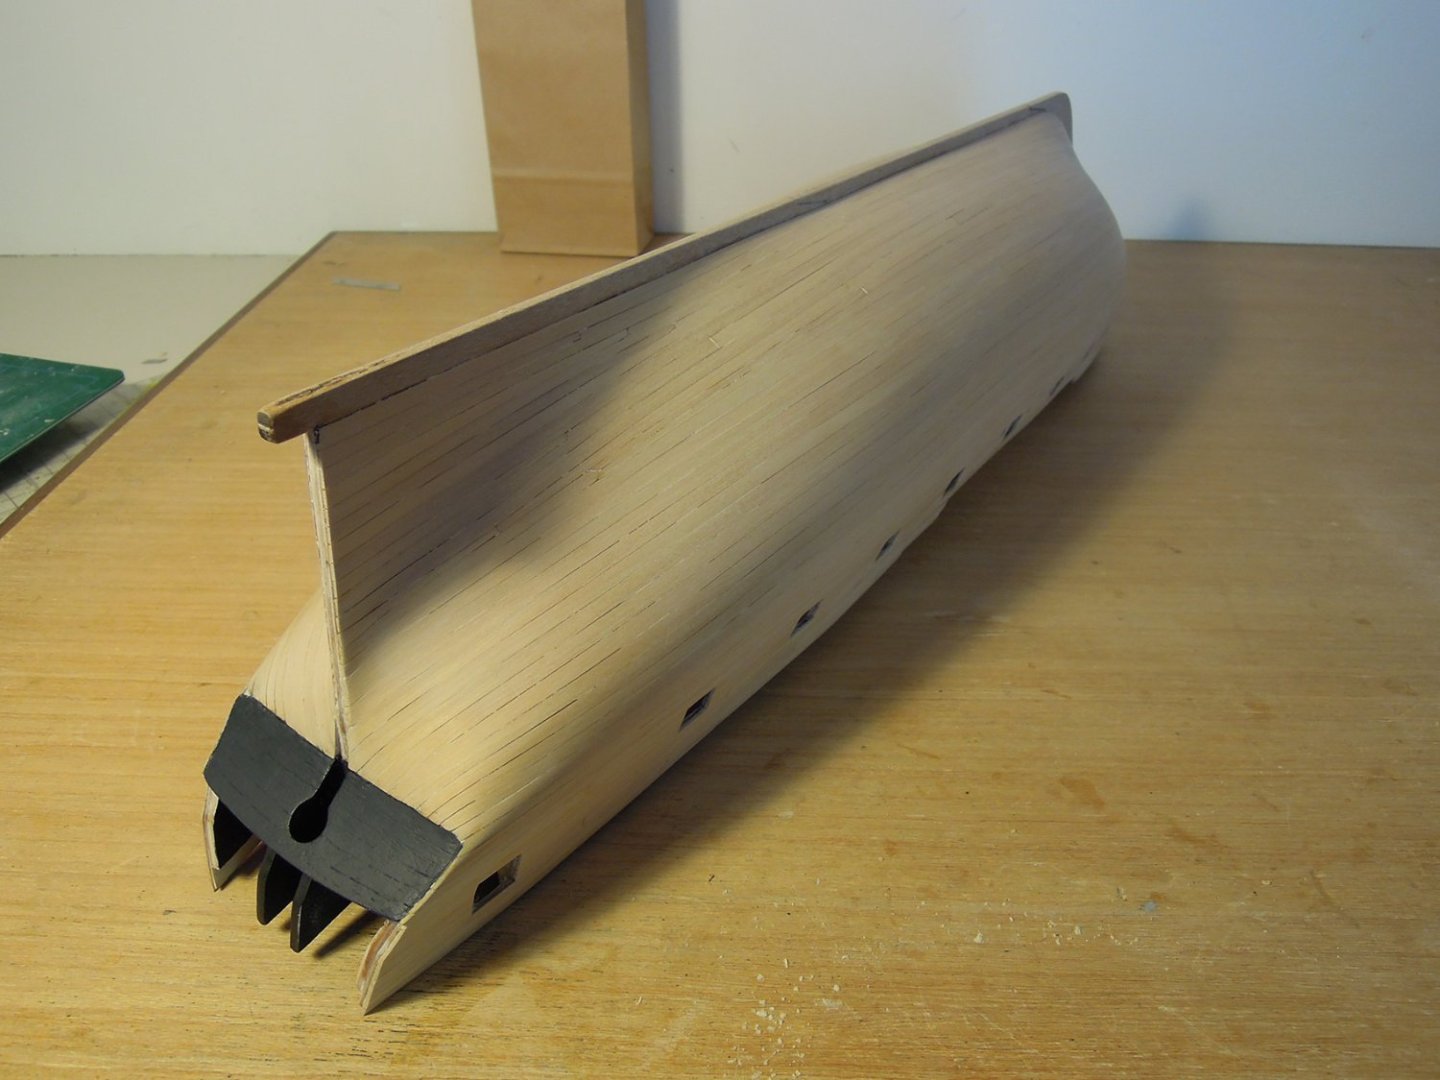
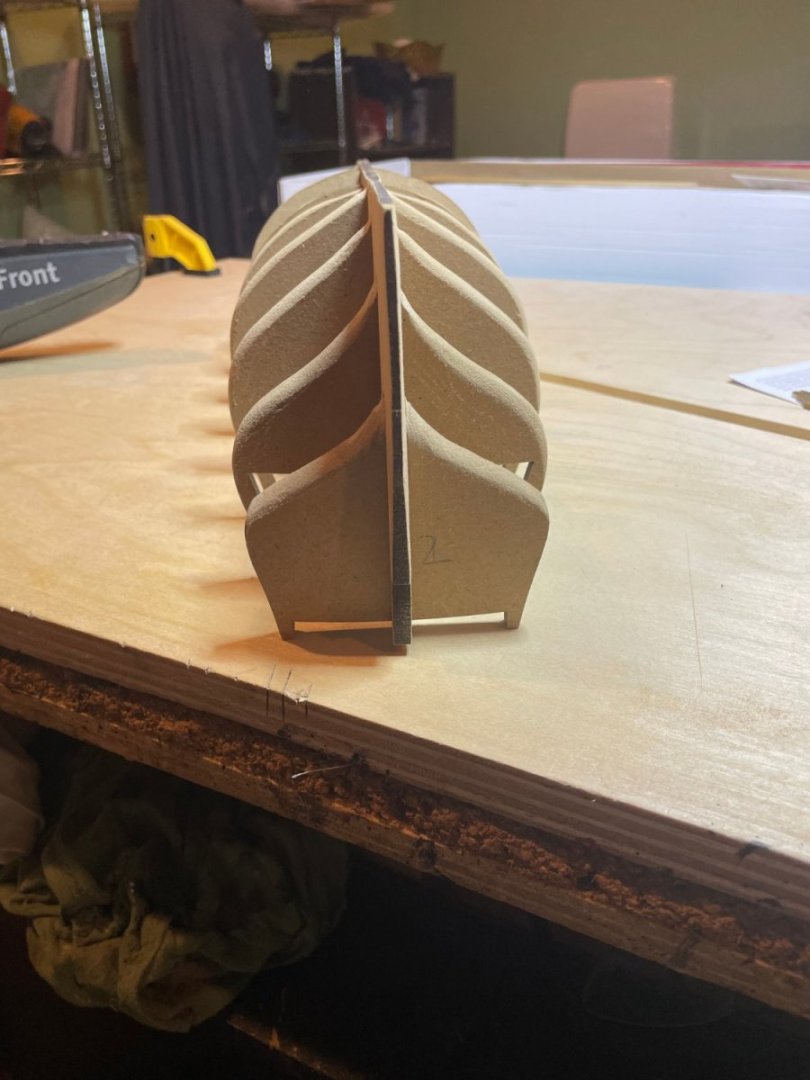
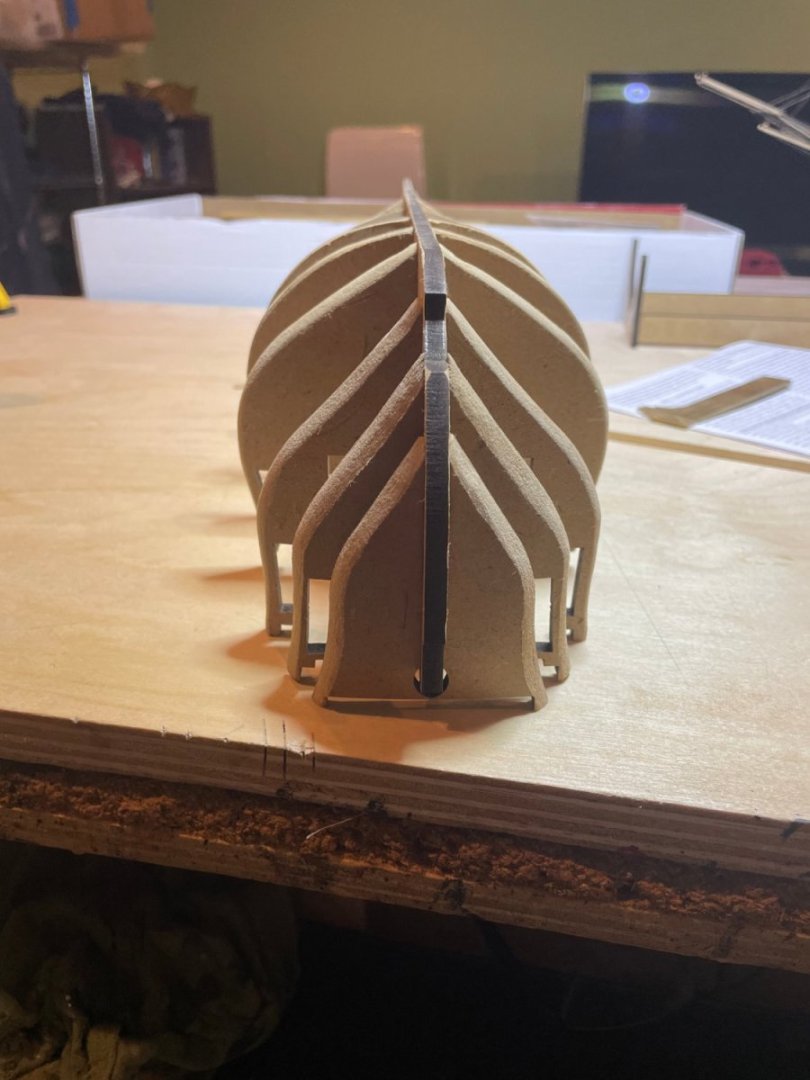
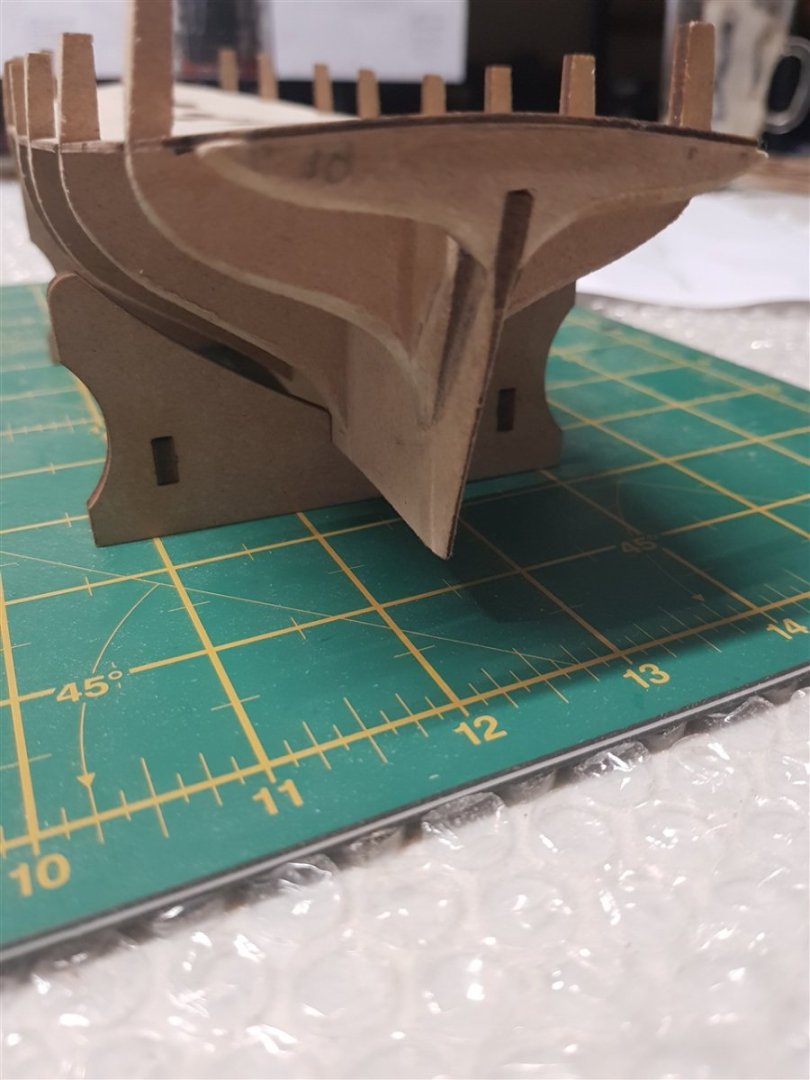
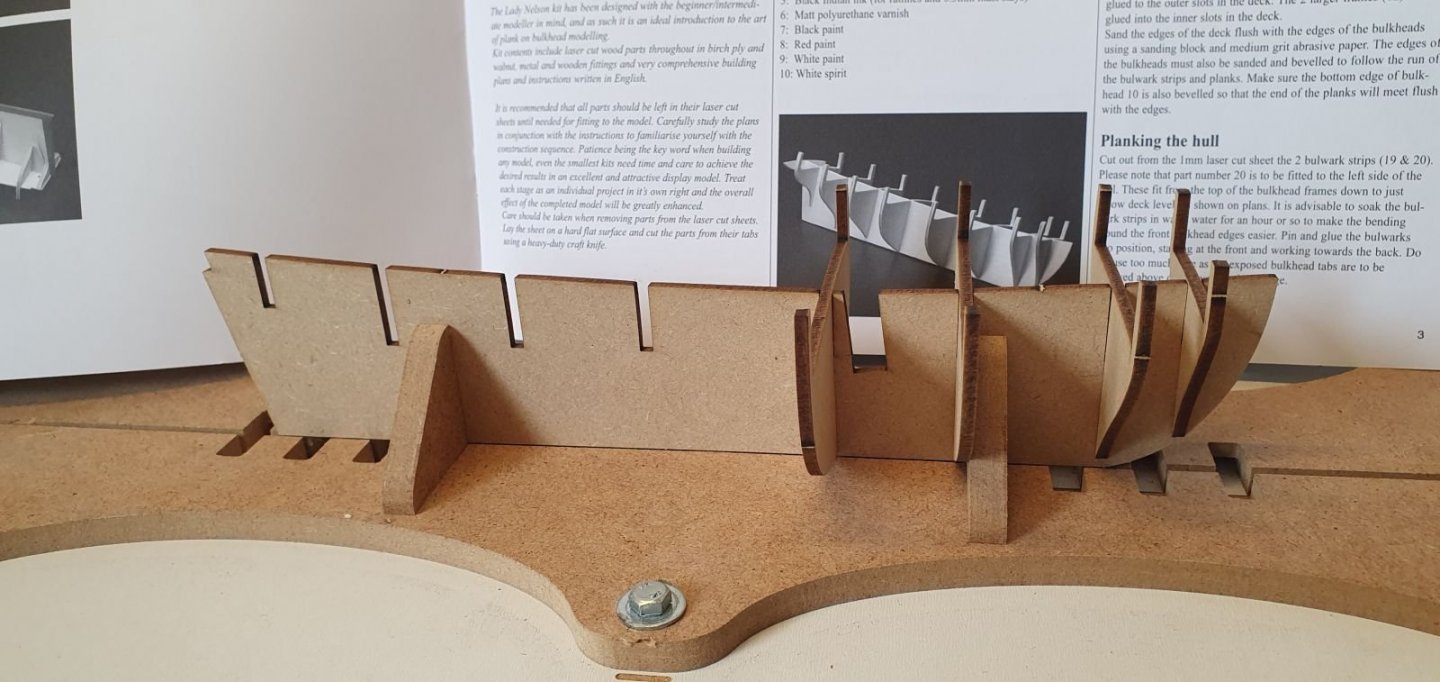
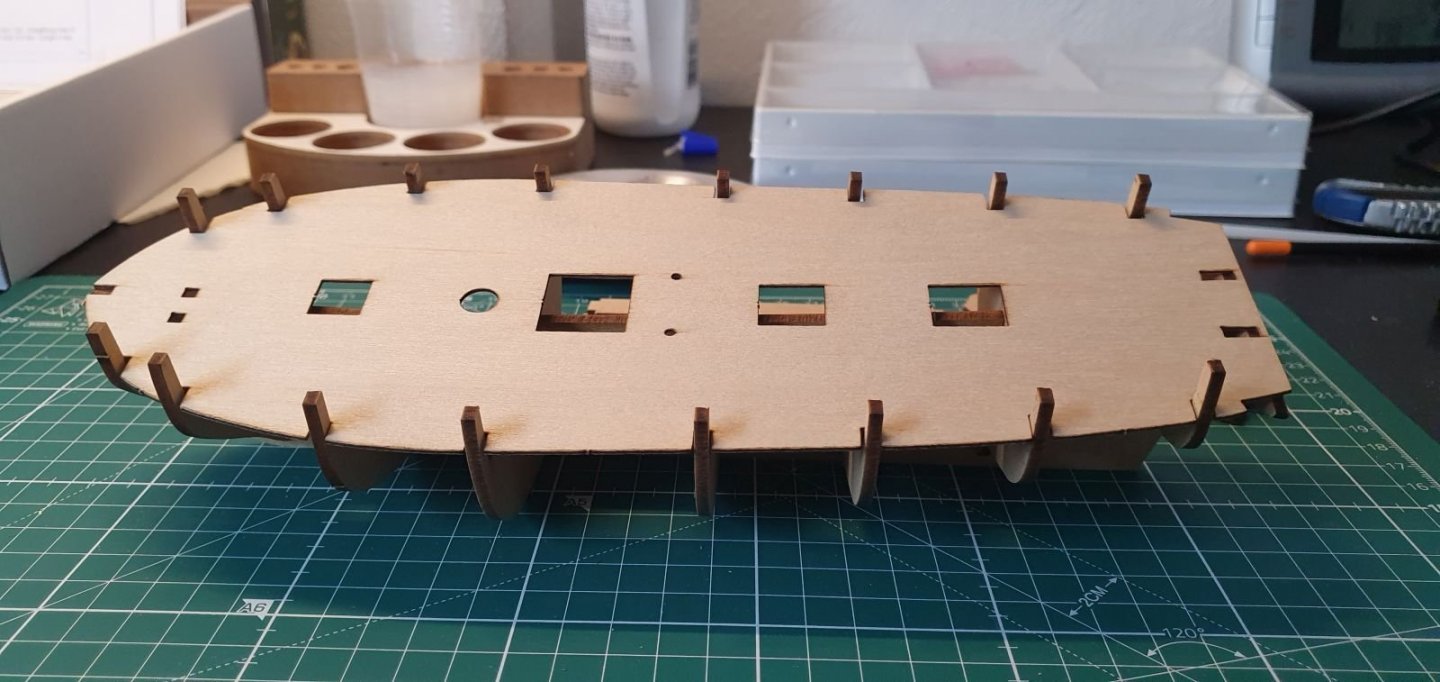
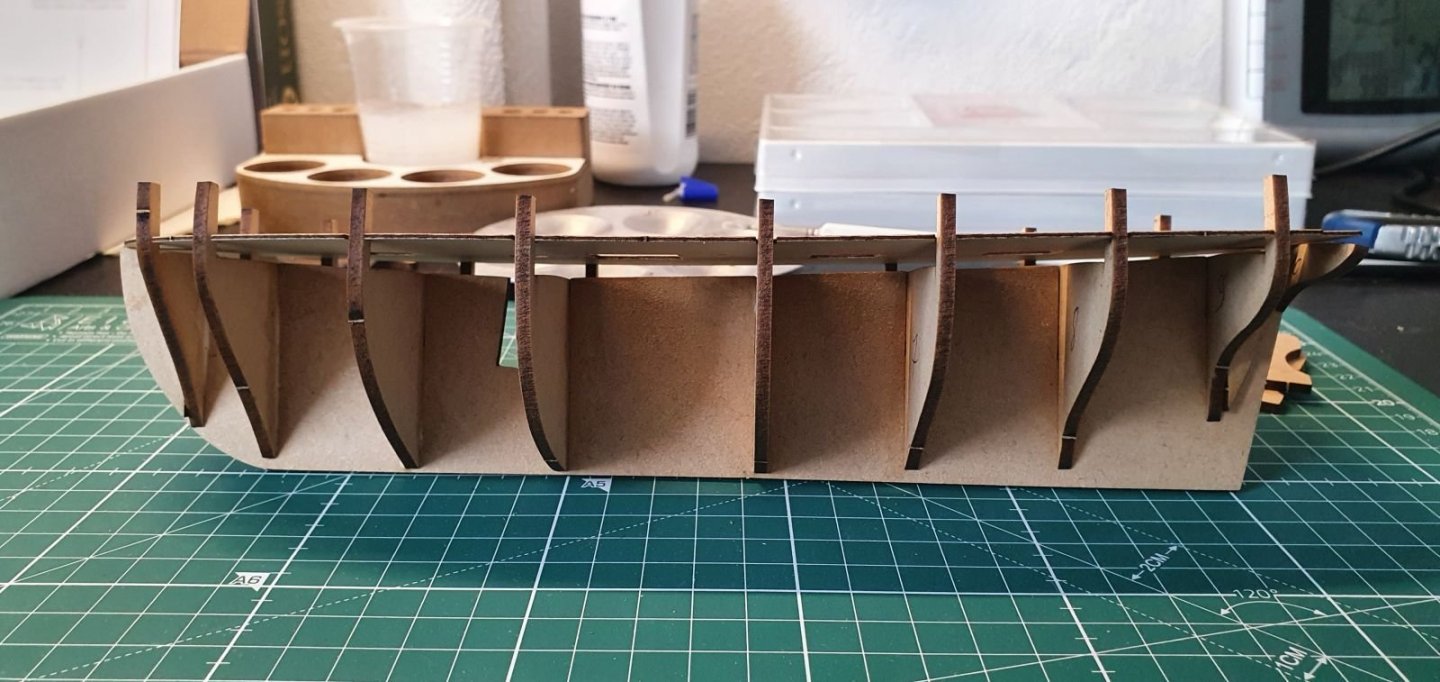
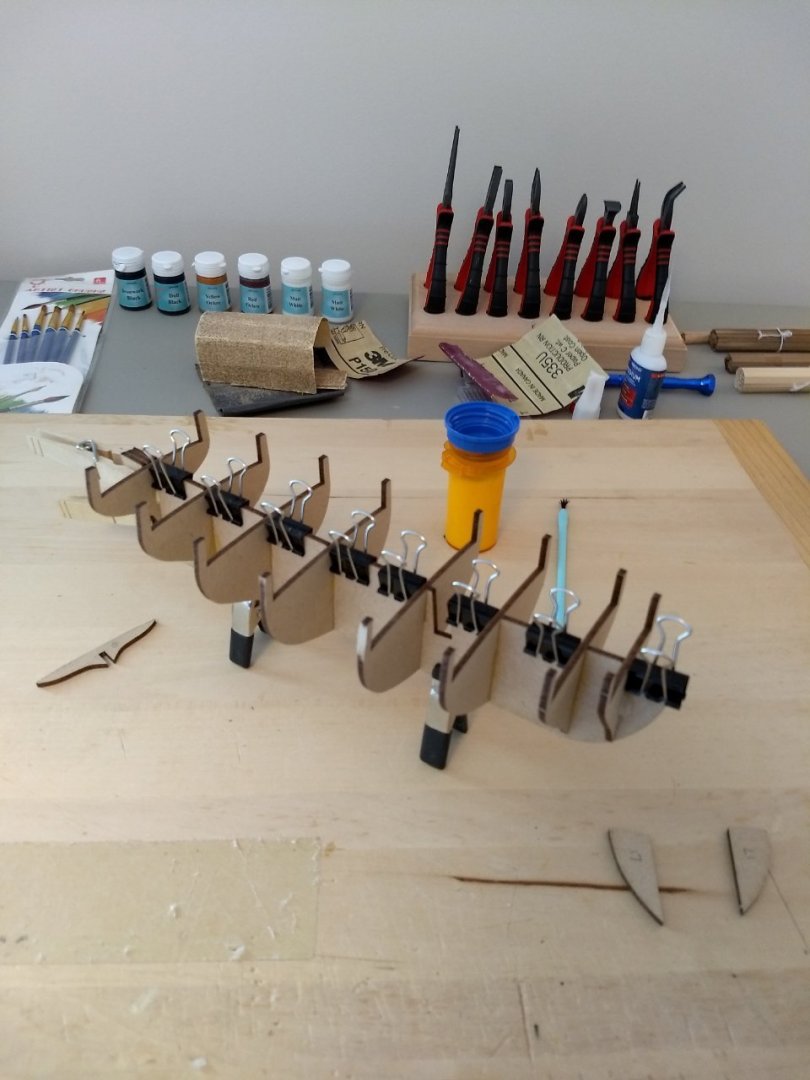
Dear all, I am starting a new model and I would like to share it here to get advices and comments. I momentarily put on hold my previous long standing model of the Mayflower by A.L. because I got a bit tired of it and I wanted to start a smaller model that I could build and progress quicker with and I chose the ‘Lady Nelson’ by Amati for that. I noticed that this is quite a popular model and I could find many several WIPs of this model here. Indeed, this is small a model and it should be rather quick to build. The kit is quite well known and documented here, so I am not reporting any unboxing picture. The initial assembling of the hull structure is relatively obvious, so I proceeded without taking pictures and I am directly posting some pictures of the assembled keel with the bulkheads. As others have noted, the various parts have a loose fit, hence I added balsa square strips to locate them better and provide some support. In addition, I added balsa gussets in addition to the MDF parts supplied by the kit to support the strakes at the bow and along the keel where the garboard will sit. I did that also in my previous build and it worked quite well. I also filled with balsa the last bay at the stern. I used balsa plates 5 mm thick for that because when filed they provide sort of ‘waterlines’ that might be used as reference to check the shape and the symmetry during the sanding process. At the stern, after some sanding, I ended up with this configuration where the last frame was mostly filed down and its fillets were mostly removed when I tried to fair it with the rest of the hull. It seems that other modelers have left some of the fillets instead. This is the complete hull after that most of fairing job was done. At this point, before finalizing the fairing, the instructions call for attaching the false deck. This part is made of very thin plywood and it complied with the double curved shape without problems. Finally, this is the hull completed with its false deck. Just to create a bit of a recess in correspondence of the deck hatches, I cut shallow notches into the false keel piece. Next, according to the instructions, the bulwarks pieces need to be formed and glued in place together with the keel extensions. In connection with that, I note that the instructions do not mention any need for implementing a rabbet and the details of how the strakes and the garboard strake join the keel are quite obscure. That is all for now, best regards, Dan
- 8 replies
-
- Lady Nelson
- Amati
-
(and 1 more)
Tagged with:
-
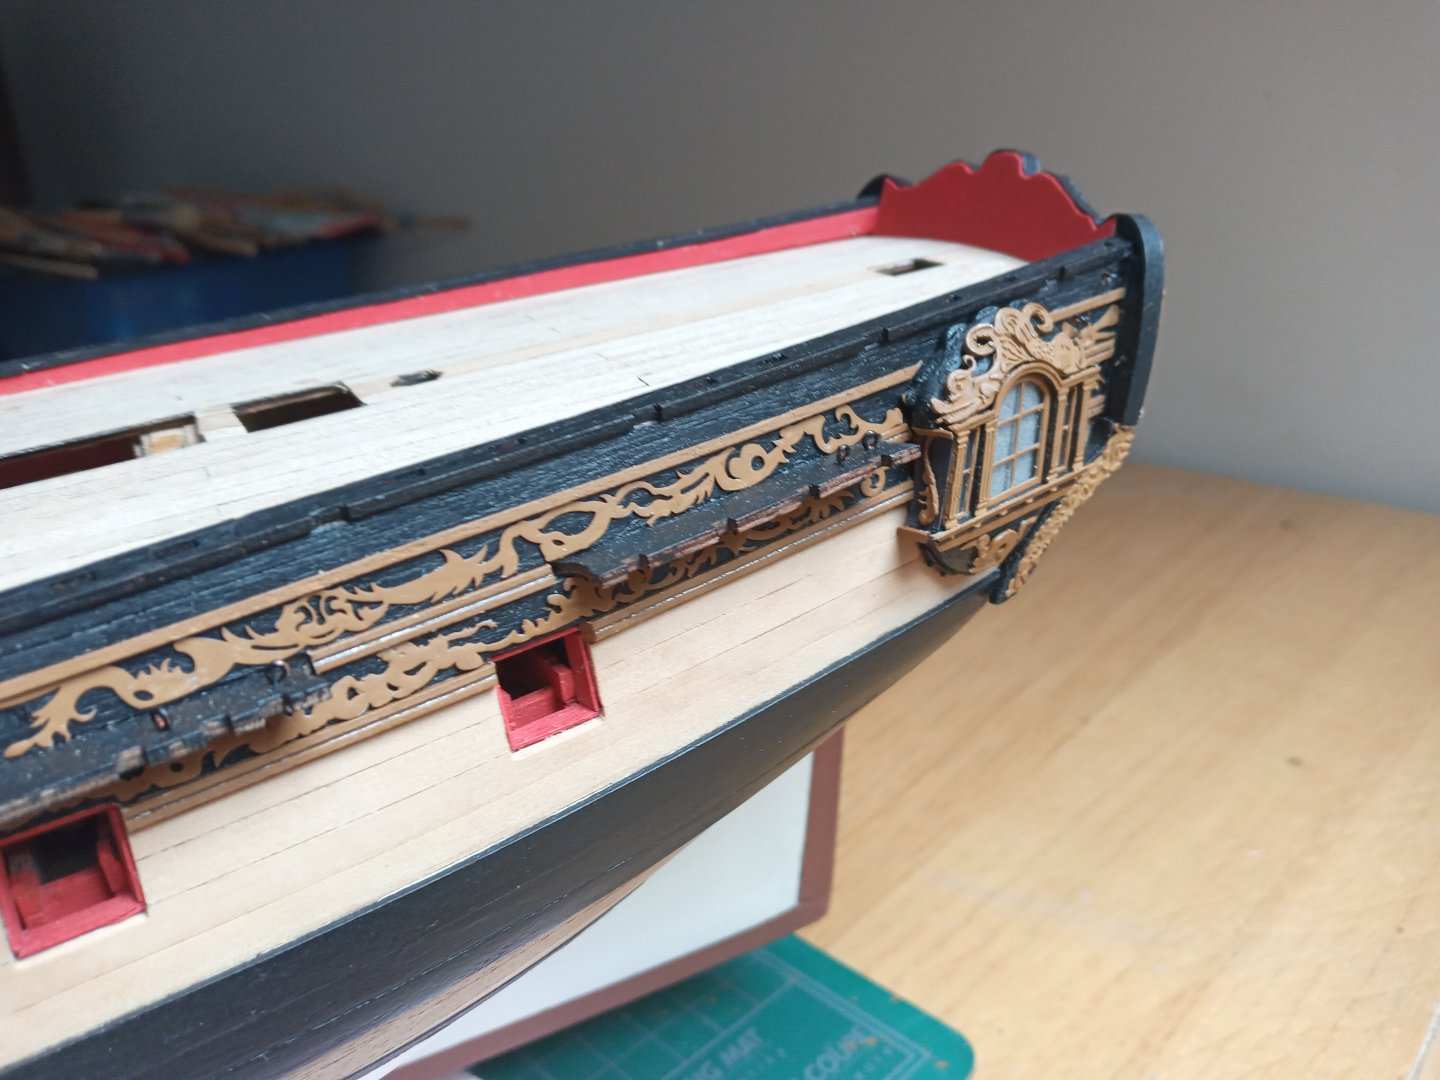
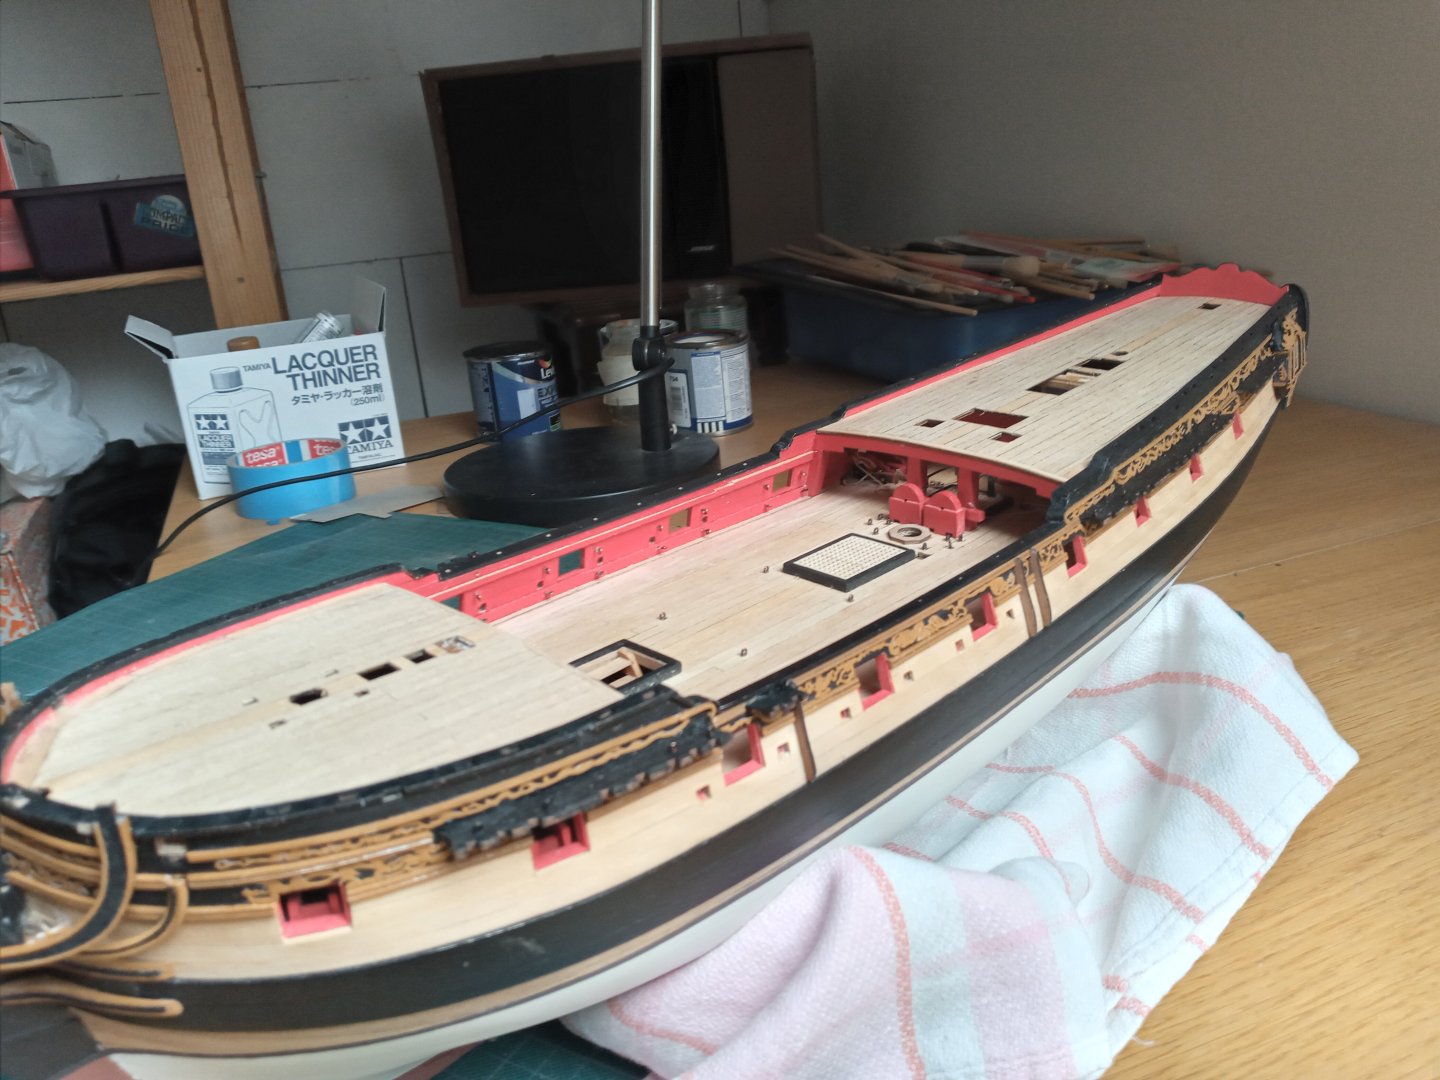
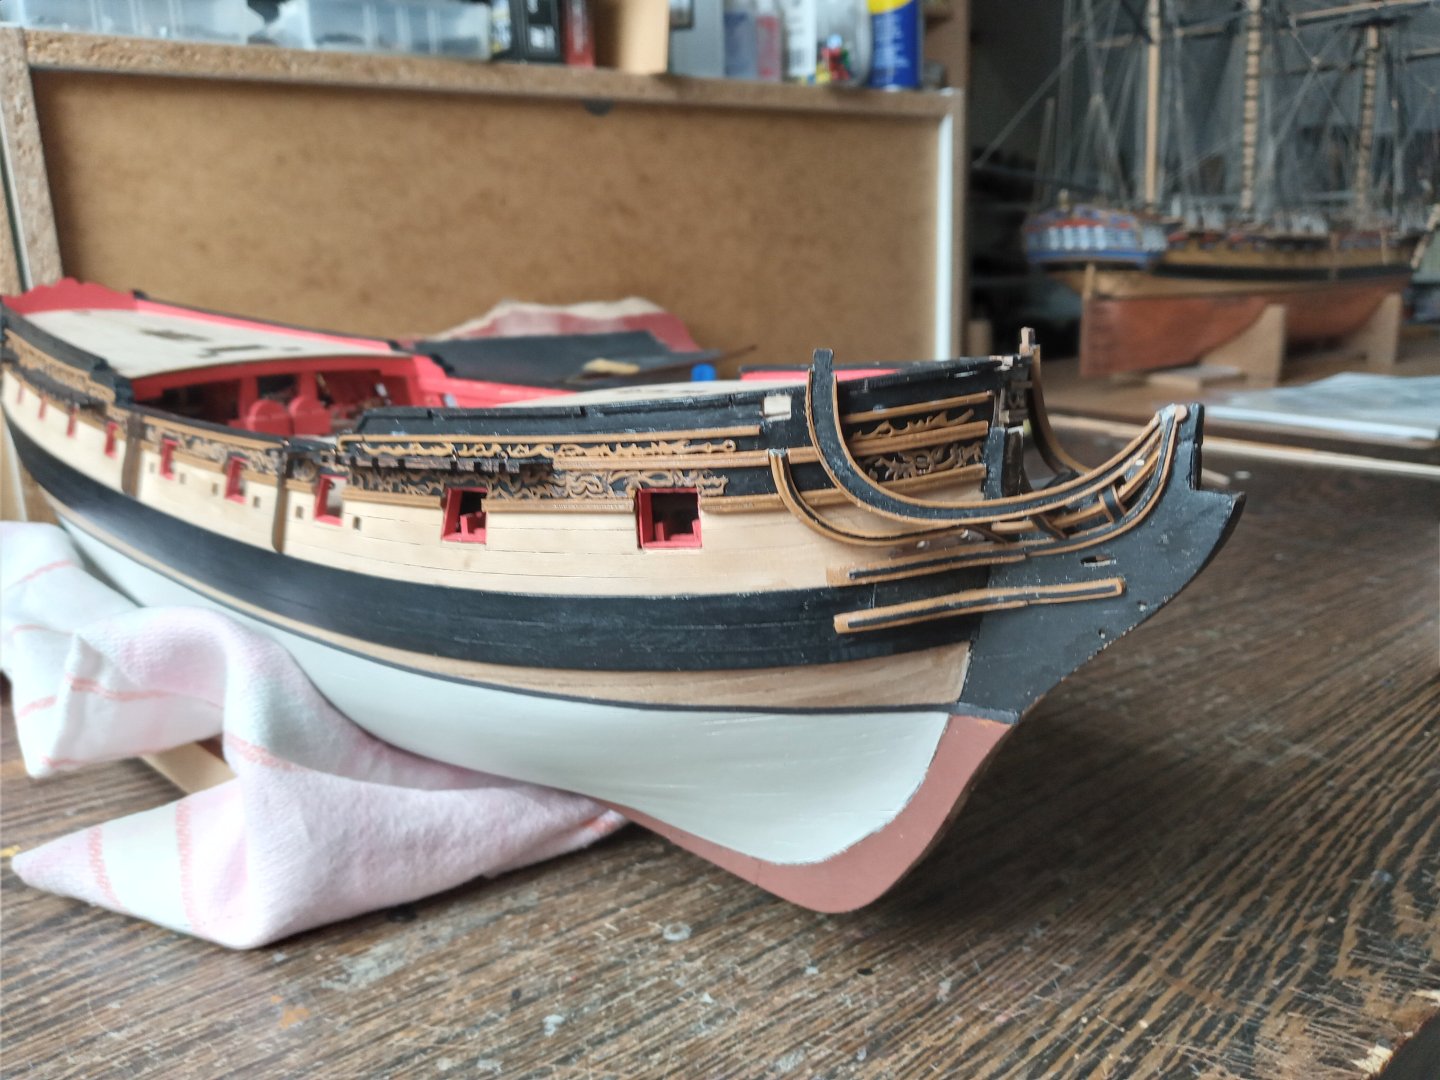
Hi Folks, I've set my semi scratch project ( La Vénus ) on hold. Maybe some members wil recognise the feeling : filling a tank with gas-petrol-whatever...just to progress a few meters/yards. So I've started this nice kit that was almost for a decade collecting dust on the shelf. Here's the present status. ( part 1 ) I'll deliver some extra explanations next post(s), the next few days : especially regarding the quarter badge Special thanks to all members who "paved the way" regarding this subject.
- 19 replies
-
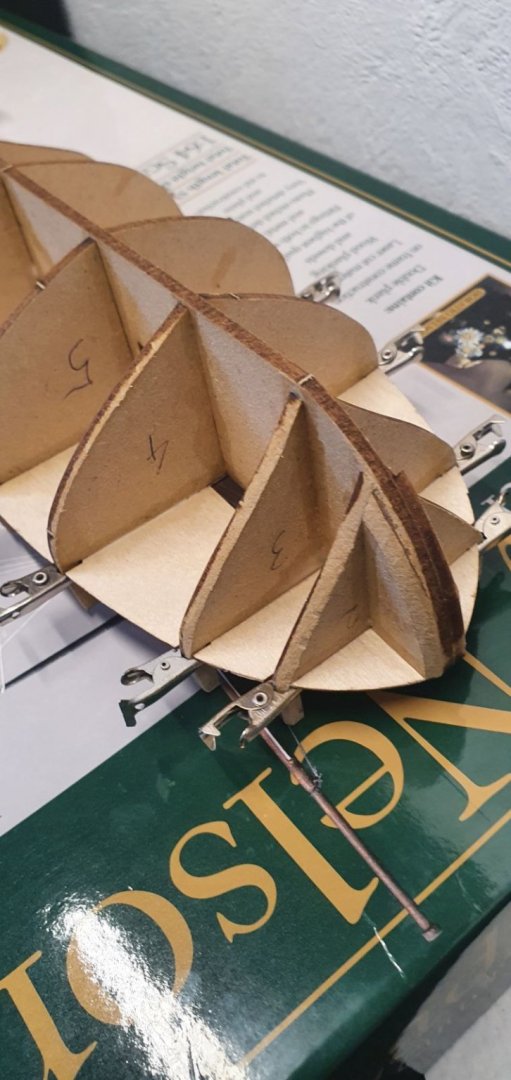
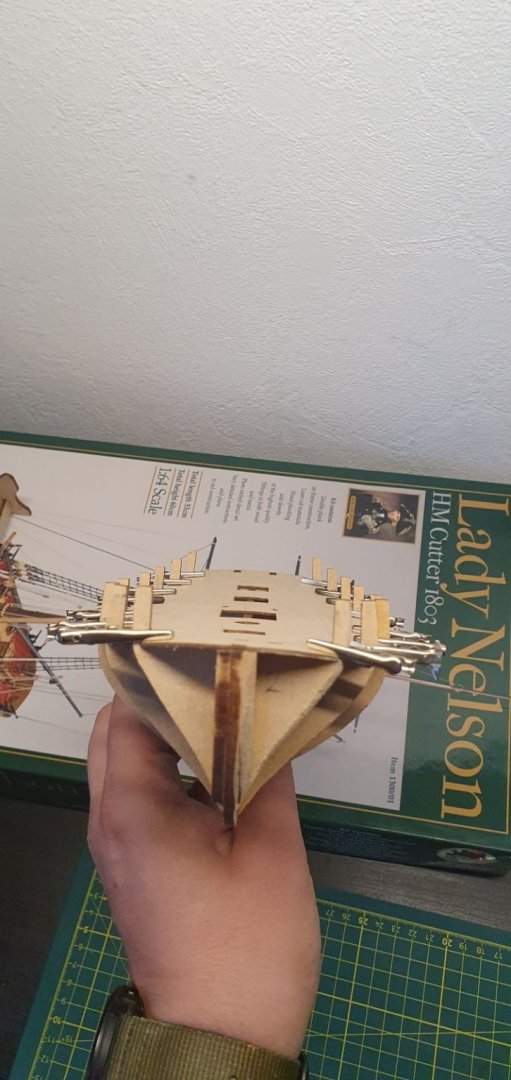
Finally made a start, after getting the work area cosy. Good to read through the instructions, as recommended, as found a few errors in the bulkhead and other pieces indentification. Also found the bulkheads were a little loose in the keel piece. One of the many videos I've watched suggested Lego blocks for a perfect right angle. And they have worked a treat. False deck just gone on. Again, from watching many videos I wont be putting the stern and bow posts, or keel piece until first planking complete. Im sure there are many mistakes already, but I'm quite happy, so far, for this first attempt.
- 3 replies
-
- Lady Nelson
- Amati
-
(and 2 more)
Tagged with:
-
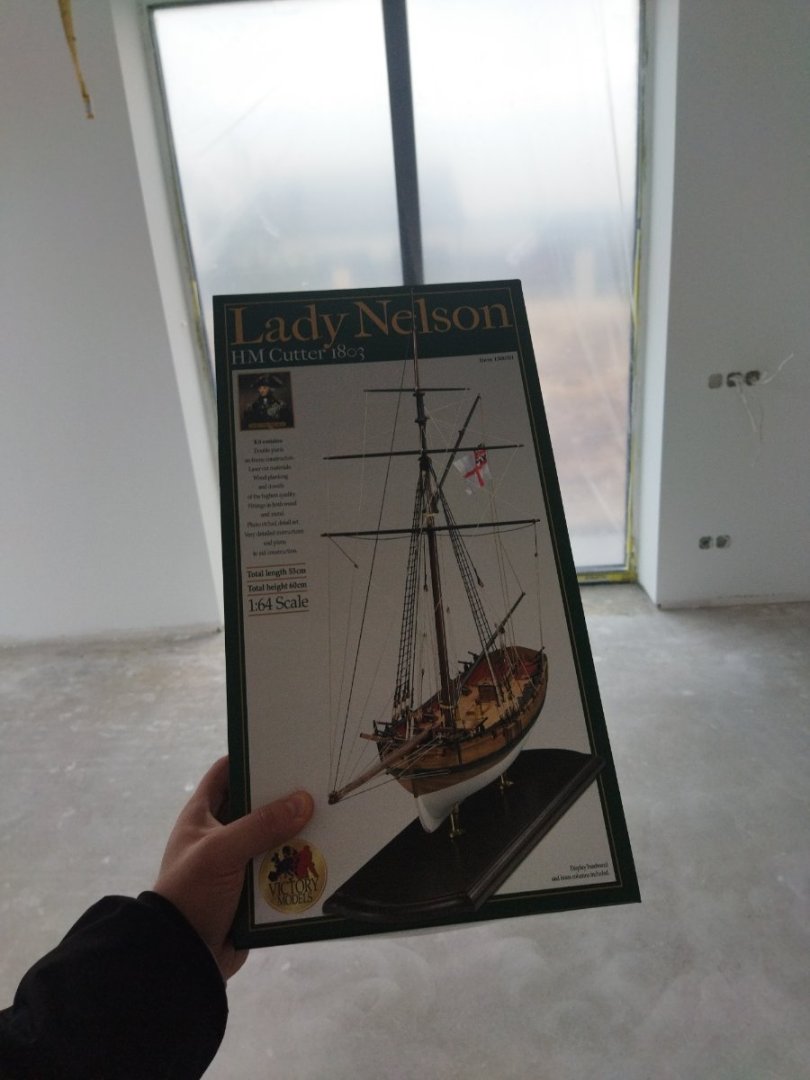
Hello, I was absolutely amazed by Lady Nelson build video "in motion" and I wanted this model kit for a long time now. I guess that it took me way too long to buy this kit myself so I got it as a gift Time for a new adventure! (the background is... another "model" that I am building as well)
- 1 reply
-
- Lady Nelson
- Amati
-
(and 1 more)
Tagged with:
-
This is not so much a build log from the start as a log for a restart from where I left off ,I had a full build log back on the old forums before the great server crash's in 2013 , I really didn't feel like rebuilding it after the 2nd crash and losing it all again .so I kind of just left it! ,after buying the corel Victory cross section and getting irked at it I decided I restart Pegasus and finally finish her. There isn't anything early on in the build that's different from other Pegasus builds other than I had to build a new Stem because the kit one shattered , partition for the fo'c'sle, added the missing sweep ports ,bought new turned brass guns/swivel guns and started the coppering. I've removed the copper because after 3 moves in 2 1/2 years a couple of years ago the original plates are MIA and I'd made a few mistakes so I'm ordering replacements and re-doing it! , I also had and have plans to add missing parts with the help of David Antscherl's Swan Class books , so things like gangwalk's , billboards and linings etc Richard
- 49 replies
-
- Pegasus
- Victory Models
-
(and 1 more)
Tagged with:
-
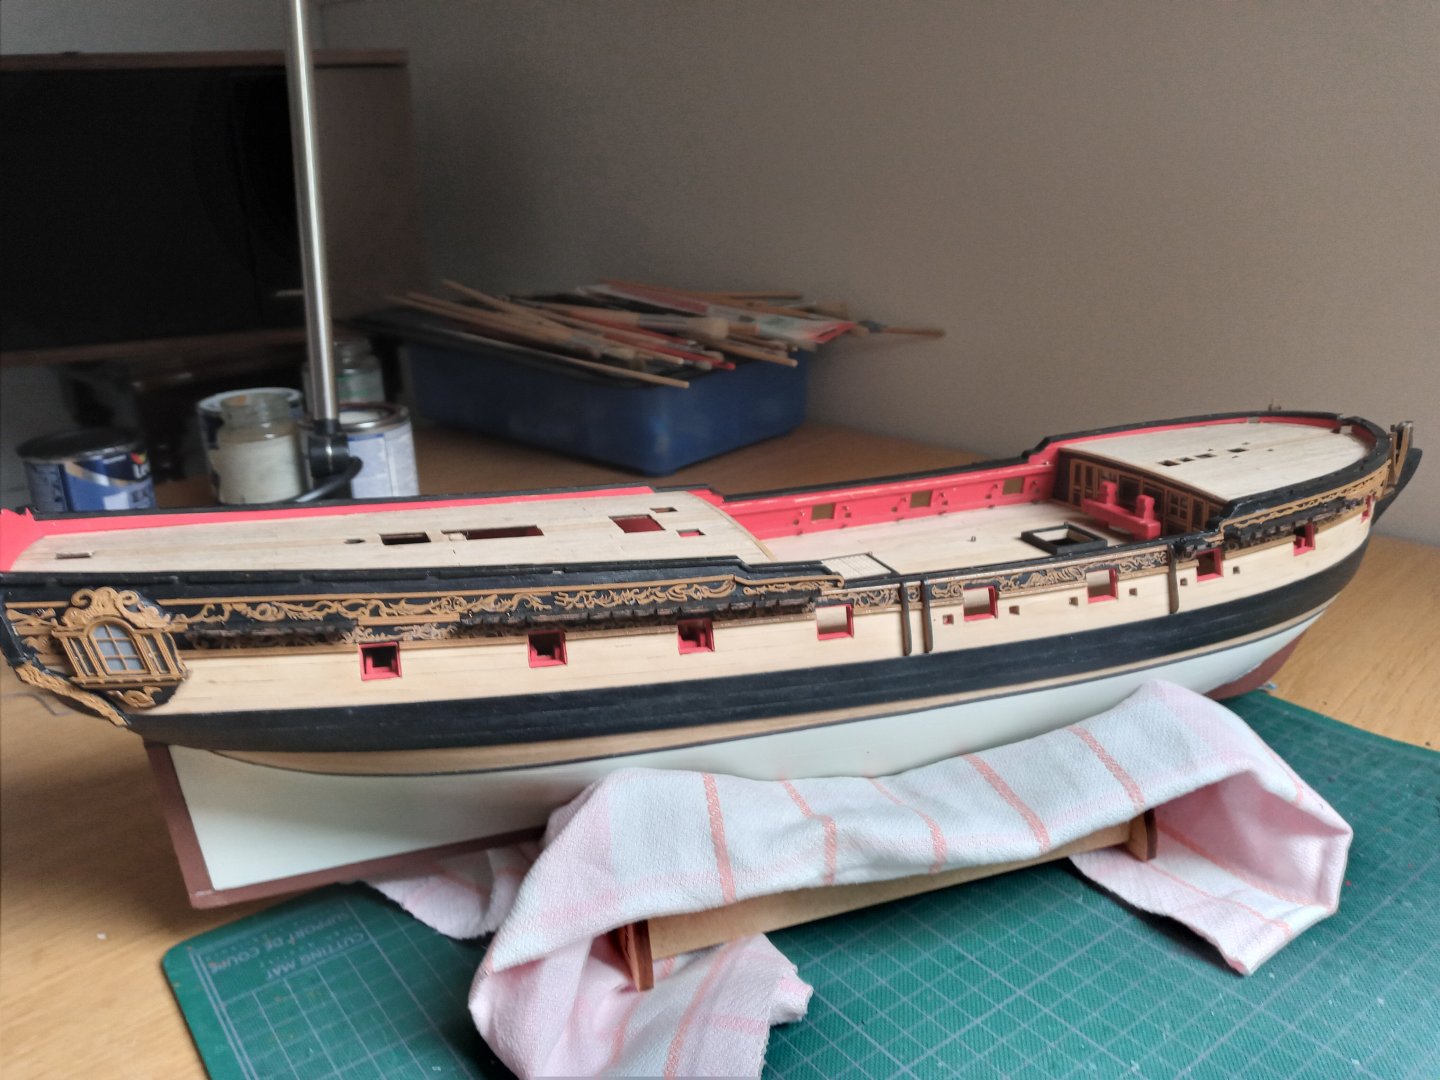
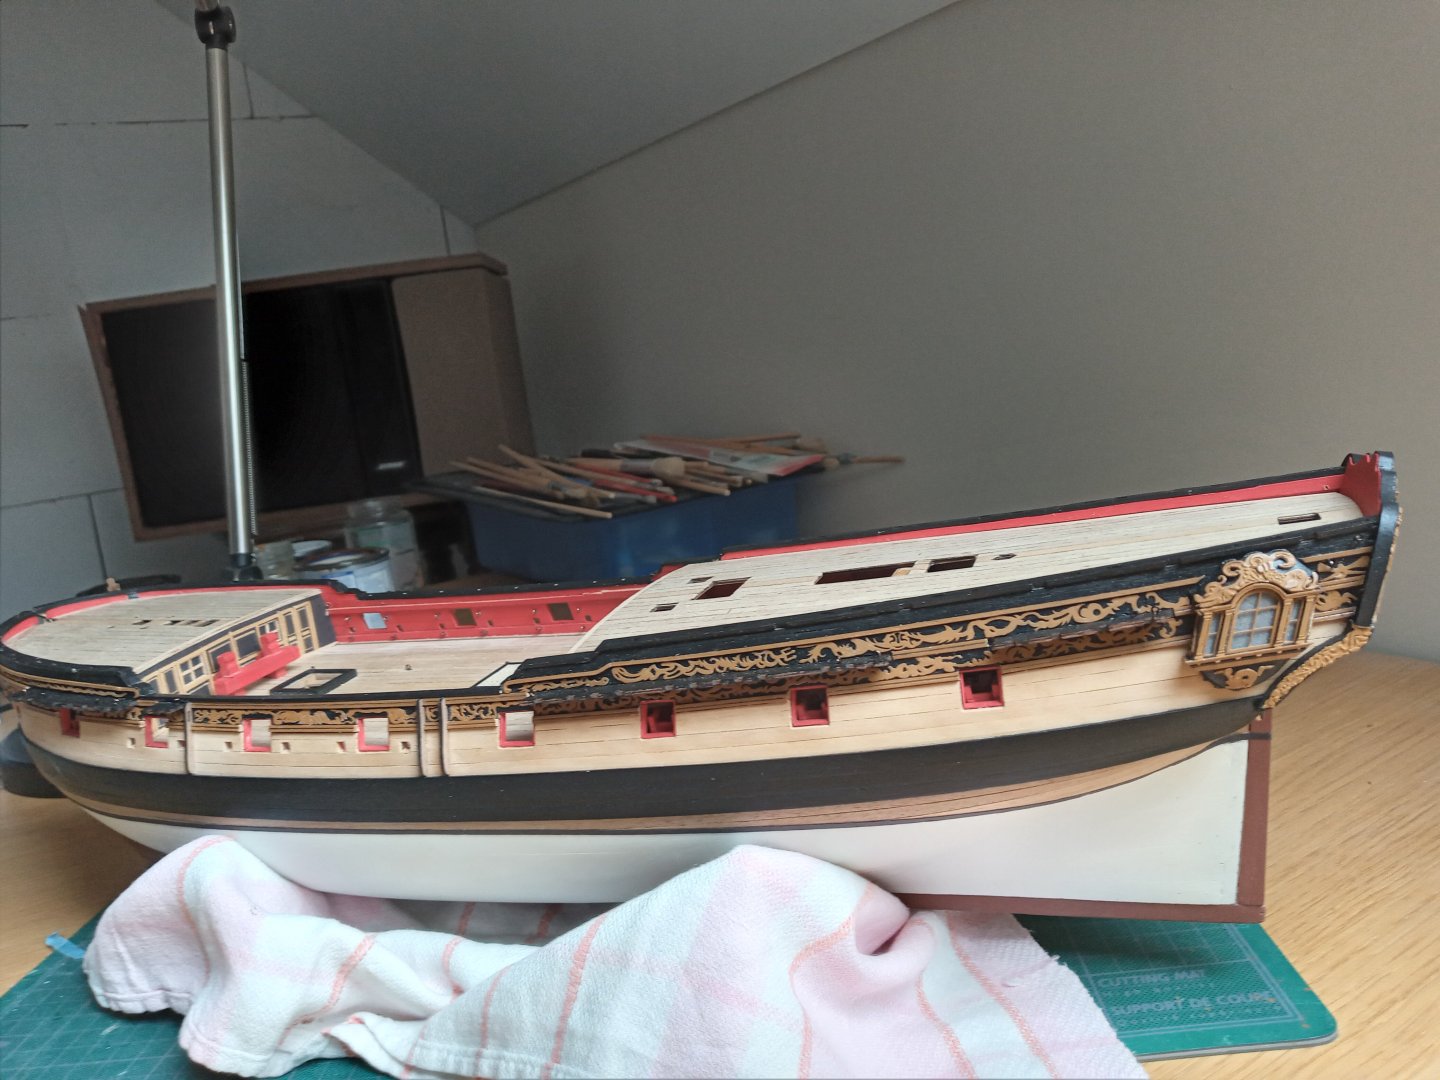
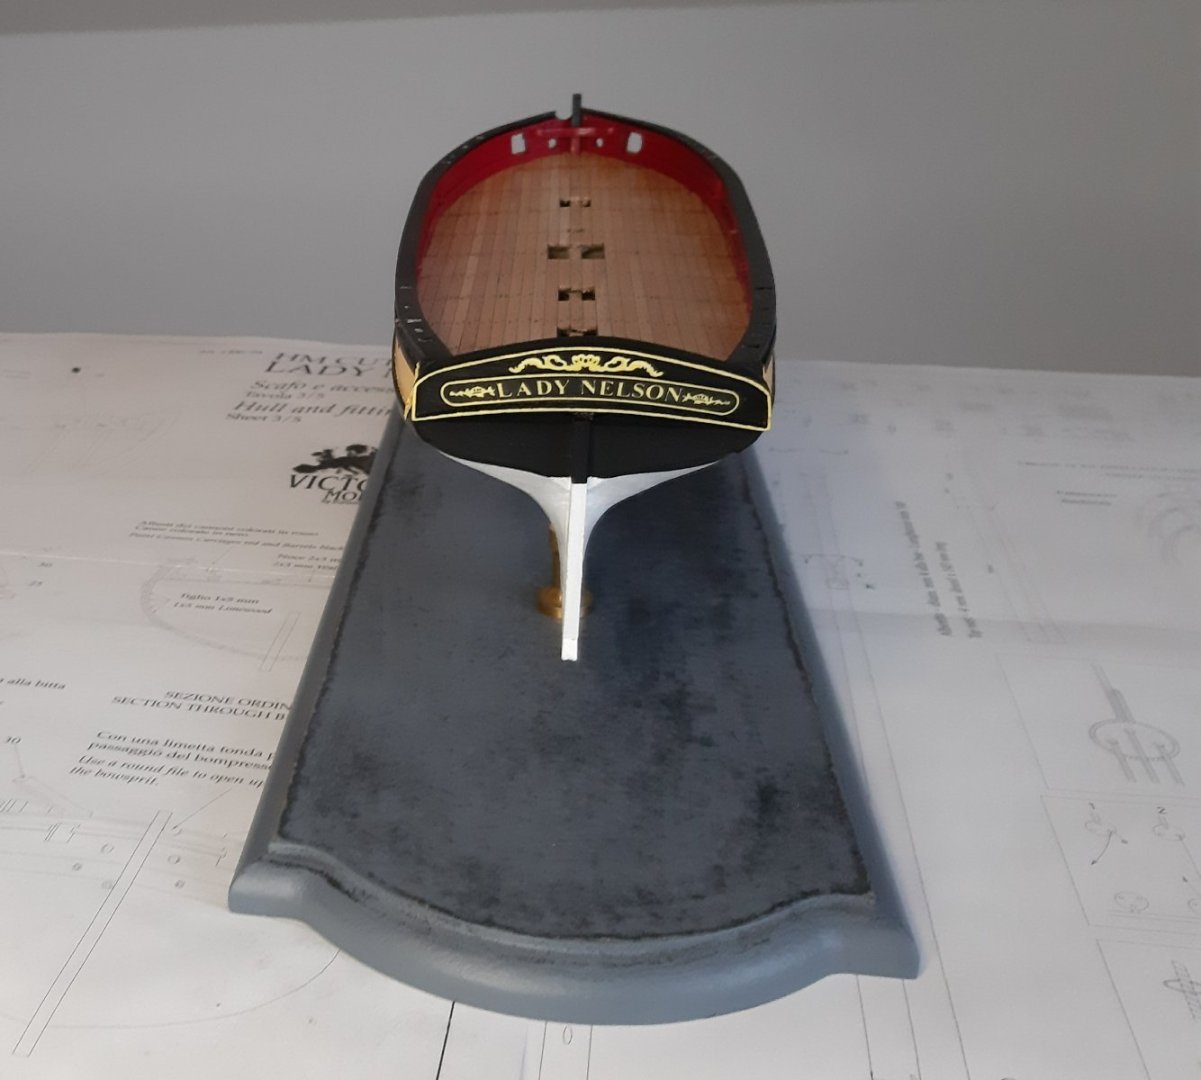
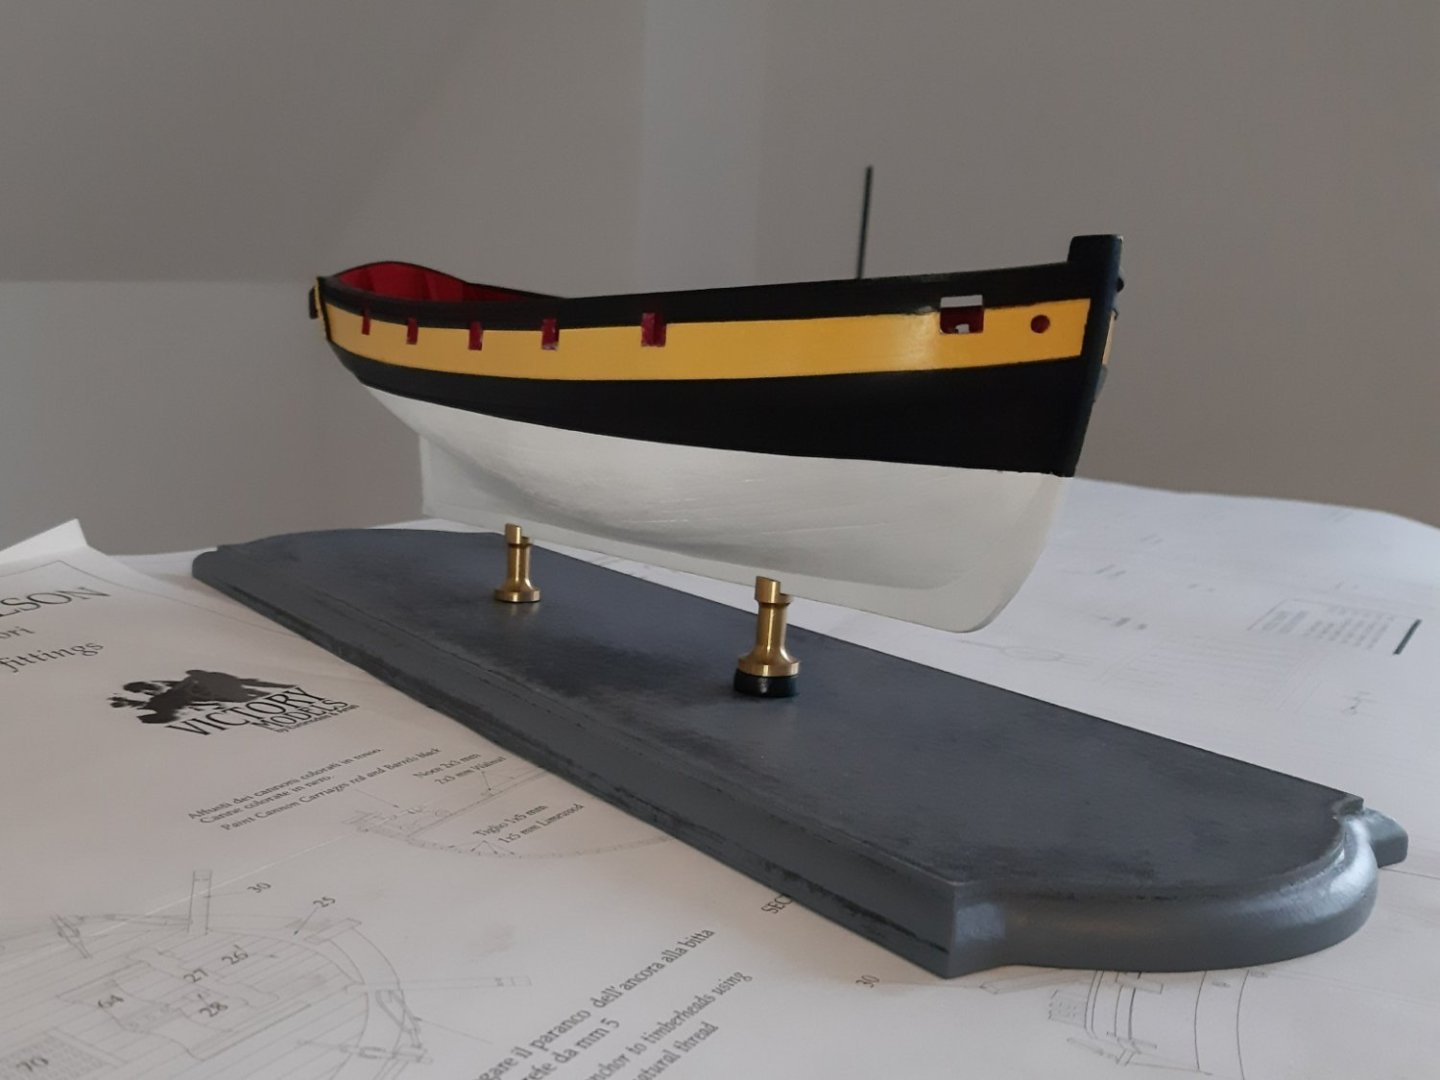
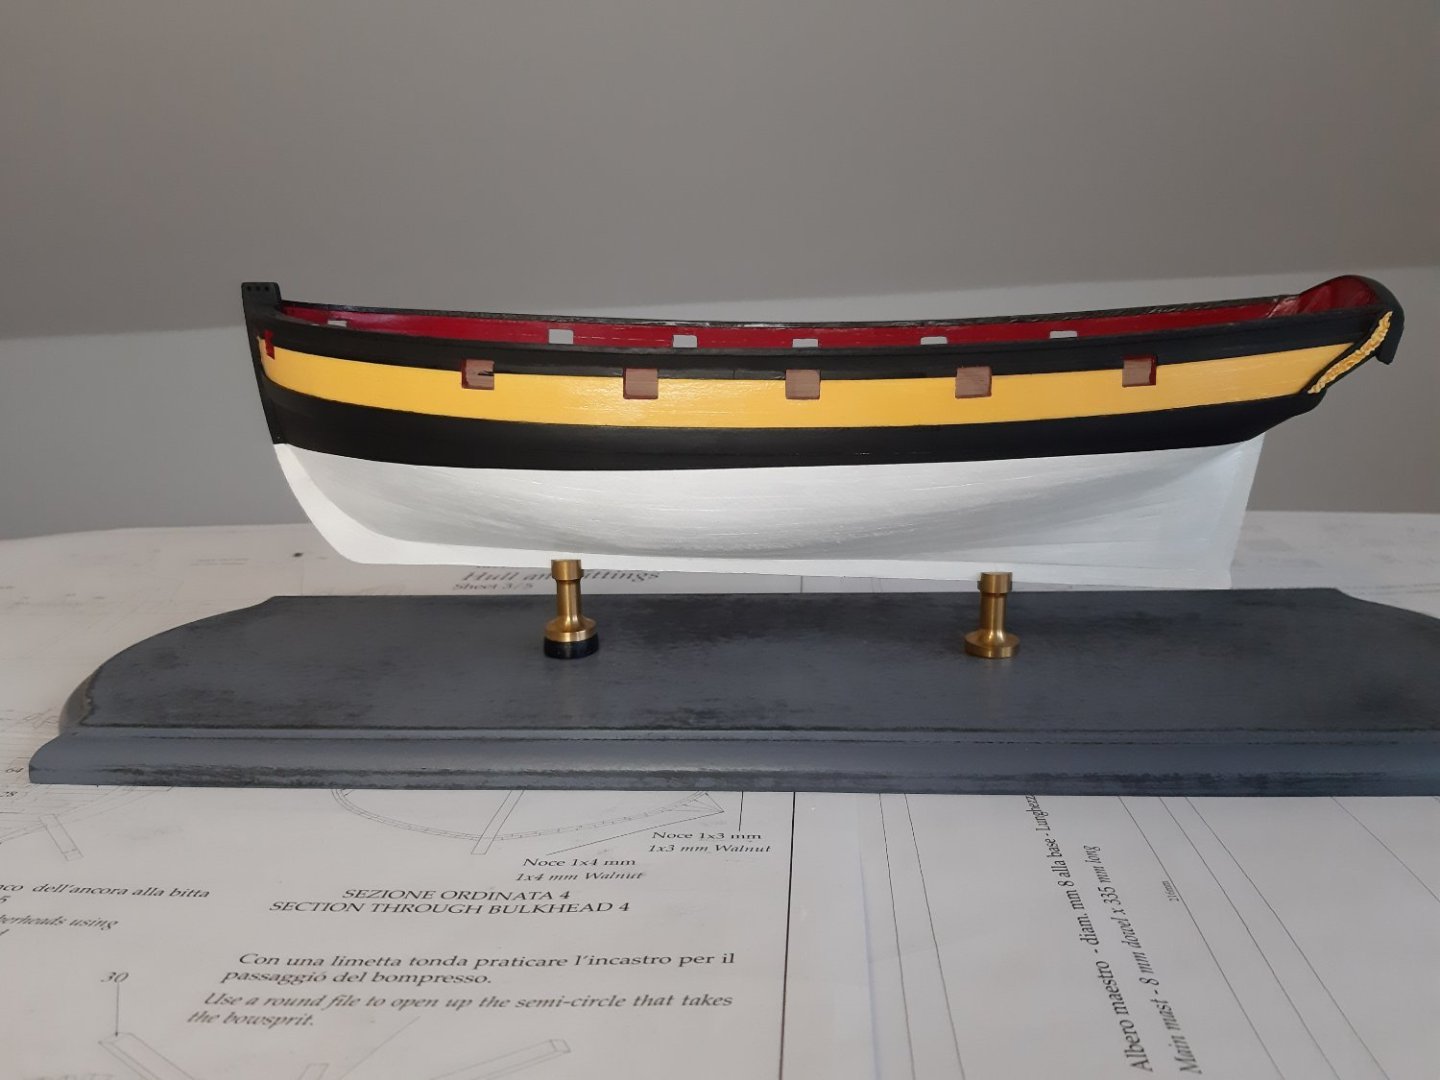
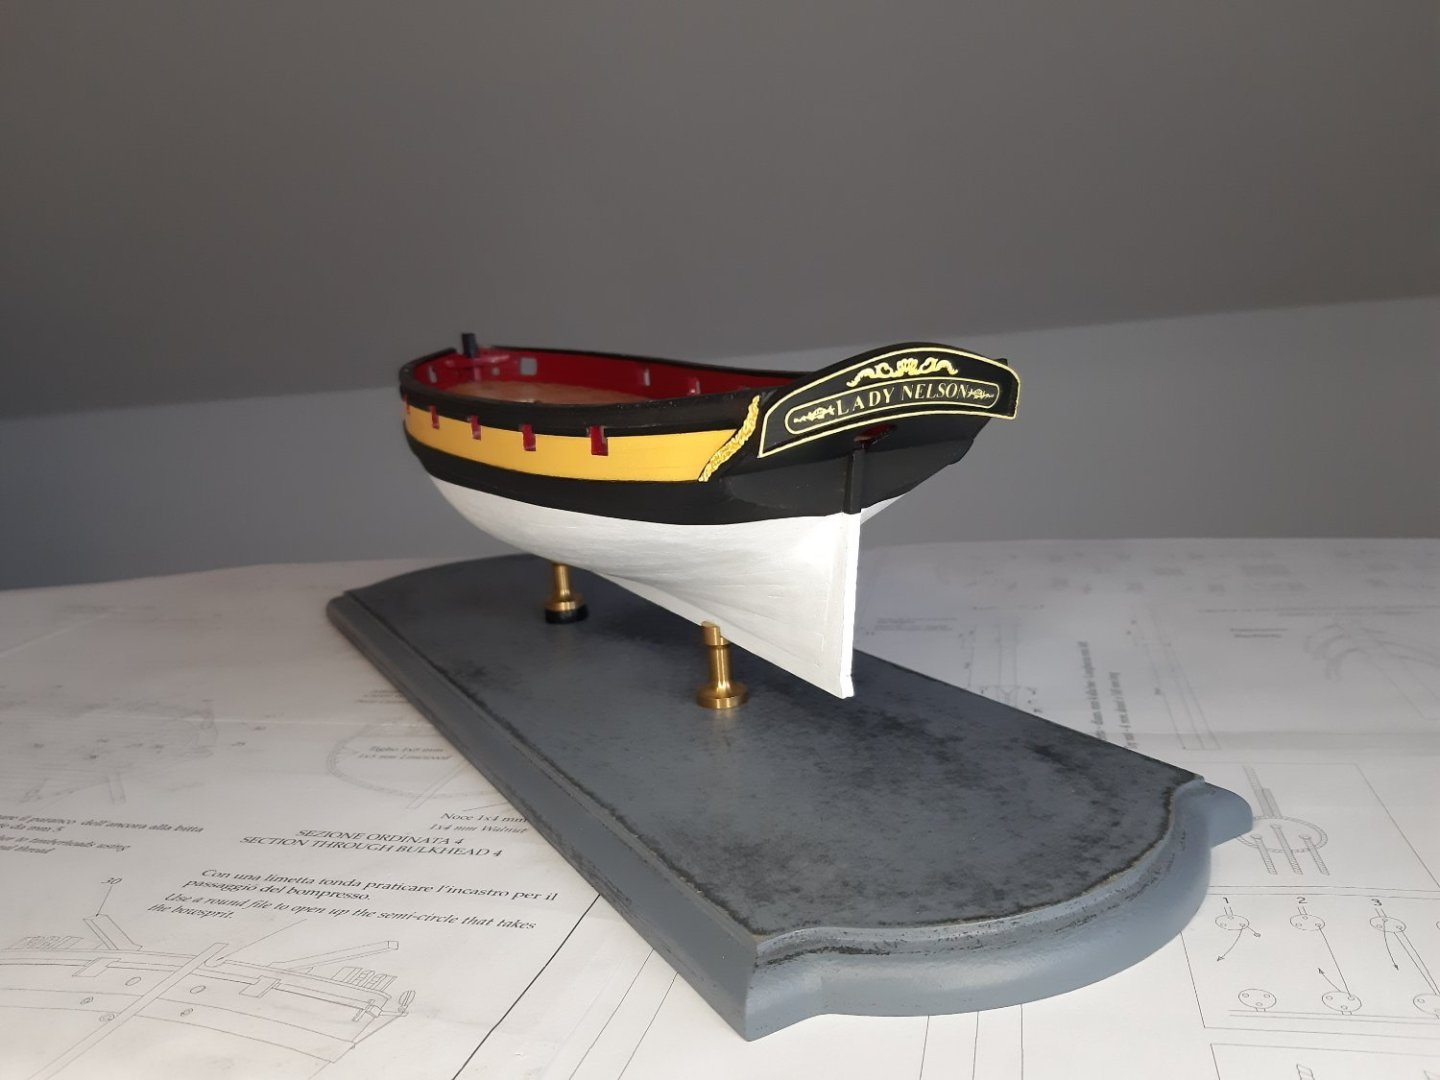
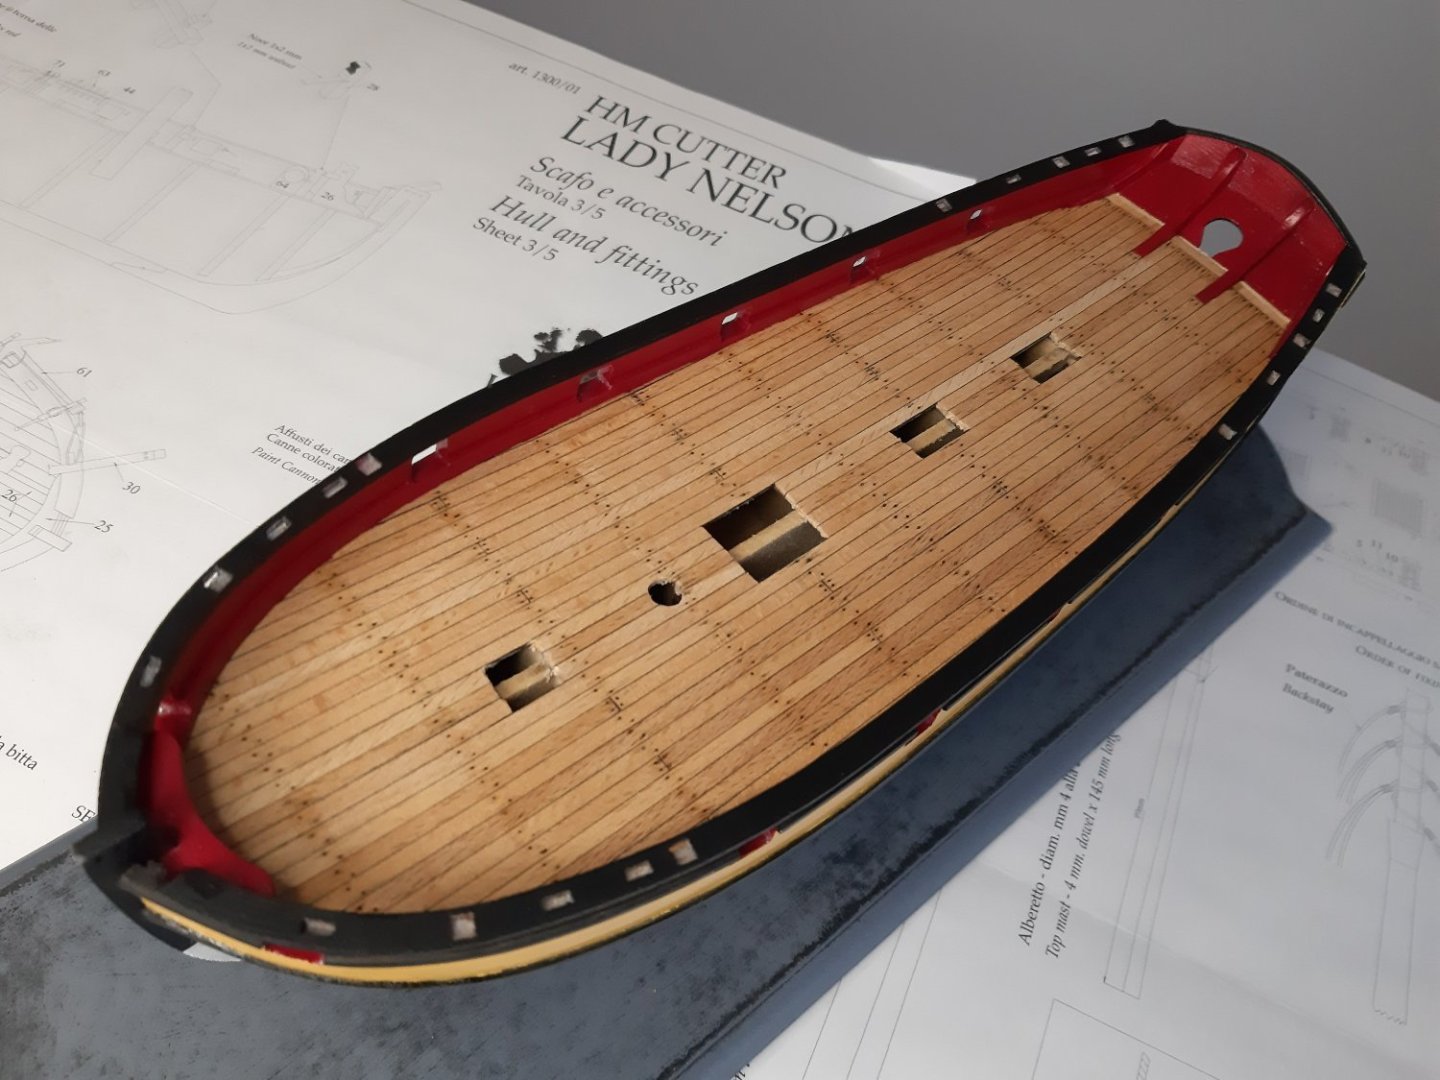
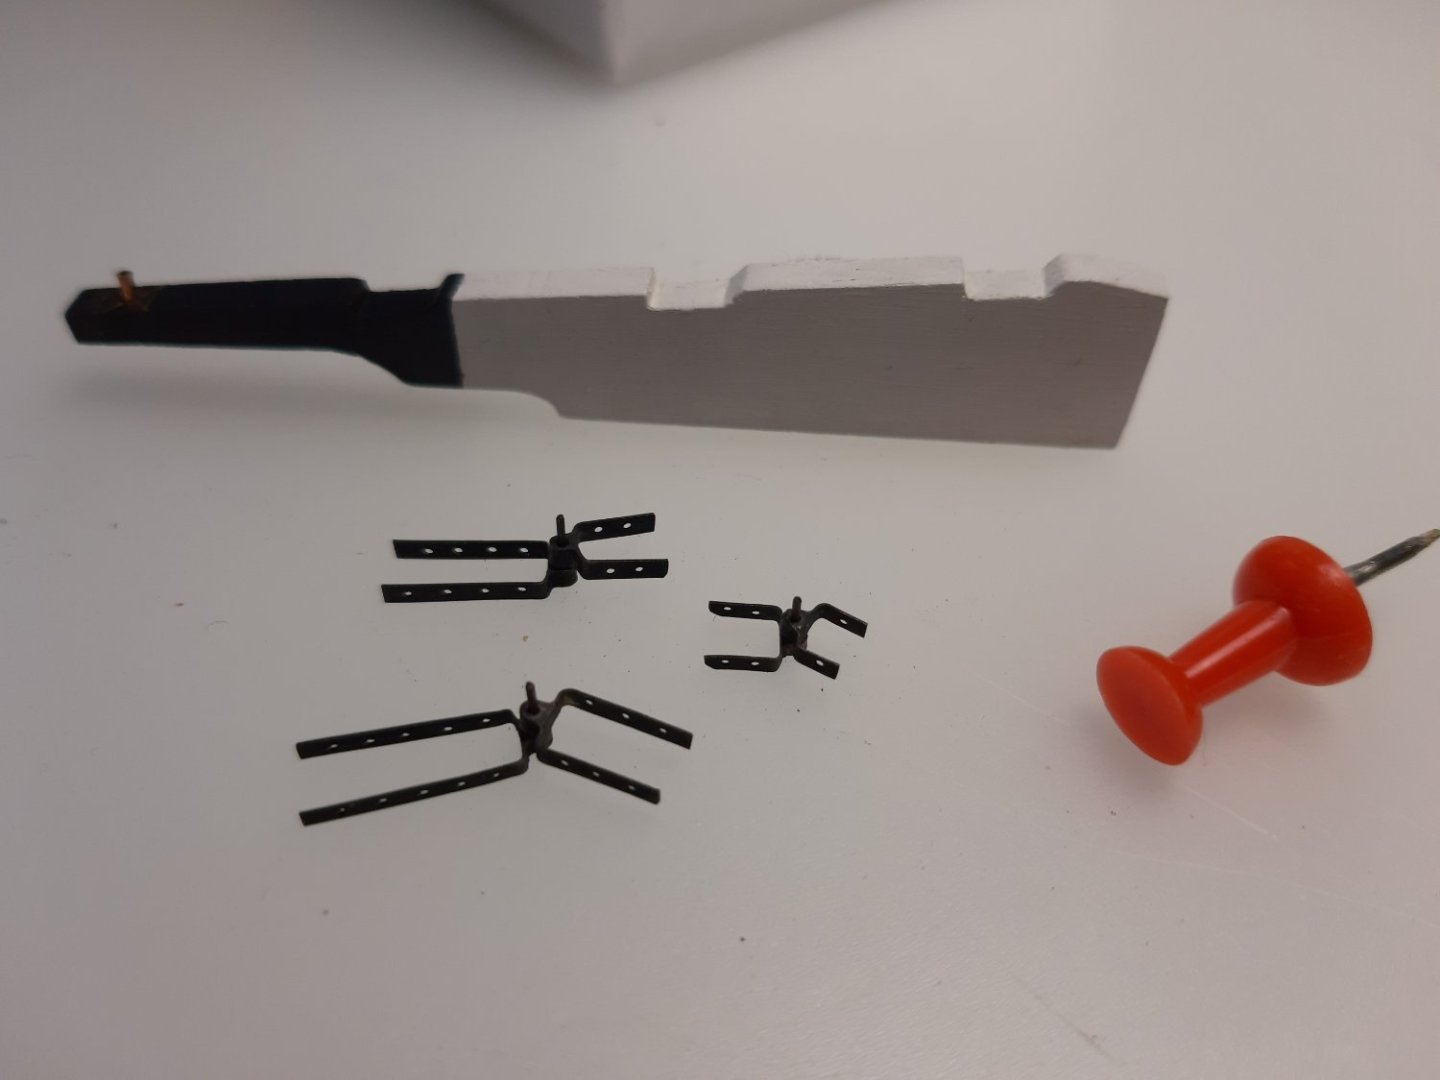
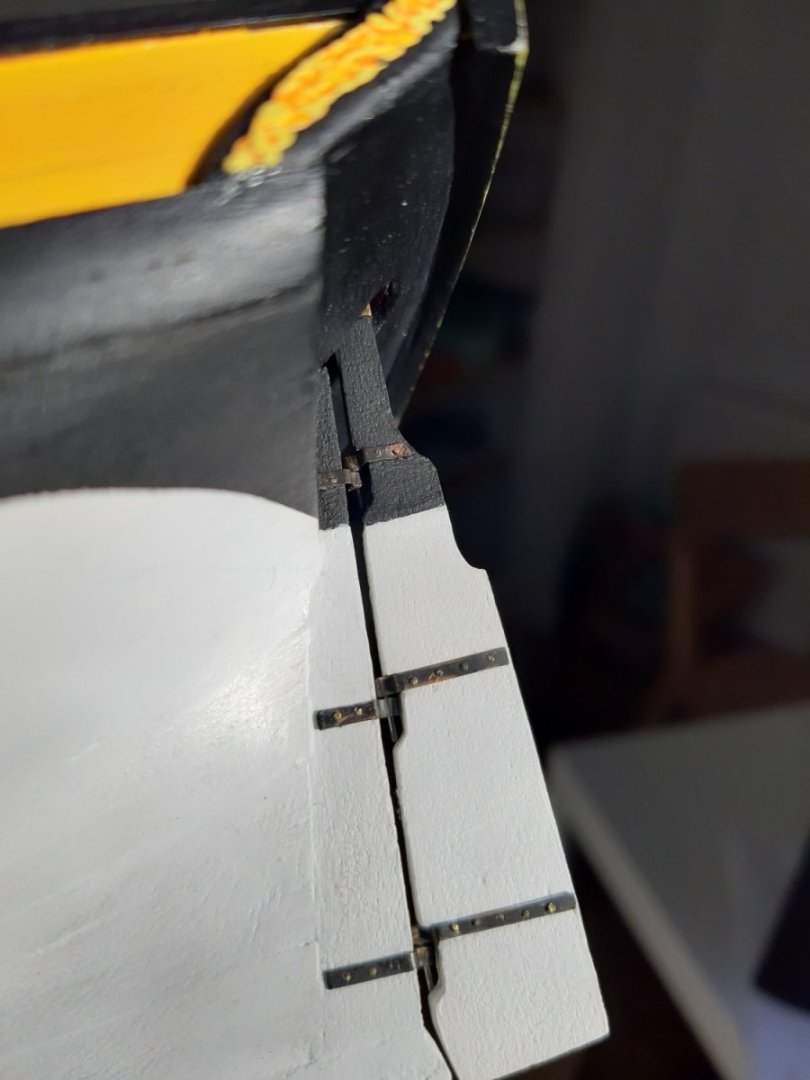
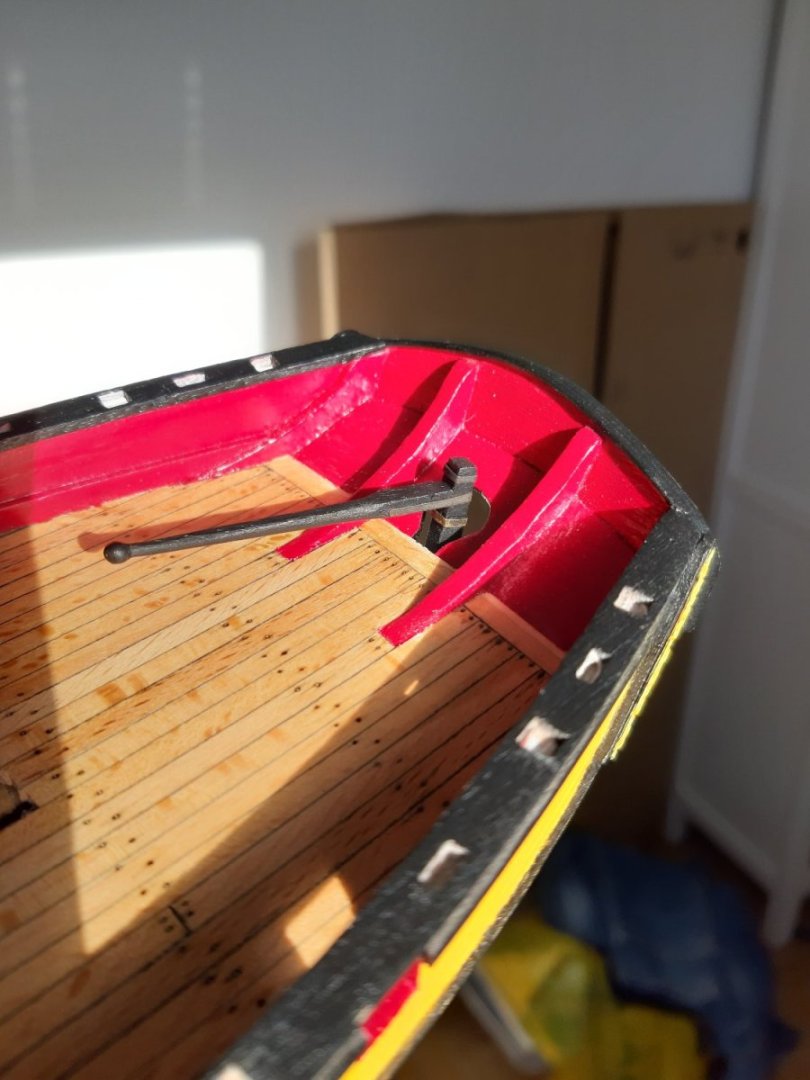
Welcome to my first building log! Over a year ago i started building Lady Nelson from Amati. It is my second attempt to build wooden ship. Bit late but anyway I decided to share building progress with You. Unfortunately I haven't documented early stages of construction. First photos I made below. The hull is ready and painted. I like detail so first of them that I have made to this stage: rudder Maciek
- 23 replies
-
- Lady Nelson
- Amati
-
(and 2 more)
Tagged with:
-
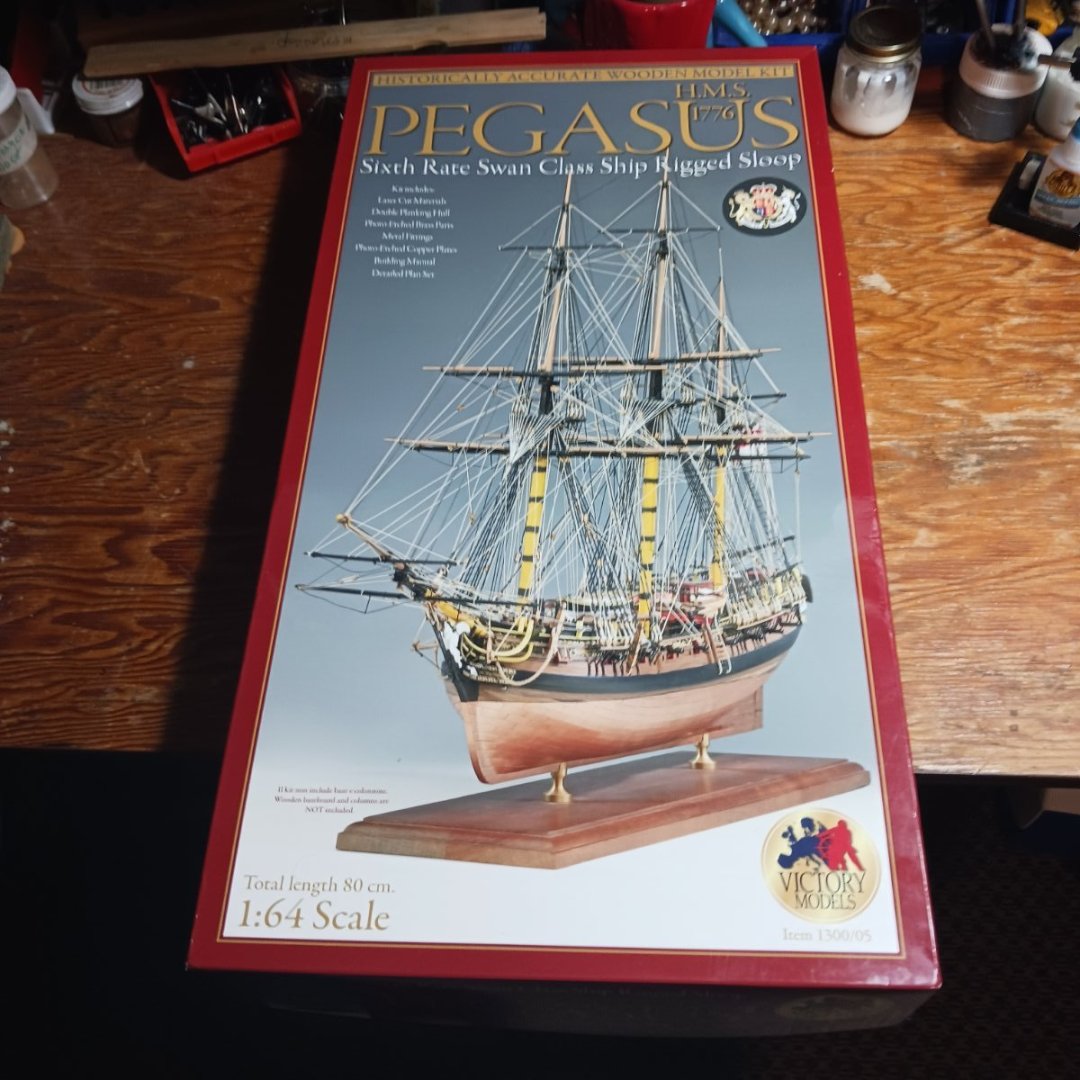
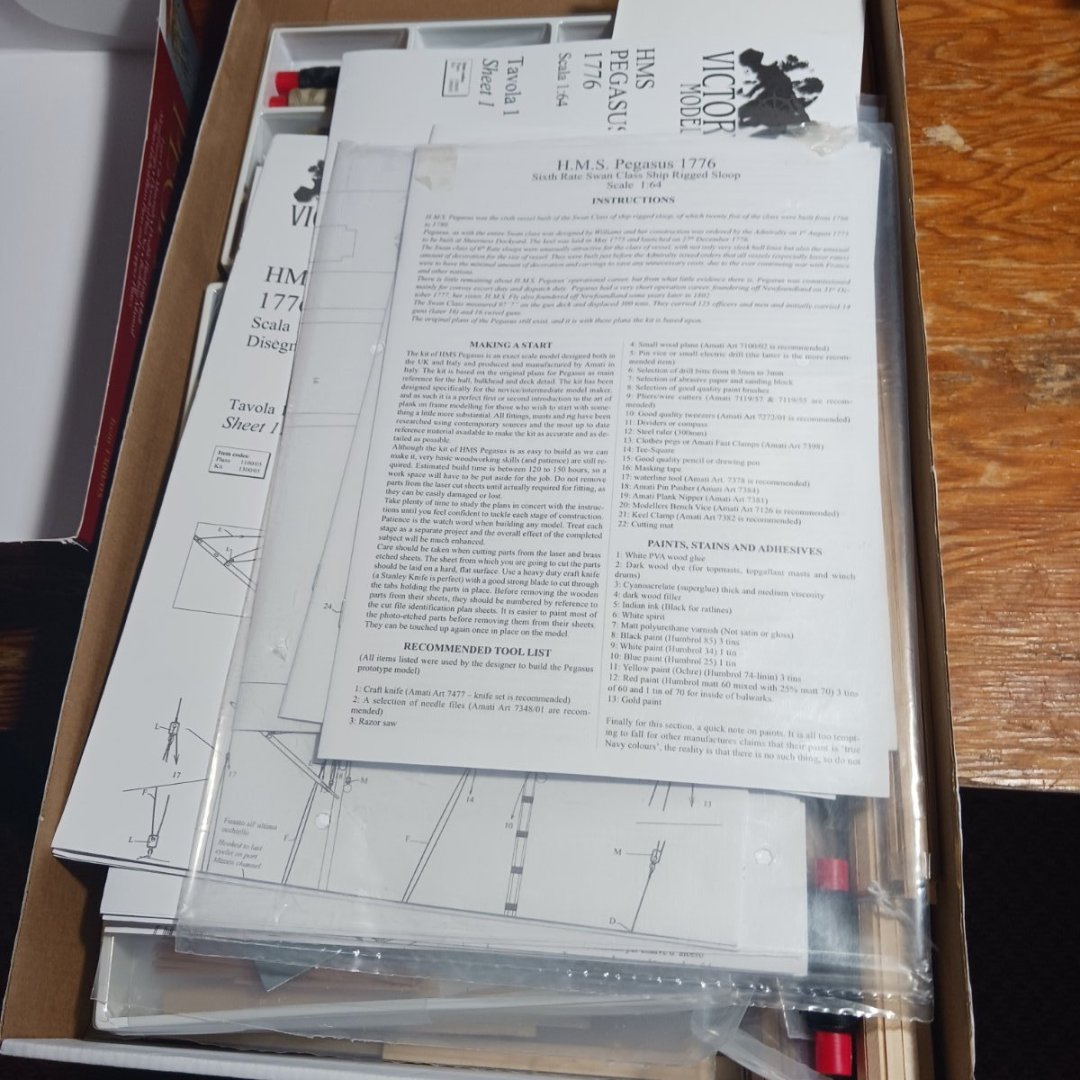
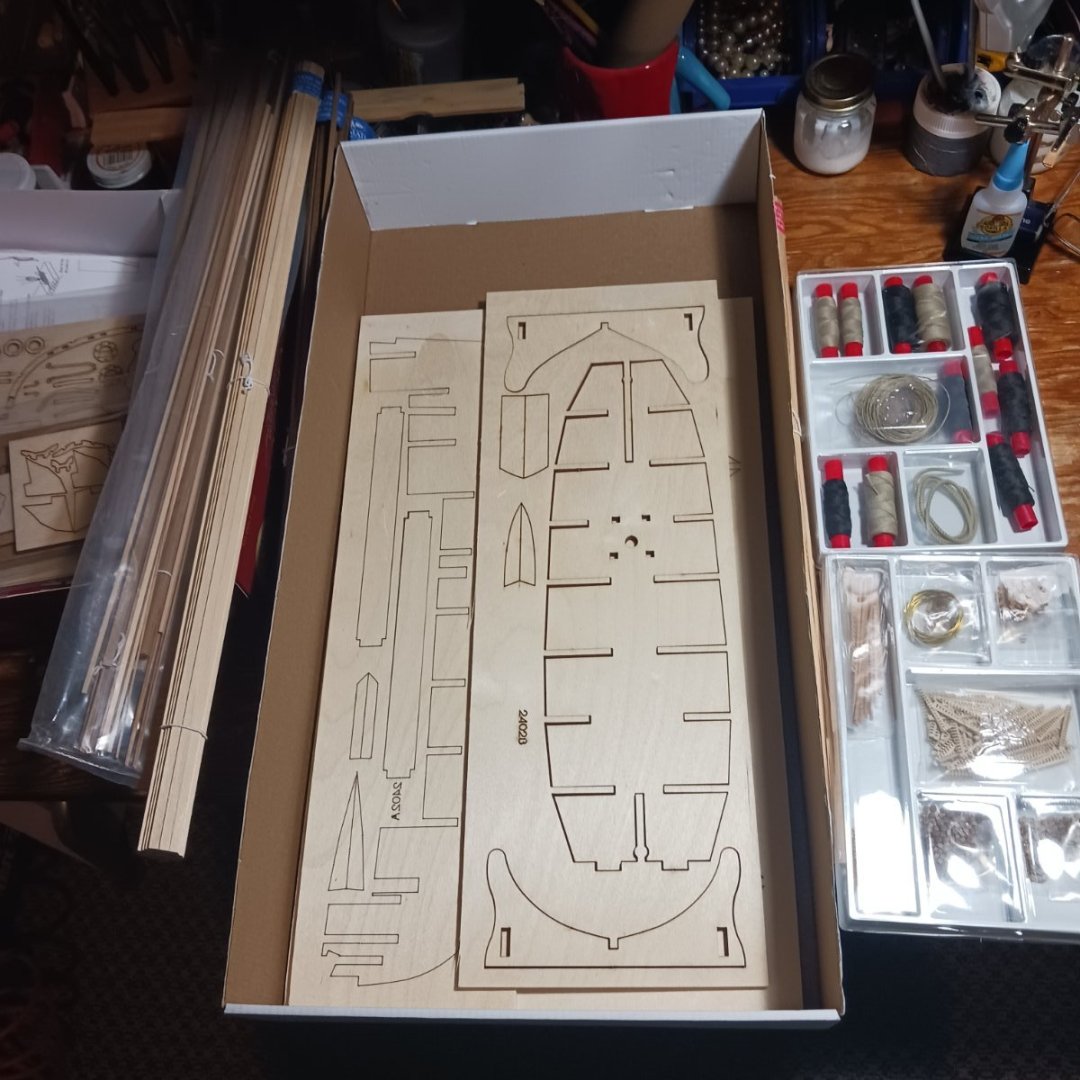
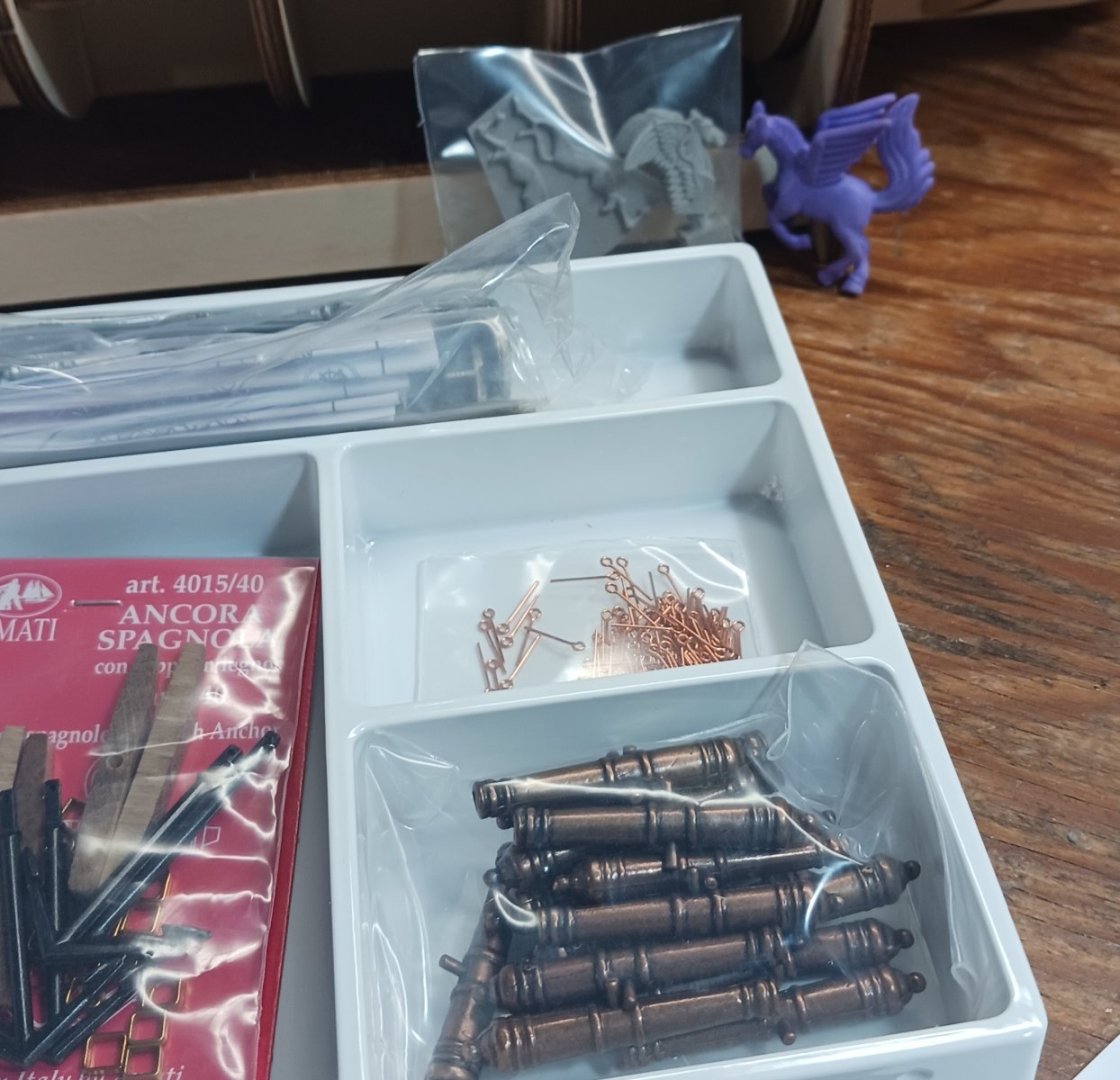
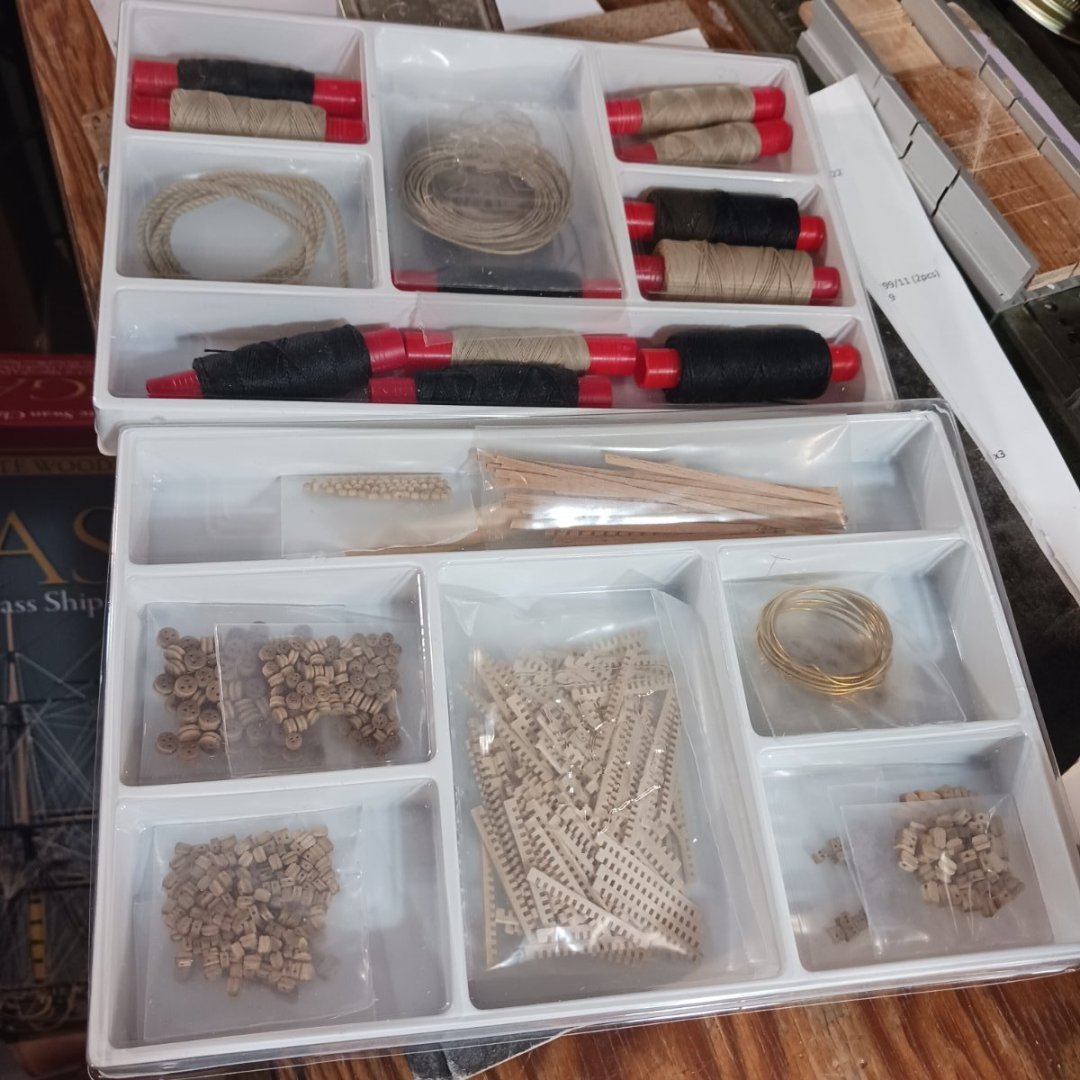
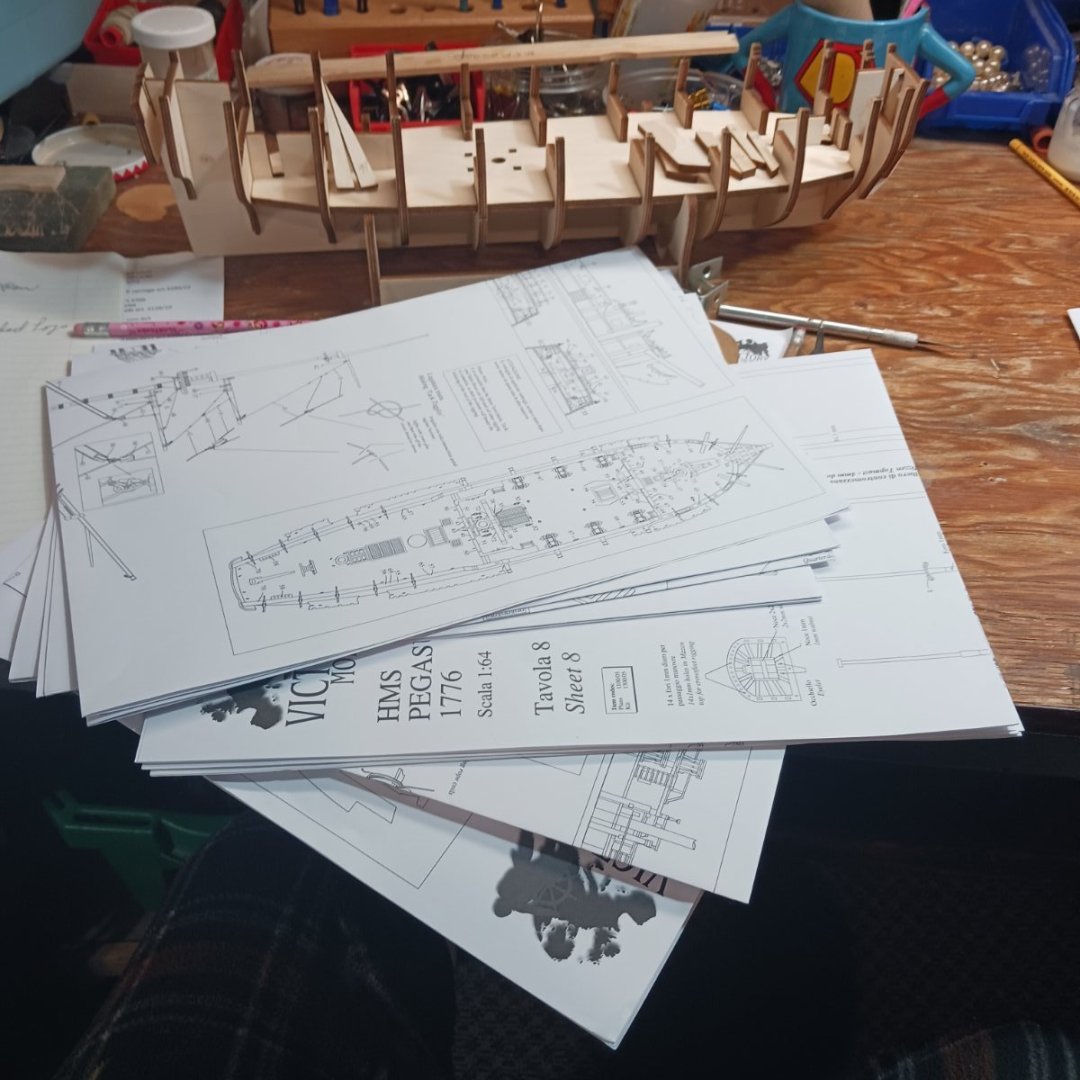
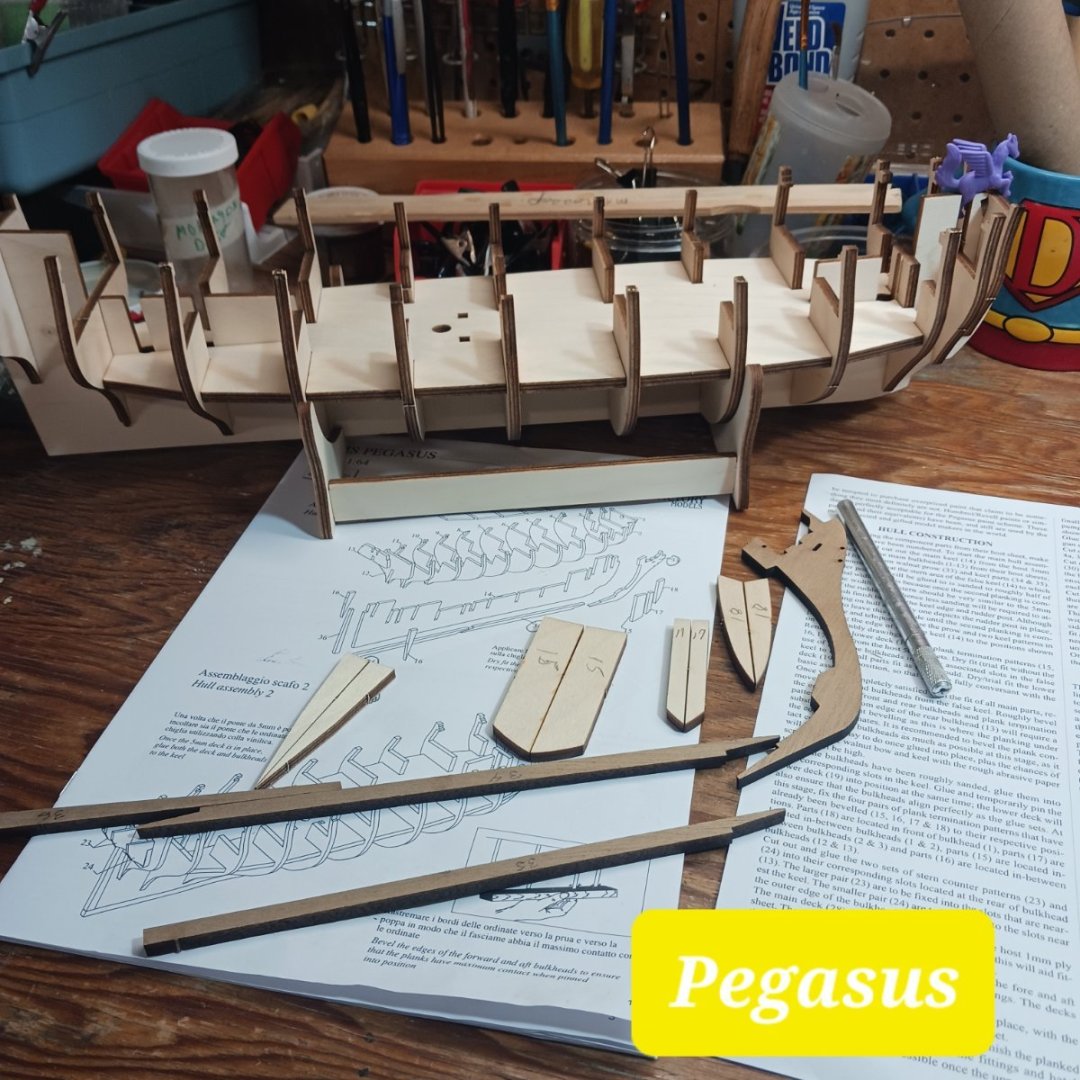
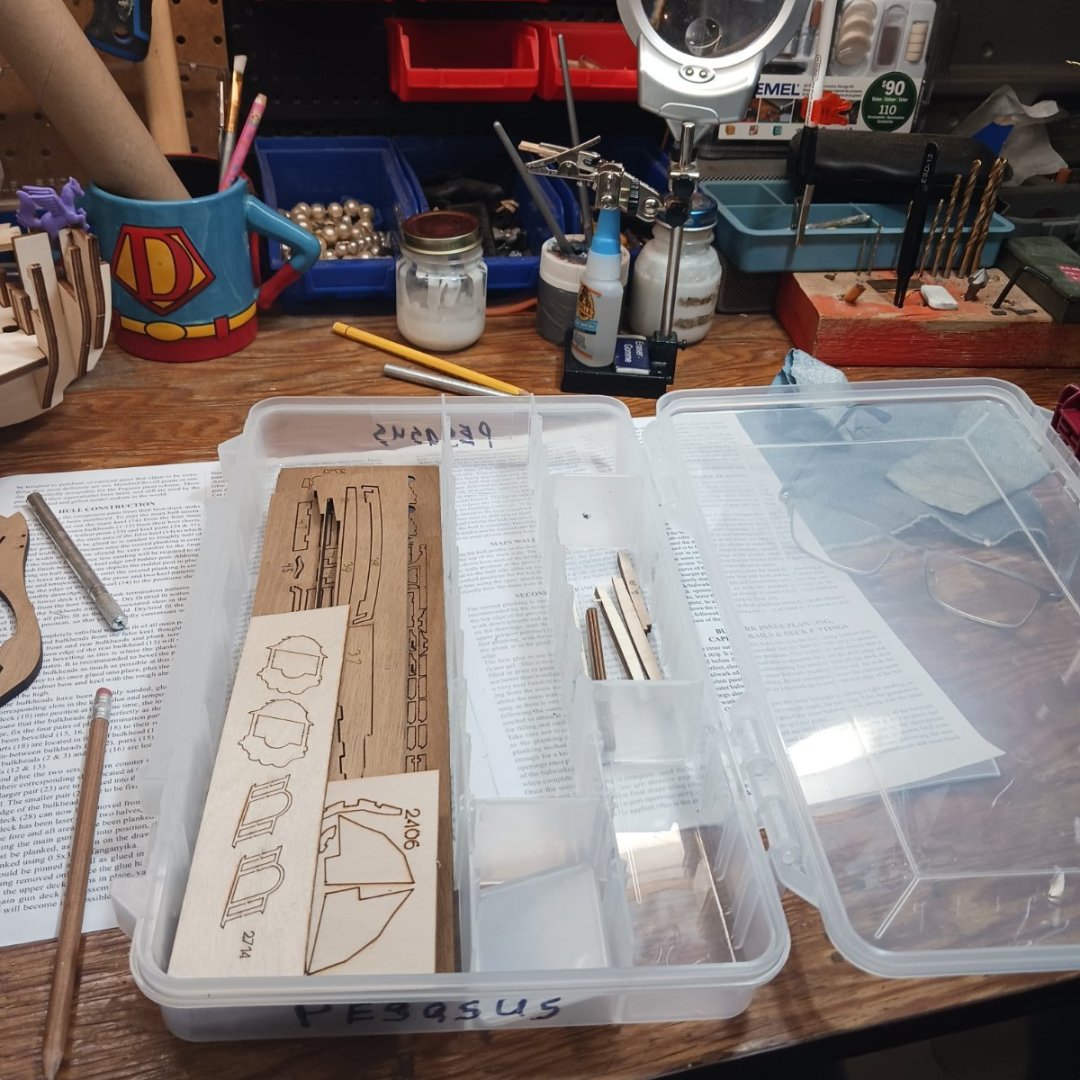
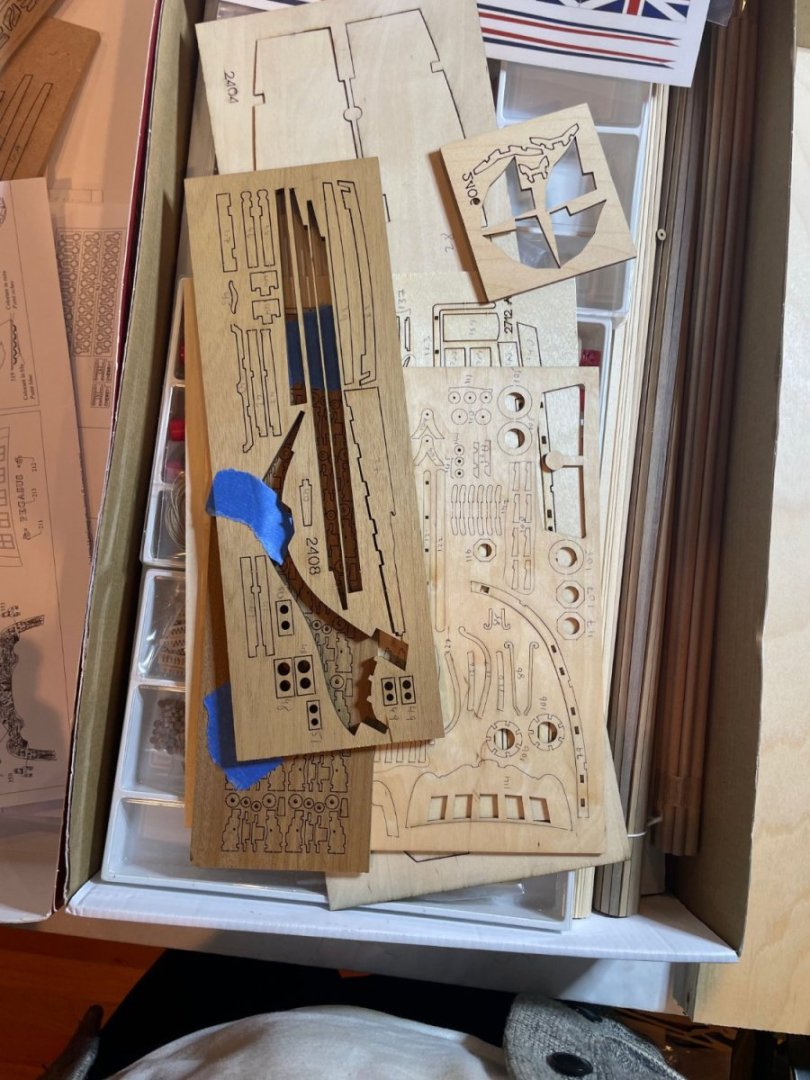
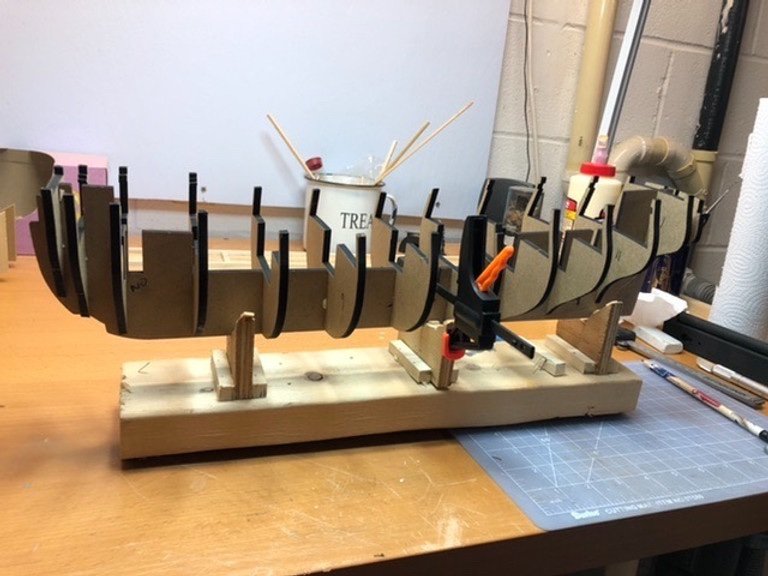
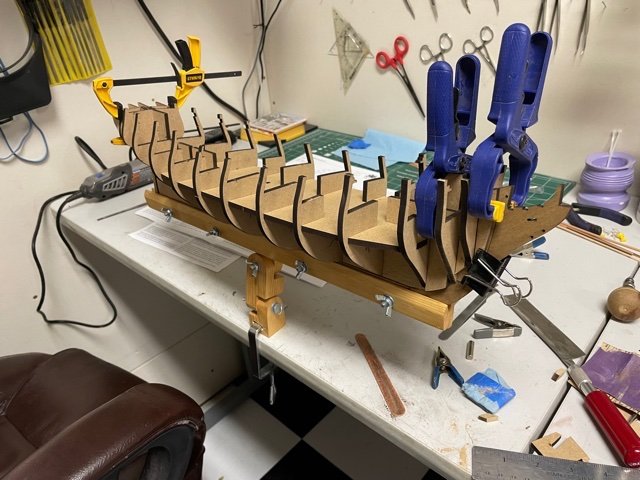
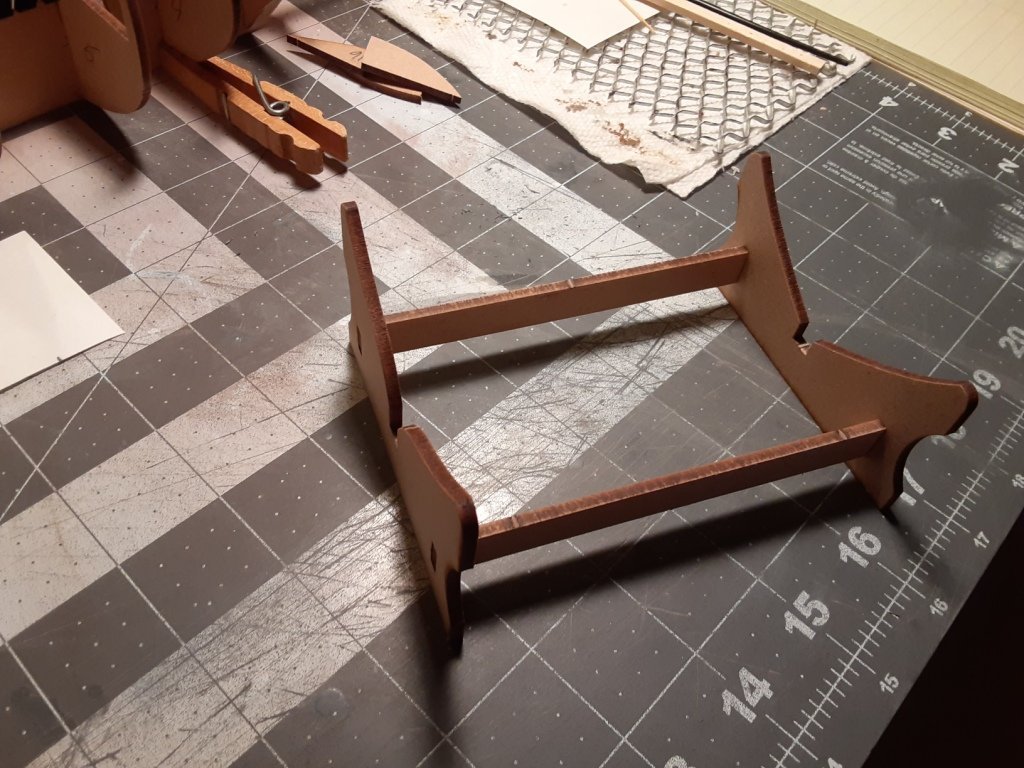
Today I was supposed to go to work but it was raining, so I decided to do a kit opening page for my new log, the Pegasus. The contents of the kit look really good, as I put things away , and get ready to build. My keel is made of plywood, not mdf. Must be an older kit, I assume. I dont know much about the Pegasus, but she sank in Canada in 1777, a little over a year after she was launched. So putting things away, the keel fell out of the box, lol, so I decided to make the temporary stand, and dry fit everything. It went together really well. It does come with a lot of plans and books of understandable instructions. I dry fitted all the bulkheads and got all the keel parts ready. So tomorrow, I will start glueing and beveling the bulkheads, and also the four pairs of plank termination patterns. Then I will see what I need to do next. It is so helpful to know that if I run into problems, this is the place to be to get all the help I need here. Thanks so much for watching. Take care my friends. Bob M.
- 129 replies
-
- Victory Models
- Pegasus
-
(and 2 more)
Tagged with:
-
Hello! Just ordered my first build, the Lady Nelson by Amati. I spent quite a bit of time researching a good first build, and heavily debated going with the 3-ship kit from Model Shipways. I certainly see the value of scaffolding your skills with different levels of practice, but at the end of the day none of the builds excited me. I'm also a competent woodworker and figured I could handle a bit more on the first go. The history behind the Lady Nelson was the final tipping point for me, as I love the stories behind a ship just as much as I love looking at them. I've seen many build logs have already been completed, and I plan to start taking notes on these throughout the next few days as I wait for my order to arrive. As far as tools, I was wondering if there were any other woodworkers out there who then went into model building. My wood shop is adequately equipped, both power and hand tools, but are there model specific tools that I'd likely not have? Thanks for reading and thanks in advanced for your support! This forum was a big factor in taking the plunge!
- 8 replies
-
- Lady Nelson
- Amati
-
(and 2 more)
Tagged with:
-
All, My model showed up two days early, and I felt like Ralphie's dad when the leg lamp showed up. Needless to say it was exciting, so, thanks to the support and motivation of others who have produced some beautiful HM Cutters on this site, here's the start to my first build log and what I imagine will be a great learning curve. May not have time to get deep today, and that's okay! Still waiting on some supplies. ⚓️ Anchors Aweigh, Chris
- 16 replies
-
- Lady Nelson
- Victory Models
-
(and 1 more)
Tagged with:
-
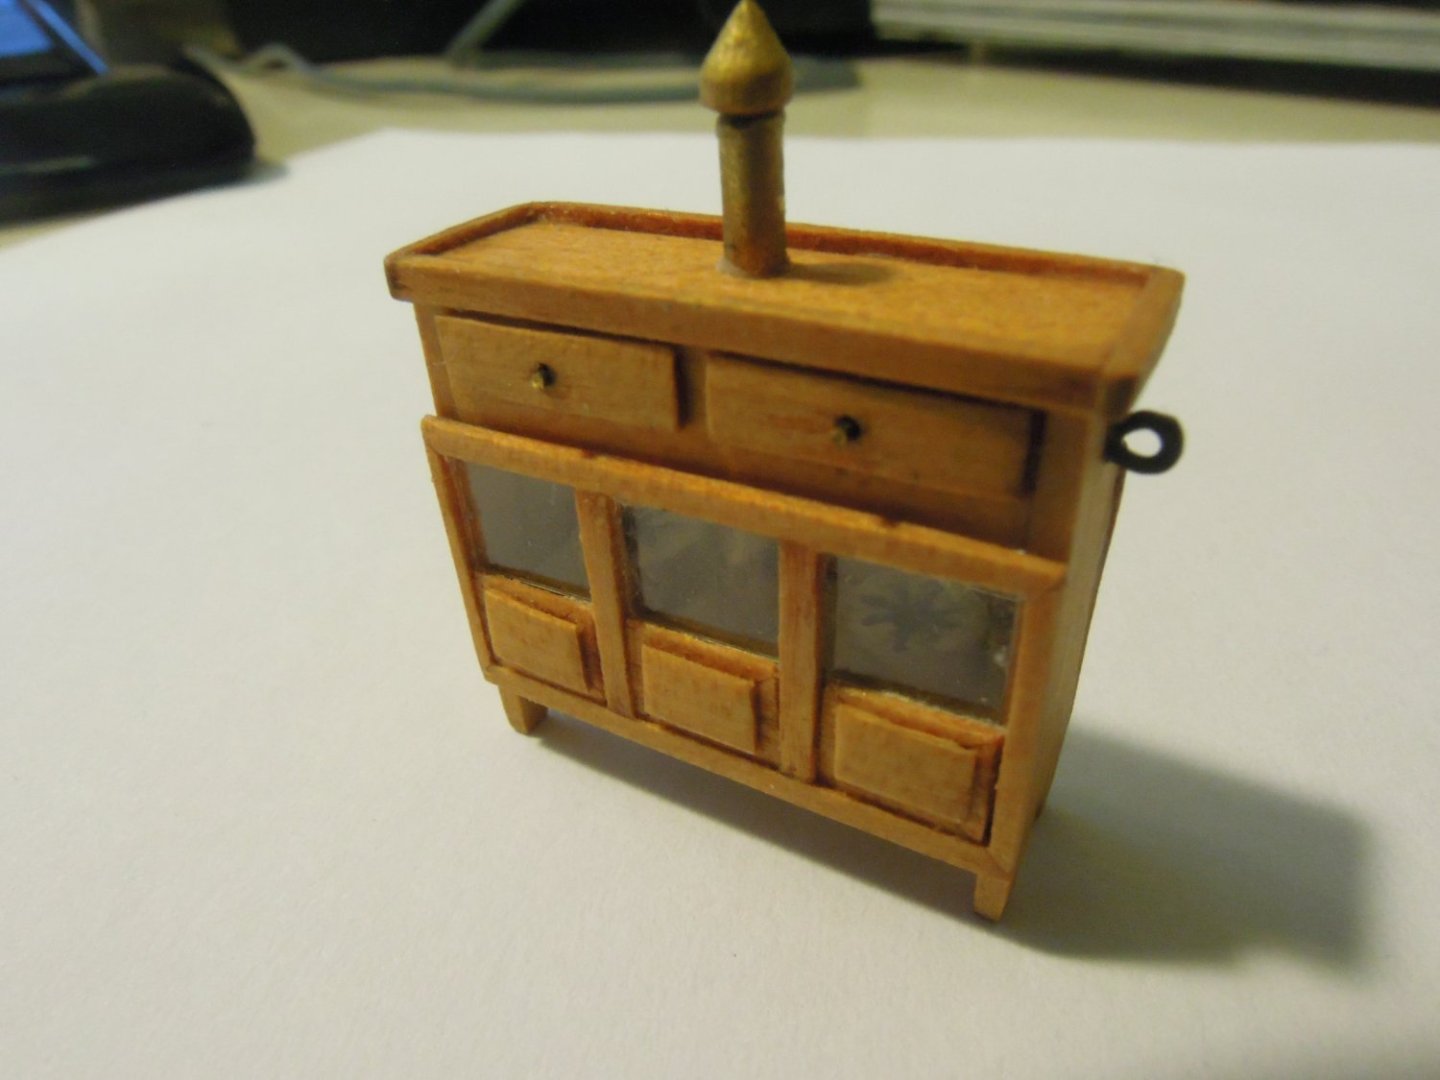
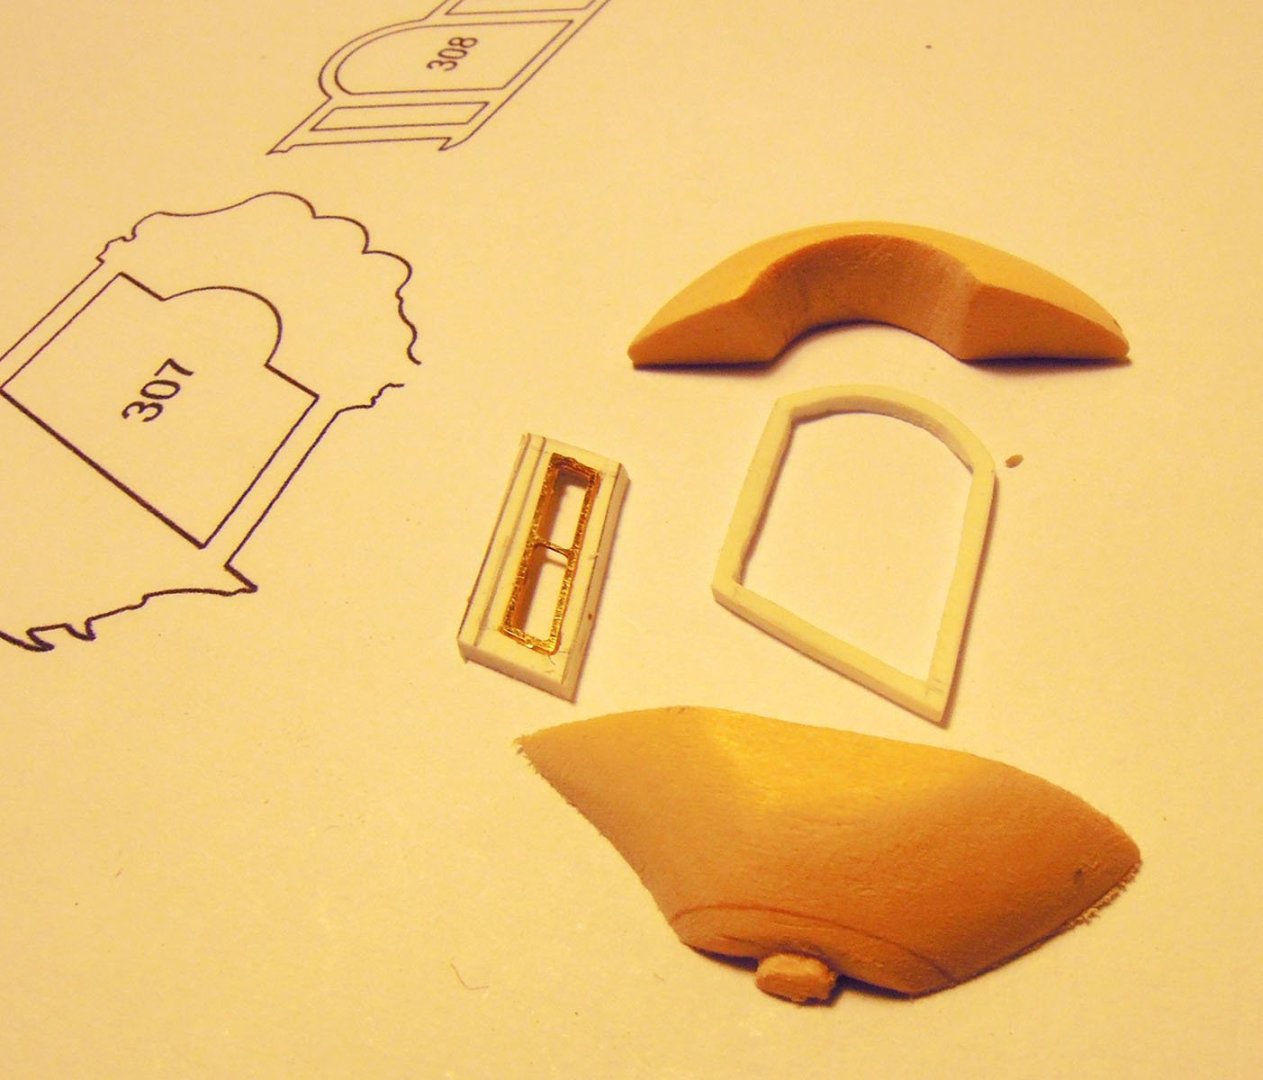
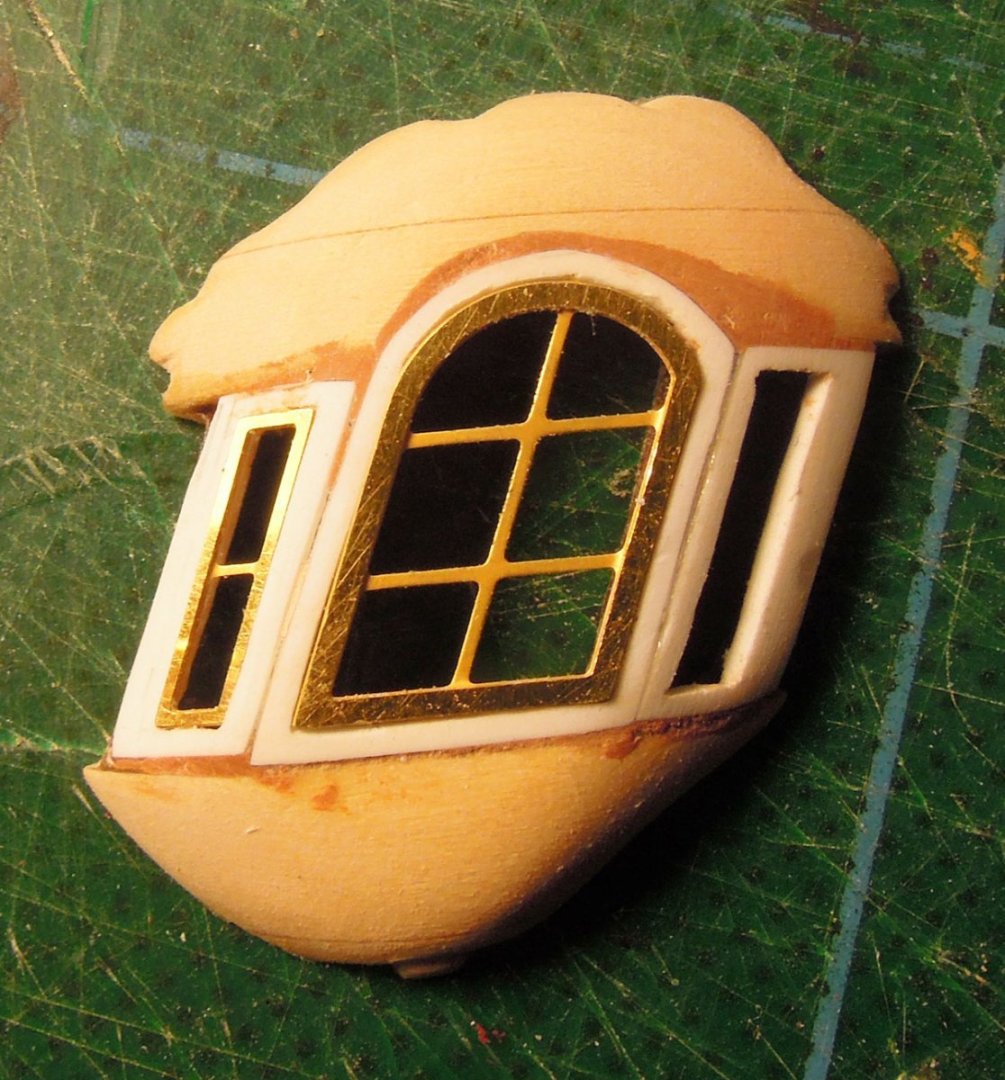
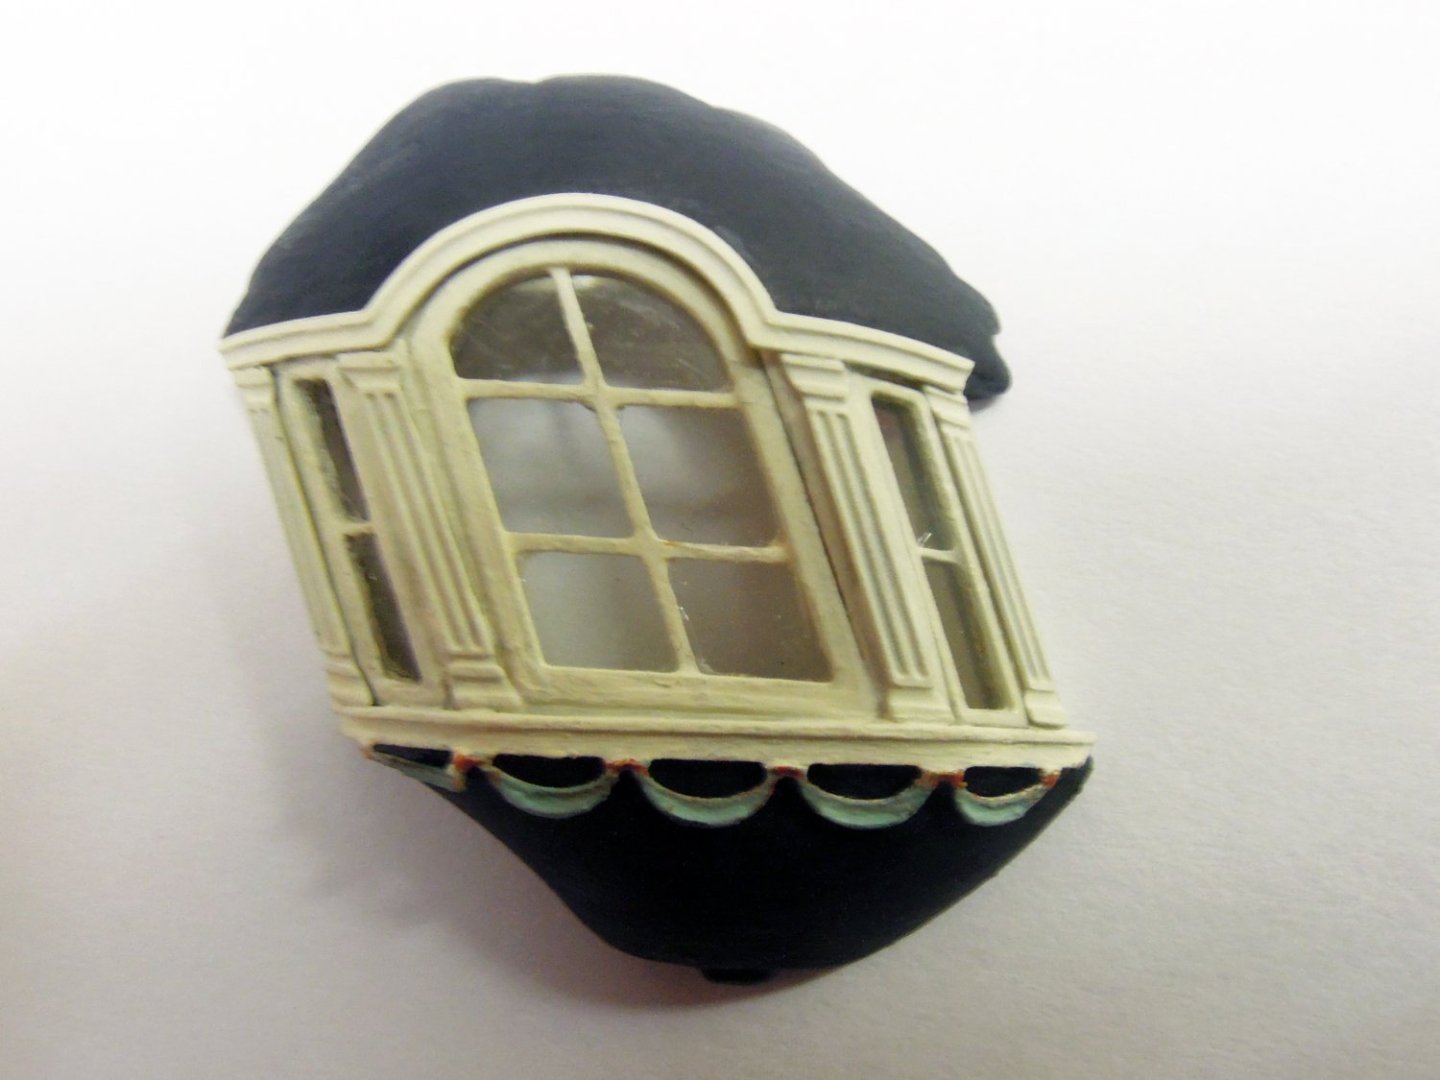
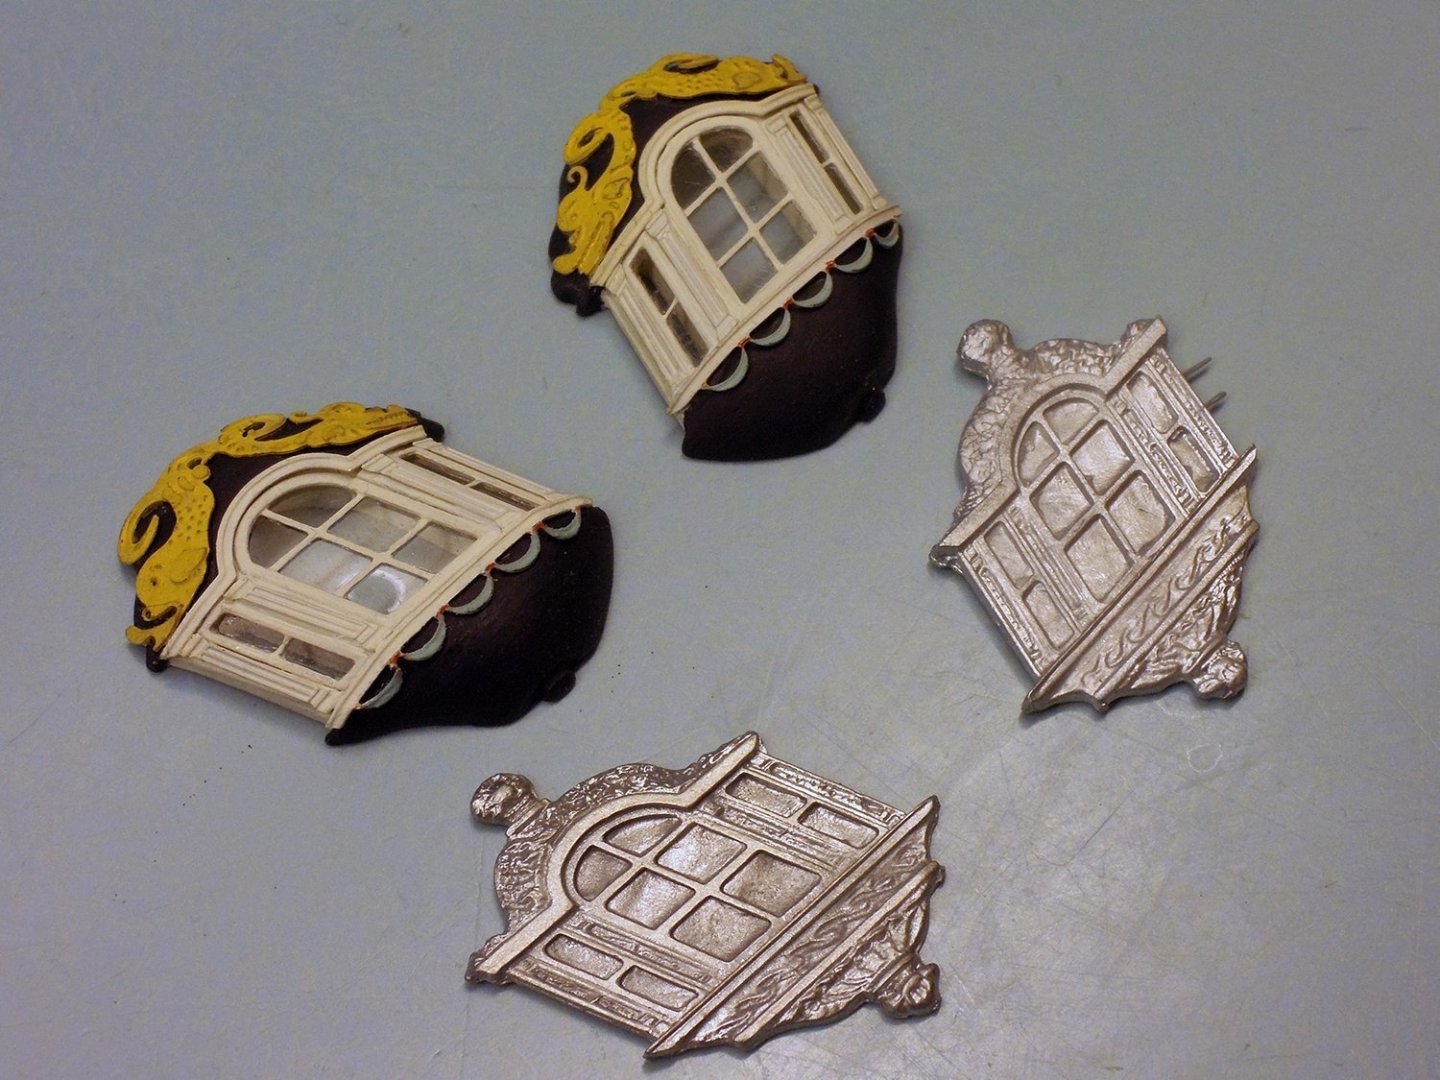
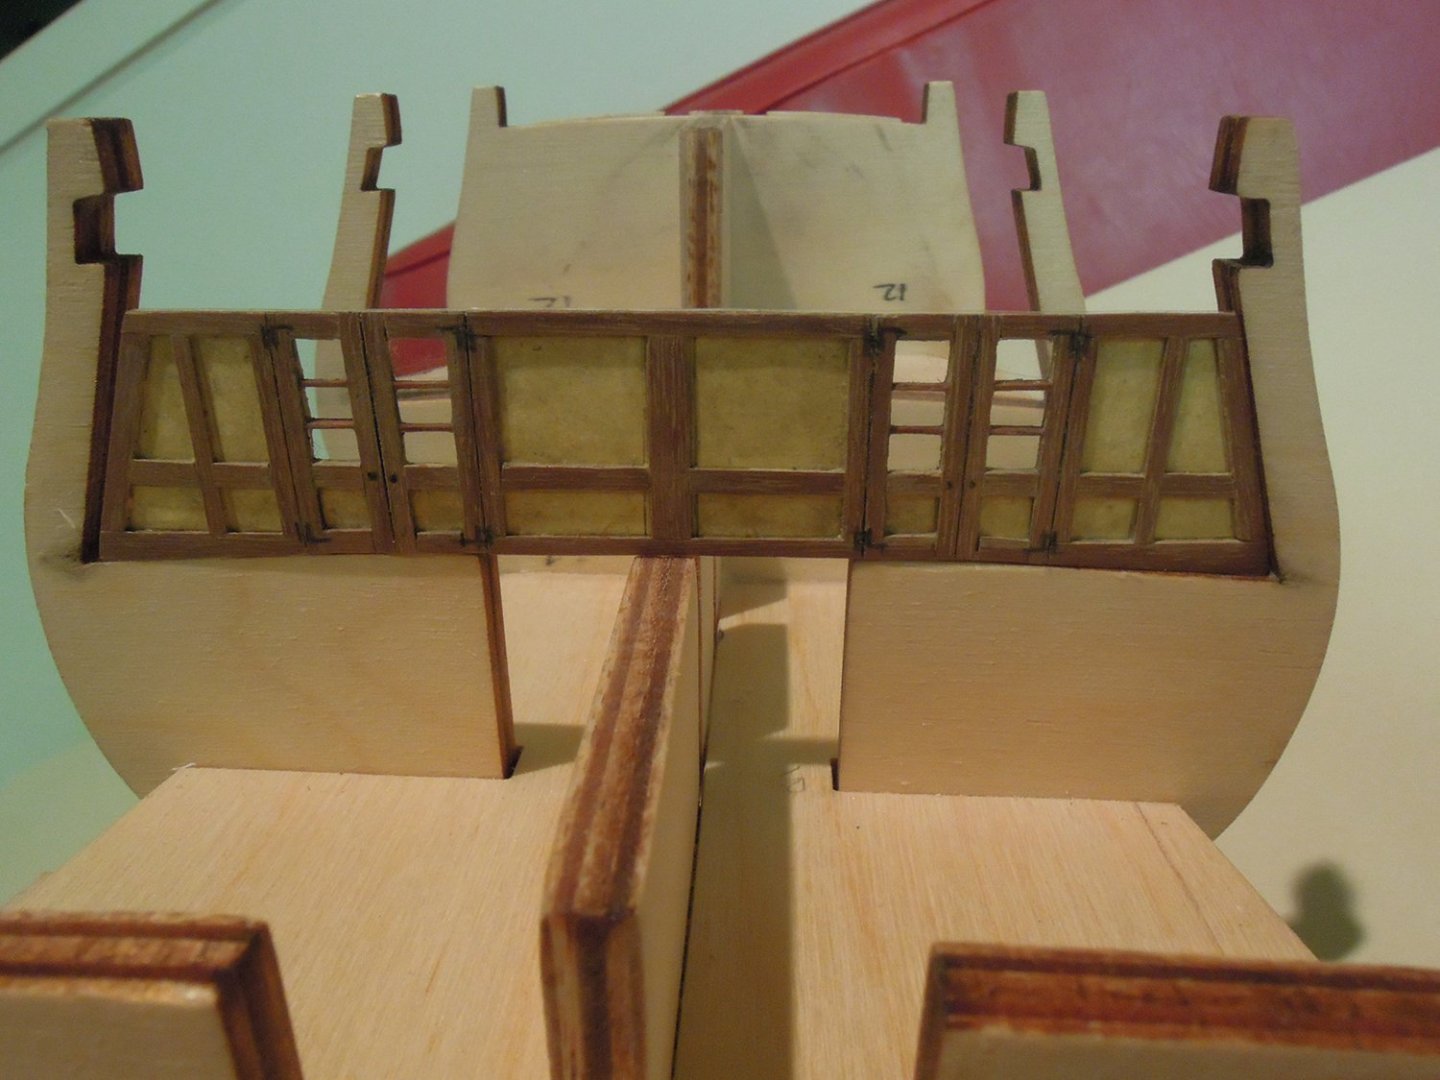
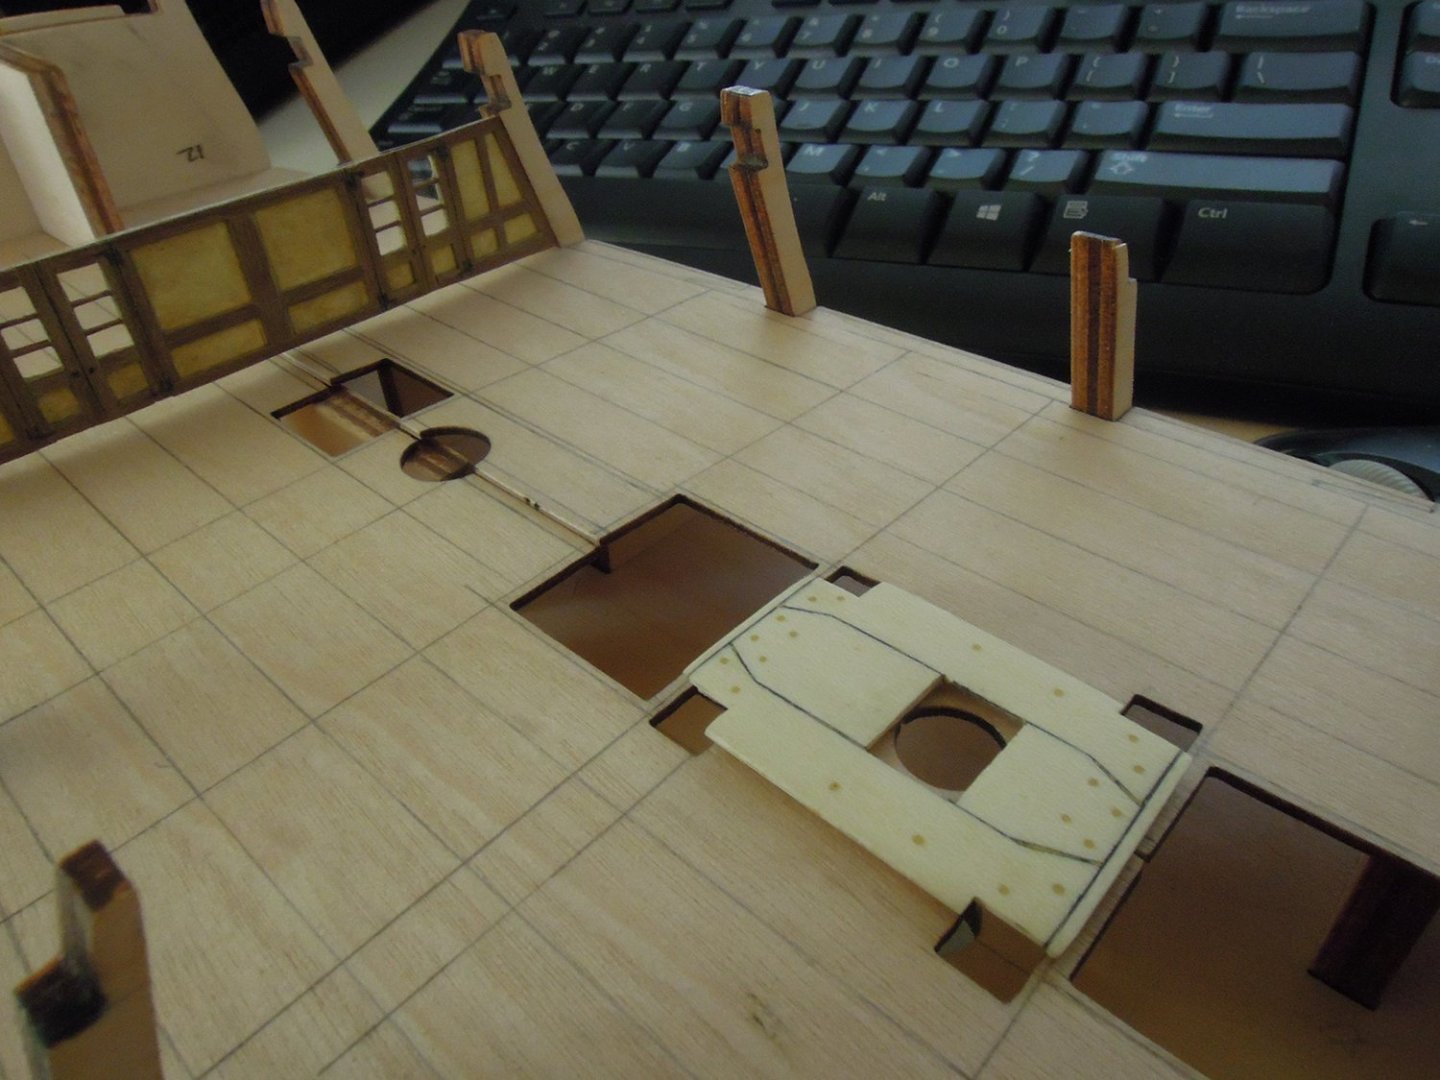
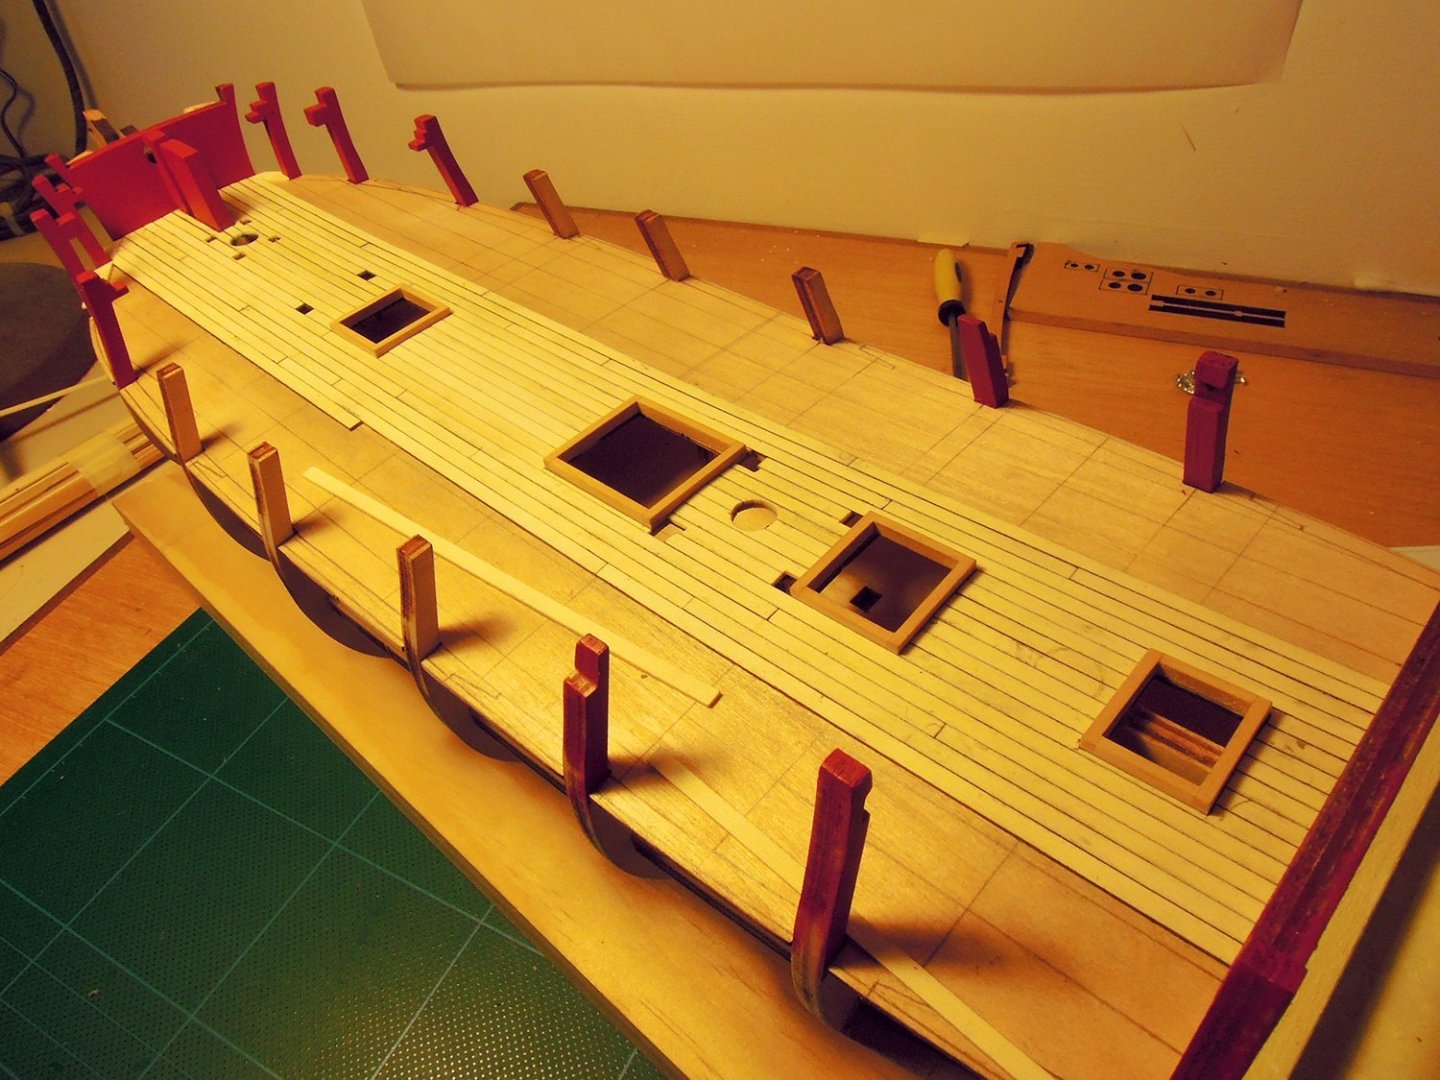
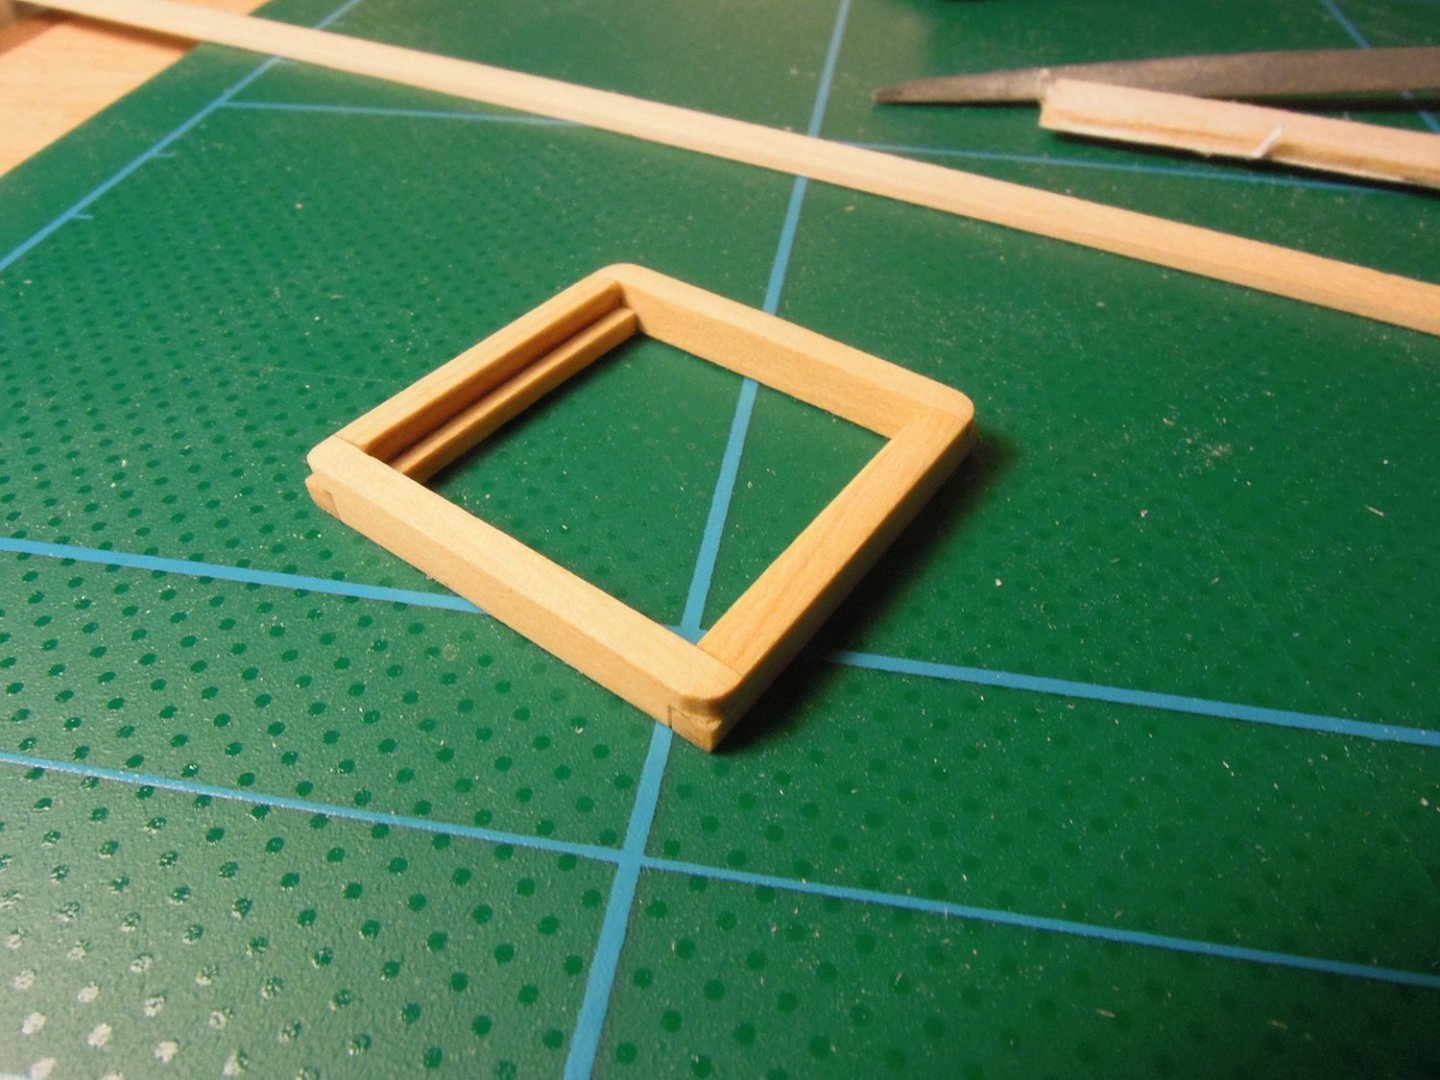
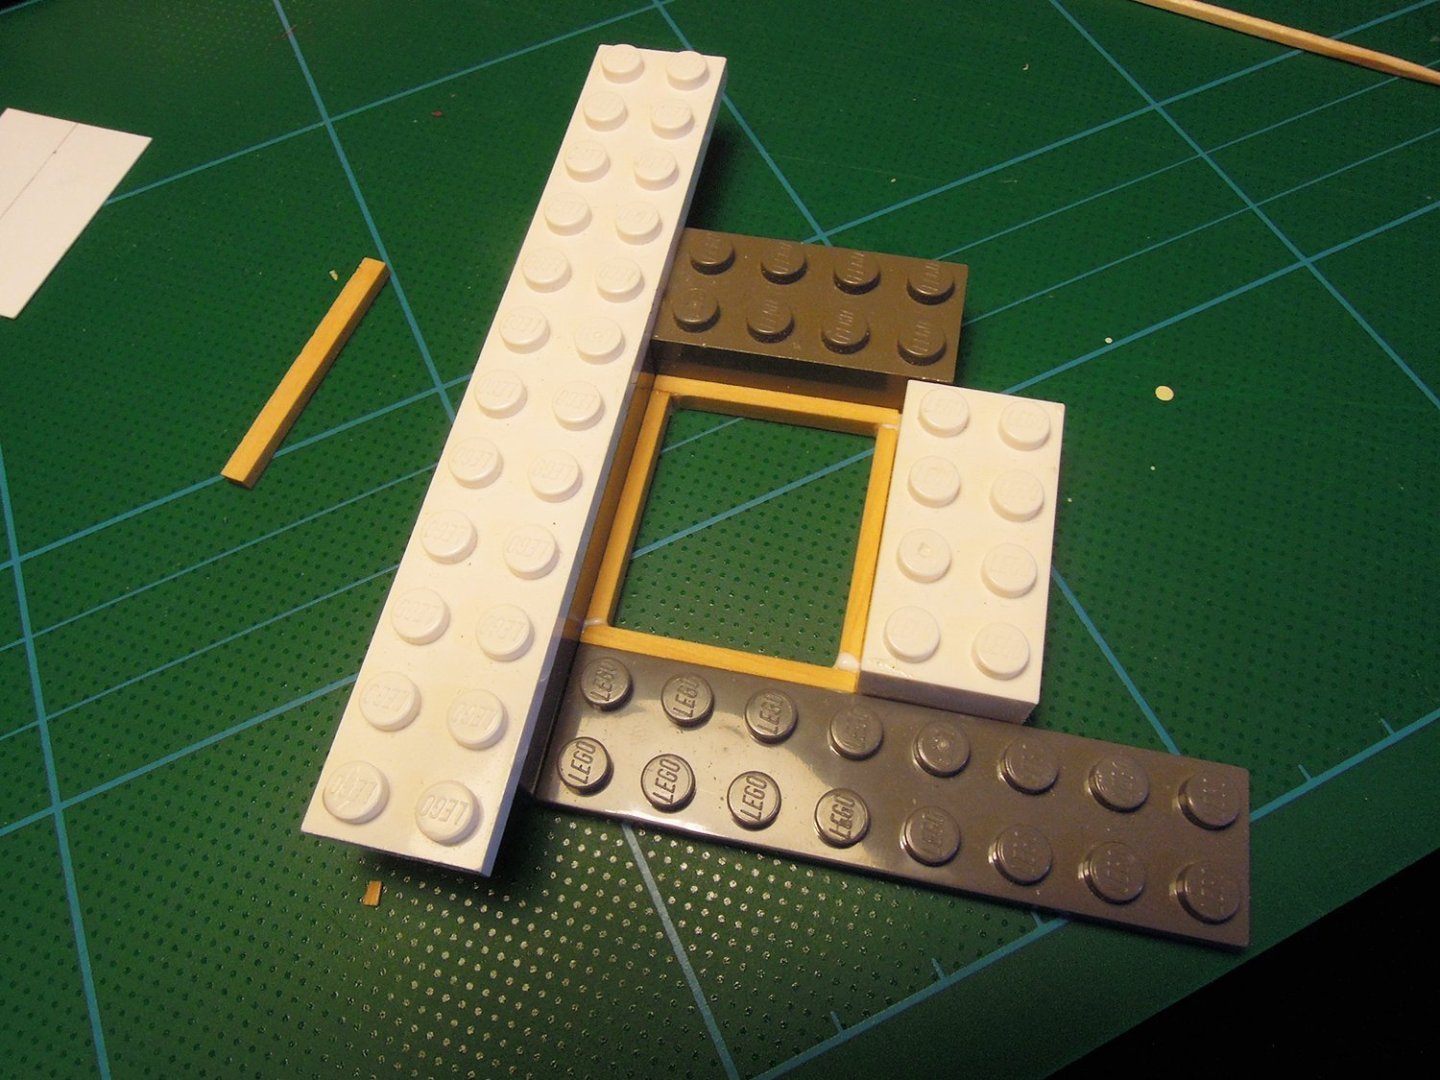
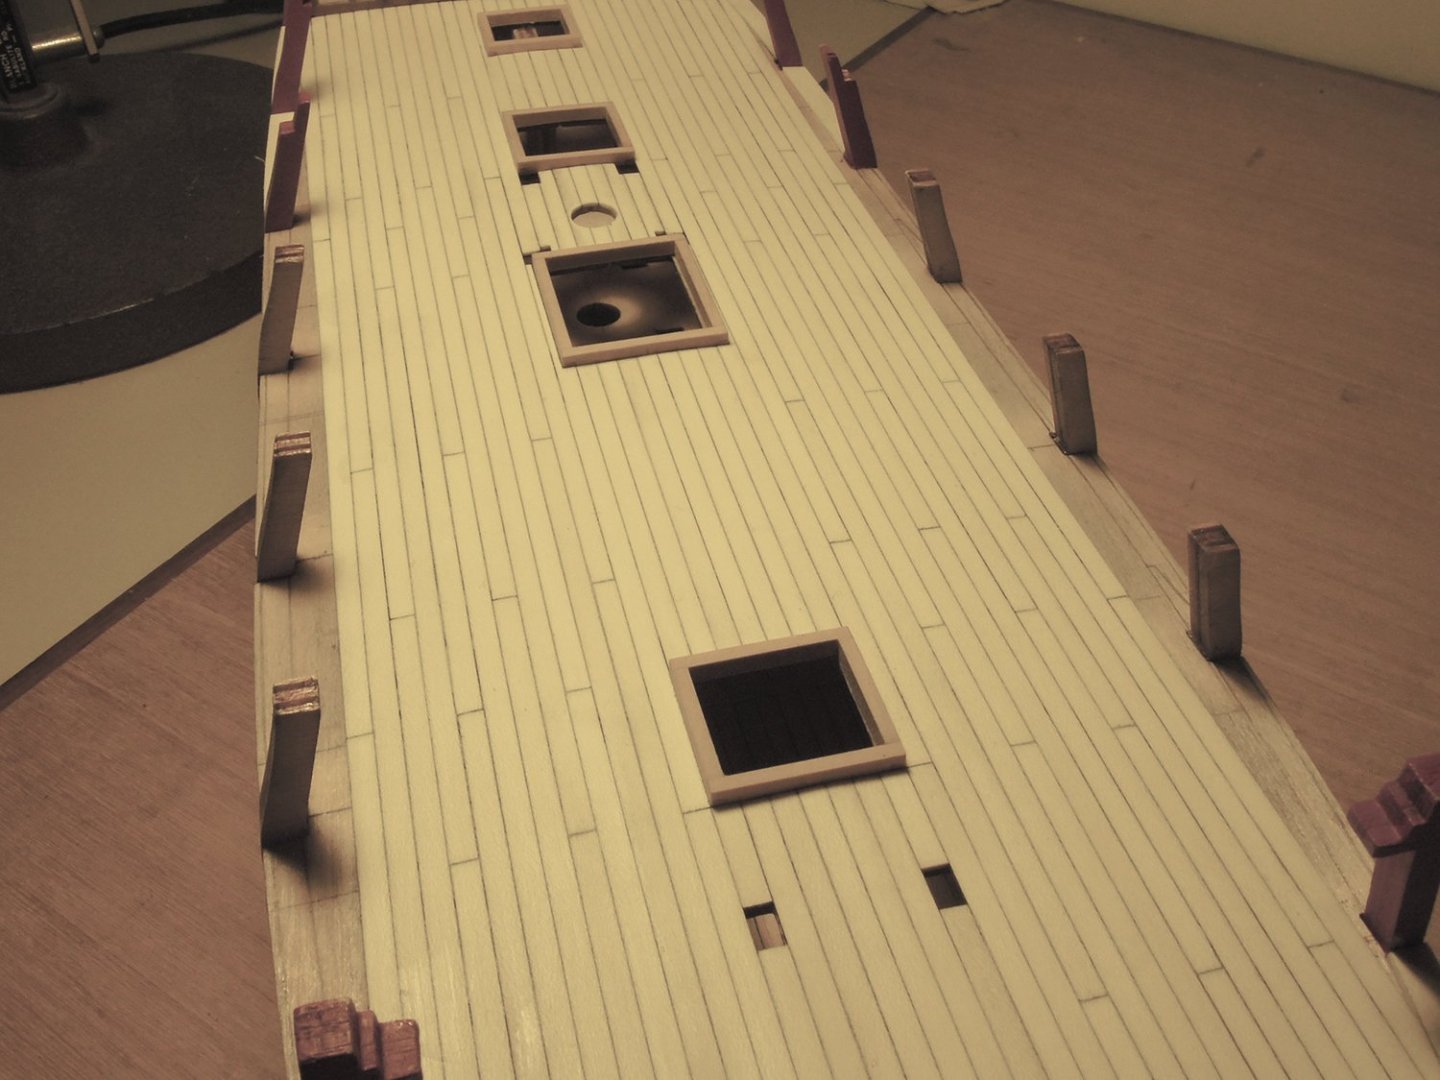
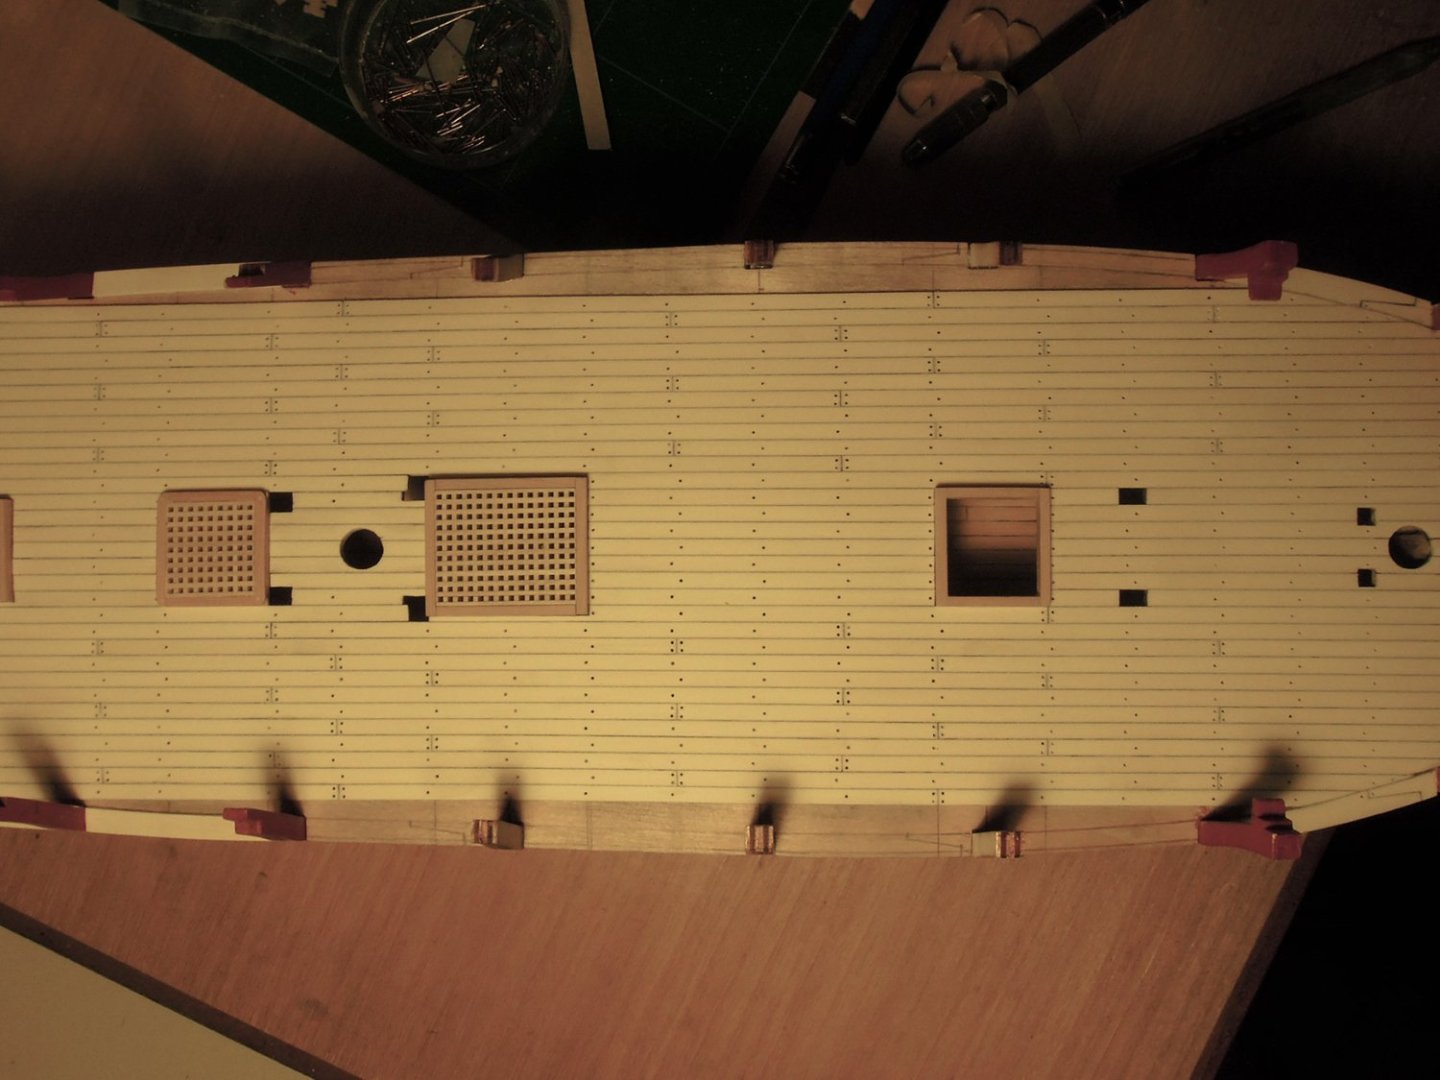
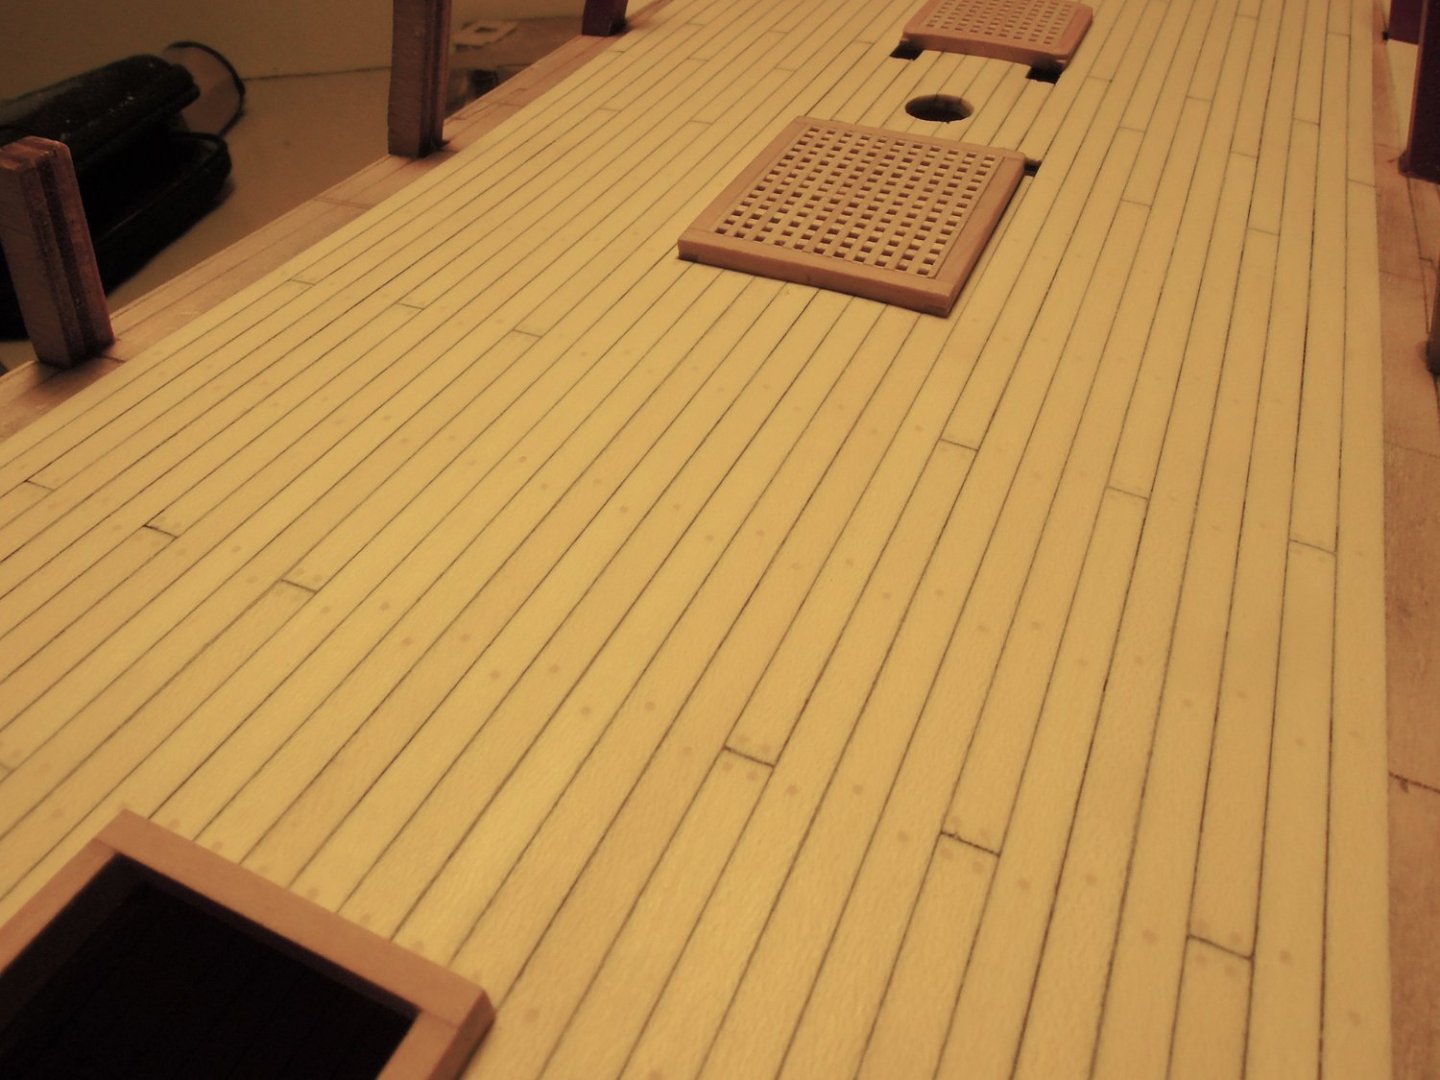
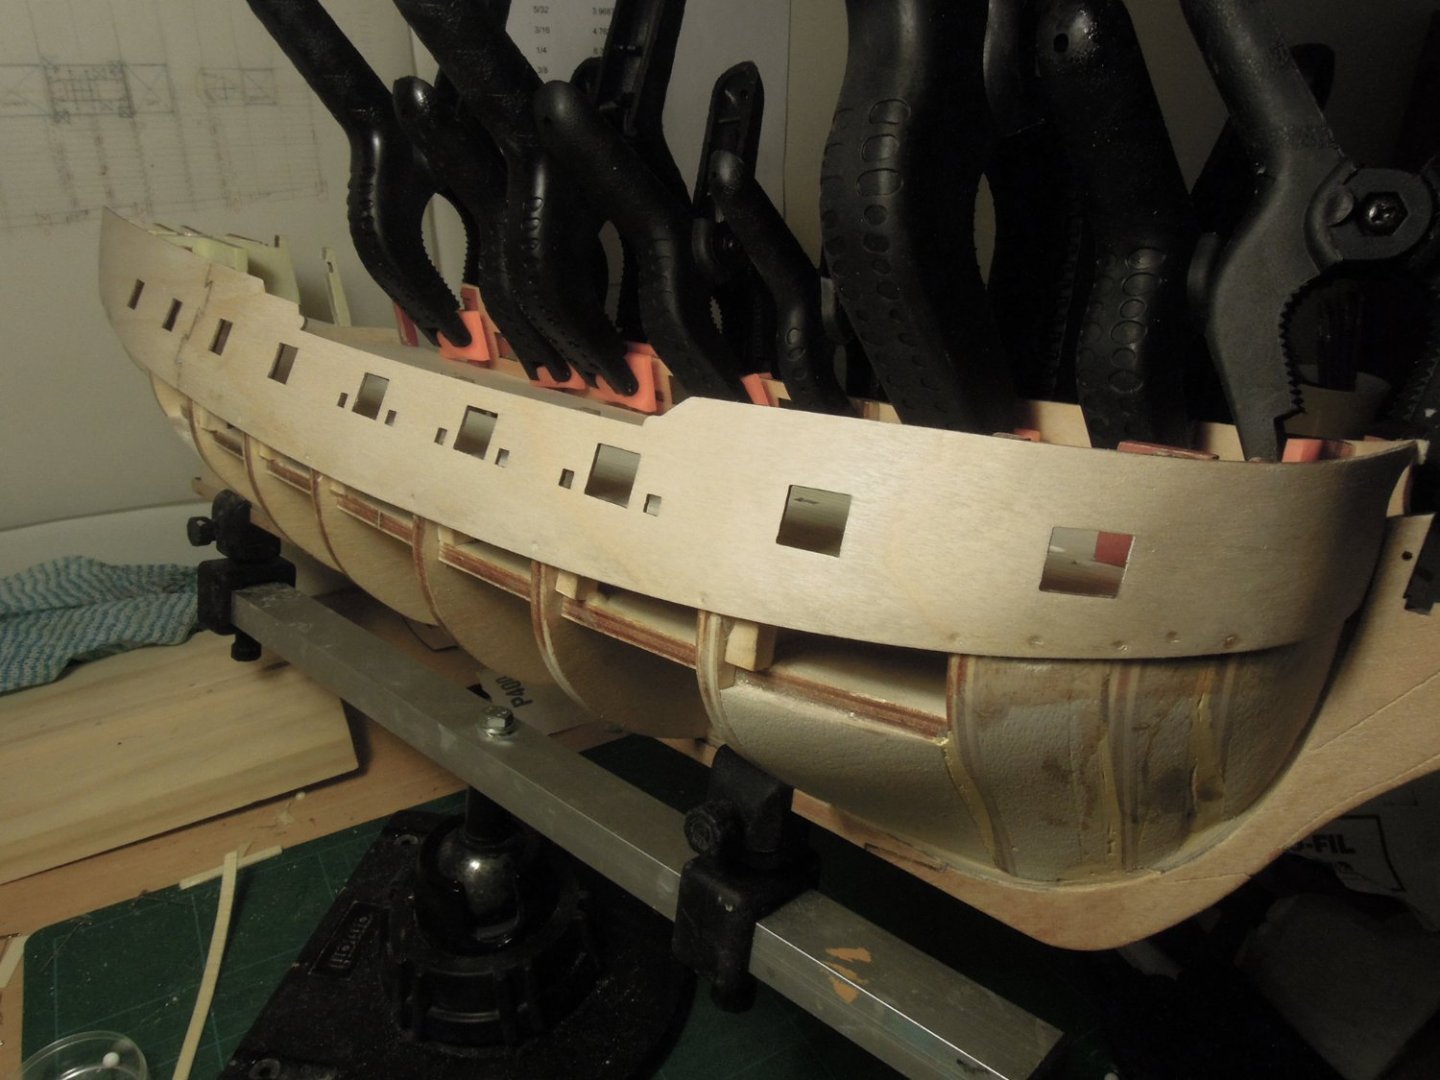
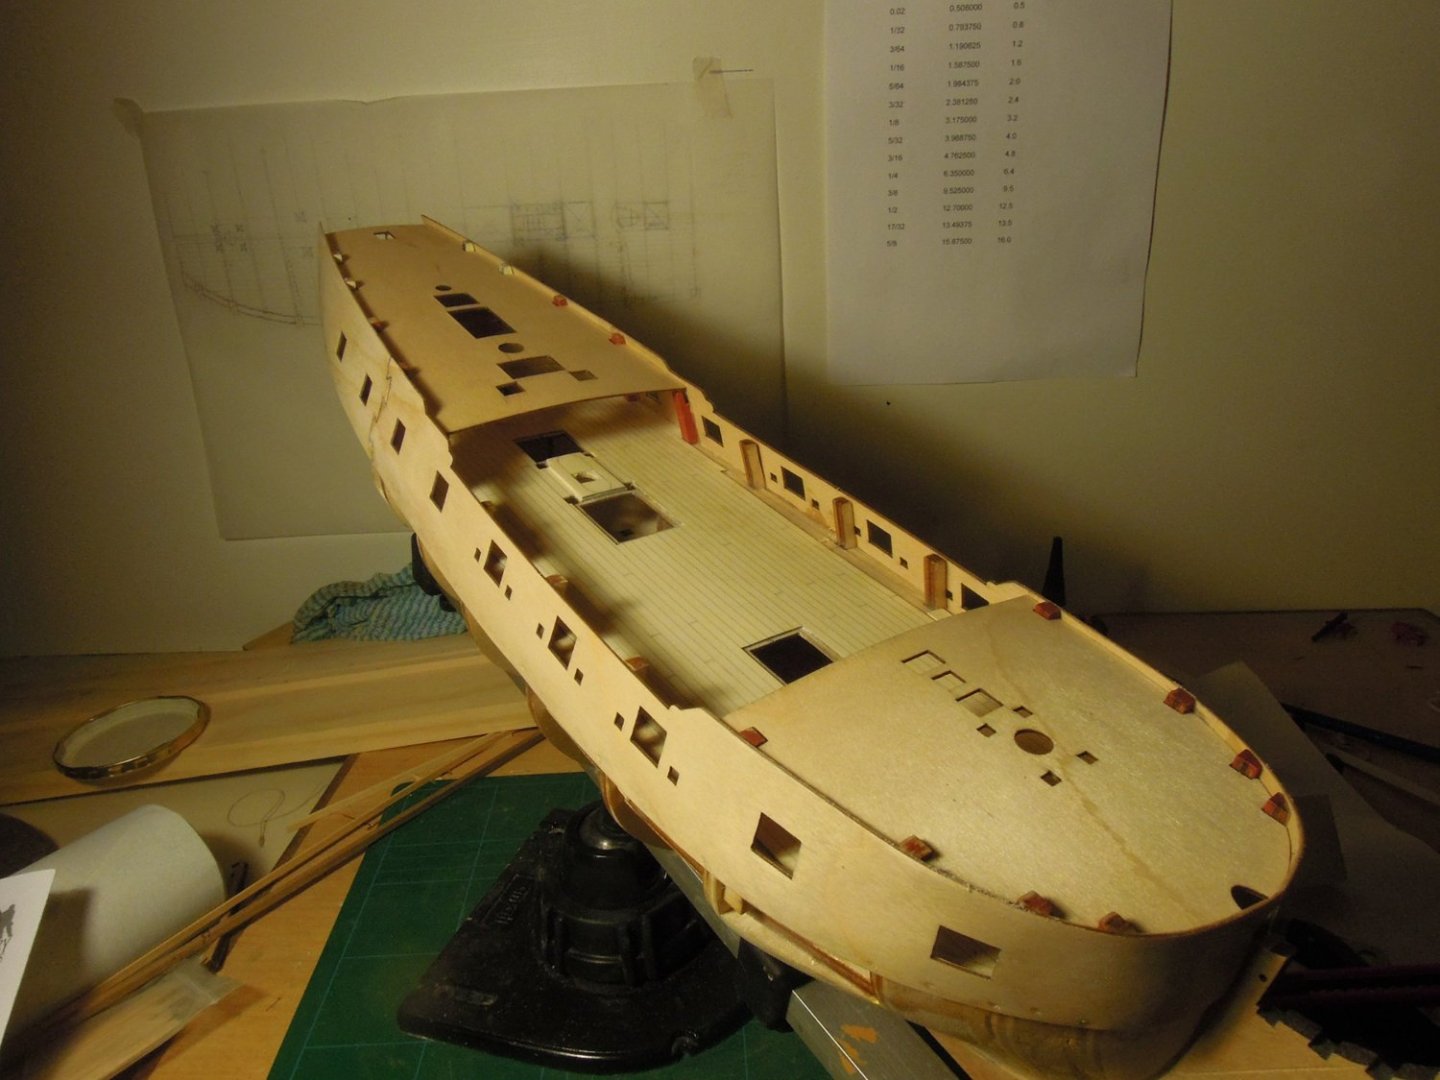
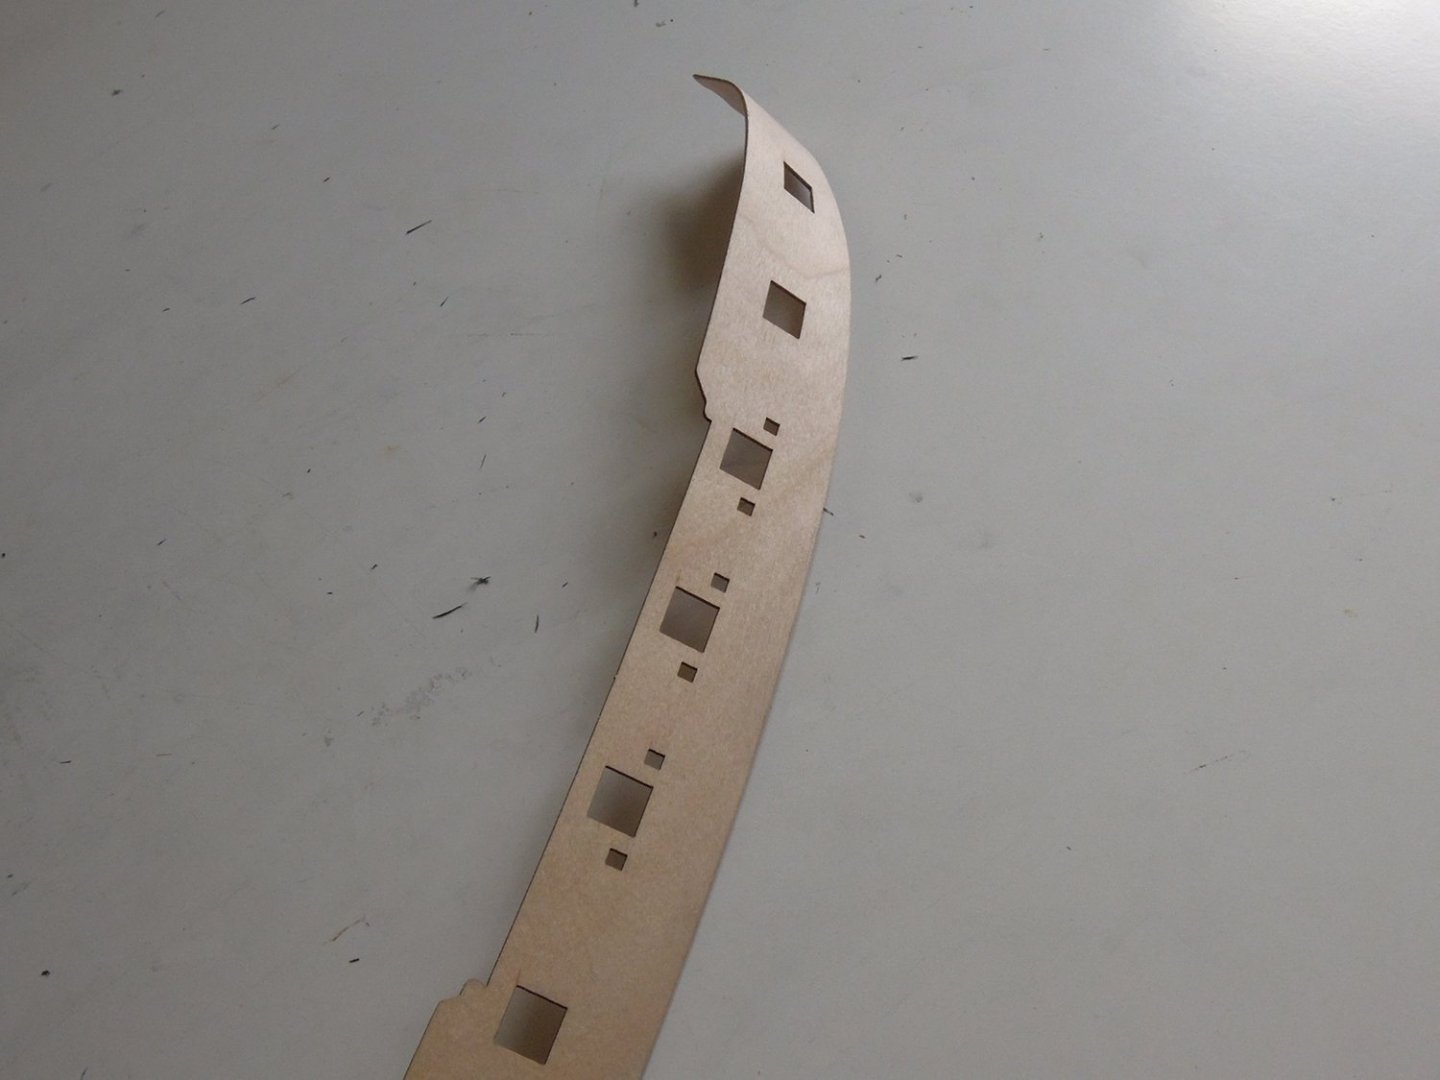
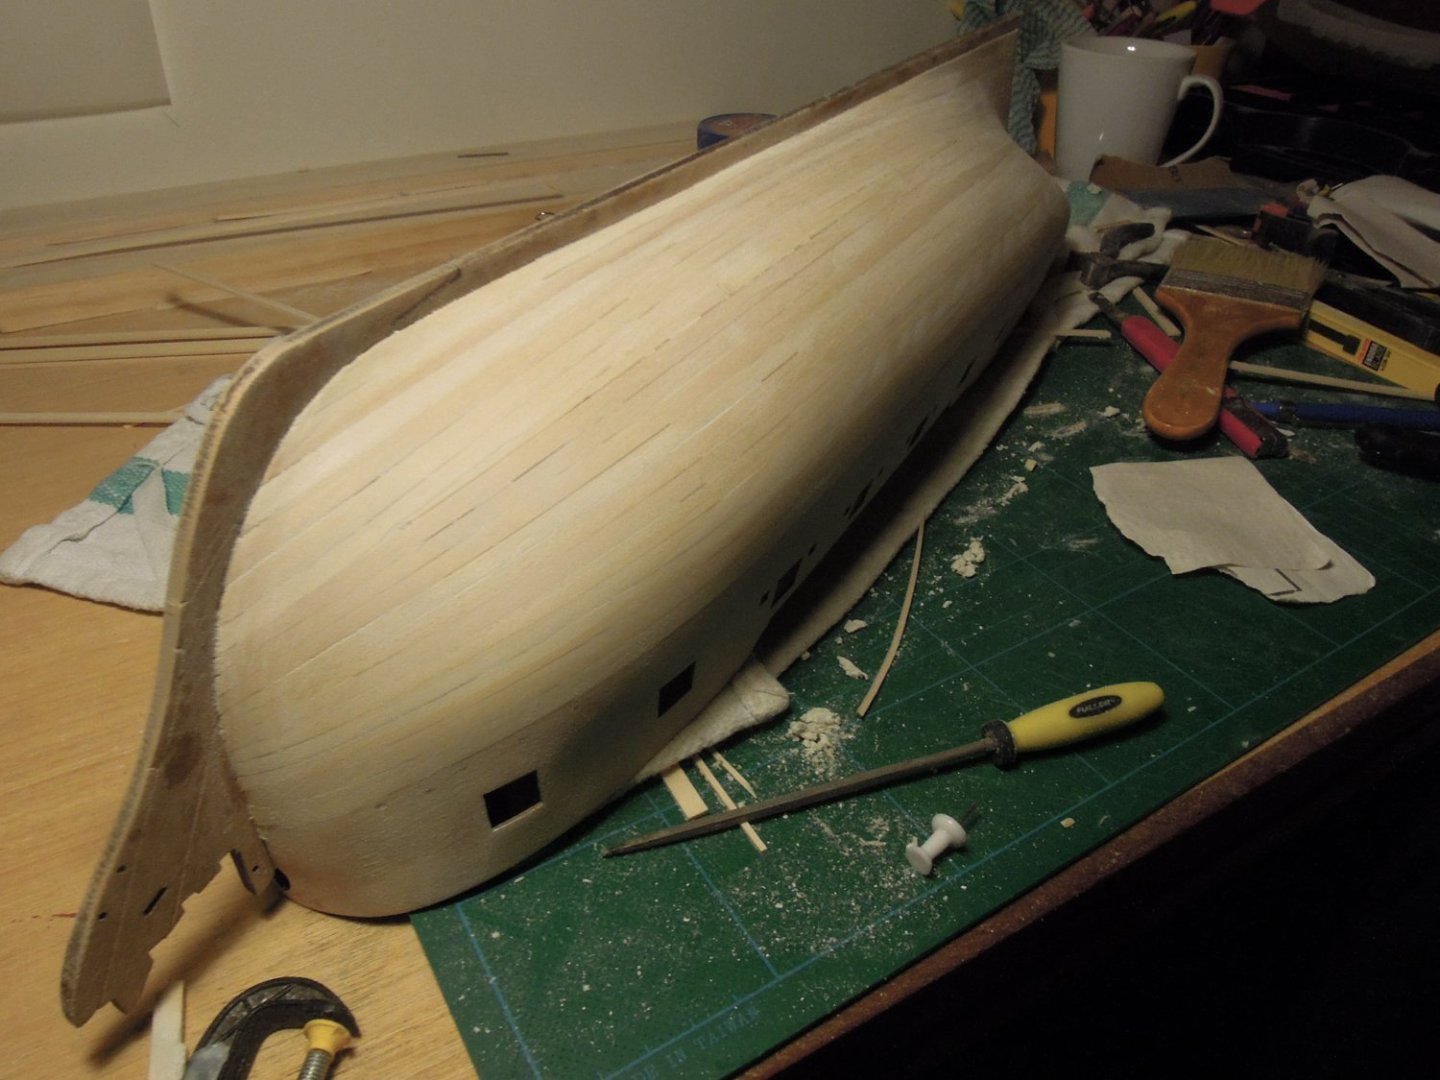
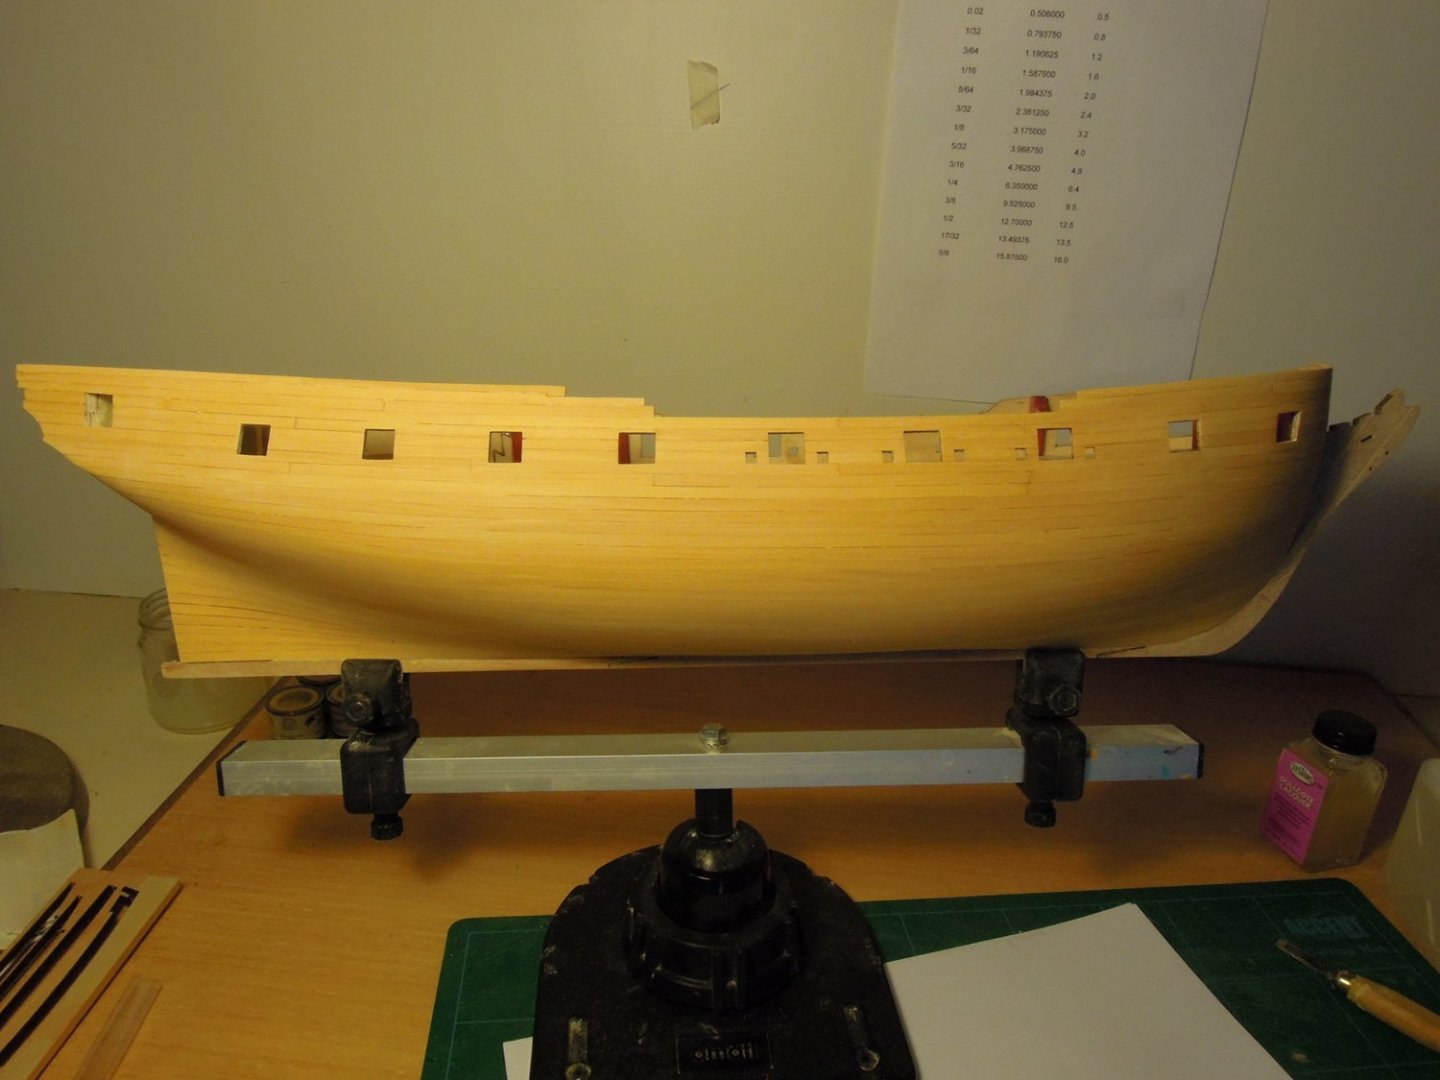
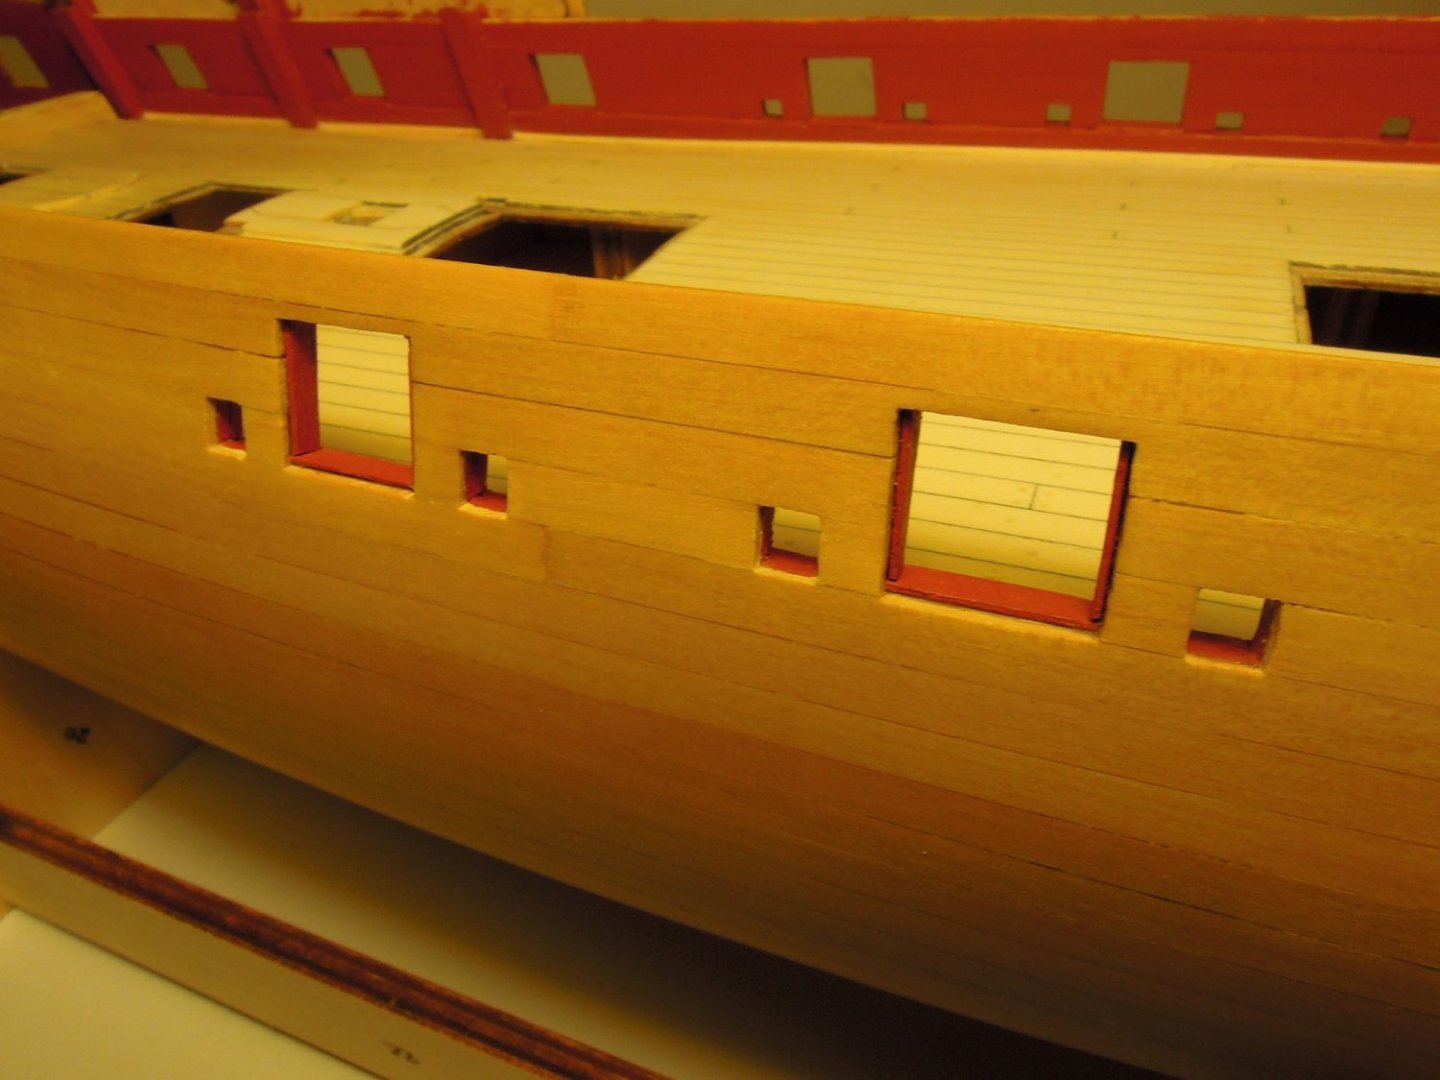
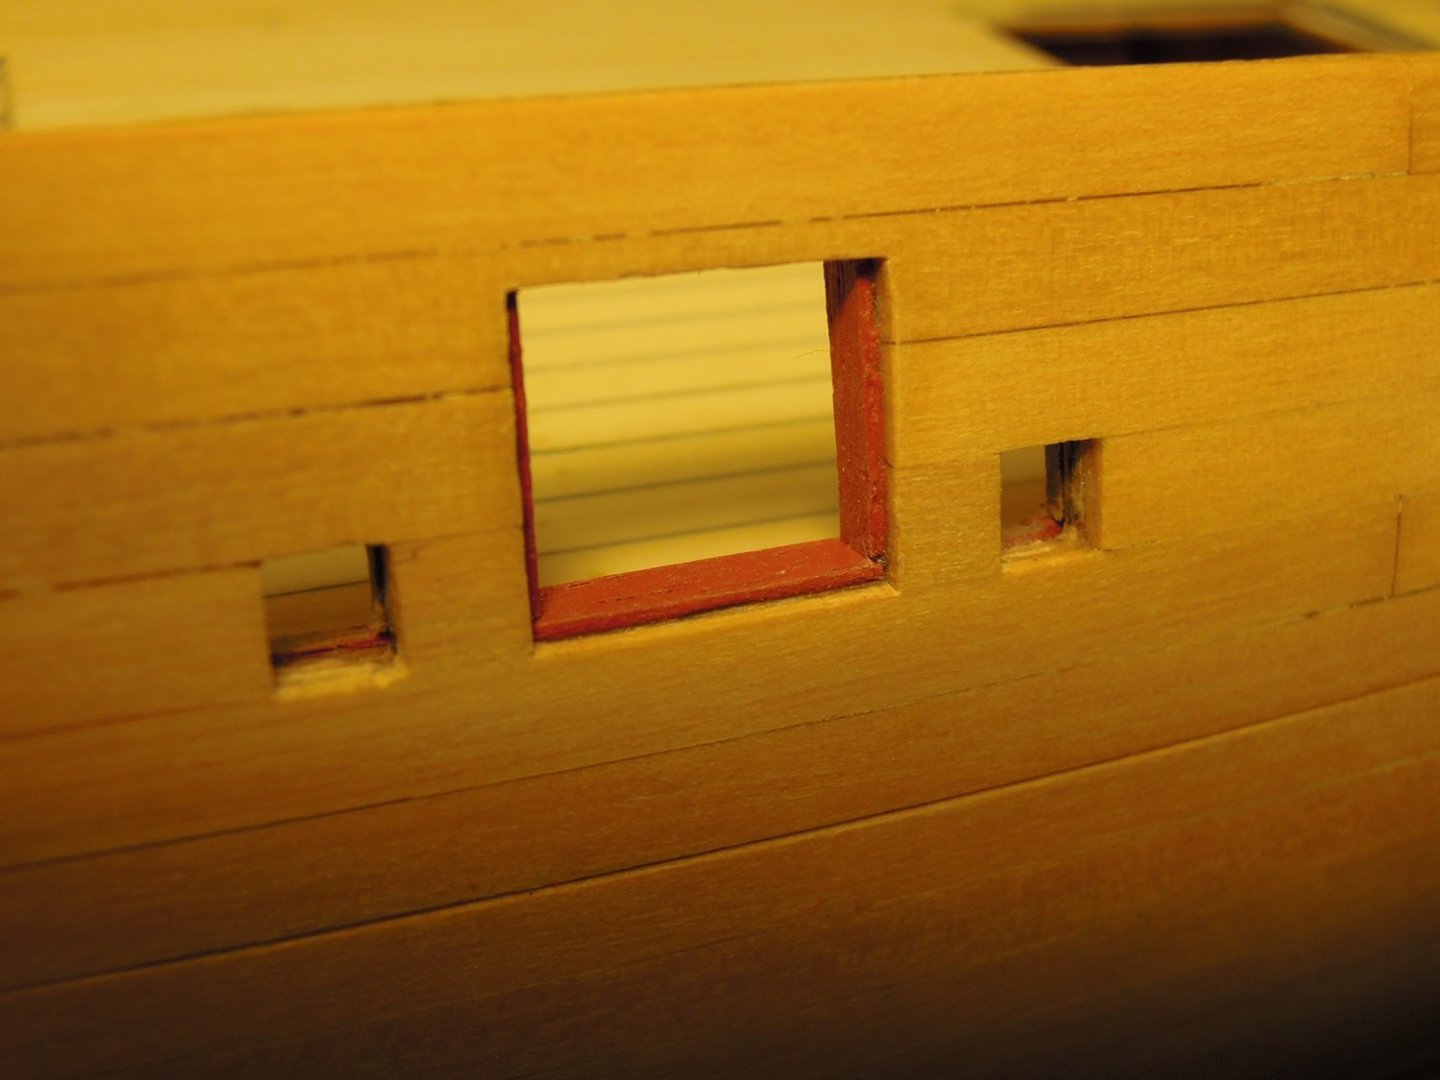
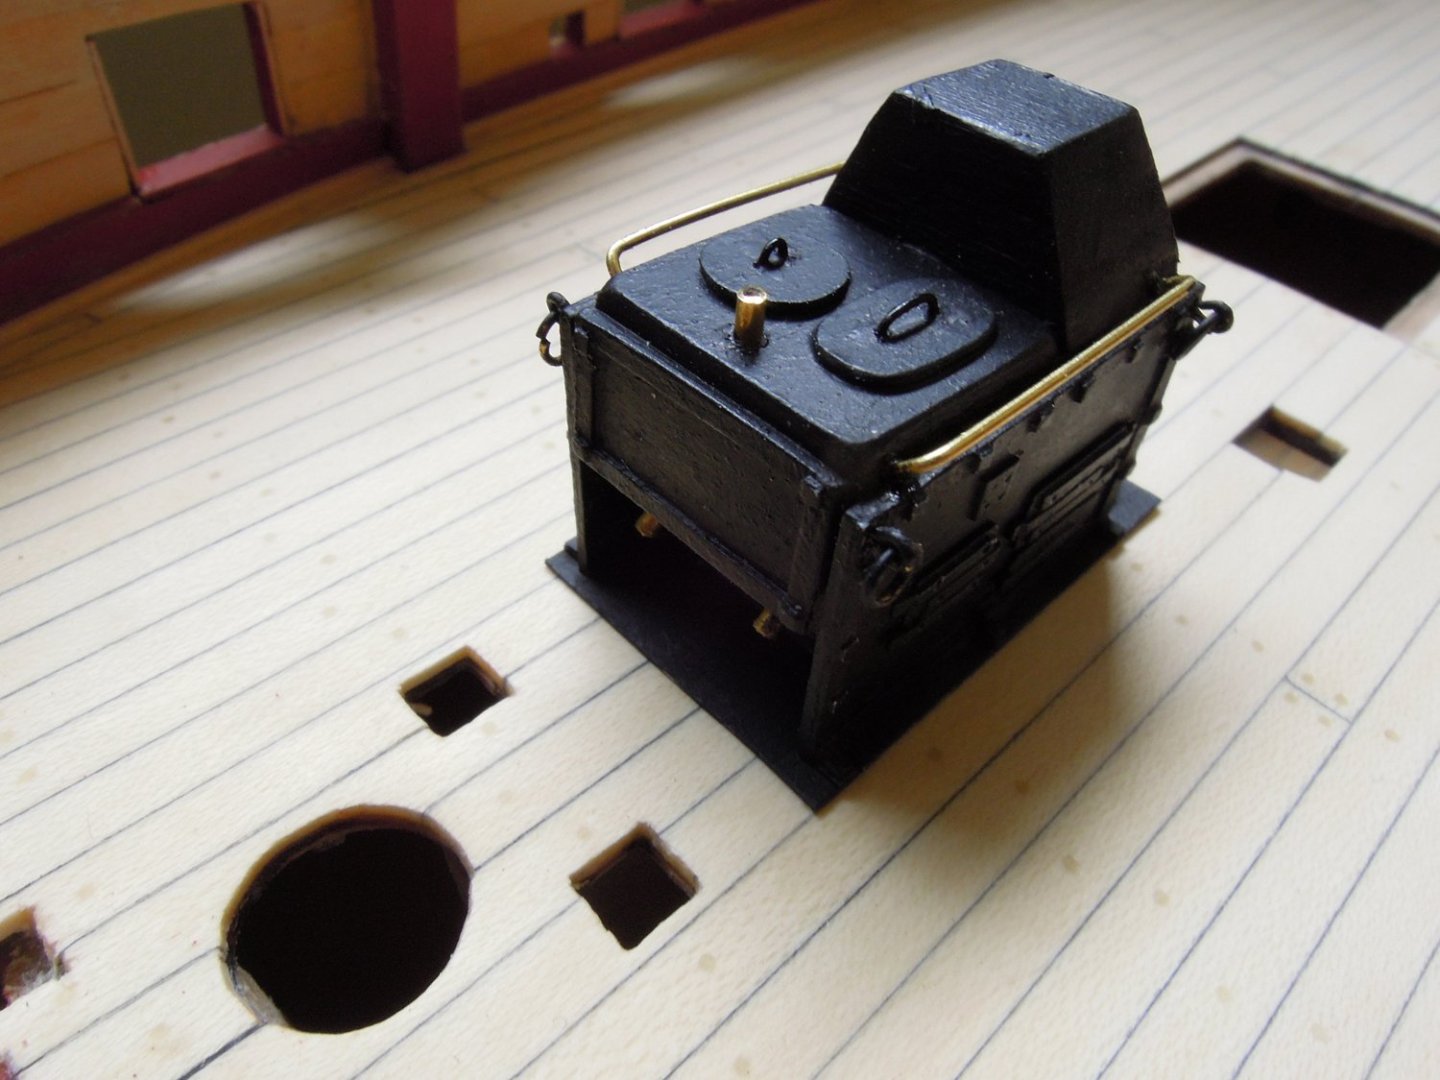
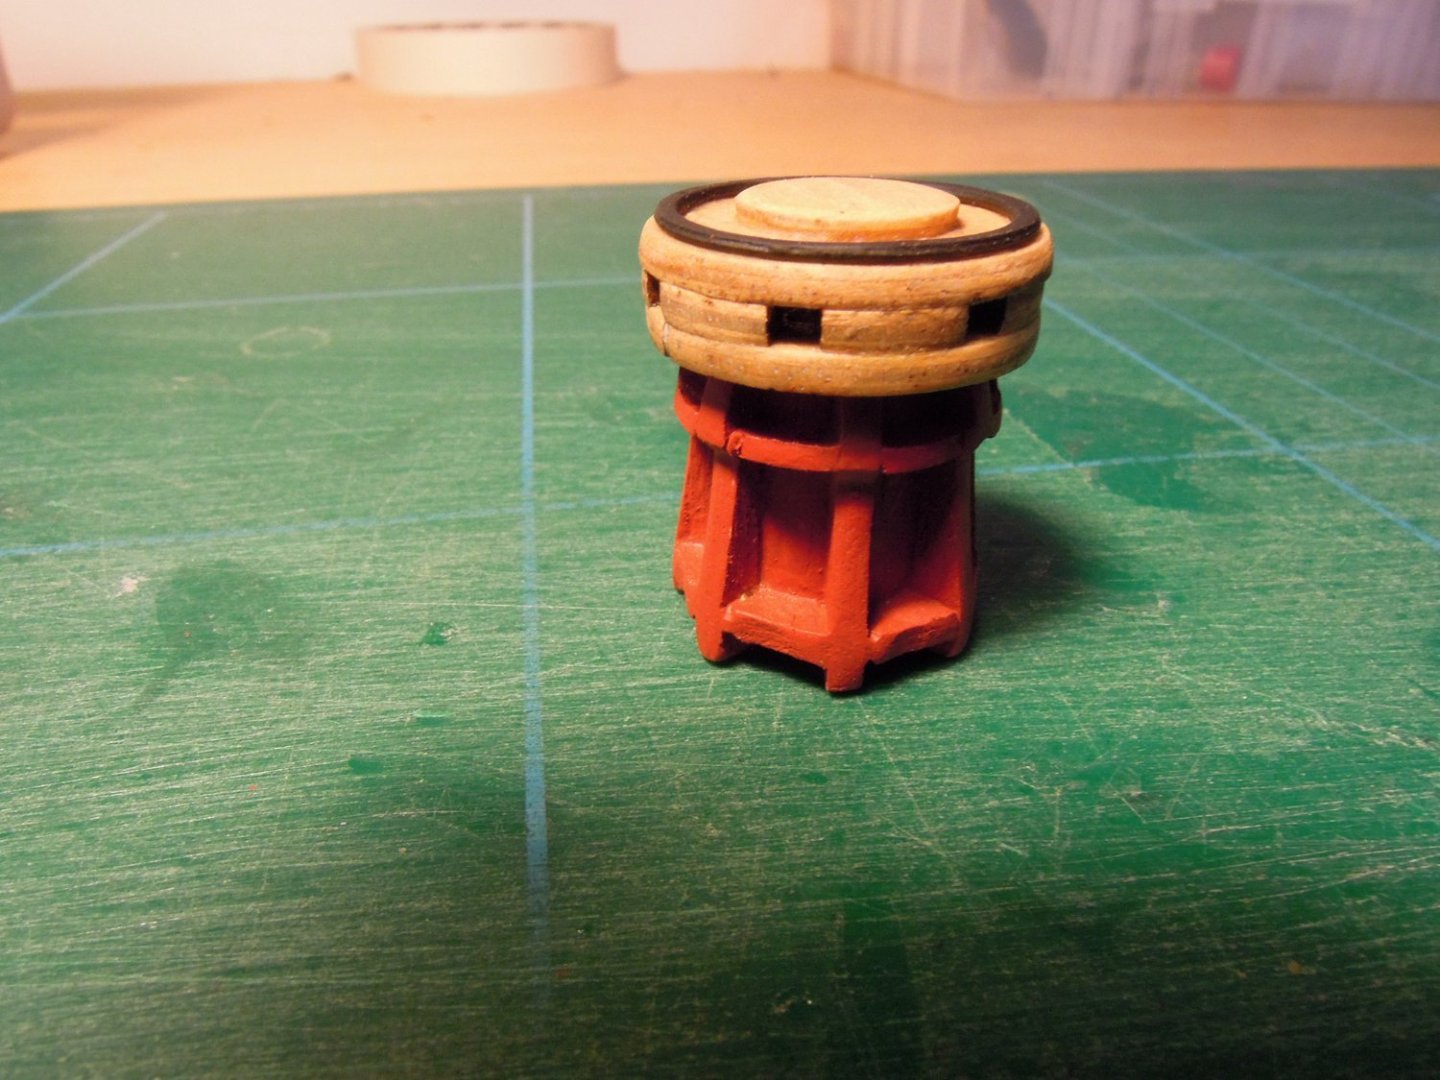
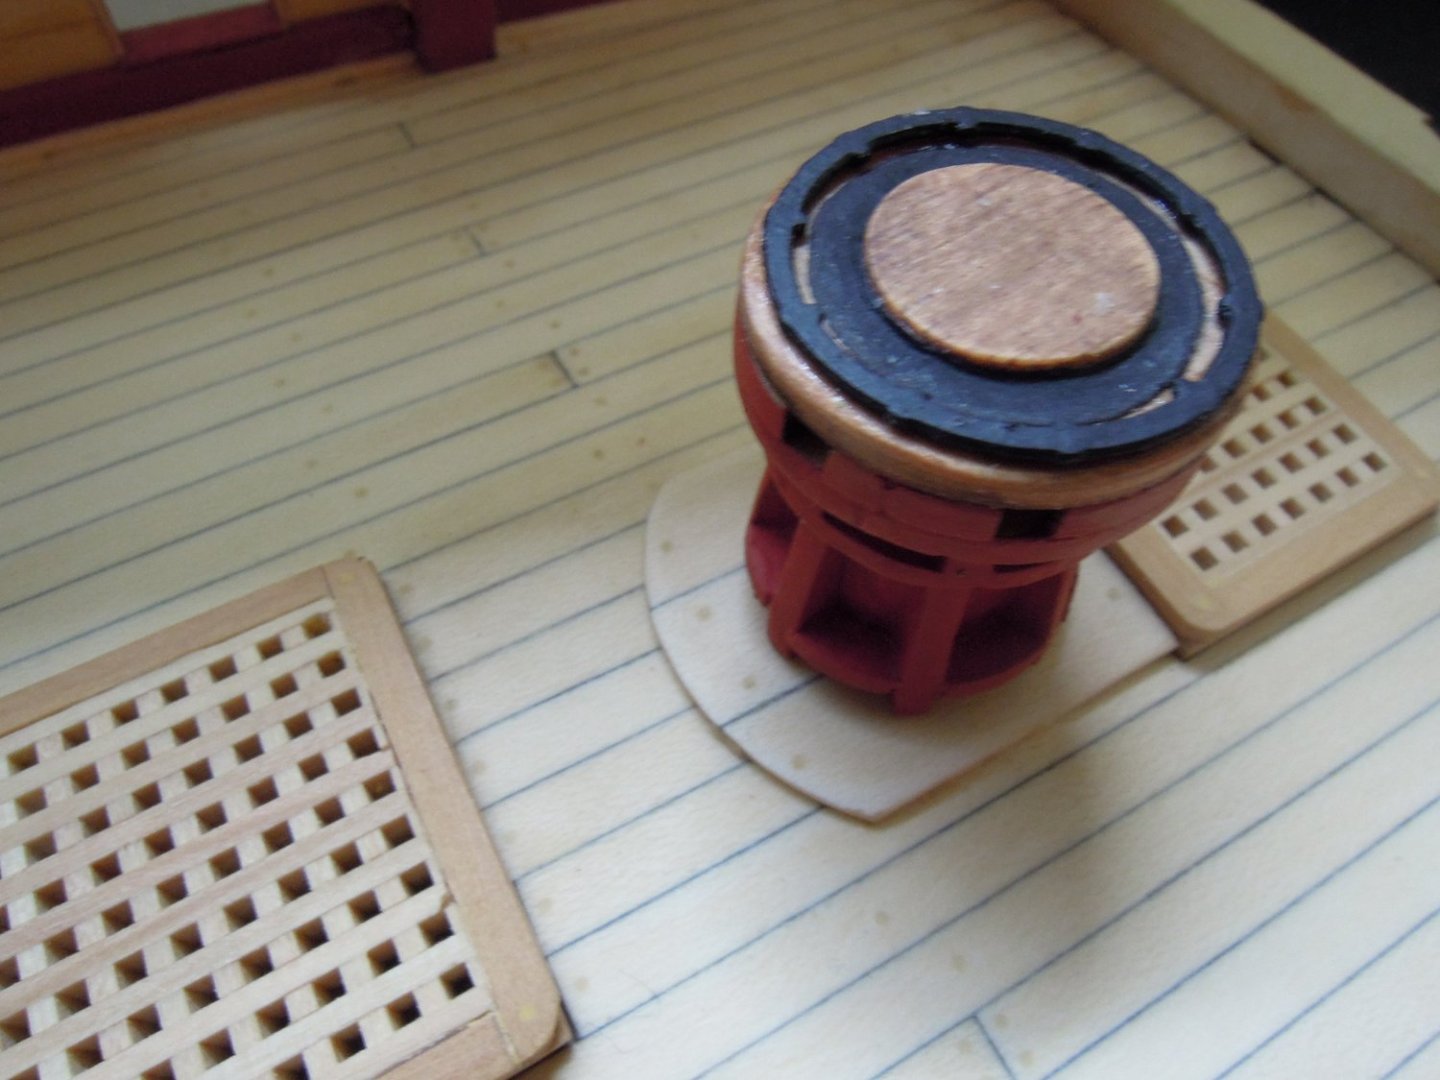
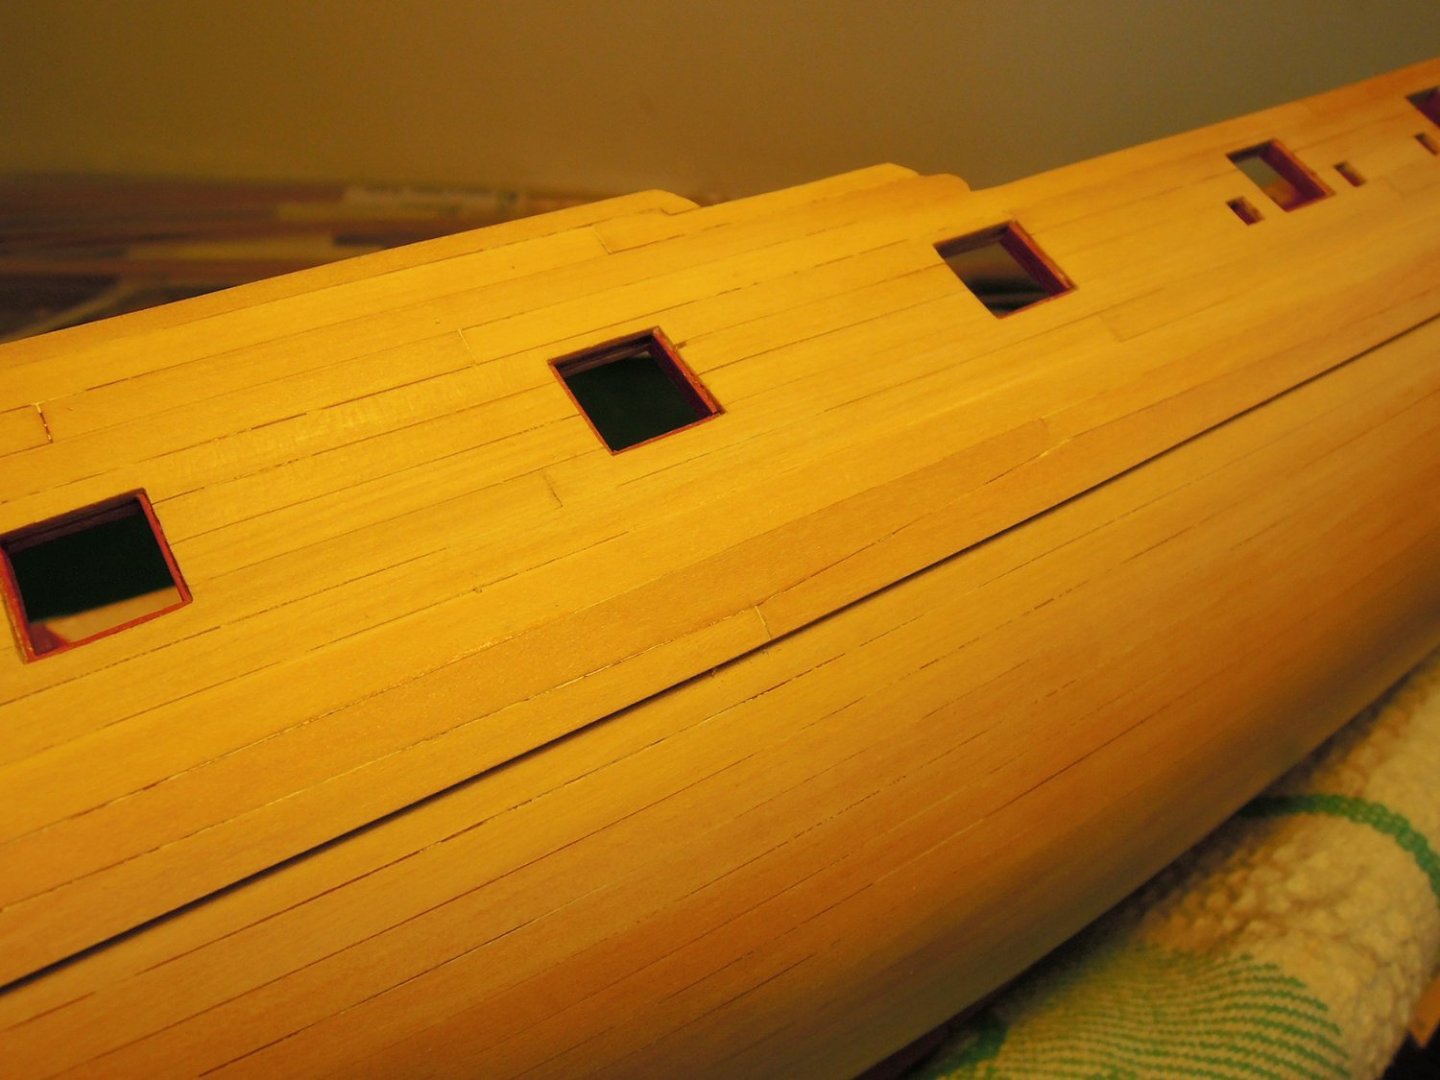
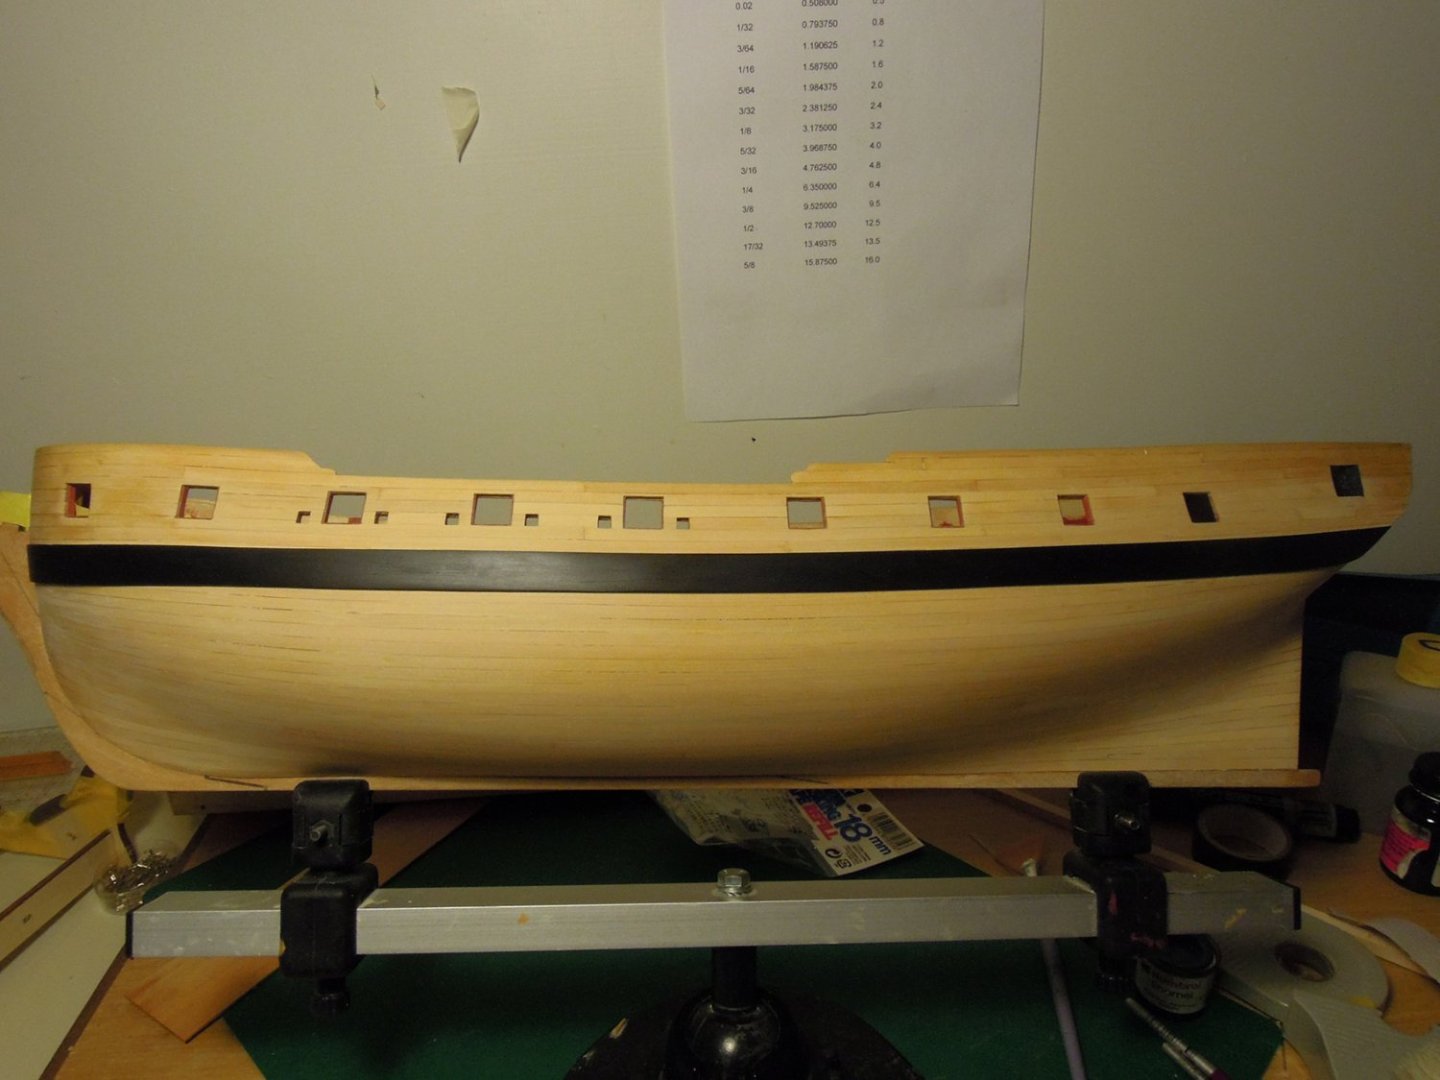
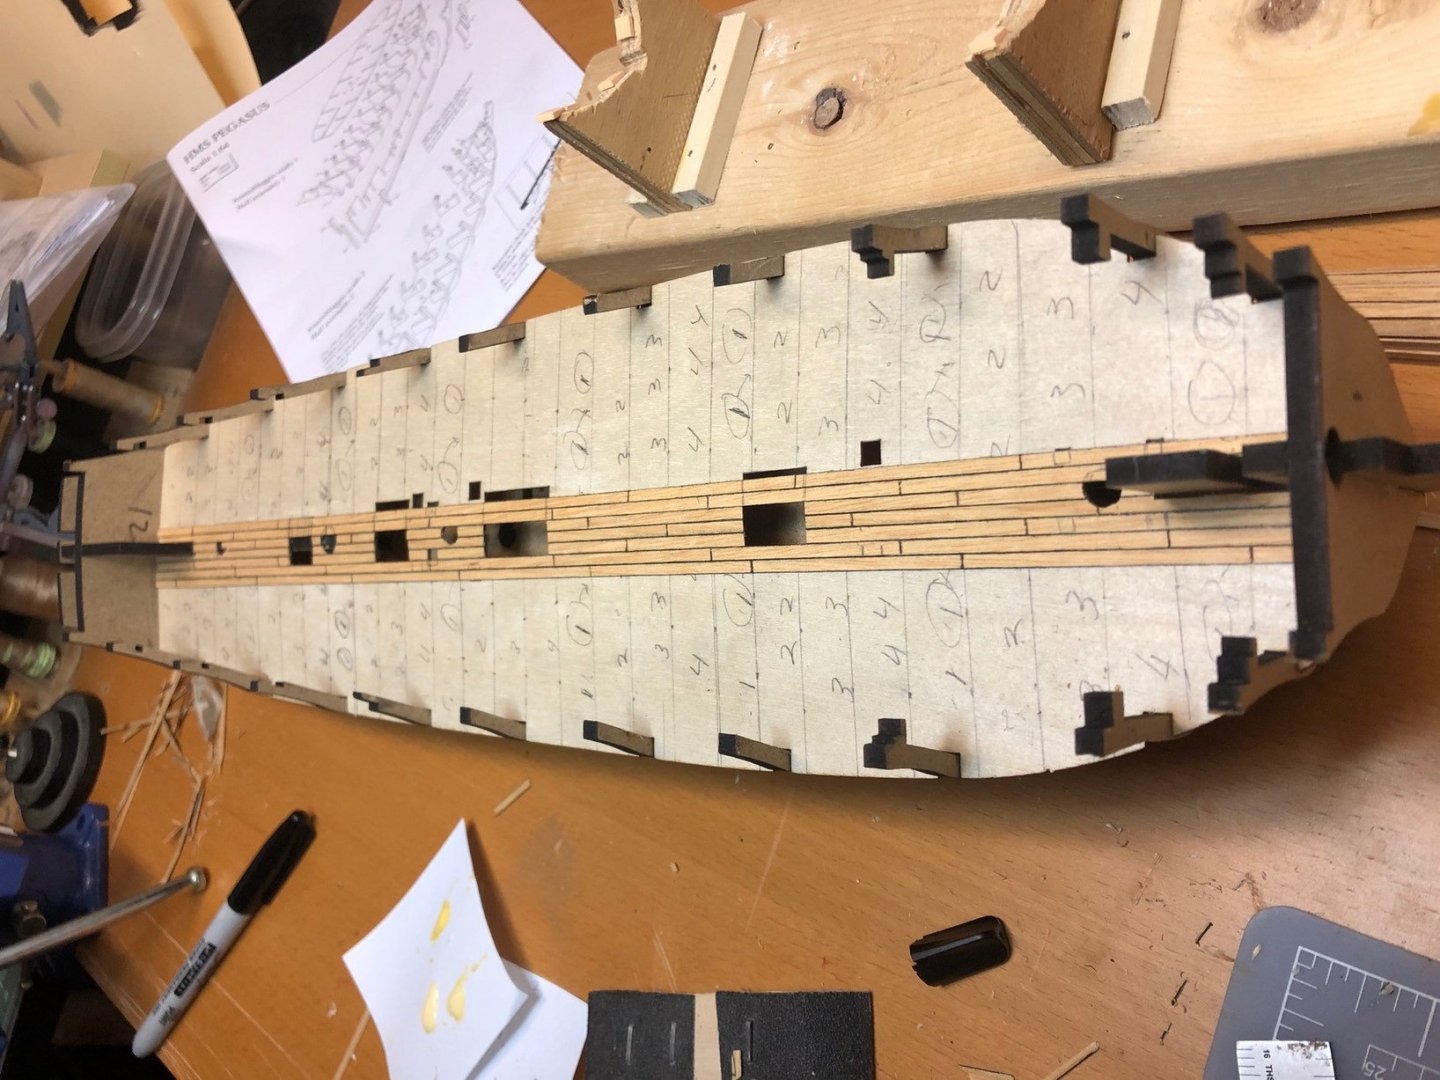
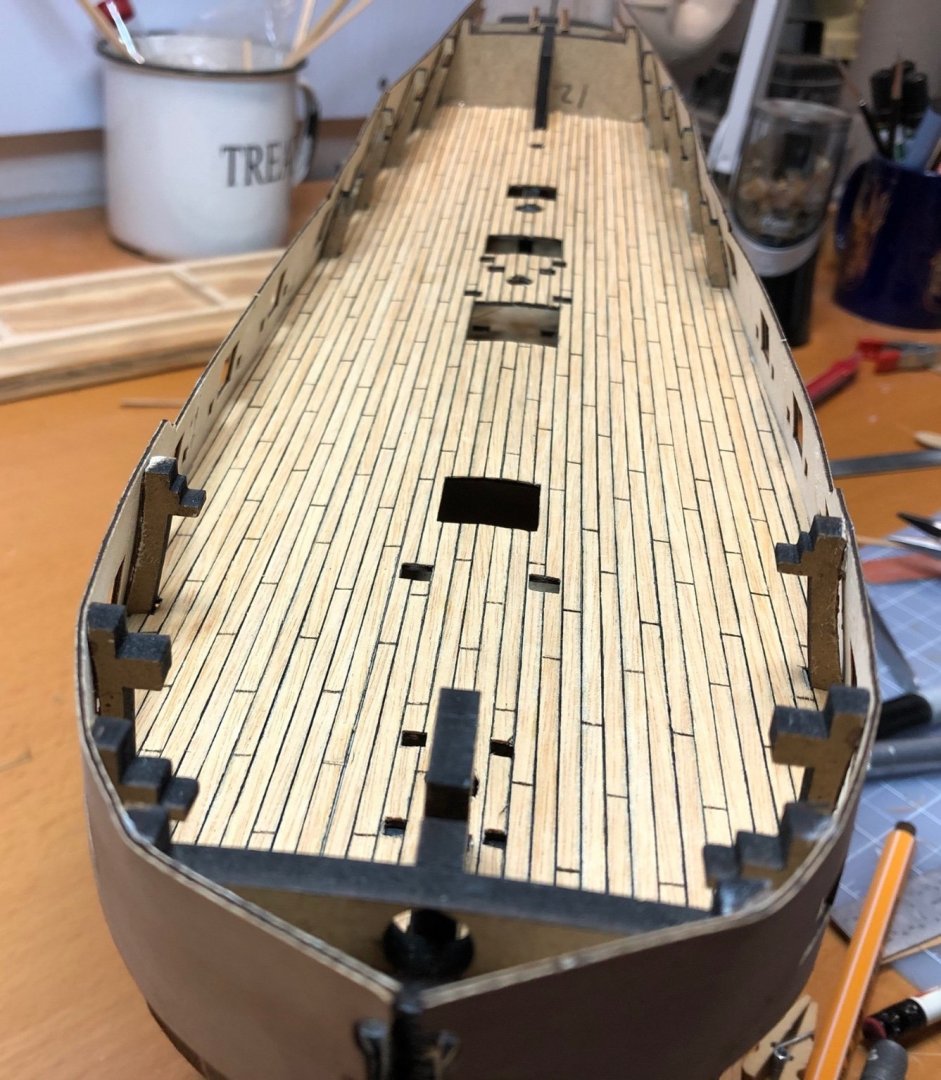
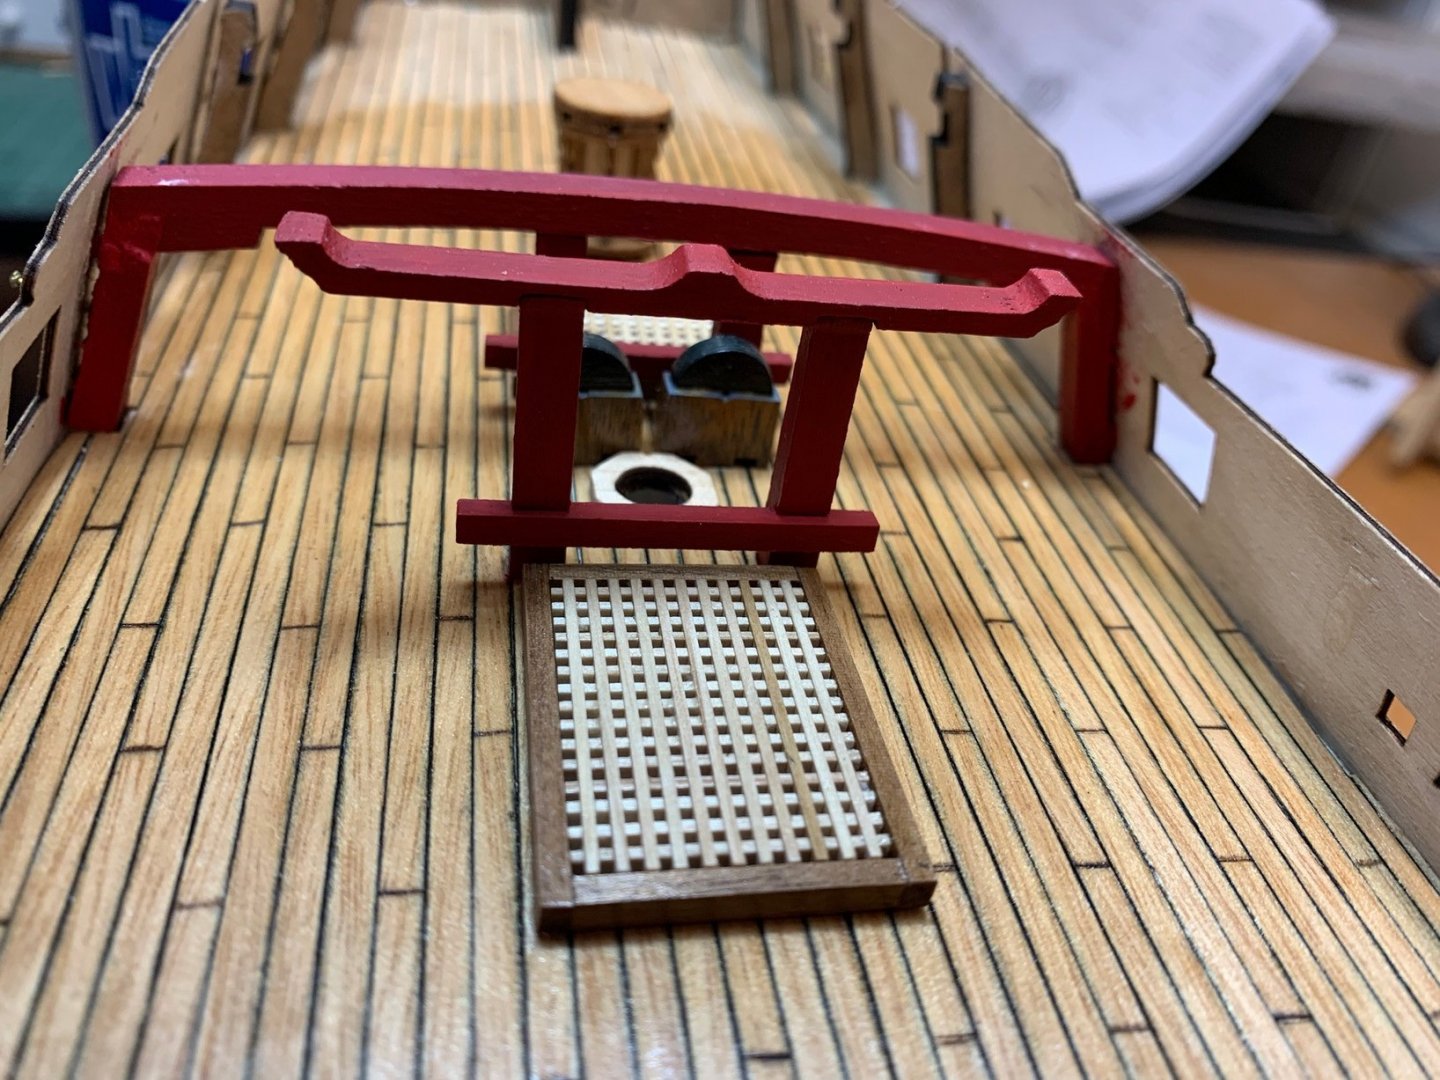
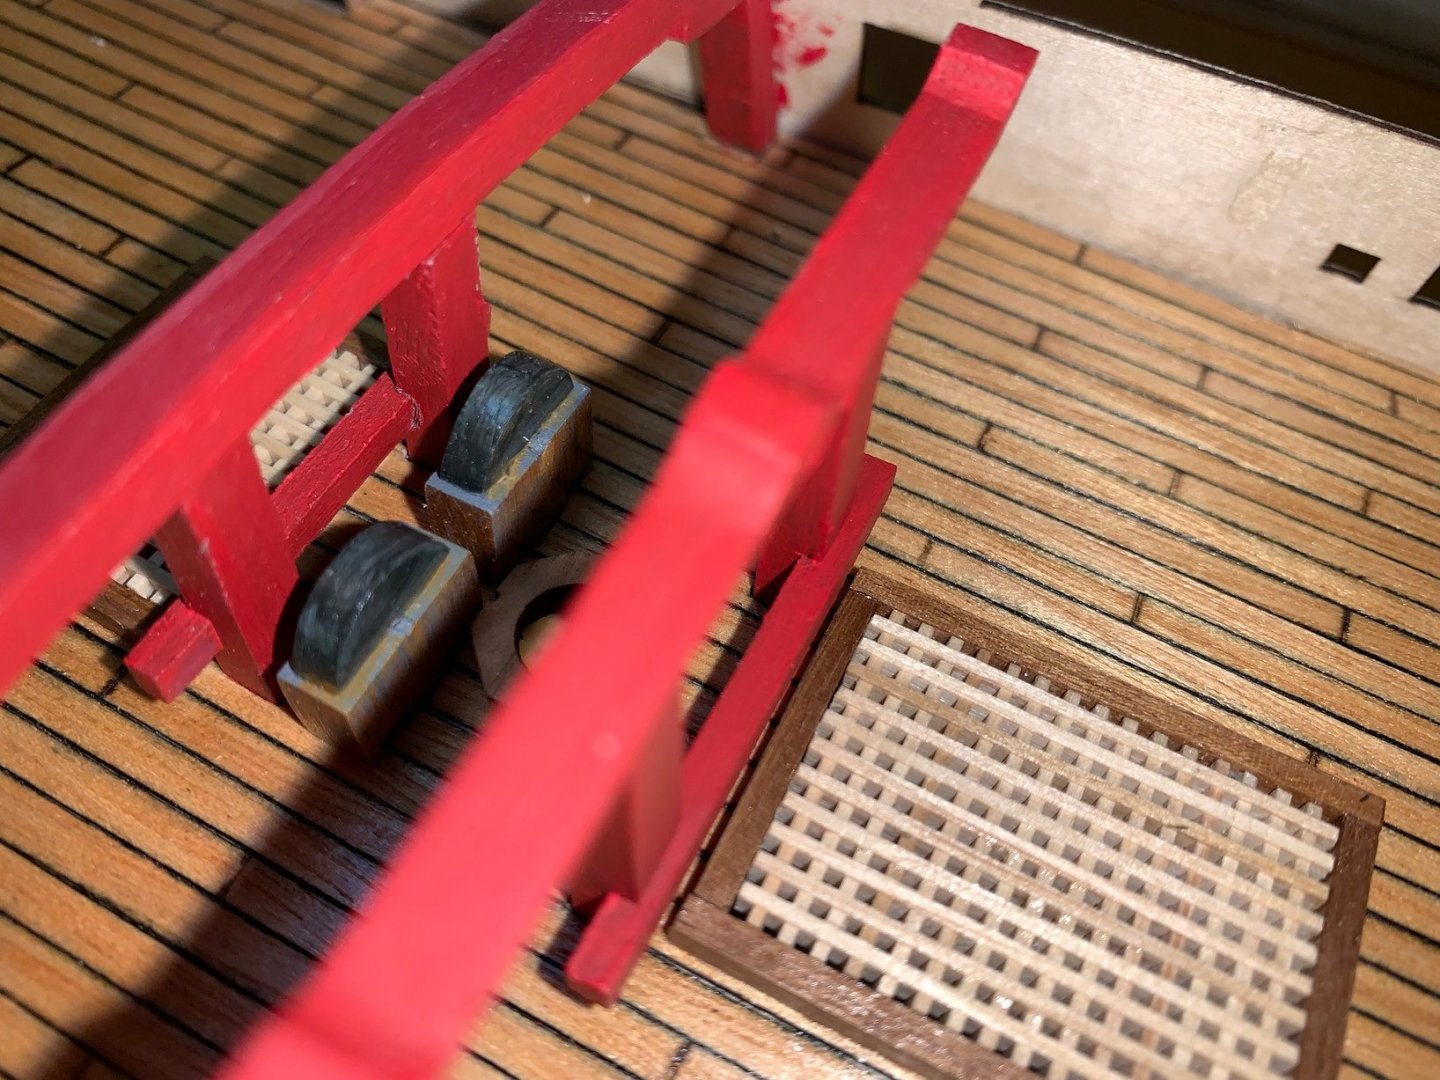
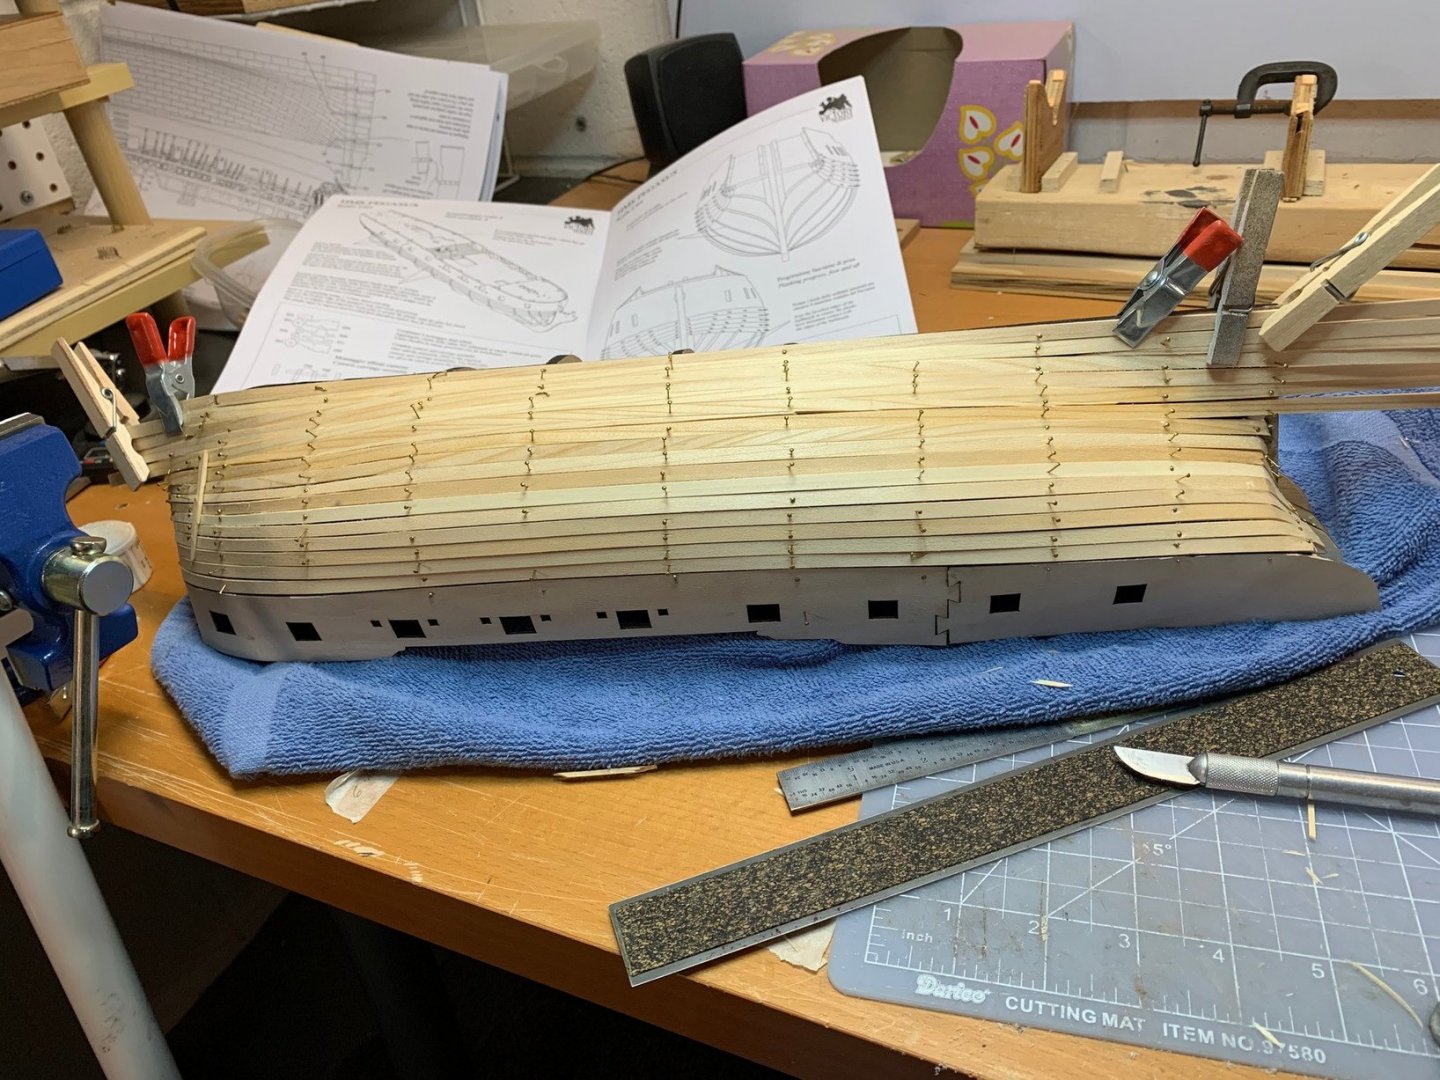
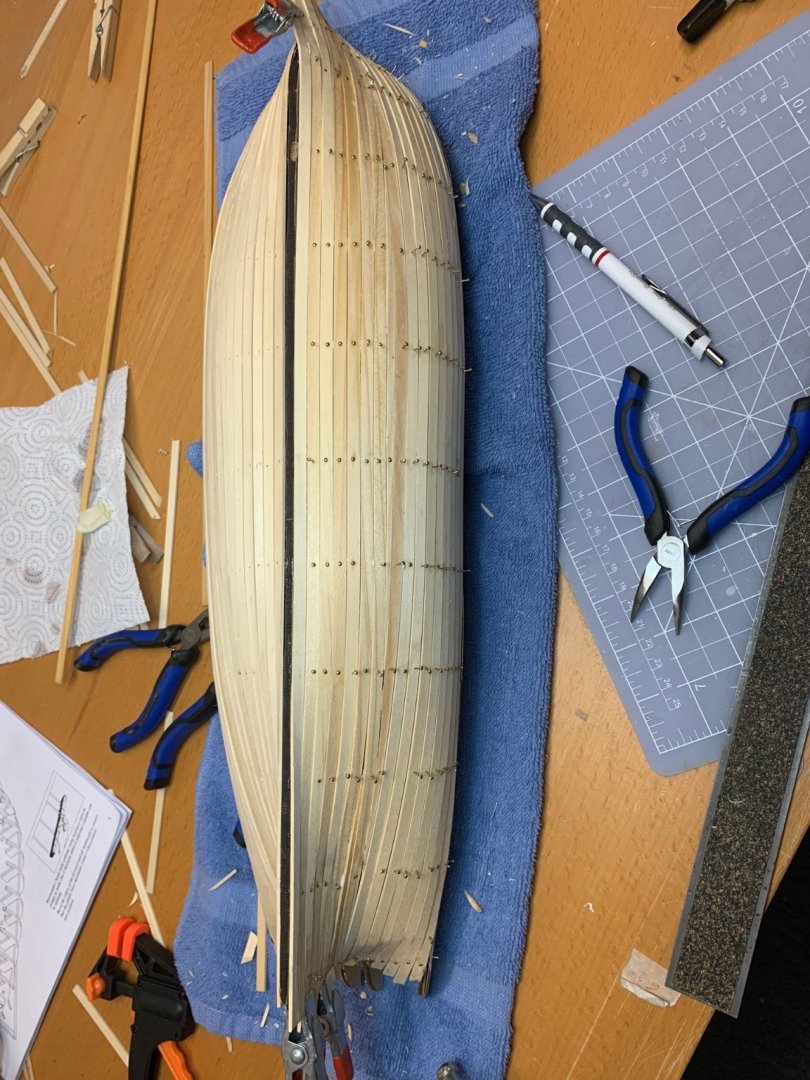
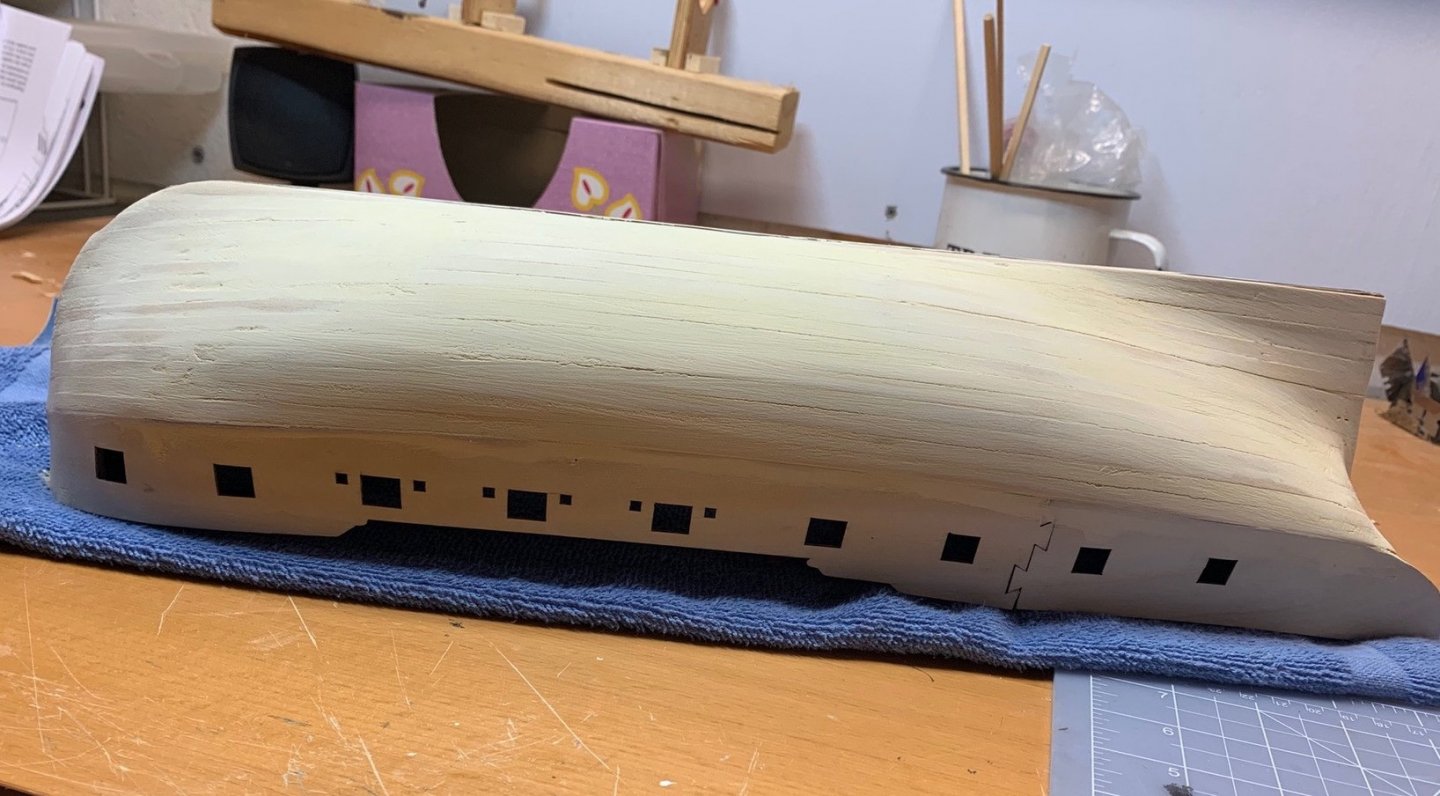
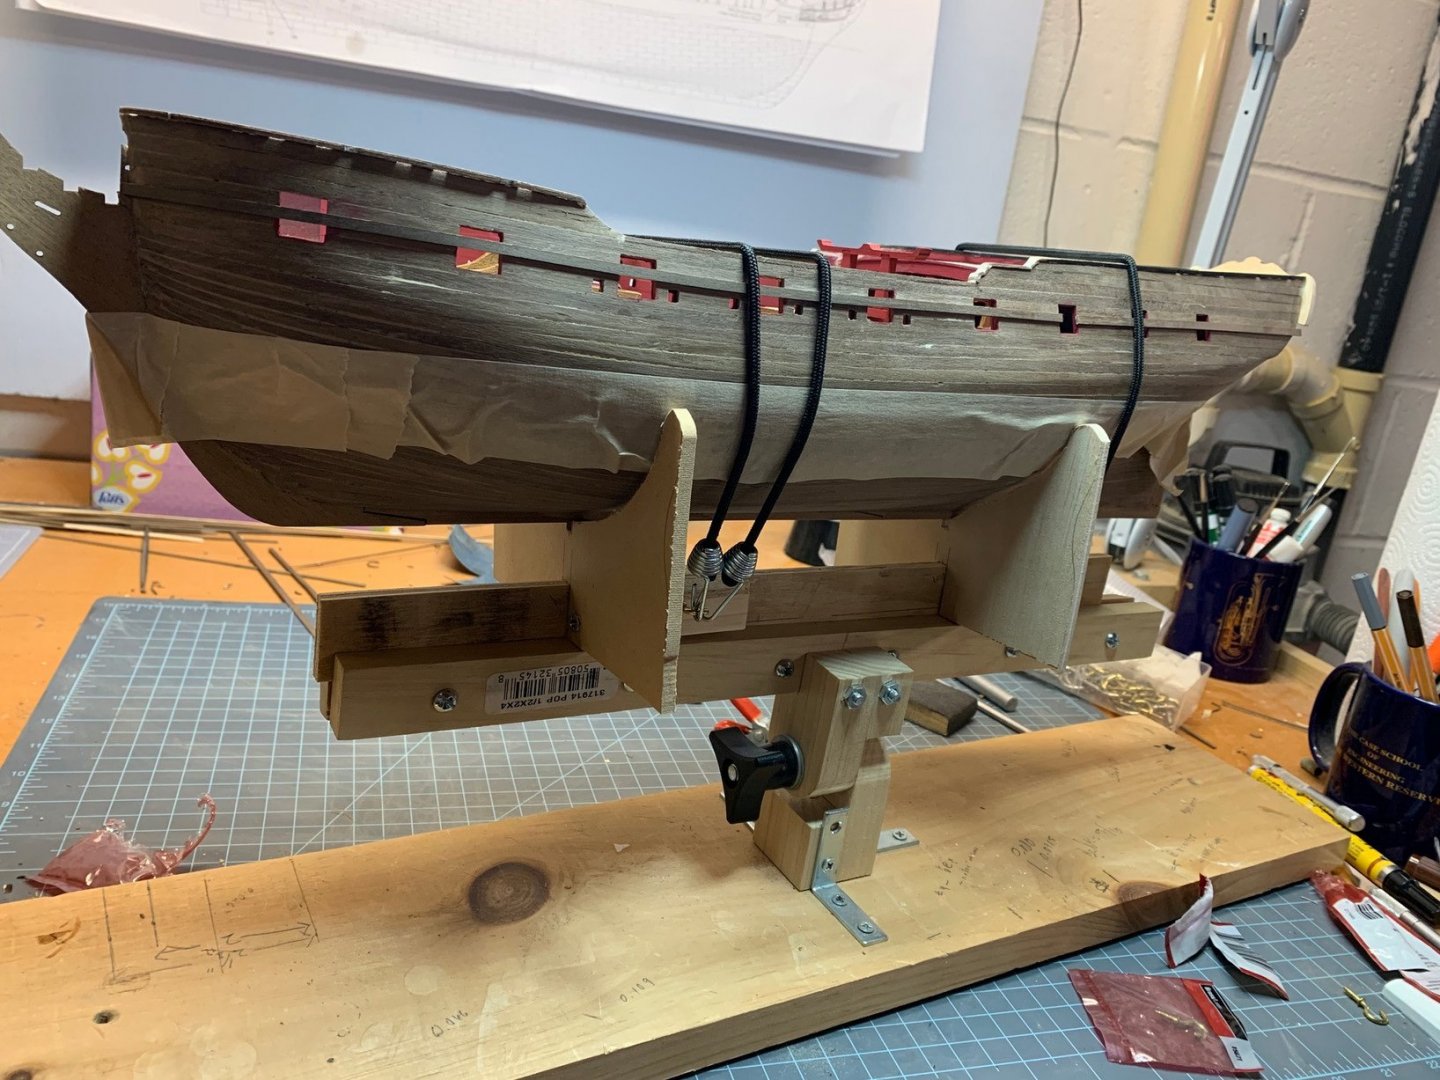
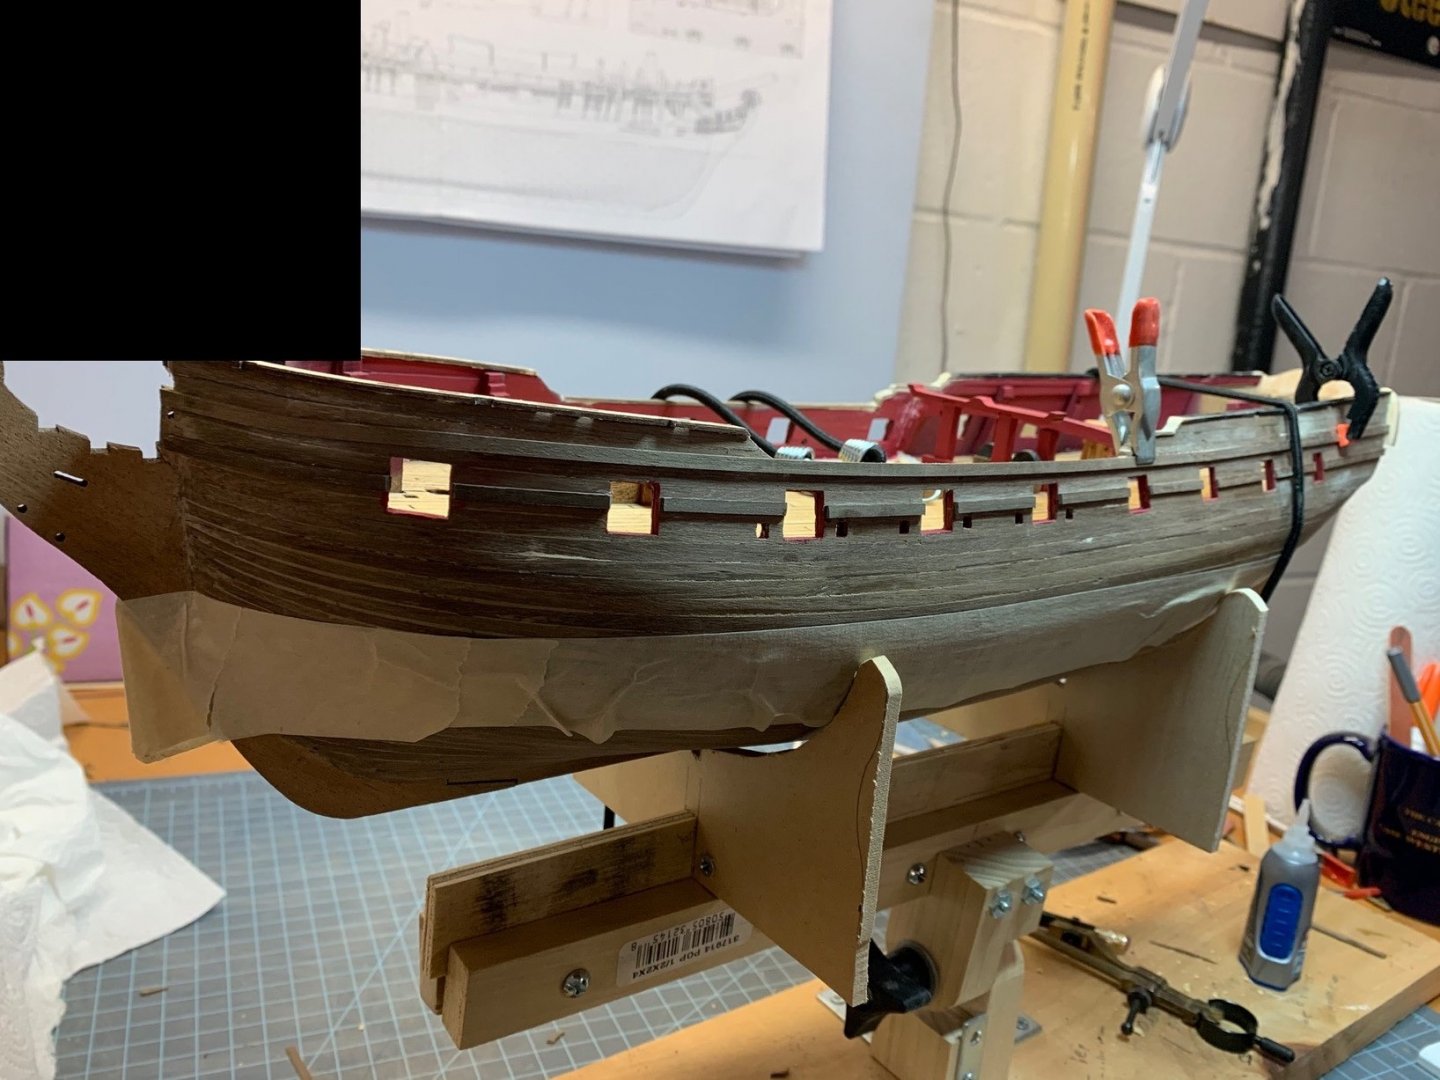
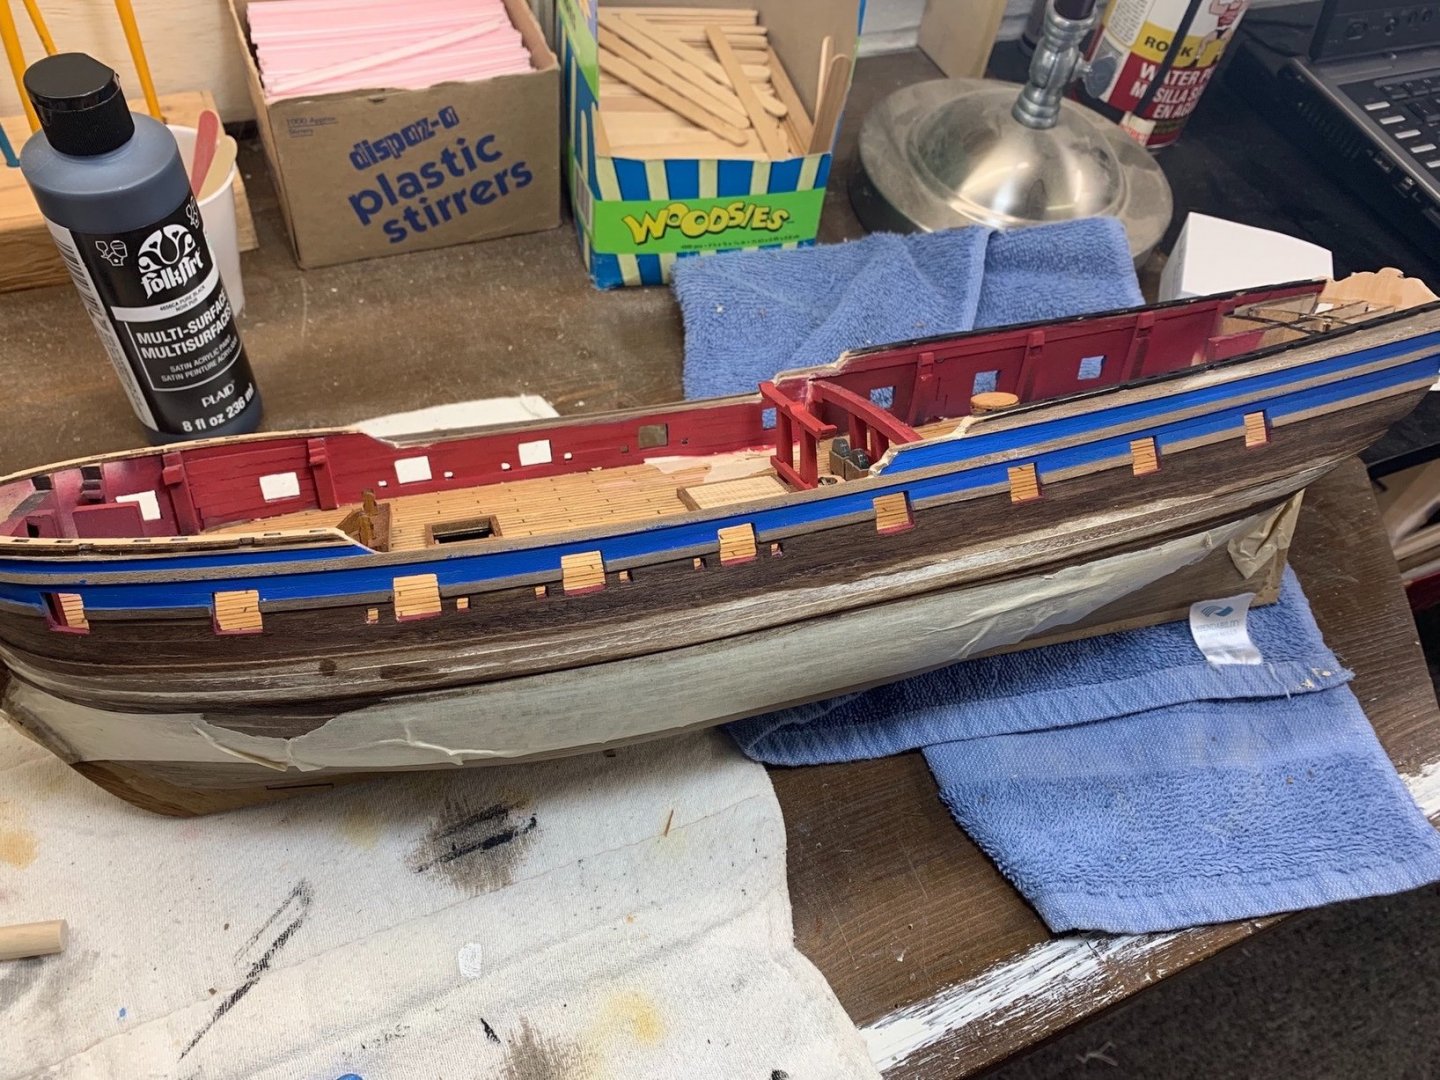
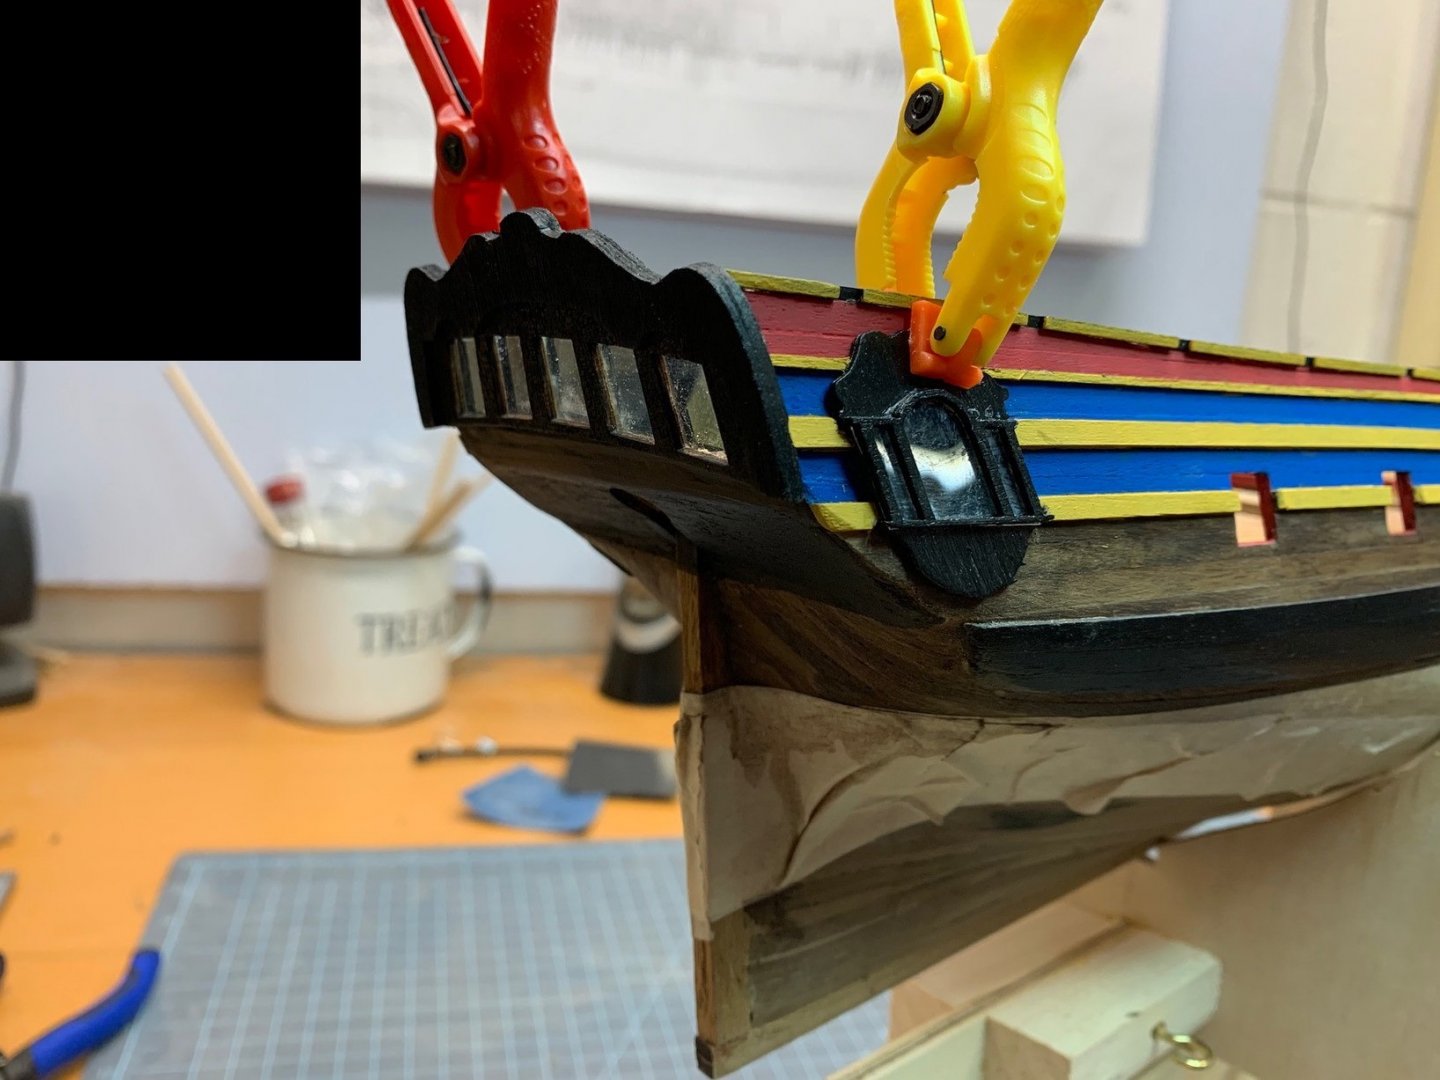
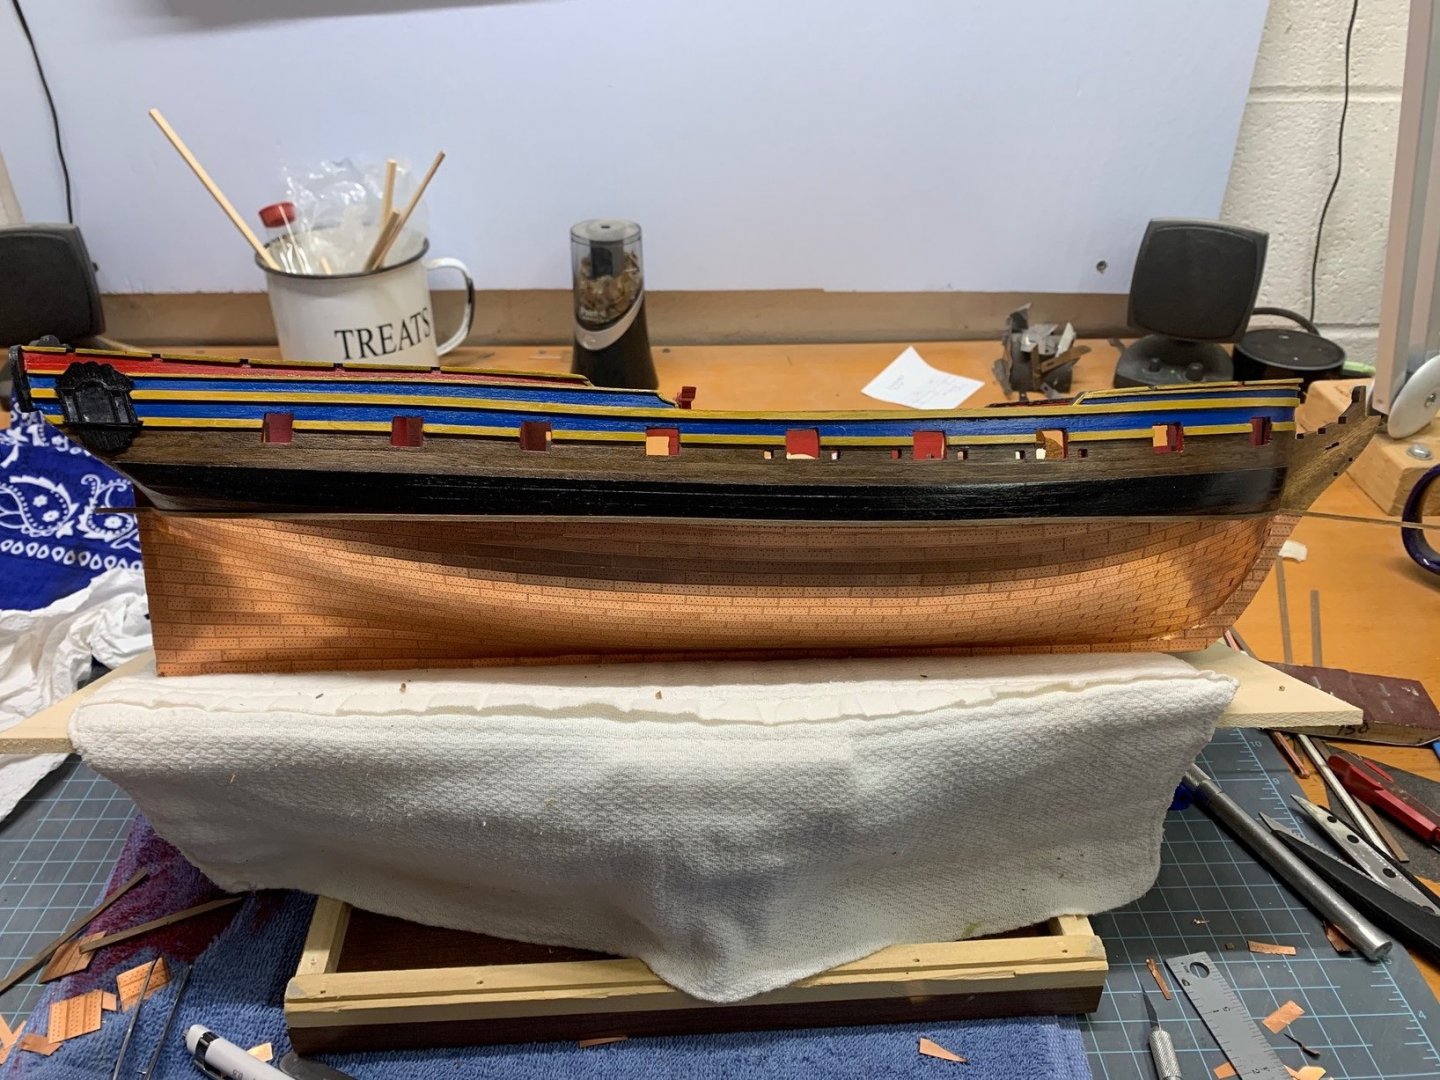
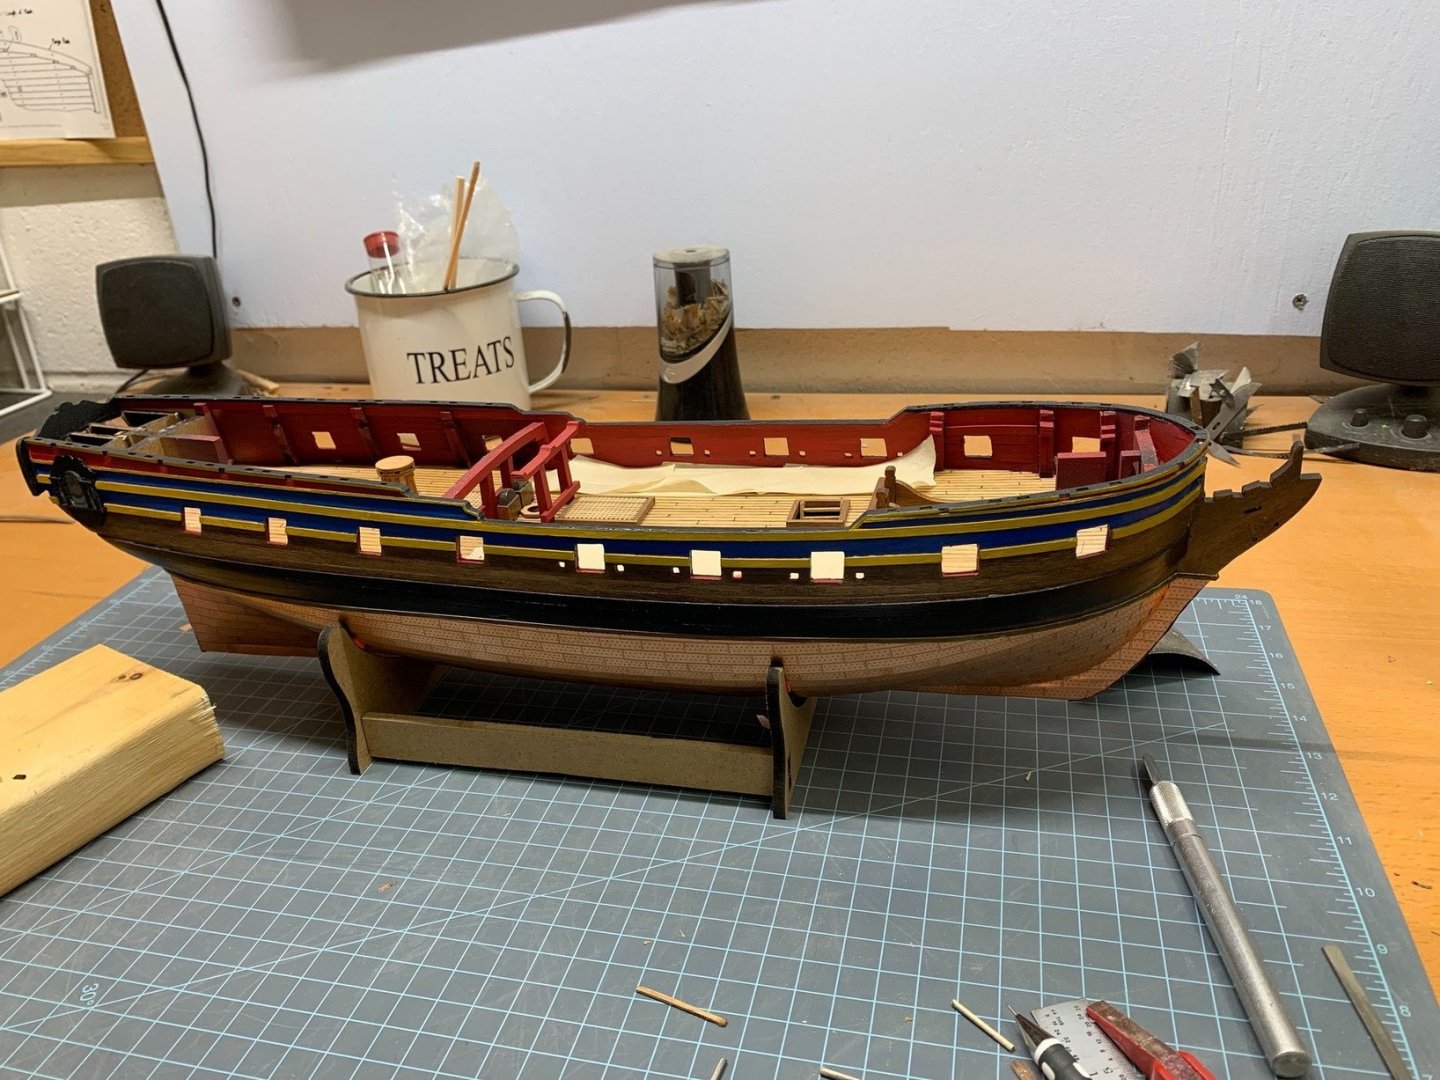
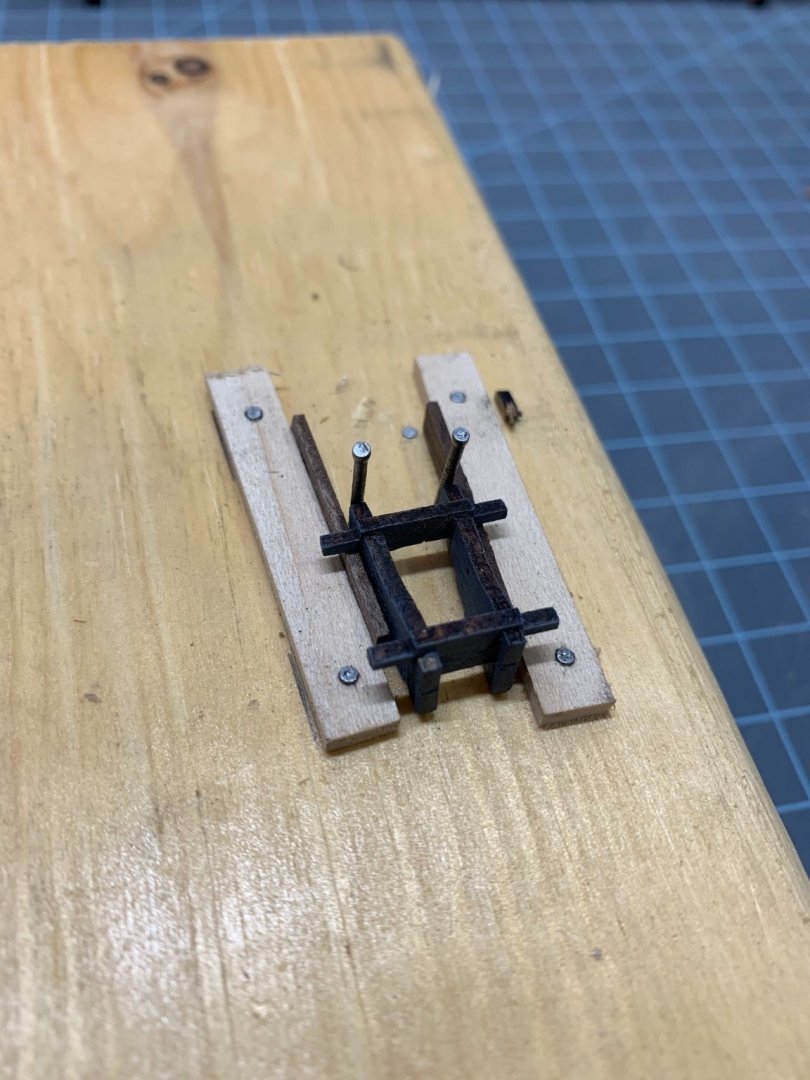
Hi After mothballing my HMS Fly for eight years and delving in making Wingnut Wings WWI plastic kits, I am returning to Fly with the intention to render it as a hull only model but keep the option for future rigging by making the mast stubs removable. Here, in this reloaded log, I will compress my previous log but keep the information that might be useful to other Pegasus/Fly builders. After I finish the reload I will delete the old log. Many years ago I bought all four volumes of the the FFM Swan Class Sloops from Seawatch Books which I have been studying in the last few days as I did when I was working on Fly. Stupidly during the first phase of building I kept no notes of what I was using - rope sizes, paint colours, block sizes; etc. - so the old log is good for a memory jolt. I will keep a notebook from now on! As a rule I try to get the details historically correct - the FFM helps as do other logs here (especially Blue Ensign's) - but I also defer to my own aesthetic taste in instances where this may be slightly incorrect, e.g. my quarter badges which attracted some comment back then. My method of weathering the copper clad hull also attracted a lot of comments! But I stand by it. So to kick off this reload: I started by scratch building the binnacle - this was to get my head around the model's scale and to navigate my way forward with the build: Next I reworked the quarter badges - I think 'Realworkingsailor' sent me the profiles. I got some comments about how this was historically wrong for Fly but I still much prefer them to the flat white metal kit supplied badges. I also reference VII of the FFM, page 293 - 297 which describes a similar badge. I'm using styrene to build the window frames but kit PE for the panes. The "dolphins" are also kit PE but difficult to fit to the window head. At this point I'm still avoiding the hull... Scratched quarter badges versus kit supplied: Next I got into the hard yards of the hull. I actually really enjoy this part of the build as mere frames become a three dimensional thing. Through practice and many failures I have lost the fear of planking but I know it is a steep learning curve for first time builders as it was for me. Framing complete The lower deck is planked where it might be seen through the hatches. The 'false' main deck is checked for fit and marked out for future planking. In my model version this deck comes in two halves which needs work between fit with the frames and uplift in the middle. Next I fair the frames and balsawood block and fill to the bow and stern which really helps both with the fairing and with planking. It gives you shape and adhesion where you most need it. I added a bulkhead at the end of the main deck. This is not glued at this point. Made from cardboard with a light, dirty wash and walnut frames. I try in vain to see it now but it is there... Next up the deck is installed smoothed off, main mast partners installed and deck planking begins. I bought after-market holly for the decks. This was after experimenting but holly is very white and almost free of grain. I like it but it might not be for everyone. On many models I see poor decking is a let down for an otherwise really good model and I think it is worth experimenting and planning before you commit. I mapped the main deck on tracing paper and transferred that to the actual deck. I also have trouble with treenails on a model deck. Black nails can start to look like pimples especially if the deck set out is not well planned. So I opted for a pale wood paste for the deck nails. Several people pulled me up for this but I like that you can see them when you want and they disappear at other angles. Caulking was done with a pencil on one edge only. With a tightly fitted deck that works fine to my eye. The hatches are from boxwood with box corner joints. They sit within the decking rather than on top. this requires a bit of cross coordination but works for me. The top edge of the hatch is slightly rounded. Lego is a great squaring device for making hatches. Next I test the hatch fit and smooth off the main run of planks. I still haven't grappled with the edge planking but it still fits my mapping. I'm not saying I got this right but certainly the planning made me feel better about the outcome. Then I drill for the treenails...this to me looks far too pimply so I fill with pale paste. At this point it is time to do the first planking. Gulp. This kit, as many others do now (or then, I can't remember...), provides a plywood pattern for the gun ports and upper works. As challenging as this is to fit - it just takes time and patience - it is a brilliant guide to all the planking that is to come. However poor fitting of the patterns has undone some modelling. I think Chuck expresses this perfectly - "Just take your time." It is an adage for all model making...Notice that the forecastle and quarter deck templates are dry fitted to guide the plywood pattern. Finally getting the patterns to join at the bow is when you know it fits. And take some extreme measures such as clamping and nailing. Get these parts right and you are underway. Next it is finally time for the first planking layer. Although this is only my fourth plank on frame model, I now treat the first layer as if was the only one. That is I try to make is a good as I can as that teaches me for the second layer. I don't approach it as being sacrificial and try to make the plank runs flow from stem to stern as they must on the second layer. Next is the outer layer of planking. The kit provides walnut but I find this too dark and too variable in colour. I replaced it with boxwood which is a colour I prefer and a beautiful timber to work with. The second layer was eased by the effort on the first - I just followed those planks with full adhesion along the length of the hull. Next up for me was painting and fiddling those details. Then fiddling with other details such as making a stove. And the capstan upper and lower details. Another thought on the photo above. I work hard to fit the gratings into the hatches so that all the edges are symmetrical across and along. the two aft hatches here have a thin edge aft and forward and a fatter edge starboard and port but they equal. It seems minor but is easy to do and the alternative just looks...bad. Next up were the wales. These are critical to the hull shaping and look and were the most scary part of the hull build. Wales that waver off line look really bad, even on a good hull. I challenged myself to make them in the correct figure pattern - I don't know what to otherwise call this - but it helped with the part. I sure know that the stem to stern look and flow of the wales is critical to the model and defines everything above and below on the hull. Unfortunately my efforts to paint and polish the wale almost completely eliminated any visual proof of the planking technique. And it does have a wobble here and there. Will continue tomorrow. time for bed now. Cheers, A
- 49 replies
-
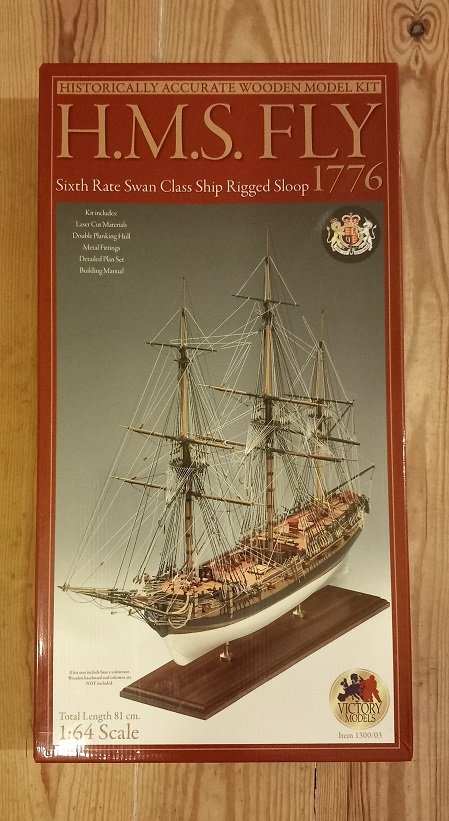
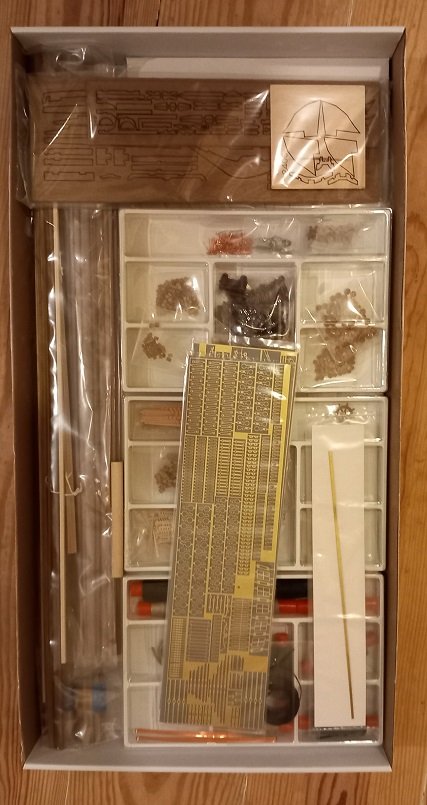
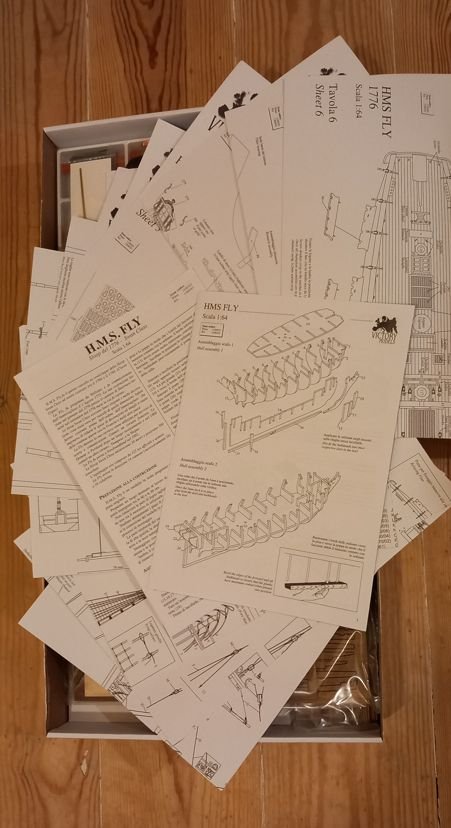
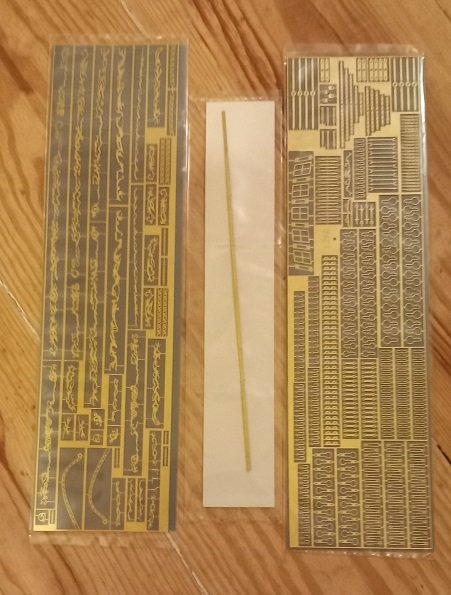
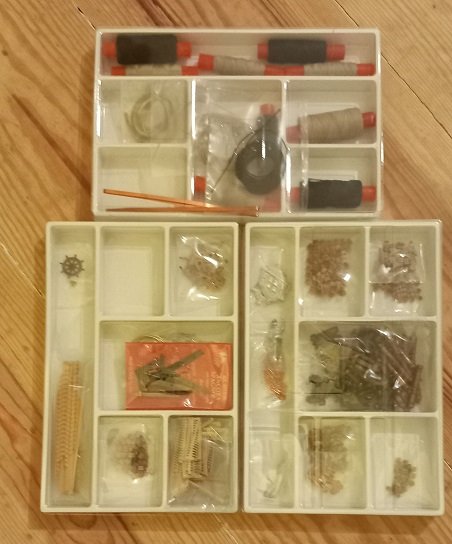
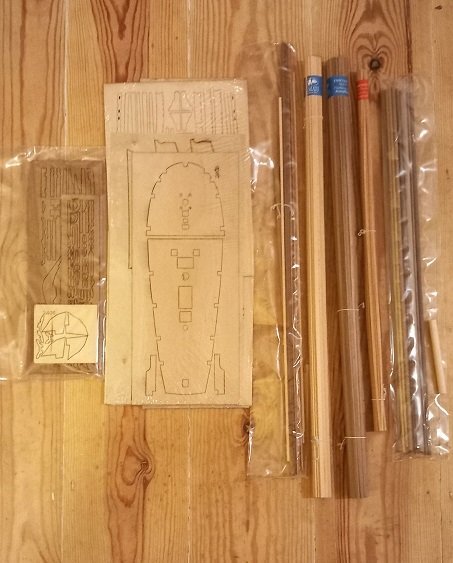
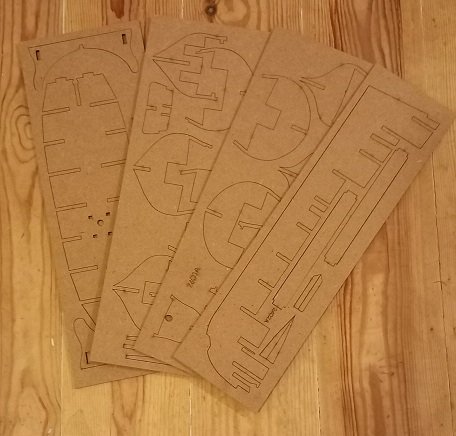
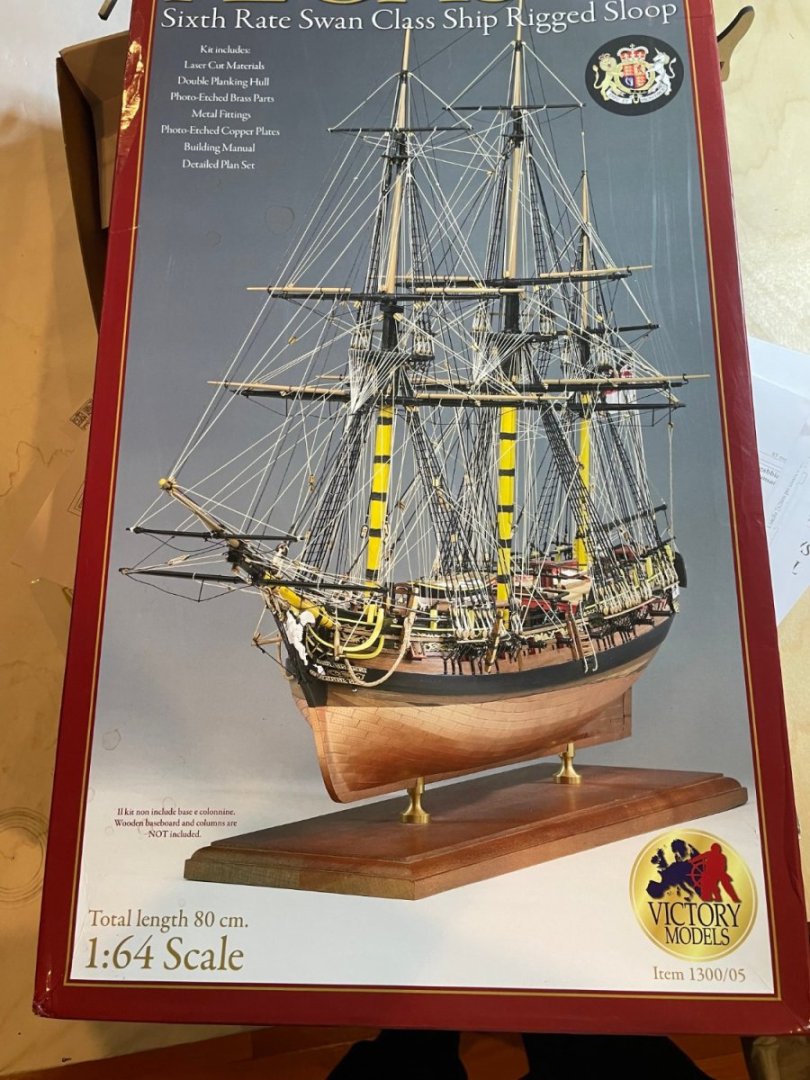
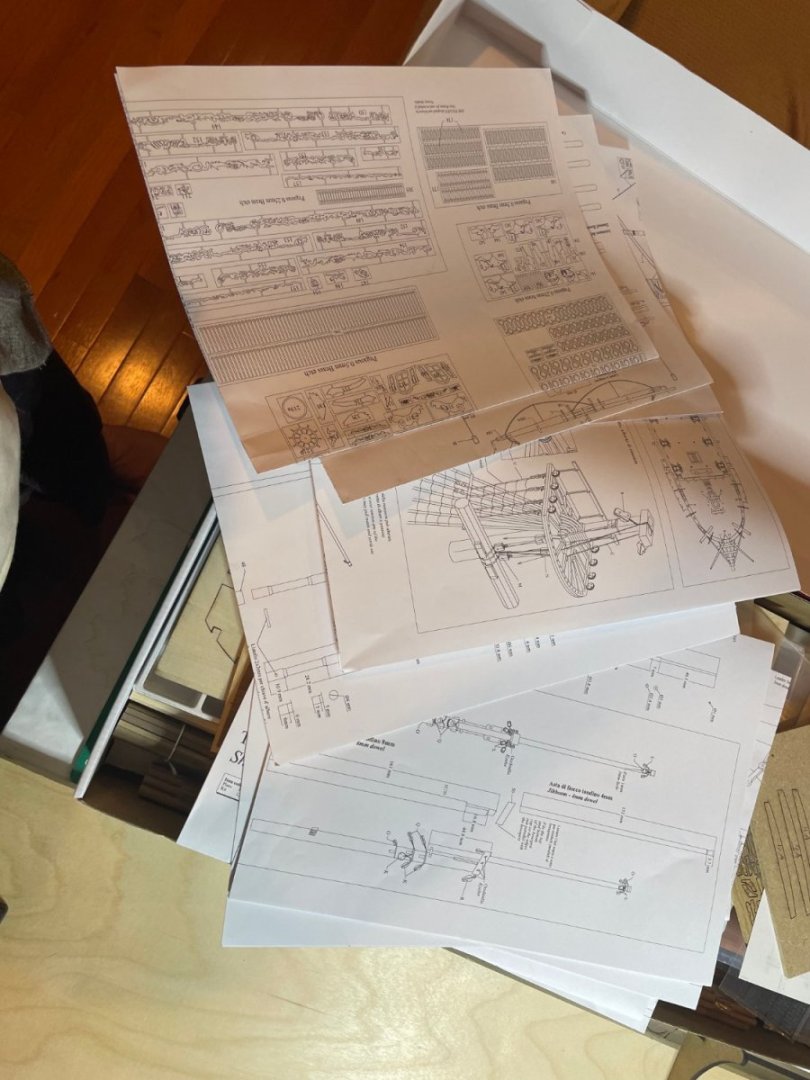
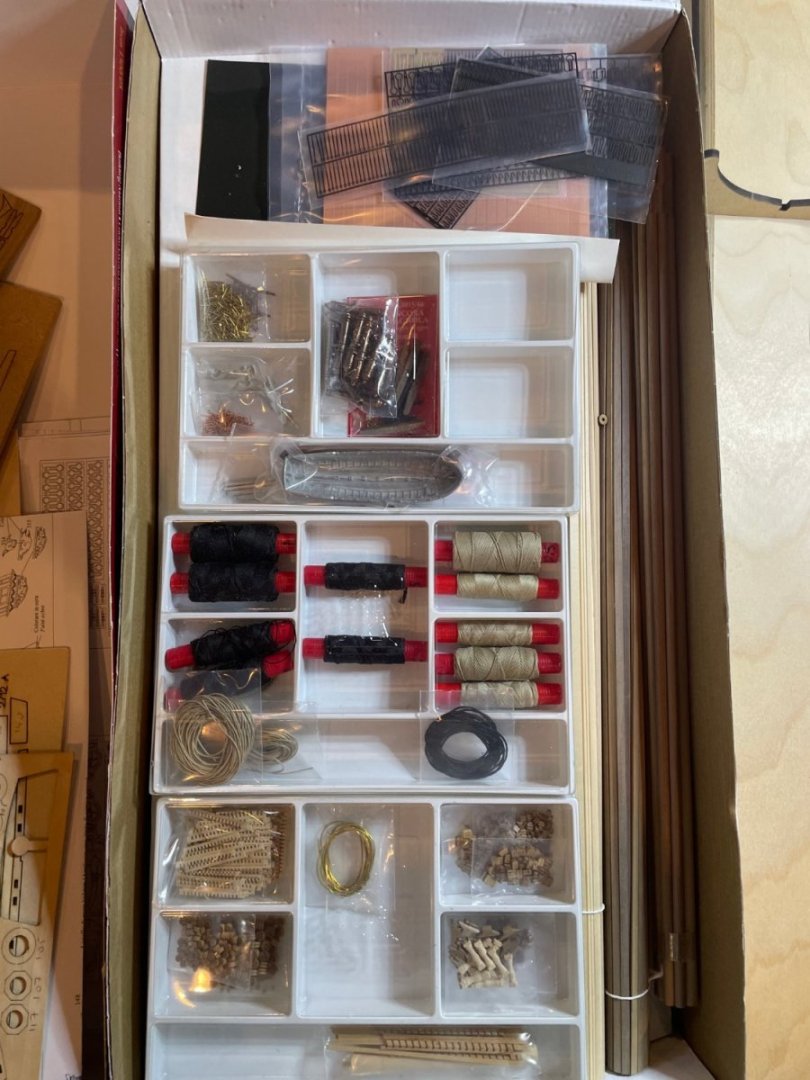
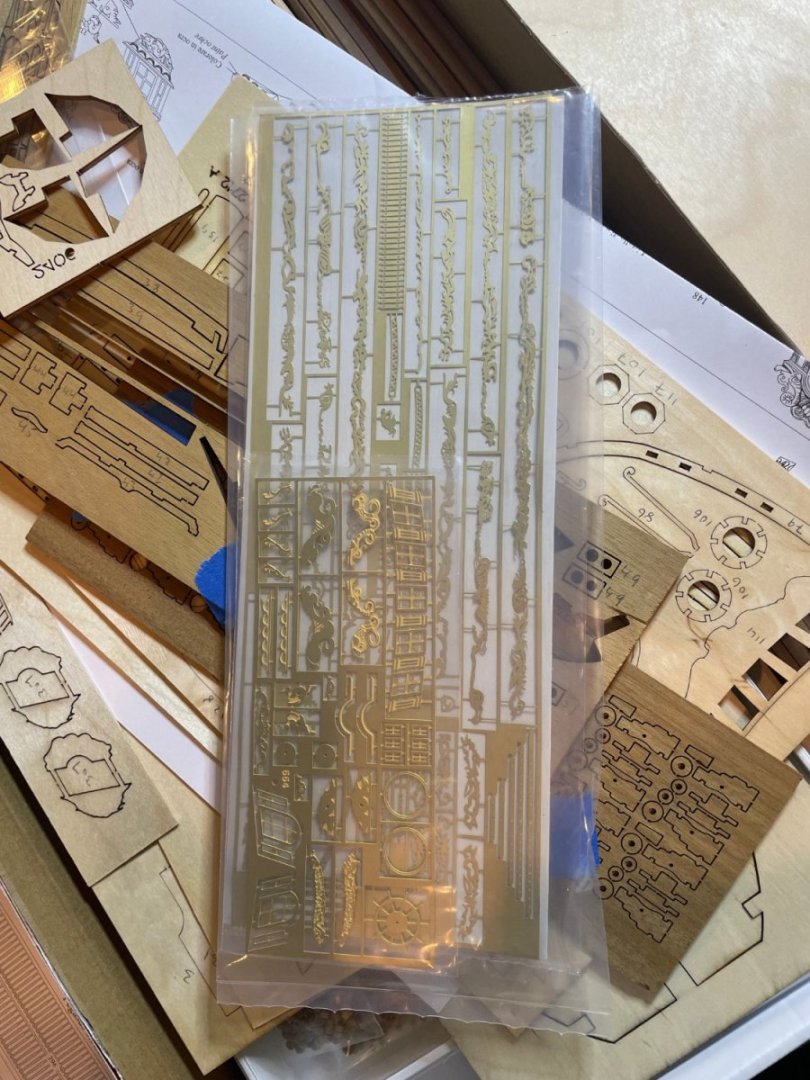
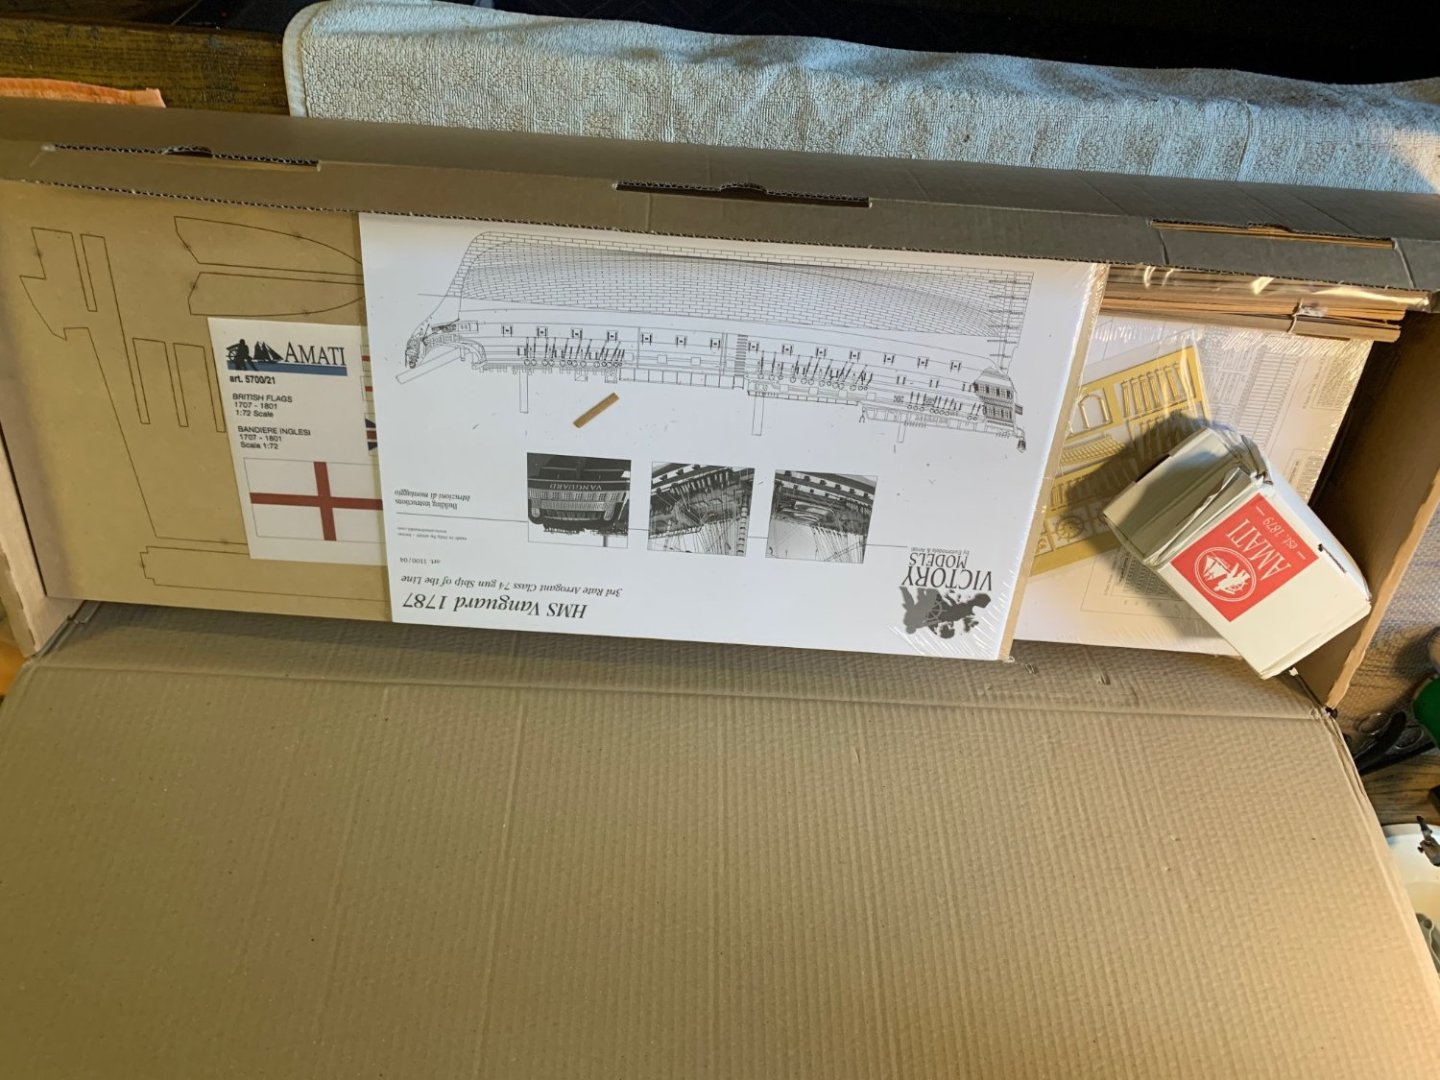
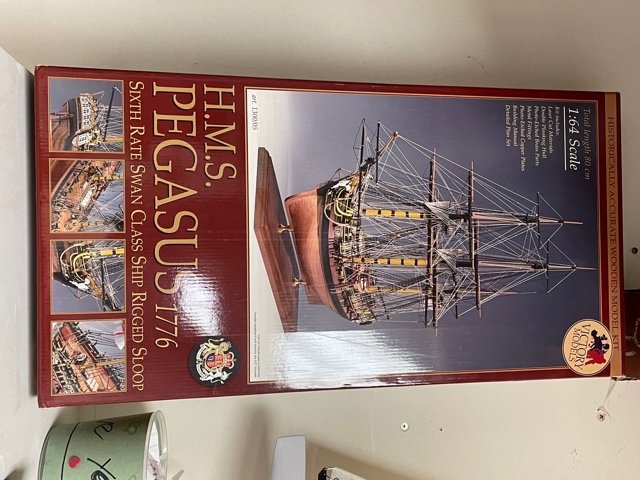
'On the shoulders of giants...' I have to say that the build logs here for HMS Fly/Pegasus have been an inspiration to me on how to navigate my first true 'scale' ship. Particular thanks go to Blue Ensign for posting his Pegasus build... TWICE... after the great crash. I received the kit a few weeks ago but was torn between my 'one at a time' philosophy of boats under construction. That has now changed and I'm going to make a slow start (and probably build) of this excellent kit. In December 2022 I started building HMS Golden star and am using it to resurrect some woodworking skills not used since building Kiel-Kraft balsa spitfires, Fokker triplanes and Stukas back when my age was a single digit (I'm now over halfway to 3 digits!). The Golden Star is progressing but am a little 'hung up' on the fact that its not a true scale model of any particular ship, but as a starter in this hobby it serves its purpose as an excellent training build. There is yet another build on the go of a scratch built HMS Victory but I needed to get retrained hence the current builds. The current plan (and this may and probably will change) is to build it with full cabins at the rear (again thanks Blue Ensign), leave the hull planked (in Boxwood) unpainted and not coppered. Guns and carriages will be changed to Syren, boat kits will be added and the thought of dinner by candlelight in the Captains cabin is very tempting (flickering LED lights). So after breaking etiquette by not showing the 'opening the box' series of photos in my Star build here they are... The box And inside.... Lots of plans which I haven't looked at yet... Brass photoetch....nice.... (cant be as hard to assemble as a 1/24 scale Martin Baker ejection seat in PE can it?) Hours of fun here.... I've got wood.... and finally the 4 MDF sheets. I think I will spend the evening dry fitting the hull and building the cradle, although a 'scale' slipway will be created for display purposes (which I probably wont need for a few years!). Avast me hearties!!!!!!!!
- 29 replies
-
- Fly
- Victory Models
-
(and 1 more)
Tagged with:
-
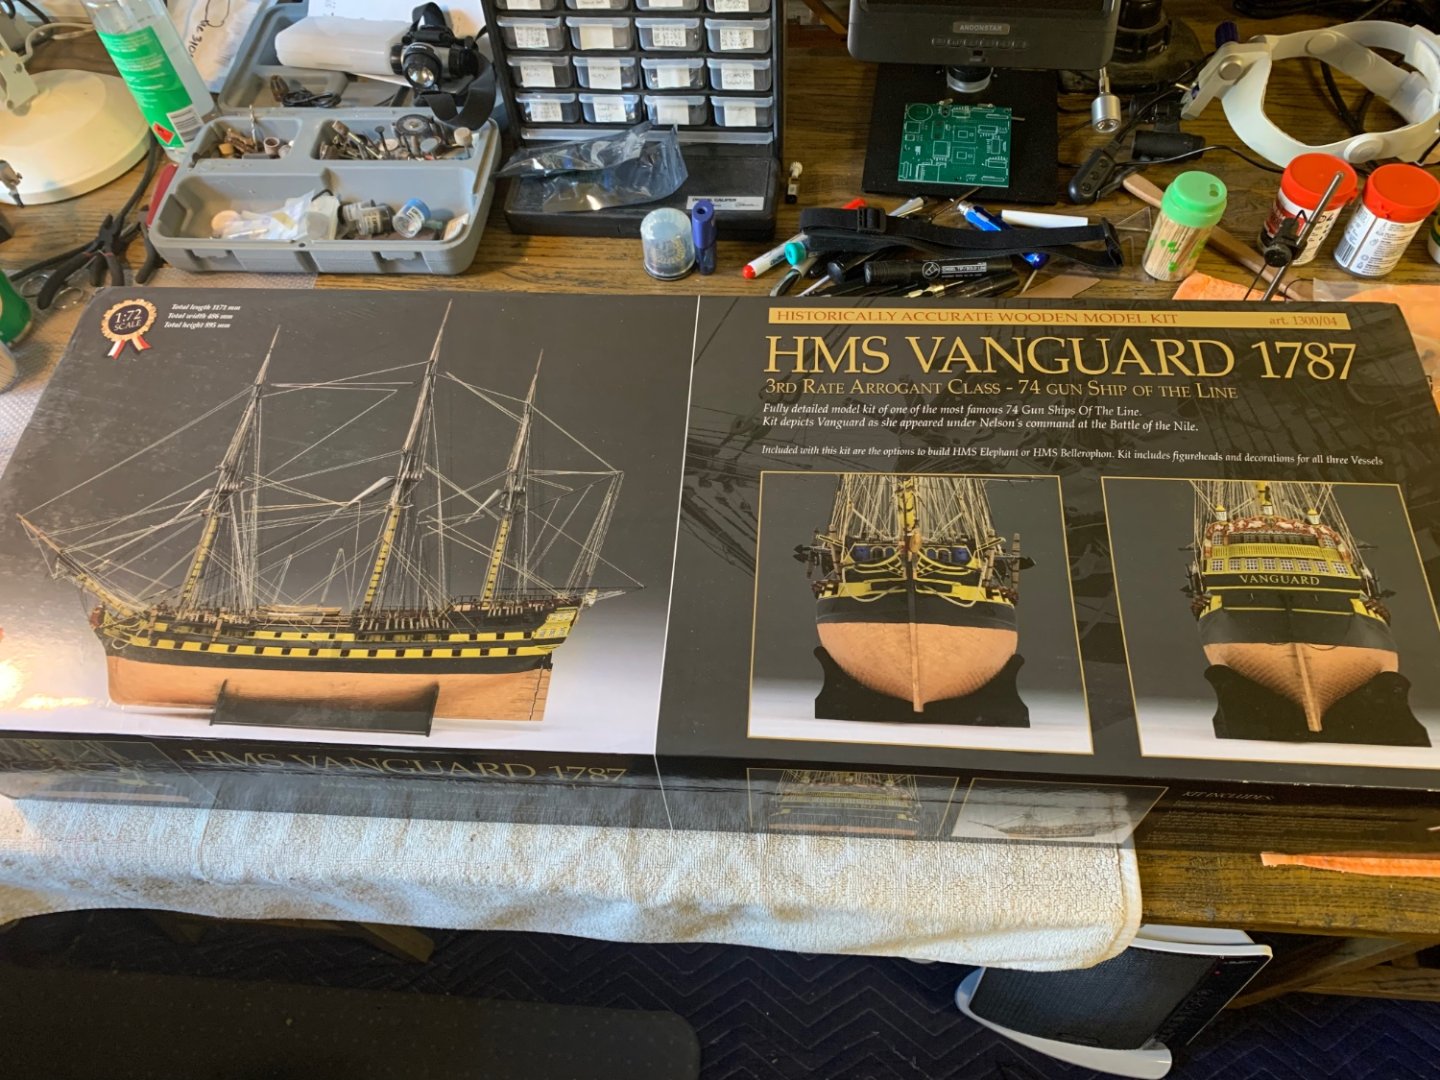
Having just finished the Duchess of Kingston and waiting for my HMS Indefatigable to ship, i figured I have 6 weeks or s so I decided to start HMS Swan that I bought for Christmas as it was on sale. Could not help myself and got to work. I can see Chris Watton all over this design and how he incorporated things into Vanguard but definitely improved by providing better instructions and excellent pictures on his Vanguard models
- 46 replies
-
Starting my build log. I have always wanted to build one of Nelson’s ships, and this model has had good reviews and ticks all my boxes. I am under no illusion that it will be a challenge and hope that my build log will attract much welcome advice and commentary. I am strapped in and ready for the long and rewarding journey.
-
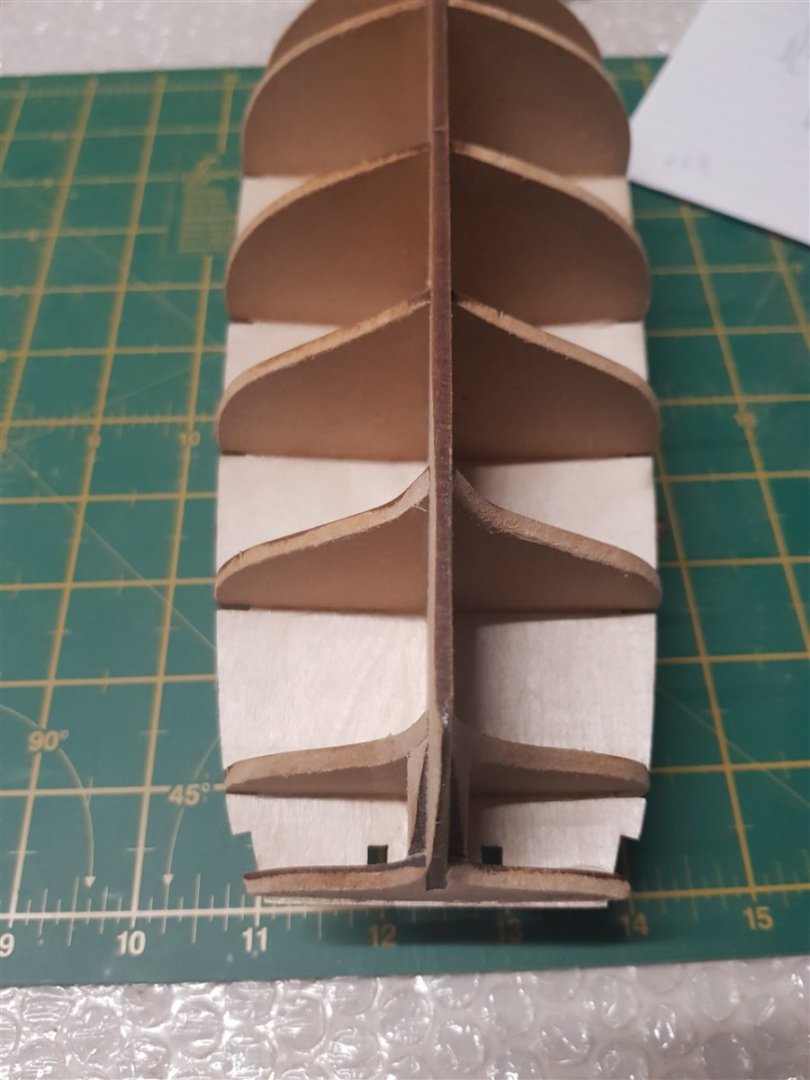
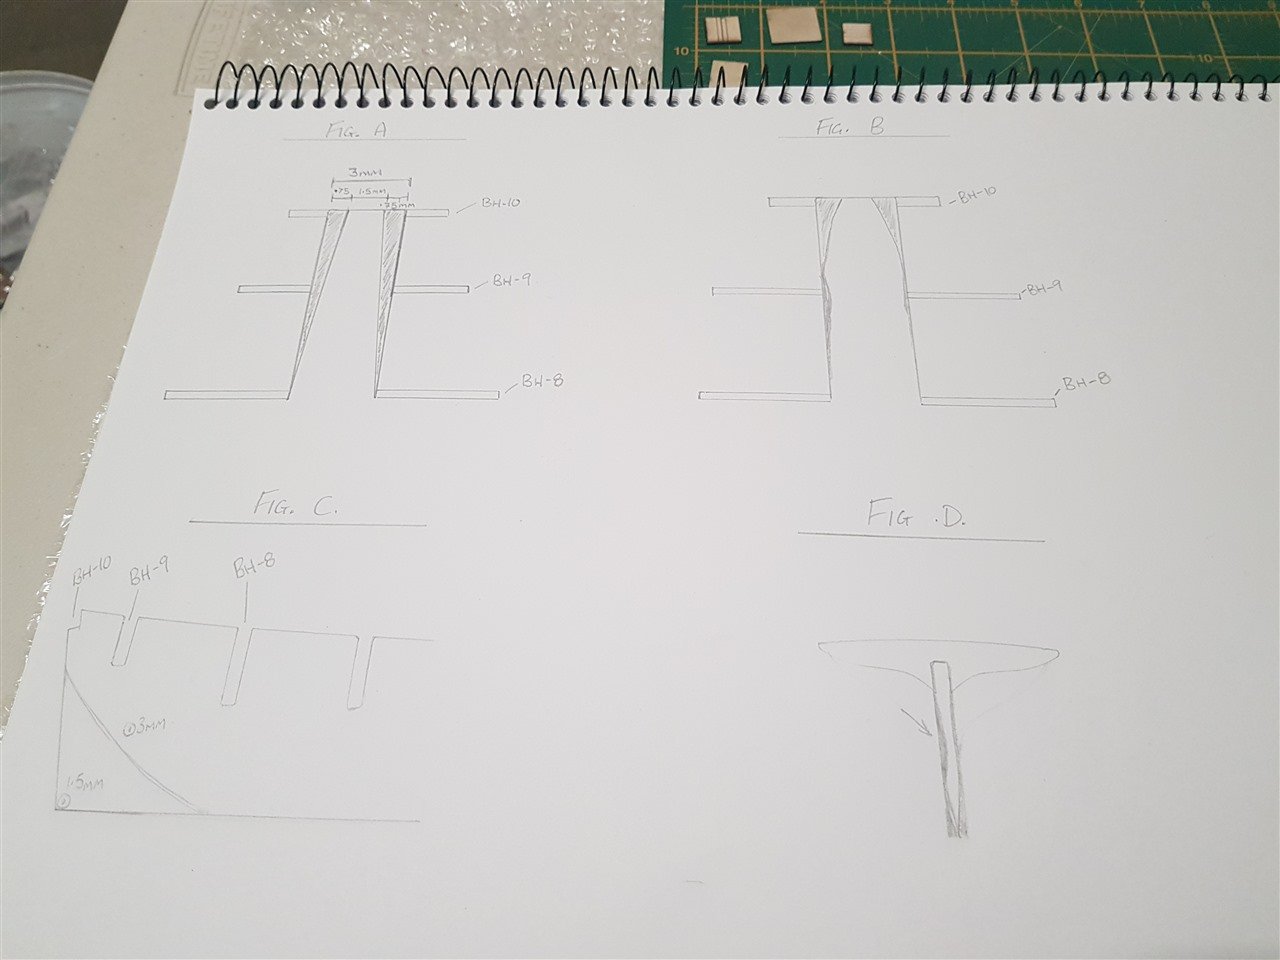
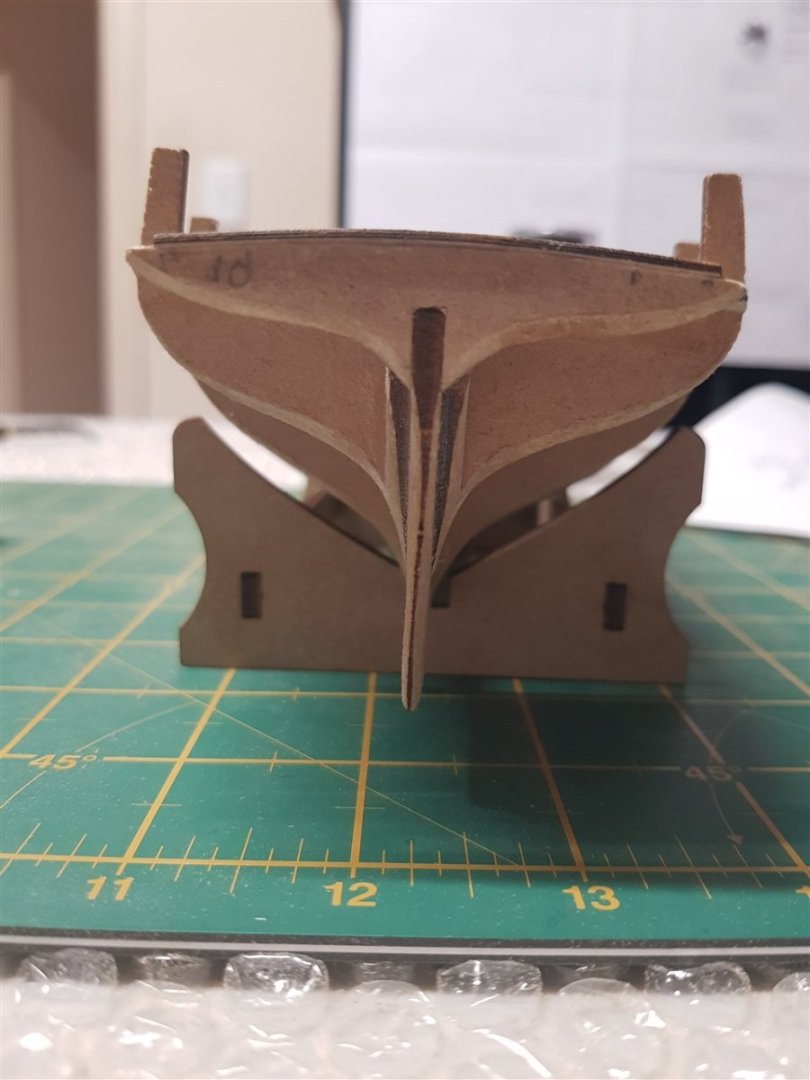
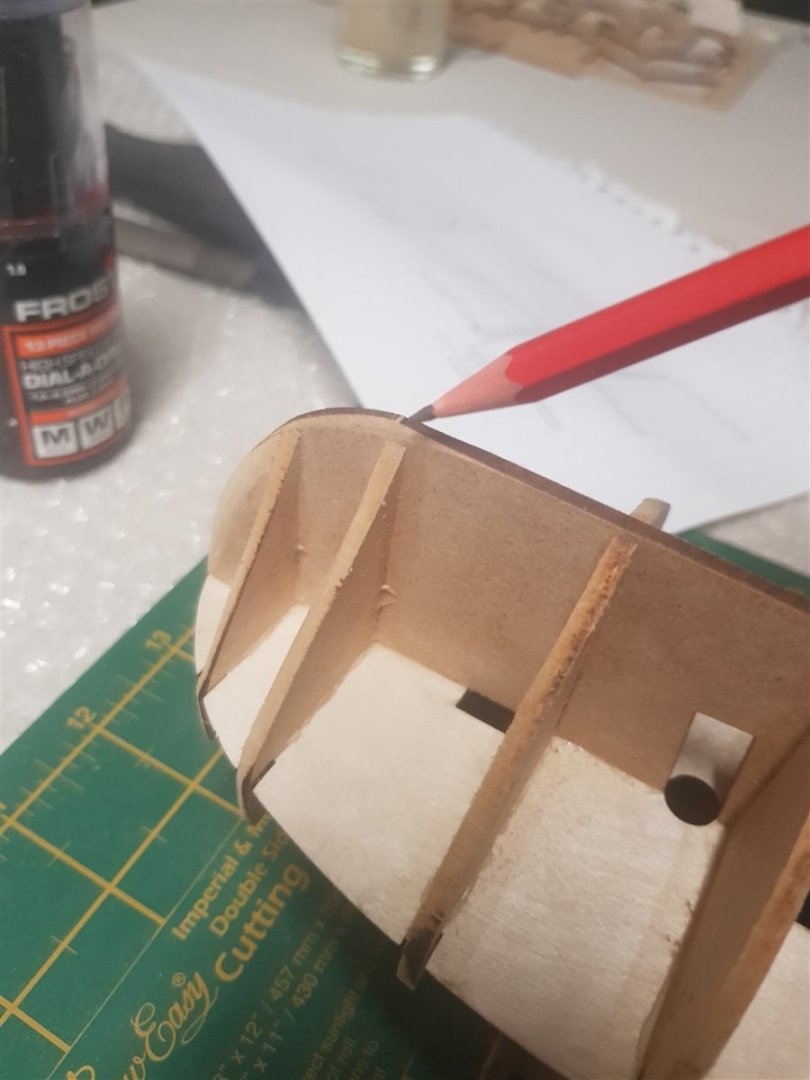
Hi all, This is my first build and wanted a touch of help, to document my progress and keep a record of my issues so I can avoid them in future builds. I'm coming up on the tail end of the faring process and just trying to get these deadwood areas fared down to the right angle/dimensions. Below, Fig. A is what I assume is the correct faring angle judging by the documents/videos I've read and watched, which say to bring the deadwood down to "about half width". Fig. B and Fig. D is roughly what my model currently looks like (slightly exaggerated in drawings). Notice in Fig. D where I drew that arrow, a slip of the tool while faring the port side termination pattern caused me to create a bit of a depression into the keel. In Fig. C I assume the correct tapering angle between the 3mm section and the (eventual) 1.5mm section would ideally be the same as the straight lines I drew in Fig A, just along the sides of the keel. As you can see in Fig D. I've already taken off material that will complicate that a bit. So questions currently; 1) How do people go about making sure they fare down these deadwood sections evenly on each side. 2) When you already have some wonky angles like I do, how do you continue to work the area to end up even (like I drew in Fig A.), in all the various directions. Without continuing to remove materials from the sections that are probably sitting pretty close to where they should be. (Currently the plan is just slow and careful sanding. I don't think I've taken them down so far that I would need to glue strips and sand down again). The MSY tutorials say to focus on one side at a time (which is great for the bulkhead faring) but I found that to be somewhat misleading advice for the deadwood. If I was to do this again from the start I would make about 5 passes with the file, then swap to the other side for 5 passes then repeat, to keep things nice and even. Below photo of Fig B. Below photo of Fig. D (note the slight depression right at the end of the keel on the port side) MSY mentioned this area near the bow also had some deadwood that needed to be fared. I used the technique of an equal number of passes on each side to keep it symmetrical and found that to work pretty well. Does this need to taper down to about half width as well? I haven't done this before so I find myself wondering if I'm being a bit to pedantic or over thinking. I'm pretty confident I can work through all this without much help but any criticism/advice on the above would be greatly appreciated. Cheers, Mango.
- 17 replies
-
- first build
- Lady Nelson
-
(and 2 more)
Tagged with:
-
- 21 replies
-
- Amati
- Victory Models
-
(and 1 more)
Tagged with:
-
Hello all! After reading through several posts and build logs, I decided to start my modeling adventure with the Lady Nelson. I have no carpentry/wood-working experience or with many of the very practical things that go into ship modeling, but I do look forward to this craft which so many seem to have found stimulating as well as satisfying. I think my first encounter with ship modeling was through my high school band director 20 years ago, and if I’m not mistaken, his first model was the HMS Victory. Now that I have started reading through build logs and such, I am mightily curious which model kit he started with and what scale he completed! Incidentally, he also got me started reading both C.S. Forester and Patrick O’Brian, so this interest in nautical history and ship modeling has been a little ambition of mine for a long time, which I am finally starting to make good on. Reading many of the logs available on the Lady Nelson, so many folks have made different improvements along the way to the kit, and I have been having this little debate in my head as to what I might improve and whether or not I will work to elevate the model in a particular way or in several ways. In one sense, there is just the hurdle of the first build (and planking!) to surmount, and then adding various bits to the model can seem daunting when I’m not even so sure that my bulkheads are installed properly! I also understand the need to plan ahead for those improvements should I decide to make them. But all in all, I have decided to try and have fun, take on the problems as they come and let the next step be the next step. I’ll post some of my initial issues and current progress soon. Cheers!
- 41 replies
-
- Lady Nelson
- Amati
-
(and 2 more)
Tagged with:
-
Greetings Everyone, The Lady arrived a few days ago. I've been picking up ship building tools, doing lots of research and got the work bench turned into a ship yard. You may notice the tools on the peg board don't look like model ship building tools... I have built 6 classical and 4 acoustic guitars. The bench was also an RC helicopter and airplane hanger for a few years, and now it's being converted to a shipyard. I retire in 19 days and will get at it. 🙂
- 362 replies
-
- Amati
- Lady Nelson
-
(and 2 more)
Tagged with:
-
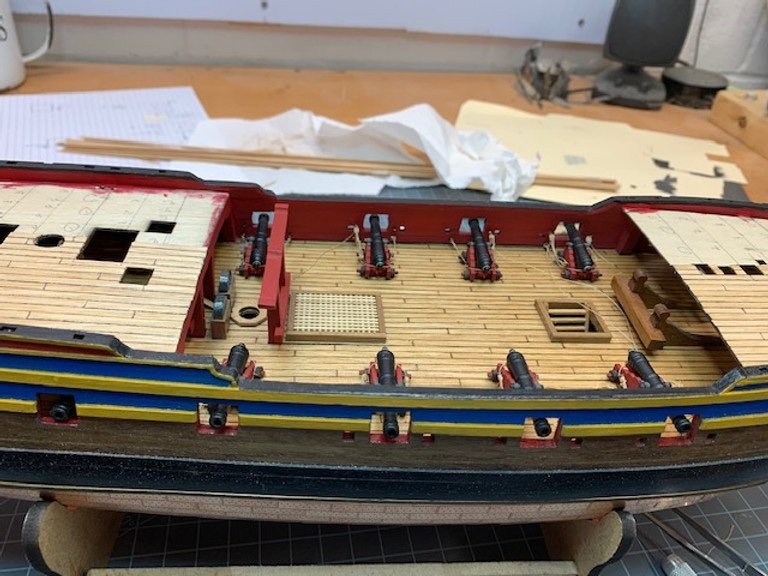
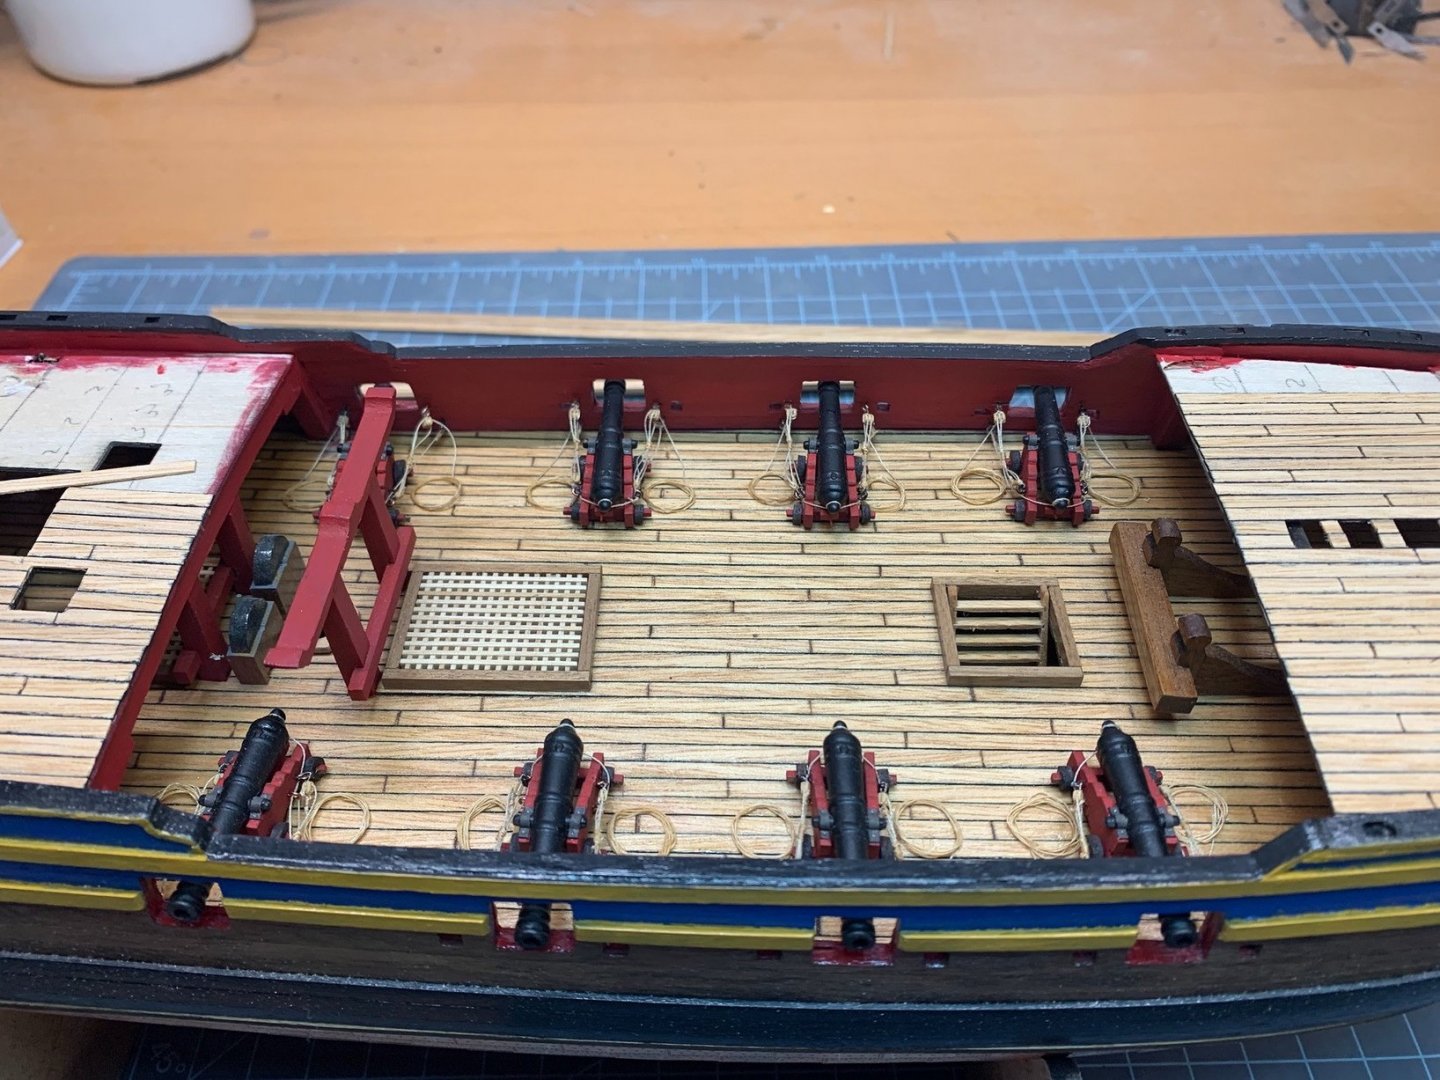
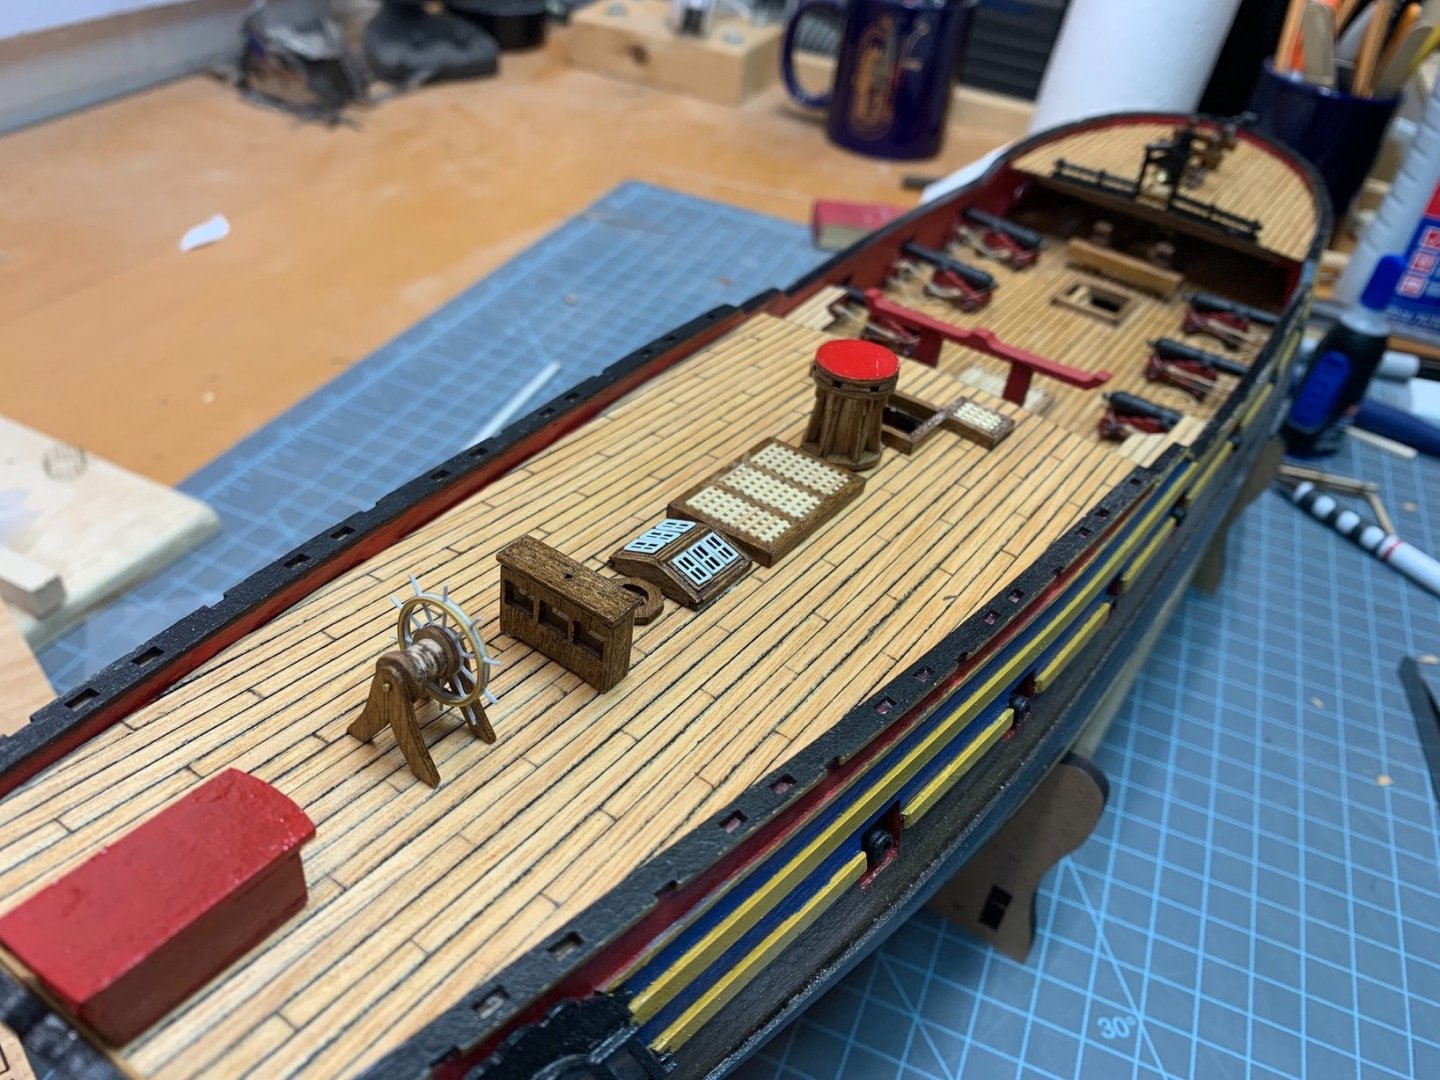
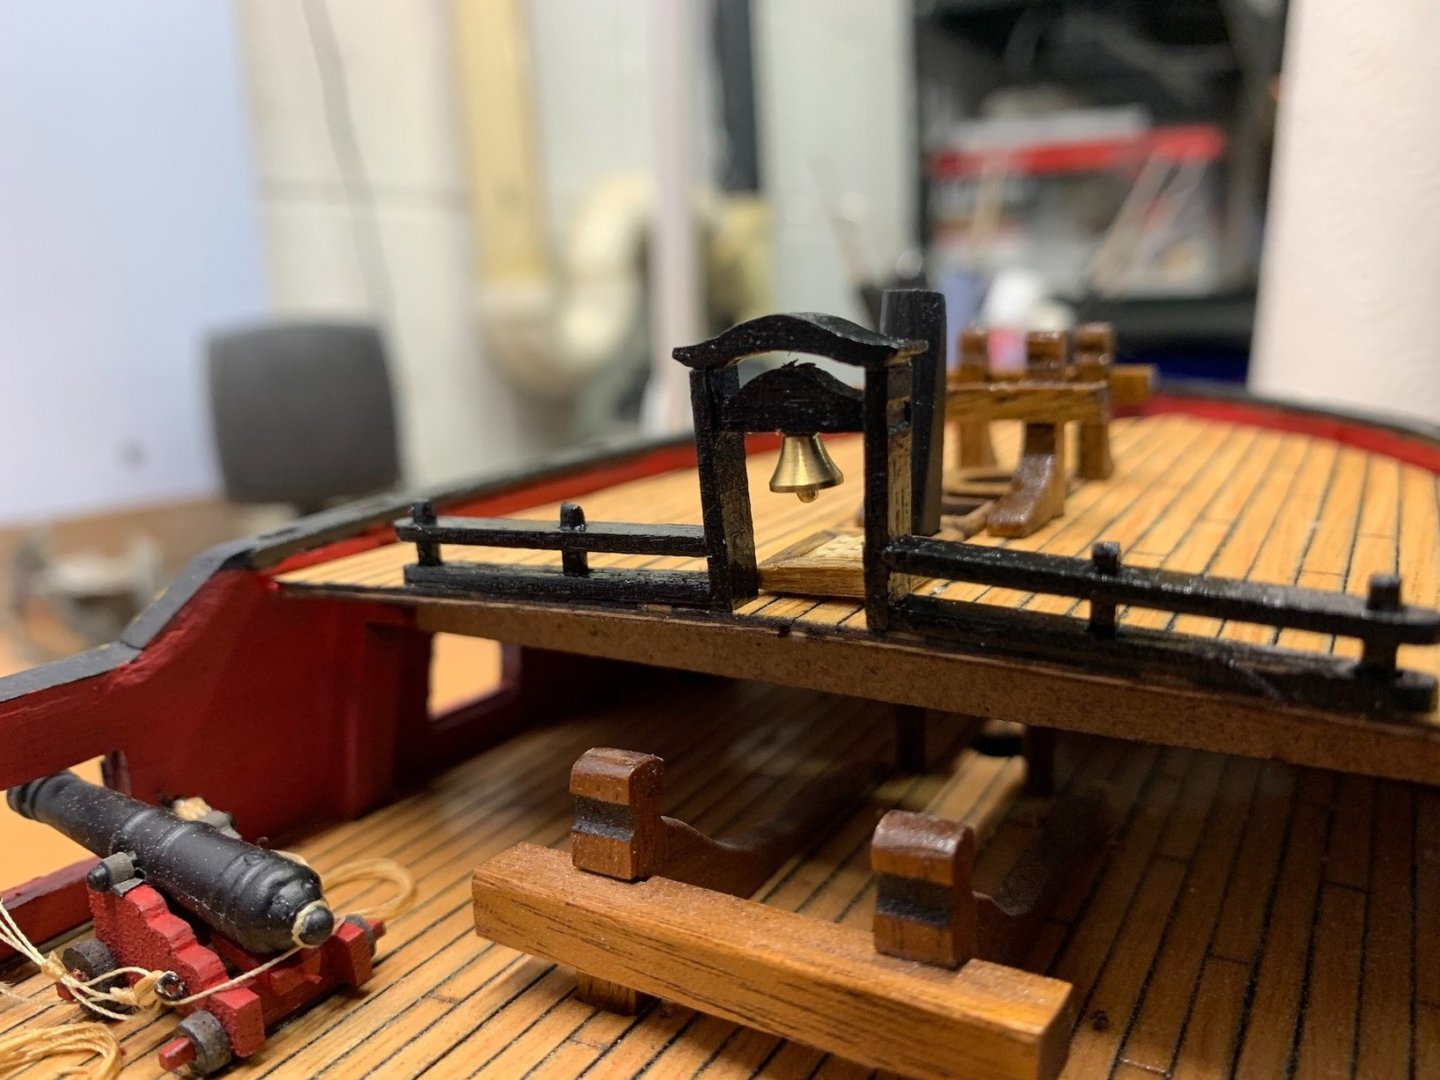
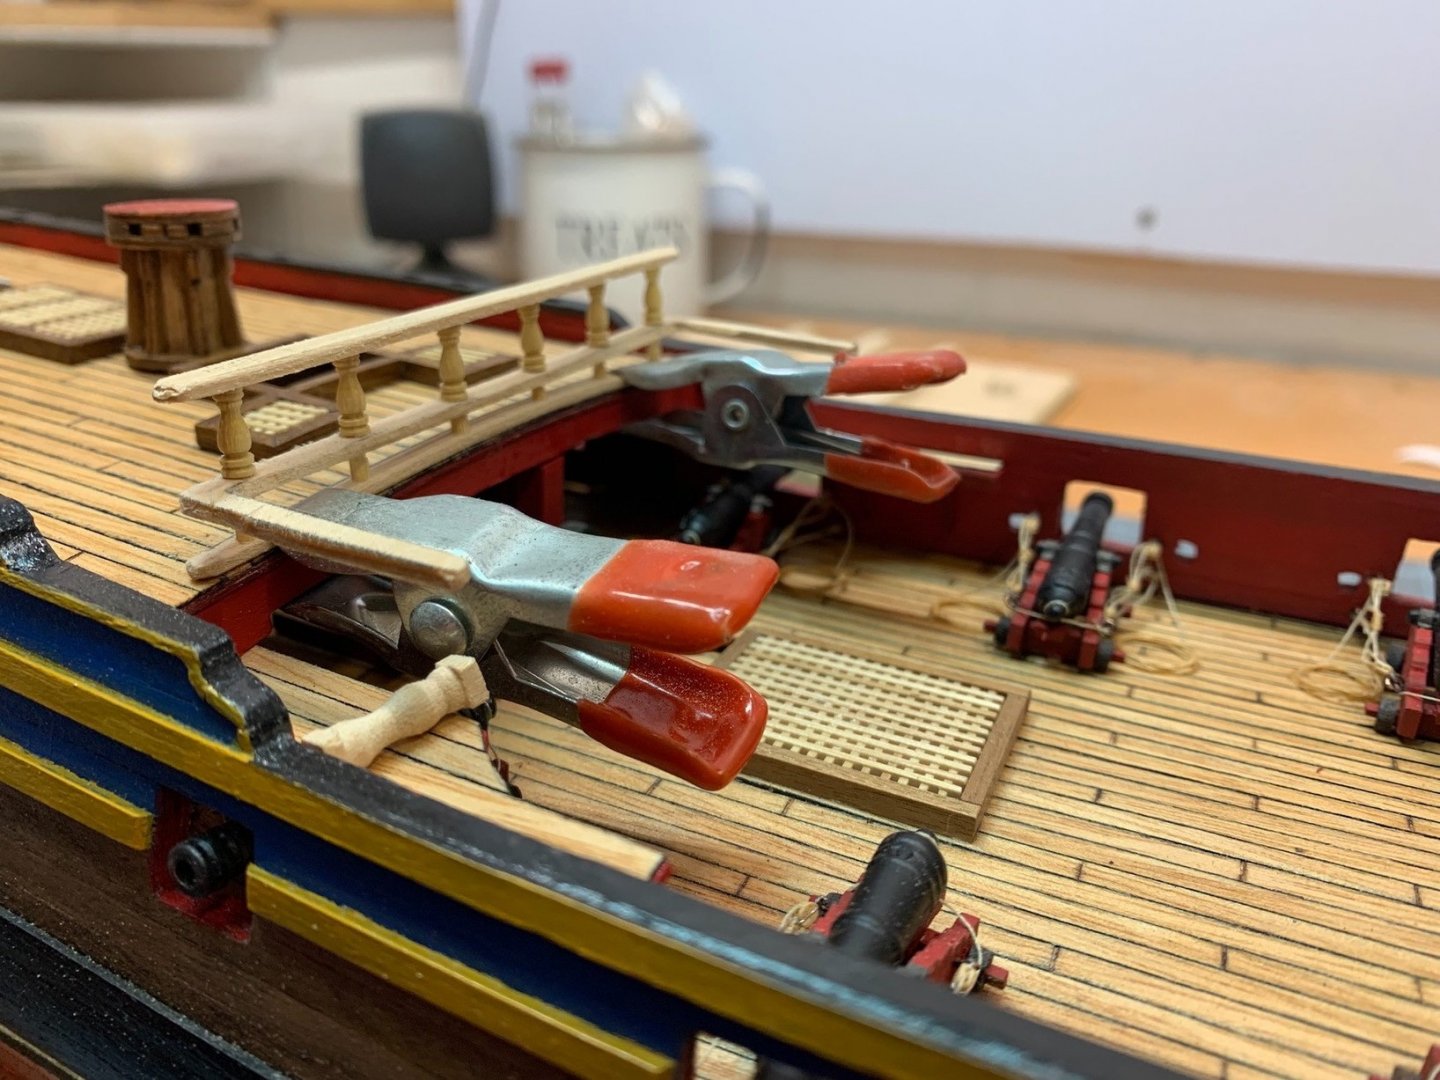
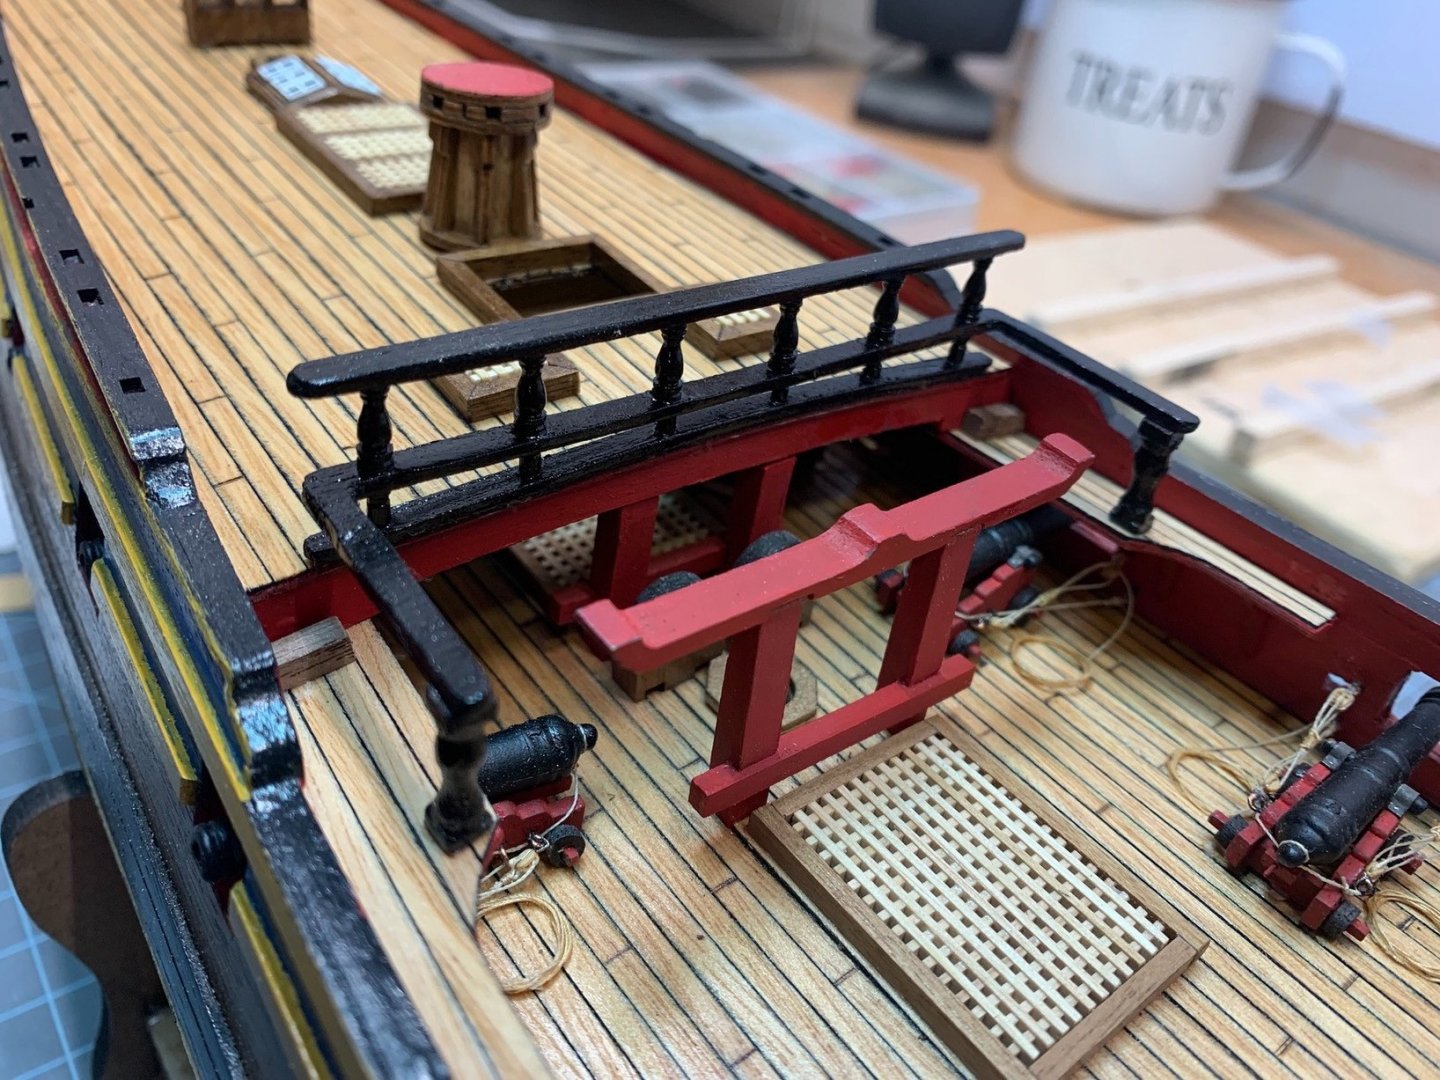
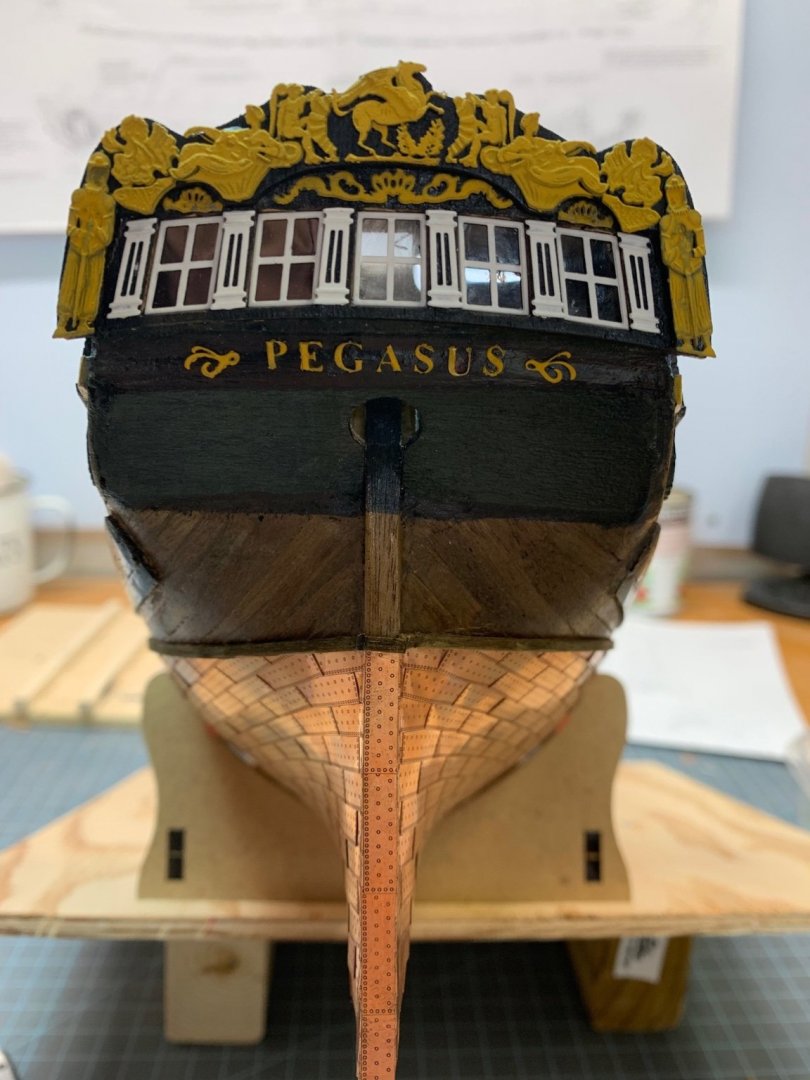
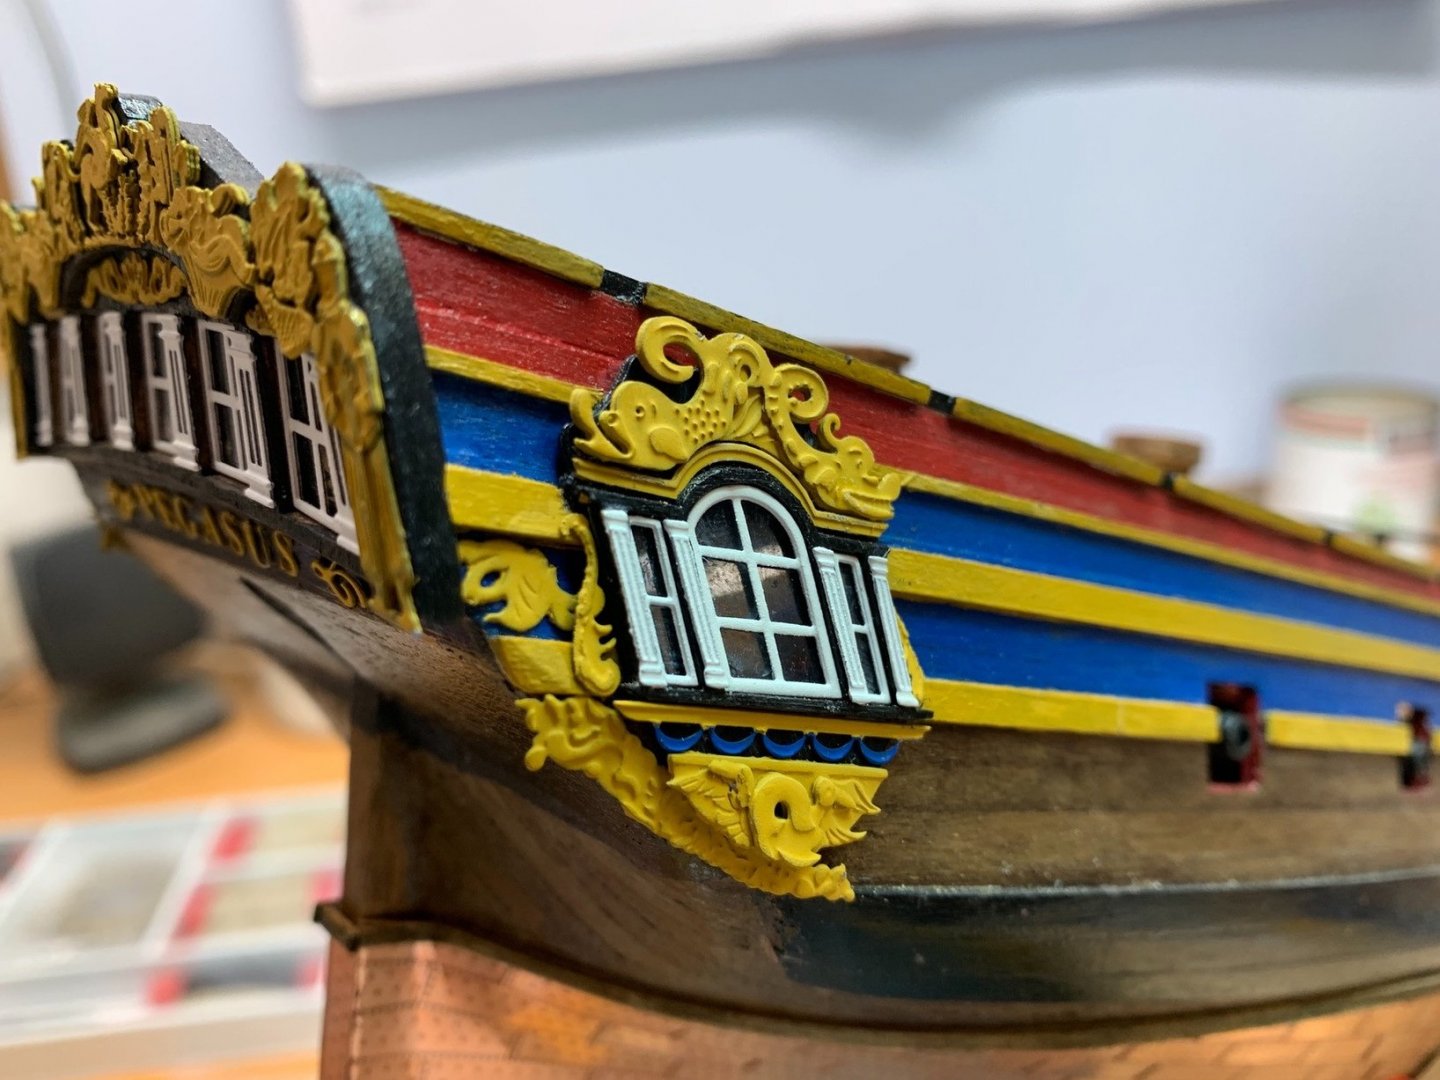
I’m coming at this build log late. I’ve progressed a lot since these were taken, but I’m not done yet. Rather than recap in detail, I would like to post these pics of Pegasus at various spots that take me up to where I am now and I’ll pick up the build log there. Bulkheads on. Planking the gun deck. Gun deck completed. Starting the details. Pumps. Put rust detail around them. First layer of planking. Port side first layer done. First layer sanded. Second layer done and in homemade clamp. Putting gun port planks on. Gingerbread. Started to paint. Stern gallery attached. Copper plate on. Another view of copper. Gun jig I made. Gun tackle in. More deck furniture. Ship’s bell. Railing before Railing after painting and polywipe. Gold gingerbread on stern. Gingerbread on stbd stern window. This catches me up to my build. I am building a stand at the moment. Once it is complete, I will continue with the log. Jason
- 27 replies
-
Well here we go - after a long hiatus (and a half dozen or so planes, trains, & automobiles) I'm back in the shipyard with the HMS Pegasus. I won't spend any time on the history, etc - since Victory's Pegasus is pretty prominent throughout the forum. However, I will add a little background why she's my current project. I have four adult children (3 girls and boy) and three ships to go around. So I let the youngest pick out what she she wanted to be built for her. Nice choice kiddo. As with my previous builds, I tend to mix somewhere between 70% accuracy and 30% artistic licensed - which will be the case with the Pegasus as well. Meanwhile, I'll be leaning pretty heavily on Blue Ensign's build (which I believe sets a benchmark for Pegasus..es... Pegasi? in terms of accuracy) as well as Danny Vadas' spectacular work on the Vulture. As always - I thank you all in advance for your encouragement and support. It's good to be back. Here's the typical start to the build. I've gone ahead and added the rabbet even though the plans say it's unnecessary. As I've perused other builds, it looks like it's probably going to come in handy.
- 306 replies
-
- Victory Models
- Pegasus
-
(and 3 more)
Tagged with:
-
Hi all and welcome to my first ever build log. I was gifted the lady Nelson kit as a birthday present and I’m super excited to get started. It’s my first wooden ship kit so this is all new to me. I have been building model kits since I can remember but nothing like this before. as the instructions are a bit vague for a beginner like myself I’m reading through other posts first. are there any video instructions for this particular kit ? thanks all
- 19 replies
-
- Lady Nelson
- Amati
-
(and 2 more)
Tagged with:
-
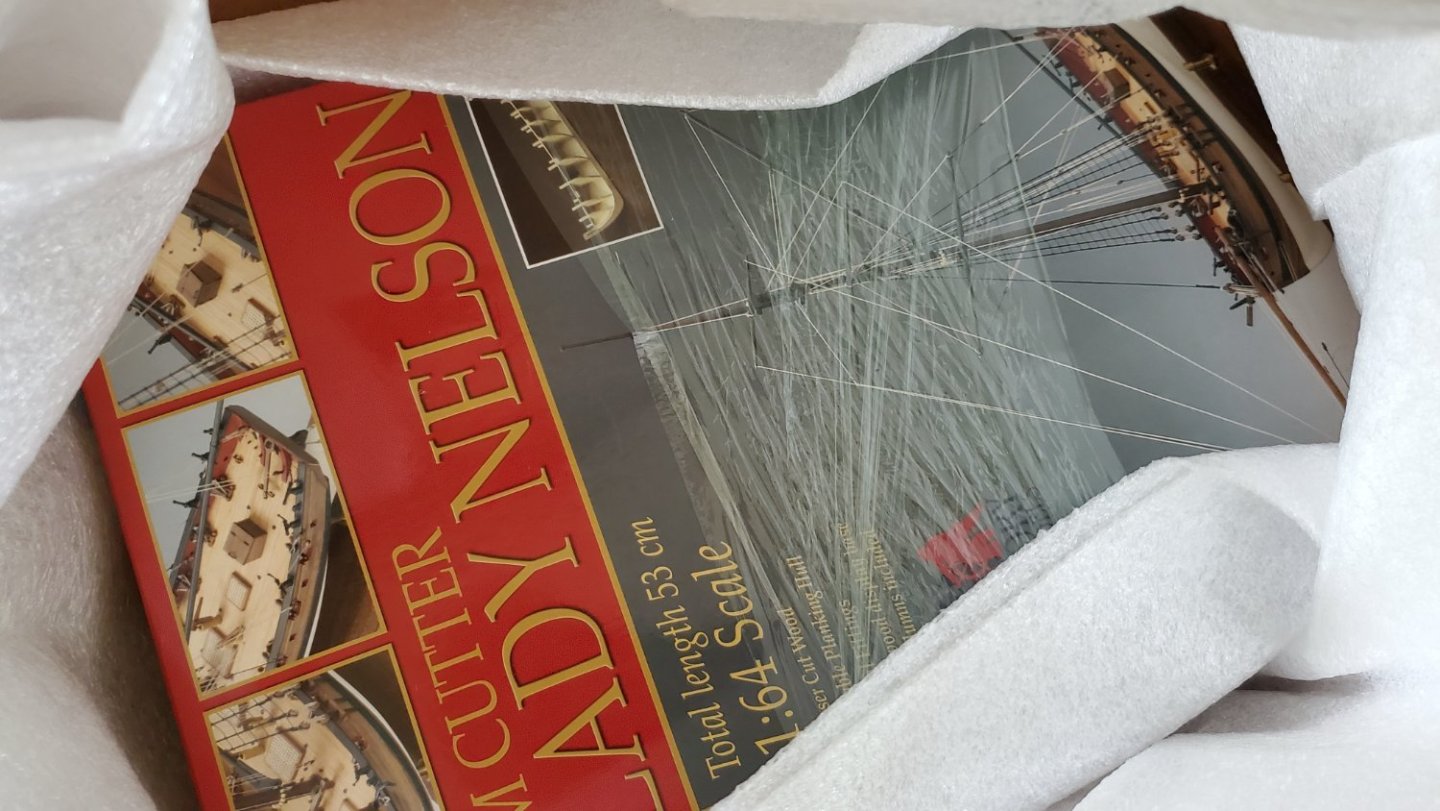
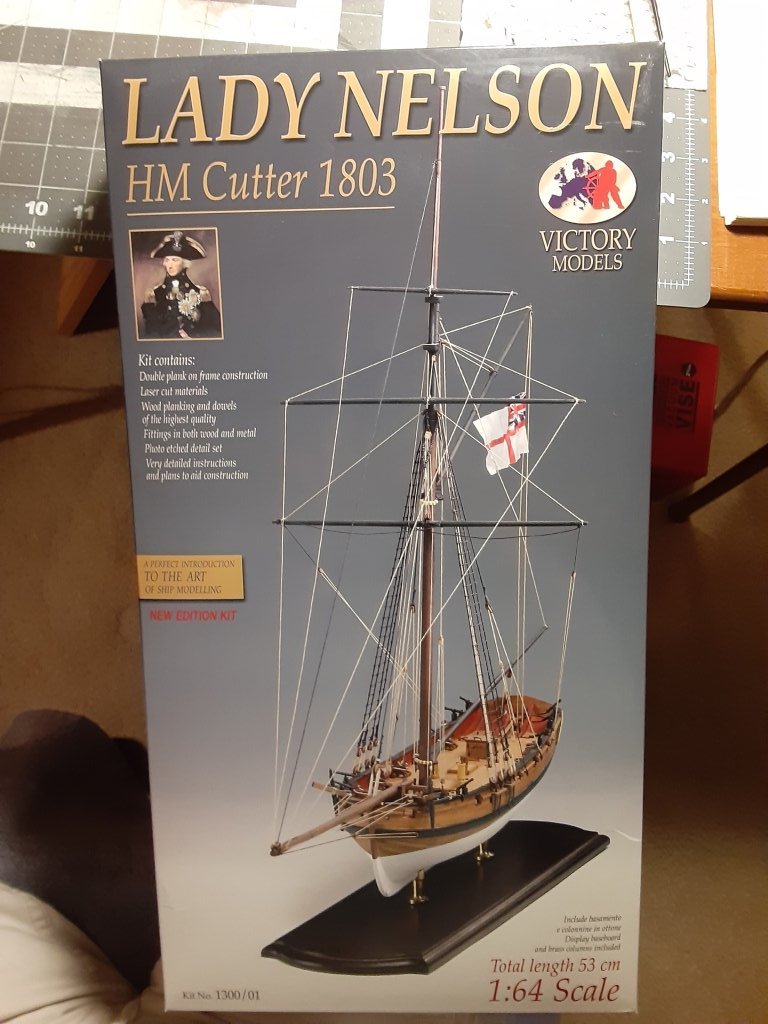
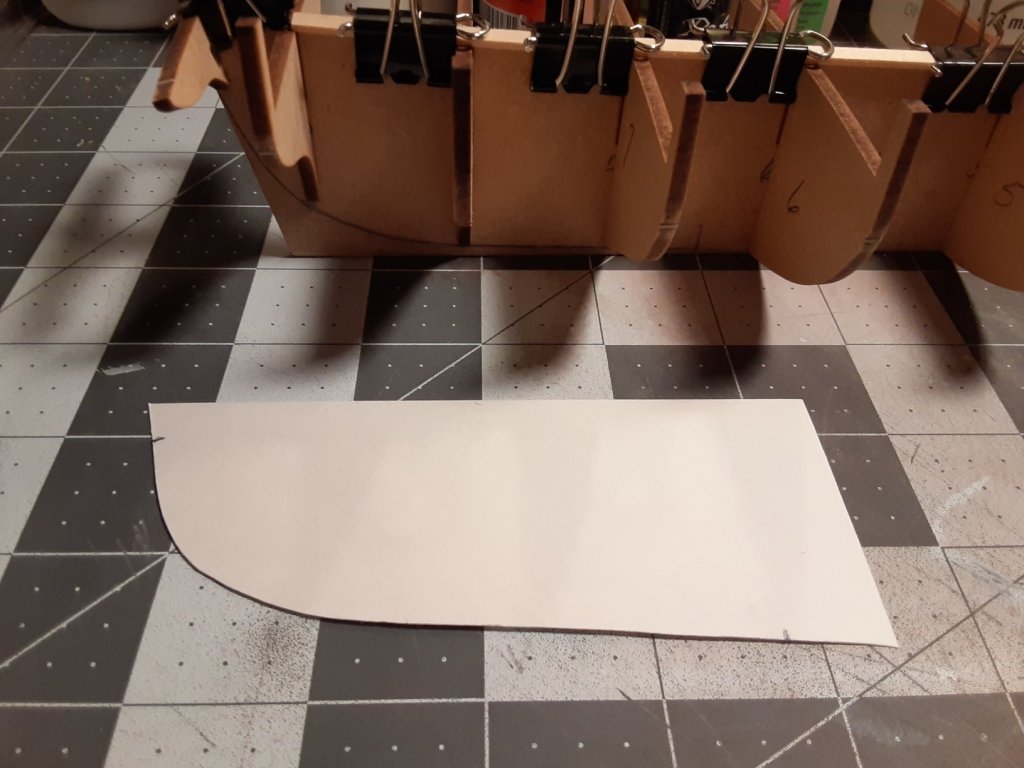
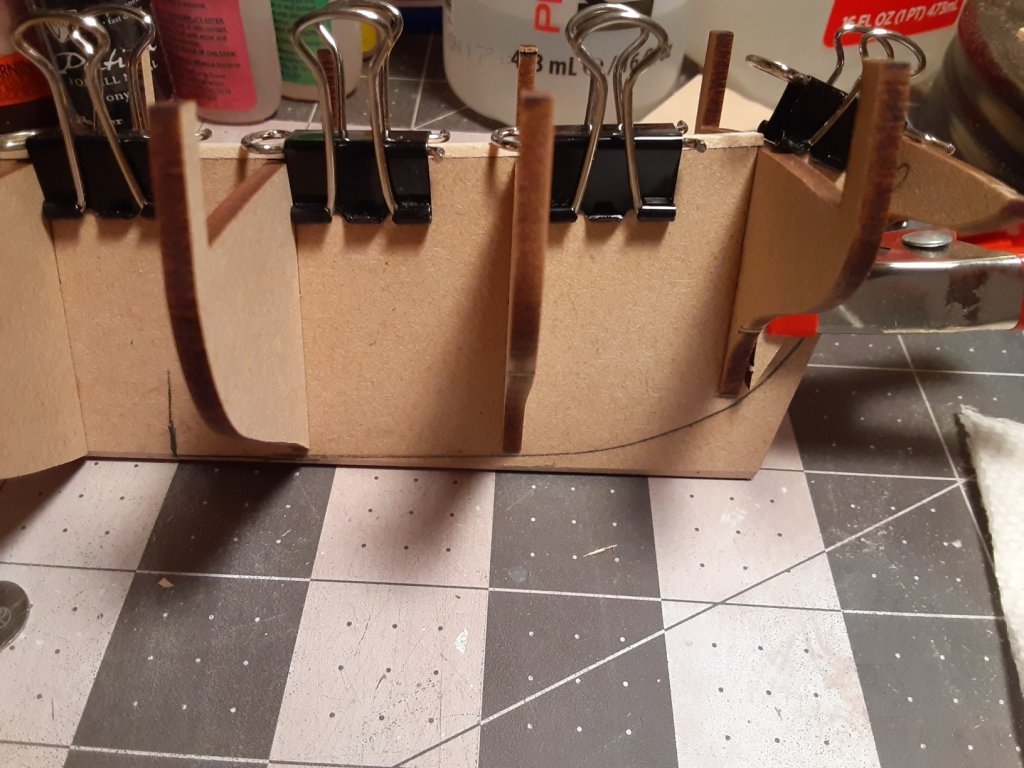
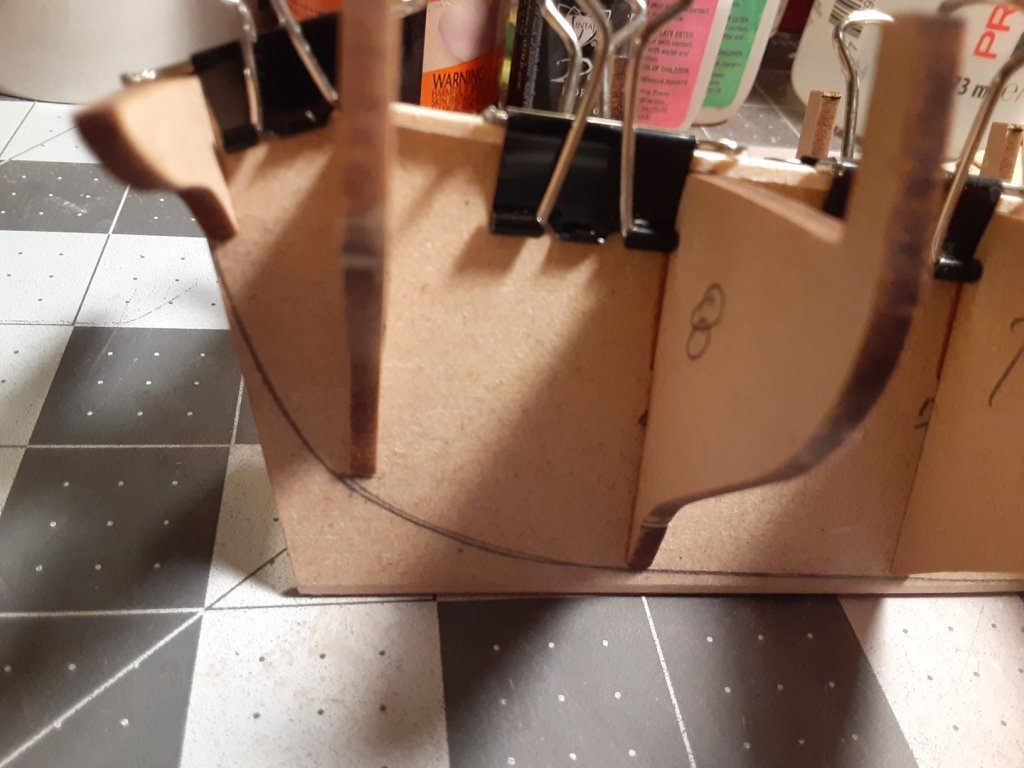
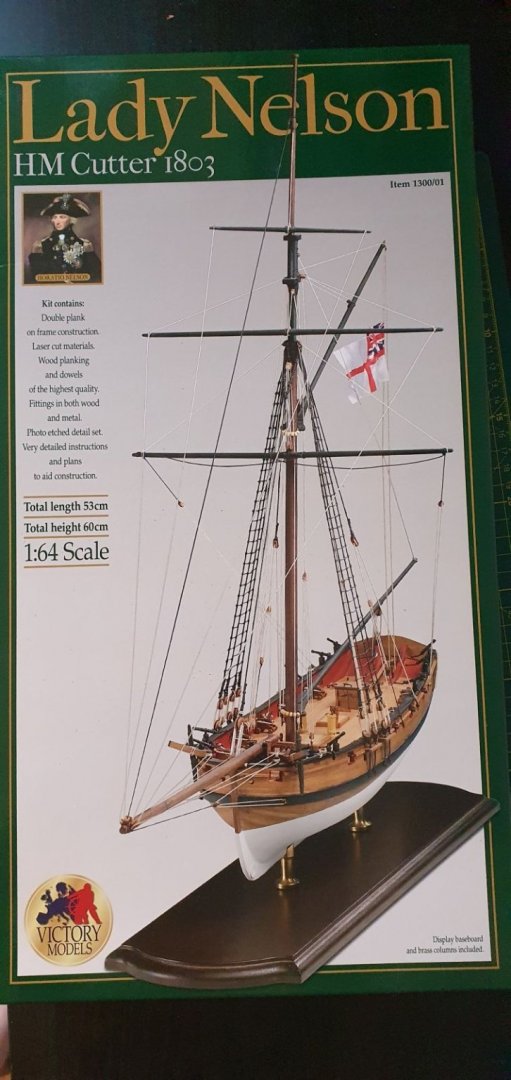
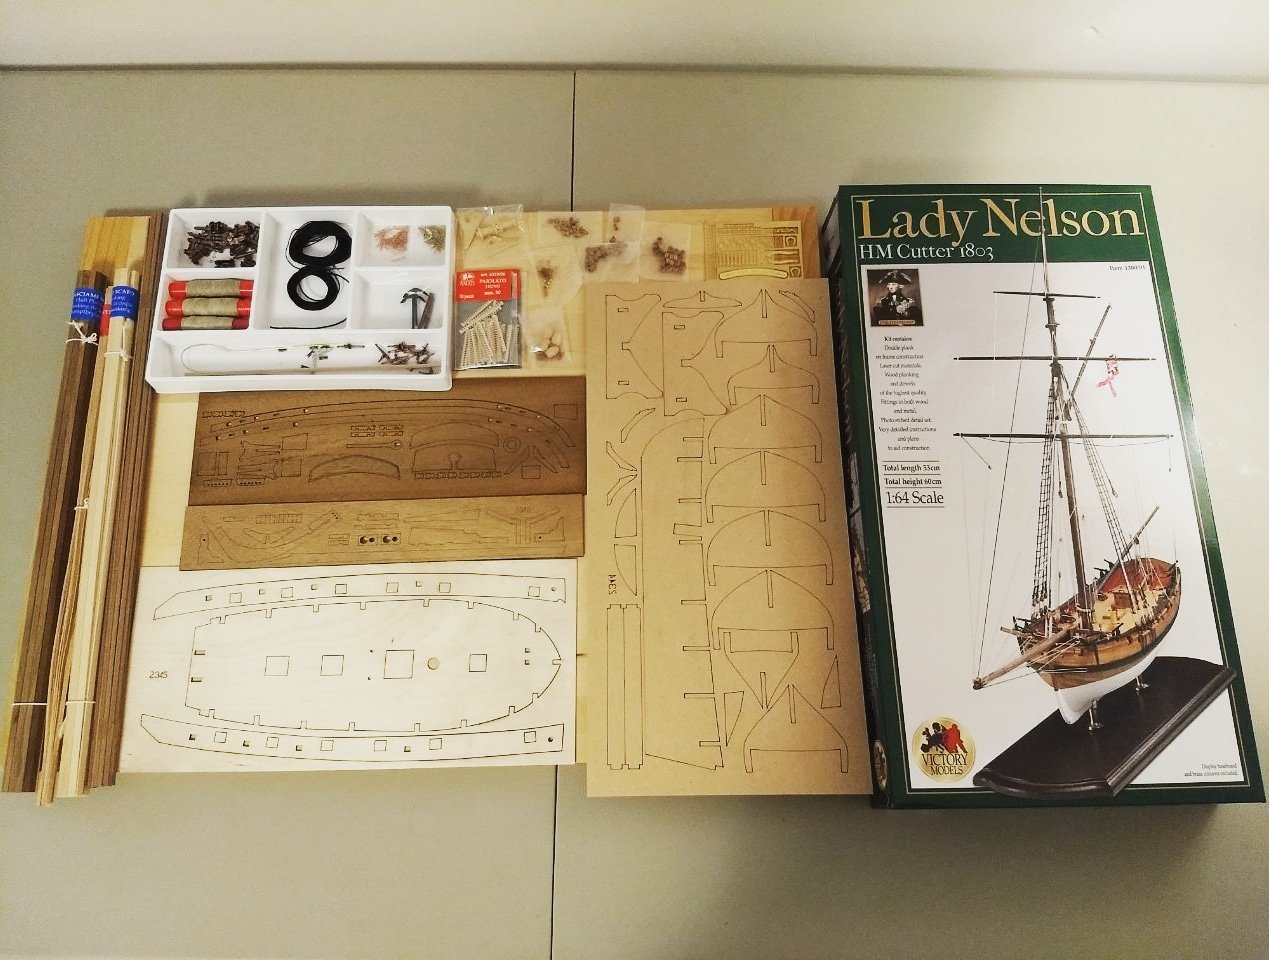
Well, I'm back again. This is my third planked hull and hopefully I can do this one as it should be done." I say third hull because my second has not been finished. I paused it after planking the Occre Polaris so that I can transfer it to the Southern Yard (see below for view from the window...). For those unfamiliar with the package, here's the obligatory box photo. I successfully inventoried the contents to ascertain all parts are as specified...took me three passes to get a complete, correct count (might have been the rum!) After rigorously studying the two pages of instructions and poring over the first two drawings I liberated the false keel, the bulkheads, the "plank termination patterns," and the temporary construction stand. Next up was some gentle sanding to remove all of the sprues. First success was a few nights back...I assembled the construction stand.... I'm now in the process of preparing the false keel to accept the bulkheads. I'm preparing a rabbet to accept the planks forward and the garboard planks along the keel. It will simply be a shallow bevel (not all the way to a point) deep enough to accept both planking layers. Now the tricky part for me...because I've never done this part before...and I'd like some guidance on this...the plans do not include a bearding line. What I've done so far is to clamp the bulkheads in place and mark the bottom of the last 3 bulkheads on the false keel. I then used a set of French curves to draw what I think is a fairly smooth curve on one side of the keel. I then transferred the curve to tracing paper. Placing the tracing paper on cardstock I used my knife to cut the curve templet in the cardstock. After matching up the templet on the original curve I then used it to trace the curve on the opposite side. If this sounds like a good approach, my next step will be to sand the beard to a point at the stern and then move forward with installing the bulkheads and then the stem and keel. Stem and keel will be glued into position, and then drilled and pegged with 24 gauge wire. That's it for tonight...my updates are random but usually after a notable milestone or encountering a potential trouble spot. I look forward to your thoughts and inspiration....
- 20 replies
-
- Amati
- lady nelson
-
(and 1 more)
Tagged with:
-
So, after 1 mostly successful and 2 unsuccessful builds in the past, i decided to get my hands on something smaller and easier. Now that i have the space and prospect of not moving anywhere for the next few years at lest, i decided to try this little cutter. Some bits in the Box were damaged during transport (the laser-cuts of the Stern counter and the thingies which are used to attach the booms to the mast, i will post pics later when i come to it but i think i can fix them with veneer). So, started on the HZ Slip i have and found out it's too big for the Cutter No big Deal tho, managed to fit all frames and the False deck: Frames Squared: And started sanding them down: I think i did damage the front Bulkhead a bit with the file so now i am waiting for my Wife to get home so i can make a quick trip to the Model Shop to pick up better files (i dont really want to take my Kid to the Model Shop - i would be able to leave without more toys for him :P) Let's hope this build will not suffer the fate of the last
- 71 replies
-
- Lady Nelson
- Amati
-
(and 1 more)
Tagged with:
-
Here goes my attempt at a build log. I just finished the Artesania Swift, and looking back, I wish I kept a log for that build. Better late than never. As expected, the Lady Nelson kit seems to be very good quality, and the five detailed sheets of visual instructions are fantastic. Following the advice on another build log, I numbered each piece with pencil, and am only removing parts as I need them. The keel looks to be nice and straight, so I glued on the bulkheads using Titebond wood glue, which I put in an empty medicine bottle and applied with a cheap artist's brush. For now I left off the sternmost bulkhead. The instructions recommend fairing the first and last bulkheads and the "plank termination patterns" (they need to come up with a simpler name for those) before glueing them on. I was going to, but had a hard time visualizing where and how much to sand off them ahead of time. I may have made more work for myself, but it will be easier for me to see what to remove if I can see the entire structure. I think. These pics were with my phone, but I'll switch to a real camera for the rest. Hopefully they'll come out better. Now if the glue would just dry faster...
- 114 replies
-
- Lady Nelson
- amati
-
(and 1 more)
Tagged with:
-
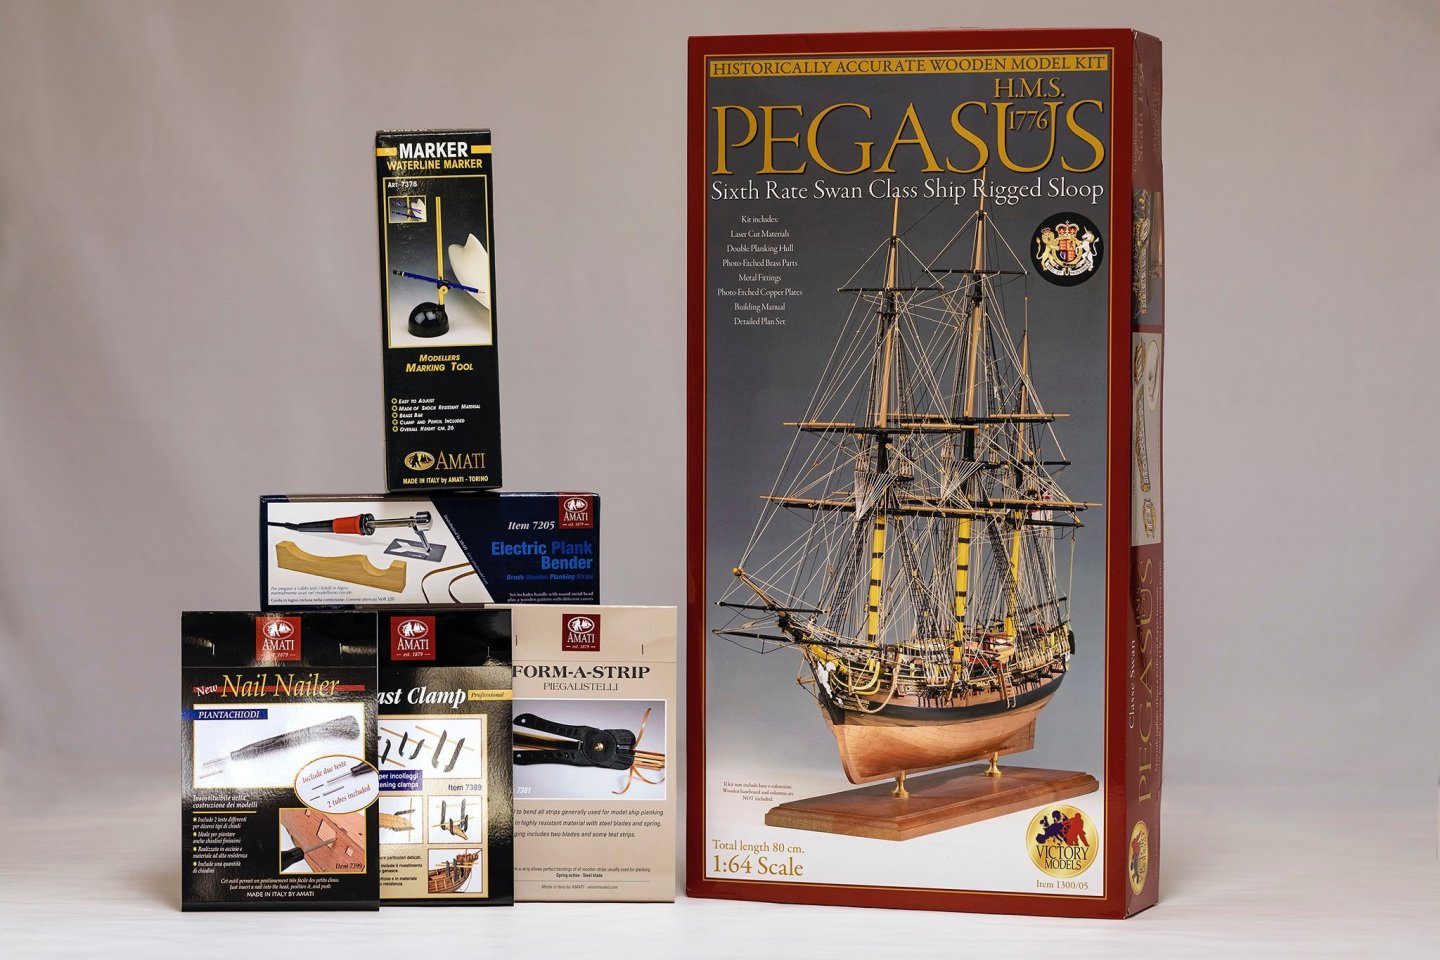
 KIT: HMS PEGASUS (1776) Manufacturer: Amati (Italy) Scale: 1:64 (800 мм/31,5") ⚓️Official store: https://store.amatimodel.com/en/box-mounting-victory-by-amati/product-hms-pegasus-b130005.html
- 64 replies
-
- amati
- victory models
-
(and 1 more)
Tagged with:
-
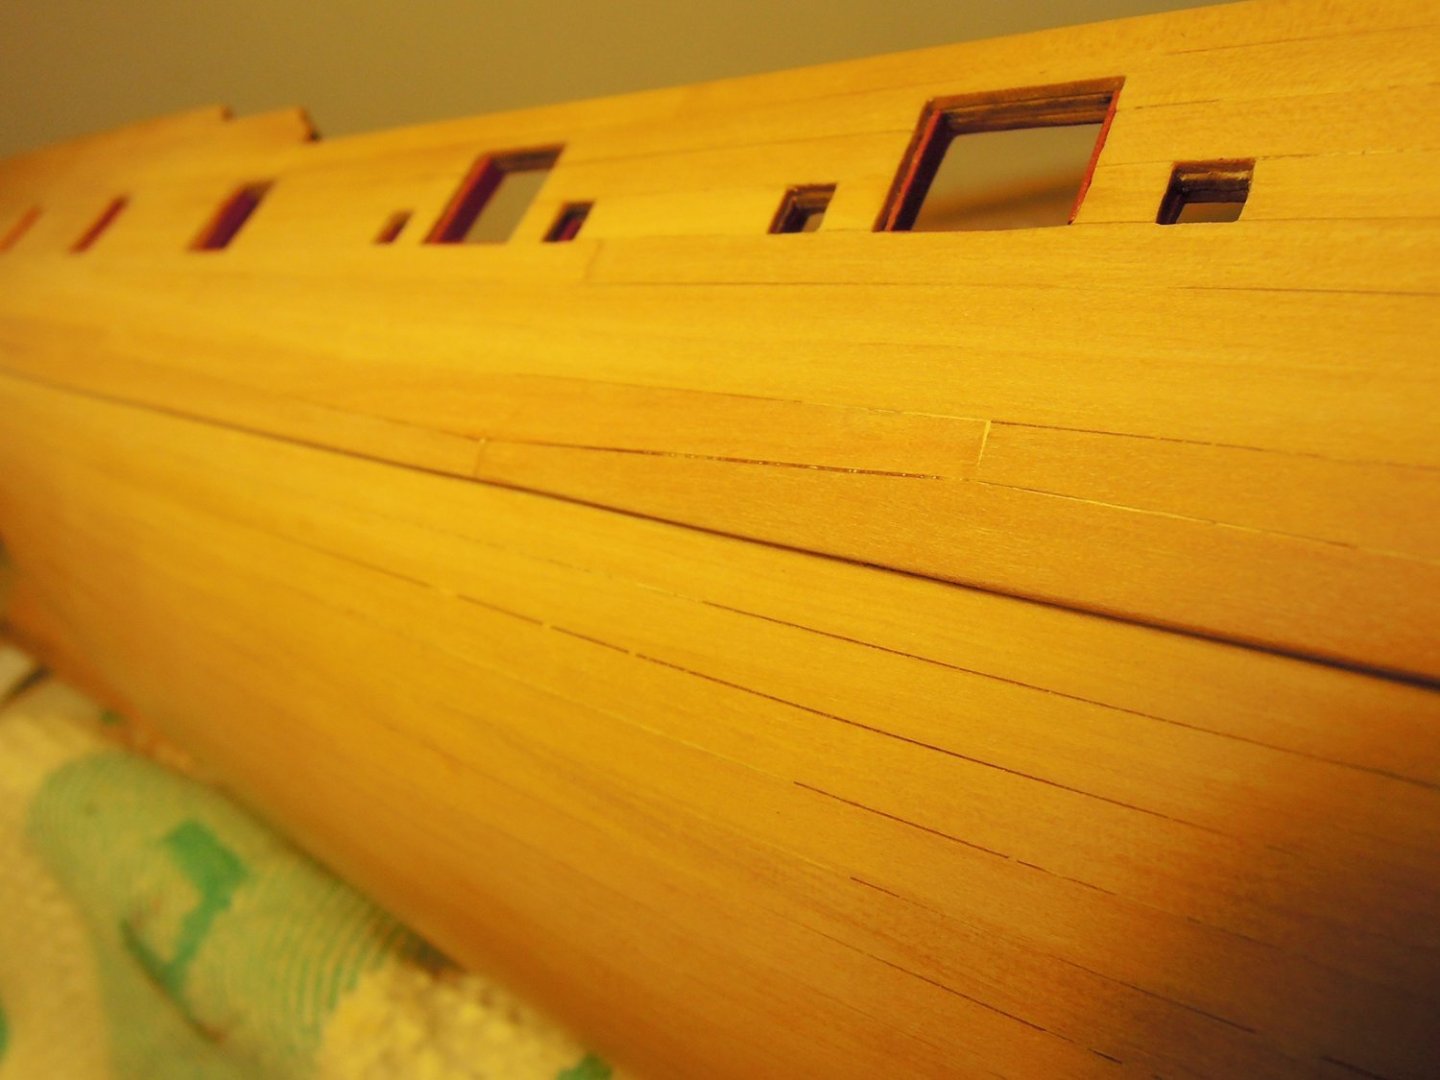
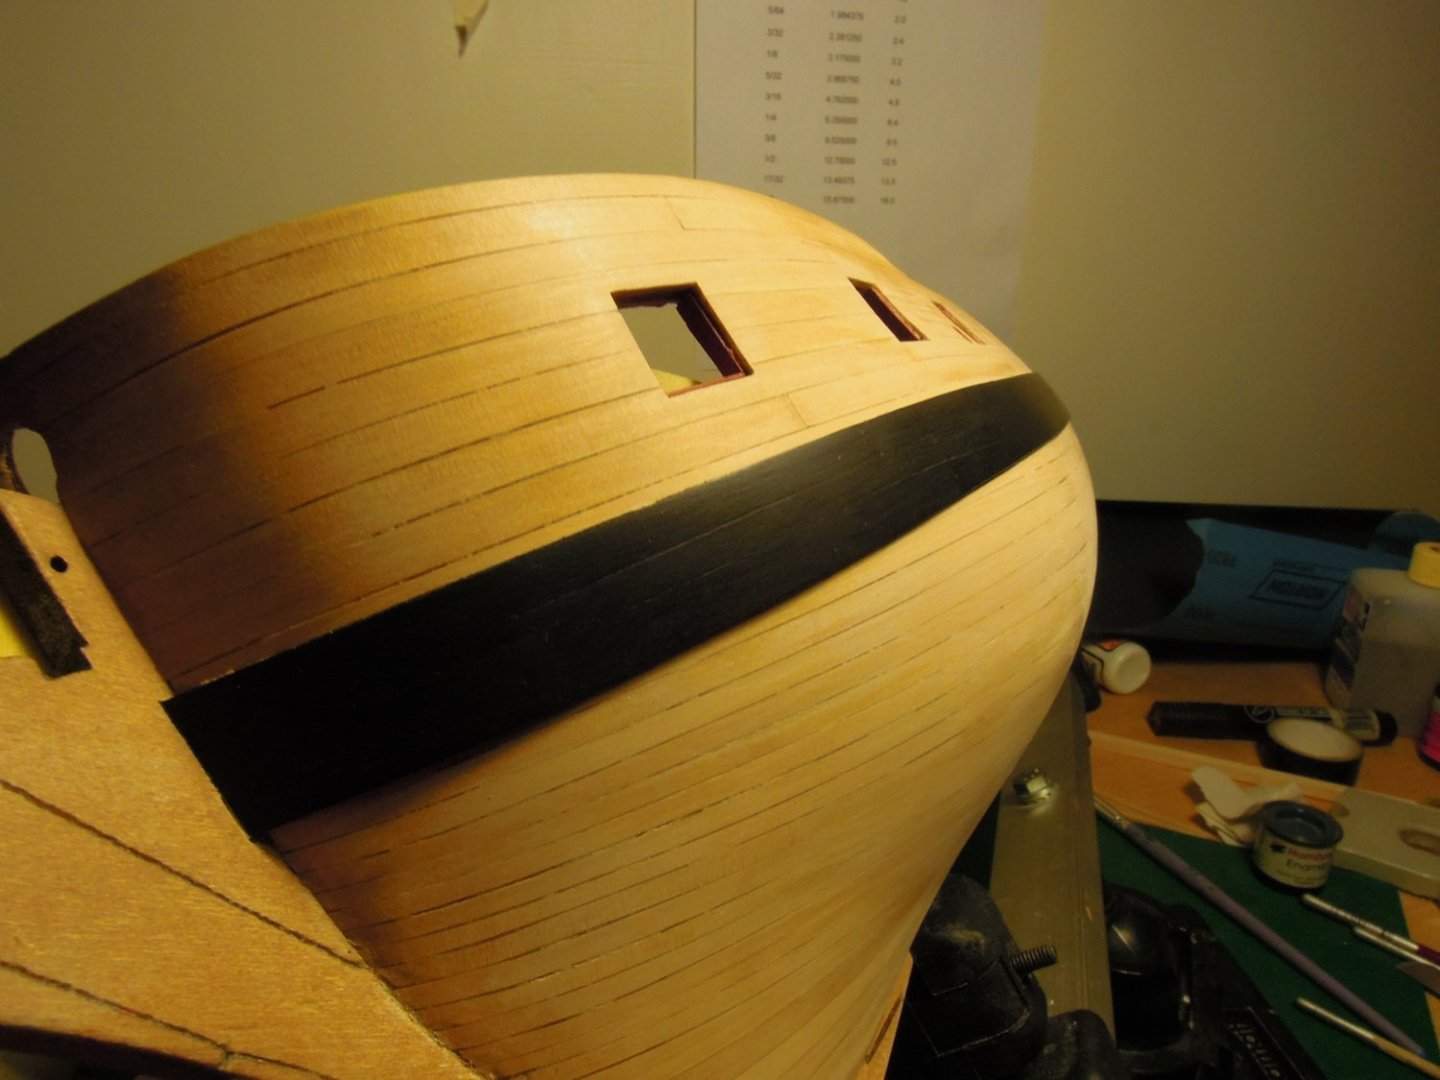
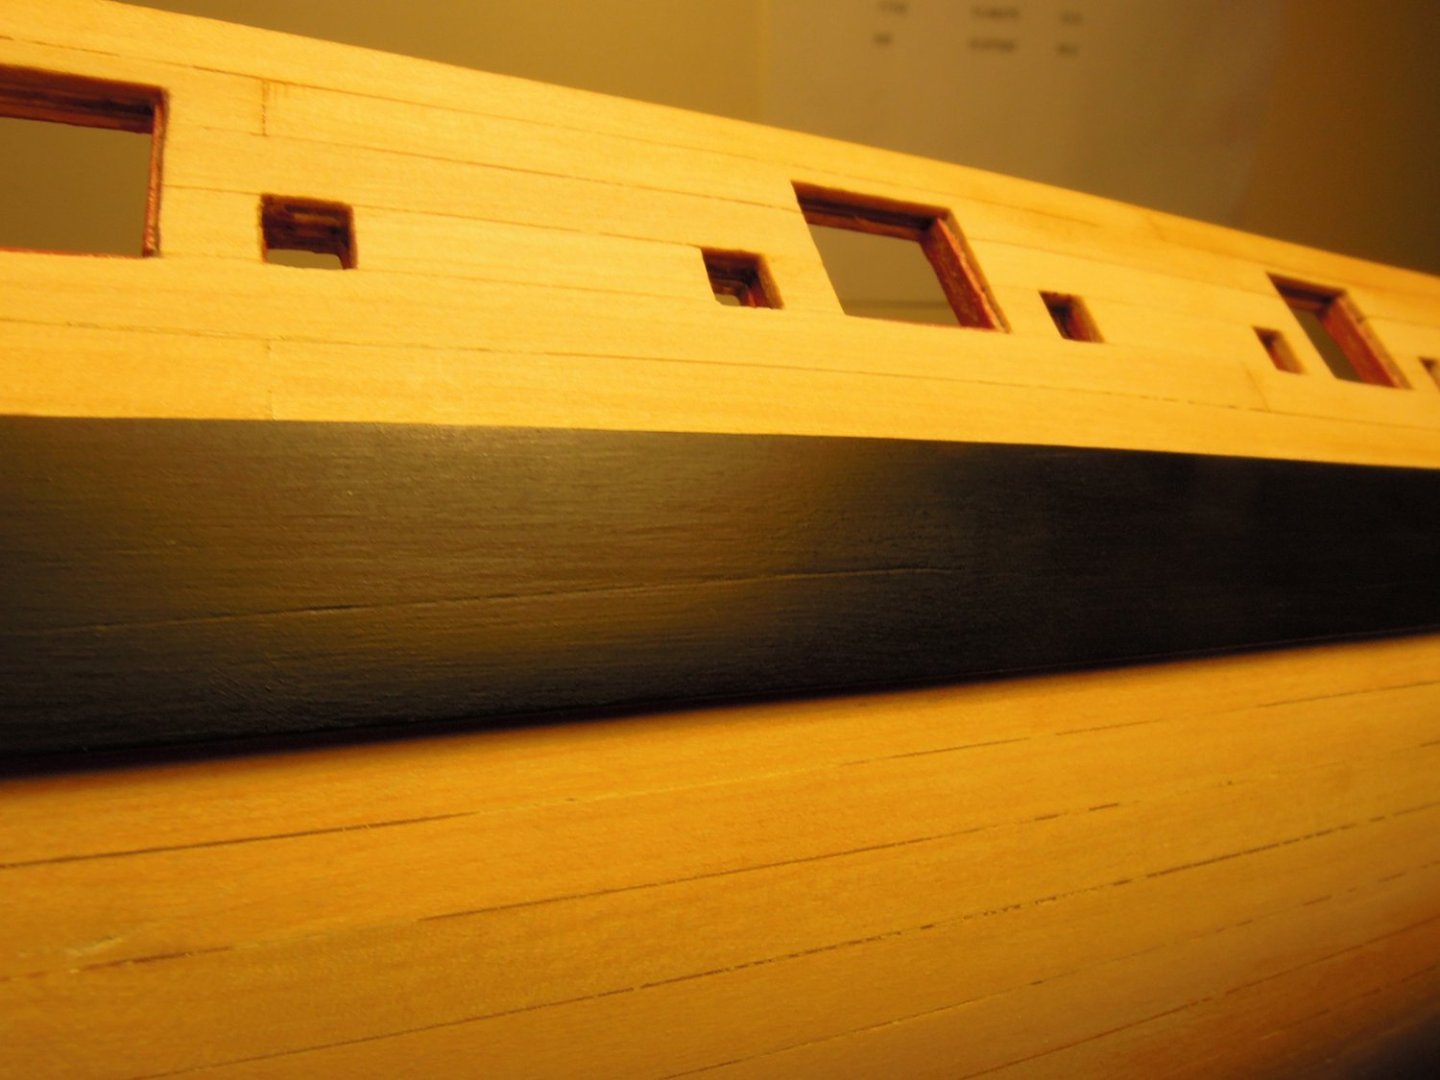
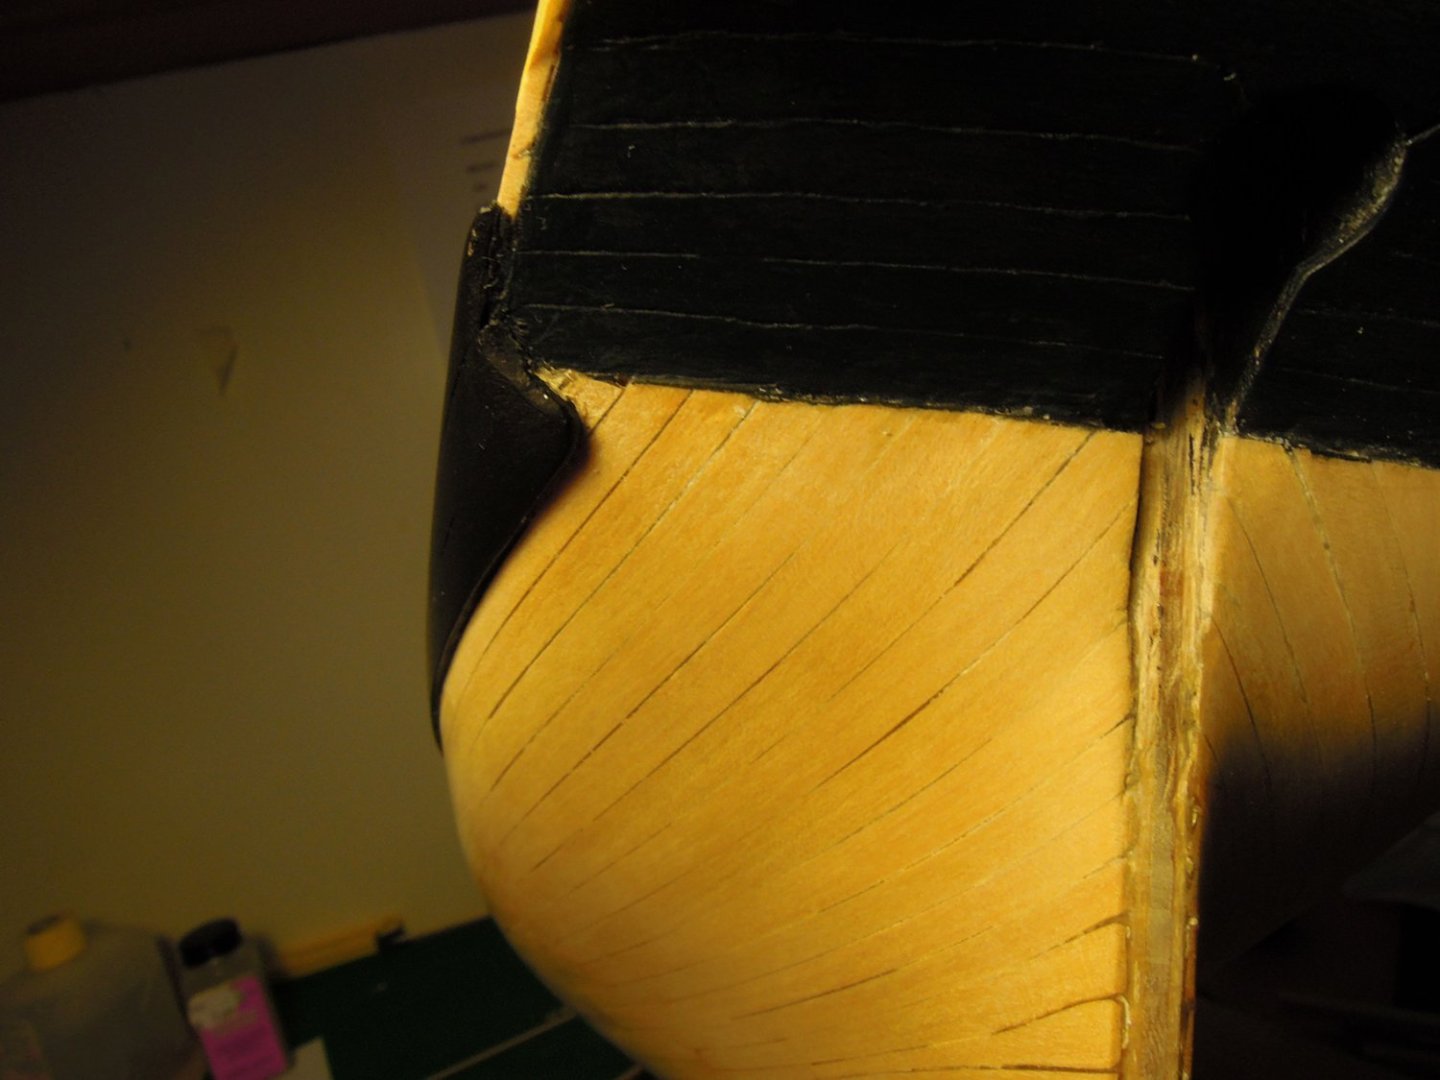
This is my second build and learned a lot from here and building my Bluenose II. Decided to tackle this as it comes highly recommended for beginners and will try to do the best I can and take it slow. The kit is very nice and the supplied wood and fittings look good and also the plans are excellent. The instructions are pretty sparse but there are a lot of build logs here to answer any questions. So let's get to it.
- 28 replies
-
- Amati
- Lady Nelson
-
(and 2 more)
Tagged with:
About us
Modelshipworld - Advancing Ship Modeling through Research
SSL Secured
Your security is important for us so this Website is SSL-Secured
NRG Mailing Address
Nautical Research Guild
237 South Lincoln Street
Westmont IL, 60559-1917
Model Ship World ® and the MSW logo are Registered Trademarks, and belong to the Nautical Research Guild (United States Patent and Trademark Office: No. 6,929,264 & No. 6,929,274, registered Dec. 20, 2022)
Helpful Links
About the NRG
If you enjoy building ship models that are historically accurate as well as beautiful, then The Nautical Research Guild (NRG) is just right for you.
The Guild is a non-profit educational organization whose mission is to “Advance Ship Modeling Through Research”. We provide support to our members in their efforts to raise the quality of their model ships.
The Nautical Research Guild has published our world-renowned quarterly magazine, The Nautical Research Journal, since 1955. The pages of the Journal are full of articles by accomplished ship modelers who show you how they create those exquisite details on their models, and by maritime historians who show you the correct details to build. The Journal is available in both print and digital editions. Go to the NRG web site (www.thenrg.org) to download a complimentary digital copy of the Journal. The NRG also publishes plan sets, books and compilations of back issues of the Journal and the former Ships in Scale and Model Ship Builder magazines.

.thumb.jpg.c459ce4140b54c12eddb8eedfd446df3.jpg)













.thumb.jpg.51663d40cf48bd5949e06628da9d07ad.jpg)
(1)(1)(1)(2).thumb.jpg.792ad774561d3d4f35888704cde27a8e.jpg)