-
Posts
404 -
Joined
-
Last visited
Content Type
Profiles
Forums
Gallery
Events
Posts posted by Ray
-
-
John
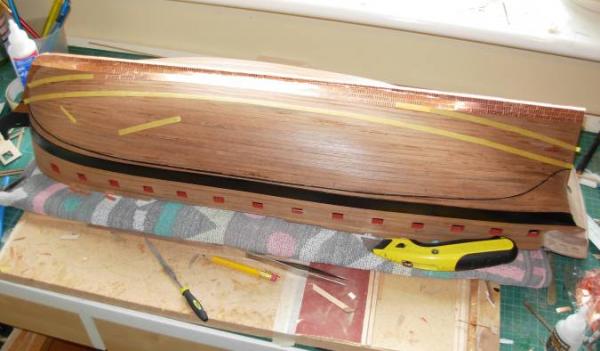
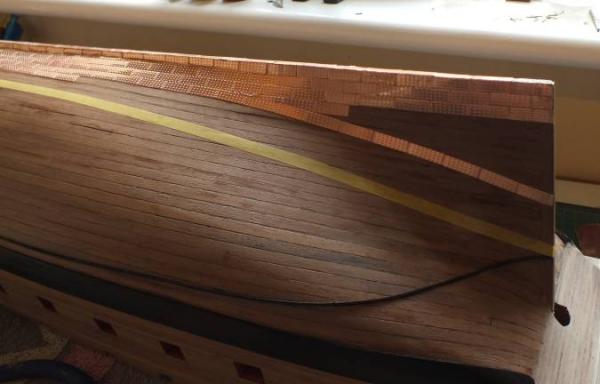
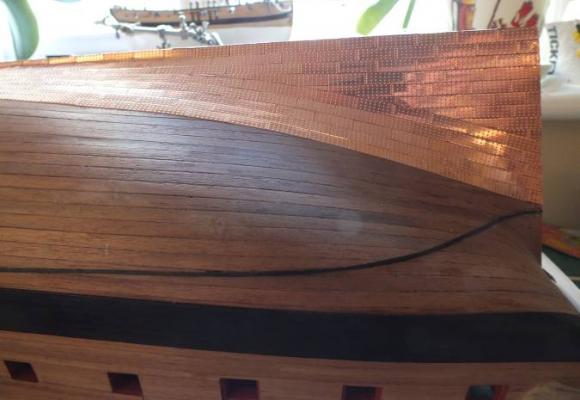
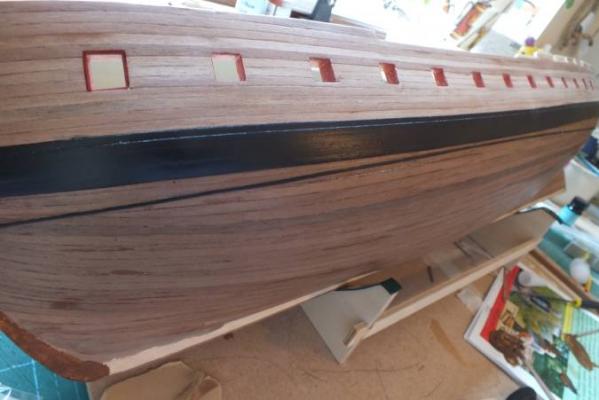
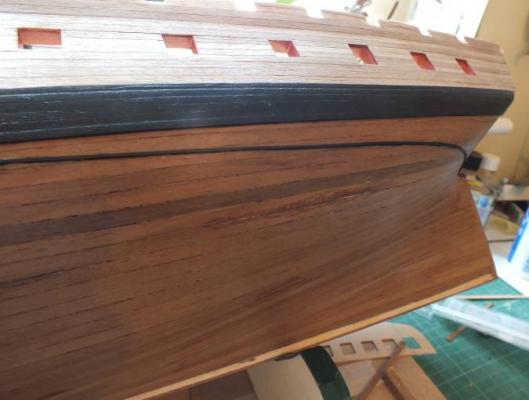
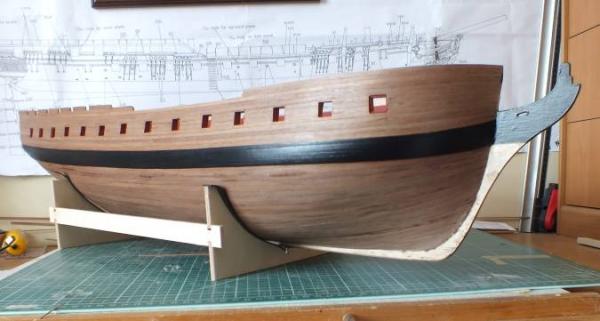
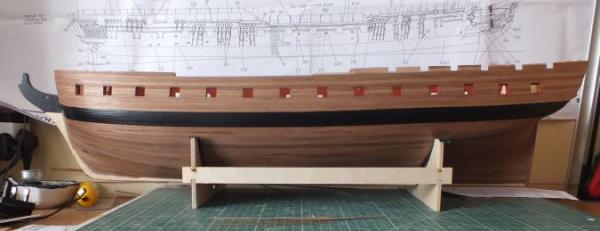
The black line is a batten 1mm x 1mm in plastic painted black. The top and butt deck planking was a challenge but came out well and worth the extra effort, one thing I would recommend is to use maple if you try this you cannot use the timber supplied as you need several different widths.
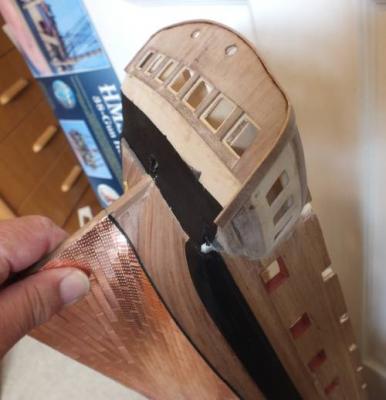
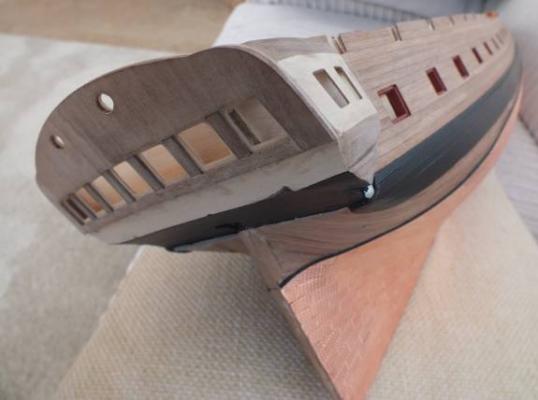
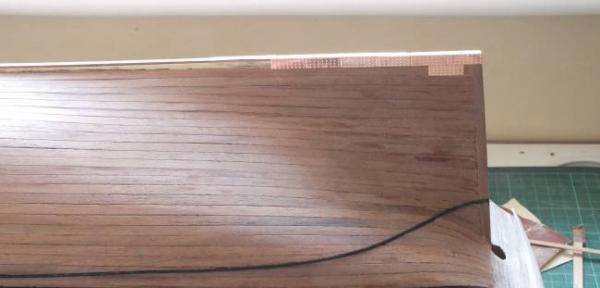
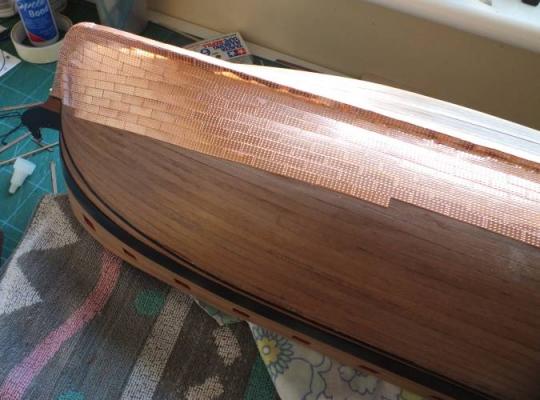
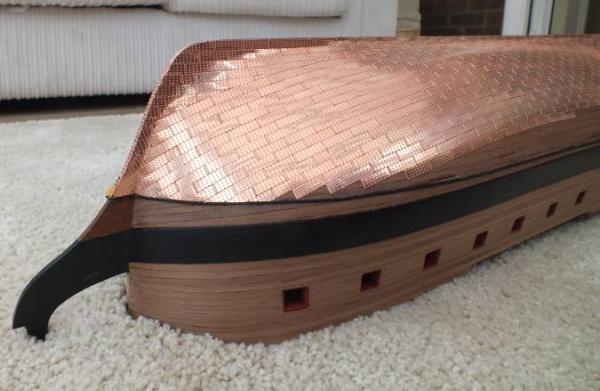
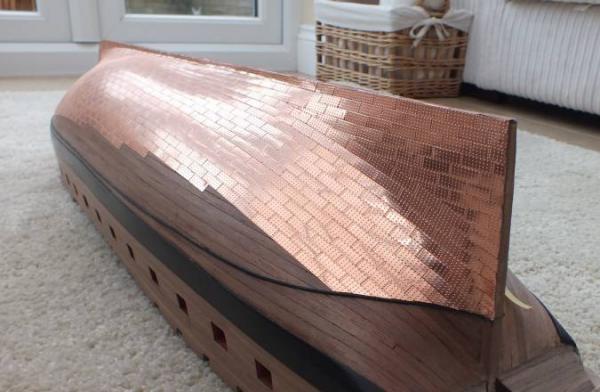
Copper platingI have now completed the plating on one side about 950 of them and I am pleased with the result, and how they went on, fitting the batten first made cutting in the plates at the water line much easier than on Pegasus when I added the batten after plating. My educated guess at where to put the gore line worked out ok, next a bit more work on the galleries and then another 950 ish plates.
One side plated
triming a plate
Plates cut into the batten
Side one finished
-
-
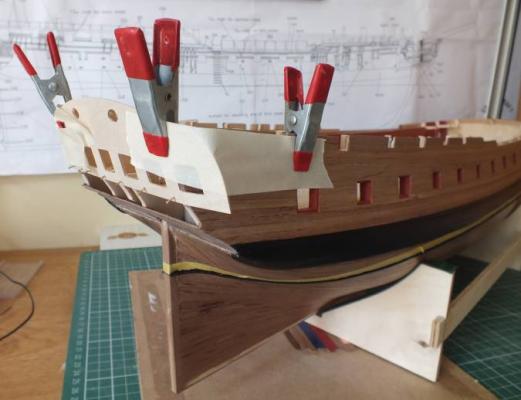
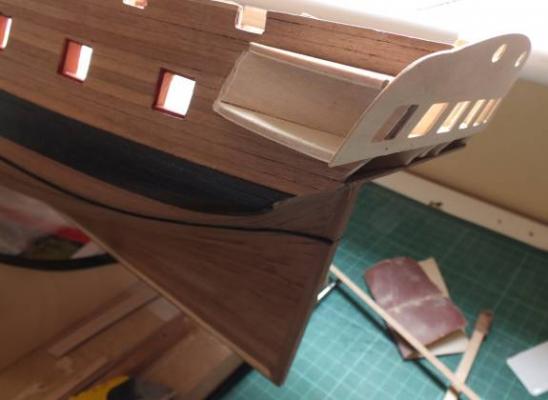
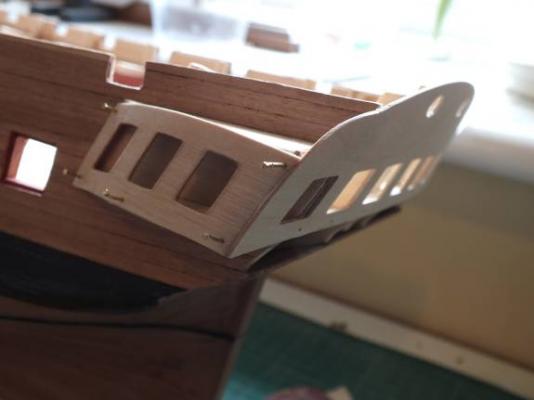
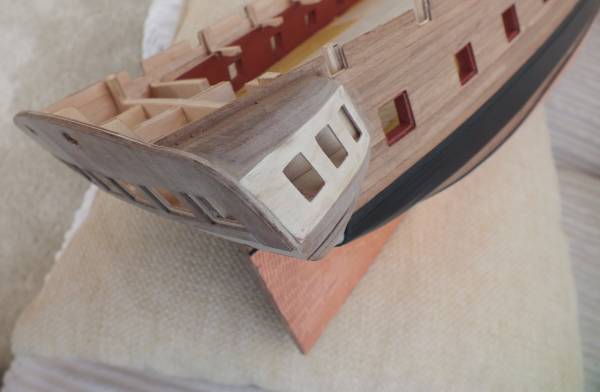
The Stern& Quarter Galleries being built at same time as coppering hull.
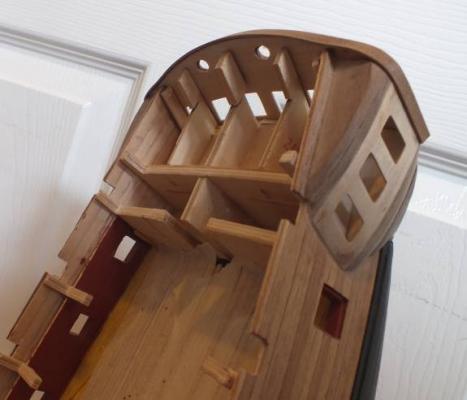
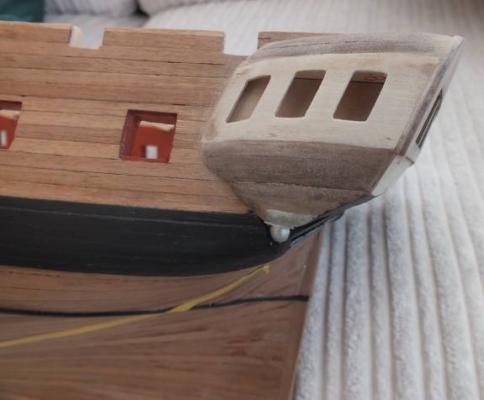
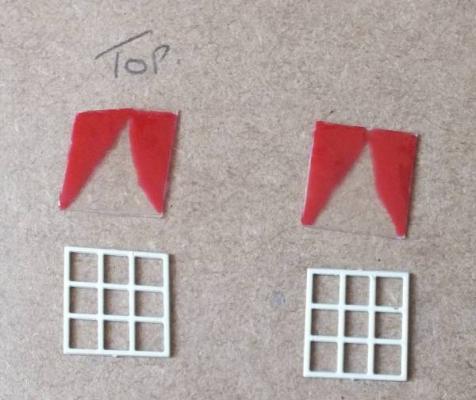
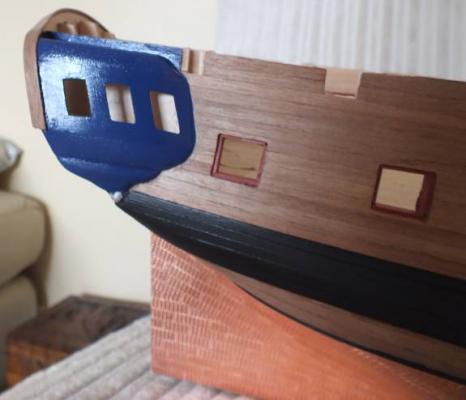
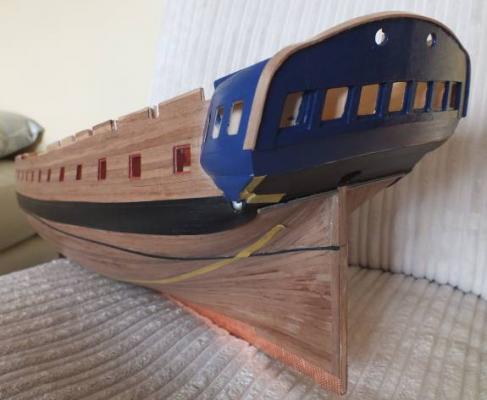
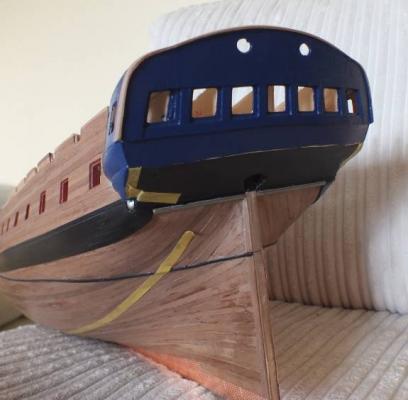
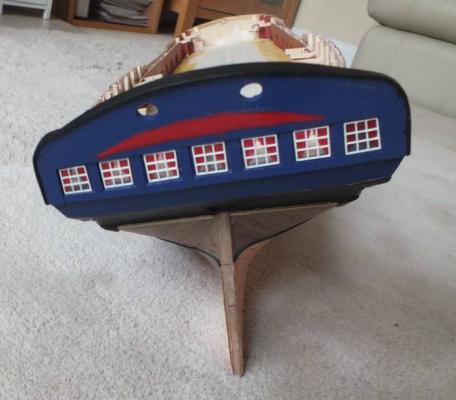
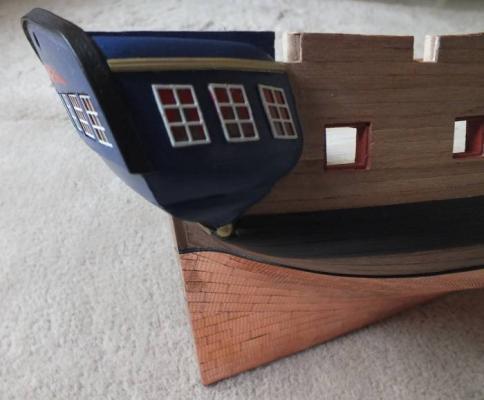
This proved to be quite tricky to build and even more so as I am going with the low quarterdeck sides. I lined up the transom so that the rail across the top of the stern gallery will line up and be the same height as the quarter deck sides, when they have the rail caps on them, this has meant the side windows are a bit to high by about 5mm and its to late to change the height, so I will have to live with it, I added a extra 3mm piece under the windows which brings the whole gallery down so it finishes in about the right place. Could I have tried to removed it all and lowered it, it is so well glued up it would have been a nightmare to do and could have ruined the whole stern, the good thing is the top stern gallery rail and the quarterdeck rail will line up and look right. Once the quarter galleries were made up the stern gallery was done and the rail across the top added a length of 1x4mm walnut was well soaked and then bent into shape and fixed whilst very damp with cyno. Back to a bit more coppering as I mentioned before I have been building this up whilst coppering.
Starting the stern gallery
Galleries building
Top rail added
ready to paint
curtains
painting
- tarbrush, muratx, Blueskippy and 5 others
-
 8
8
-
Hi Daveor
My build log is on the site I reloaded it from beging to end and might help in the early stages look for HMS Pegasus by Ray in the search under titles for kits
-
David, Juergen, Andy, Mark
Thanks for the comments guys David she is quite large but I agree with Andy you have to build the one that floats your boat.
Mark….. The gore line I could not find any information that lays down rules for where it should be, and I am not a fan off the method where two or three rows of plates that go in a band around the water line, so I set the gore line so it looks right to me, I did the same on Pegasus and I looked at her, and used her as a guide as the hull shapes are not dissimilar, hope this is of help.
-
Copper plating the hull.
Firstly I decided to go with the copper plates supplied with the kit although I much preferred the look of the ones used on Pegasus, the cost would have been over £100 to update them too much for me. I started from the edge of the keel and fixed a row of tiles left over from Pegasus on the edge, I then came down 3 Rows before running a gore line, I did it by eye and feel and looking back at Pegasus to get the same sort of effect, as there does not seem to be a definitive way of doing this. One advantage I have found with these plates are they fix very well, maybe it is the dimples on the fixing side holding the cyno better than a plain flat surface, they also cut well and dress down fairly easily with a file or sanding wheel, when you need to make up the triangular stealers.
First few tiles on
Gore line marked out
Gore line tiled
About a quarter done
First side nearly done
- Timmo, Beef Wellington, Barbossa and 6 others
-
 9
9
-
Hi Mobbsie
Coppering looks great I am at a similar point with my Diana and the coppering patten looks about the same, its a bit scary where to put the gore line as you do not know if it is right untill you have completed one side. I have found the Caldercraft plates fix very well, and cut well, second side should be a walk in the park, all be it a longish one.
Regards Ray
-
Firstly thanks for the comments guys
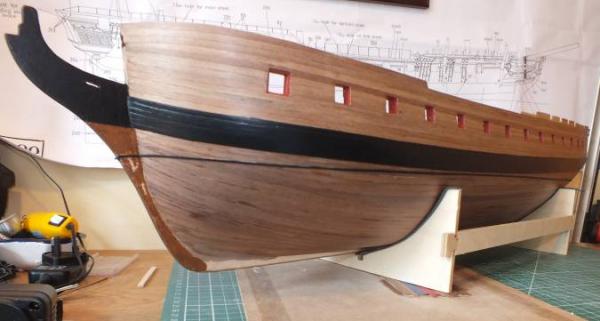
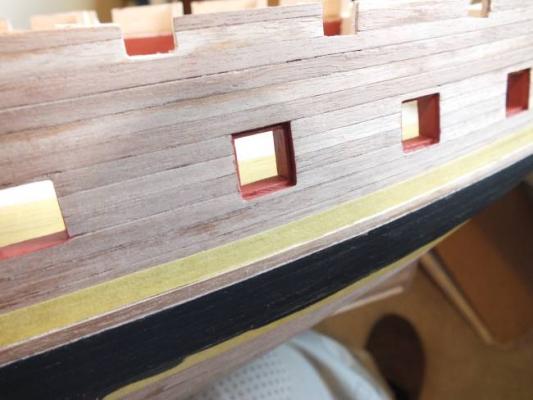
I will now depart from the build instructions and copper plate the hull and build up the transom and stern gallery. Before I start the plating I have added the batten to where the copper plating will finish, I used 1mm square plastic and painted it black. I will do the copper plating next, as it requires the hull to be upside down or on its side most of the time whilst the plating is being added, so I my opinion now is the best time to do it, plus I want to get it out of the way, I will do a bit of tiling and a bit of transom building, my reasoning is doing both at the same time will break up the copper plating.
Batten on and painted
- Shipyard sid and fnkershner
-
 2
2
-
The main wale
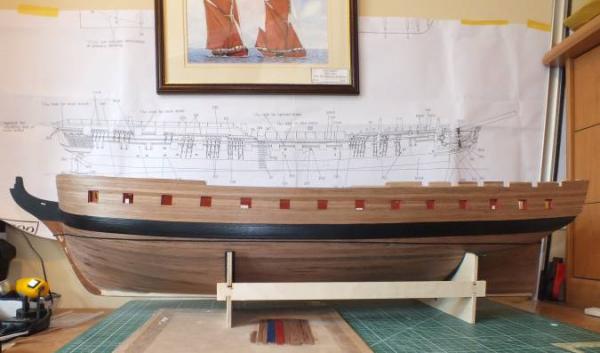
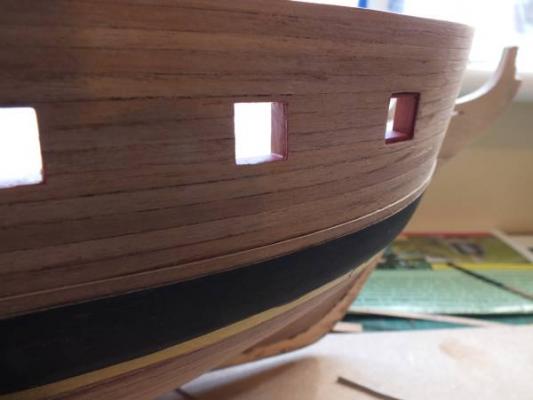
The main wale planking was done next; again the timber needed dressing before it could be used, as the edges were very rough. After all the planks were fixed I taped over the top thinner plank so as to protect it, and to maintain the difference when rubbing down the rest of the wale. The wale was rubbed down and filled and top plank uncovered and the whole wale painted black.
The whole of the hull including the wale was given a coat of 50/50 satin water based varnish and water, I use this as a sealer, I find both paint and the copper tiles adhere to it very well (I did a test strip to make sure).
First plank on
Ready to fill and paint
Narrow top wale plank
Wale in progress and lined gun ports
Masked up and painted
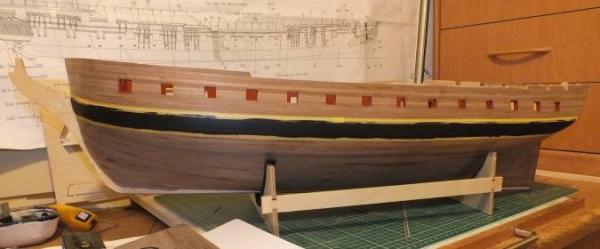
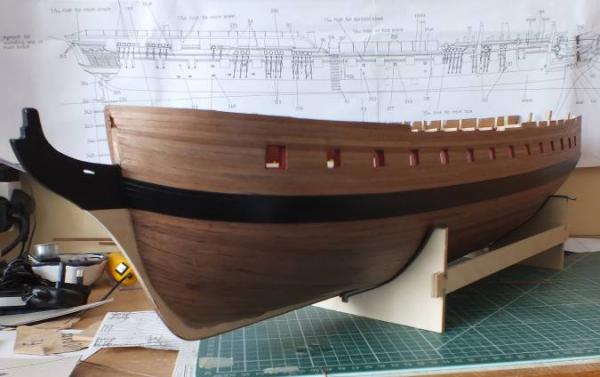
Wale completed and 50% water-varnish sealer on
-
-
Hi Mobbsie
l have just started coppering Diana a test row first and am going to do it in a very similar up x amount of rows and a gore line when it looks right the same as I did on Pegasus. I will add a batten at the water line before more tiling, one good thing the caldercraft tiles stick well.
-
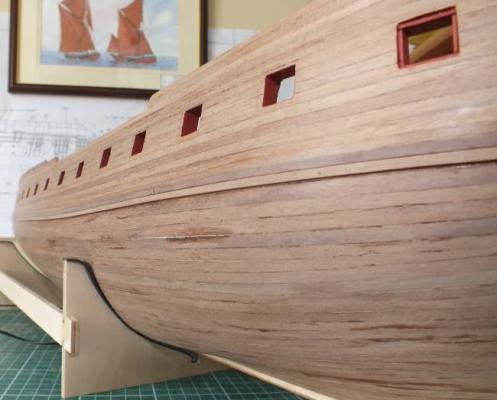
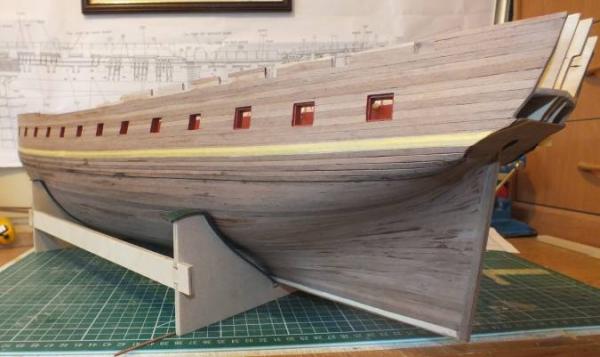
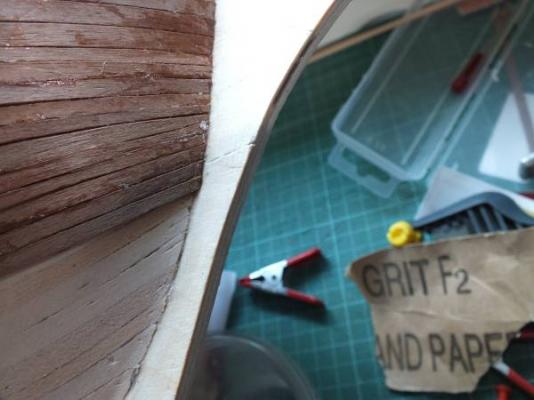
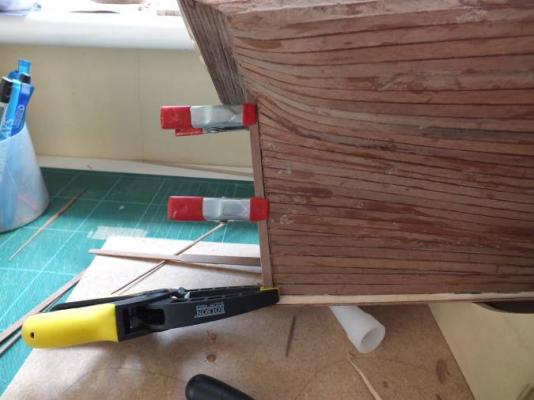
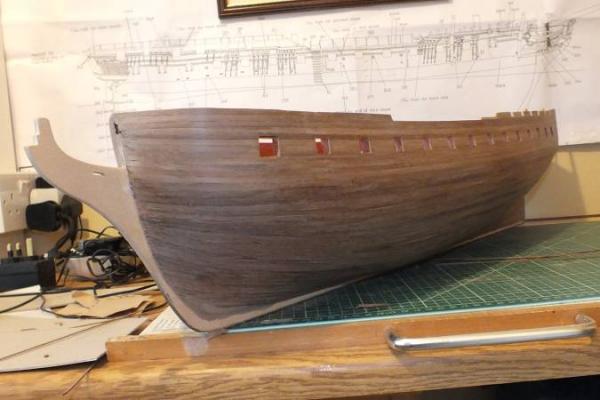
The second planking is completed sanded, filled, and sanded again and lastly finished off with wire wool, I have also lined the gun ports with lids, all the gun ports have been painted. One thing I did do was to add a 1mm strip to the bottom of the keel as to my eyes the distance between the planking and the keel bottom looked to narrow.
Bow planking
Stern post and stealers
second planking completed
First sanding
Filler aplied
Lined gun ports
Extra wood added to allow easier lining of bow gun port
After final sanding
-
Hi Juergen
Both Pegasus and Diana are 1:64 scale and show the differance in size between the largest frigate and the smallest all be it Pegasus is a sloop but is fully rigged.
I really like your HMS Leopard and have ordered the book, I would love to build a 50 gun 4th rate, my main concern would be the ornate carving I do not think I could do in justice, if I did try the build I would have to do the carvings first.
-
Great work Juergen I would love to build a 50 gun ship, There is a big hole in the kit market at this point, I might even be tempted to have a go after Diana at a scratch build after seeing yours, look forward to updates.
-
Thanks for the comments guys, I Just have the last couple of planks to go on and the second planking will be done, I will update once I have sanded her down.
I have made quicker progress than normal as 12 weeks ago I had a total knee replacement so have not been able to play golf or go carp fishing, so I will probably slow down a bit soon, but it has been great to do the build as it takes your mind of the painful knee (even at 2 o’clock in the morning).
Pegasus & Diana what a difference in size between Pegasus the littlest frigate (sloop) & Diana the largest frigate.
-
Second Planking
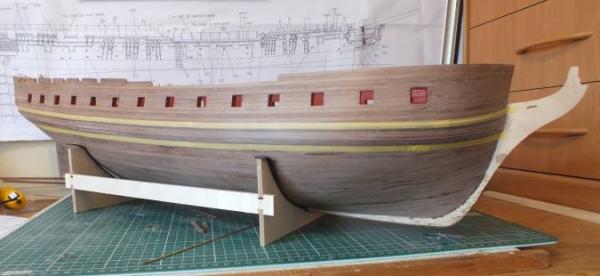
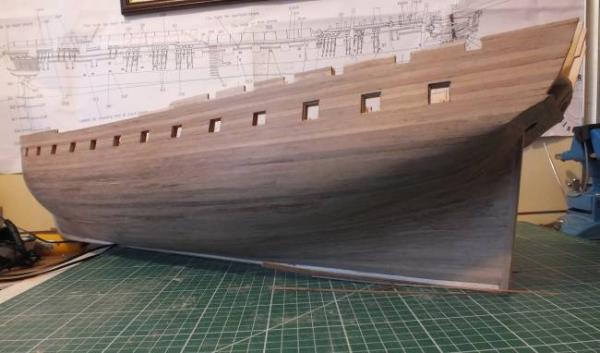
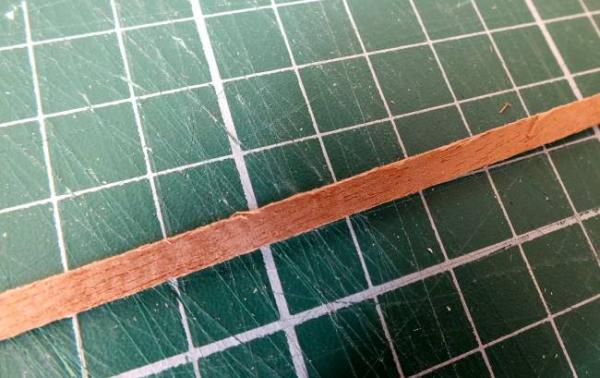
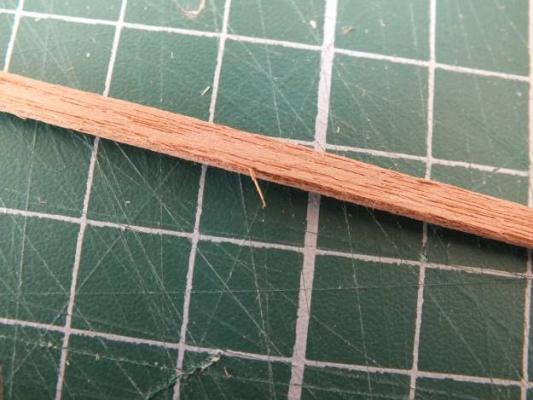
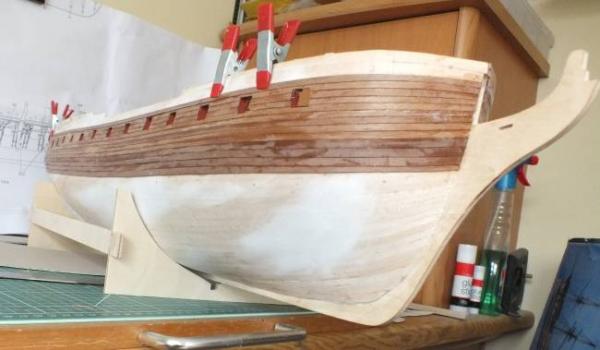
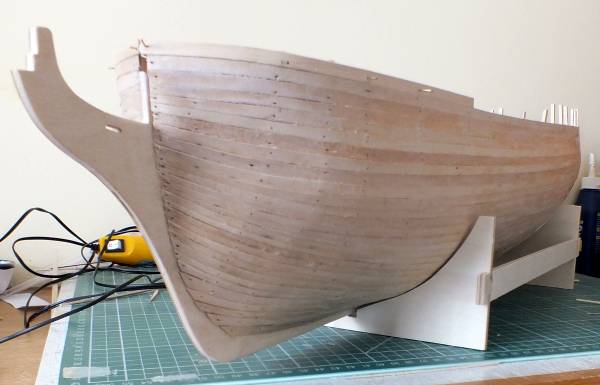
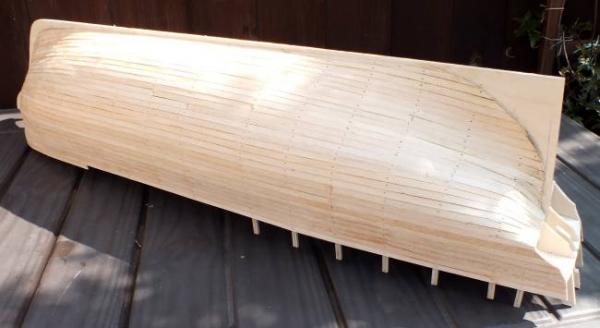
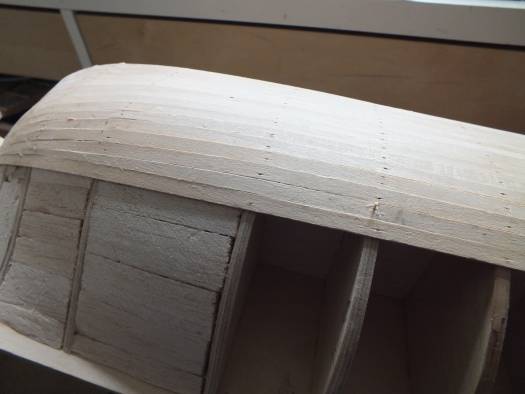
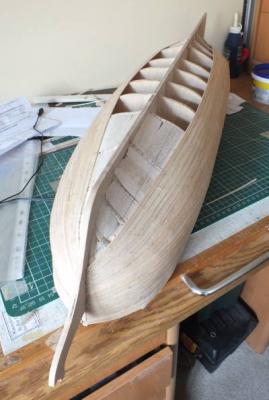
I started planking from the top of the wale, this position was marked out as per the instructions measuring down from the main deck gun ports. I like to lay the second planks semi-wet to damp and fix with cyno gel; I find the cyno grabs damp timber much better than dry timber. One thing I will comment on is the quality of the planking the 1x4mm being the worst, it is nowhere as good as the planking supplied in the two Victory kits I have built, the edges are rough and splintery, and also show saw marks, four out of ten would be my best mark I could give the 1x5mm a little better, So before soaking I had to sand all the planking edges a bit of a pain. I went downwards with the 1x5mm for five rows,( the instruction say plank right down to the keel and plank upward last), I then went upwards with the 1x4mm only because I thought it was only a matter of time while working on the bottom I would break or damage the fore or quarter deck sides, this way their thickness would be doubled and be a lot less fragile. The planking as gone ok so far.
Jason
At the end I have posted two pics with Diana along side Pegasus hope this gives you the size compassion.
Rough planking
First few planks on
Working upwards
Planked upwards to the top
Planking well under way
Diana and Pegasus
- fnkershner, jaerschen, Bill Hime and 7 others
-
 10
10
-
Hi Mort
I did look into using the plans but the spaces between the gun ports ranged betweem 29mm and 35mm hardly are two the same! so I just made sure the guns would be able to go through the two bow ports.I now have noted that in The Anatomy of Ships ports 1-7 & 8-14 have the same width between them and the width between 7 & 8 is wider about 35mm, to late to have this larger gap now, still I hope my log will help others from making the same mistakes as me.
-
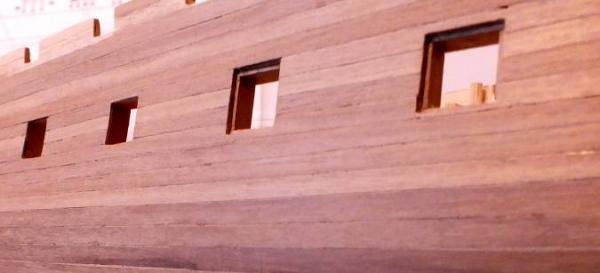
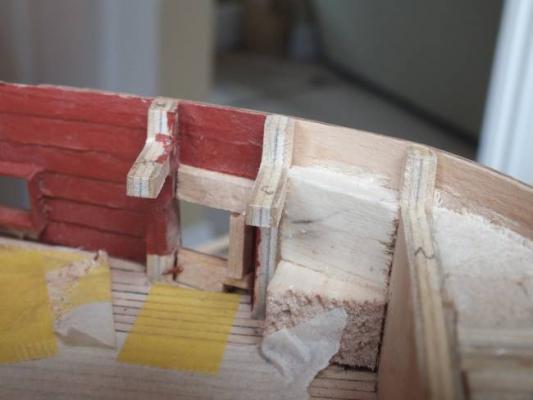
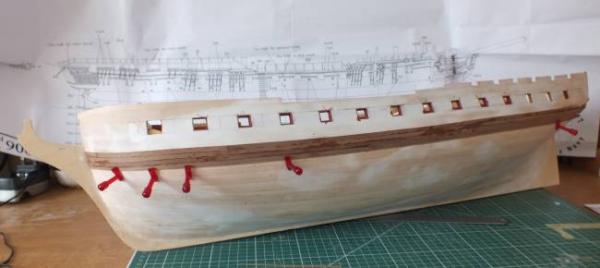
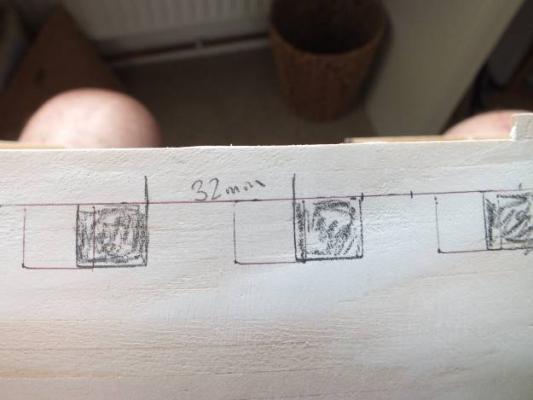
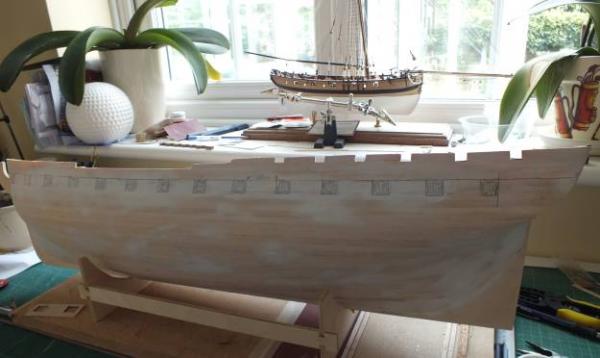
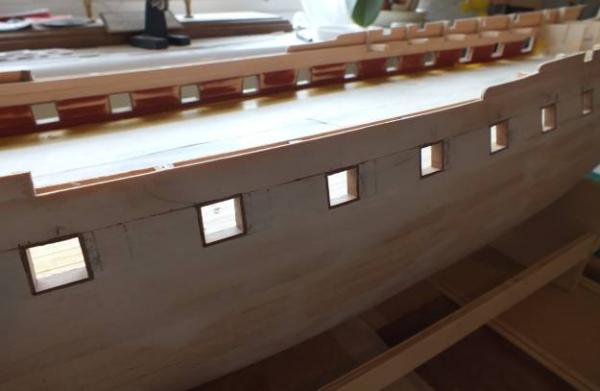
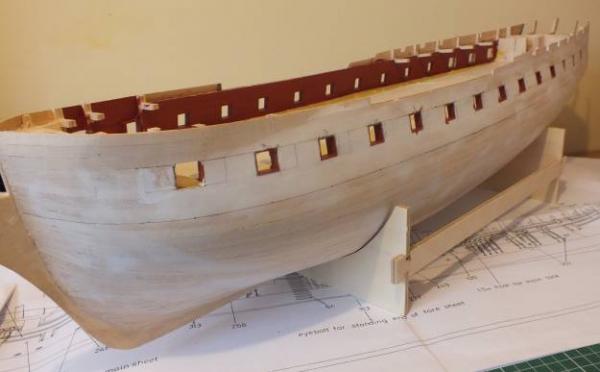
Next job mark out the main gun deck gun ports, on the face of it a simple task, the top of the second plank down is marked and is the top of the gun ports, start 65mm in from the stern and mark along that line with the template supplied stern to bow. WRONG this gave me a big problem the last two gun ports at the bow line up with two frames, these would need to be cut away to open up the port, which in turn means you would have to remove the deck beam supports, (see photo) this is a very poor design fault, I moved the gun ports to just miss the frames this puts the ports in the position shown on the overhead deck plan!! I then remarked the ports going back to the stern with a 32mm space between ports not the 30mm space on the template. I can only think what a good job I noticed this before I started cutting out the ports!!!!
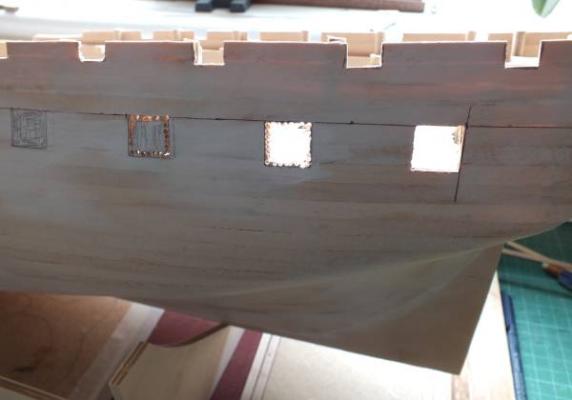
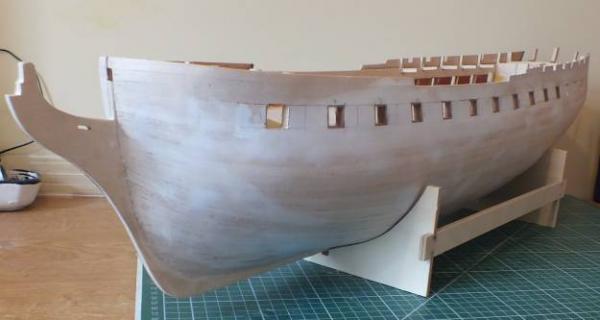
The ports were then all cut out small holes drilled and then cut out and trimmed square with a file, note I covered the deck with masking tape to protect it when filing out the ports, the ports without lids were then trimmed out with1x6 timber the inner bulwarks and the framed ports painted.
I did not check first but after warning from Christian I checked the channels, when fitted they will be ok and the spaces that need to clear over the gun ports will be.
AS marked out with supplied template
Ports as remarked
Cutting out the ports
Ports all cut out
Ports cut out and lined
All ports without lids done
-
Thanks for the comments guys the upper rails are a long way of but I have it in mind how to do them as Pegasus had similar rails.
Chistian I had not looked ahead to the channel positions but checked them out today in regaurd to the gun port positions and they are ok, I am nearly finished working on the main deck gun ports ( had to move the position of them full write up to follow ) And I also checked the channels with them luck was with me and they are ok.
-
Thanks for the comments guys just a bit more to do on the first planking as detailed below
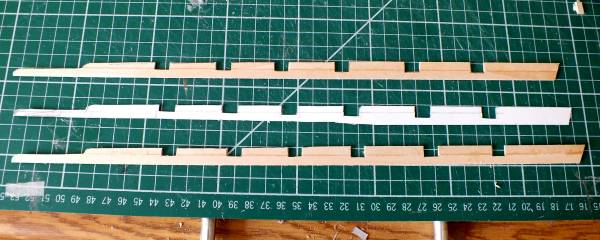
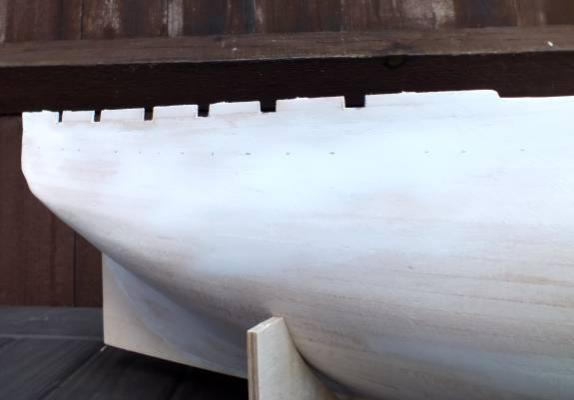
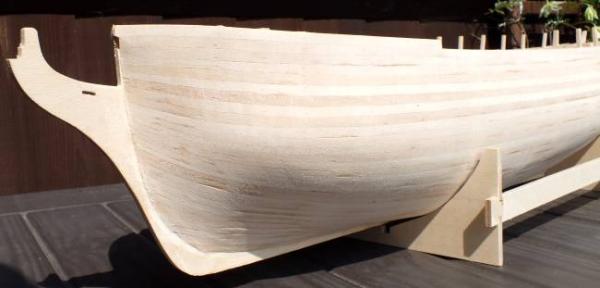
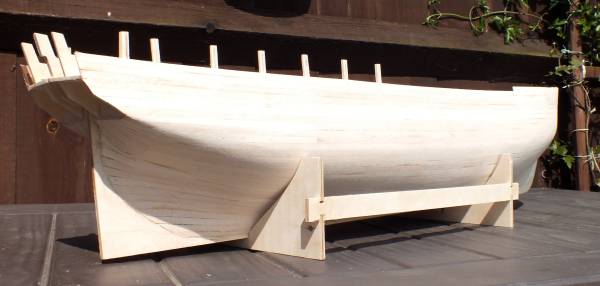
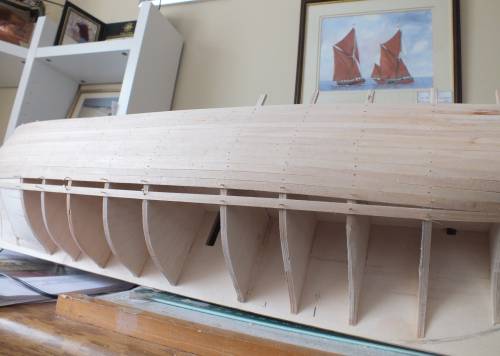
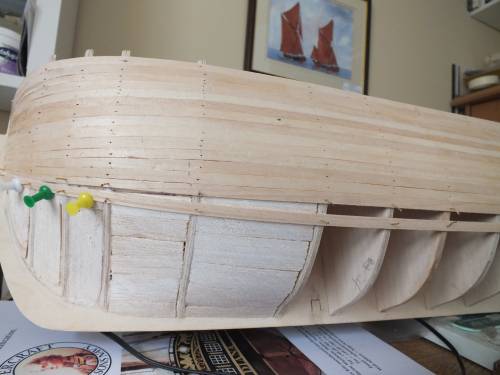
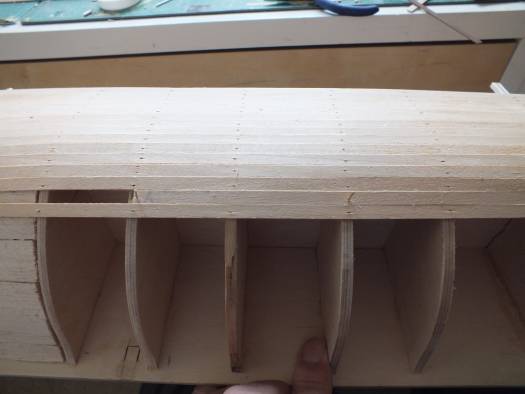
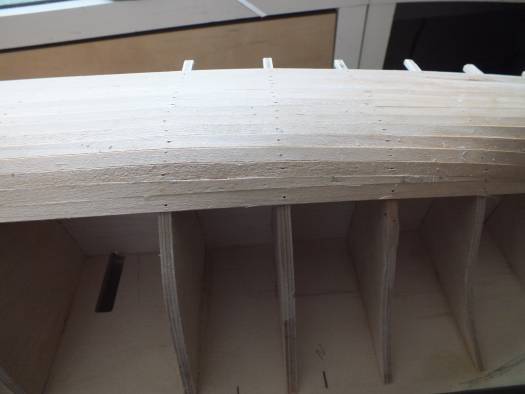
With the first planking completed and sanded down I filled a few slight dips, and low planks and sanded again. I then made a template for the quarterdeck bulwark, for as built configuration of 1794 all 9 pounders cannon and a rail, when happy with the look I glued together two of the lime planks and made the two bulwarks and after cutting the tops off the frames glued them on, then a second filler and sanding was then done.
The card template and the timber quaterdeck sides
Quaterdeck sides fitted and filled
The quaterdeck sides finshed
Main deck gun ports next
-
-
Hi Len great to see your build back I for one look forward to watching it progress
-
-
Hi Wayne
The ply keel is 5mm thick and I think it could do with updating in the kit, so that a hard wood section is added at the bow as that is the only part seen, I am undecided as to what finish to go for I will most likely try and stain the ply to match the planking and if that fails paint it black. In hindsight I could have let a section in if I could have found a piece off 5mm timber to match the planking.



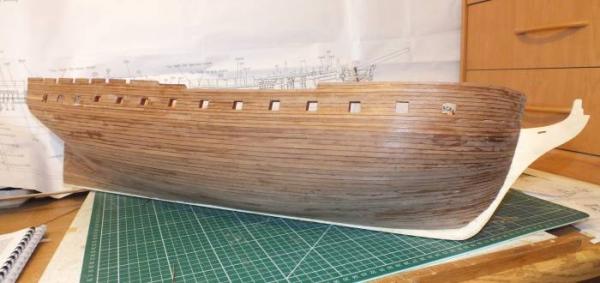
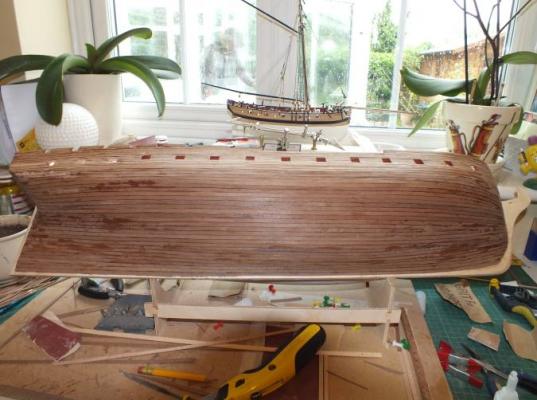
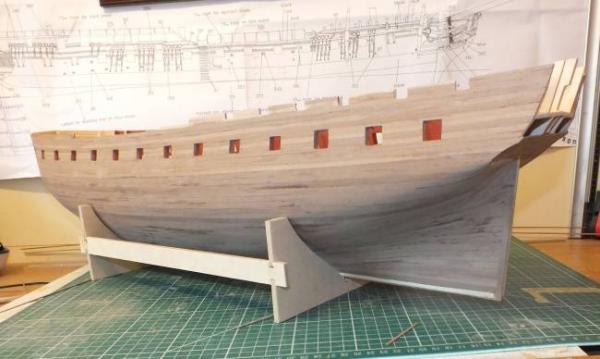
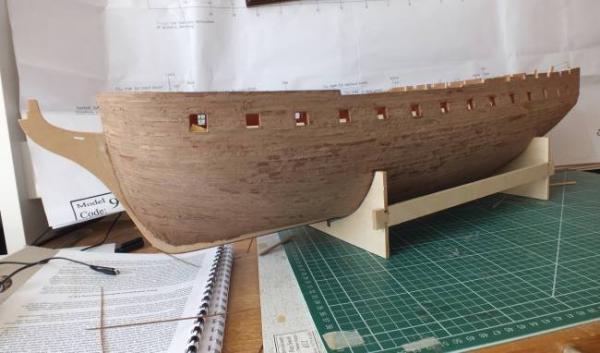
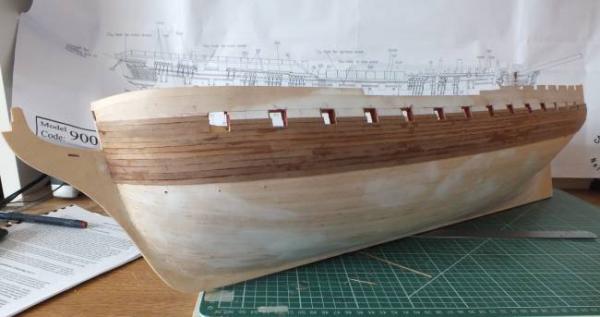
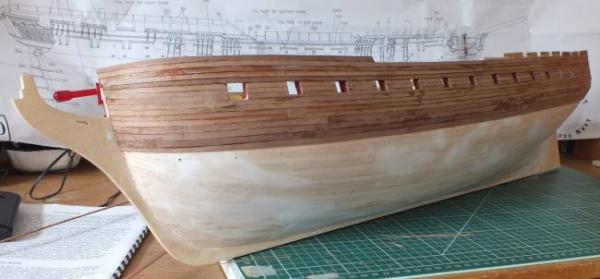
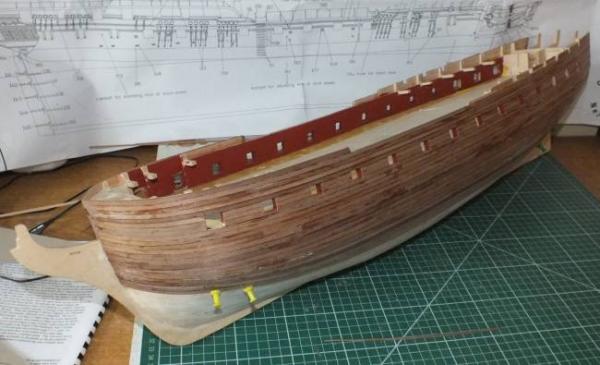
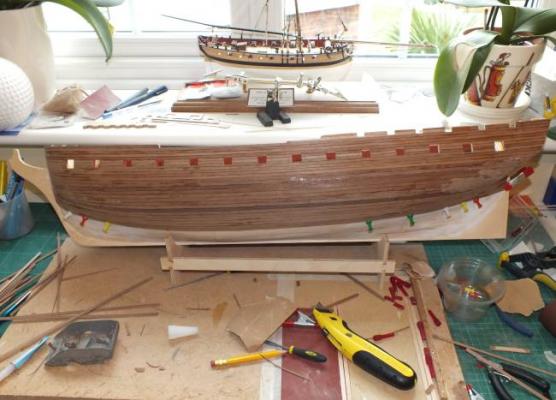
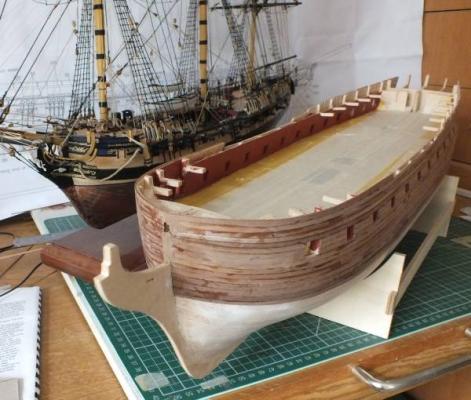
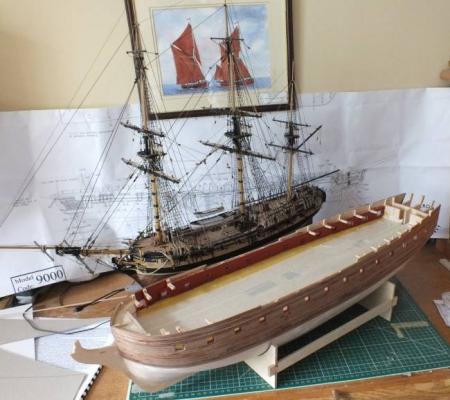
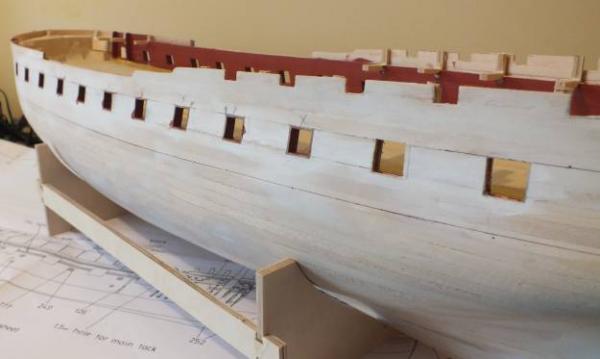
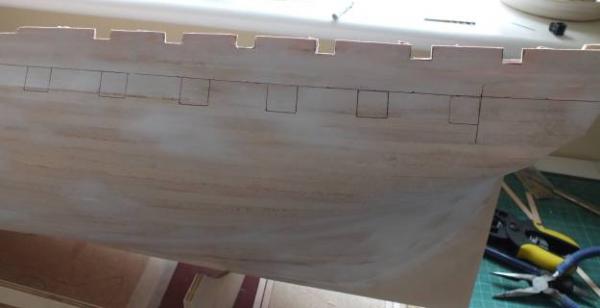
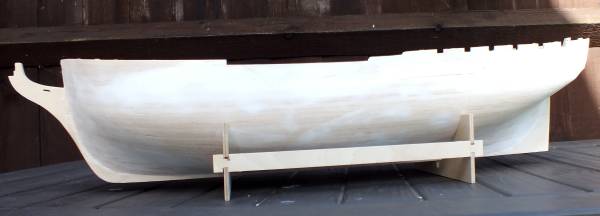

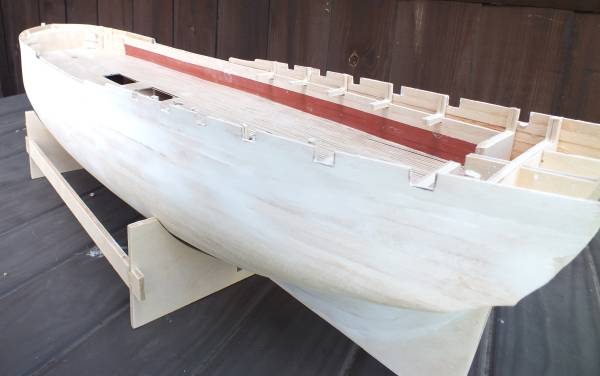
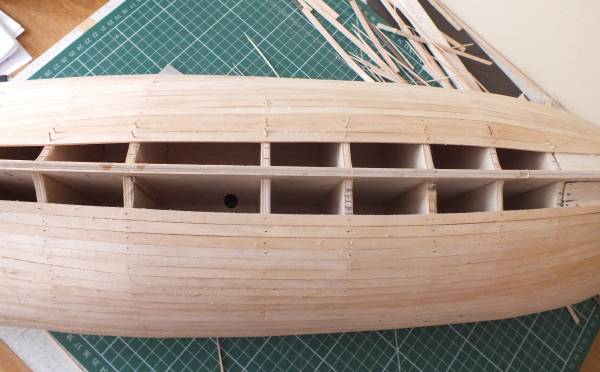
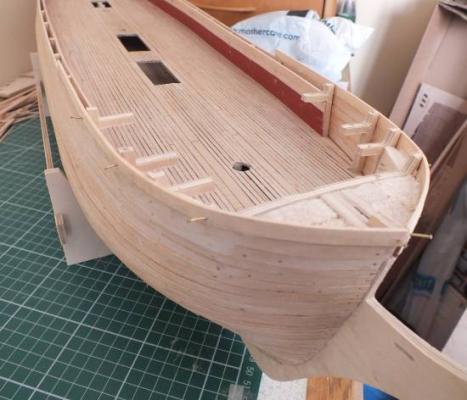
HMS Diana By Barbossa - Caldercraft - Scale 1:64 - The 1794 Attempt
in - Kit build logs for subjects built from 1751 - 1800
Posted
Hi Christian glad to see you are back, it was your open rail version of Diana that gave me the resolve to build her " as built " . Thanks for dedicating your post to me I only hope my Diana will be some where nearly as good as yours, also thanks for the other info, now its back to the coppering and galleries for me.