KennyH78
-
Posts
168 -
Joined
-
Last visited
Content Type
Profiles
Forums
Gallery
Events
Posts posted by KennyH78
-
-
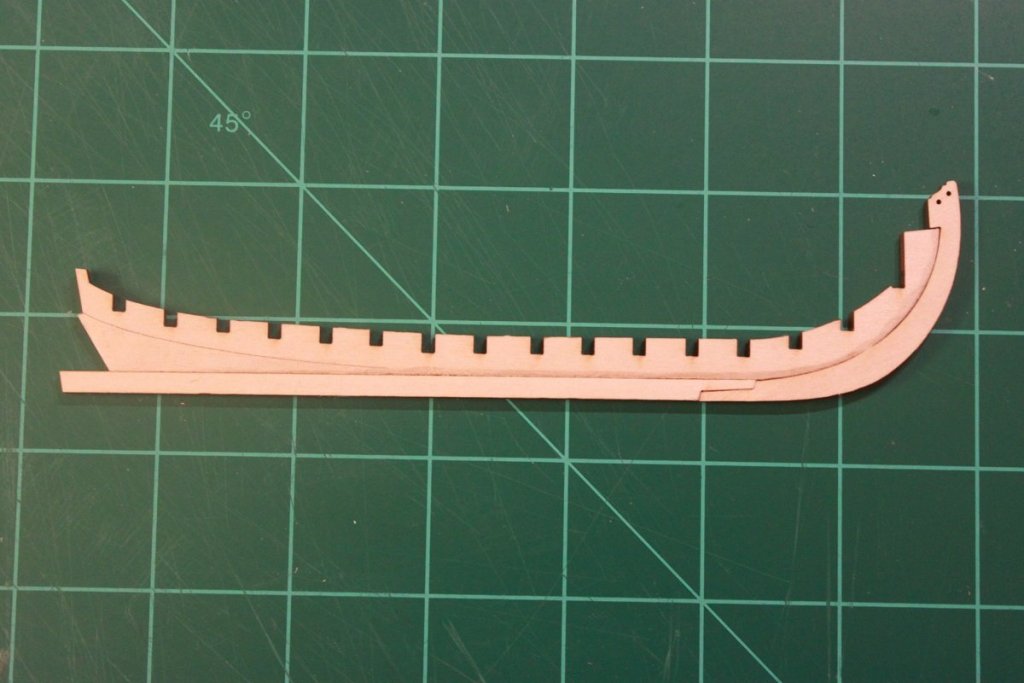
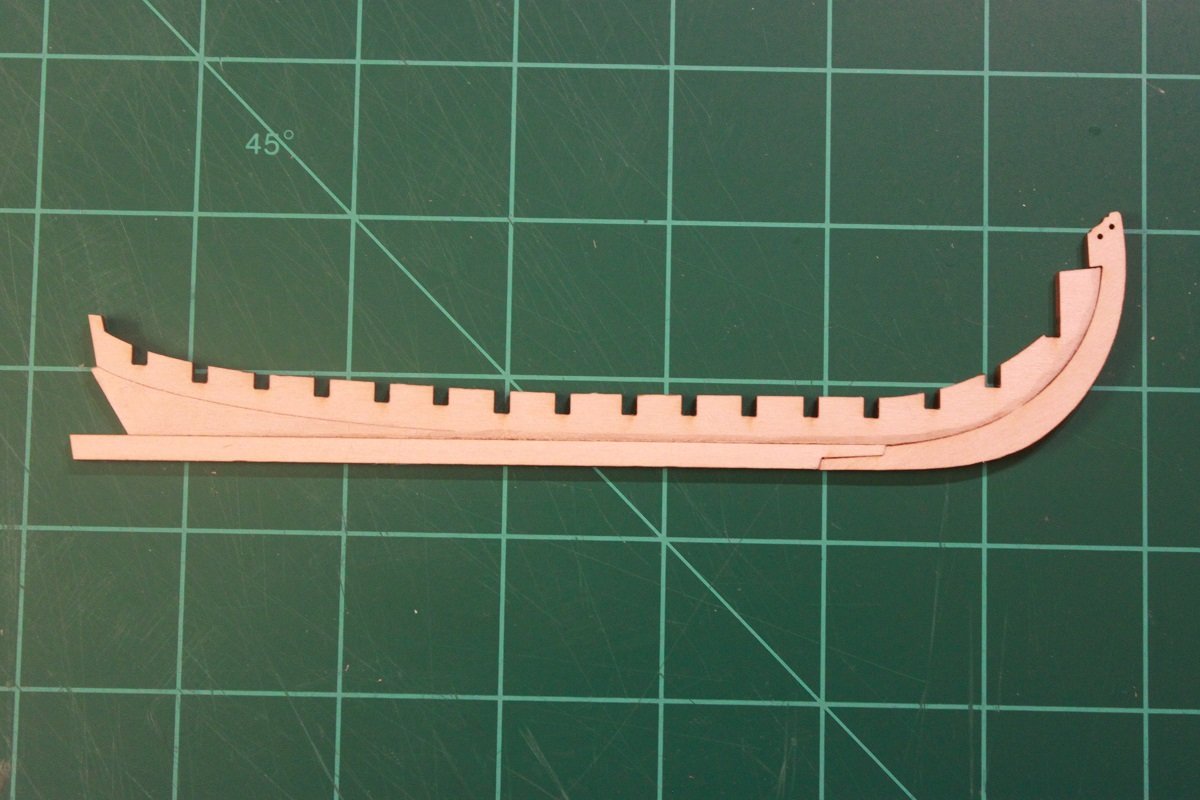
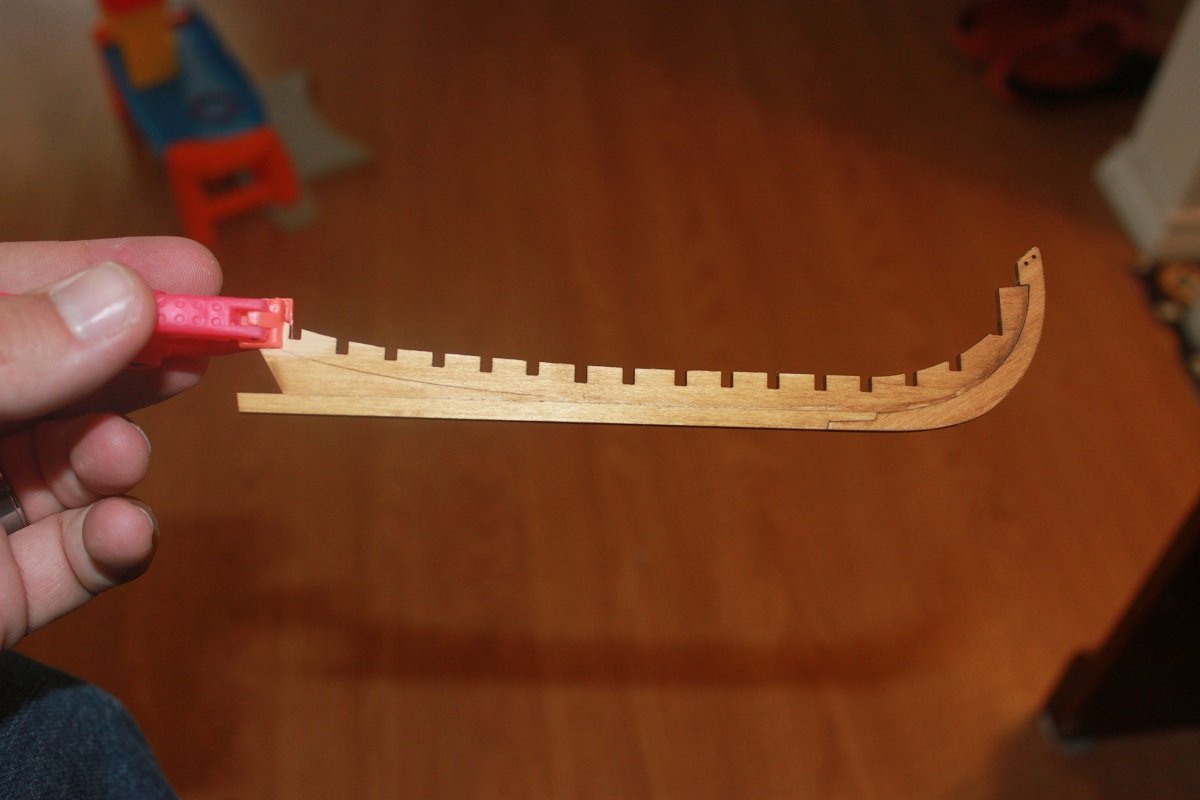
Since I have finished my Triton cross section and am unsure of which kit I want to start at the moment (Model Shipways Confederacy or Lumberyard's USF Raleigh (Hahn plans)), I figured I'd at lease start to build the 18th Century Longboat kit that I have. I've already cut the false keel from the laser cut parts sheet and cut the rabbet and then glued the stem and keel to the false keel. Once that was dry, I went ahead and stained the assymbly with some Golden Oak stain. Once that is dry, it will be time to glue on the bulkheads.

-
-
Thank you so much for the comments and likes.
Christian, there are plans for a POB full build of the Triton; but that will be a while before I start it. I currently have a piece of Castello Boxwood that is acclimating to the climate in Texas which I will mill down and use for the Triton full build. I also need to find some Holly and order a Byrnes tables saw and thickness sander. In the mean time I am going to put together the Model Shipways 18th Century Longboat kit. It's still a toss up on whether to start the Model Shipways Confederacy kit or the Lumberyard's US Frigate Raleigh kit (Harold Hahn plans and milled lumber from the Lumberyard). Decisions, decisions.......
Tony, it may seem like it was fast, but I started this build in 2014, then had to take a break to finish up school and for 3 surgeries for carpal and cupital tunnel. Once I was able to start it back up (after earning my degree) I really wanted to get it finished.
Now to go finish the case and get the model ready to give to my Dad.
-
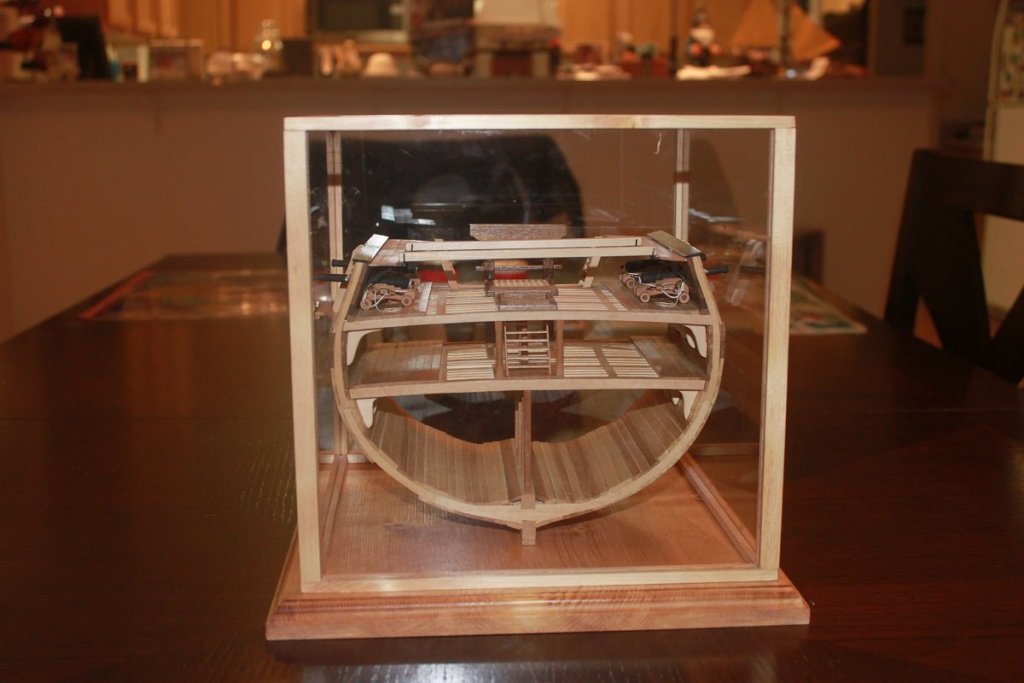
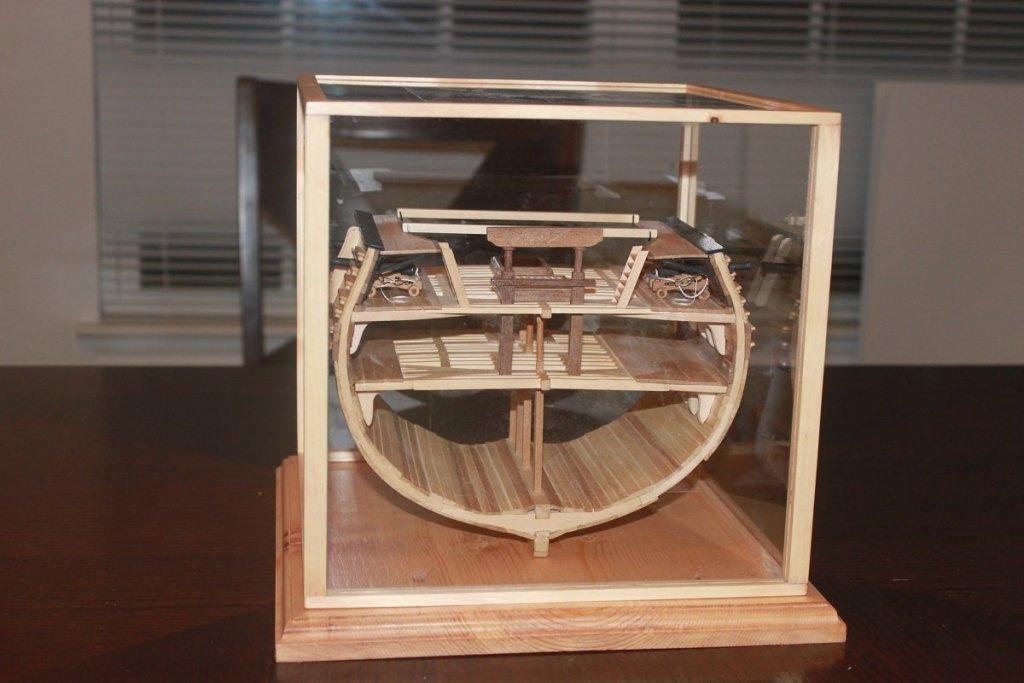
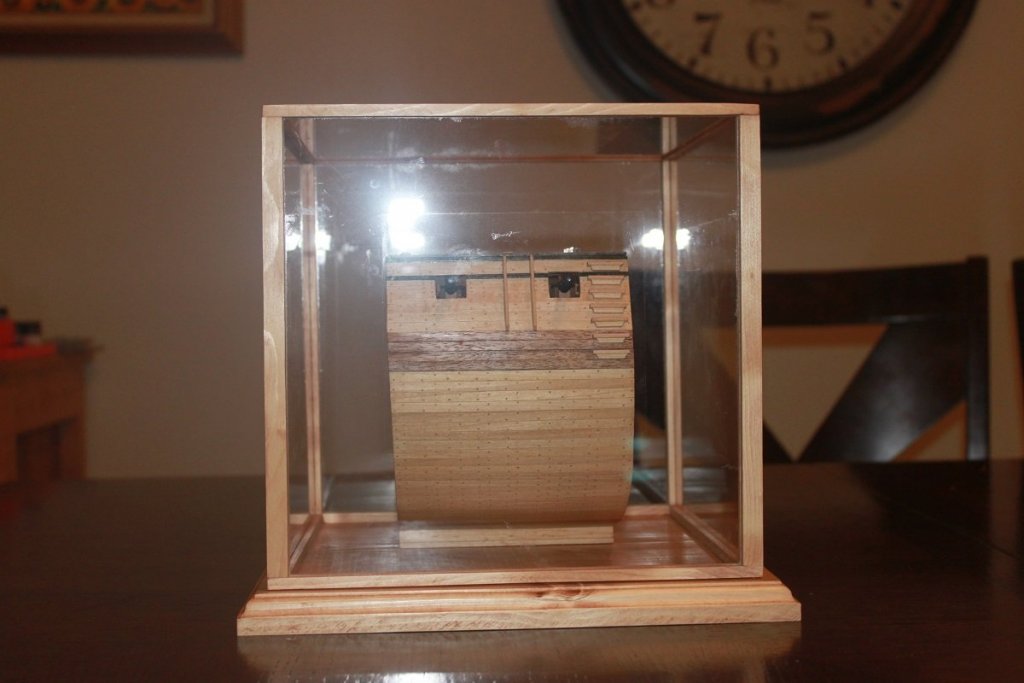
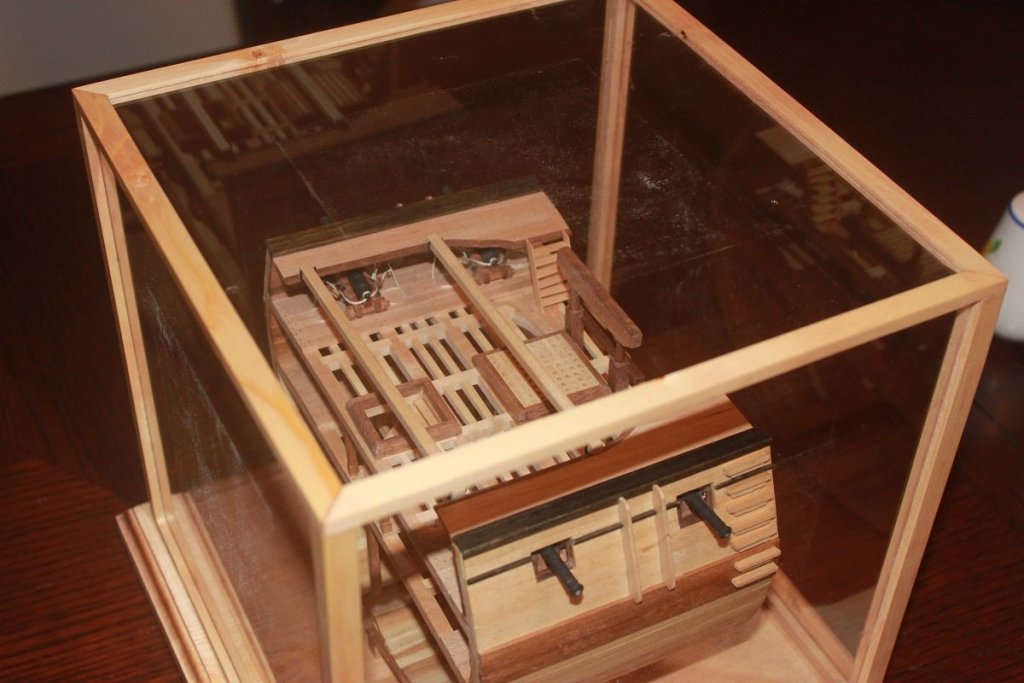
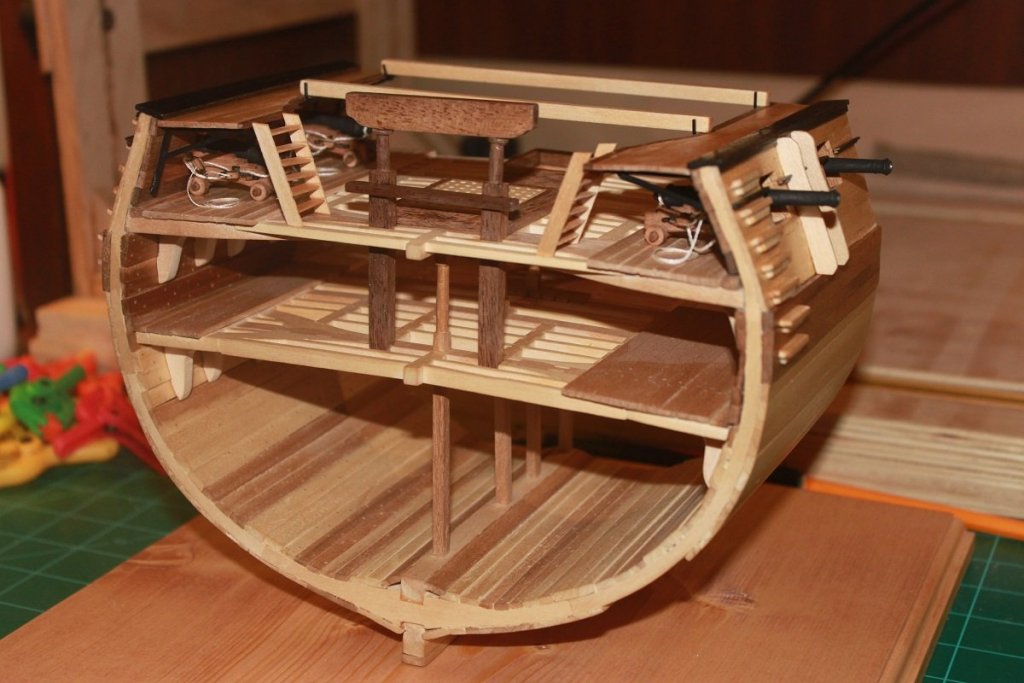
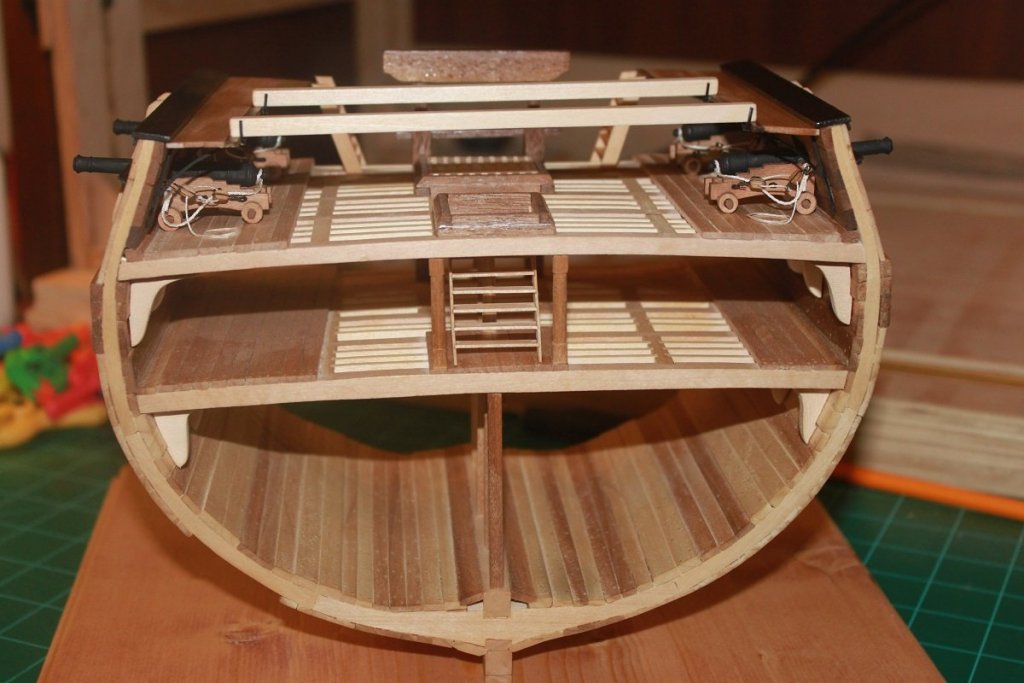
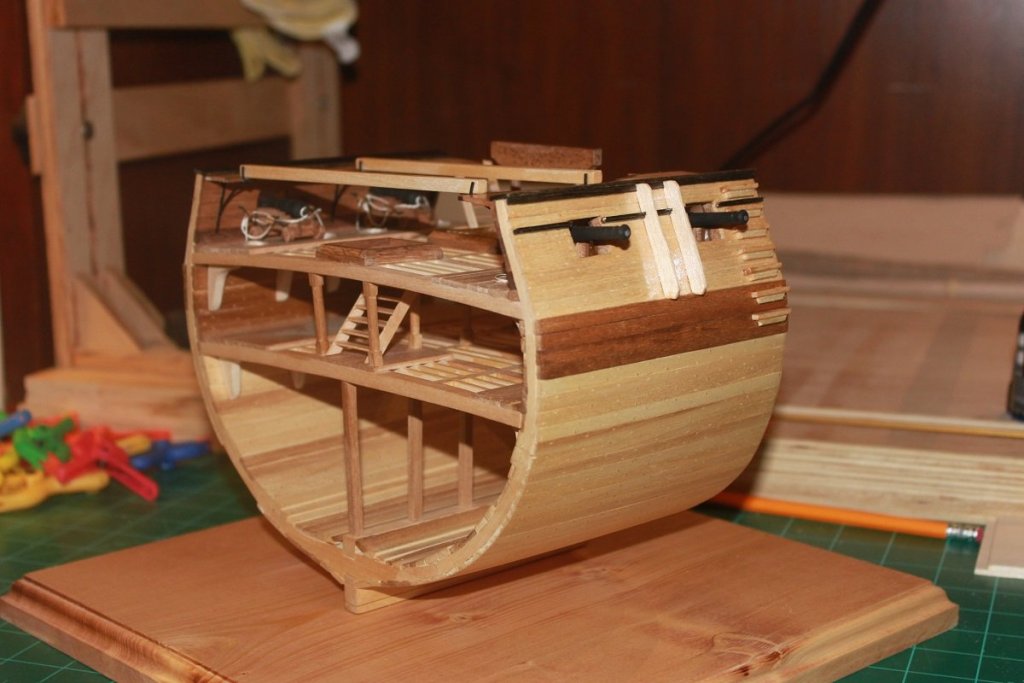
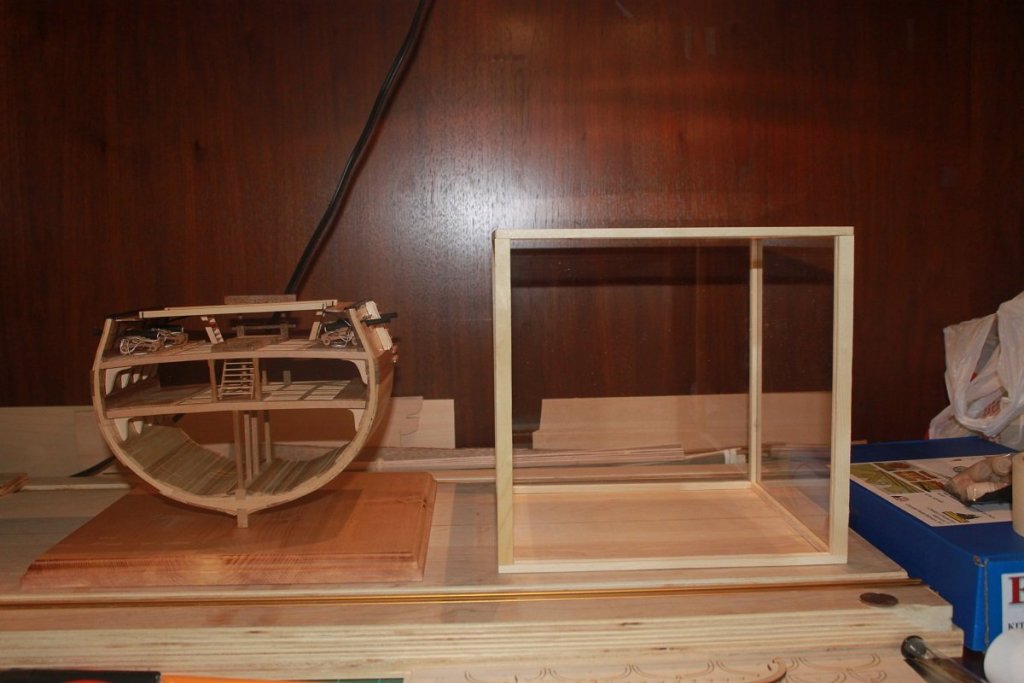
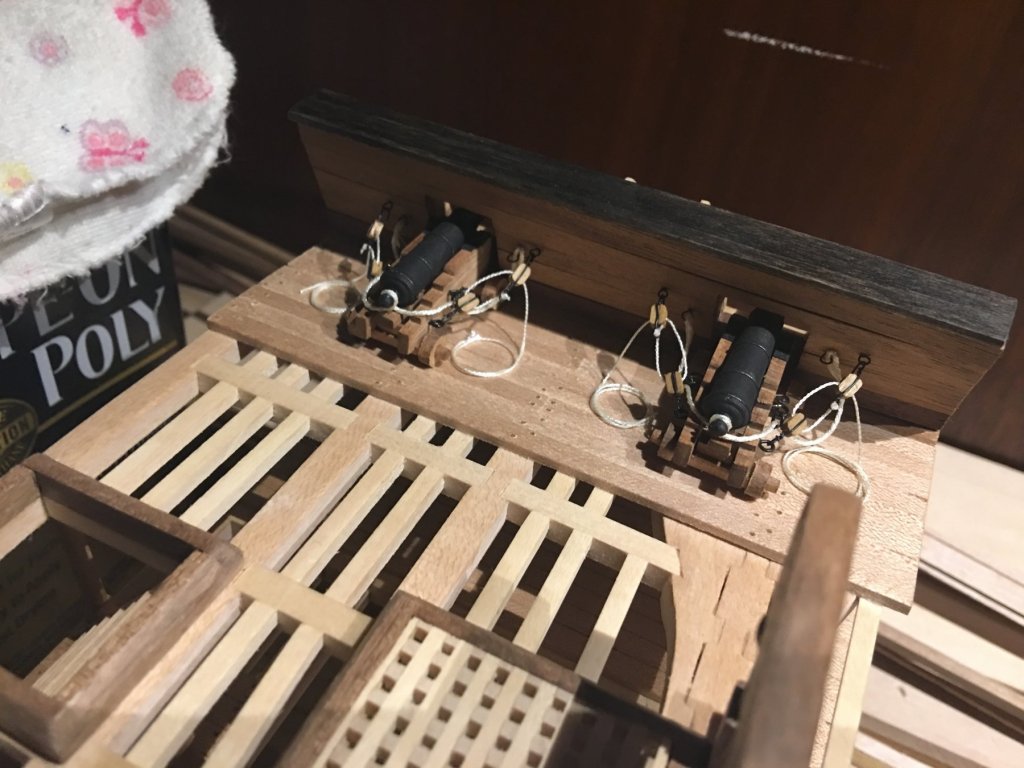
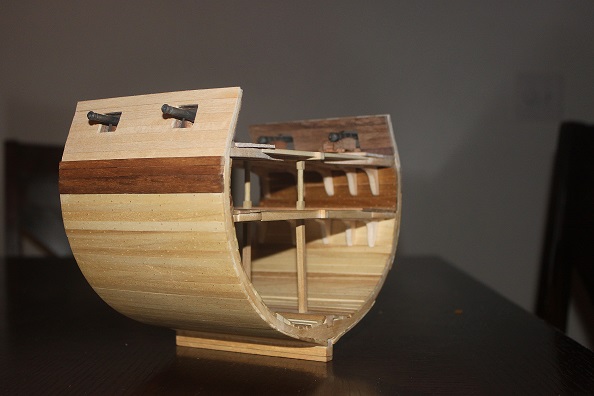
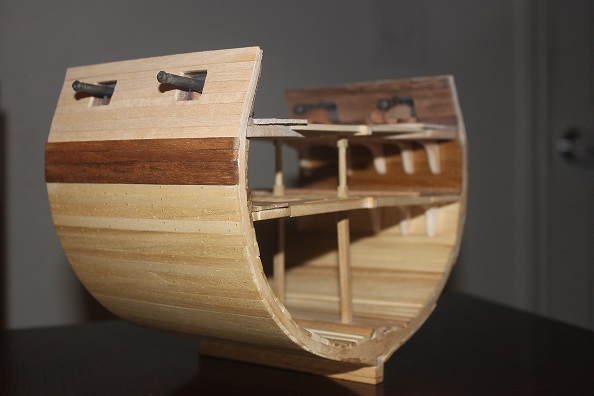
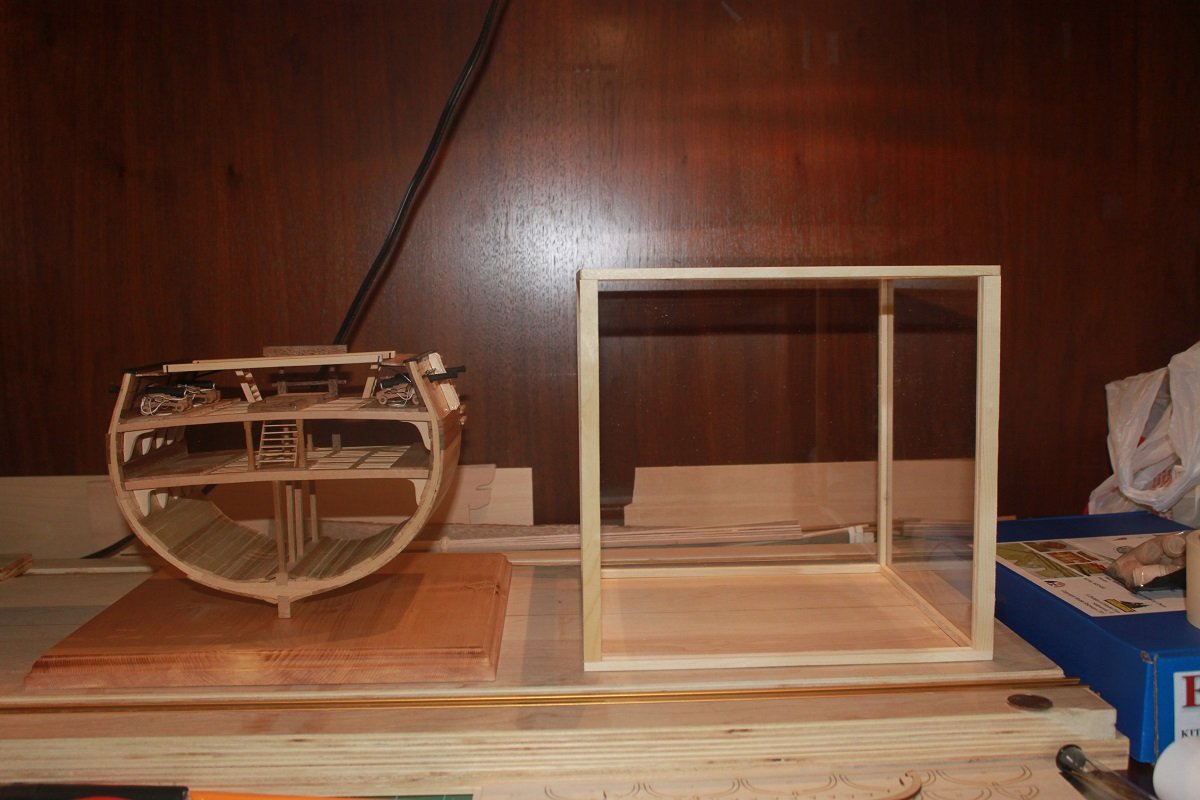
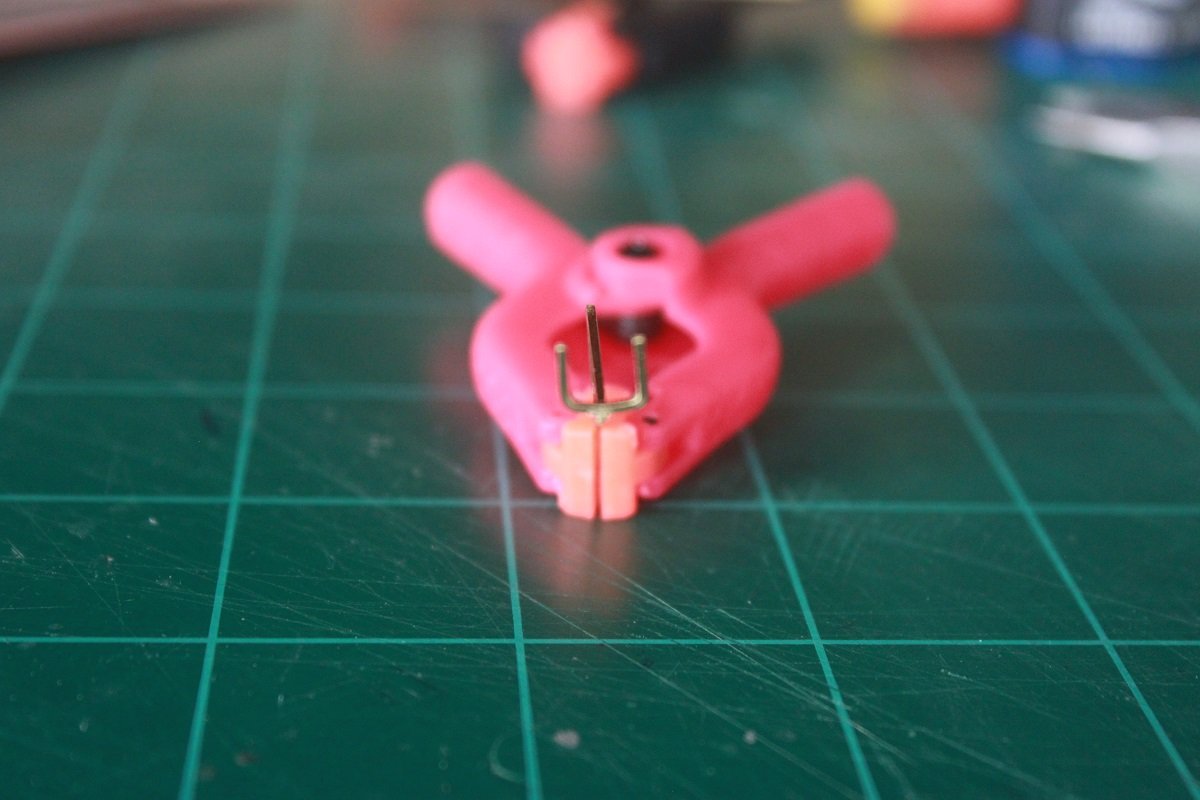
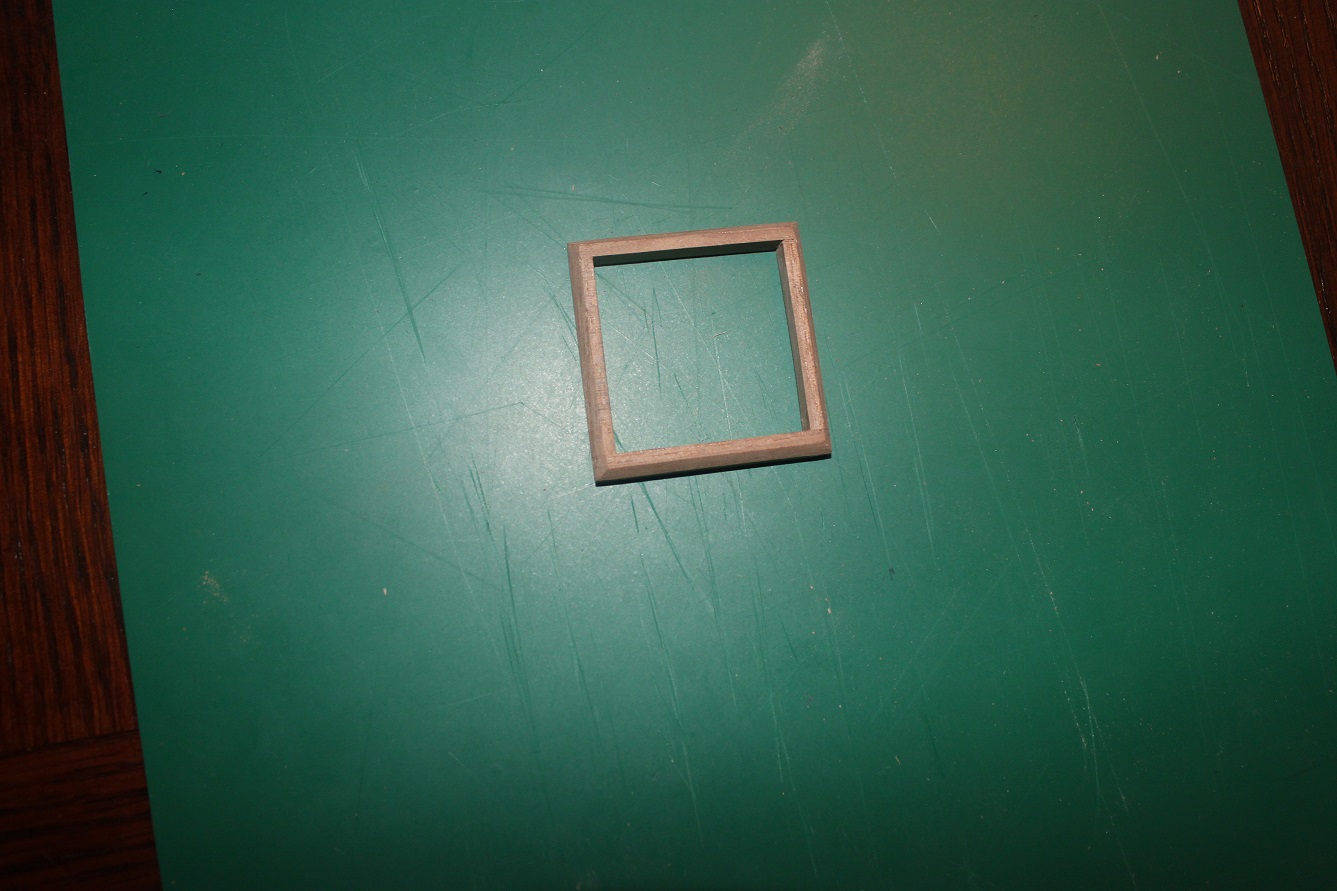
The cross section is finished. I made the crutches from brass square stock and painted them black and then installed them on the gangways. I then installed the gangways on the cross section along with the ladders. Put a coat of wipe on poly on and attached it to the base with three short pieces of 1/16" brass rod. I also made a case to go over the model. The base and case is made from pine. I have apply cherry stain to the base and I will also stain the case with cherry. The case will be attached to the base with some 1/16" brass rod to keep it from sliding around. Anyways, here are the pictures. I will post some of the case once that is completed.


-
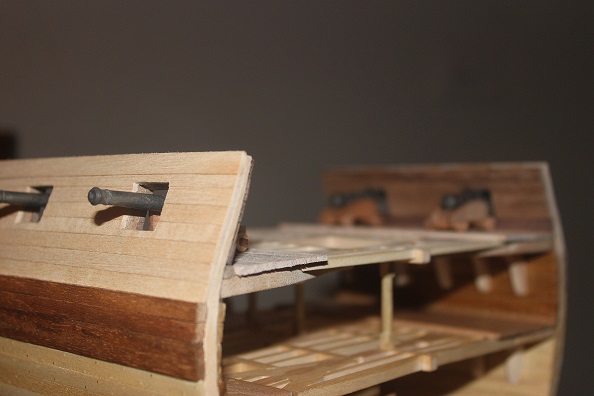
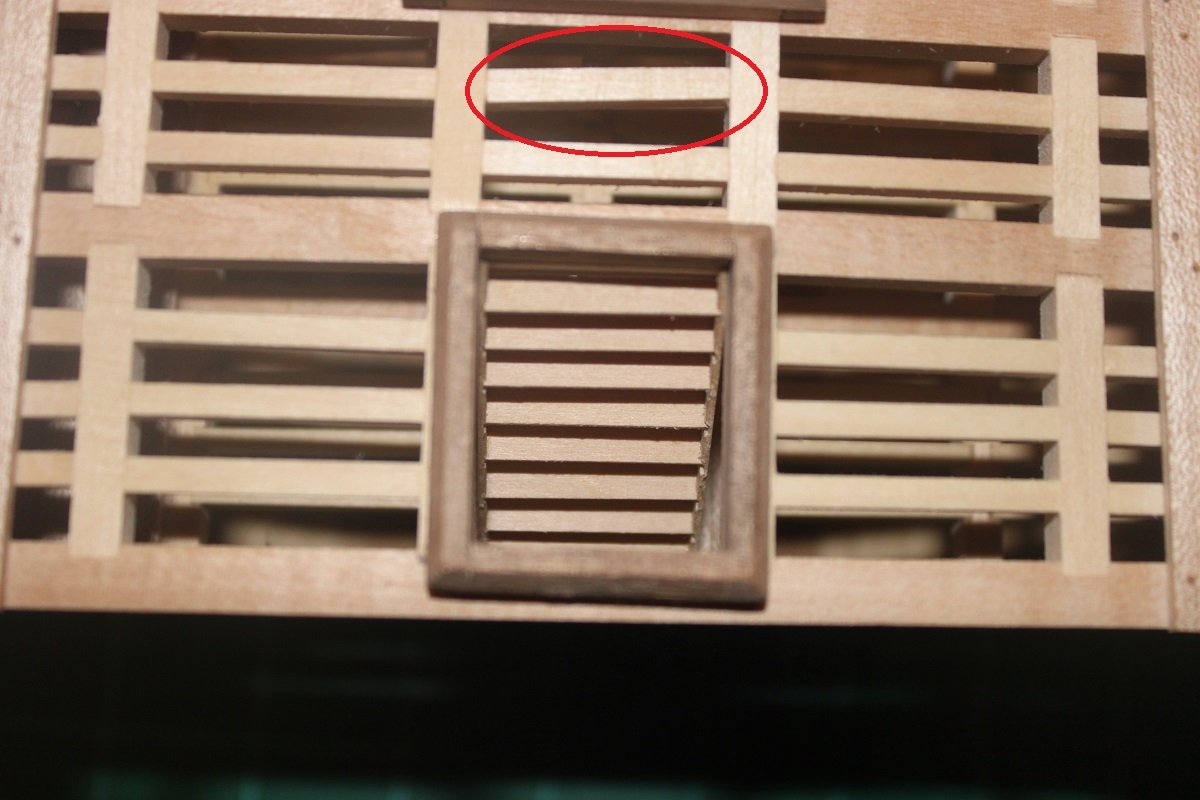
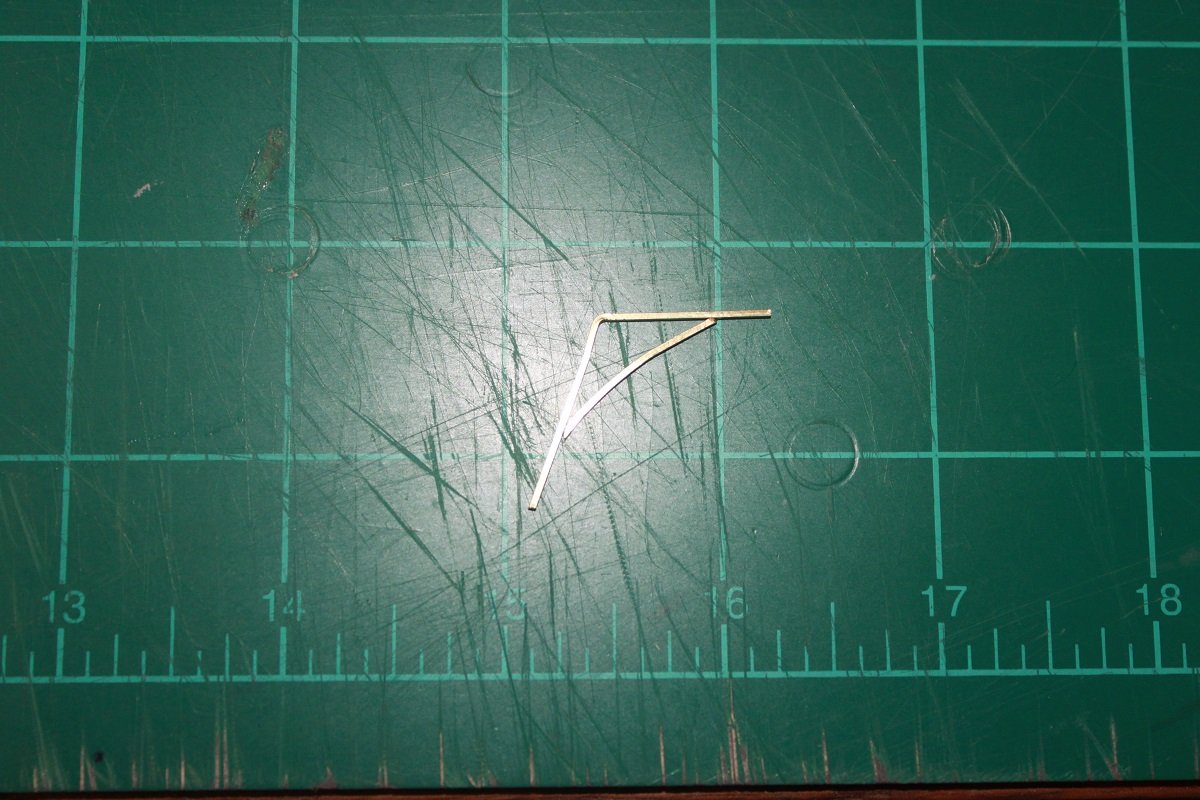
So it was pointed out to me that I had a crooked ledge on the gun deck. Thanks to dvm27 for pointing that out. I can't believe that I missed that. When I went to fix it, I found that the ledge in question wasn't even glued in, which was a win for me. It was easy to fix, just popped it out applied glue and set it back into place and made sure it was straight.
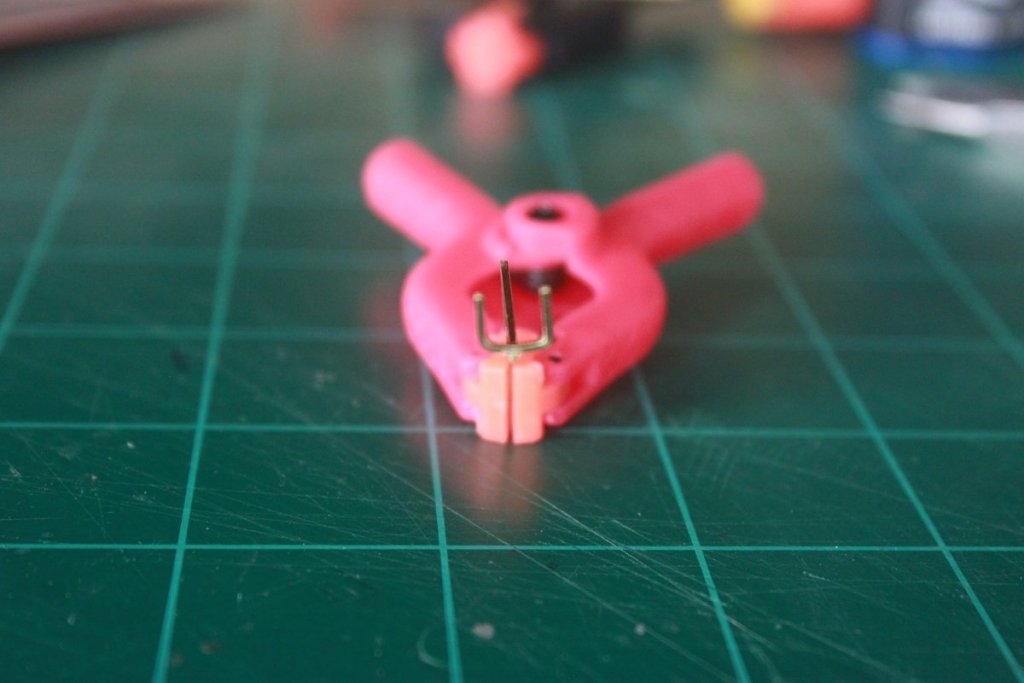
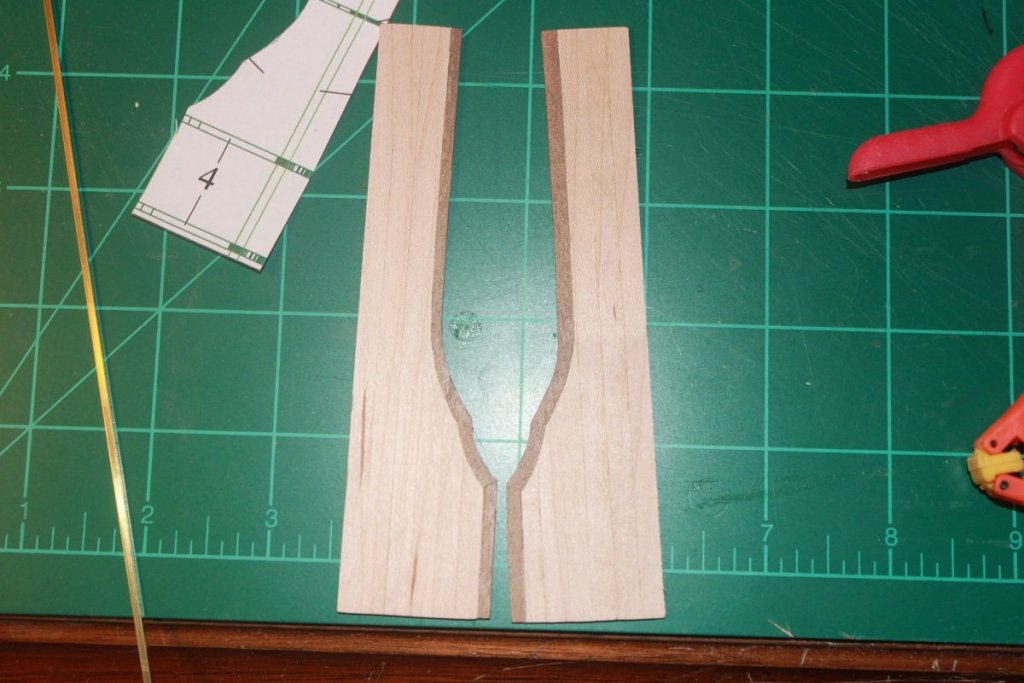
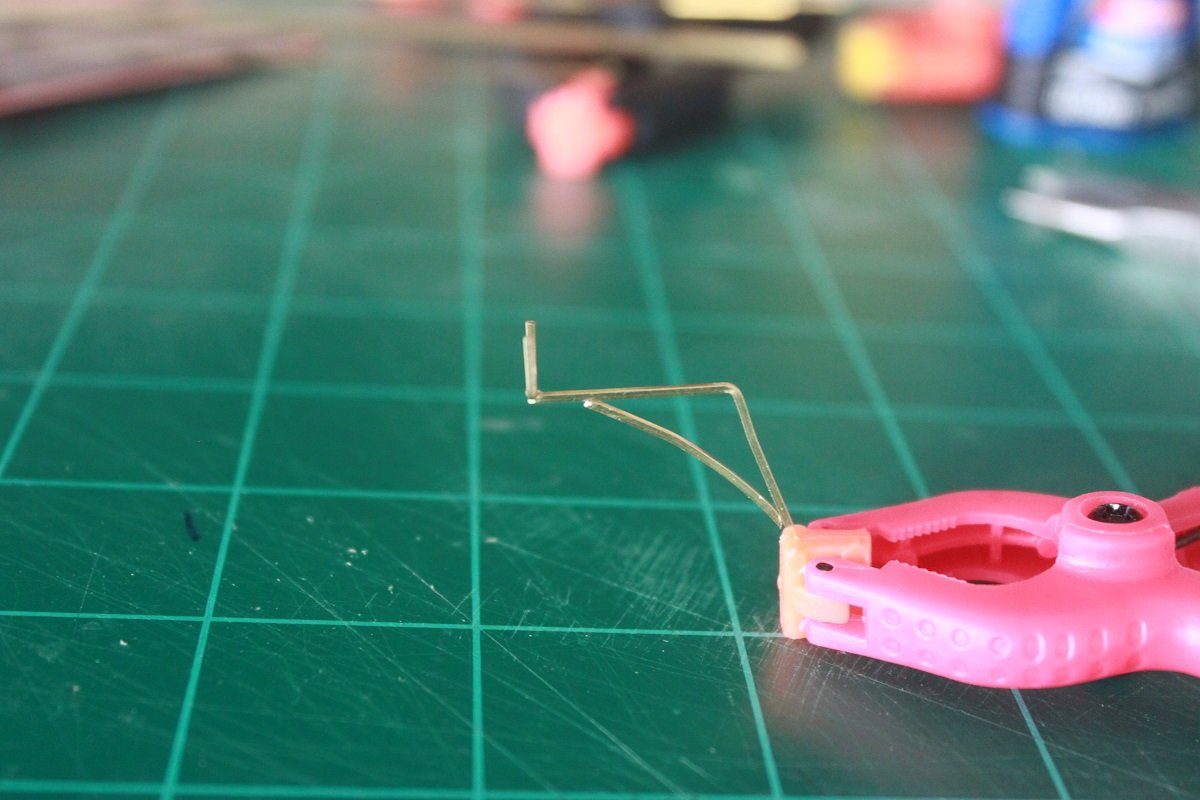
I also finished up one of the crutches for the gangway, I think it came out pretty good. I am going to make the rest using the same process. Now I just need to figure out how to blacken them chemically; I'm open to suggestions since I have never tried that before. (I'm not sure how well black paint will stand up on the crutches. Anyways, here are some more pictures....


- MEDDO, tkay11, AnobiumPunctatum and 6 others
-
 9
9
-
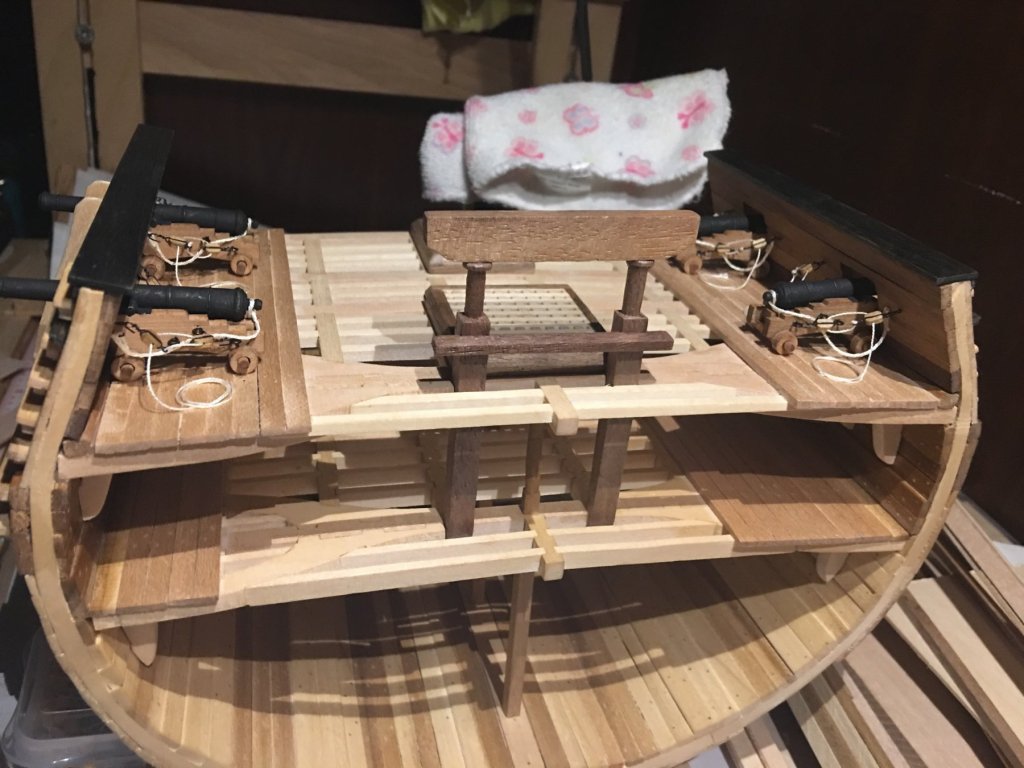
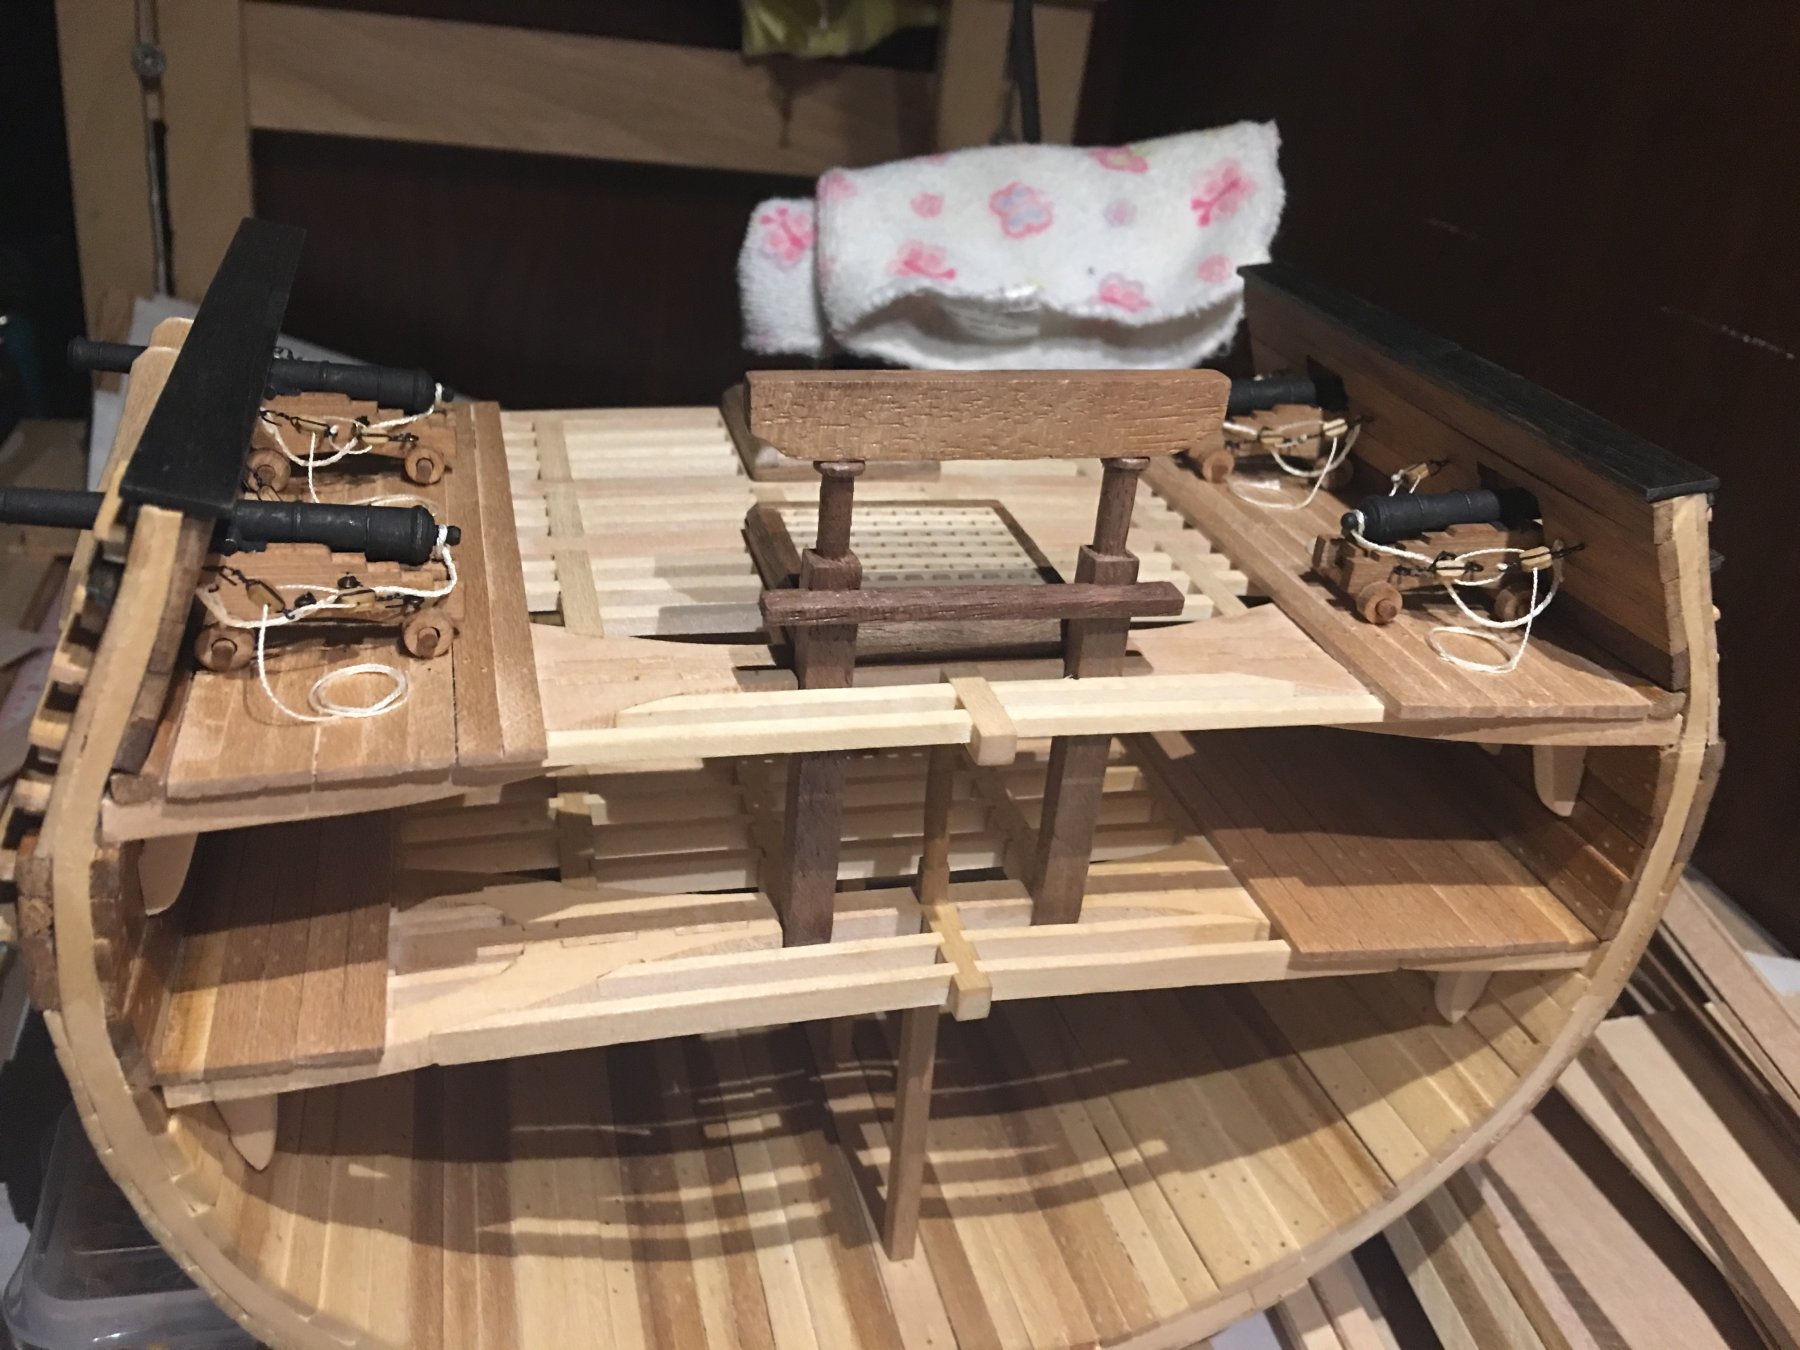
Finished rigging the guns and built the gangway platforms. Working on the crutches now. I am going to build one out of brass tubing, but will have to use CA glue since I don't have the equipment to do silver solder. Once it's built, I'll paint it black. If I don't like the way it looks, I'm going to make them out of wood. I am also thinking about how to make the case for this model. Once it is complete, it will be gifted to my Dad.

-
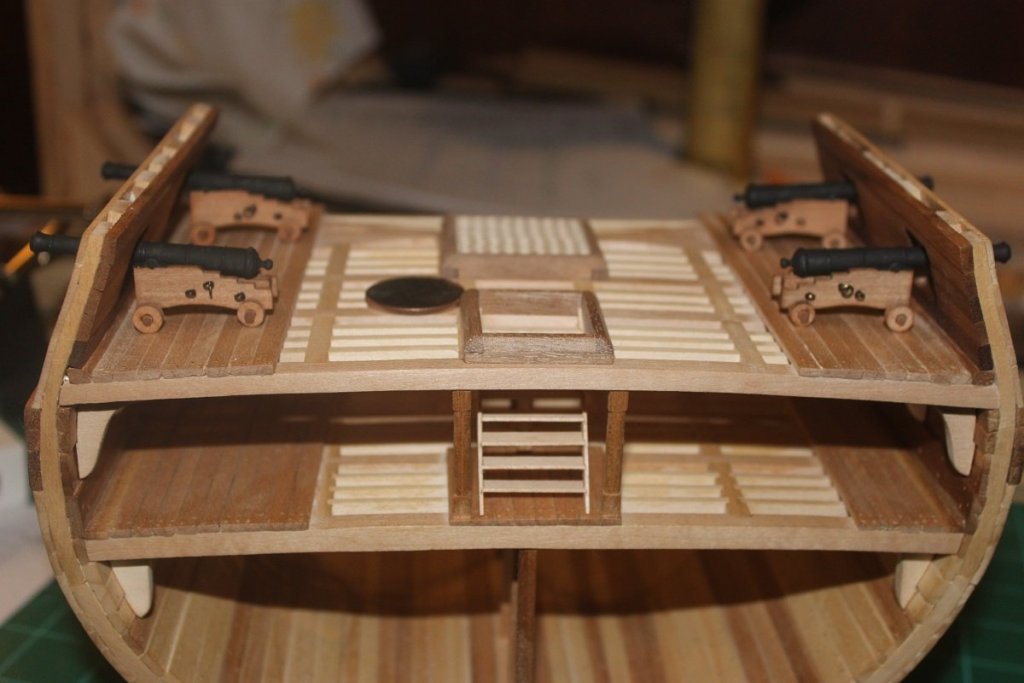
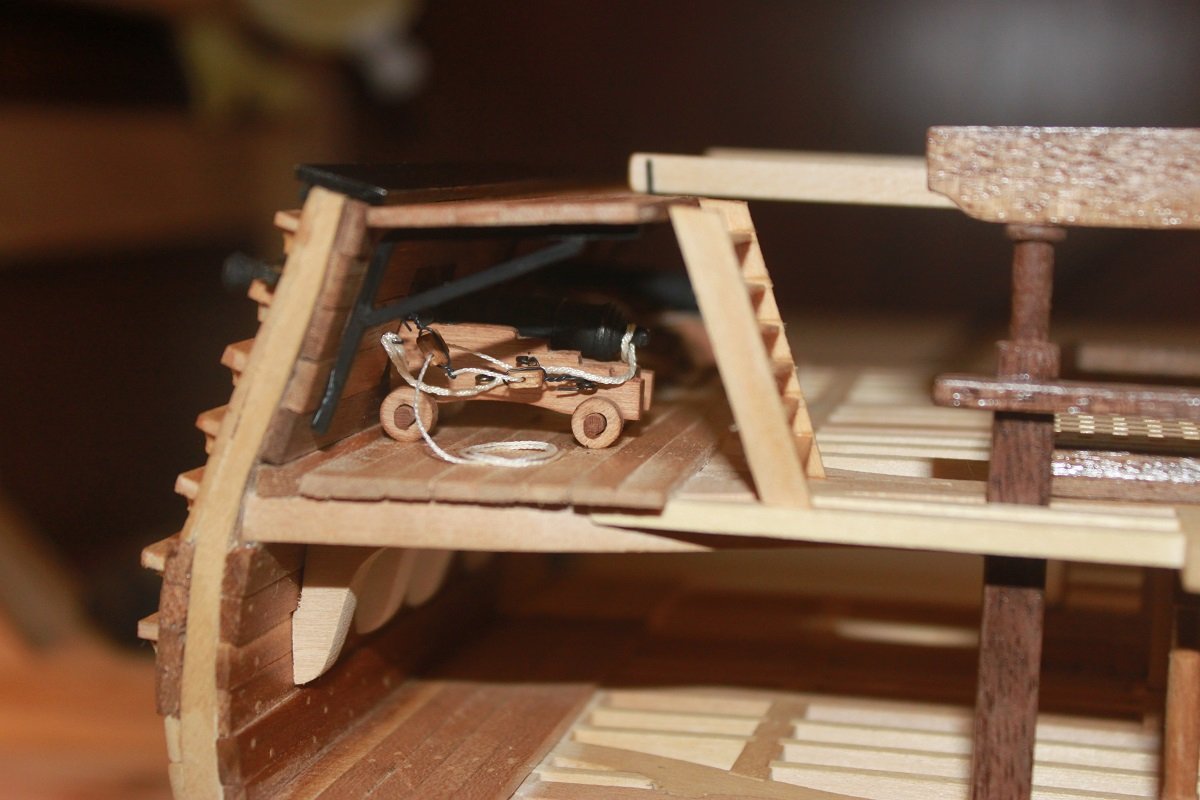
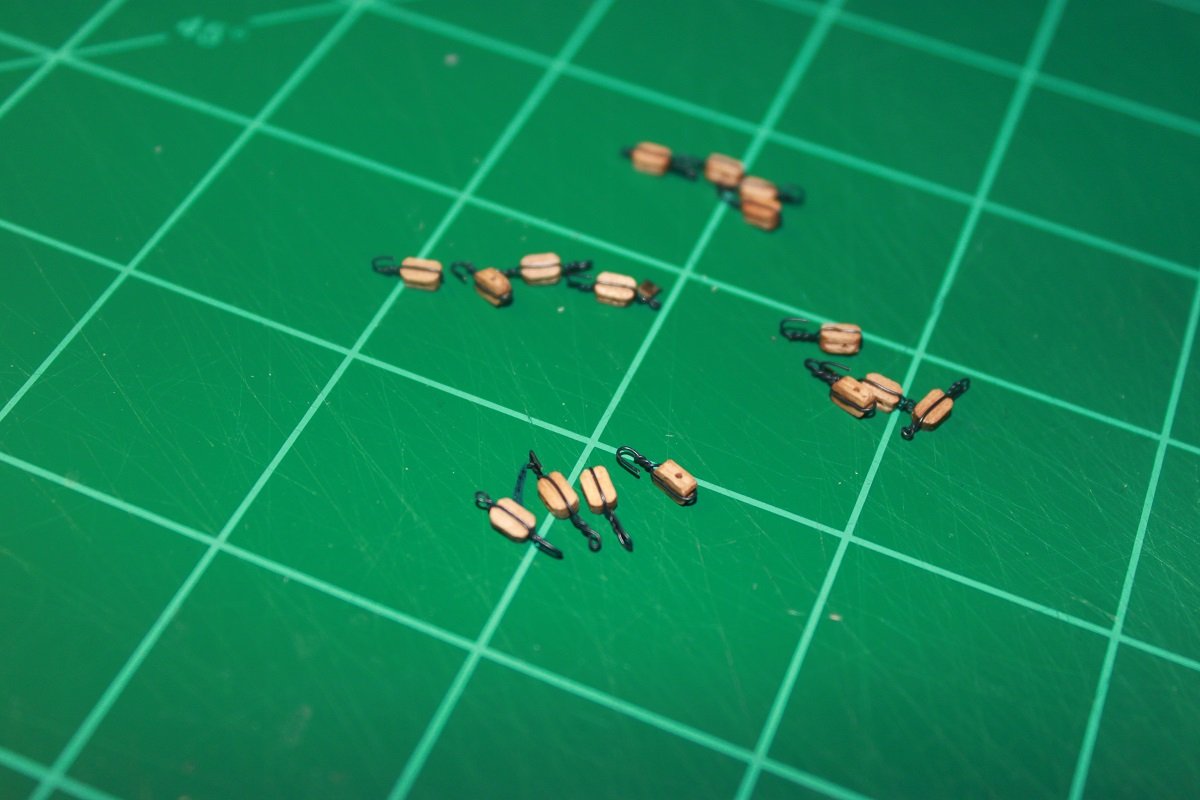
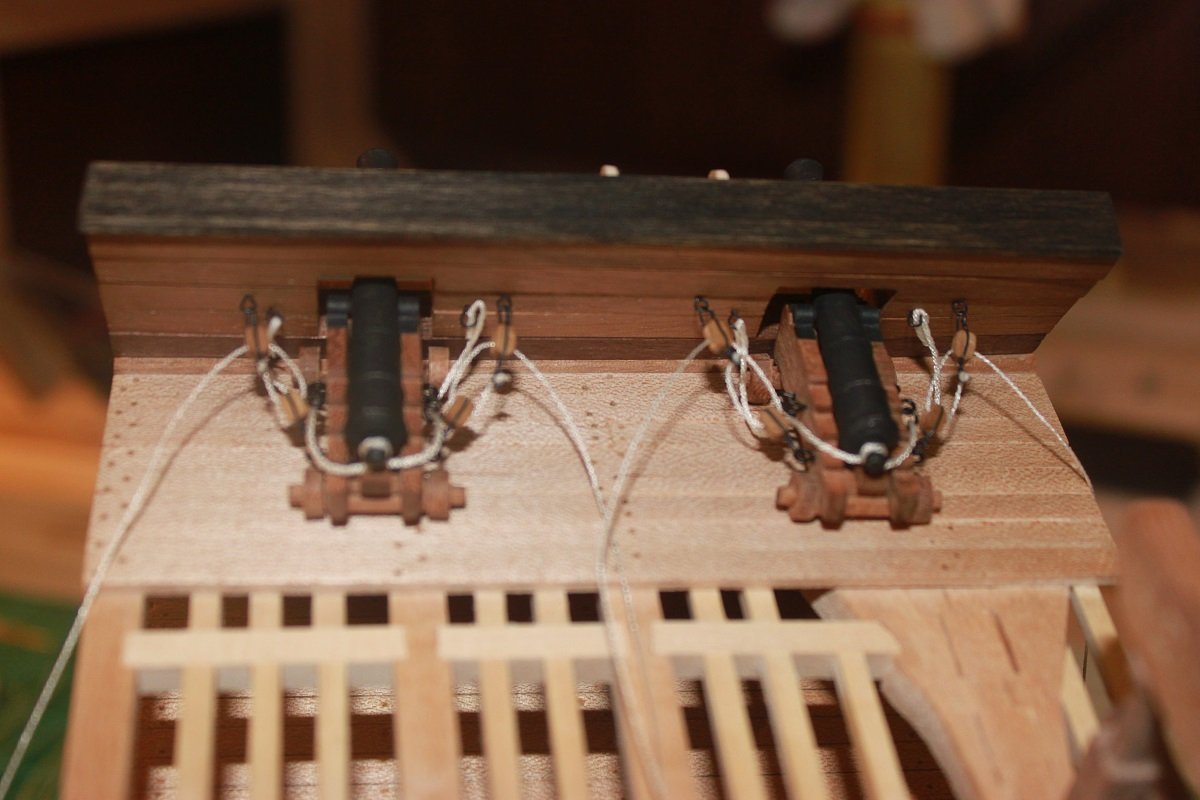
got quite a bit done in the shipyard today. the outer hull is finished up with all of the trim, fenders and steps. the top sail bitt is installed and all of the blocks for rigging the guns are made. I have also installed and rigged 2 of the guns. I just need to coil up the ropes. tomorrow I hope to finish up the guns and start working on the gangways. I also need to start thinking about a case for this cross section and decide which project will be next; the USF Raleigh (Hahn plans and timber from the Lumberyard), the Model Shipways Confederacy kit or the POB version of the HMS Triton full build. I'm leaning towards the Raleigh, only because it has been on the shelf for a couple of years now.
anyways, here are the pictures. any comments and/or critiques are always welcome.


- mtaylor, Pete38, AnobiumPunctatum and 4 others
-
7
-
I've found that if you cut the pieces slightly bigger that the plans indicate and lightly sand/file them to fit, you can get the basswood to look crisp. Sawing it leaves the cuts fuzzy. I think that basswood is more suited for cutting/ carving with a hobby knife. I used it on the Triton cross section because it was all that I could afford at the time. But I have since found a place where I can get cherry, maple and walnut and will order other woods online. I have the tools finally to resaw larger pieces of lumber.
-
5 hours ago, amateur said:
what wood did you use for the deck-beams: is it basswood?
Jan
Jan,
I used basswood. It was all that I had available at the time and milled boxwood or pear costs too much for me. I hope to be able to mill my own scale lumber at some point in the future.
-
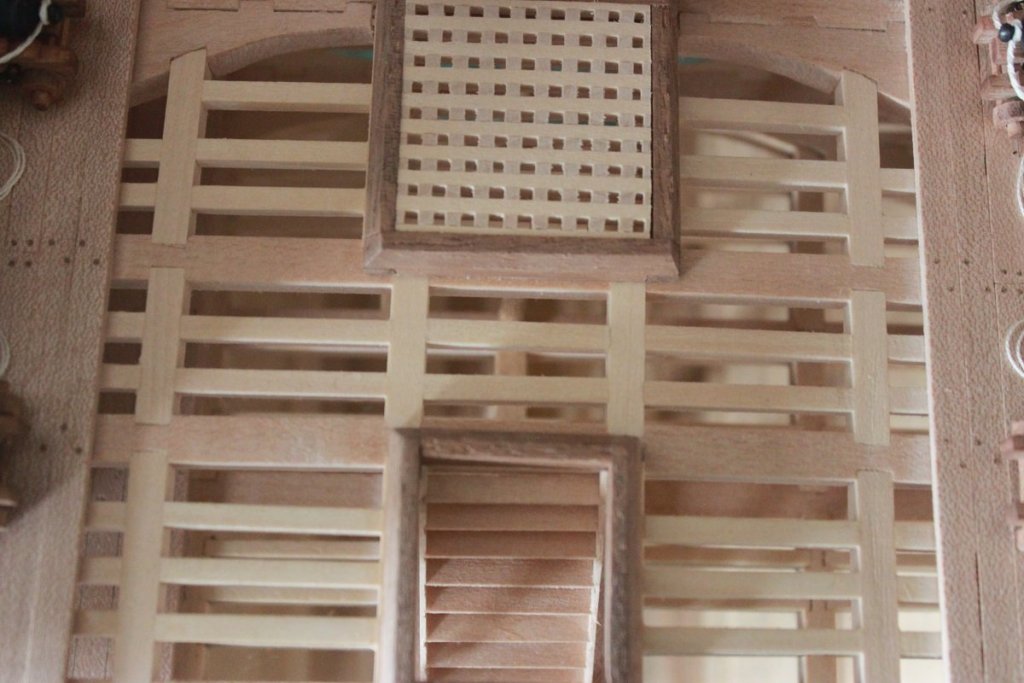
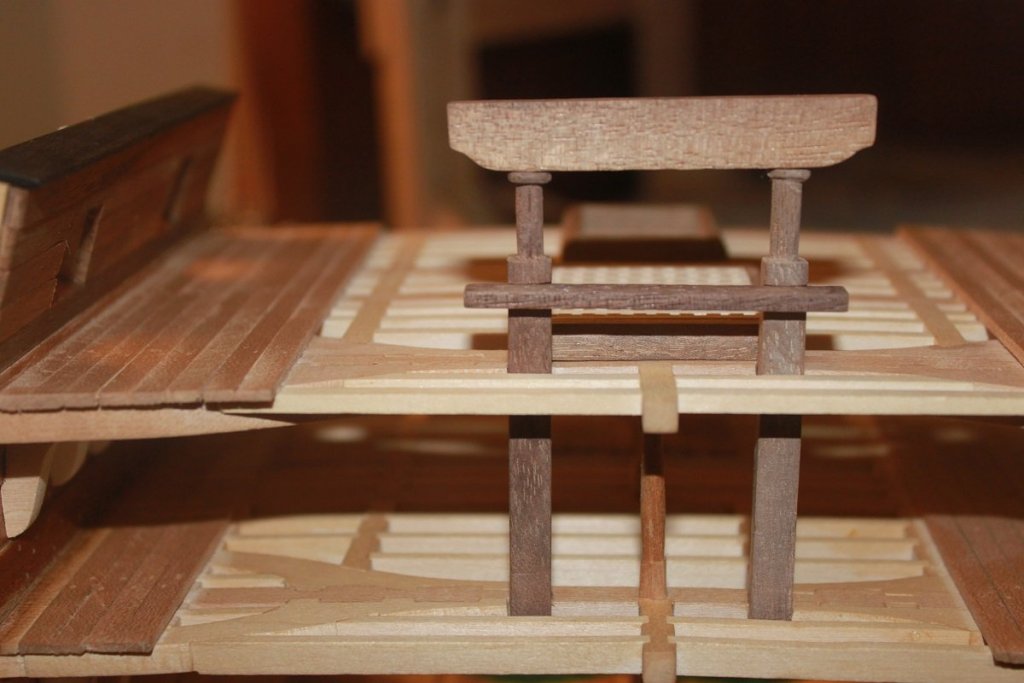
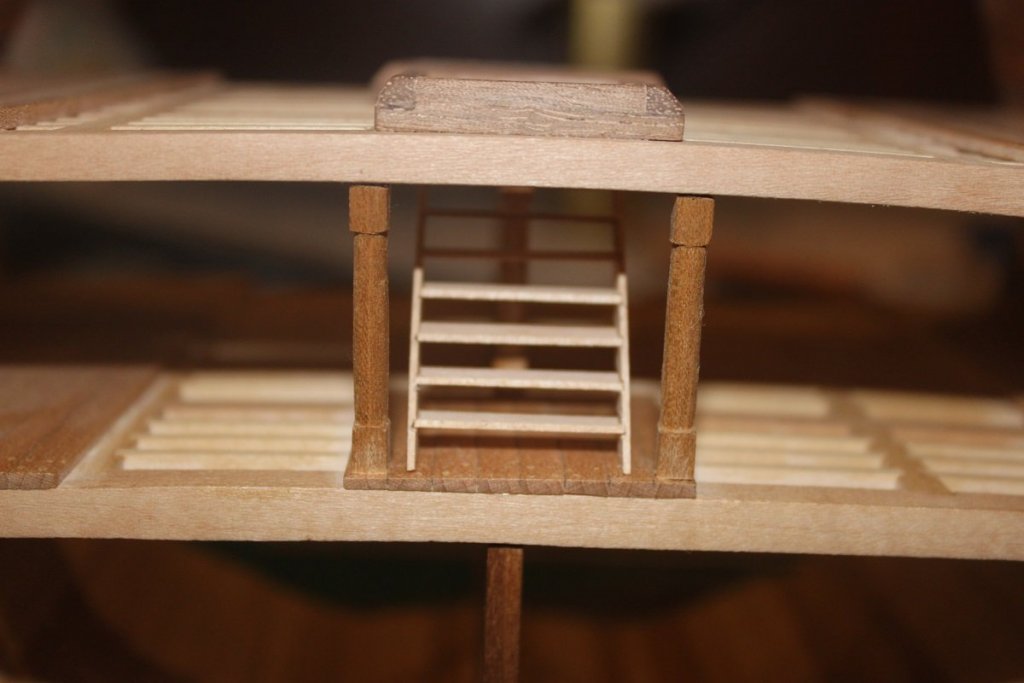
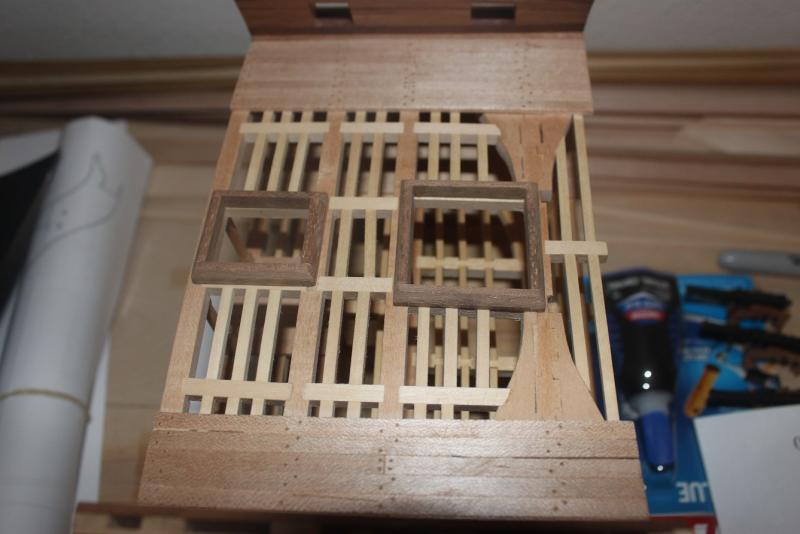
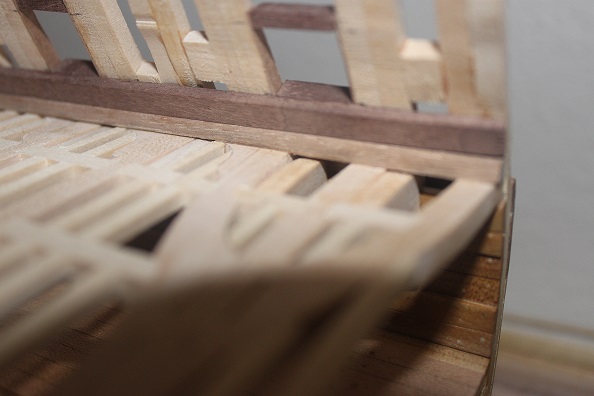
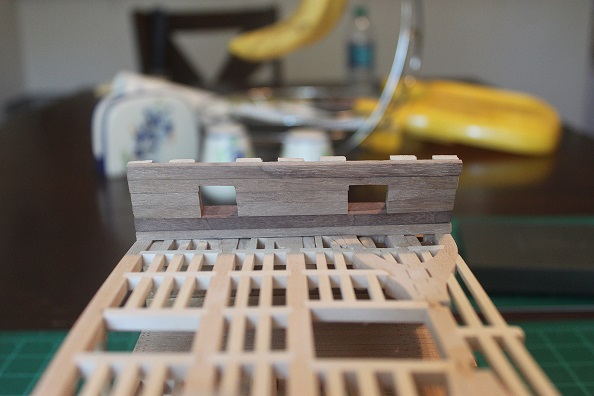
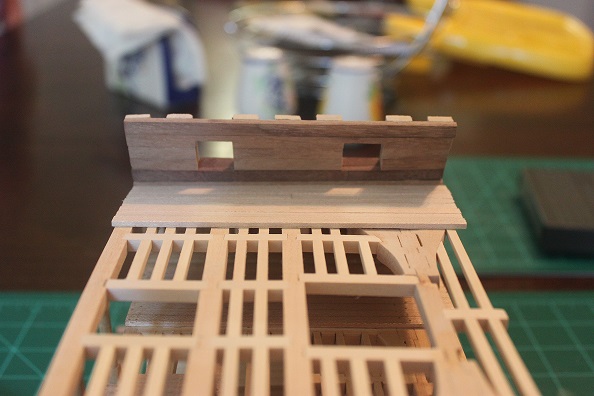
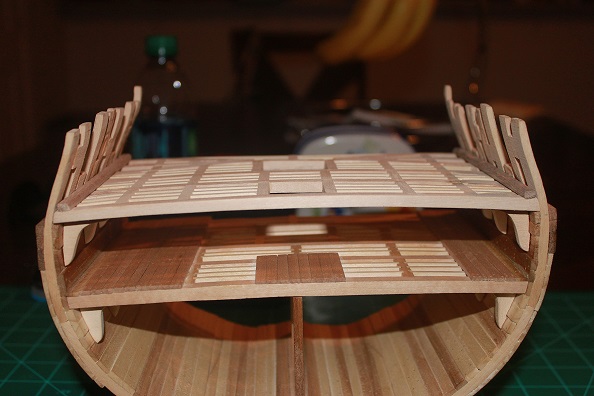
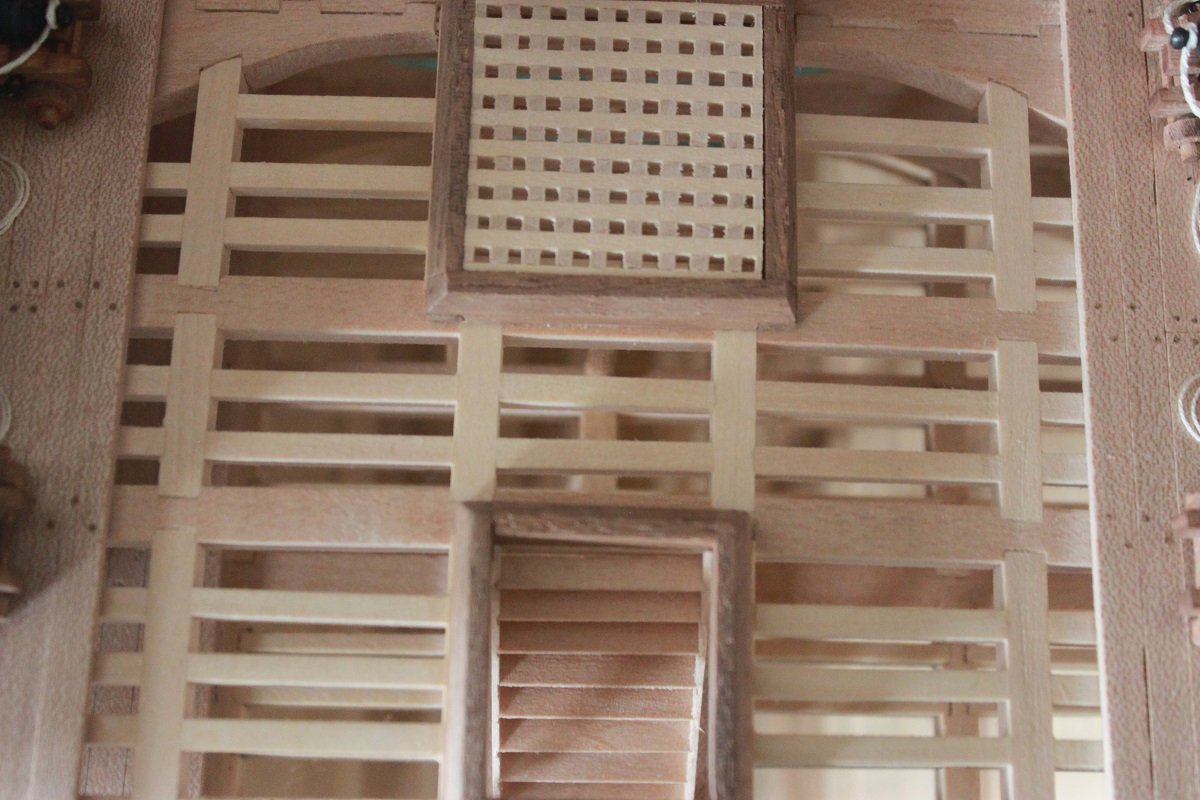
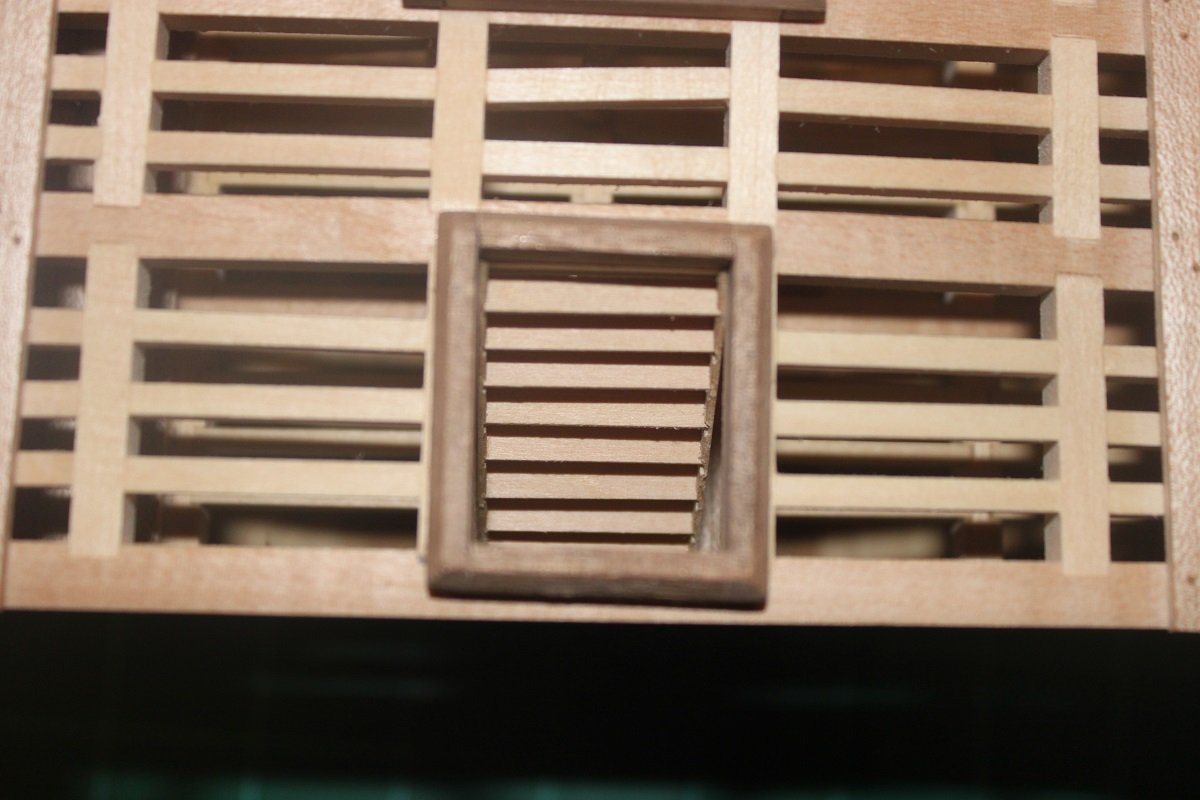
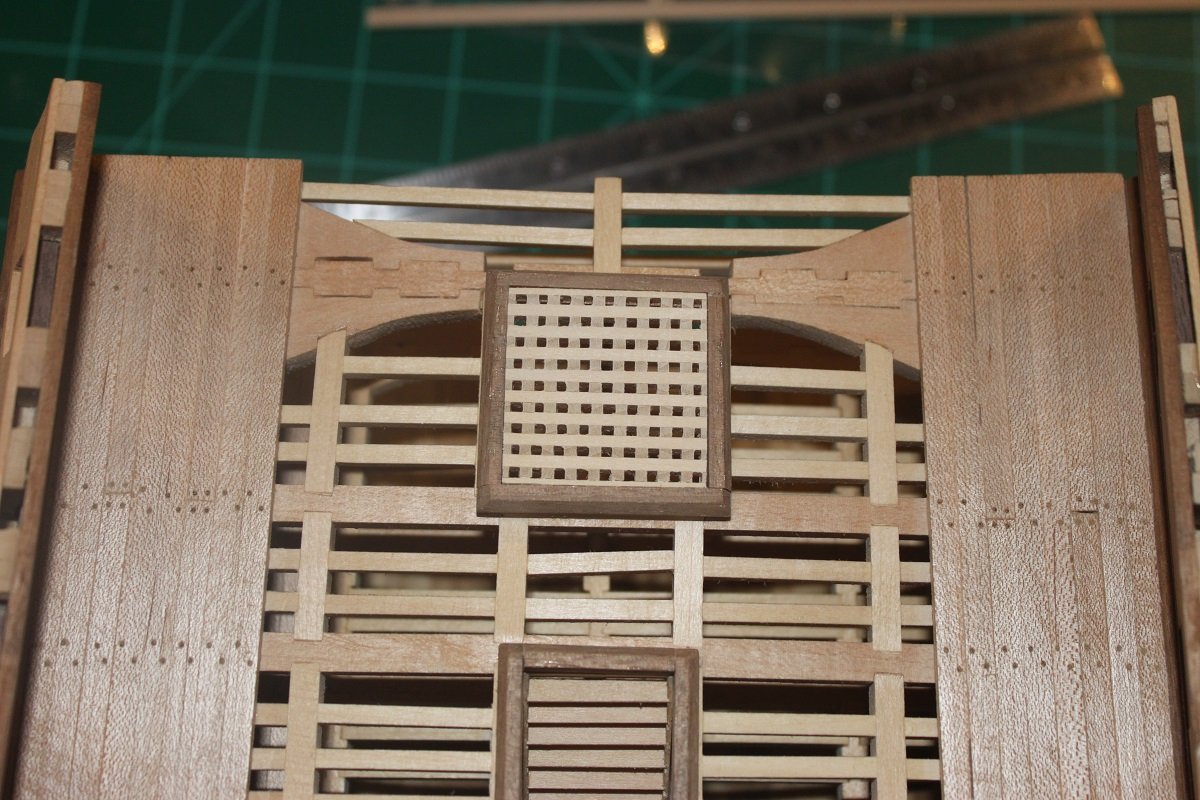
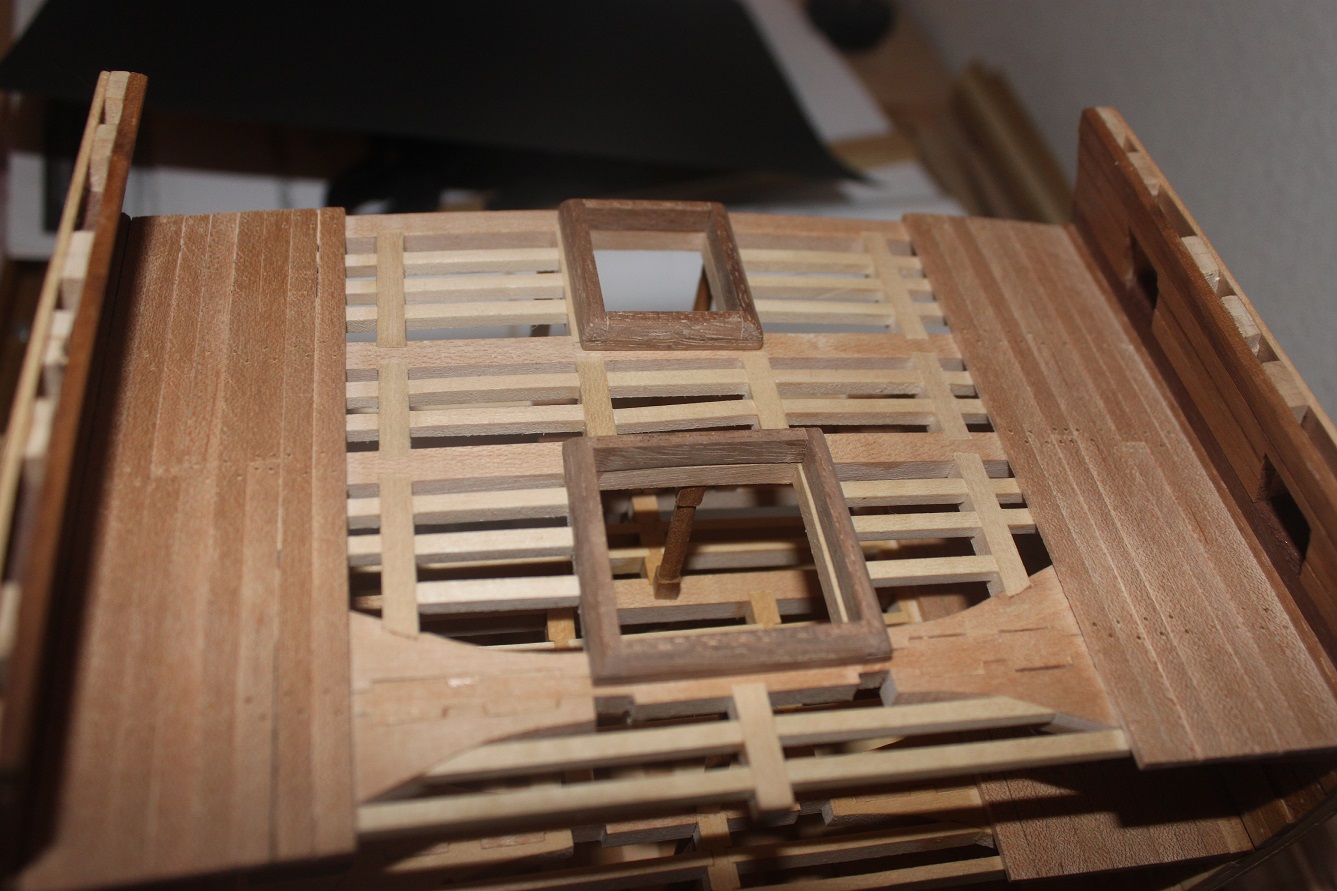
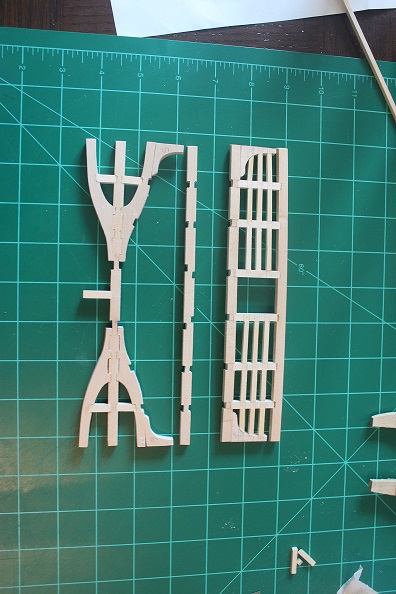
Got a little more work done in the shipyard today. Finished up the grate for the after hatch and the stair ladder for the forward hatch. I installed the hatch coamings and the grate and the stair ladder. I still need to apply some wipe on poly finish. Next up is the top sail bitt. I also need to make some rope and rig up the guns. Enjoy the pics and any and all comments/critiques are welcome.


- MEDDO, shipcarpenter, tkay11 and 9 others
-
12
-
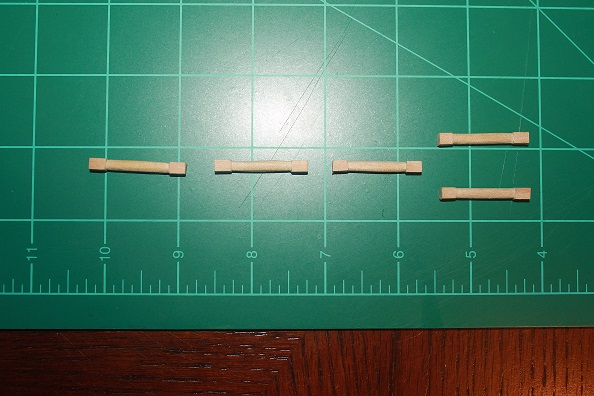
Well, I finally got to get back into the shipyard to work on the cross section. I finished up the gun carriages and mounted the guns to them. I have also made both hatch coamings, but still need to make the after hatch grate. I'll install and rig the guns after I get the topsail britt built and installed.


-
I know it has been while since I have posted or even worked on the cross section, but it is time to start back up. After my first surgery, I had the same procedure done on the right hand and hen I had the left elbow operated on for cupital tunnel. But now I am all healed up and I have finished my BS degree and am ready to get back at. I just have to remember where I put everything. Hopefully I will be able to share some new progress with everyone here in the next week or two.
- mtaylor, Canute, Captain Poison and 1 other
-
4
-
Quick little update; looks like the shipyard will be closed for about week or two. The surgery went very well, but since I had the carpal tunnel release procedure done on my left hand, I am unable to do any work at this time. I hate having to wait for my hand to recover; but it will be worth it in the end. Now I just have to get with the doc to schedule the same procedure for the right hand. Anyways, I'll update as soon as I can get back at it. In the meantime, I will enjoy reading everyone else's logs here on MSW.
-
-
Thanks Gunther. I wish they were bigger as well, but I have to downsize them to be able to upload 'em.
Thanks to everyone for all of the likes as well.
-
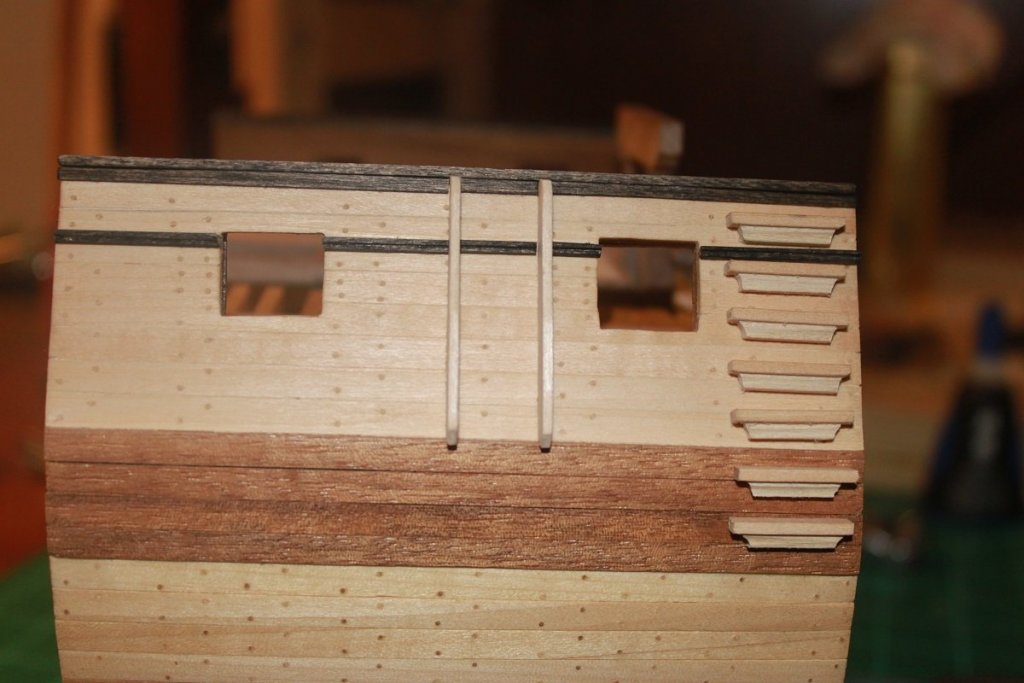
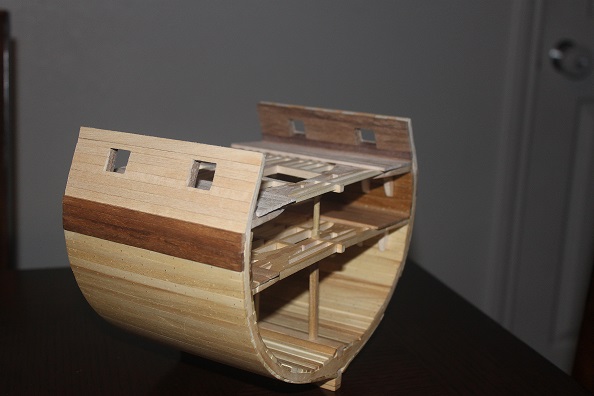
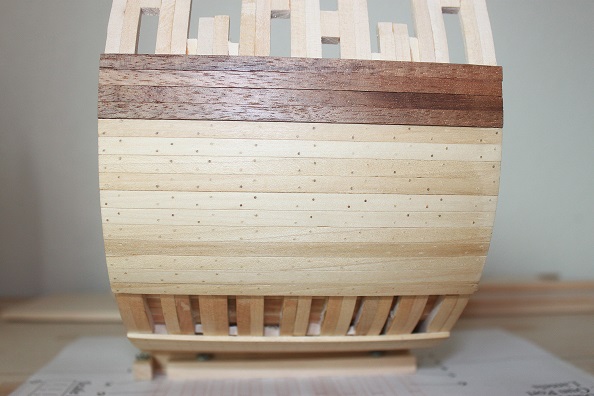
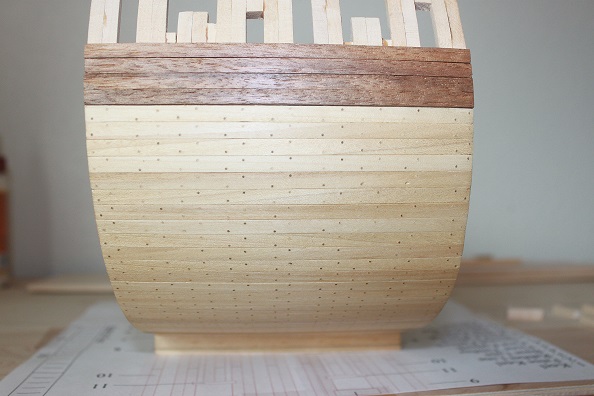
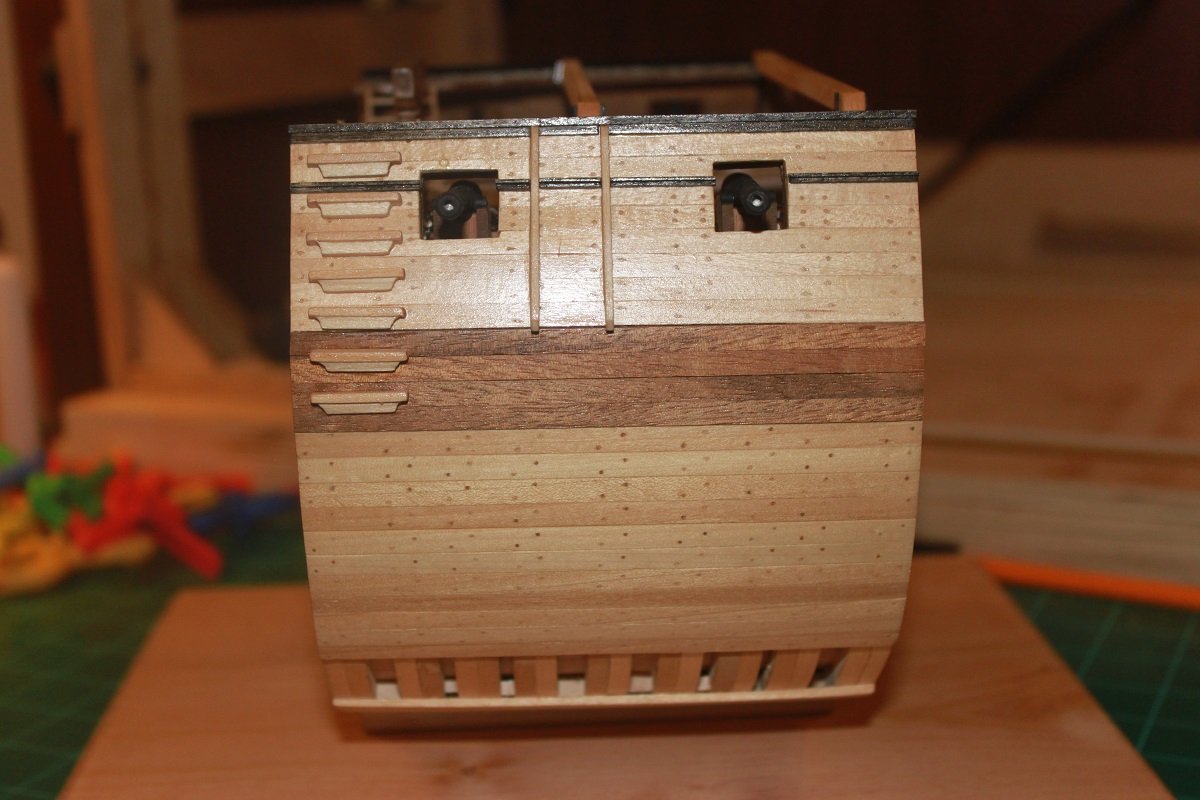
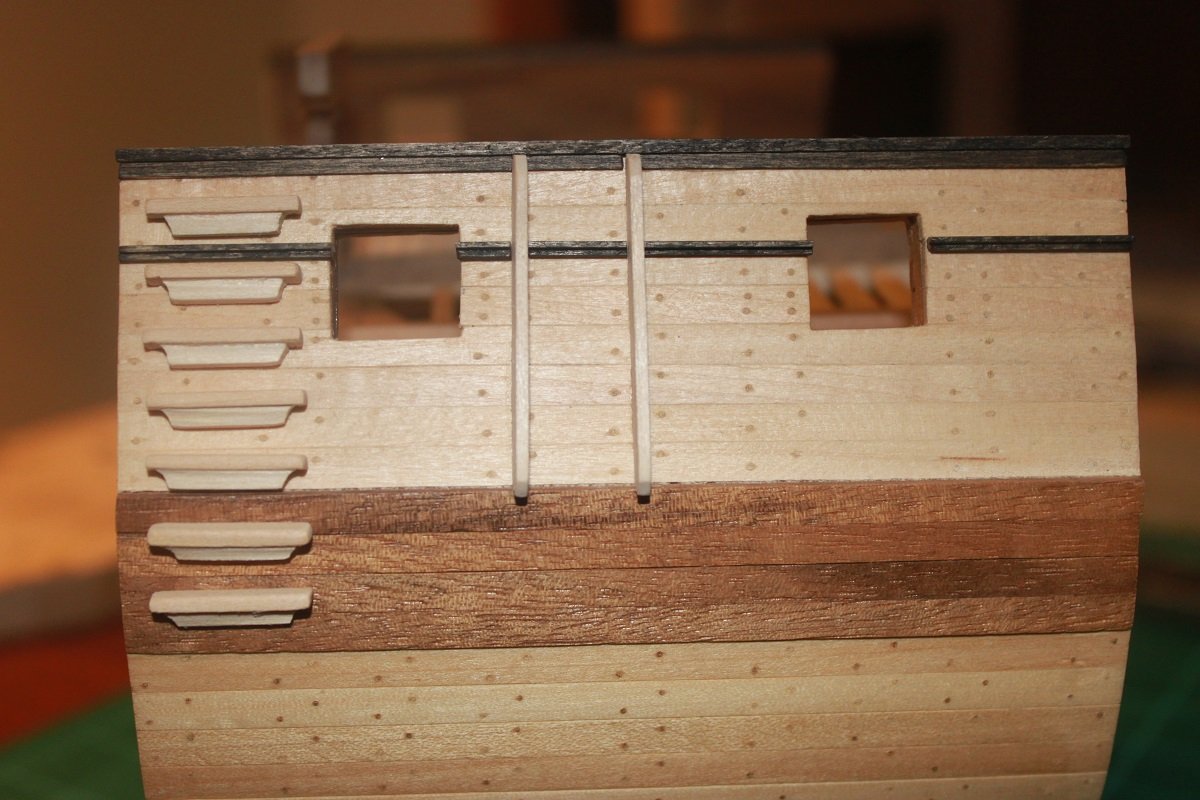
I have finished installing the bulwark planks on the inner and outer side of the hull. The outer hull above the wales still needs to be sanded smooth and treenails will need to be installed on the gun deck and outer hull planks above the wales. Once that is done, I will move on to finishing up the guns and making all of the deck furniture. I plan to use walnut for the deck furniture.
It may be a few weeks until I get work on it again due to a surgery that is scheduled for Tues on my left wrist; but I hope to be back at it in about 2-3 weeks.
On to the good stuff, here are some pictures for your viewing pleasure. I snapped a few with the guns placed on the deck to get an idea of how it will look.
Enjoy......

-
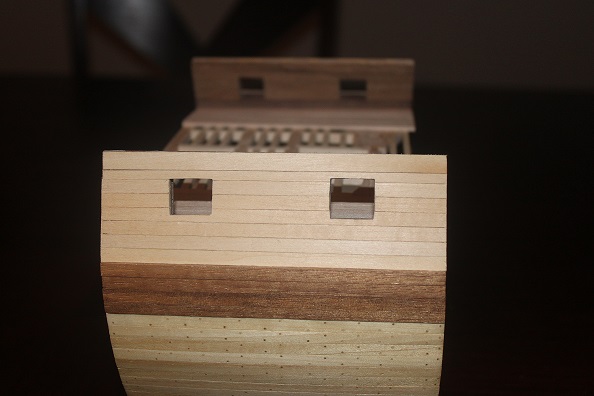
So far this weekend, I got the gun ports framed out and I lined them with a very thin piece of walnut. I then planked the bulwarks with walnut and the gun deck with maple on the port side. the starboard side in the process of getting its planks now. Once that is done, I will sand it all smooth and treenail the deck planking. Then I will need to finish off the little details needed on the guns and install them.
As always, any and all comments, questions, complaints are welcome.
- Pete38, Matrim, Captain Poison and 8 others
-
11
-
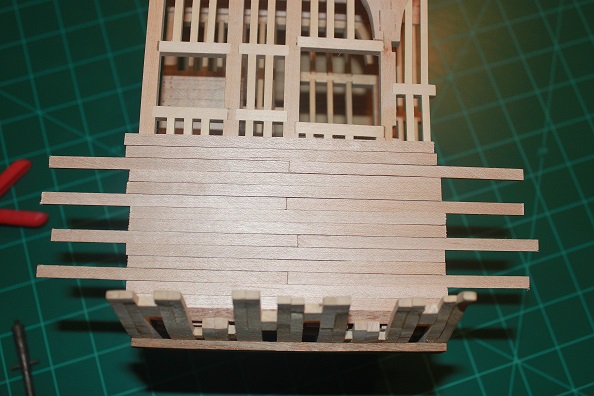
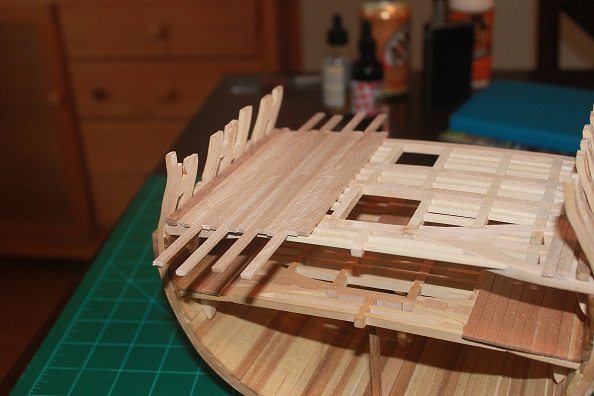
Another update for the build log.
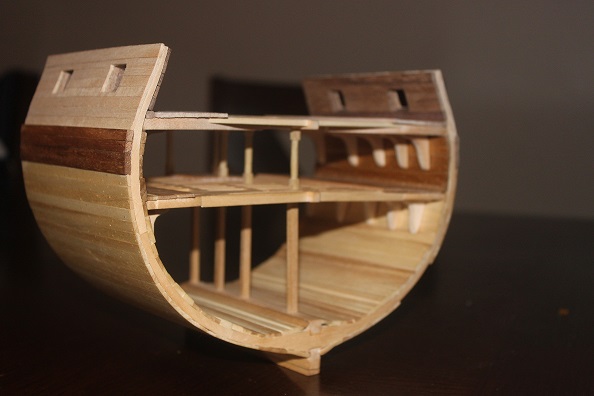
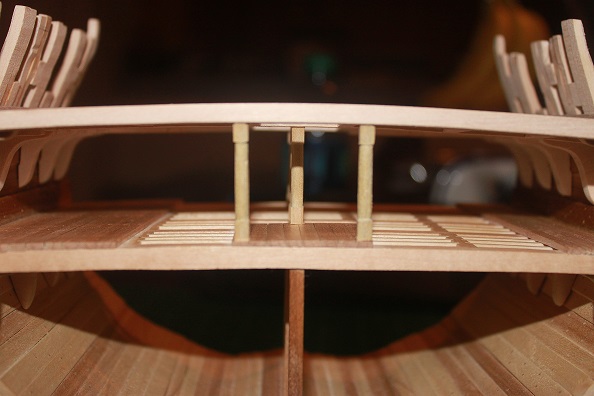
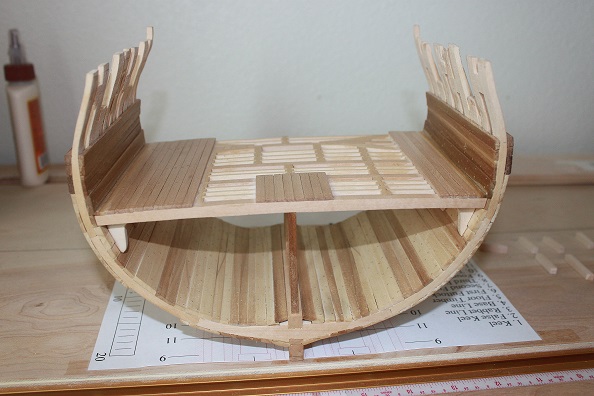
I have the waterways and lower deck pillars installed. I used walnut for the waterways and poplar for the pillars. Tomorrow, I plan to frame out the gun ports and cut some strips for the bulwark planking. At first I was thinking about using walnut for the bulwark planking; and I still may. I want to see what the poplar will look like on the bulwarks instead of the walnut. Of course I am open to any suggestions and/or opinions on the matter. The outer hull planking above the wales will be done in basswood and the deck planking will be done maple just as the lower deck.

-
-
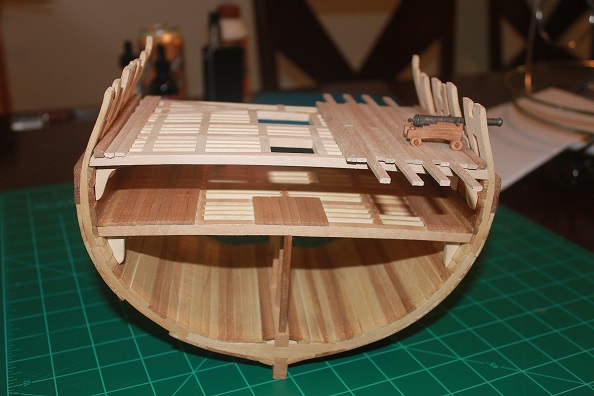
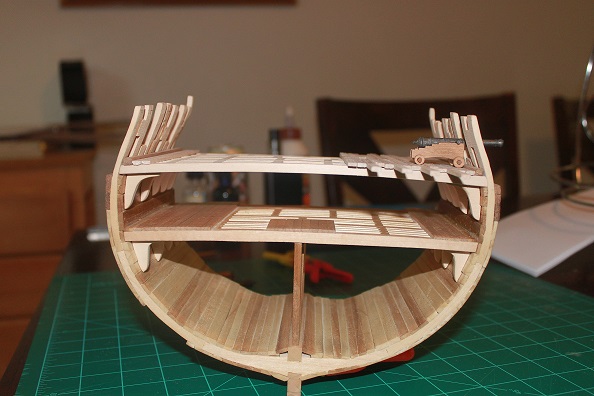
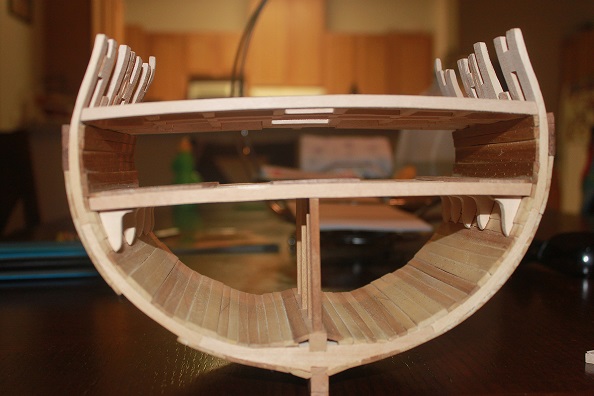
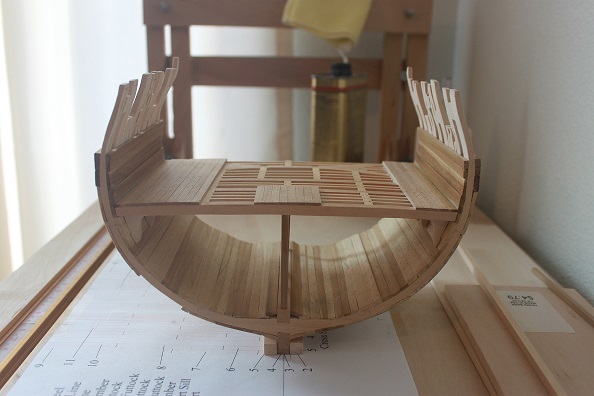
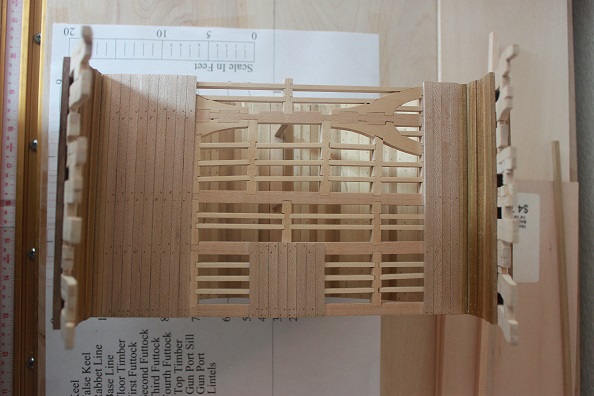
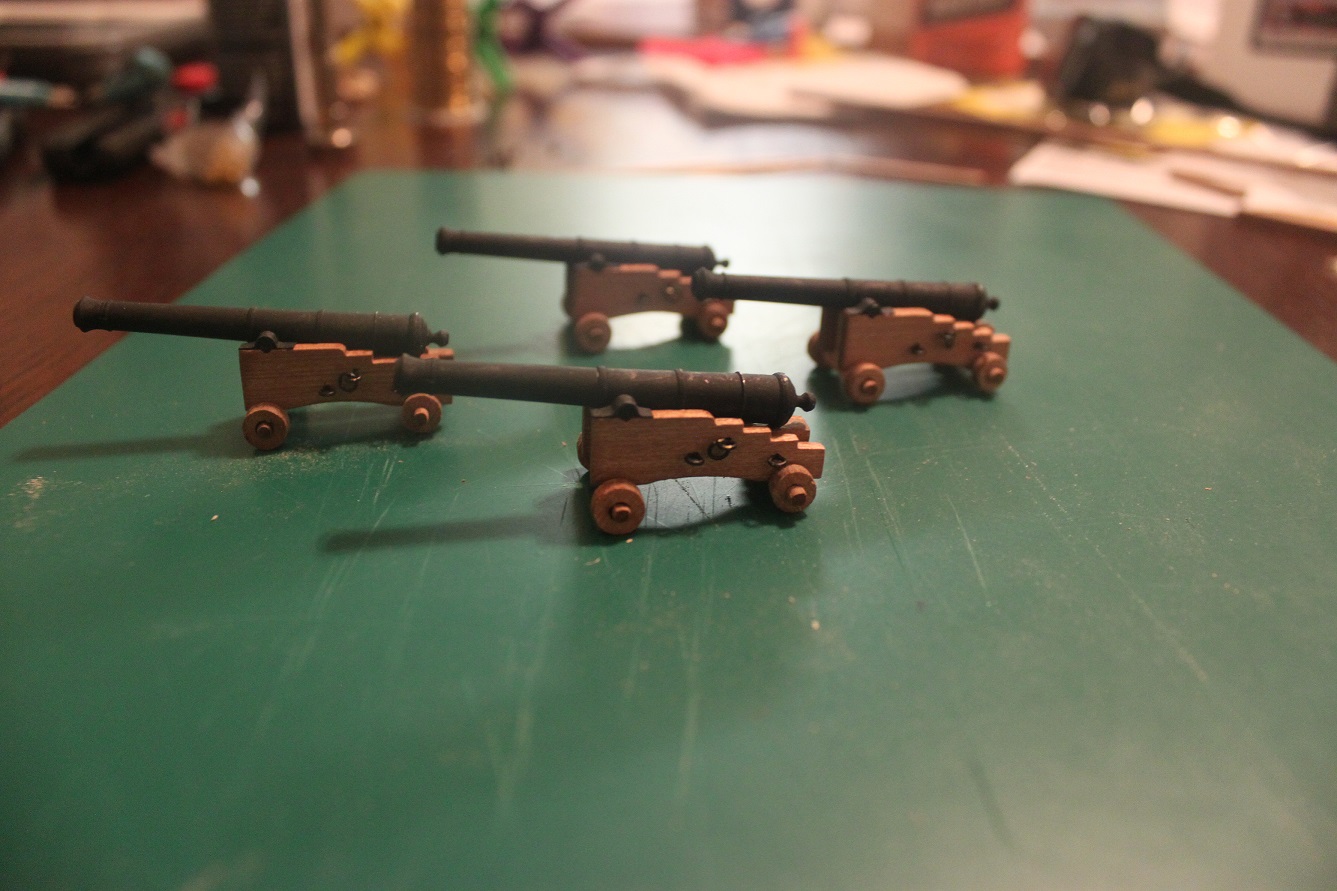
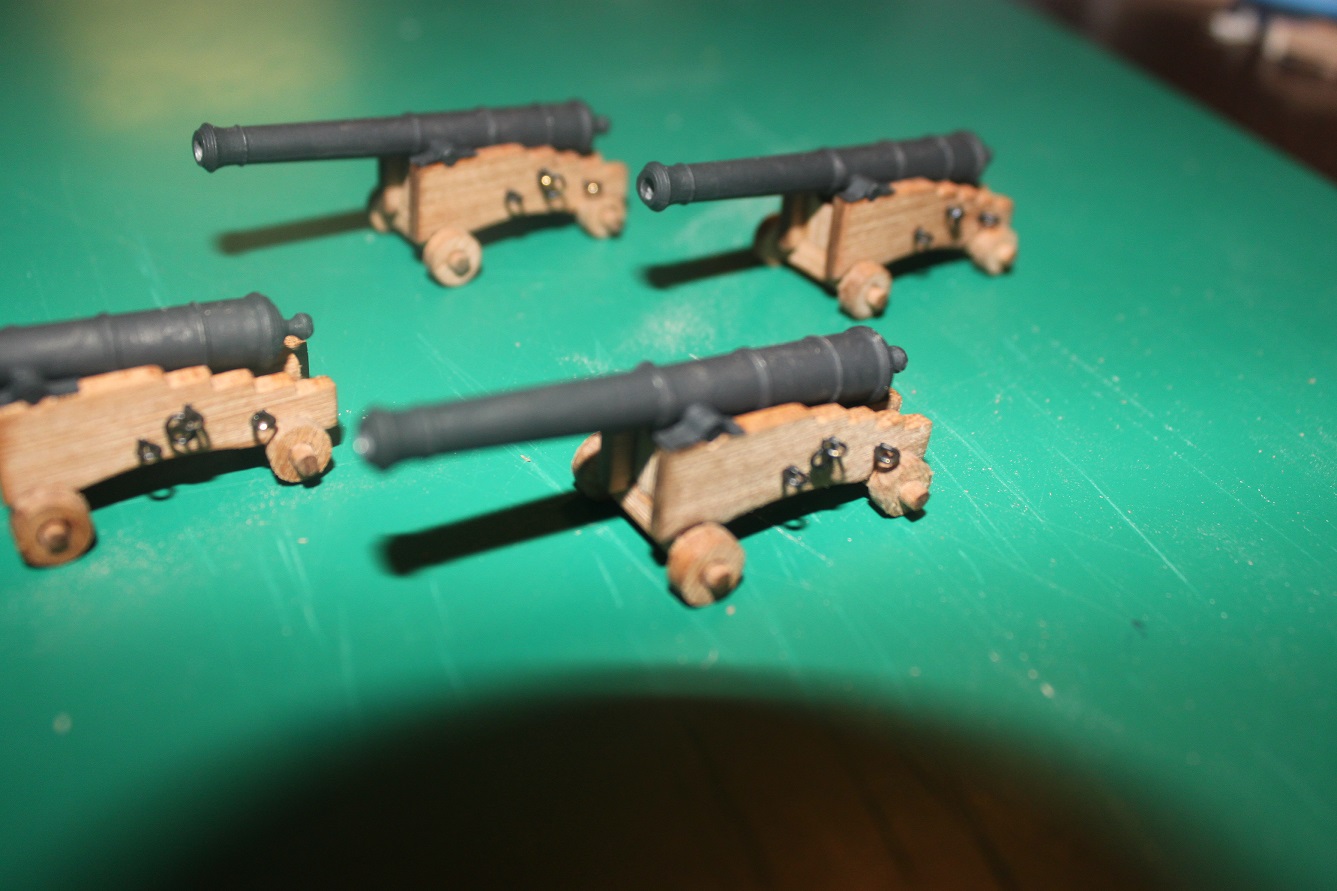
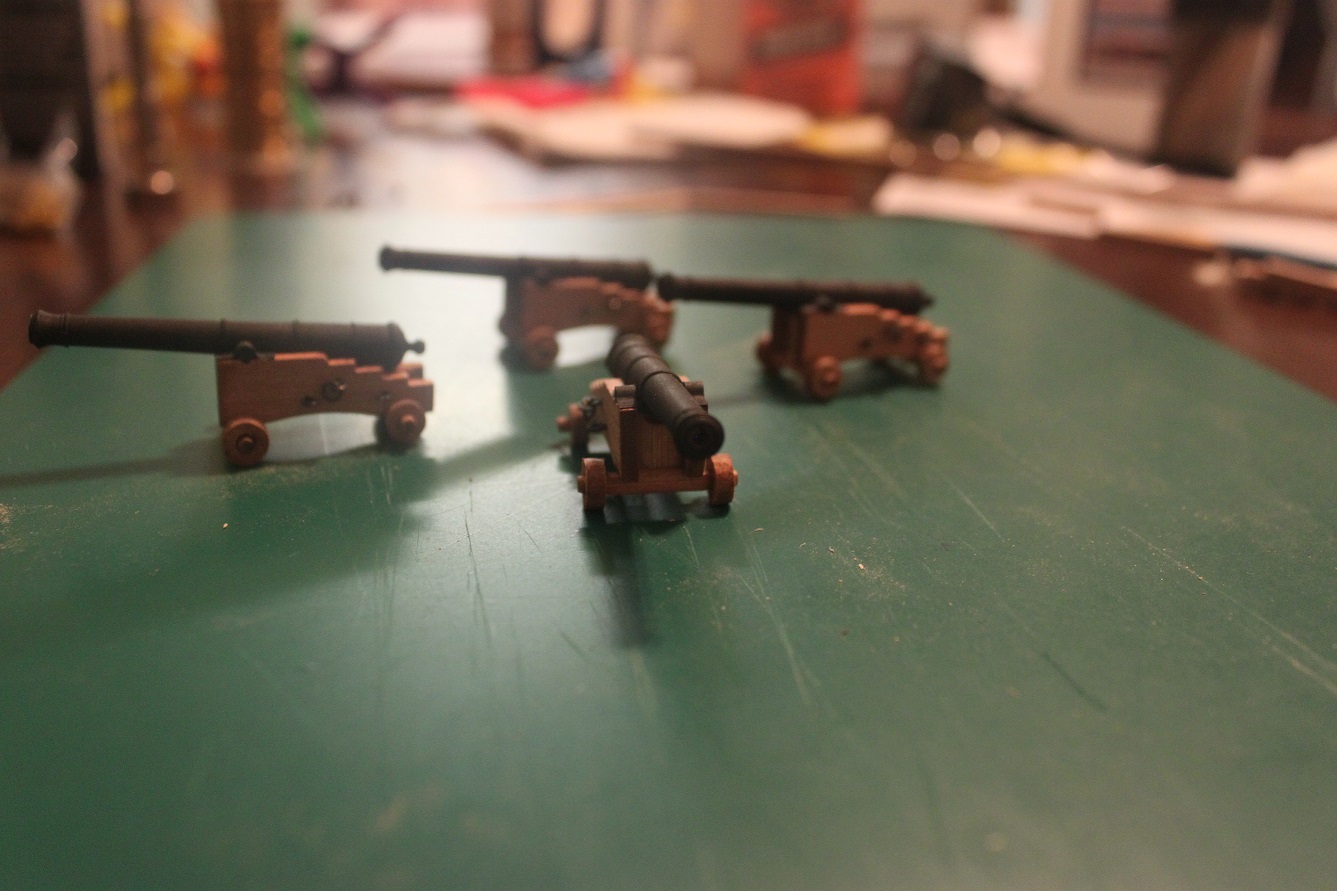
The gun deck framing is completed and installed on the cross section. I plan to plank this deck with maple as well. I am undecided on if I should plank it out to the point in the picture on each side or just far enough for the guns to sit on it. I still have to decide what to use for planking above the wales inside and out. I have poplar, maple and basswood. Guess I'll go with what looks best. I have used the poplar on the lower hull and the maple on the decks. And I am thinking about using walnut for the inner hull around the gun ports and planking. Any input would be greatly appreciated.
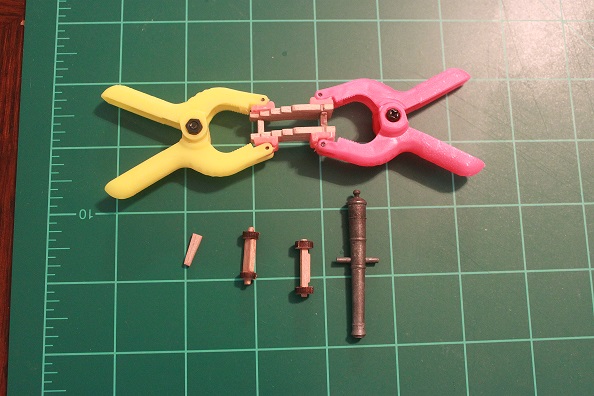
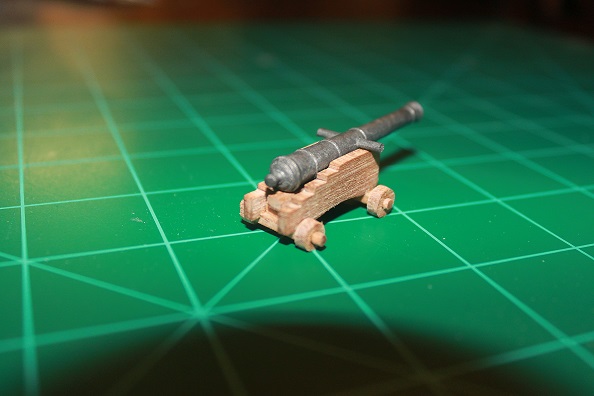
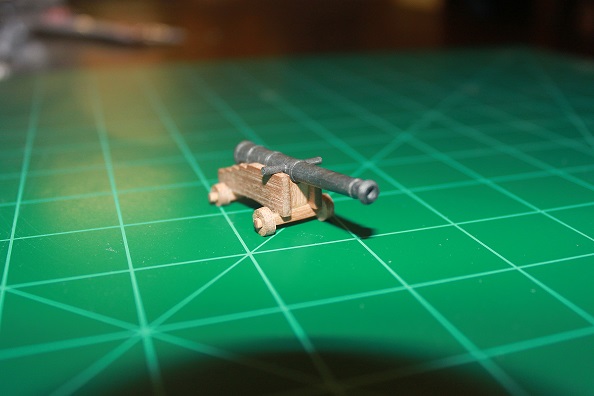
I have also started to build the guns, I purchased them fro dlumberyard.com. So far I have 1 of 4 built with the 2nd one started. My question is what should I get to finish them off with. I know that the eye bolts can be made out of black wire and I have rope and blocks, but I am unsure as to what to use to make the pieces that hold the gun to the carriage (or should I even bother with that detail).
Anyways, here are some pictures for your viewing pleasure:


- Captain Poison, davec, Matrim and 5 others
-
8
-
Looking awesome, Scott! You should be proud of your work. That is a fine model. I can only hope that my Rattlesnake will turn out that well once I build it.
-
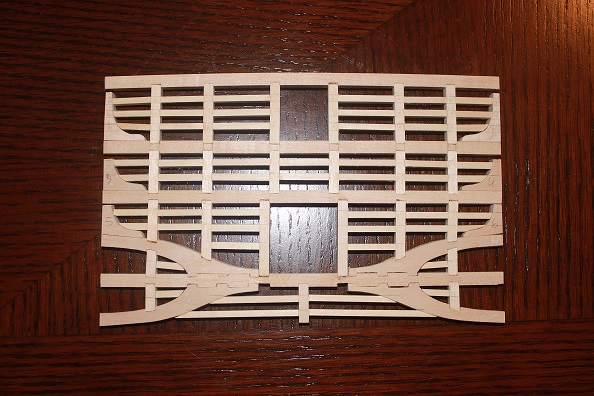
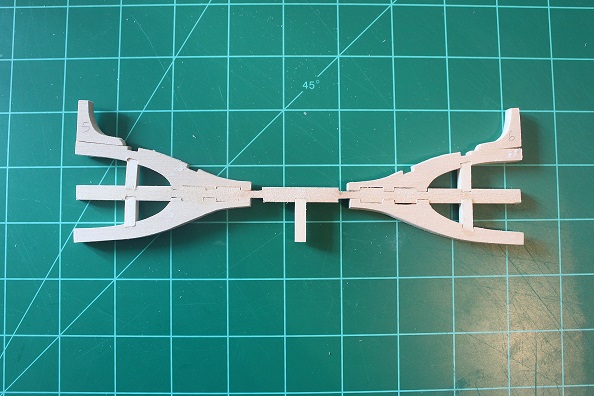
I have finished assembling the gun deck. All that is needed now is to finish sand it and install the deck planking once the deck is installed on the model.
The first picture is of the deck set into the Cross Section to see how it fit, looking closely at it, I see that I need to do some sanding to make it all fit perfectly.
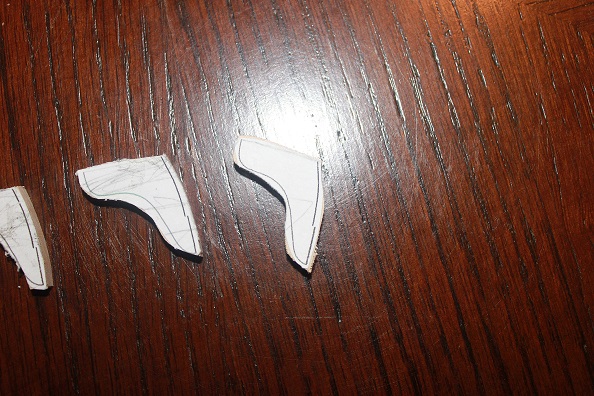
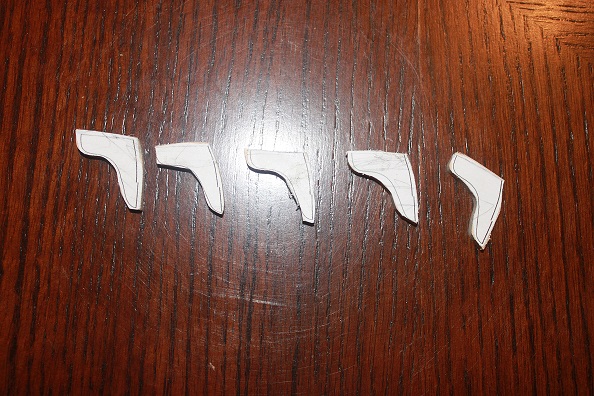
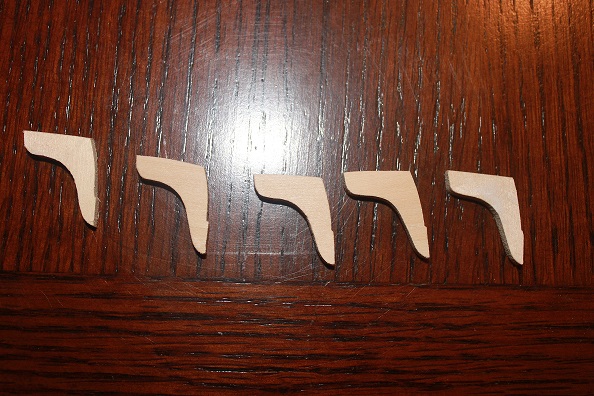
I have also started making the hanging knees for the gun deck. I printed out the patterns and glued them to the wood. them I rough cut them out on the scroll saw and finished it off for the final shape with a sanding block and 60 grit paper.
5 hanging knees done and 5 to go.

-
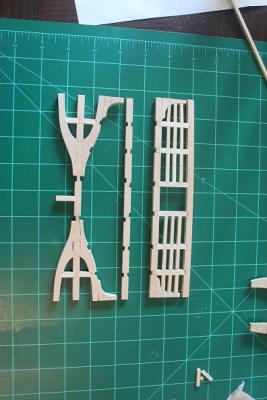
I got some good work done on the gun deck framing. I am hoping that it turns out just as good if not better than the lower deck. Only time will tell. if it doesn't then I guess I'll just have to redo it. I am hoping to have the gun deck done by the end of this week.

- Captain Poison, Pete38, GuntherMT and 5 others
-
8
-
Here are some better pictures of the Triton taken with my Canon. the ones in the last post were taken on my iPad, and turned out kinda meh. Enjoy!
- mtaylor, rafine, Captain Poison and 3 others
-
6


H.M.S Triton Cross Section by KennyH78 - FINISHED - 1:48
in Cross Section Build Logs for HMS TRITON
Posted
The case is finished and carefully pulled over the model, sealing in the model for forever (I hope). Now I just need to find the time to take it to my Dad who lives 3 hours away. I'm sure he will love it (he has no clue that I am going to give it to him). Anyways, here are the pics.....