


ChrisLBren
-
Posts
736 -
Joined
-
Last visited
Content Type
Profiles
Forums
Gallery
Events
Posts posted by ChrisLBren
-
-
-
-
-
Wow Im impressed - I didnt know how you would be able to pull off the friezes and you've done it ! Kudos !!!!!
- FrankWouts and Chuck
-
 2
2
-
Thanks for the feedback ! I read in the manual that the blades can be reversed if they are dull or simply replaced for 10 dollars. I agree Greg - I love this machine it works really well in conjunction with the Byrnes Thickness Sander but much more efficient to dimension wood.
-
Hey Group,
Am very curious if anyone else who owns this machine has had issues with it leaving bite marks on wood. I am thinking I need new blades - when first purchased worked like a dream.
Any feedback is appreciated,
Chris
-
-
Beautiful job on the planking ! I agree with you - the less is more approach works very well - heck I almost decided not to simulate caulking but have changed my mind there. No treenails for sure. Hopefully Ill be back in the shop this weekend after many honey dos to get the house ready for winter - which is coming early here in the Midwest. Kudos to a brilliantly executed model so far !!!
- Chuck, FrankWouts and Rustyj
-
3
-
Try FED EX - Ive had this issue before - they seem to have the only machines to handle this without "fit to size"
- FrankWouts and bdgiantman2
-
2
-
Looking good Rusty !!!
-
Hey Group,
About to hit a milestone next month and the wife is asking what I want. I really would love more time in the workshop - LOL. However probably another tool is probably an easier ask. Here's what Ive collected over the past few years (I use all of them). The major three Byrnes tools (saw, sander and thickness sander), Proxxon thickness planer, Dewalt Scroll Saw on Stand, Spindle Sander, Proxxon MF 70 Mill and a really nice set of Lie Neilsen chisels. Only thing i may be missing is a lathe ?
Any suggestions are appreciated - Im a scratch builder with the occasion cheat from Syren Ship Models.
-
Nice work Rusty ? Are you building in all pear as well ? I had to swap out a few parts on my stem - hoping to get it together this weekend finally !
-
Well done !!!
- FrankWouts and shihawk
-
2
-
-
We’re our own worst critics !!! Nice fix
- druxey, FrankWouts and Stuntflyer
-
3
-
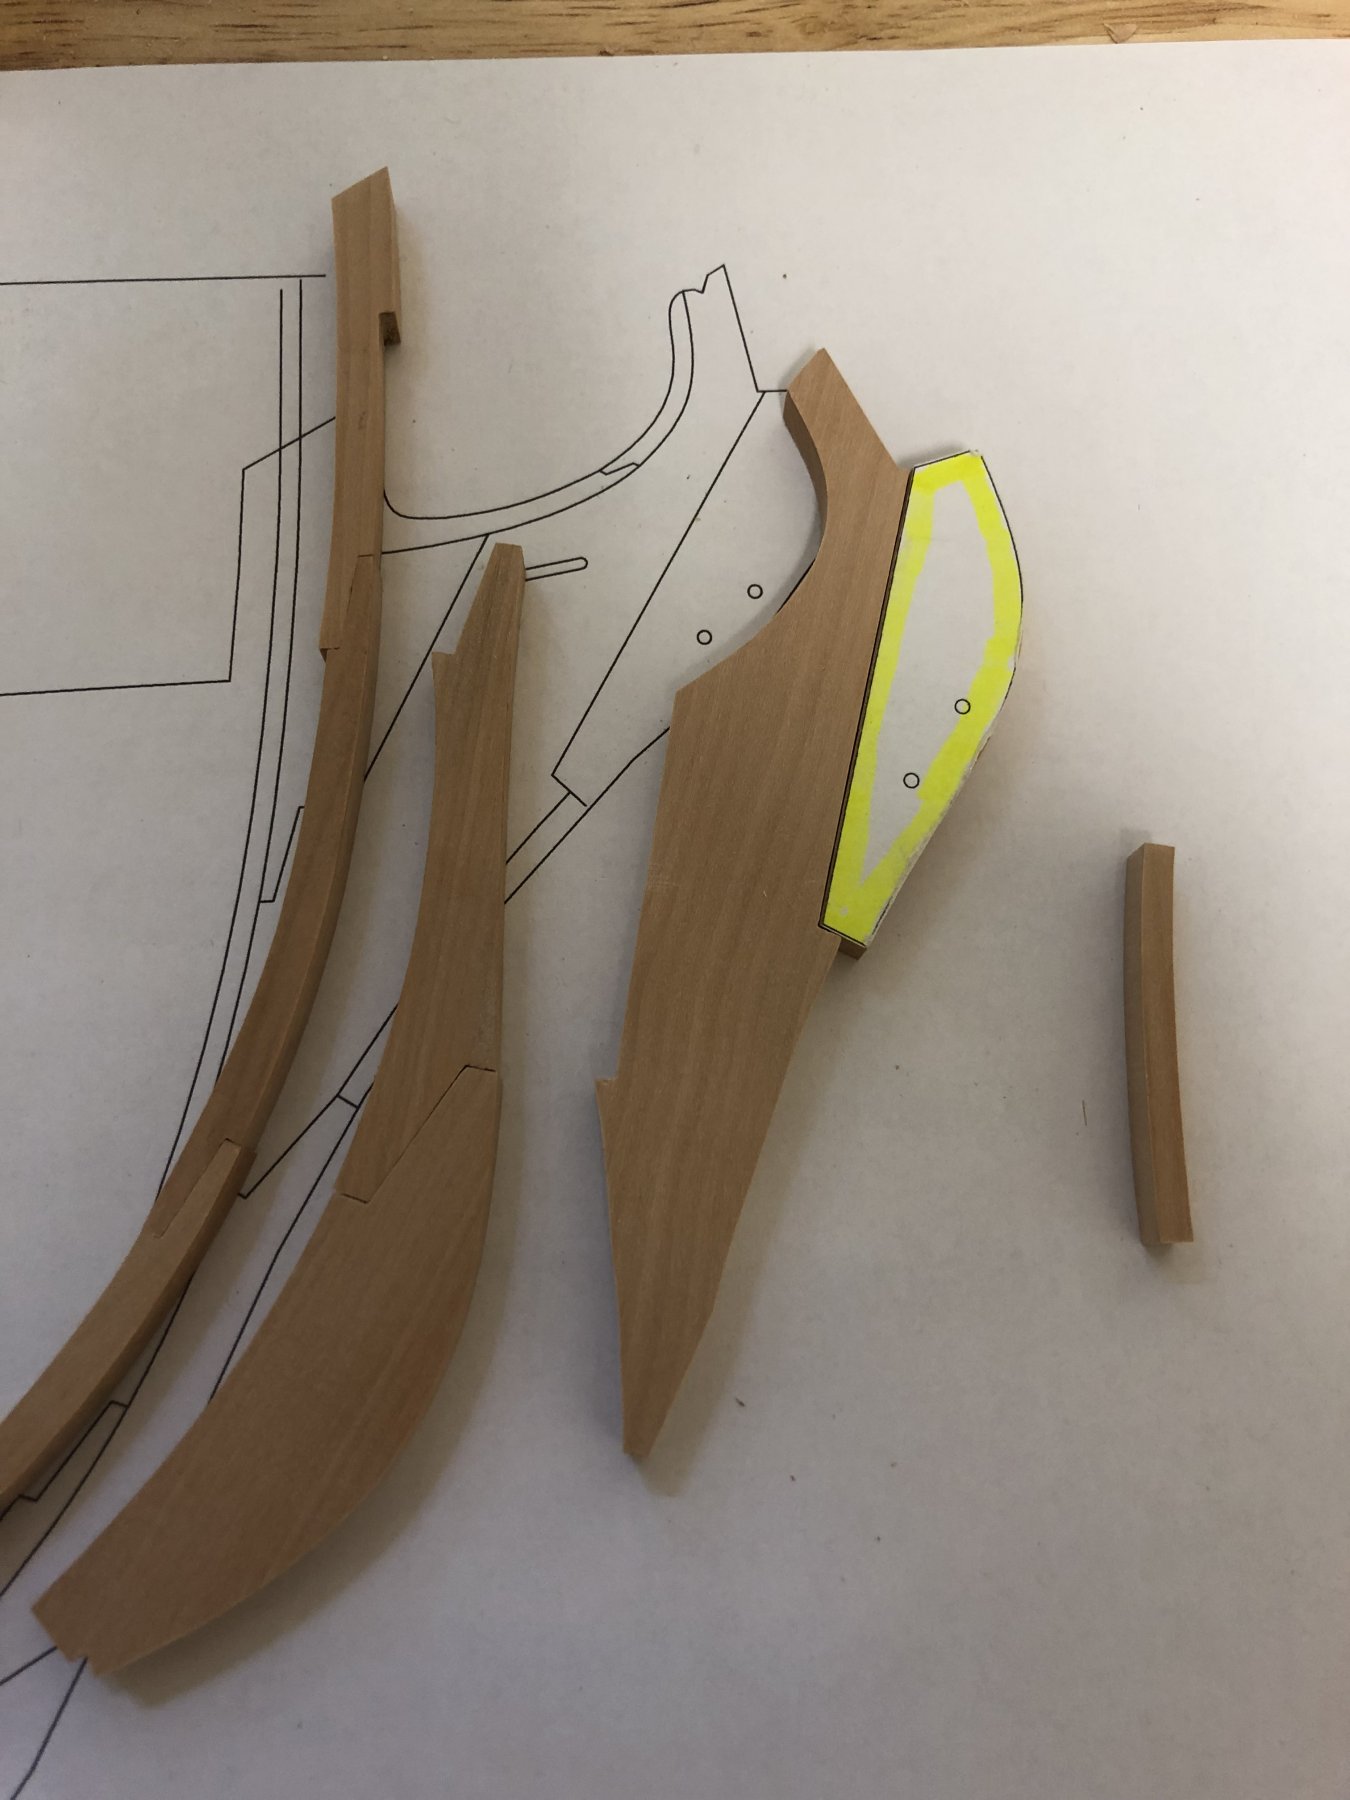
Lou its trial and error - this is my third attempt on the stem to get the fit as close to where Im satisfied with the assembly. The flitch of French Pear I bought a couple of years ago is really nice. I had a local facility mill it to my specs for billets @ 3/8, 1/4 and 3/16 for 100 dollars - way cheaper than buying milled sheets. And you get consistency of color.

- Captain Poison, Rustyj, JeffT and 2 others
-
5
-
-
Congrats Kortes - beautiful job on one of my favorite subjects !!!!
- billocrates, FriedClams, Keith Black and 1 other
-
4
-
-
Wow - looks terrific !!!
- mtaylor and FriedClams
-
2
-
Hey Chuck,
Youre doing a beautiful job here - as Greg suggested - maybe try another finish. I do like the idea of either a shellac finish which the masters used - wouldnt be tough to learn that technique or sanding sealer for an unfinished look....
Regardless - nice work !!!
- Rustyj, FrankWouts, Canute and 2 others
-
5
-
-
-
Proxxon Planer DH40 Issue
in Modeling tools and Workshop Equipment
Posted
Hi Greg,
The Proxxon customer service just re sent me the manual which is nebulous - if you can send me a quick pic of your blades in position - would really help me and any other owners of this machine on MSW. Thanks - hope you had a nice holiday.