HOLIDAY DONATION DRIVE - SUPPORT MSW - DO YOUR PART TO KEEP THIS GREAT FORUM GOING! (Only 72 donations so far out of 49,000 members - Can we at least get 100? C'mon guys!)
×


popeye2sea
-
Posts
1,935 -
Joined
-
Last visited
Content Type
Profiles
Forums
Gallery
Events
Everything posted by popeye2sea
-
 The sails are really looking great. I especially like the second photo of the ship in front of the window. The angle and the lighting on the sails shows them off to good effect.
 -
I only play a Marine on TV . I am a retired Navy Chief. I joined an 1812 Marine re-enactment unit to stay involved with the USS Constitution, which I was also stationed aboard for a short time.
-
The distinction between whipping and seizing is that whipping is applied to a single rope to prevent unlaying and seizing is joining two items together. There are several styles of whipping, i.e: plain, palm and needle, sail makers and there are several types of seizings, i.e: cross (or throat), racked, flat and round.
- 732 replies
-
- 1
-

-
- constitution
- model shipways
- (and 1 more)
-
My time aboard USS Blandy DD 943 in the early 80's included plenty of plane guard duty, also. We still used the bos'ns chair to send personnel back across and in return got movies, ice cream and mail. Things really do not change much over the years.
-
I recently read that the purpose of the bentinck shroud was to take the additional stresses imposed from the upper masts when the ship is rolling heavily. The bentinck shrouds were usually set up during heavy weather and not carried all the time. Not sure of the validity of that but I thought it worth mentioning.
-
That splice looks really good. I have found that the splicing goes a lot easier if you use a needle threader. Push it under the strand and pull the end to be tucked back through.
-
Mihial, I am looking forward to watching your build. You should move this thread to the build log section. You'll get more views and commentary there. Regards, Henry
-
What a great tutorial. It's going to come in very handy when I get to making chains and strops for dead eyes.
-
Wow Jay, you really captured it. It looks great
-
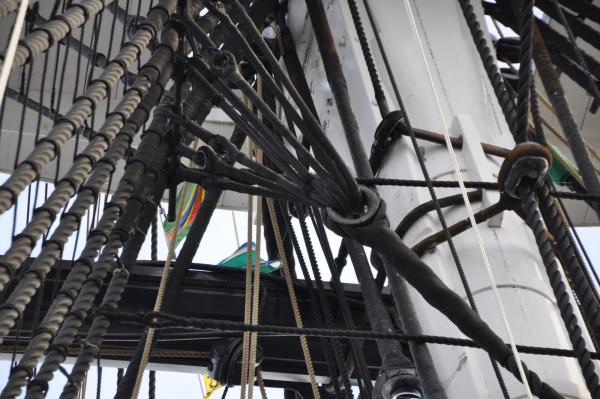
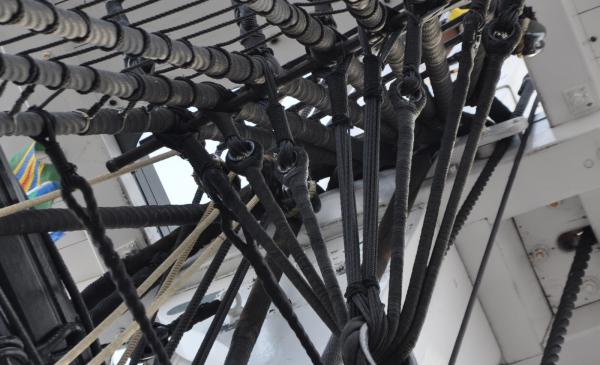
There are additional staves above the futtock stave on the shrouds currently. I think that they are there because there are plenty of land-lubbers that go aloft when the ship makes her turnaround cruises
-
Jay, I posted some info and picures in your other thread about the futtock shrouds. Hope it helps.
- 732 replies
-
- 1
-
-
- constitution
- model shipways
- (and 1 more)
-
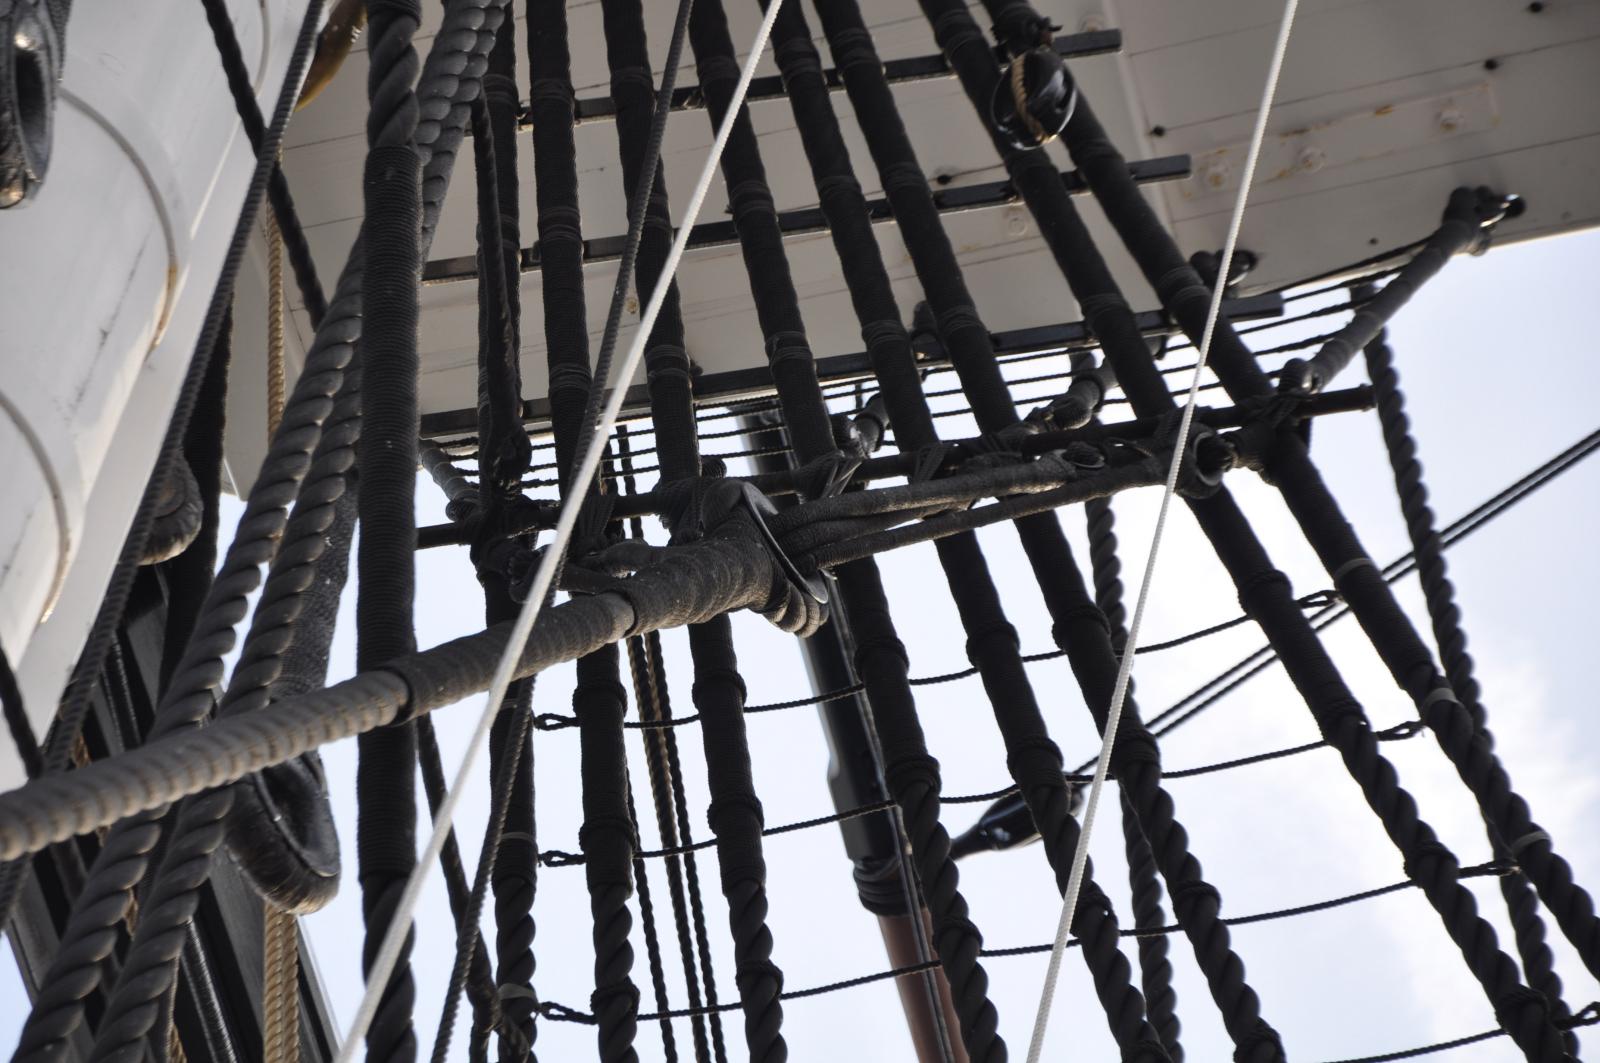
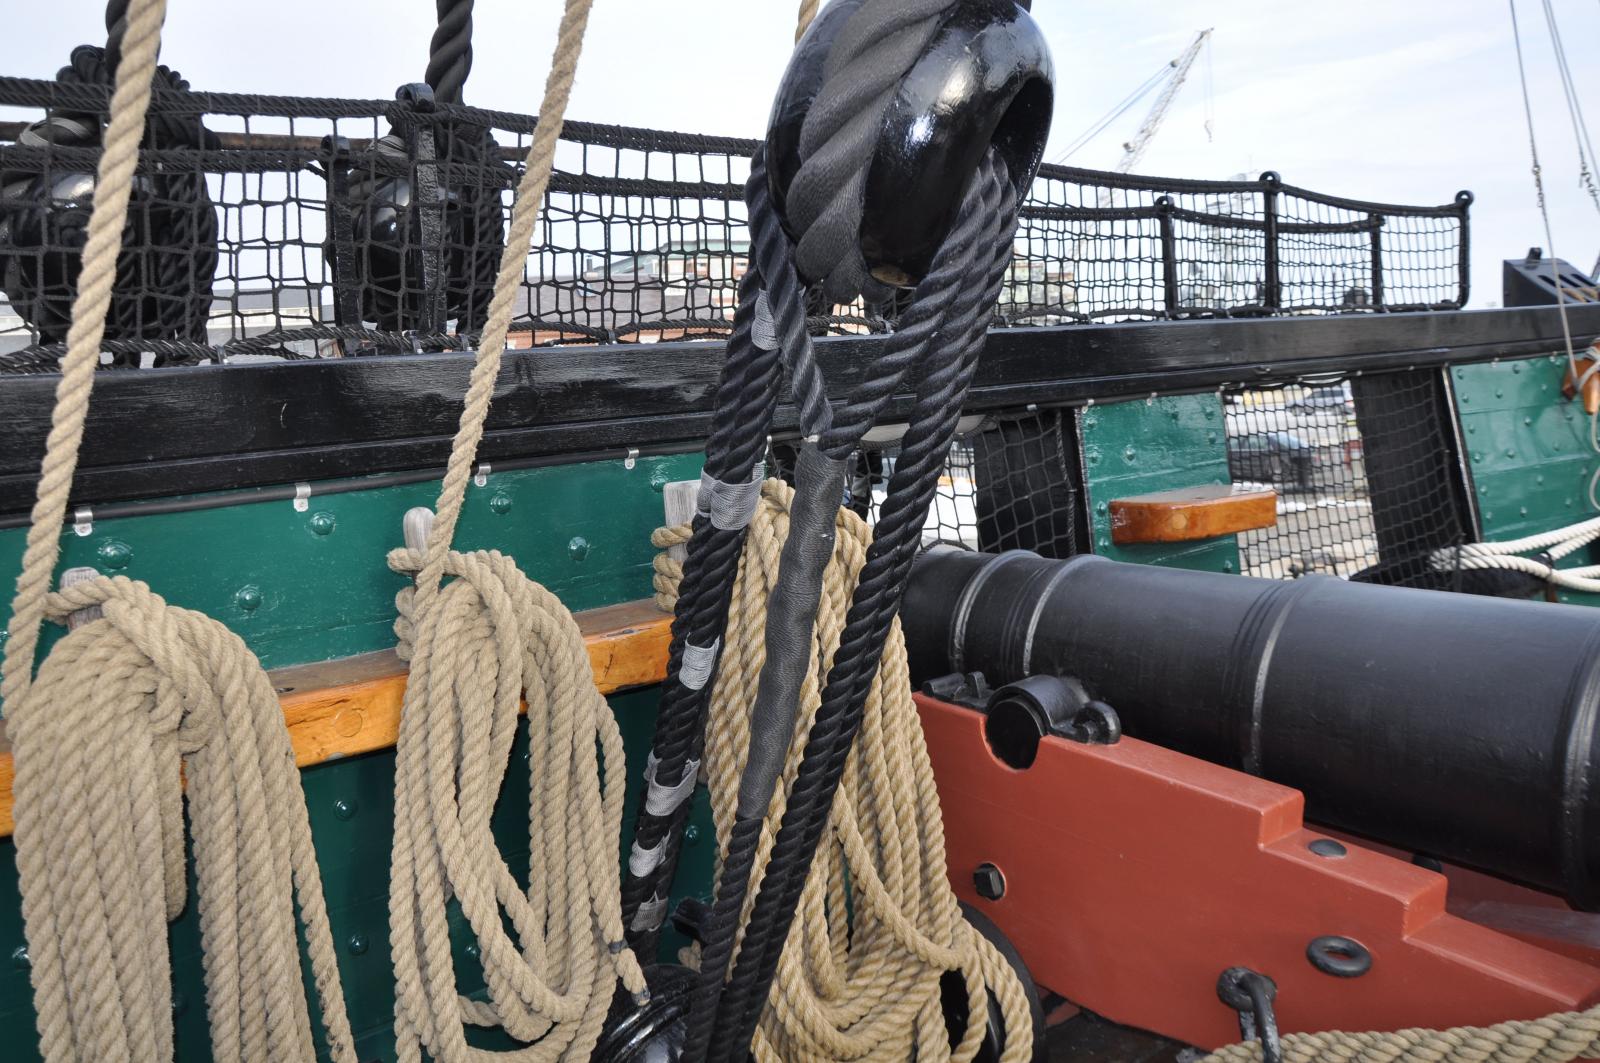
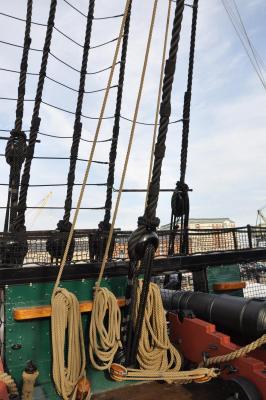
Jay, I have those pics for you. It looks like the bentinck shroud legs are middled through a thimble eyespliced into the shroud, the splice served. There are 4 legs, the center pair are not actually shroud legs but they look like a long seizing, frapped, between the middle futtock shrouds and the bentinck shroud thimble. The other 3 legs have a thimble spliced into each end with a frapped seizing attaching them to the futtock stave. The shroud legs are served their entire length. The lower end of the bentinck shroud is seized around a heart with a throat and four round seizings. The lower heart is stropped double with two eyes. The eyes are held with a pin through an eyebolt in the waterway. The lanyard starts with an eye splice in the upper heart and the end is hitched round the shroud at the throat seizing end the bitter end seized to one of the parts of the laniard. Also visible in the photos is the attachments of the catharpin legs. You can also see that the bentinck shroud is served where there may be chafe from other rigging. Hope this info helps.


-
Woo Hoo!! first win for me. I respectfully decline my turn at bat. Since I just beat out DFellingham by minutes I will pass the baton to him. Just wanted to see if I could win one of these, plus It seemed like a good reason to try google image search. Happy Searching
-
United States Revenue Cutter Samuel D. Ingham. Texas colors
-
Jay, If you can wait till tomorrow I will try and get you some more detailed pictures onboard the ship.
-
I like it. My kit has neither capstans nor helm. I am thinking about putting them in
- 601 replies
-
- 1
-
-
- constitution
- revell
- (and 1 more)
-
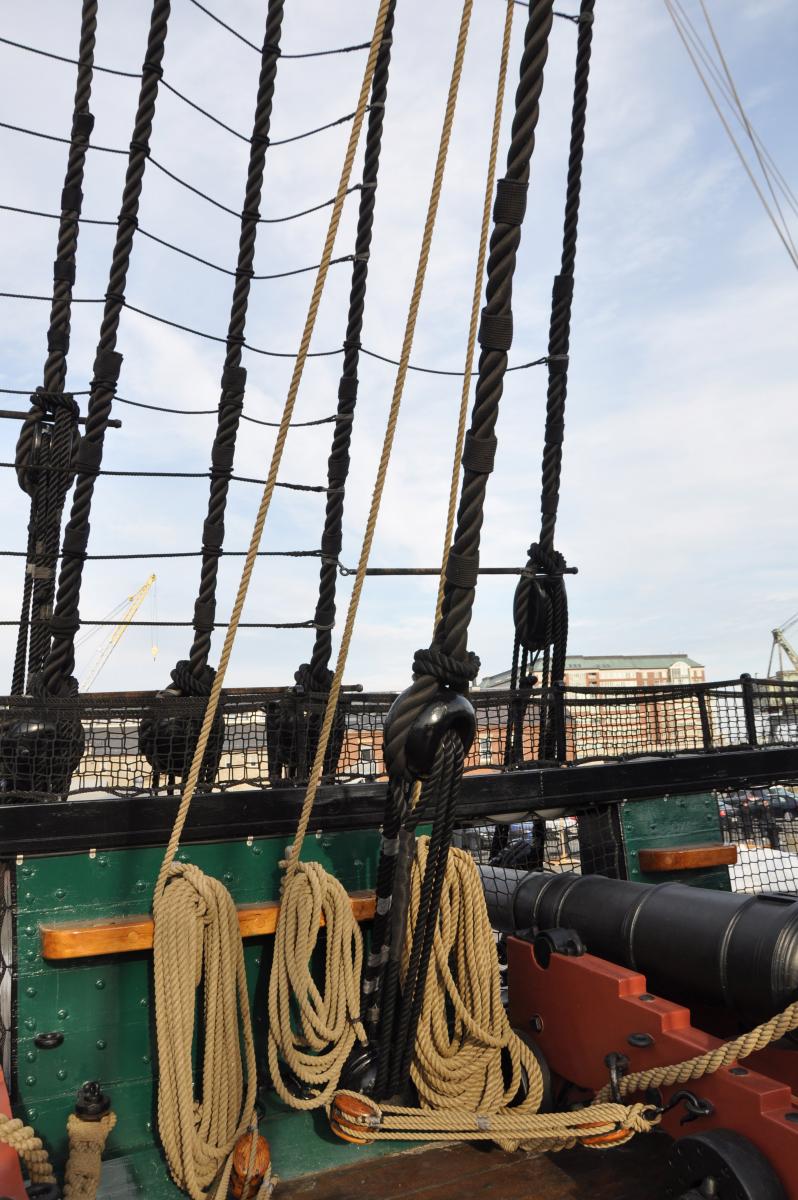
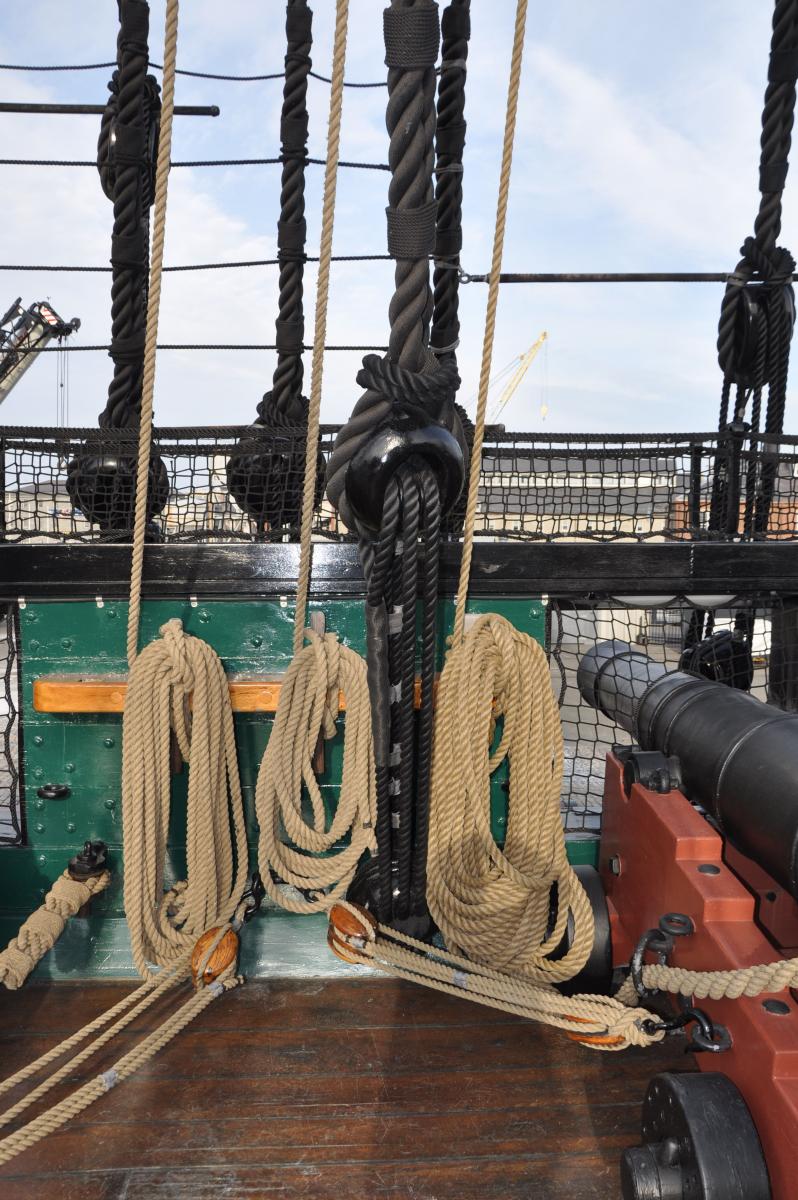
Those decks are outstanding !!
-
Shrouds were not unprotected. Protection from rot and water penetration was achieved by tarring. I would think that, especially om military ships, extra worming, parcelling and serving would not have been done because it costs money. Ships captains were held to strict allowances for stores and replacements. I would also tend to believe that most would be, like most sailors, practical, prudent, and conservative.
-
Marc, It's not the fore most shroud of each pair. It is only the fore most shroud for that mast on each side, port and starboard. The purpose of the serving was to reduce chafe from the sails and their rigging against the shrouds.
-
In my opinion the information found in any ship modelling book can be applied to any building medium. You will find that most of your research will be about how things were done 'back in the day' as opposed to what materials to use. I am building a ship from a plastic kit, but so far I have kitbashed various items from plastic, steel, brass and wood.
-
Glad to be of assistance.
-
If you seize a loop like one of the mast shrouds you will get both jib boom shrouds coming off a single point. Not what you want. A cut splice would be better. The jib boom shrouds would then come to either side of the jib boom.
-
Not such a young salt. I've been retired from the Navy for 9 years now.
-
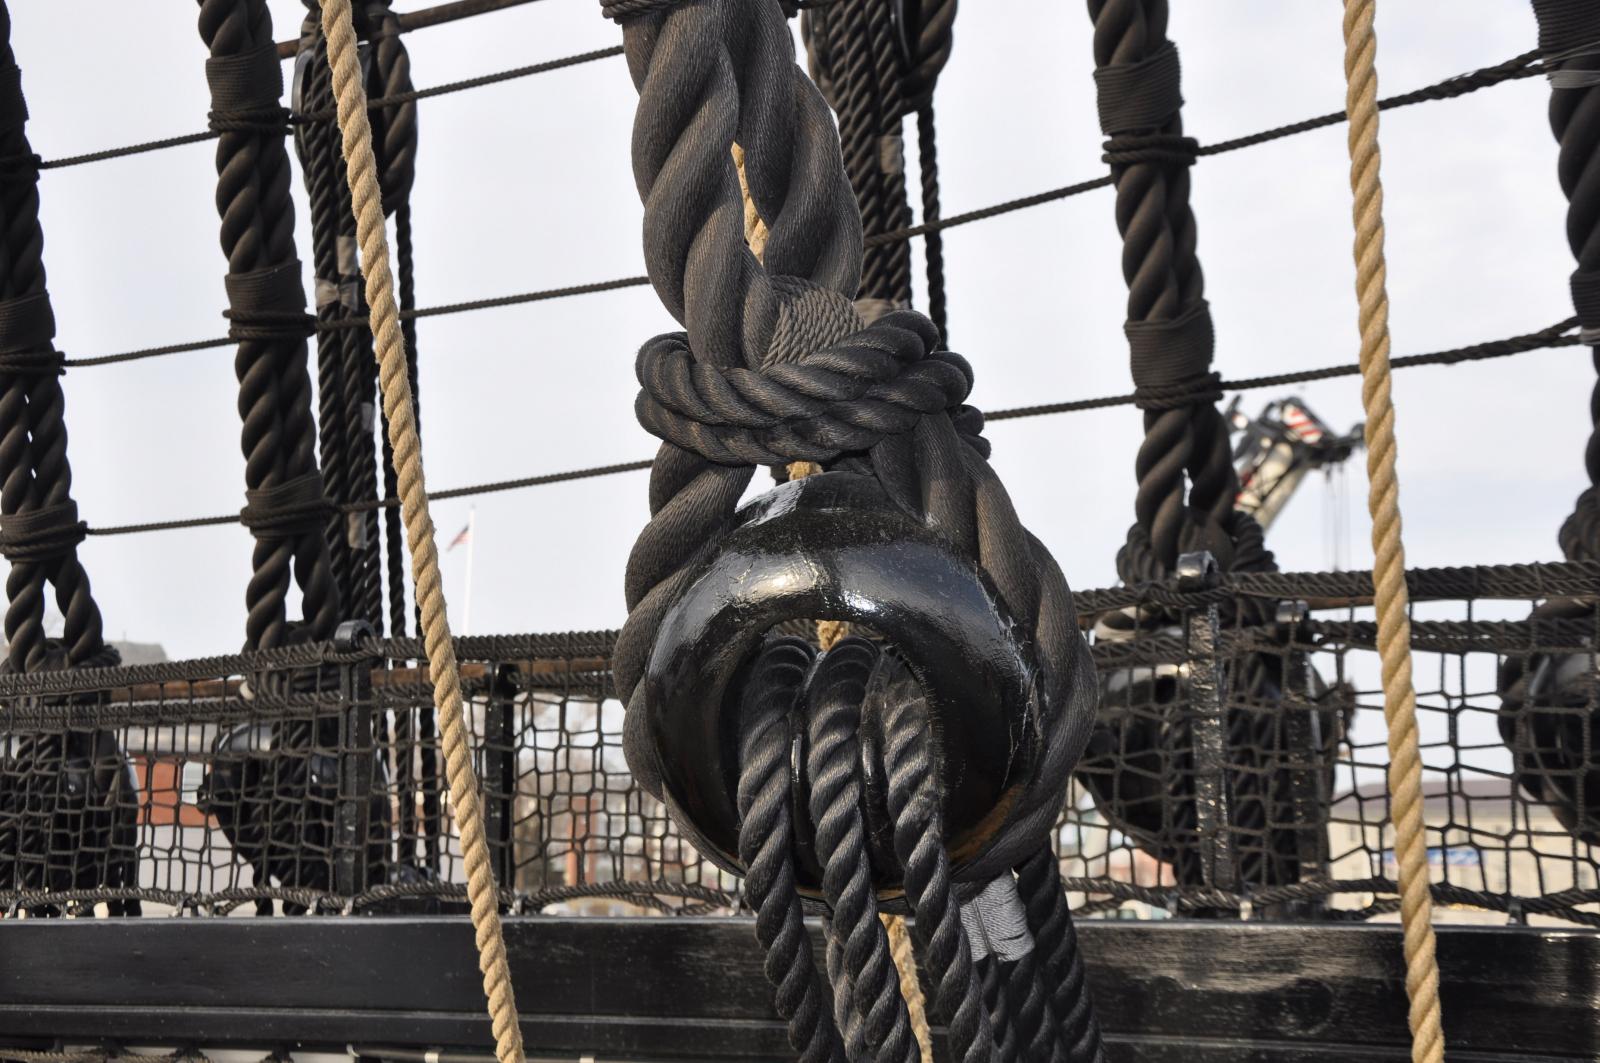
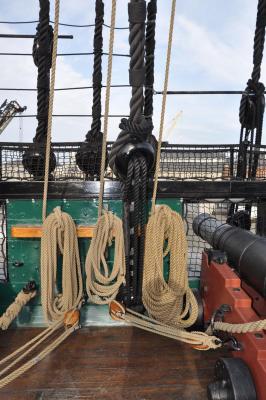
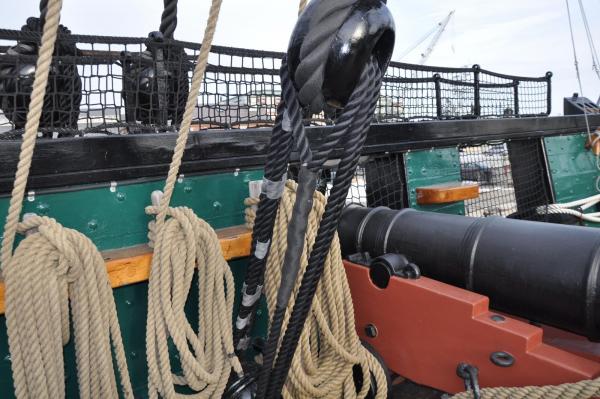
Those coils look great, Jay. Very realistic. They would not be perfect on the real ship either.
- 732 replies
-
- 3
-
-
- constitution
- model shipways
- (and 1 more)
-
Correct hitch and advice on rigging a flag needed
popeye2sea replied to Gabek's topic in Masting, rigging and sails
Which is why we were always taught to keep control of the downhaul at all times when hoisting flags. It is the mark of a sloppy ship when the flags are allowed to billow out down wind when hoisting.