HOLIDAY DONATION DRIVE - SUPPORT MSW - DO YOUR PART TO KEEP THIS GREAT FORUM GOING! (89 donations so far out of 49,000 members - C'mon guys!)
×


jwvolz
-
Posts
979 -
Joined
-
Last visited
Content Type
Profiles
Forums
Gallery
Events
Everything posted by jwvolz
-
 That's nice work so far Jeff; I really like the color scheme you've used. I love those Baltimore clippers! I might even have to consider this for a future build. Nothing says I have to kill myself with increasing complexity on every subsequent build.
- 42 replies
-
- 1
-

-
- lively of baltimore
- lumberyard
- (and 2 more)
-
Nice work so far Mike. Having built a Cruizer, I can agree it does take some work, and the instructions are rather light, but luckily the plans are pretty good. I modified a ton of things on mine to try to get more historically correct. If you can find a copy the book Modelling the Brig of War "Irene" by E.W. Petrejus was an invaluable resource to me during the build.
-
That finished up beautifully. Those sails are just exquisite works of art on their own!
- 138 replies
-
- 2
-
-
- glad tidings
- model shipways
- (and 1 more)
-
Those look fine. I would have left the lanyards long/un-cut for now until after you install the stays in case you need to balance tension. Just make sure when you put the stays on you don't slacken the shrouds.
-
You'll definitely need them. I put the exact number in shown and had a few that went unused.
-
Very, very nice Richard.
-
Nice work so far Mike. I've thrown that one together basically in a week with no aftermarket. Tamiya will spoil you very quickly with their excellent fit.
-
Just catching back up Mike. They finished up great. Nicely done!
-
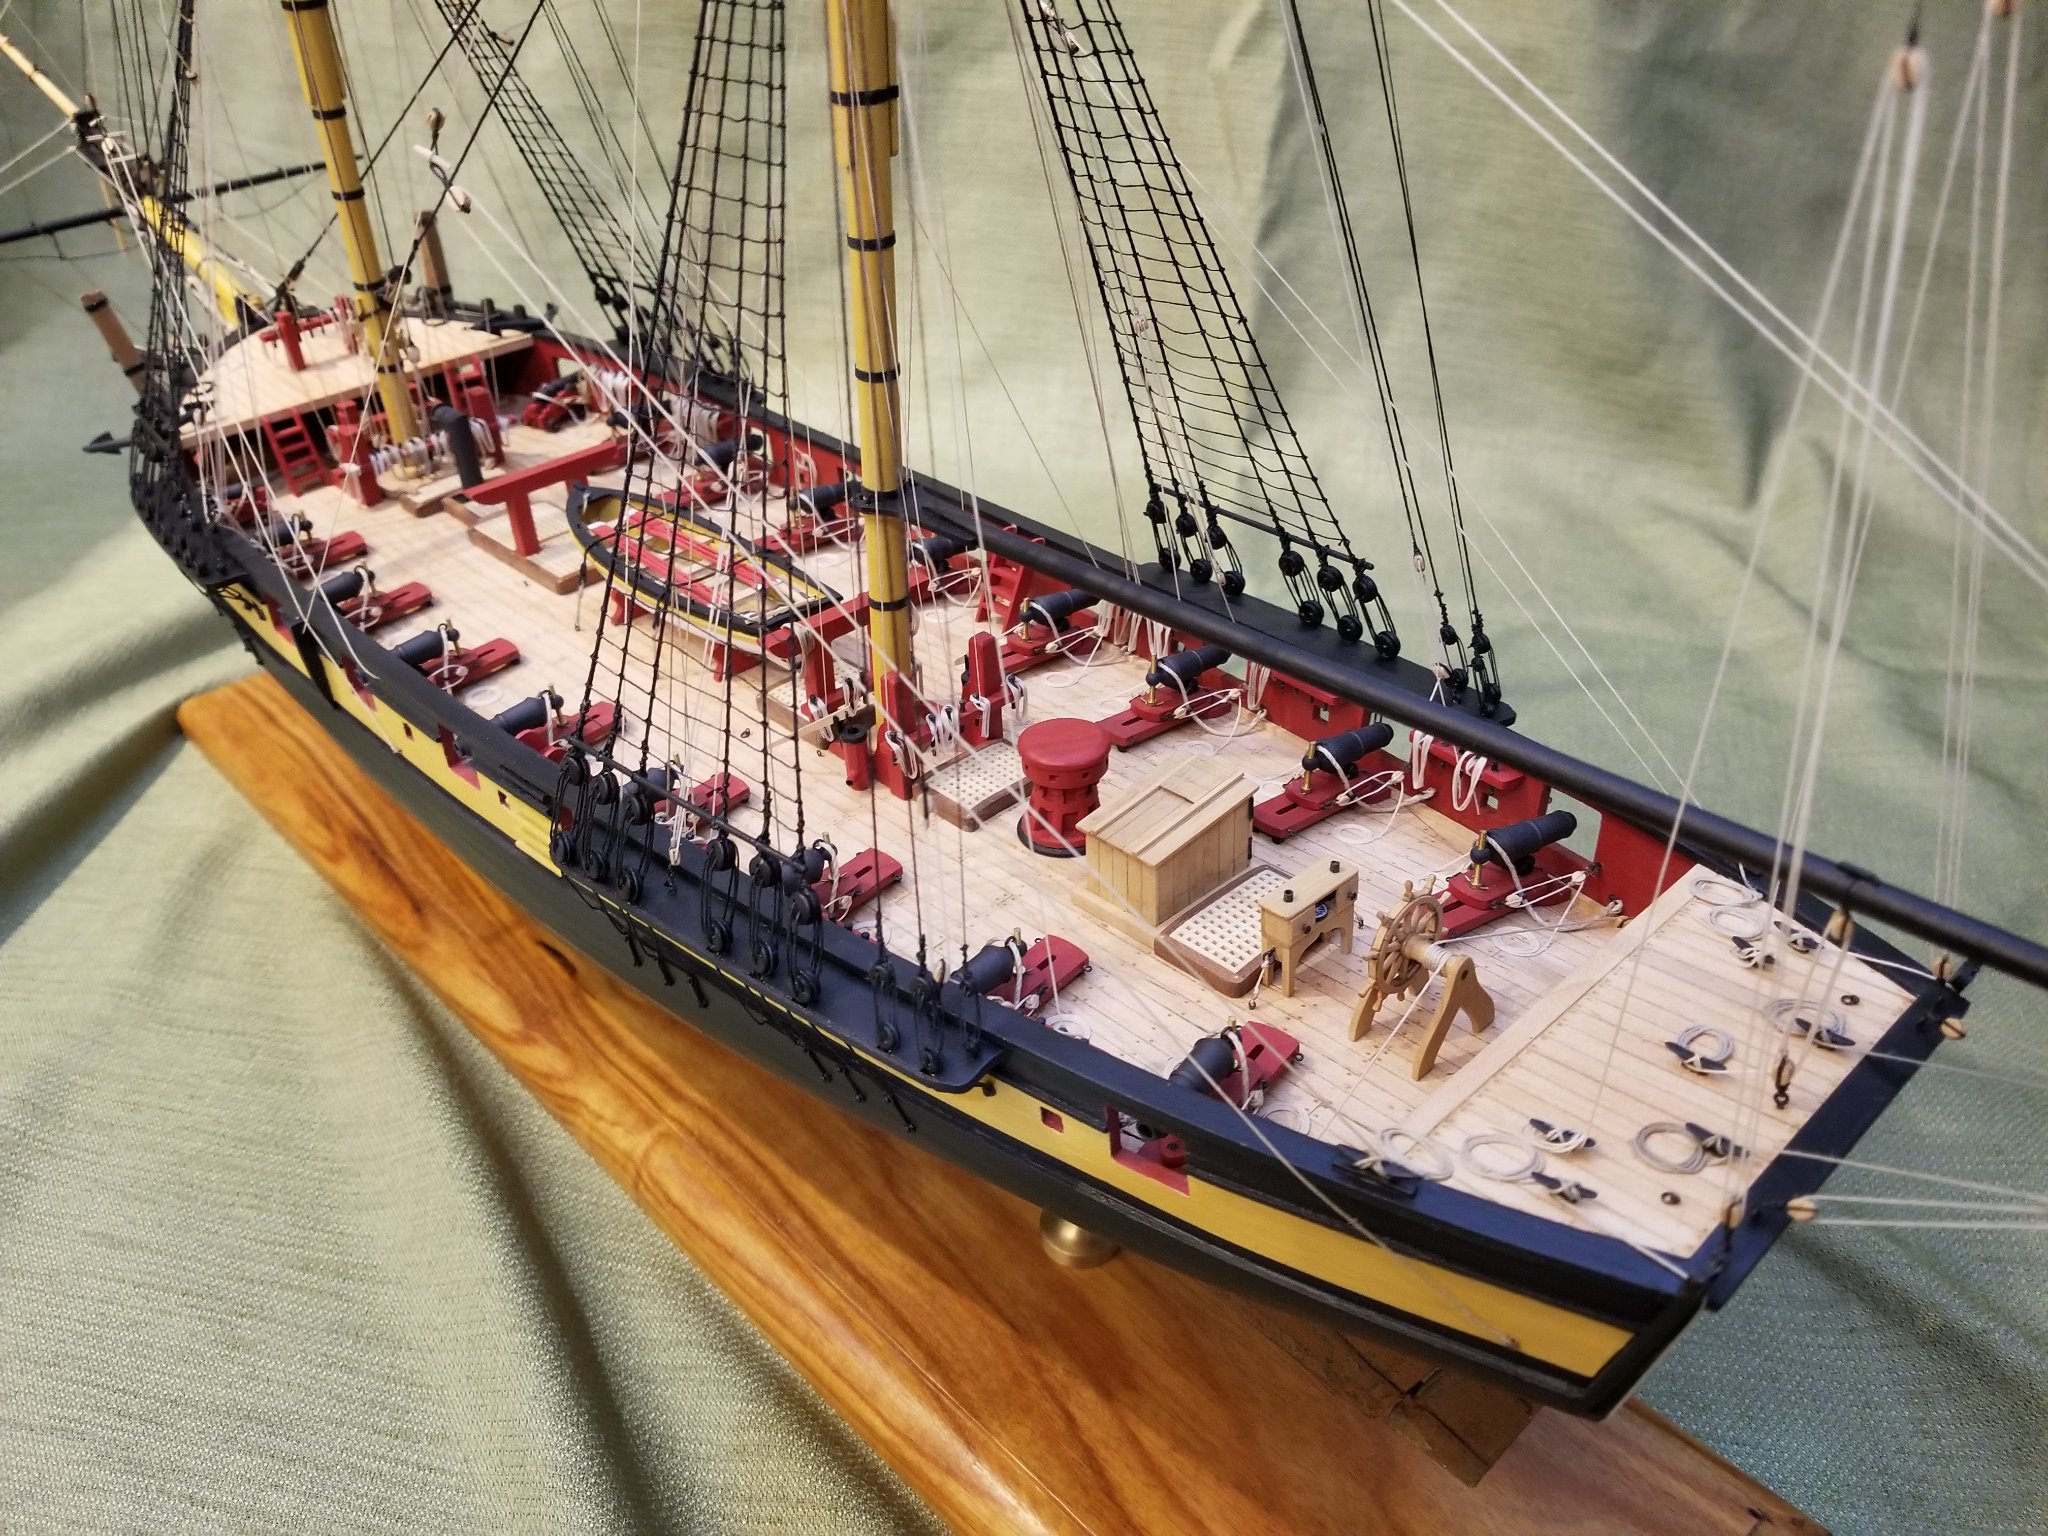
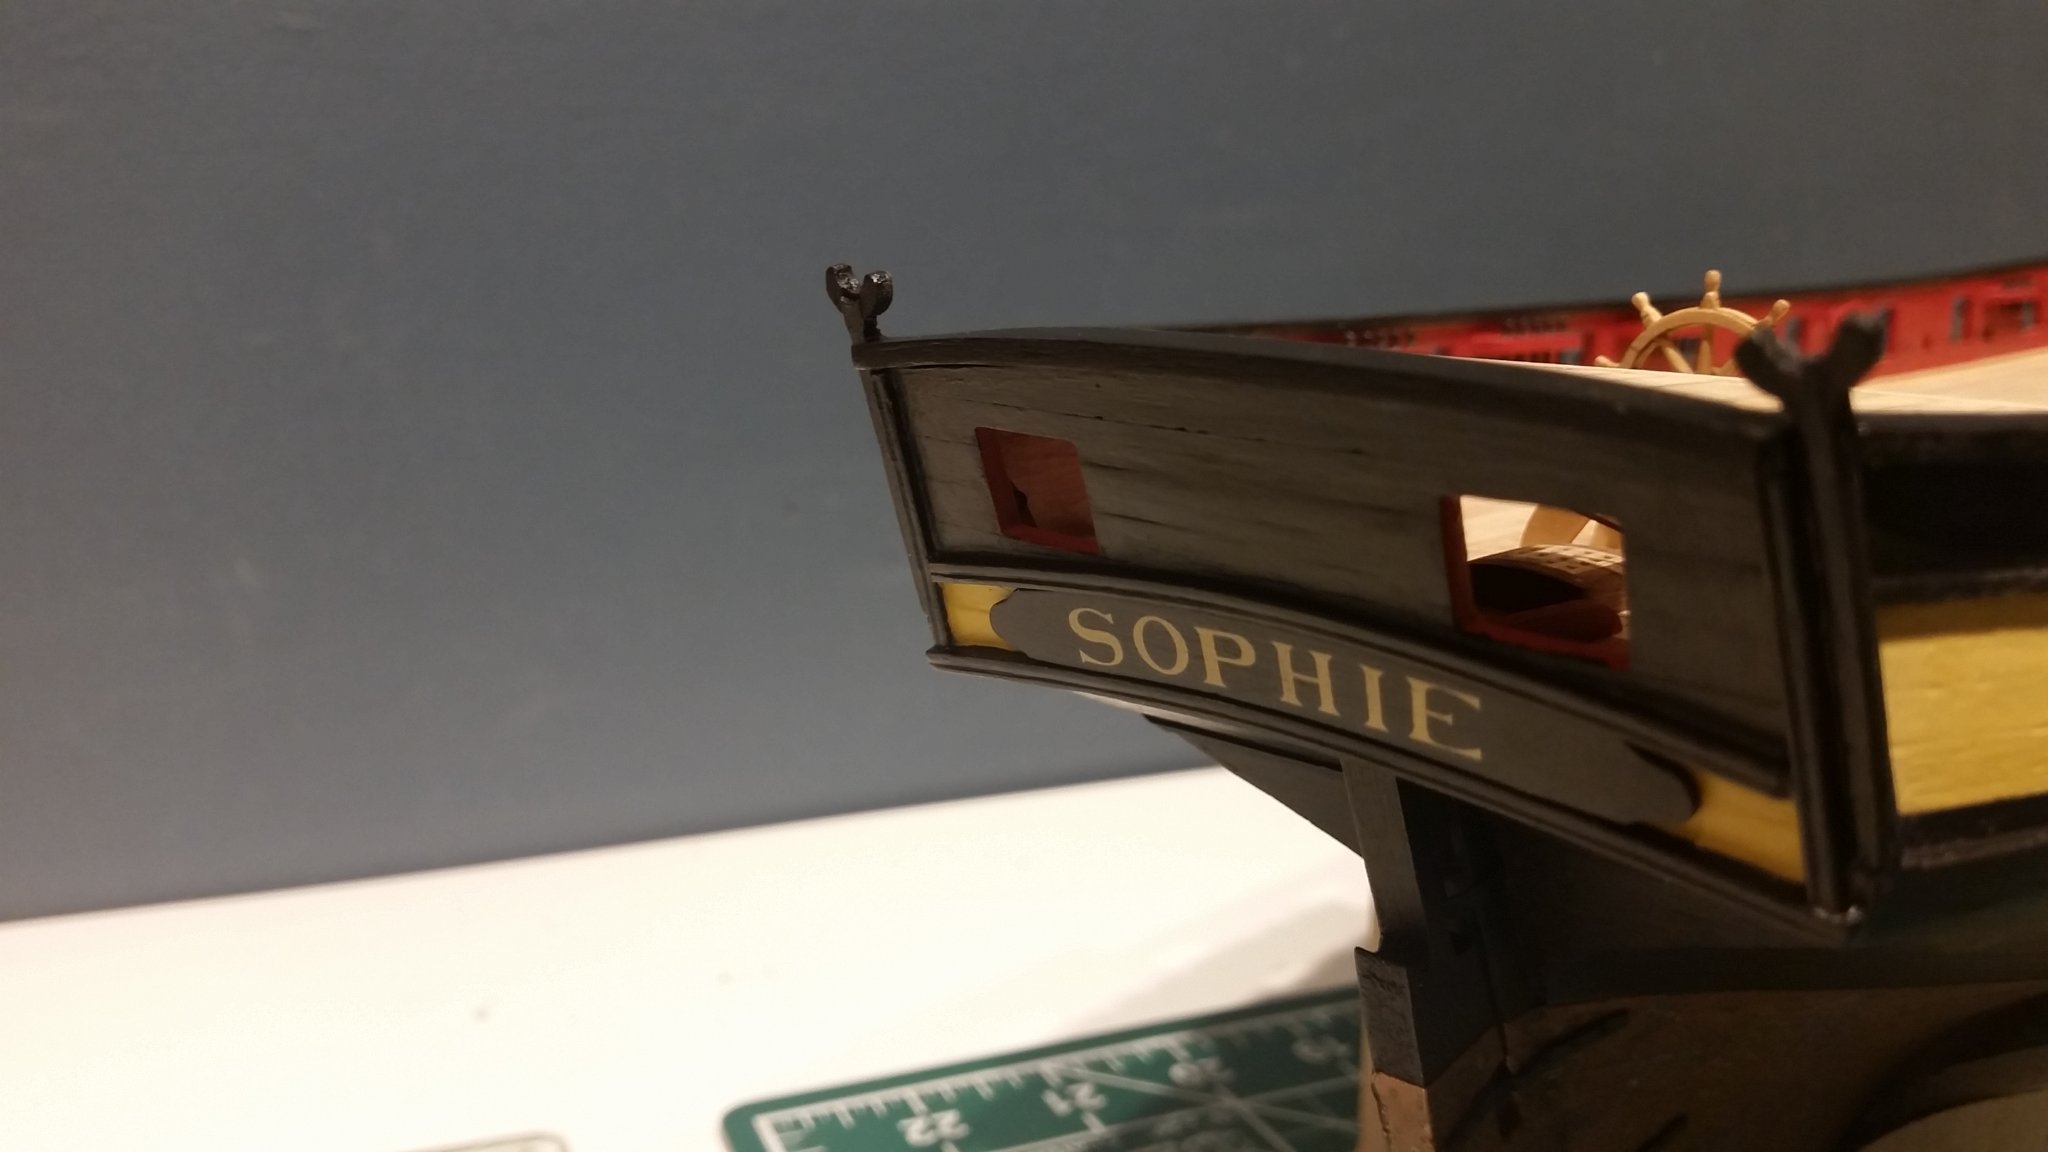
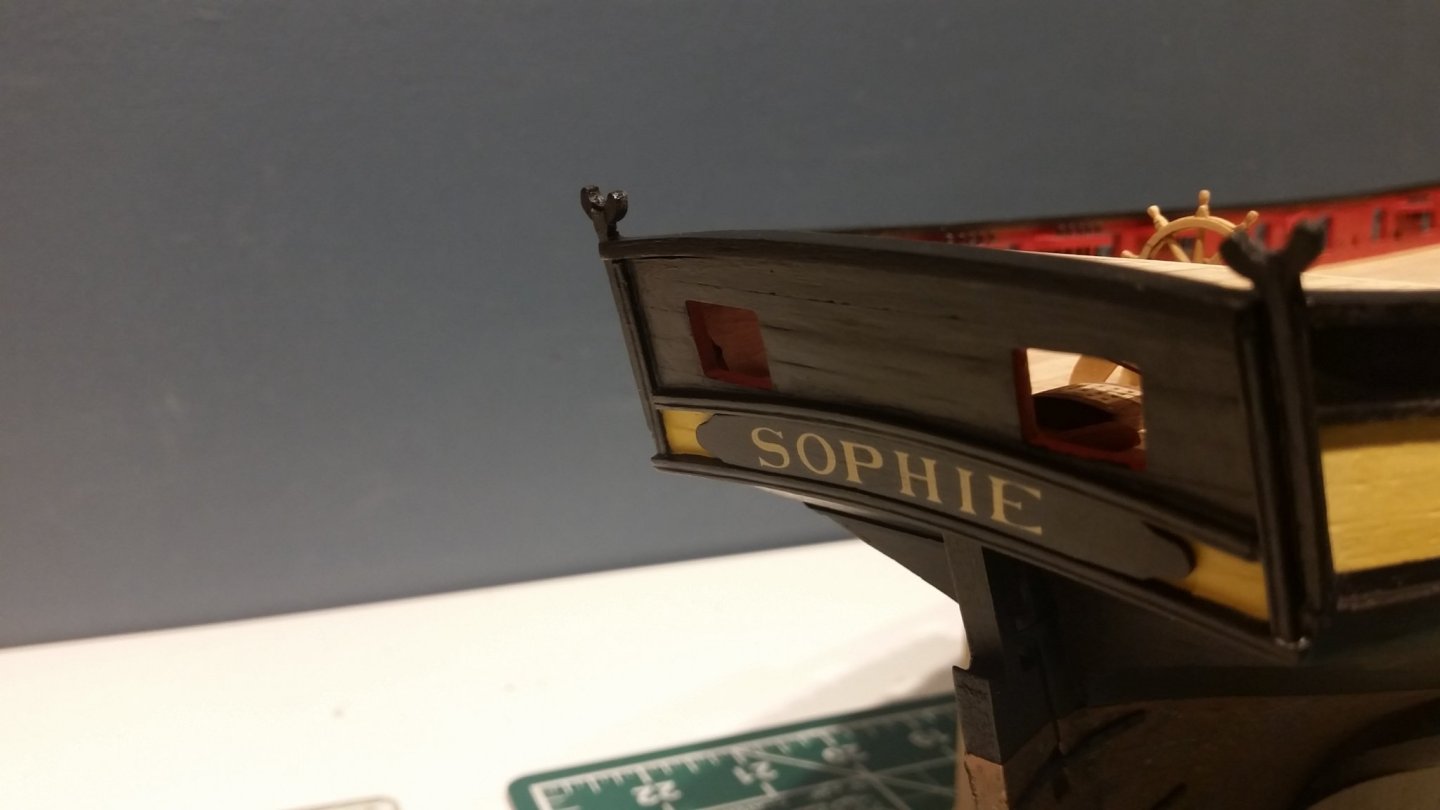
For what it's worth on my Cruizer build.

-
Thanks Richard. I've found dry transfers tough to apply directly on the model. You get one shot at getting alignment correct, whereas you can "float" a water slide decal around into final position. I used dry transfers (Woodland Scenics) on my Cruizer class Sophie build, but did them on a separately applied name plate.
- 140 replies
-
- 4
-
-
- benjamin w latham
- model shipways
- (and 1 more)
-
David, It should be the topgallant shrouds. They were set up with thimbles and lanyards in the top. This is the same way my Cruizer rigging was set up, based on the brig Irene book. The lower thimble is seized behind the lower deadeye. Rig the lanyard as you would for lower stays between hearts for example, reeving between the two thimbles. I cheated on mine and simply secured the topgallant shroud to a decent sized eyebolt behind the deadeyes. I figured there was no way I was going to be able to rig it back there otherwise with the other rigging in the way, and it is barely visible anyway. I'd take a picture of my Cruizer rigging, but you'd never see it behind the topmast deadeyes/shrouds.
-
Thanks for the nice words. I did paint it below the water line, natural finish above and painted wales.
-
Nice work so far. She builds into a beautiful model with some effort. Good idea with the boxwood, I did so as well and it made a big difference compared to the kit walnut.
-
Brig Eagle 1814 by ChadB
jwvolz replied to ChadB's topic in - Build logs for subjects built 1801 - 1850
Really, really nice work Chad. -
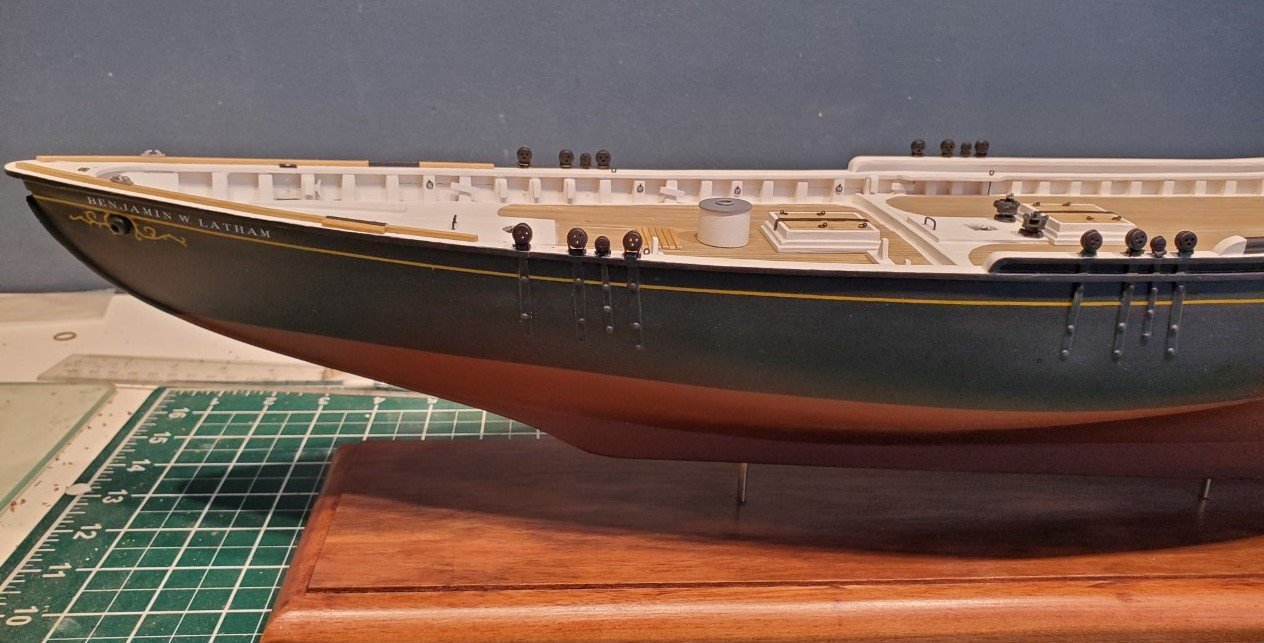
Thanks Mike. The letters are quite opaque, even over the black with just one layer. Lining up a second on top would have been fun! It wasn't too difficult to get them lined up as you have multiple chances to "float" them into position, unlike dry transfers where you get one shot. They key was just water, no decal solution, so they don't start to soften. I came back with Micro Set afterward. They are from Microscale.
- 140 replies
-
- 2
-
-
- benjamin w latham
- model shipways
- (and 1 more)
-
Nice work so far David, and nice job with the transom issue. Hopefully you aren't in no man's land the rest of the way!
-
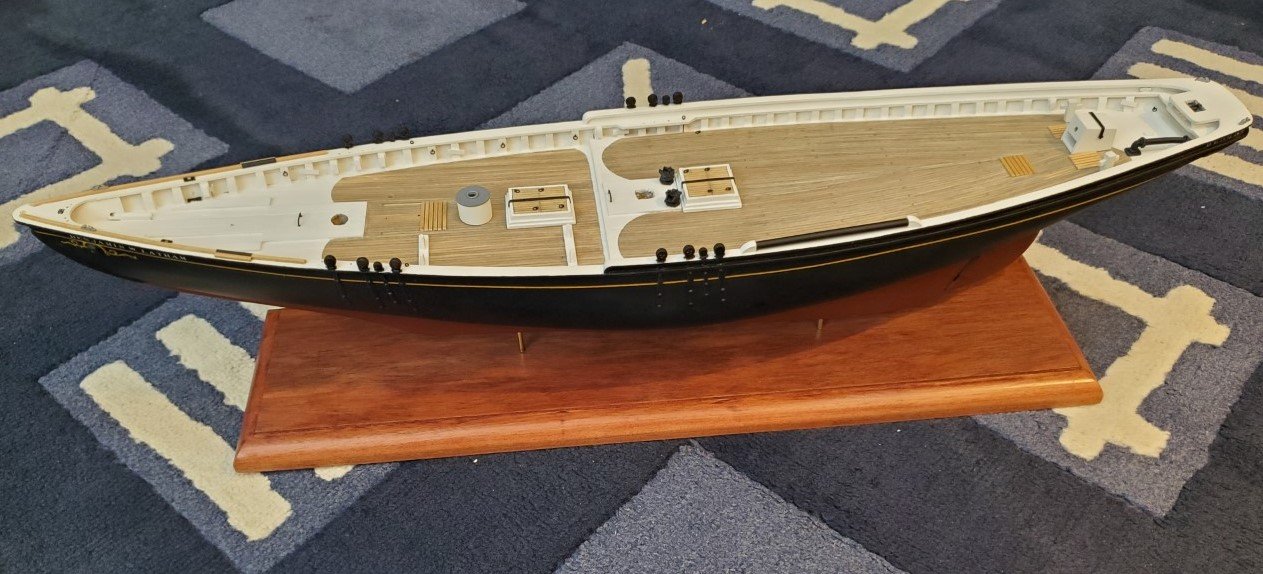
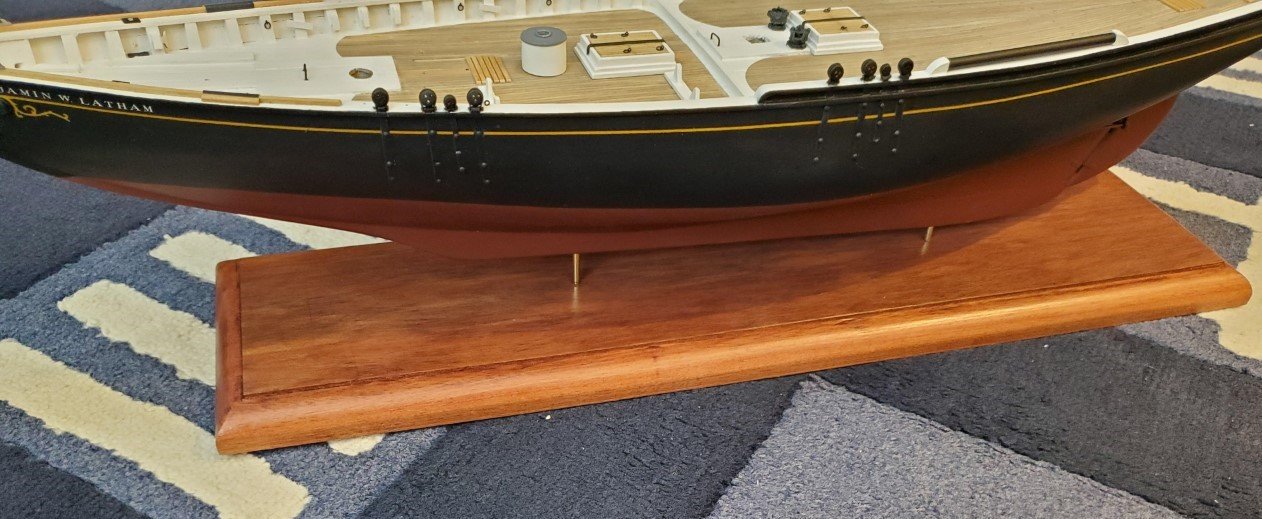
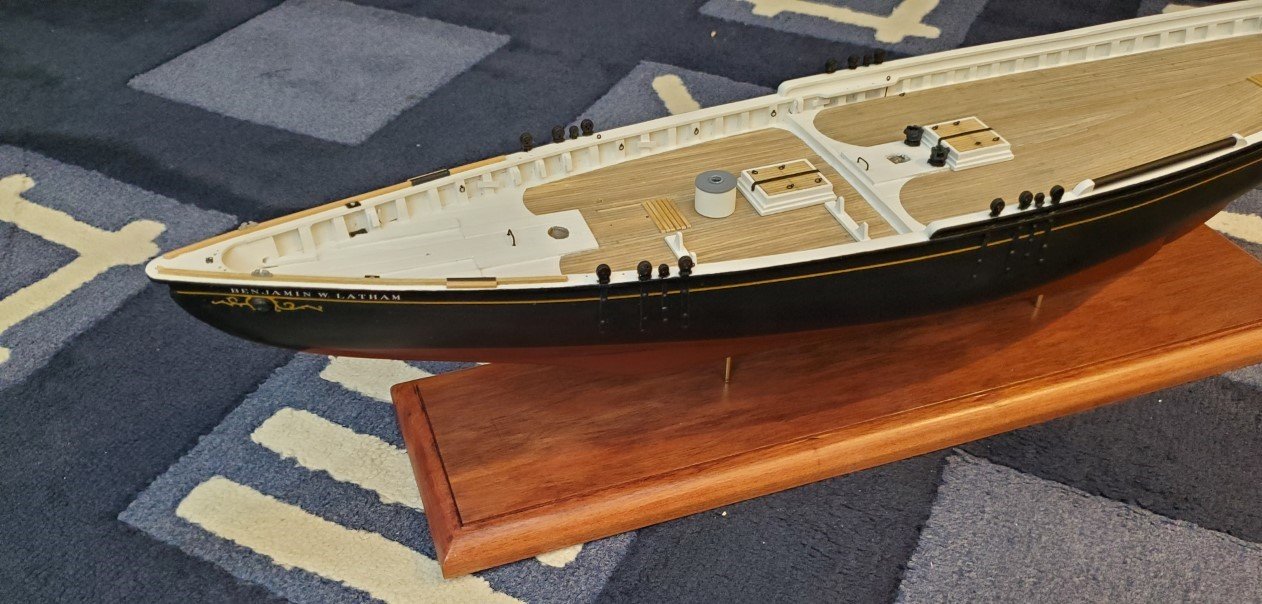
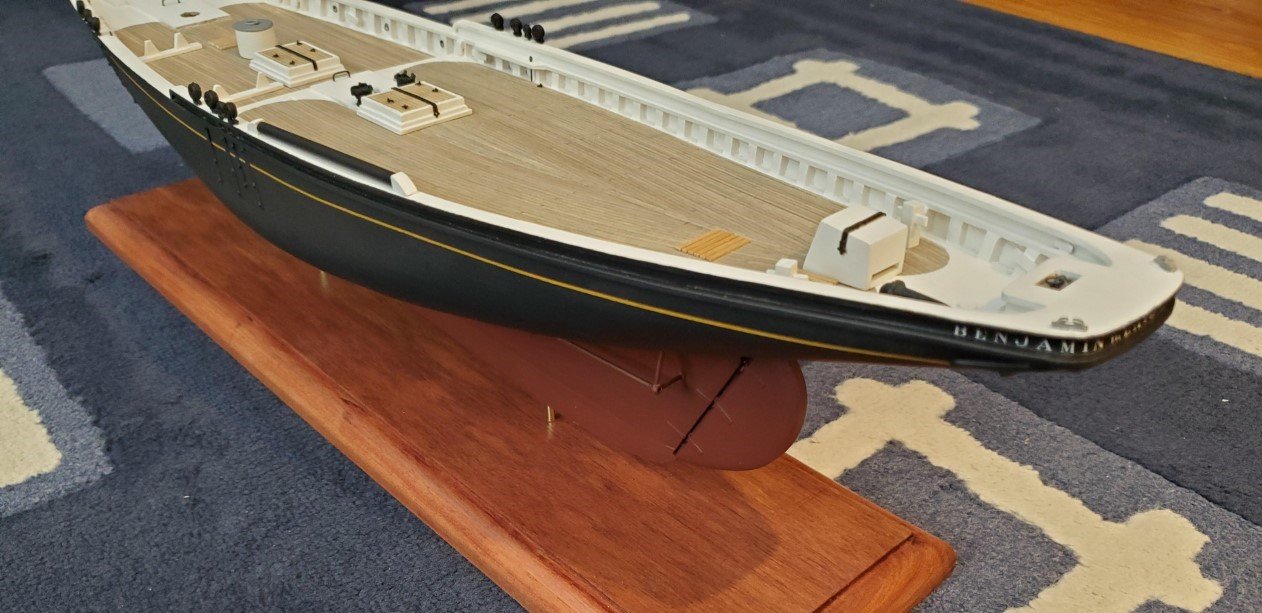
Bit of an update. The model is mounted on it's baseboard, which is made from rosewood, with two simple brass rods to hold it in place. Rare event for me to get this done so early, as I'm usually trying to carefully mount a fully rigged model! I also completed a number of deck fittings such as the main and fore hatches, the galley hatch, the wheel box, dory cradle, quarter bitts and a few other little things. It's fun to have to scratch build most all of this as MS only provides wood and plans.
- 140 replies
-
- 7
-
-
- benjamin w latham
- model shipways
- (and 1 more)
-
Nice job Mike.
-
On my build I made several jigs of varying length to bend new wire loops for the chainplates. They can't all be the same length, due to the angles. There are pictures in my build log.
-
Stay with it! There's a great model buried in there. I experienced some of the same frustrations with the kit, but ended up replacing a lot of things anyway so it didn't matter. You do hate to pay for sub-par product though...
-
Looking really good Bob, nice work.
-
You'll find that Syren wheel kit quite an upgrade. Great little kit.
- 950 replies
-
- 4
-
-
- syren
- model shipways
- (and 1 more)