
FrankWouts
-
Posts
541 -
Joined
-
Last visited
Content Type
Profiles
Forums
Gallery
Events
Everything posted by FrankWouts
-
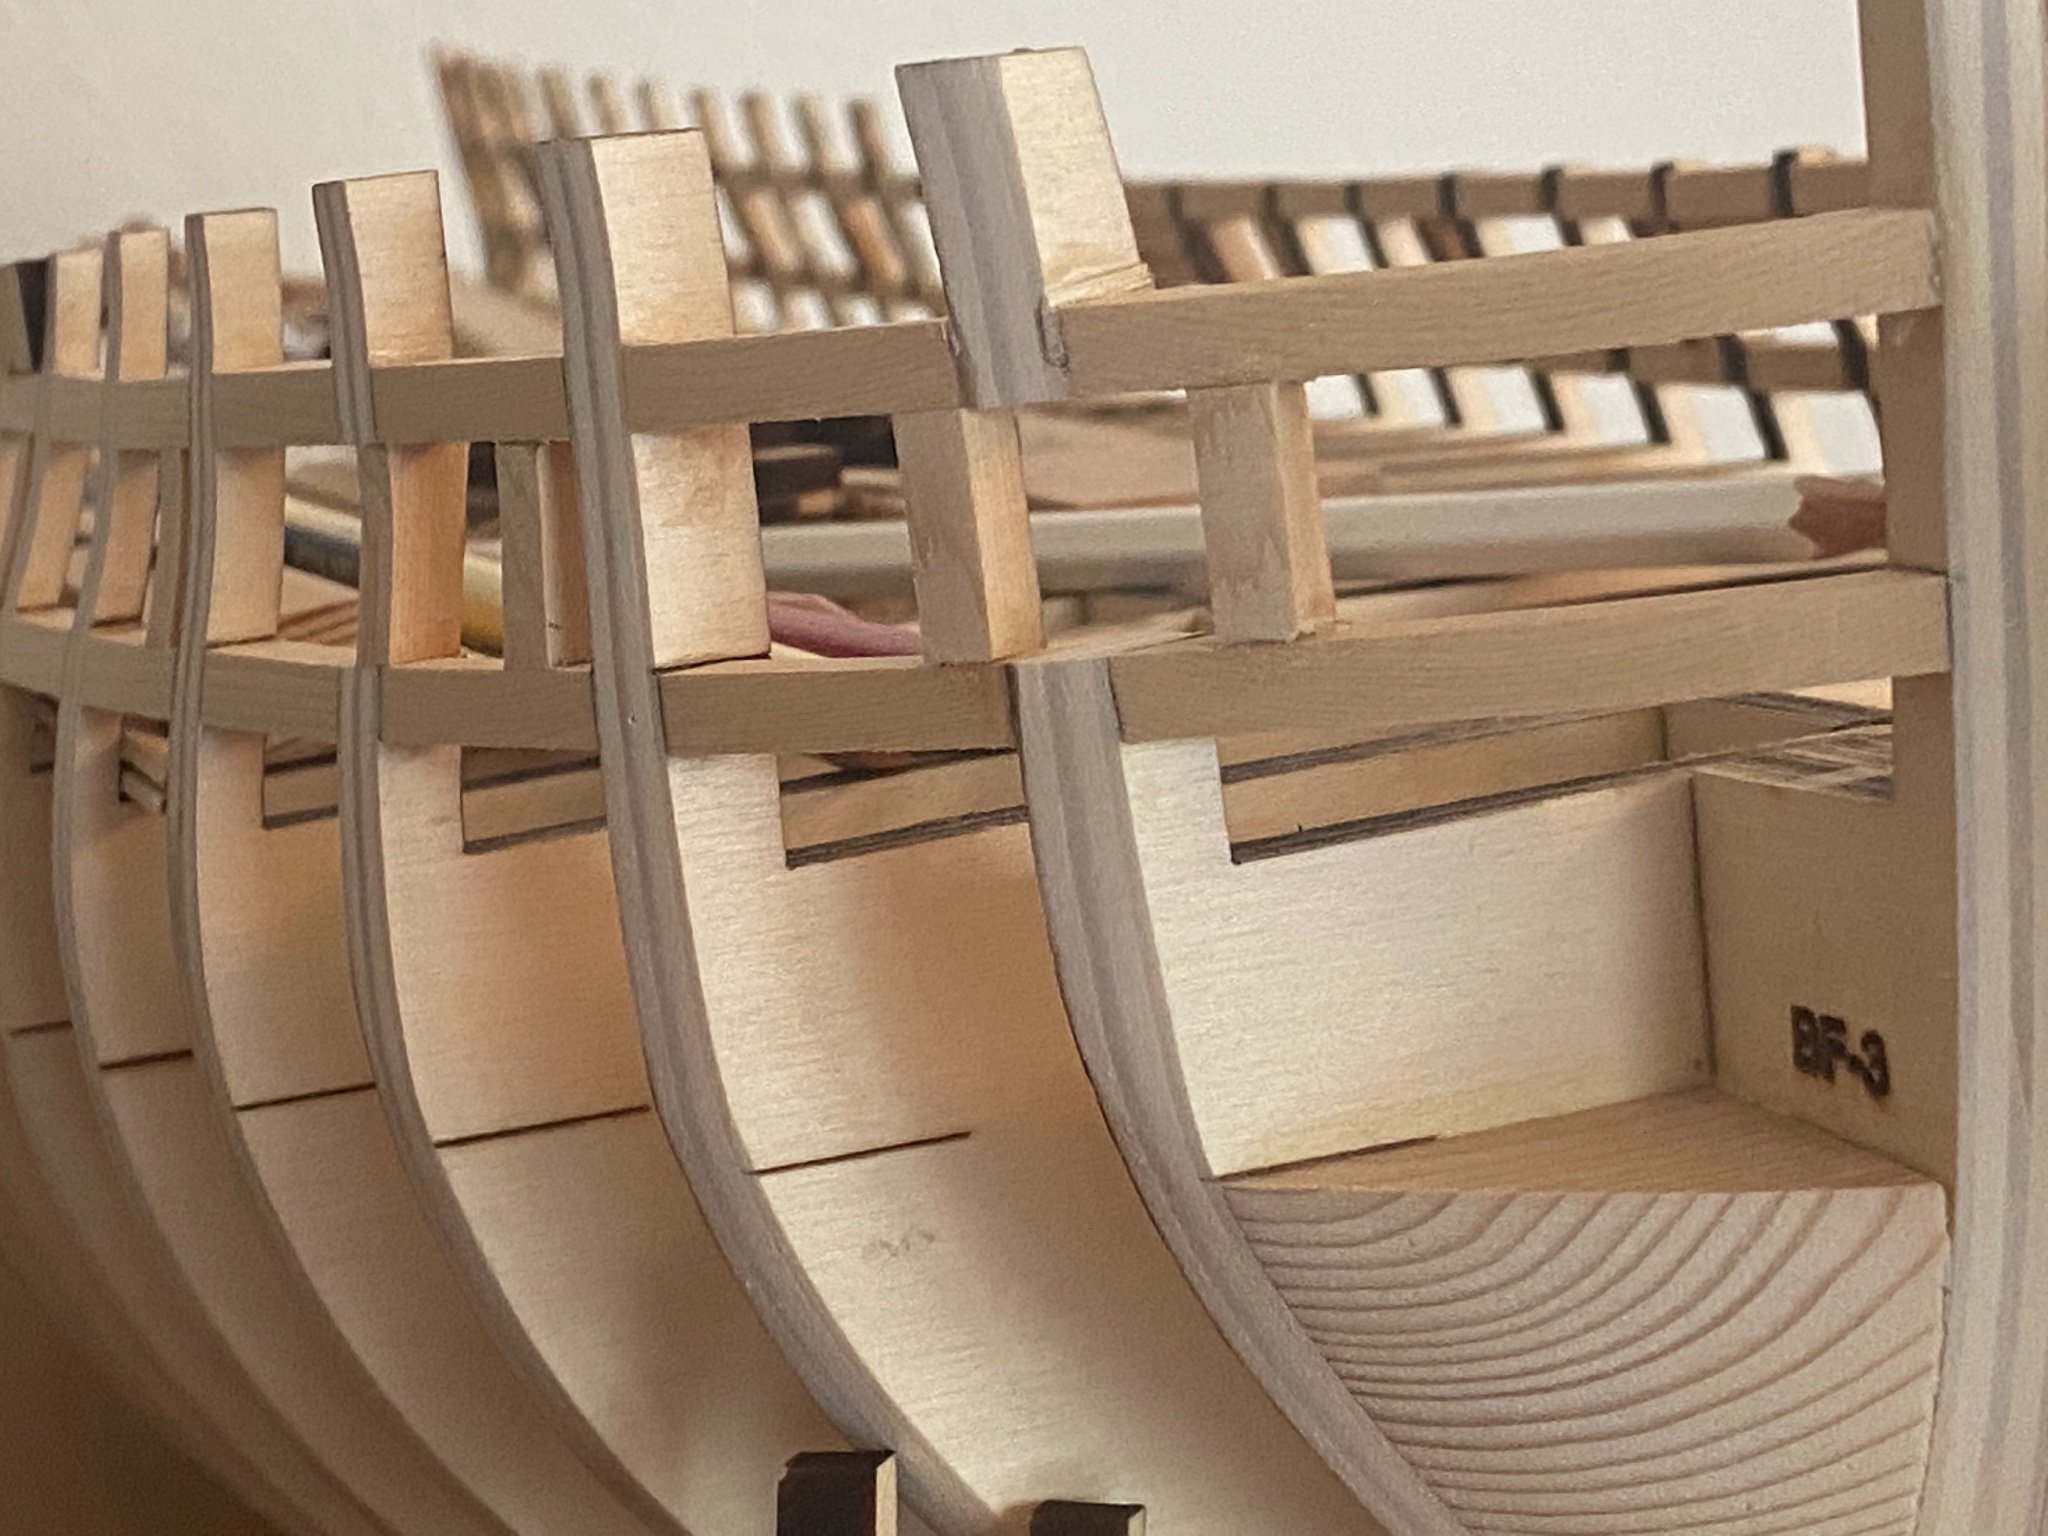
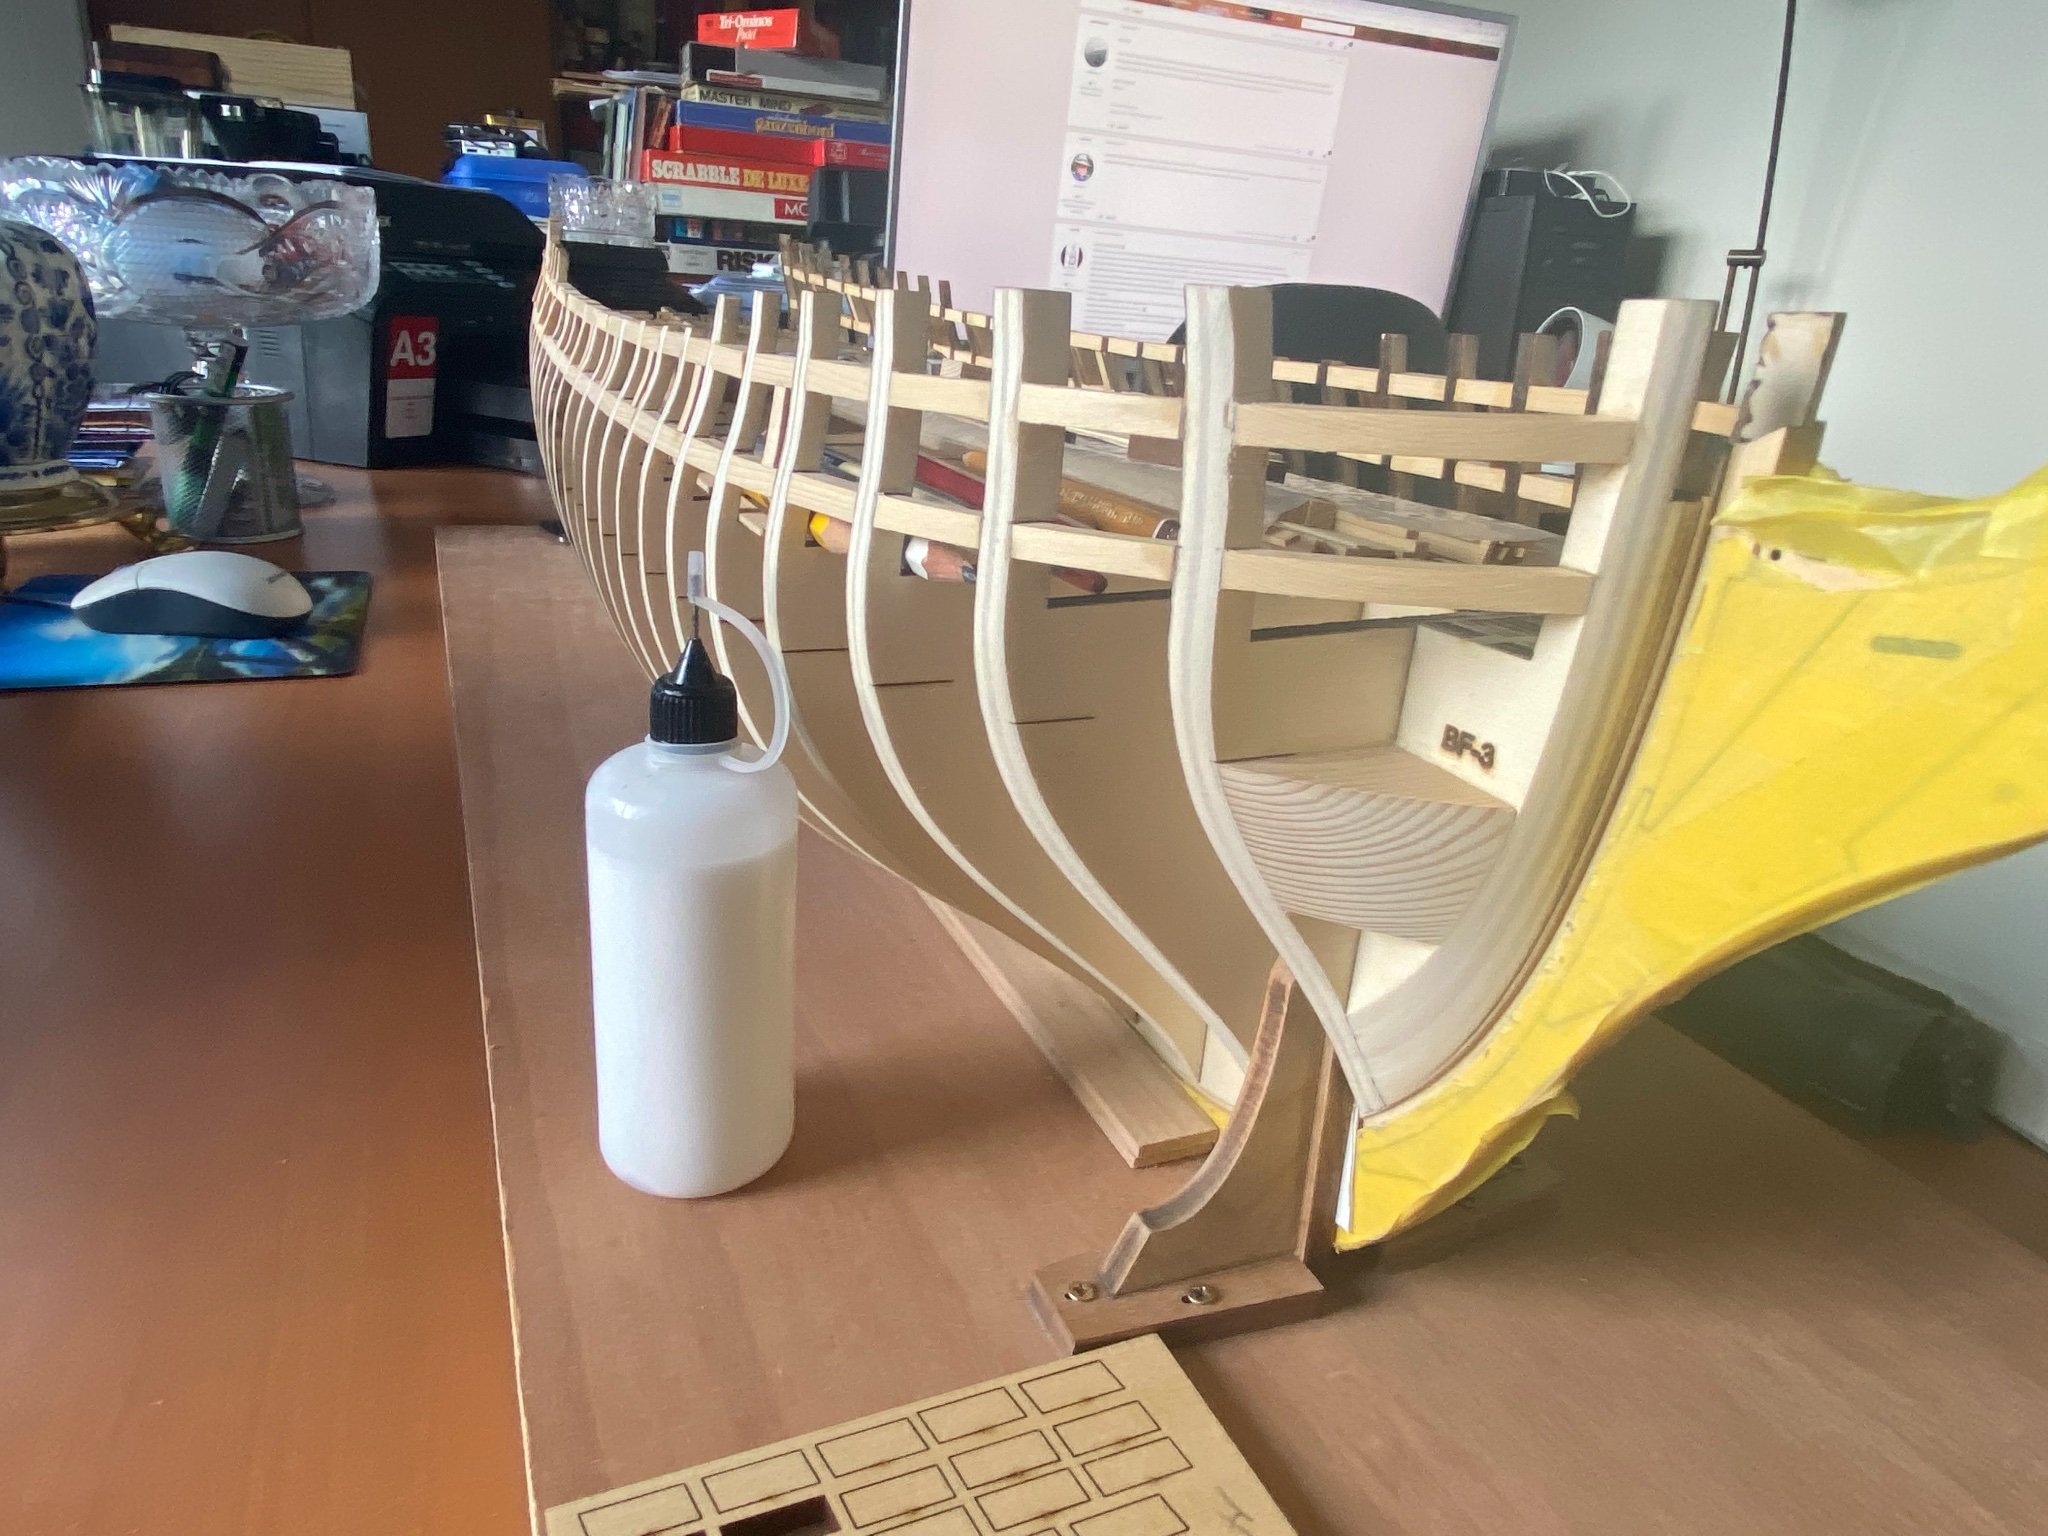
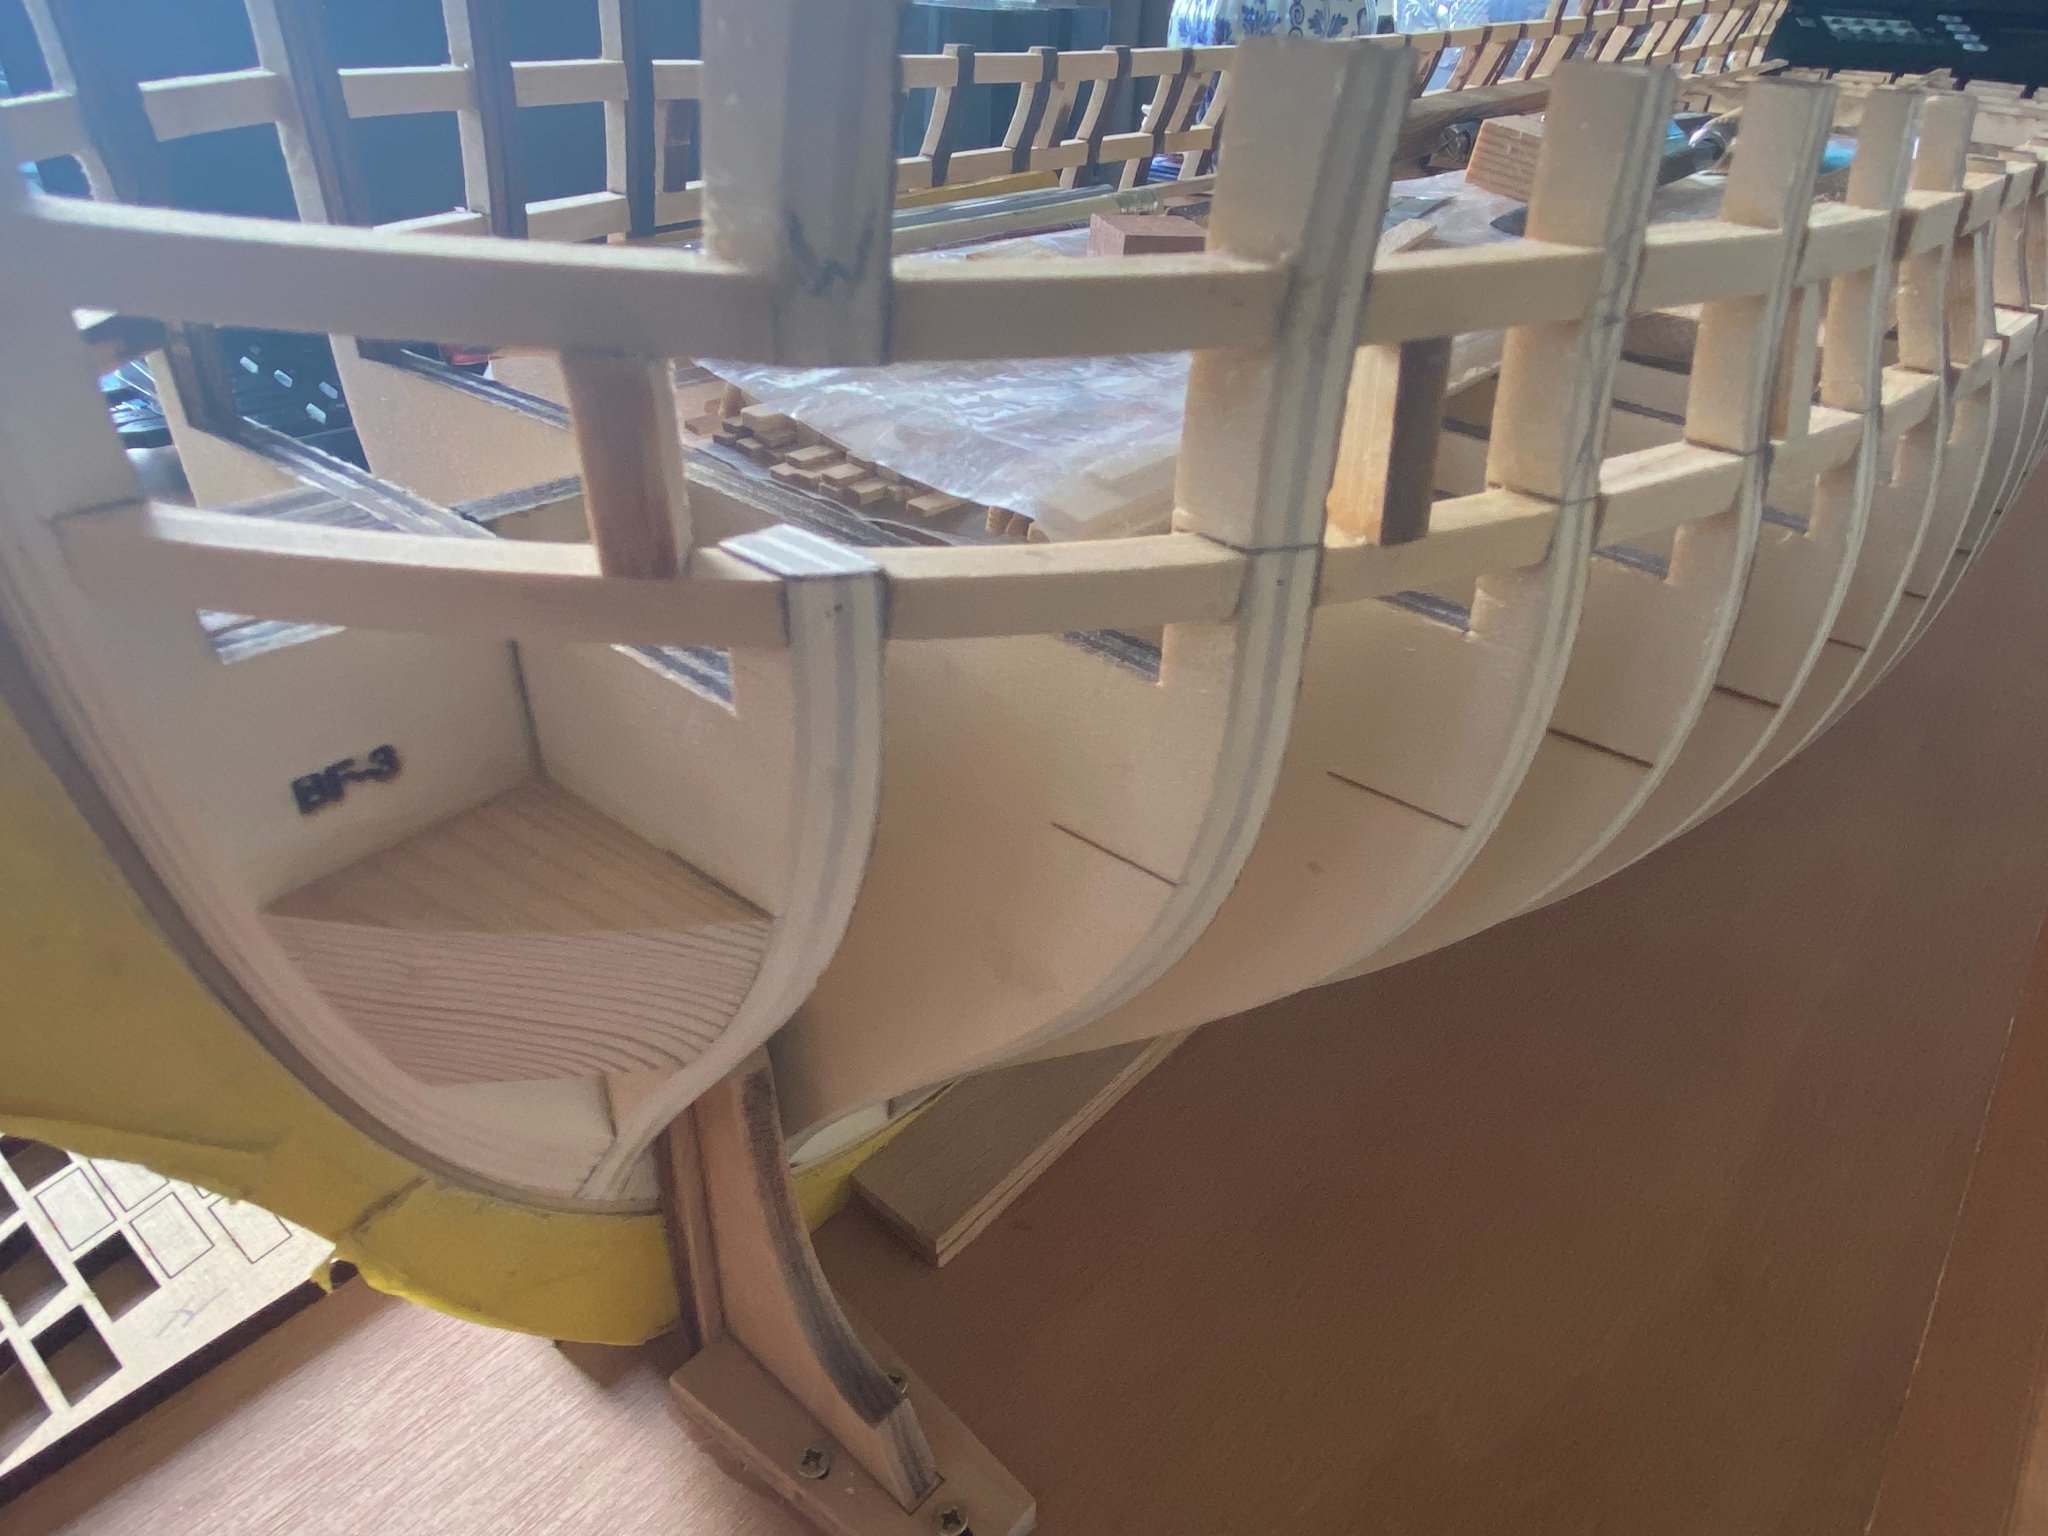
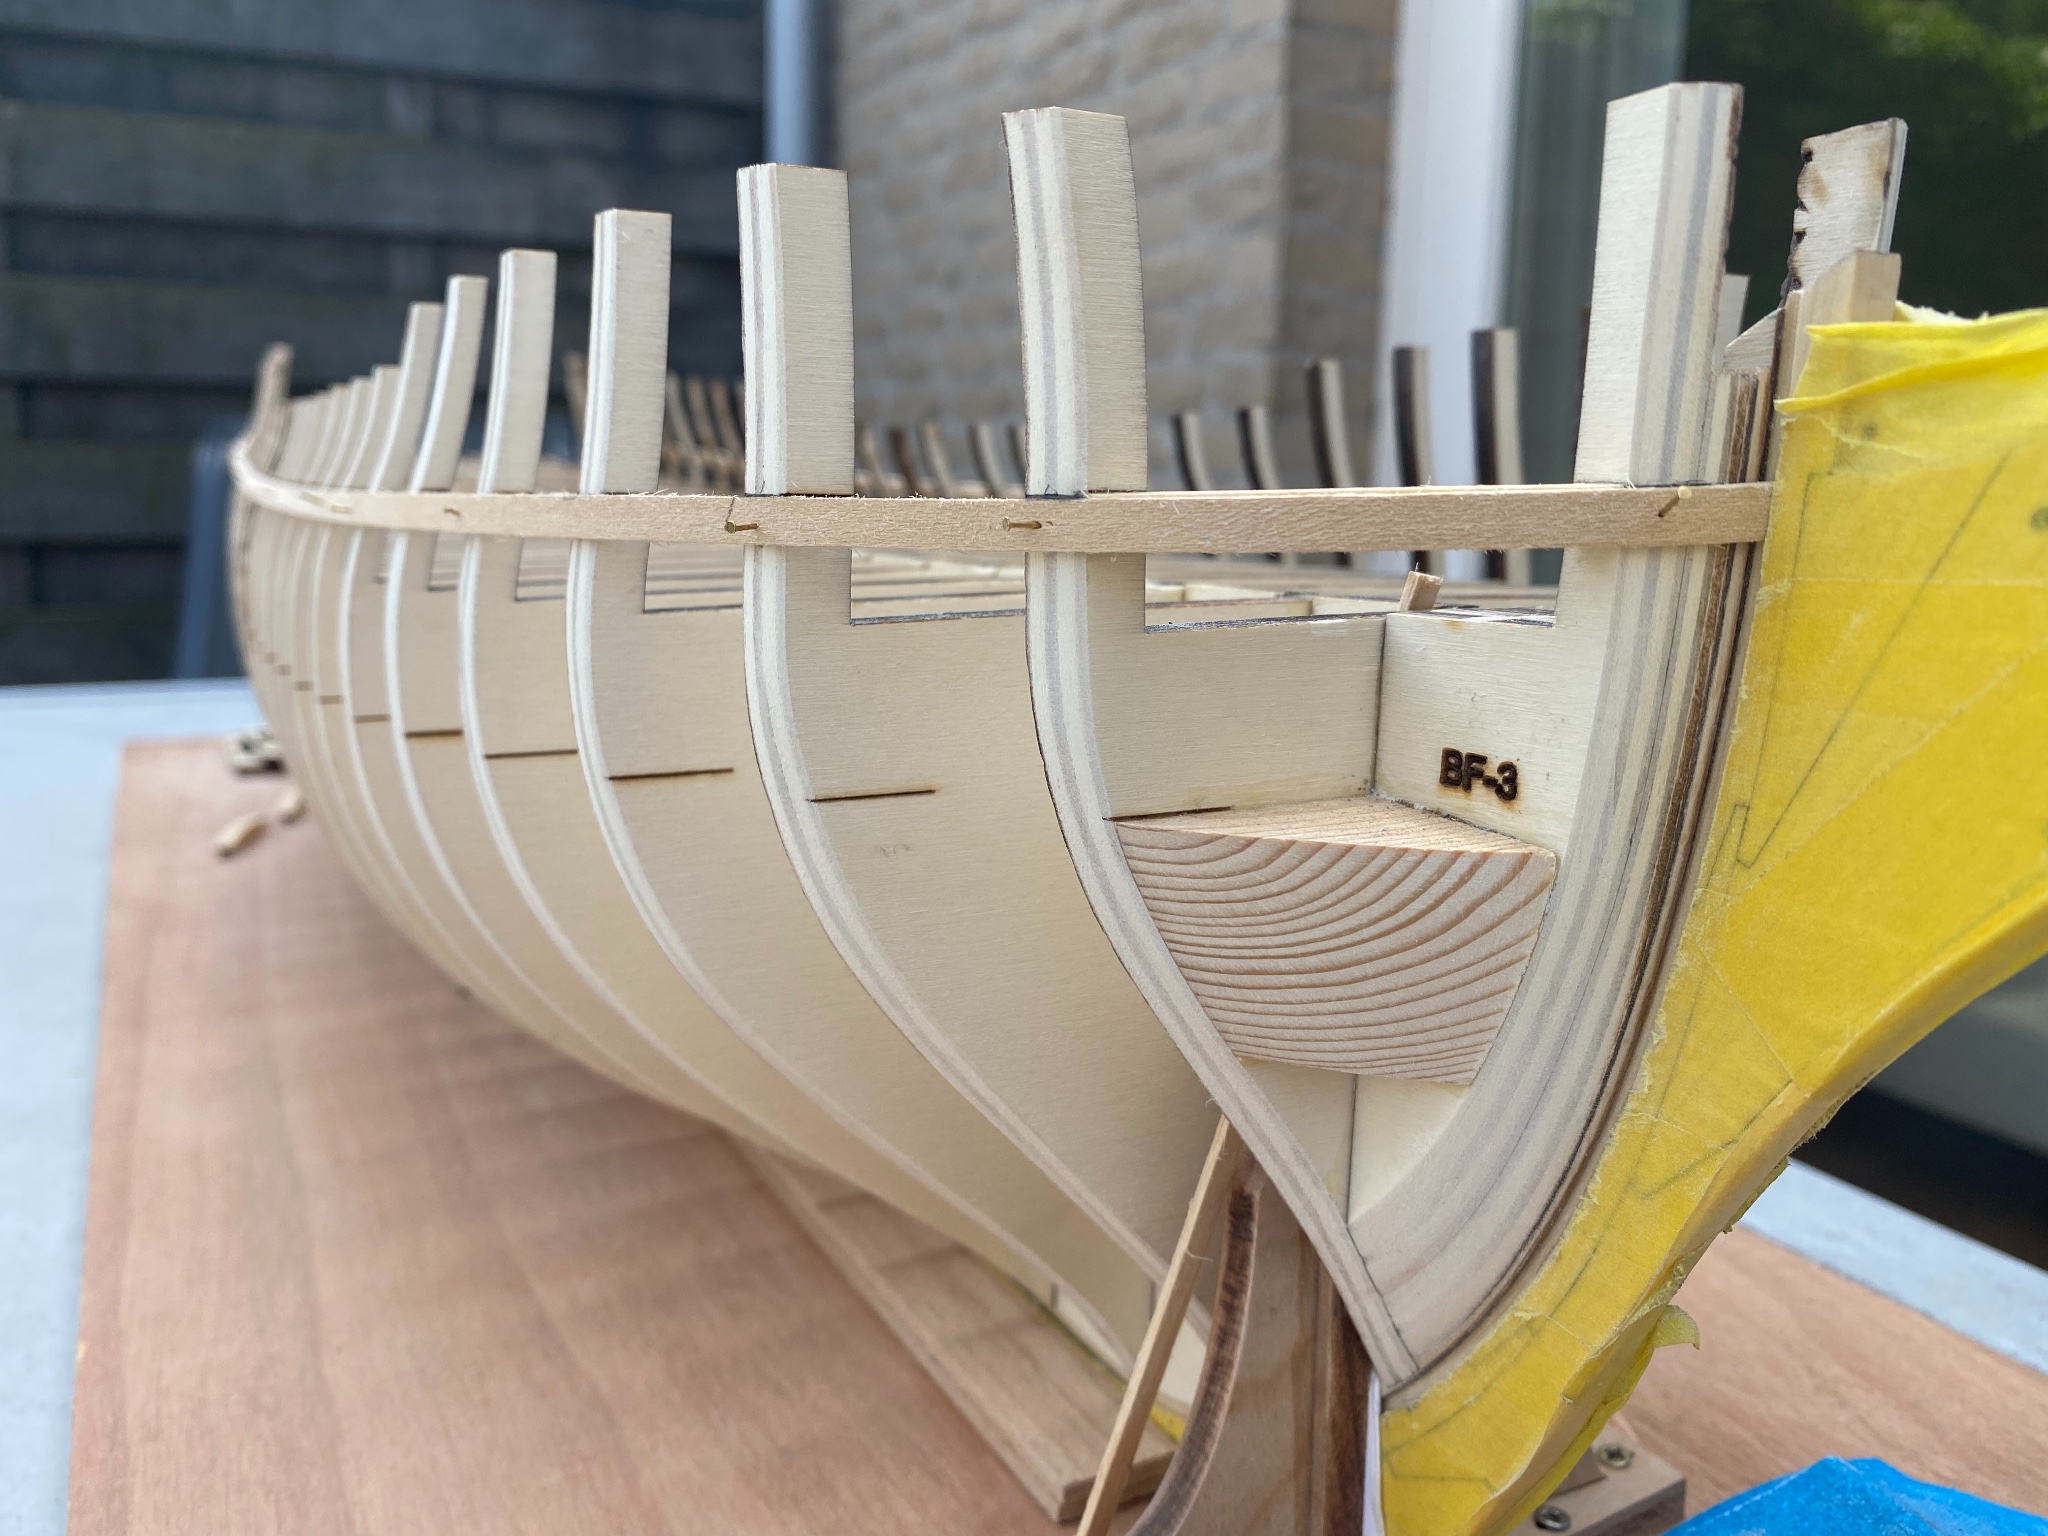
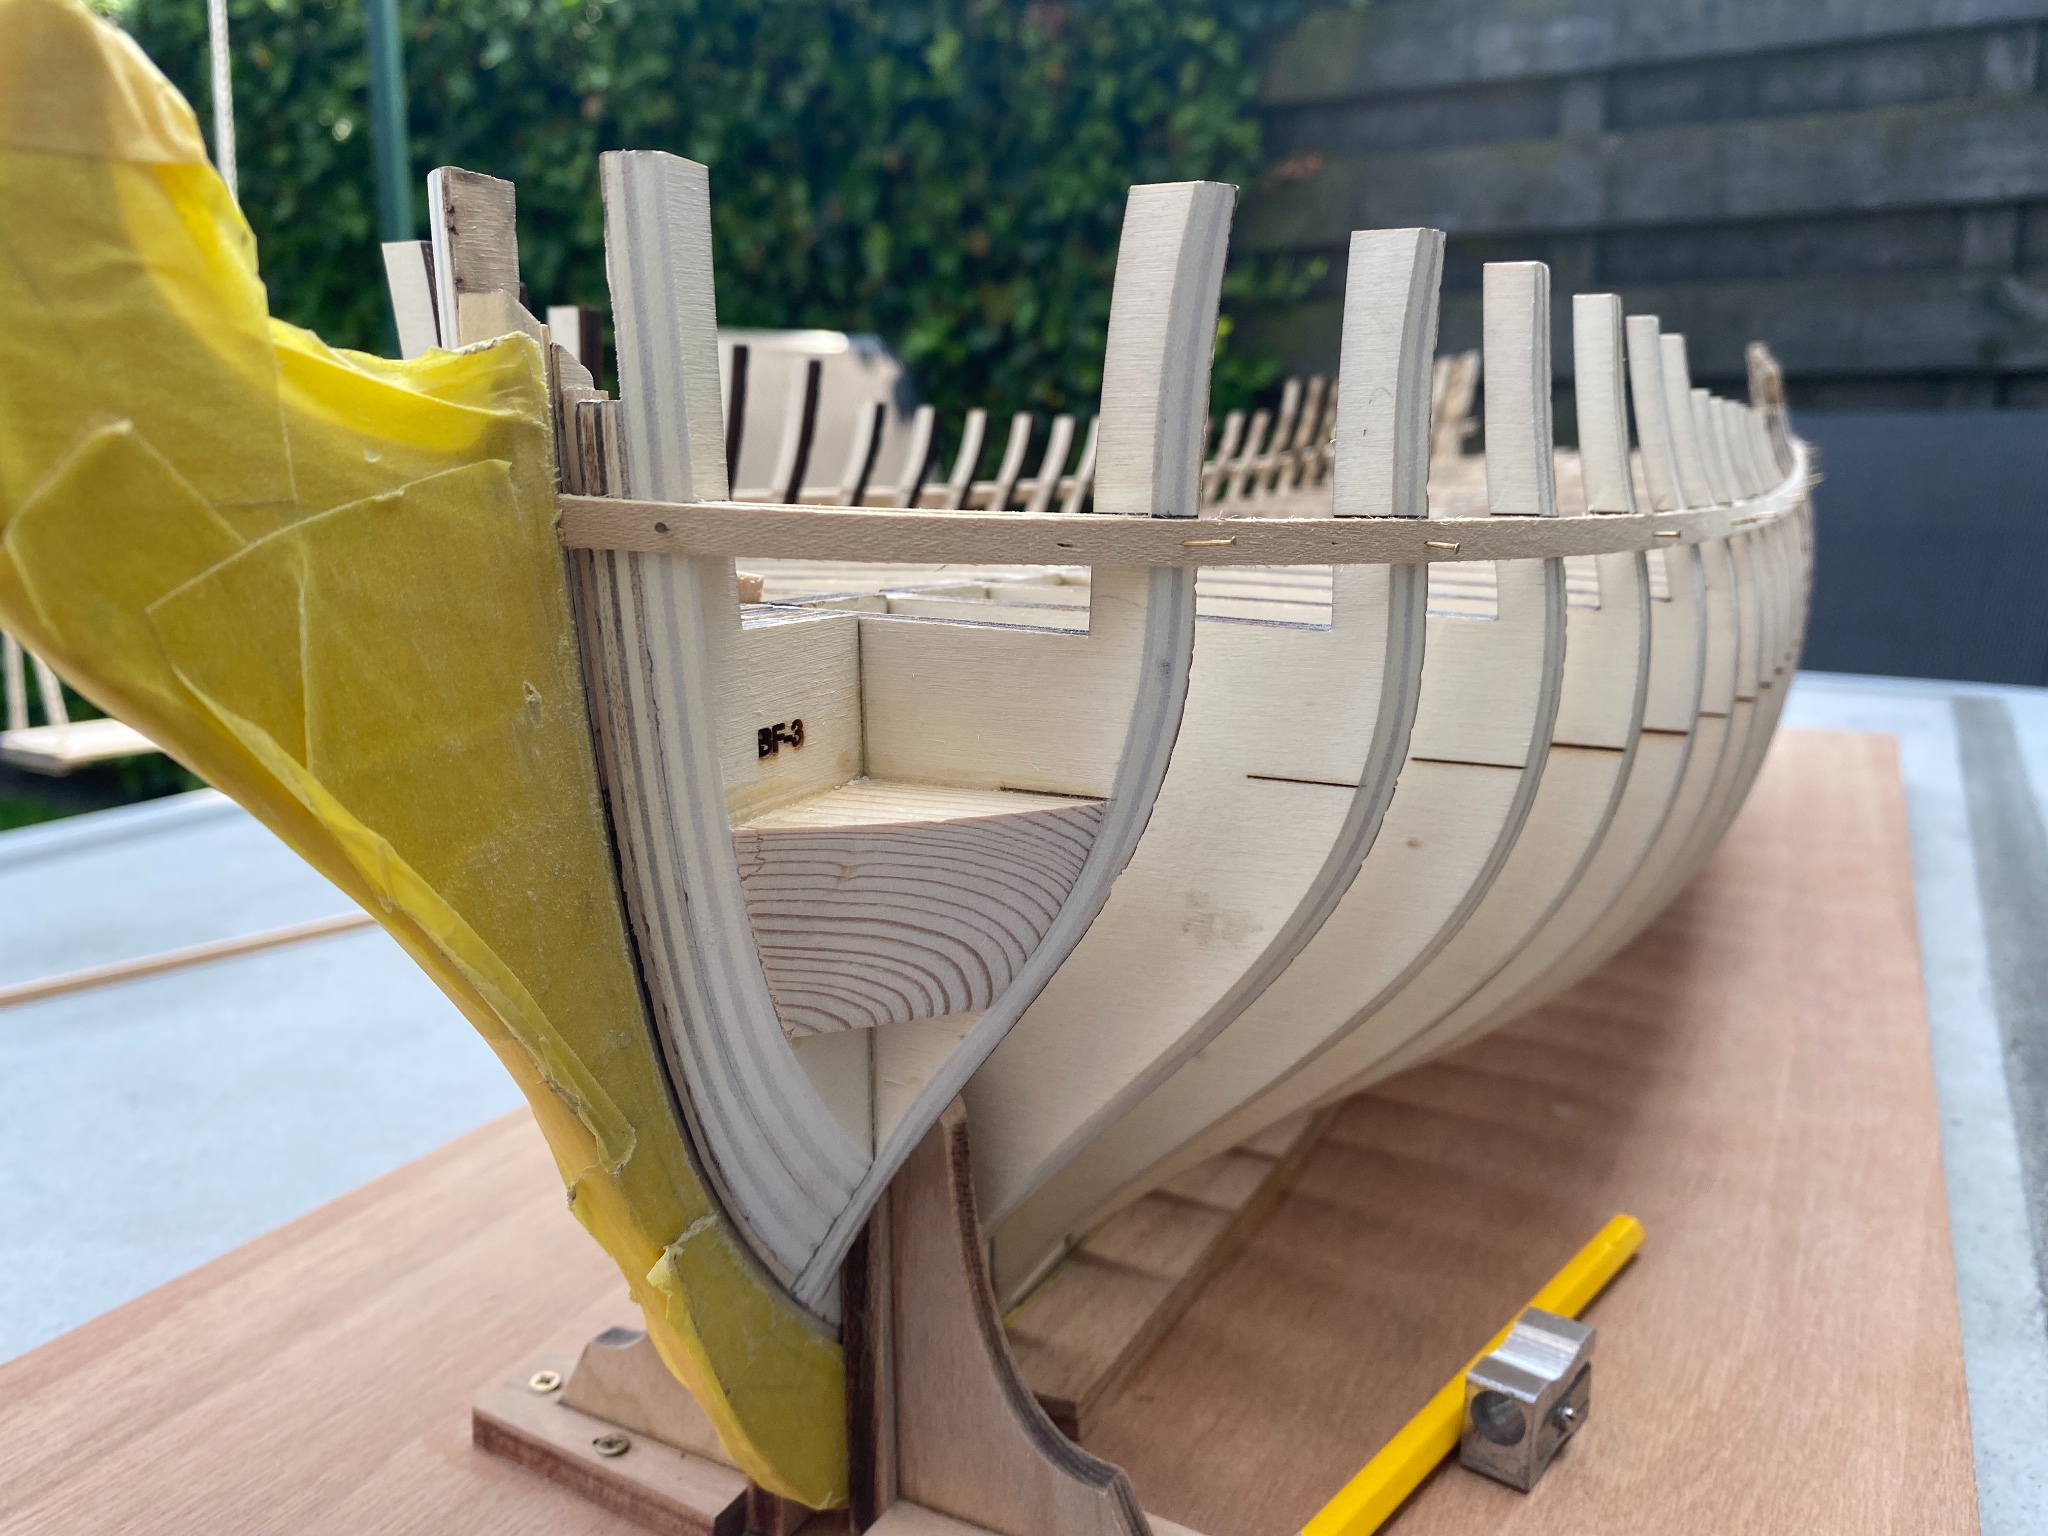
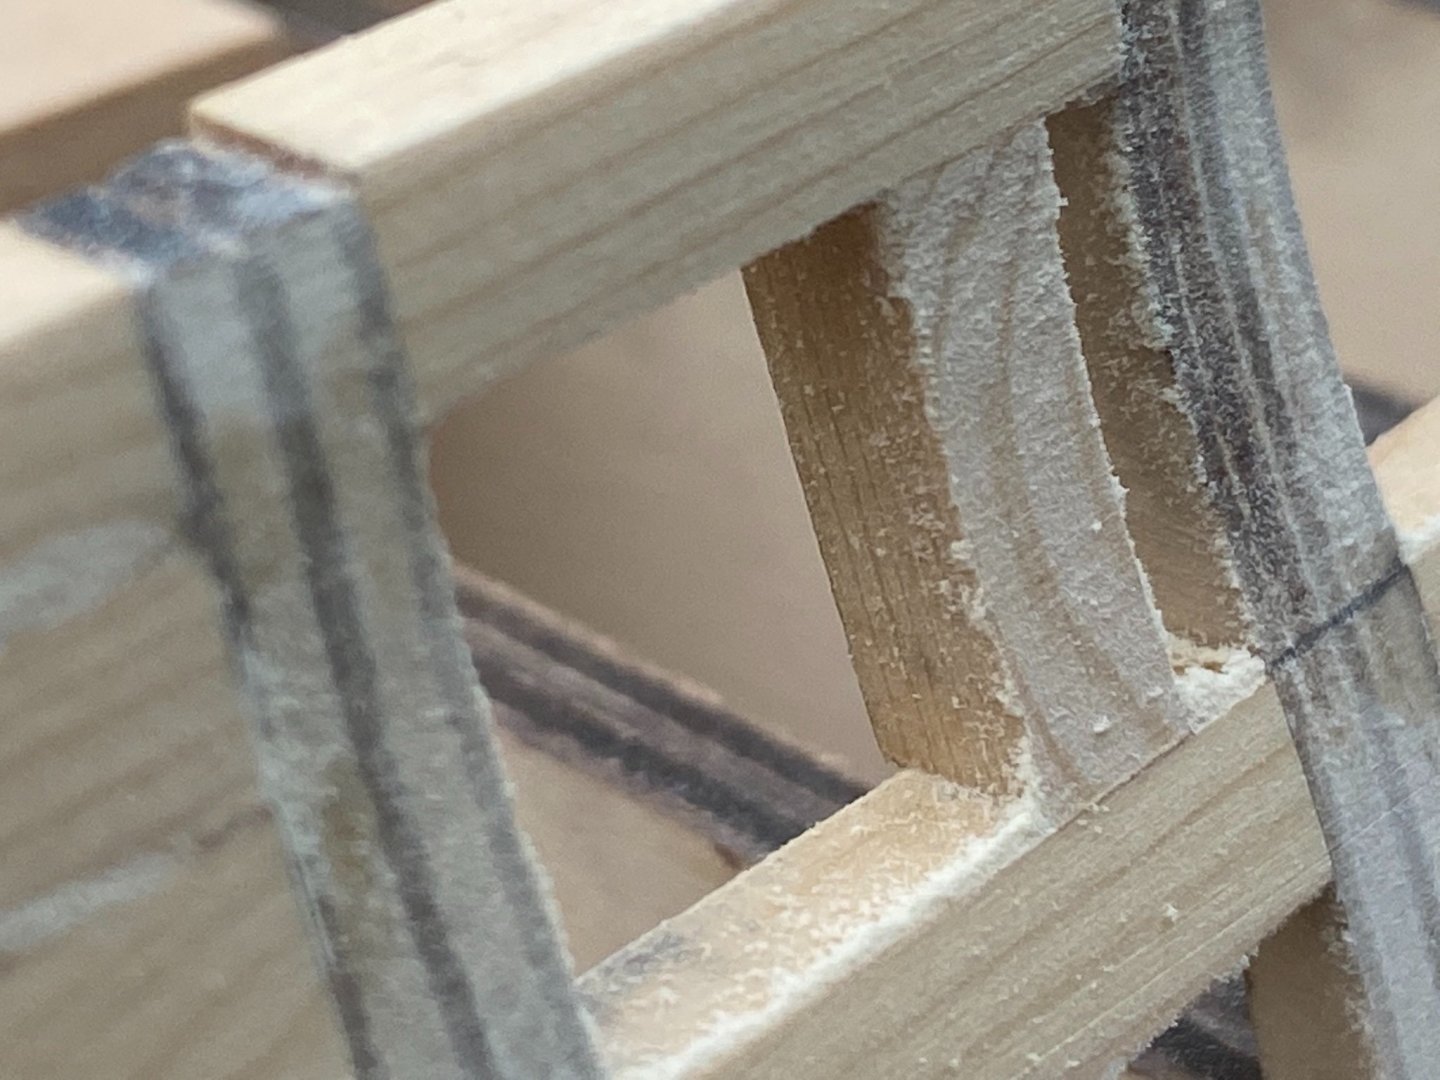
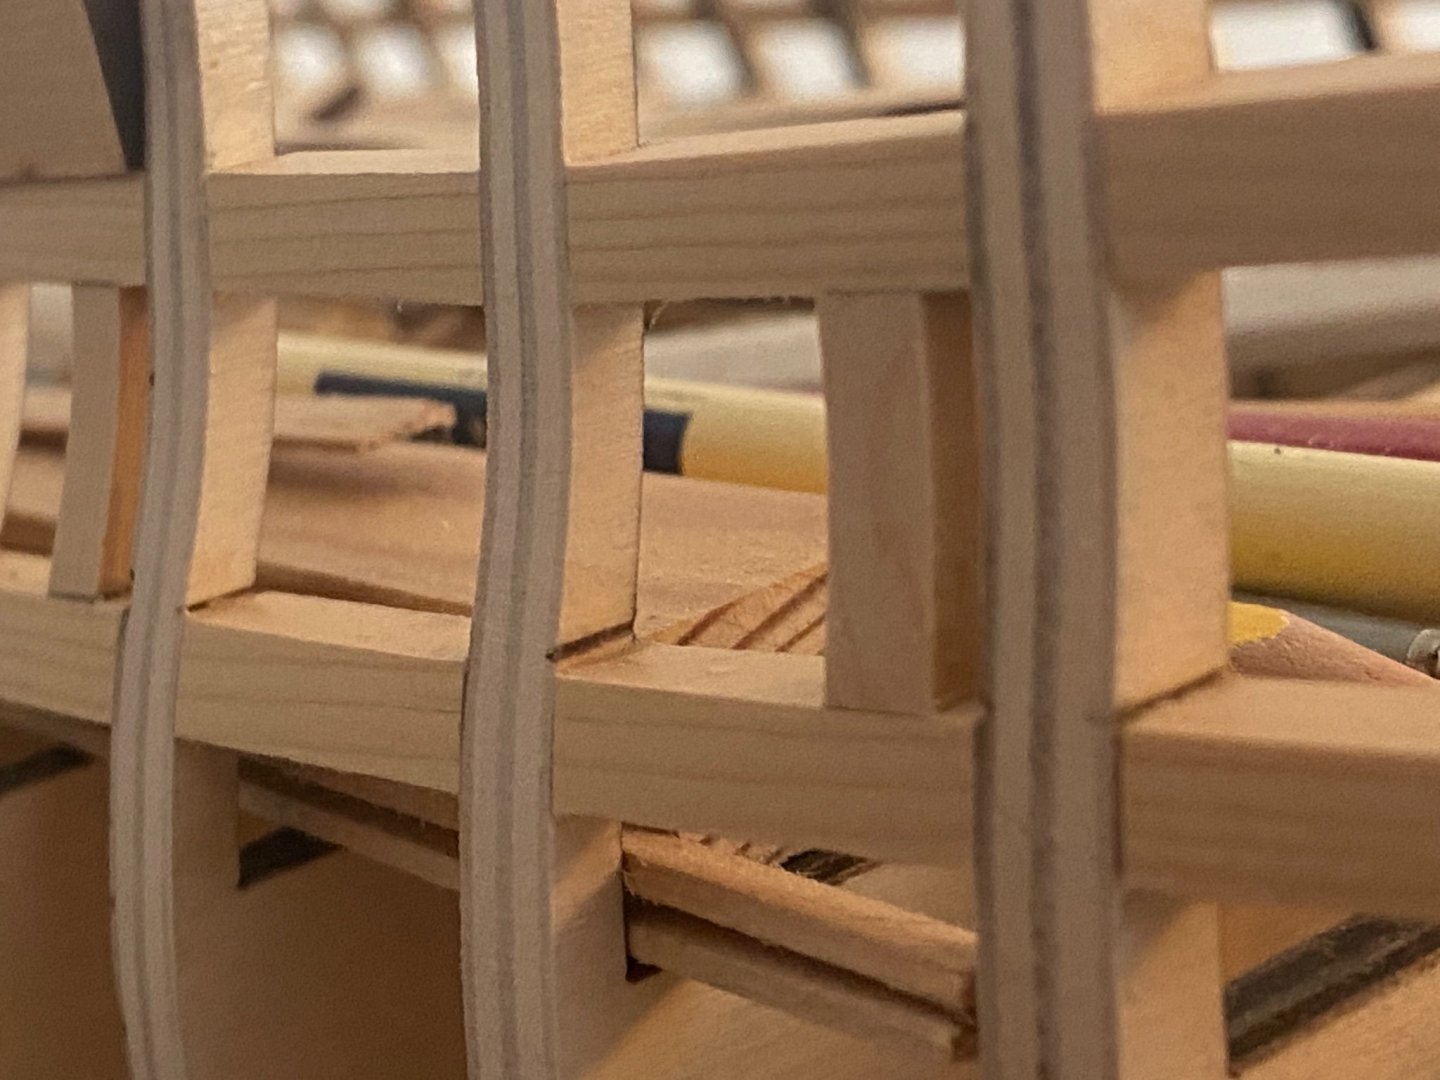
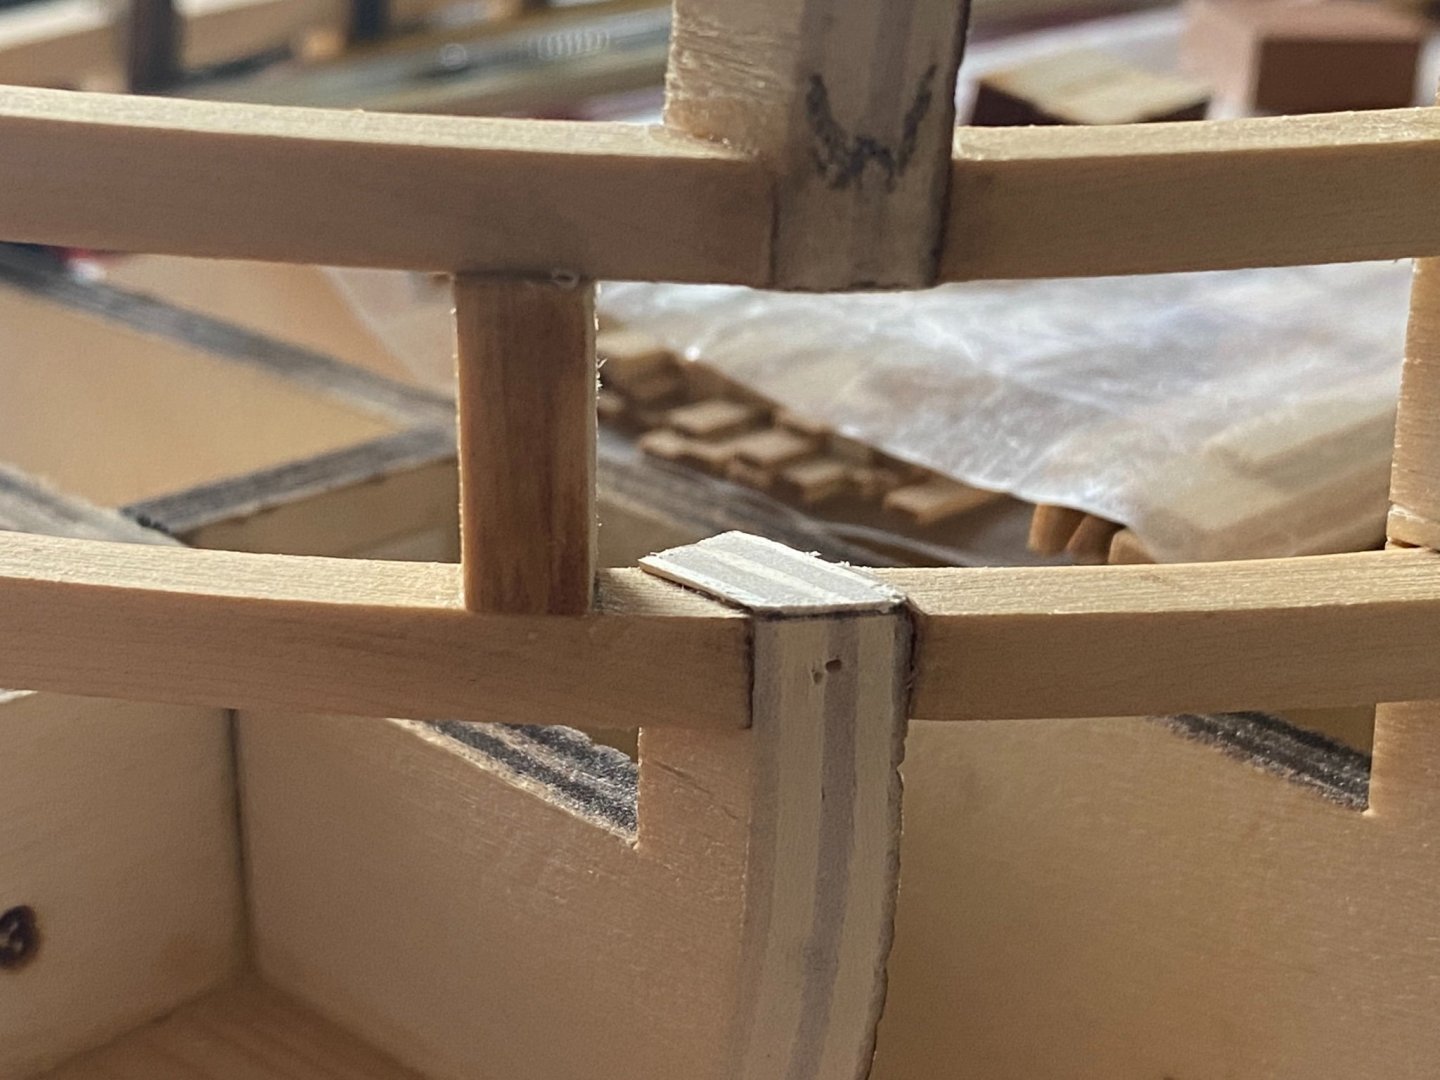
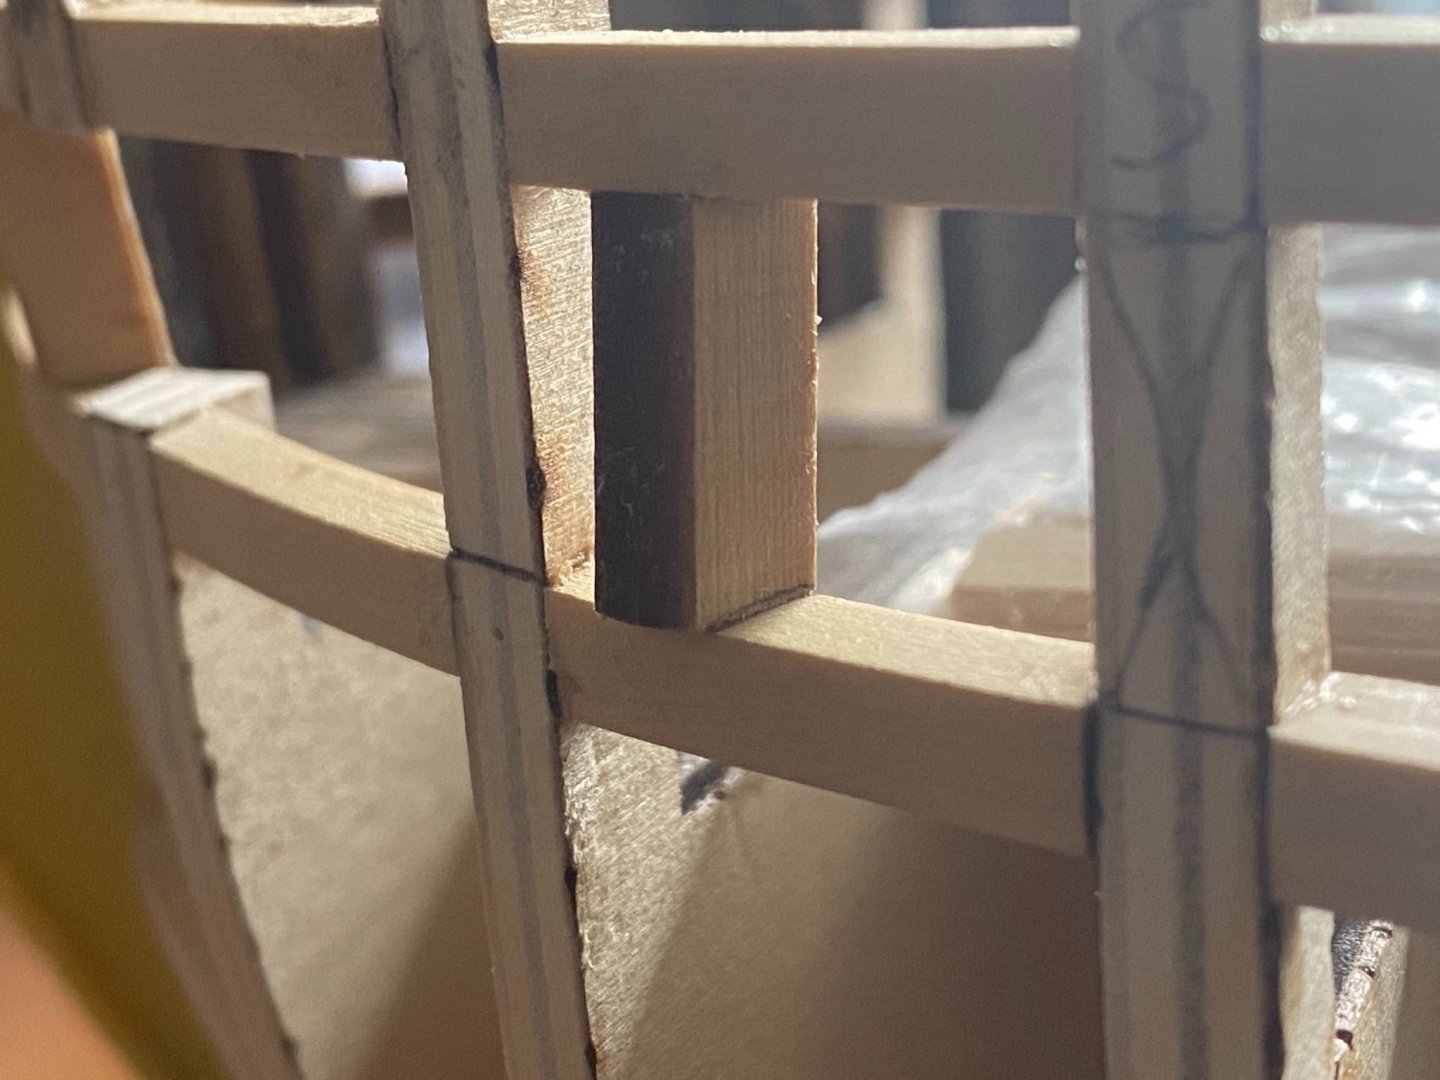
 Small update: finished fairing the gunport framing yesterday, I’m now measuring the position and corner of the stern framing parts. I noticed the order of the pictures is from bottom to top...don't know why this happens.... I wanted to show the first (not finished fairing) pictures with the pencil lines on the framing following the earlier faired hull, a tip I read in the build lgo of Paul (PRS). Thanks Paul!
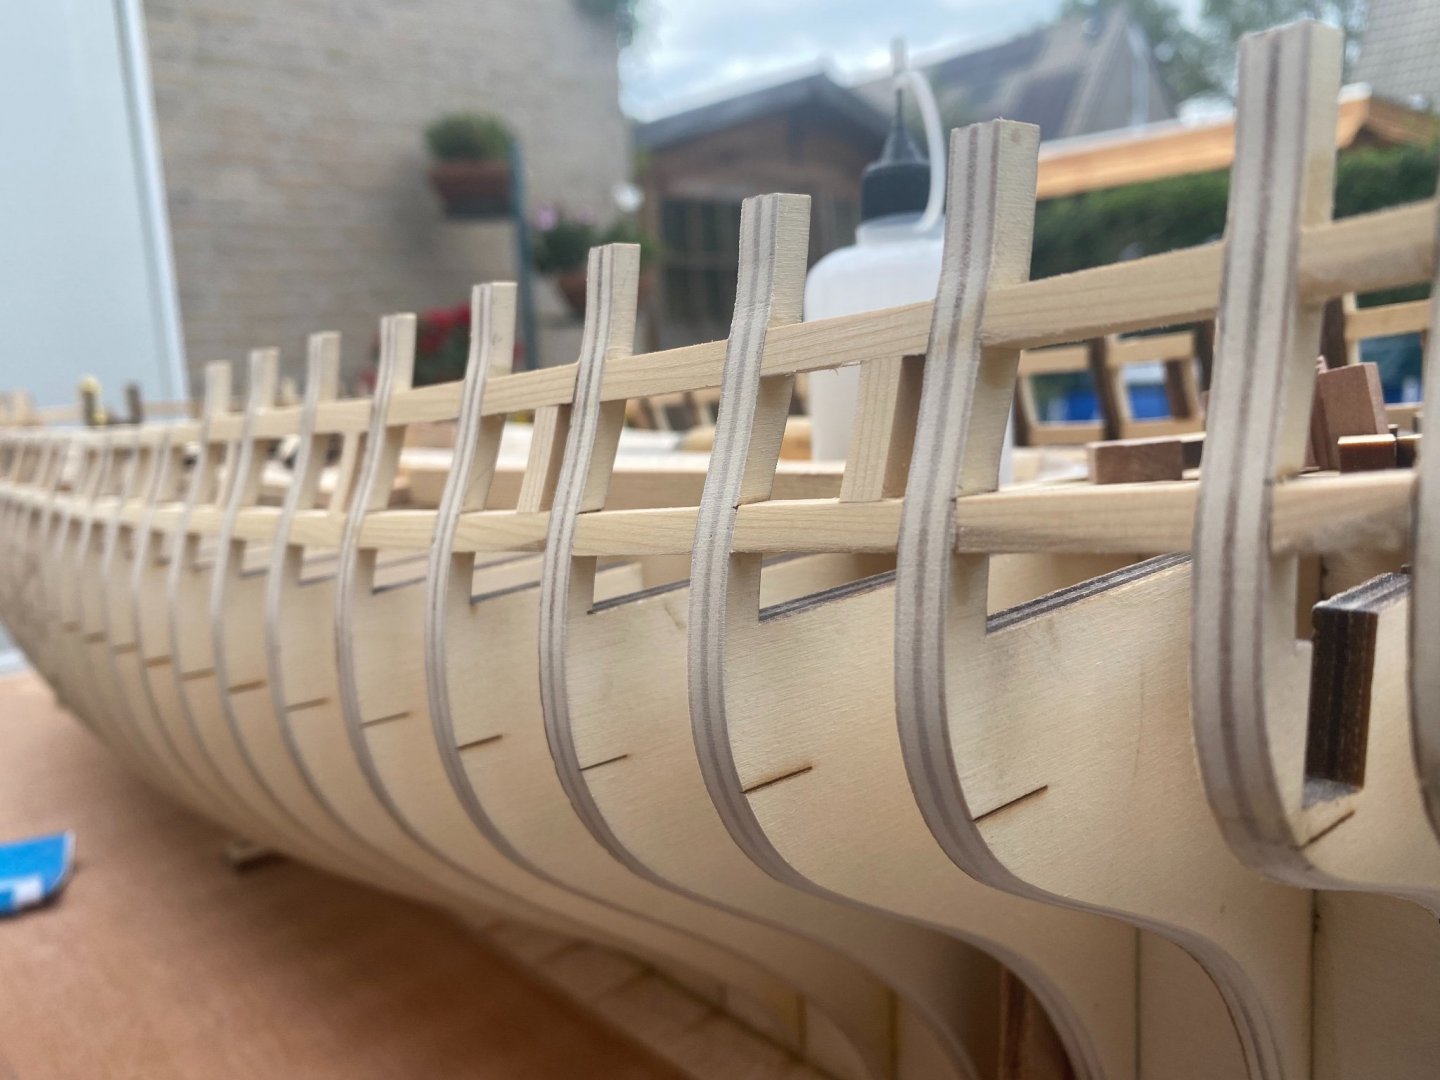


-
Paul, Again very beautiful and inspiring work! Pulled up a chair as well to follow your's! Frank.
-
Paul, Again, very nice inspiring work to follow with a beautiful result! Frank.
-
Paul, Just checking your earlier builds and your way of working is even more methodical than mine... Very inspiring, good tips and techniques with beautiful results! Frank.
-
Hi Paul, no ofcourse not, you're very welcome! The more the merrier and I can use some extra hawk's eyes who spot early errors! I'm only working slow as I'm quite unexperienced, only tried to build Corel's Victory some 30-35 years ago and unfinished as there were errors in gun port placement due to poor instructions for beginners back then.
-
Just wonderful, wonderful, I wonder if I can get this far and stay so clean and beautiful....
-
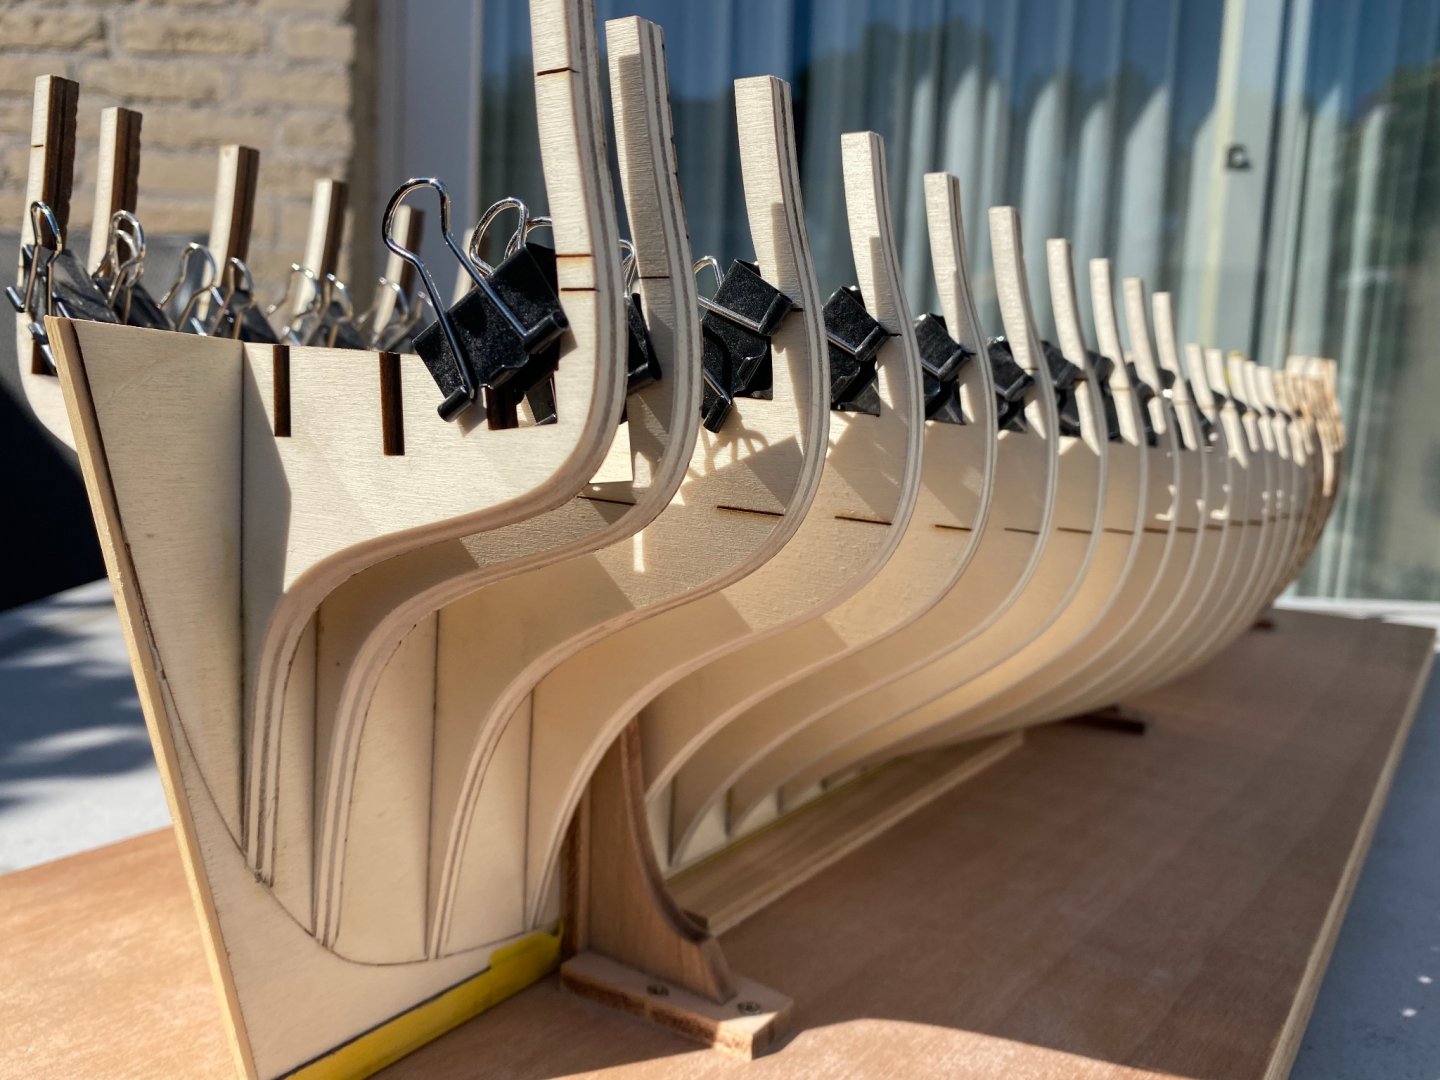
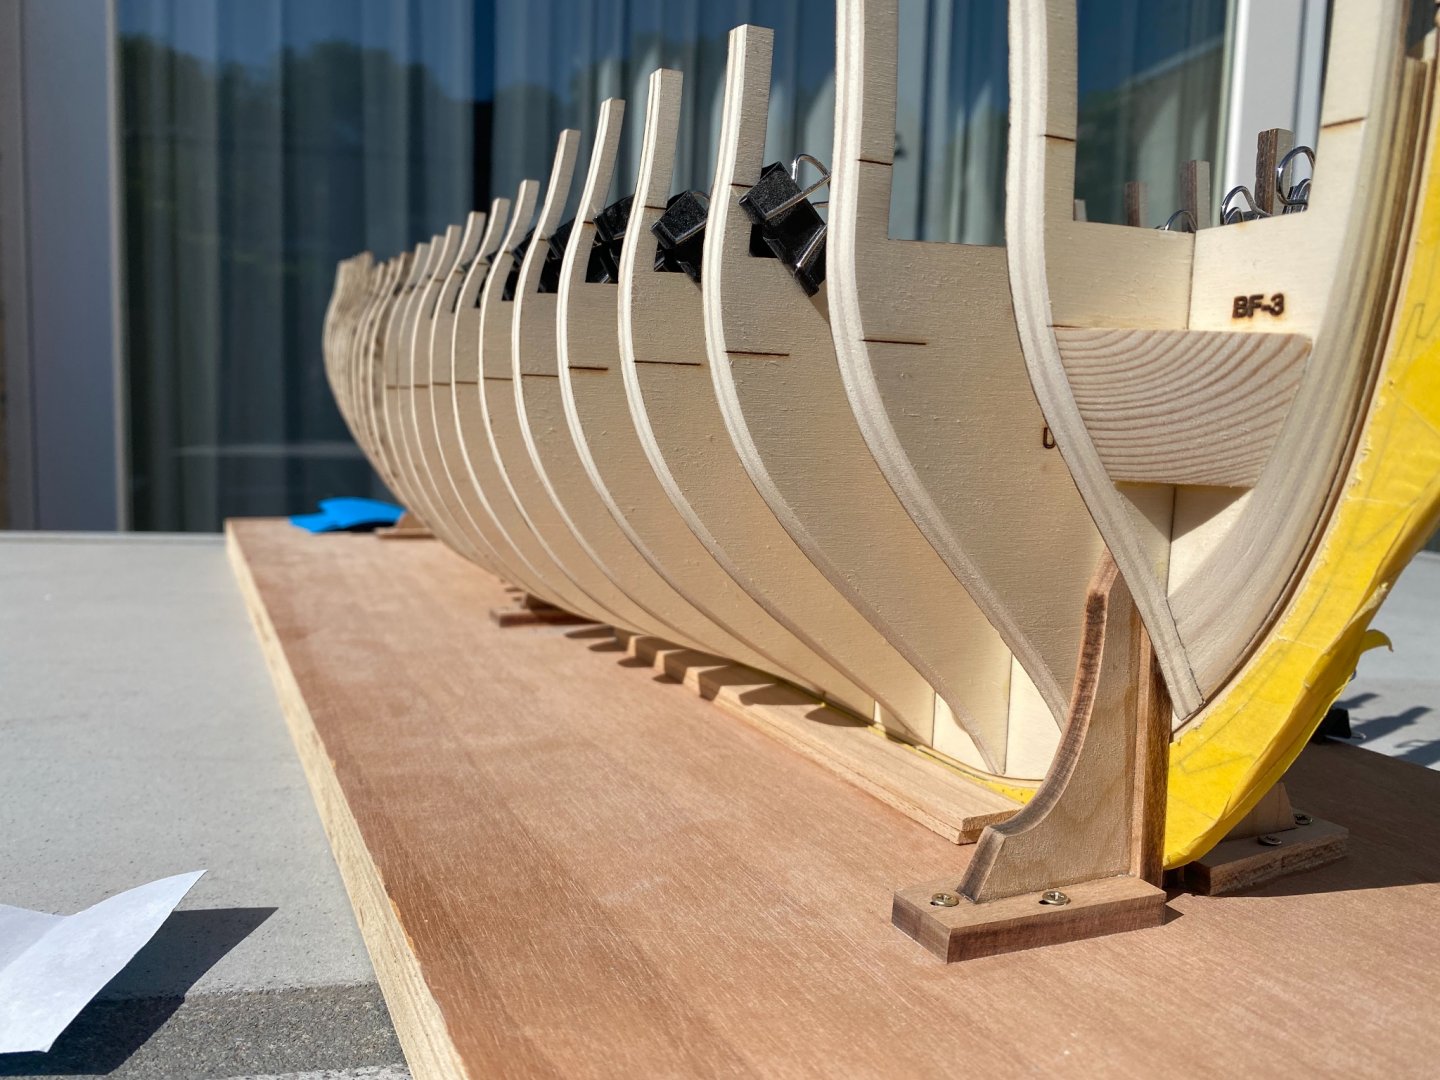
Thanks for the nice words and likes you all, advice (which is never too late, as more hull filing and sanding will follow after this one!) and tips! Here a little update where I stand now. Slowly progressing towards the end of chapter 1. Scary business to saw parts of the bulkheads away…


-
Thanks Keith and shipman, I'll have a look. Sad your helpful chap passed away chipman...the good ones always go first we say in Holland...
- 399 replies
-
- 2
-

-
- cutty sark
- revell
- (and 2 more)
-
Hi shipman, I have a question: which brand are these one and two ball stanchions and where can they be obtained? I have a Revell first edition of Nannie Dee's Cutty Sark lying around as well for building sometime in the future and following with great interest. Compliments to Bruma for this lovely build! Thanks, Frank.
- 399 replies
-
- 2
-
-
- cutty sark
- revell
- (and 2 more)
-
Beautiful and very tidy work Steve. Following your log as a benchmark as well! 🙂 Frank.
- 99 replies
-
- 1
-
-
- winchelsea
- Syren Ship Model Company
- (and 1 more)
-
Hi Mike, thanks, yes they are. I now realize I should have taken a picture from the front directly as well for you to judge for that yourself...
-
Hi Mike, That again looks so awesome and clean: beautiful inspiring work. That shine of the red paint on the inside of that transom in the last picture looks so nice! I specially like the aft gun port hinges: now I clearly understand how they open vertically as I always thought they would open under an angle... Thanks for your always clear explanations and well thought through steps you took and describe so clearly, also with the little accident with your rudder, action you took to solve it and decision to place it back later when it's safe to do so... This will not only be a reference but also a great help when we get to this point. Frank.
-
Hi Hubac, I was having the same thought. Though the printed freezes look awesome, how will they look in ten years from now? Will they look fainted or perhaps there will be only a white printing paper on the freezes left? Perhaps this risk will be less when letting it print at a professional printing shop with dito ink on high quality paper? Is oil painting them a totally bad idea? Frank.
- 607 replies
-
- 1
-
-
- winchelsea
- Syren Ship Model Company
- (and 1 more)
-
Hello Slors, I'm going to follow this very interesting and nice build of the nicest Victory kit on the market at the moment, my fellow countryman. Keep up the good work and posting. Regards, Frank.
-
Le Soleil Royal by Nek0 - 1/72 - Marc Yeu
FrankWouts replied to Nek0's topic in - Build logs for subjects built 1501 - 1750
Hello again Marc and welcome Julia! Congratulations with your beautiful daughter to you Marc and your wife! Now I feel ashamed I haven't checked your build log for so long and only see this until now. Very understandable you weren't active last months/year, as it takes a lot of responsibility caring for such a new beautiful young life. But I hope by now you have enough sleep again in the night :-). I know I had not the first months with all of my three daughters... Take your time and enjoy! Frank.- 208 replies
-
- 3
-
-
- le soleil royal
- 104 guns
- (and 2 more)
-
That really looks very good Matt. I had to scan the two port side pictures over and over to notice what you meant with that cracked the port side beam clamp. Did only notice it but the fourth time, and only because you wrote that down.
-
Beautiful work Don!
-
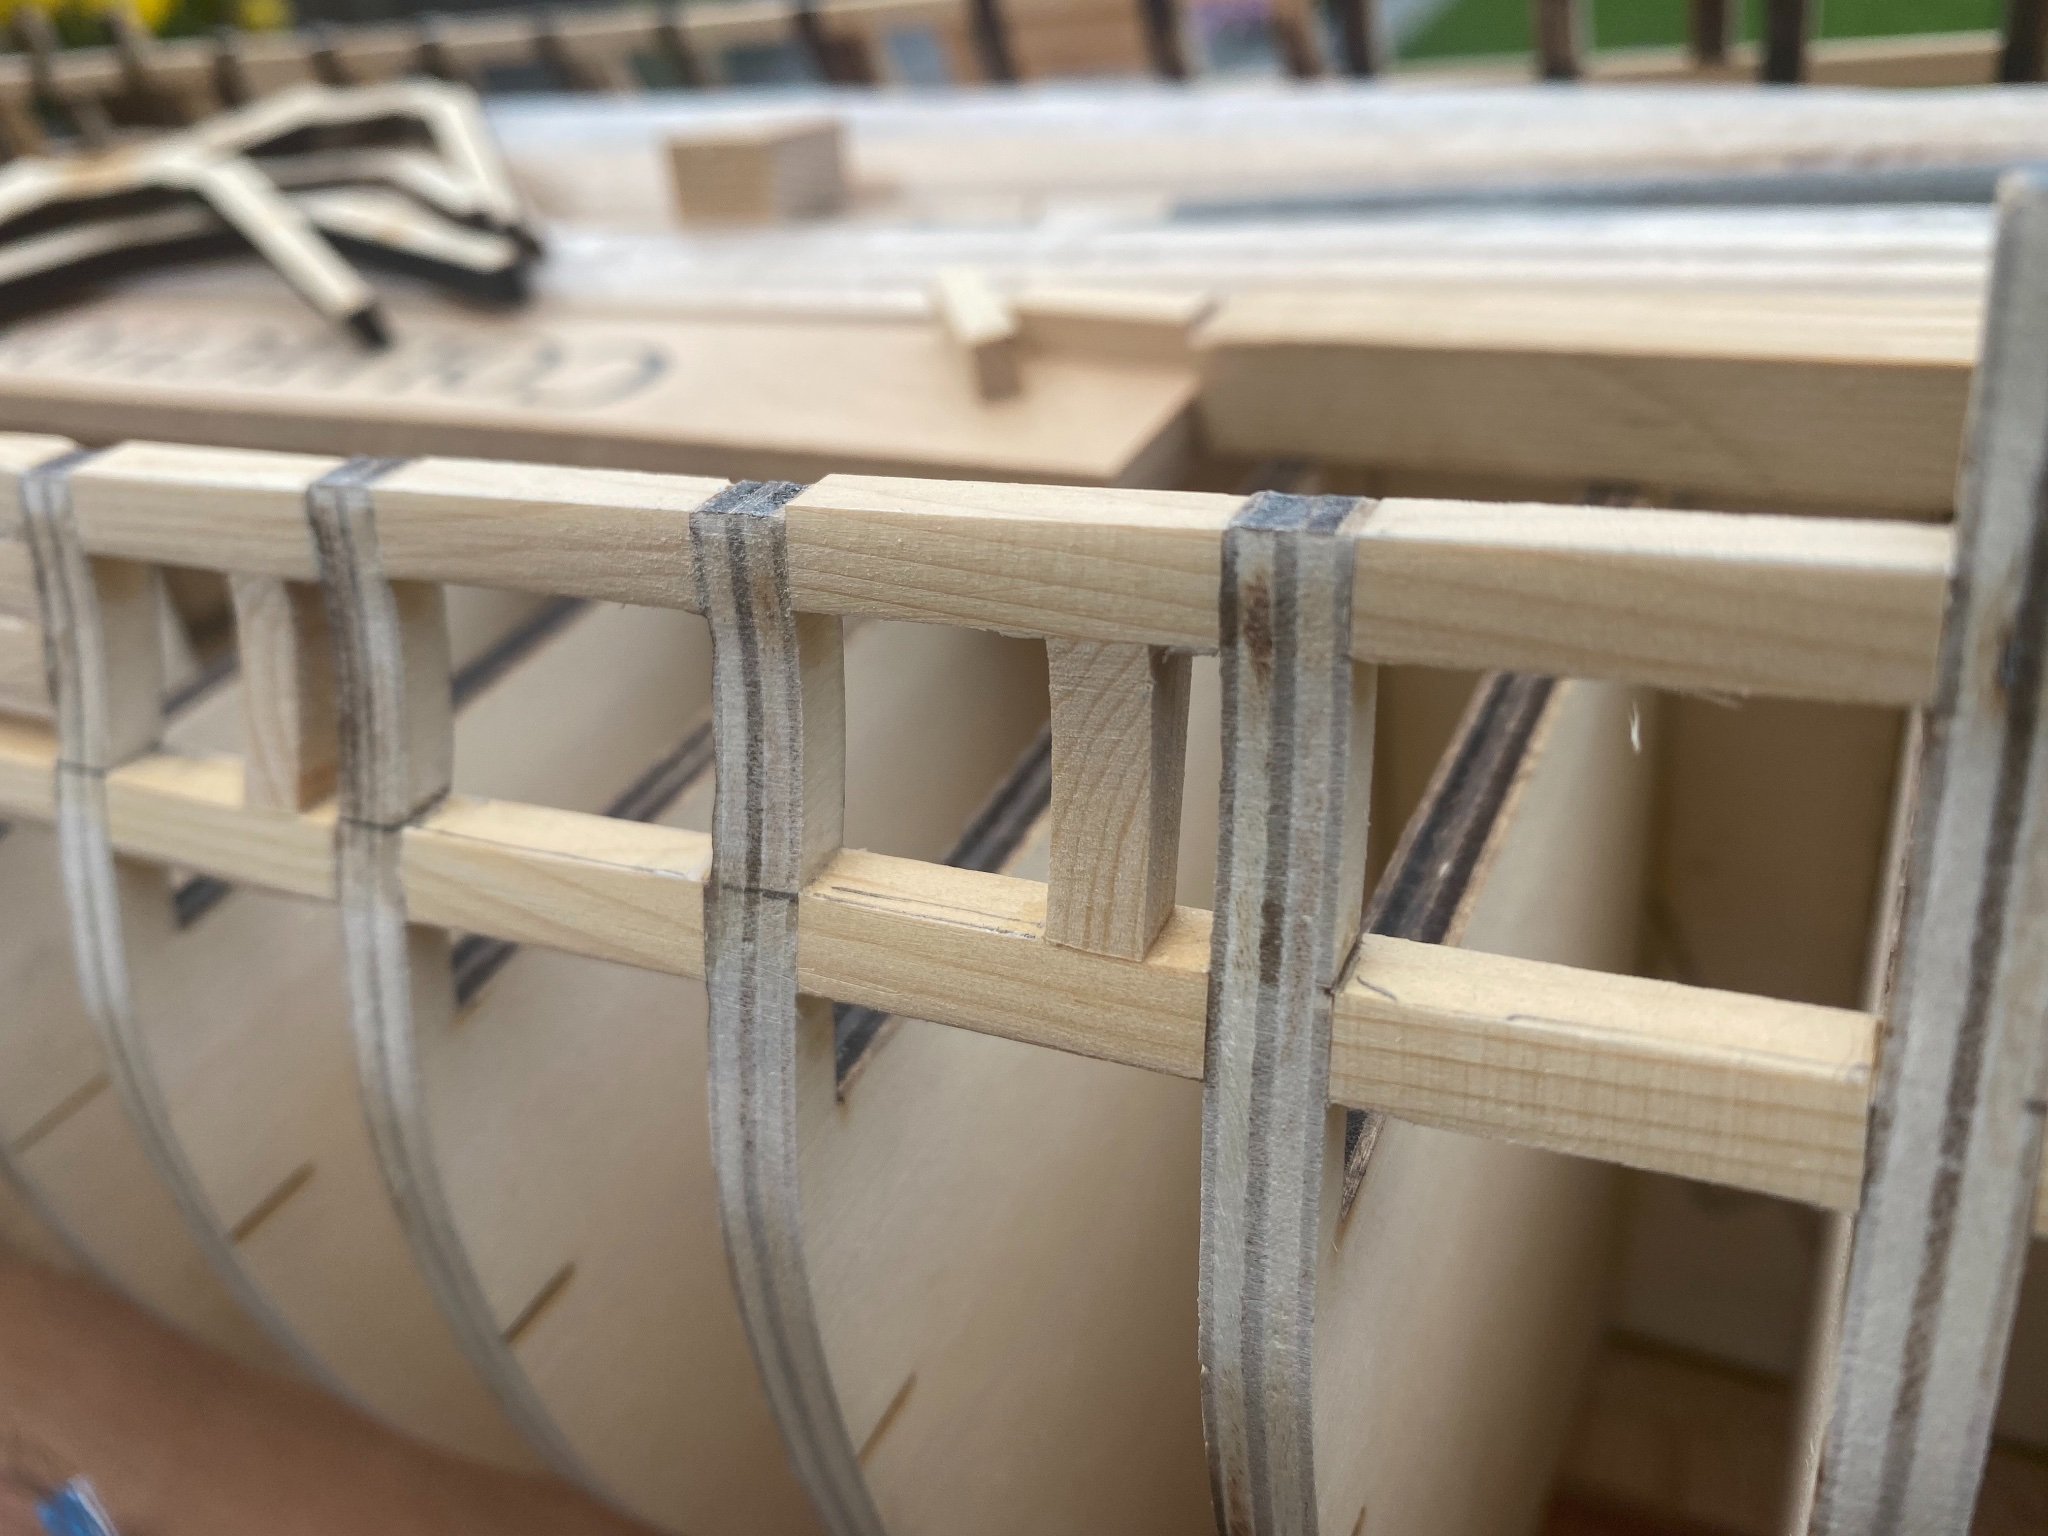
Installed the batten starboard- and portside and checked for symmetry. IMG_5320.MOV


-
Thanks Vladimir, I hope so and am enjoying the ride already, but don't forget, I'm just a beginner, I only started Corel's Victory 35 years ago when I was in my twenties, but never finished it as the gun ports sat 2 millimeters too low and some in front of the bulkheads... :-). The instructions were so bad and made you do things in the wrong order, that for a beginner one just got stuck. I now already see lots of things I would have done differently when buidling it now. I will follow your build as well for sure to admire and learn!
-
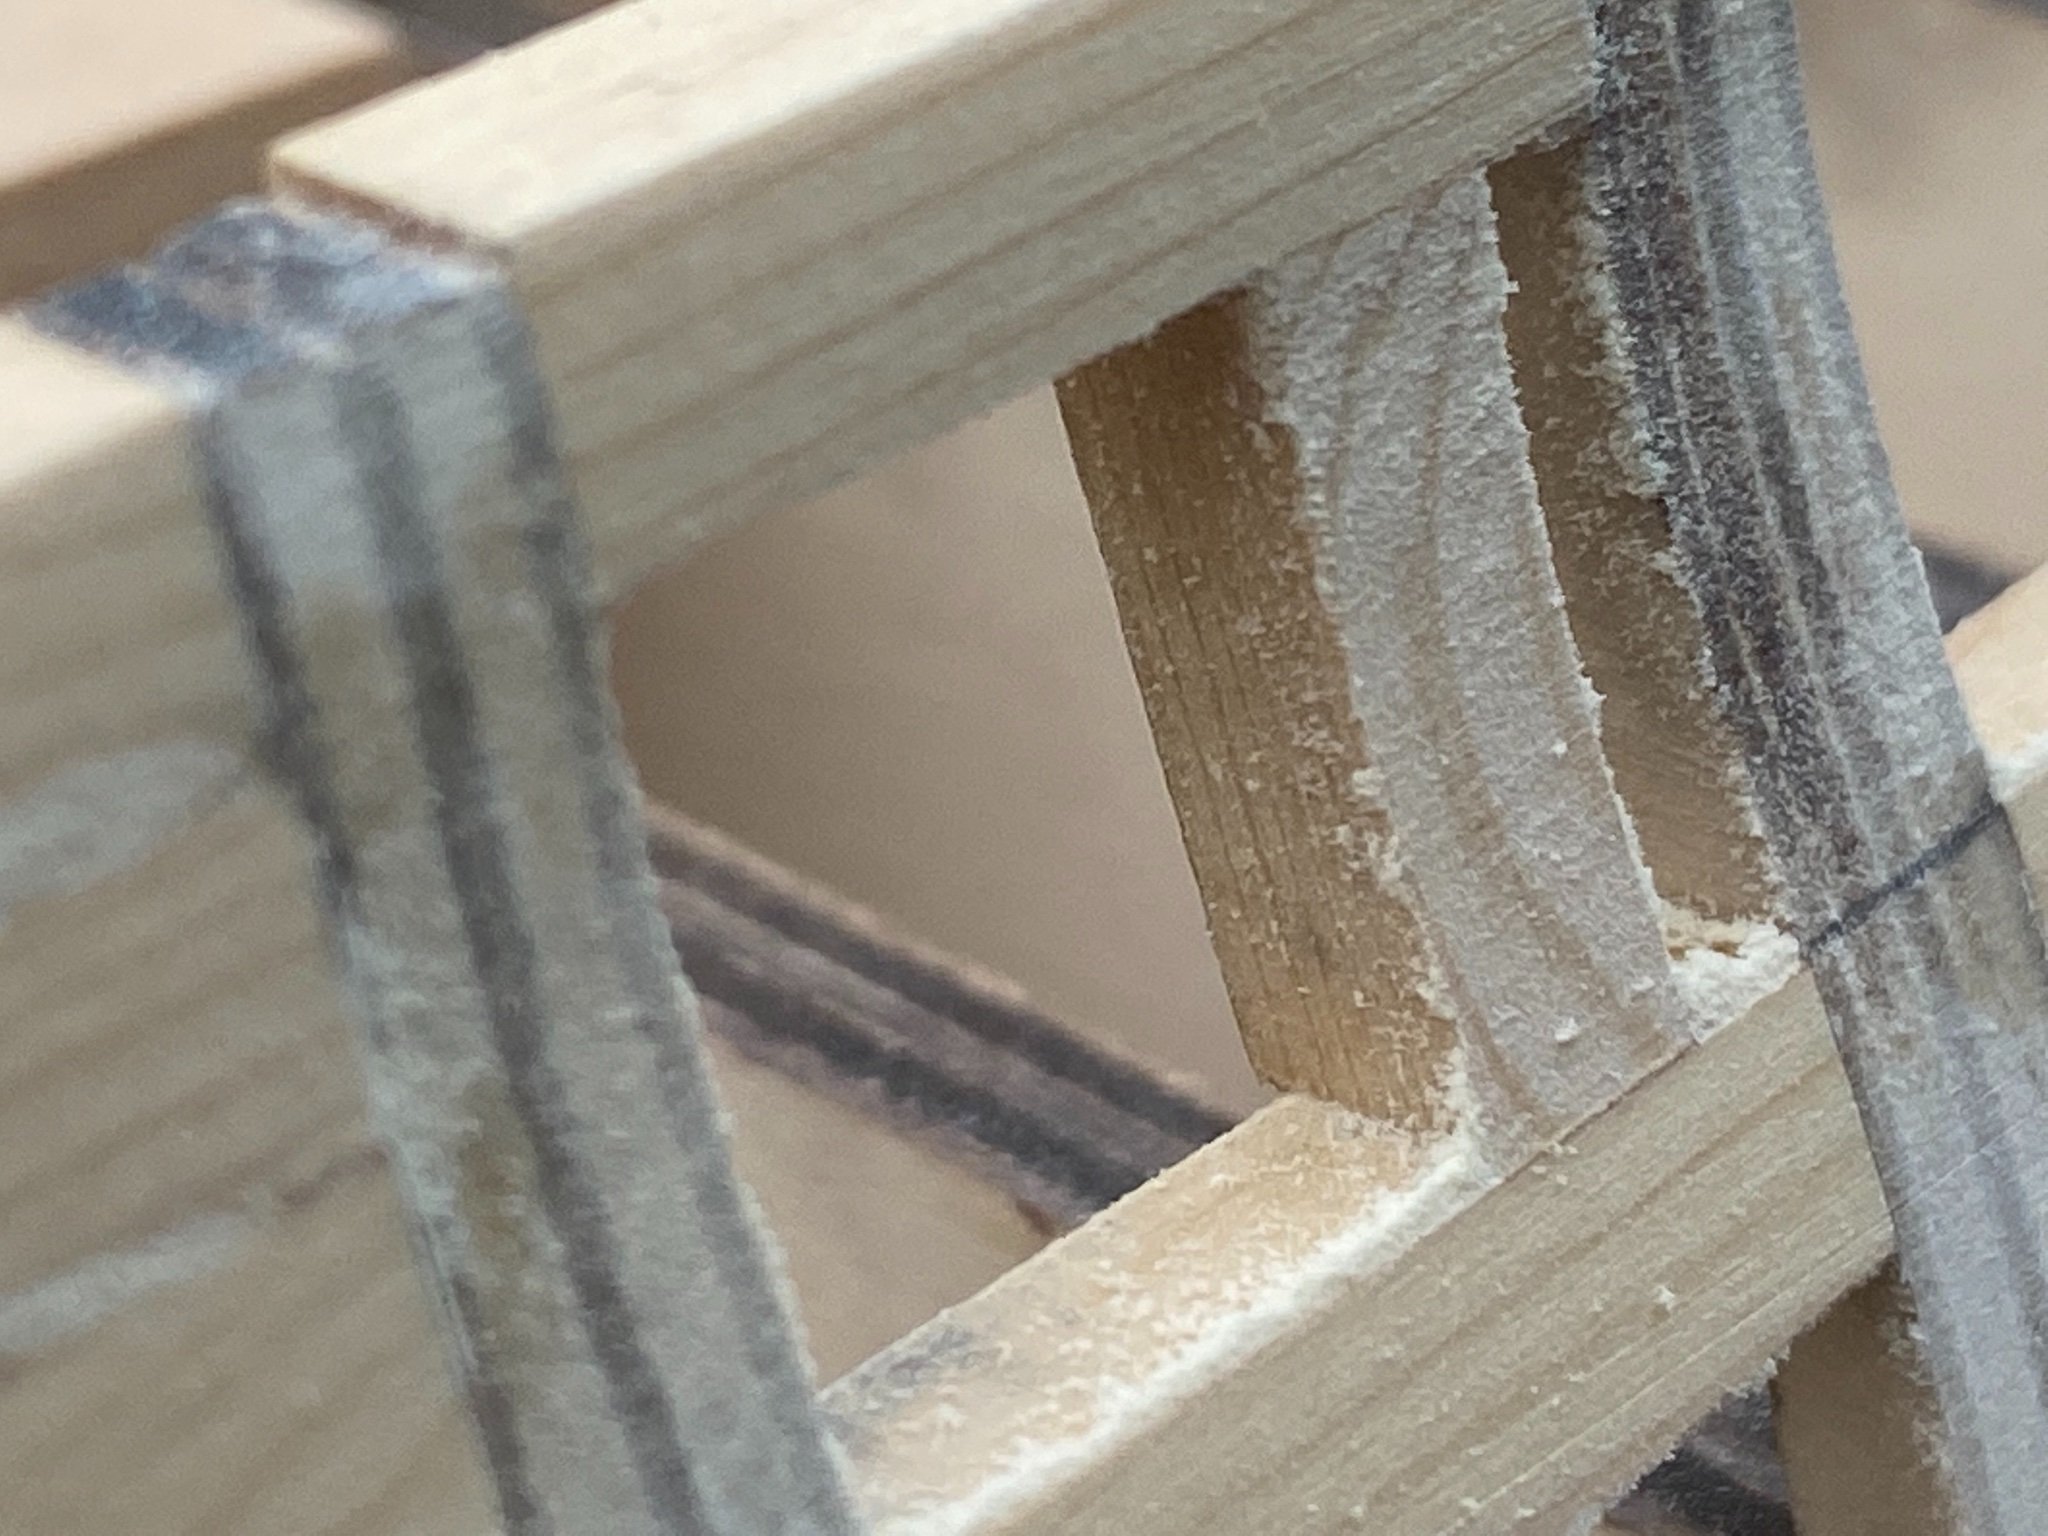
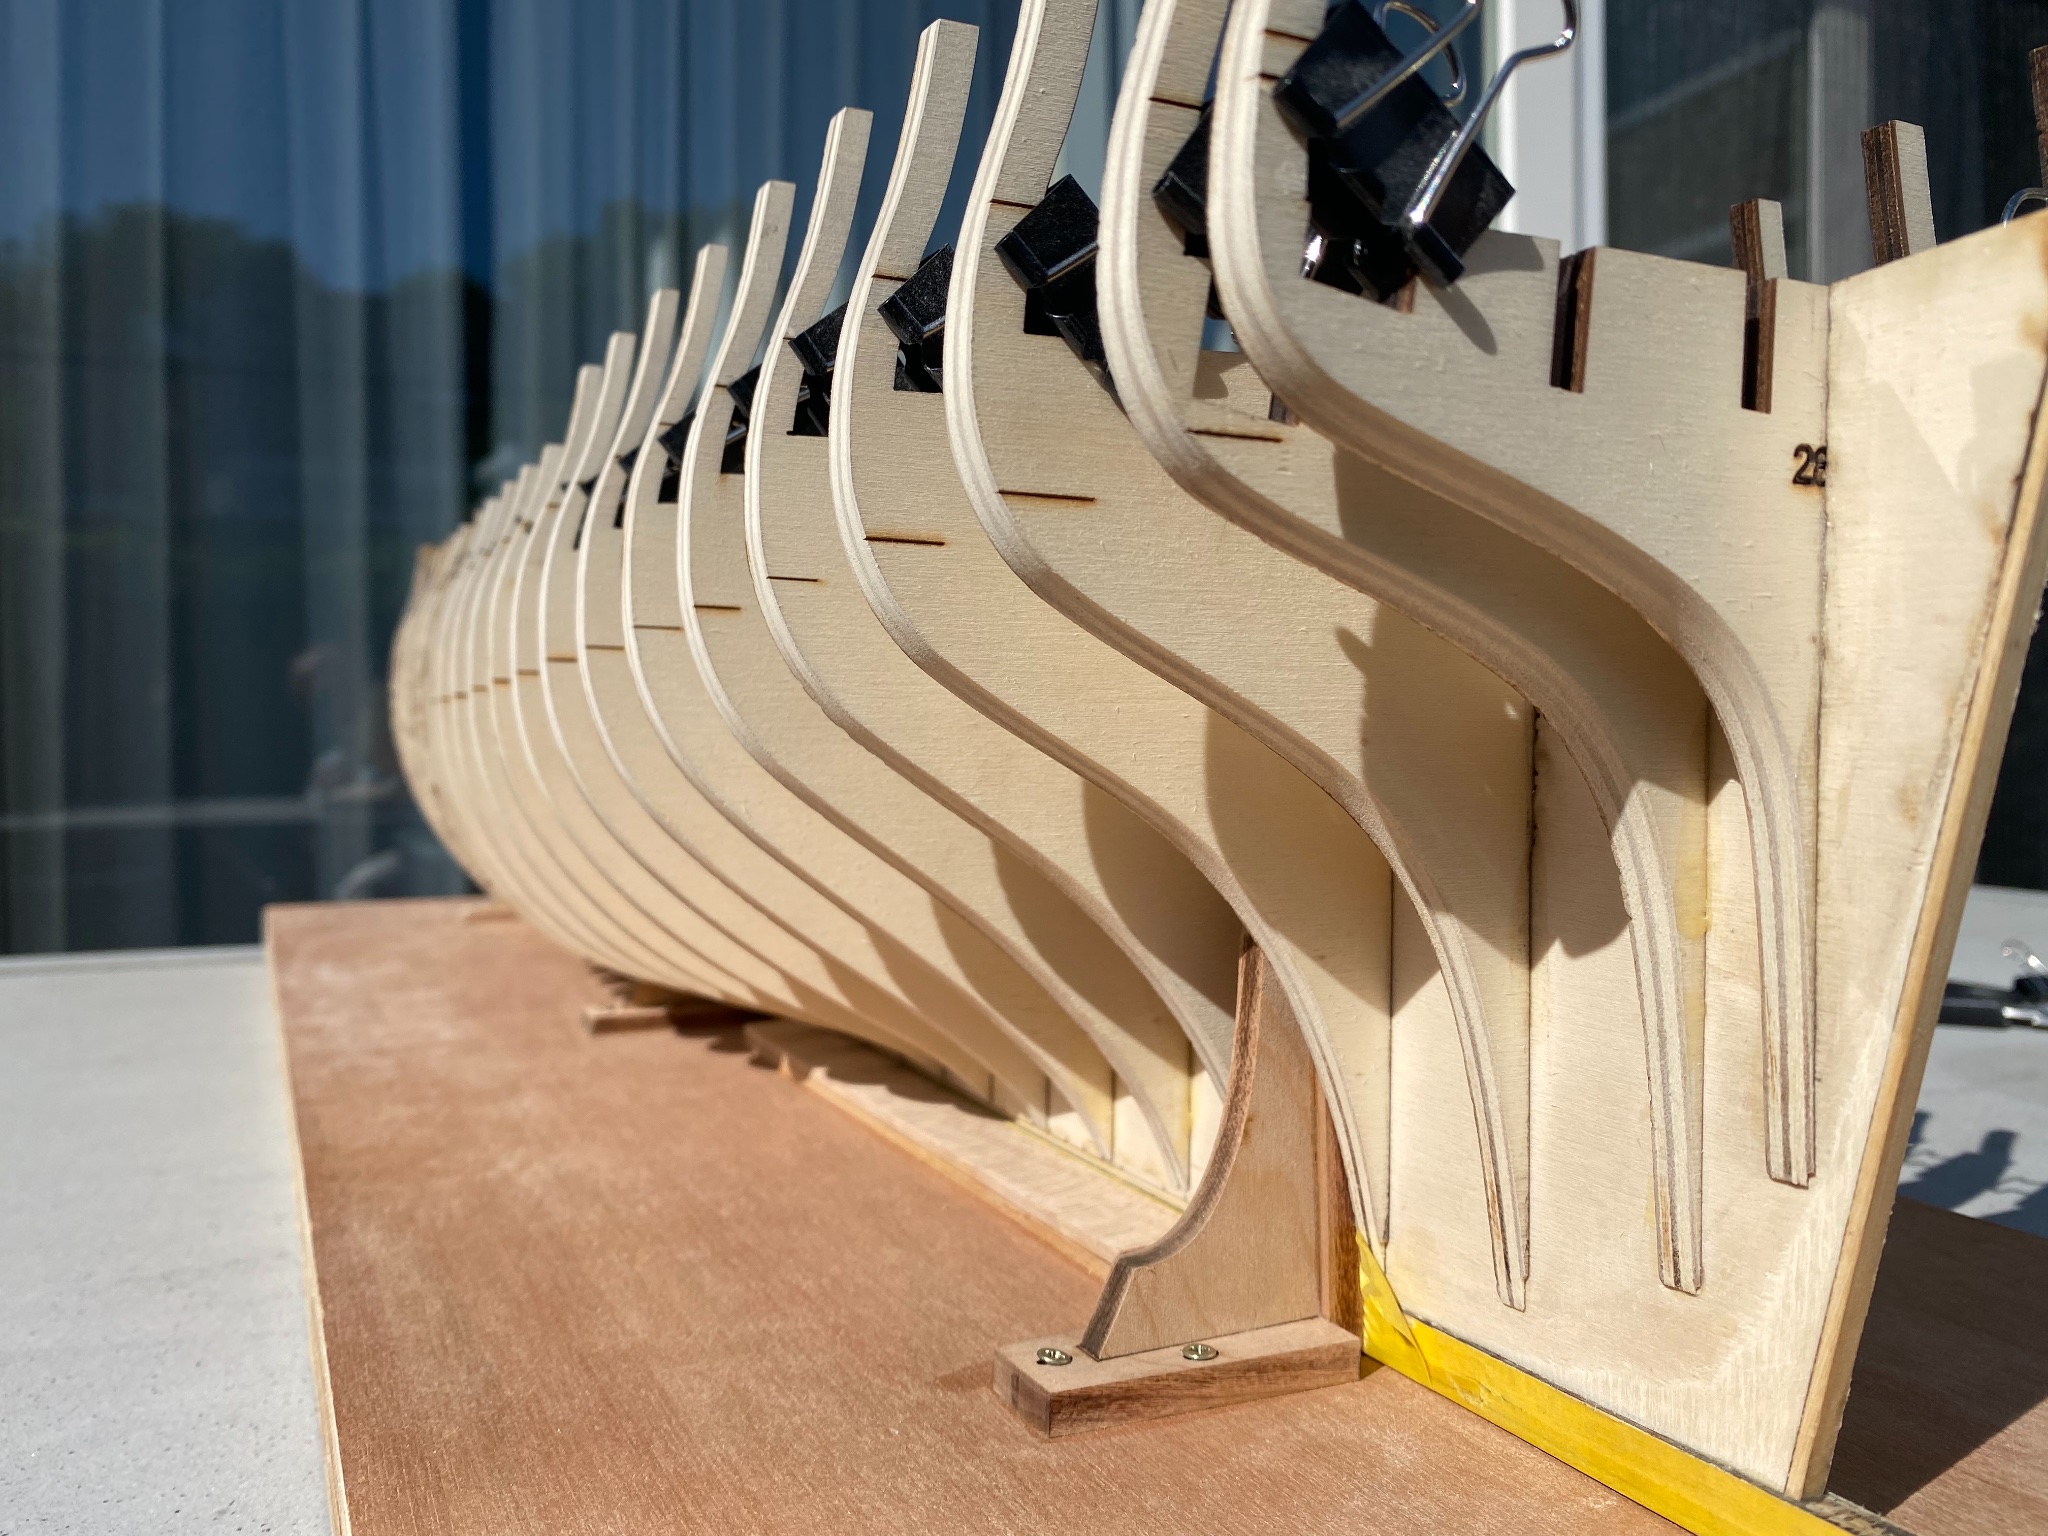
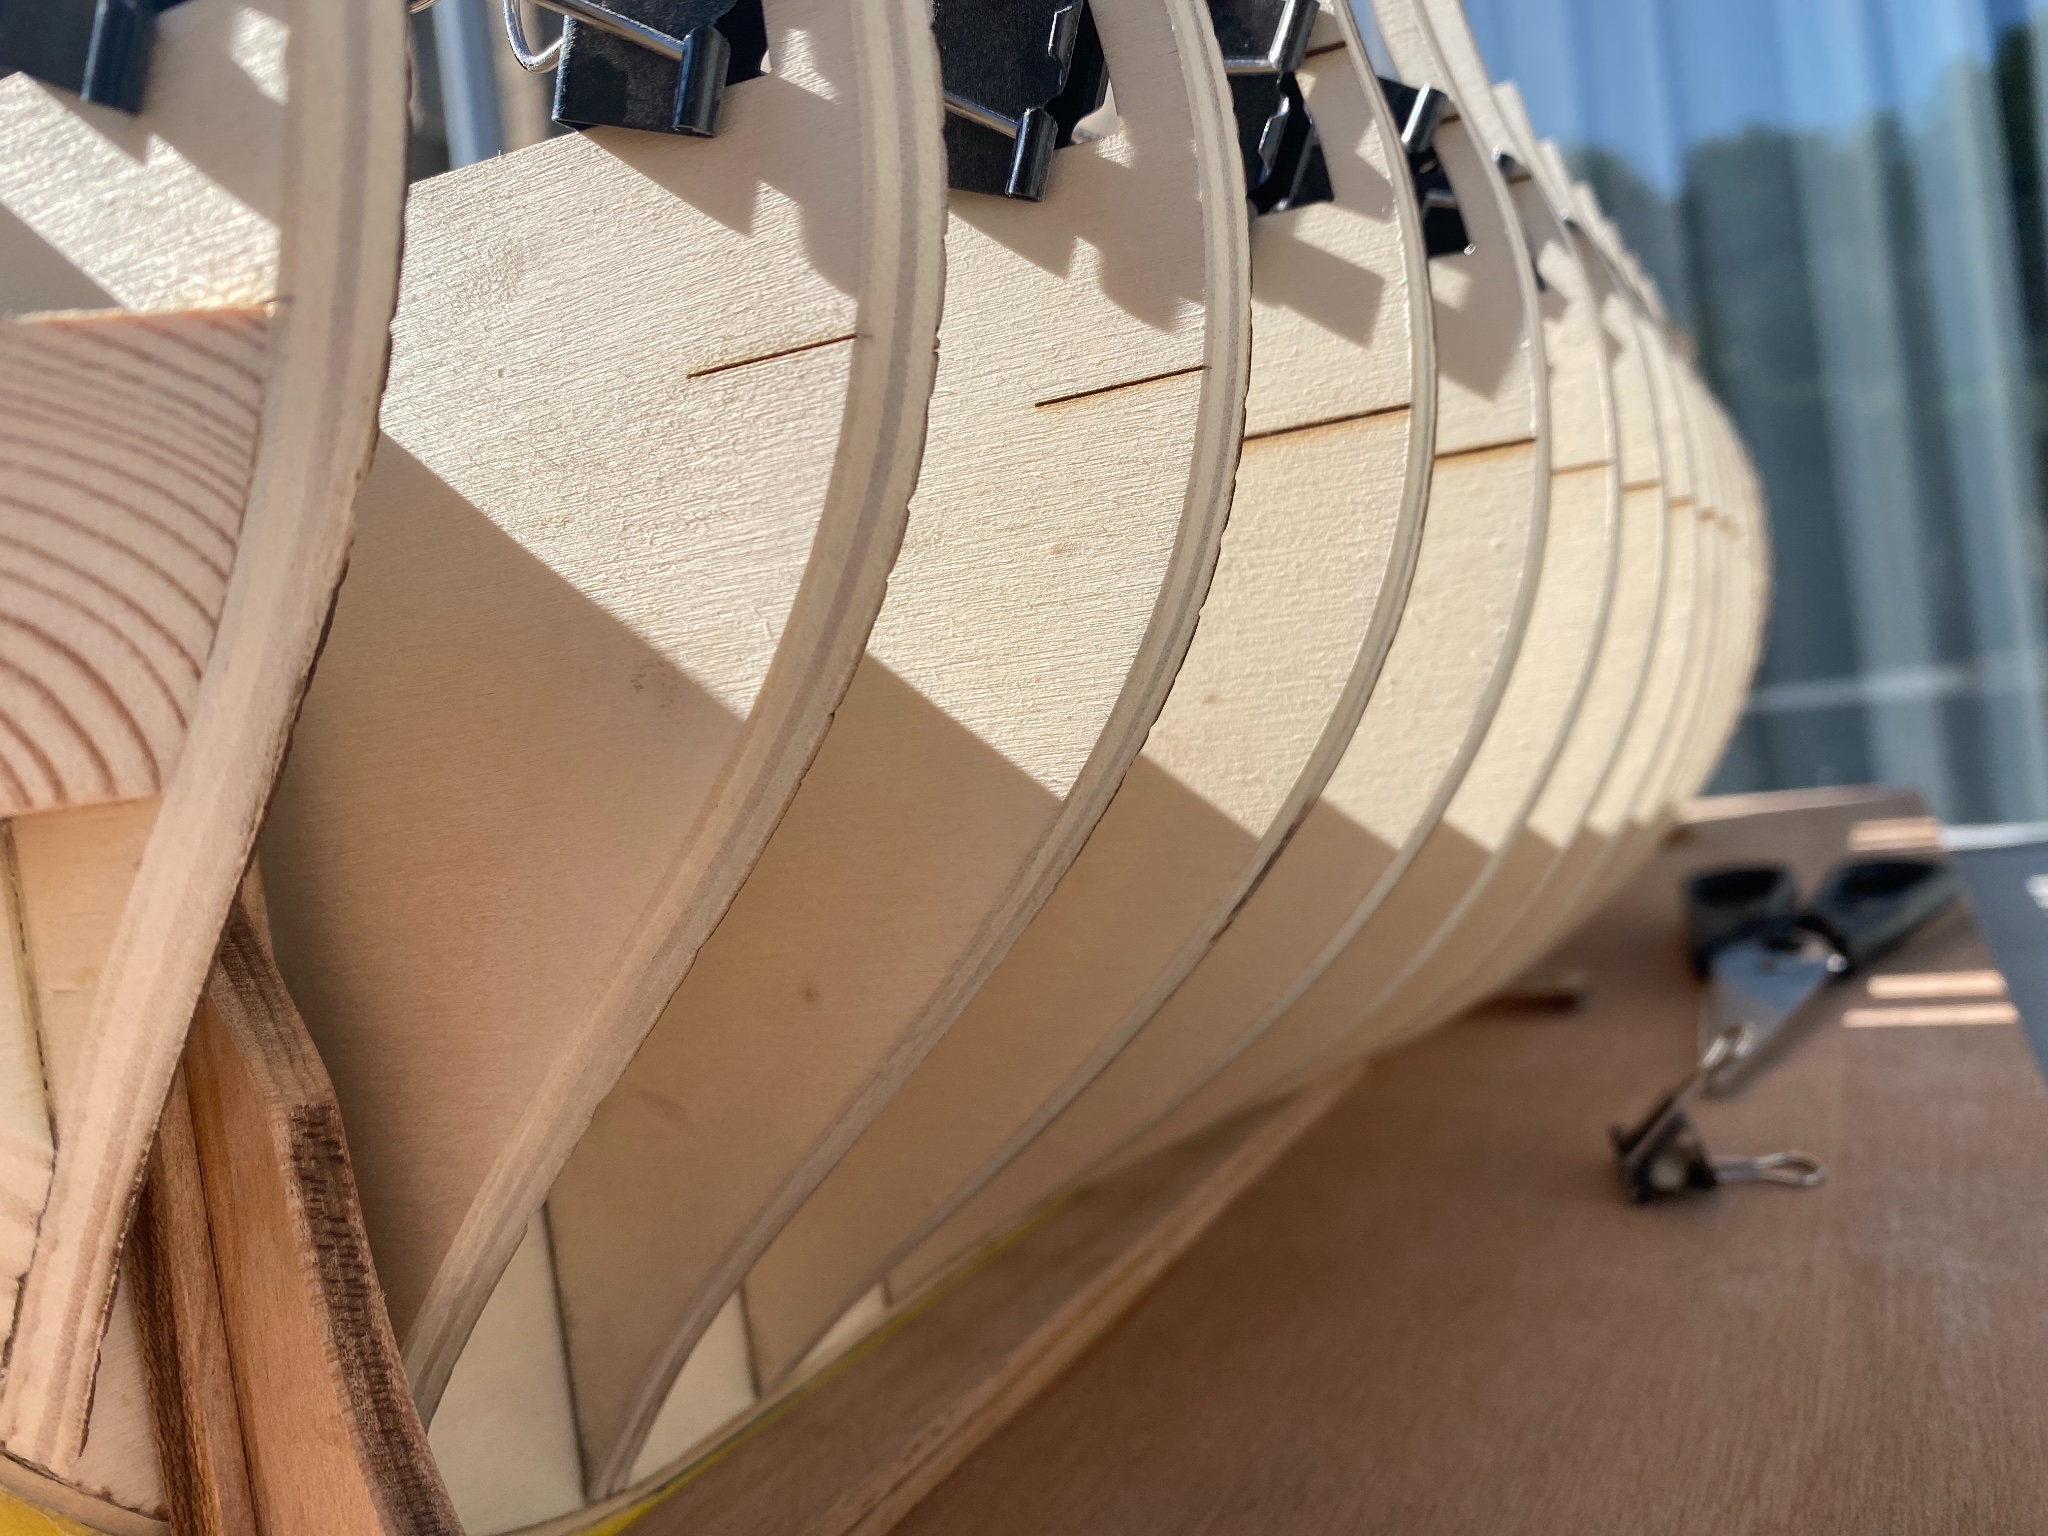
Thanks Edward, yes they definitely make our hobby life much easier and look good too. But they make me respect everyone in this group build who saws them themselves as there are so many of them! Though I see now on my own posted photo's I forgot to angle the last bulkheads with the portside bearding line. They should also blend in little more fluently in the tapered area under the bearding line too I think.
-
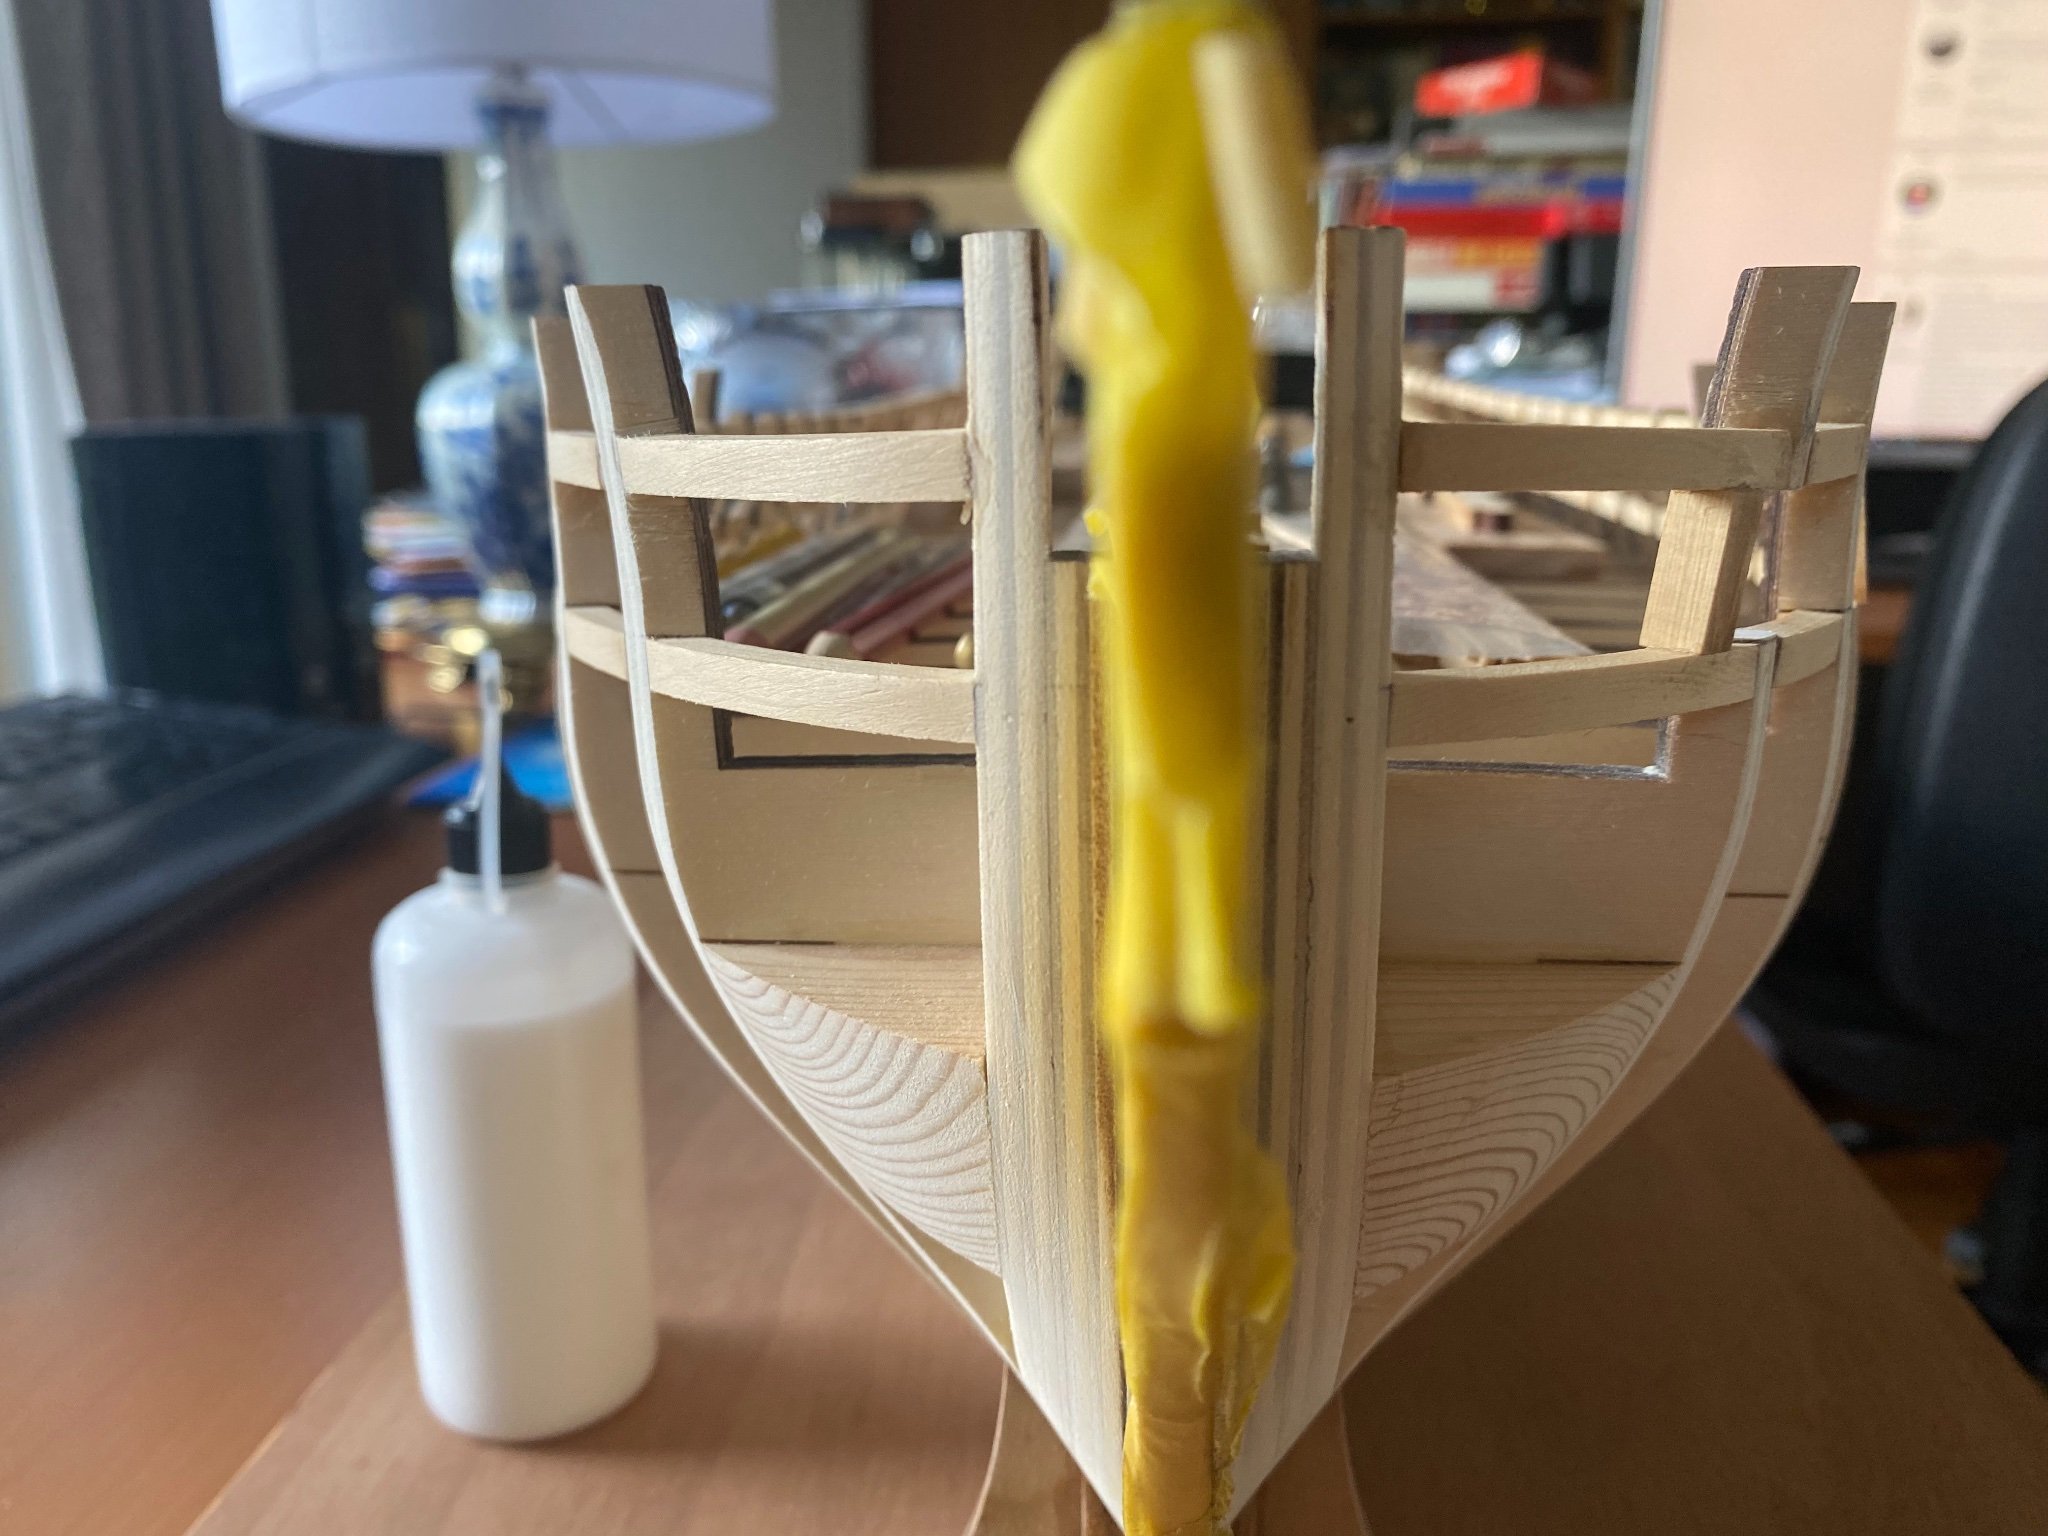
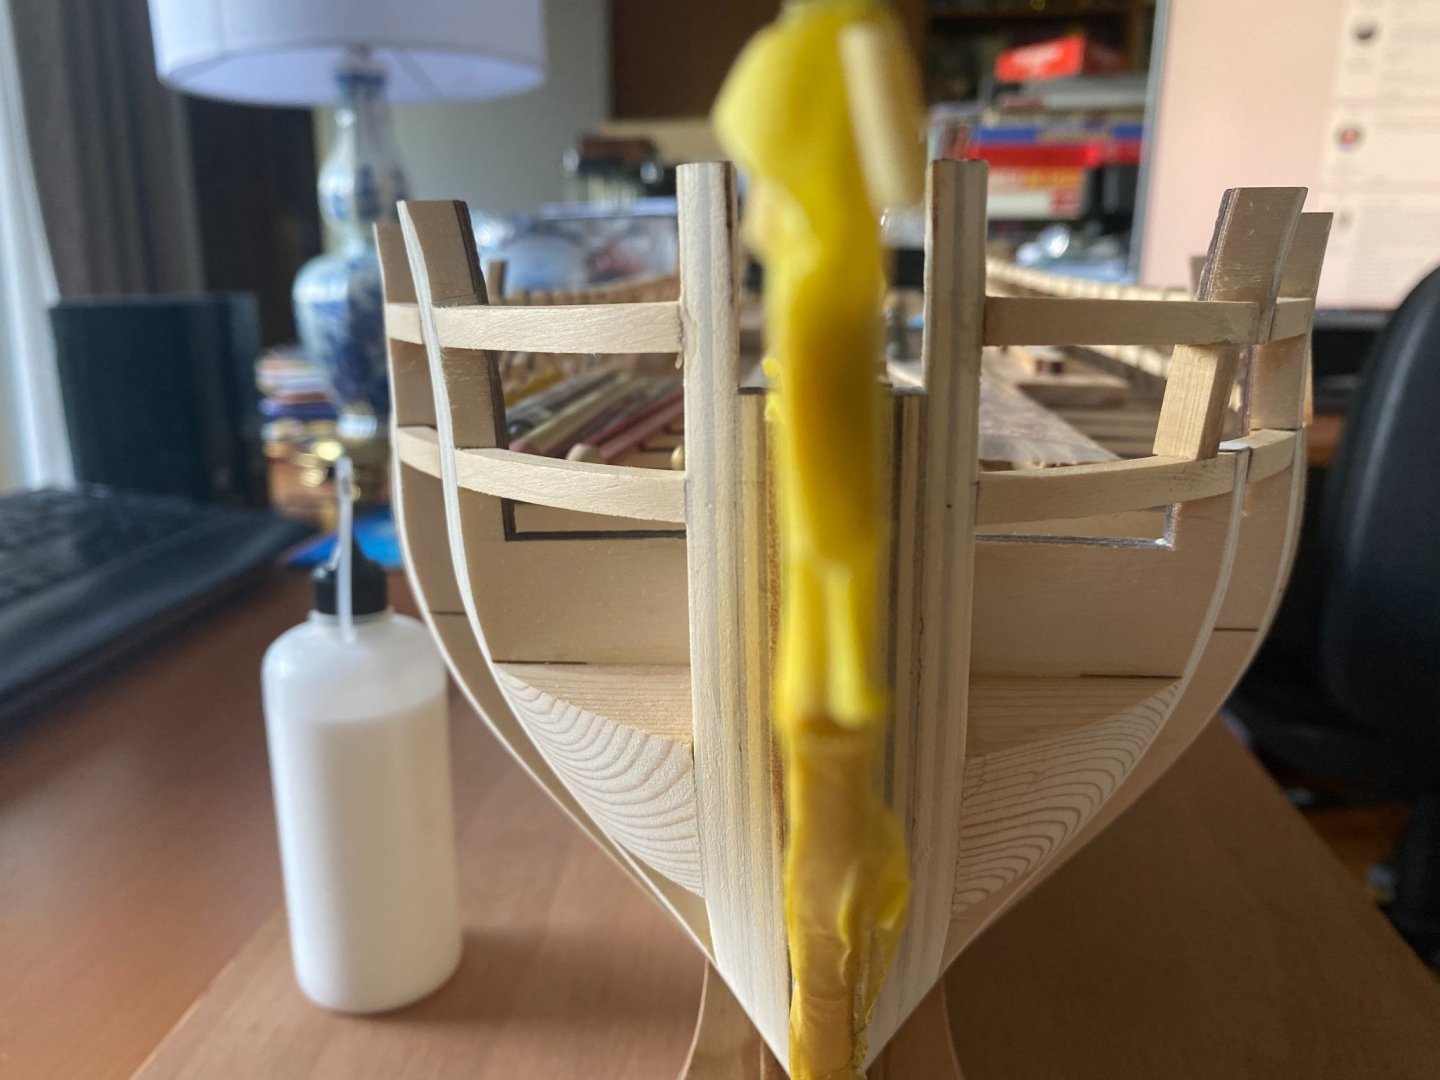
Small update. Finally finished fairing the hull, I’m going to place the batten and then the gun port sills as per instructions now.


-
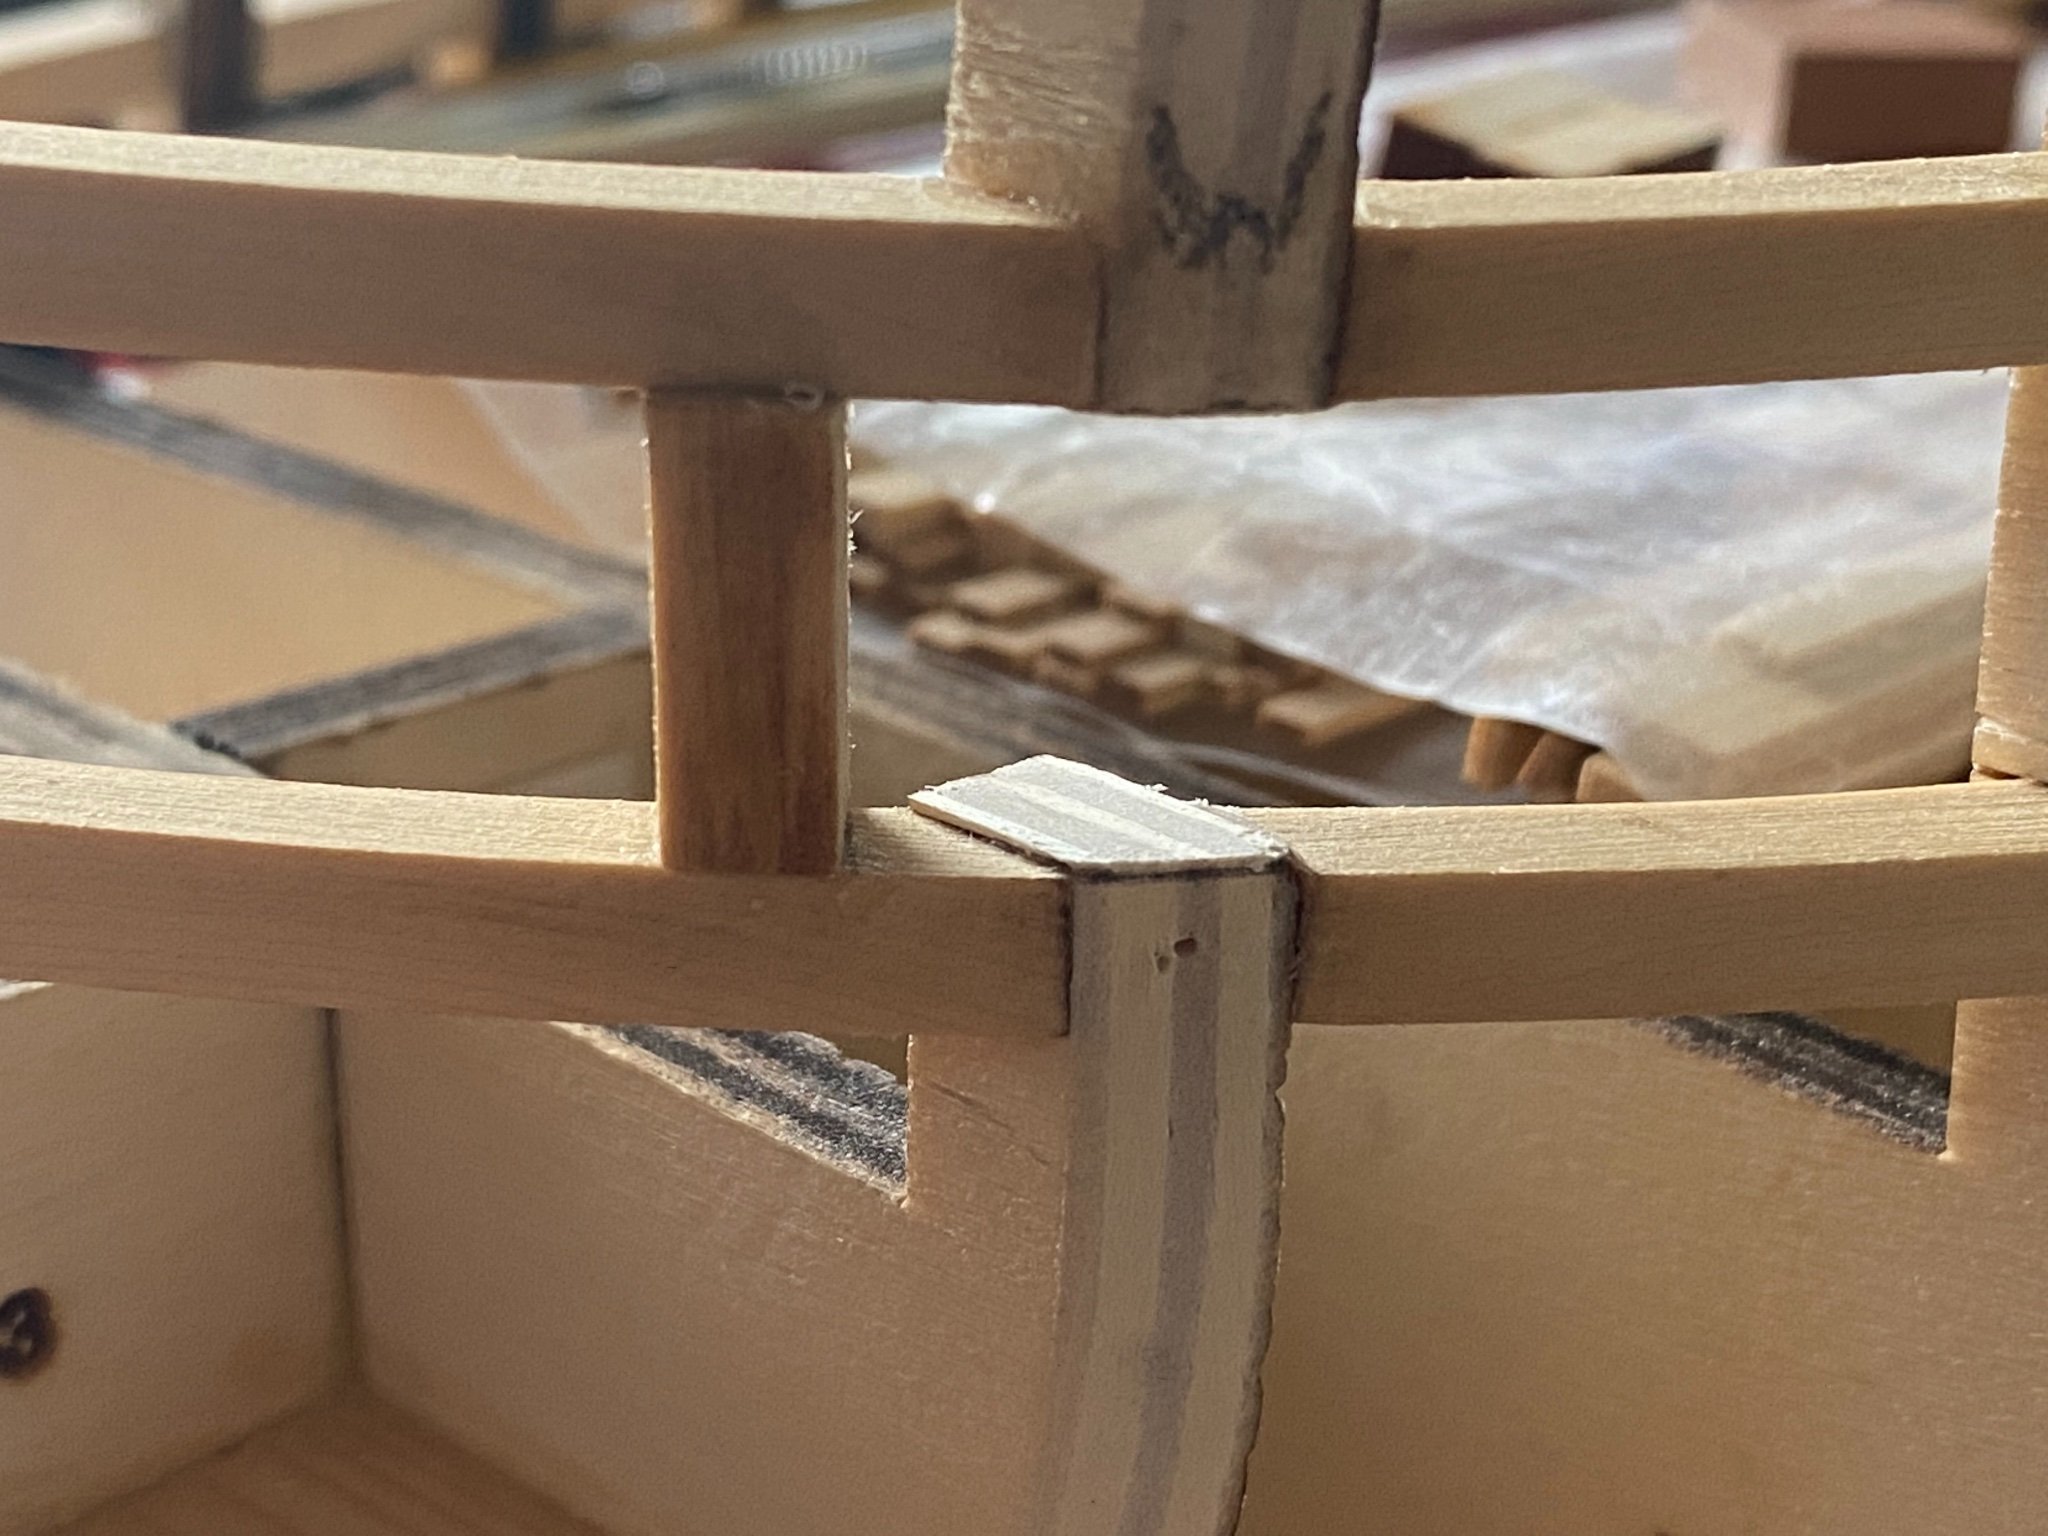
But isn't it more difficult to virtually impossible to fasten the batten to check for a fluent line for the gun ports without faired bulkheads?
-
Any updates thusfar Jan?
-
Hi Matt, I did notice this finished build of yours until now. What a very nice model and very decentley completed! Now back to your Winnie report...
- 68 replies
-
- 1
-
-
- virginia 1819
- artesania latina
- (and 1 more)
-
Wow those colors, so warm and colorful... Maybe I’ll build a second one with your example, when this one’s finished in Alaskan Yellow Cedar. Plenty of Swiss pear lying around here, didn’t know it combines so nice with the cherry!
- 642 replies
-
- 2
-
-
- winchelsea
- Syren Ship Model Company
- (and 1 more)