HOLIDAY DONATION DRIVE - SUPPORT MSW - DO YOUR PART TO KEEP THIS GREAT FORUM GOING! (Only 13 donations so far - C'mon guys!)
×

FrankWouts
-
Posts
535 -
Joined
-
Last visited
Content Type
Profiles
Forums
Gallery
Events
Everything posted by FrankWouts
-
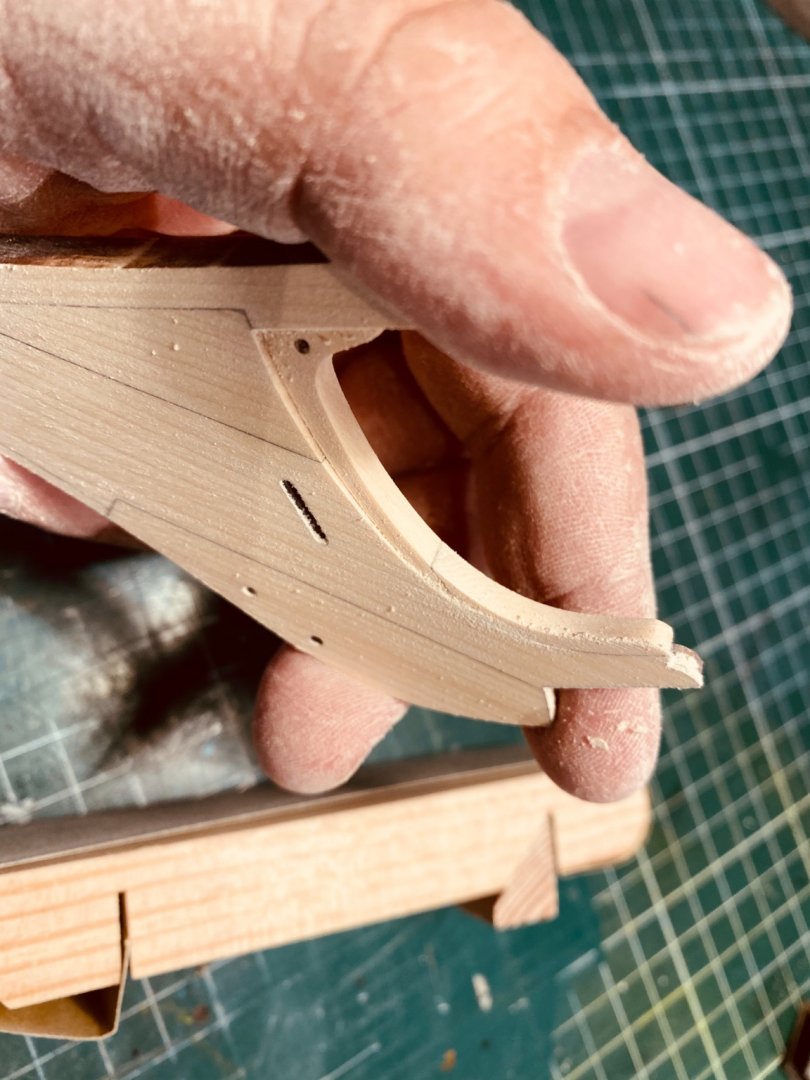
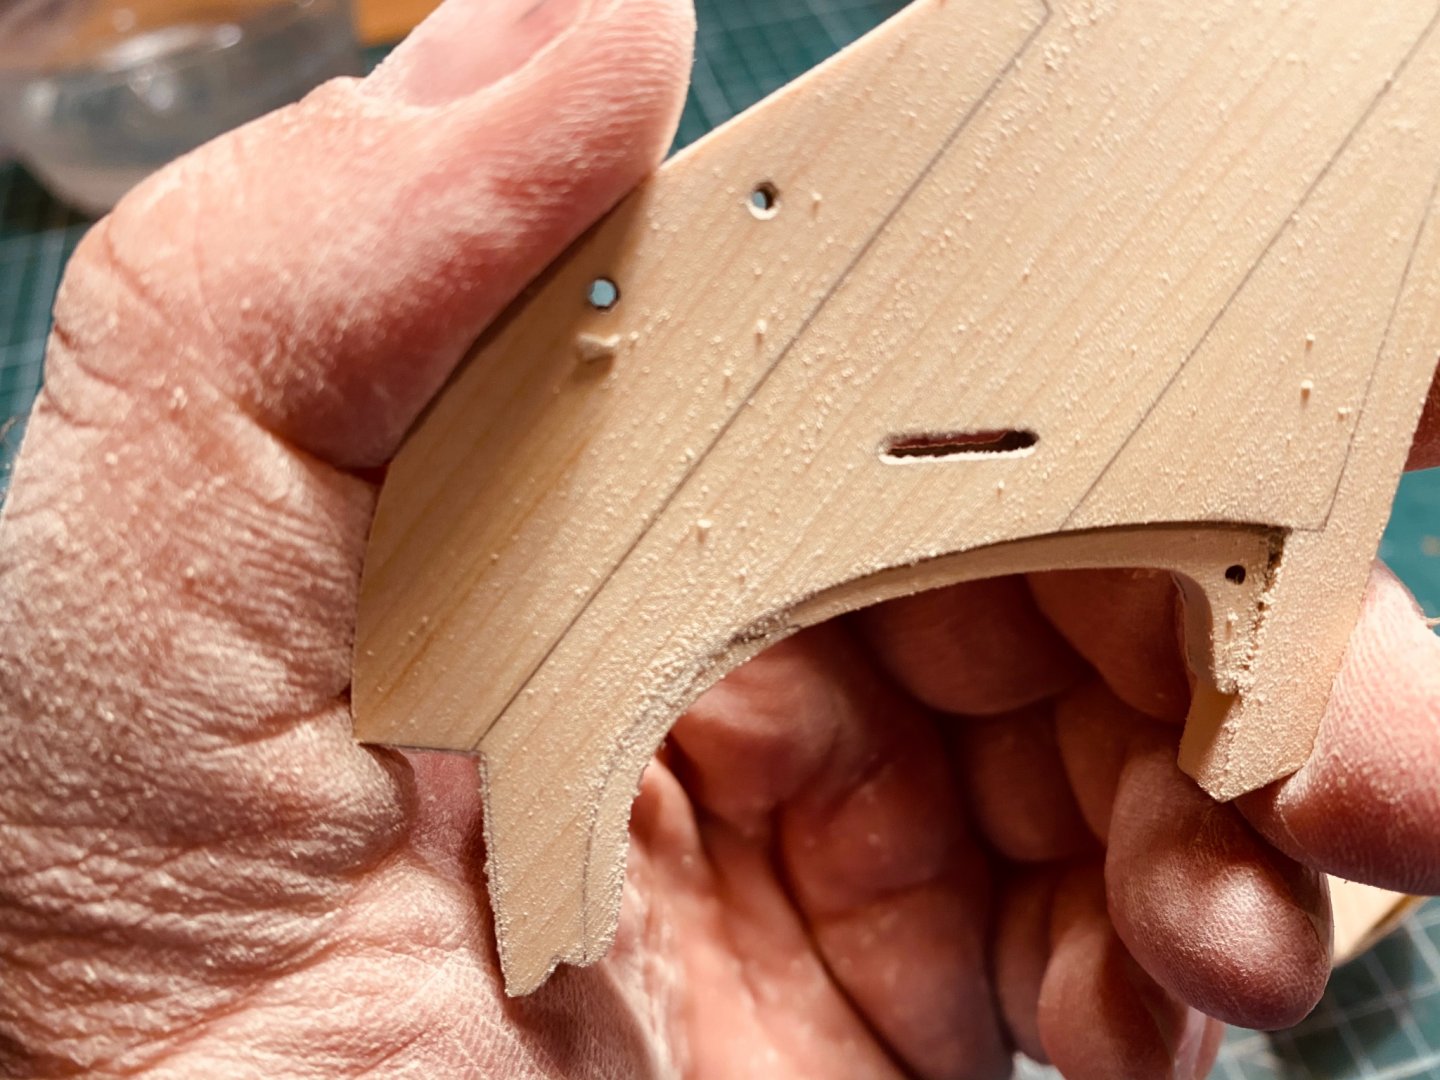
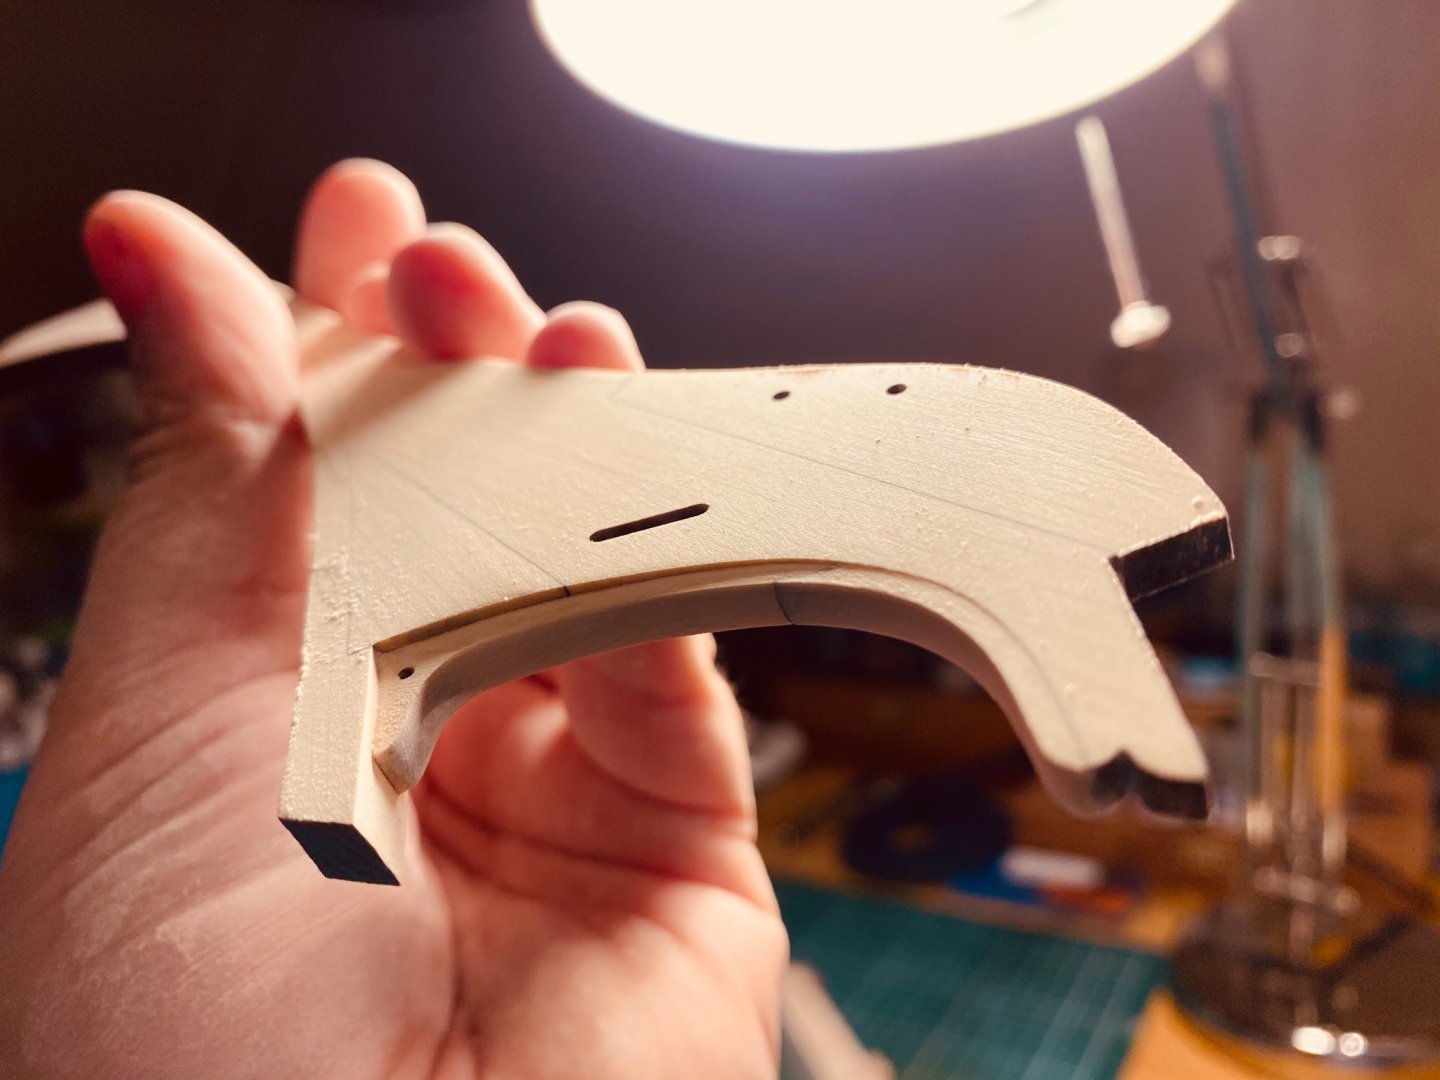
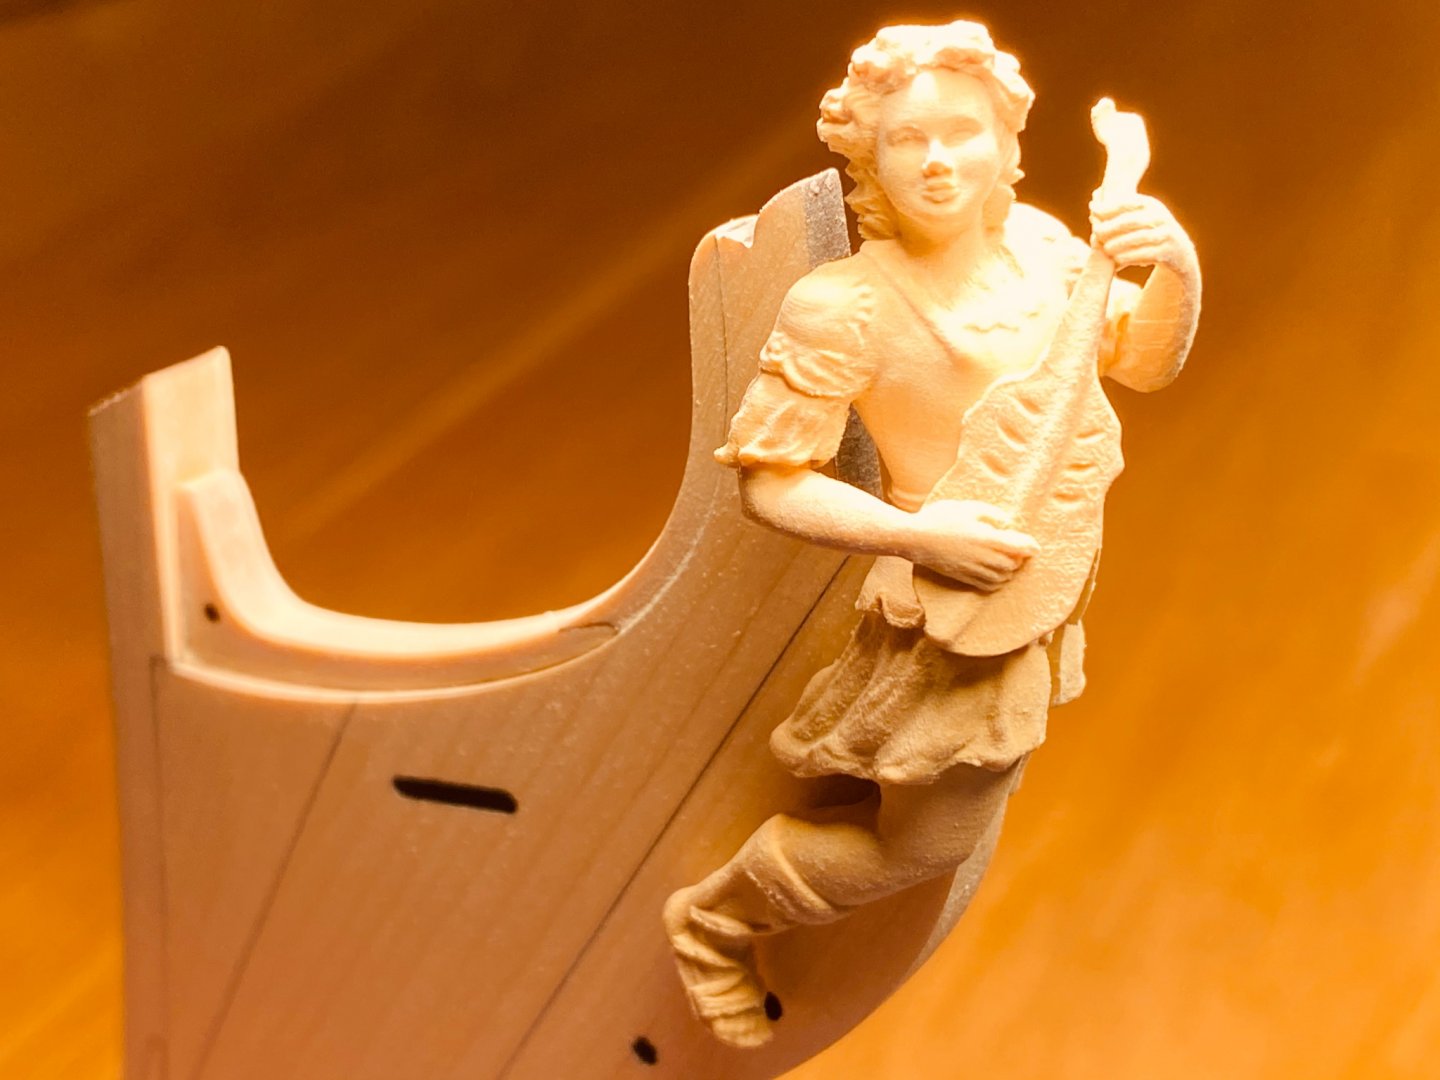
 Hahaha so recognizable, I sanded on and off for a few hours on this part as well, getting a new cup of coffee in between... But it's relaxing when you keep an easy attitude towards it, don't rush, everyone told me, so I did not rush, but was glad as well when sanding was done and the head figure went on loosely without any force. This part looks better when patiently sanded instead of chiseled, scraped and only then sanded I think. Your part looks exceptionally well and beautiful!
 -
You build beautifully and on an exceptional level, please keep posting your progress Guillermo. I hope you are o.k.!
-
Thanks! Just following your nice and clear instructions with great pleasure and excitement Chuck!
-
Very clean and cleaver method making use of the height difference and the characteristics of the WOP versus acrylic paint. I’ll have to remember this when getting to this point, thanks JJ! And thanks Chuck for pointing out it was canvas in reality.
-
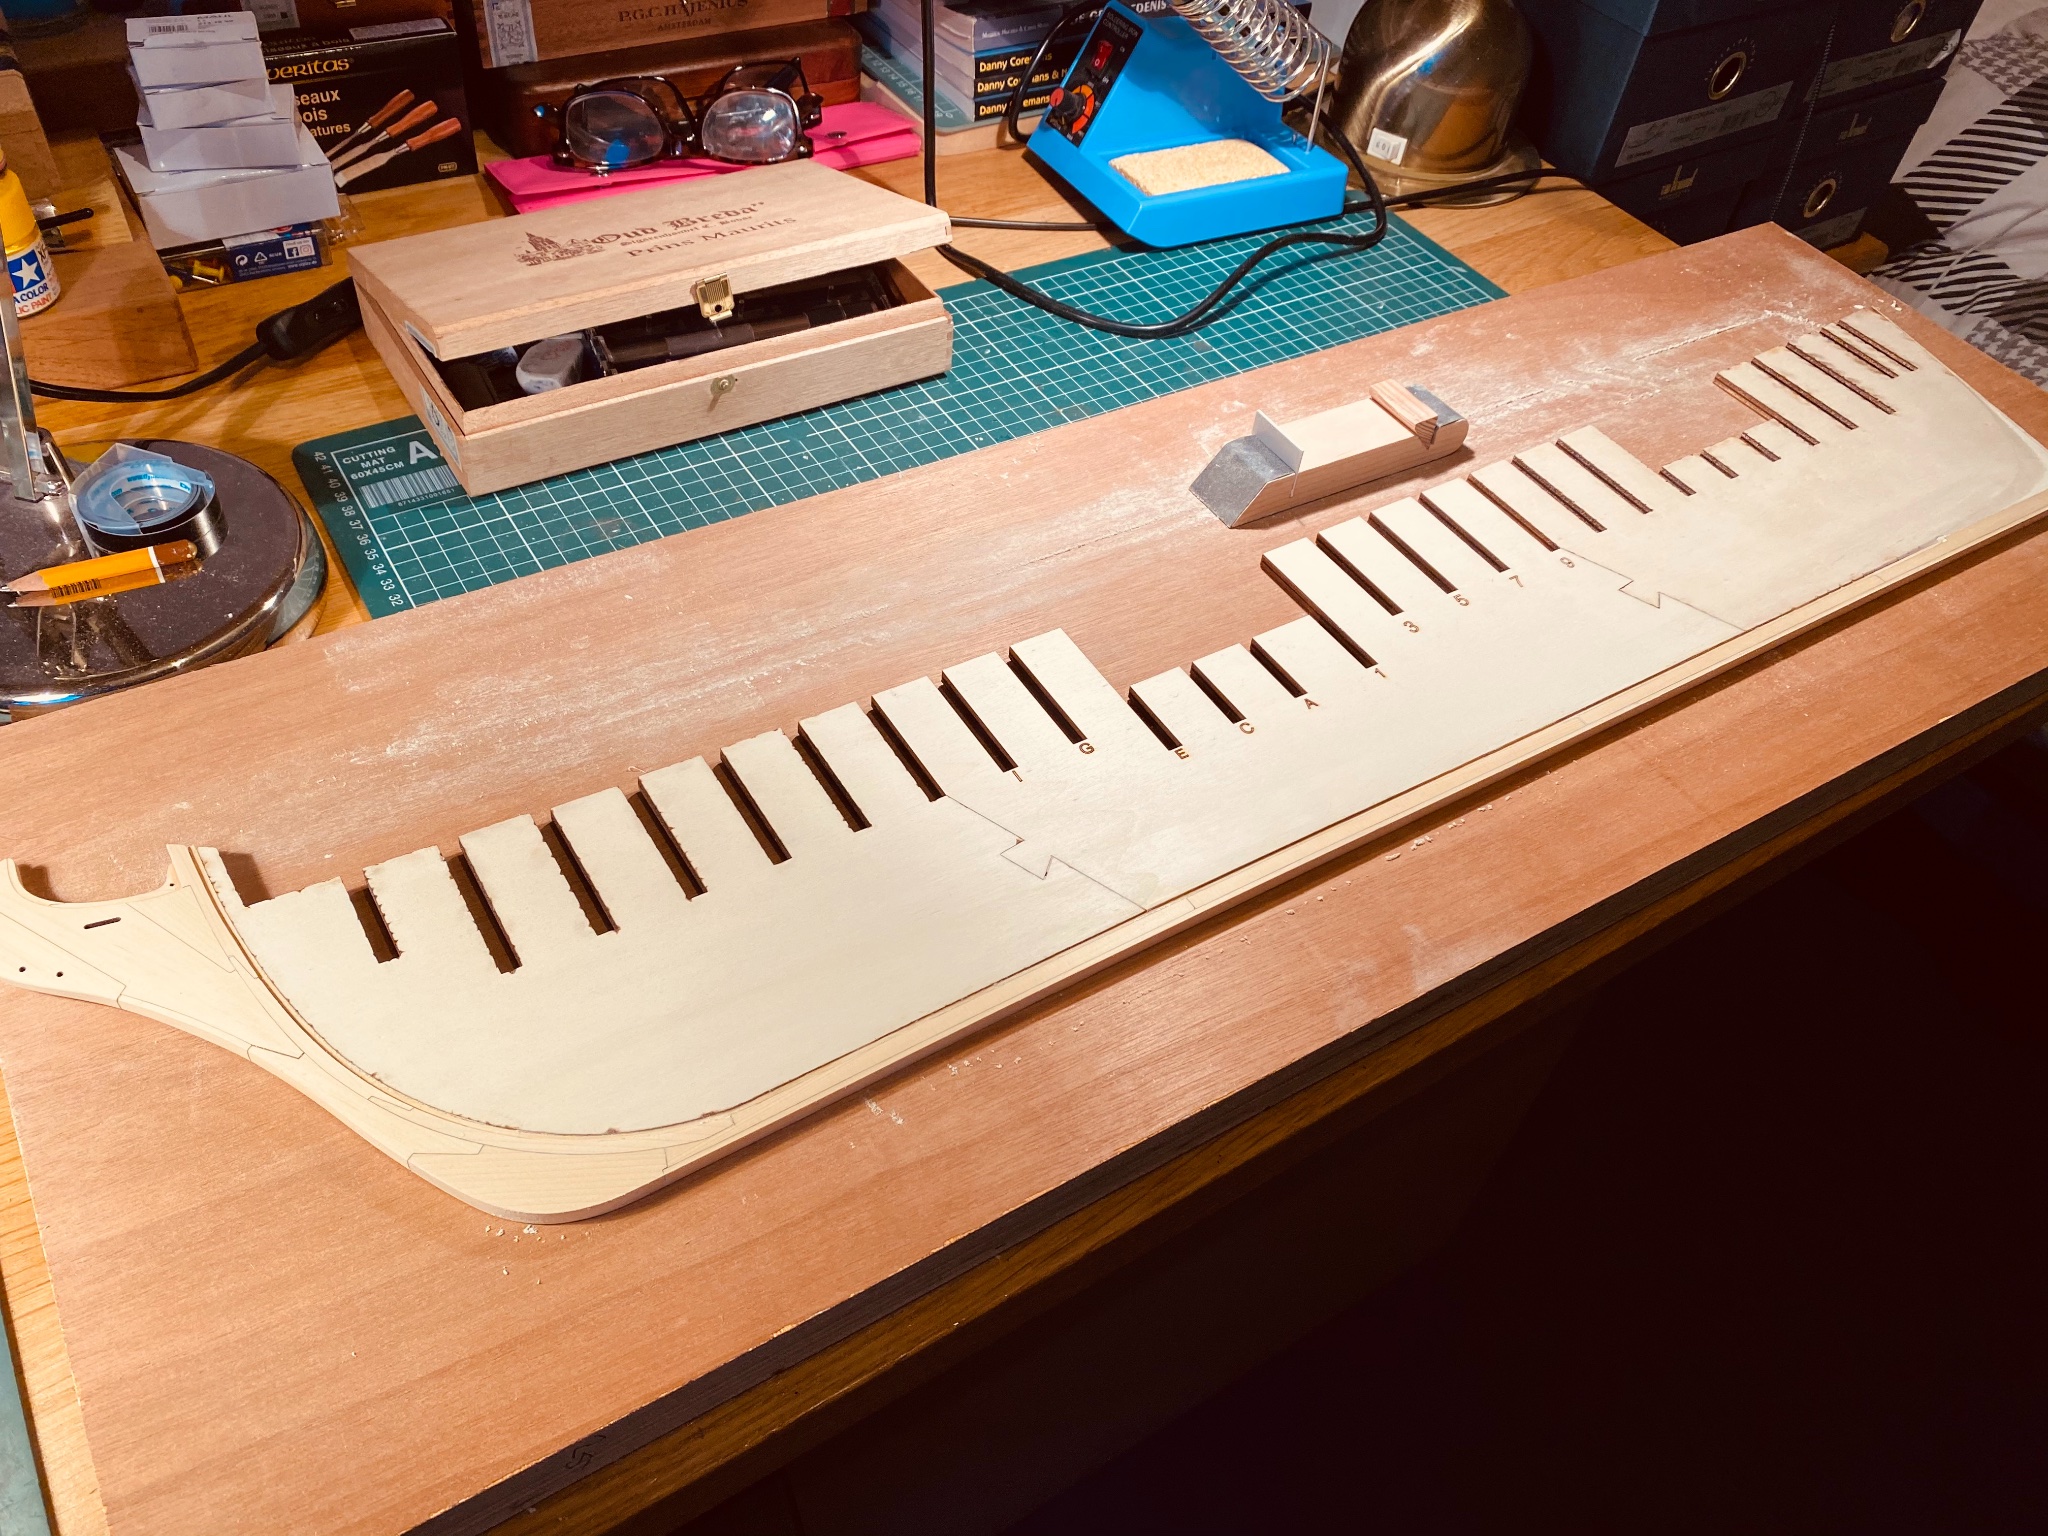
Here some pictures of my humble, slow, but steady progress this Saturday...


-
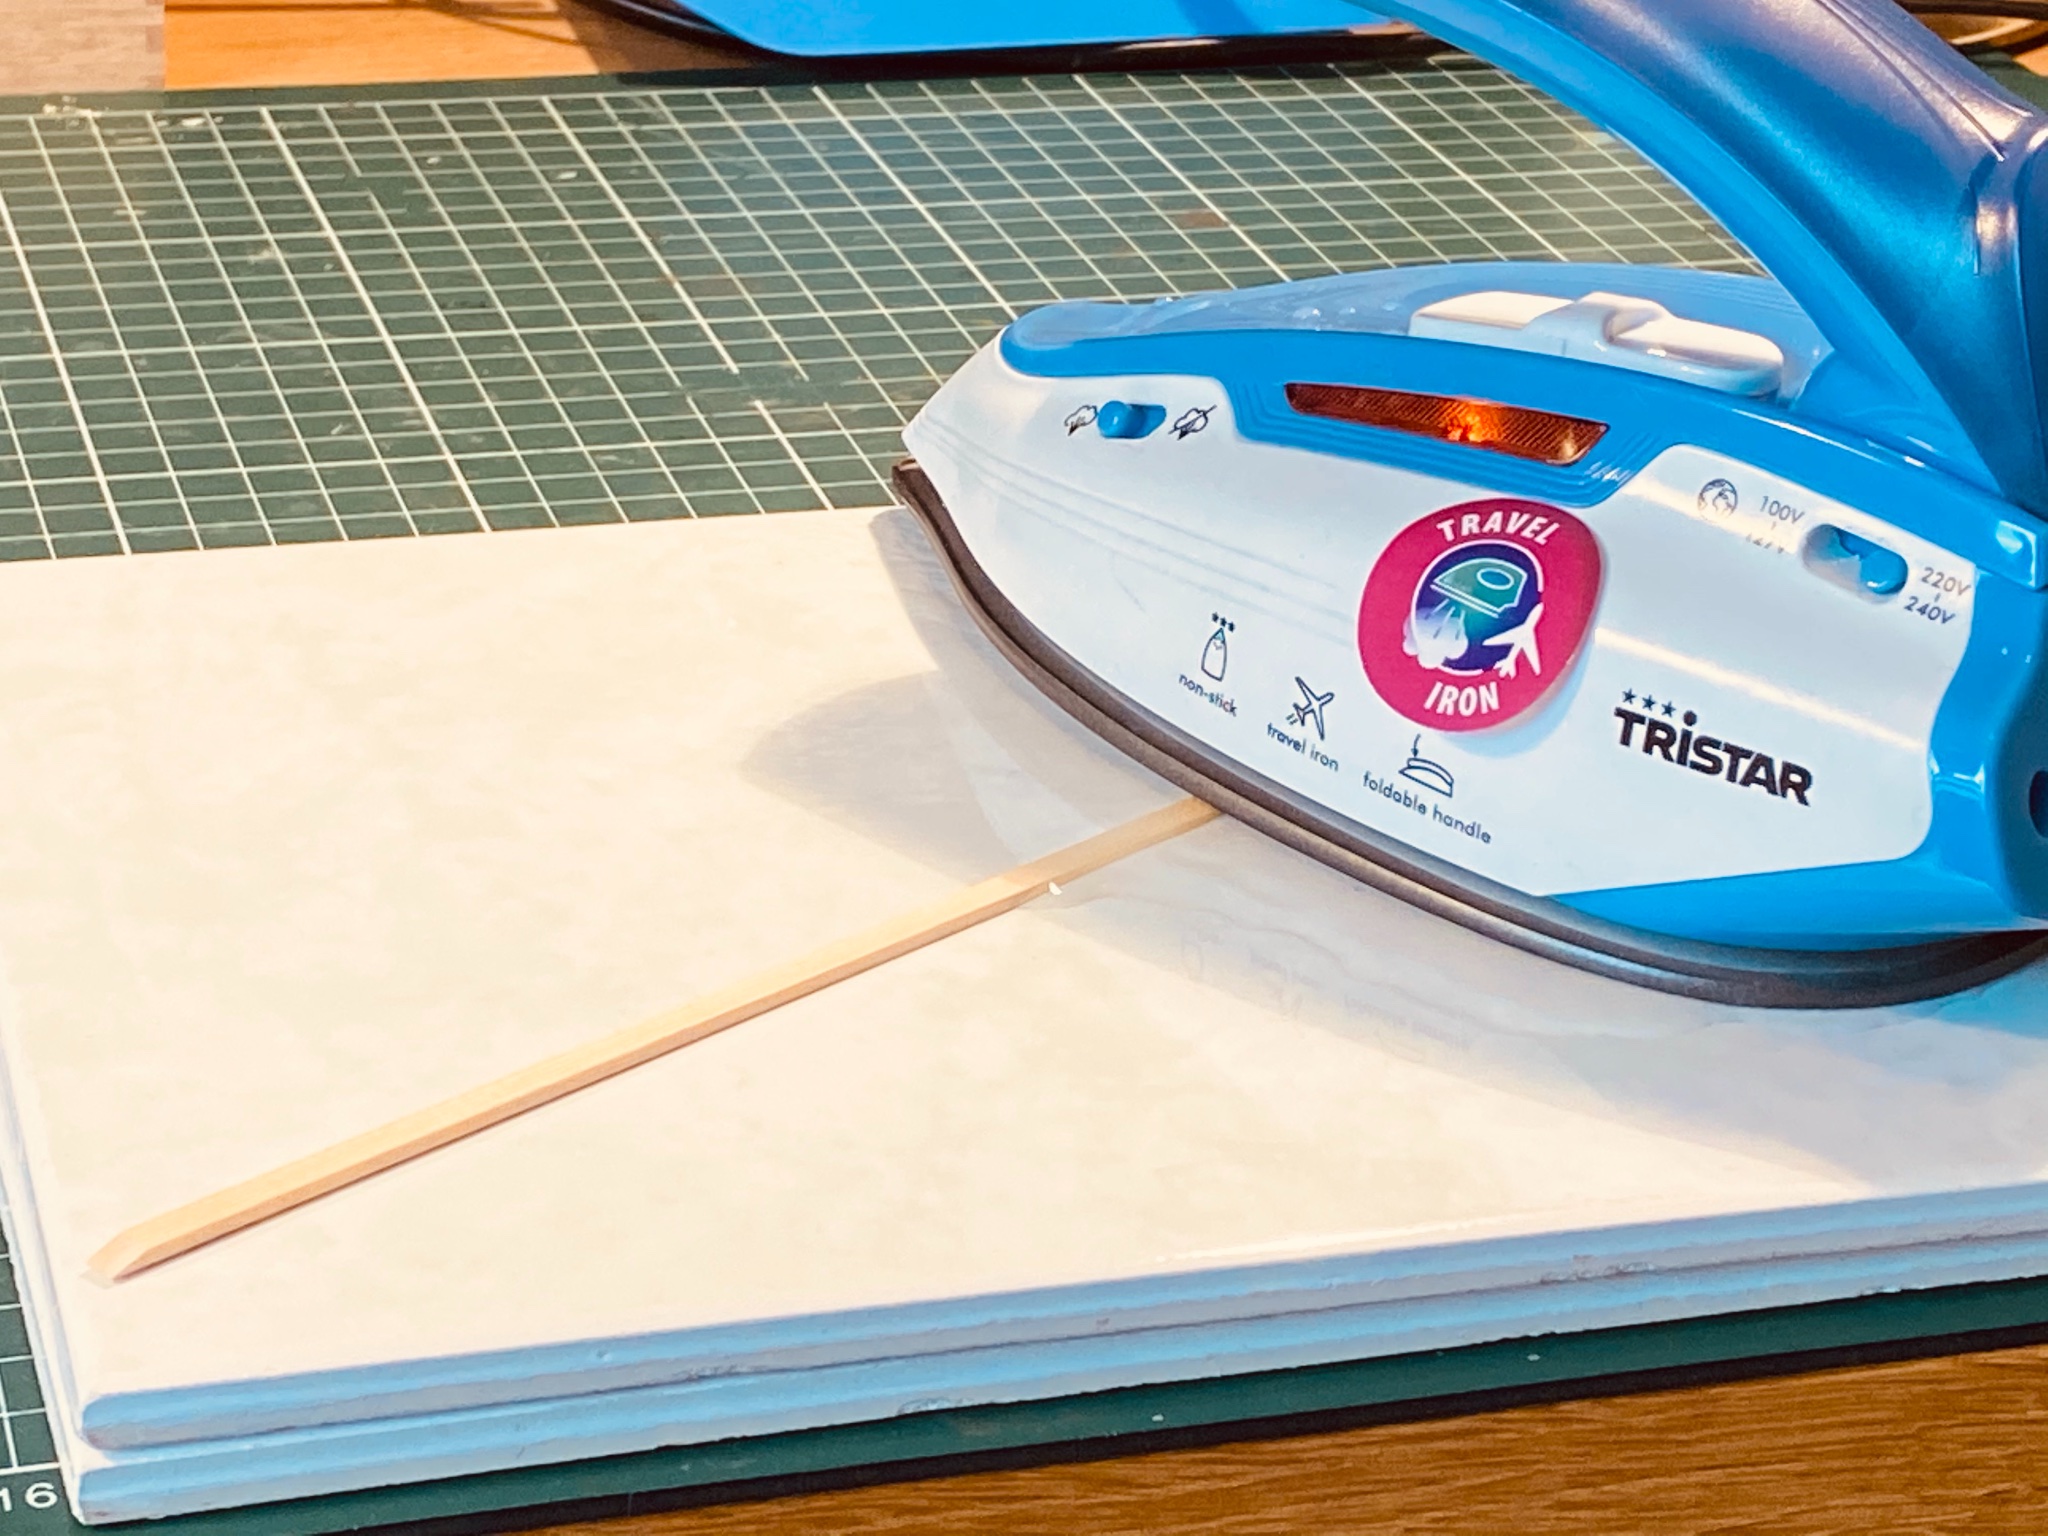
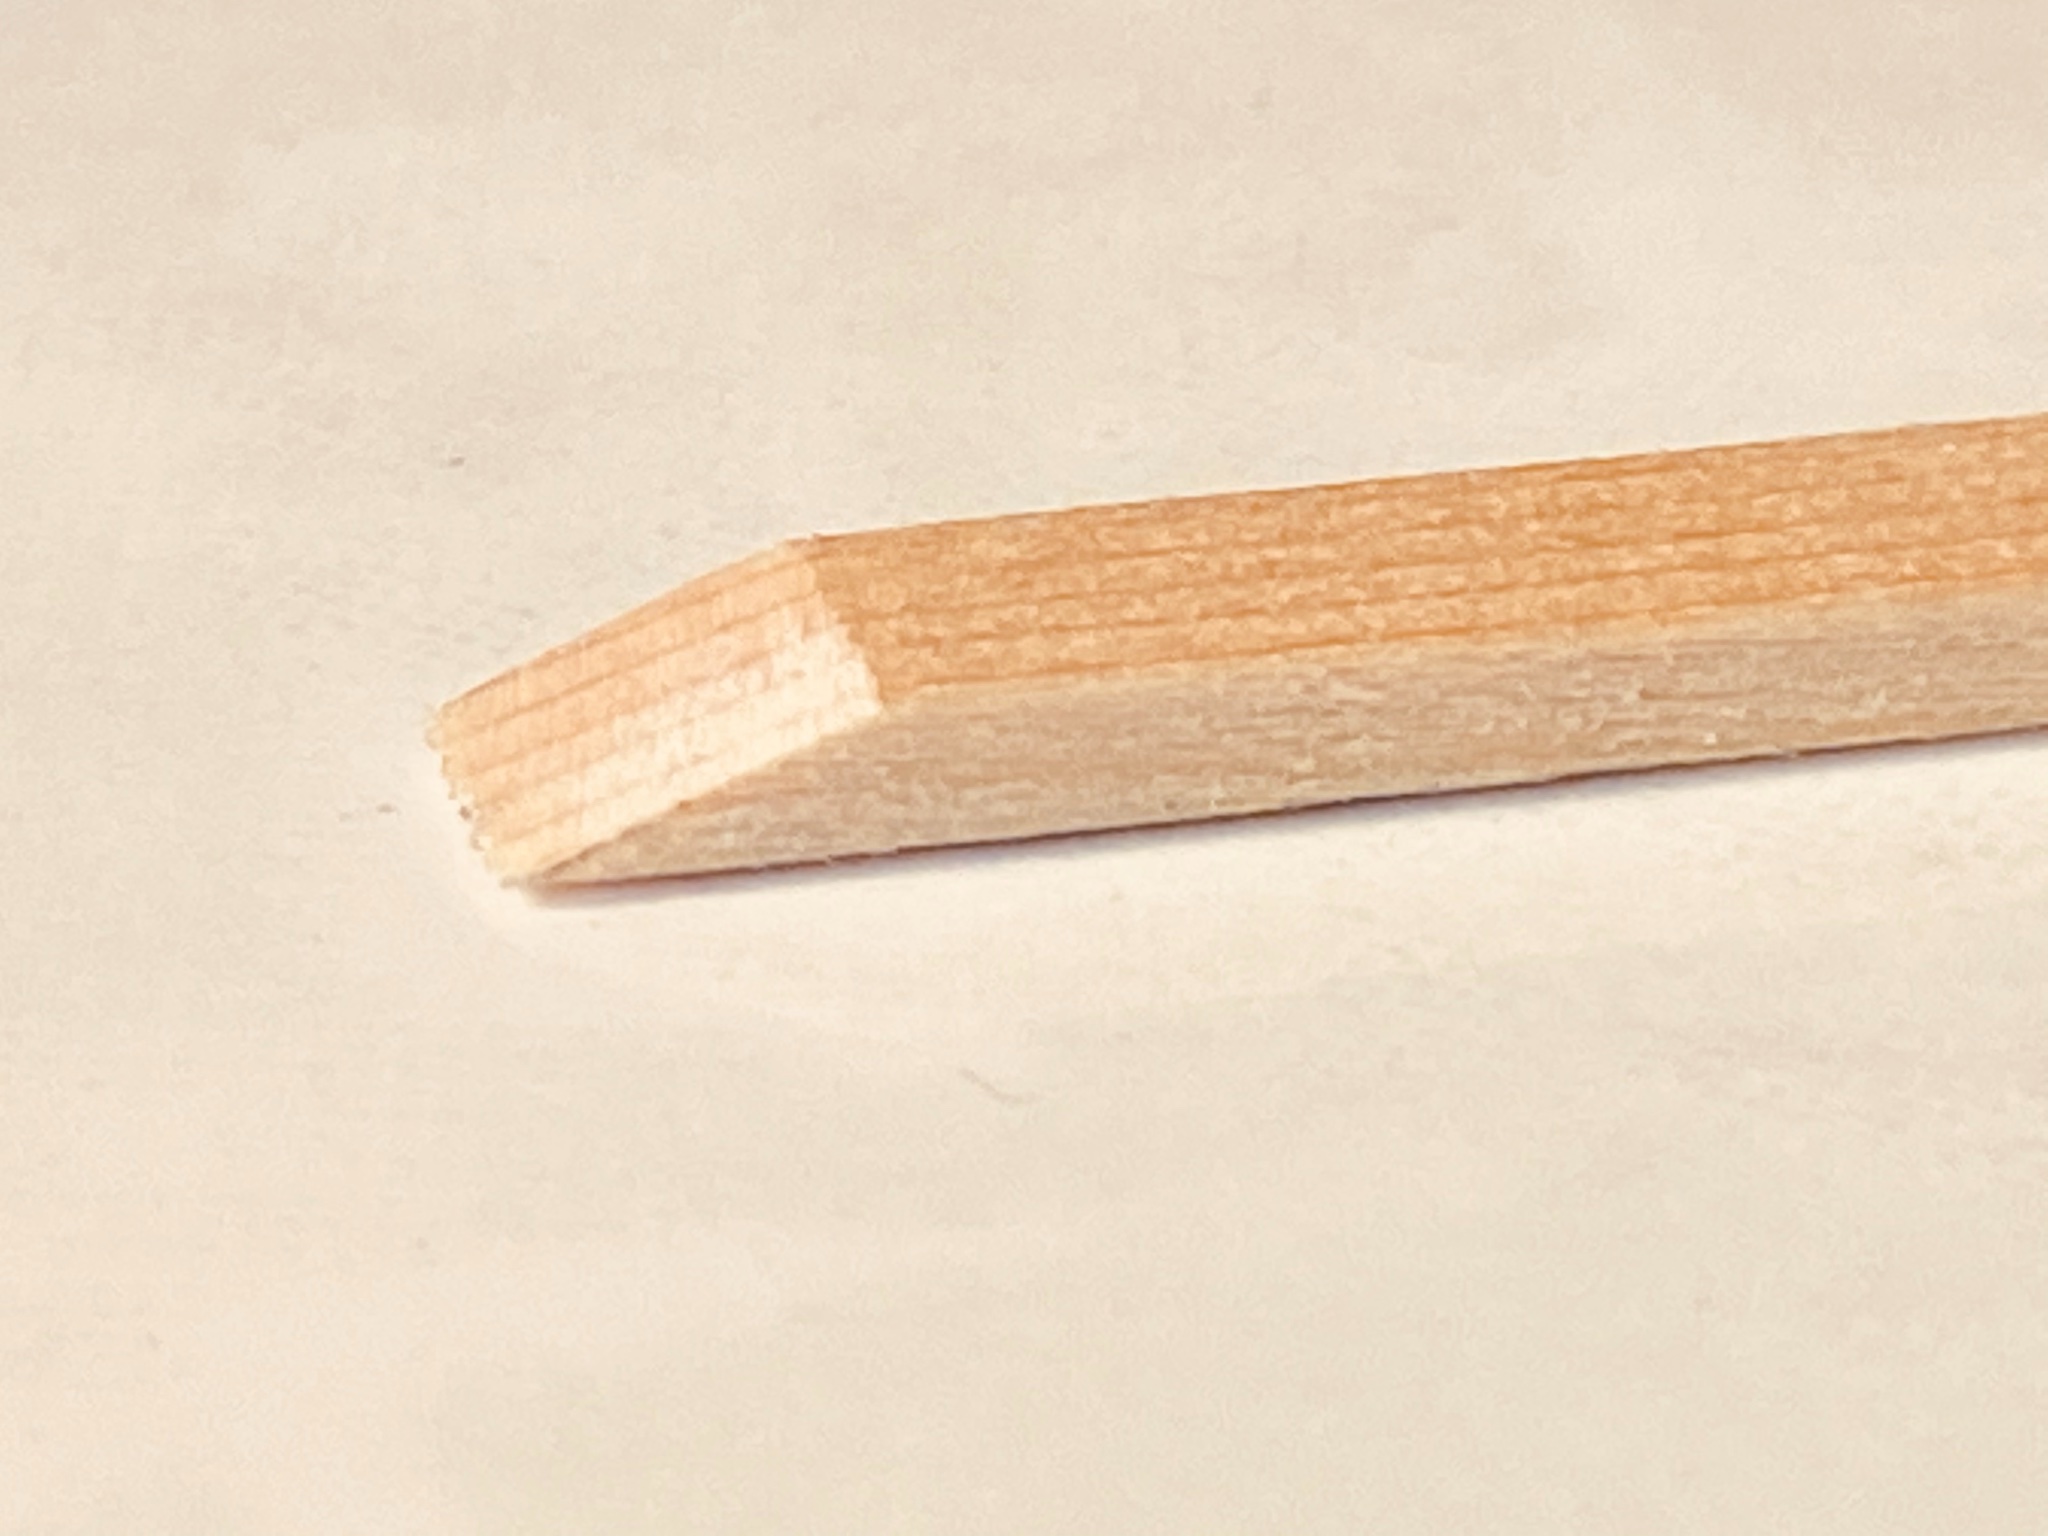
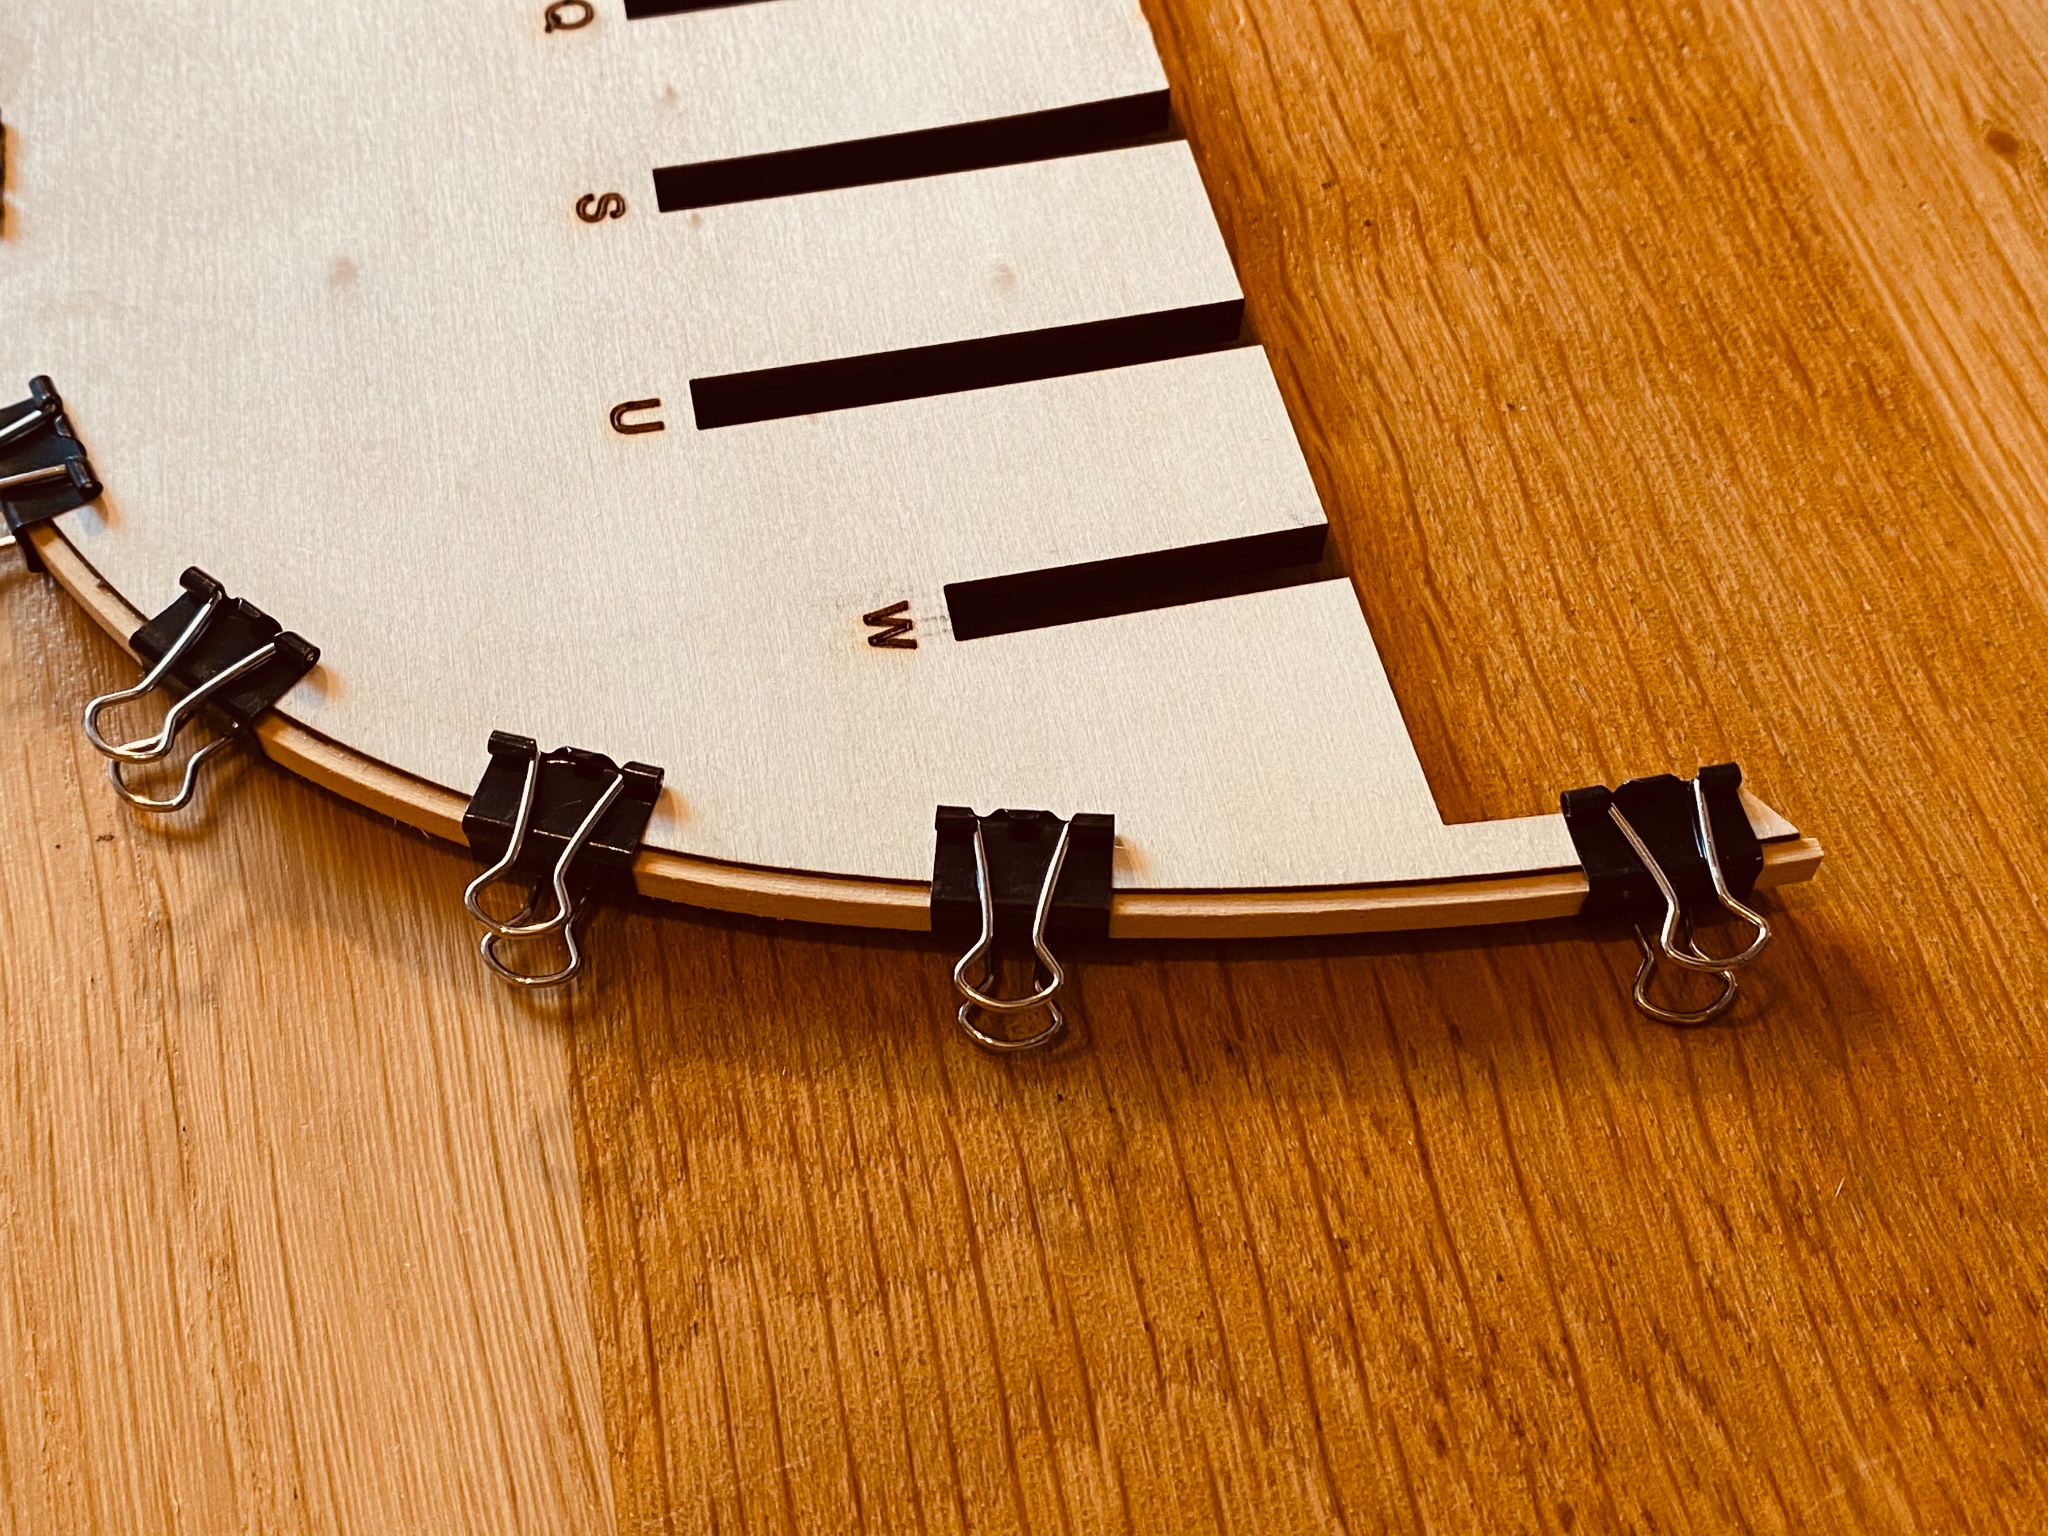
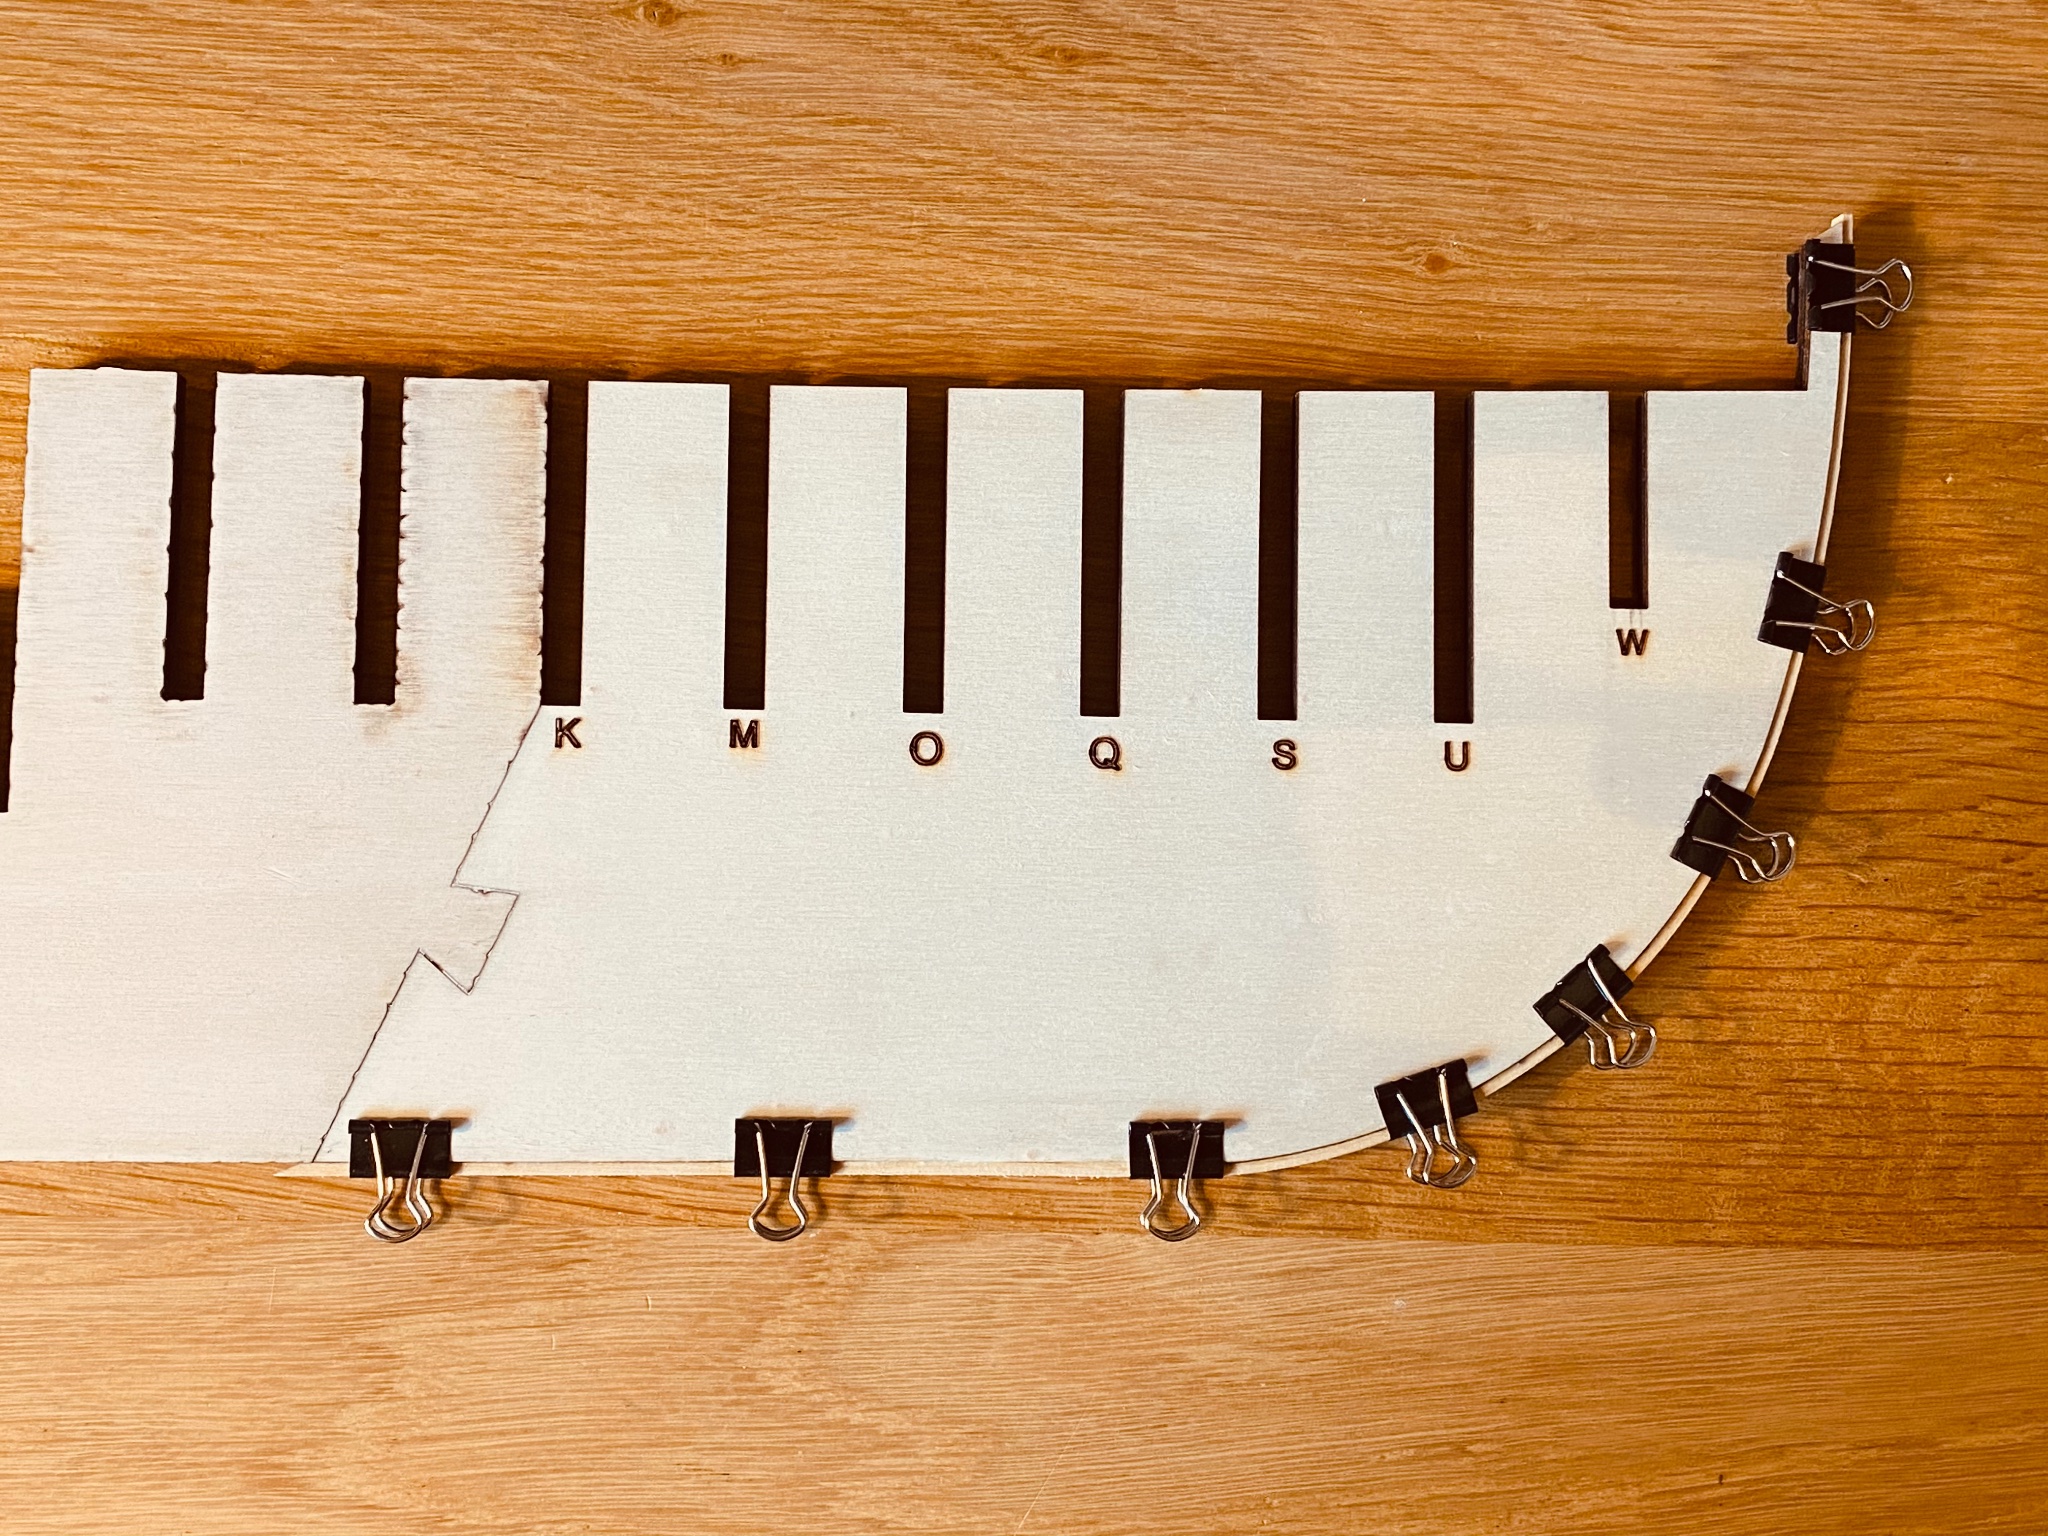
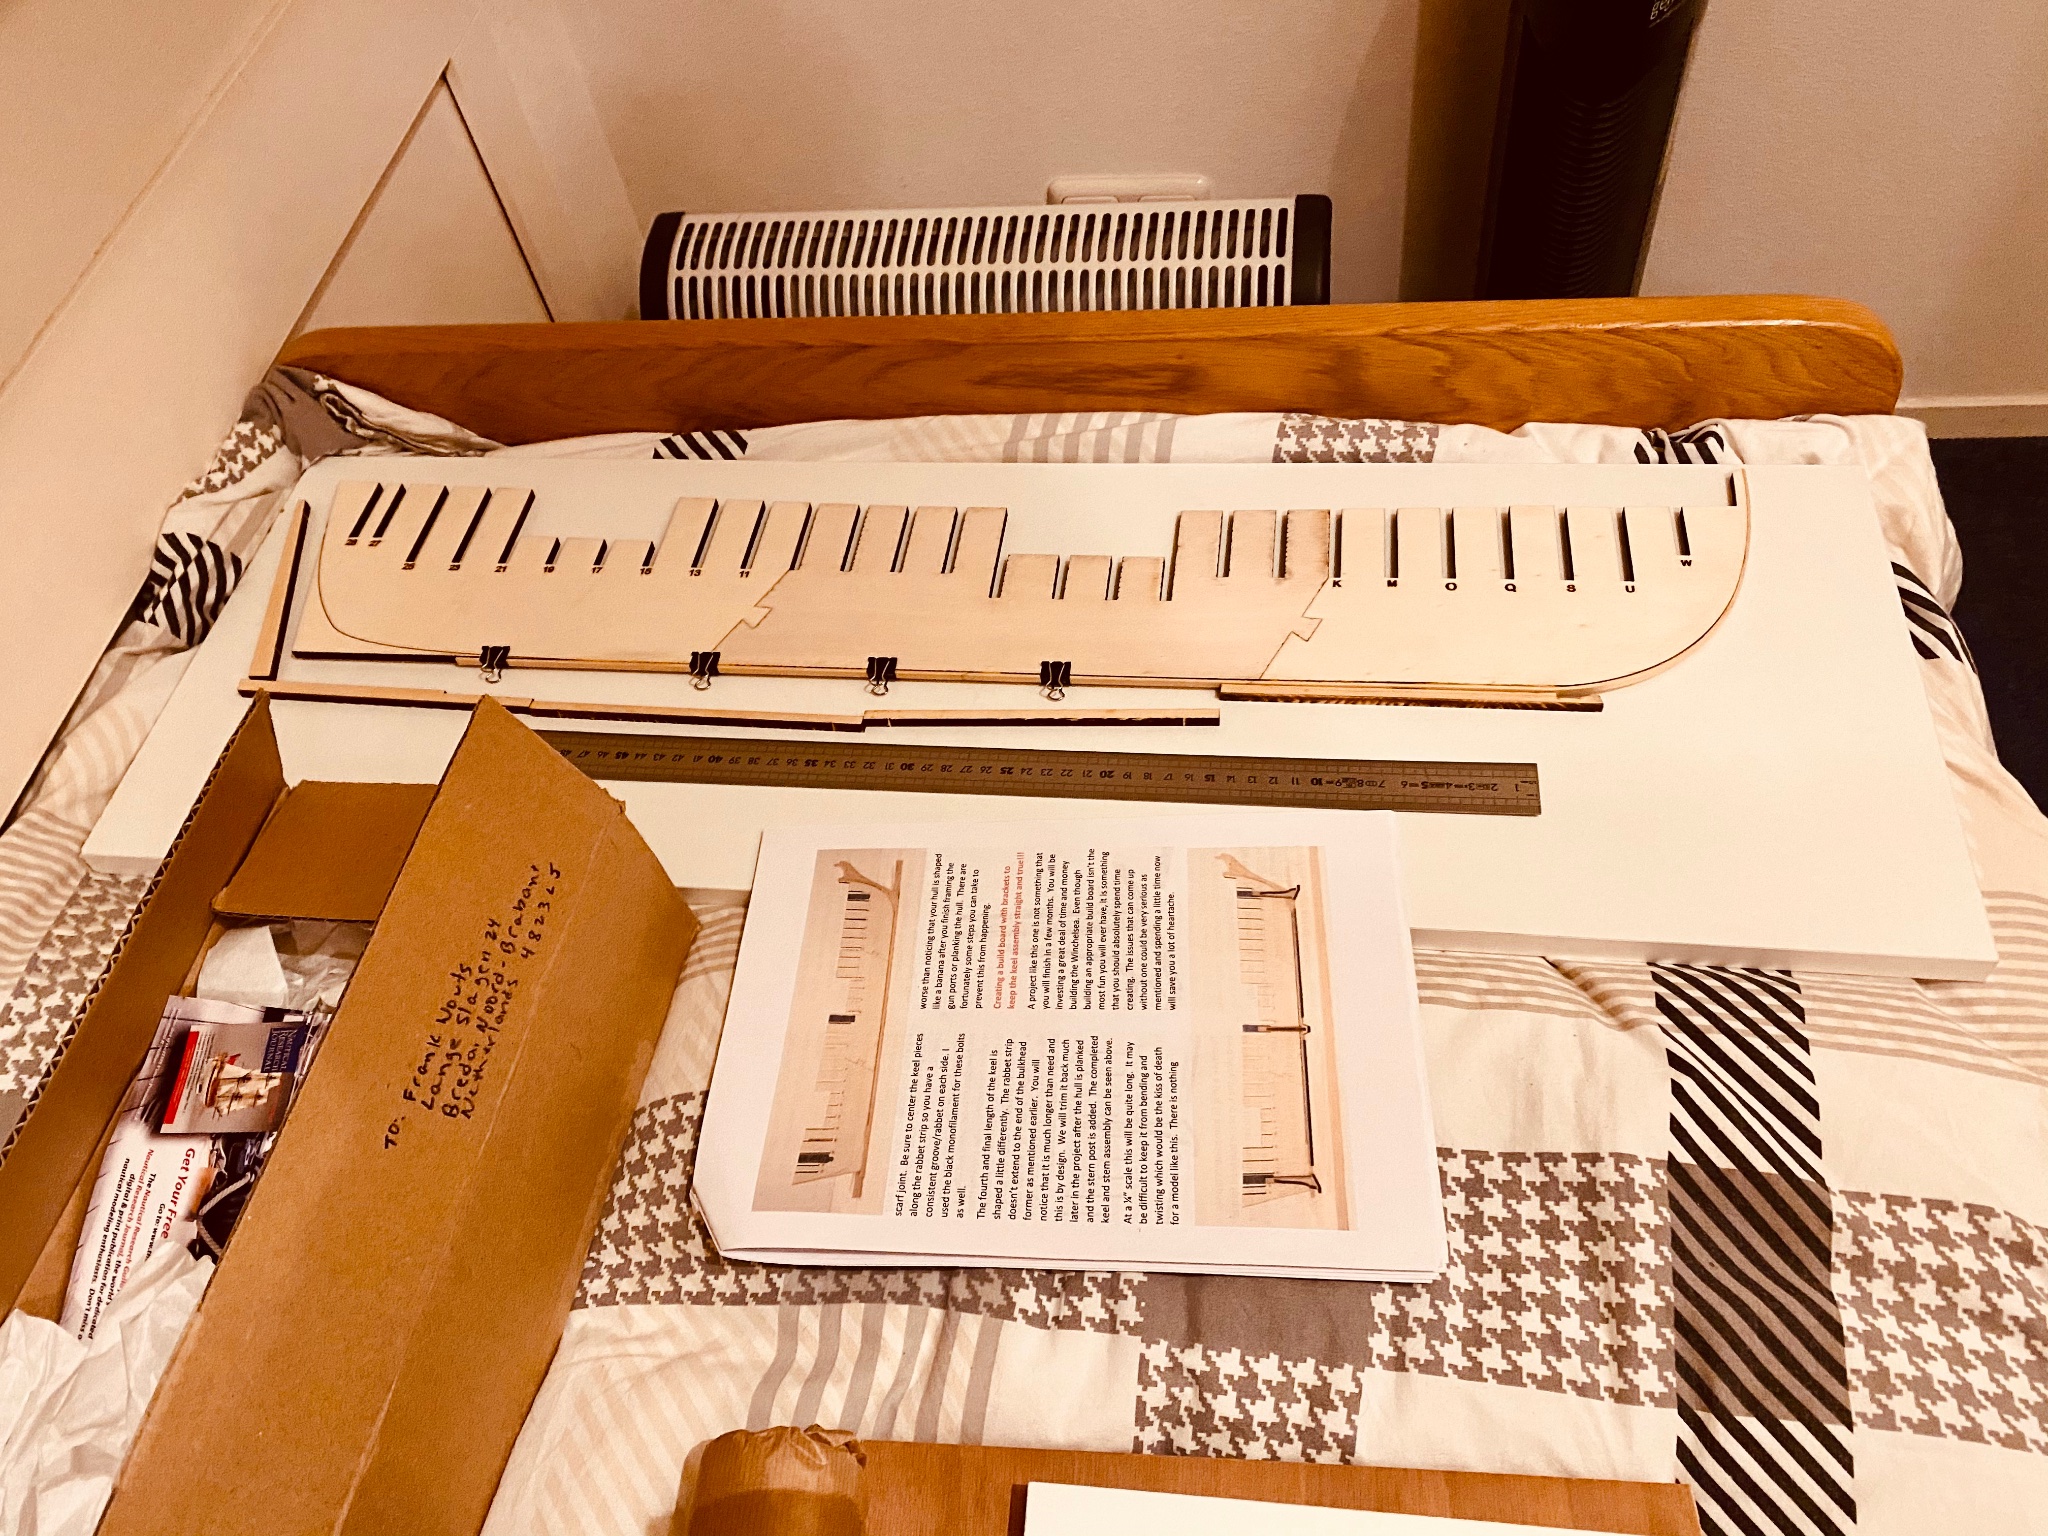
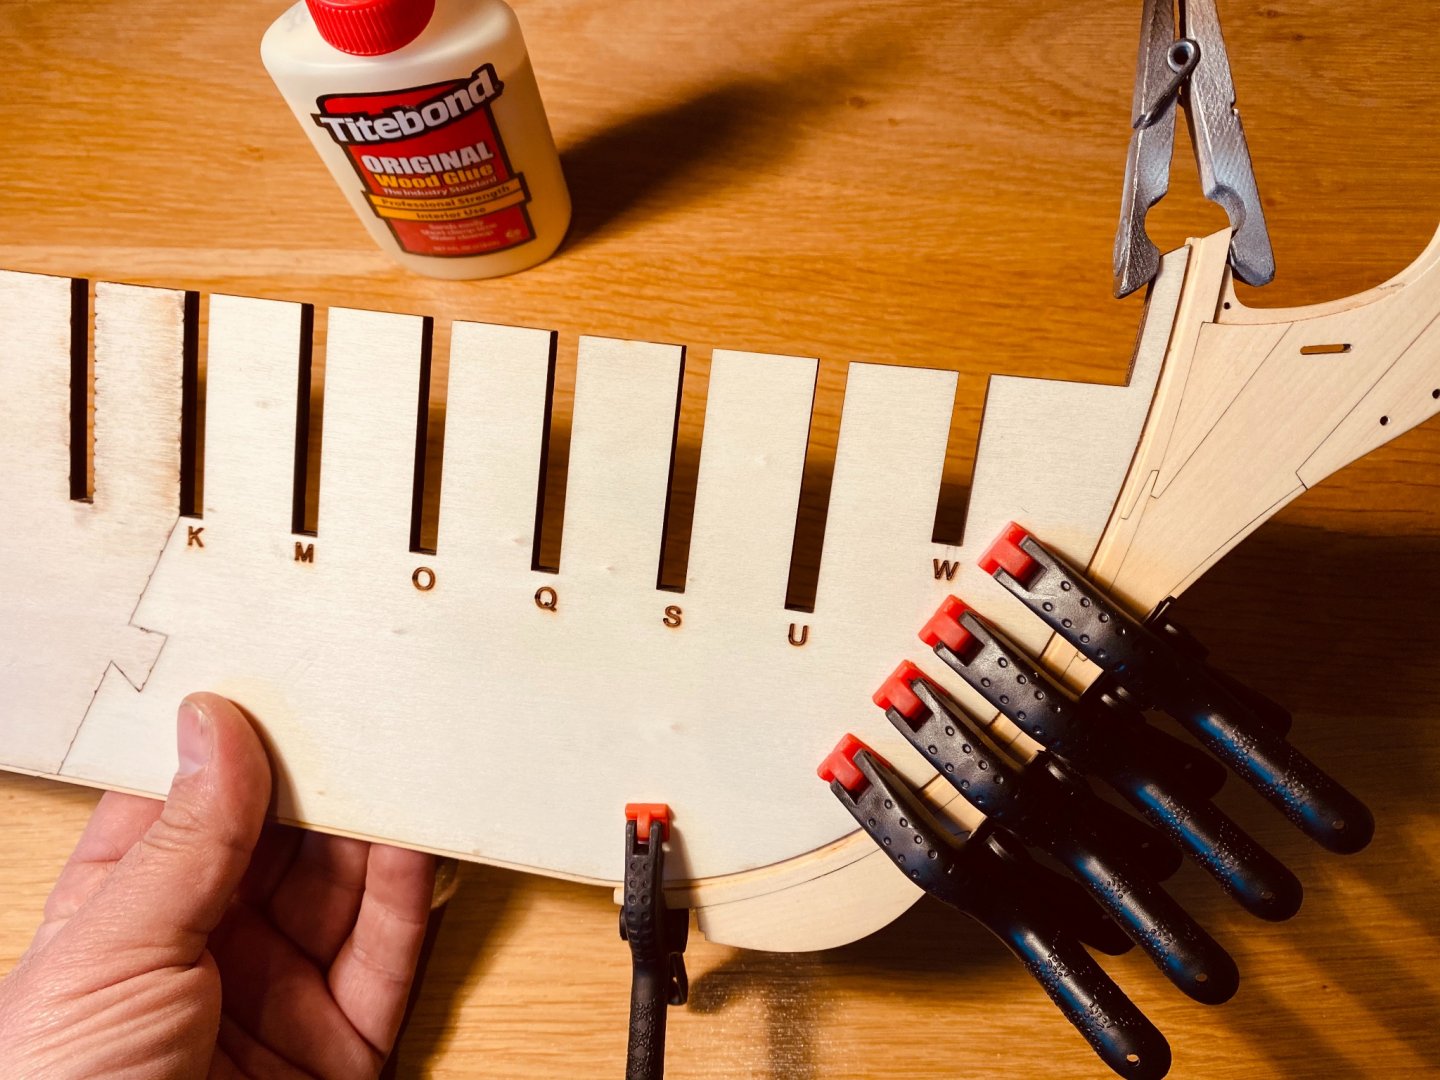
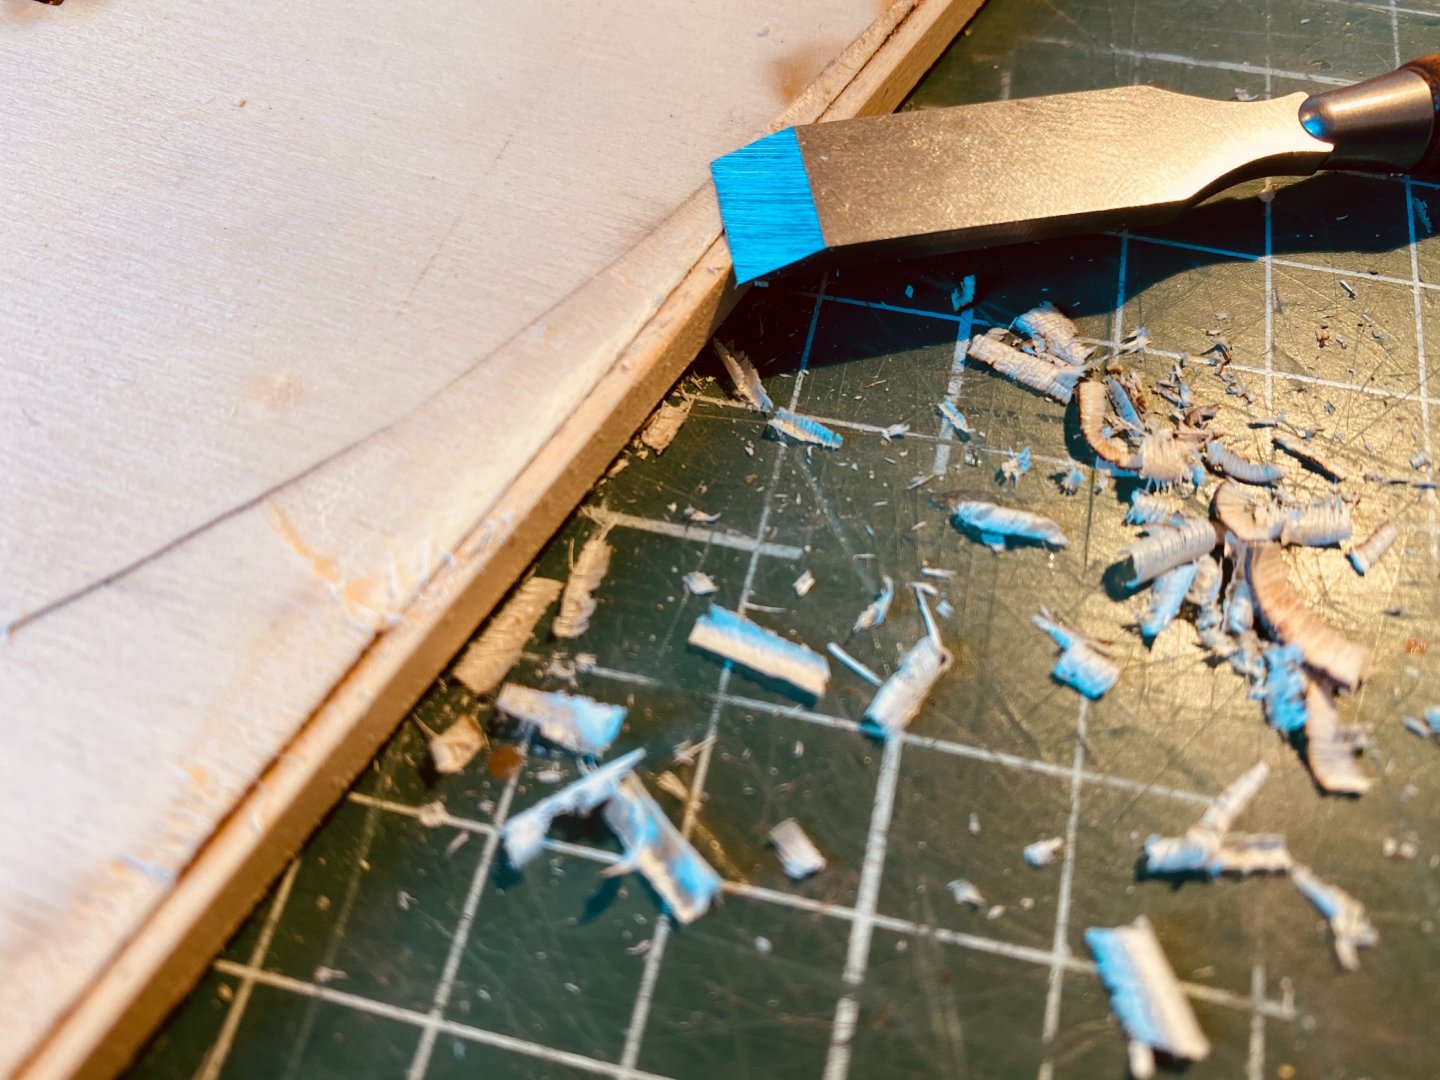
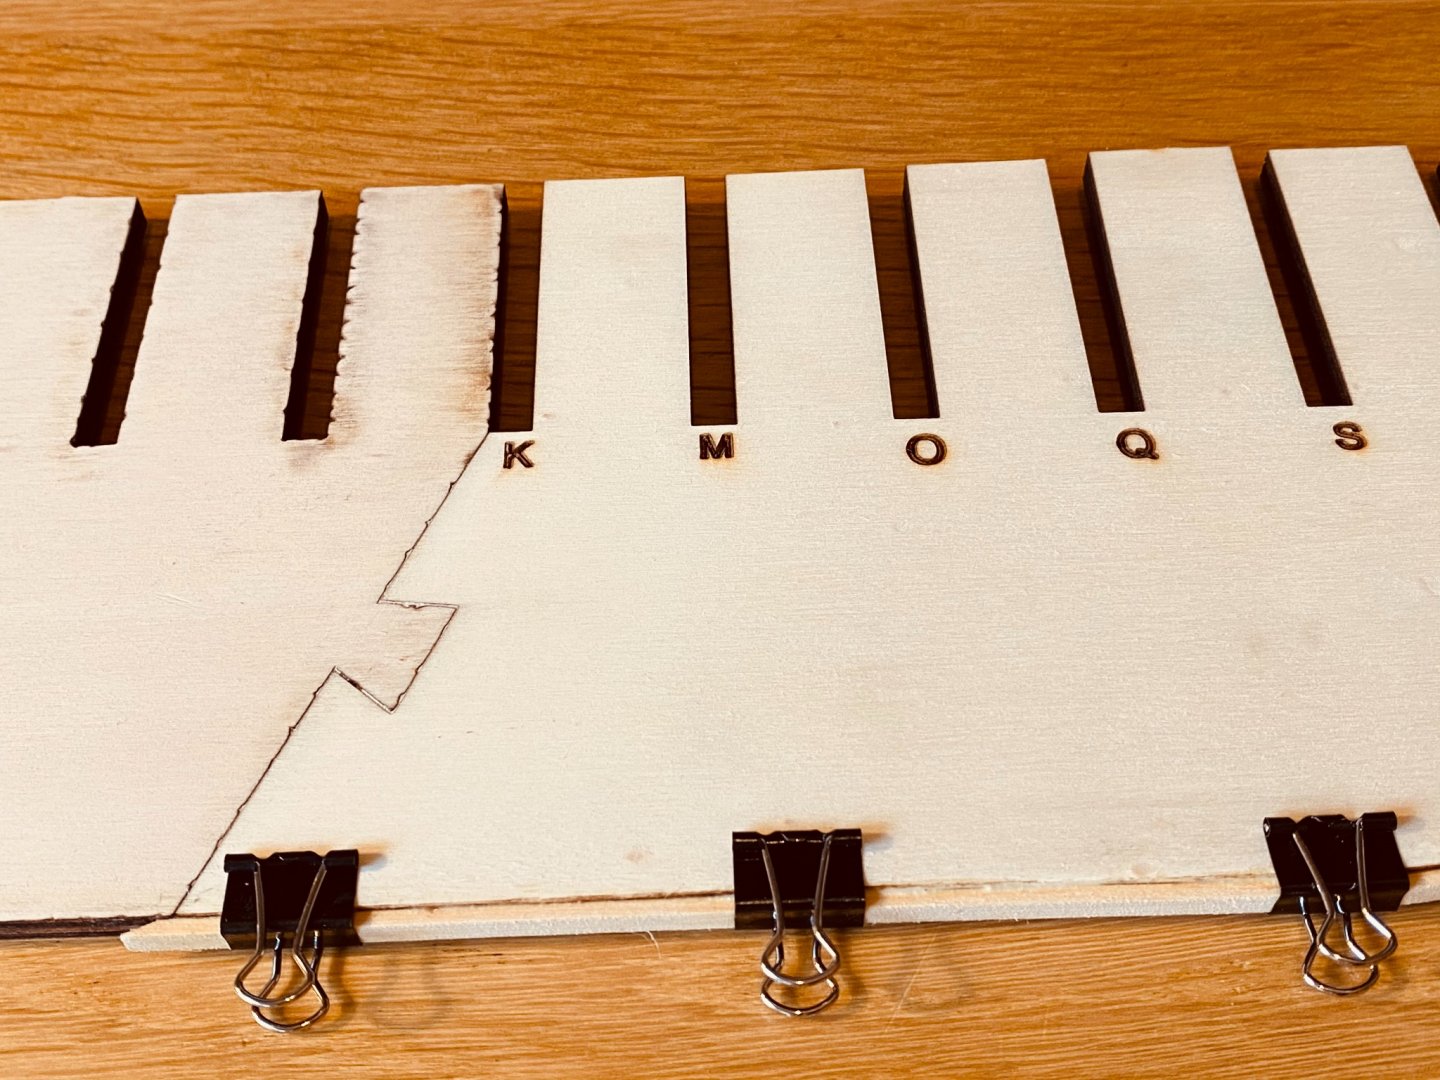
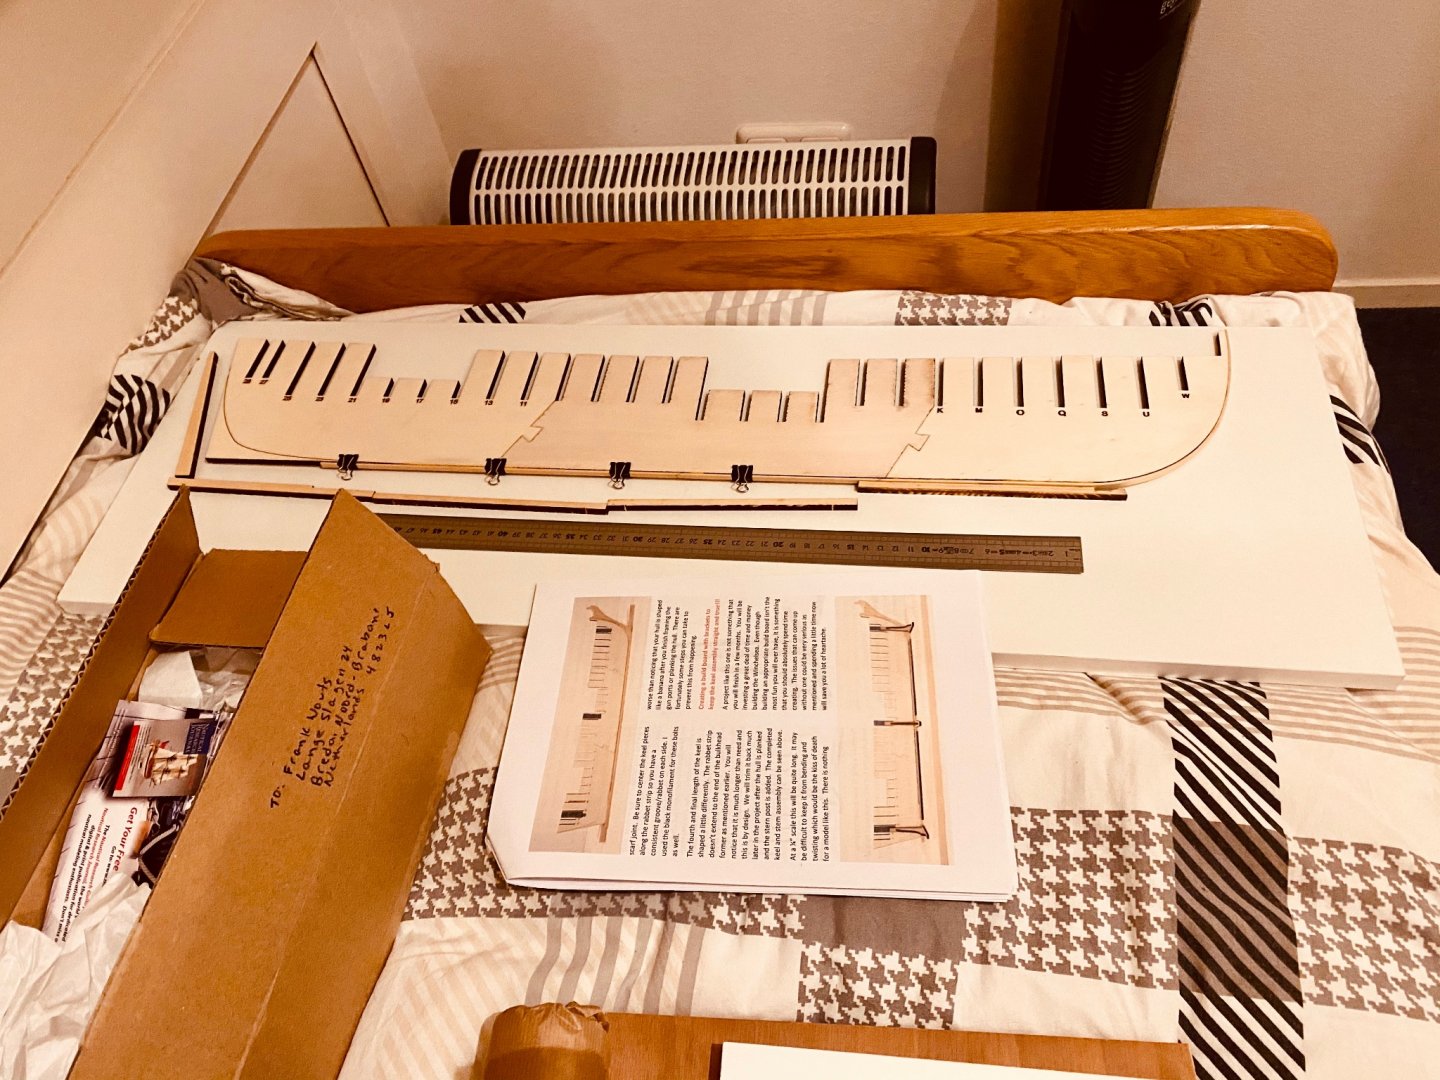
Thanks Greg and Tom for your advice. I will put on some layers of Tamiya tape and leave it on as long as possible (I don’t trust the painter’s tape here in Holland as too many times before I had to remove the glue with sticker remover chemicals afterwards). Slowly but steady, I’ve now finished the keel and ‘put the bolts in’ in the simulated Z-shape fastening of the logs. I read in other blogs the bolts were made of copper or bronze to withstand corrosion of salt seawater as much as possible, the bolt heads hammered flat to seal the position of the bolts on the thread and the holes caulked with flax and tar sealed. I don’t know exactly what technique was used on a British Fregat of the period we’re building, but this seemed the technique used for decades, or more than hundred years... Even in 1910 this still seemed the technique when building wooden yachts. There’s a very nice and for us model builders inspiring video of some kind of ‘crowd funding’ ‘ish’ yacht building project of the Sampson Boat Company on planking such a yacht and hammering the heads of copper/bronze bolts and caulking afterwards here: Watching this, I guess it’s all good when using copper, bronze, cork or wood with a black edged circle to simulate holes with the bolts. But, like Chuck, I prefer a fully black look of them, as tar always seems to be the stuff being everywhere in all nooks and crannies on a wooden ship’s hull in all time periods. As I did not have any black monofilament fishing line of 0,5mm at my disposal, I simply used polystyrene sprue stretched till 0,5mm (stretched with a lighter flame underneath, a very common ‘technique’ of WWI German plane builders for making the black German tension wires between wings) using black polystyrene sprue of an old Heller kit, I believe it was ‘Le Royal Louis’... After sanding and cleaning, the tape can go on protecting the beautiful but relatively soft AYC. I’m about setting up my workplank and the next step will be putting the frames on. I read that the three import things to check are: 90 degrees of the ‘frames on the plank’, gun port / sheer / deck line laser markings on backside and align the downside of the frames correctly with the rabbet line, so that after sanding the whole sanded side area will be used for glueing the planks on. On the fore and aft side this will mean that a little area of the frames will overlap the rabbet line, but will be gone after sanding...
-
Congratulations on your new house Steve! Sometimes you also have to follow the priority list of your admiral. At least I have to with mine. Your Winnie is becoming more and more beautiful and I can only hope to reach the same result finally. Keep up the good work!
- 99 replies
-
- 1
-

-
- winchelsea
- Syren Ship Model Company
- (and 1 more)
-
I see a very nice layer of saw dust underneath your new air filtration system Tom, so a very good buy indeed it seems! But the bigger particles still go down on the floor I guess? For me there's no way out, no escape, as I'm building in my attic, which was semi-transformed in an attic sleeping room, so my Admiral makes me vacuum clean it every day if I produced some dust...
-
JJ, that looks just gorgeous! Did you mask off the AYC squares to paint the black ones? What were those tiles in reality, were they wooden inlays like in my living room, or were they black and white stone tiles? I know that stone was also used below hot coal ovens or heaters onboard so not to burn the wood or start a fire, but I guess this was wood in realitity?
-
Hello Dave, Are you allright? It's so long you posted any updates? Very inspiring, clean and precise sawing! I'm building using Chuck's laser cut material, but I feel like building a second Winnie using my saws and files as well now. Keep safe and healthy, Frank.
-
I hope I can even reach your level of building Bob, very beautiful indeed!
-
Hi Tom. Good to see your lovely and tidy workplace again and a new start on the solid Winnie hull. I'm still astonished how you can make those beautiful lines from such an abstract piece of cubic art you start off with, true mastership if you ask me! Frank.
-
Thanks Chuck, and it works and smells great too, I’m starting to love that Alaskan wood.
-
Welcome Jan! Nice to see a fellow countryman here building HMS Winchelsea too! I’v just started as well and will be following your build closely. Hopefully we can learn from each other and avoid nasty mistakes together. There are many skilled artists here: very, very experienced builders who are willing to help you along. I wish you good luck with your build, Frank.
-
A small update, was able to do some work this weekend, progressing slowly...if you notice an error please say so, so I can correct early, thanks!


-
Beautiful build and following with great interest Mike!
- 607 replies
-
- 1
-
-
- winchelsea
- Syren Ship Model Company
- (and 1 more)
-
Very, very, good to hear that Tom! Back problems are terrible, I can tell as I have some damage in my lower back on the left side. It sometimes takes me out for days or weeks! We'll be checking regurarly for your progress, as I think your work is very beautiful and methodically. Keep on going Tom!
-
Hi Tom, Thanks for your advice on the glues, I will order them where necessary and try to use them as you advize. Yes, there are lots of steps ahead for me, but wasn't there also, I believe a Greek Philosopher who claimed you can never cross a river: because you first cross the first half, than there is the second half, which again in its turn can be divided in two halfs of which you first have to cross the first half, and so on, thus in theory, one can never cross a river, as there's always another second half to cross. Ofcourse I'm sure that with the right boat or bridge I will cross a river in no time, so as being an engineer (who now works in IT) I don't take those philosophers too seriously... Then there's the persisting problem of long delivery times of tools and materials as till the end of March we are still in Covid lockdown and have a night clock, which means everyone must be indoors before 21:00u (€95 fine if you're not and get caught). Furthermore, I have to divide my sparse free time off in building and studying for my second certification on TOGAF, The Open Group Architecture Framework, TOGAF Part II Certified. So I'm afraid I will not be building any faster than this the coming weeks and months, but I will get there hopefully in the end. I hope your back problems are all over now Tom and that your making a fresh start on a POF Winnie as well now? Or will you (also) proceed on the solid hull one? I would find the latter very, very interesting to follow! Thanks, Frank.
-
Thanks YankeeD and Tom! Okay, what glue do you prefer then? I’m just trying to follow Chuck’s instructions to the letter so when I read to use Titebond in the laser char, I don’t take risks, though I have other glues on my shelf, including a bottle from Kolderstok... Thanks Tom, no I won’t rush, the rabbet strip is on the keel now and drying for two days already, here some pictures of my slow progress, but that’s a good thing I understand ☺️. Frank.


-
Your build is really coming to life and looking good Matt. Also your report is a pleasure to read and follow. I’m very busy working as well with long days and wish I could spend more time in my attic building, so I recognize the feeling I guess you sometimes must have as well. Keep up your good work! Frank.
-
Hi Tom, my build has just started as well. I hope you are fully recovered soon and that our builds of POF Winnie models can go alongside, as I'm sure I can learn a lot of you and your years of experience!
-
Scuppers, in Dutch almost the same as in German: ‘spuigaten’, that is the ‘holes’ along which surplus or superfluous water on the deck(s) can flow back in to the sea. In Dutch we also can get things ‘of our chest’ by ‘spuien’, that is ‘get rid of’ thoughts that bother us. Not to mention all the thousand expressions we have with ‘wind’ in it!
- 1,784 replies
-
- 1
-
-
- winchelsea
- Syren Ship Model Company
- (and 1 more)
-
Now that means a lot me Chuck, thank you!
-
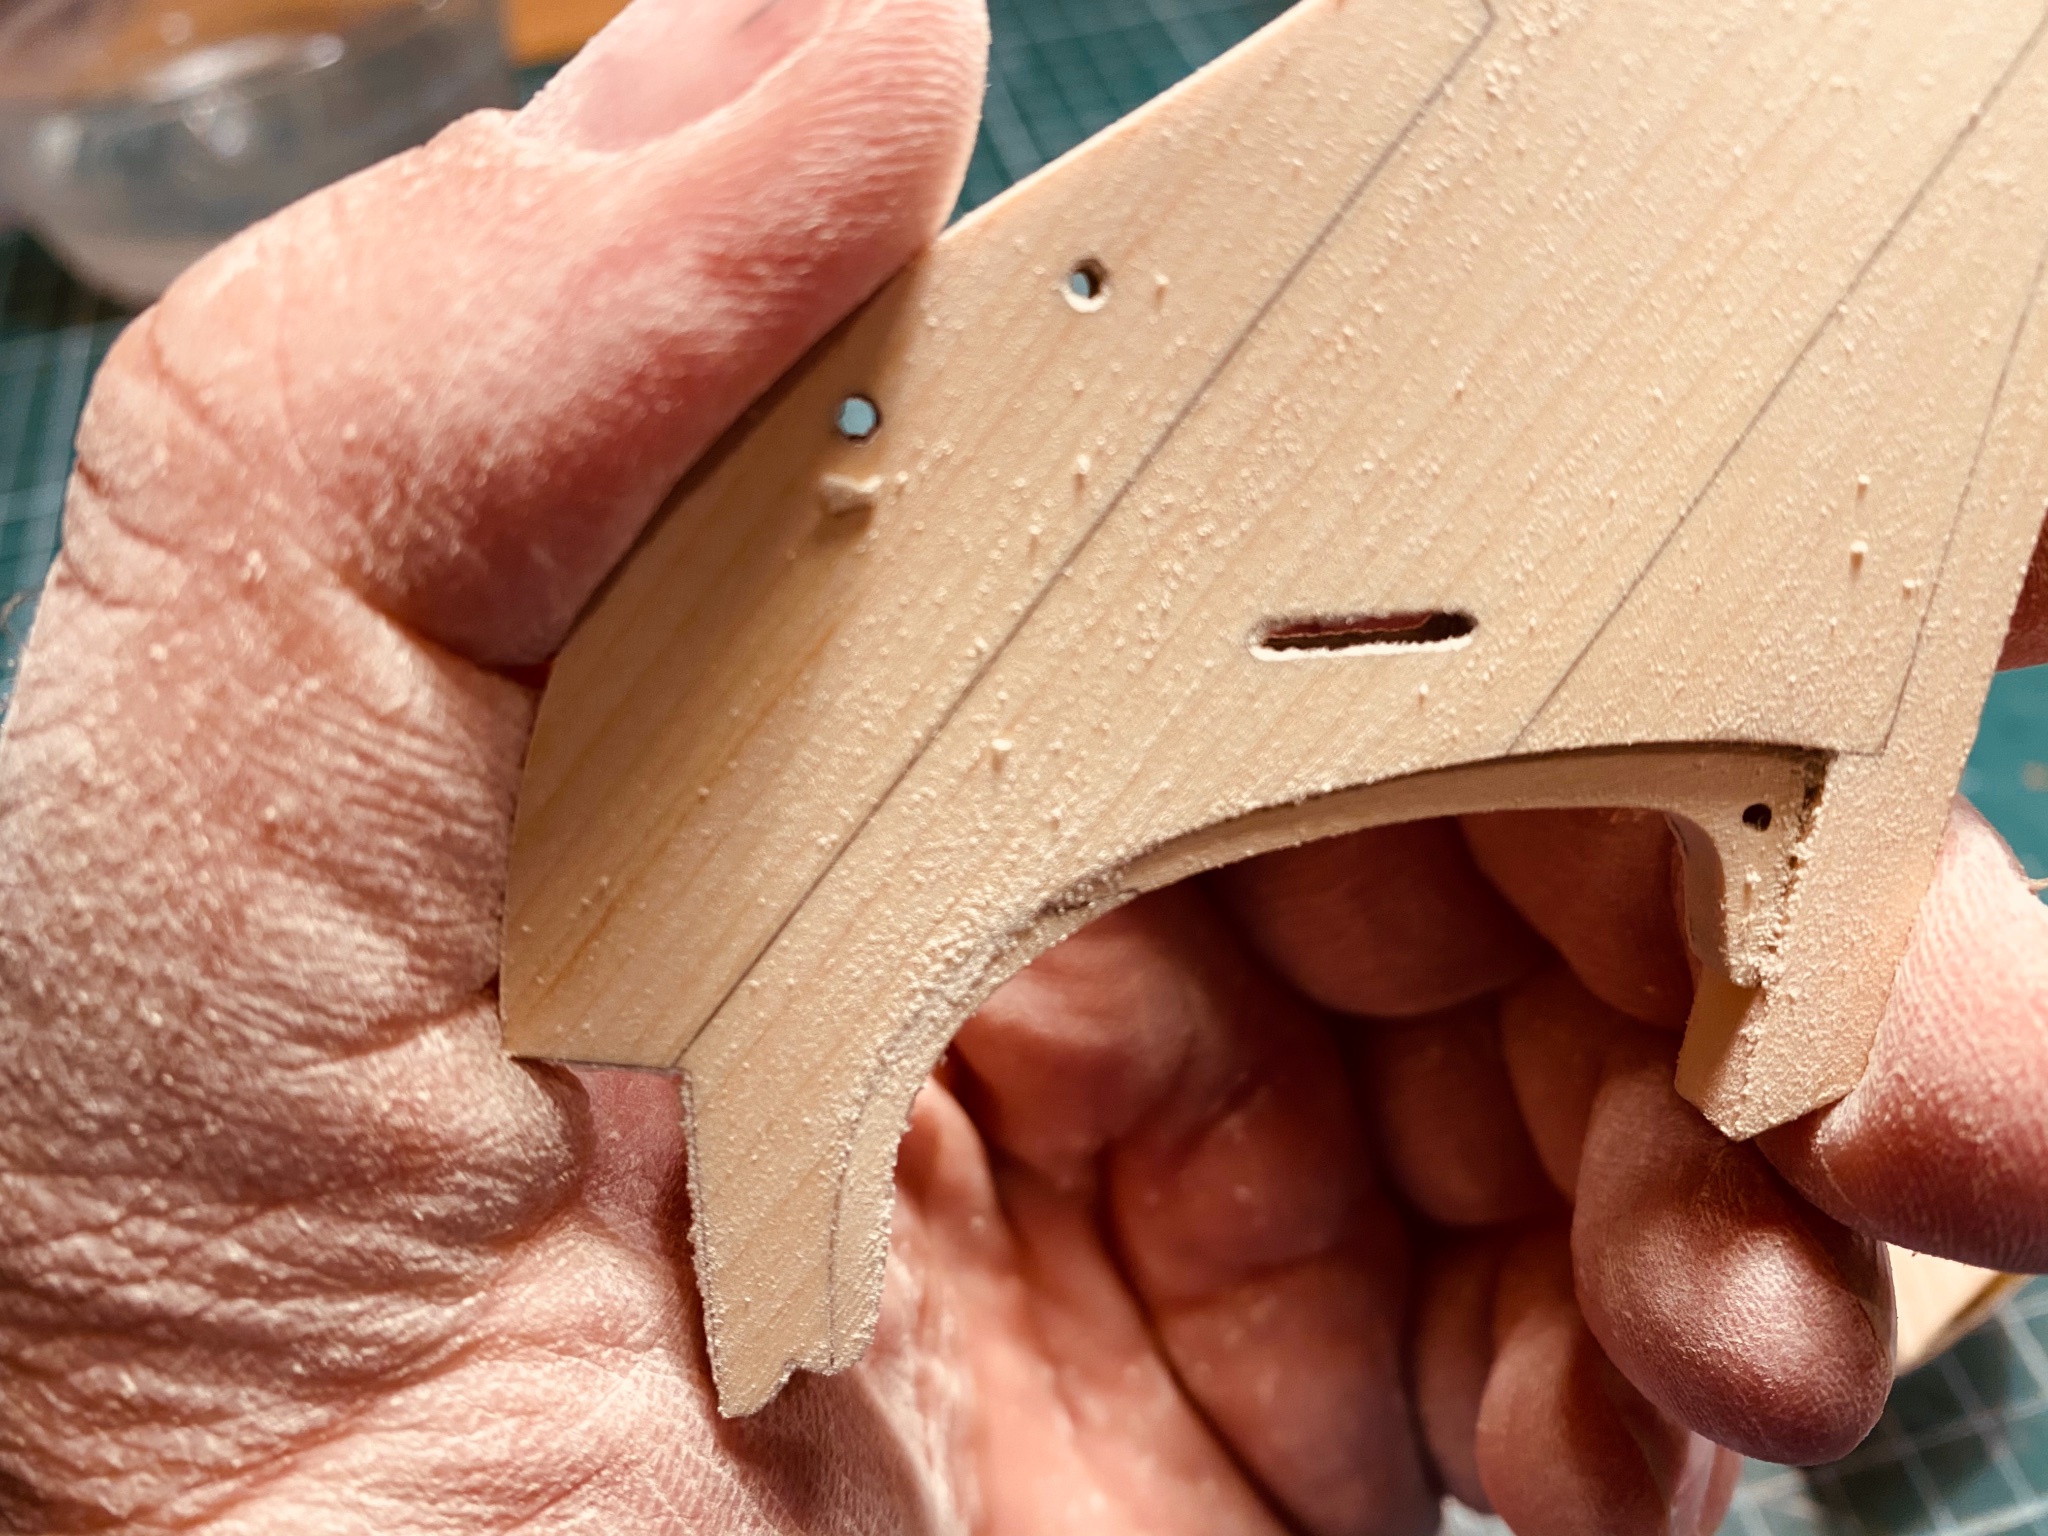
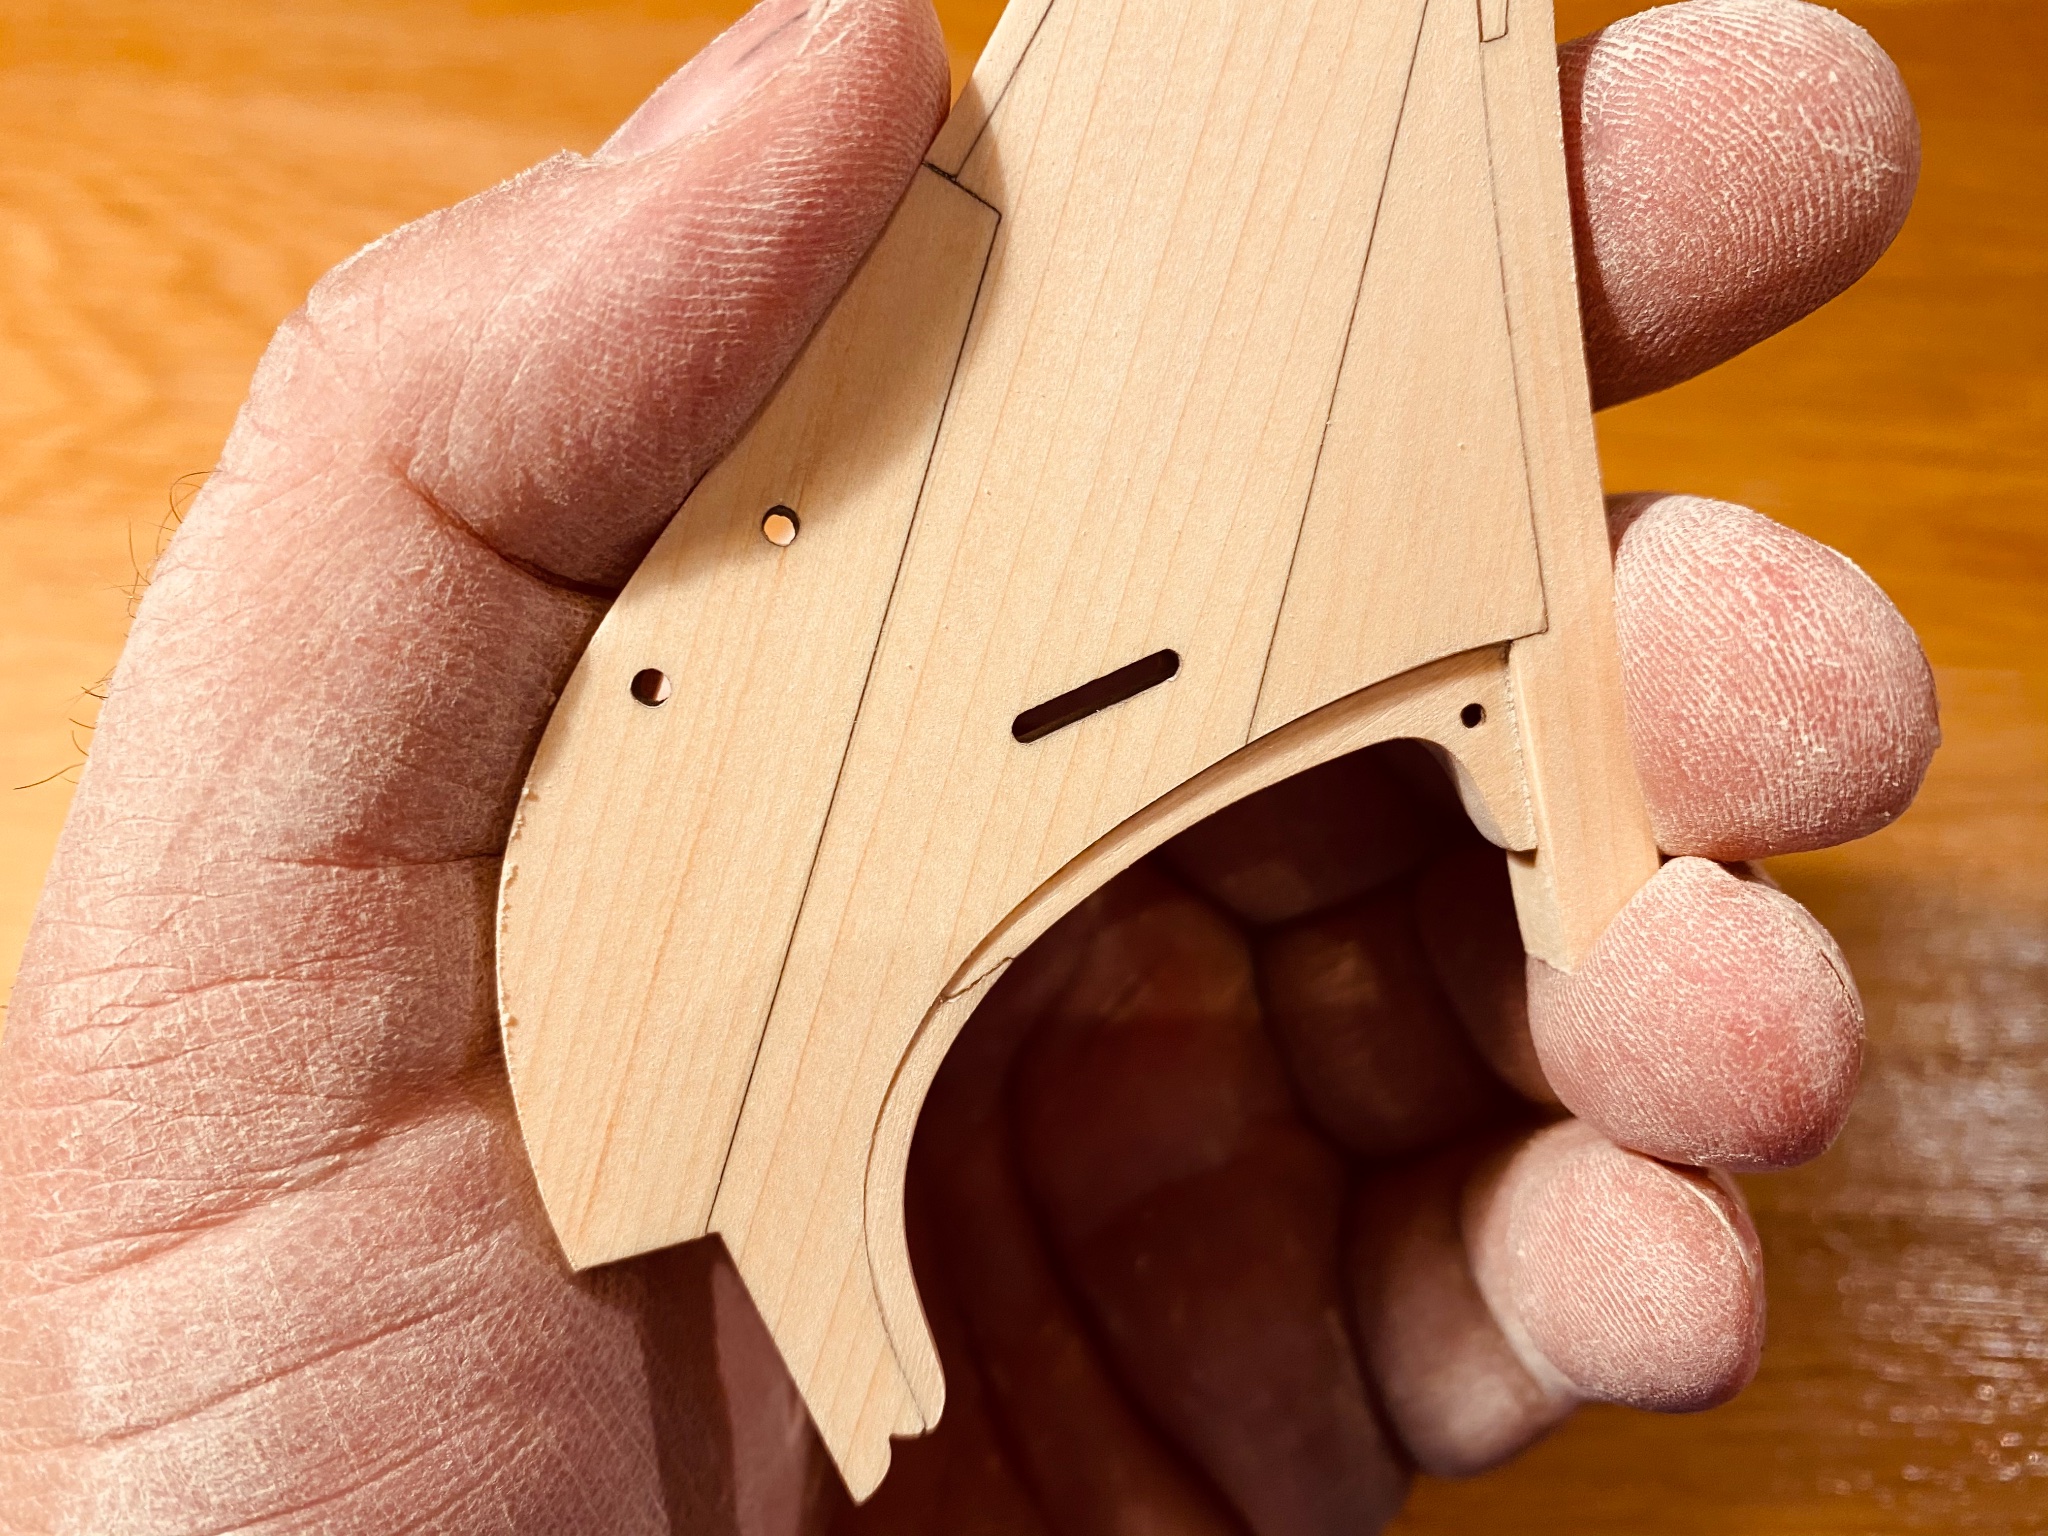
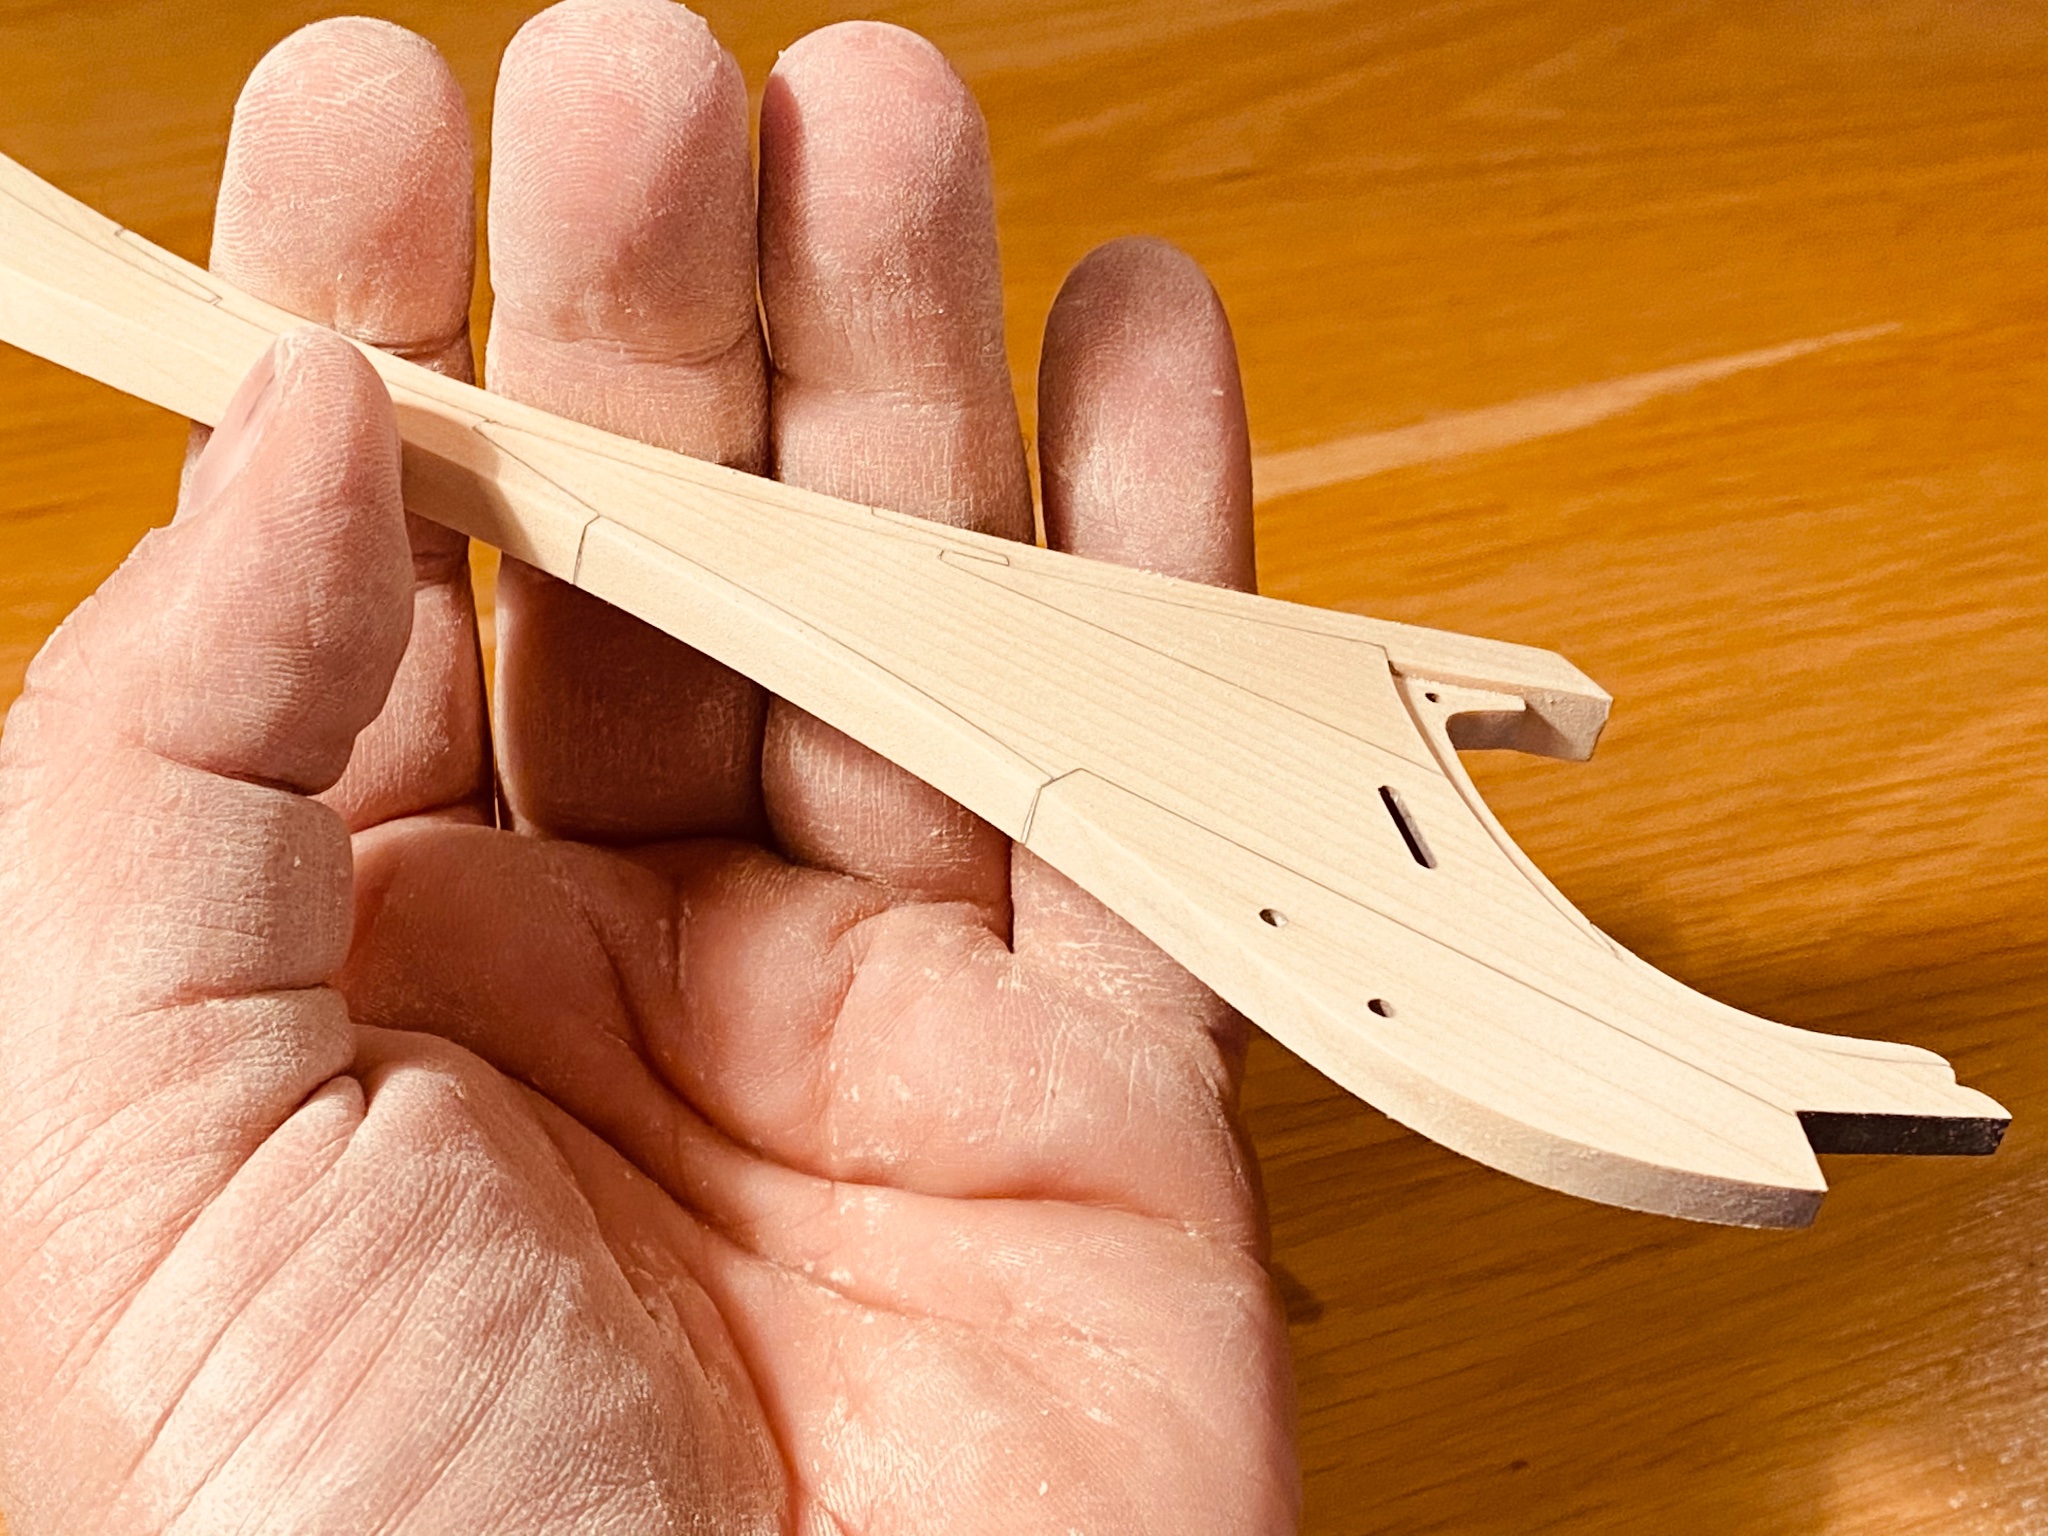
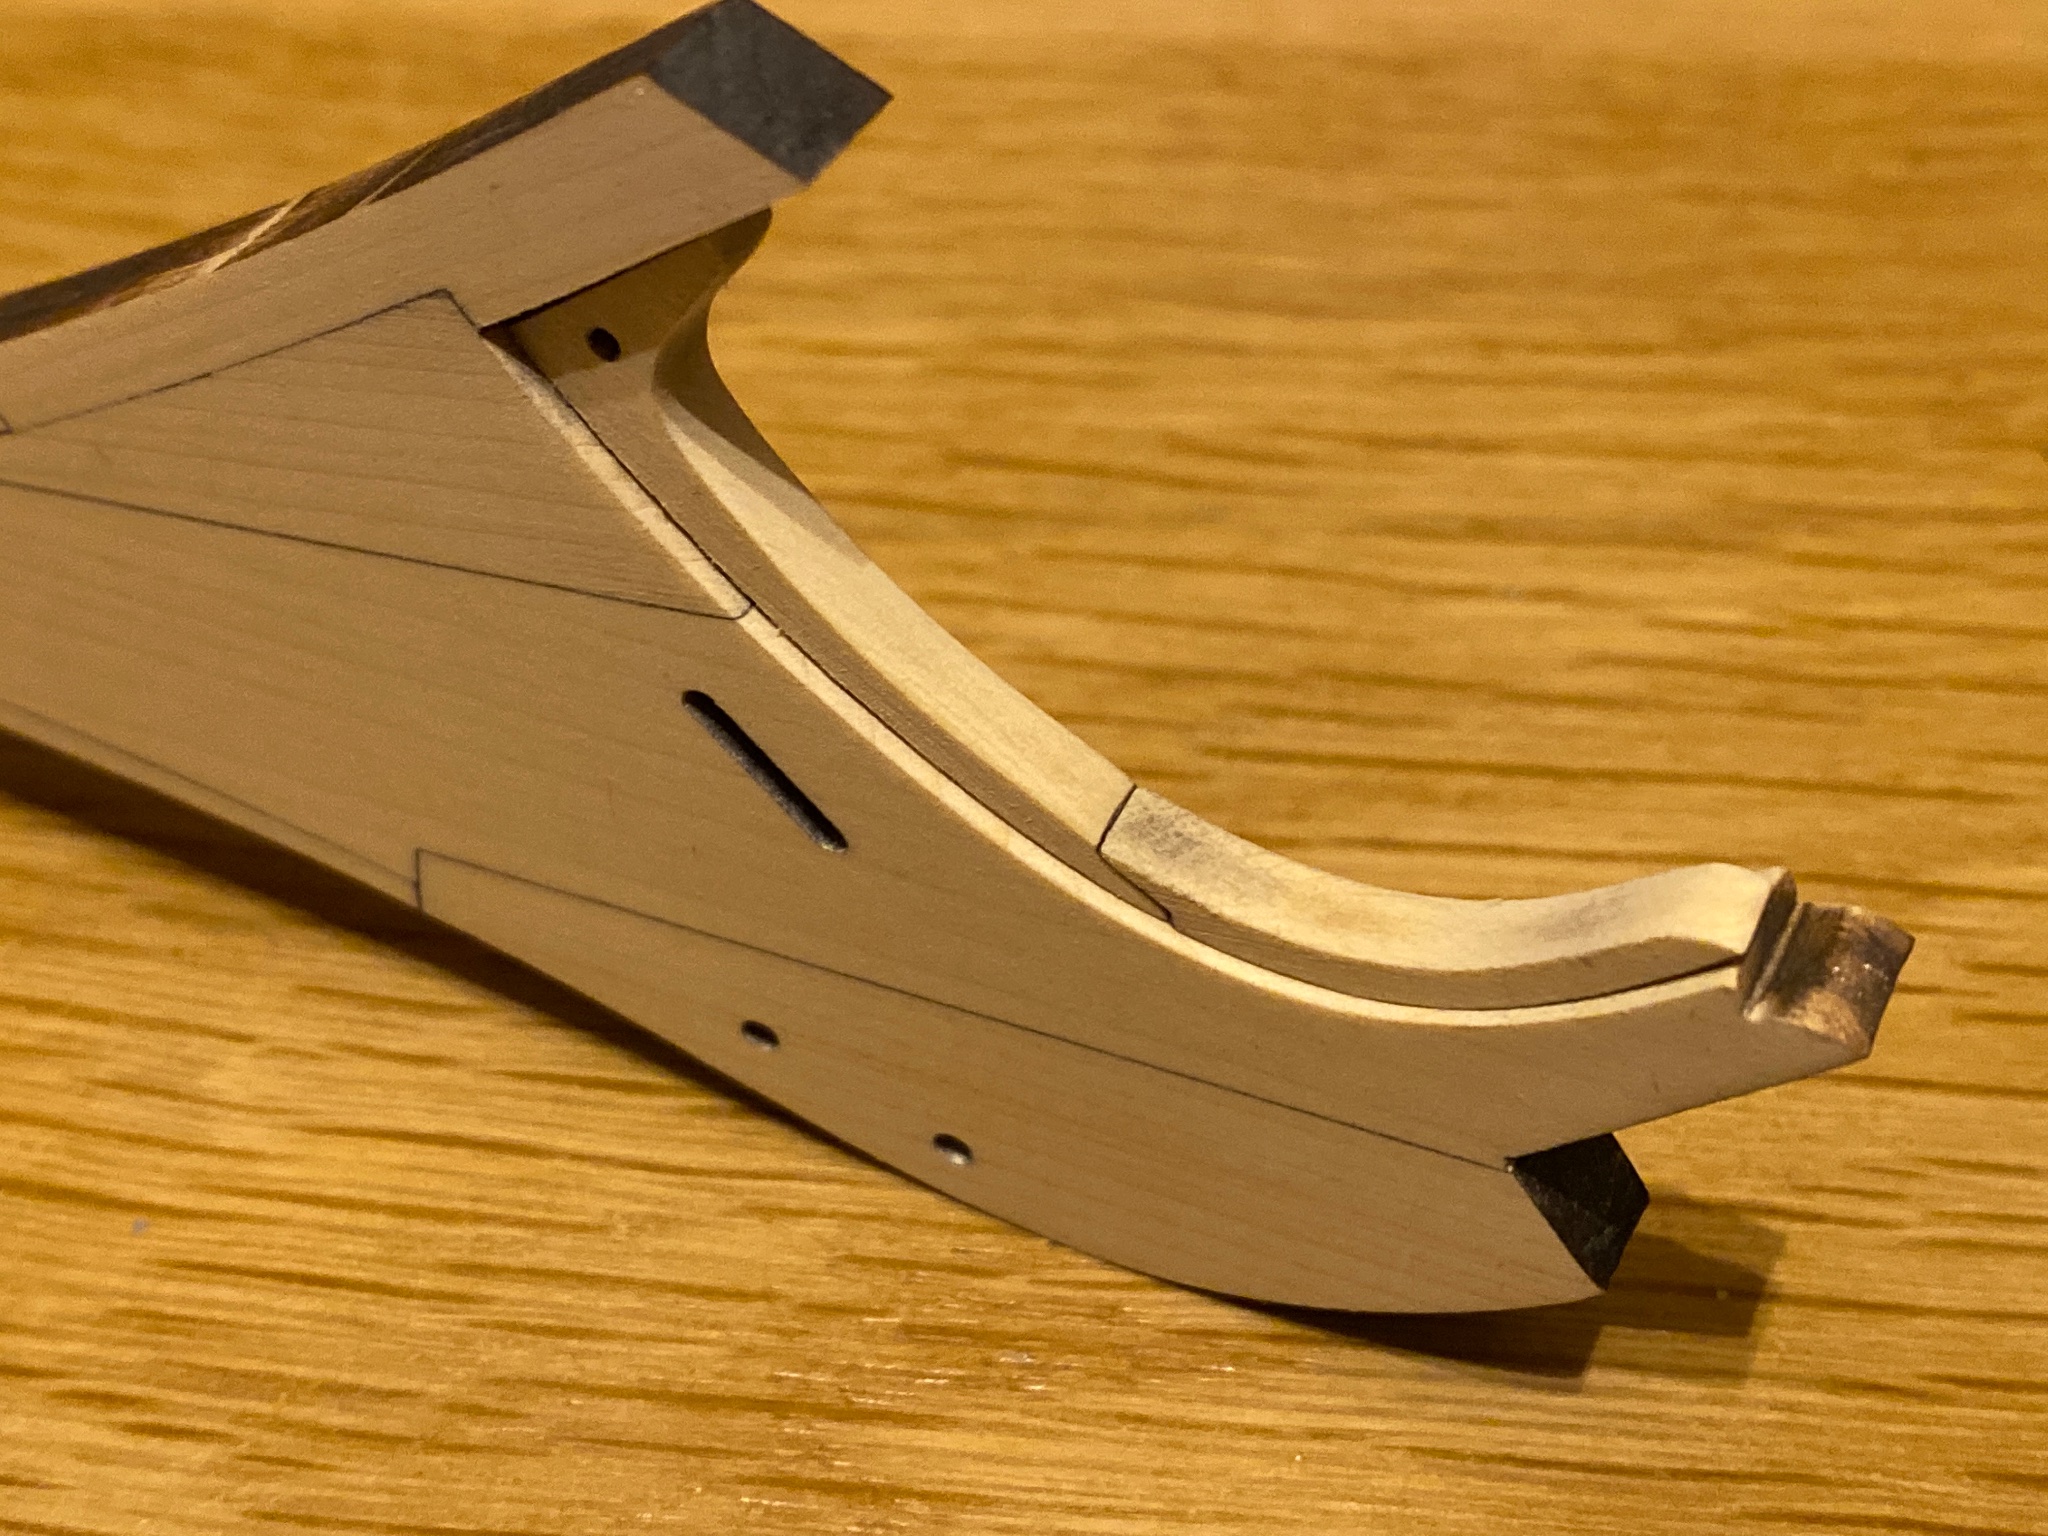
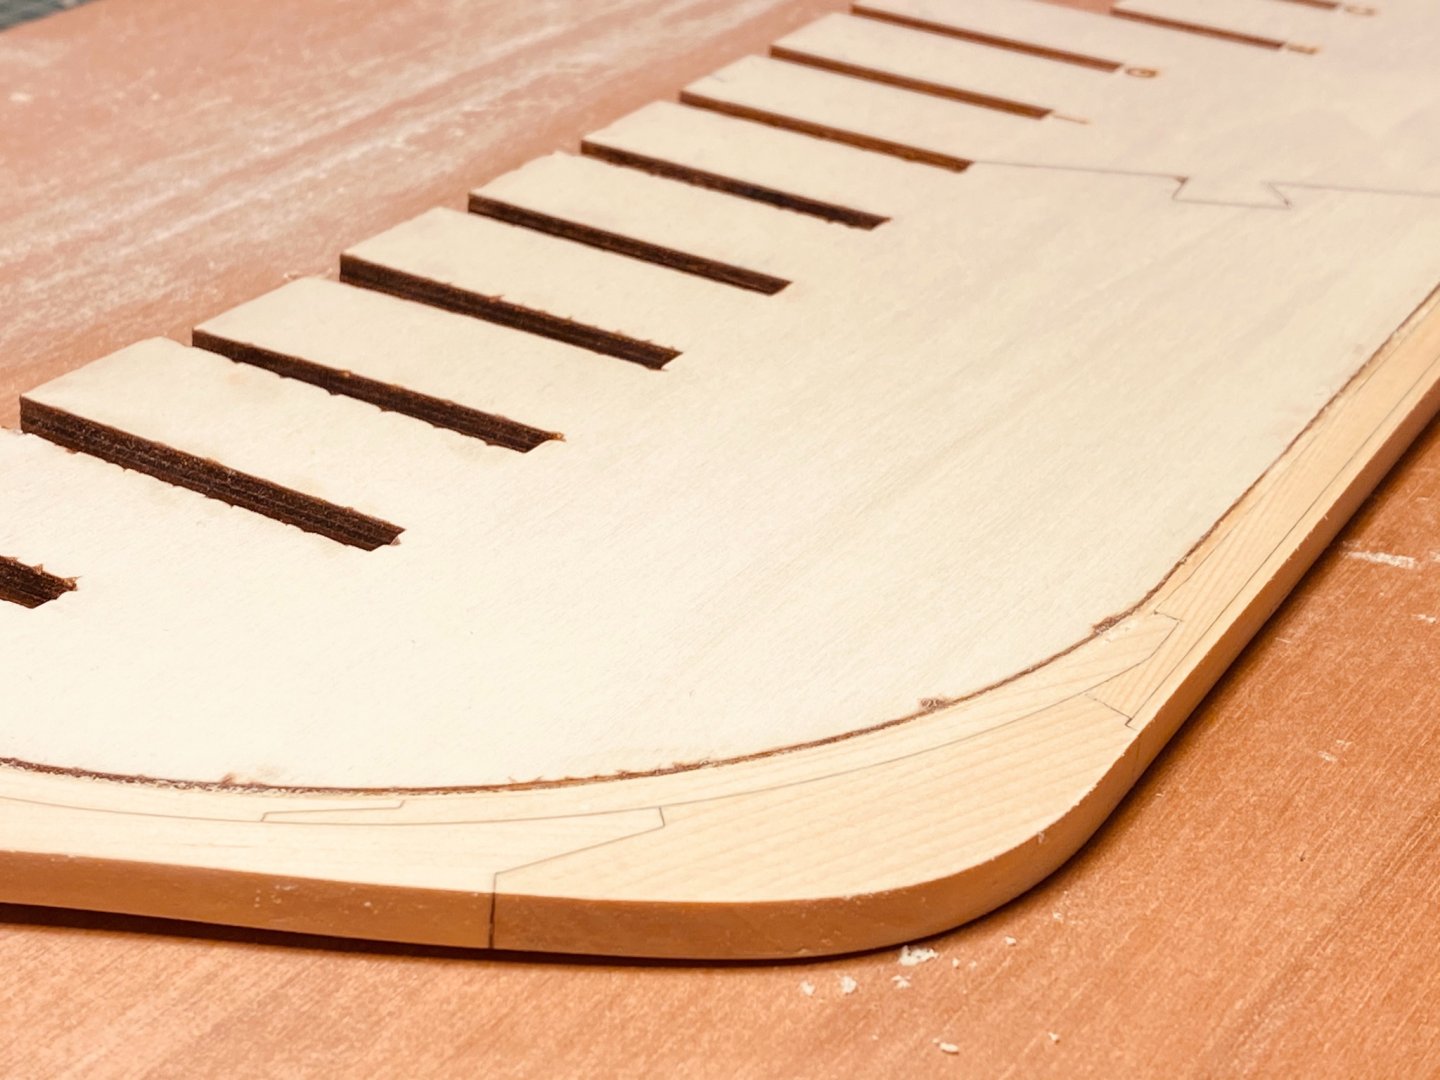
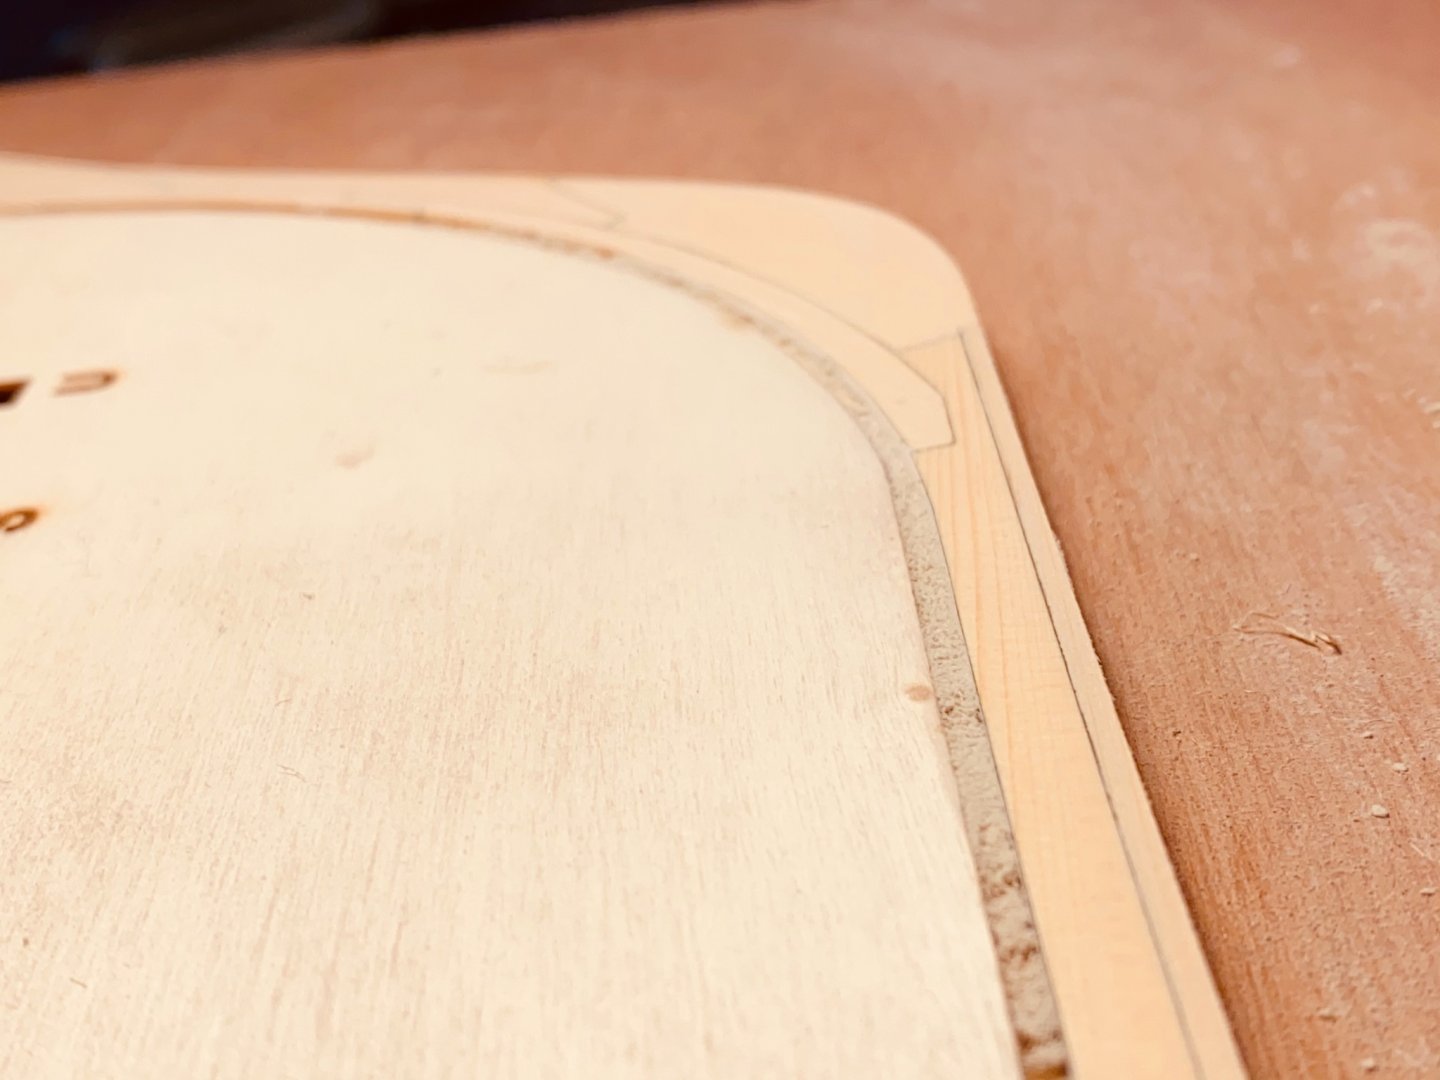
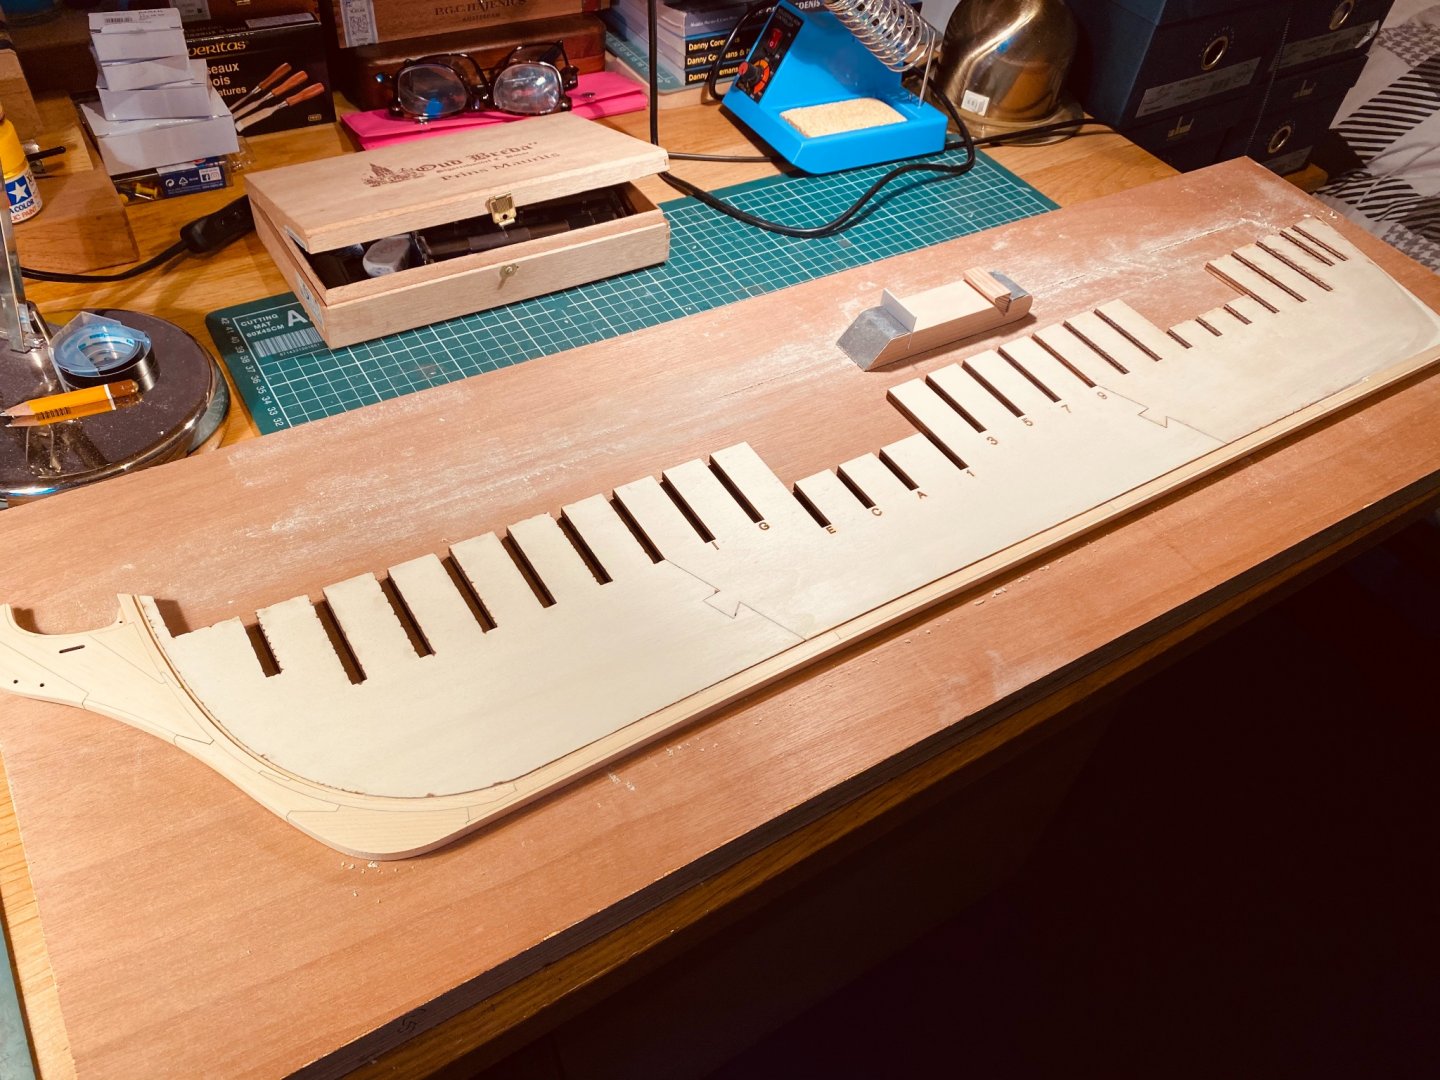
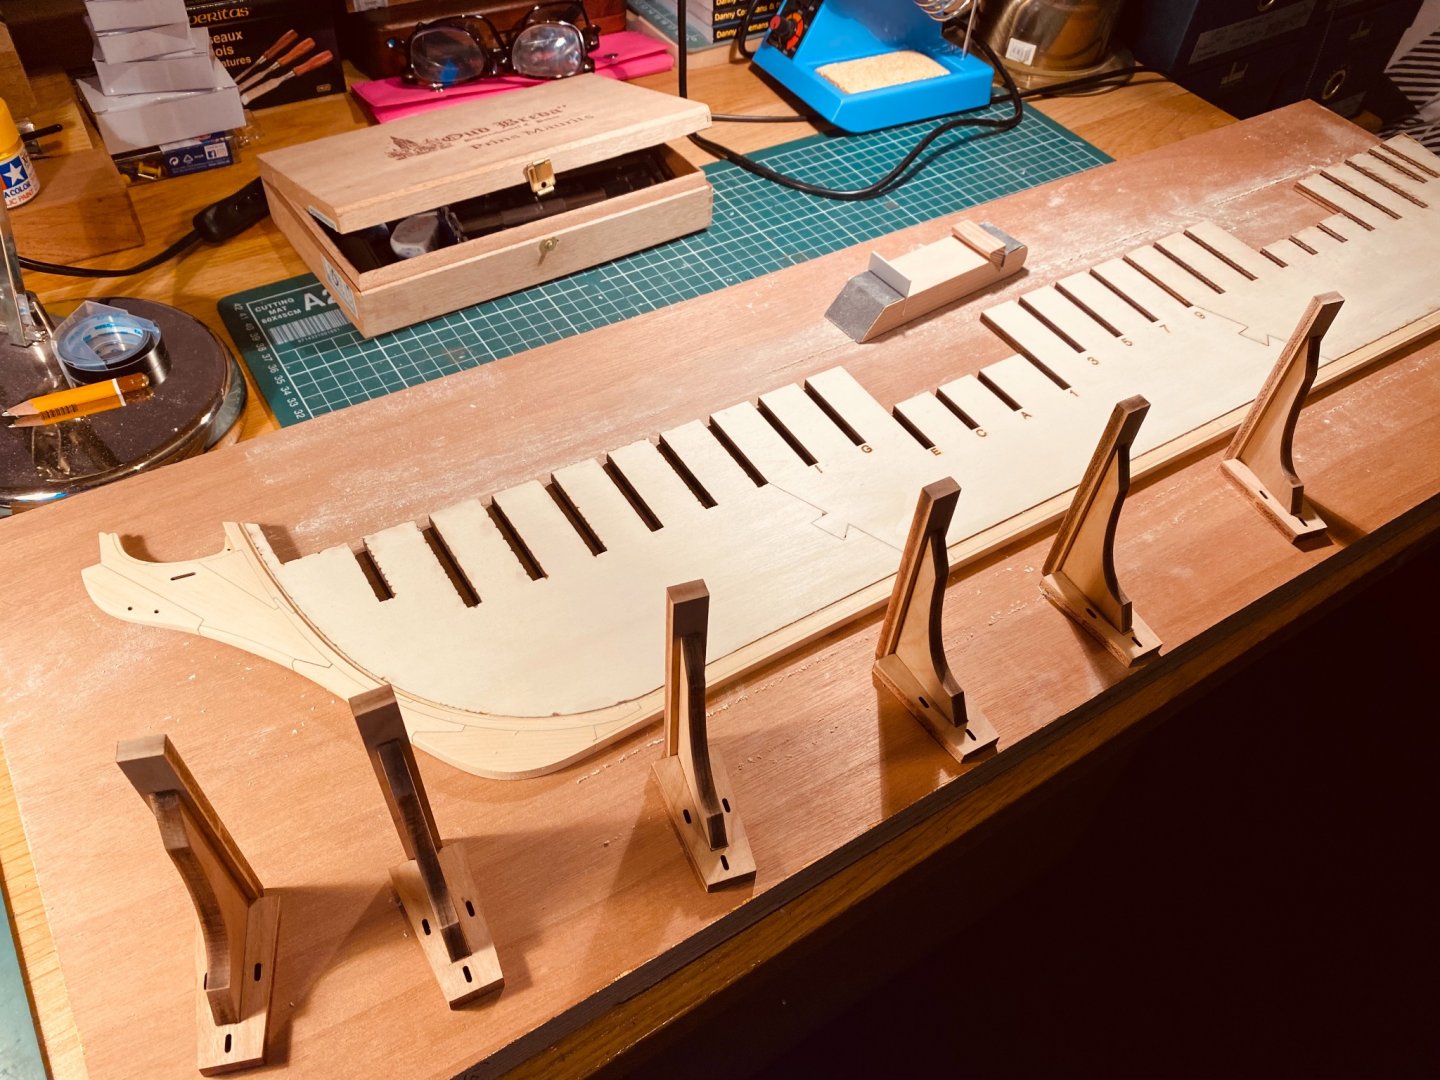
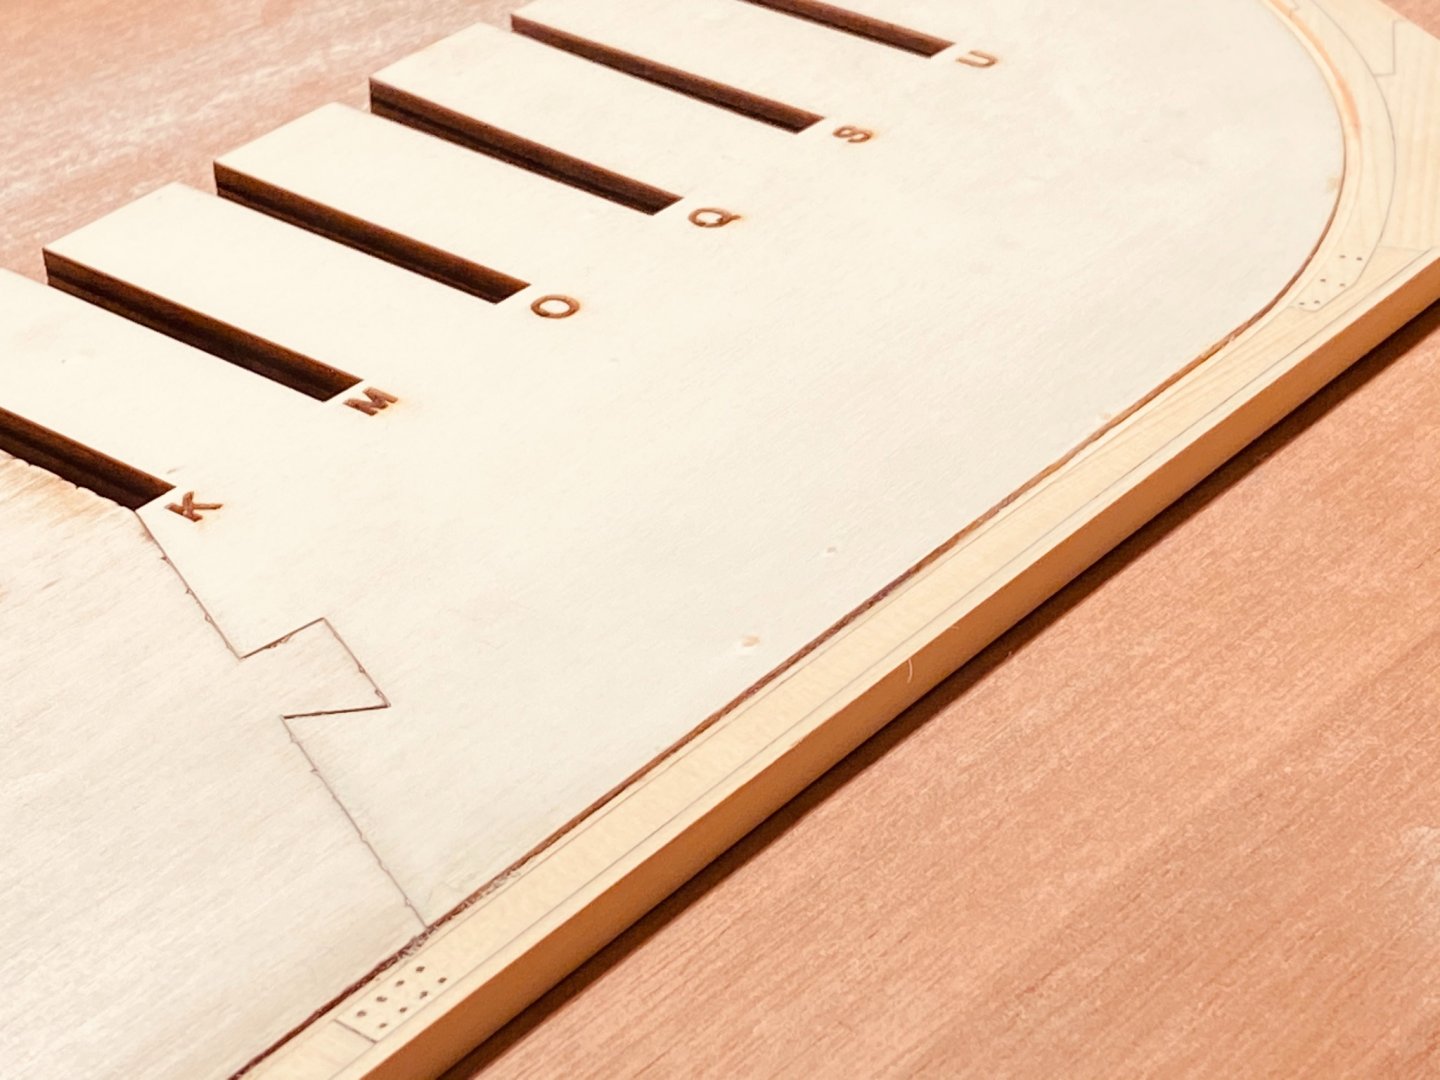
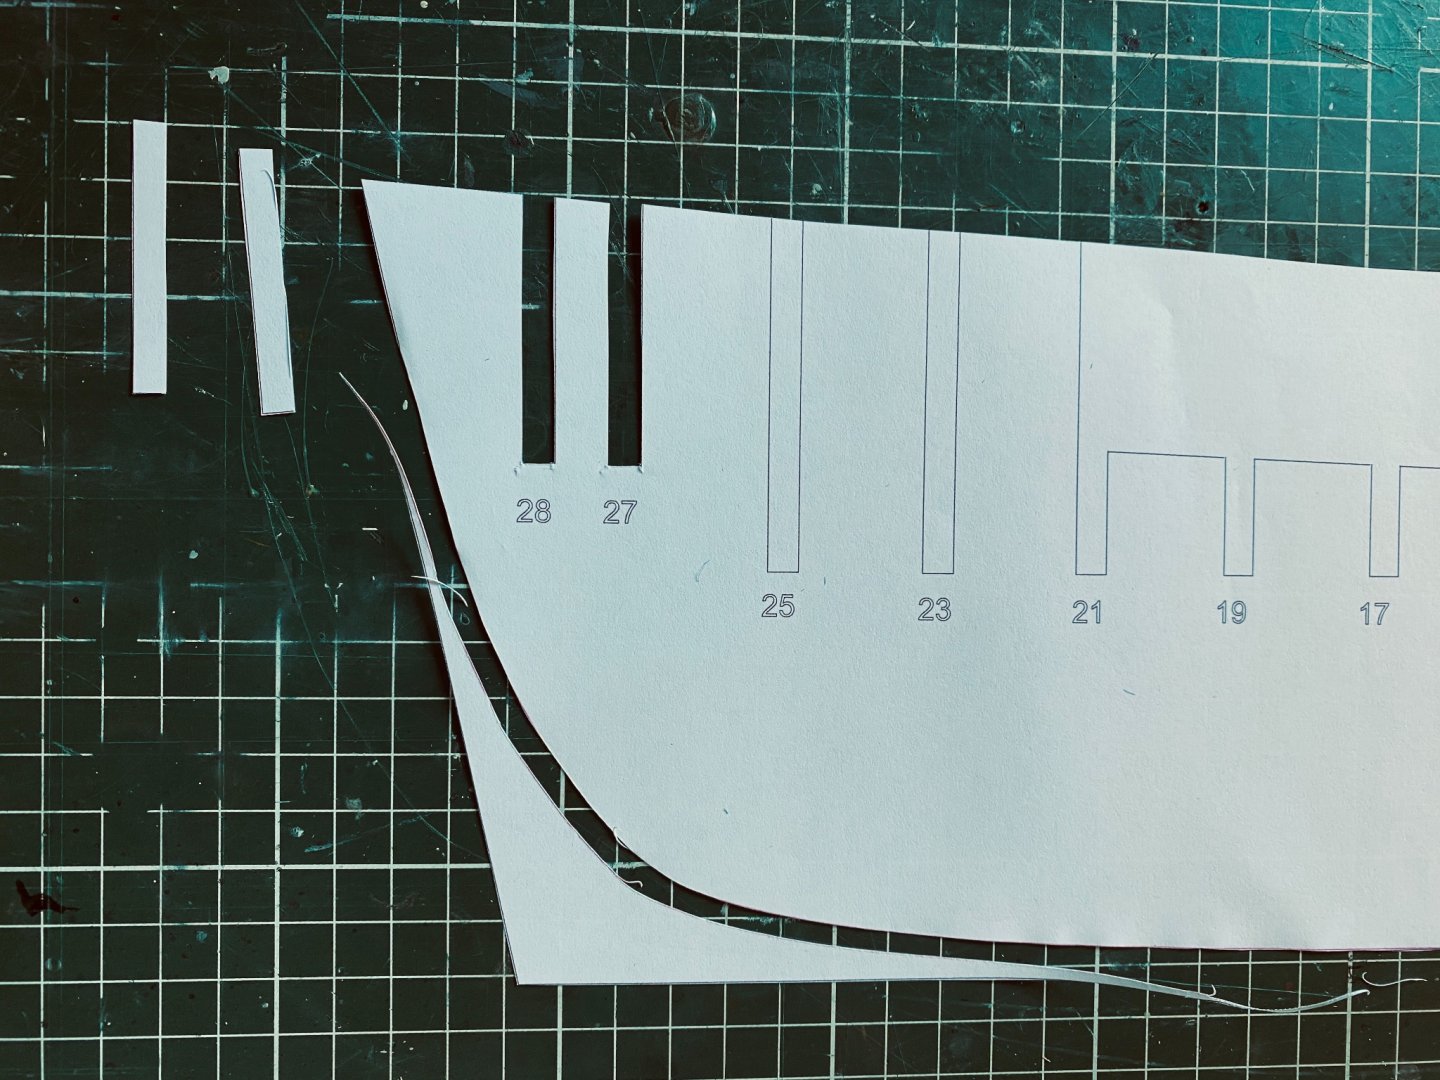
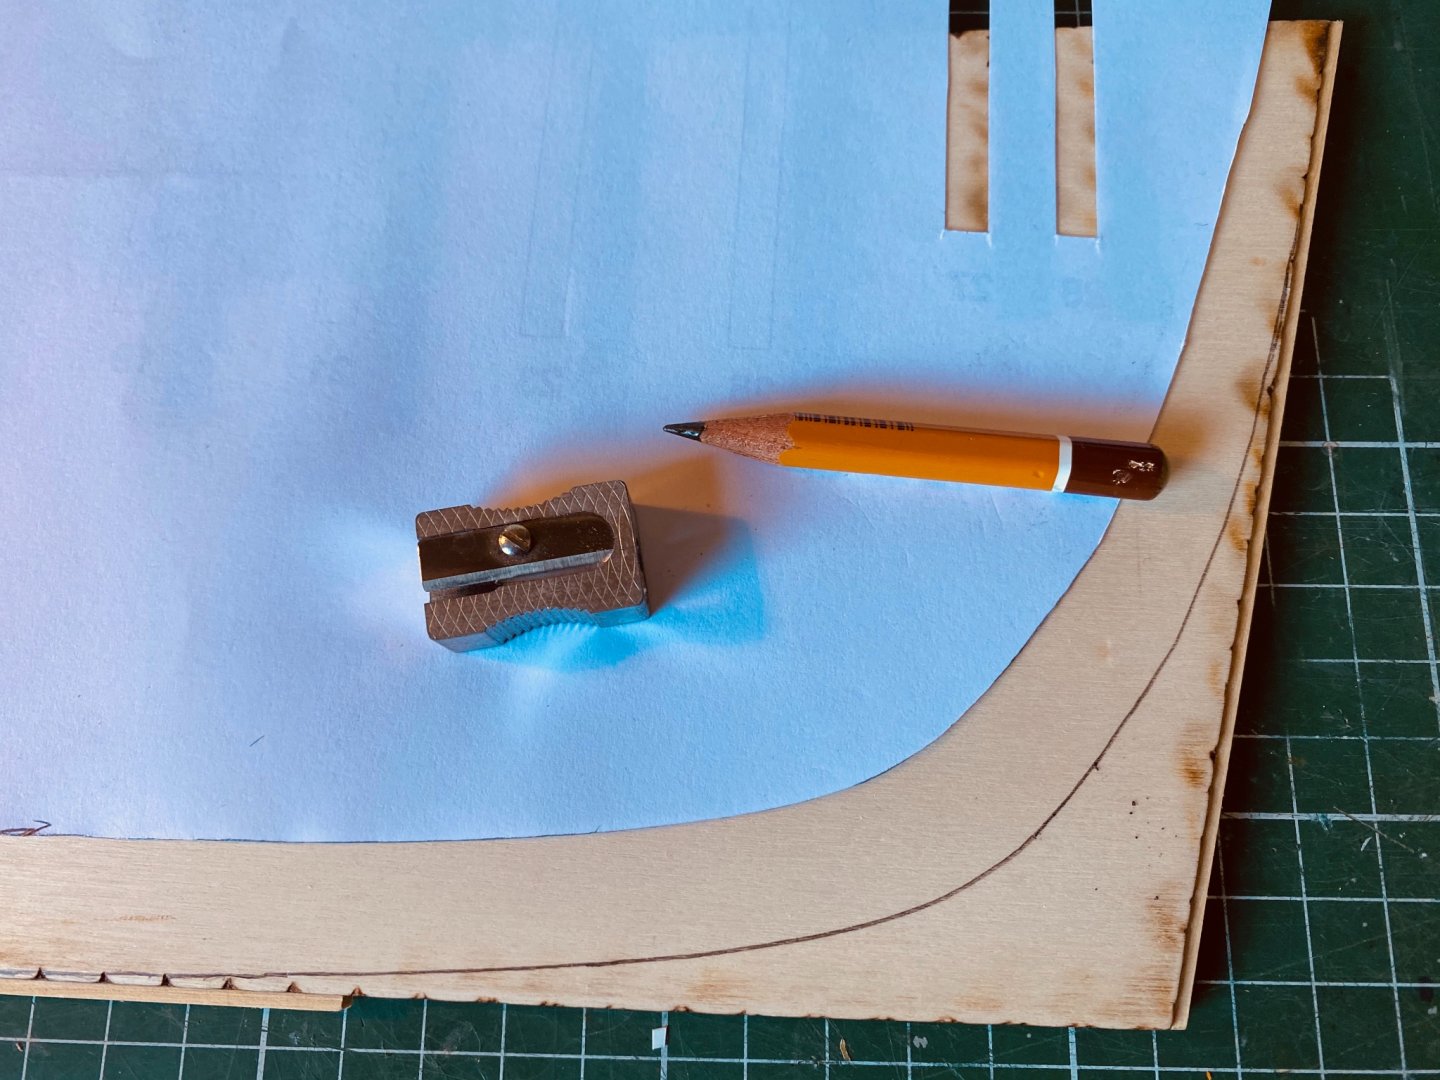
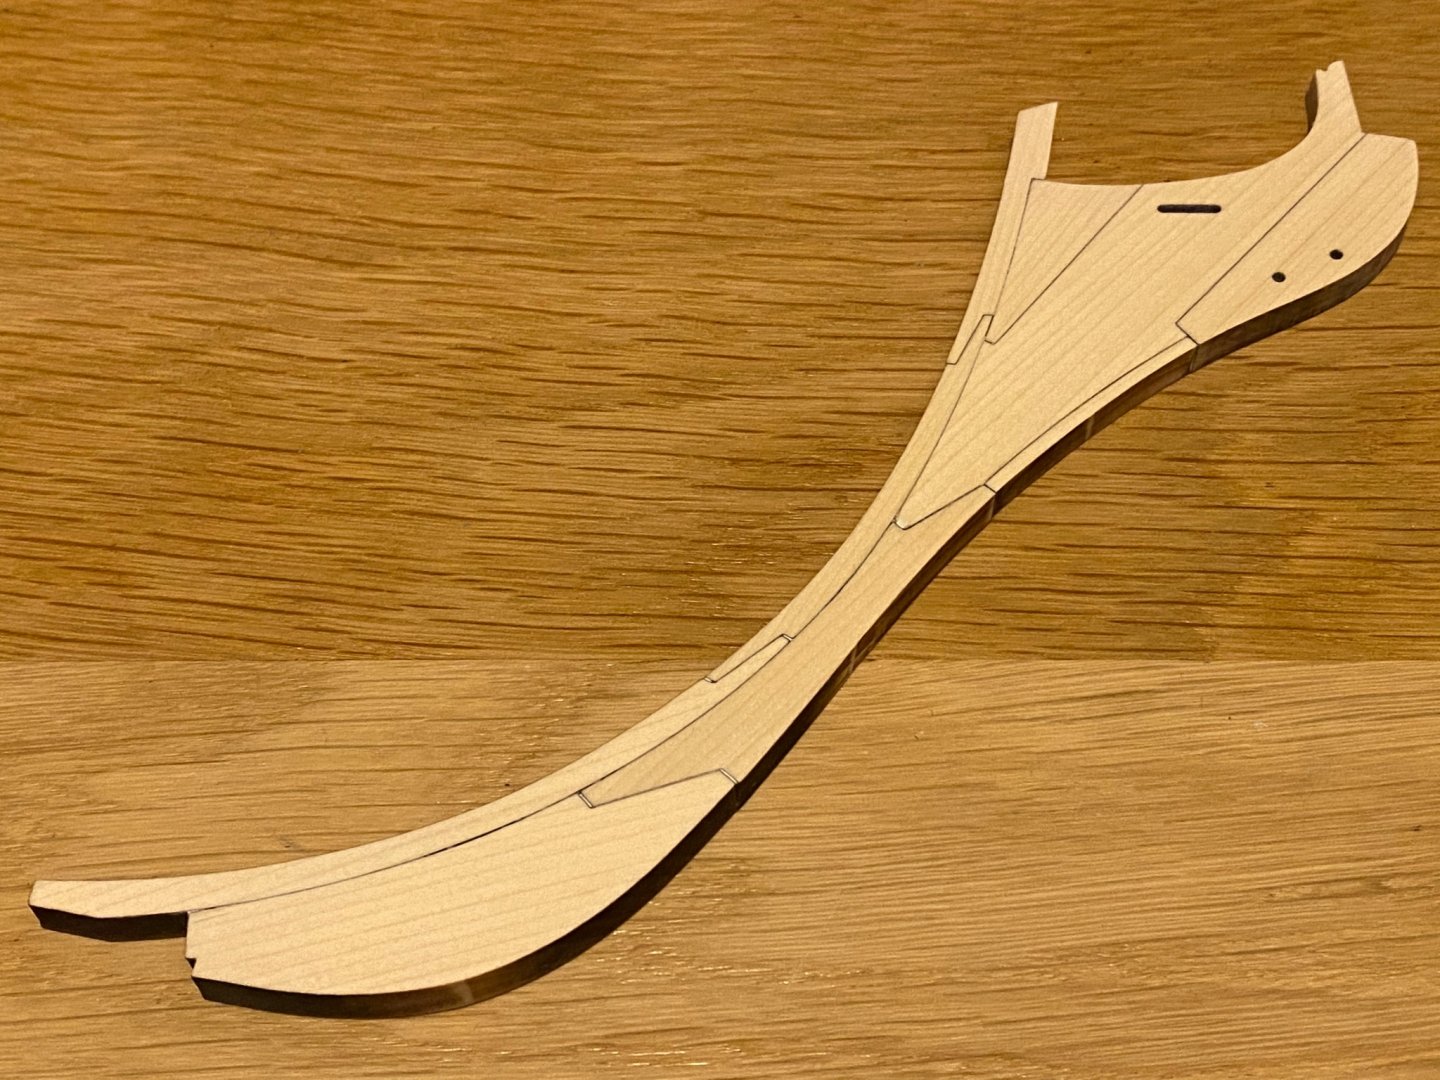
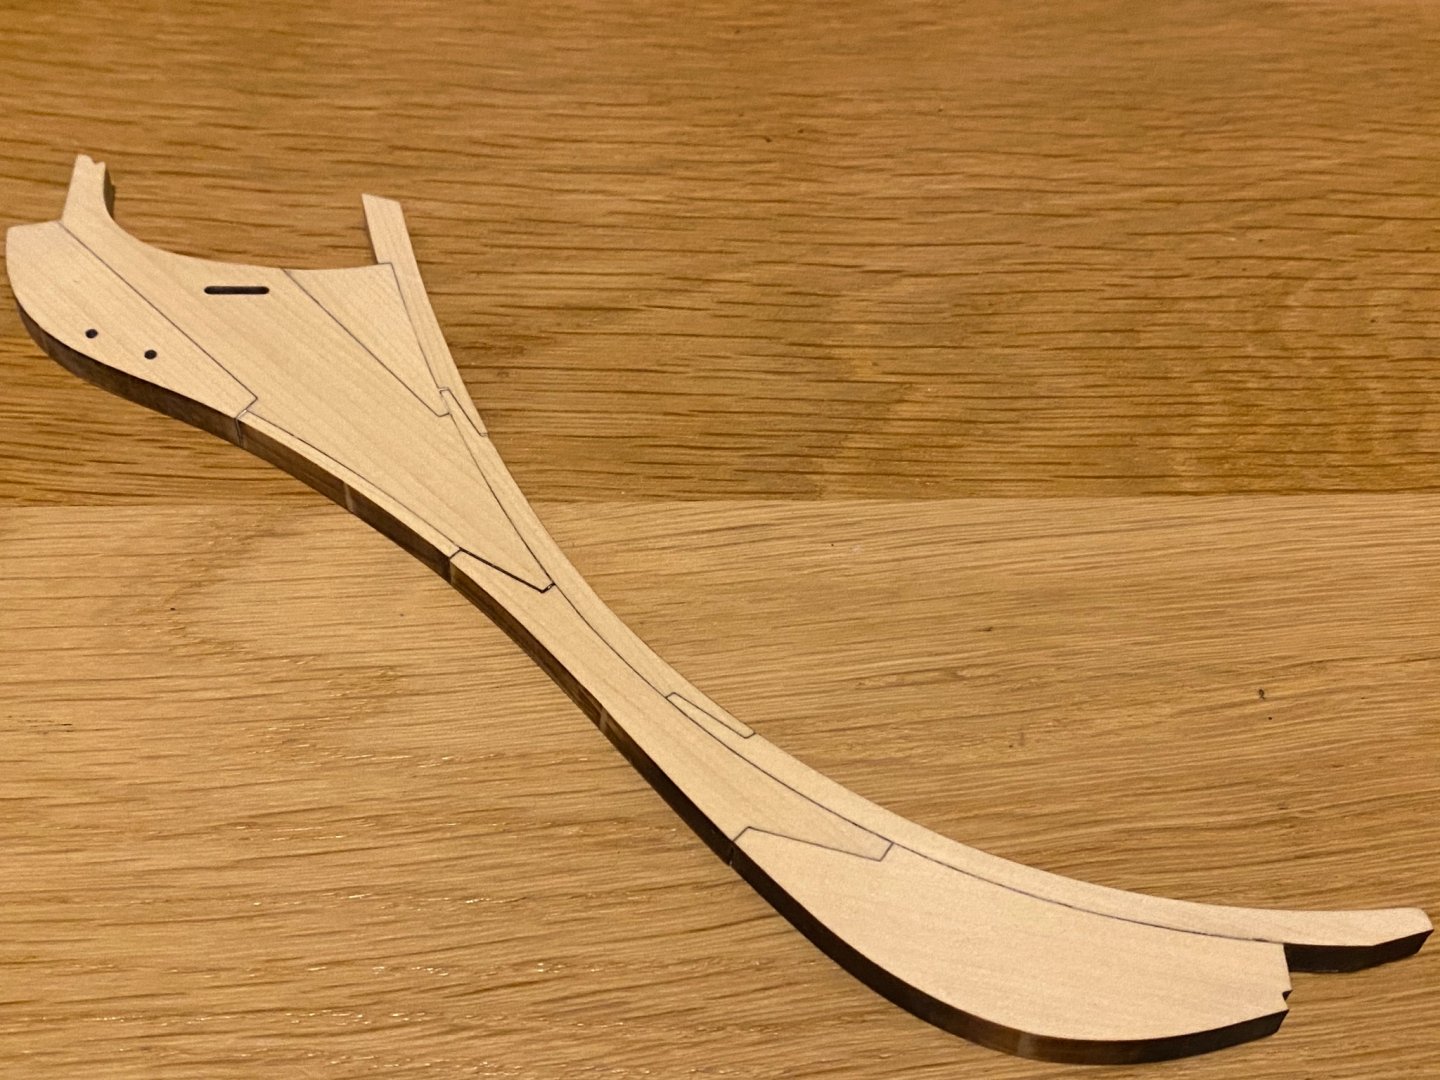
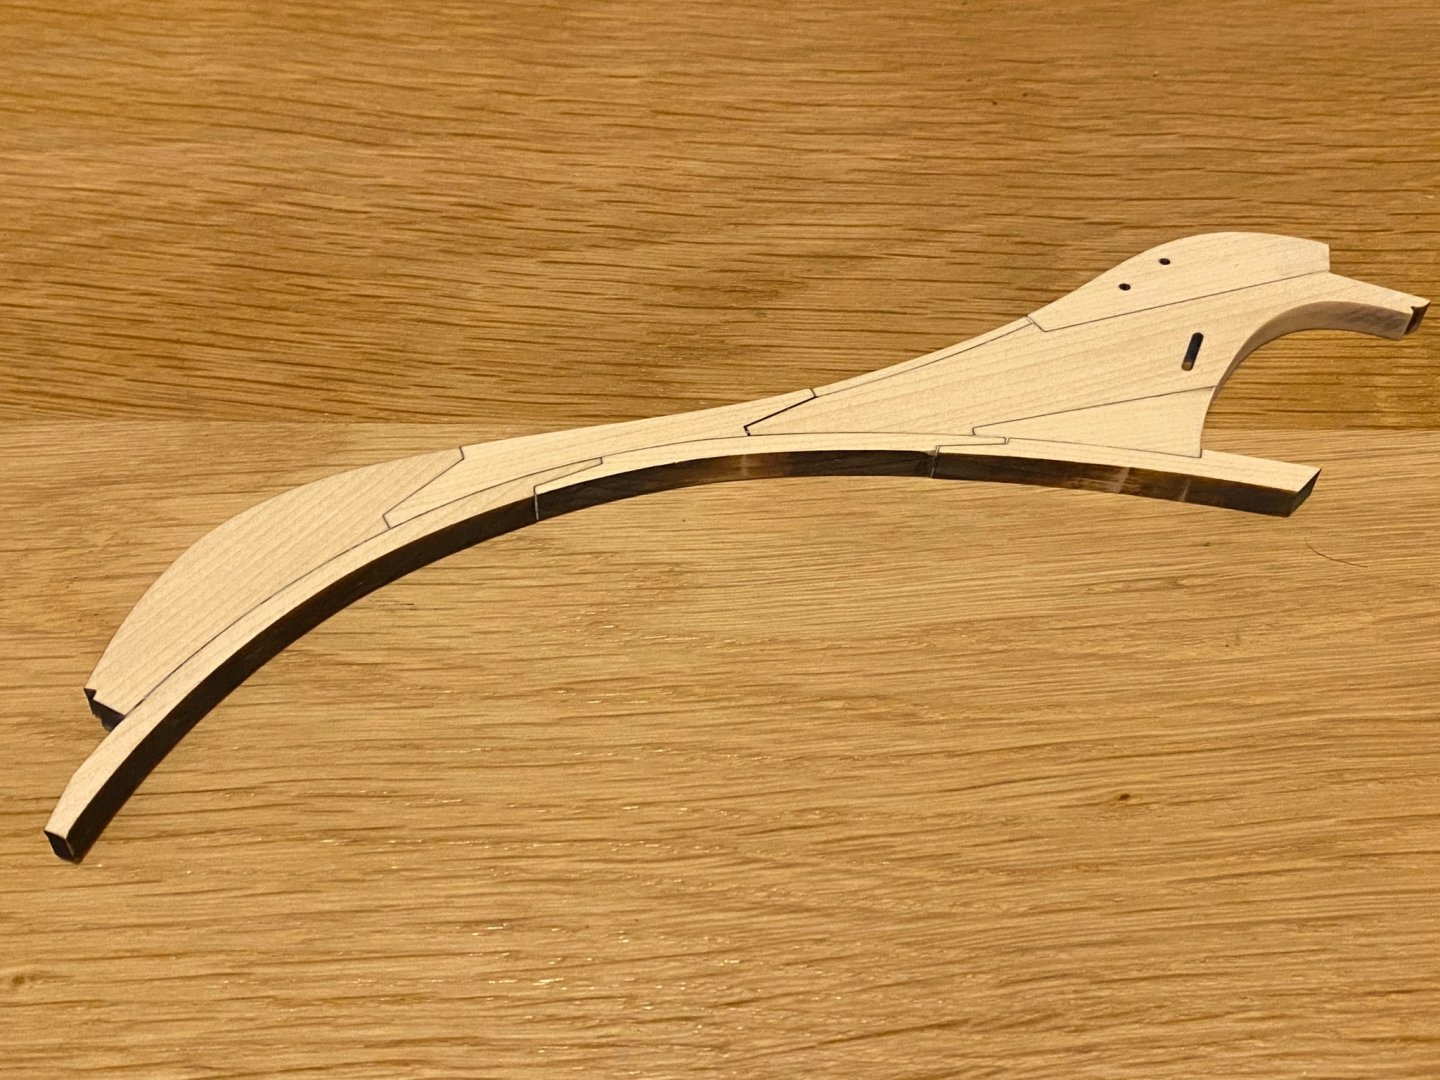
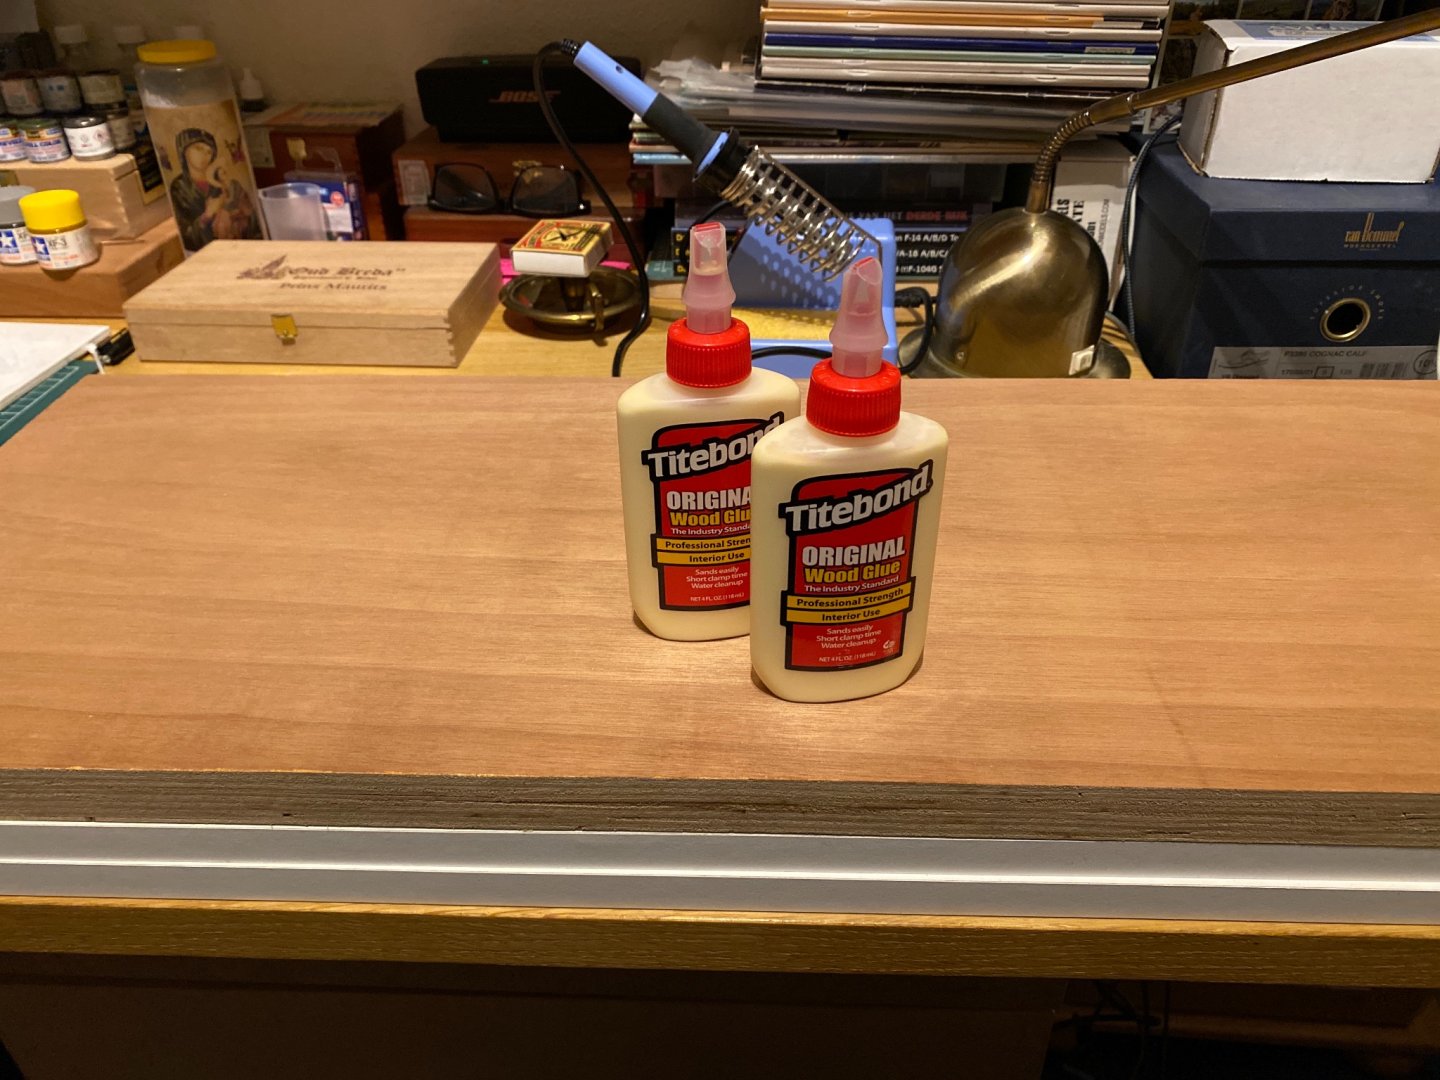
Thanks Edward and Vladimir! 429 *************** Chapter 1 *************** I finally am able to get started now. My first two bottles of Titebond came in last week and despite the lockdown here in Holland I also finally managed to lay my hand on a thick multiplex plank of 30x90cm (11.81”x35,43”). So here also my first picture of the stem and knee and extension following Chuck’s instructions on the first pages of chapter one. No tweaking the joints in between removing any char it says, but it seems the laser does not always cut exactly square in a 90 degrees angle as I would like it to, as on one side some joints are very tight while the same one on the other side seem just a very little bit more open. But so far I’m very pleased how the first step turned out. Next step will be tapering the head knee and glueing the gammon knee and extension piece on (not glued yet on the last knee picture, only test fitting: I have to remove some more laser char first now I can still easily reach it).

-
You’re making progress fine Matt, and the roofs and all the rest as well look very, very good to my eye. You’re about finished when I will be able to get my workboard.... I only freed the laser cut parts of the false keel and frames thusfar...can’t start without a workbord ofcourse.