
FrankWouts
-
Posts
541 -
Joined
-
Last visited
Content Type
Profiles
Forums
Gallery
Events
Everything posted by FrankWouts
-
 Great good looking job on those Matt!
 -
Simply beautiful work! Frank.
-
I think everything will be fine now. Frank

-
I took "winchaptertwo.pdf" as a reference to measure the hight of the precut counter planks and planked on till I had the same width again, Also I had still some reference line from my chisel / glue of where the edge of the smaller, lowest counter plank had been before I removed it. Frank.
-
Thanks Mike, I did it this way because filling the oversanding area first, would leave me with the same problem of how much I would have to file and sand it down again. First shaping the counter to the correct form will give me a reference for how much filling up and file/sand down again the area behind the counter. Ofcourse I could have done it the way you describe and file / sand both the counter and filler together... Frank
-
I’m in for a POF Speedwell as group project as well! I estimate in 2 years from now with Winnie completed. Merry Christmas everyone!

- 1,784 replies
-
- 1
-

-
- winchelsea
- Syren Ship Model Company
- (and 1 more)
-
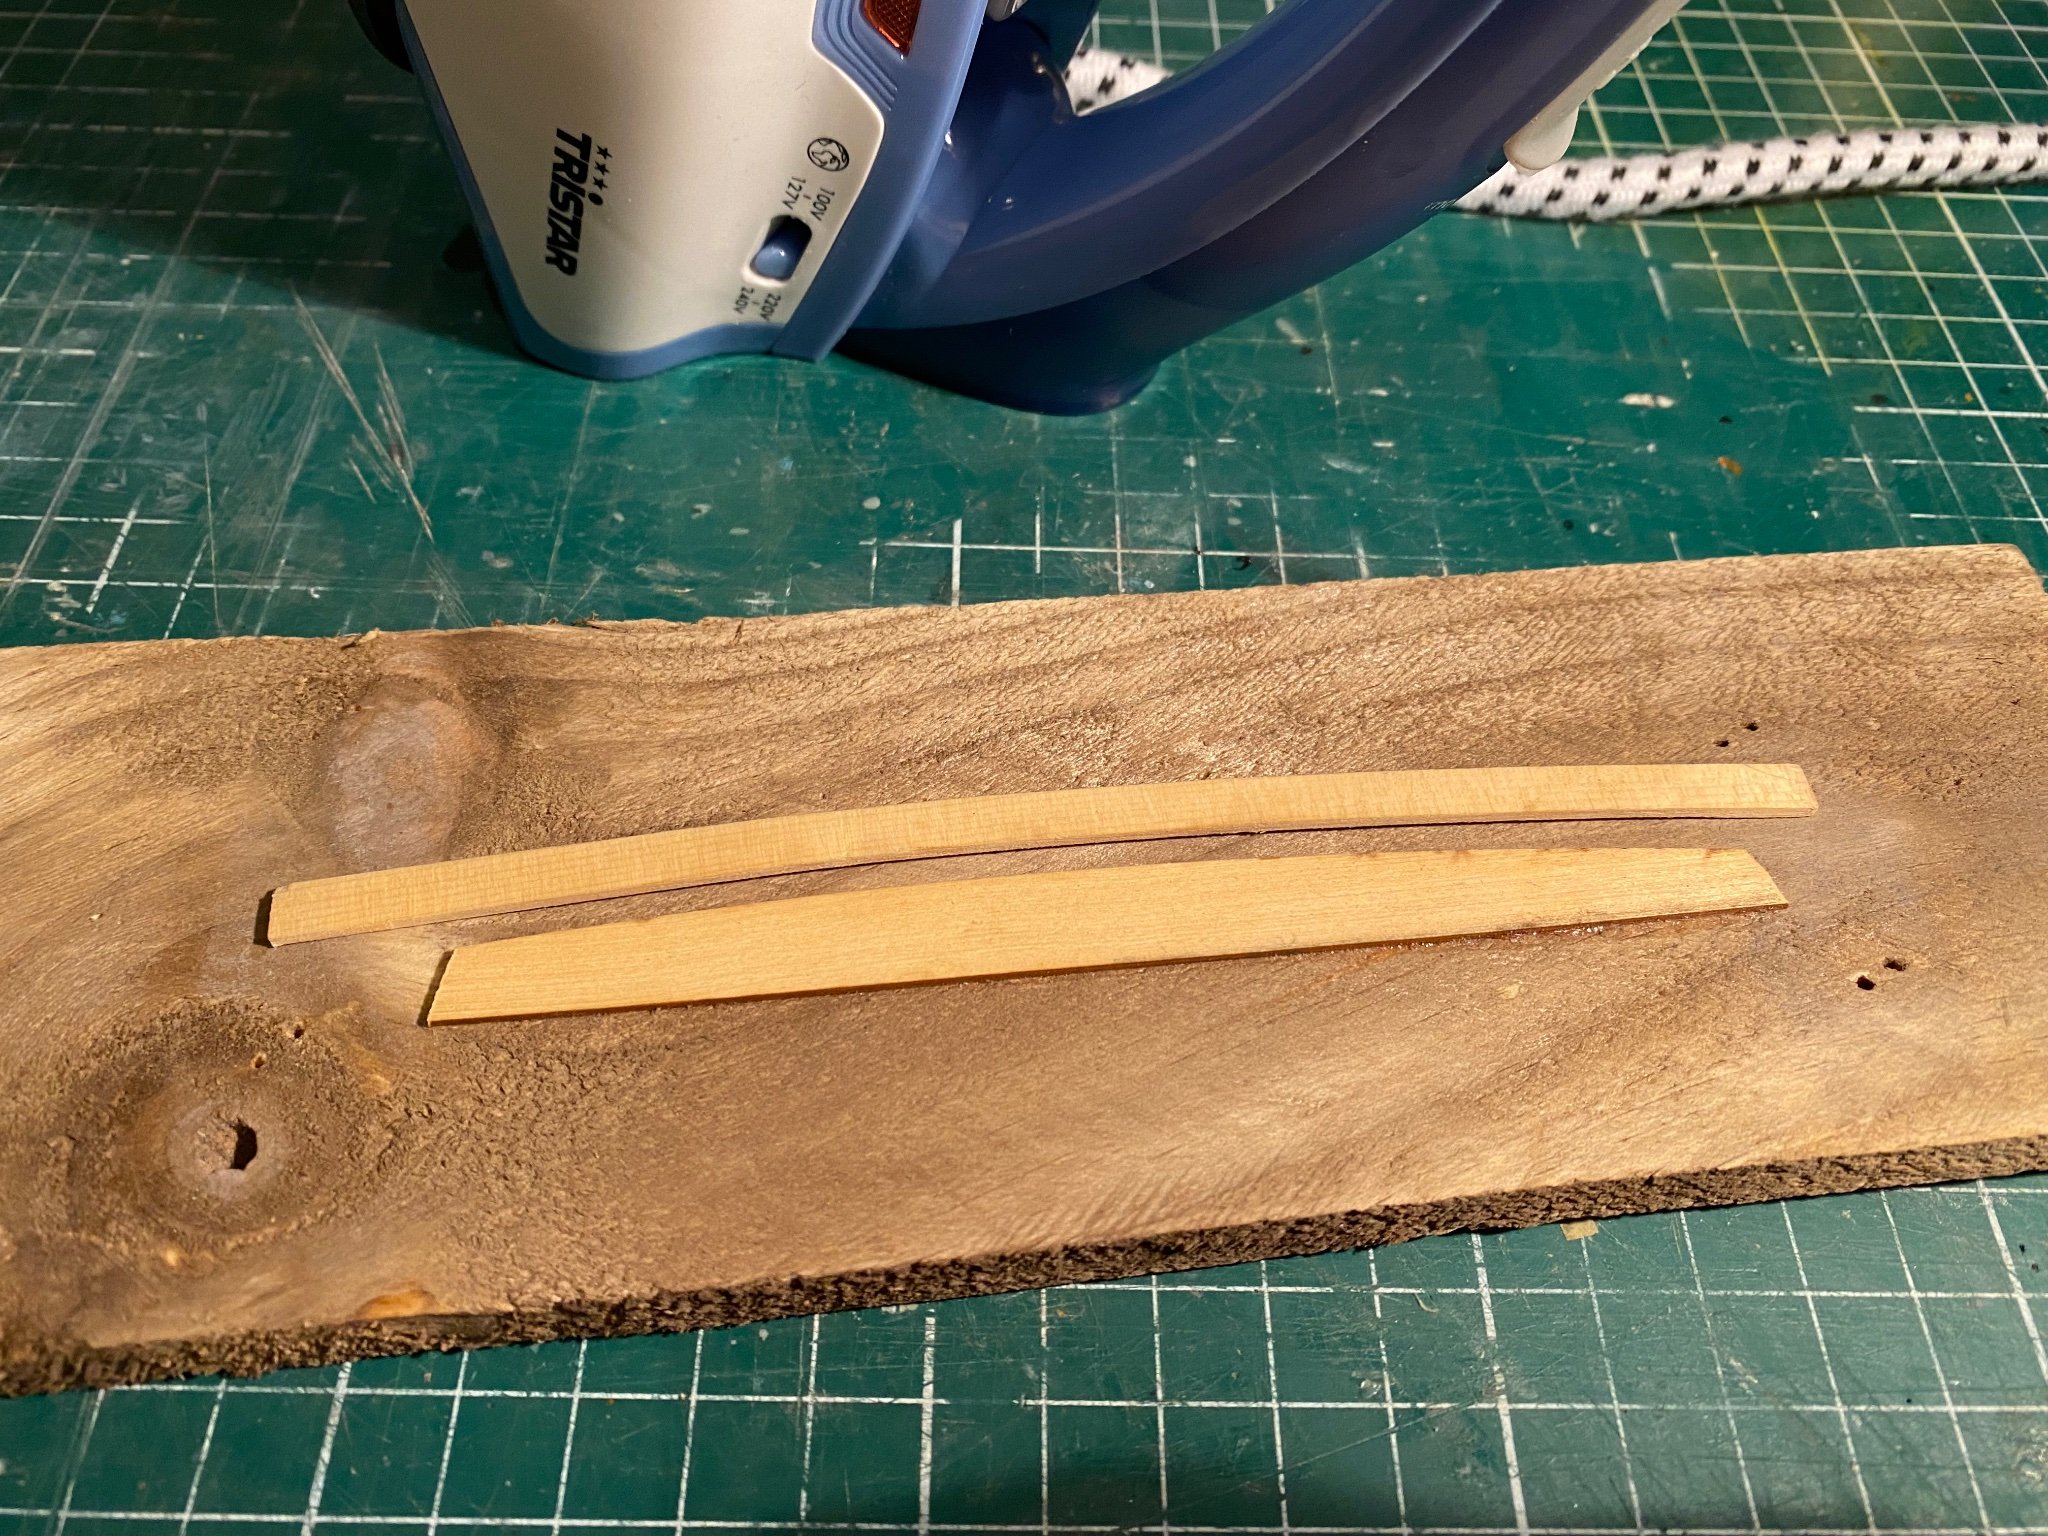
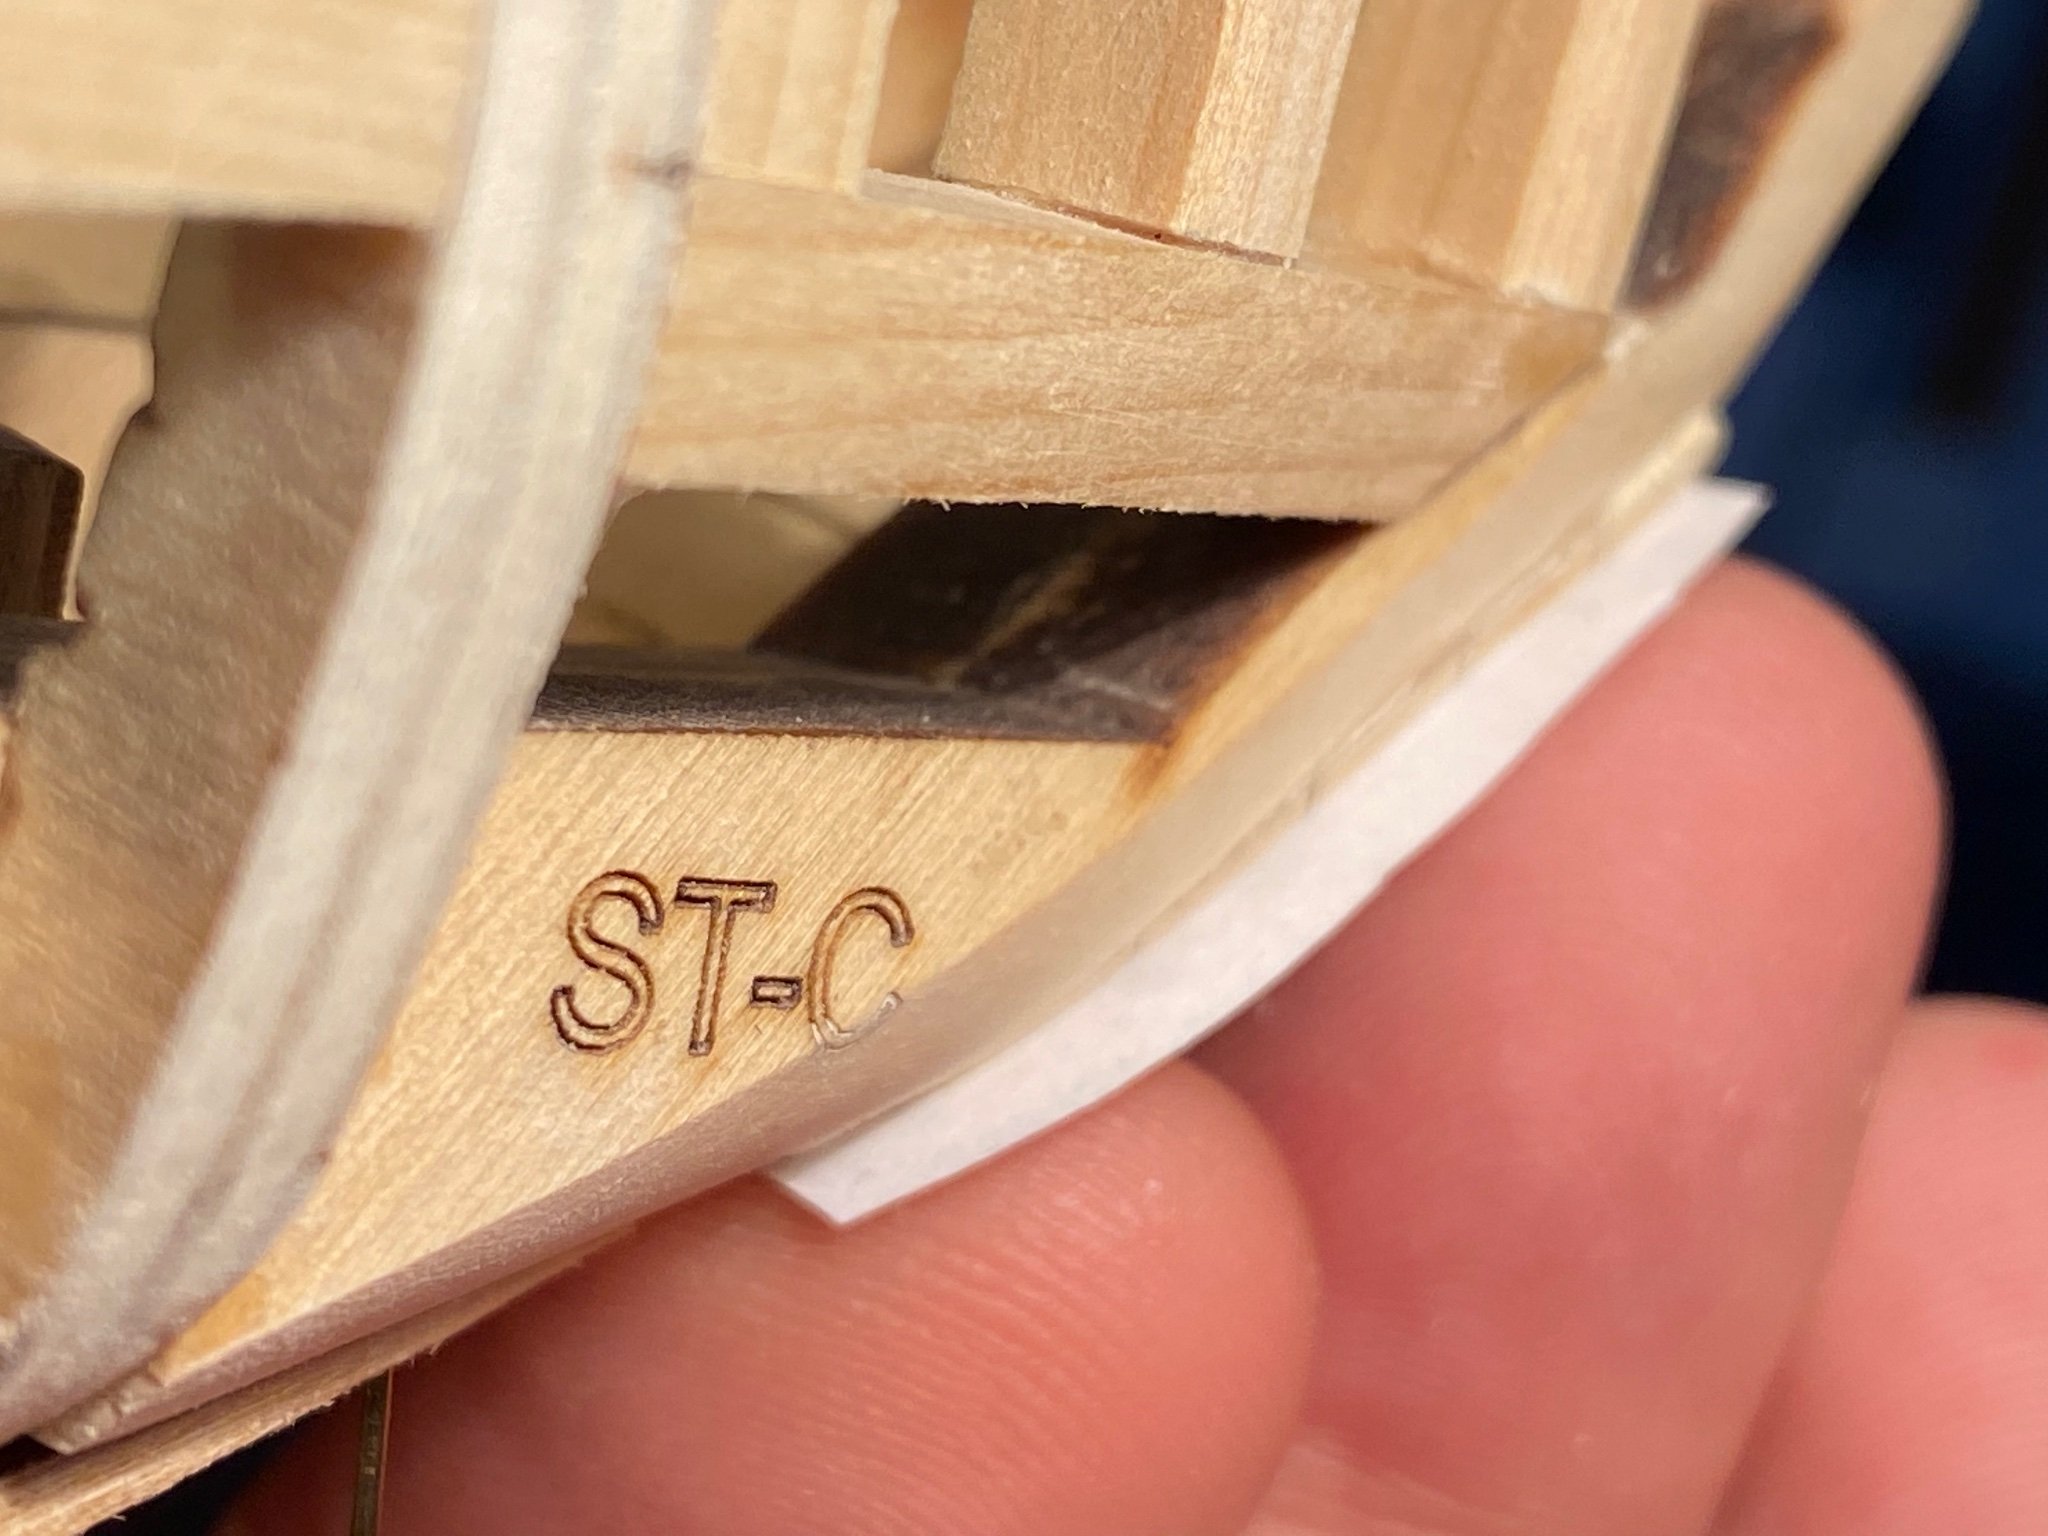
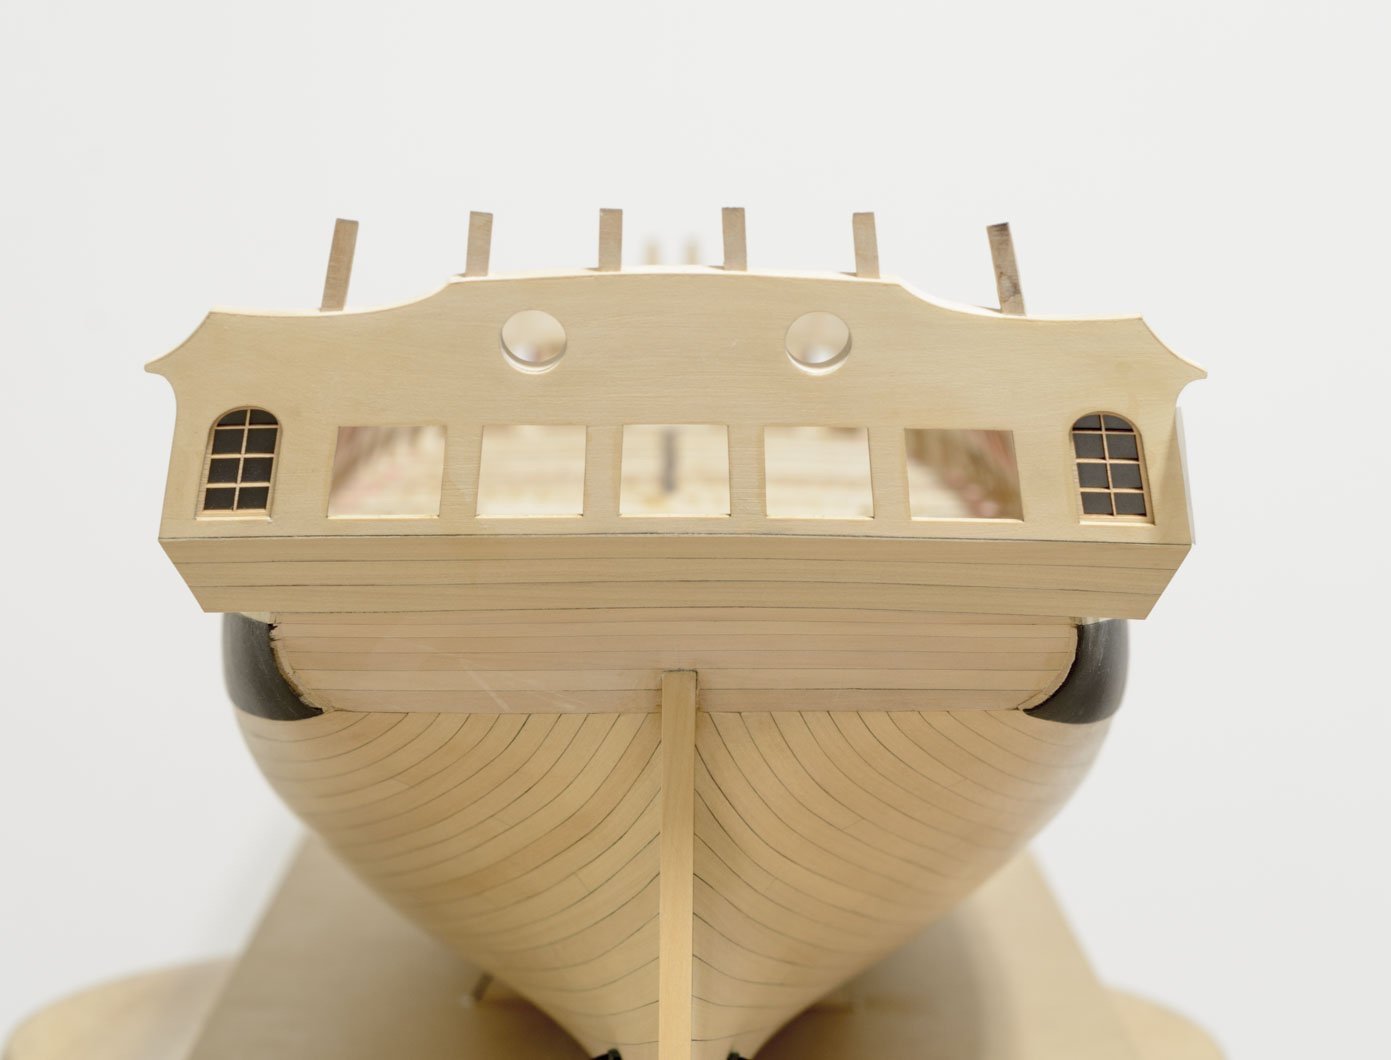
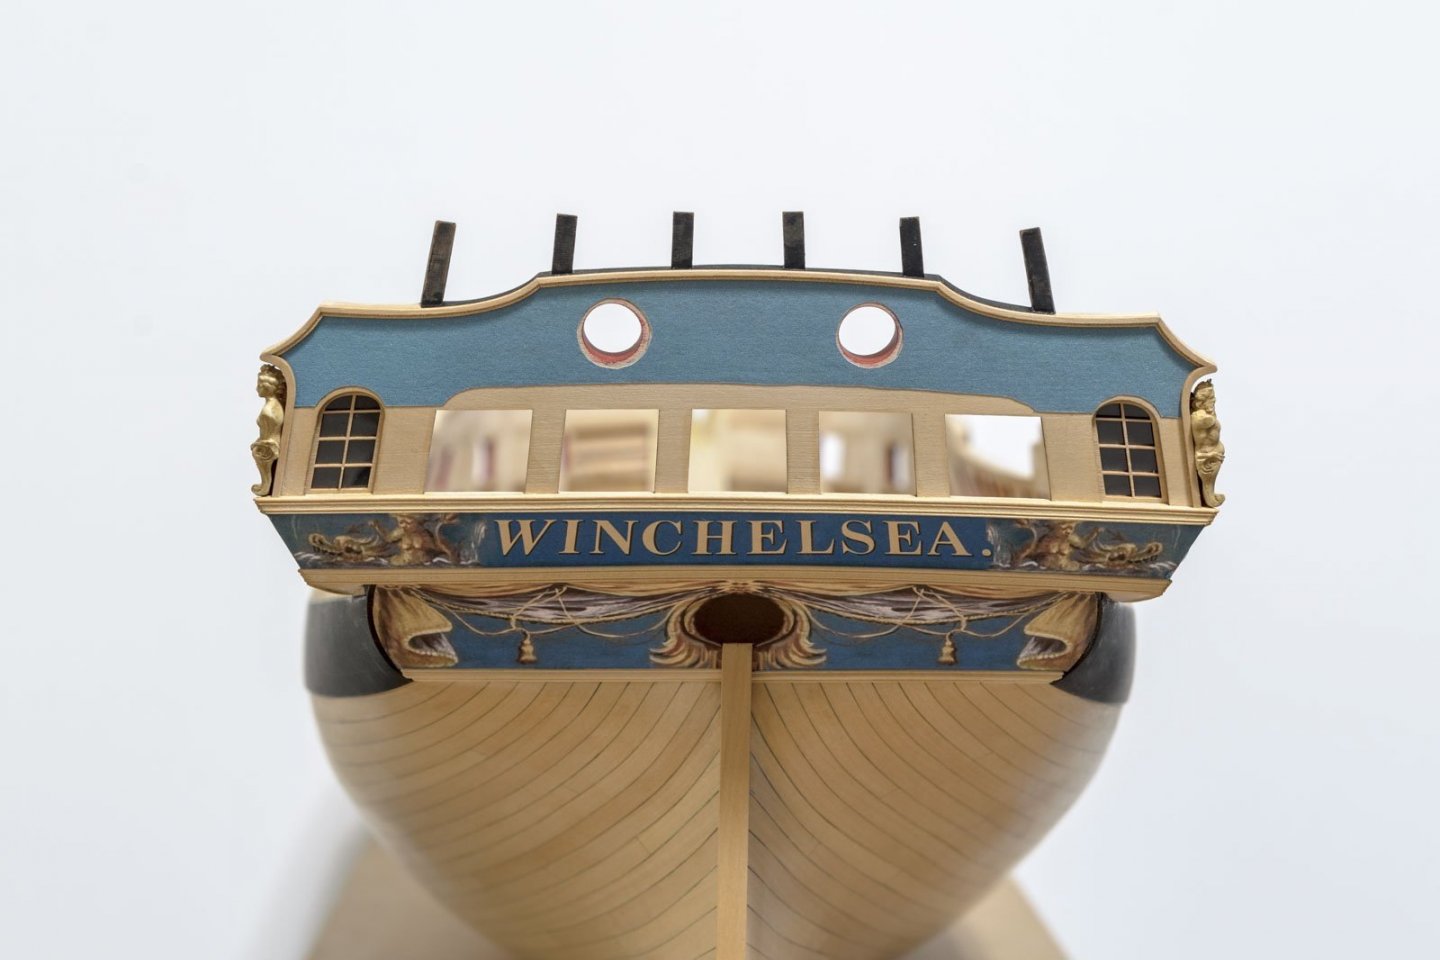
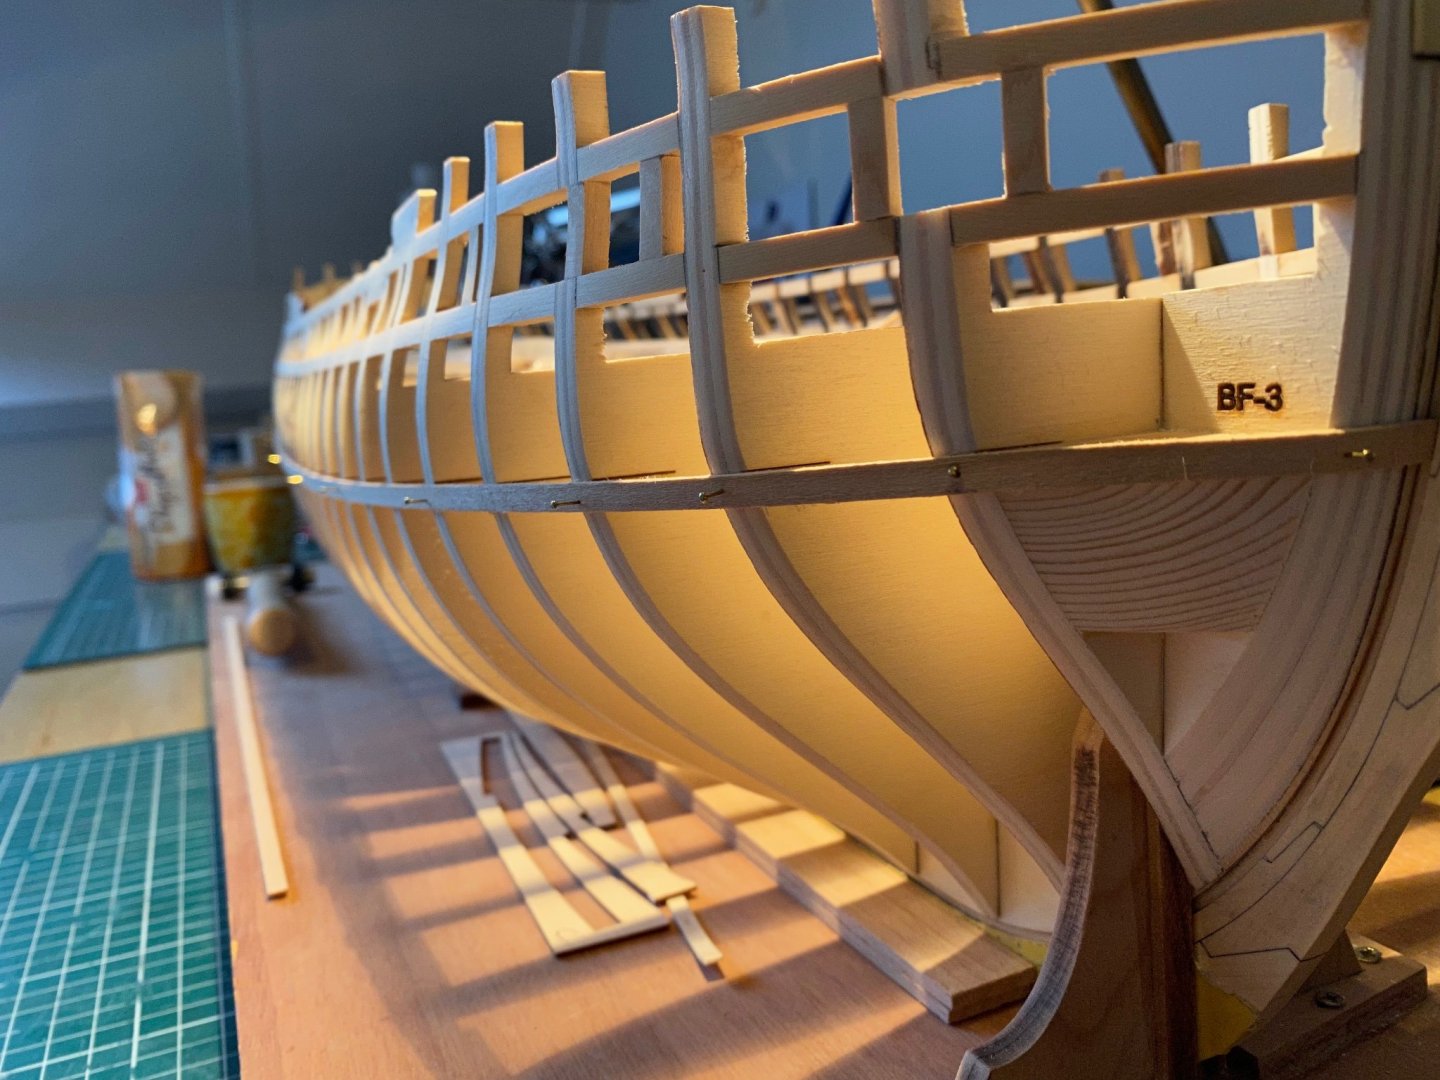
With Chuck’s Syren shop closed till 1st January, me not being able to live this Christmas with the correction of the lower counter planks the way I did and wanting to move on this Christmas Holidays with planking the wales, I decided to remove the lower three planks and saw and bend them myself. The oversanded area on the two side parts ST-C will be filled with scrap planks and chiseled and sanded in the correct shape this time, as I’m not a fan of fillers on this beautiful model. Would someone please be so kind to measure the width of the lowest two counter planks for me on their model please? I forgot to do this before I removed them. Thanks! Happy Christmas to everyone!

-
Thanks Edward, I feel very good this Christmas with this personal achievement! Nothing stands in the way of me and full scratch building in the future… I think… Happy Christmas! 🎄

-
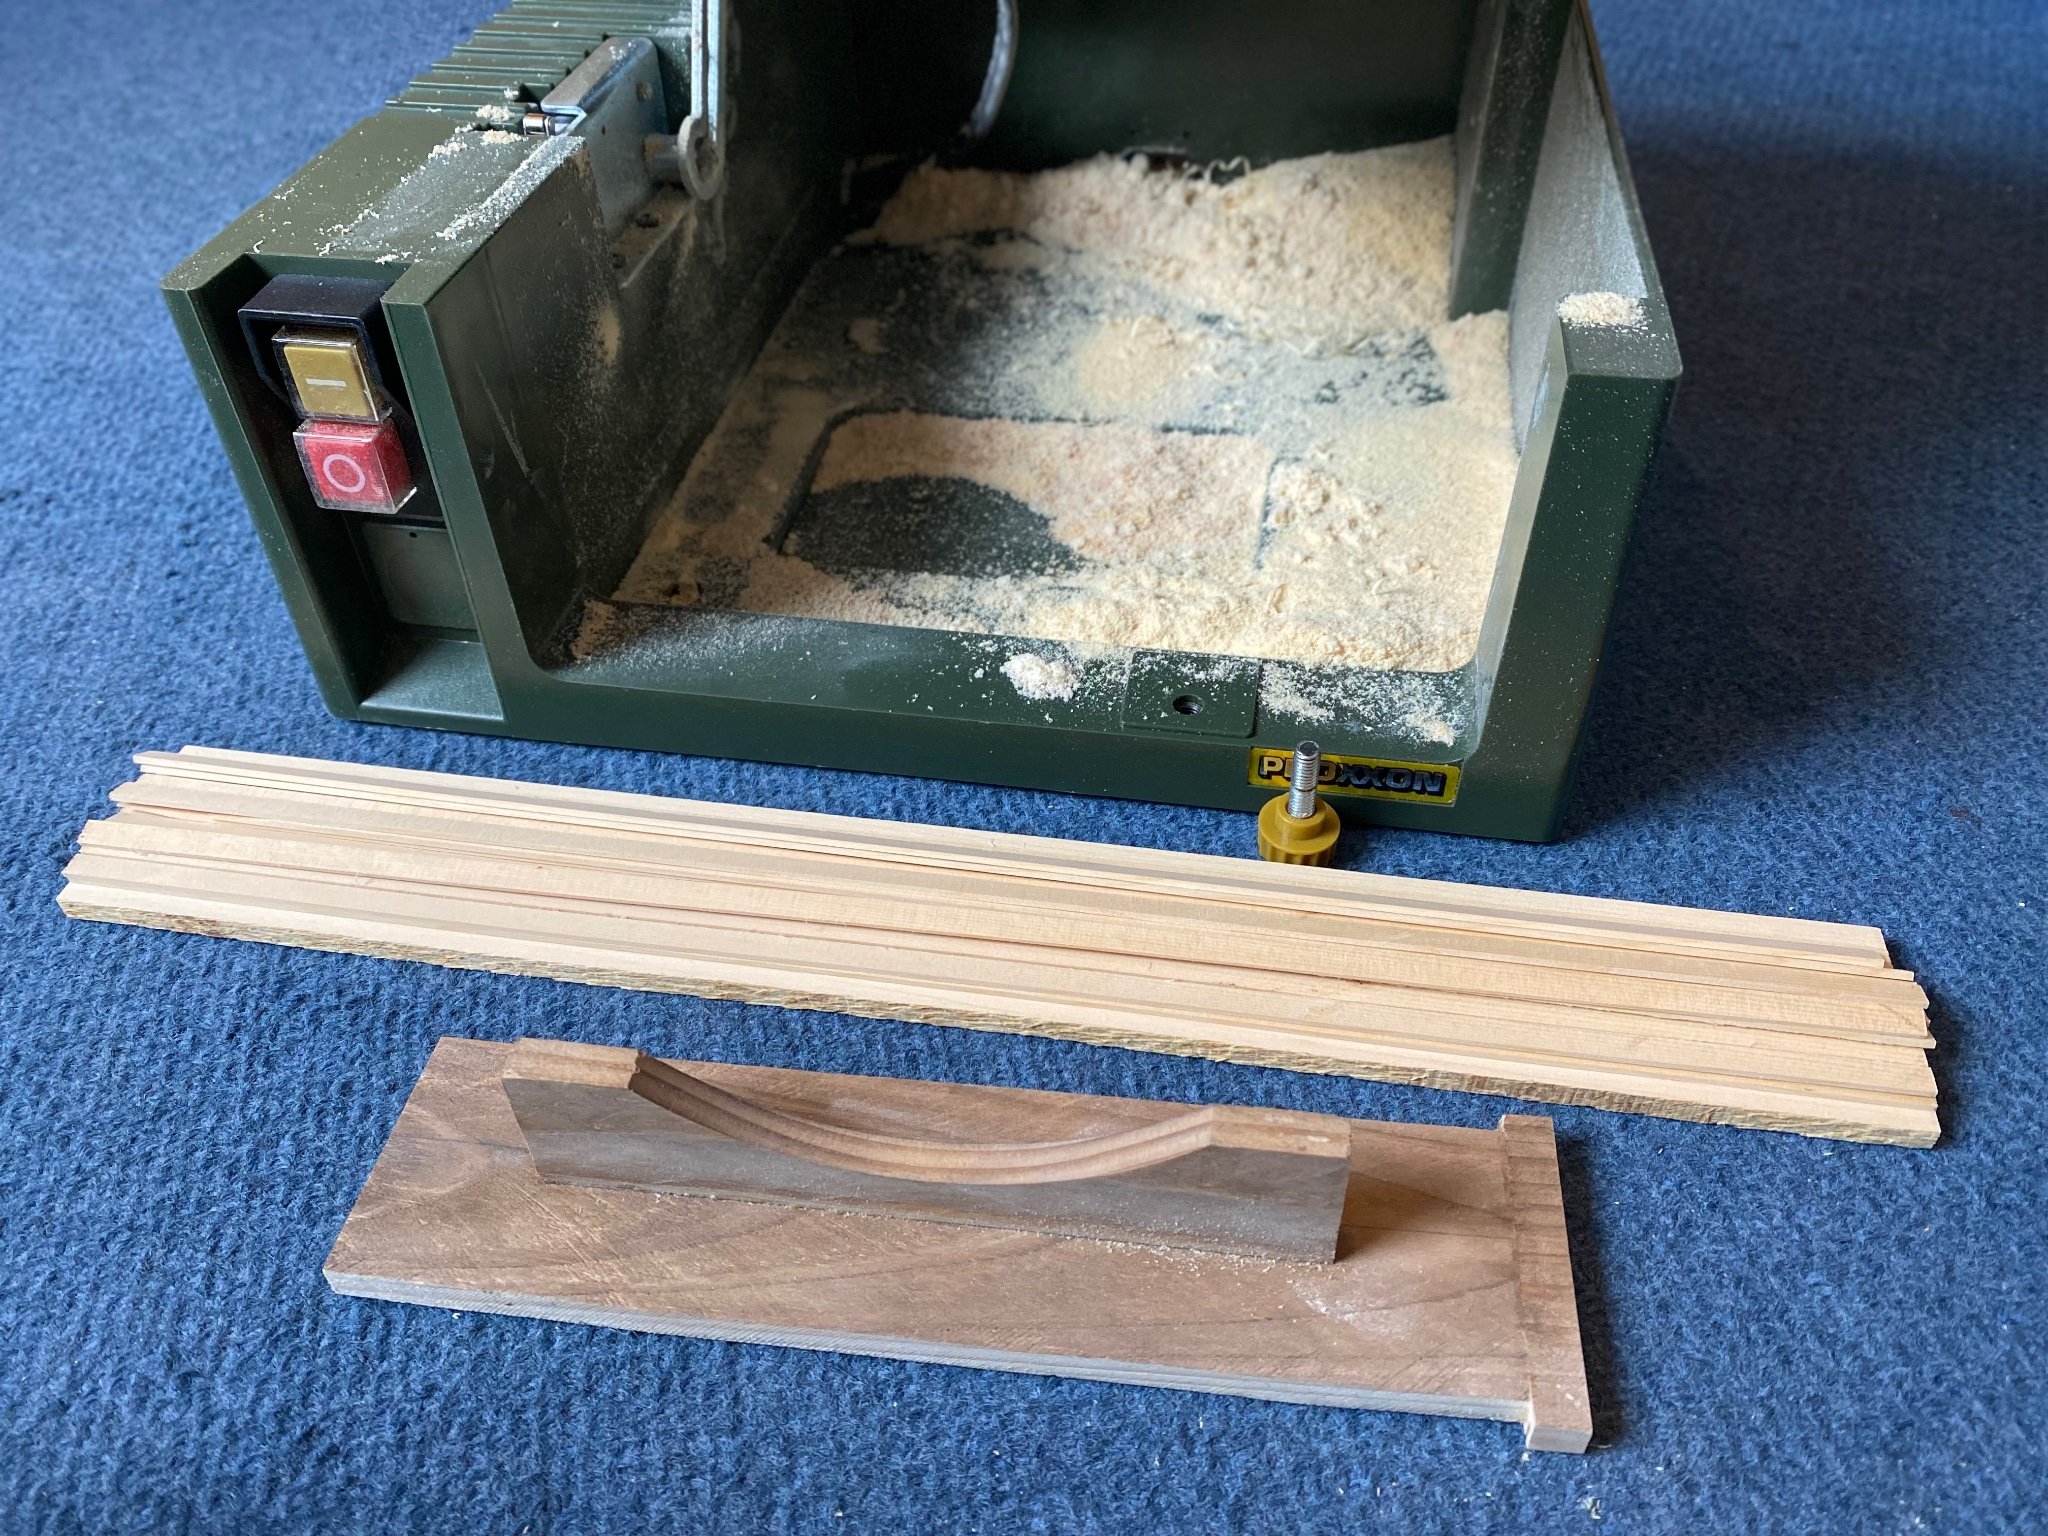
I plan to correct my lower counter with new laser cut planks from Chuck. I can mill now and try to bend them myself, but to be sure, I also ordered them from Chuck’s. In the meanwhile I was practicing as a novice how to mill the 7/32 x 3/64 wale planks myself. I had never milled anything in my life before! First on some scrap planks from wine bottle boxes. I own the humble Proxxon FET tool, so it took some time before I dared running my 7/32 planks from Chuck through my little machine. So now, while waitin for Chuck’s replacement laser cut counter planks, I can mill all my planks for the wales. This is an achievement I would not have dared undertaking and doing without this build log! So I learned a new skill this week and I’ll drink to that tonight on Christmas Eve! They turned out nice, even and very smooth! So proud of myself I managed to do this! Happy Christmas you all!!! 🎄

-
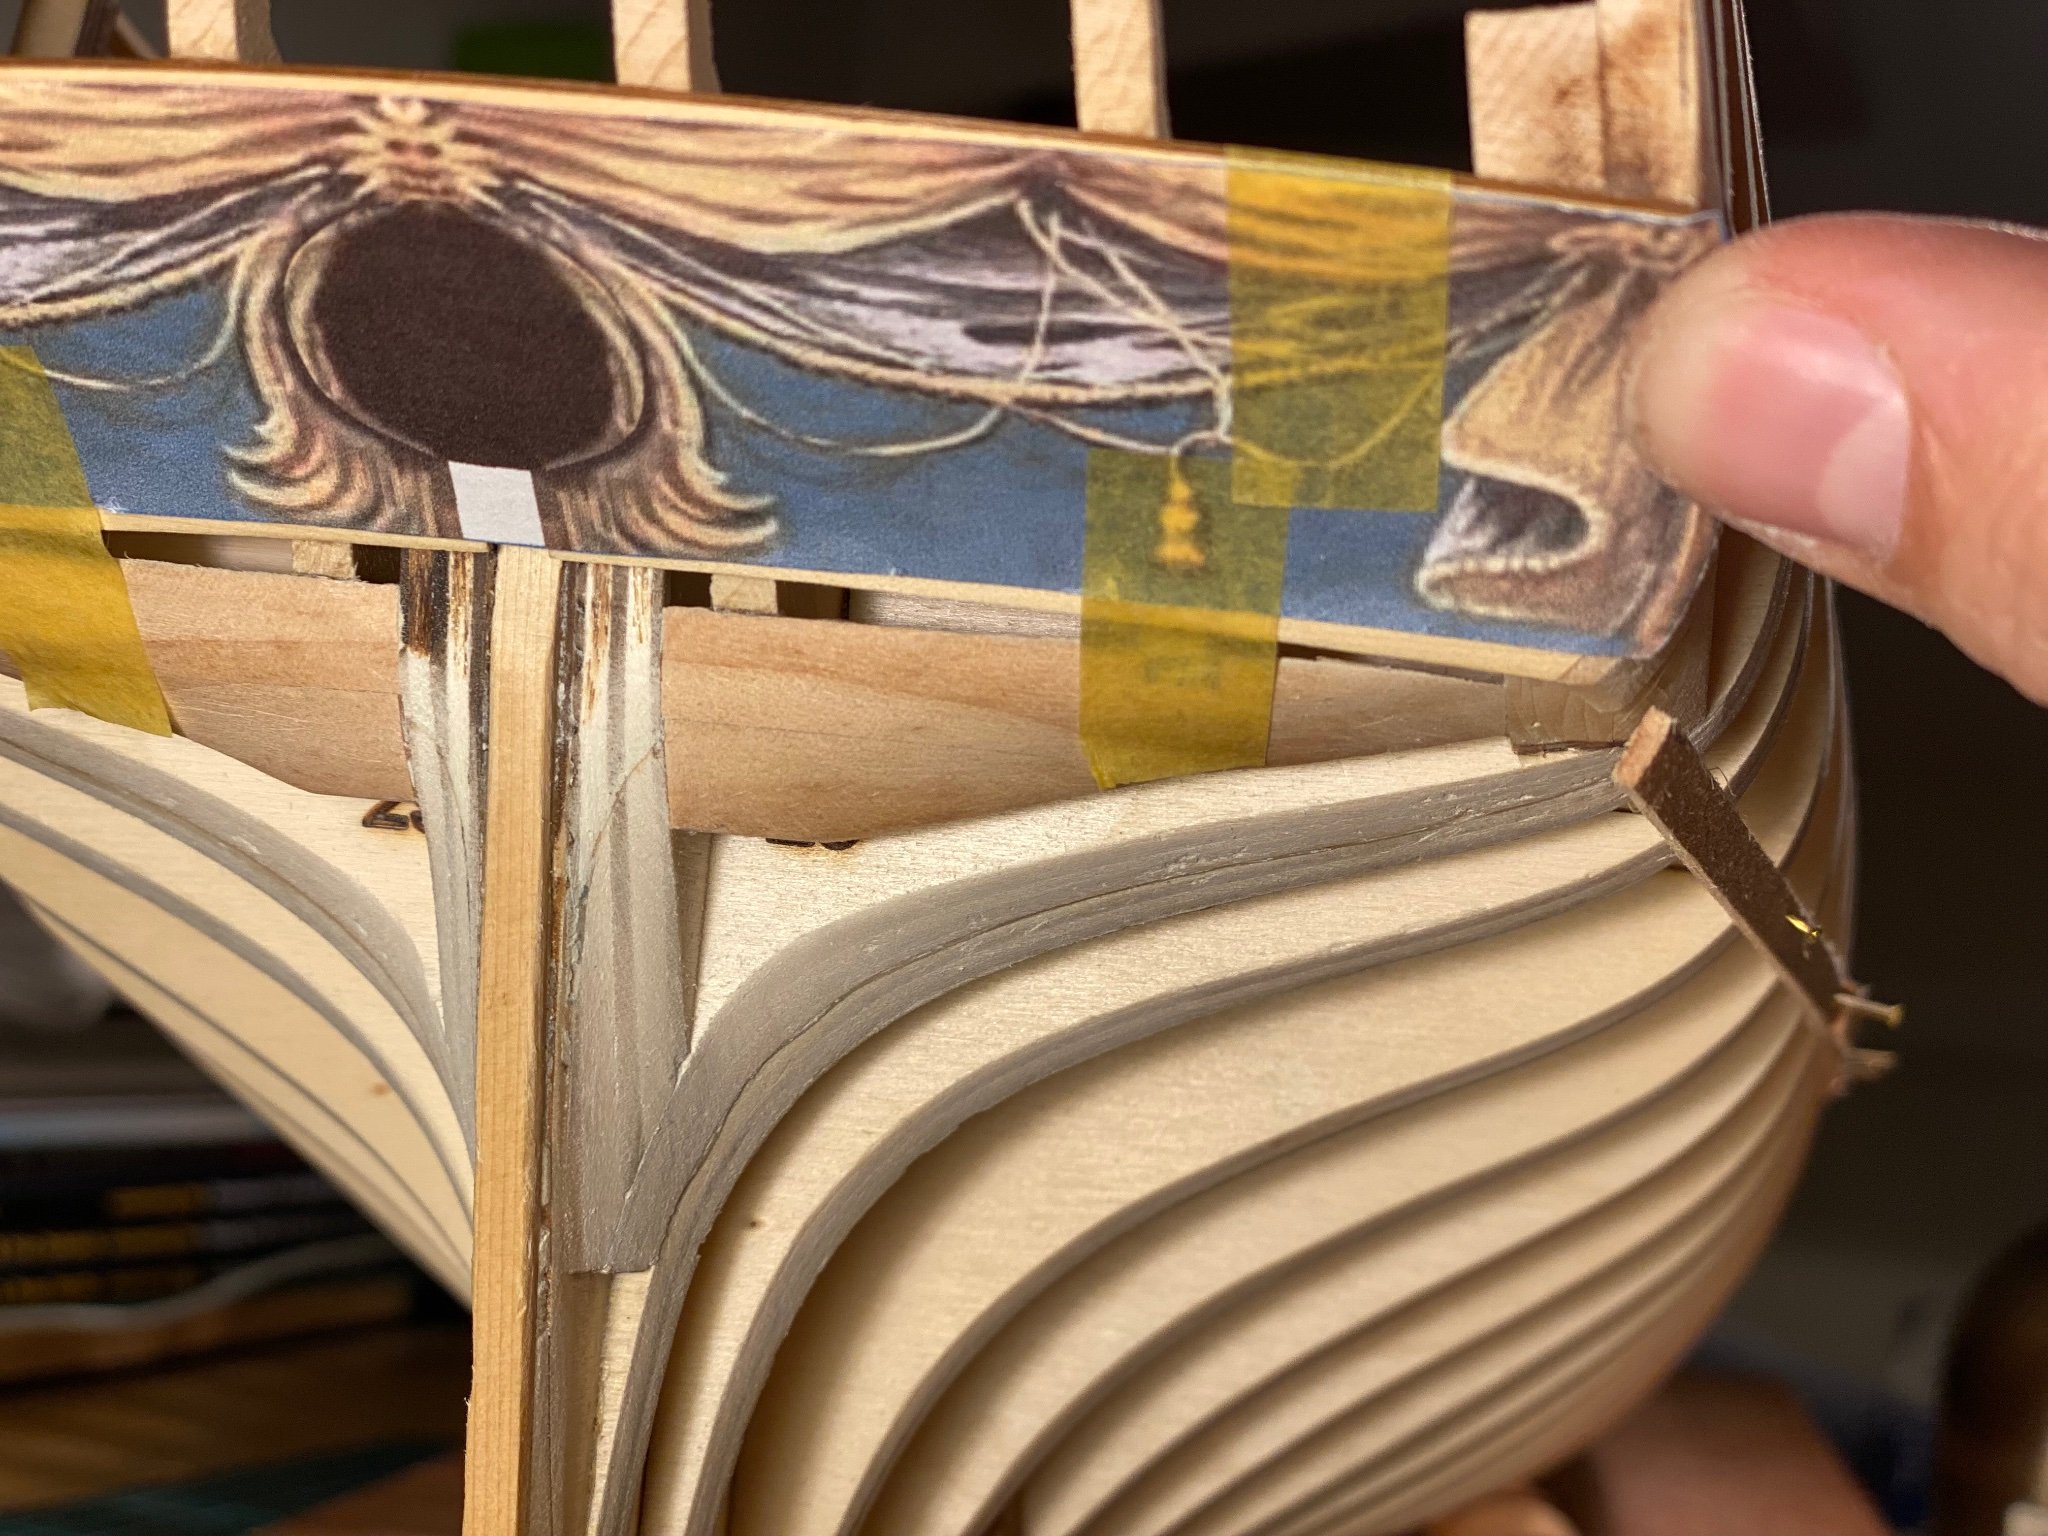
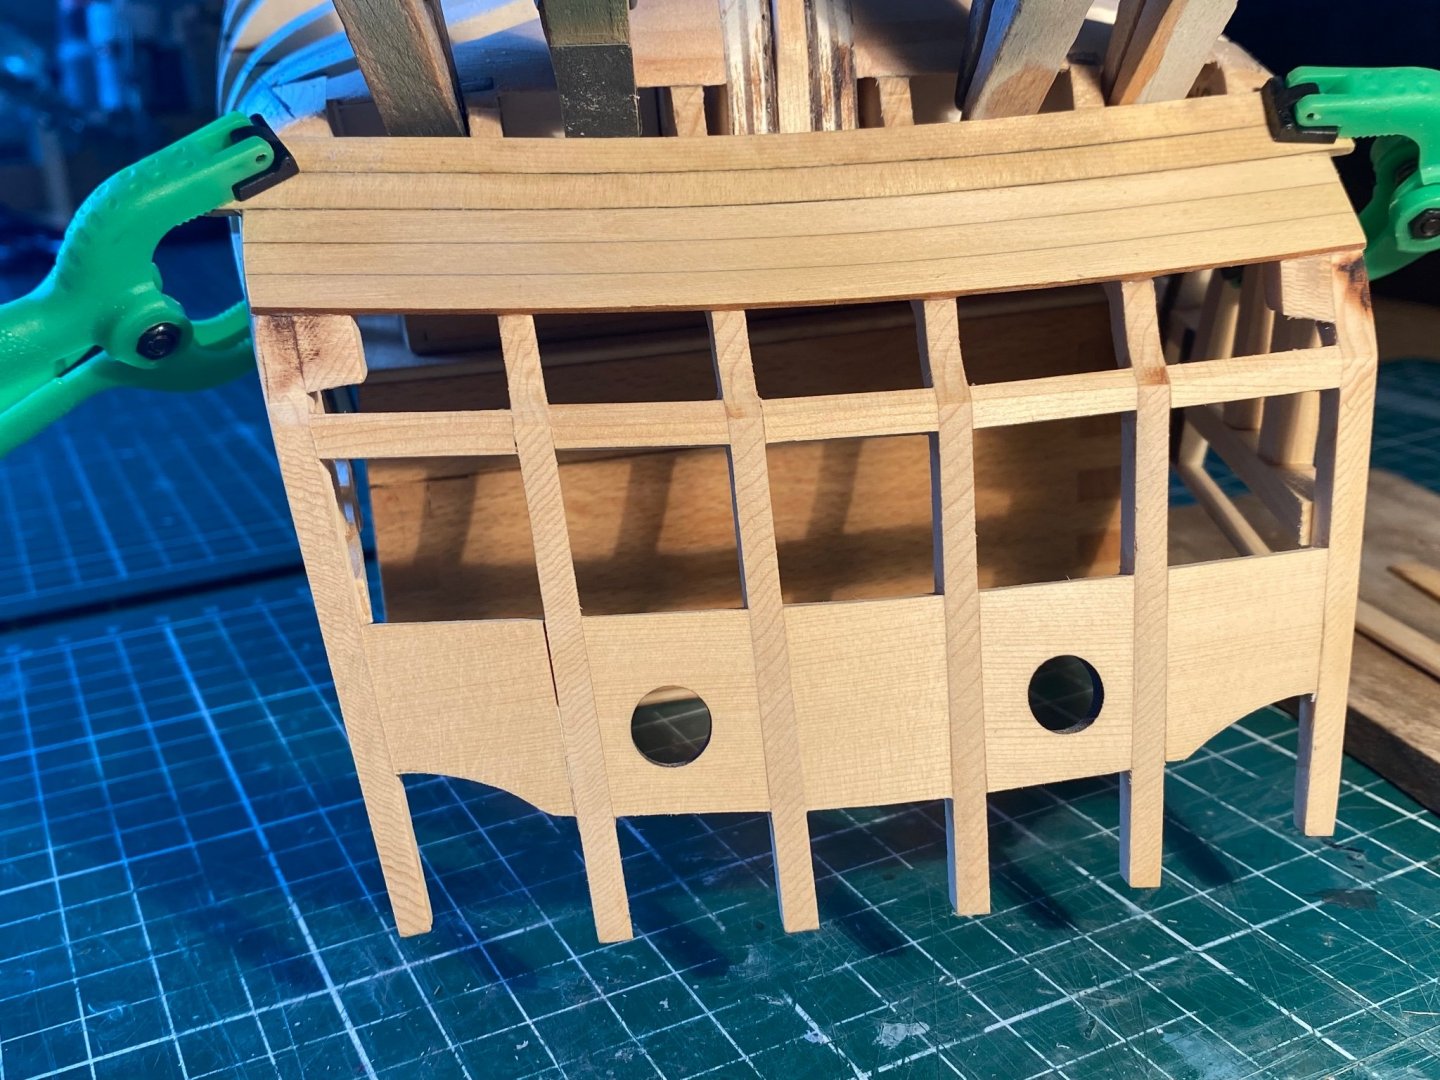
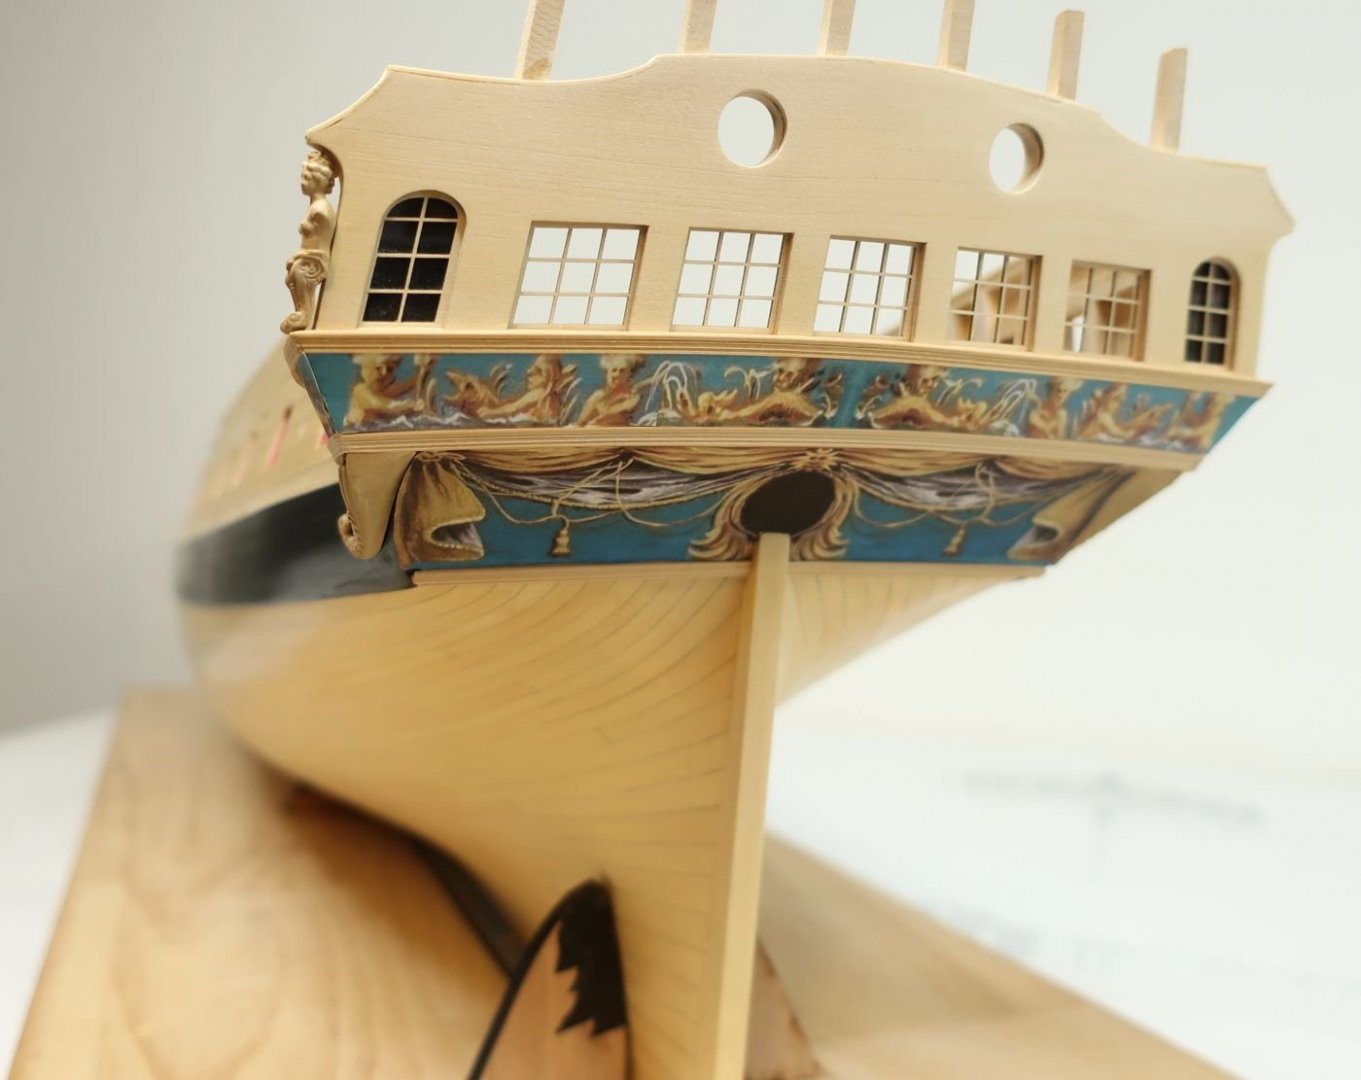
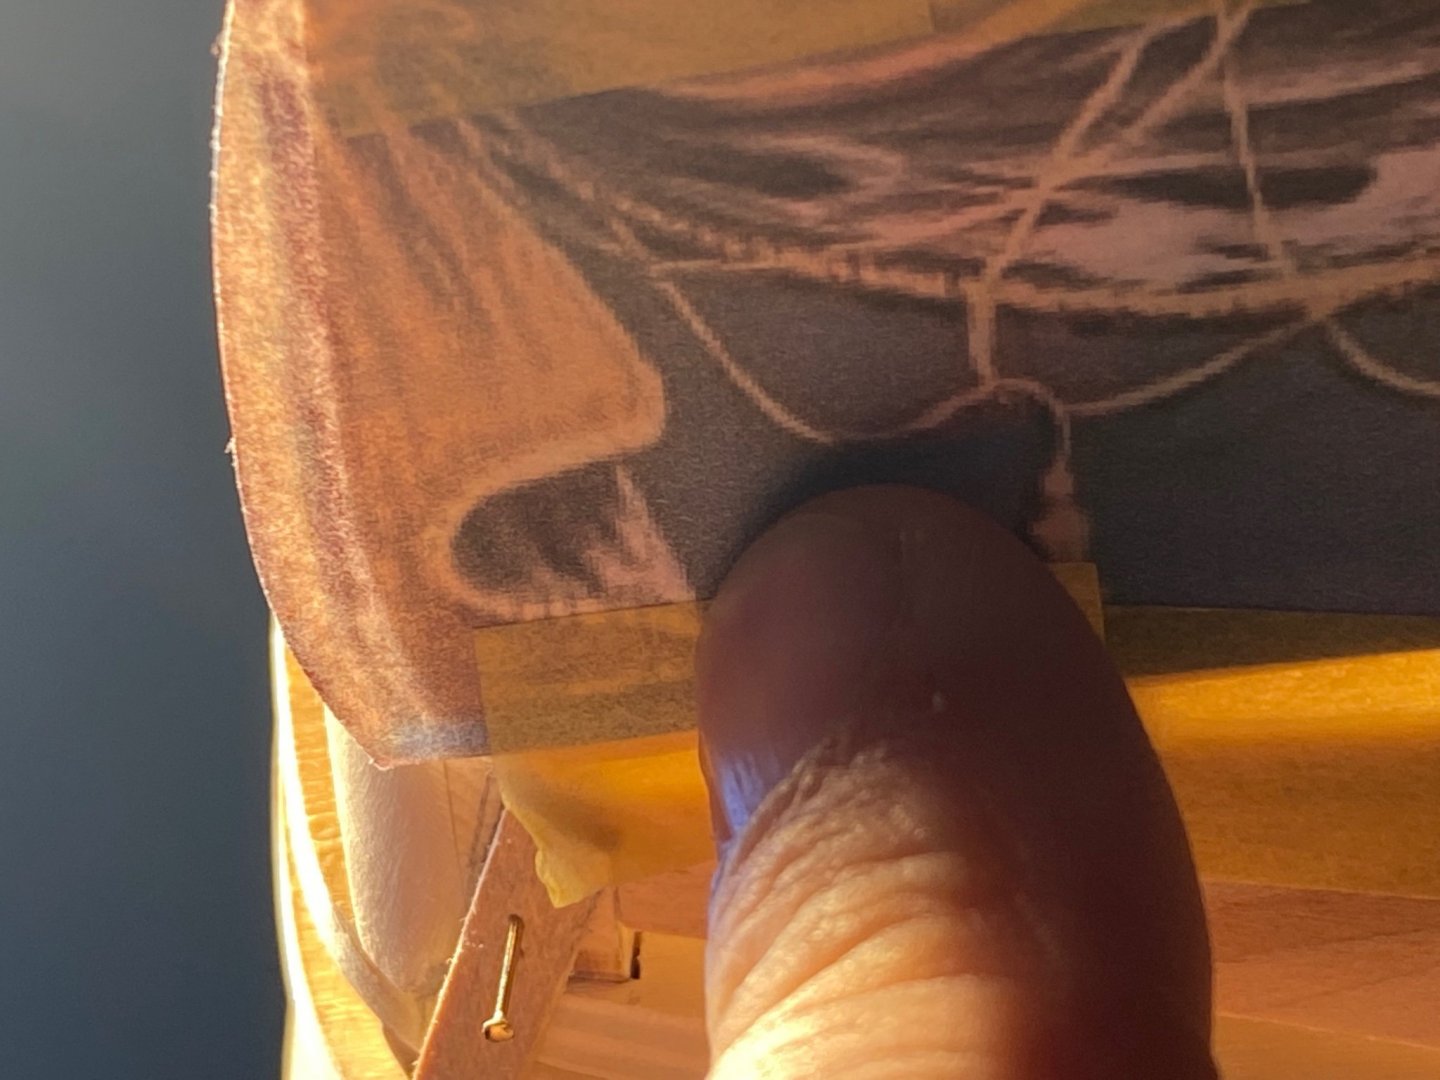
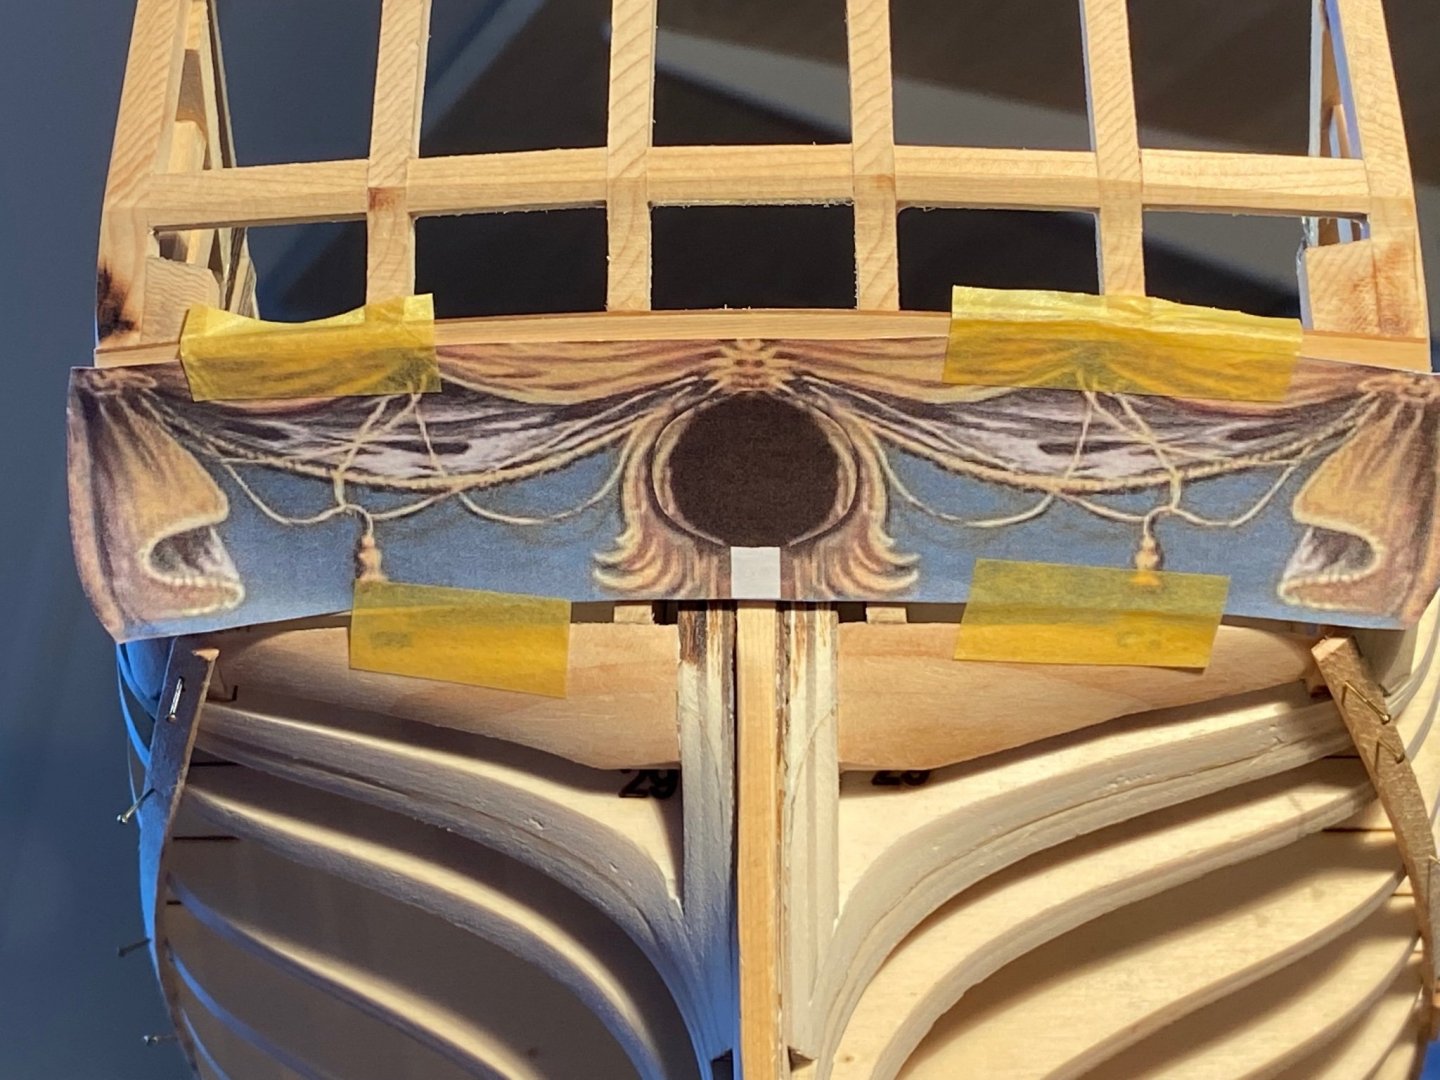
By the way, do you glue the stern lower counter print aligned to the top of the horizontal planks, at the bottom or in the middle? the lower counter is a little bigger than the print, so I guess above and below is where the decorative frame will be? I aligned it to the top here and then it seems fine, the double planks fit exactly to the edge of the back of the print. My apologies for the bad pictures, but it’s already pit black outside here now…

-
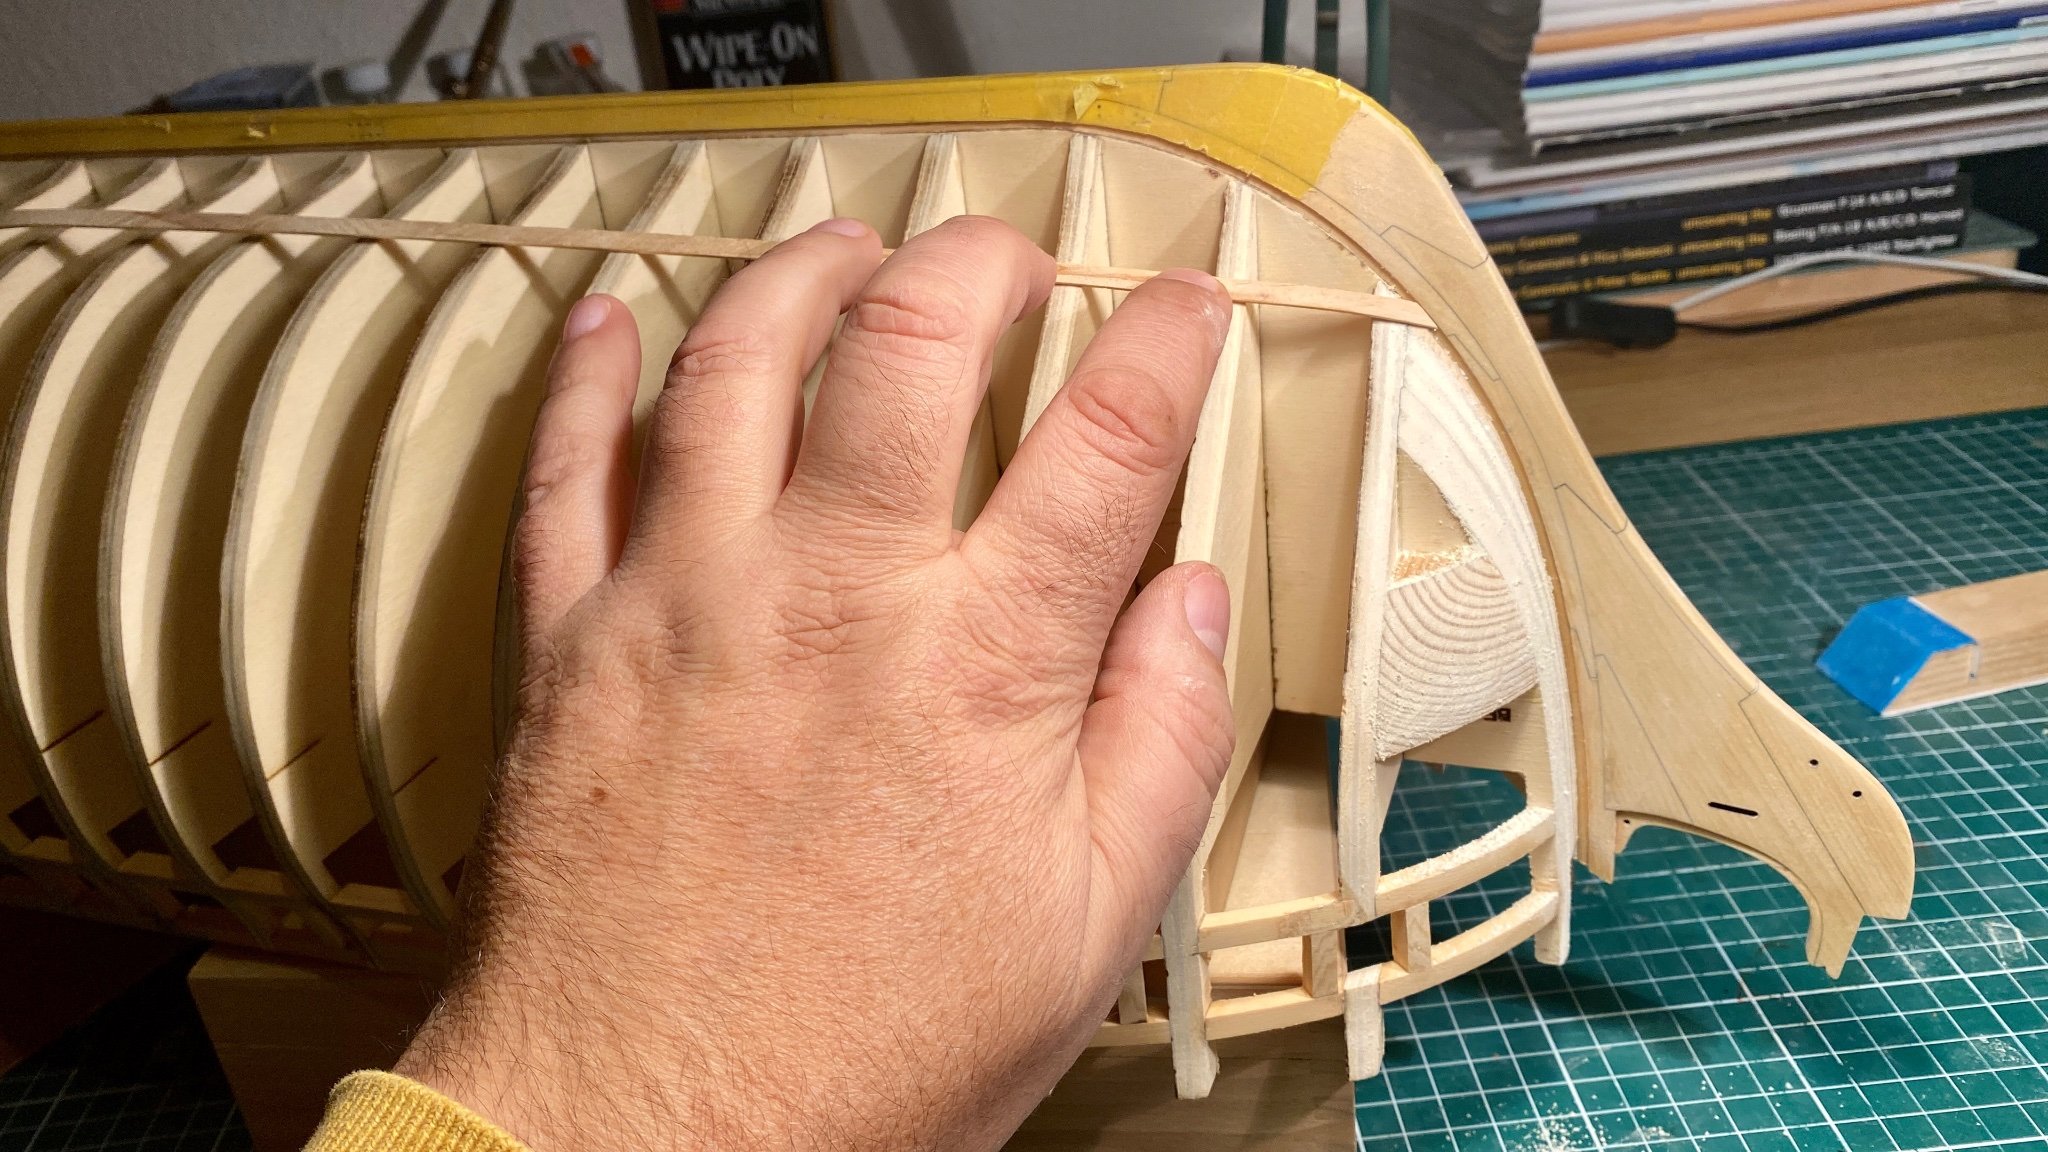
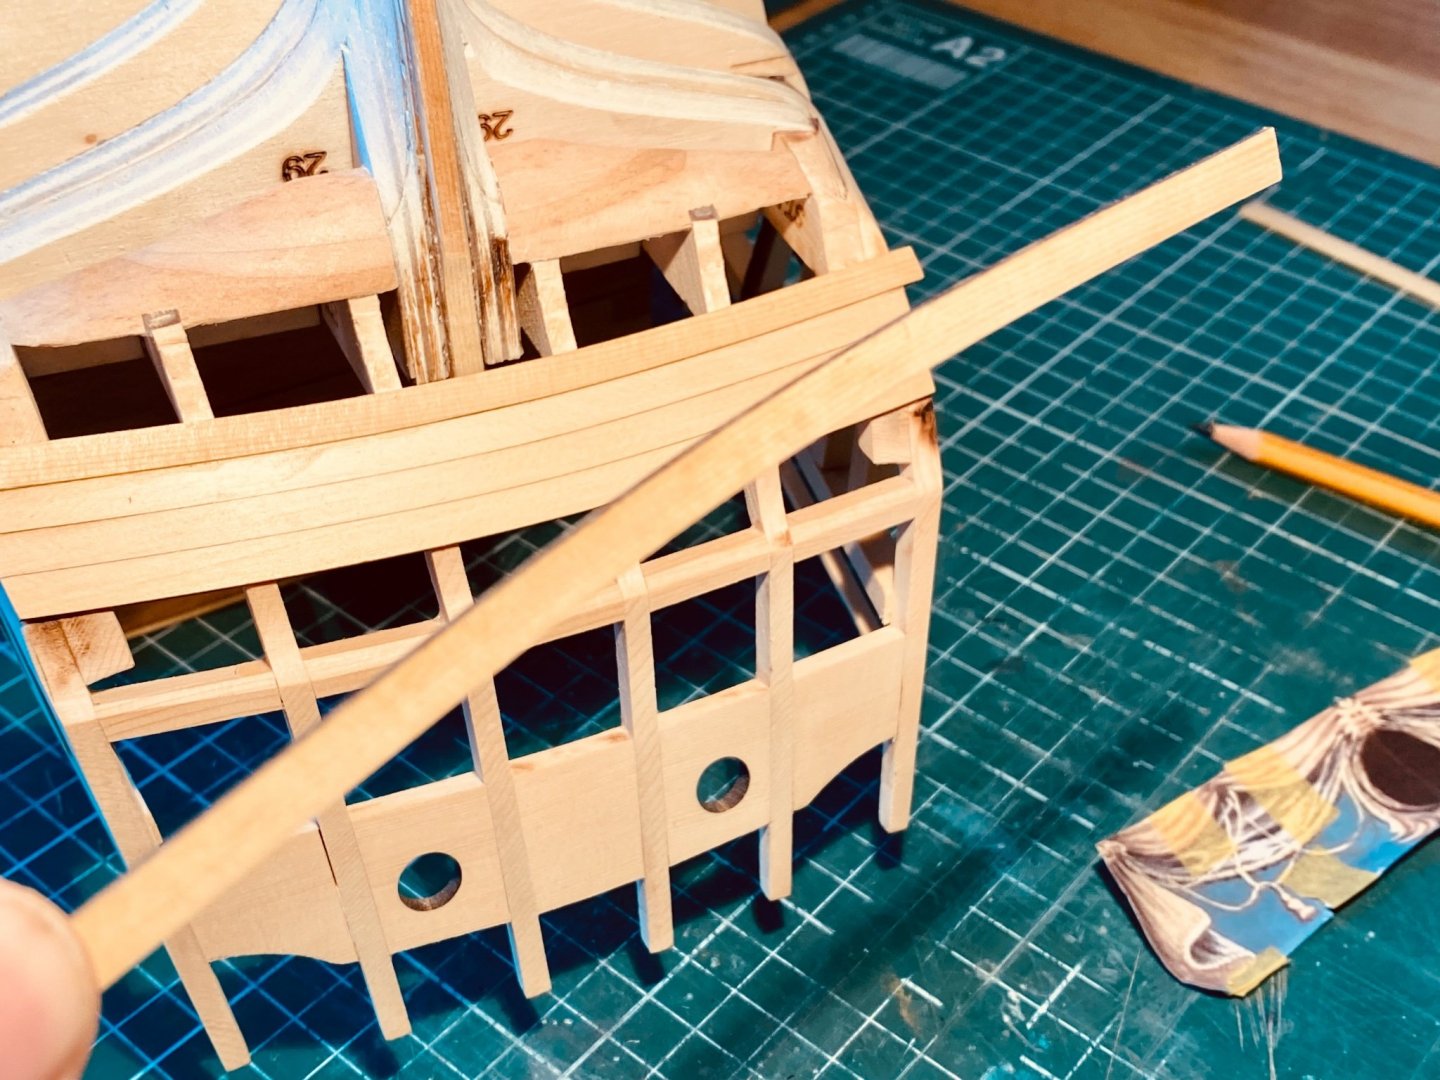
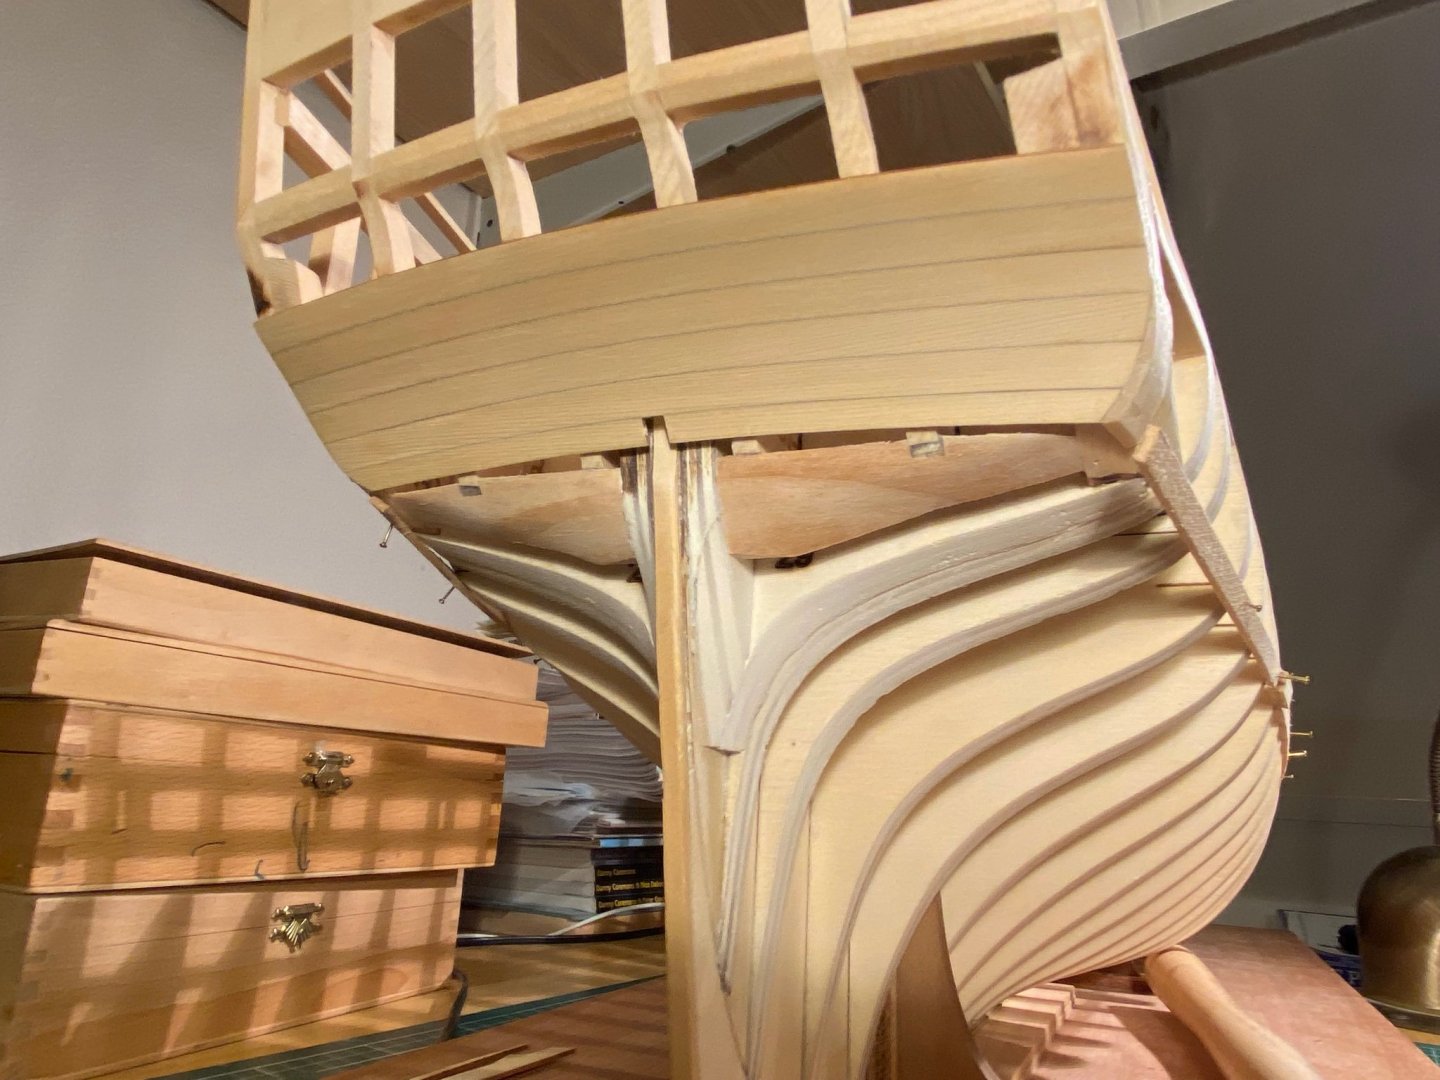
Here’s what I’ve come up with for the starboard side… I’m not sure anymore where the batten has to end now at the stern, as I cannot really reach the middle of part ST-D anymore now…. And where has the planking under the stern has to end now, do I have to pad that up as well? I think at 18:17h now here I think I’ll end my session now and see further tomorrow morning….

-
Thanks Chuck, Mike, Ben, JJ and Glenn for your much appreciated help! I’m going to fix it as good as I can.
-
I looked in our teachers’, Chuck’s and Mike’s logs and they have seem to have done it a little different too, so there’s not really a right or wrong I guess? I hope you don’t mind reposting your pictures, Chuck and Mike? Chuck: Mike:
-
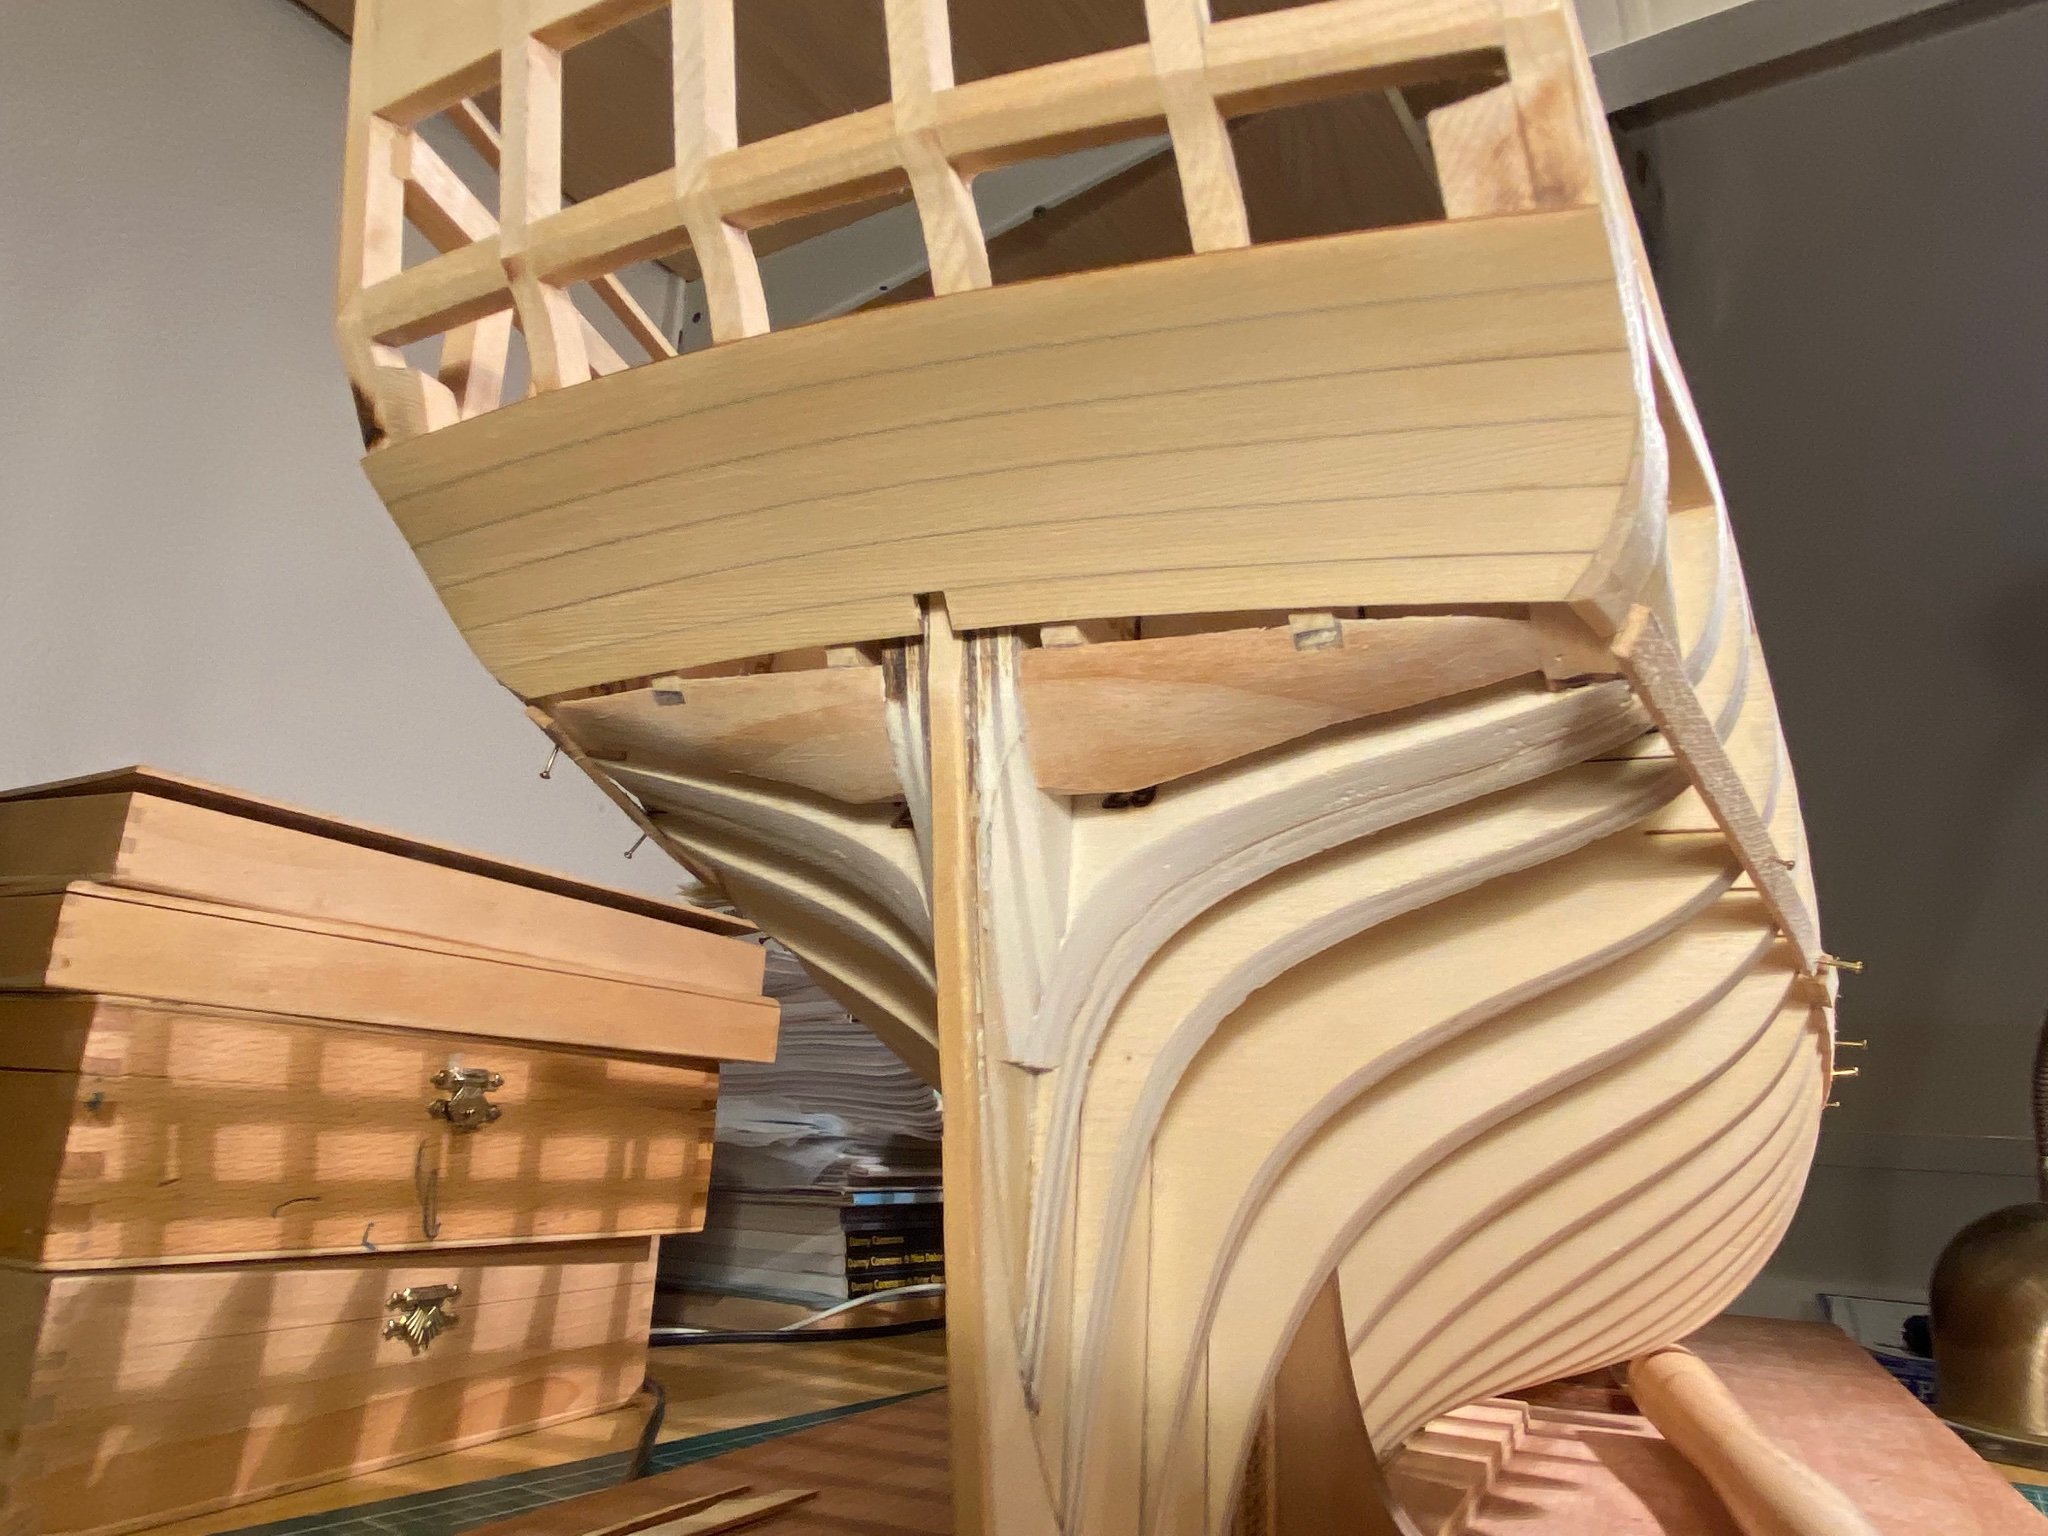
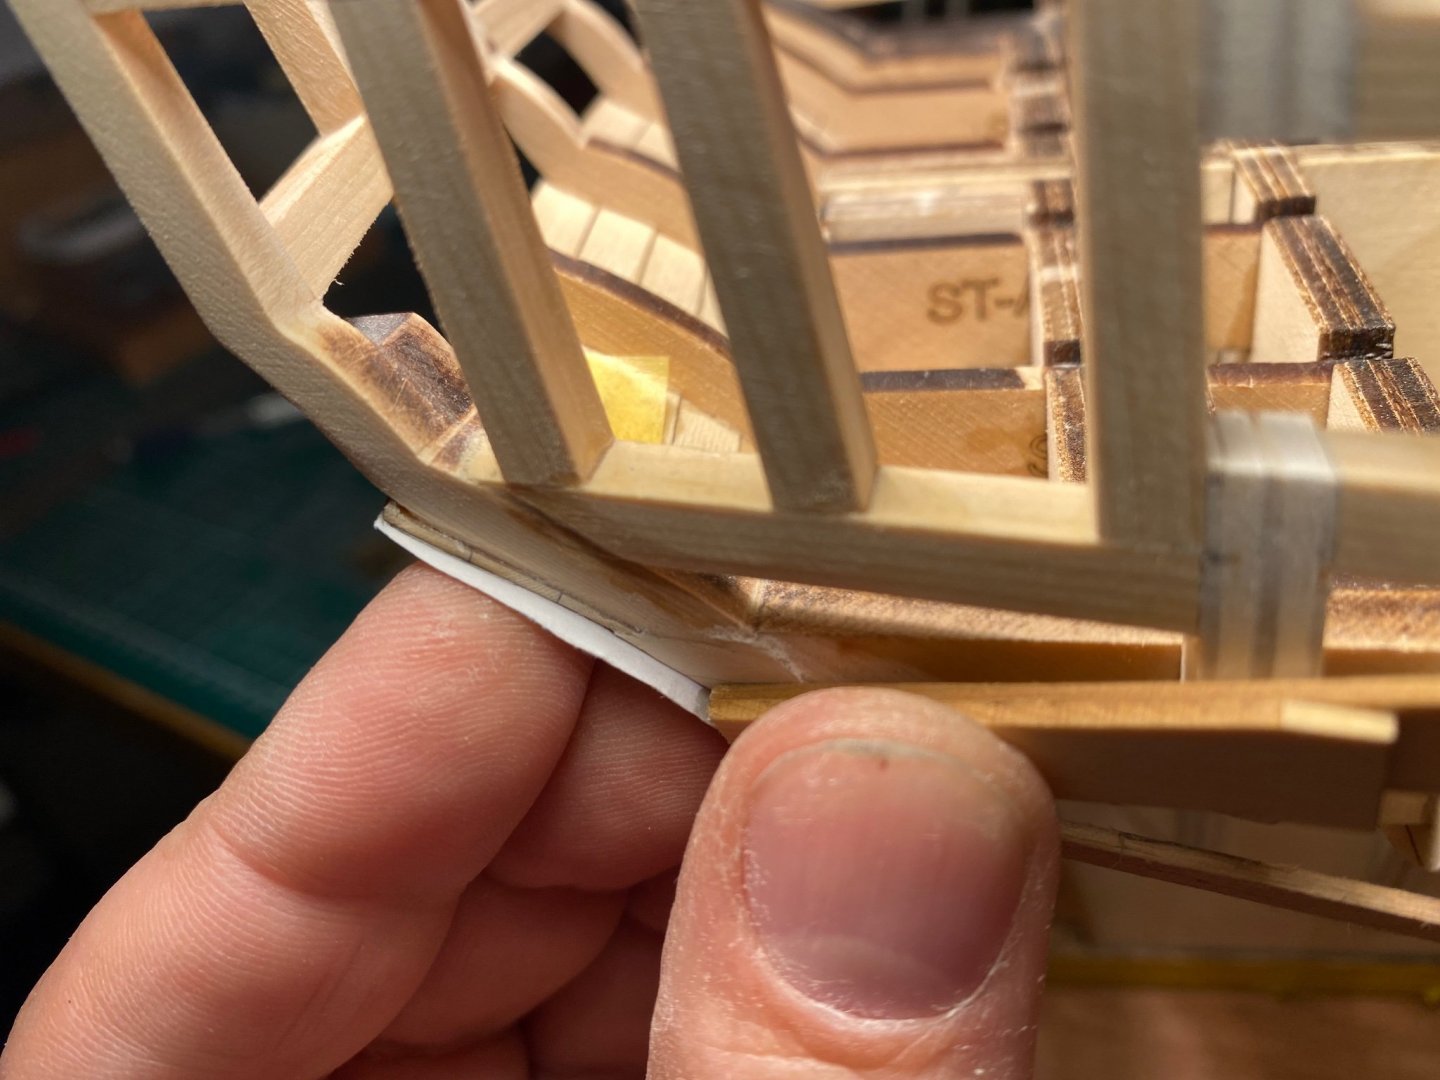
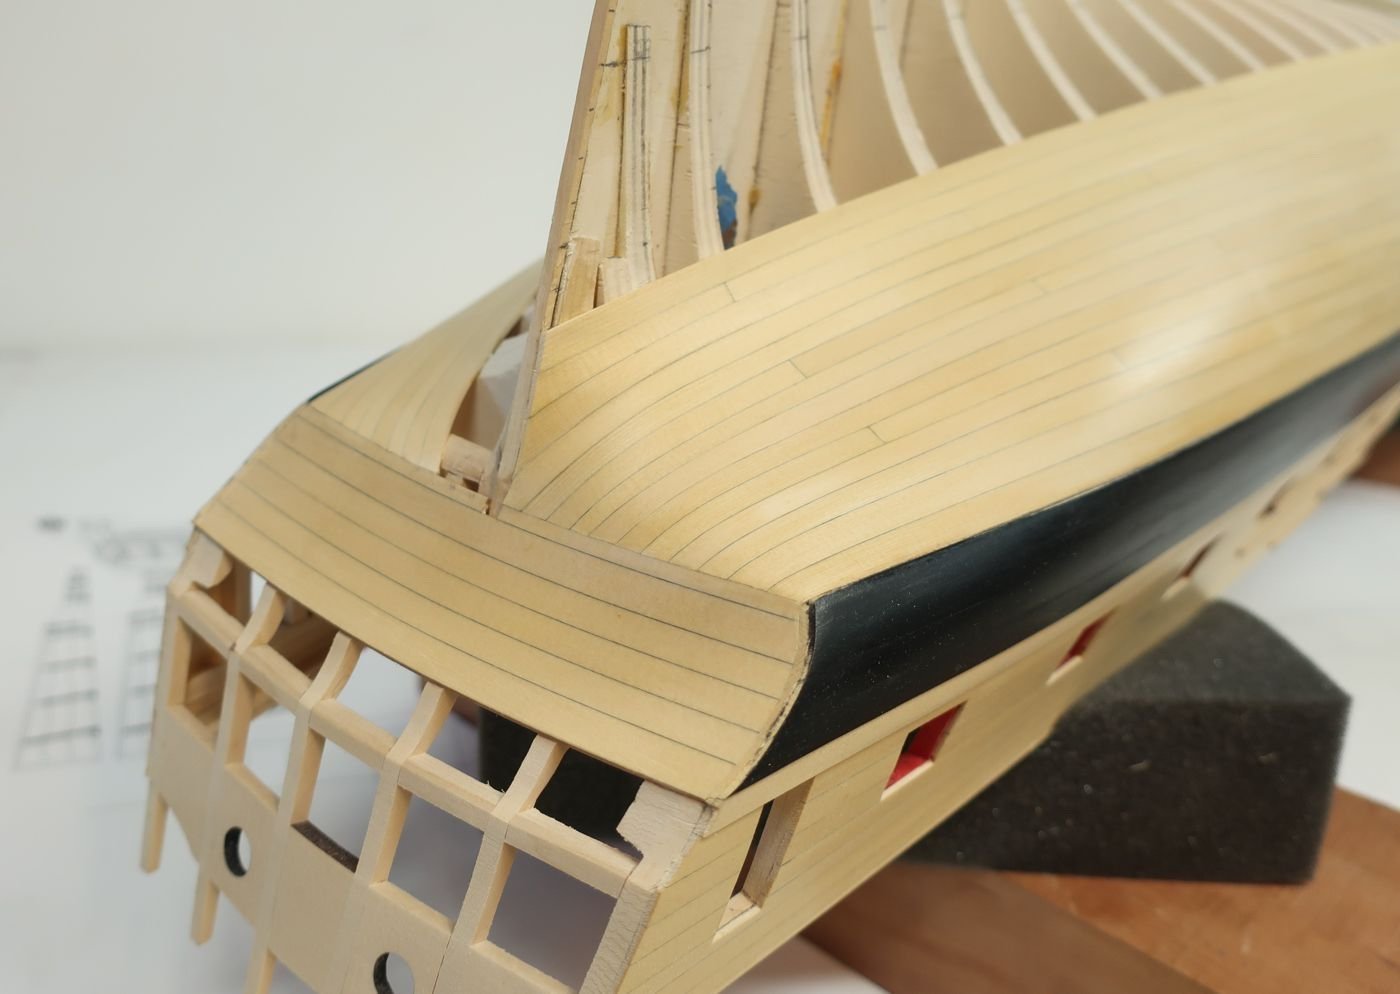
It seems to be a little off, but not that severe. What I don’t understand though is how you guys all can end up in the middle of stern piece ST-D with the lower part of the wales and make the stern print fit exactly… Should the instructions instead say “the lower part of the wales should touch exactly between steen parts ST-C and ST-D”? Then the print seems to fit exactly…


-
When I’ll have to correct it, that would a good tip to follow, thanks JJ!
-
Thanks Glenn, I’m following yours with great interest and admiration too!
-
That’s ofcourse the most obvious thing to check, I’ll do that, thanks! Hopefully it’s only just a matter of flattening the curve, as I ended exactly in the middle of stern piece D with the bottom of the wales as per the instructions.
-
Beautiful work, a treat for the eye…
-
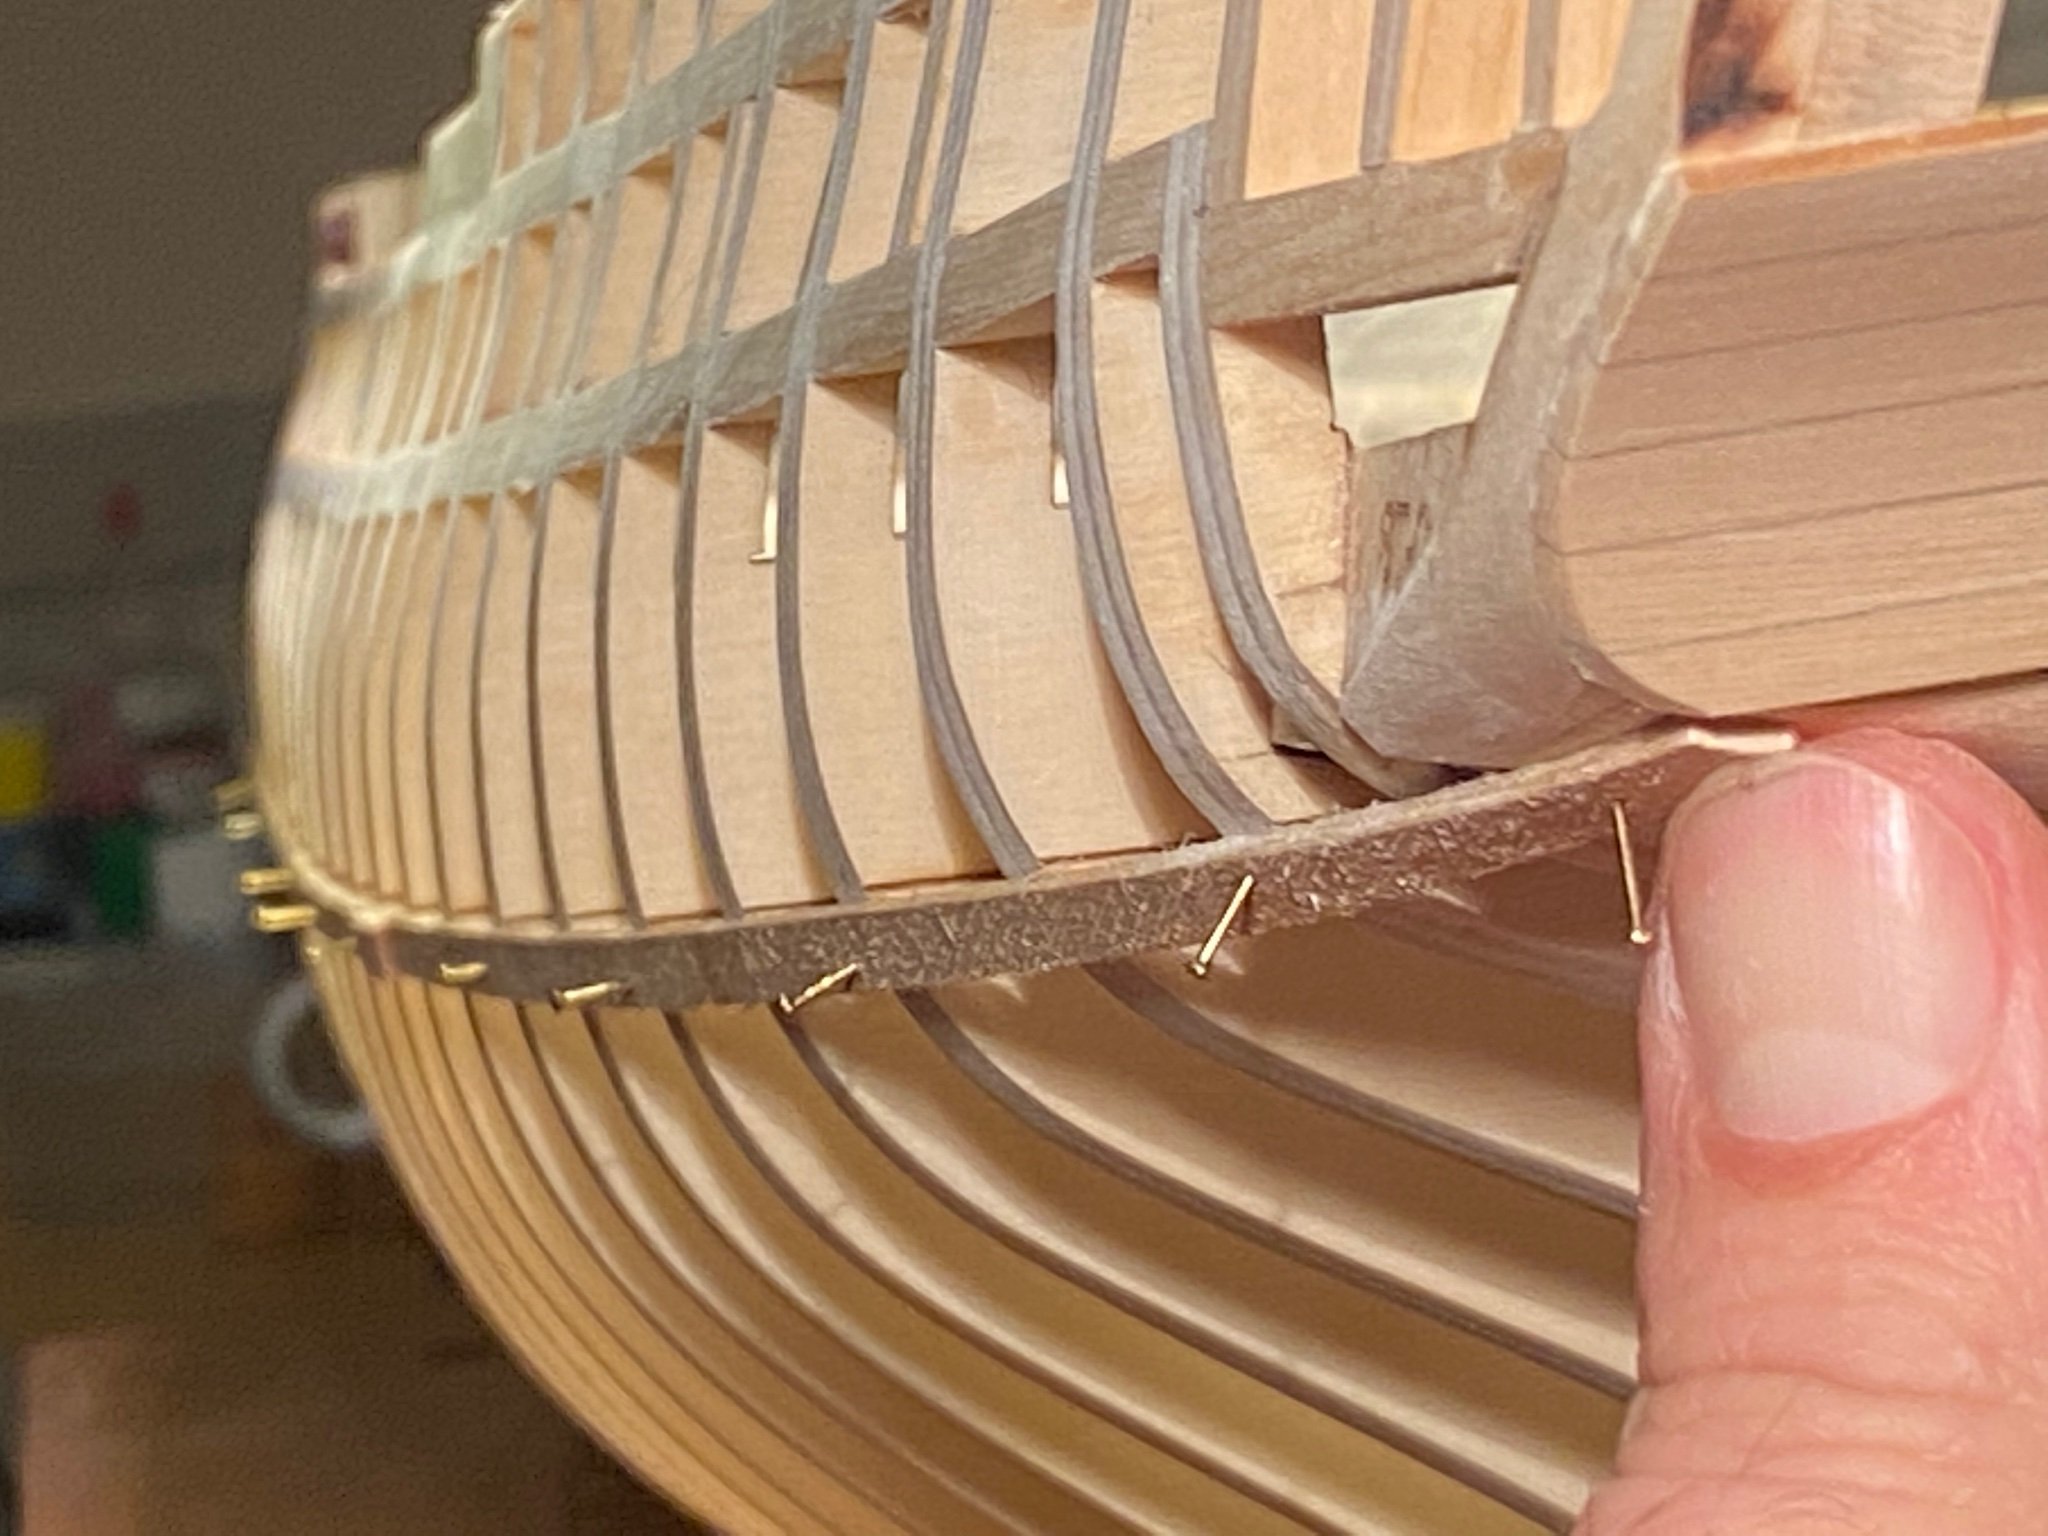
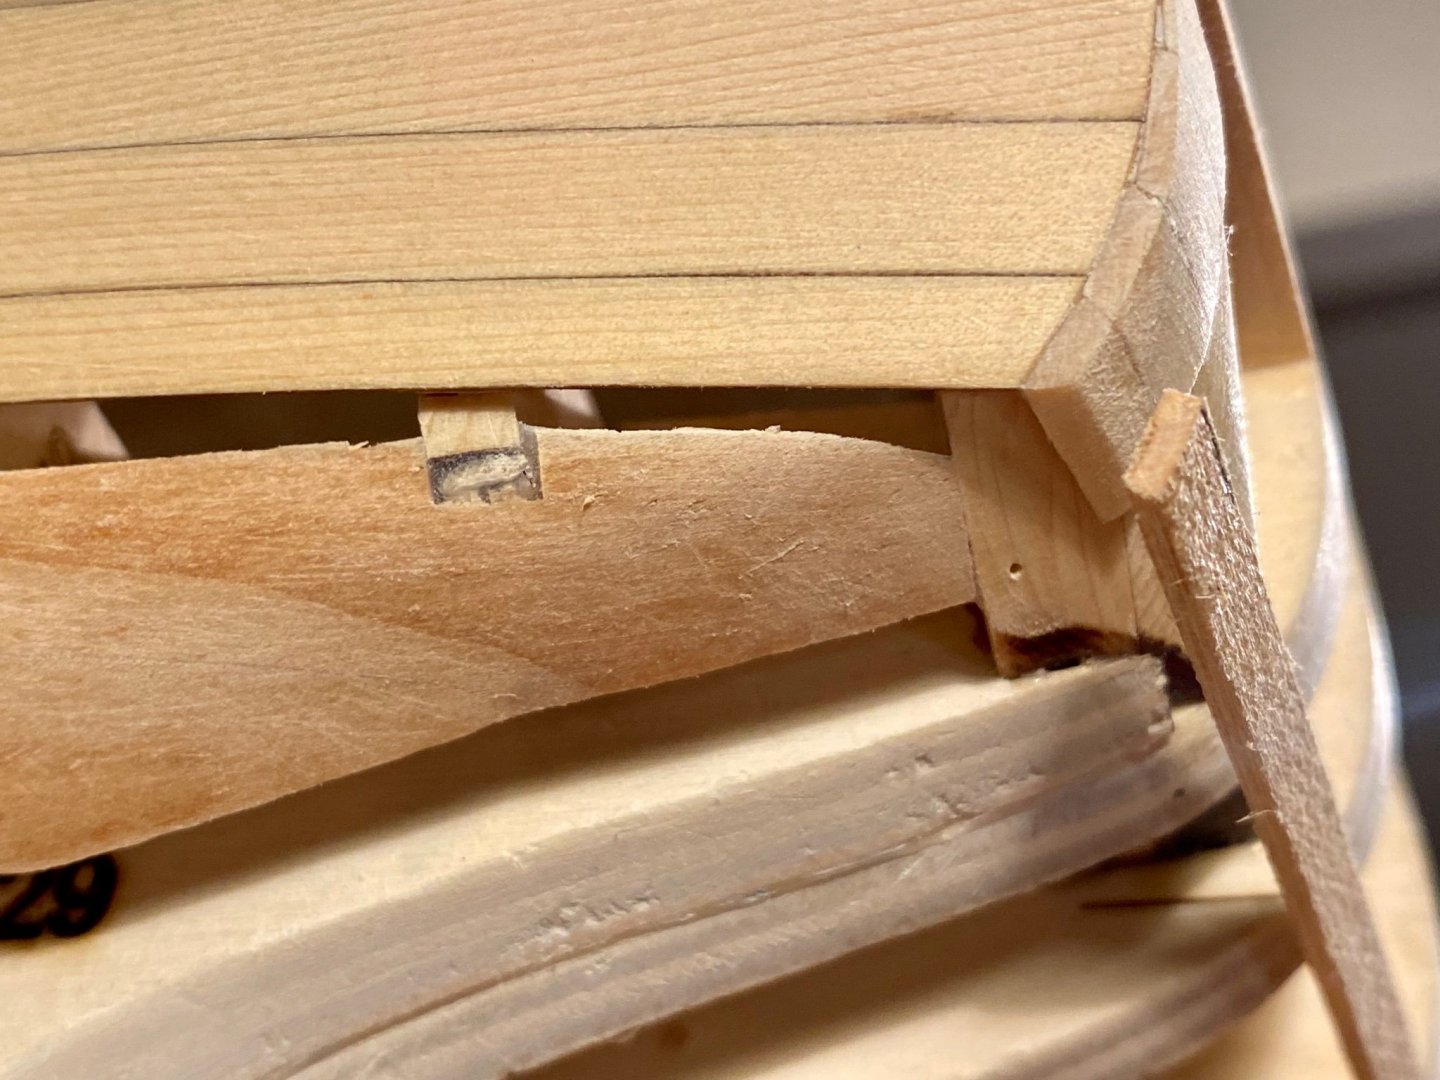
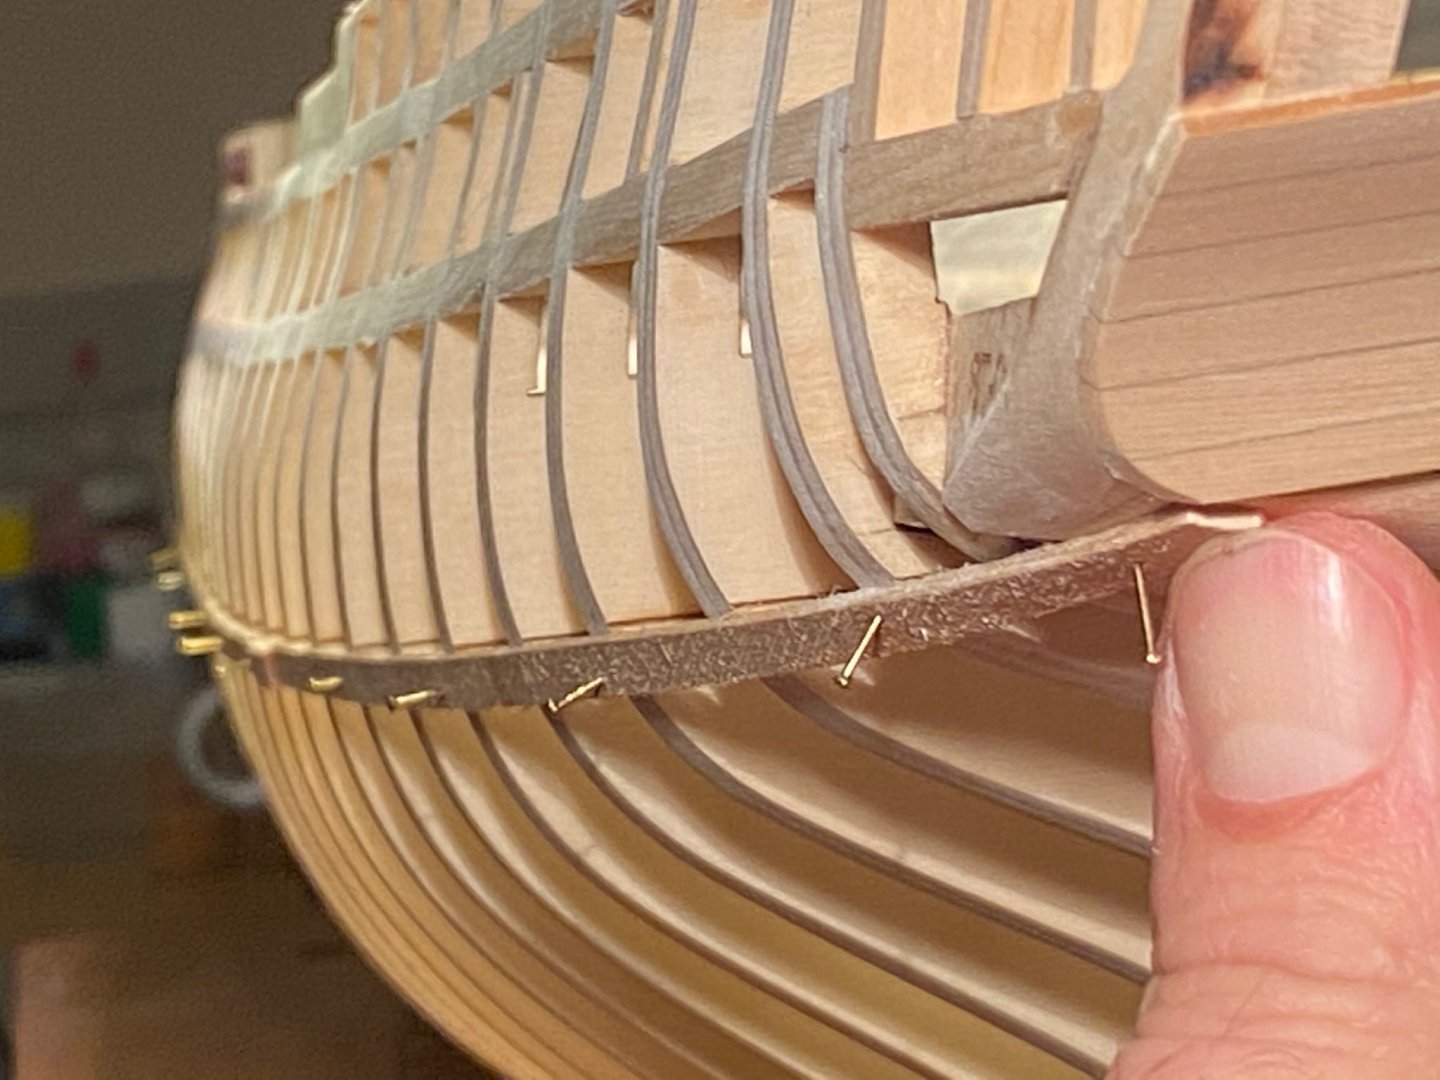
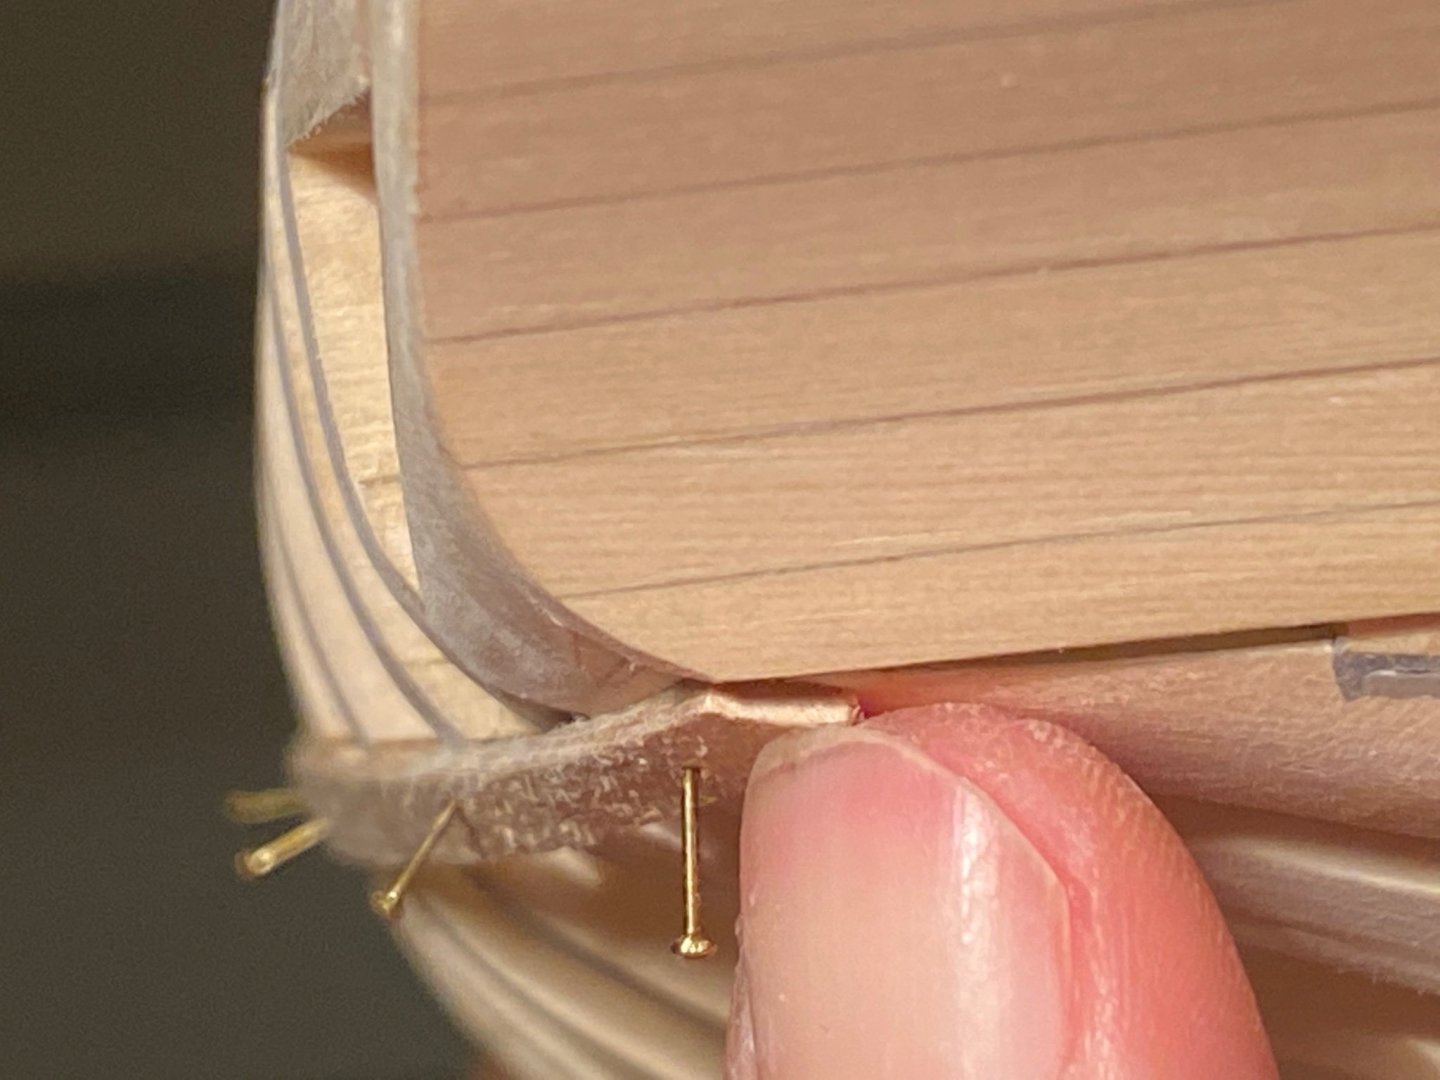
Also, is this sharp enough an edge at the lower bow?


-
As a beginner, I have a question though. Is this how the bottom of the wales should touch the lower counter? Or should I sand that pointy edge of the lower counter round?
-
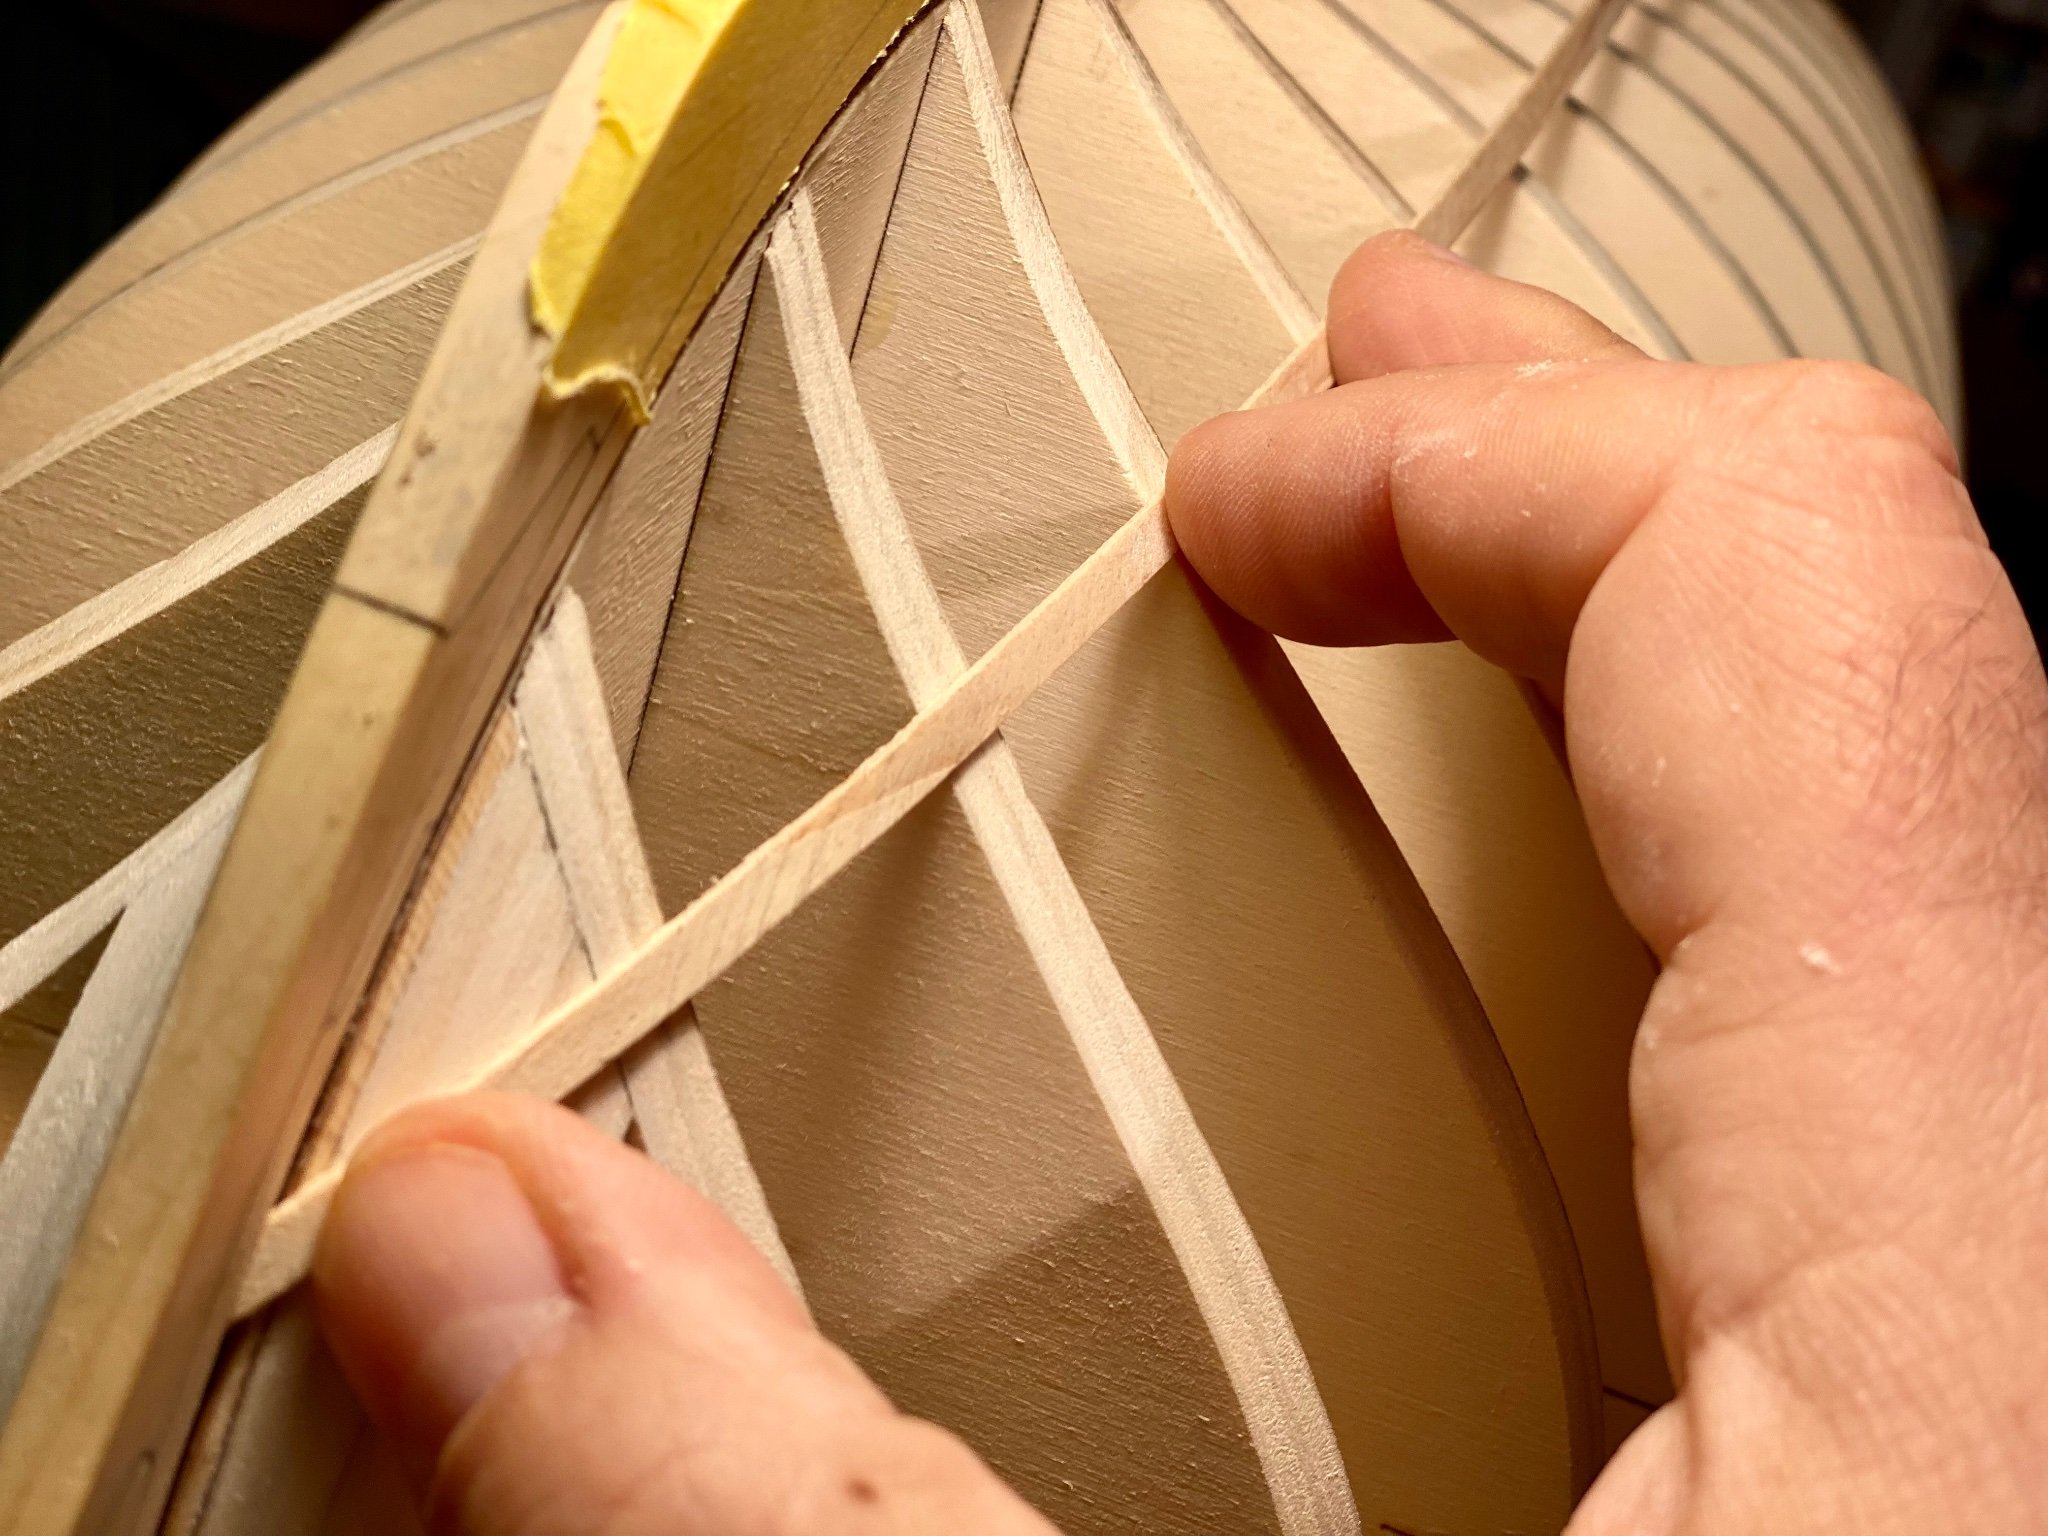
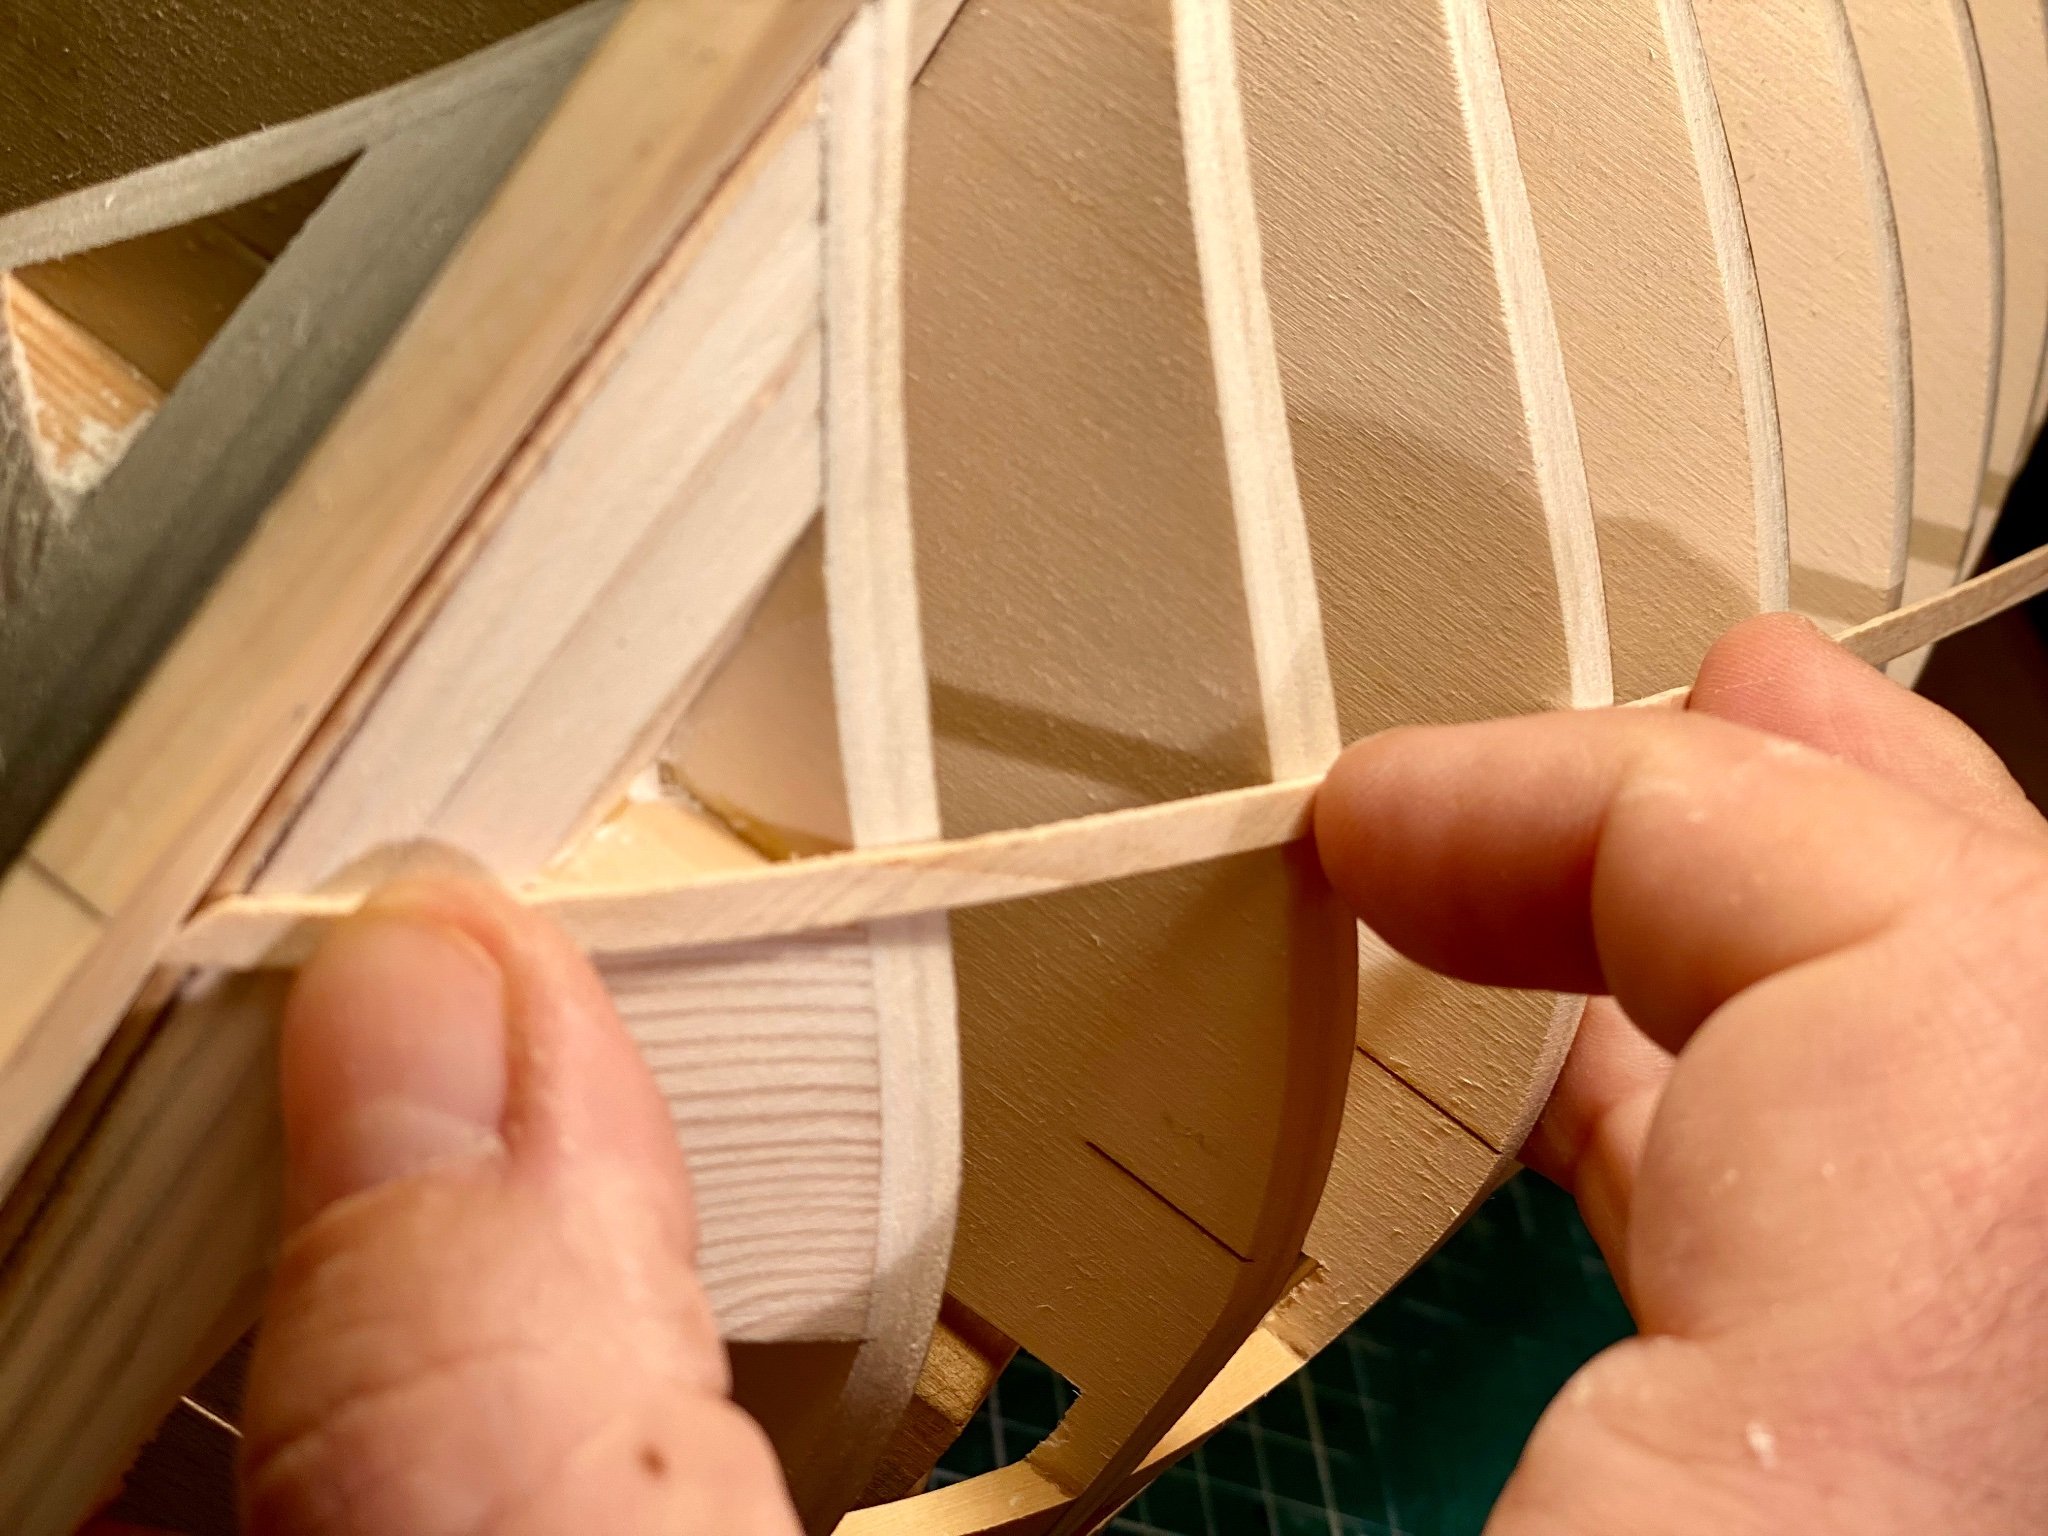
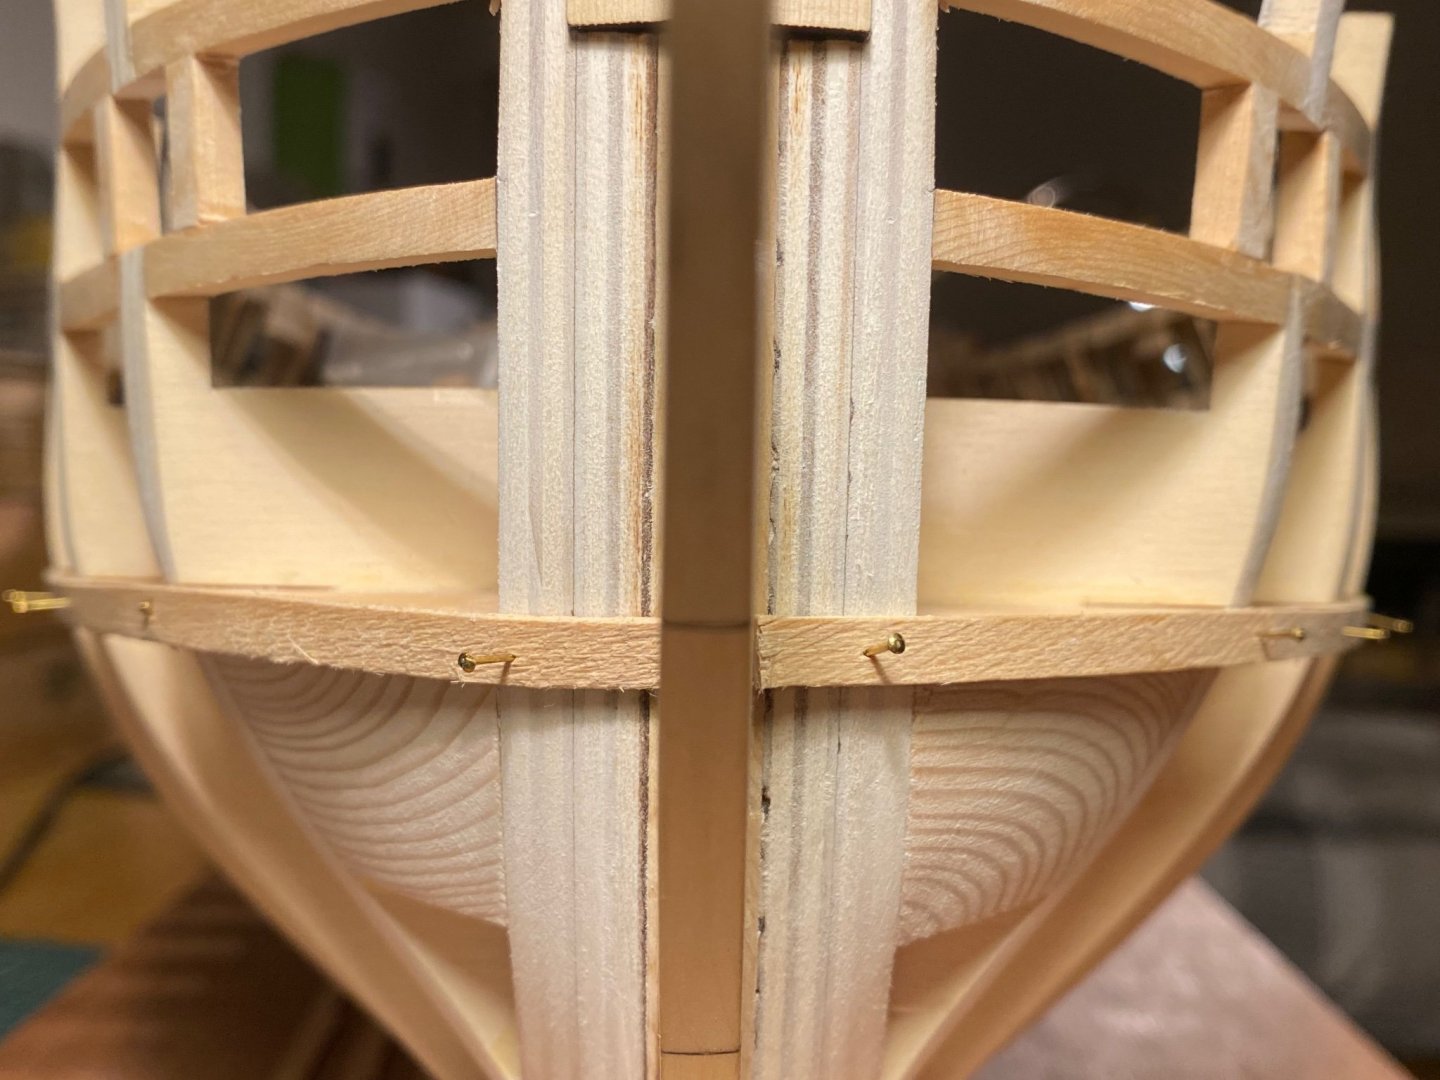
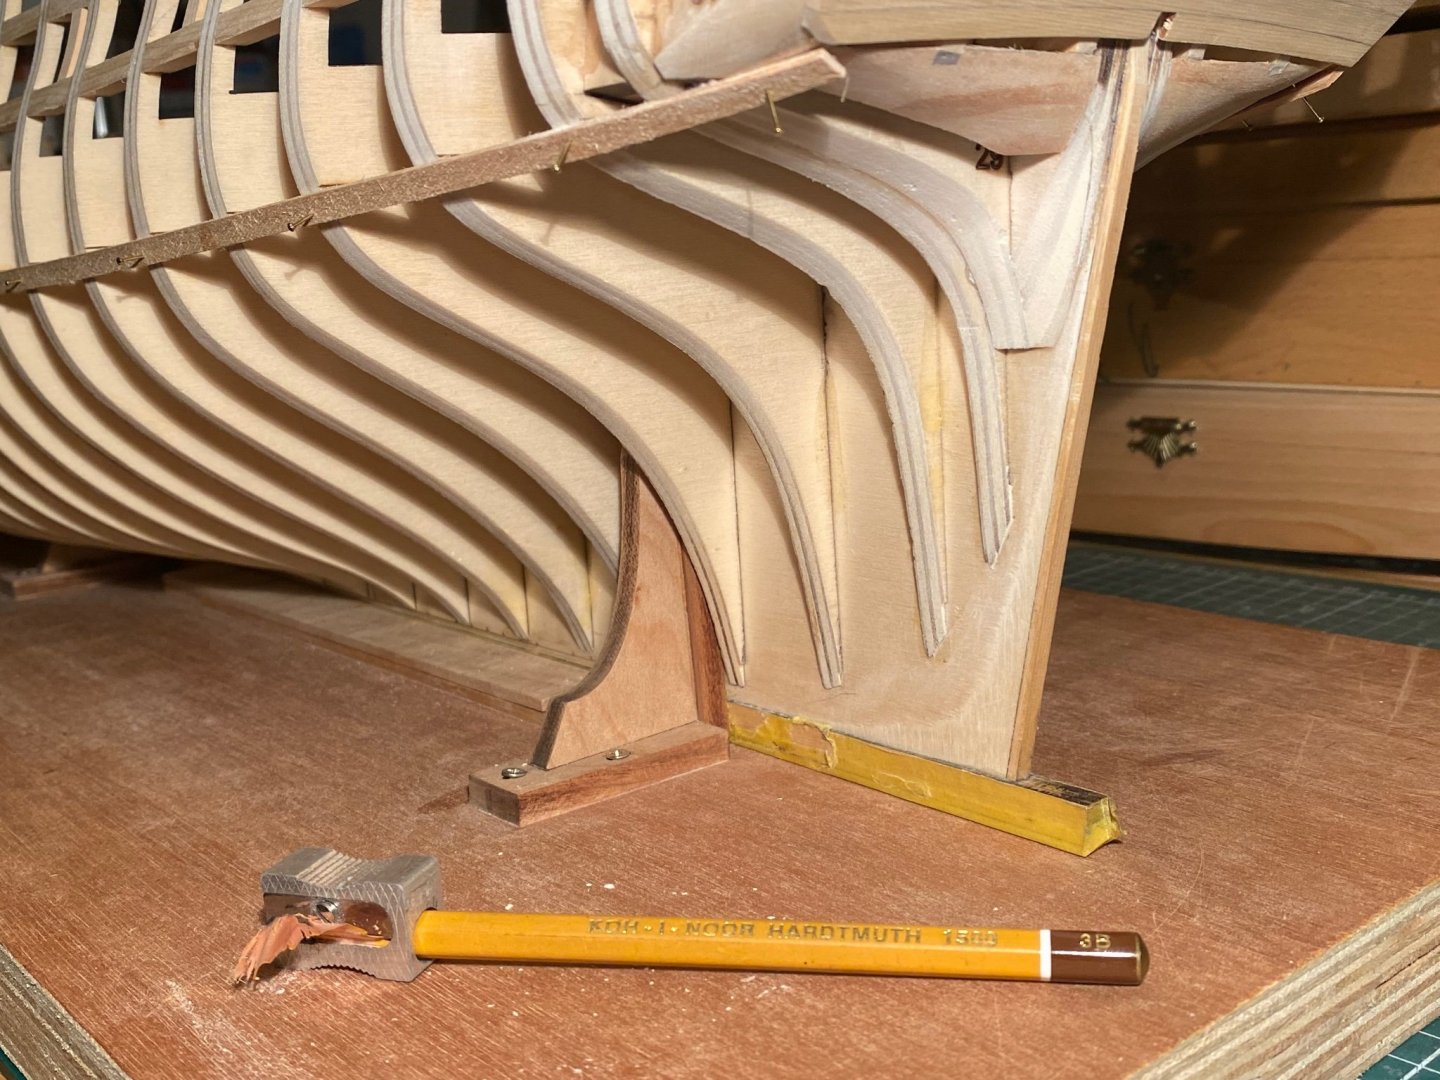
Thanks JJ! I’m enjoying every inch forming, sanding and glueing and not thinking about how much work lies ahead before reaching chapter 9. Hobbying in the moment as with ‘mindfulness’ hahaha… Placed the second batten now and checking hights per bulkhead port and starboard now. As it’s almost evening now here, so I’ll put her aside in a few moments, read ahead further in chapter two in Chucks very clear instructions. I will eyeball the two battens tomorrow morning in first daylight and maybe make some last adjustments in ‘curve tension’ before using my 3B pencil to mark the lines for the bottom of the wales …

-
Lovely, simply beautiful work and very good tips making life easier on the gun carriage wheels: thanks! Frank.
-
Thanks all and also for the likes! This is very encouraging! Yes! Two weeks Christmas holidays finally after working long hours for many, many weeks…finally some time to catch up in my now well-known slow but steady pace… Chapter two, here we go with step 1: getting the gentle S-curve in the batten port and starboard for the bottom of the wales.
-
Very, very beautiful work! Frank.