


schiffebastler
-
Posts
322 -
Joined
-
Last visited
Content Type
Profiles
Forums
Gallery
Events
Posts posted by schiffebastler
-
-
Dear colleagues, enough time has already passed and things must continue here.
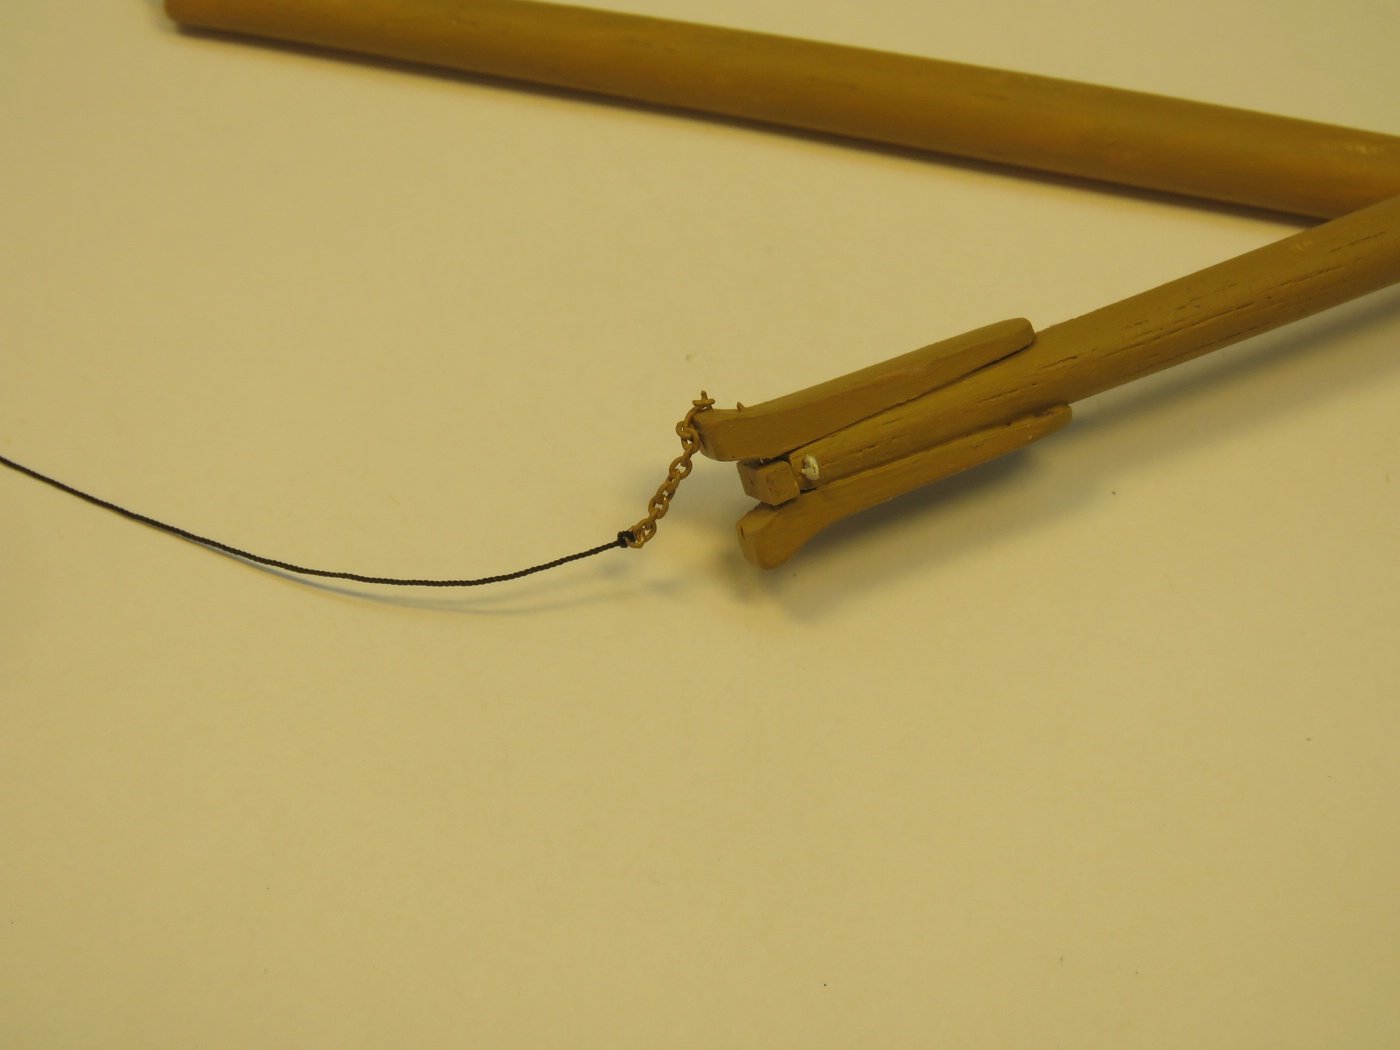
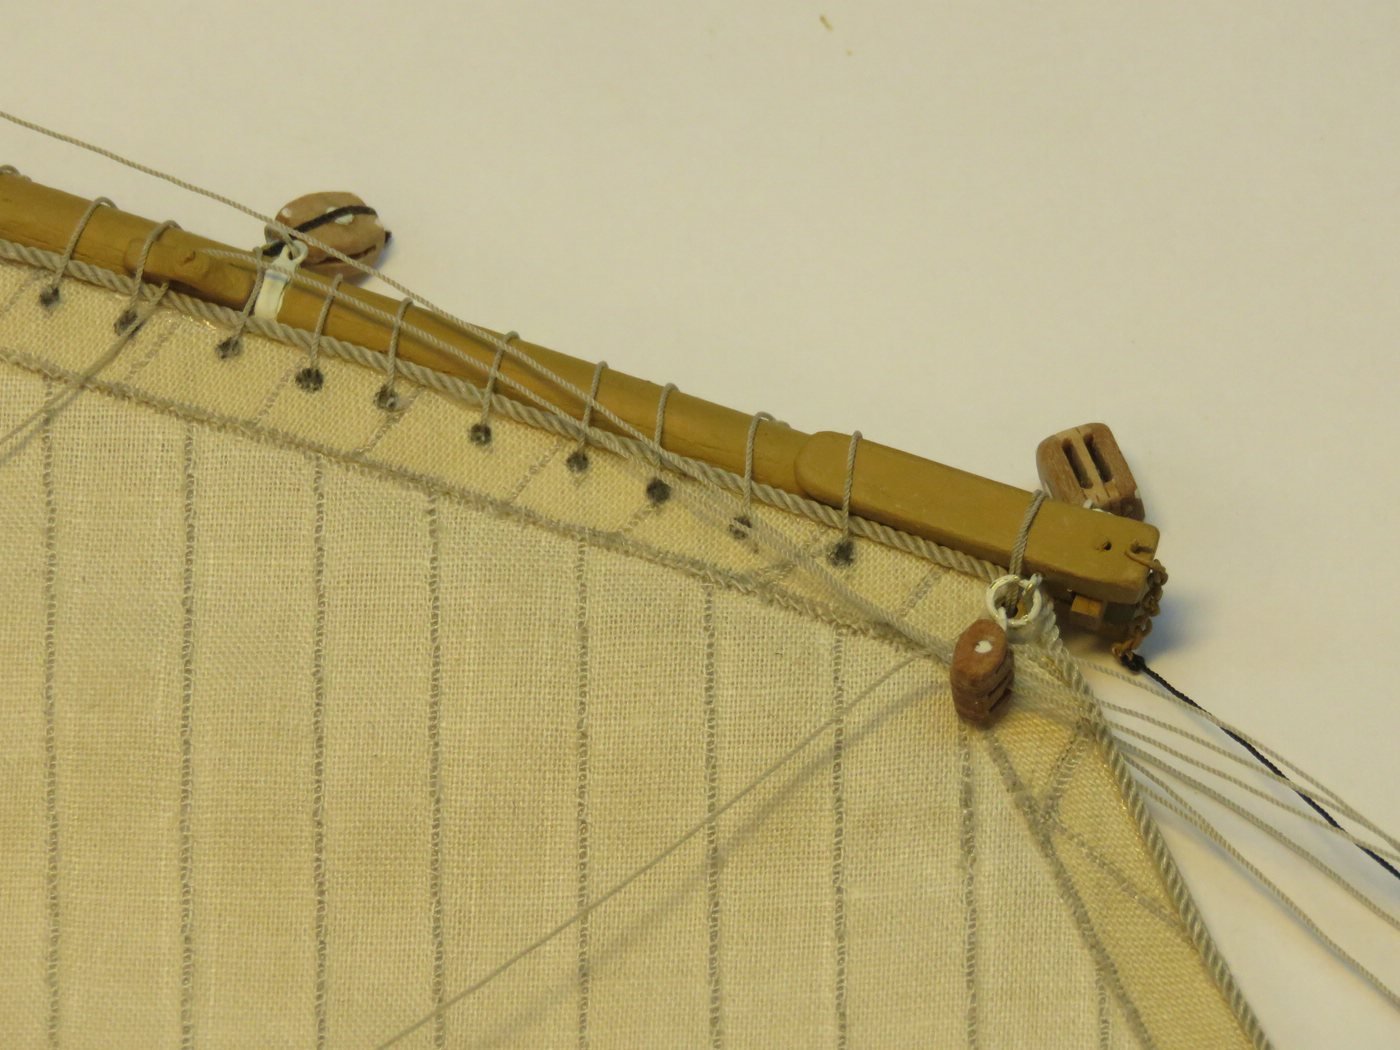
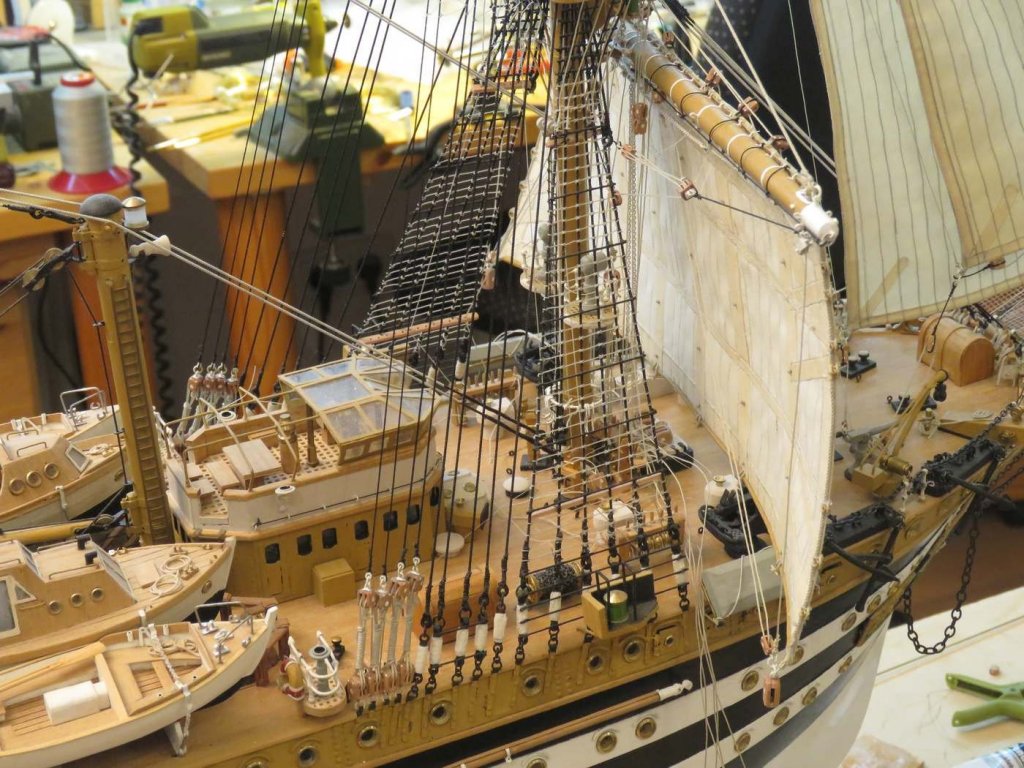
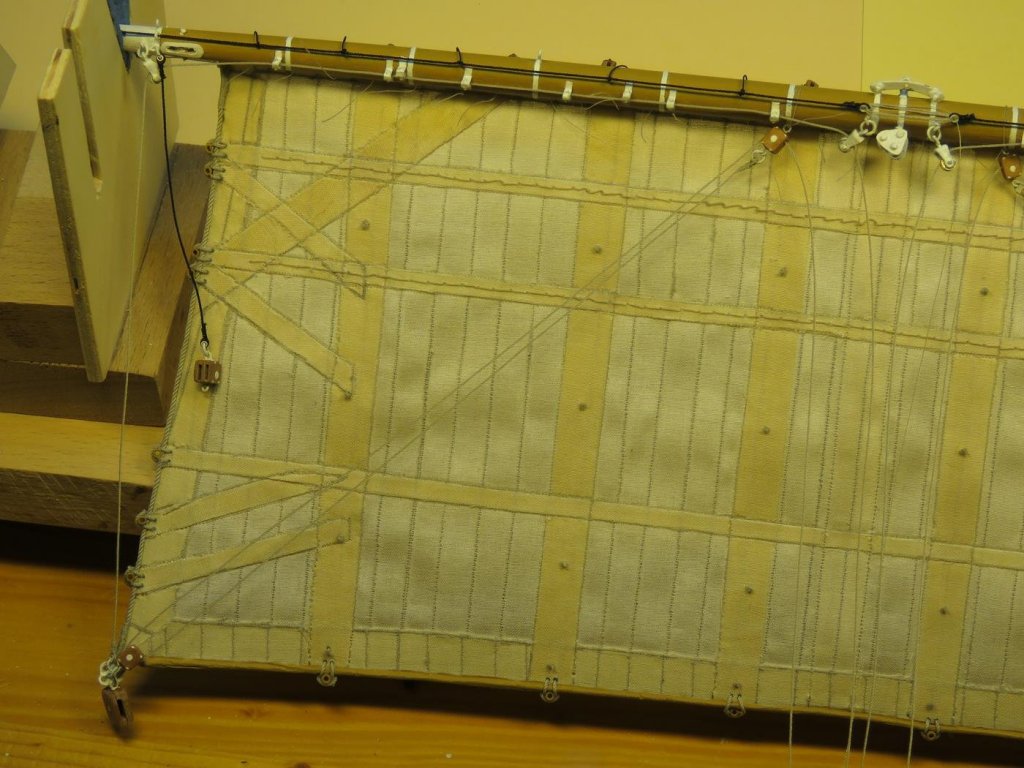
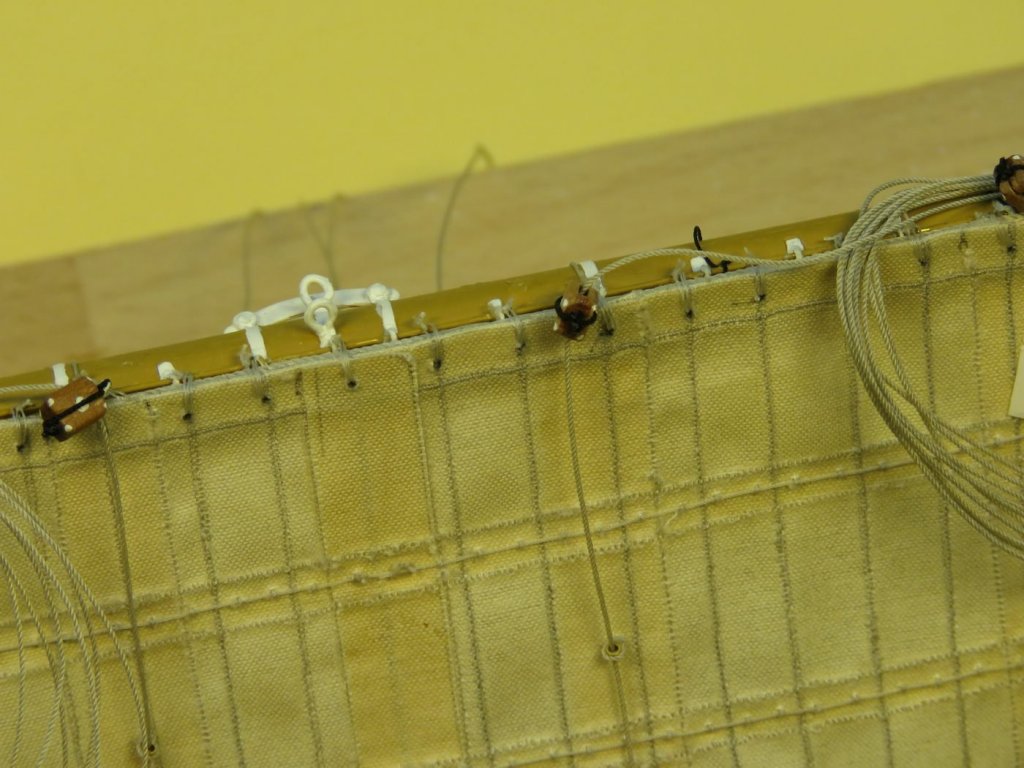
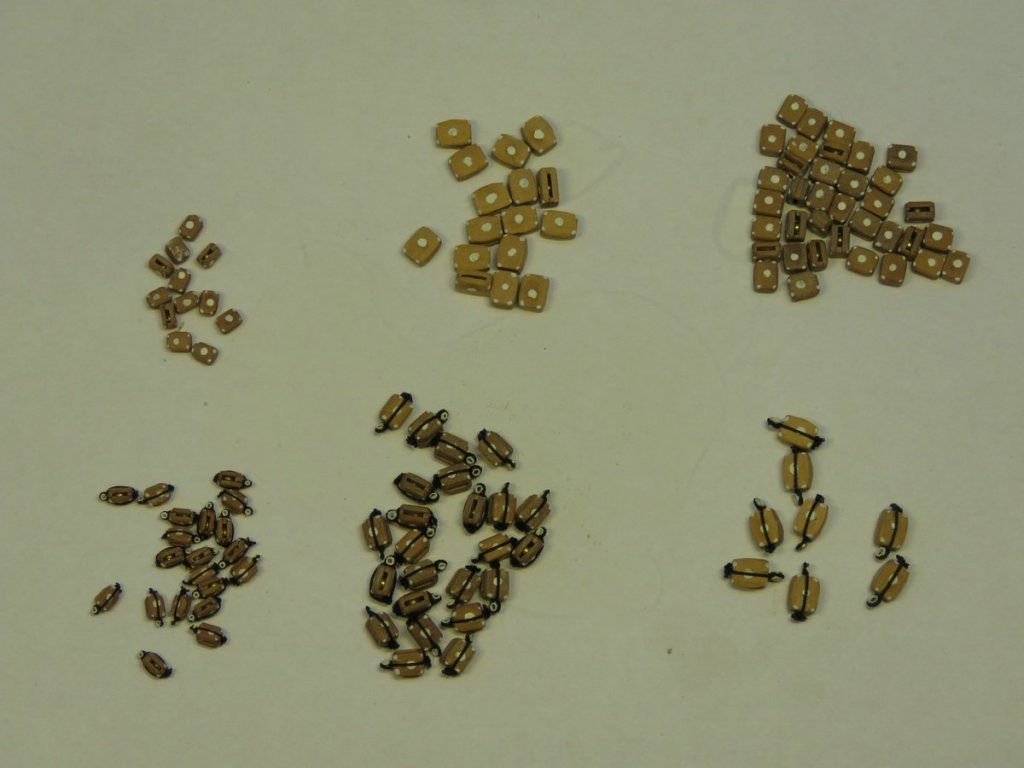
Well, the mizzen sail is on today. First I had to make the tree and the gaff. And that's how they look in the group picture:
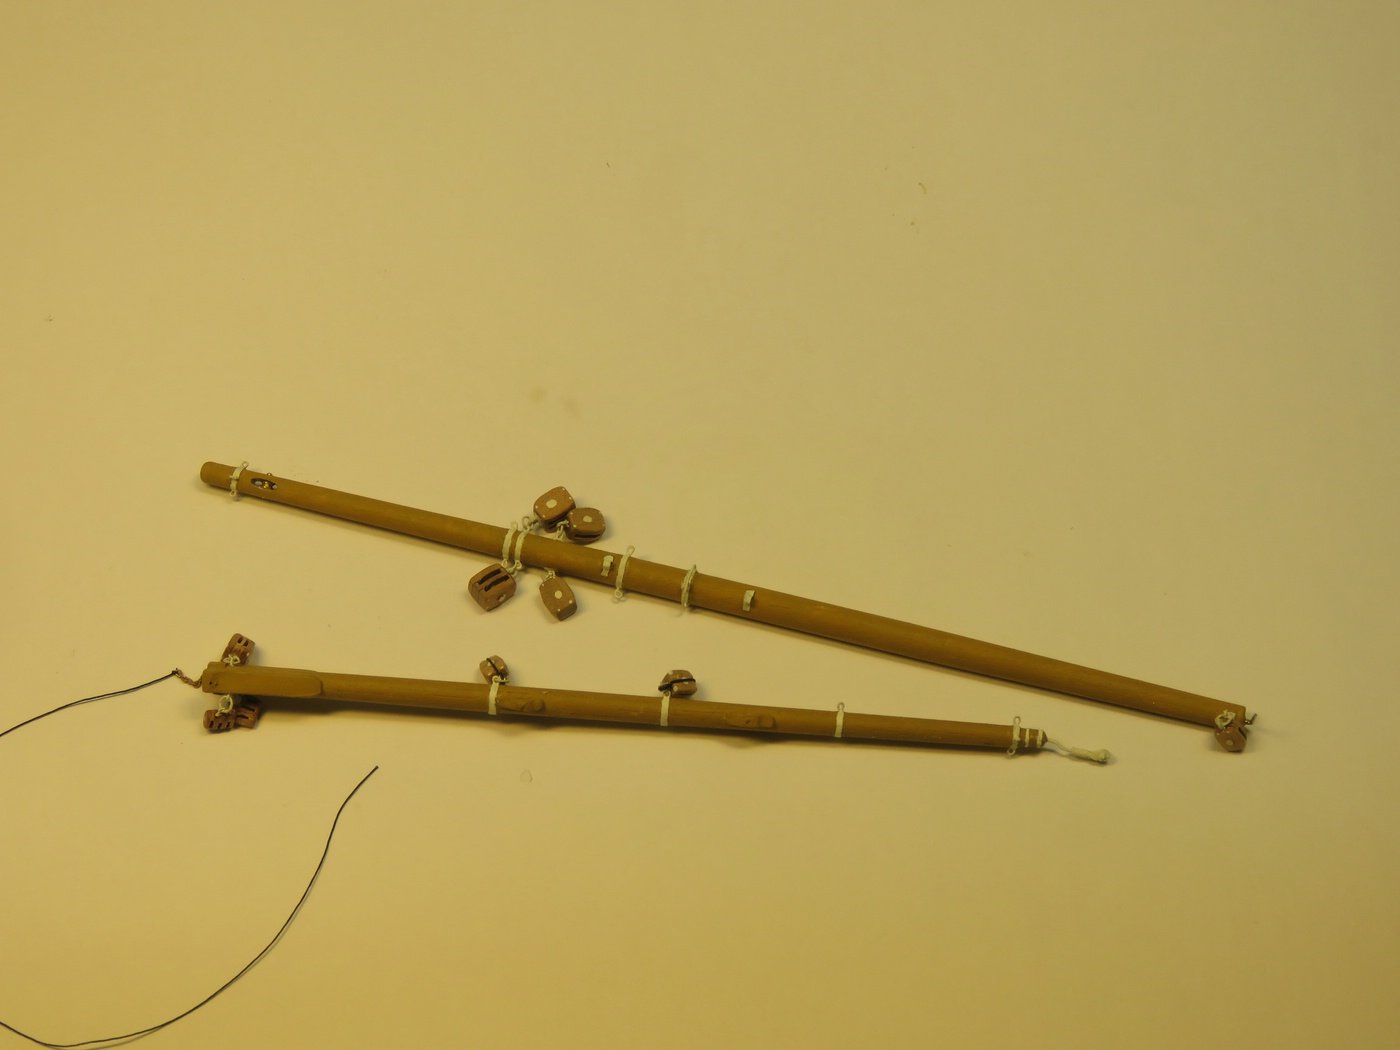
The outermost end of the gaff is fitted with an attachment with a deflection pulley for a flag. There I tried again my soldering arts, well, at least painted it looks quite bearable.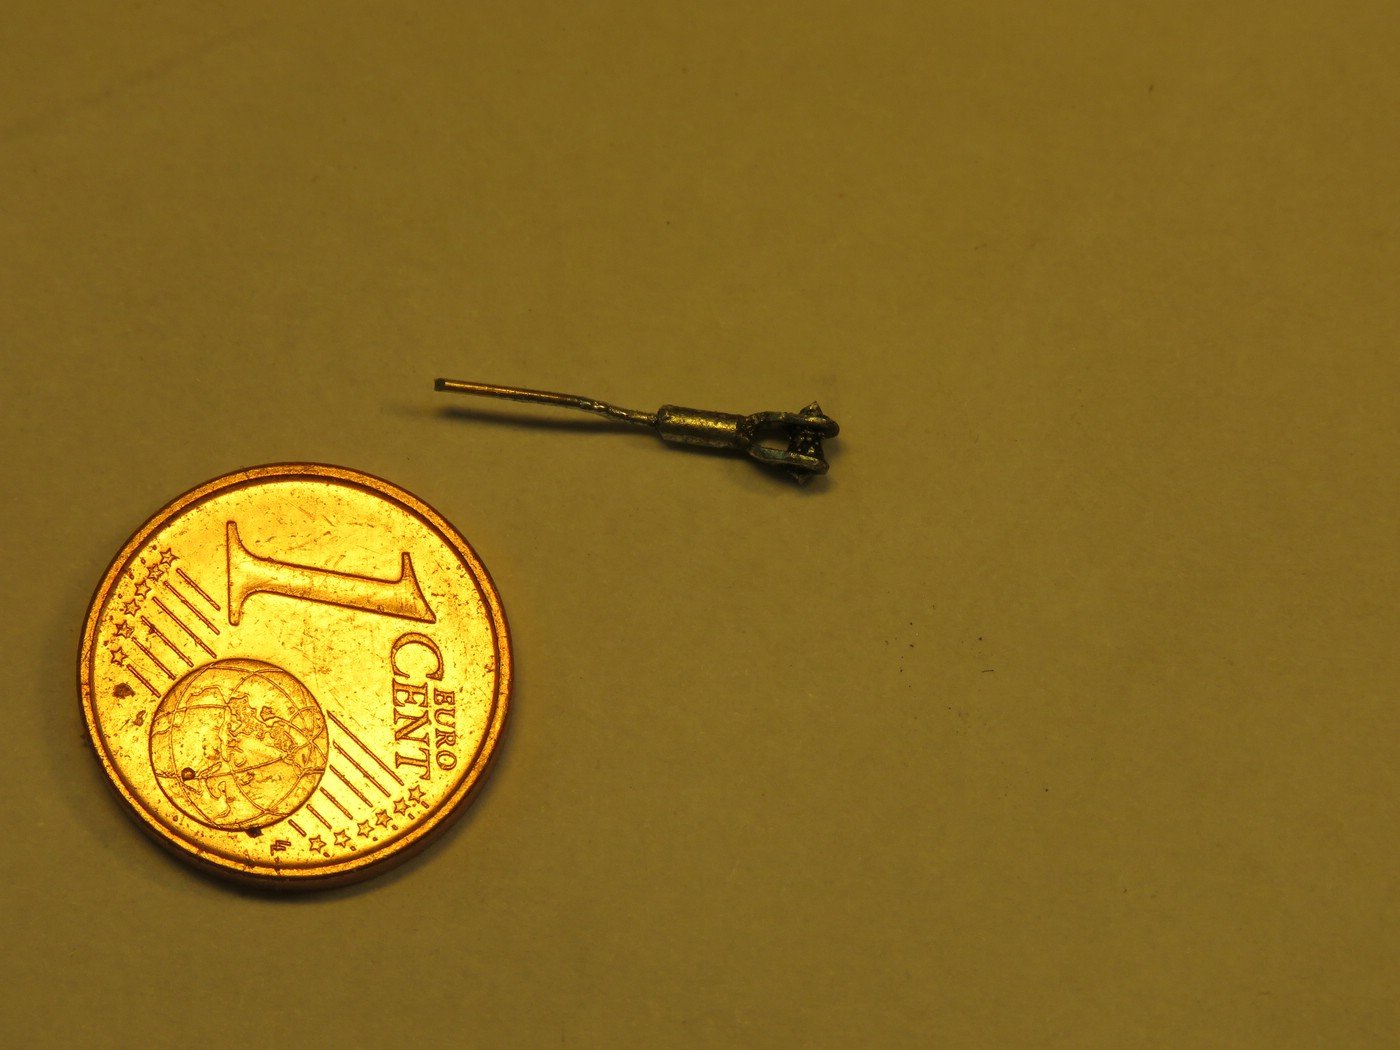
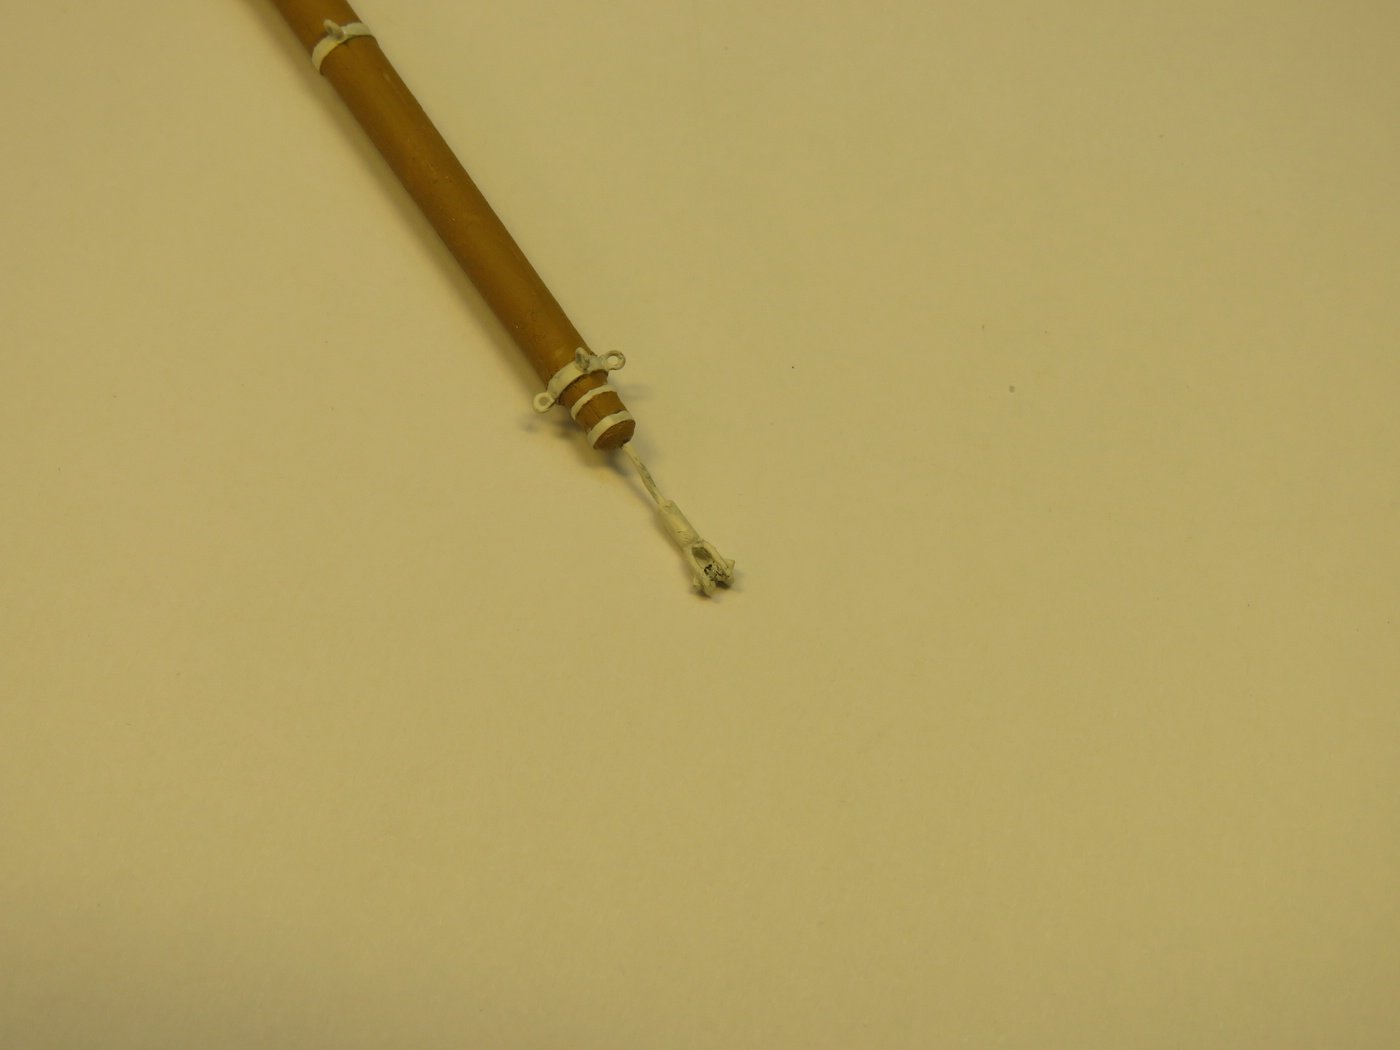
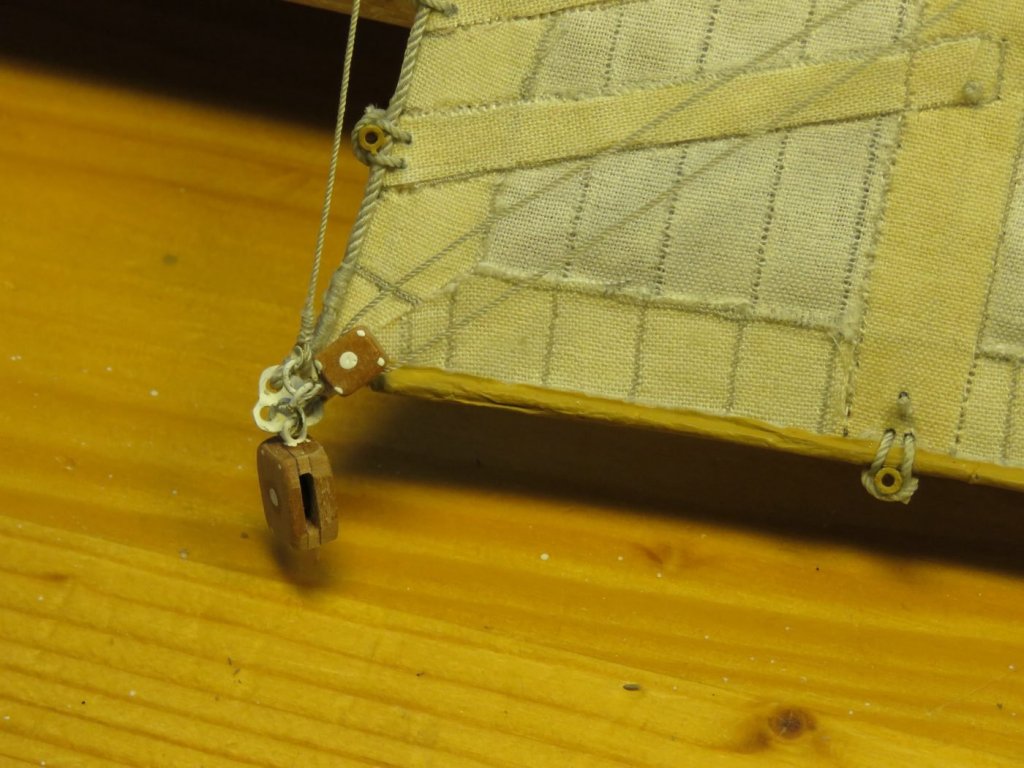
At the gaff there are also some pulleys for Gordings attached and finally the gaff must be able to be fixed behind the snow-mast.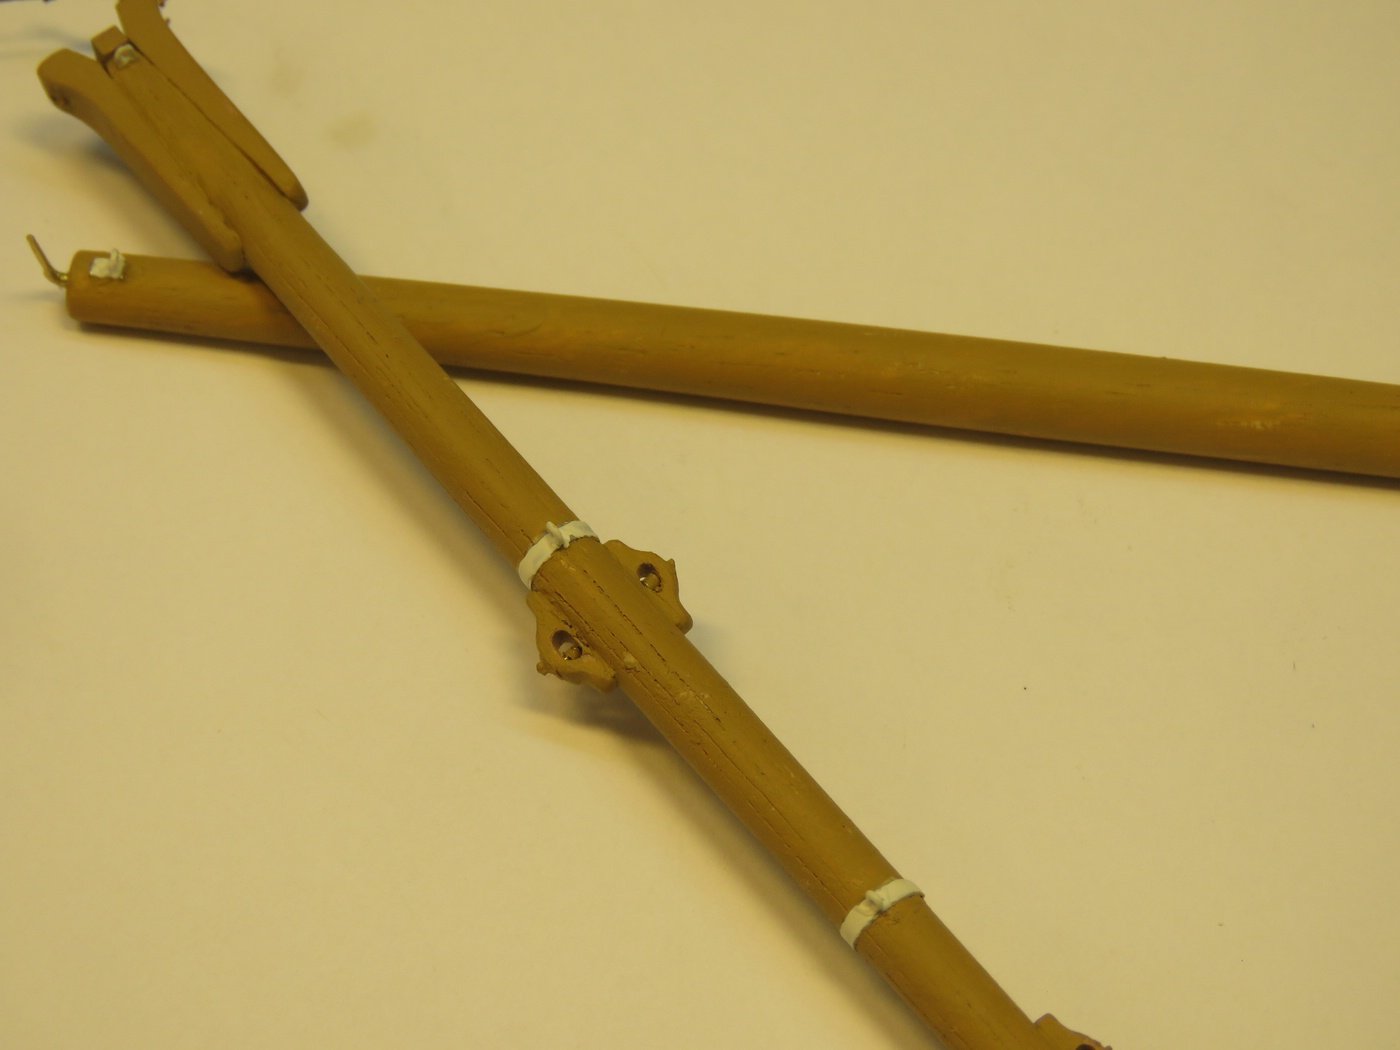
Of course the tree also has several fitting parts, to see here, the guides of the lower leech stretcher, which is led first over a deflection pulley in the tree and then under this by the illustrated guides for the attachment to the bitt.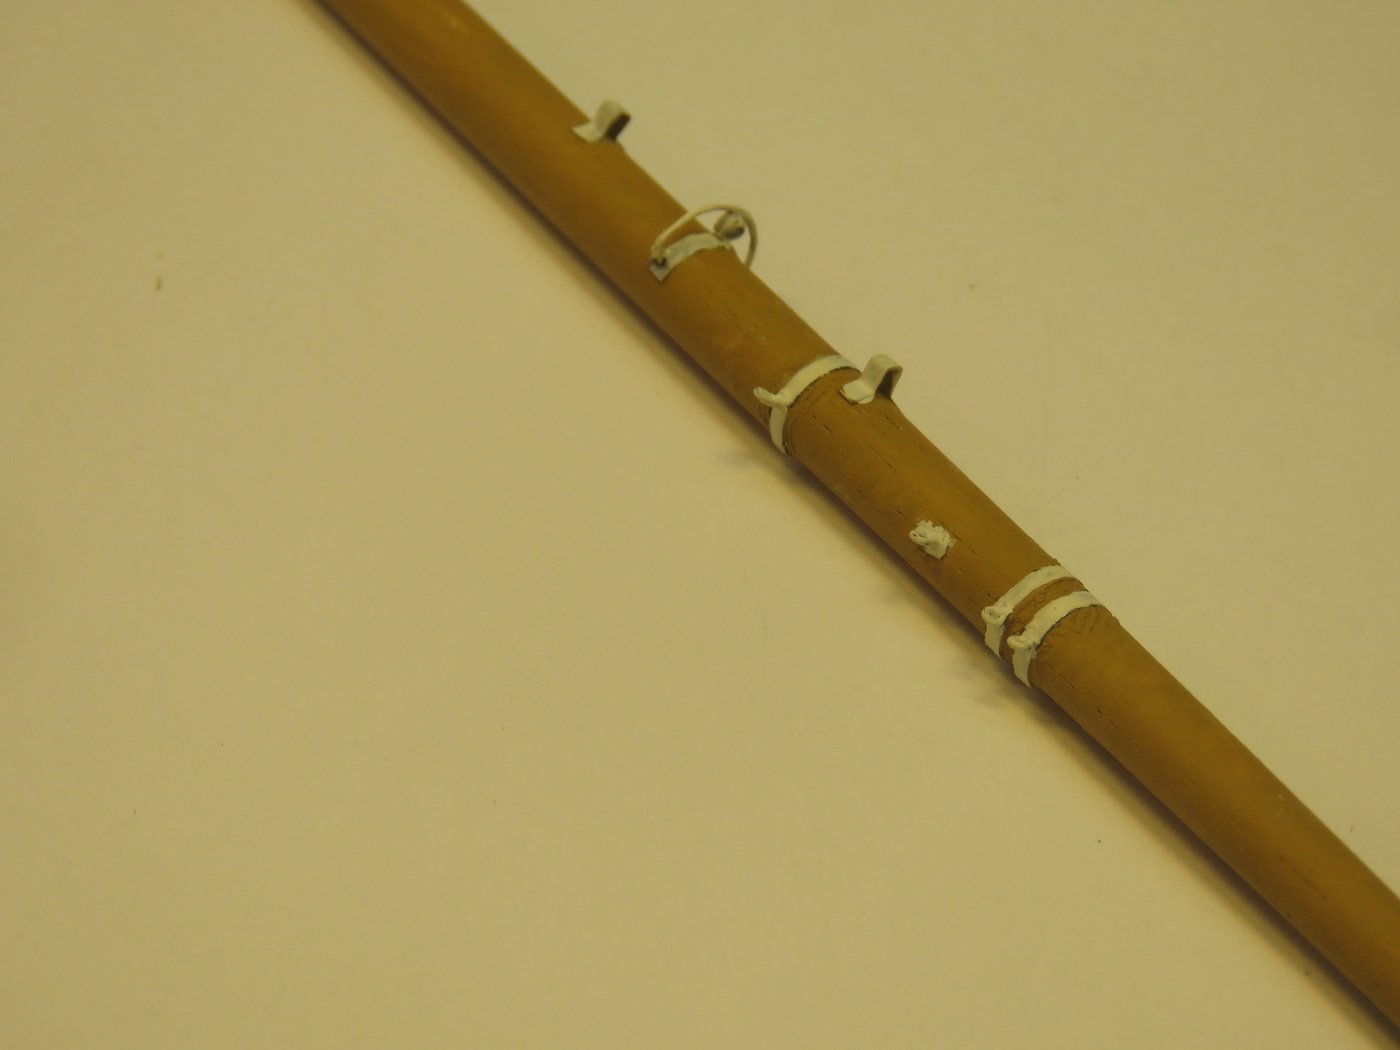
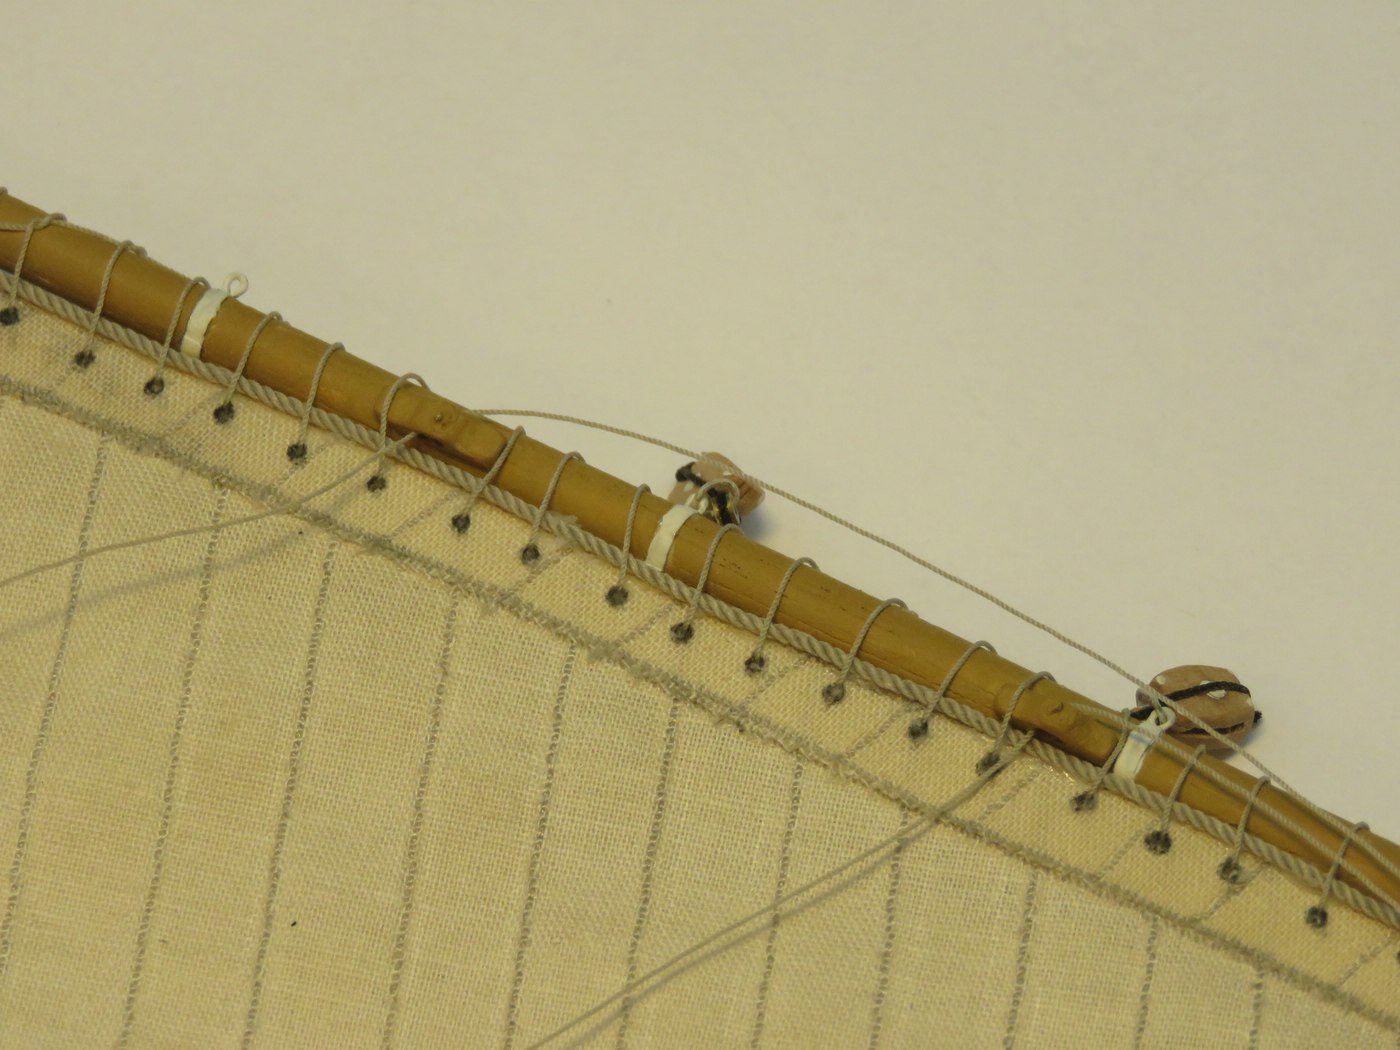
And now the gaff with the mizzen sail attached.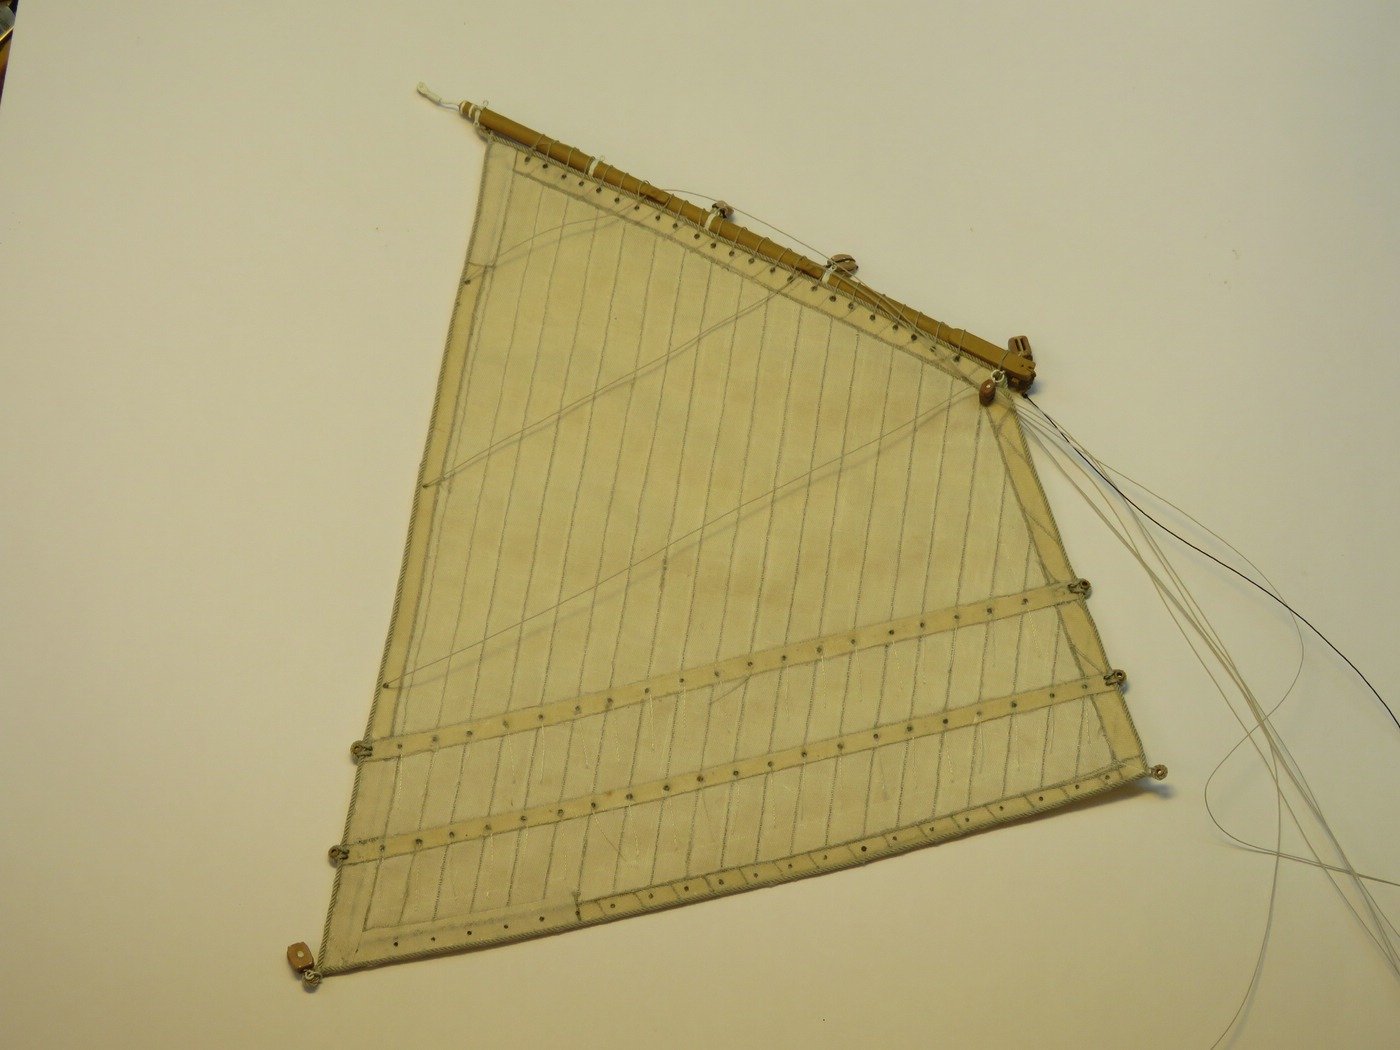
Cheers
Joachim
- Ekis, md1400cs, Mirabell61 and 2 others
-
 5
5
-
Thank you very much, Chris, for this fantastic review. I am very happy that the book could be presented in this great forum.
The book is available in regular bookstores, but many wholesalers (including Amazon) don't deliver to all countries. For this reason the book can also be ordered directly from me.So, order here:
http://www.modellbau-muellerschoen.de/buch-en.htmor send an e-mail directly to my address:
info@modellbau-muellerschoen.de
Best regards,
Joachim -
Many thanks for the compliments and the Likes
")
Cheers, Joachim
-
Hello folks,
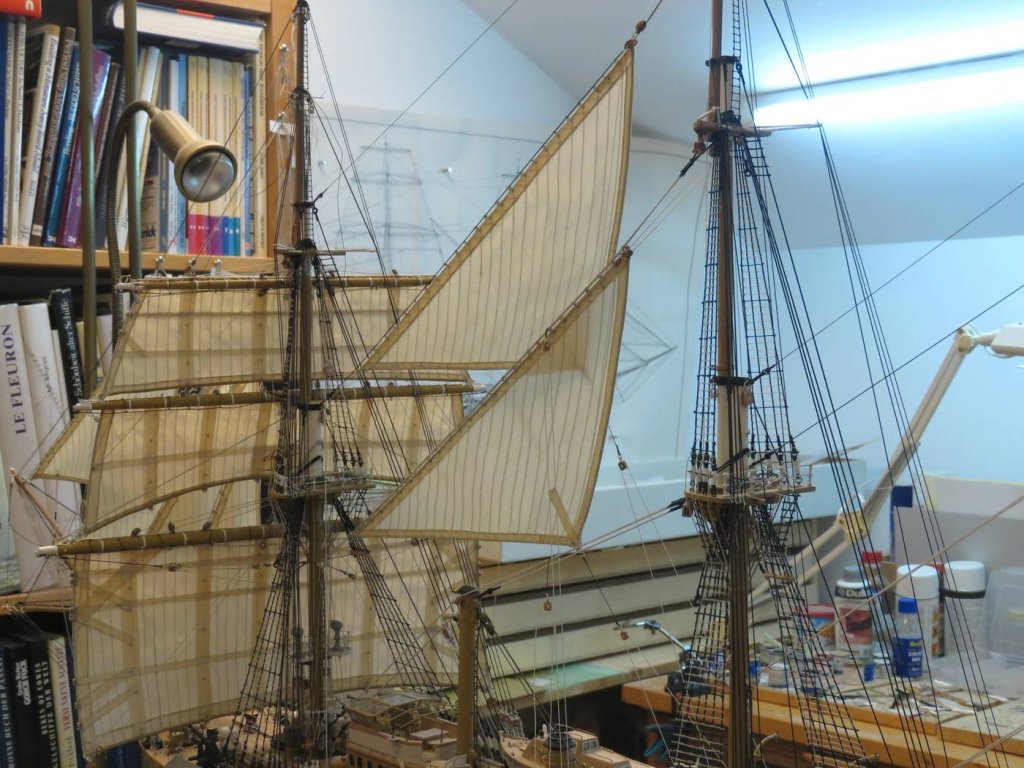
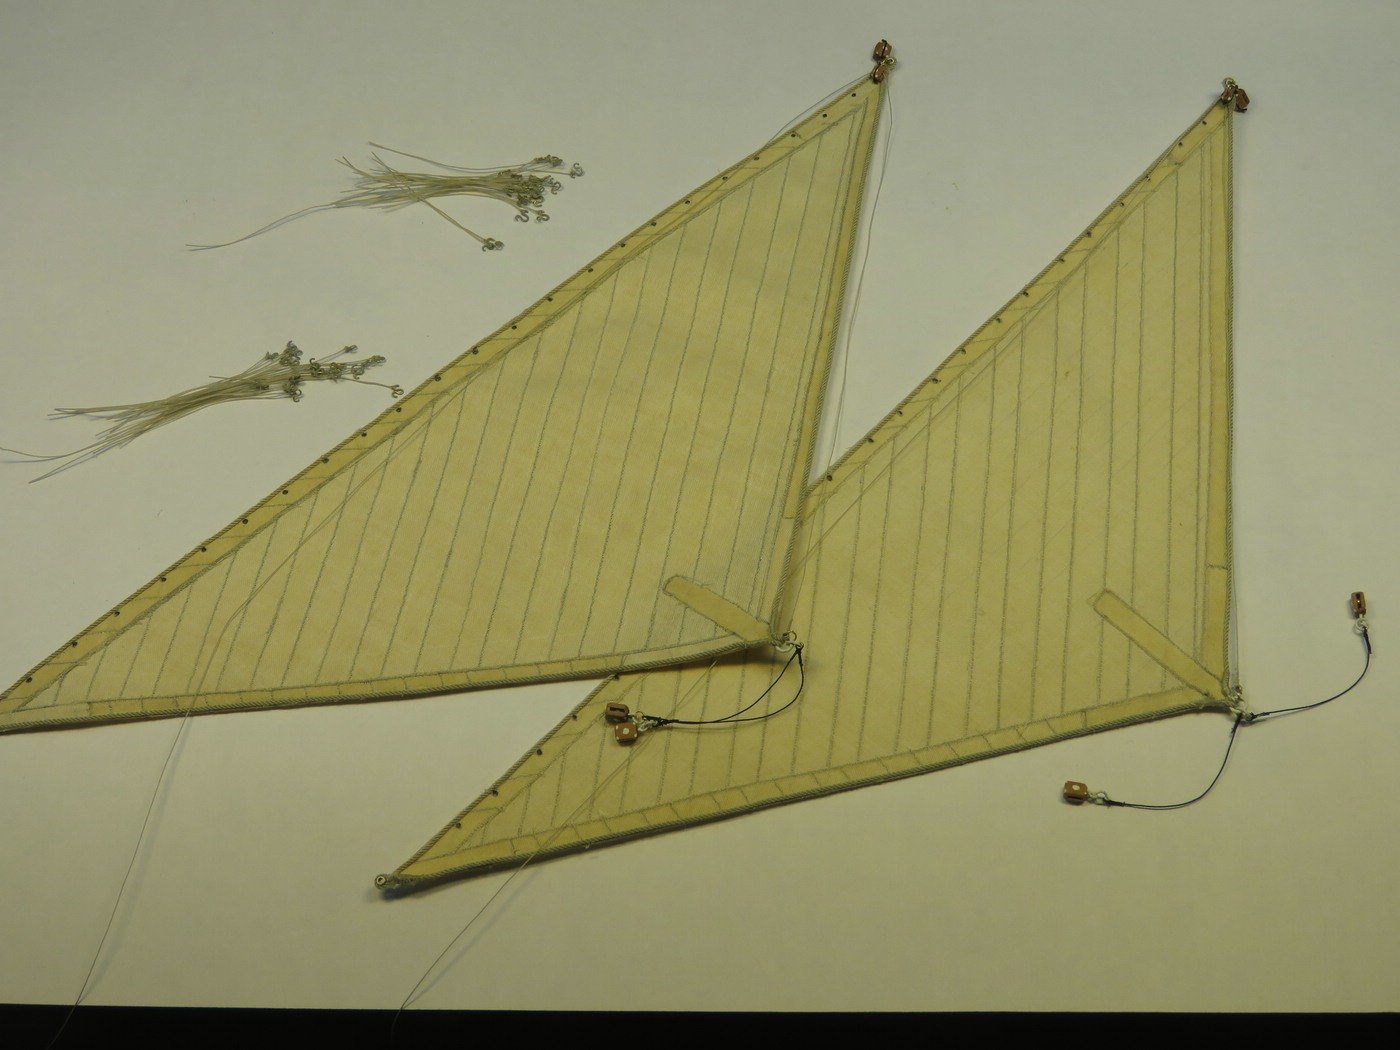
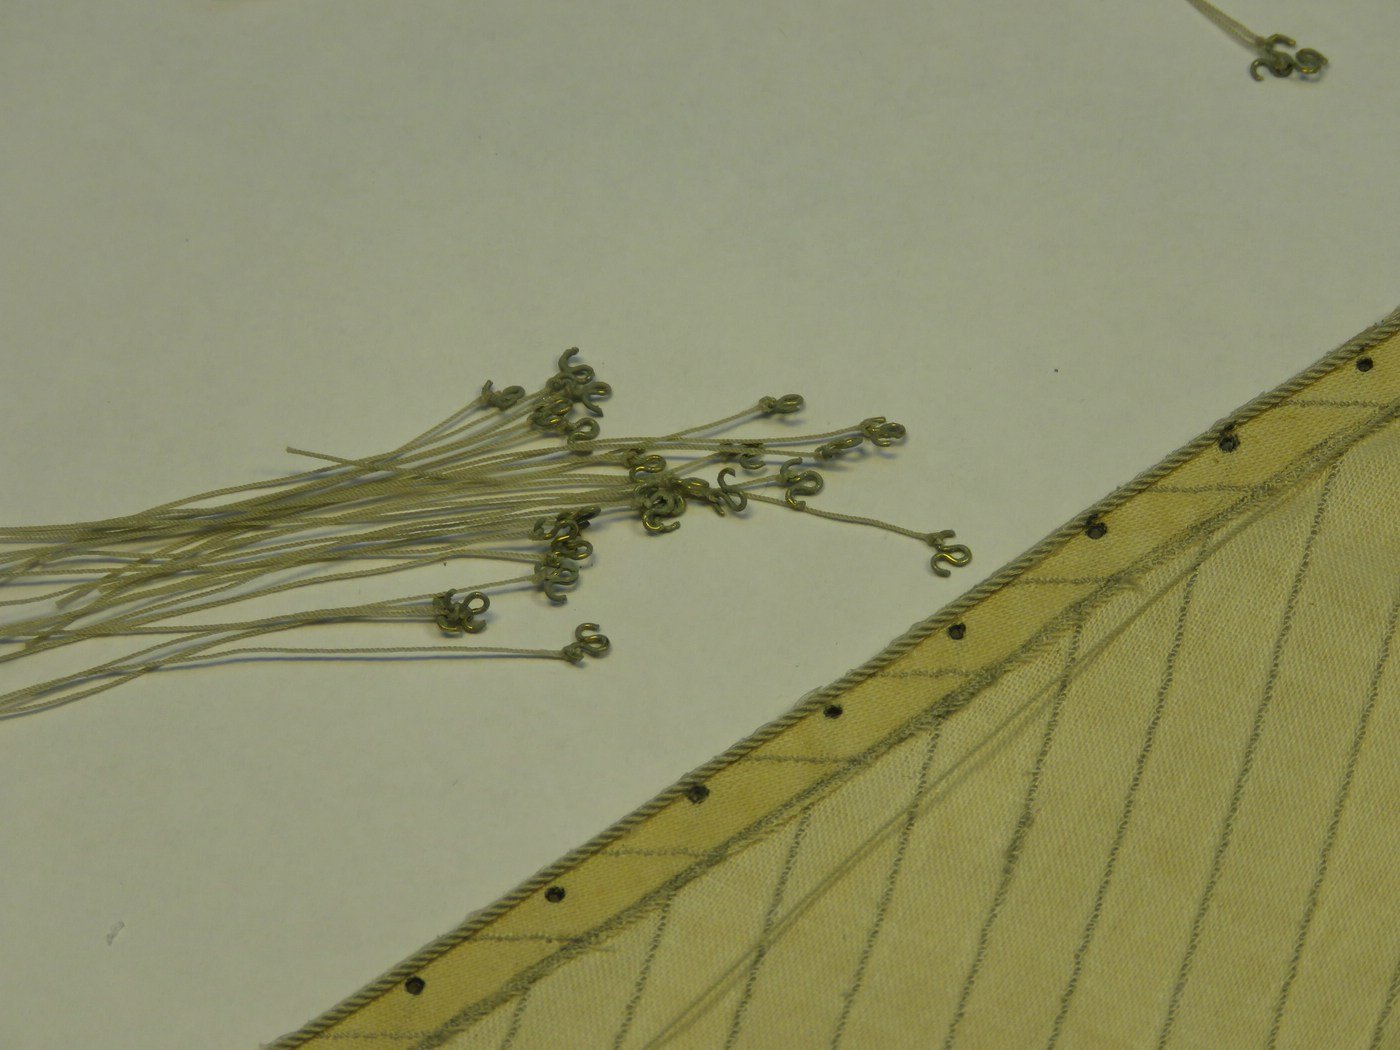
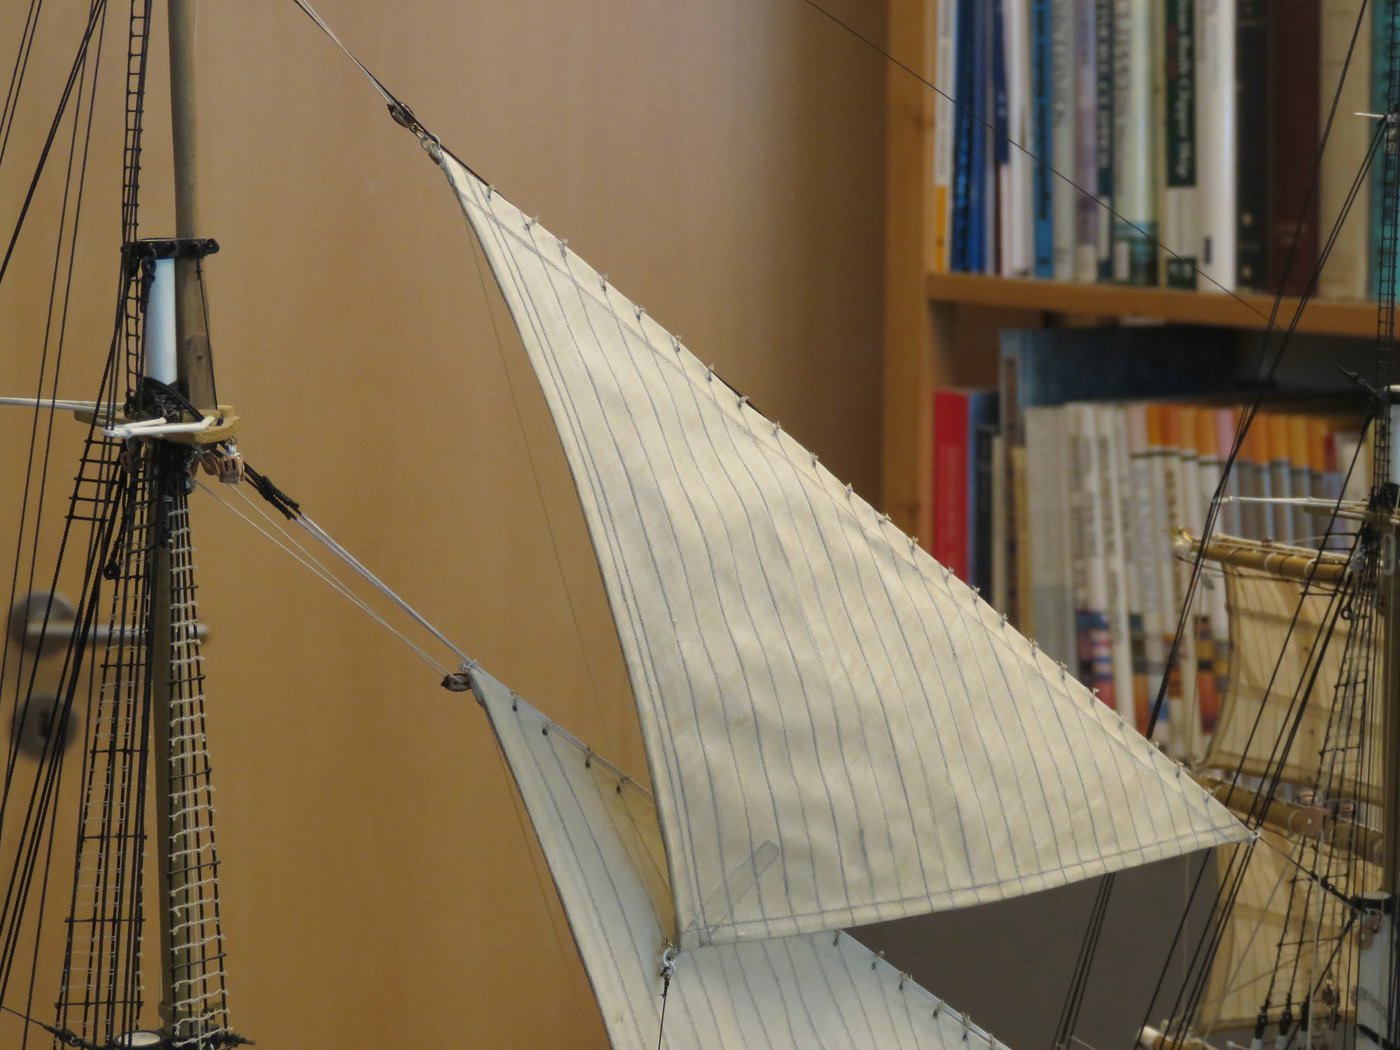
and again a bit further, now the staysails between forestay and main mast are finished and attached. The staysails don't have so many lines, only halyards, downhauls and sheets, but the tethering of the jib riders is quite time-consuming.
I had a hard time with the pictures, but I hope it will come over. When an intermediate result is reached again, I will photograph the ship in my wife's photo studio, that will be a bit better.
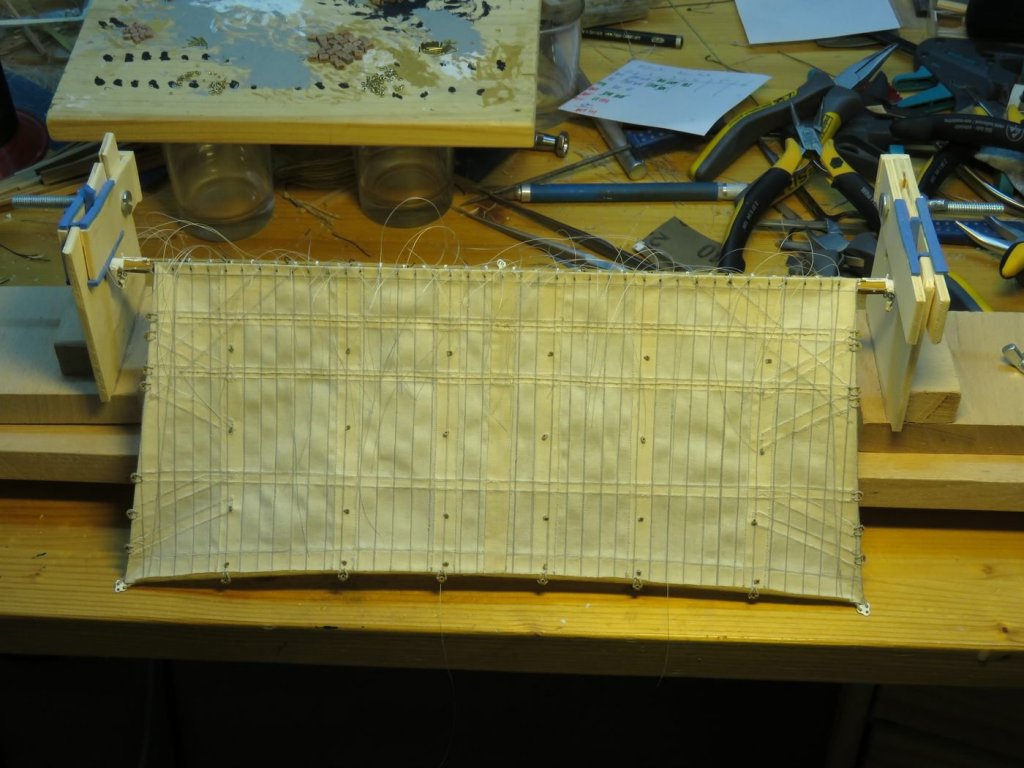
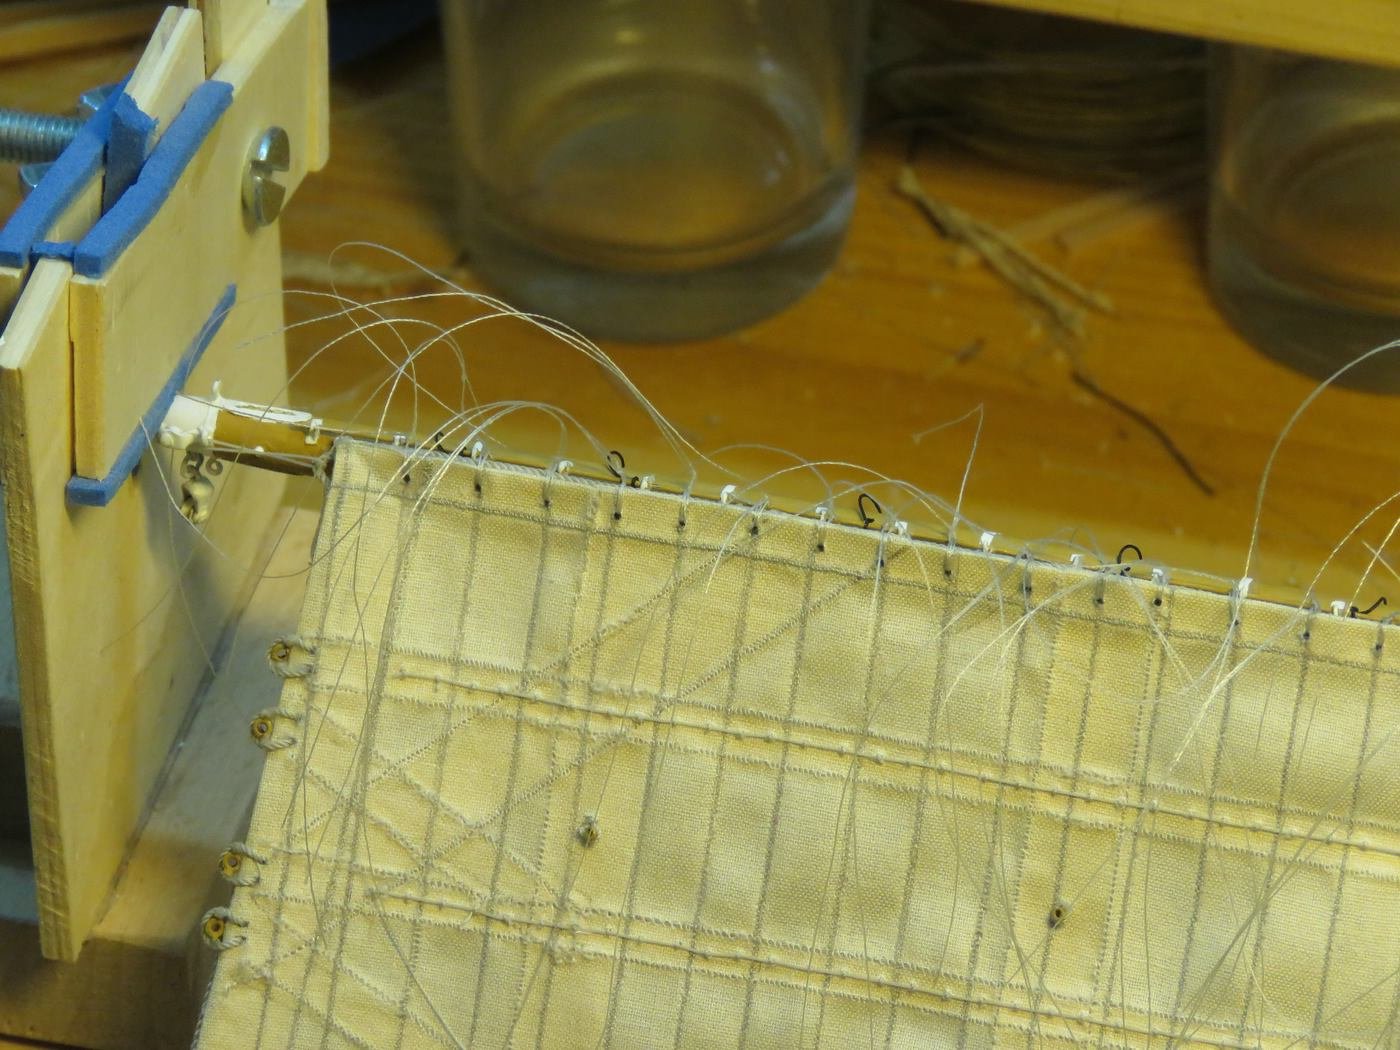
First of all the sails have to be prepared, also more than 50 jib riders are needed.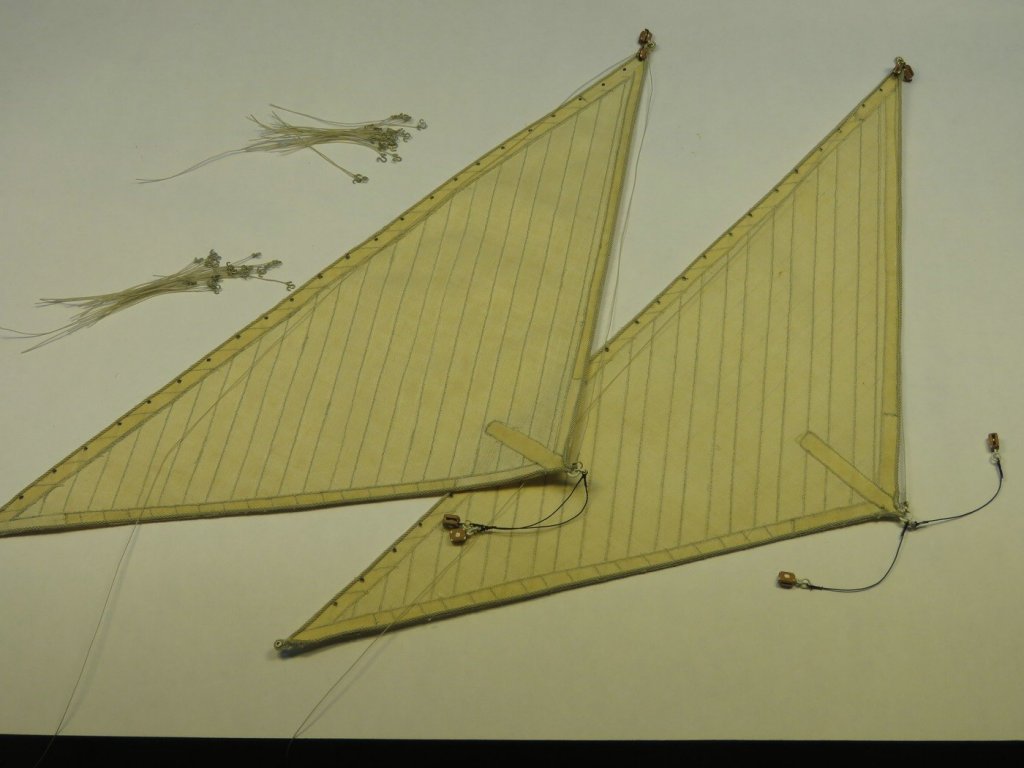


Cheers, Joachim
- md1400cs, gjdale, Mirabell61 and 7 others
-
10
-
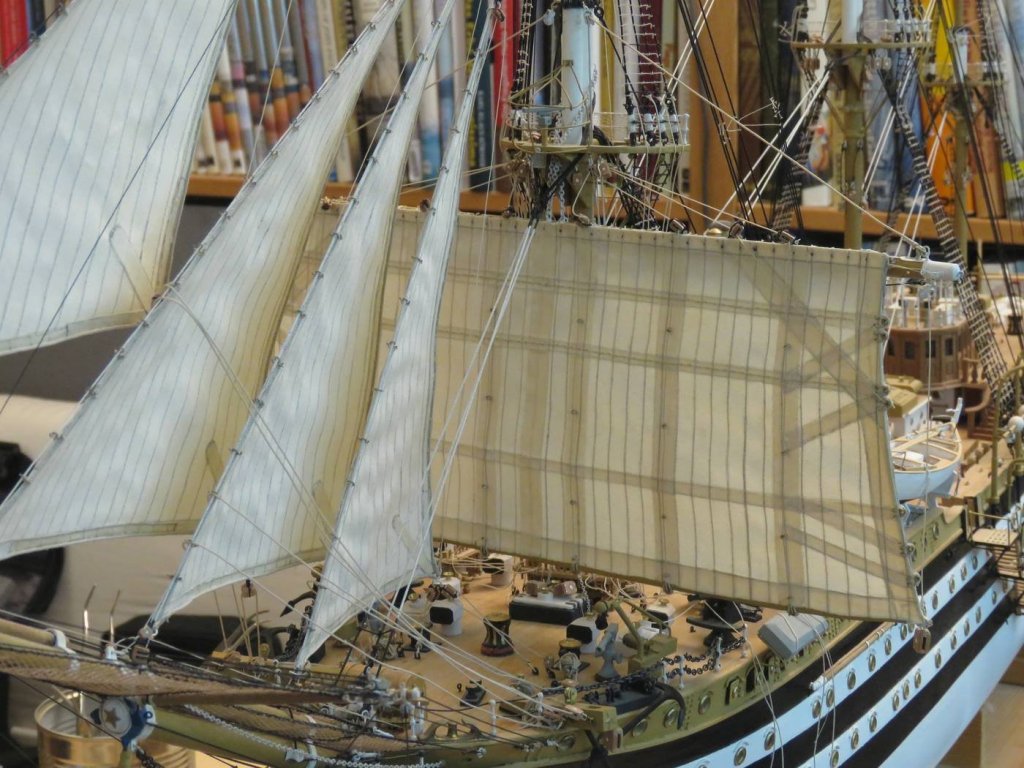
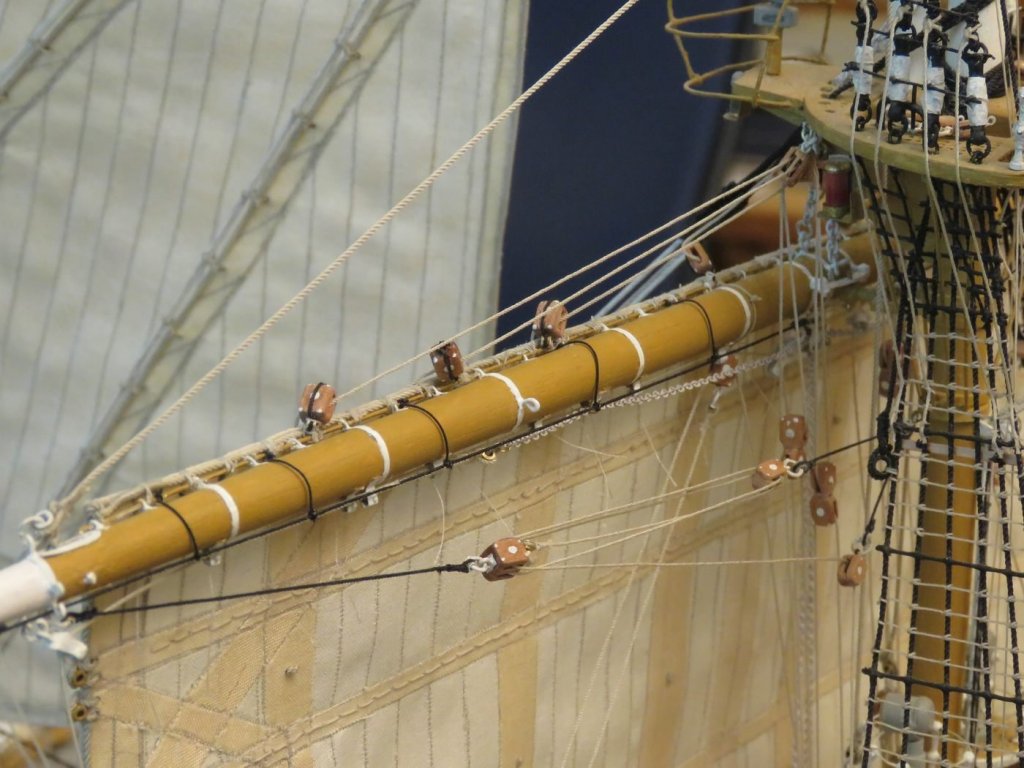
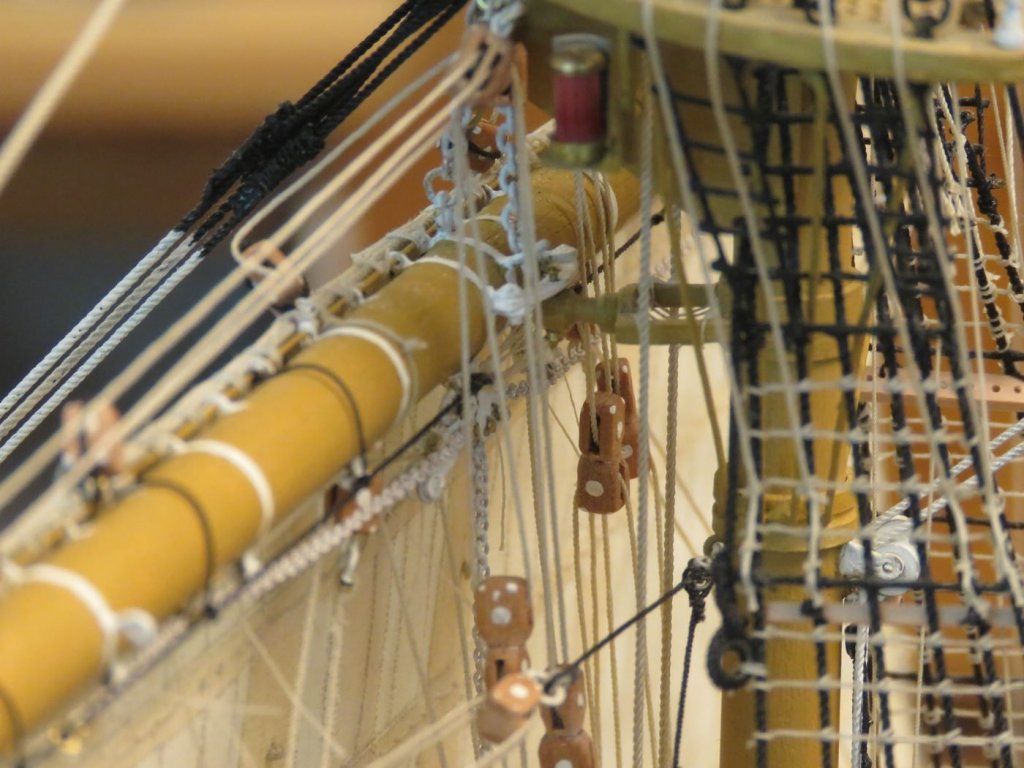
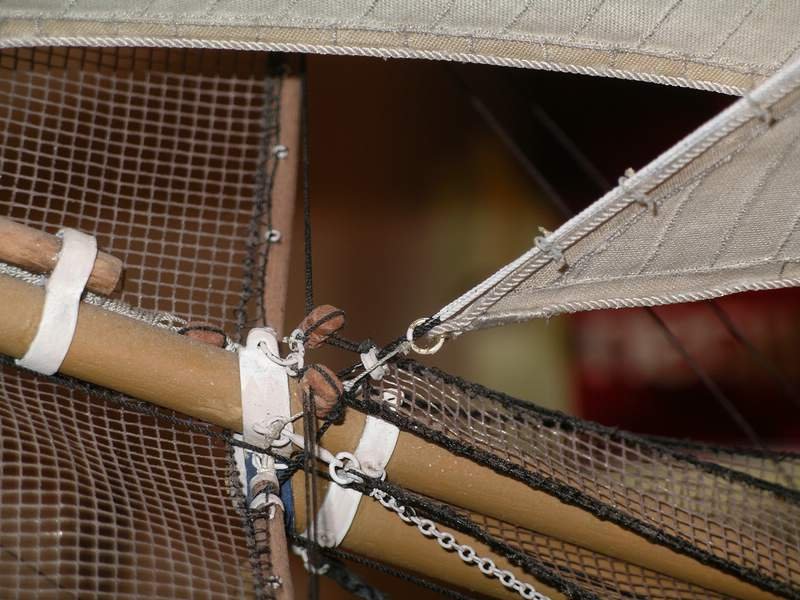
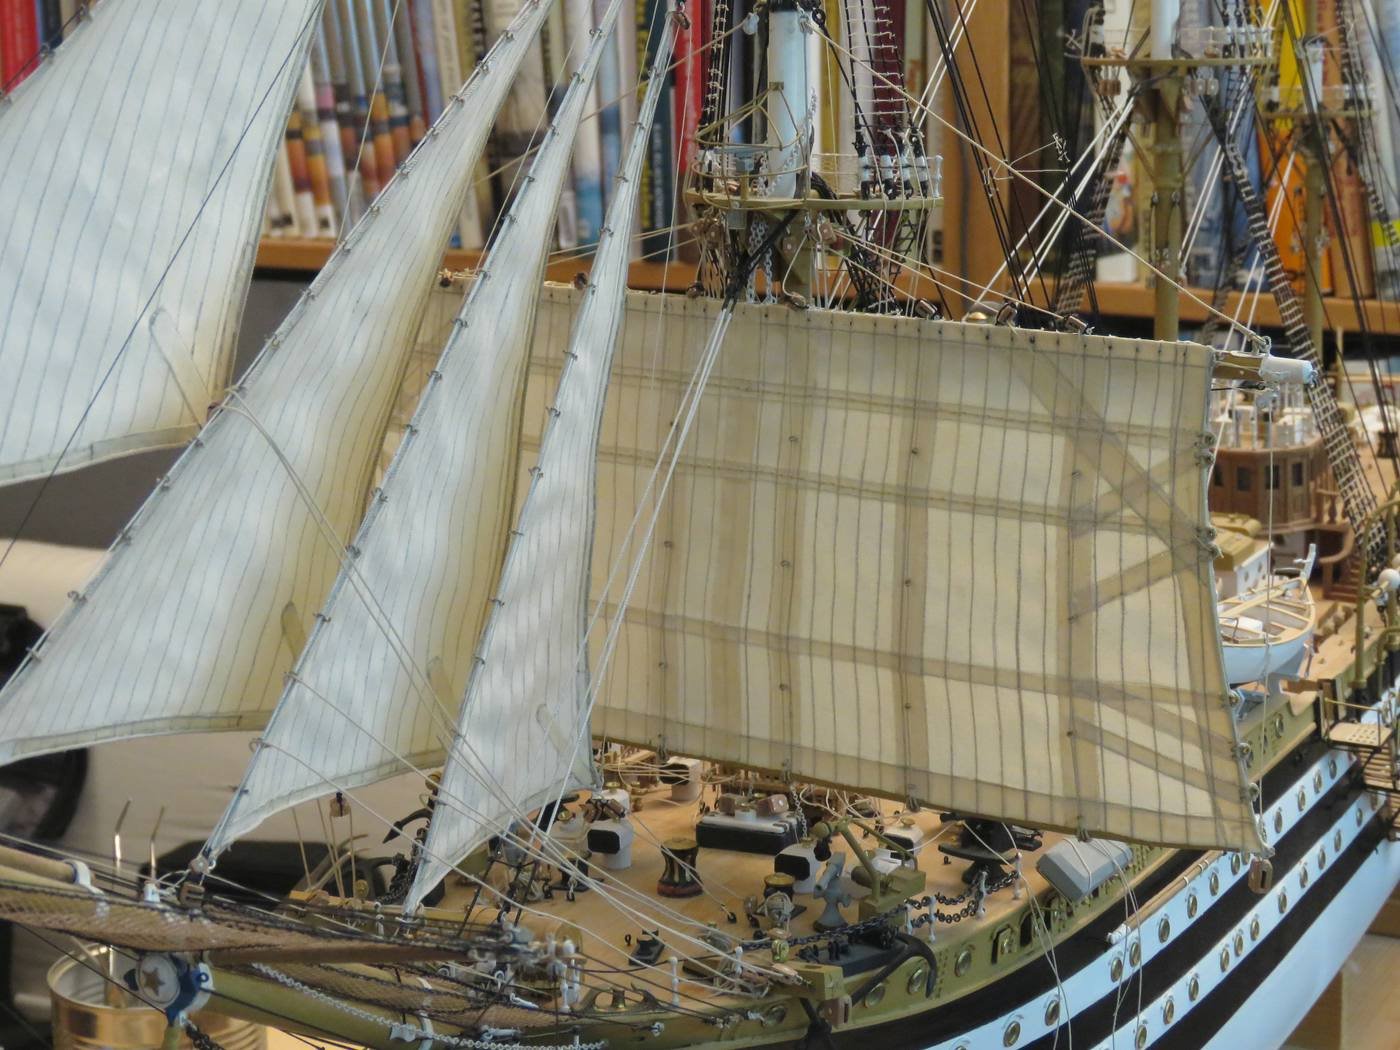
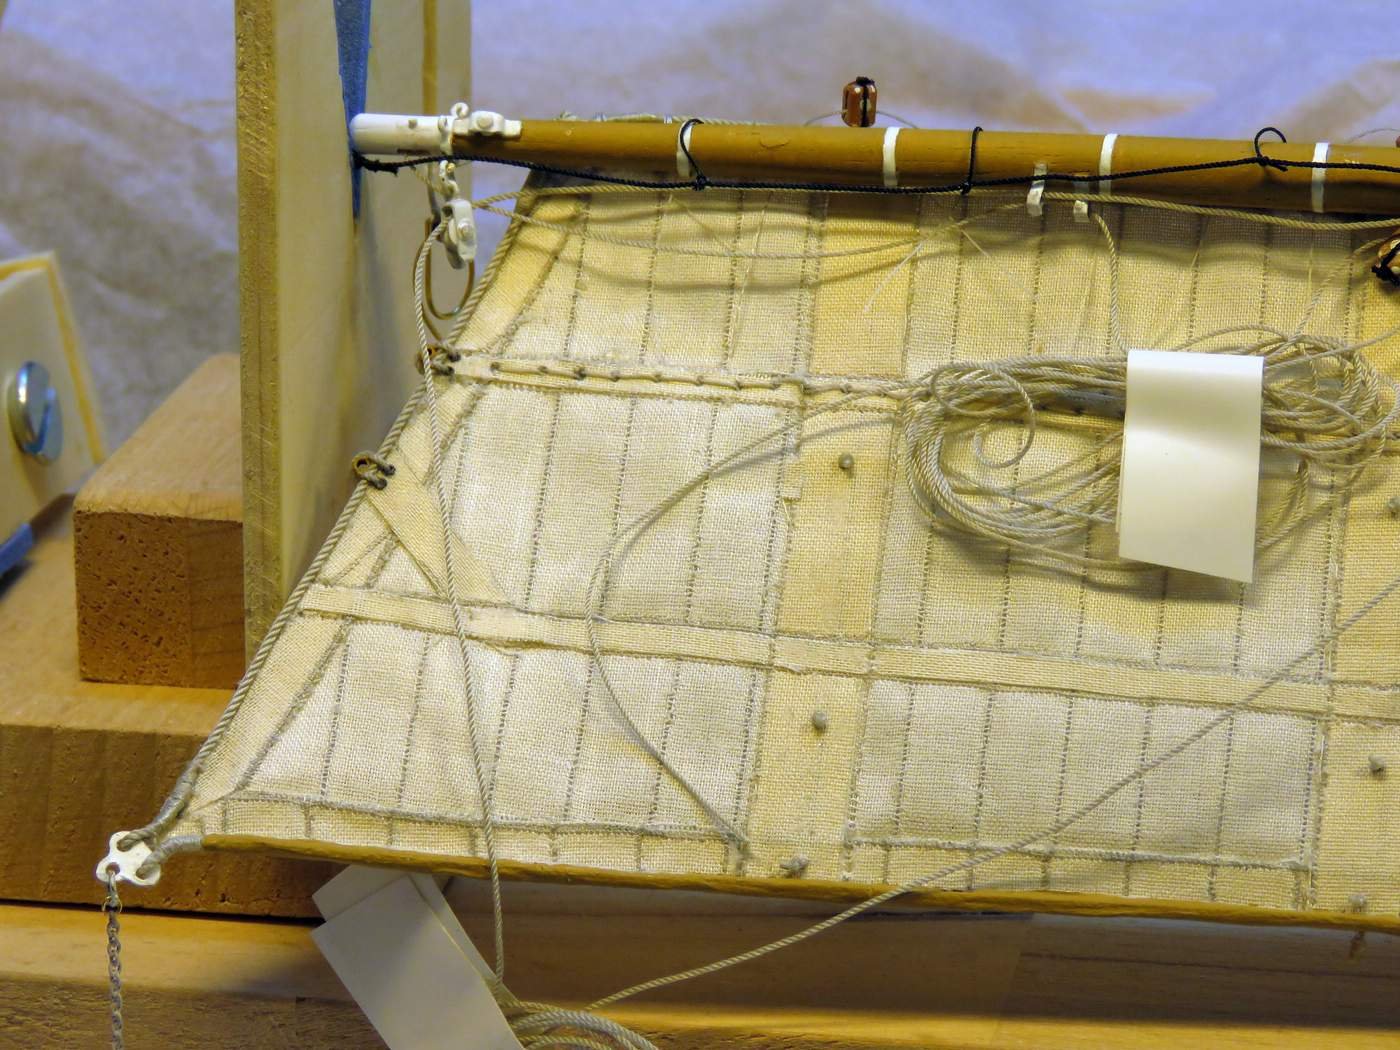
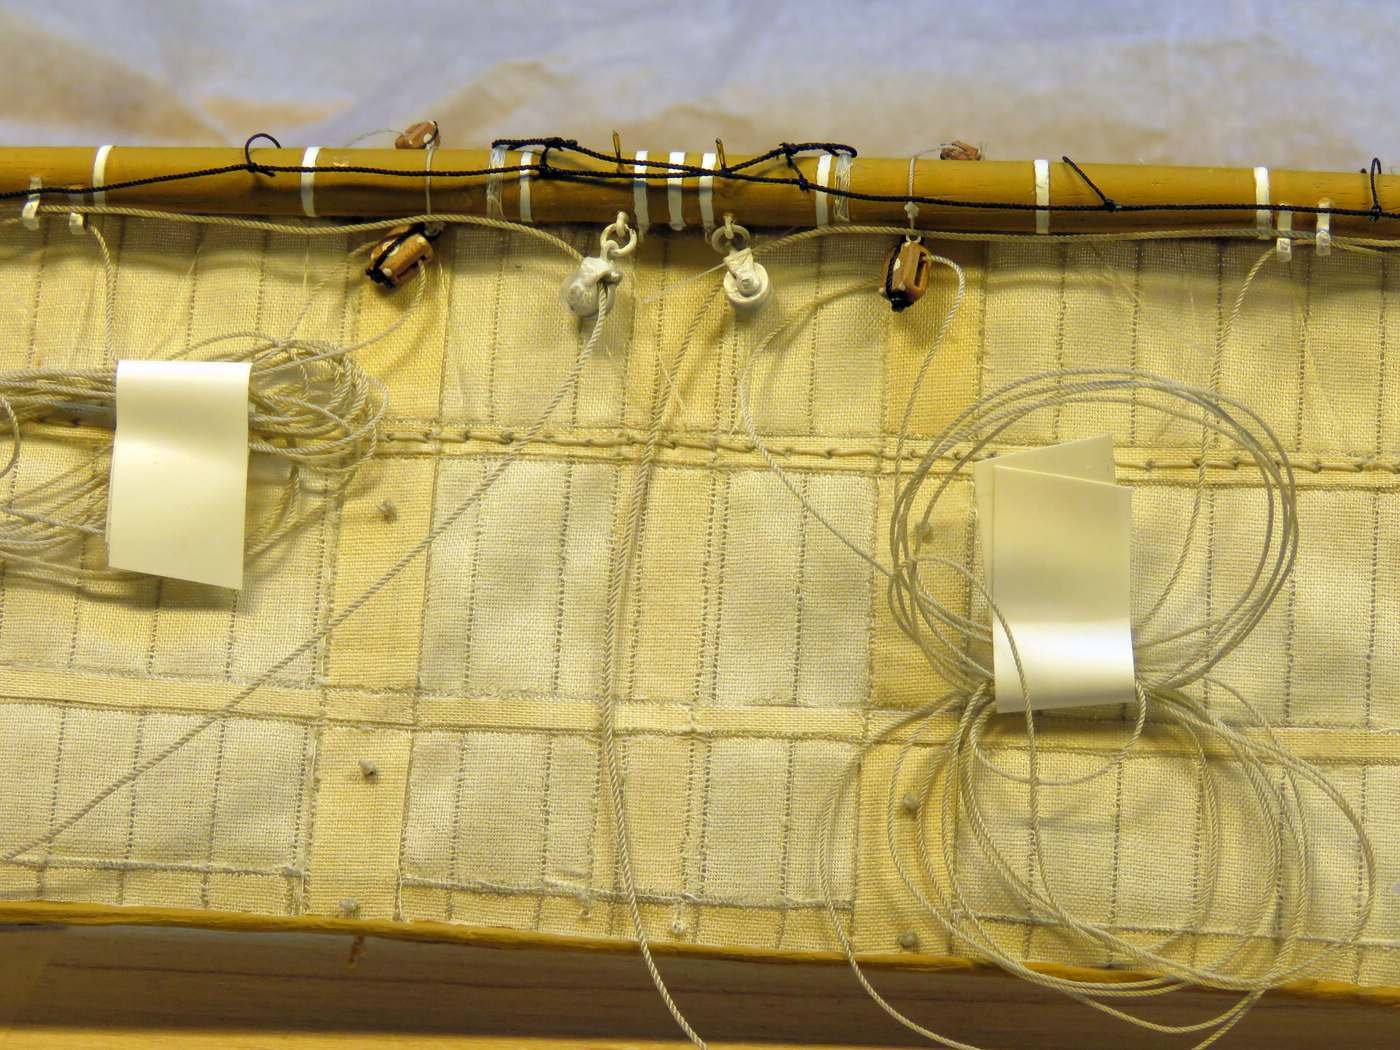
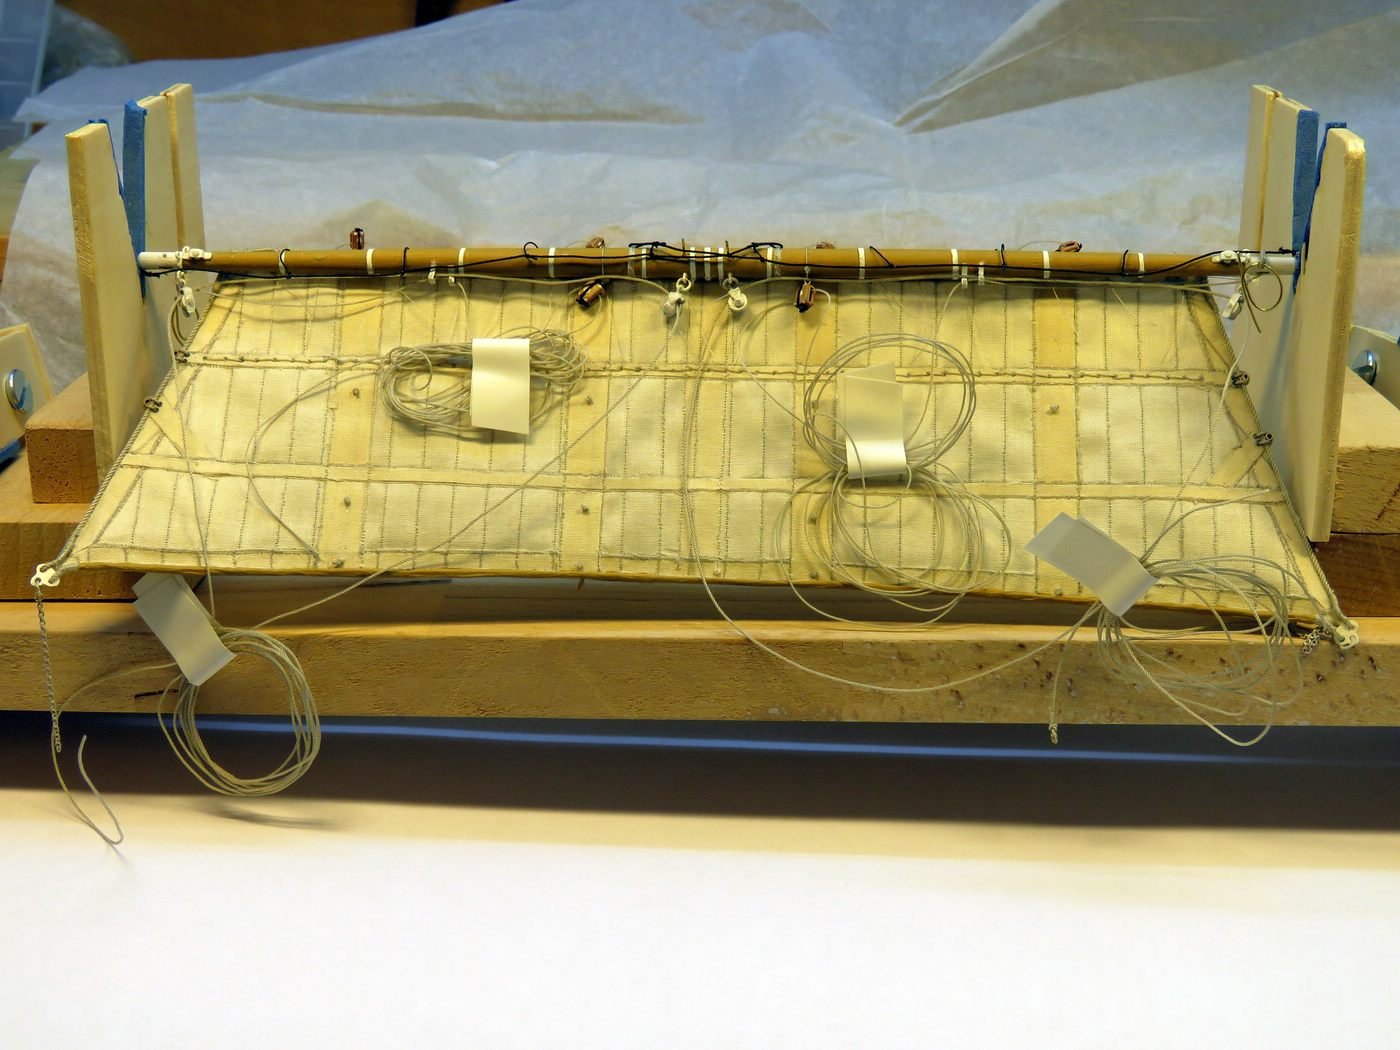
Hello folks,
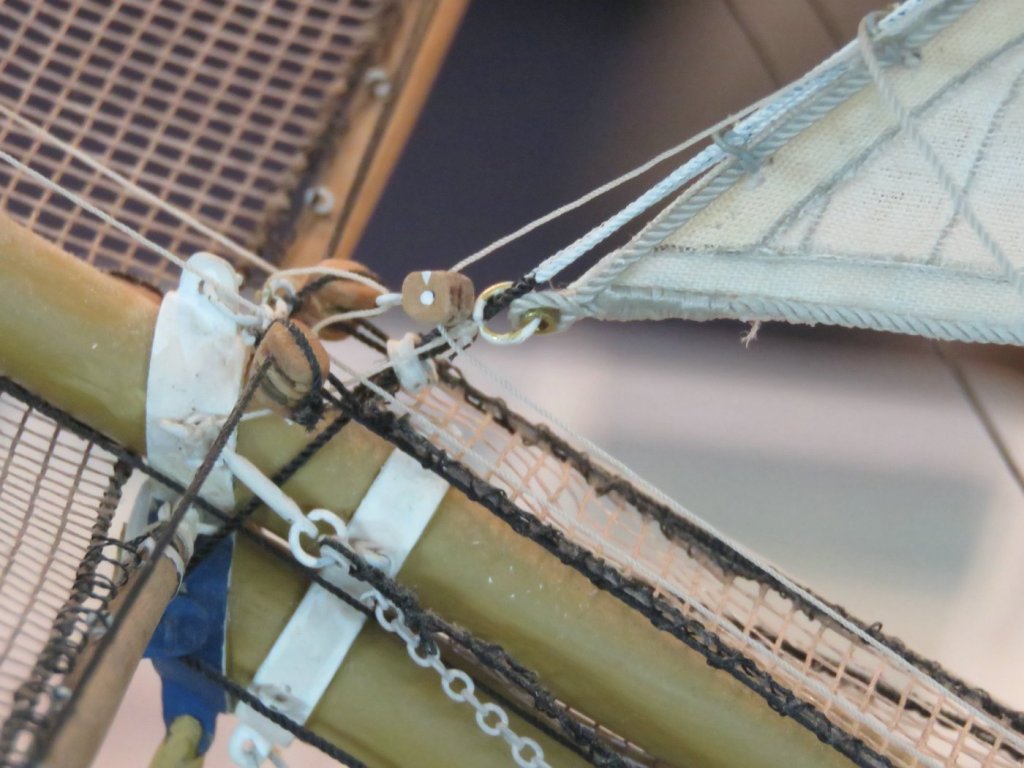
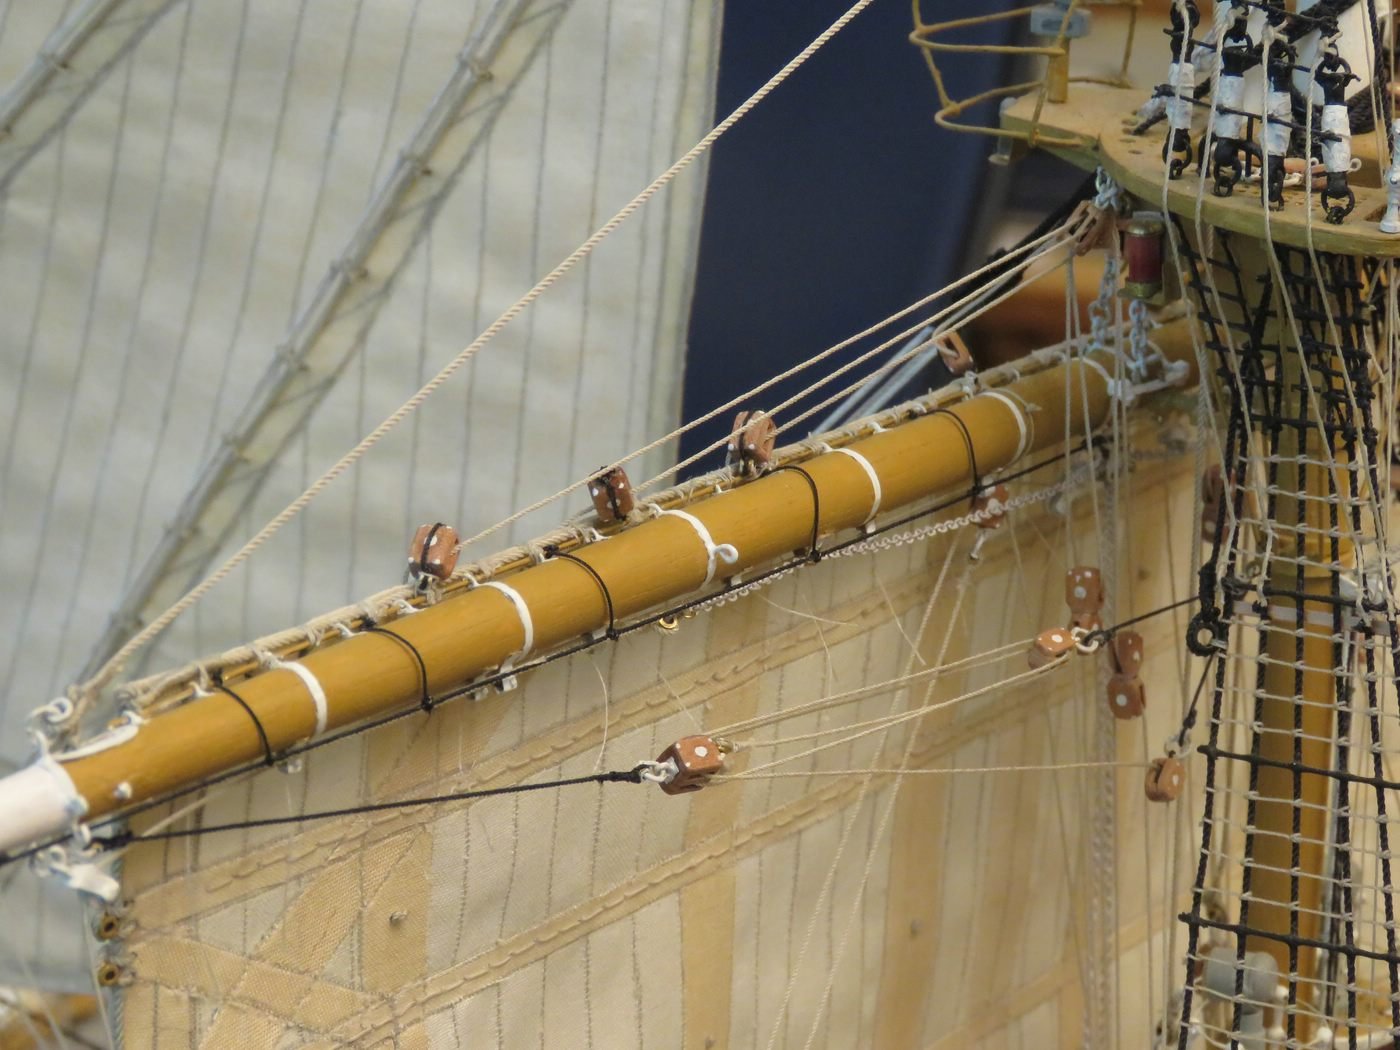
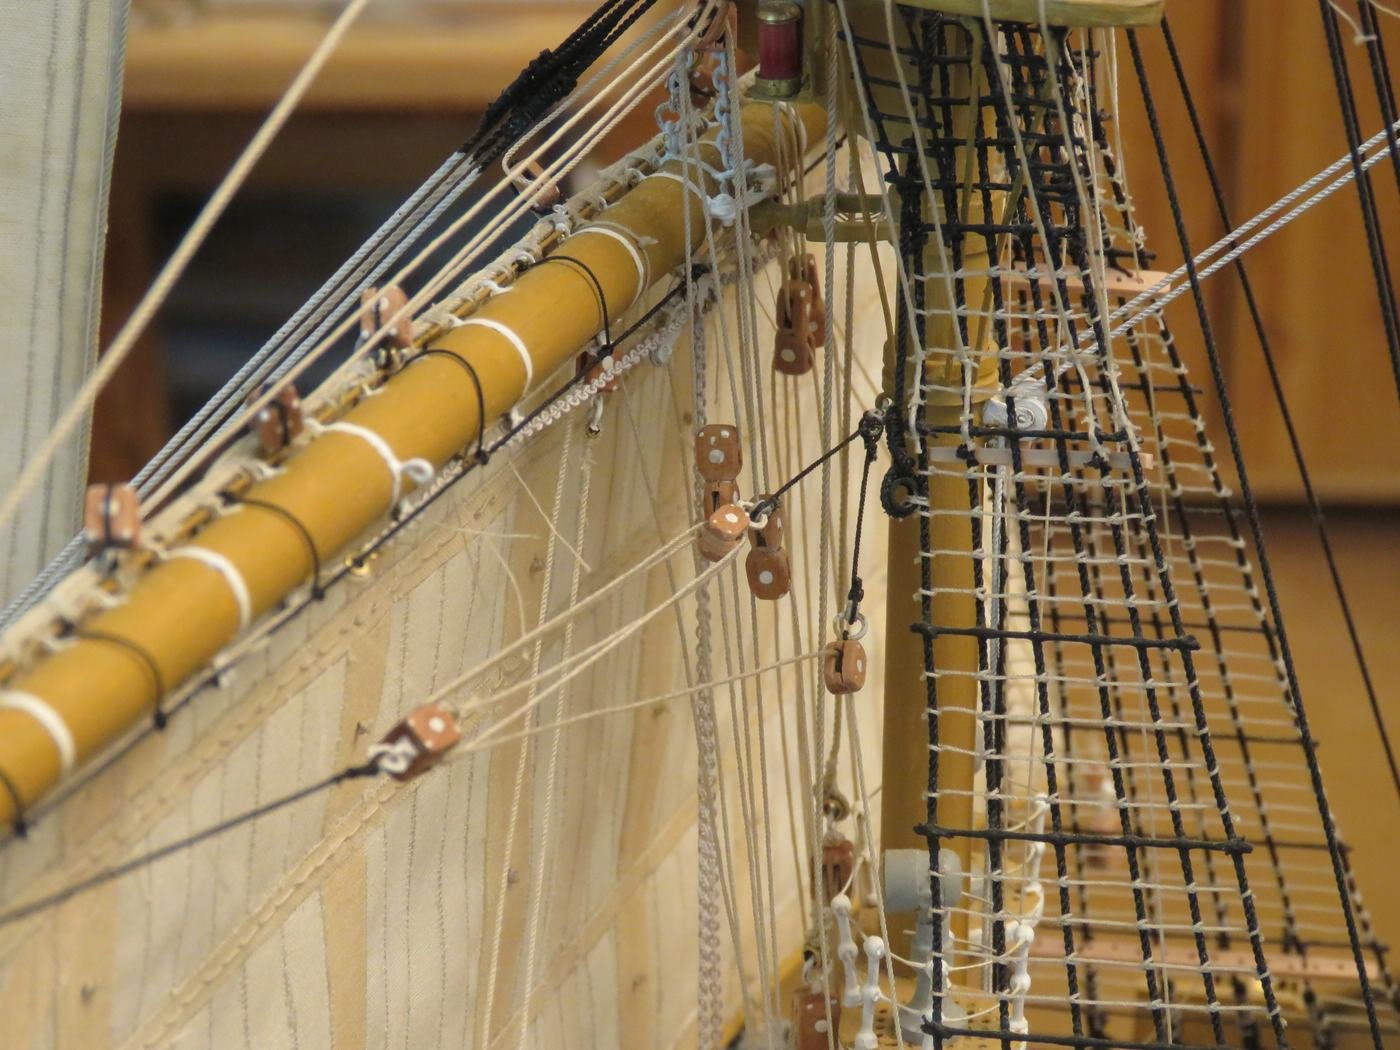
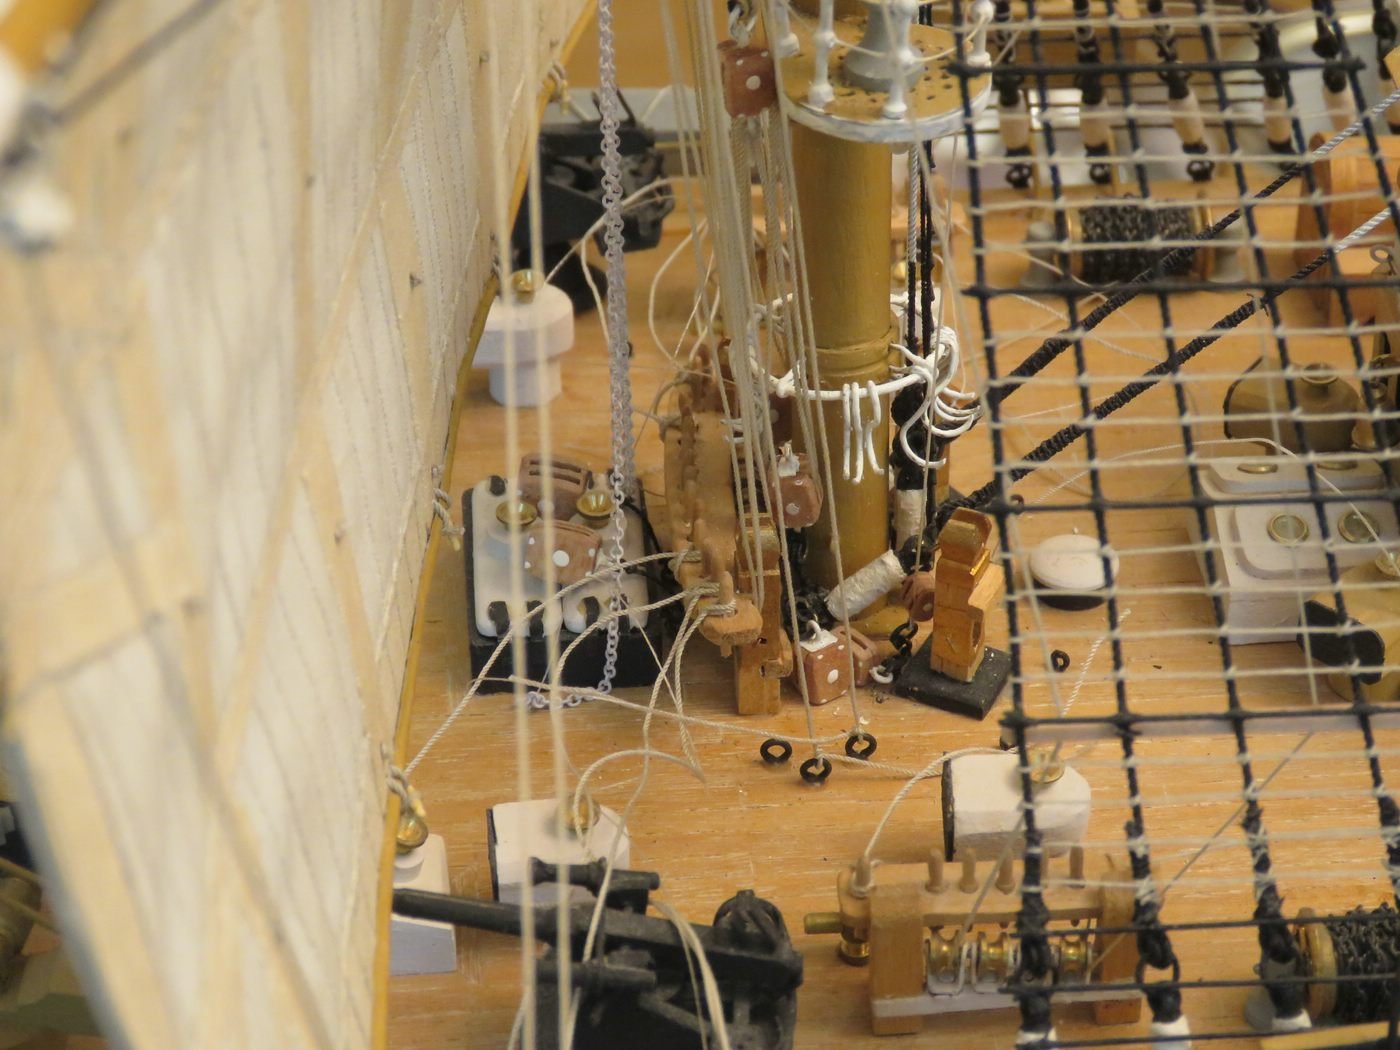
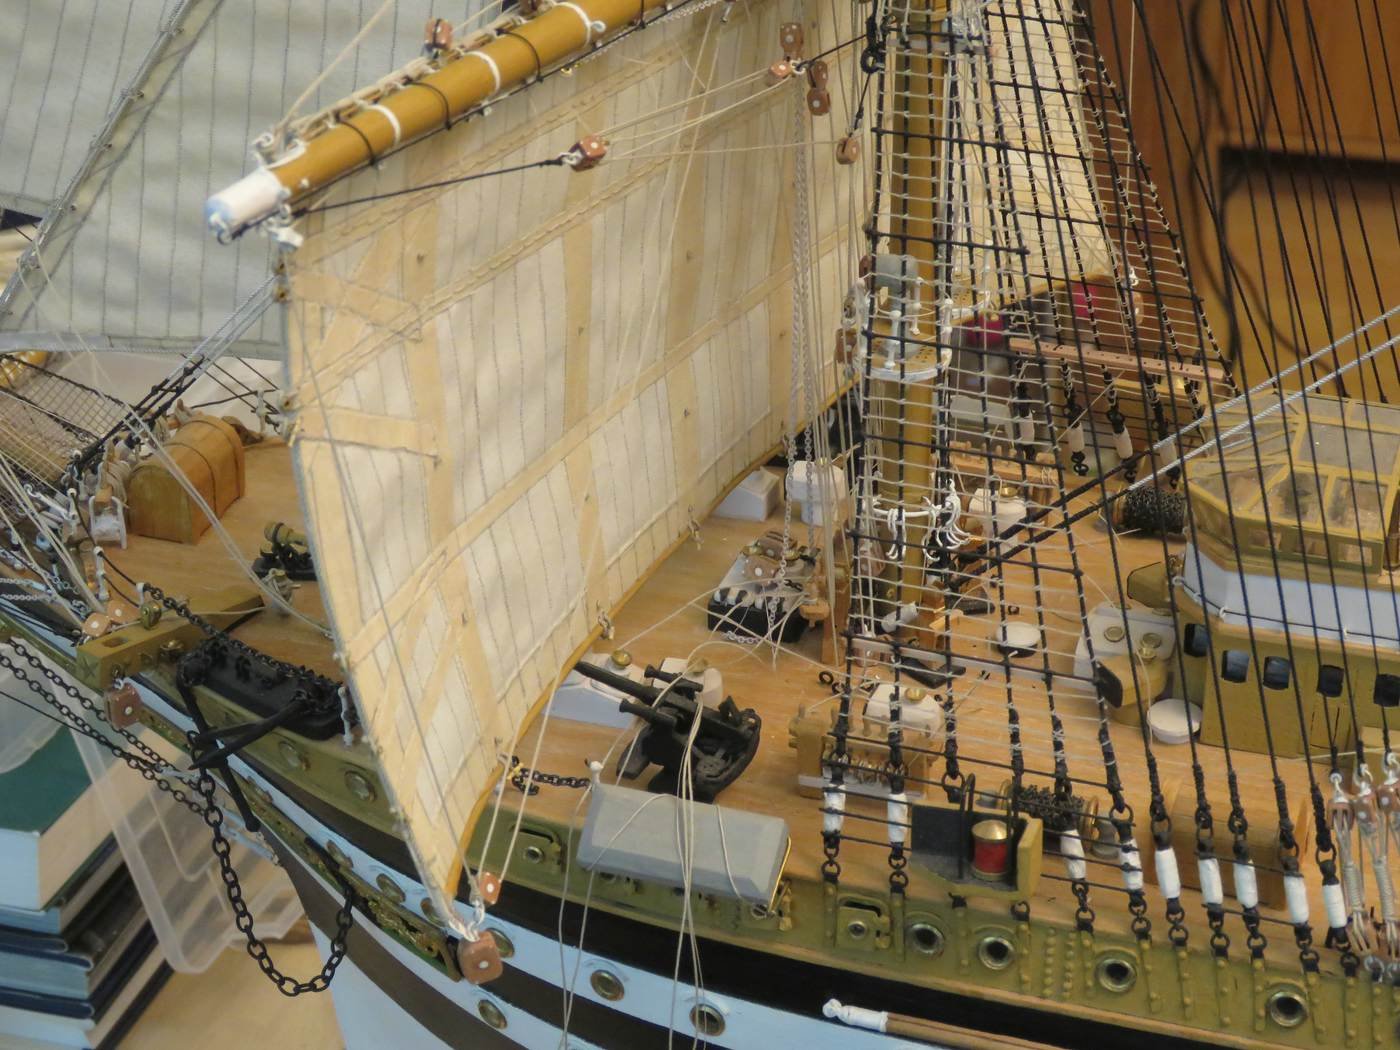
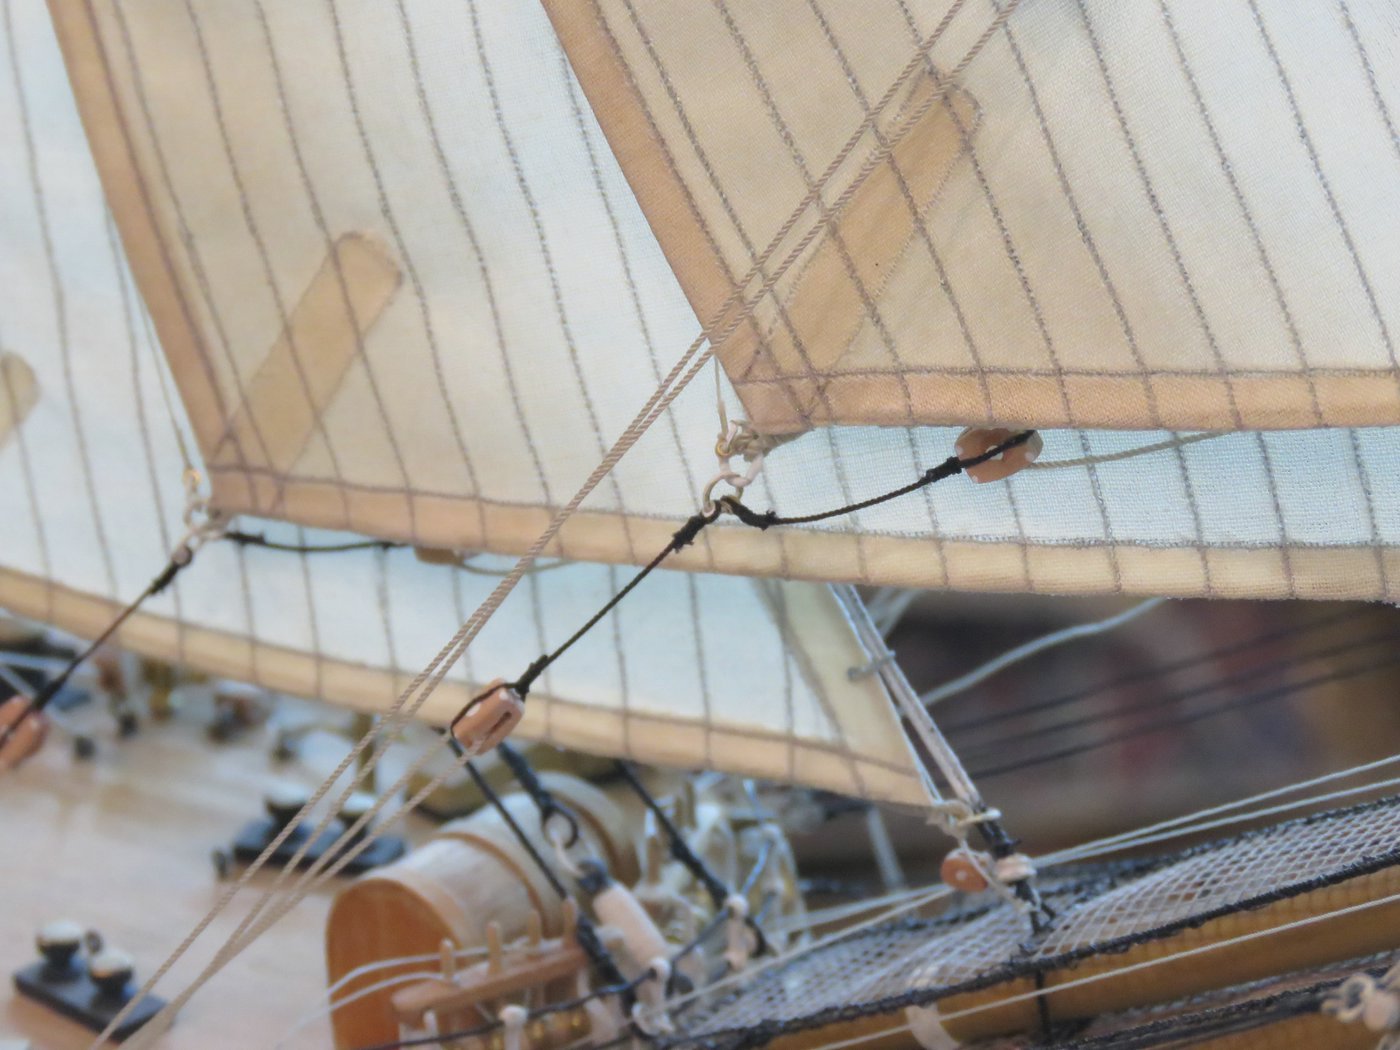
now the first pictures of the rigged lower sail at the foremast. The jib boom is rotatably mounted and is held by chains on the jib mast. At first I had attached the lift. Two of the Gordings are brought together by one of the double blocks, they are fixed at the bottom of the bitt in front of the mast. The elaborately designed reef troughs are fixed at the betings on starboard and port. The clew-lines again lead directly to the bitt in front of the mast.
Before the lines are finally fixed, some of the other sails have to be attached.
And now a few pictures.


Cheers, Joachim
- Jolley Roger, gjdale, oneslim and 7 others
-
10
-
Oh, that's a nice Thumbs Up
thank you very, very much 👍
Cheers
Joachim
-
Dear Michael,
thank you very much for your great compliment!
Cheers
Joachim
-
Now there is also the upper topsail. Everything looks somehow the same, and yet each sail is different, is fastened differently to the respective yards, all have a different line guide.


Joachim
- Mirabell61, gjdale, Ekis and 6 others
-
9
-
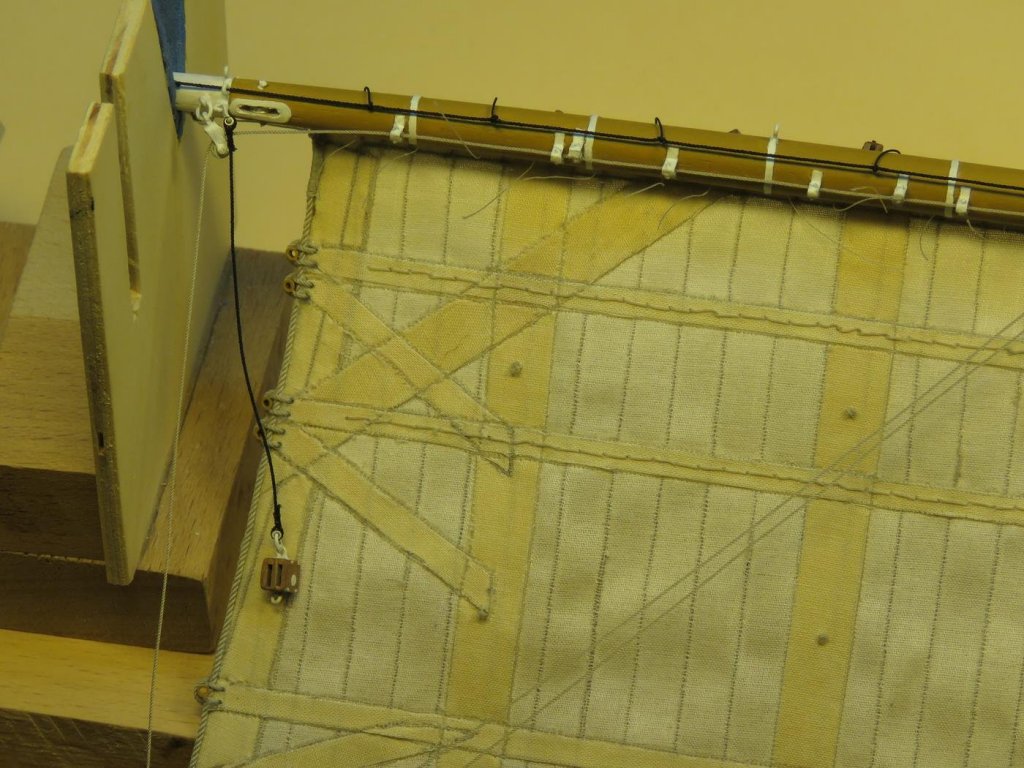
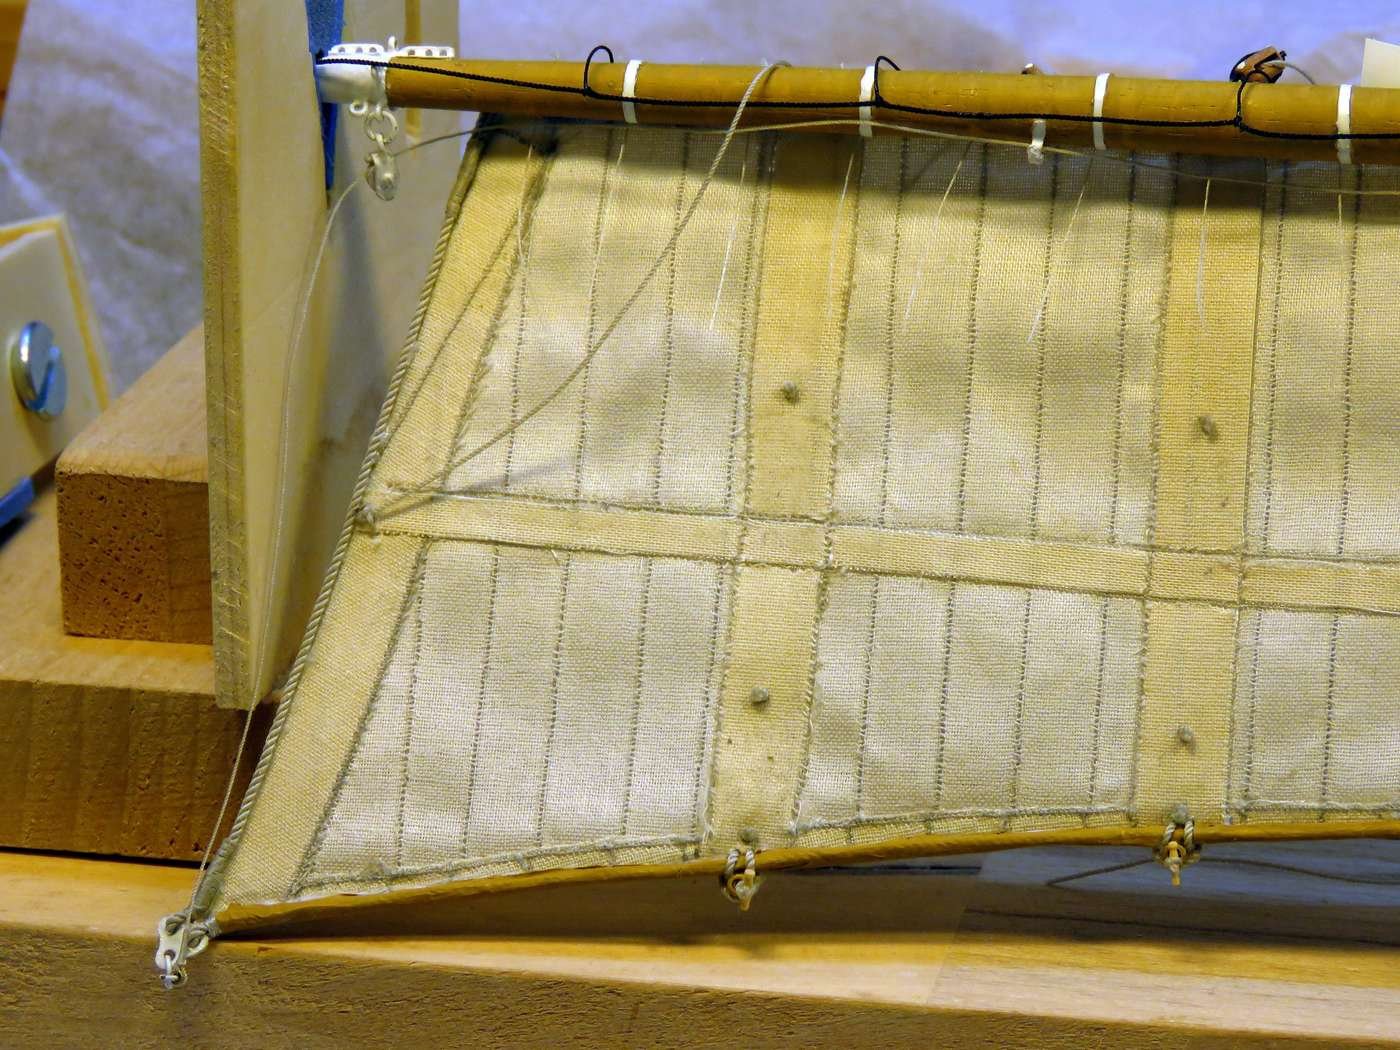
The bottom mast sail of the foremast is attached to the yard and I have already attached the most important lines to it, especially the gordings have to be threaded through these tiny thimbles.


Joachim
- paulsutcliffe, Ekis, iosto and 3 others
-
6
-
-
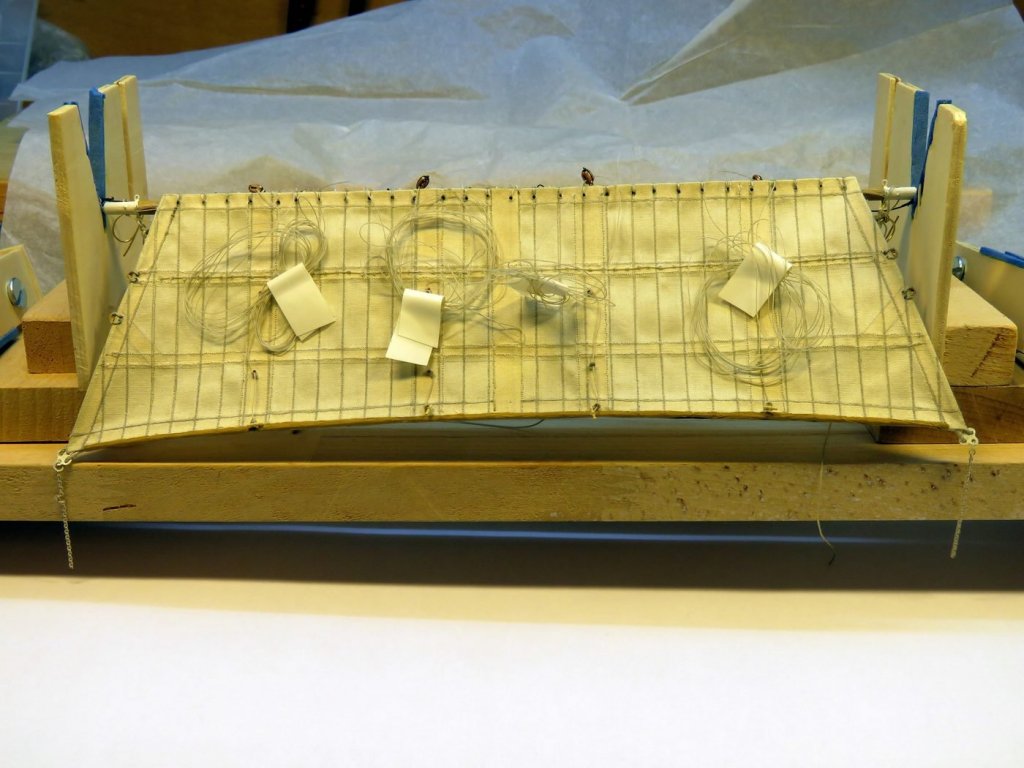
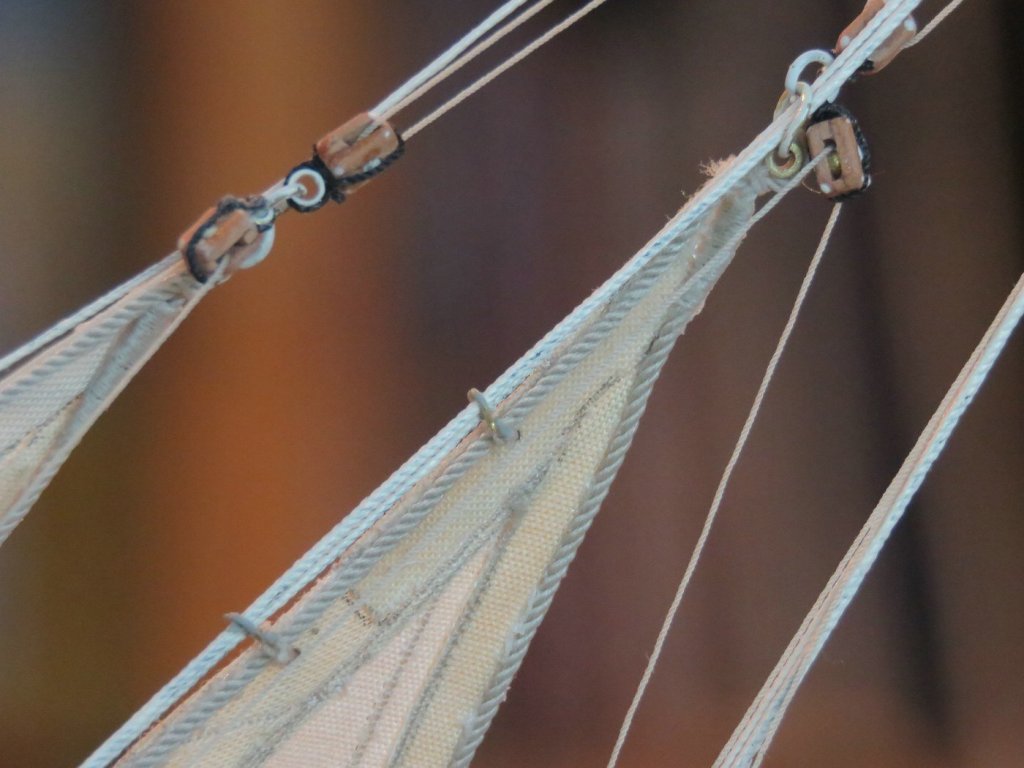
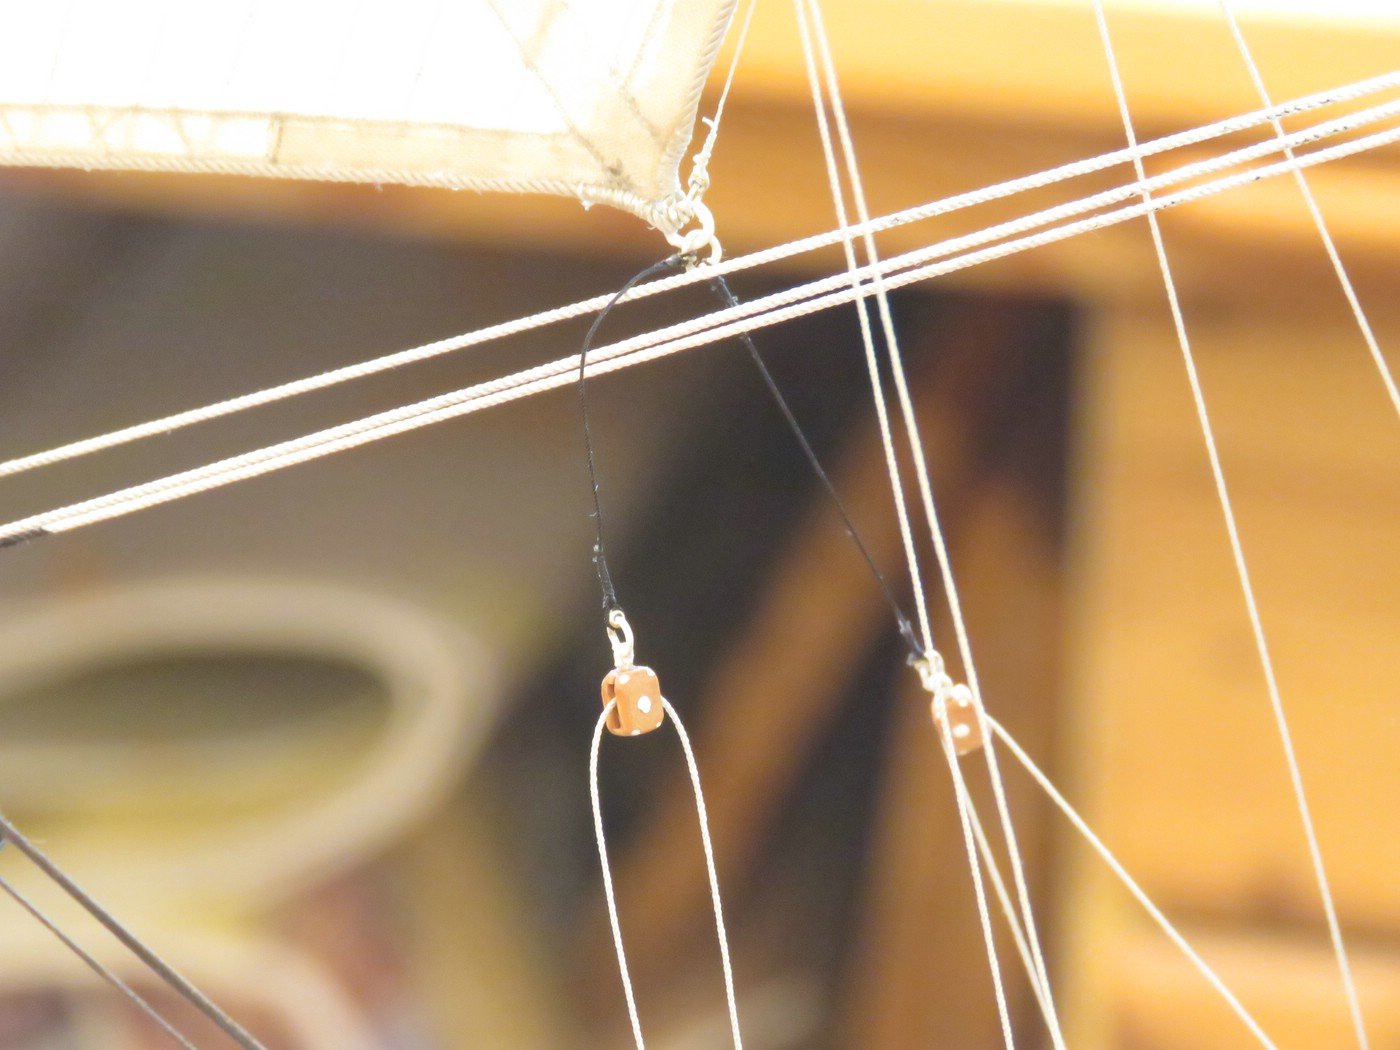
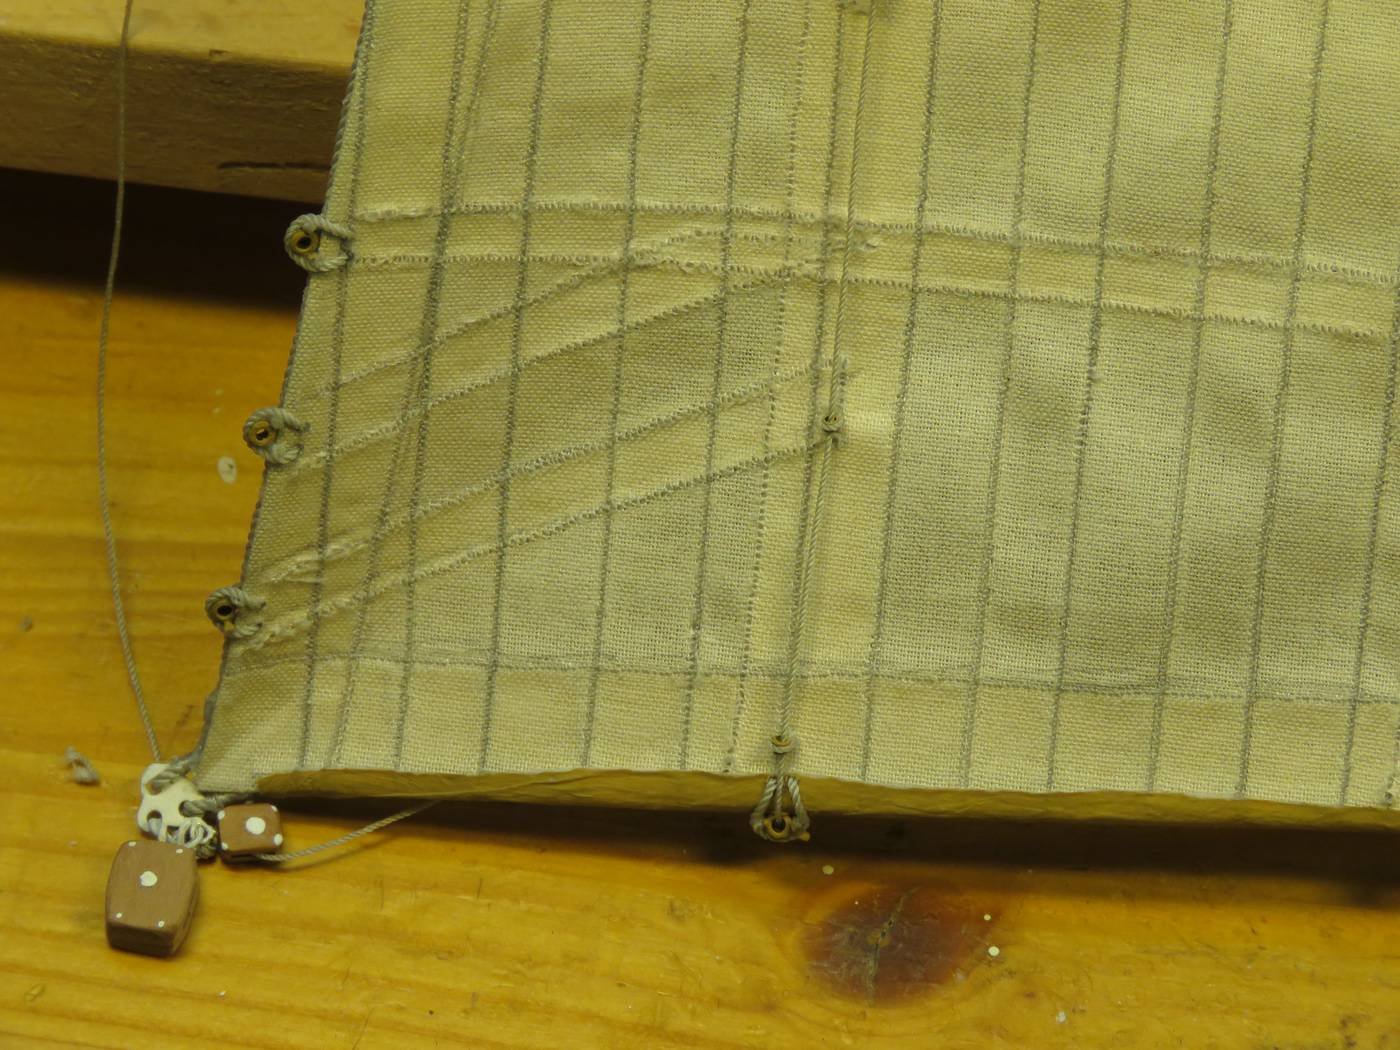
Now it goes on. So here are the staysails at the foredeck with sheets and downhauls.
The sheets of each sail have the typical precursors with blocks at the end through which the sheets run. The downhauls are attached to the clew horn, run high over a block attached to the nock horn back down to the neck horn and over a block attached to it to the reference point.The lines are still occupied, the whole line bundles are still missing and then everything has to be finally fixed.

Joachim
- iosto, Dubz, popeye the sailor and 9 others
-
12
-
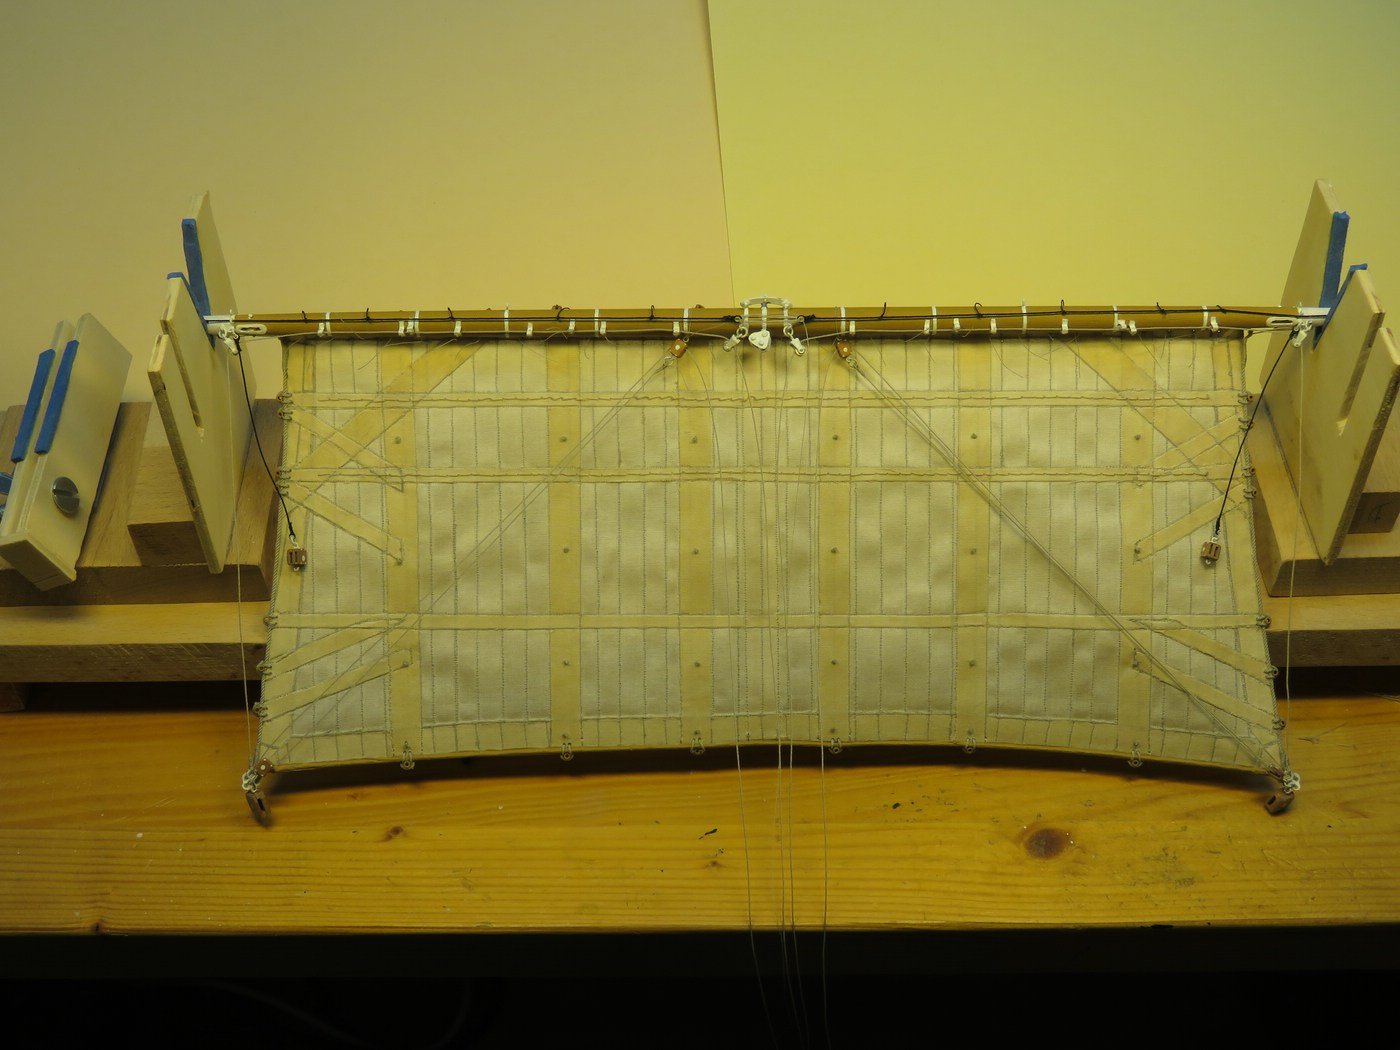
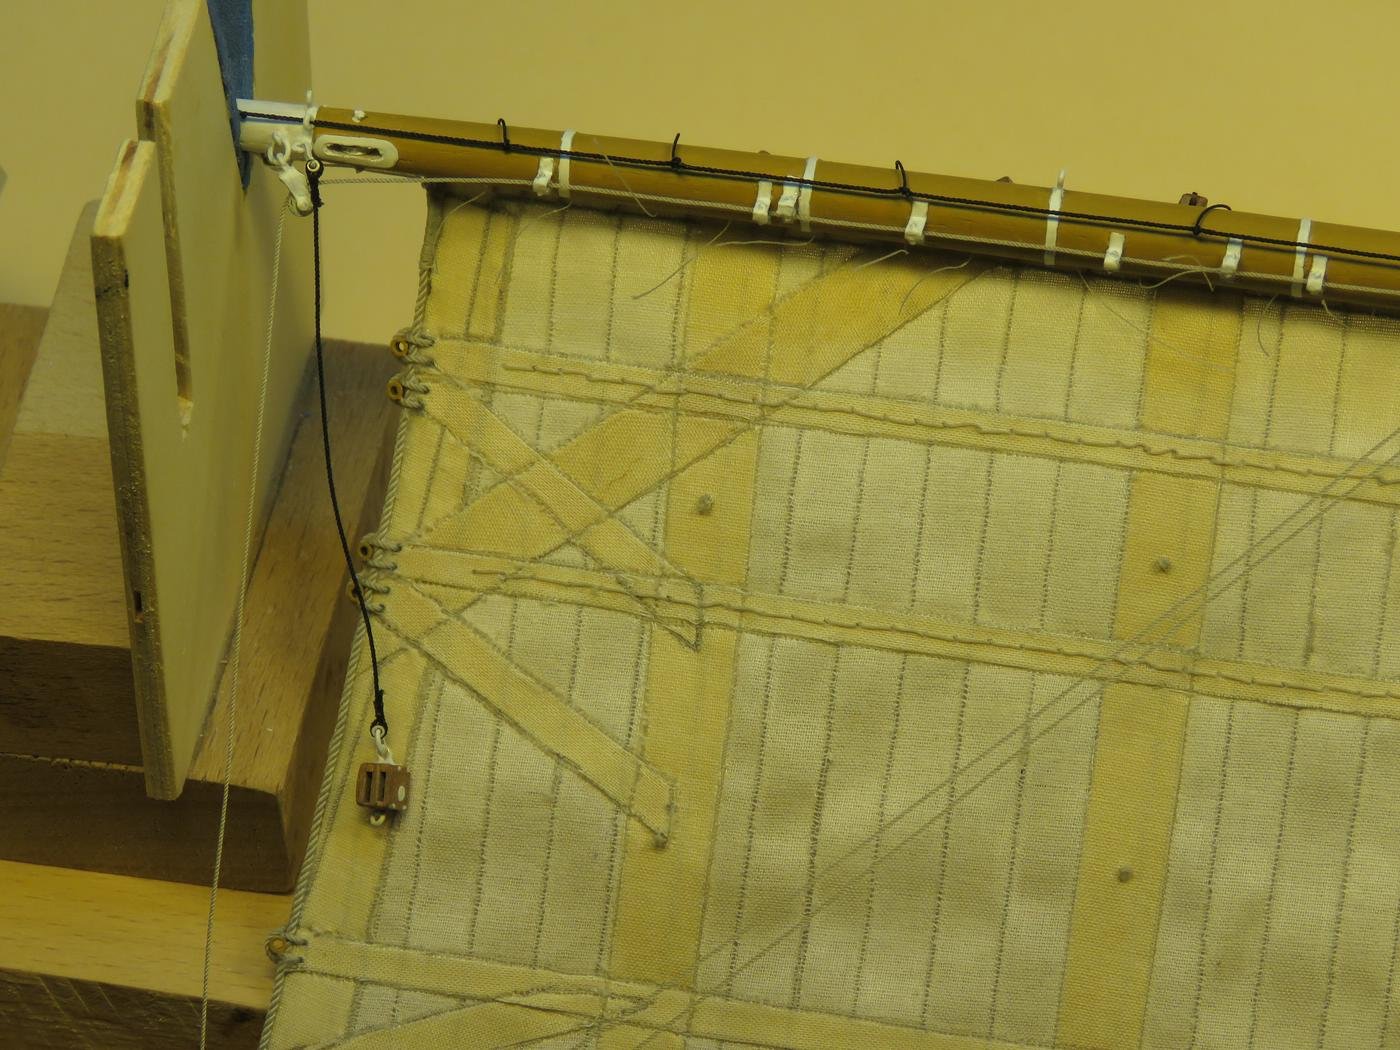
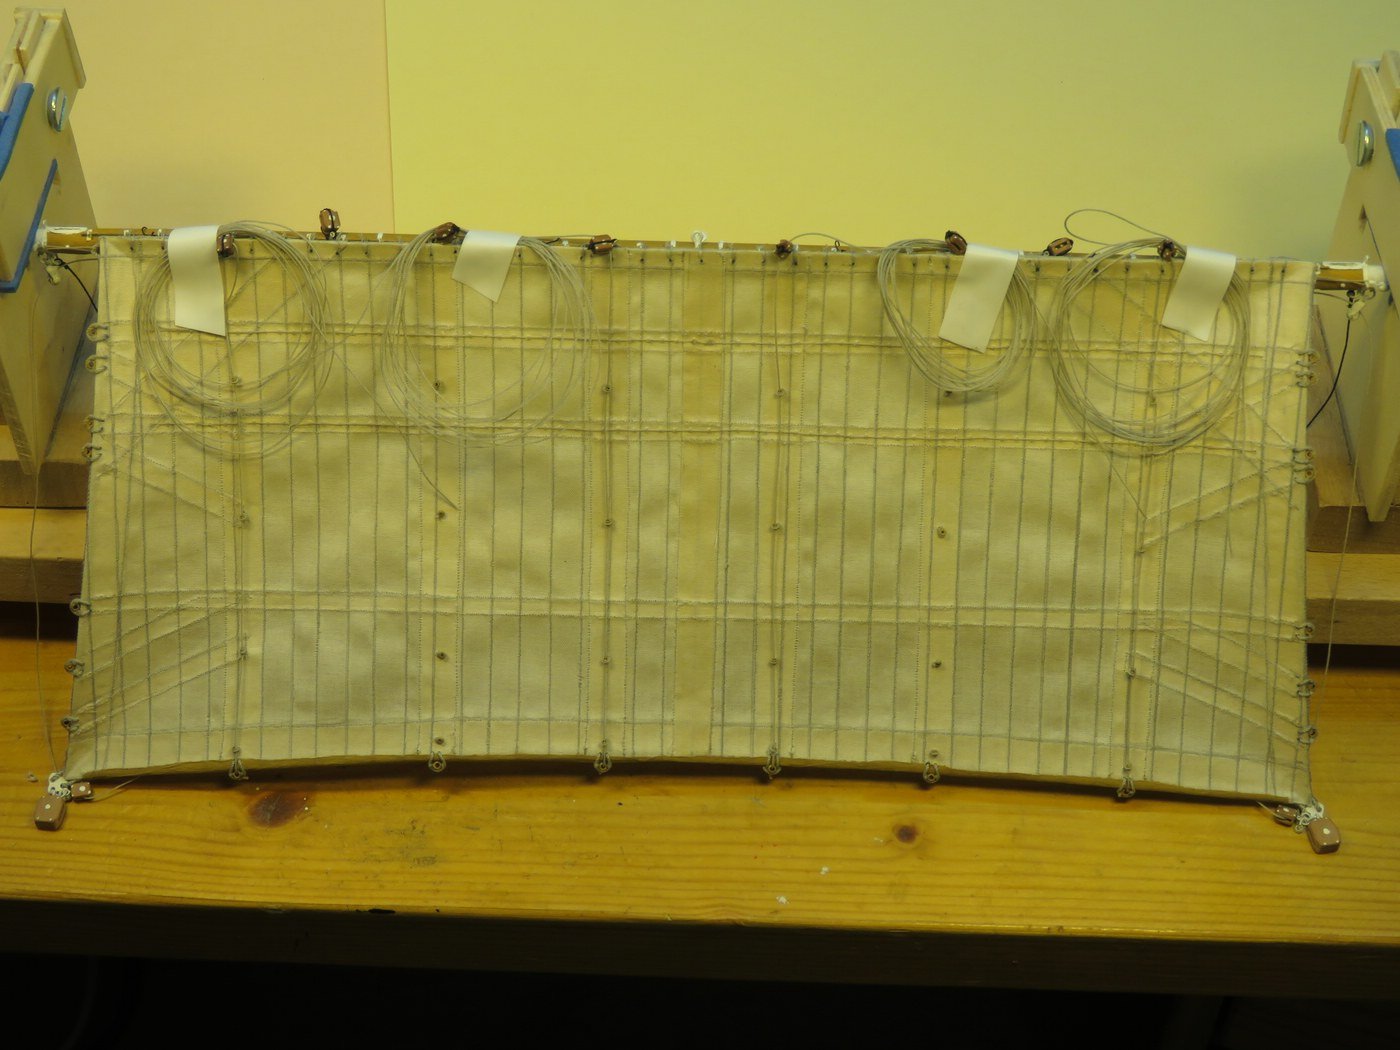
And now the first yard sail, the foresail, is attached to the yard. In order to have it a little easier later with the lines, I have prepared some, especially clew lines and bunt-lines. By the way, a few of the blocks appear there again.
I put here some more pictures, because the general procedure is the same for some more sails.


Joachim
-
Thanks to everybody for the likes!
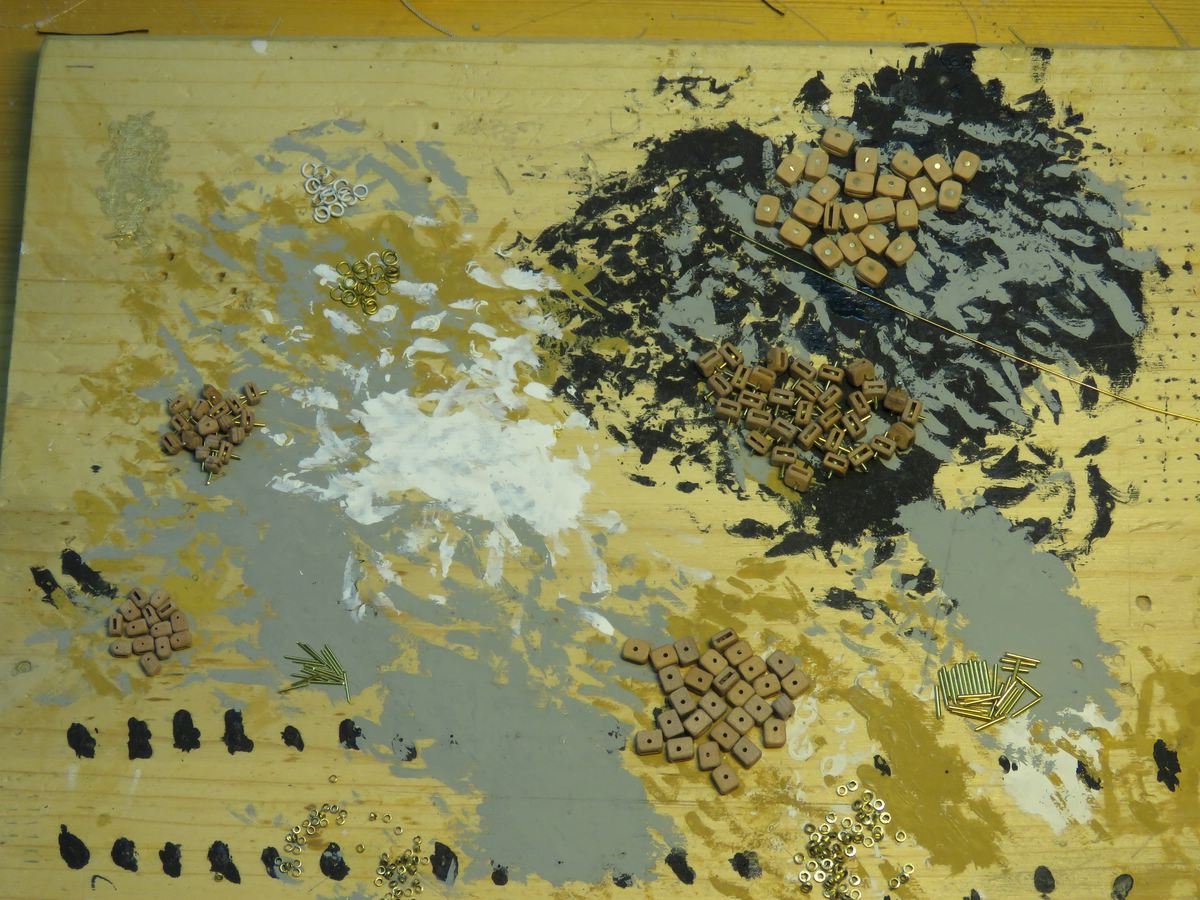
In between a few blocks had to be made, then they can later be attached to the yards with the sails. These are only a few blocks of over 1000 pieces.

Joachim
-
It is the first book and the first set of plans I know that unites these three construction methods. Masterfully researched, compiled and drawn, an absolute must have for every model maker, not only for those, interested in ships of this time or type. This book is highly recommended.
Joachim
-
Thank you very much for your kind words. 😊
Joachim
-
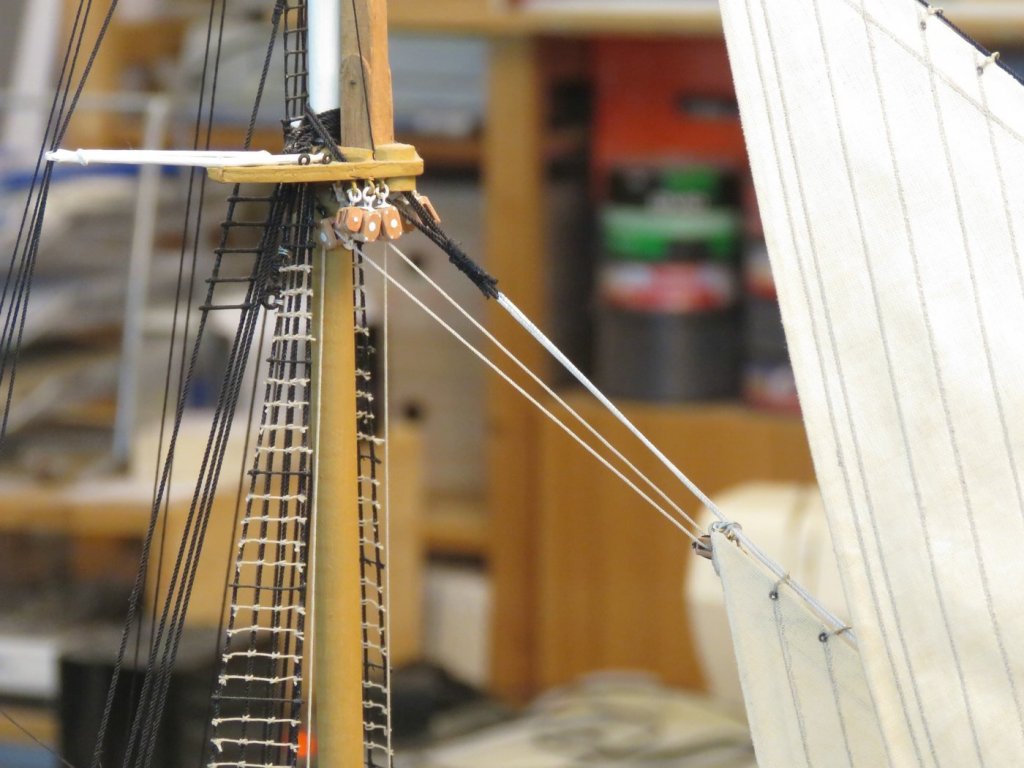
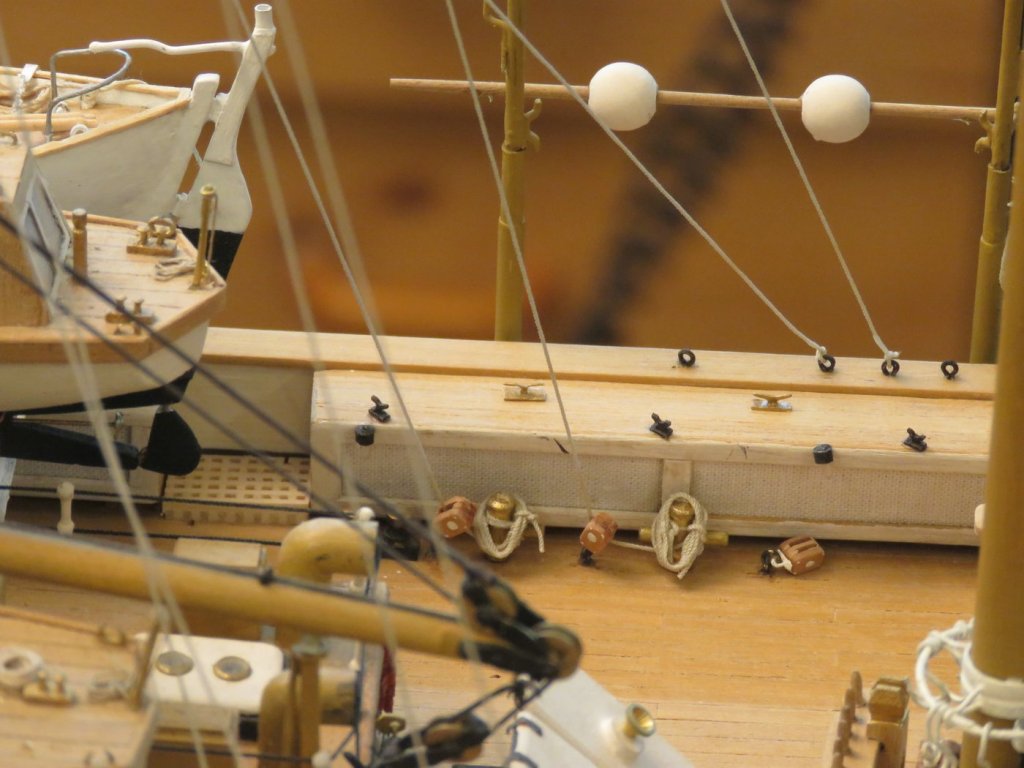
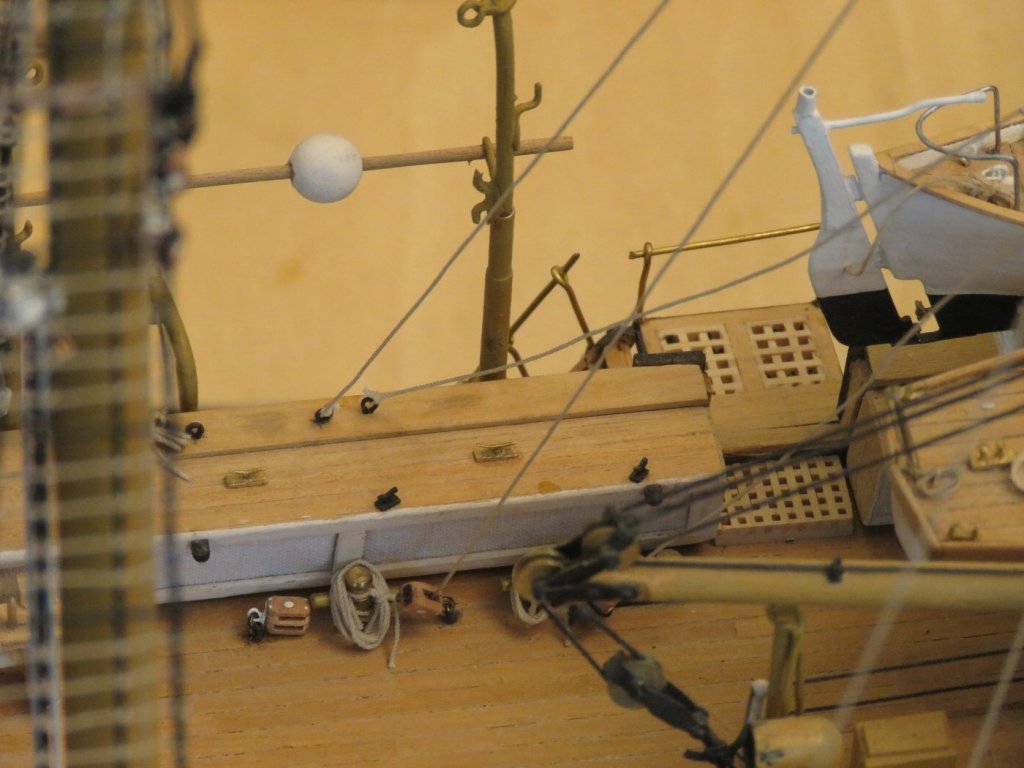
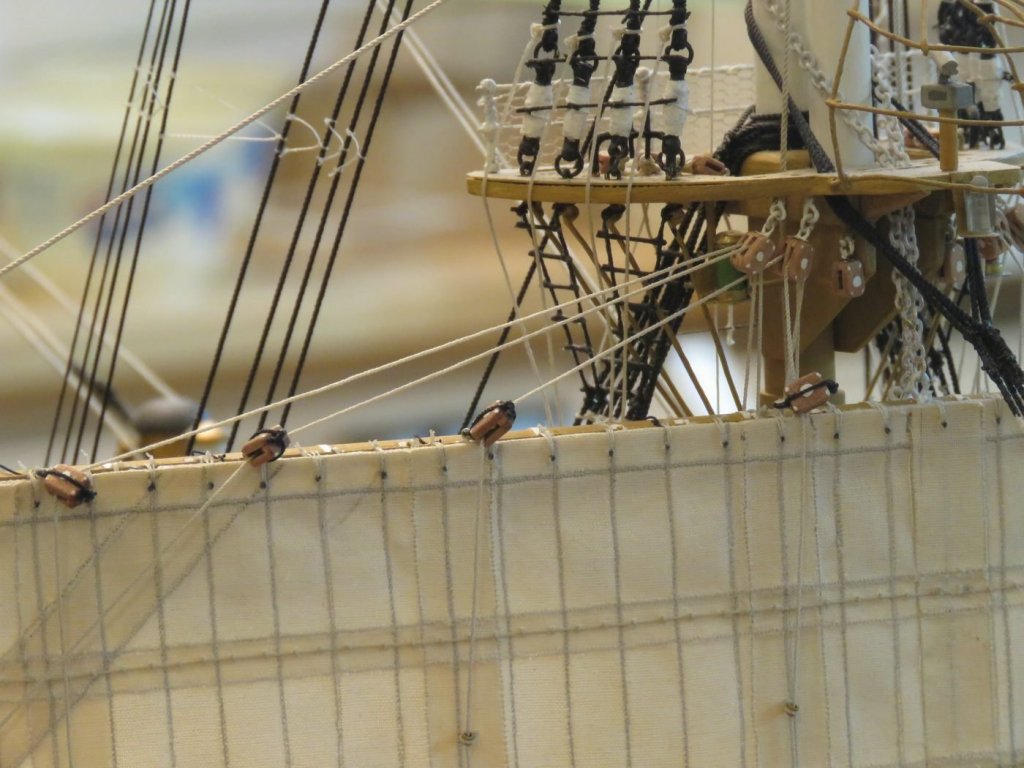
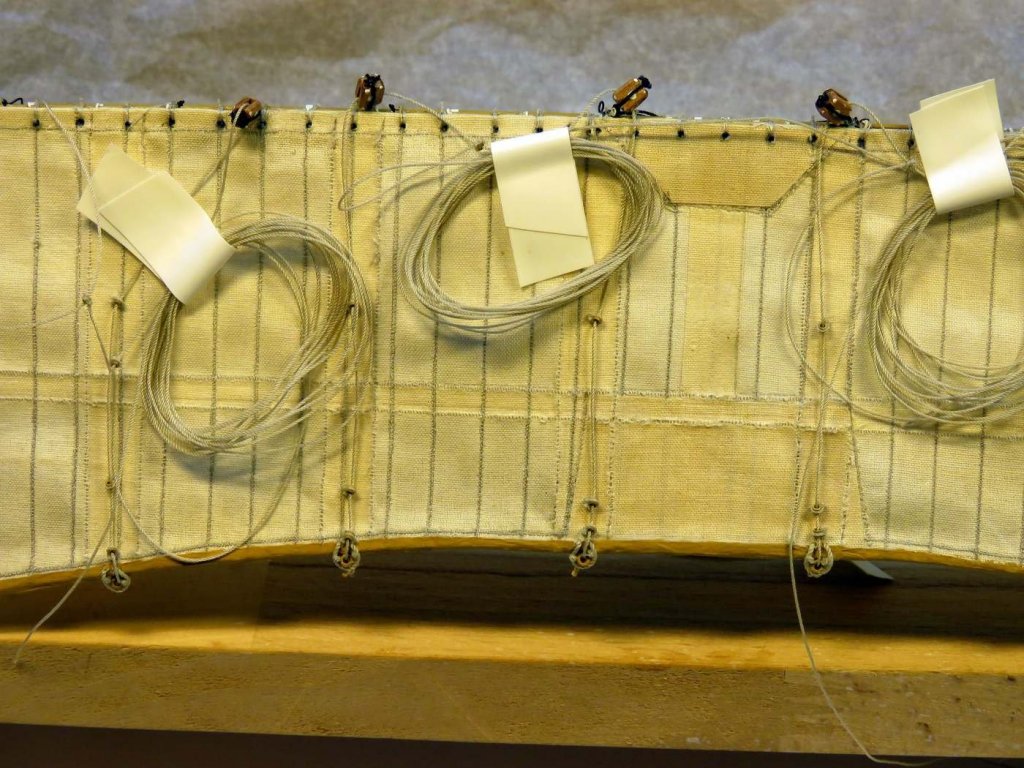
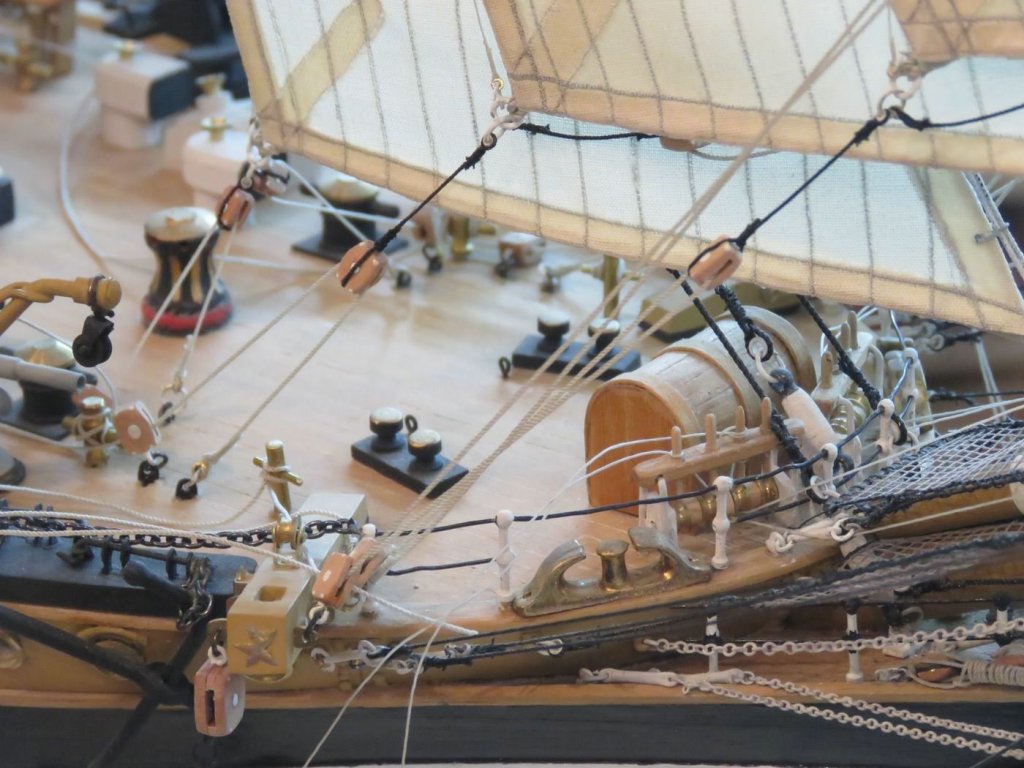
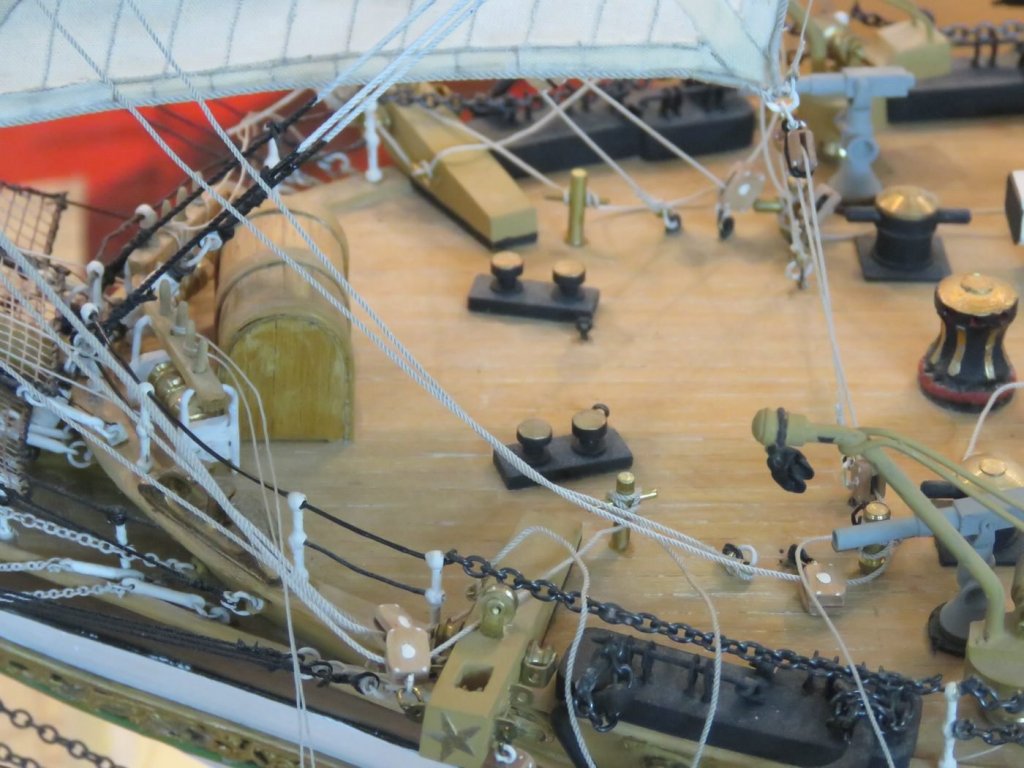
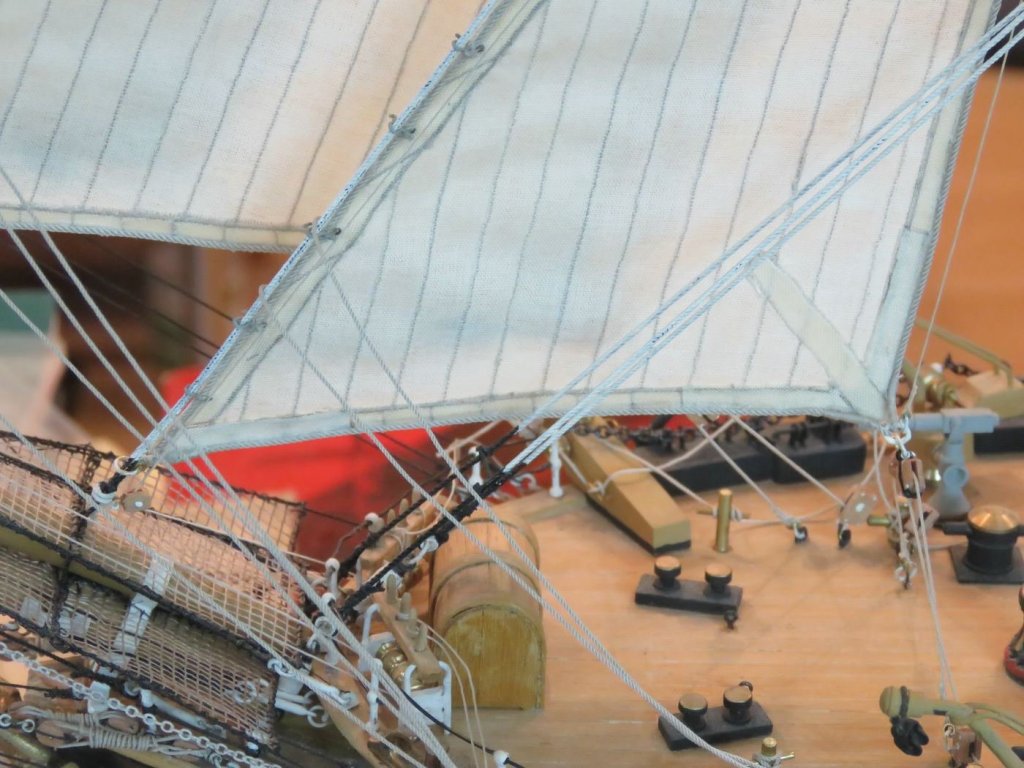
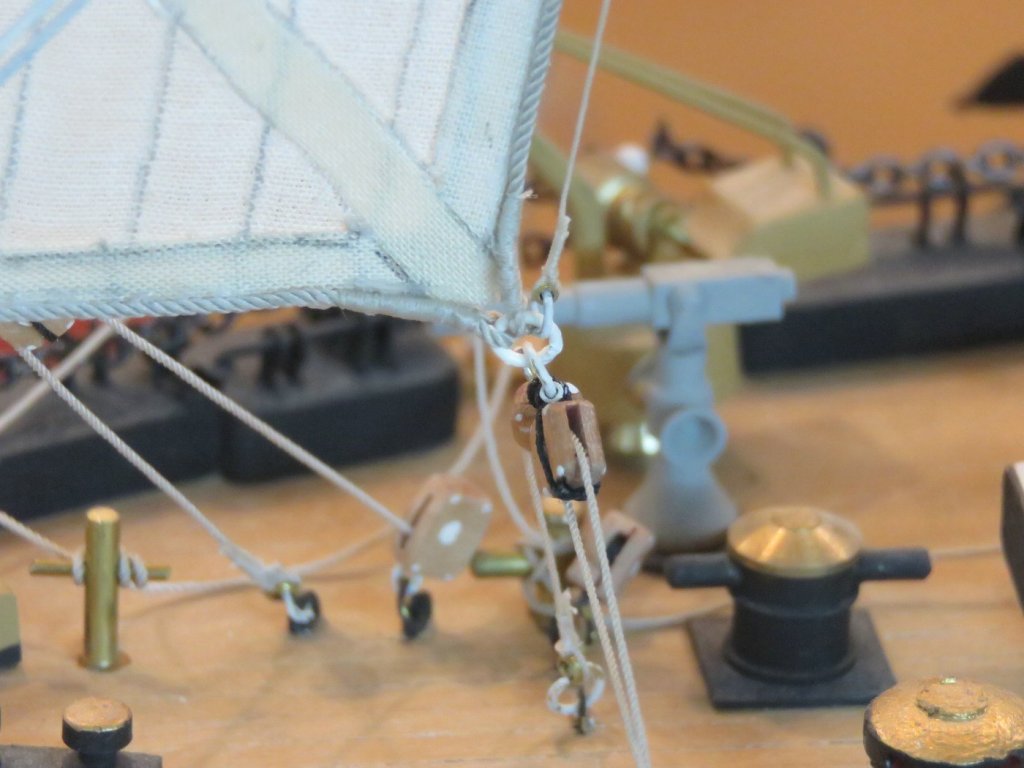
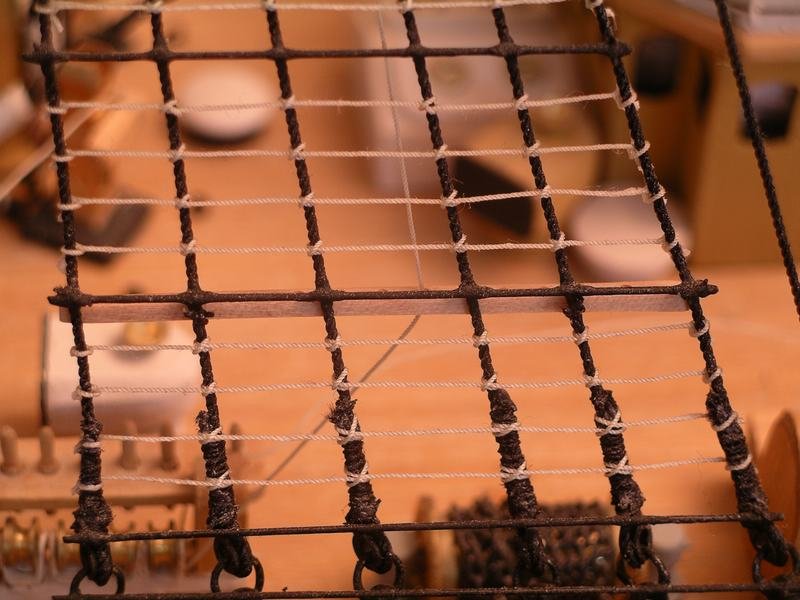
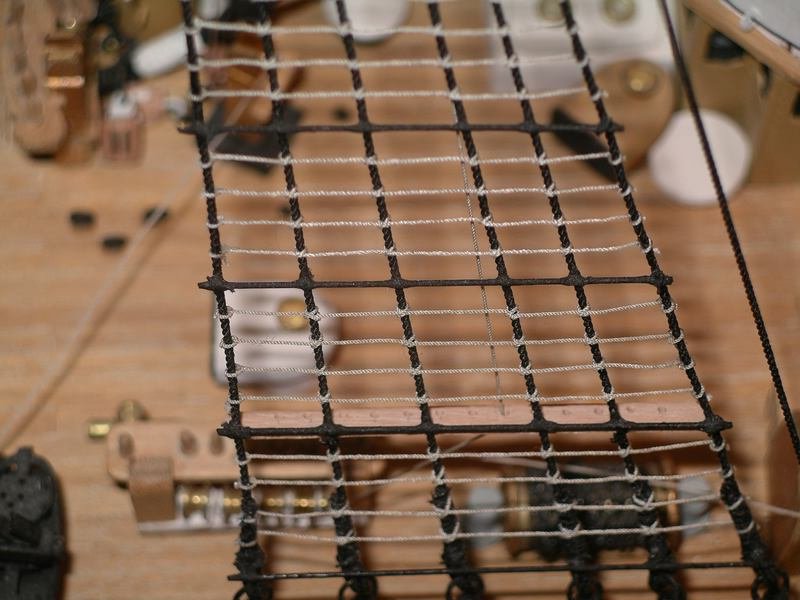
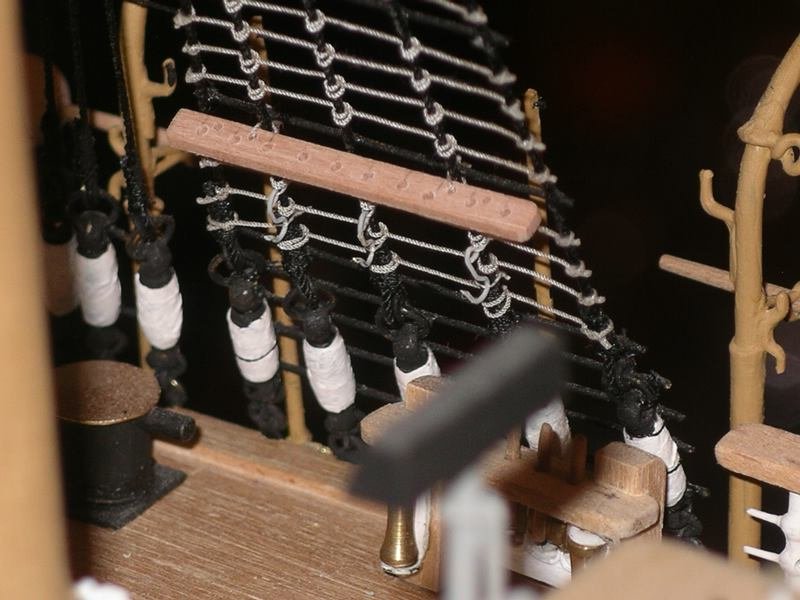
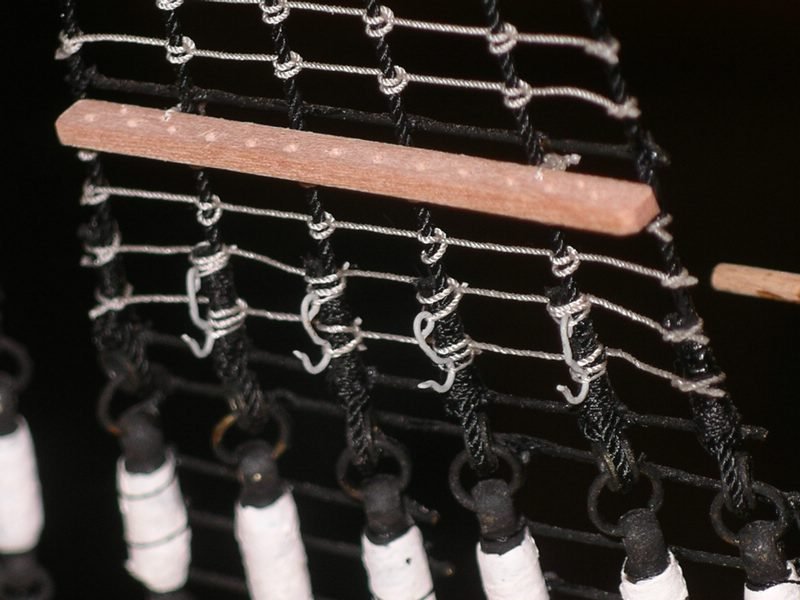
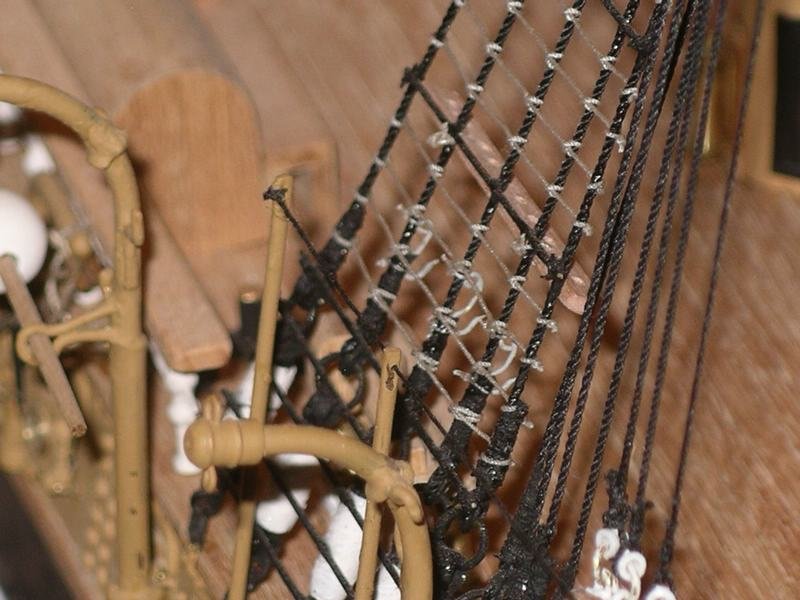
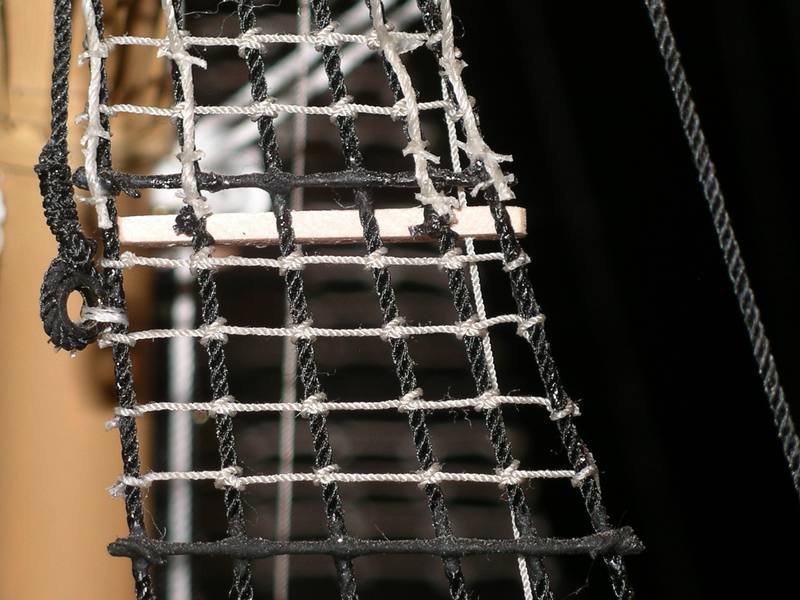
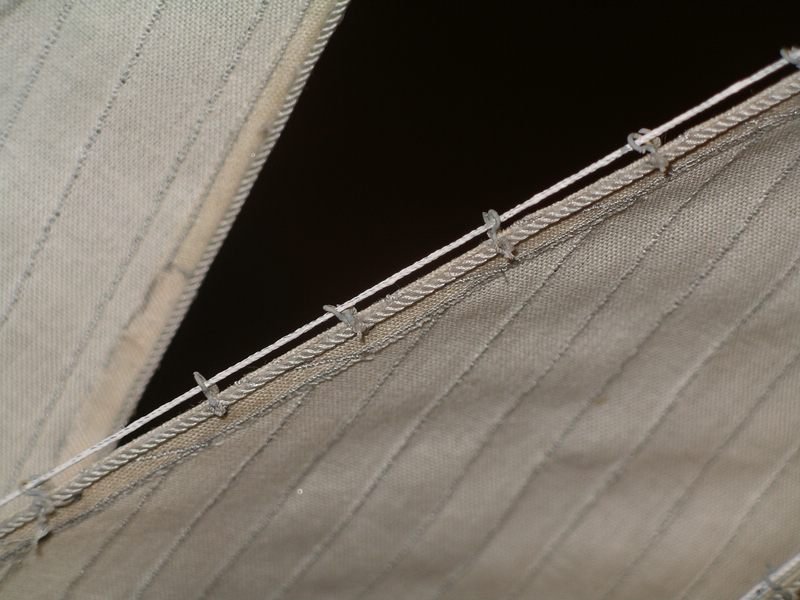
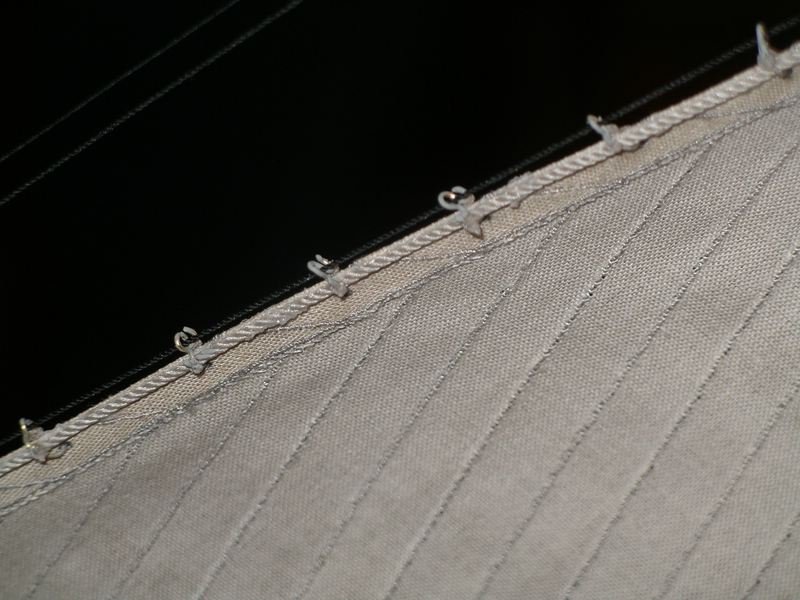
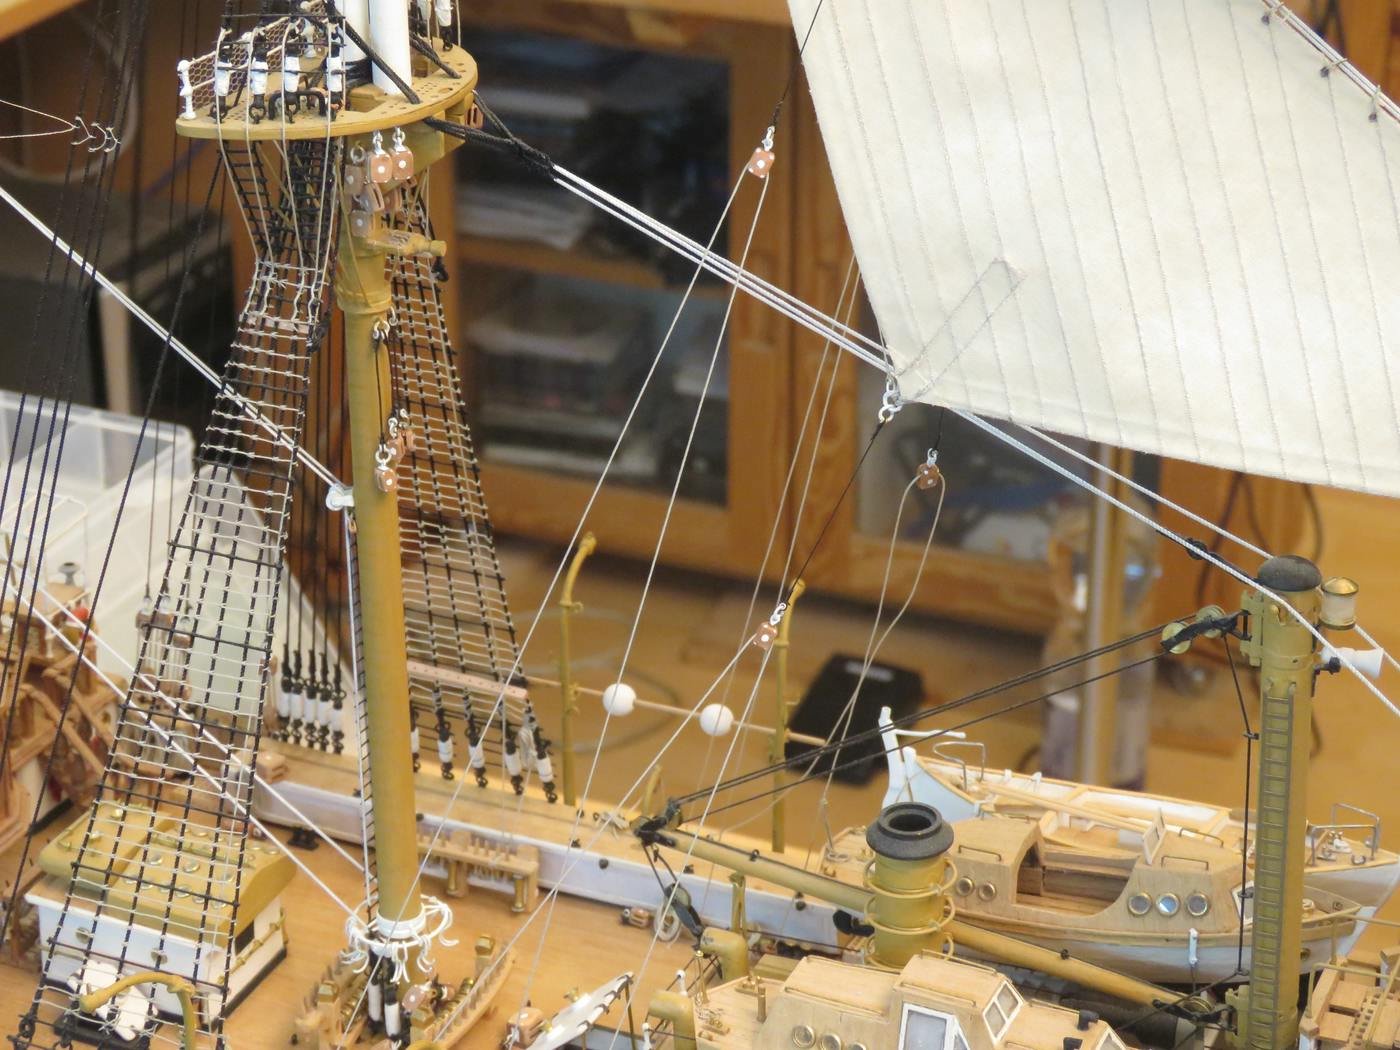
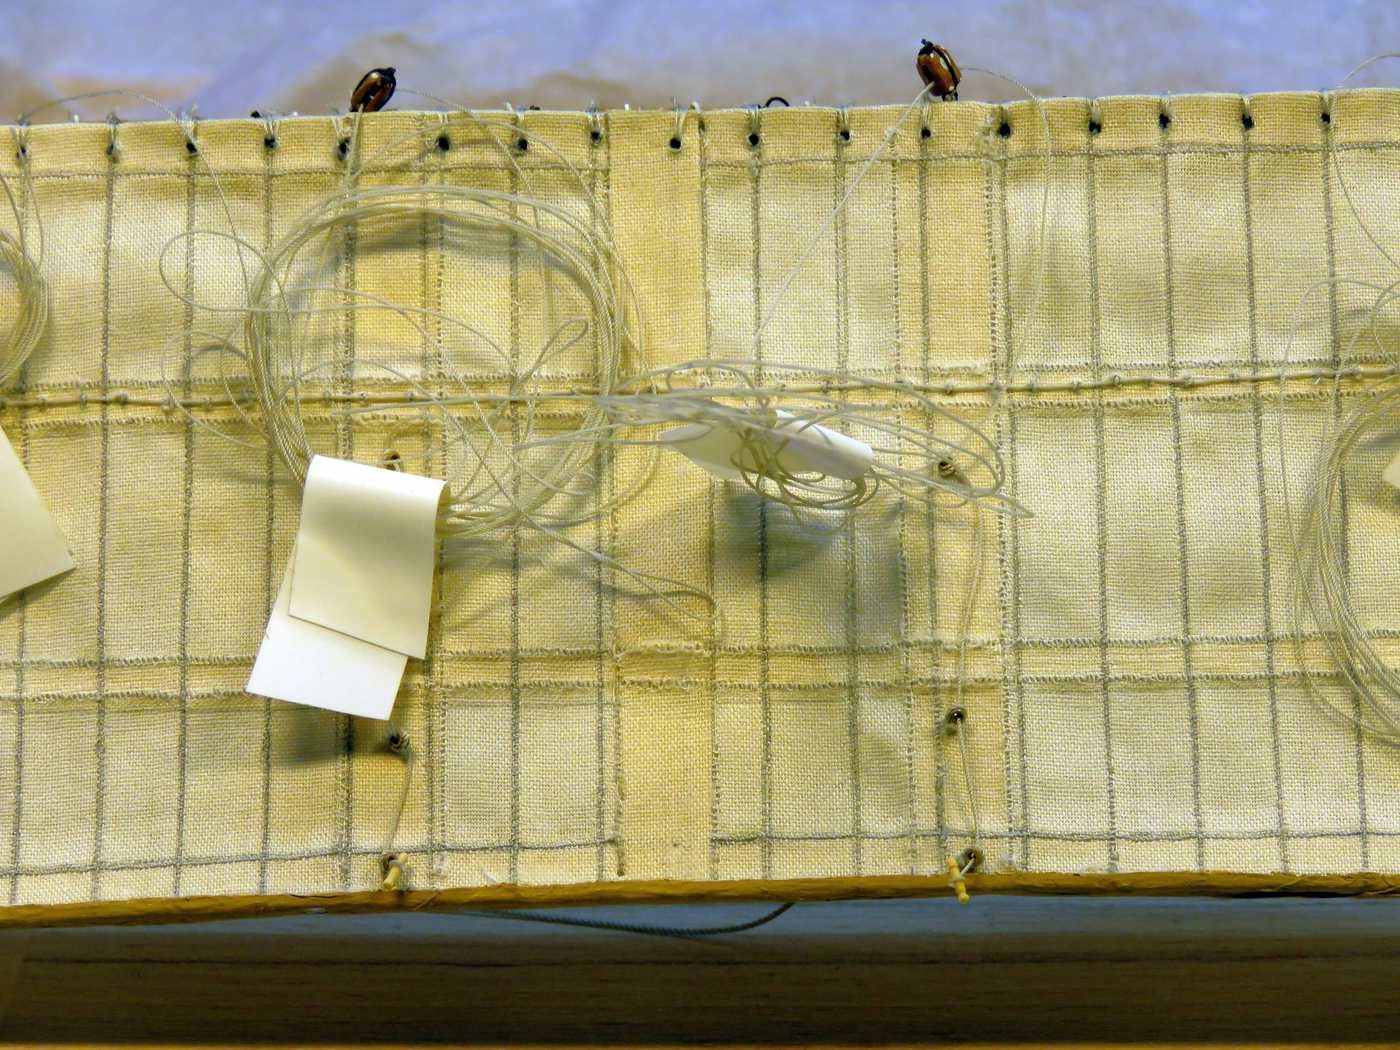
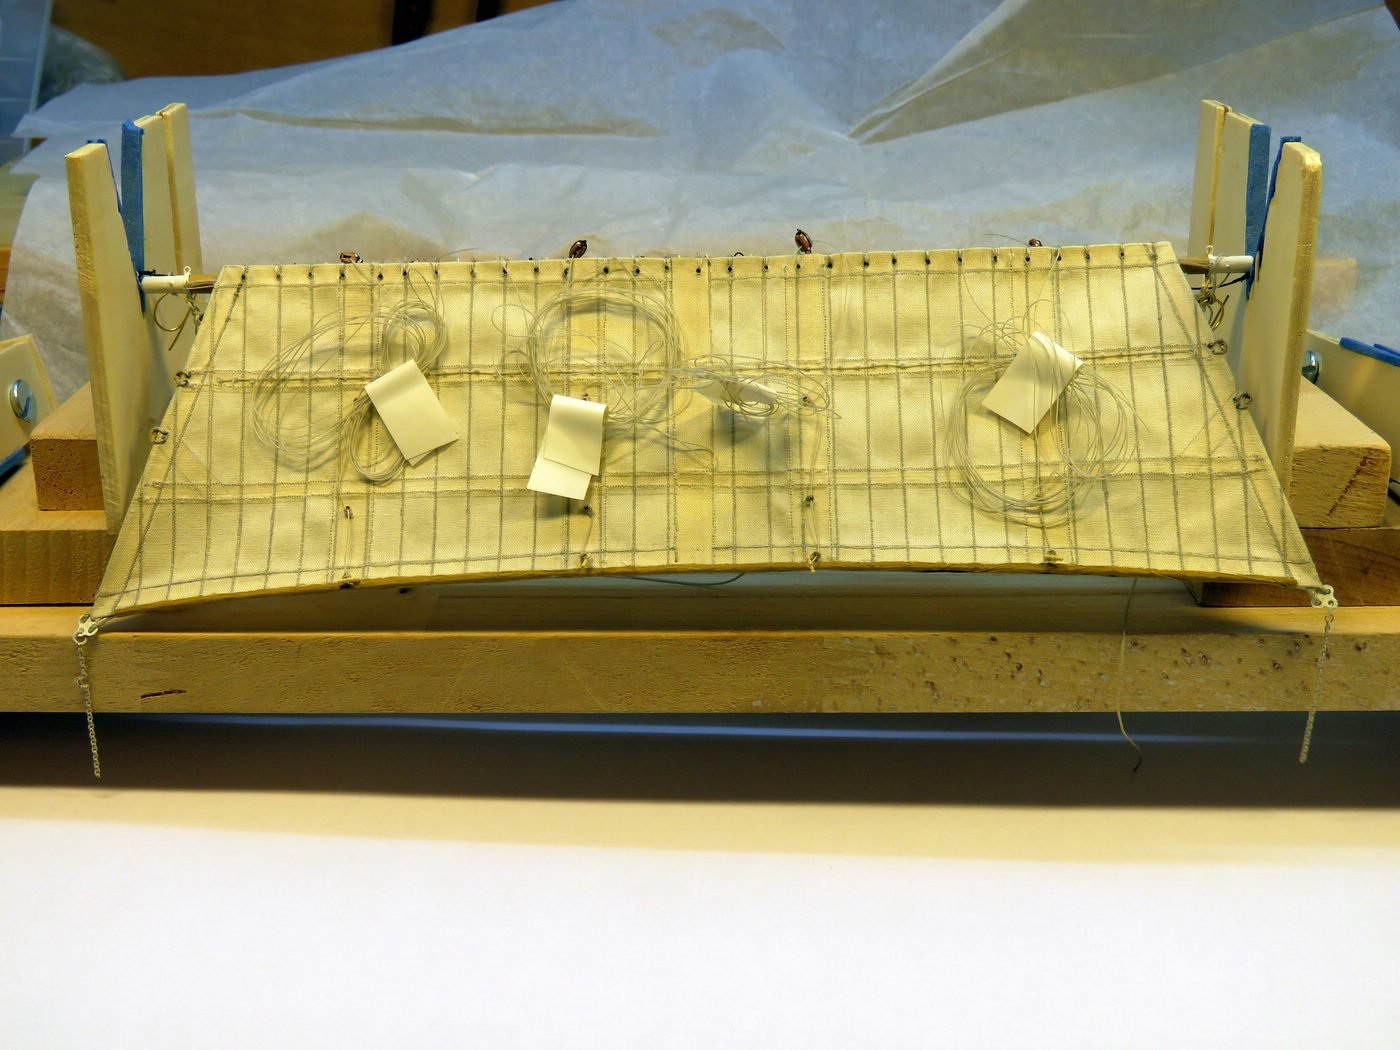
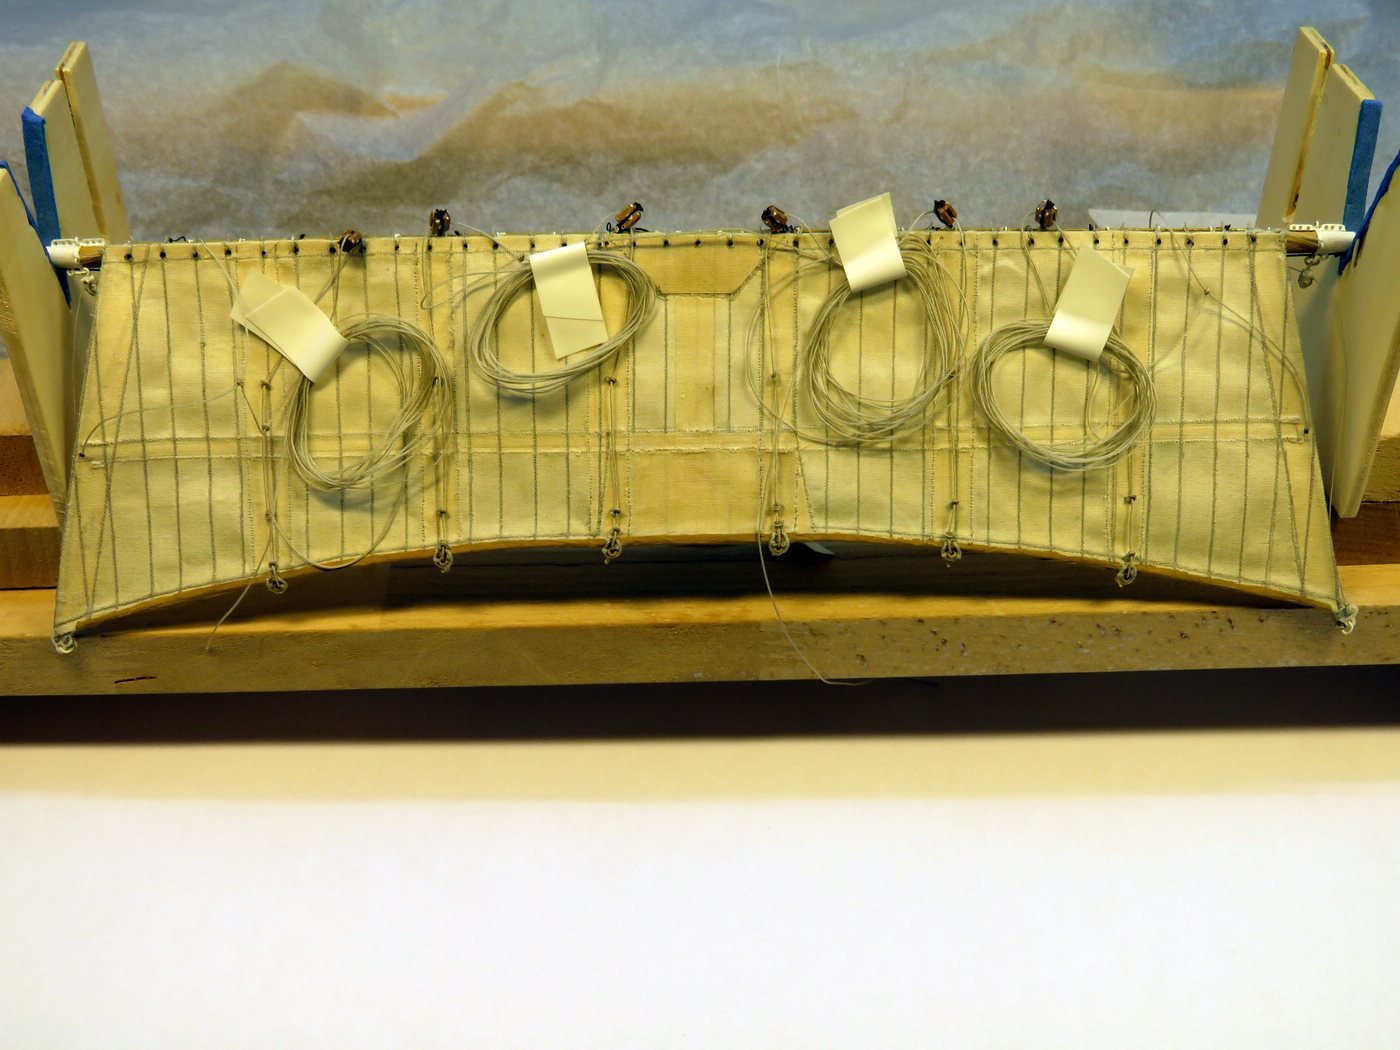
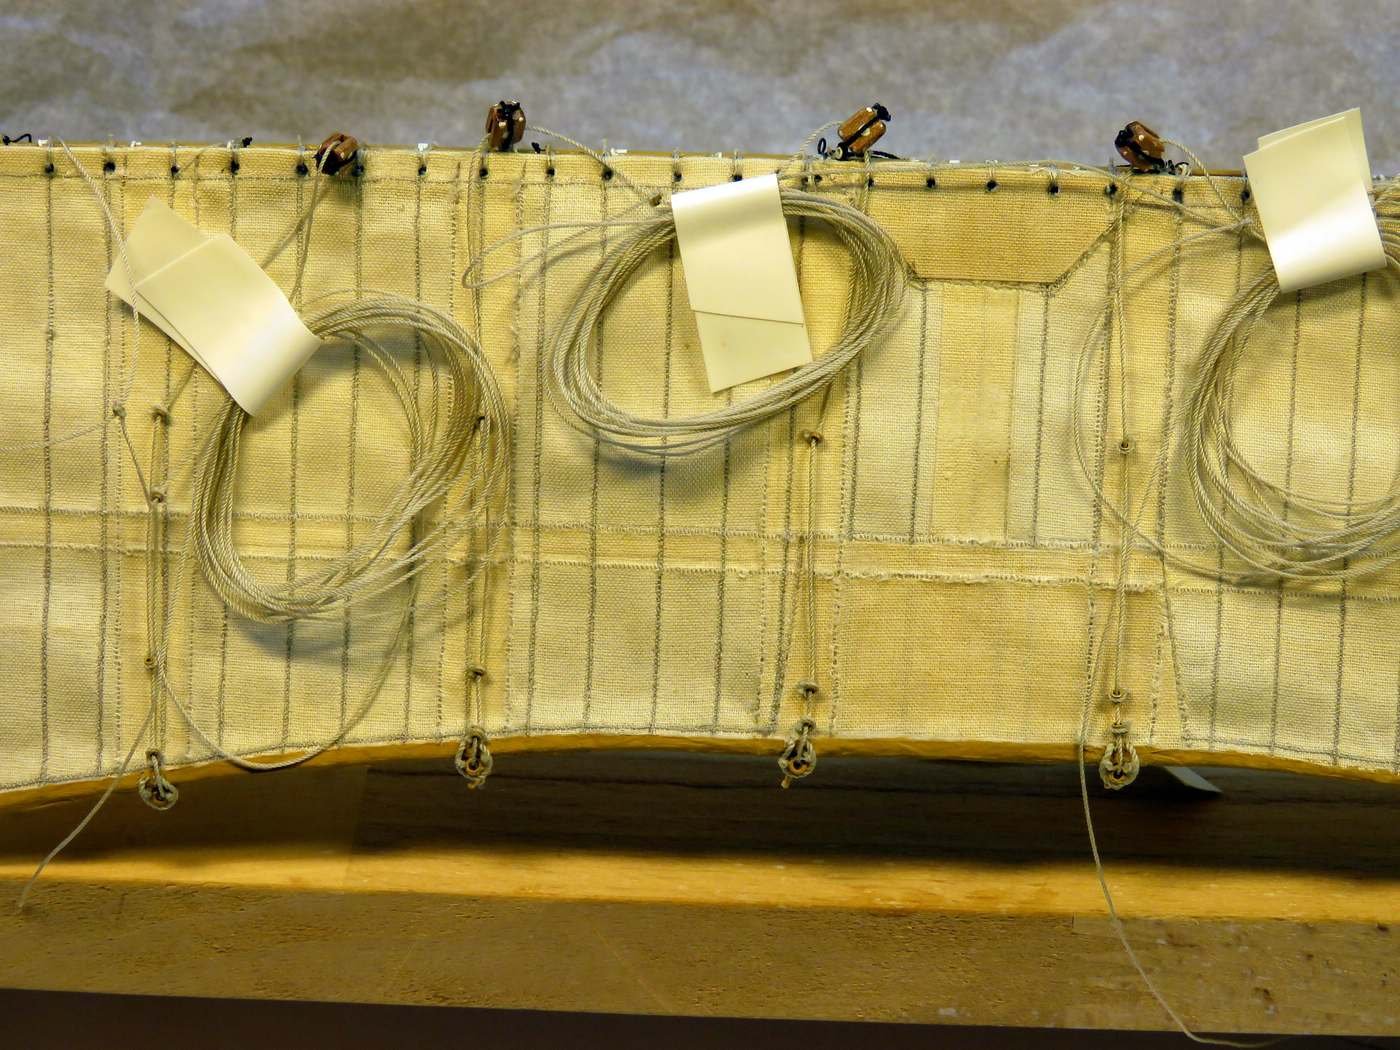
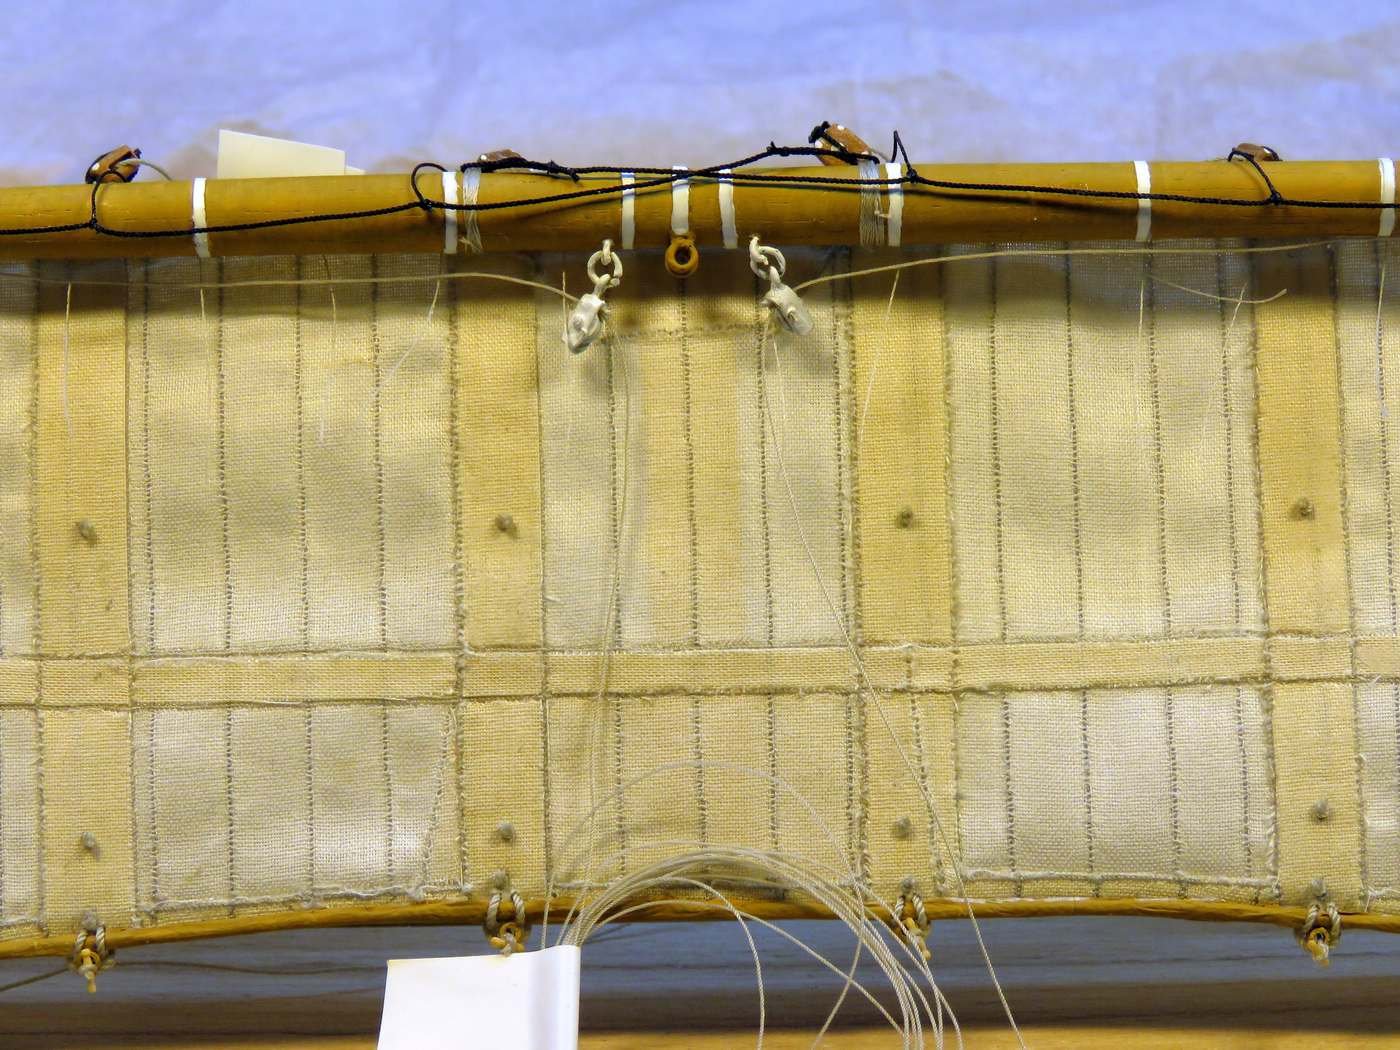
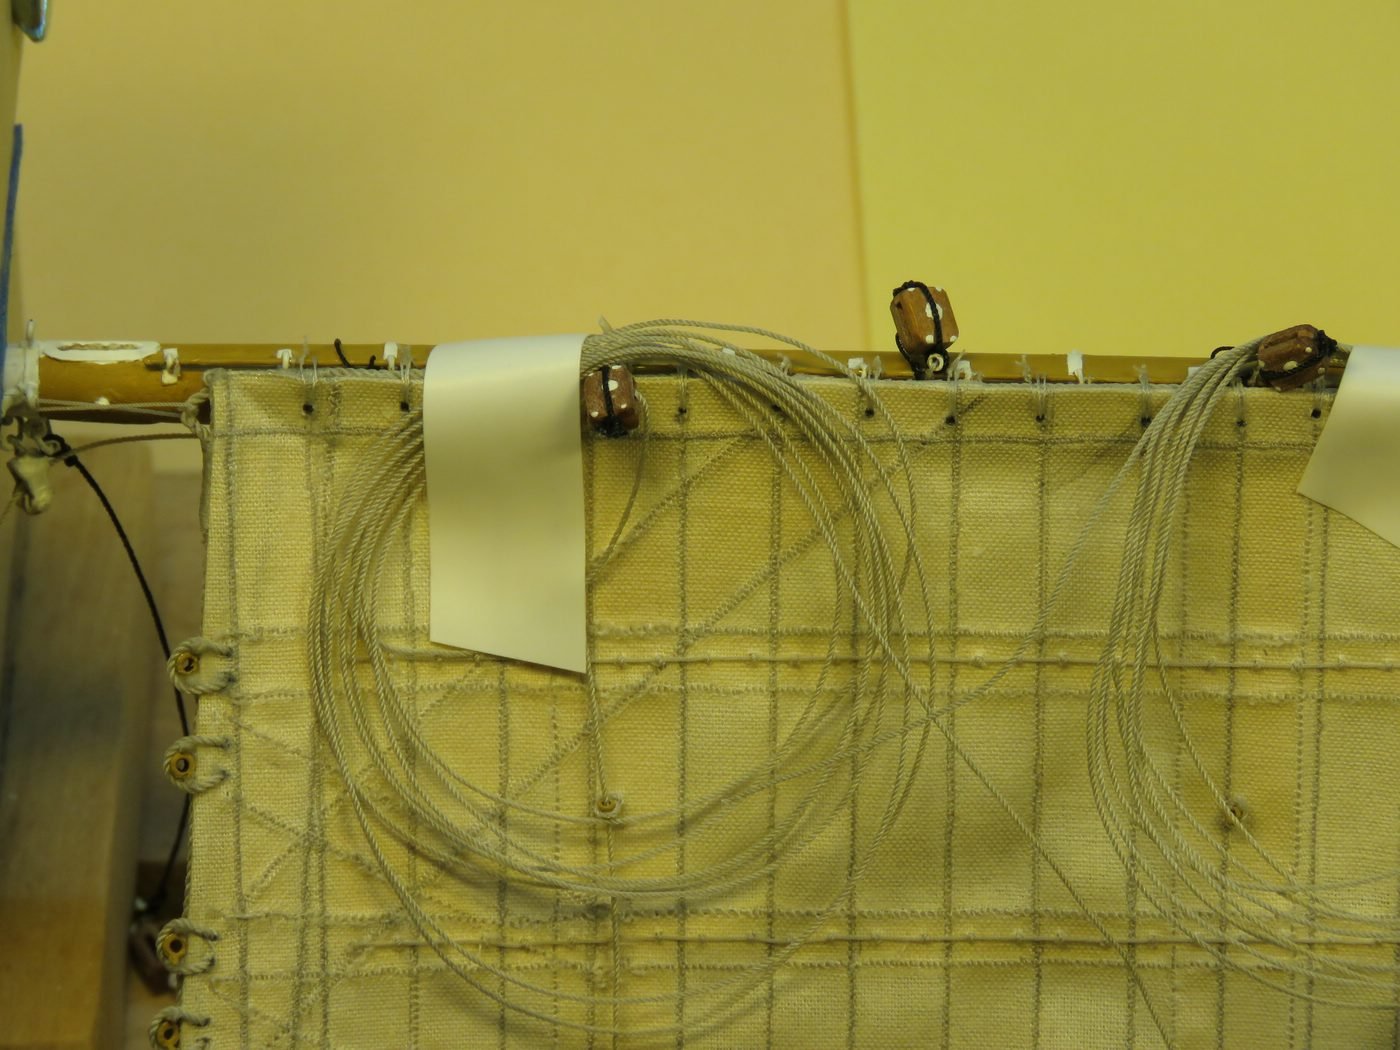
I'd like to get on with a few little things.
On the one hand, the shrouds have to be fitted with two "leading sticks" (unfortunately don't know the technical term), through which the lines are led from top to bottom along the shrouds. These lines are then attached to nail benches on the sides of the ship.

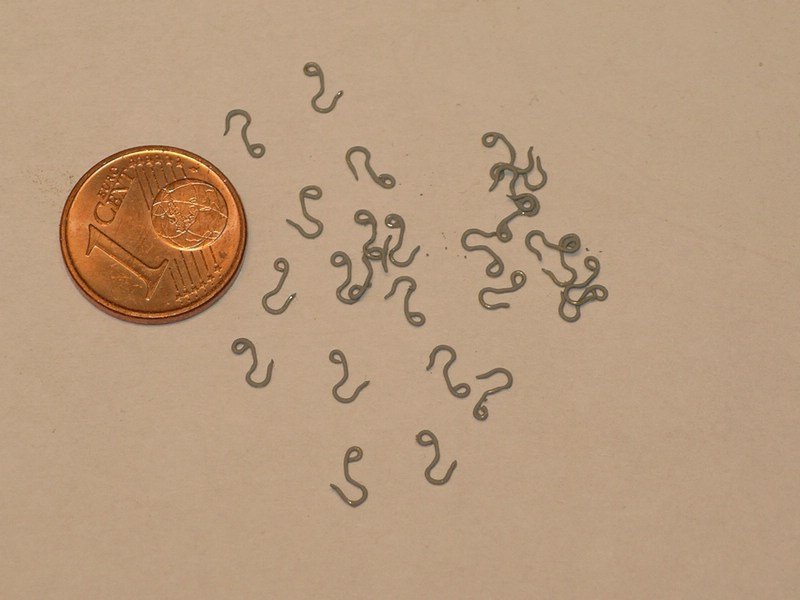
On the other hand, some hooks are tied to the shrouds at the bottom, on which excess linen material is then hung.
I tried to photograph the whole thing from different sides, but since the stuff is quite small again, the pictures didn't turn out so great, but I hope it will be clear anyway.
Cheers,
Joachim
-
Thak you very much, Michael, and all the others for the Likes.
Joachim
-
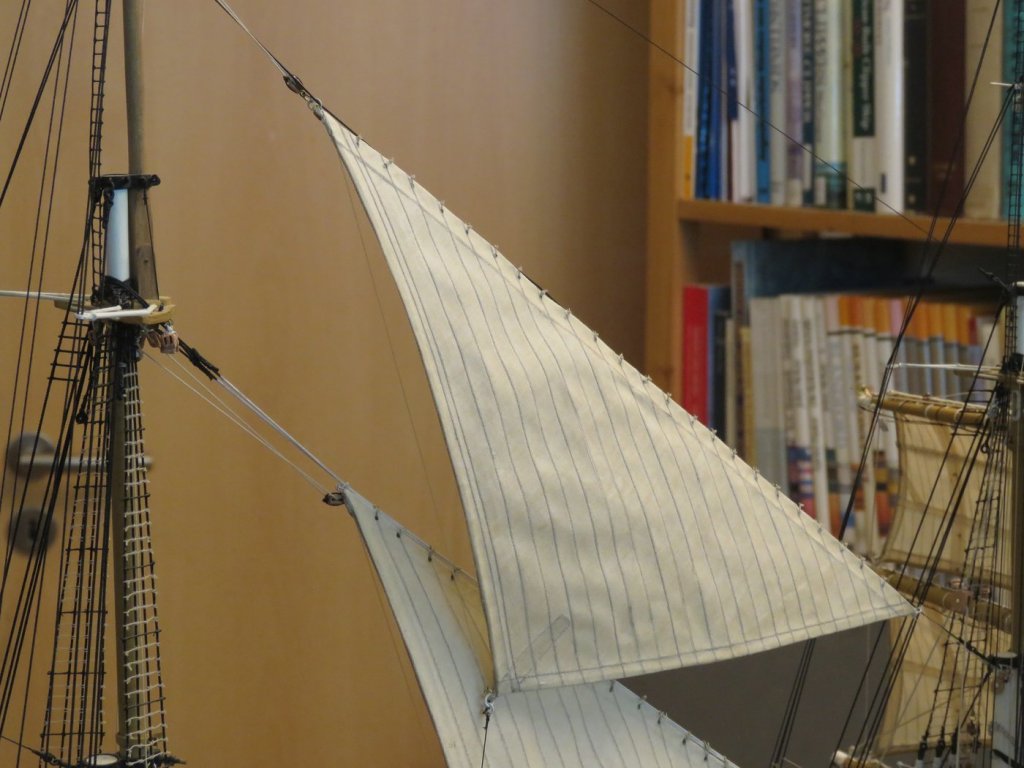
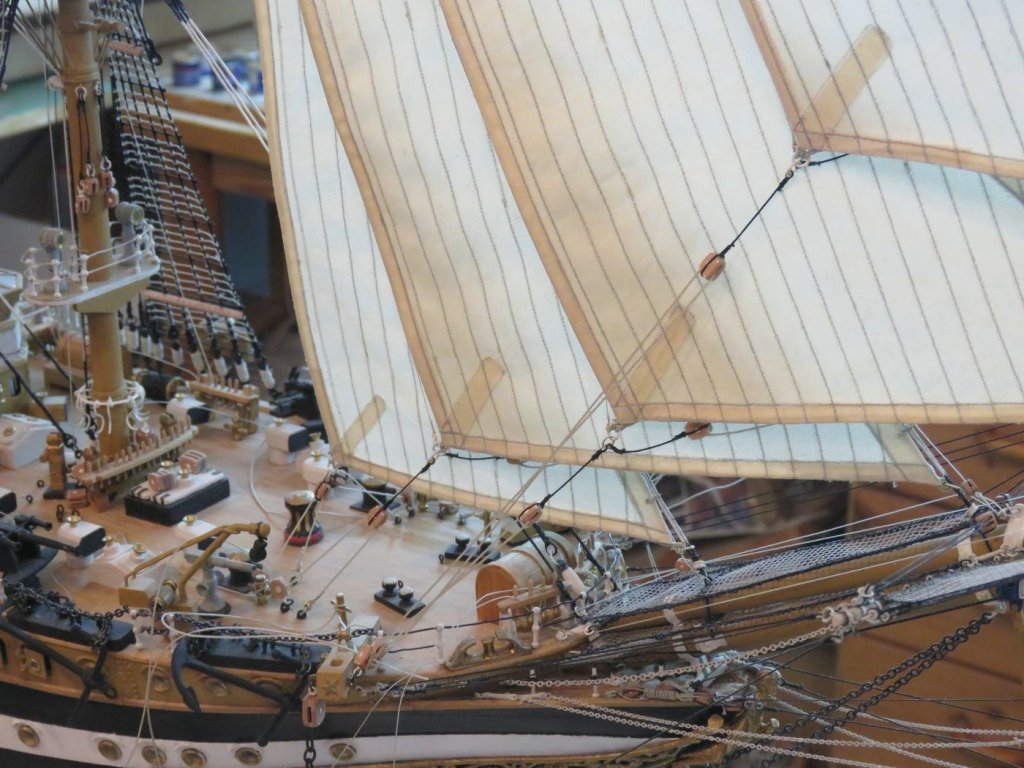
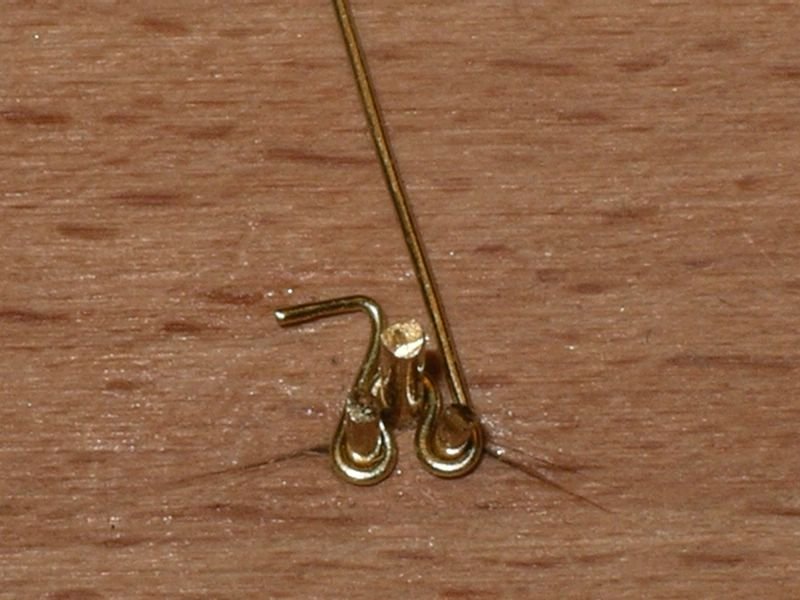
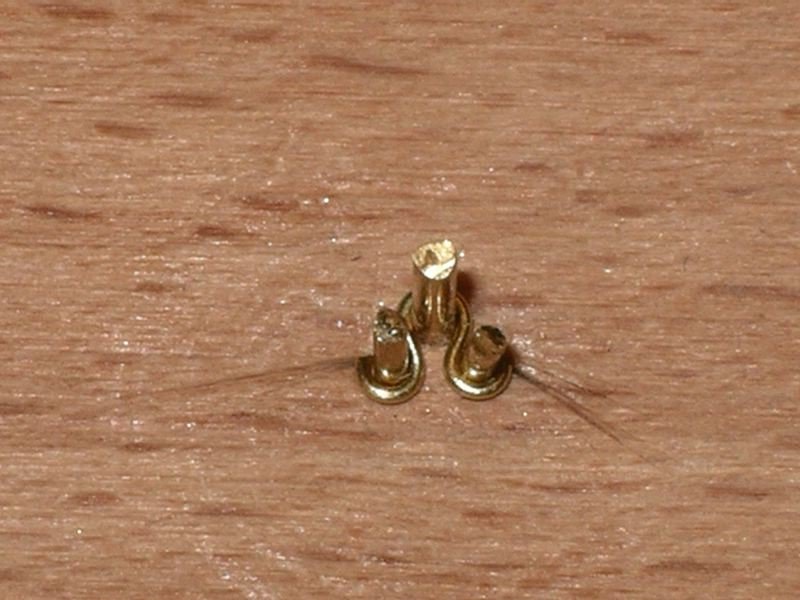
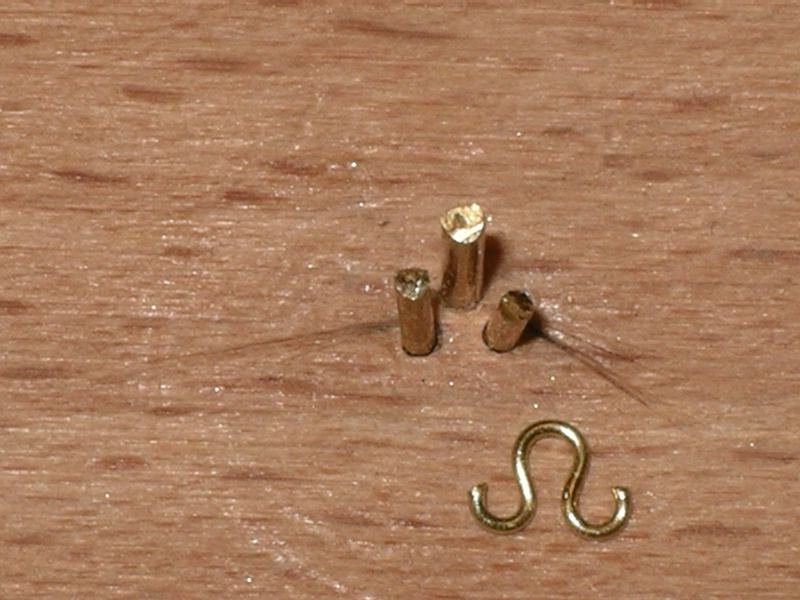
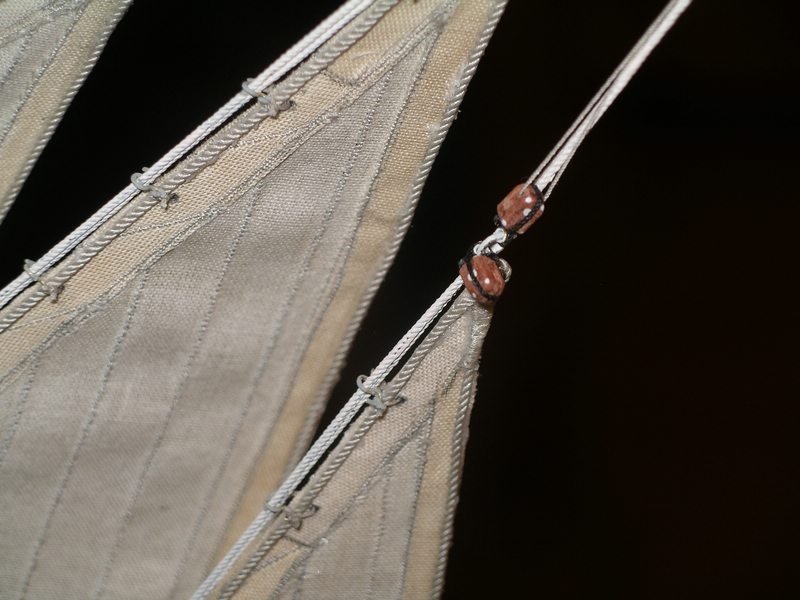
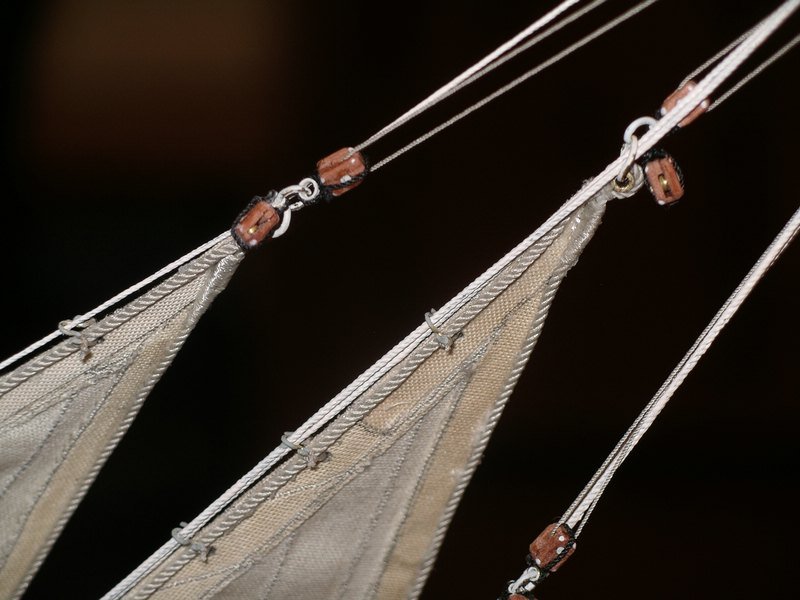
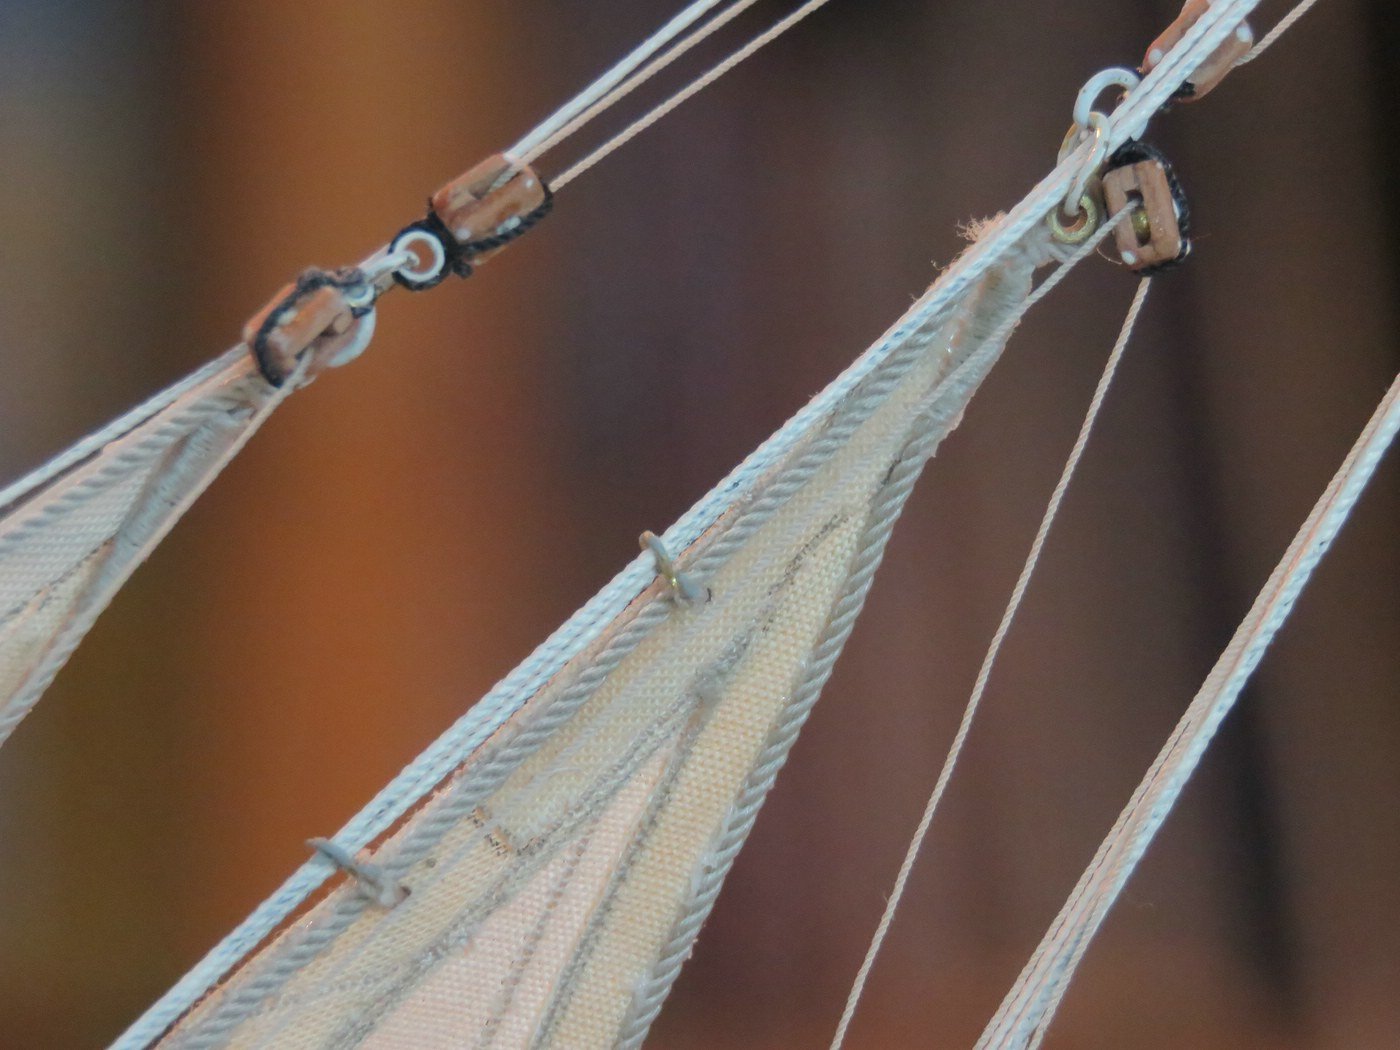
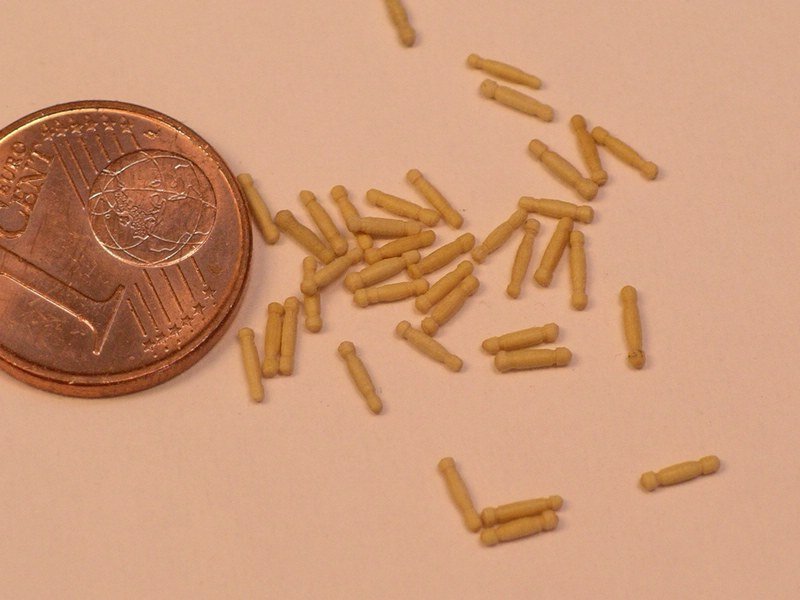
Next, jib leaders had to be made from 0.4 mm wire. For this I have the wire as in the following pictures to see, bent, cut to length and varnished.
And this is how the ready mounted foresails look like. Head and clew of the sails are fastened with a ring around the stay. Two blocks are attached to each head, the halyard is guided through one of the blocks, the downhaul will later be guided through the second block. The clew is attached to the bowsprit in a slightly different way for each sail.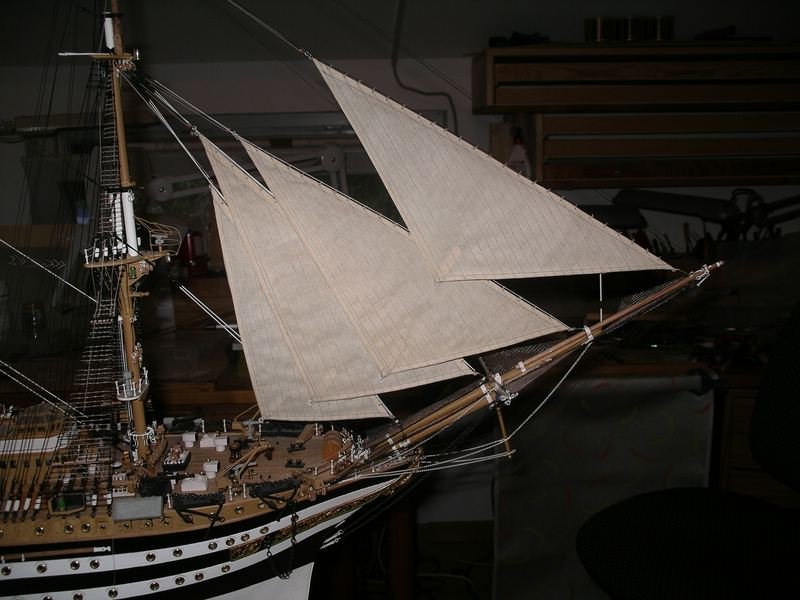
Joachim
- iosto, gjdale, popeye the sailor and 3 others
-
6
-
-
Thank you very much!
Okay, the holes on the headboard are only about 0.2 mm.With the sails I wanted to try out what is possible. Actually it goes quite well, needs a lot of patience and a few little tricks. Next time I will still improve some things, there goes still more.
By the way, for my good colleague Dirk (Dubz) I was also allowed to make the sails of his great model Maria. See #403
https://modelshipworld.com/topic/10901-maria-hf31-by-dubz-dusek-172-fishing-ewer-finkenwerderhamburg/page/14/Joachim
- popeye the sailor, Dubz and md1400cs
-
3
-
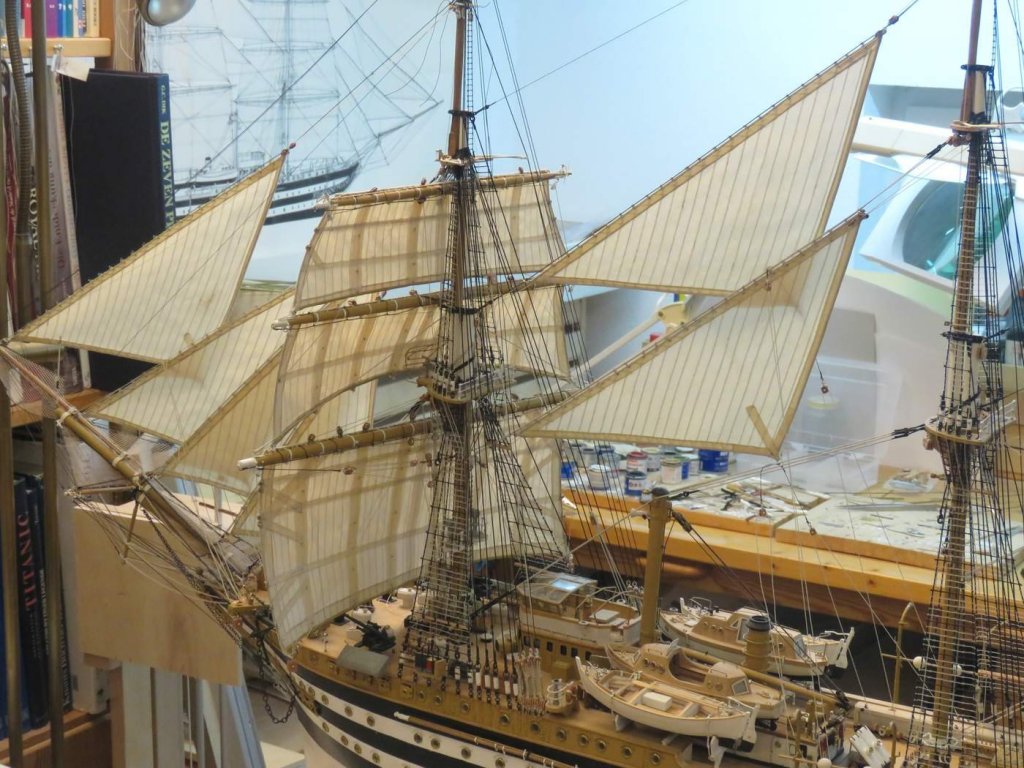
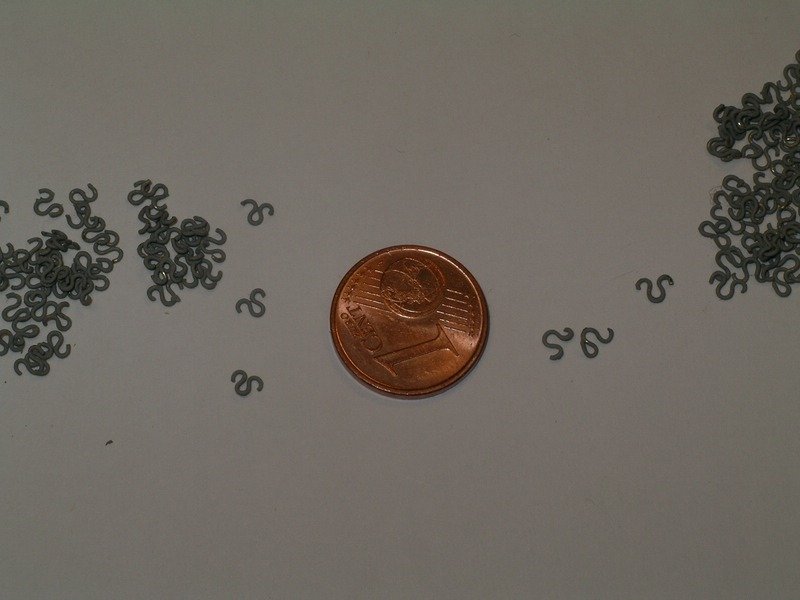
The last four sails are ready. These are the smallest of the square sails now, from the mizzen mast. They are also structured according to the same scheme.
Finally a group picture with all sails.
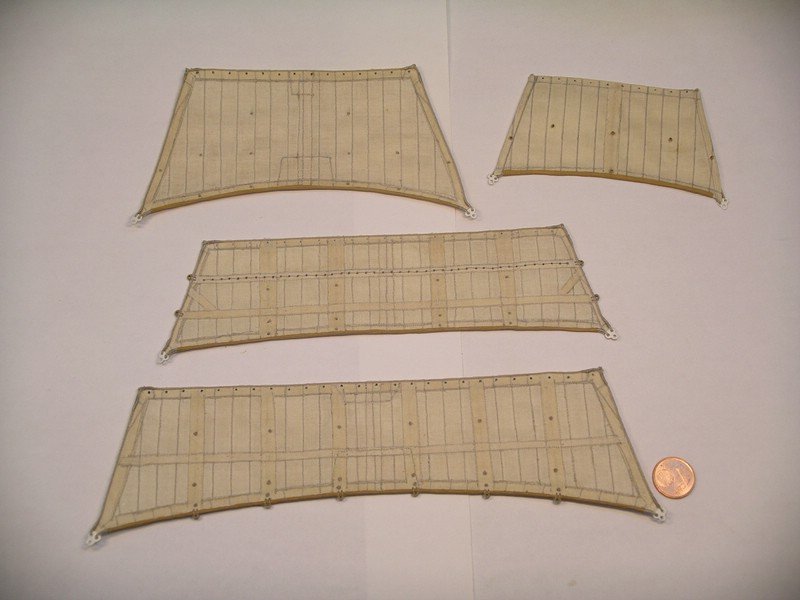
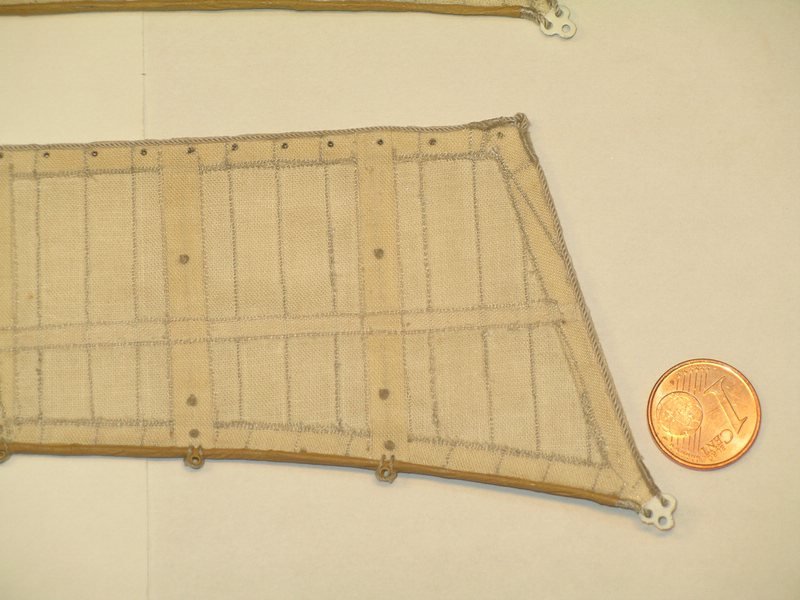

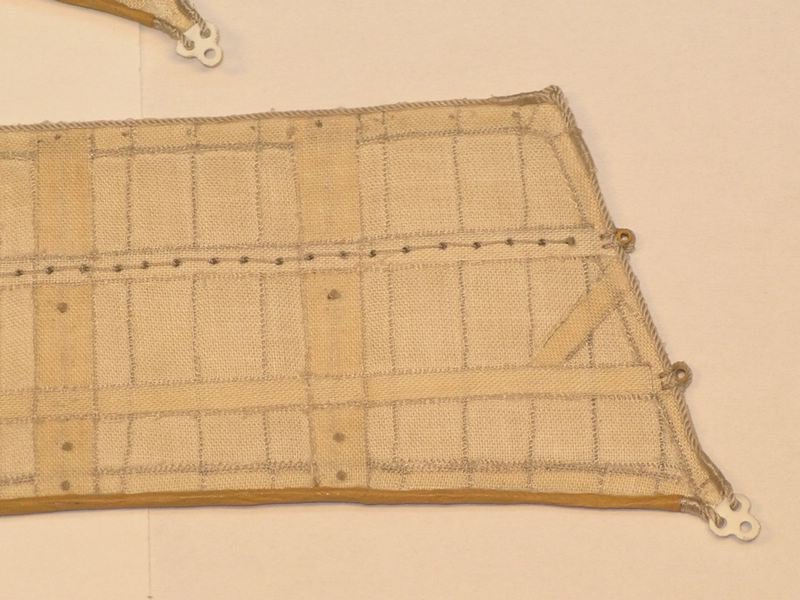
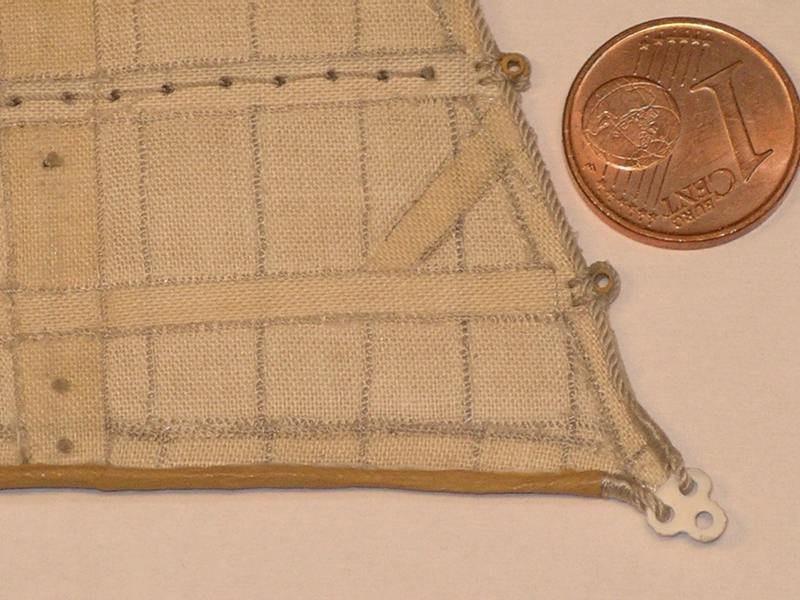
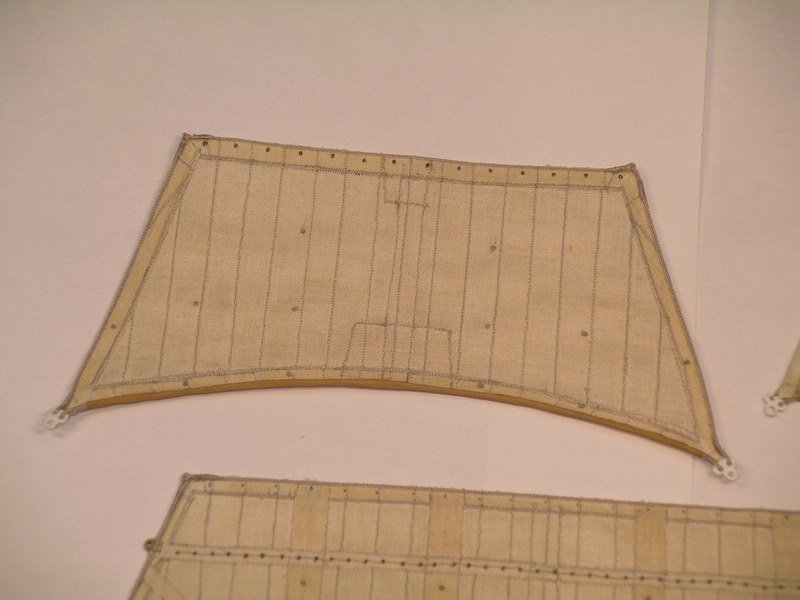

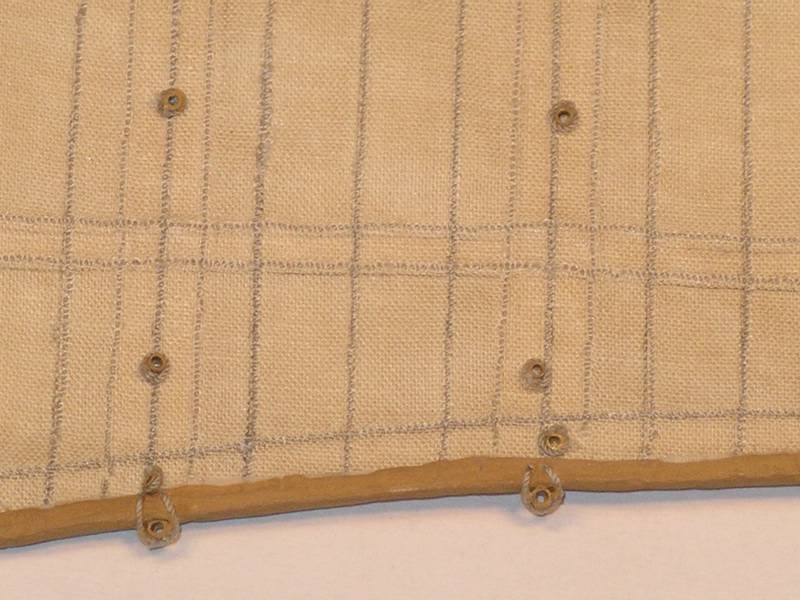
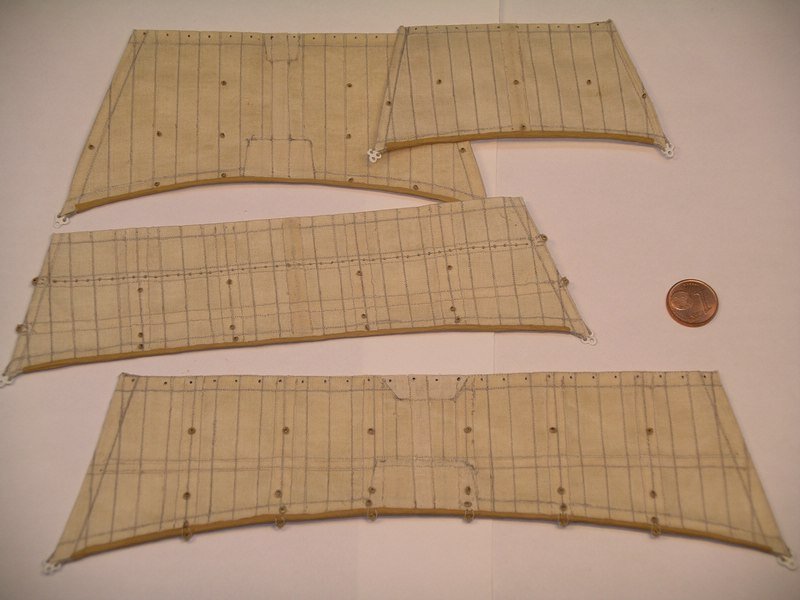
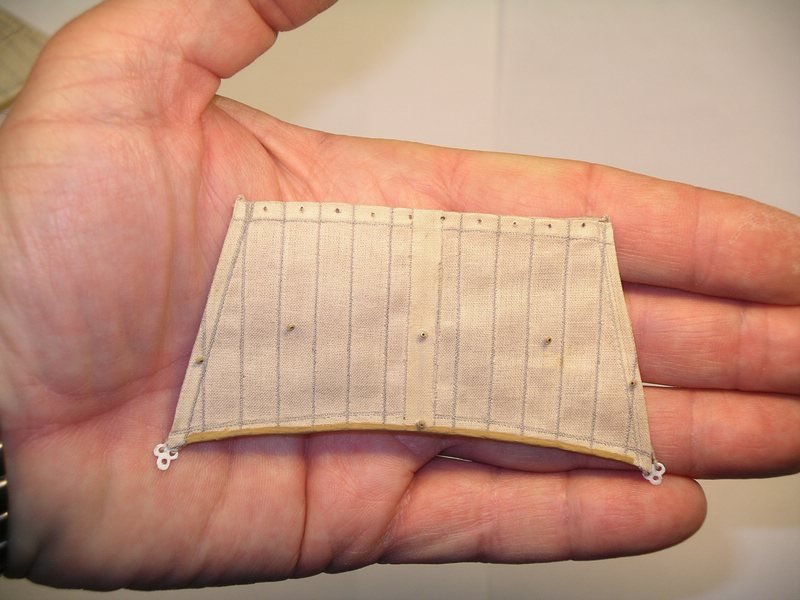
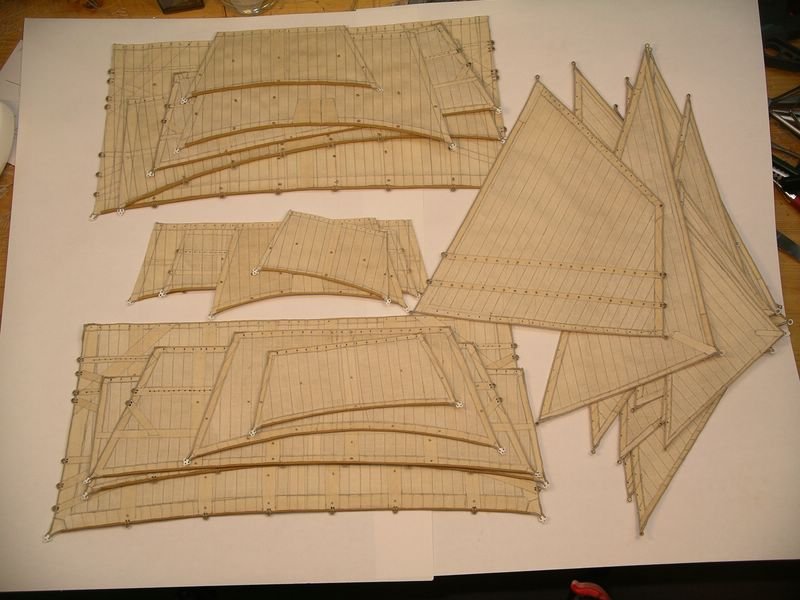
In order to estimate the proportions somewhat, I have added a cent. Since the question arose, some information about the sizes of thimbles. The large thimbles on the side of the sails have an outer diameter of 1.8 mm down to 0.8 mm. The large eyelets on the sails have a diameter of 1 mm, the smallest eyelets have an outer diameter of only 0.6 mm. They' re smaller than I wrote in the other post.
By the way, until today there are no correct, detailed plans for the AV available. And so I am about to write a book about the rigging of the Amerigo Vespucci, where all my plans and details will be described.
Joachim
- popeye the sailor, Dubz, md1400cs and 1 other
-
4
-
I am very happy that some of the colleagues who previously followed my build log are now back here. Since I wrote my book for one year and did a lot of research before, this didn't leave much time for the model.
Joachim
- gjdale, popeye the sailor and Dubz
-
3
-
Thank you so much Michael. I'm glad you're stopping by again.
Also many thanks to all the other likes and comments.
Joachim
-
Hi Glenn,
Yes, the grommets are made of brass tube. I use 8 different diameters. The smallest outer diameter is 0.8 mm and the largest is about 3 mm.
The wires used have various diameters, the thinnest wires are 0.3 mm and for a few special things also 0.2 mm.Joachim
- Dubz, md1400cs and popeye the sailor
-
3


Amerigo Vespucci 1931 by schiffebastler - Mantua - scale 1:84 - Italian sail training ship build
in - Kit build logs for subjects built from 1901 - Present Day
Posted
By the way, I had received a fantastic review of my book from Chris. You can read it here:
Cheers
Joachim