HOLIDAY DONATION DRIVE - SUPPORT MSW - DO YOUR PART TO KEEP THIS GREAT FORUM GOING! (Only 13 donations so far - C'mon guys!)
×
Paul0367
-
Posts
512 -
Joined
-
Last visited
Content Type
Profiles
Forums
Gallery
Events
Everything posted by Paul0367
-
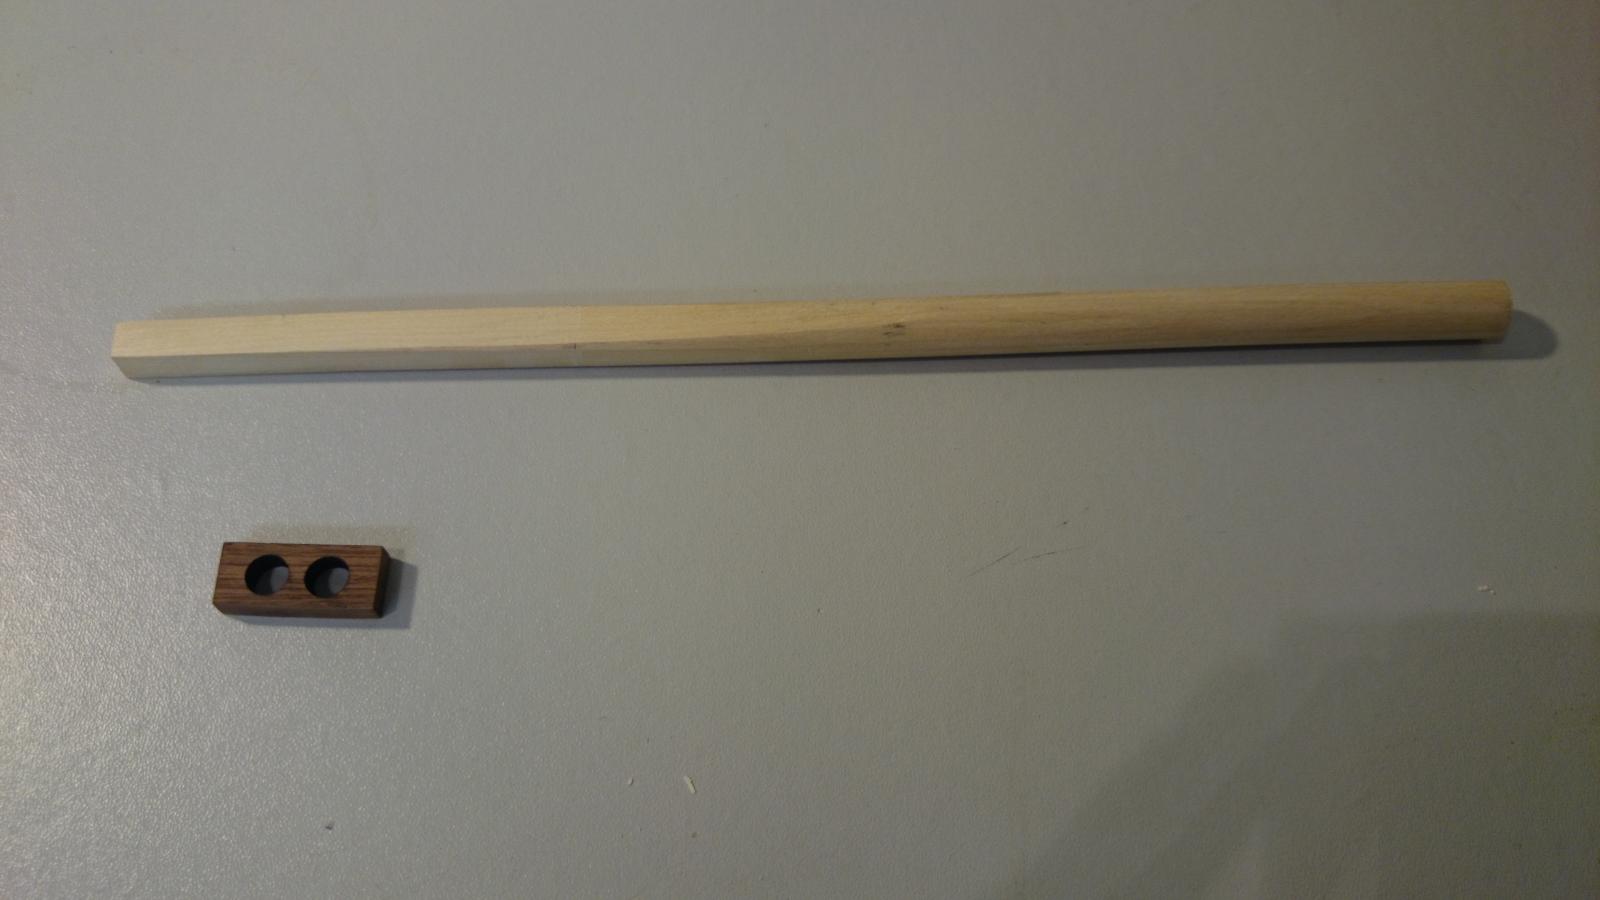
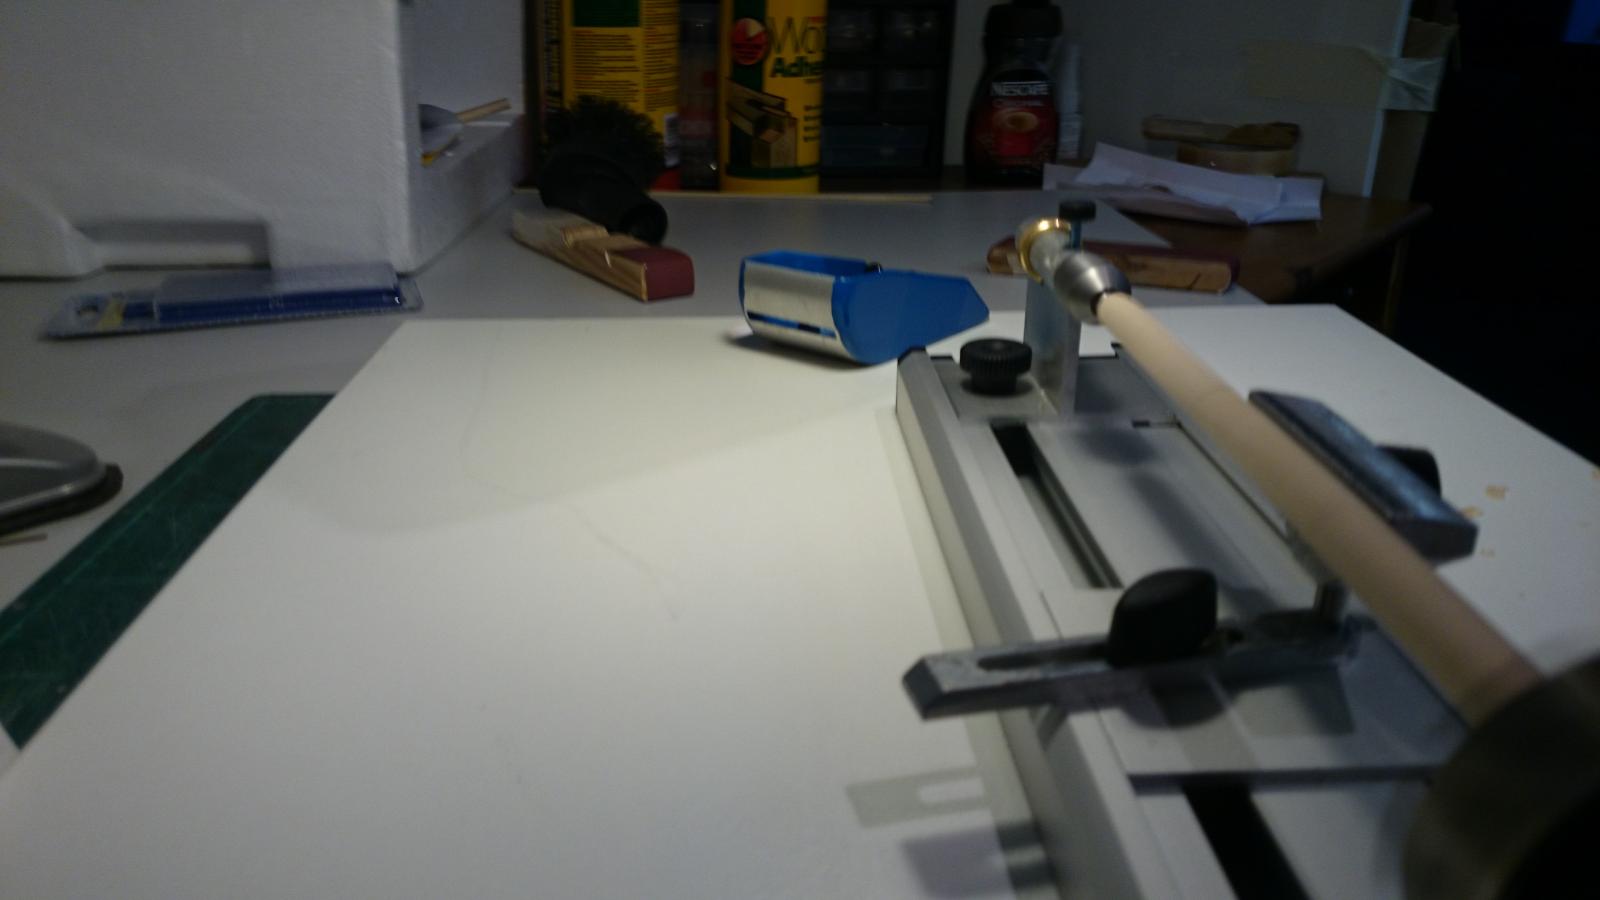
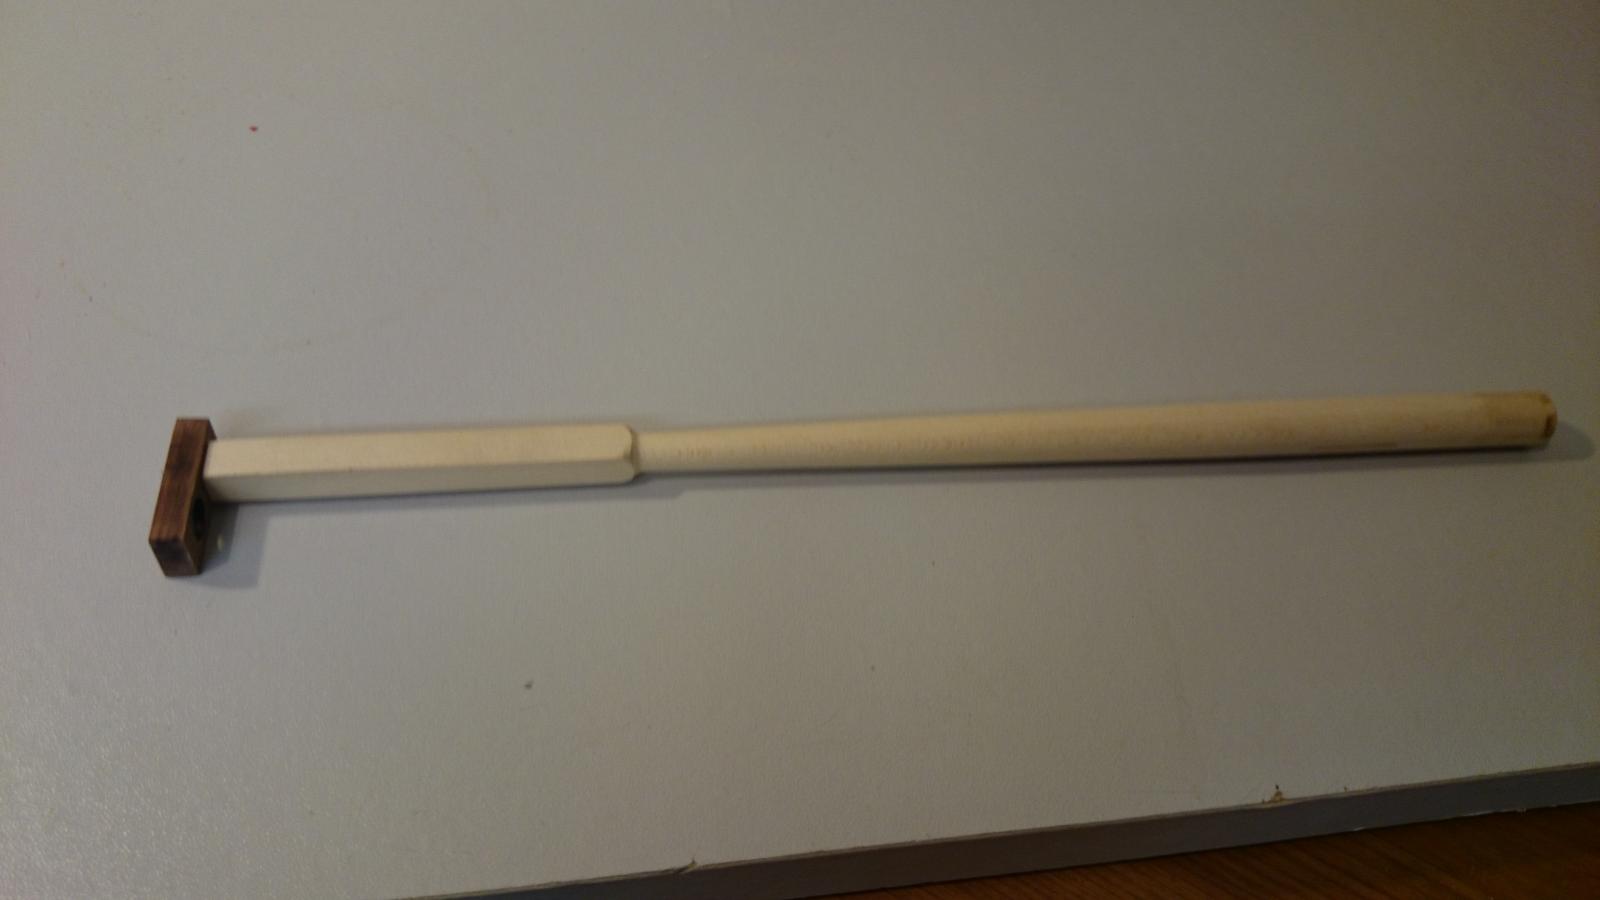
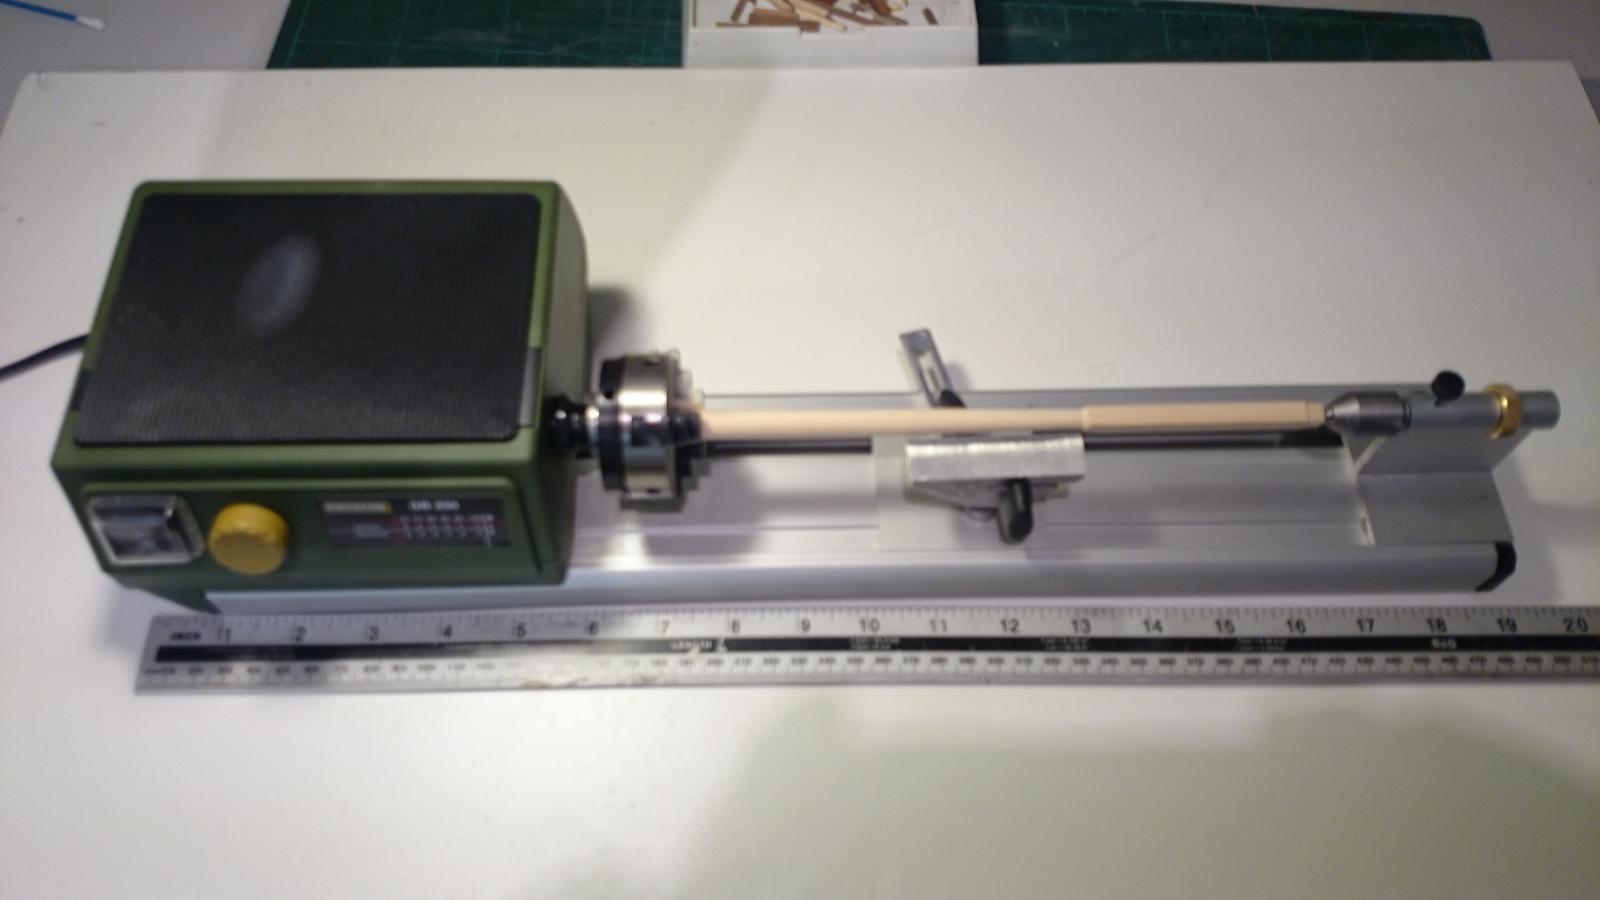
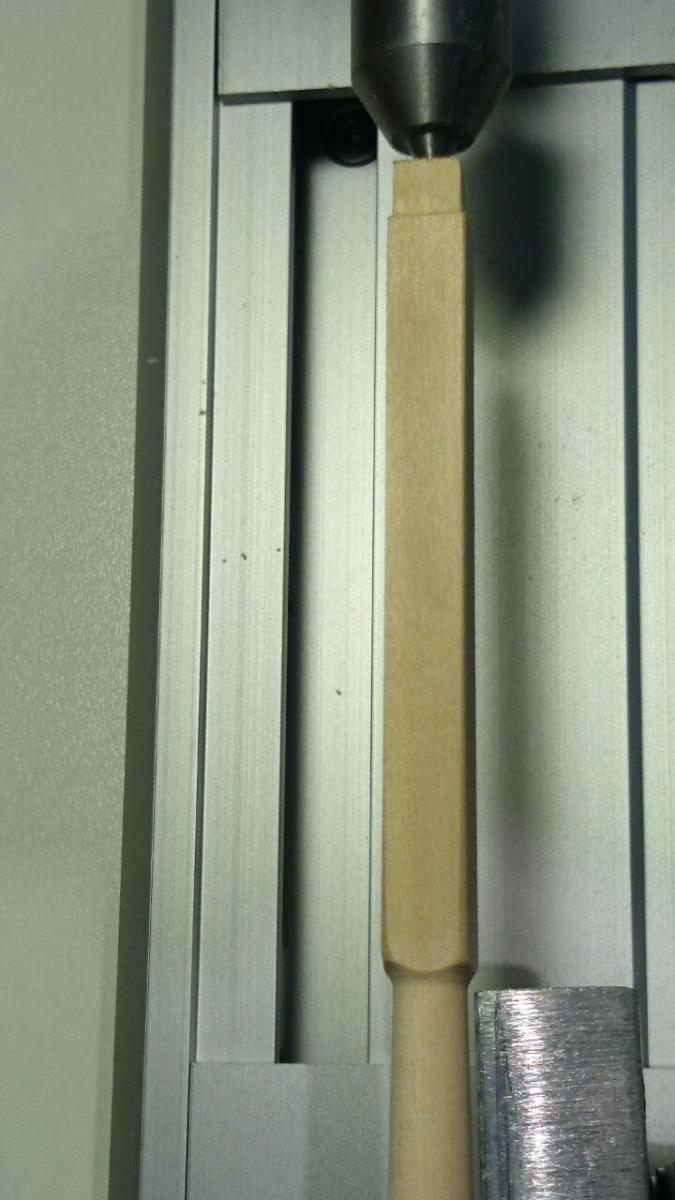
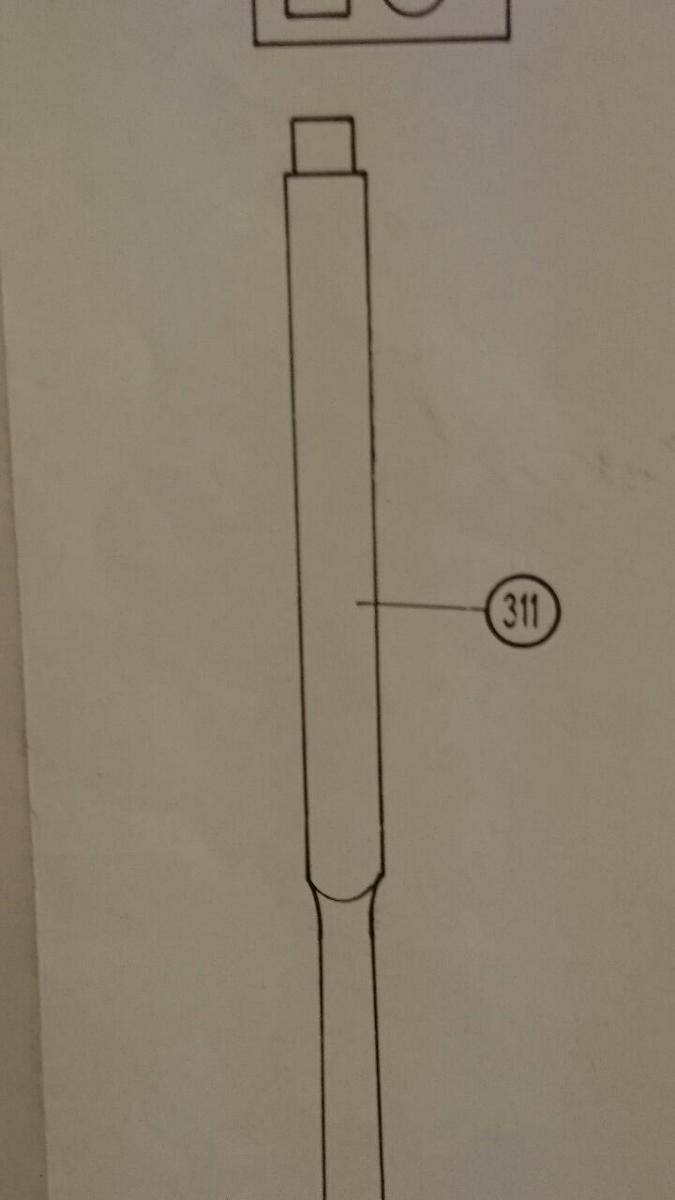
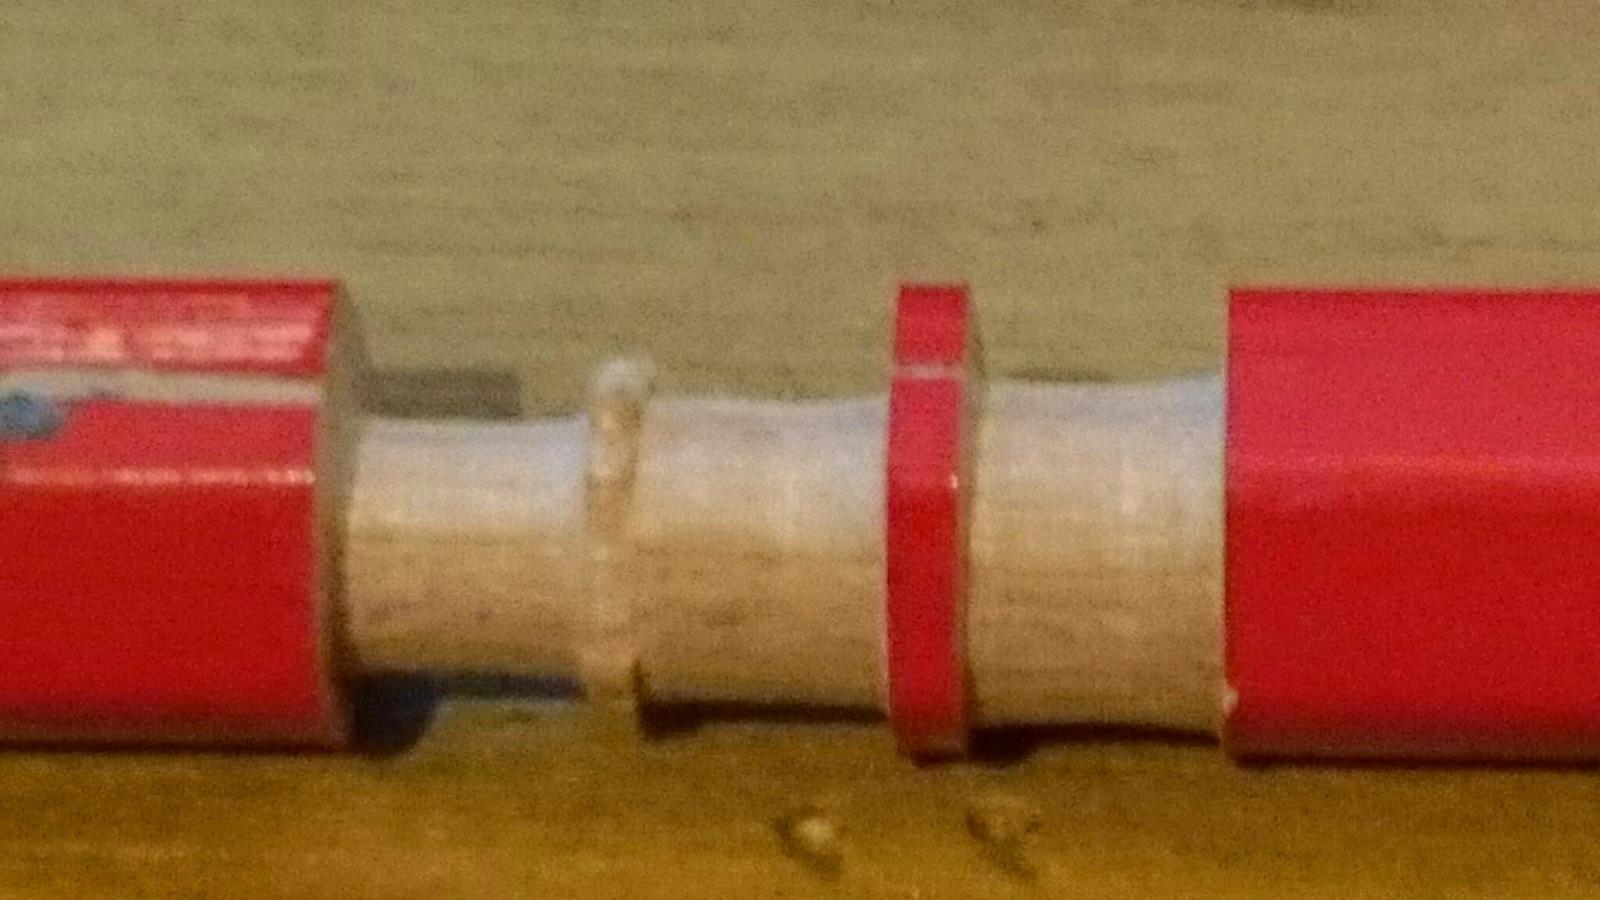
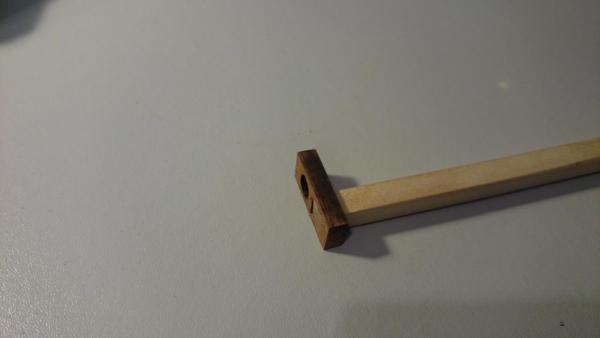
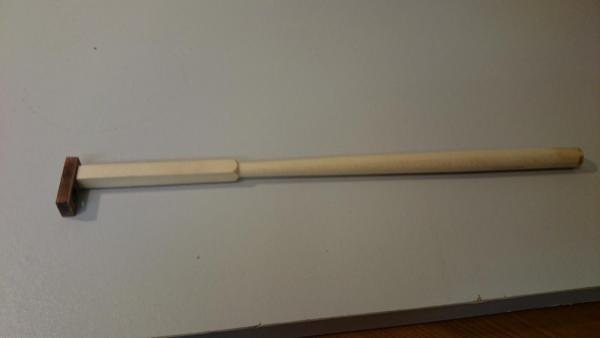
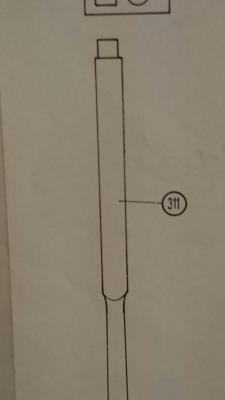
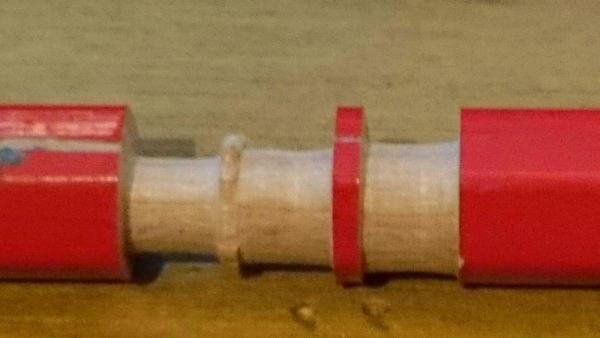
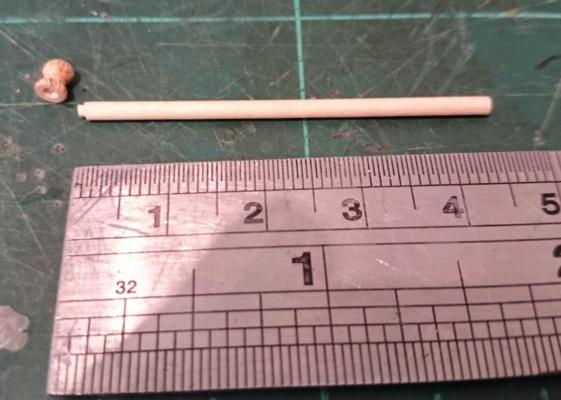
 Foremast base turned ready. So, so easy with the lathe. If your contemplating getting one, really you will be glad you did.
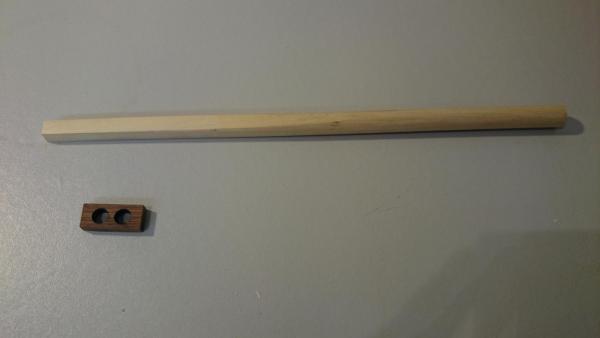

- 708 replies
-
- 2
-

-
- victory
- constructo
- (and 1 more)
-
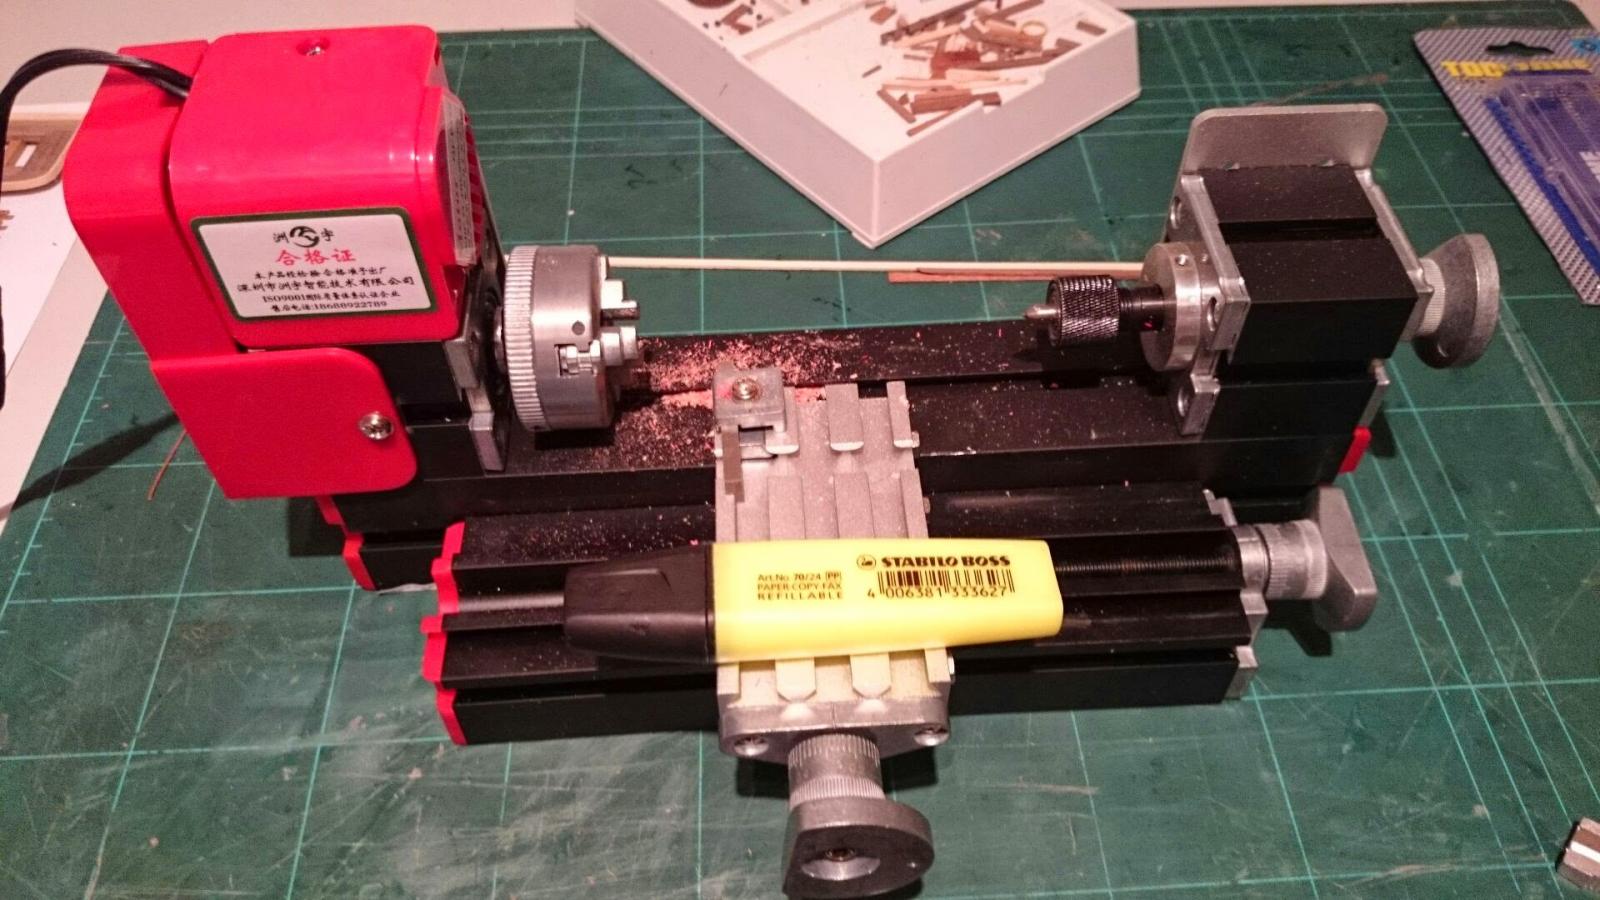
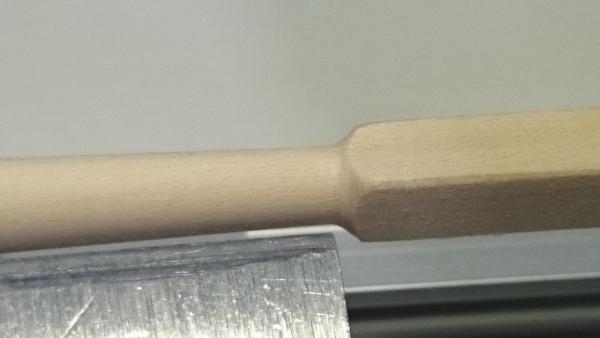
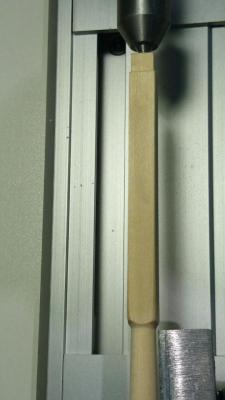
I haven't posted anything for a while but look what I have upgraded to, ok, ok, we can clamp drills in vices and turn them using sandpaper but look at modelling heaven in the shape of a lathe, really its that good. I love this, it's ideal for mast and I had to have a play as soon as it landed at my door, shortly after, mast ready for fittings. Beware though I bought the red one first, although too small really its chuck was off centre causing all turnings to look like a crankshaft. As you can see this is a metal lathe rather than wood. Bottom pictures. I'm sure I was unlucky but Chinese might look the same as the otiginal Unimat 1 but there really not The same quality.


- 708 replies
-
- 3
-
-
- victory
- constructo
- (and 1 more)
-
Clever touch getting octaganol and one to remember. Beautiful work
- 536 replies
-
- 1
-
-
- diana
- caldercraft
- (and 1 more)
-
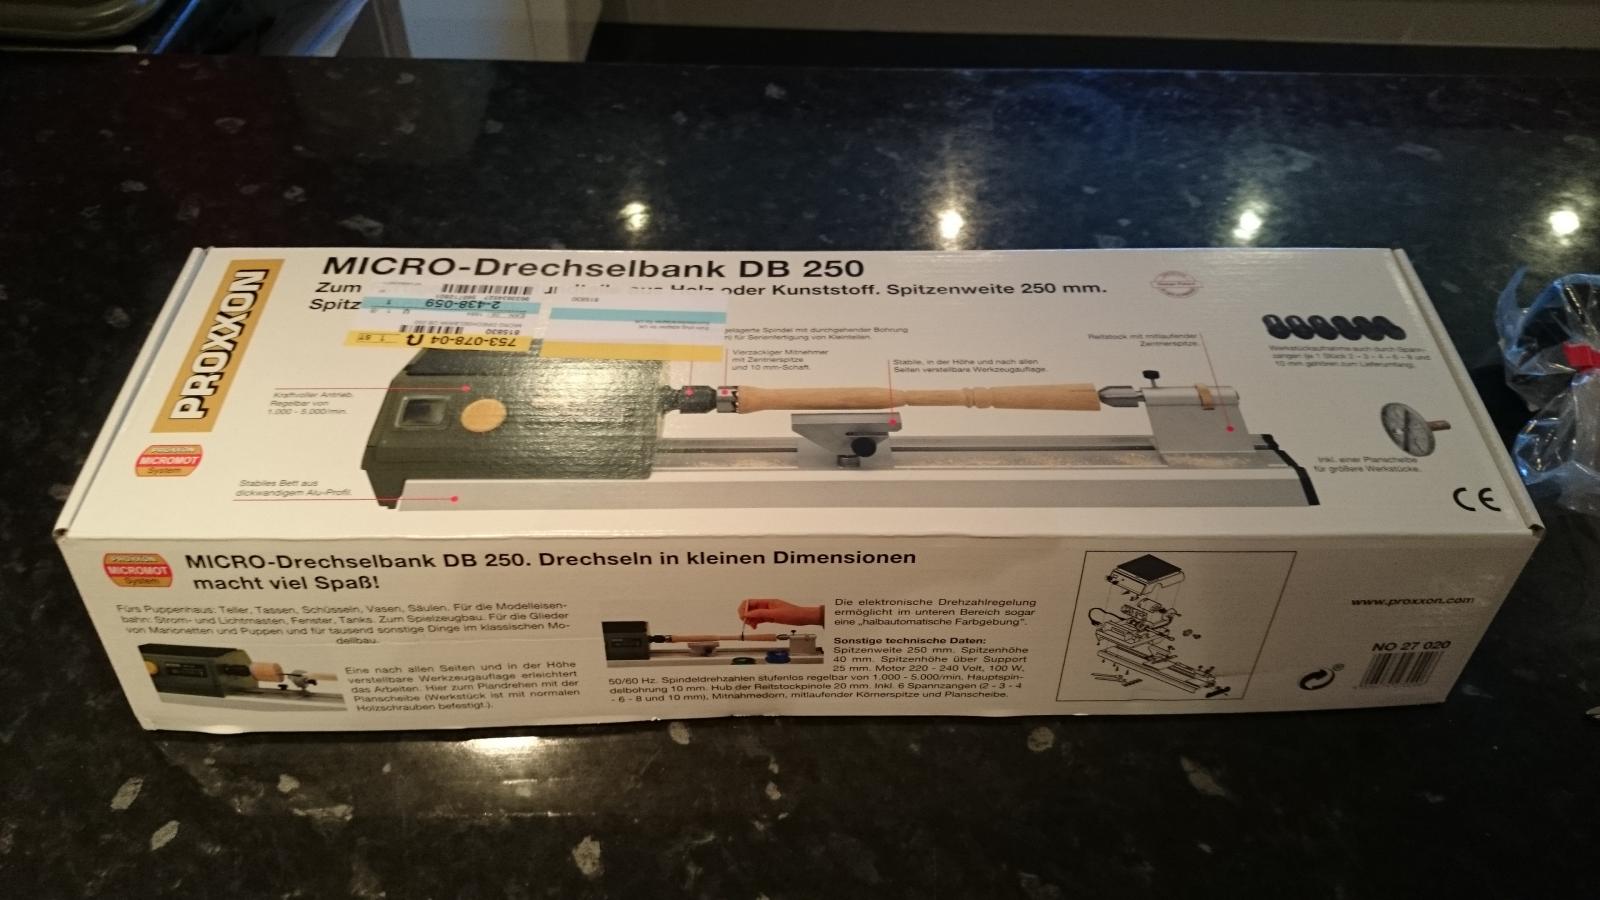
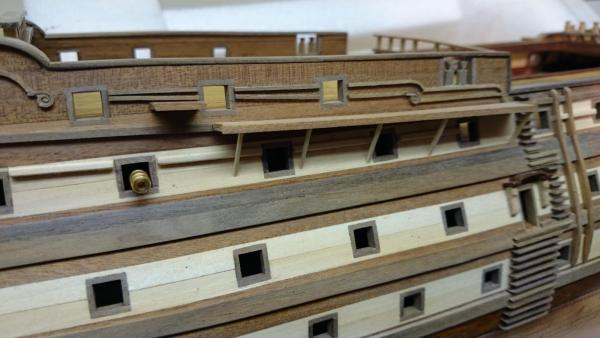
Despite putting the backs of the canon supports at there lowest point they still missed allighnment, how irritating and a pain. Doing all those holes I remember it well and then the framing. My ship, I have gone post shy at the moment, well I'm still redoing all the steps and its tedious and suffering a bad back has prevented progress too. Oh! and waiting for my Proxxon DL250 lathe to arrive from Germany, to turn the mast. OK I know a dewalt would do it like my bowspit (shhh dont let the Mrs now) but I love toys. Keep up the good work.
-
Looks great mate. Wow memories about the canon ports and all that framing to do come flooding back, (flooding, not a term used in the ship world ) the canon backs seam to be a problem for us all, even at the bottom yours have to be extended, really needs addressing for future kit. Are you considering coppering the hull.
-
You will like the kit, ok I have moaned here and there about certain things regards plans / inacurate areas but there easy to rectify. The wood is top quality and wait until you see her in her natural state, you may not want to paint her. I intended to have her painted but just love the wood, I couldnt. That said, painting her would have made life a lot easier in respect of filla here and there. Enjoy the build, any problems always ask, there are very few Constructo Victorys on here so I have loaded many pictures and still have a lot more. Thanks for the comment
- 708 replies
-
- 1
-
-
- victory
- constructo
- (and 1 more)
-
My modelling background was inspired by you.
-
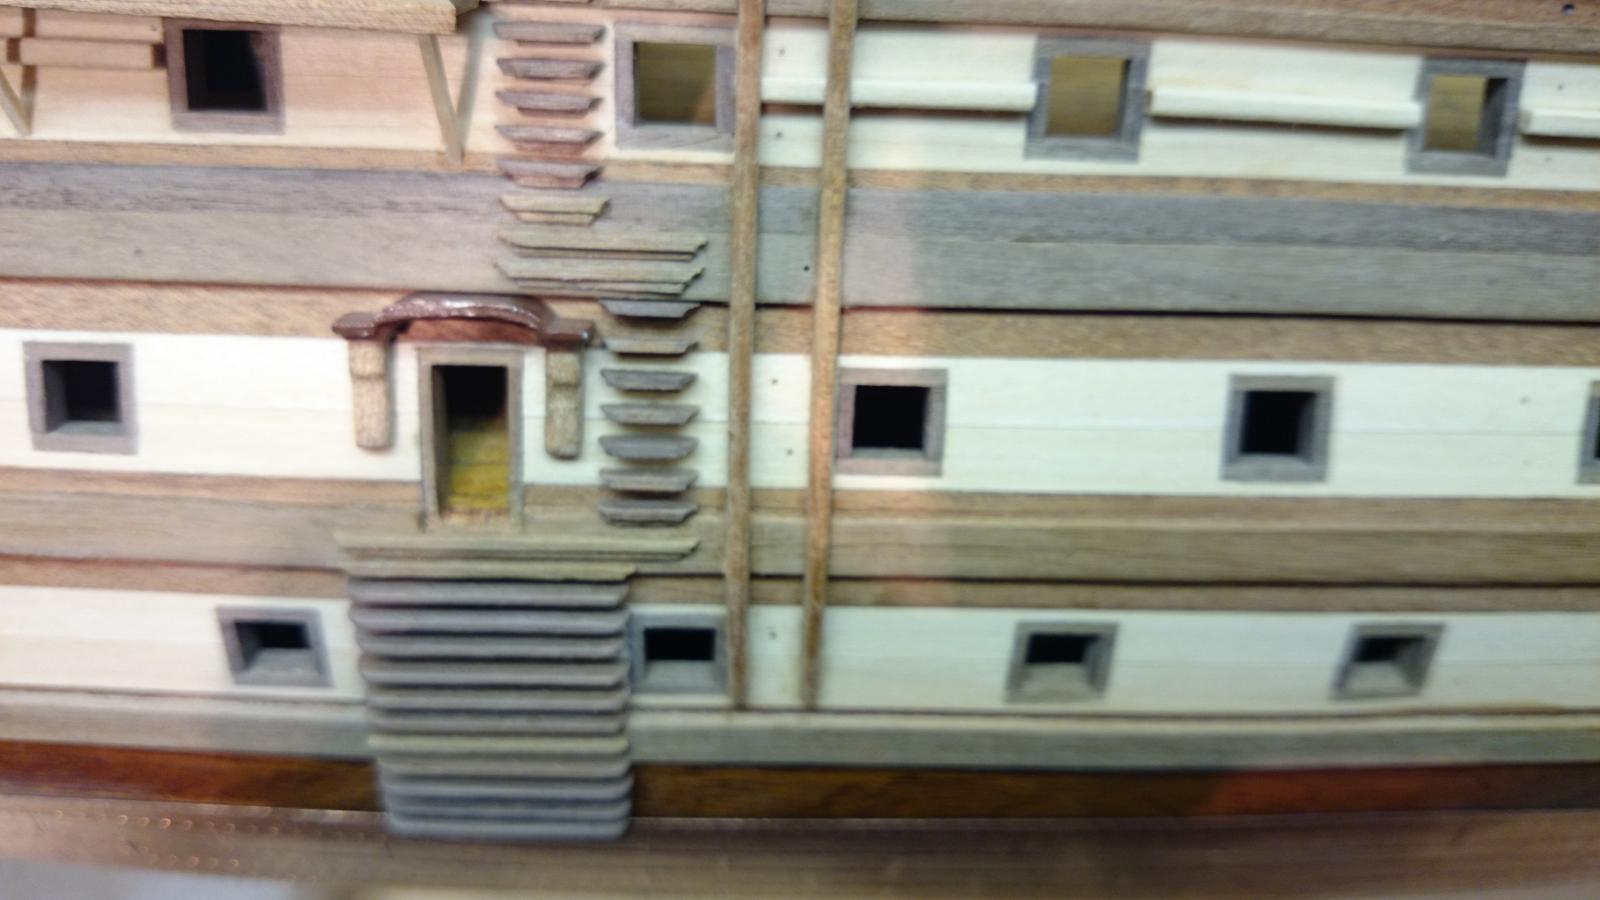
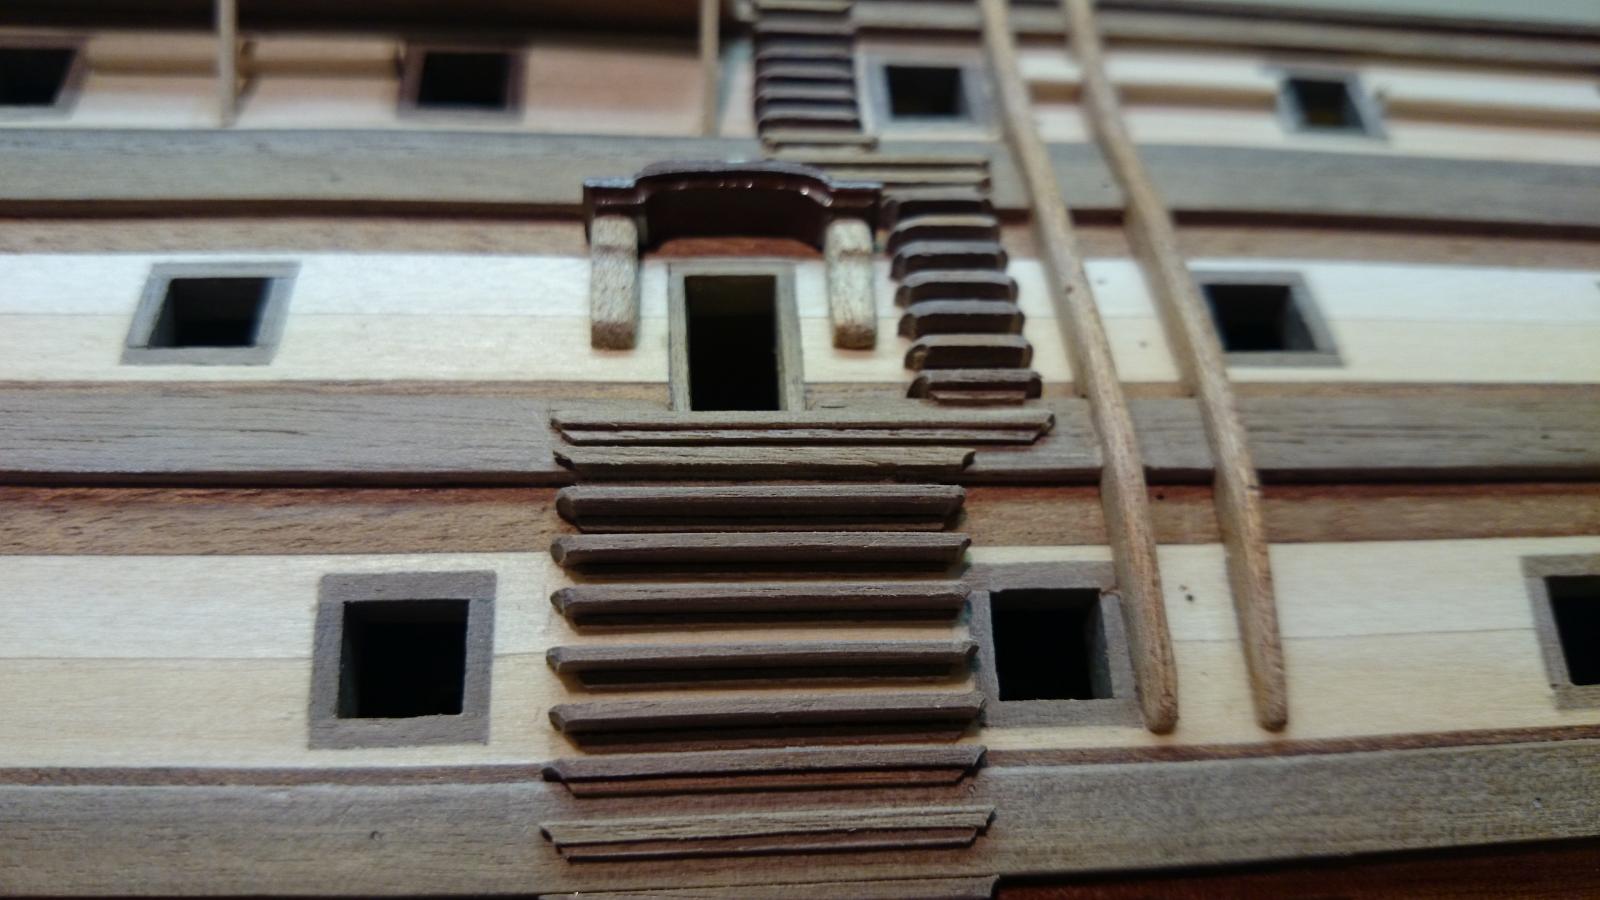
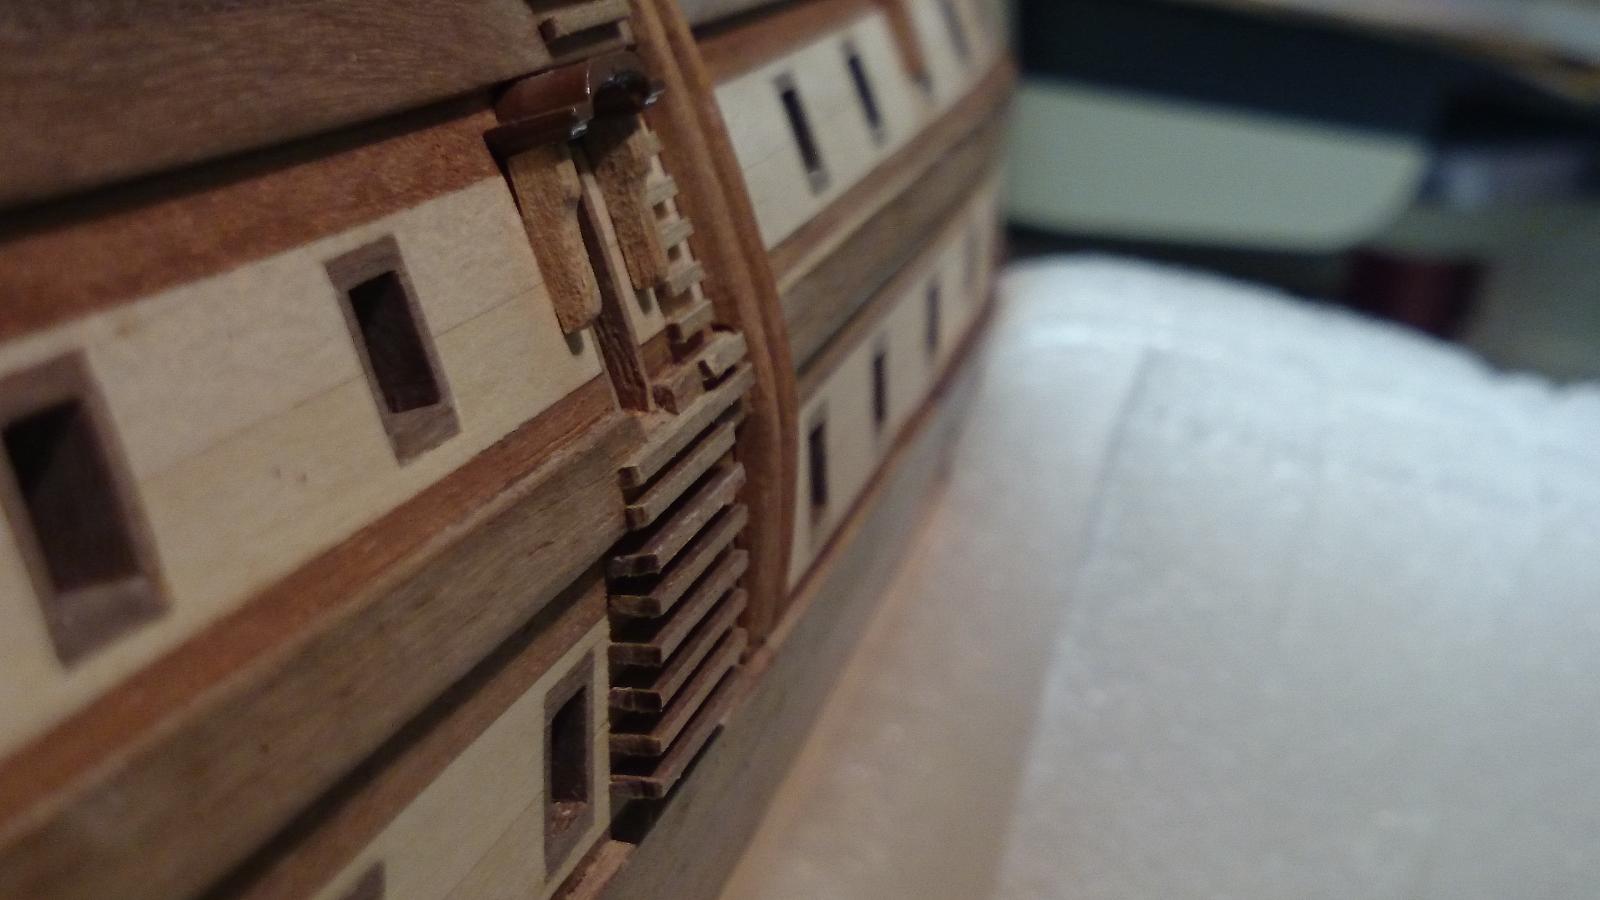
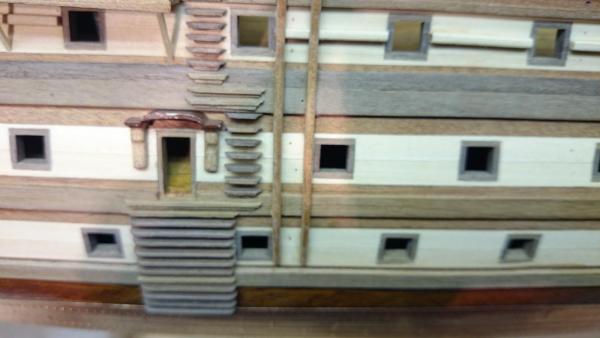
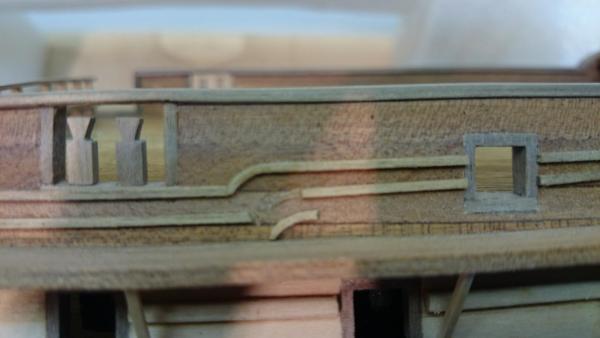
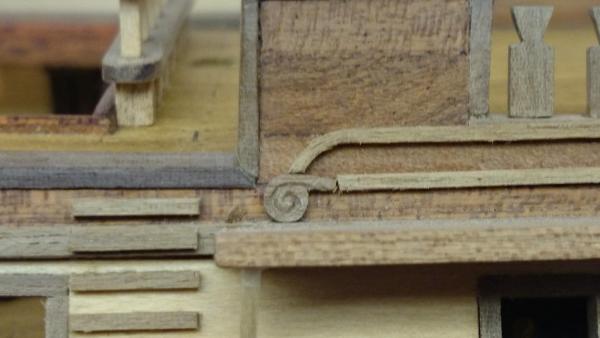
All Starboard side steps removed and replaced with shaped ones also all decorative trims fitted.

- 708 replies
-
- 6
-
-
- victory
- constructo
- (and 1 more)
-
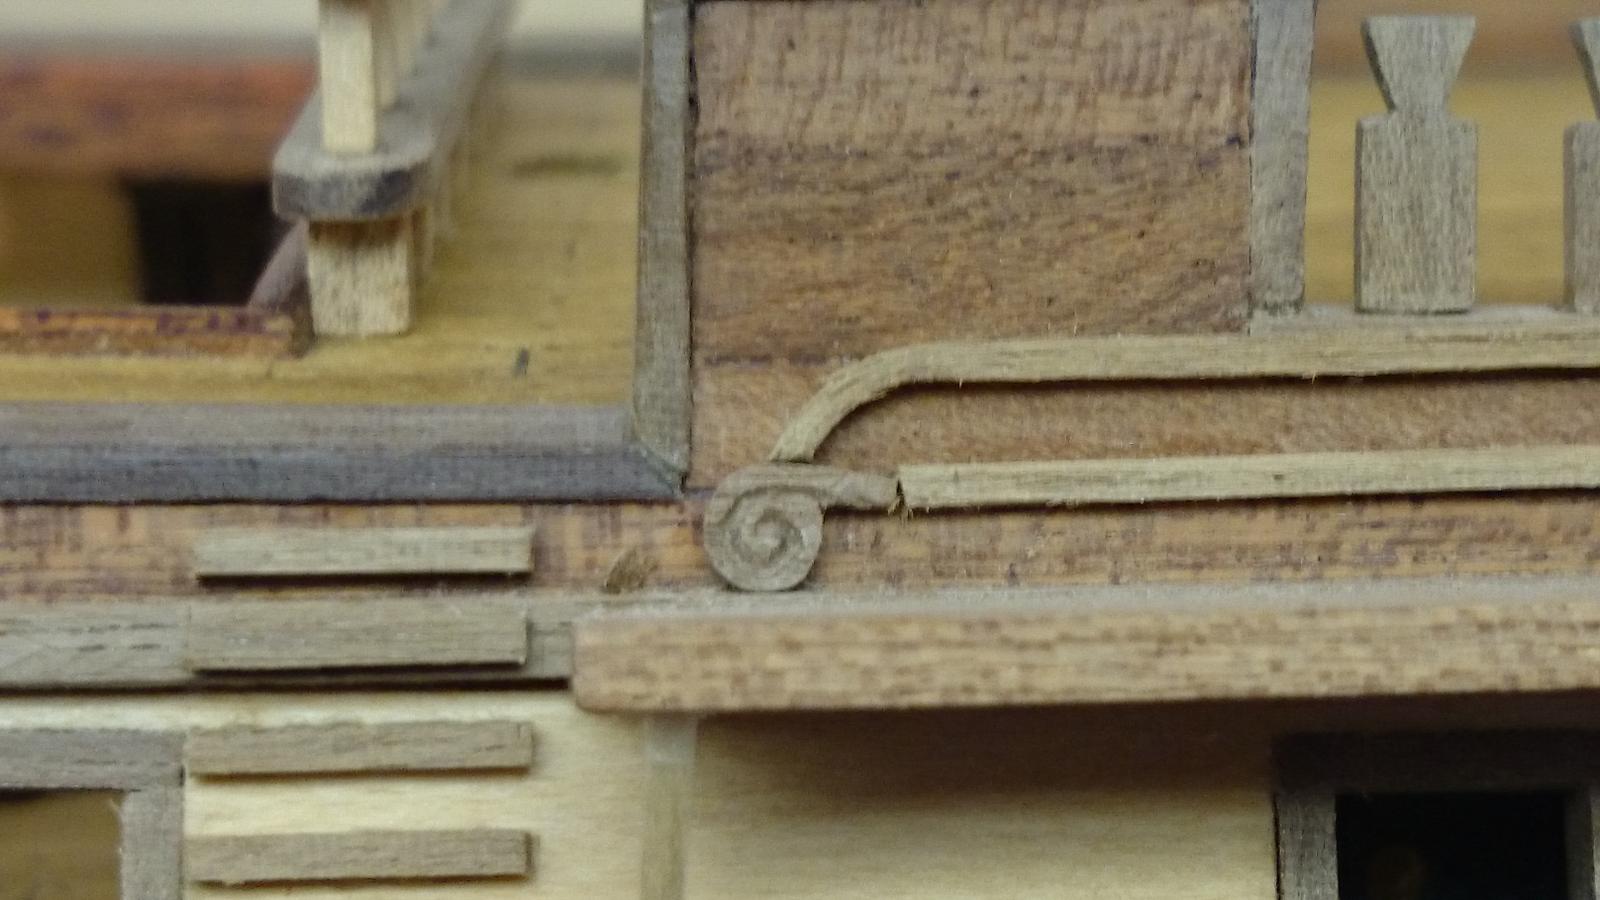
Despite still removing all the steps down the hull sides and giving them a bit of a little more accurate appearance, I am also adding the hull trims, she has spiral turning on for decorative purposes but the kit doesn't replicate these. The woods not the same shade but wood is wood and it comes as it comes, that said those painting her would not have an issue, just a little more accurate ship.

- 708 replies
-
- 6
-
-
- victory
- constructo
- (and 1 more)
-
I don't mind at all, all these details help, thank you.
-
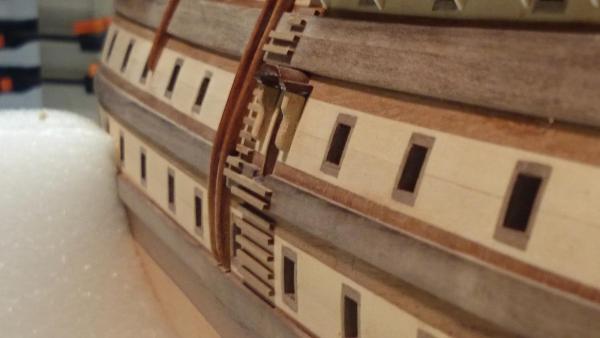
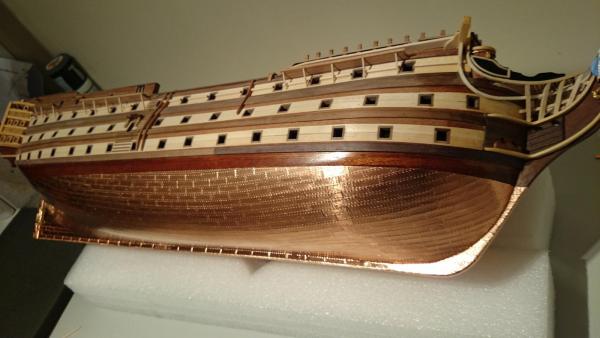
I did ponder this coppering as I'm leaving her natural. I have had a niggle about the steps though and the fact they step, ok but too much. The kit does not take into consideration the wales and the steps are of different depths, also they don't reach the waterline / copper I am currently rectify this and have just done the bottom rungs. Oh I've received my black, yes BLACK, rigging, thanks to Caldercraft.


- 708 replies
-
- 1
-
-
- victory
- constructo
- (and 1 more)
-
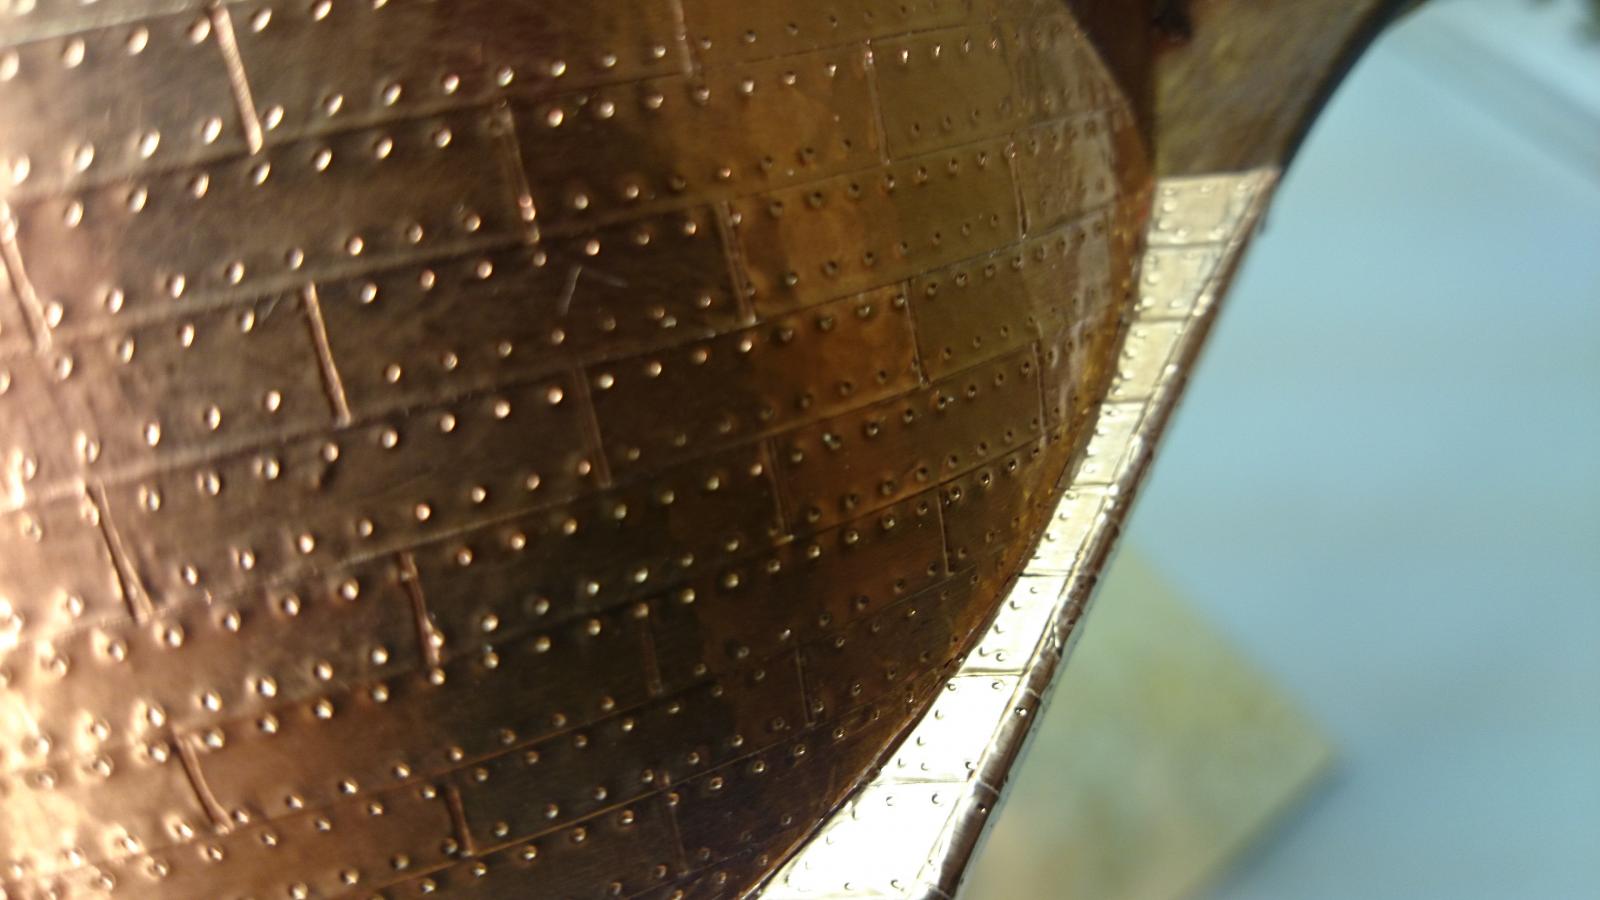
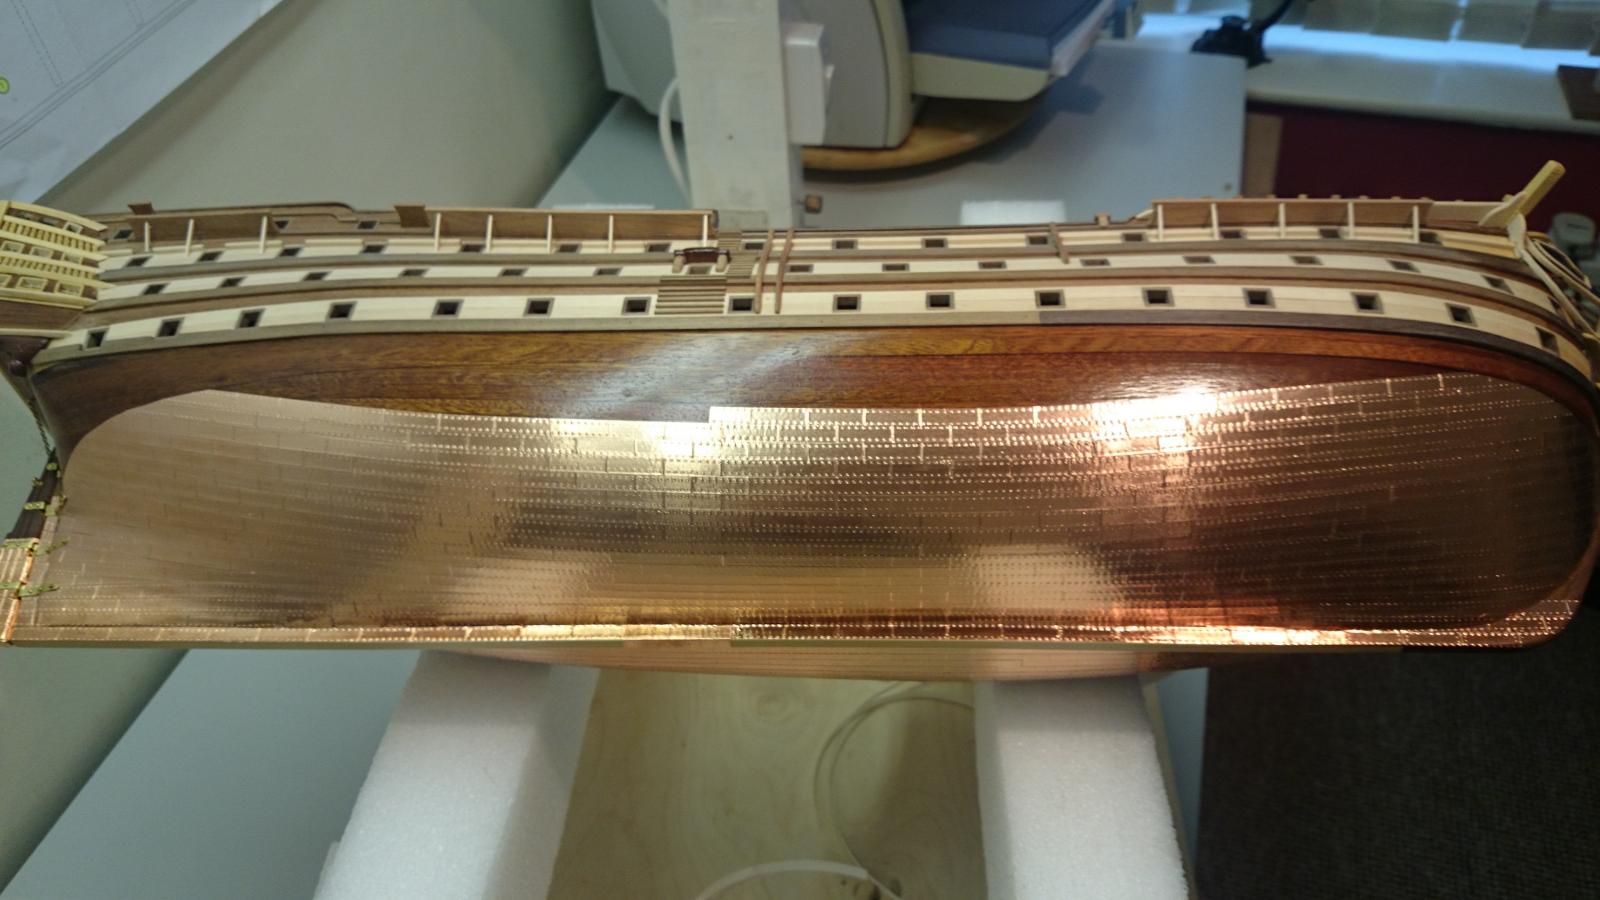
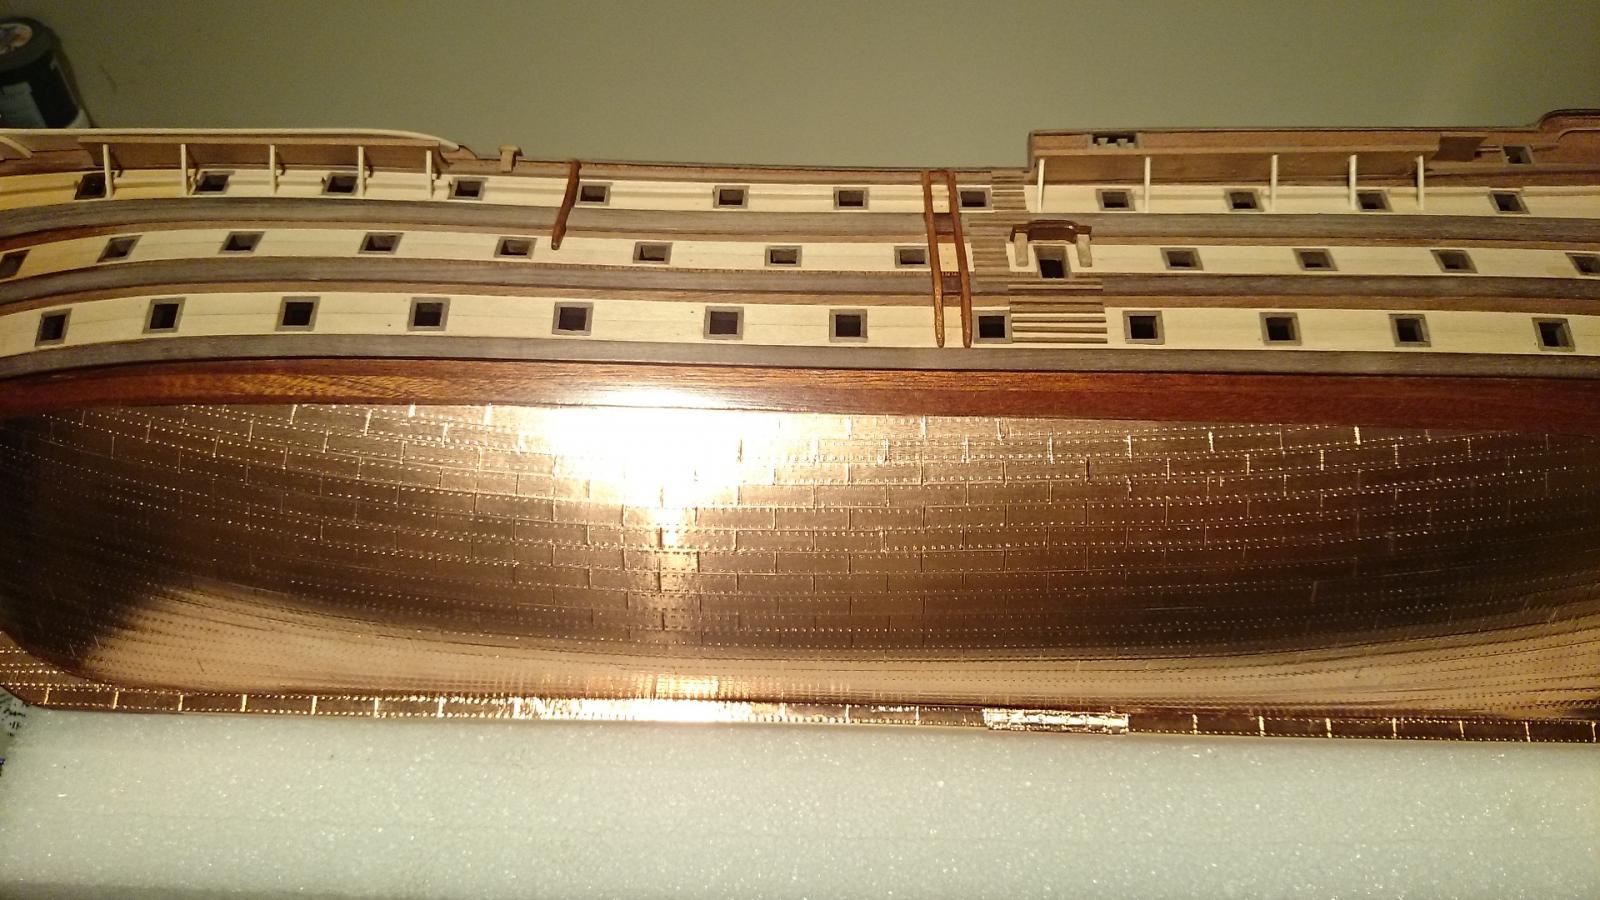
Hulls copper plating all completed and already started to tone down as it's open to the elements, even though the camera doesn't show it.


- 708 replies
-
- 6
-
-
- victory
- constructo
- (and 1 more)
-
No rush mate, just measure ten times, cut once.
-
Yep, I like that, I think I will be pinching that one
- 1,756 replies
-
- 2
-
-
- constitution
- constructo
- (and 1 more)
-
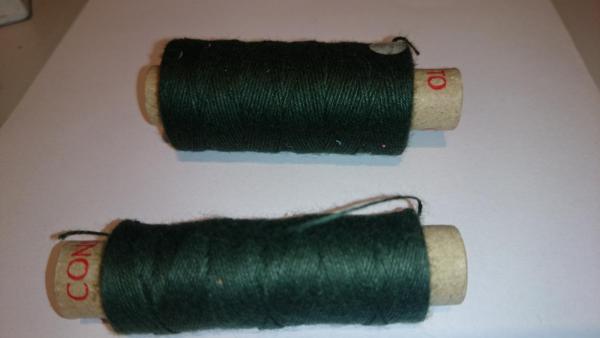
Cheers guys, I was unsure about going down the copper route as im leaving her natural but pleased with the result, ive ordered the new rigging material. Any one need green?
-
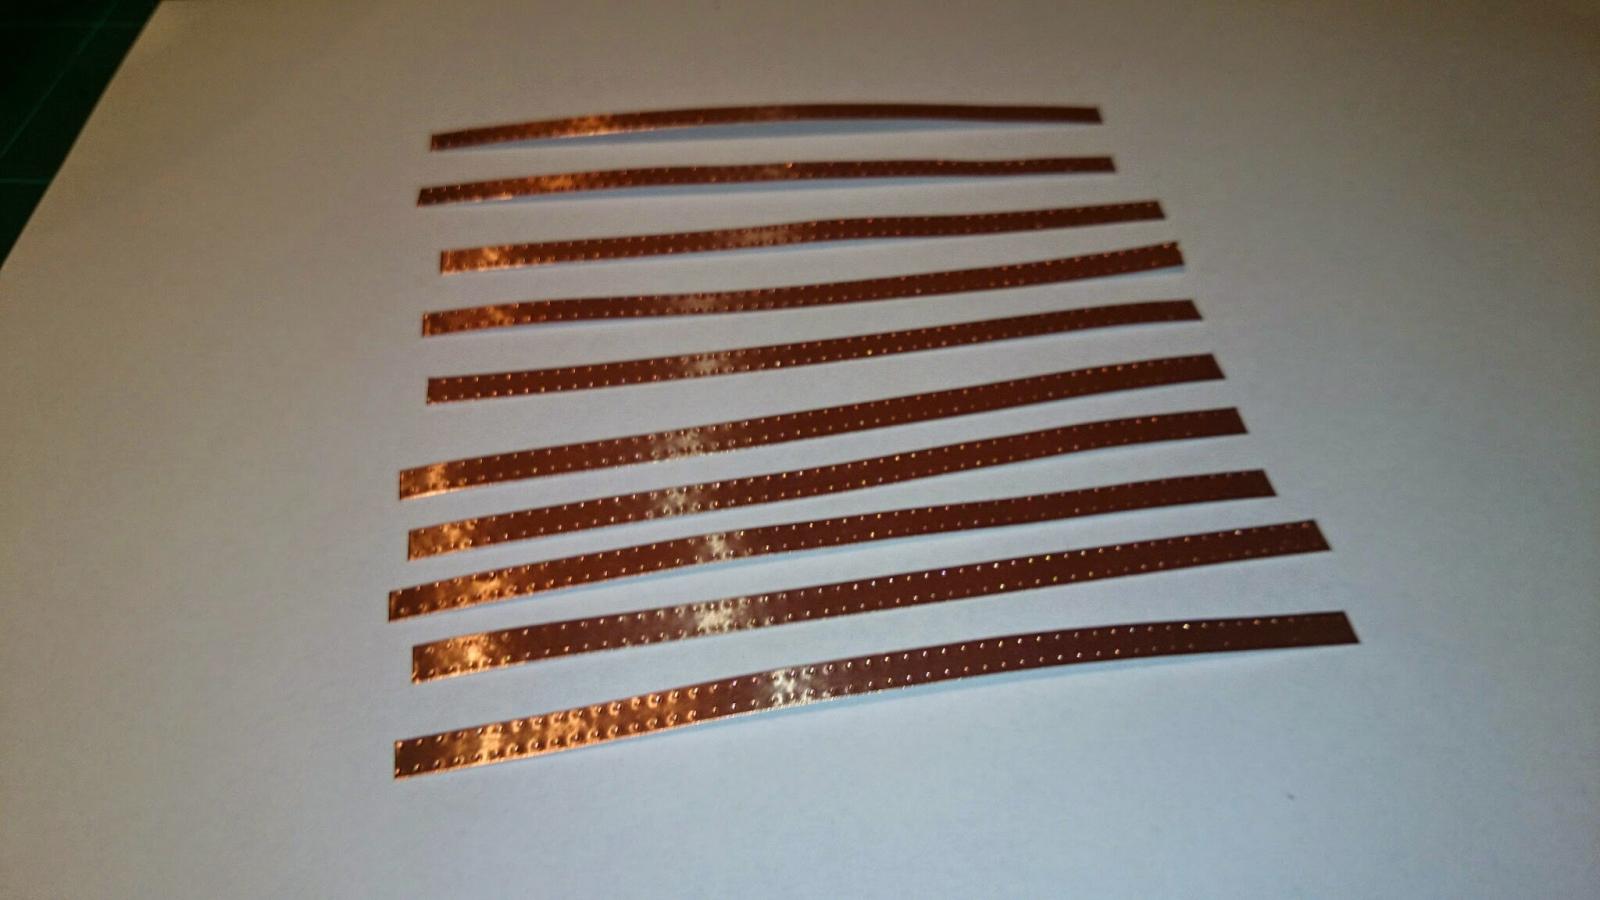
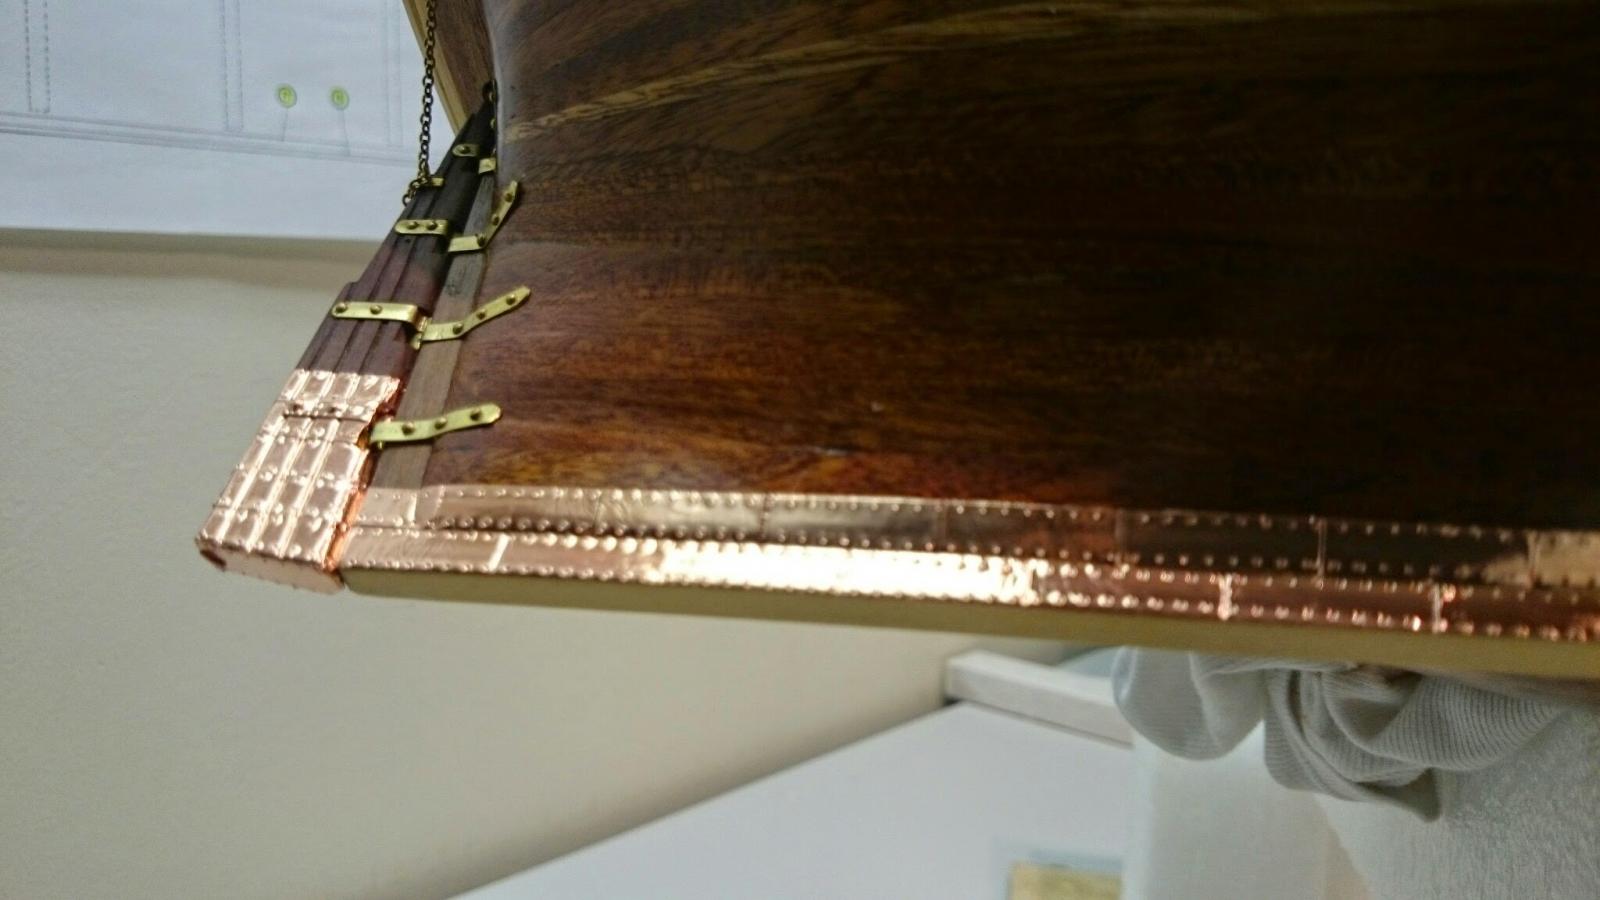
Been doing the coppering of the hull this weekend, this took a lot longer than I anticipated, due to planning and I still have the capping / edges to do to complete, and yes I did tear off a handrail which was inevitable really. One tip I can give, buy the copper tape but buy the dearest one you can find. WHY, really, they are dearer for a reason, quality. The edges are cut clean and straight which we need when applying rivit detail. Trust me on this, I got the cheaper one followed by the dearer, when I say dear, there only £5.00 or ($7.56) US dollars.


- 708 replies
-
- 7
-
-
- victory
- constructo
- (and 1 more)
-
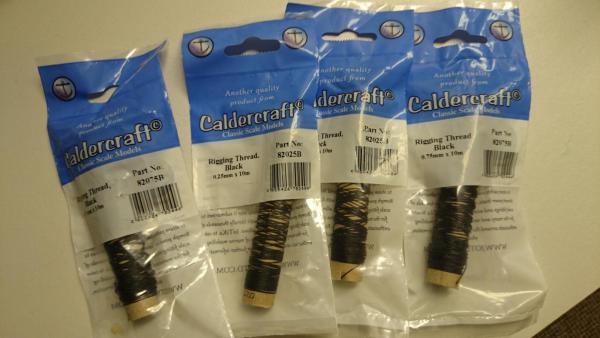
Oh look black, its really that simple, black rigging needs black thread, Constructo, wake up. Well I've moved to the hull plating, so here goes


- 708 replies
-
- 3
-
-
- victory
- constructo
- (and 1 more)
-
I have been looking to find out how this is done as there is nothing in the kit to show / explain the process, thank you all for sharing this with us newbies
-
cheers for that. Even Cornwall model boat stock is green on there website
-
Ok look, What at, I'm glad you asked, My black yarn, Black you cry, My thought exactly. This is Italian black, In every other country I think it's normally regarded as a colour known as green, what am I to do with them. Really how difficult is it to put the right colour in the box Contructo. Turn on the lights guys. This is another order and wait for the correct ones to arrive moment at more expense, these models take years to build and I'm learning why this is.
-
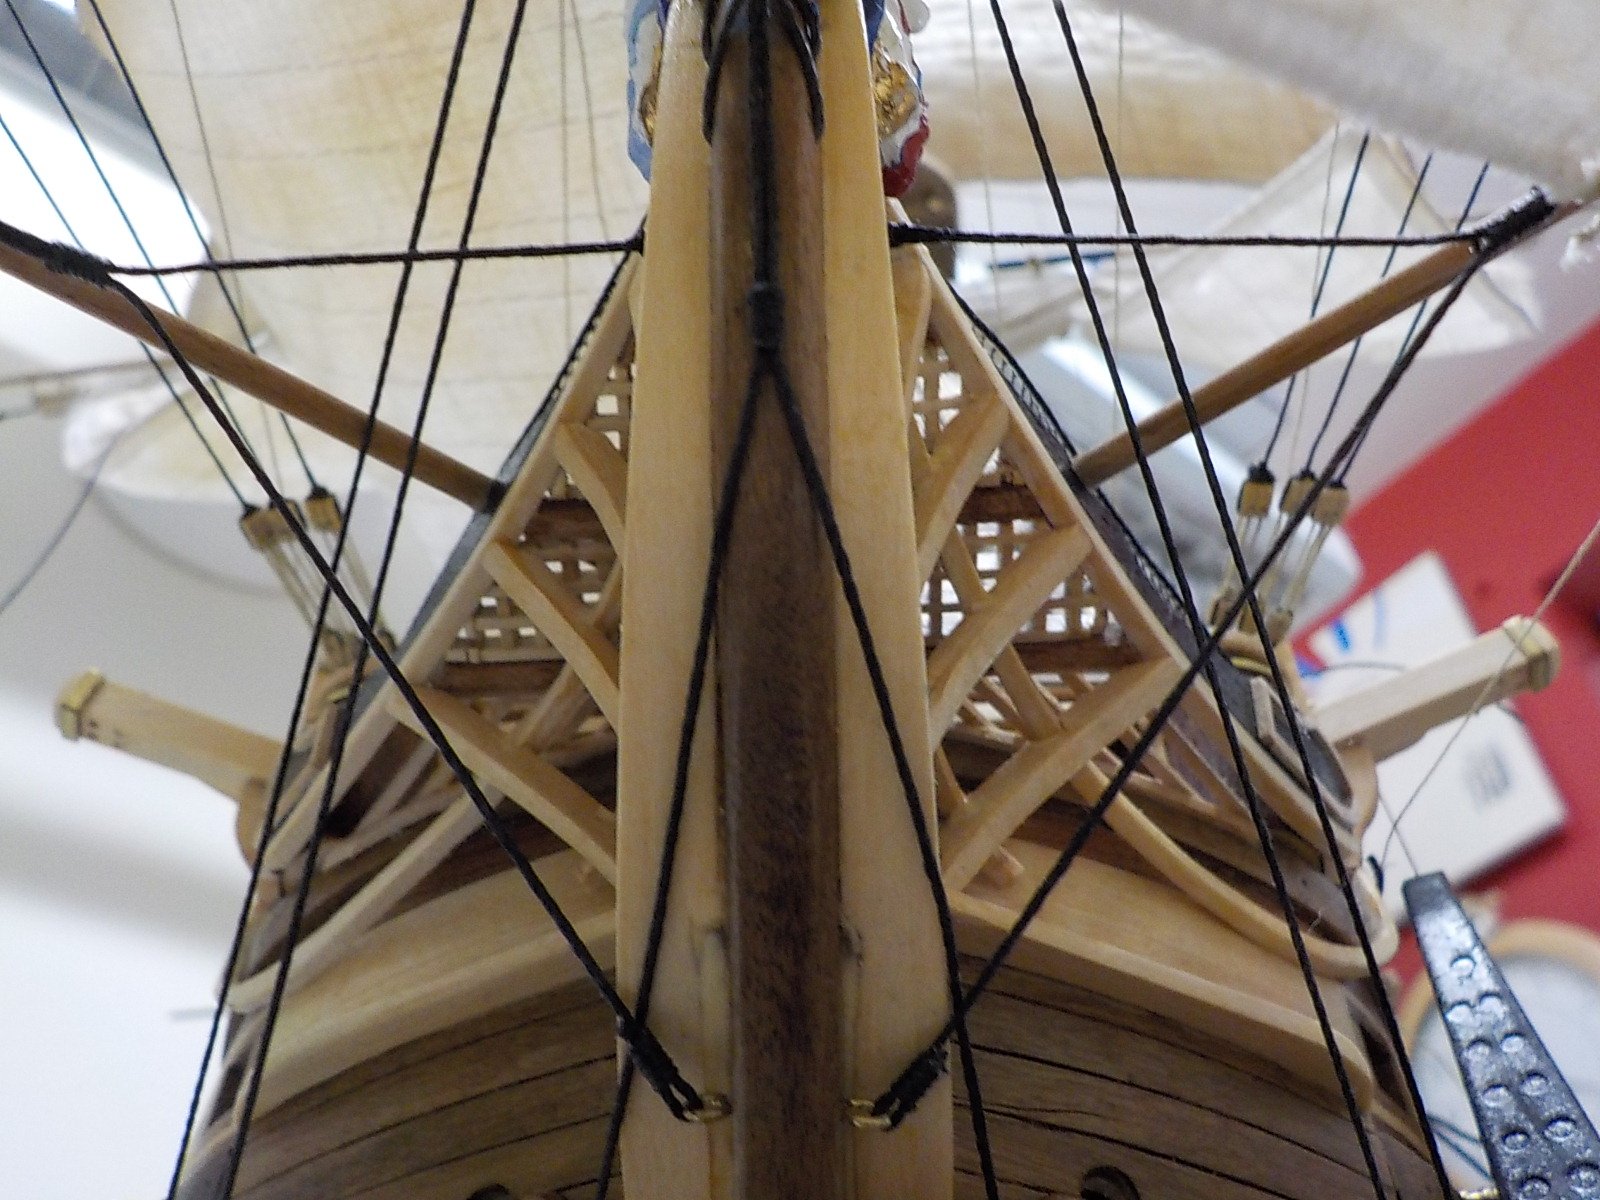
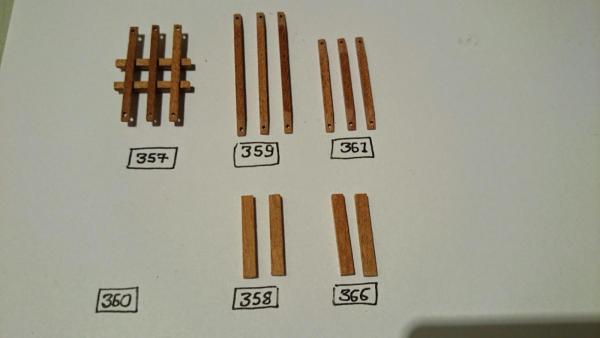
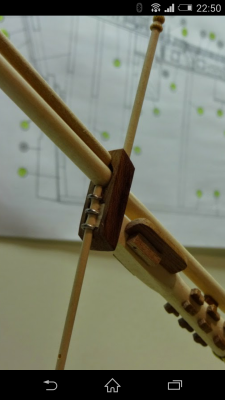
Been bouncing from mast to bowsprit and back to masts, completed the Fore, Main & Mizzen topmast beams and crosstrees

- 708 replies
-
- 3
-
-
- victory
- constructo
- (and 1 more)
-
Thank you Mike, I shouldn't be so hard on the Consructo version really, little changes like you said make it a lot better but there small things really and If I was Constructo I would aim to modify it and update it. Even instruction changing the time items are fitted, why put delicate deck rails on and fittings then ask modellers to flip it over and start nailing in a rudder bracket. Mike, your painted version is beautiful and if I ever build the Caldercraft one its painted next time. Oh and shipyard Sid is sending me the instructions for one as there more comprehensive.
-
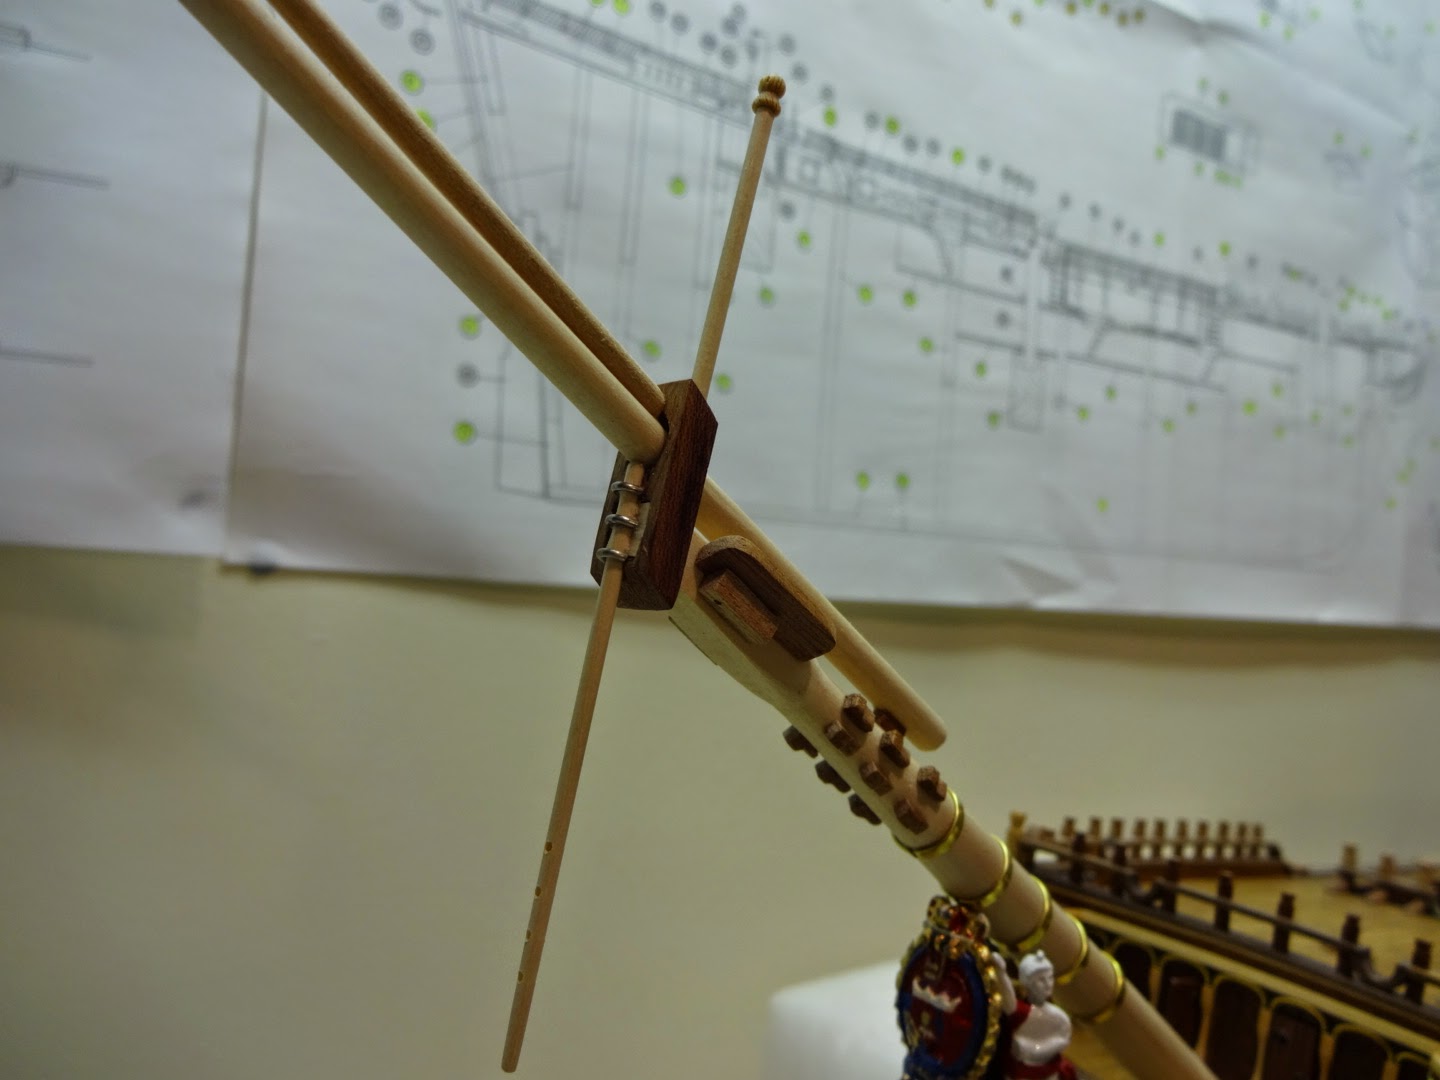
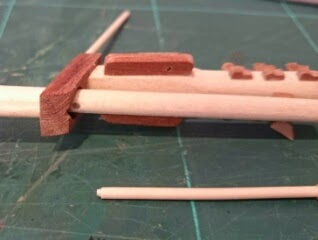
Just a little addition to the bowsprit, long way to go, adding detail from images of the real ship, the kit differs and simplifies.

- 708 replies
-
- 3
-
-
- victory
- constructo
- (and 1 more)
-
Just a quick brain pick, 6mm tape, what length did you settle on scribing the plates, as a guess 15mm ? Thank you
-
I am only doing the bow and mast assm whilst I'm waiting for the copper for the hull, I've had to stop adding deck fittings to enable her to be flipped without the risk of damaging anything. I will add the bow assm as late as possible, the ship would be huge with it added and vulnerable to damage. Advise is much appreciated as is the offer of the additional Jotika Victory plans.