HOLIDAY DONATION DRIVE - SUPPORT MSW - DO YOUR PART TO KEEP THIS GREAT FORUM GOING! (Only 20 donations so far - C'mon guys!)
×


cobra1951
-
Posts
947 -
Joined
-
Last visited
Content Type
Profiles
Forums
Gallery
Events
Everything posted by cobra1951
-
 I totally agree with every word Bill said. You have made great progress since my last visit :)
 -
Hi Lawrence, thanks I emailed AL and after taking 4 days to answer me and wanting this and that, i decided it was quicker to replace it myself. I then told them i had already replaced the timber and that they should have better quality control and they didn't bother to reply.
-
Thanks for the info Phillip
-
Yes there are a lot of omissions in the instructions, like the one where the fittings for the anchor ropes to pass through the main deck suddenly appear without any mention of fitting them
-
Hi Phil Extremely nice build How did you find the materials in your AL kit. i had to replace about 50% of the timber in mine and it's put me off another AL kit, Hoping it's just a one off in my case
-
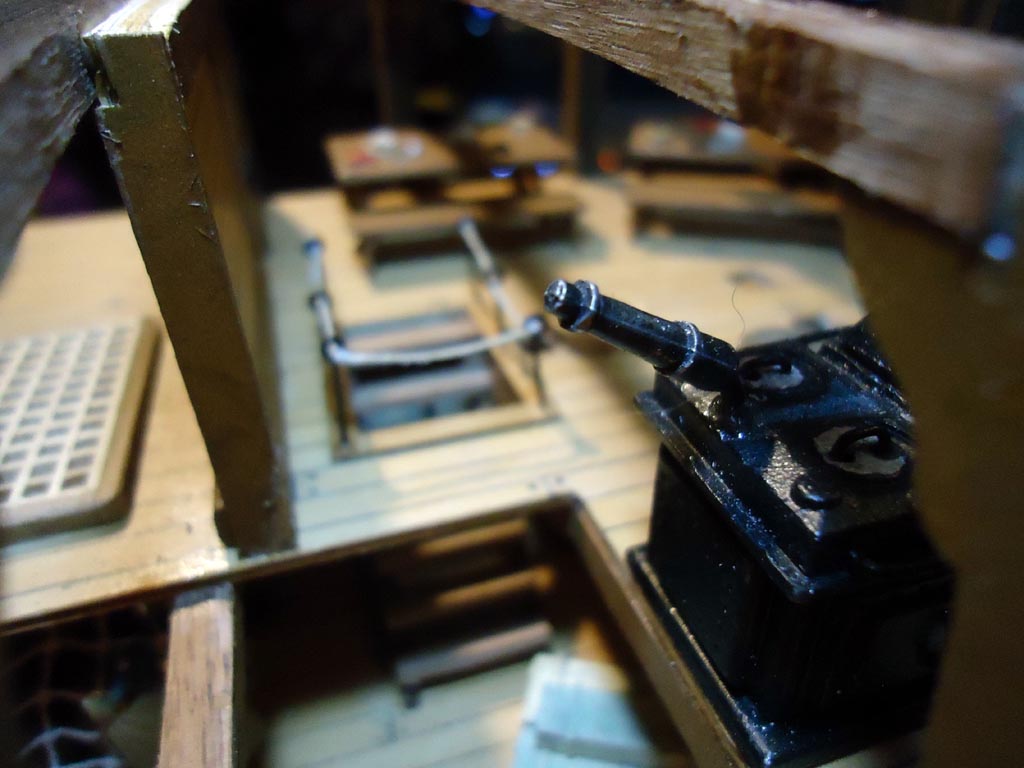
Hi maturin This is the stove condenser, it looks like a miniature cannon and is located in the parts box that contains the black metal parts also if it where me i would build the cannons before going any further and check them for fit in the cannon ports. Might make the job easier in the long run

-
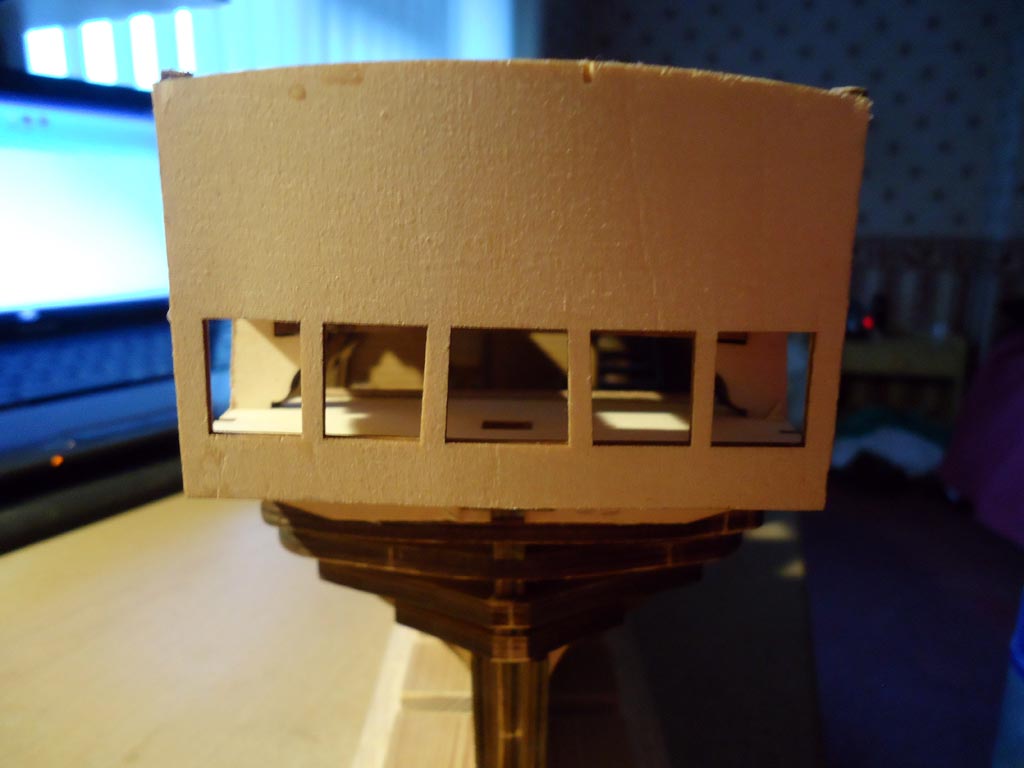
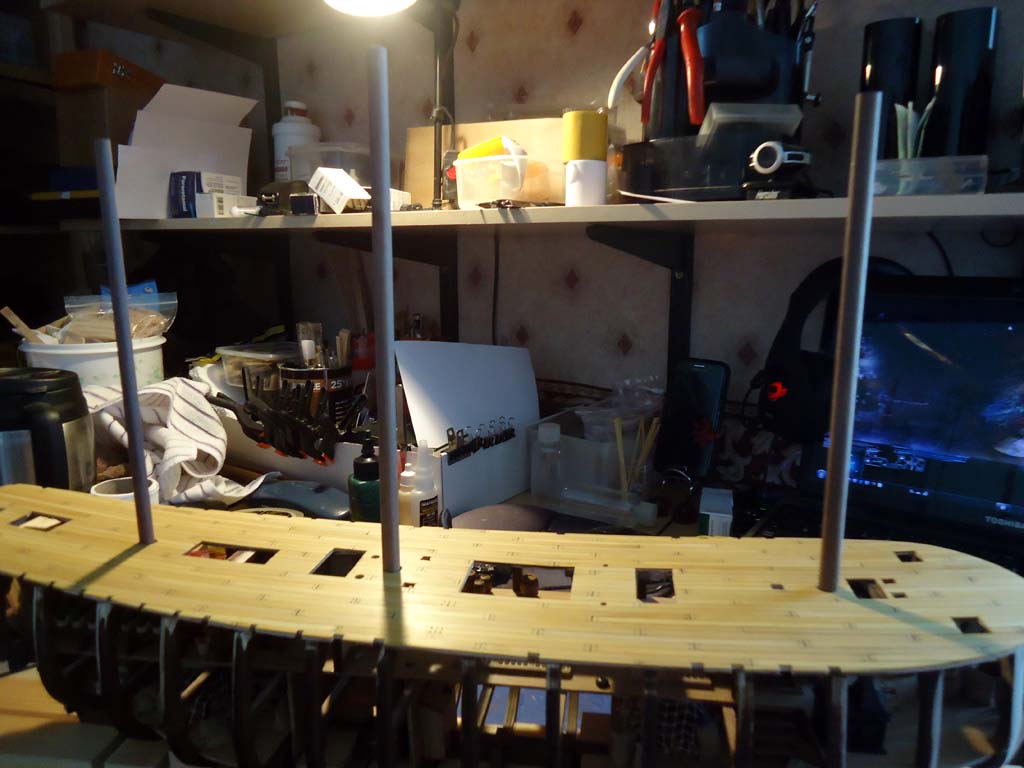
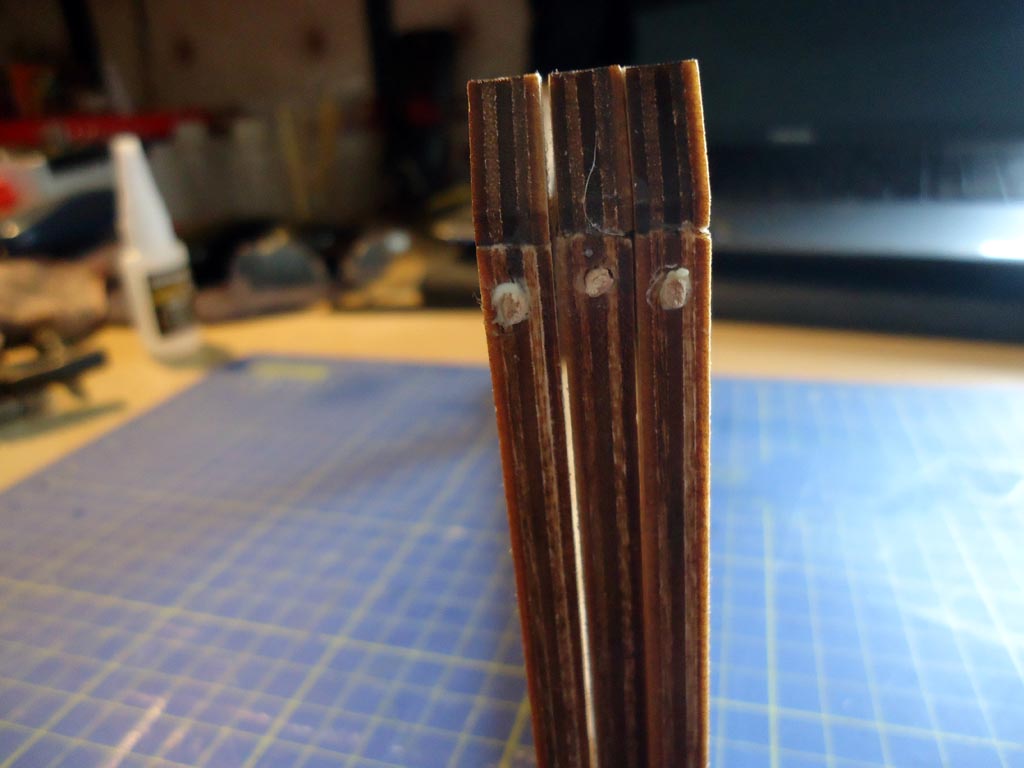
Quick update Finished simulating the treenails on the main deck Fitted stern plate Added the stern plate stanchions Ready to plank the stern plate. You may remember further back in the build i mentioned that besides the masts and decking i would probably have to replace a lot of the hull planking this is why. I may get enough pieces out of the warped ones to plank the stern plate or some of it at least.

-
Hi Nirvana, i will fax you a Danish and a coffee right over but don't make a mess on the couch
- 206 replies
-
- 5
-

-
- battle station
- panart
- (and 1 more)
-
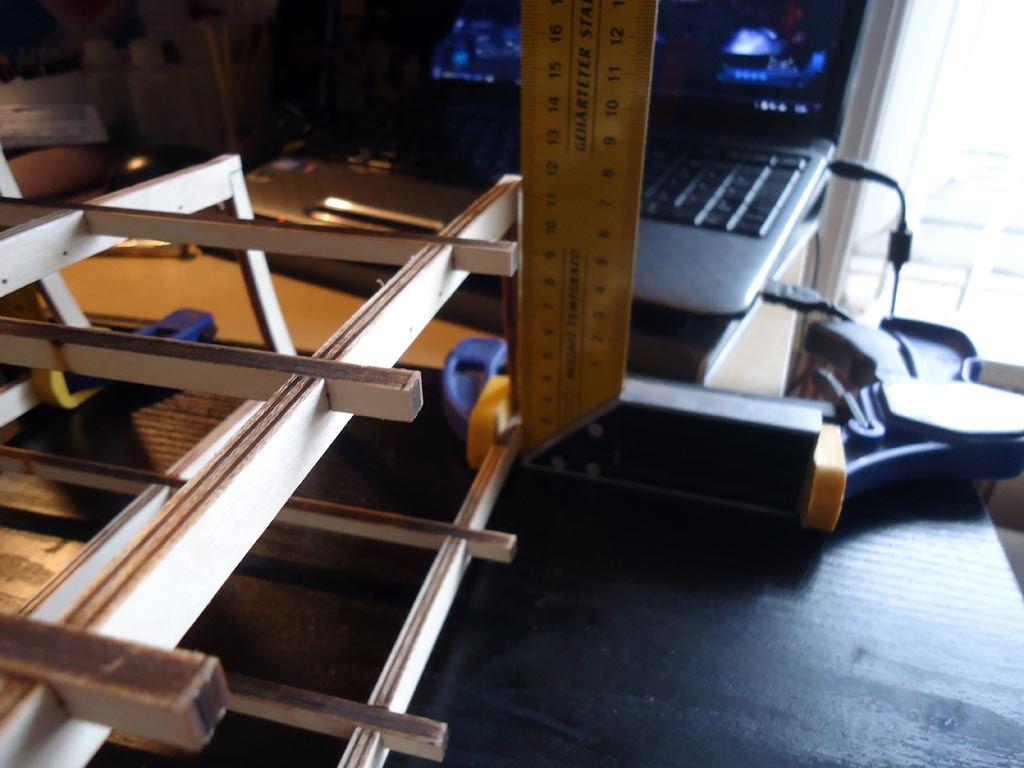
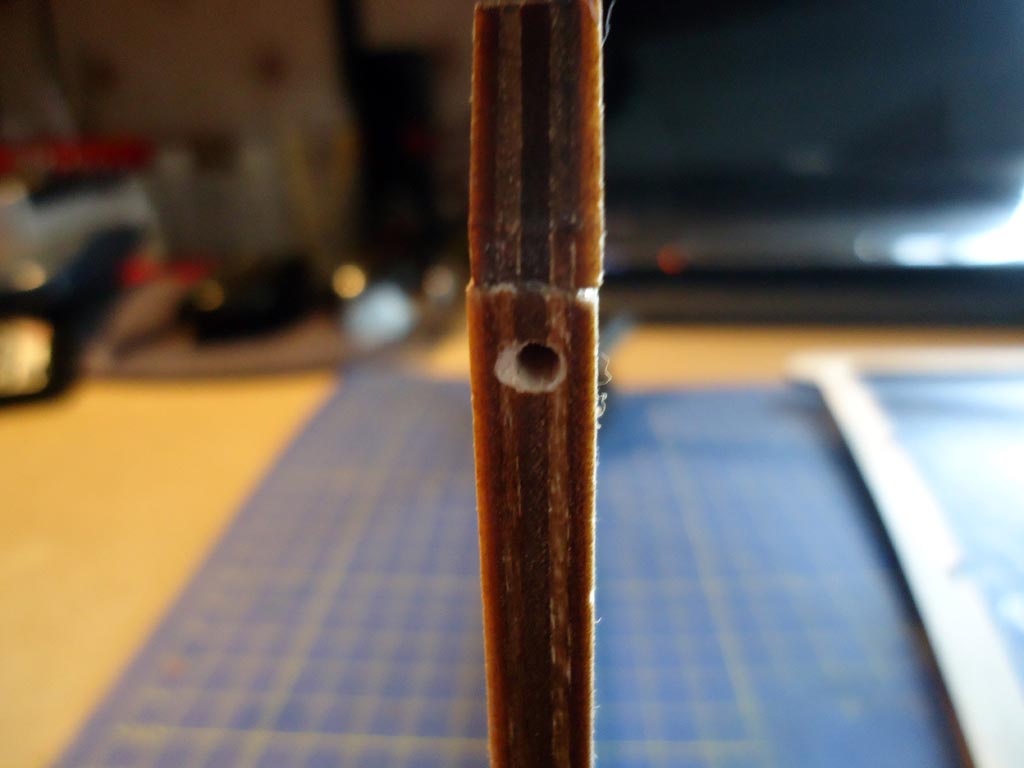
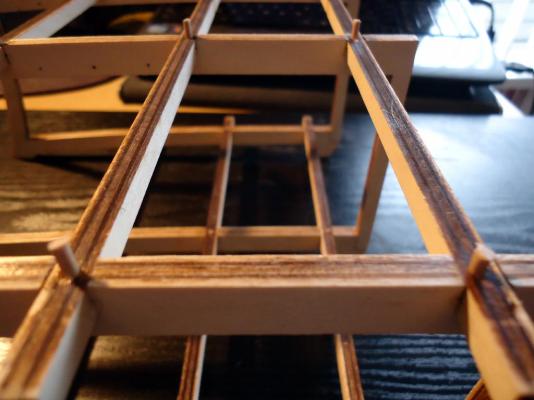
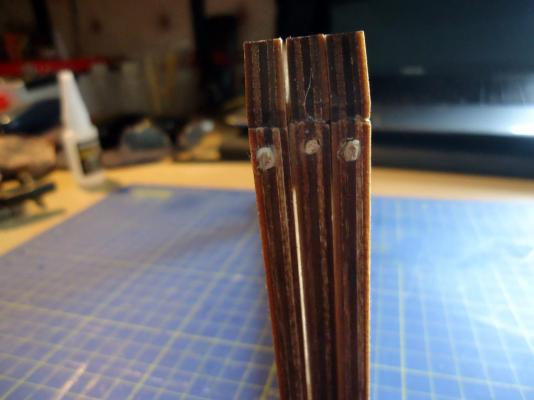
Finished the assembly of the main Frame, it went together very easily. Drilled and pinned all the joints with 2mm dowel and even though it has not dried and cured yet i am quite surprised how sturdy and rigid it is already Sitting patiently on my desk with all joints drying before i trim away the excess dowels
- 206 replies
-
- 10
-
-
- battle station
- panart
- (and 1 more)
-
Great work Paul Love the Coppering
-
Thanks EJ_L Paul i am going to sand the burn marks away and also paint the frames except for where planking will be laid.
- 206 replies
-
- 4
-
-
- battle station
- panart
- (and 1 more)
-
Love your use of the templates to position the parts
-
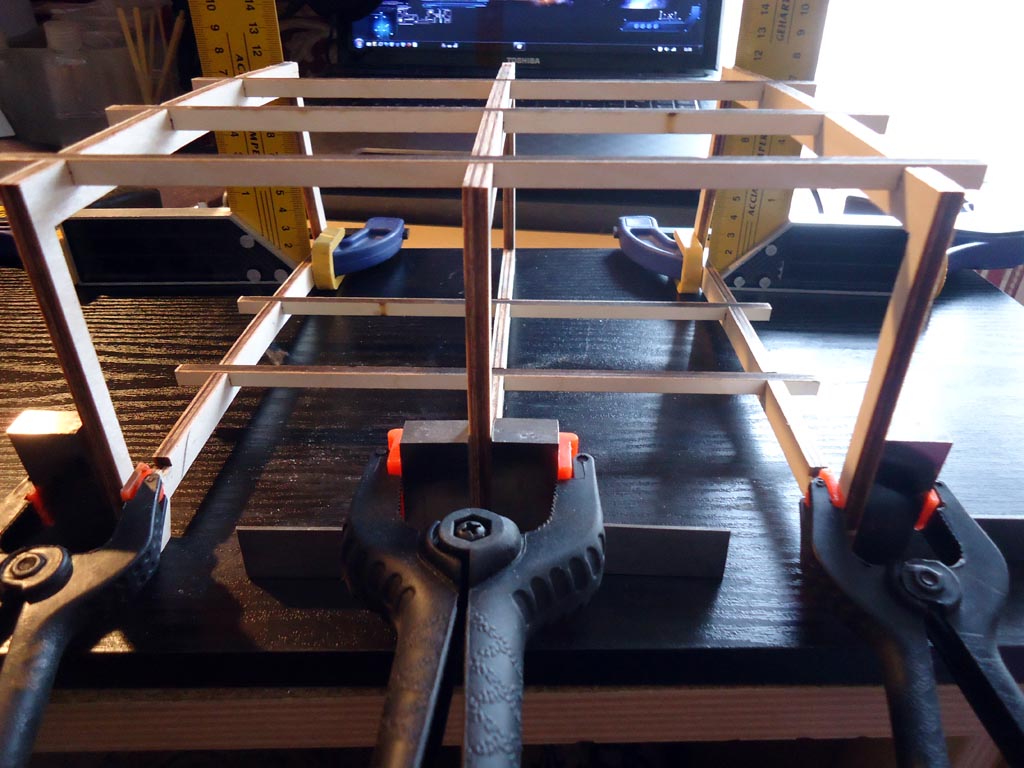
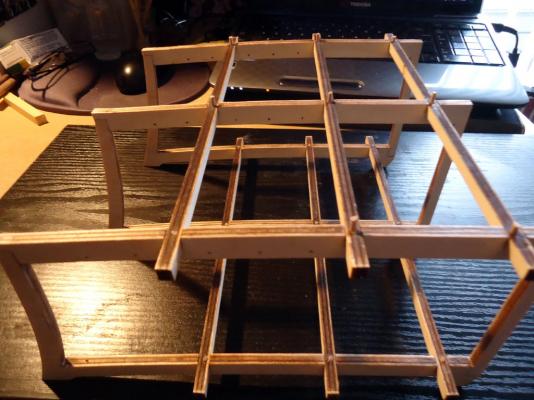
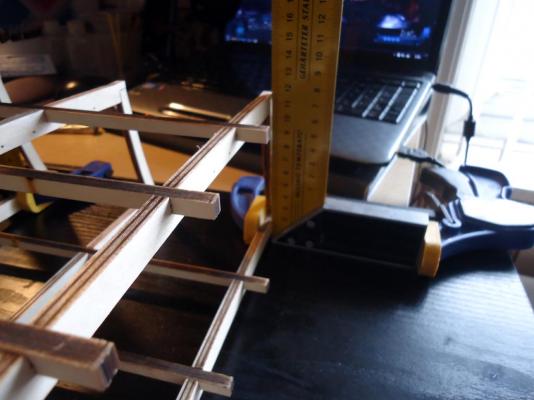
Assembled the main framework, to keep it square i clamped engineer squares to the upright parts. The bottom cross beams will be removed one at a time and glued into place. Once all three have been glued i will remove the top three beams to allow me access to drill and pin the bottom three where the beams and frames meet, while they dry the top cross beans will be replaced to help keep it all square. when the bottom beams are all dry i can then repeat the process on the top beams

- 206 replies
-
- 12
-
-
- battle station
- panart
- (and 1 more)
-
Very nice
-
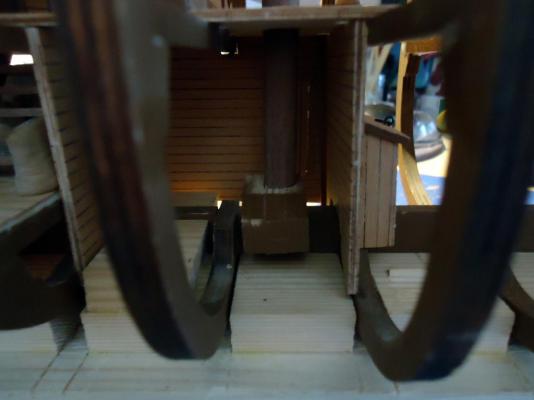
Cut my masts to the sizes given in the instructions (hope that part of the instructions are correct) Squared of the ends so they fit into the mast steps All 3 masts fitted and are looking ok to my eye with a backward rake on the mizzen mast. Can't use a square to check because of the curvature of the deck, both sideways and lengthways All even and at the same angle


-
@ Antony Hi Antony, i agree the only way to make sure you get quality wood is to source your own as you do for your scratch building. Especially if you live near a supplier then you can go and look at what you are buying first. Most kit manufacturers will replace any faulty materials but AL wanted me to do this then when you have done it do that and so on. Easier to buy more even if it does double the price of the kit in the end at least you'll be happy with the finished model. I told AL that they should not put wood that is so obviously flawed in the kit in the first place, as usual they just stopped answering @ Chidokan Hi, If you contact your kit supplier they will usually get the ply replaced for you, if not contact the kit manufacturer. Sergal are part of Mantua so probably them. Take photo's of the parts and of your receipt for the kit and e-mail the photo's to them with your request. If you are worried about twisting the frame check the first few posts in this log and make yourself a slipway to hold it straight while you build and also when you start planking the hull and only remove it to do the last few lower planks by that time everything will be held square by the planking Someone else reading this may have a better way and may help
-
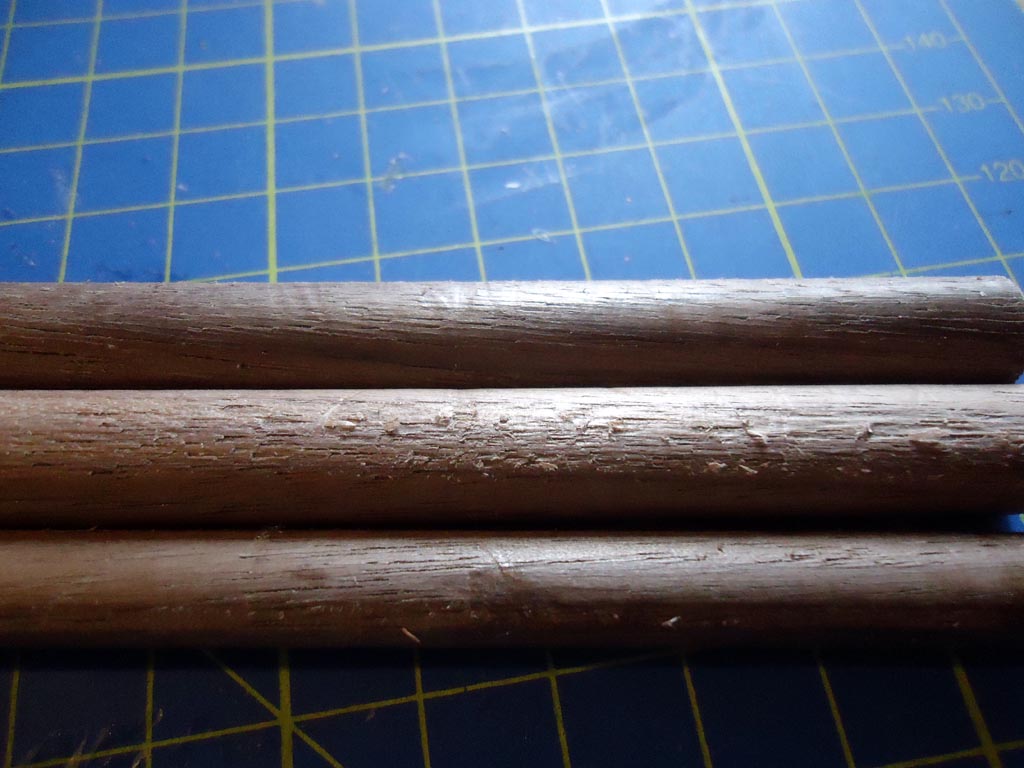
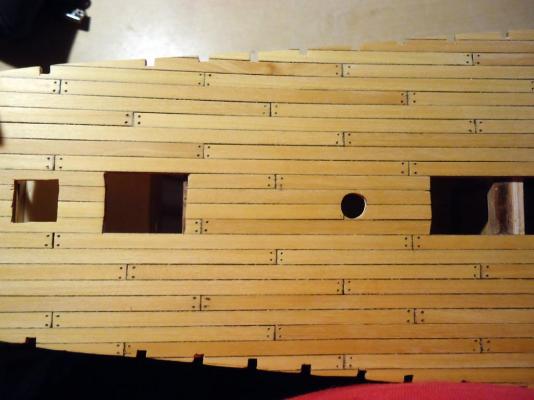
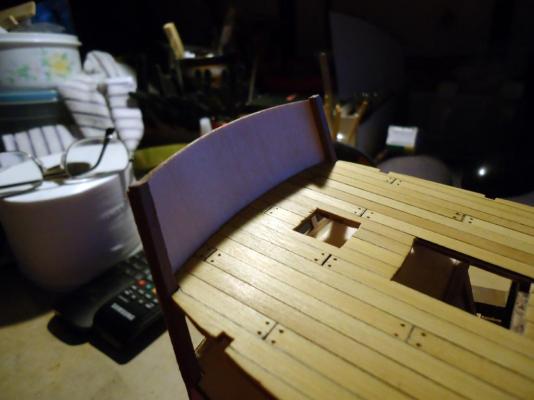
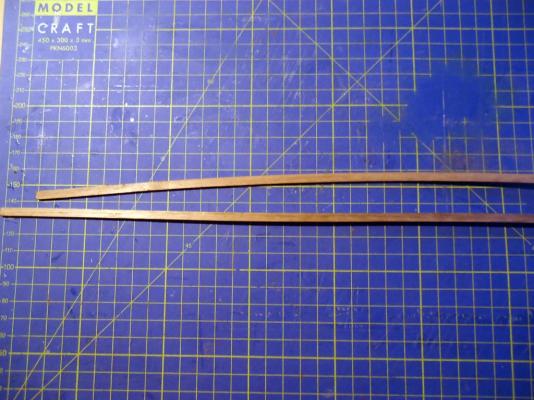
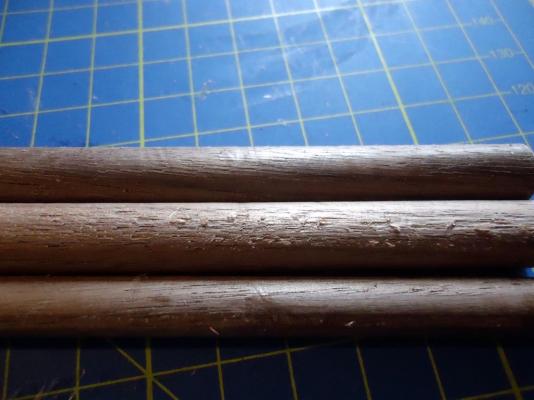
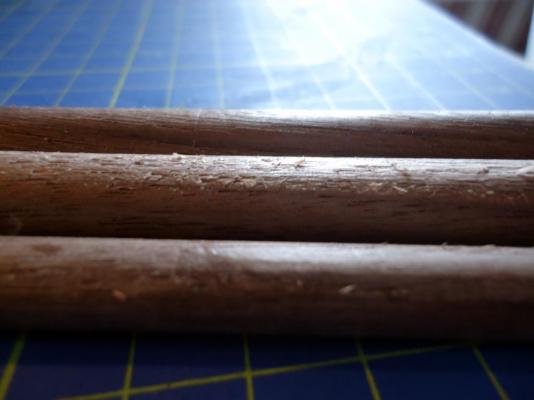
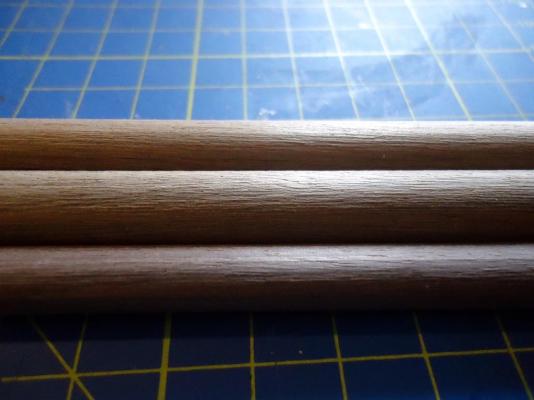
Main Deck is now planked and ready for varnishing, but before i go any further i want to make sure that the masts fit nicely through all 3 decks First job was to put the kit supplied masts in the scrap wood stash as they came out the box looking like my dog had used them as bones They are also curved so much they would make good Bows for archery. Some kit manufacturers seem to think supplying this rubbish is ok, but once the word goes around they will lose sales in the long run IMHO. Then i cut some new lower masts from the new material i had purchased Big difference
-
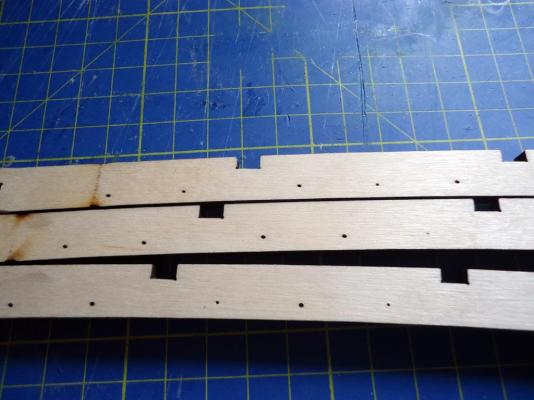
Assembled the 3 main frames Drilled 2mm holes in the 2 joints on each of the 3 frames Glued in 2mm dowel to strengthen the joints, and cut off, these will be sanded flat once the glue has dried
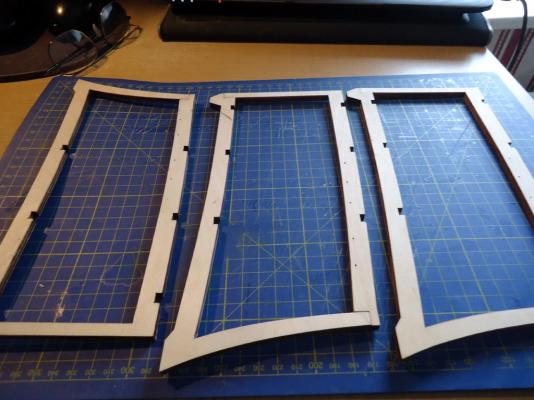

- 206 replies
-
- 7
-
-
- battle station
- panart
- (and 1 more)
-
Well you certainly made it look easy, excellent result, you have a great base for the second planking now
- 527 replies
-
- 1
-
-
- caldercraft
- victory
- (and 1 more)
-
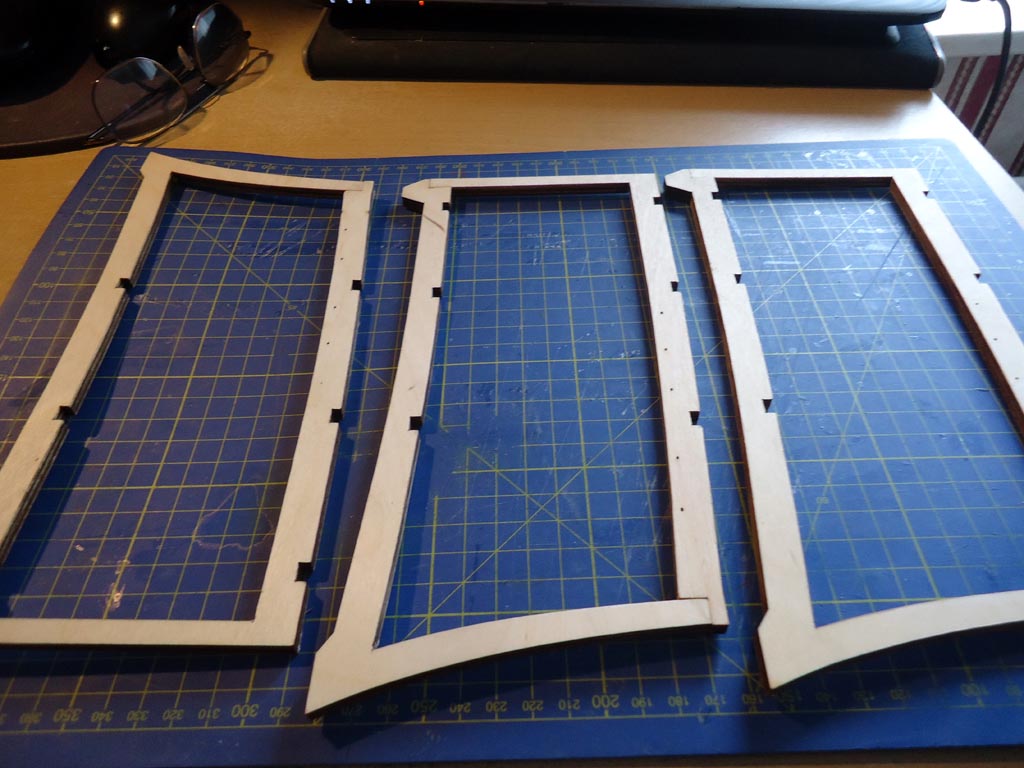
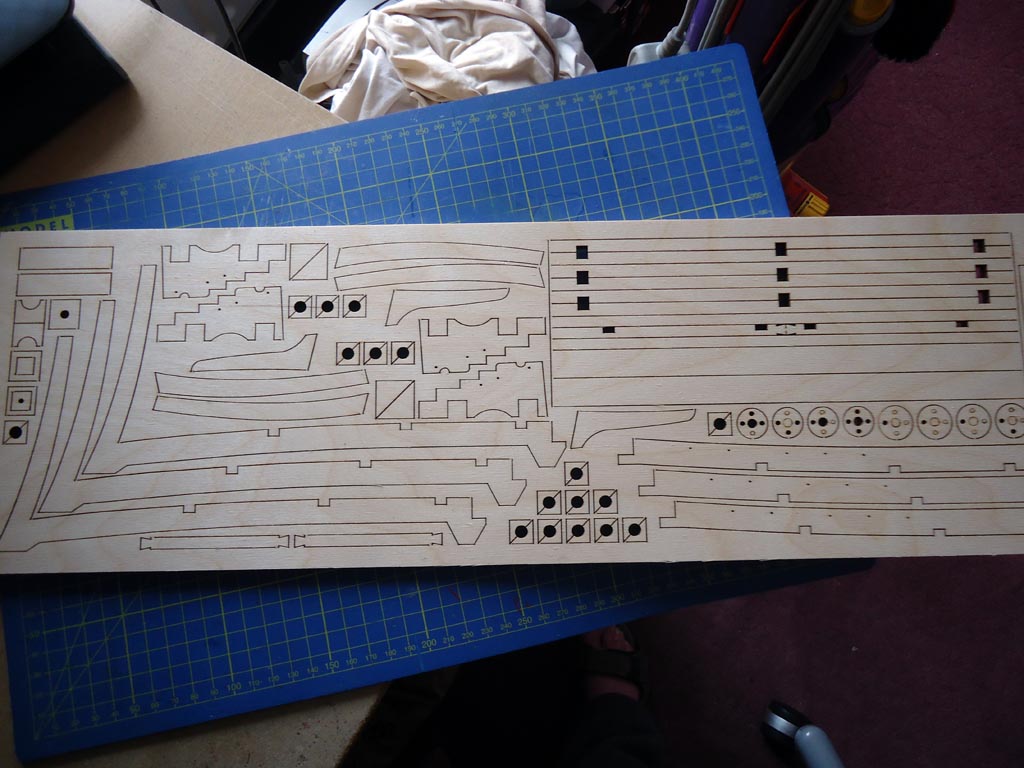
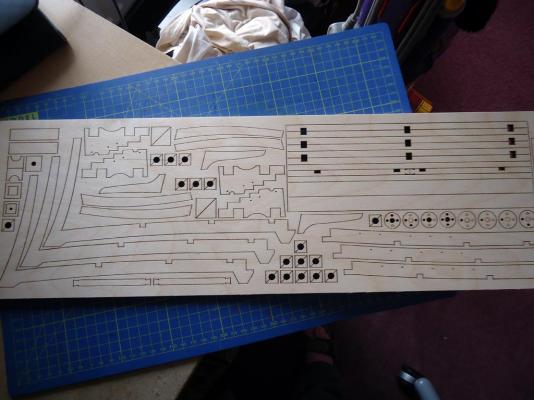
Compared to my Bounty the ply on this kit is luxury First pieces to make the main 3 frames cut out I like the fact that the top beams have had the holes for the eye pins already cut out, although they will still need a drill running through to clean them up. Also there are a few burn marks from the laser cutting to clean up as well

- 206 replies
-
- 9
-
-
- battle station
- panart
- (and 1 more)