clearway
-
Posts
2,240 -
Joined
-
Last visited
Content Type
Profiles
Forums
Gallery
Events
Everything posted by clearway
-
 sounds similar to the way i did it, i used peco track fixing pins though as they have smaller heads and are already blackened. I also drilled extra holes in the ironwork for the rudder so the longer ones had 5 pins in total. Keith
 -
preventer stays were back ups in case the stays were parted in battle- Matthew also mentions she was merchant rigged, so i will double up the fore and main stays like in lees book but leave the mizzen stay single- still thinking about the stays on the top masts on the fore and main though. Keith
-
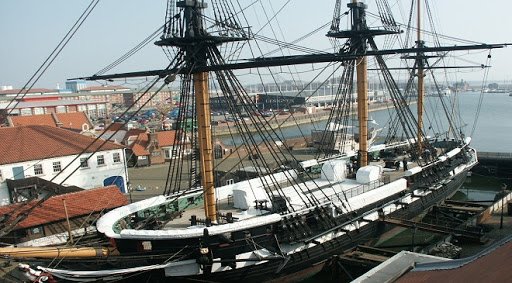
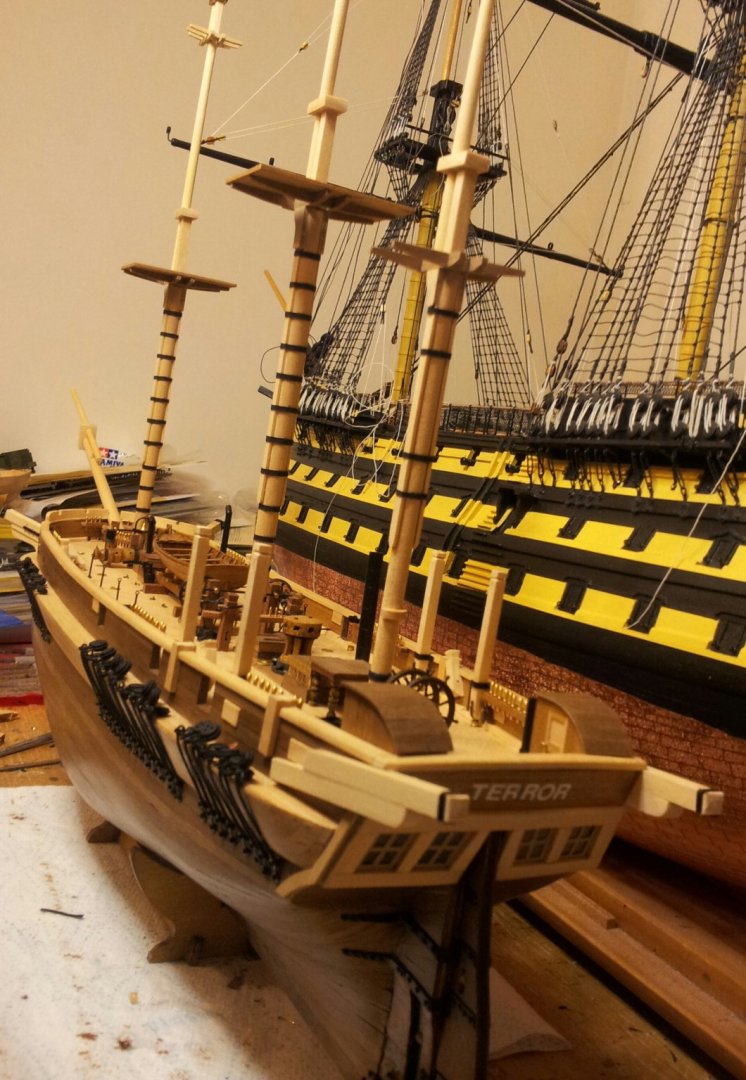
I am thinking the rigging will be a lot akin to lees book as well Keith, though i doubt preventer stays would have been rigged. I am going to leave the stuns'l booms off as a lot of images i have seen from later days don't have them (personal preference really though at the end). I was looking at this pic of HMS Trincomalee from around the same period and the masts look a lot like i depicted mine so a lil relief there😁. take care all Keith
-
Thanks Keith , still not sure i have got the mast bands and hoops right but the revised way i used does it for me (yet once more butterflies ensue in anticipation of matthews book)! Keith
-
i got the revised edition from 1984 which had more details added (not sure if further revisions were made in the third edition though). Keith
-
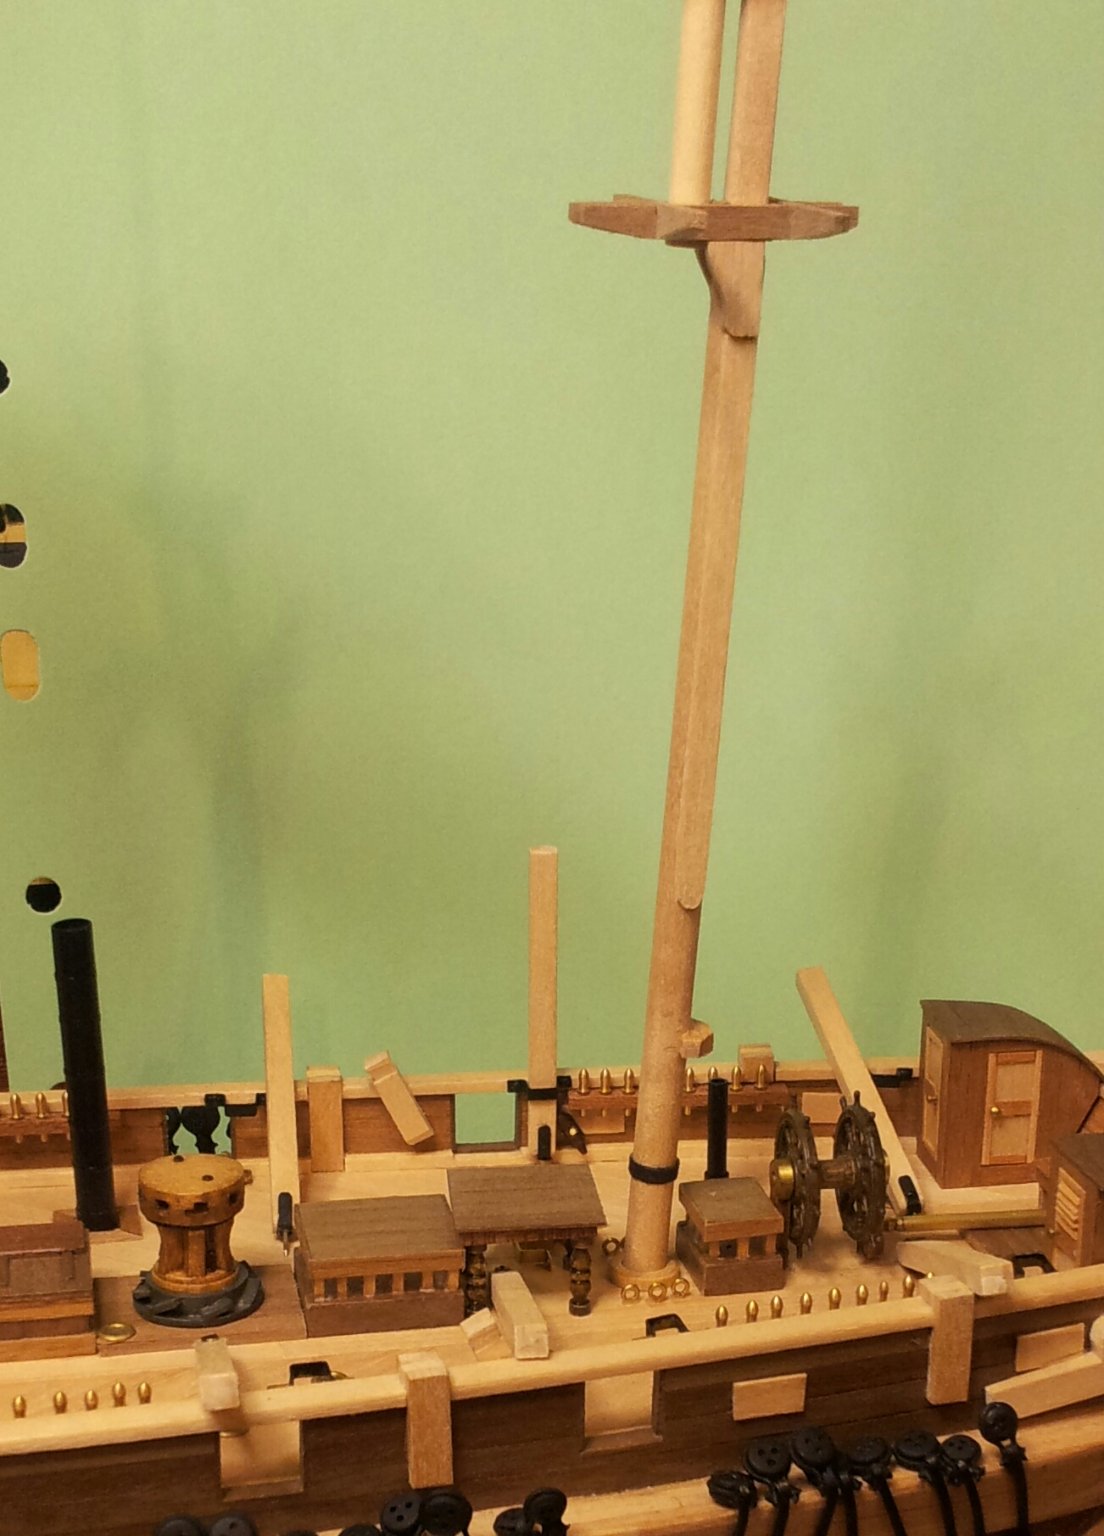
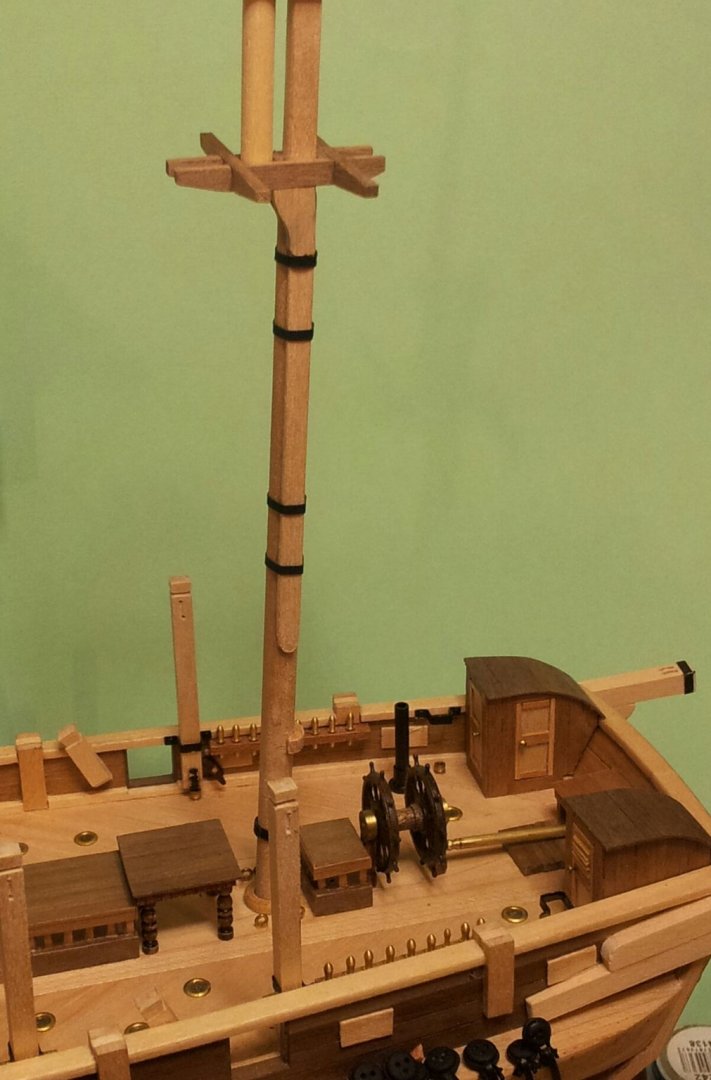
Thanks for comments and likes / taking a look everyone. the paunch is the long strip of timber running down fore side of masts to hold the yards away from the mast Emmet. Tackled the spider band on the mizzen mast today using a card band and brass eyes from the kit for holding the belaying pins. Wasn't sure whether to add 6 pins or 8 pins and decided to go with 8. Take care all. Keith

-
try abes books- they are an onlone company who broker for various bookshops around the world- picked my lees masting and rigging up on there for around £25 (though wasn't mint cover- was faded by sunlight but i can live with that)! Keith
-
Ty geowolf she is definitely looking a bit different from the occre instructions! Keith
-
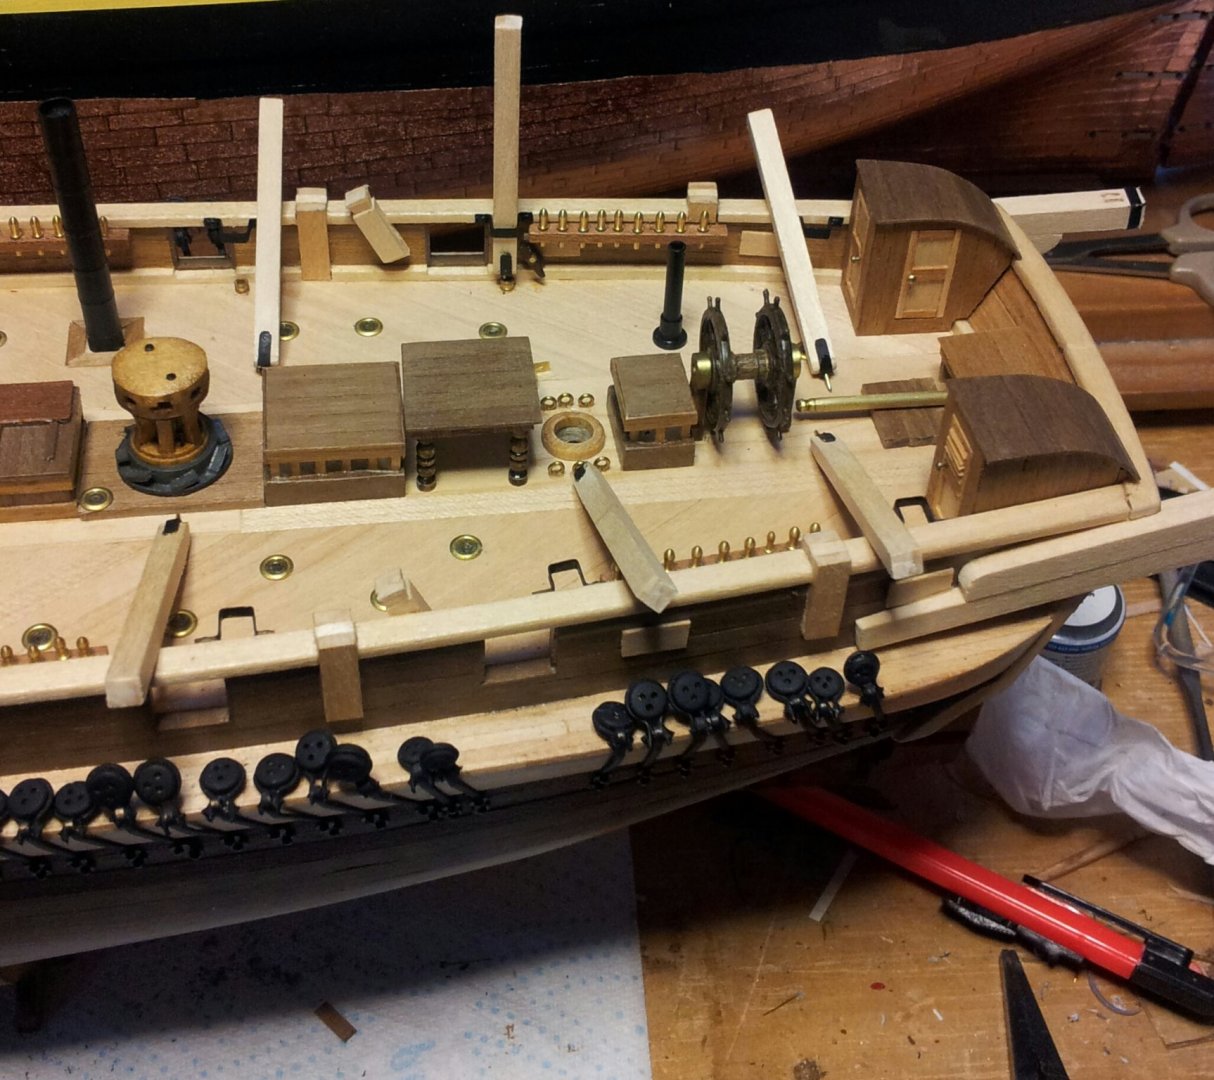
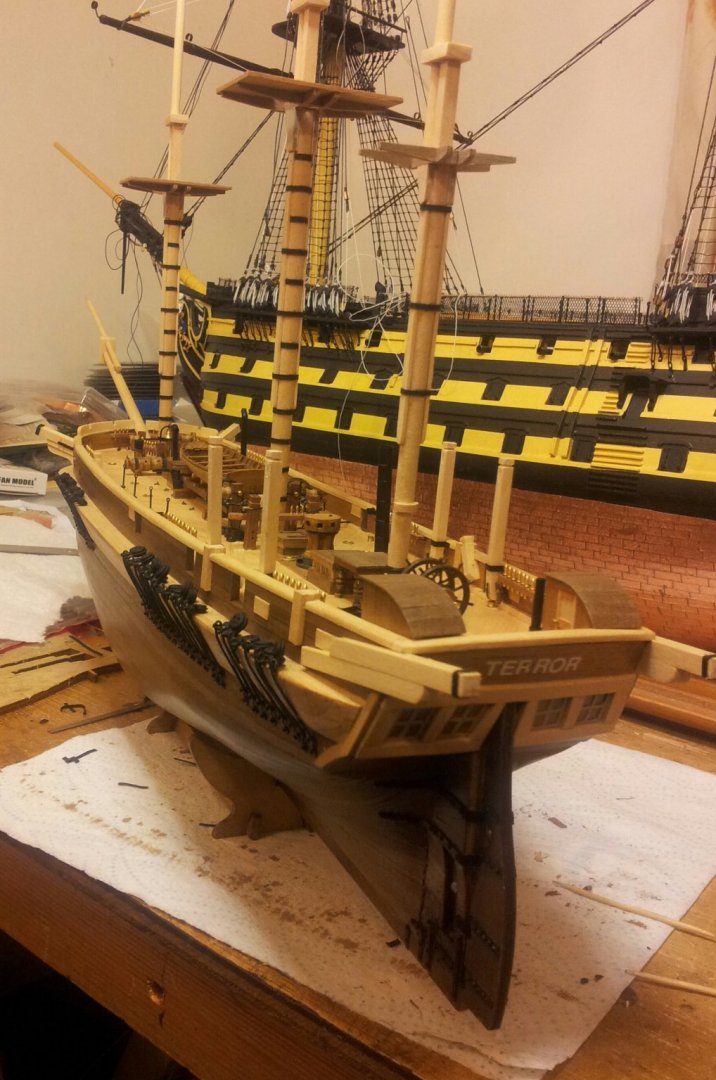
Decided i will leave bands and masts as they now look so added the rubbing paunches on fore and main masts (none fitted to mizzen). Also added chocks of wood to the davit posts where they meet the capping rails which will be carved to shape to form support knees (think they were to provide strength and resist snapping). take care all and have fun Keith

-
you are welcome Emmet, you will find it really useful with your Victory build. Keith
-
you can use stealers to get the planks running better again Emmet. Keith
-
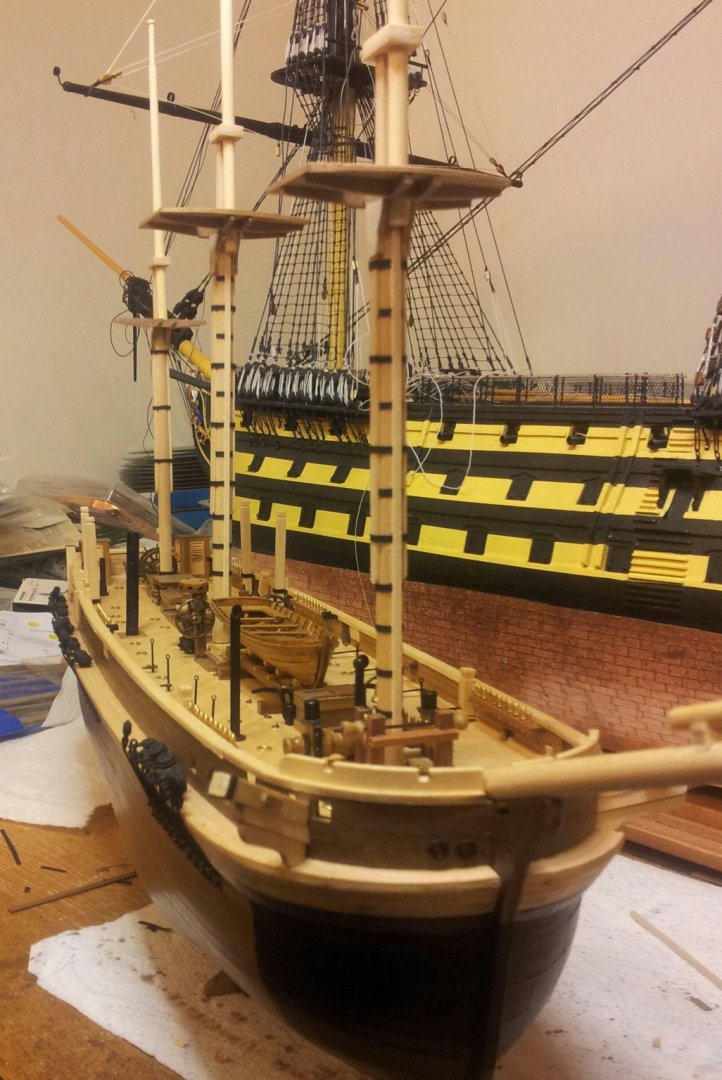
Thanks for looking in all, after a couple of days looking at the masts and the input of keith s i decided to go with the alternating bands and hoops on the fore and main masts as per lees book and reduced the hoops holding the mizzen cheeks to three. I was in two minds when just fitting hoops all the way up the cheeks so luckily only glued them at the join on rear of the mast🙂. I think i will now leave them at the way they look now though still not sure about adding bands to the bowsprit. still can't believe how far along i have gotten with this build due to lockdown! take care all. Keith
-
Hello Keith, i was in two minds myself regarding the ironwork on the masts. The book seems to concentrate on ships of the line. if wanting to put bands/ hoops around the mast and the cheeks then follow occres idea of groupings of two around mast and cheeks then fill in the gaps with banding just around the mast if that makes sense and still not sure whether to fit bands around the bowsprit🤔. The fore and main will also need a rubbing paunch installed on the forward side Keith
-
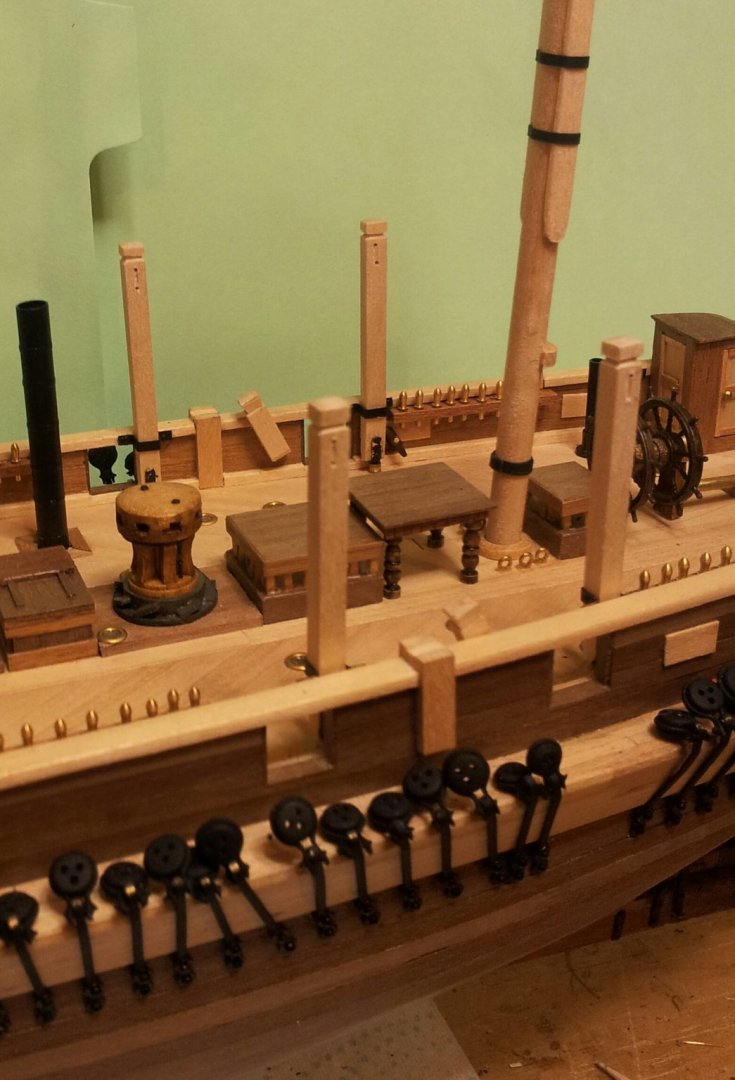
Yes Daniel the ropes will run through the sheaves and be belayed on cleats/ belaying pins (if you study Matthews plans you will see the cleats on the bulwarks), i have yet to drill through mine. Don't follow the occre rigging sequence as a lot is wrong!!! Keith
-
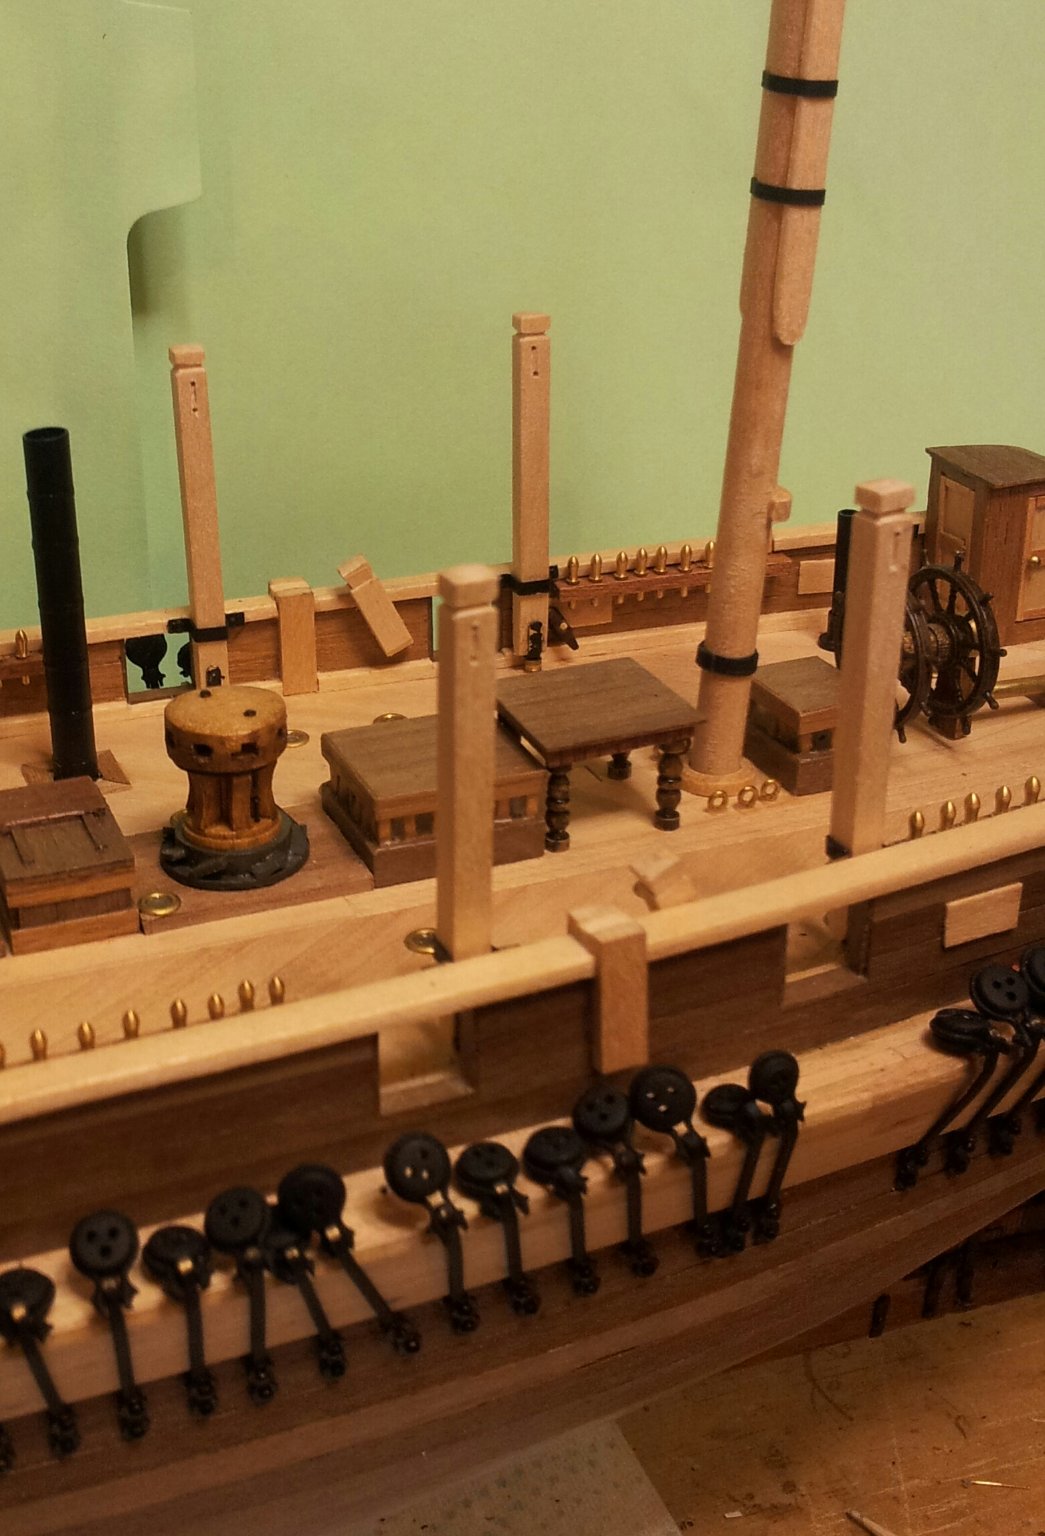
the ones towards midships are sheaves for the sheets on the fore and main courses, the rear most set will most likely be for the mainbraces. Keith
-
Hi emmet, i picked up my copy of lees masting for about £25 stirling (try abe's books online, they are a broker for various bookshops) , but to be honest there are loads of various books on the subject. Check local second hand book sellers for books on model shipbuilding as well. There are also two books by harold underhill "plank on frame models volumes 1 & 2" which cover a lot of later style building/ rigging techniques. Back in the shipyard and had a bit of a quandry regarding mast bands on the mizzen, Lees states that no models in the N.R.M. have them, but he states fit them anyways!? I decided that seeing as the mizzen is fairly narrow i would just fit bands to hold the cheeks in place and actually followed occres instructions! I also filed the grooves in the tops of the davit posts for the skid beams and drilled/ cut the sheaves at top of post. take care all. Keith
-
when you glue the second layer on it will really strengthen the hull Emmet Keith
-
Hi Emmet there is a book called masting and rigging the english ship of war by James Lees and a series of books by David R MacGregor which are normally available second hand which are good for reference material, there is also an excellent assortment of catagories on here regarding various aspects of shipbuilding.
-
coming along nicely Emmet (like the tapering jig). Keith
-
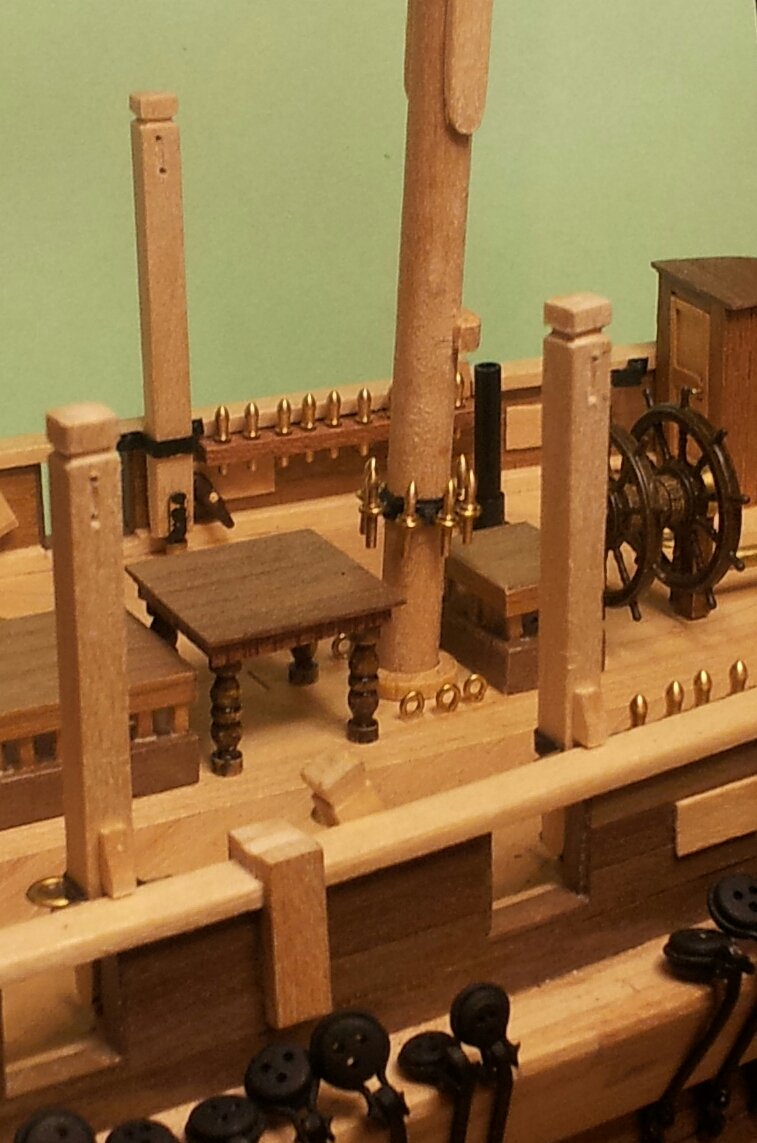
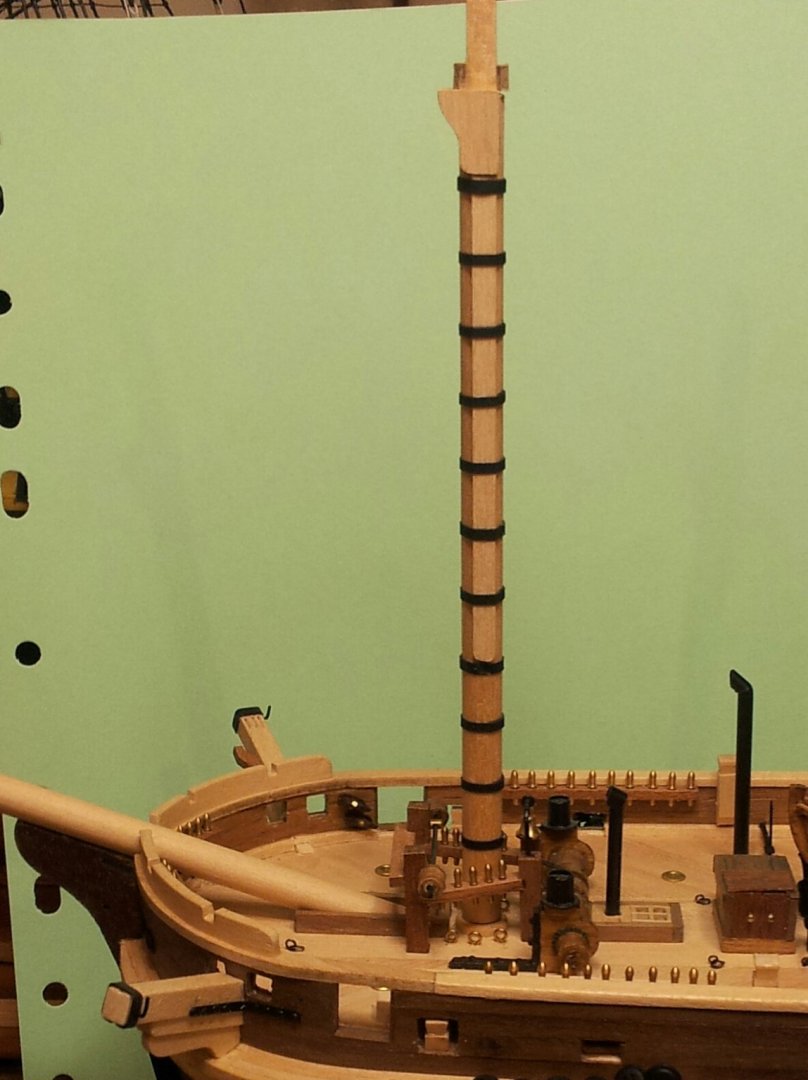
Thanks for looking in all, and thanks Emmet though we all have our own pace so steady as she goes😉, Decided to have a go at the bands on the masts using black card cut into strips and p.v.a glue holding the join. Unlike occre's grouping into twos i just went 10mm spacings all the way down the mast (occre say to use "rope" wooldings which is totally wrong for the period). Also added the spider band on the mizzen and will drill/ glue wire eyes in for the belaying pins along with the boom jaw rest (this will be sanded down more when glue is dry) Take care all. Keith

-
Hi Keith sure i have seen brass etchings , but alas cannot remember where as i was going to add some to mine!!!!
-
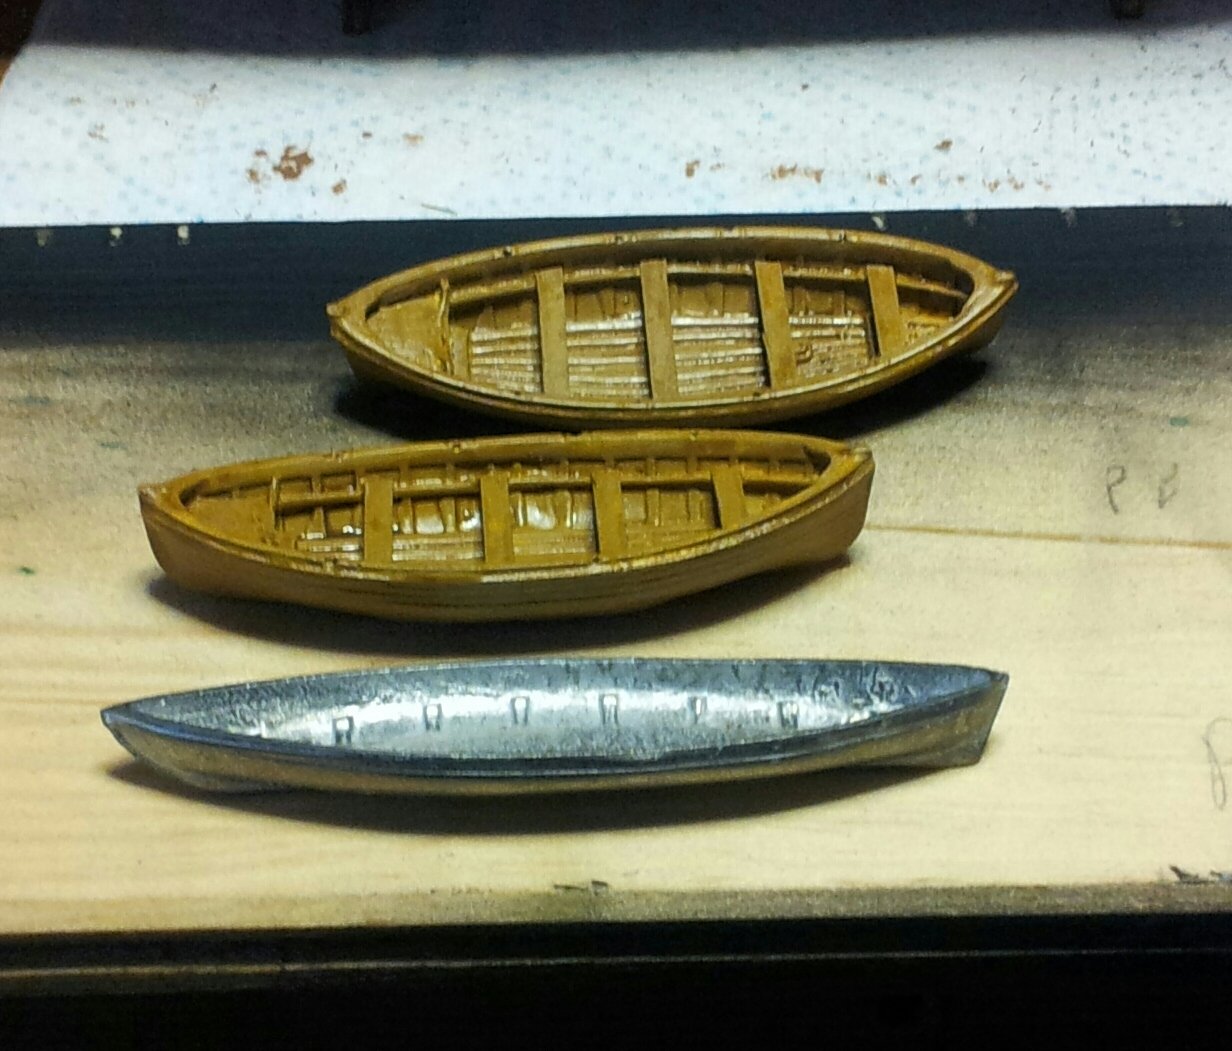
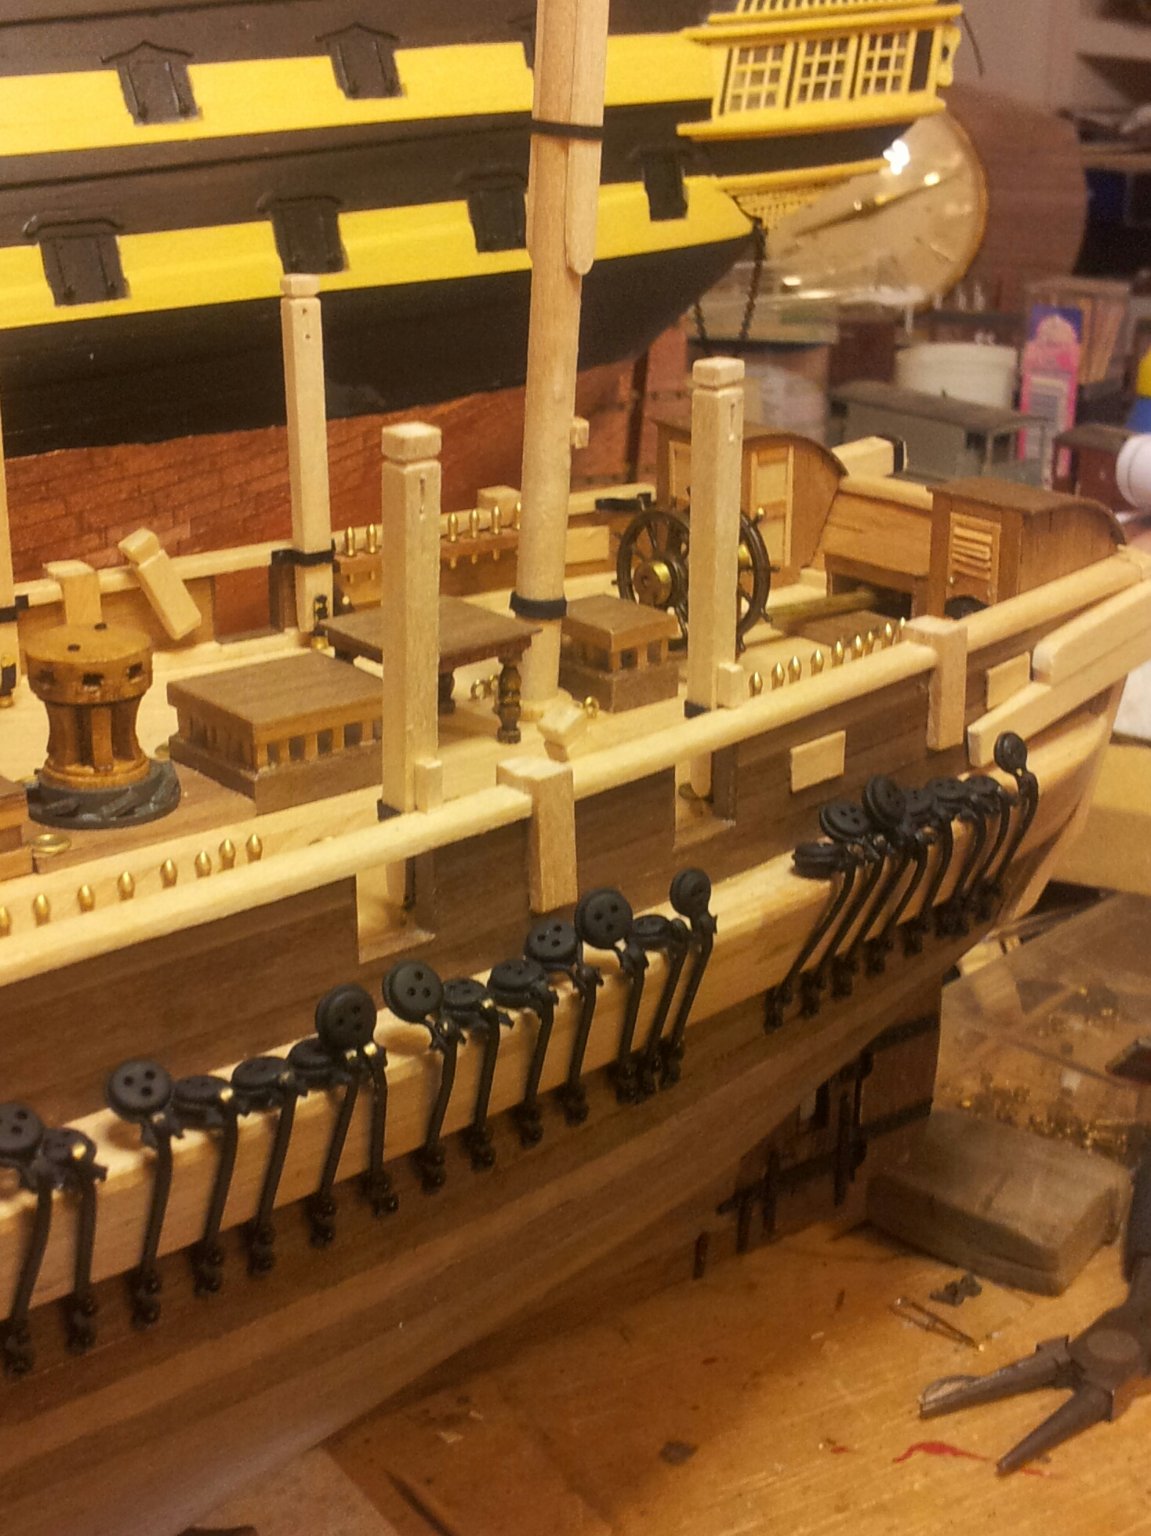
work continues with the crutches, now painted black and glued in place. I am going to rig her with the sails set (even though i have funnel for steam engine fitted), which means the davit posts either side of the middle two will be stored in the stanchions fitted earlier, if you look at the pic further up when Erebus and Terror are setting sail on the voyage they arn't in place. Also painted/ varnished the two quaycraft resin boats that will go on the skid beams (same procedure as other resin ships boat), the Occre metal cast boat is shown alongside them. take care all ...... OMG nearly Decemberrrrrrrr 🤪. Keith