


Jack12477
-
Posts
5,619 -
Joined
-
Last visited
Content Type
Profiles
Forums
Gallery
Events
Posts posted by Jack12477
-
-
8 minutes ago, realworkingsailor said:
I am now at the mercy of Canada Post…. 🙄
At least it's not United Parcel Smashers or US Pony Express. 😁😁😁
- Old Collingwood, Edwardkenway, Canute and 5 others
-
 5
5
-
 3
3
-
-
Modeling is on hold till my eyes readjust to cataract surgery. Right now even with cheaters I can’t see what I'm doing.
-
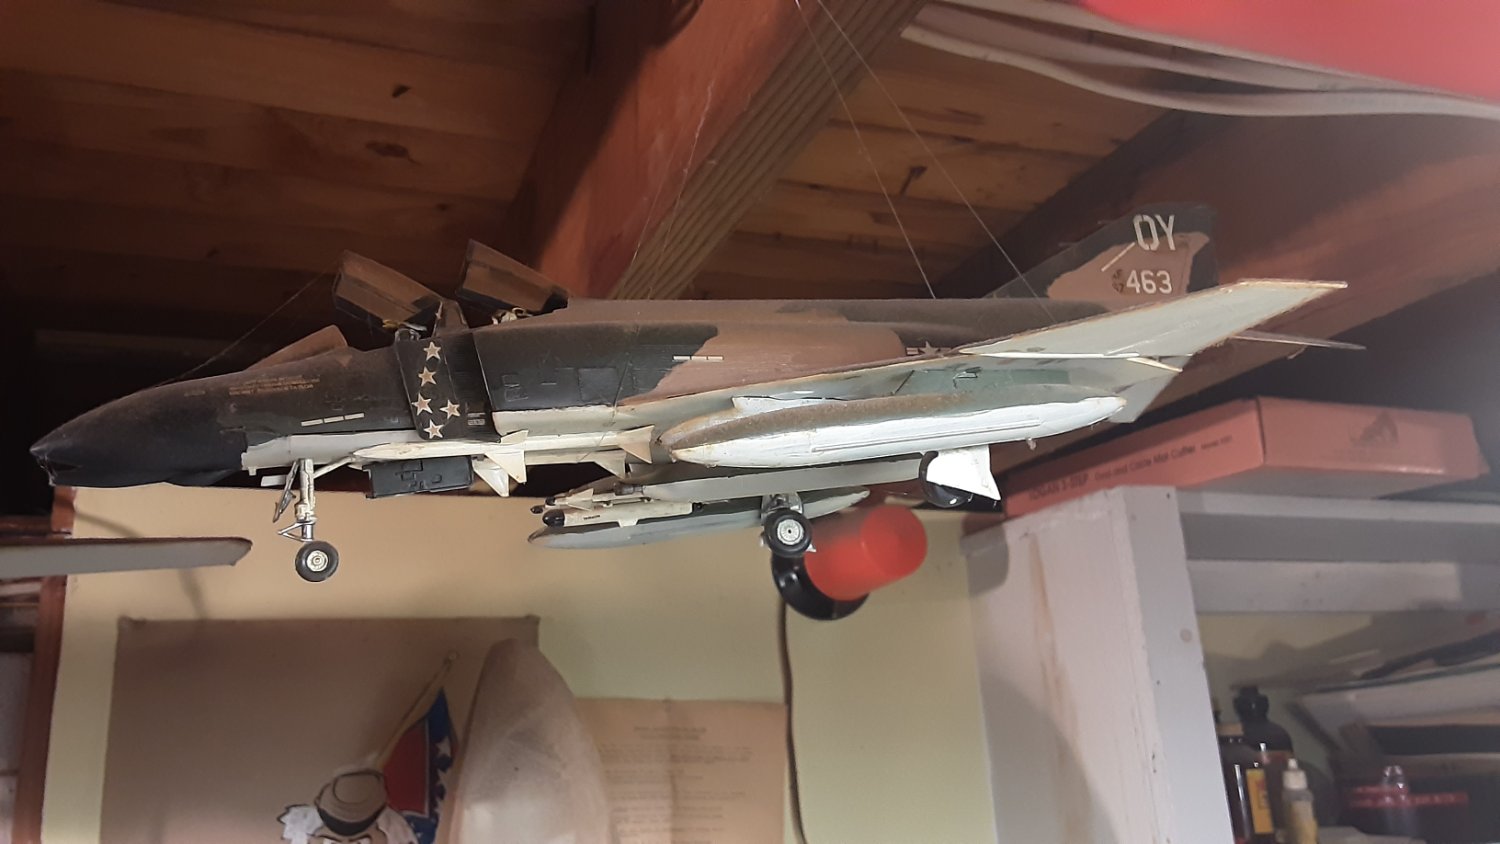
EG what scale are your F4 kits ? 1:48 or 1:32 ?
-
-
I had to put a respirator mask on even with the Vallejo, fumes from thinner started getting to me.
- Edwardkenway, mtaylor, Egilman and 4 others
-
7
-
42 minutes ago, CDW said:
Scalehobbyist dot com
My favorite go-to supplier. 😊 Thanks
-
Which brand of lacquer/enamel model paints do you recommend ?
- Canute, mtaylor, popeye the sailor and 2 others
-
5
-
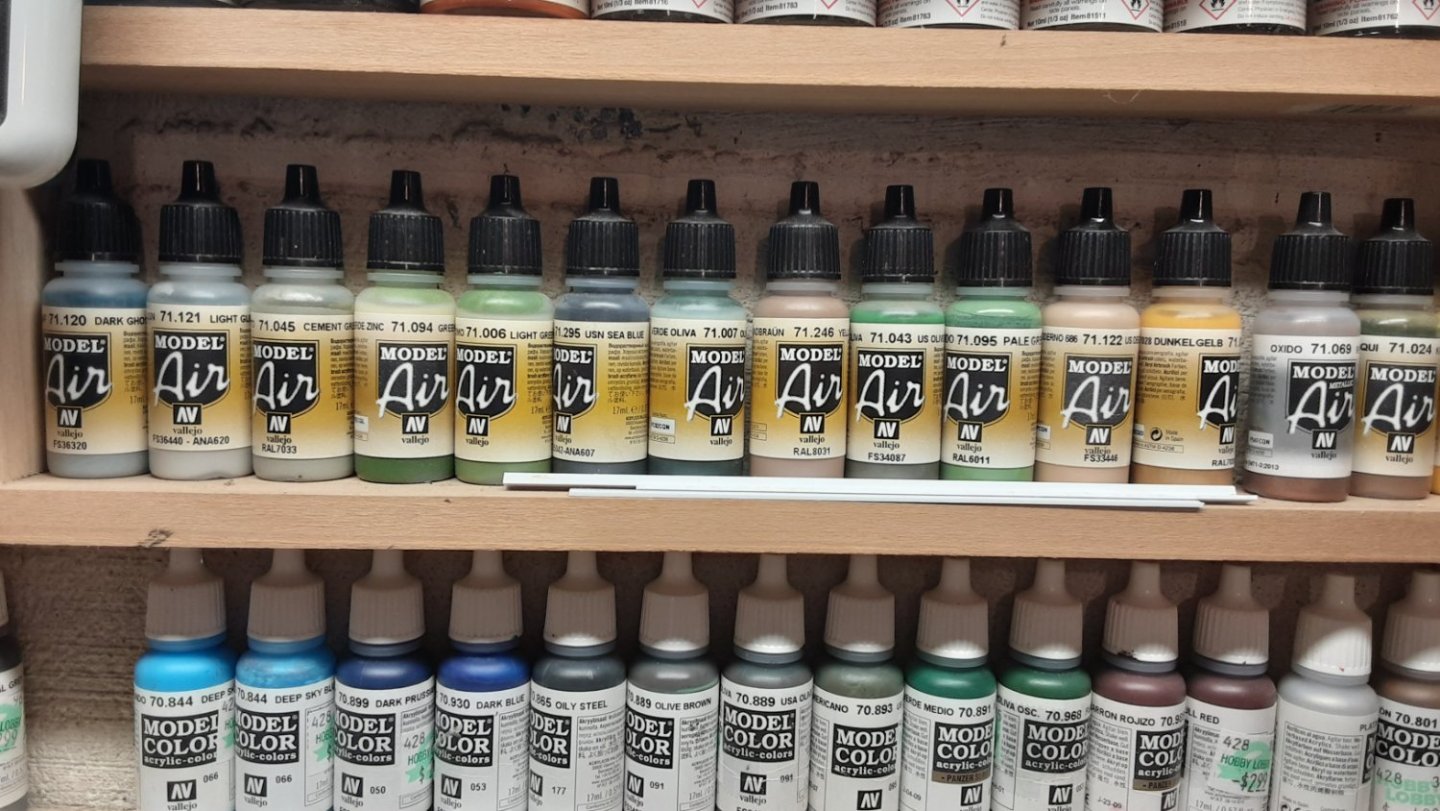
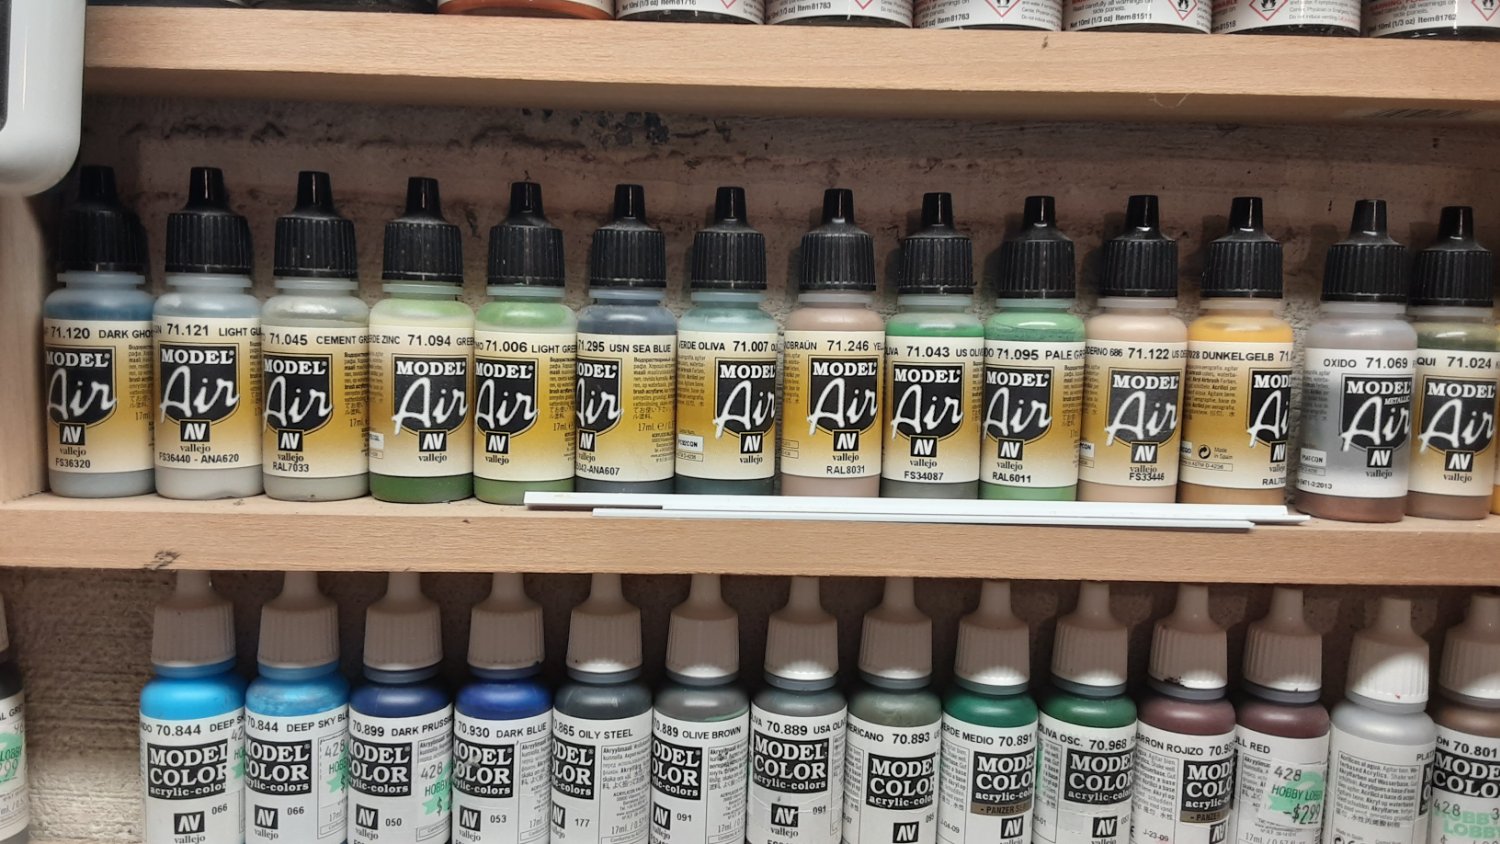
Thanks Craig. I guess I need to lay in a larger supply/assortment of Model Air to the Model Color stash.
Do you add any of their Flow Improver to the mix ? If so how much? Their bottle label says 1-2 drop for every 10 drops of paint !?!?!?
-
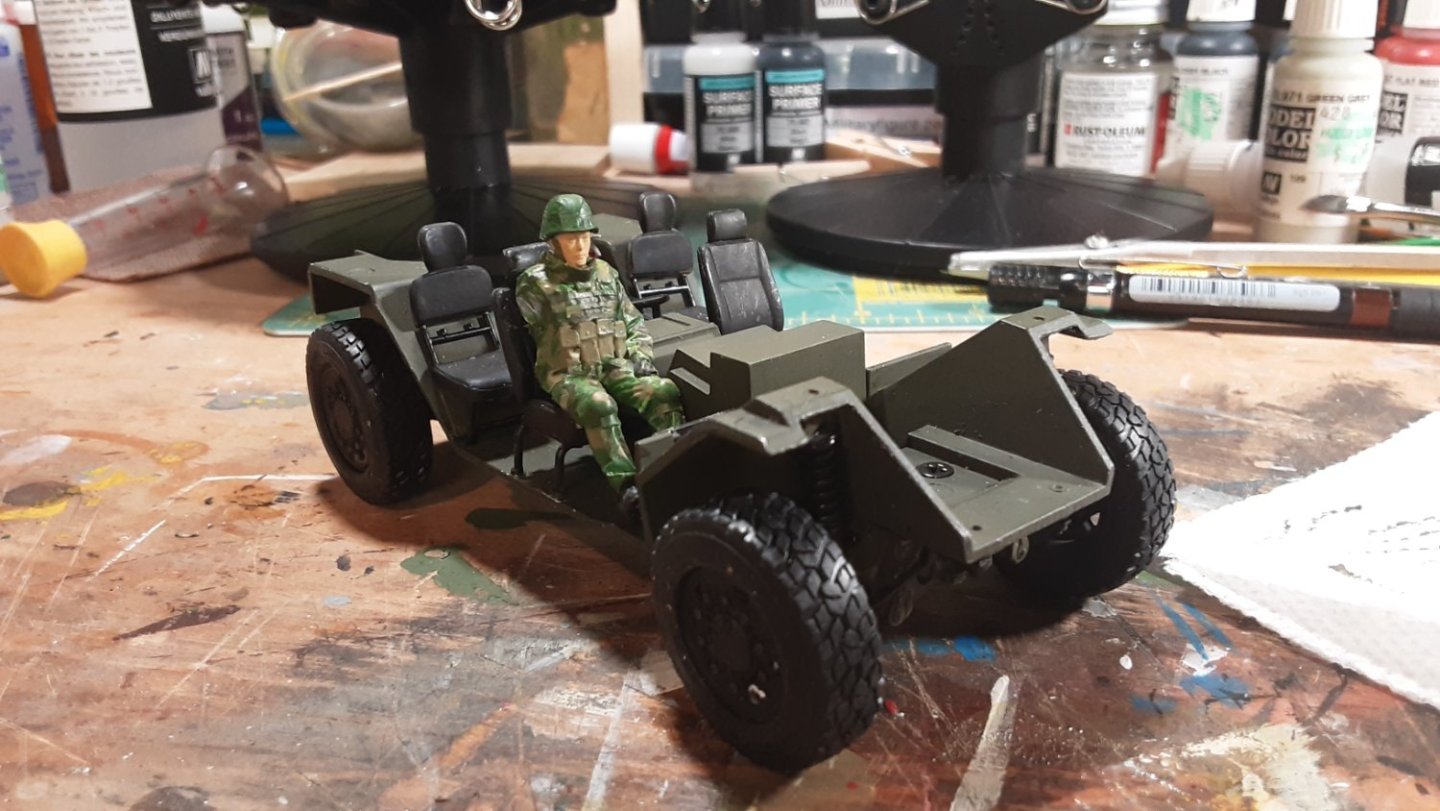
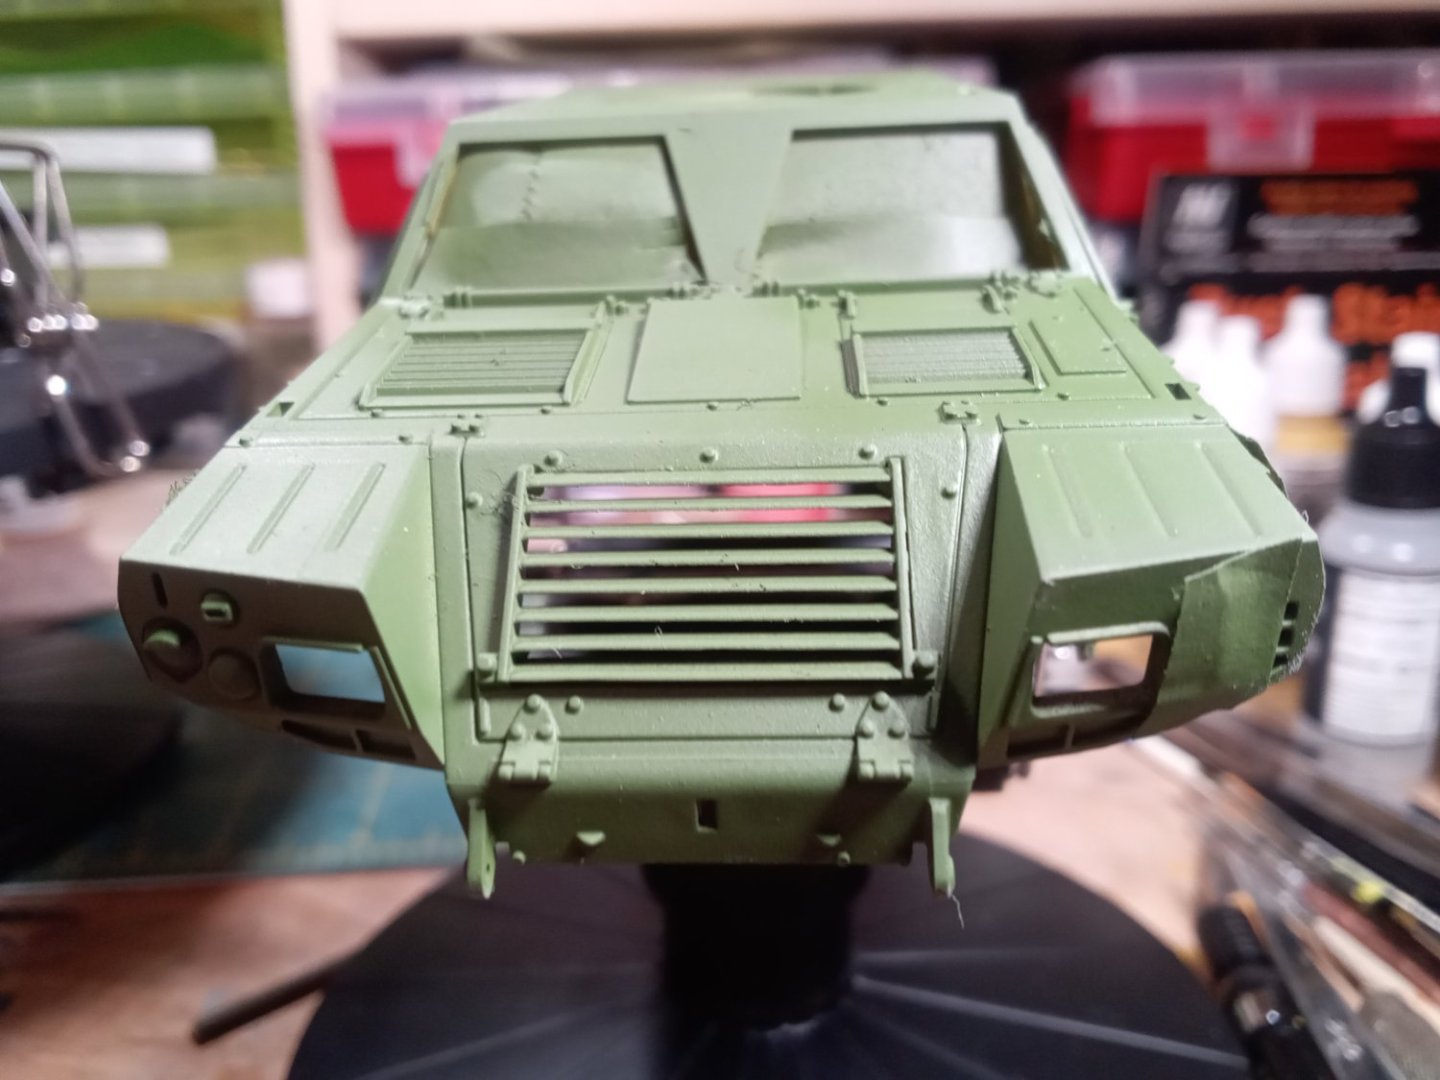
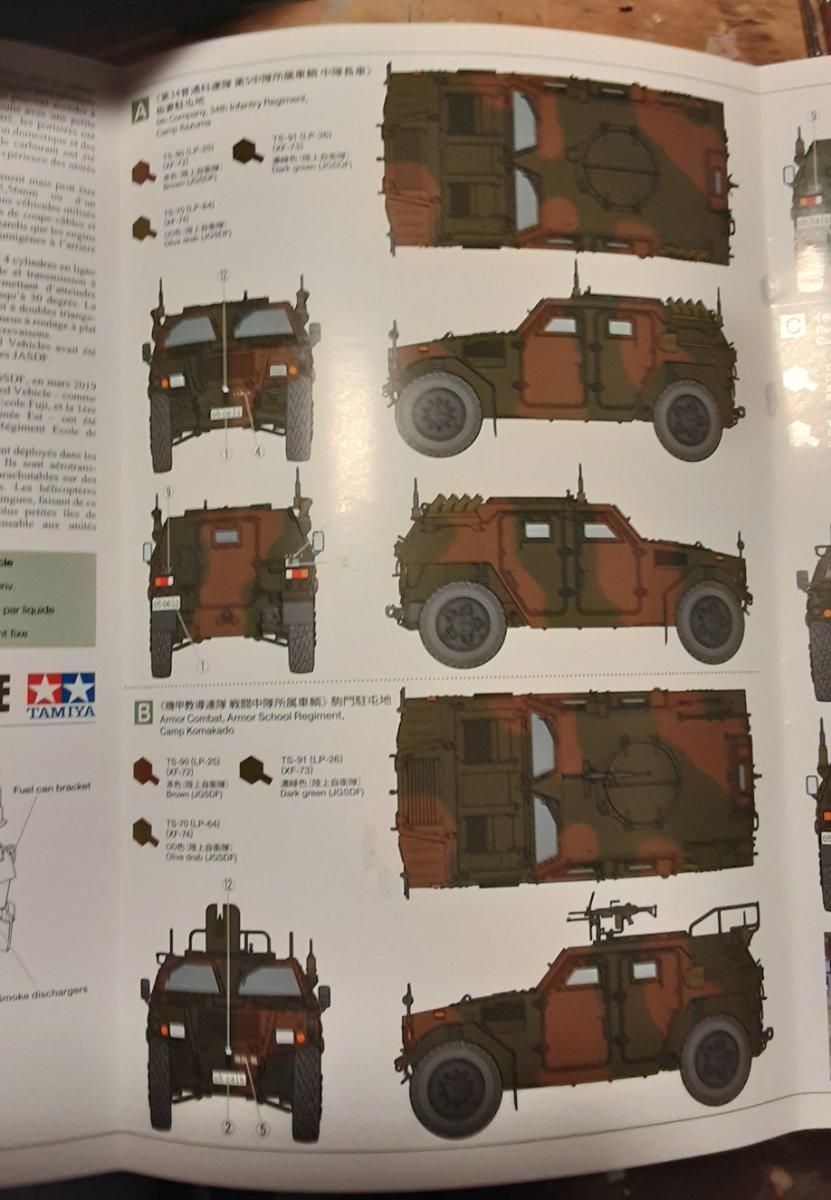
Update : it now has wheels and a driver. Instructions say to attach his right arm after the shell is attached, so I guess one door must remain off until then
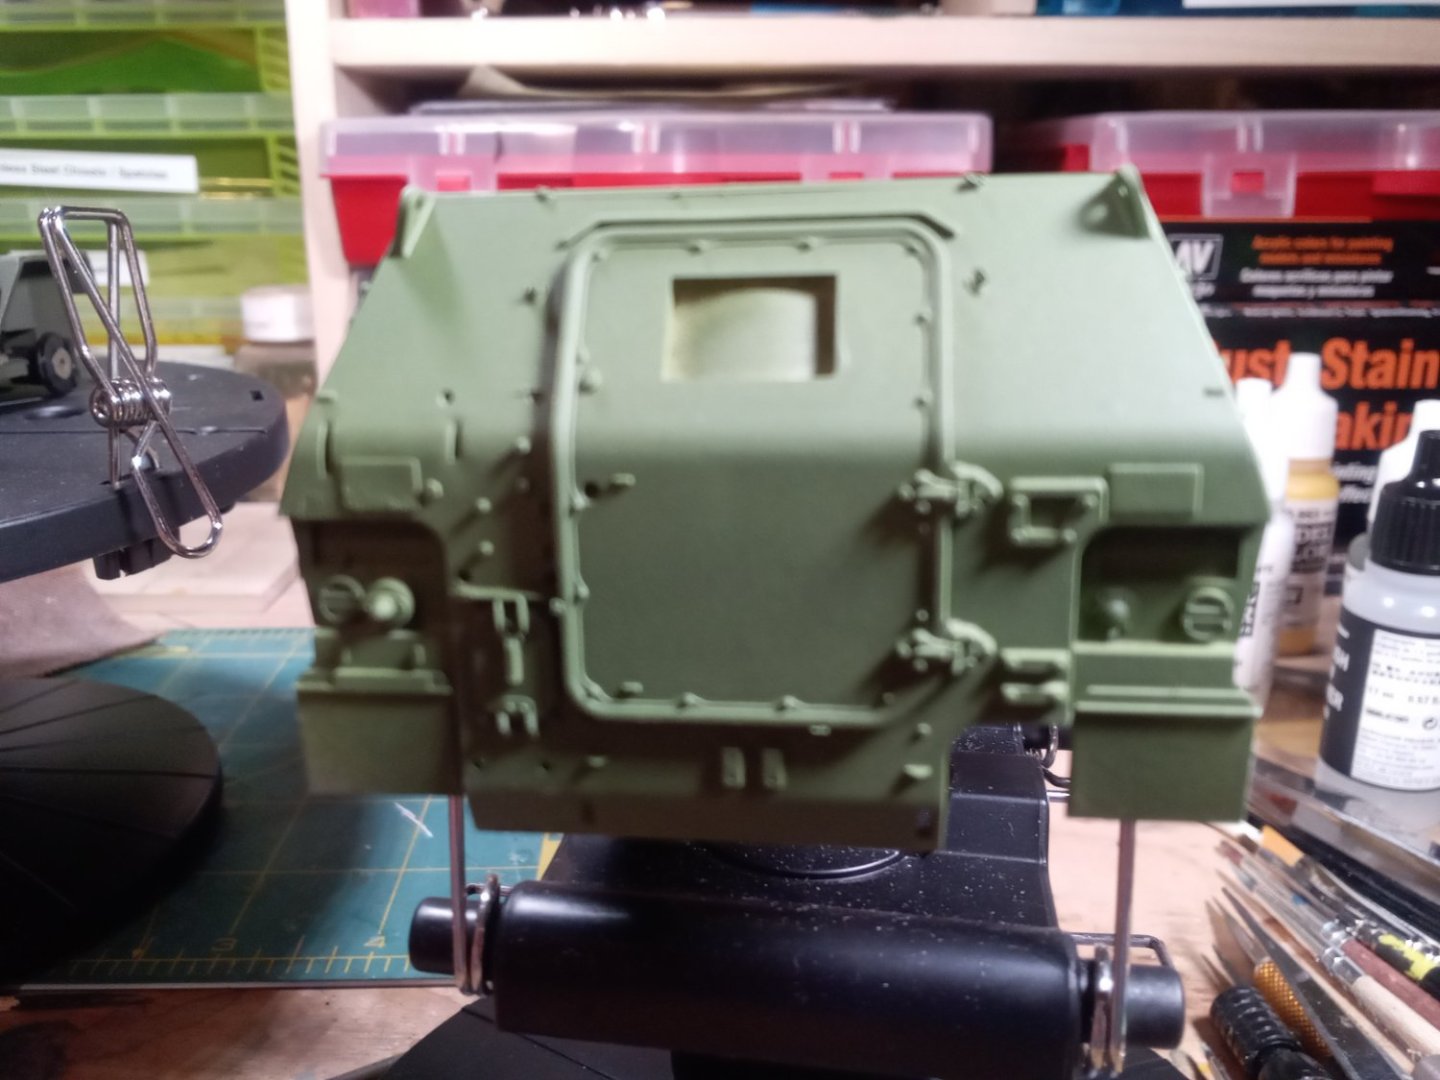
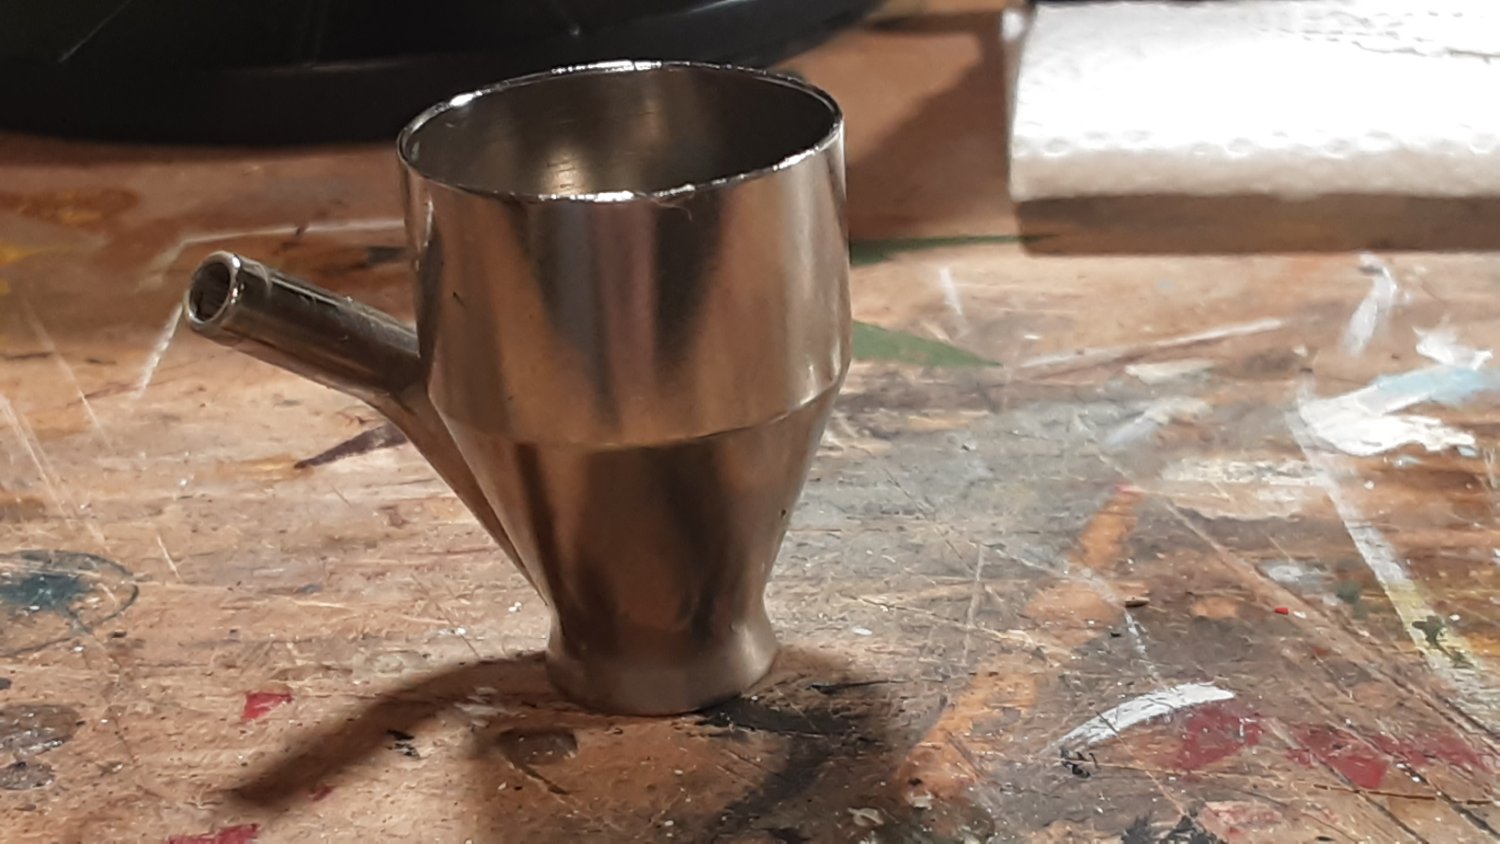
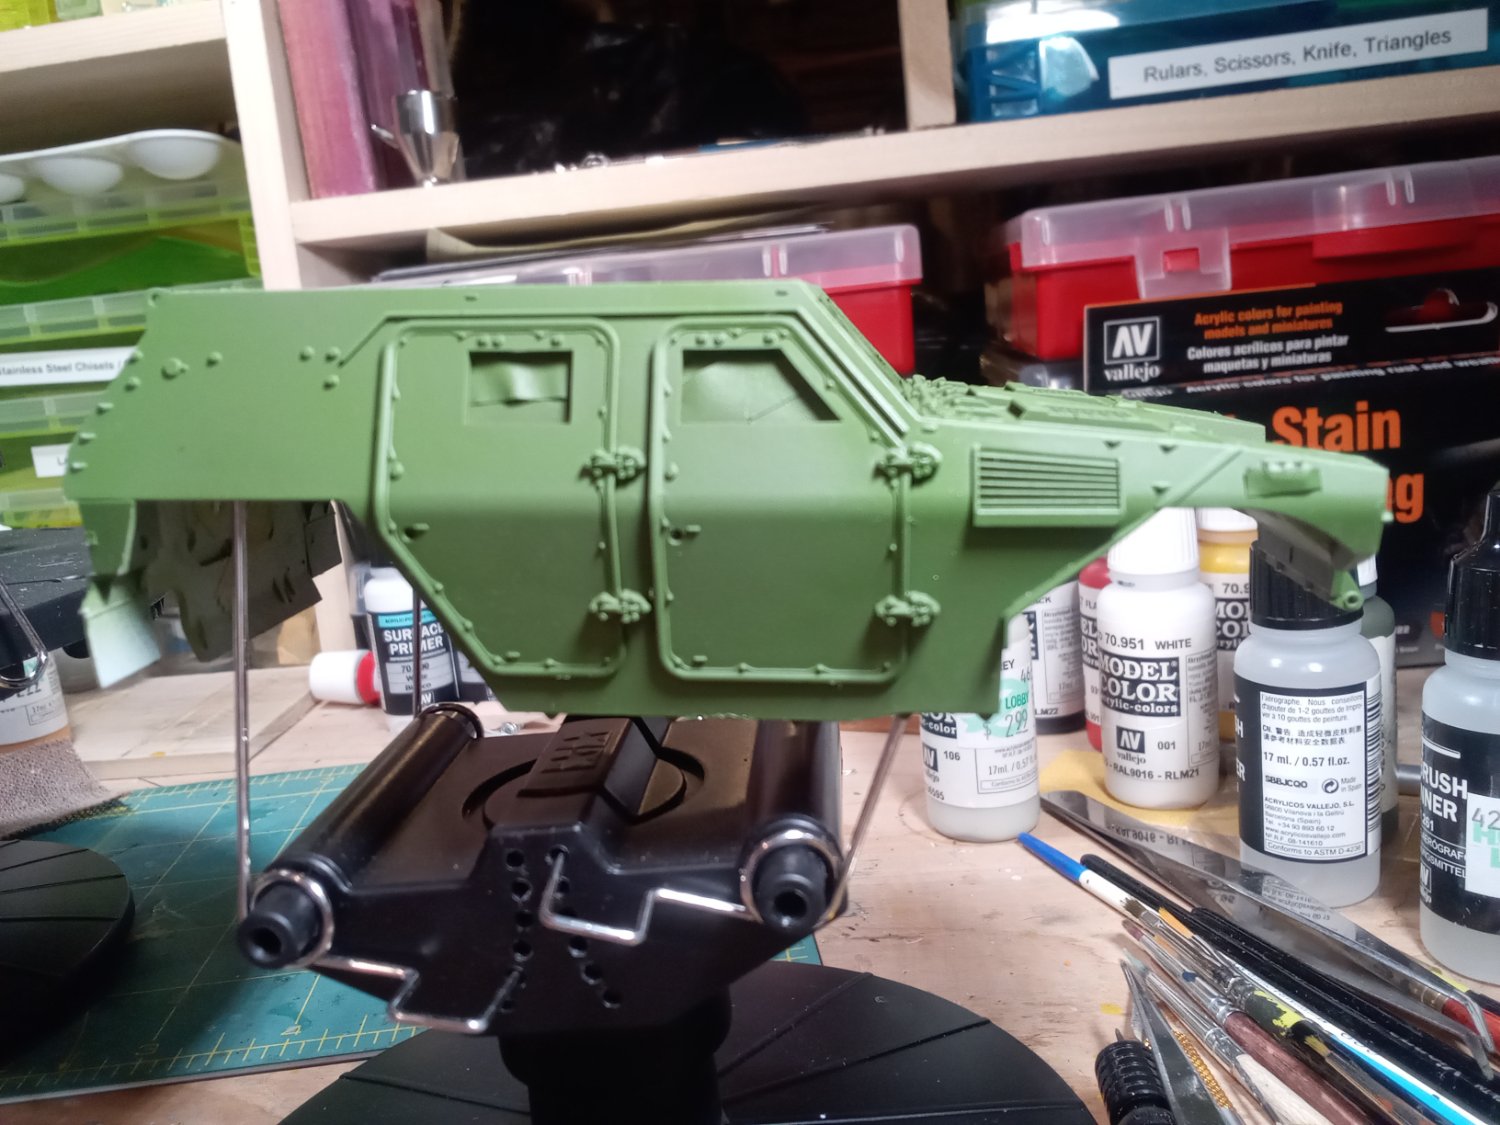
Continuing on with the air brushing of the camo pattern I repeatedly hit snags. First the color cup kept falling off spilling paint everywhere. Then the airbrush kept clogging after a few minutes of spraying. Here's the 1st attempt results
 ⁹
⁹

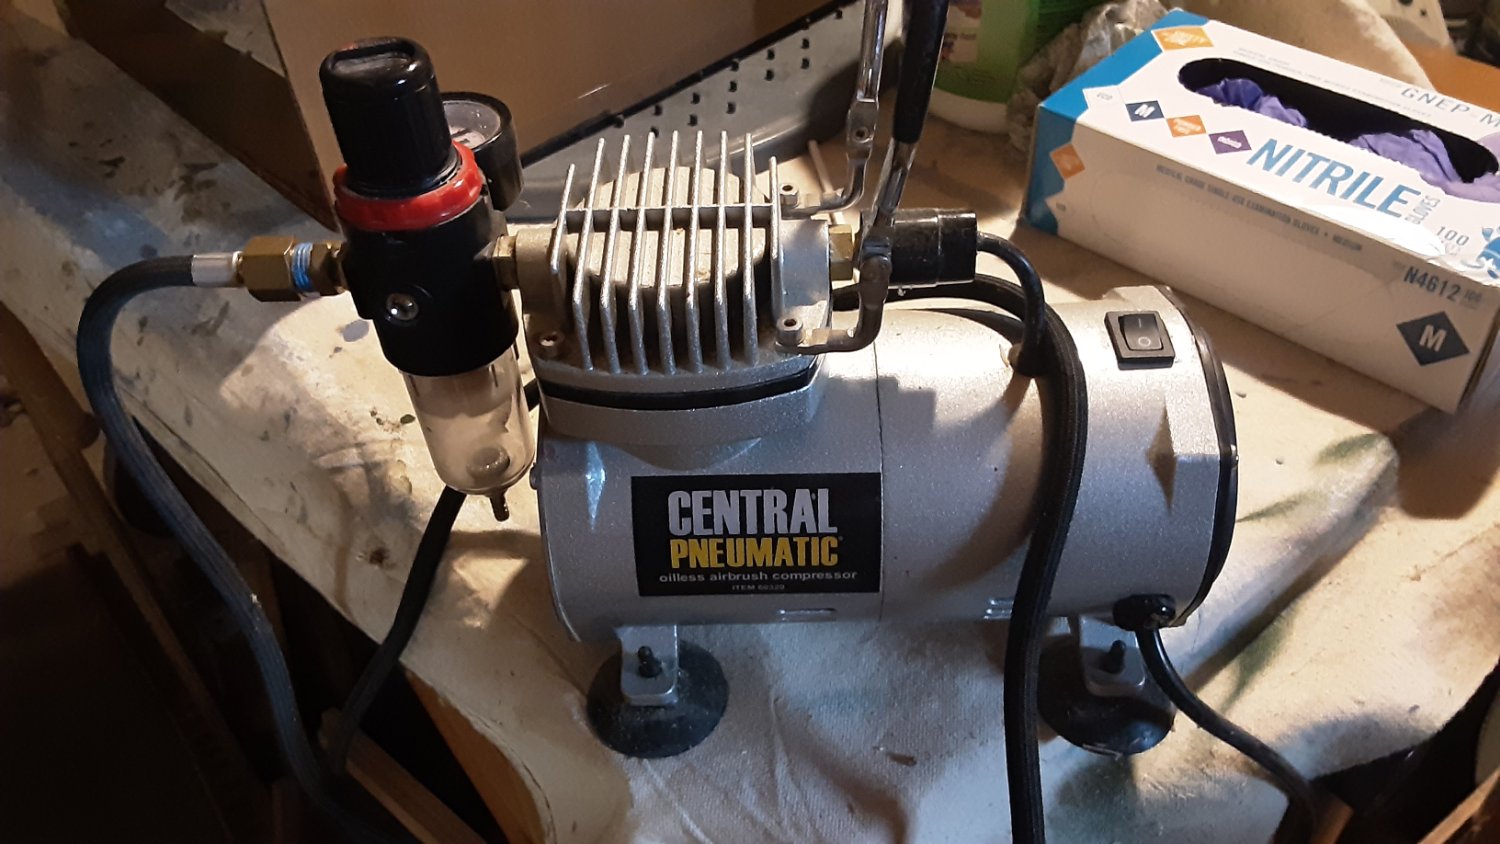
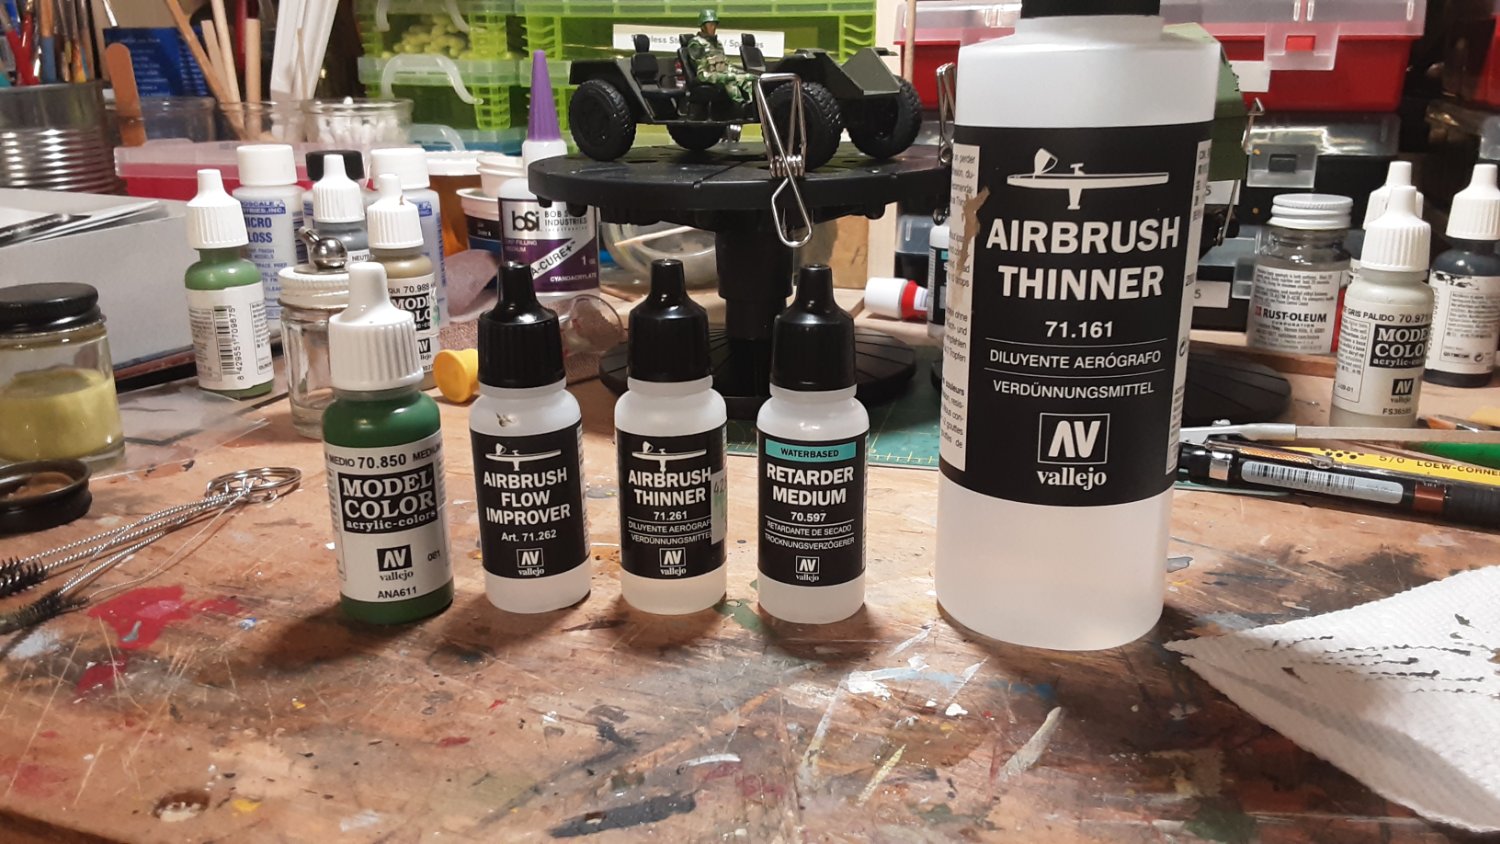
For the main coat (green) I used a ratio of 1 part paint to 1 part thinner, adding for every 10 drops of paint 1 drop of flow improver. No clogging problems. For the tan camo coat I repeated the ratio and clogged the airbrush. This is my setup Badger 200 and 200NH Brush, small compressor at 40 psi (20 psi wouldn’t move any paint), Badger color cup. I tried the Model Air with no better results. 😌 BTW this is the same setup I used when I was using Floquil brand. And YES I did strip down and clean all parts of the airbrush BEFORE I started.
So what am I missing? Craig @CDW , EG @Egilman ? Anybody using Vallejo paints in an airbrush your advice is needed ! What's the magic formula for Vallejo acrylics? Thanks !


- ccoyle, Baker, Edwardkenway and 7 others
-
10
-
Excellent! Well done! Nice looking model!
- king derelict, Canute, Edwardkenway and 5 others
-
7
-
 1
1
-
-
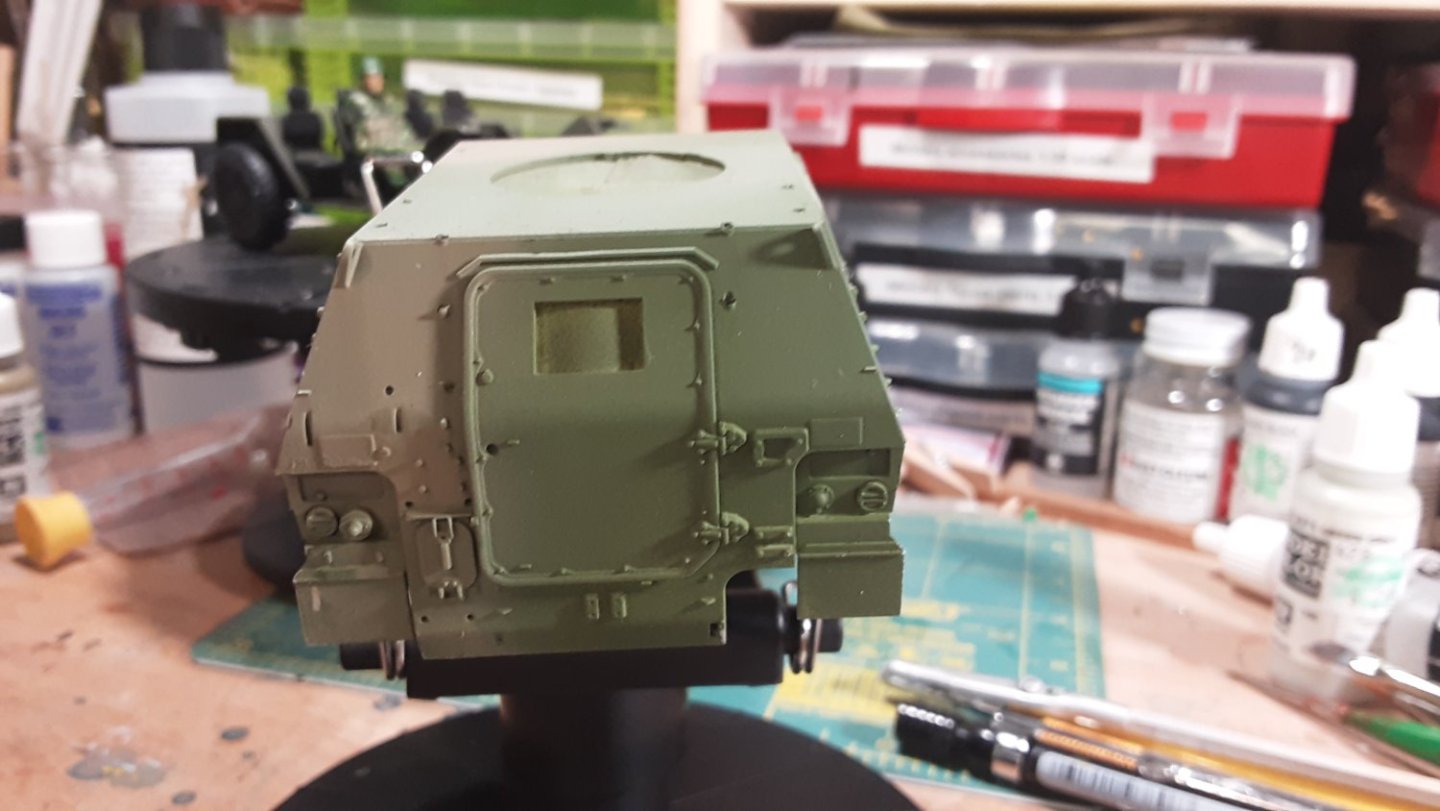
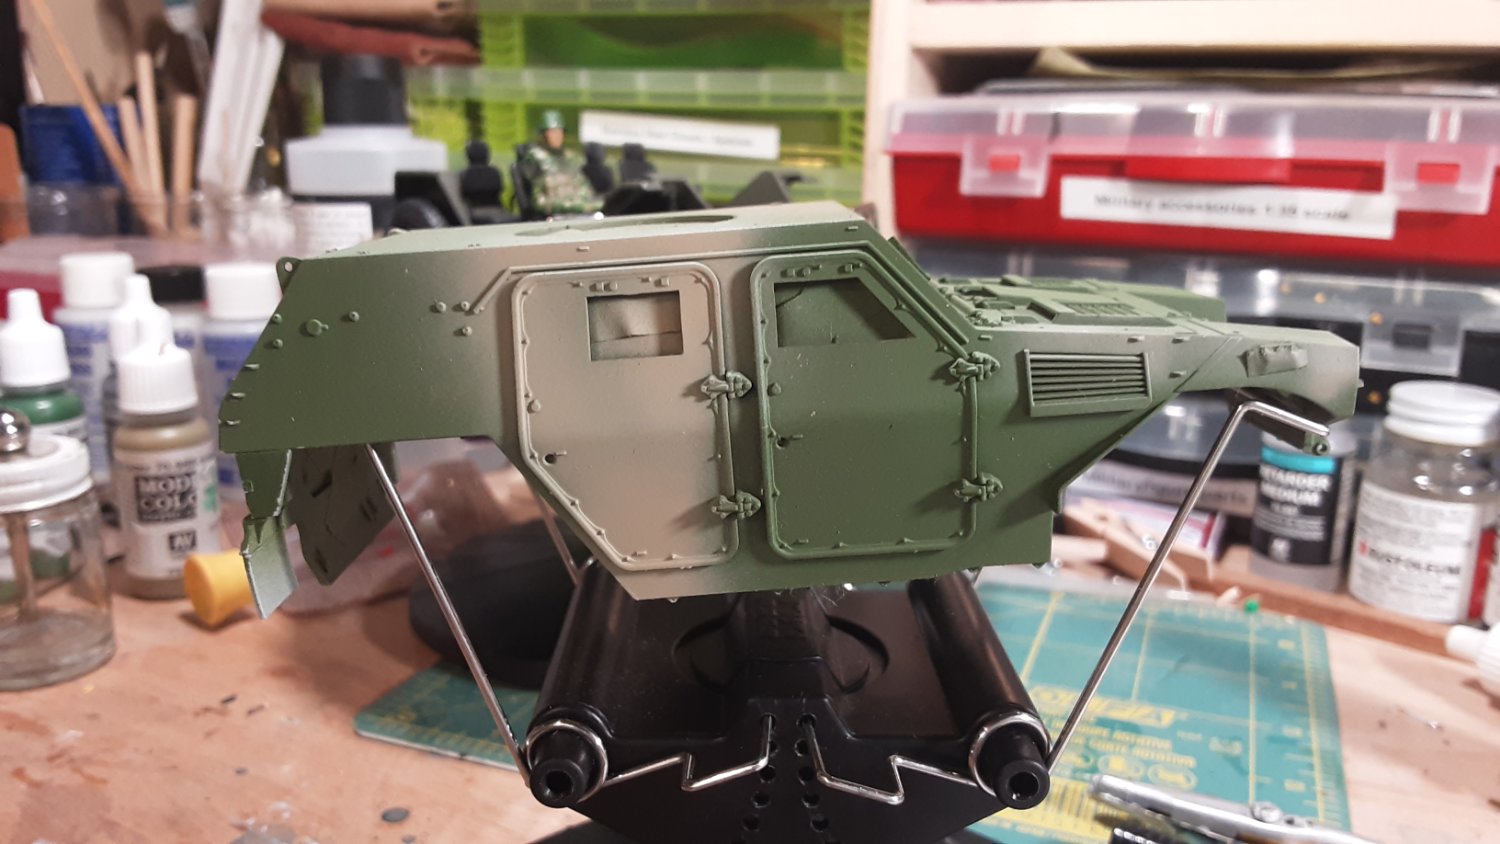
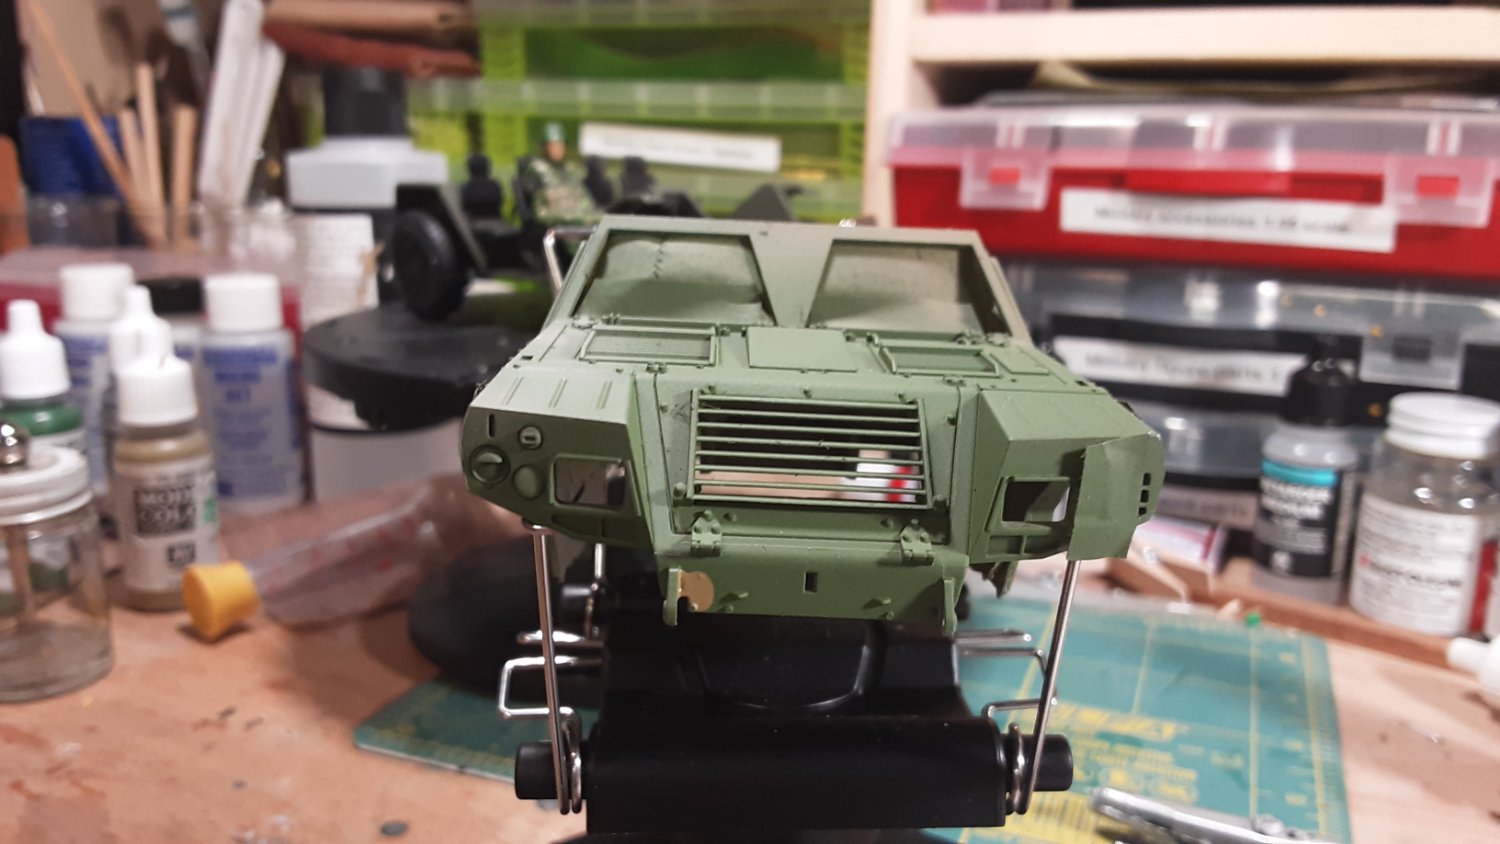
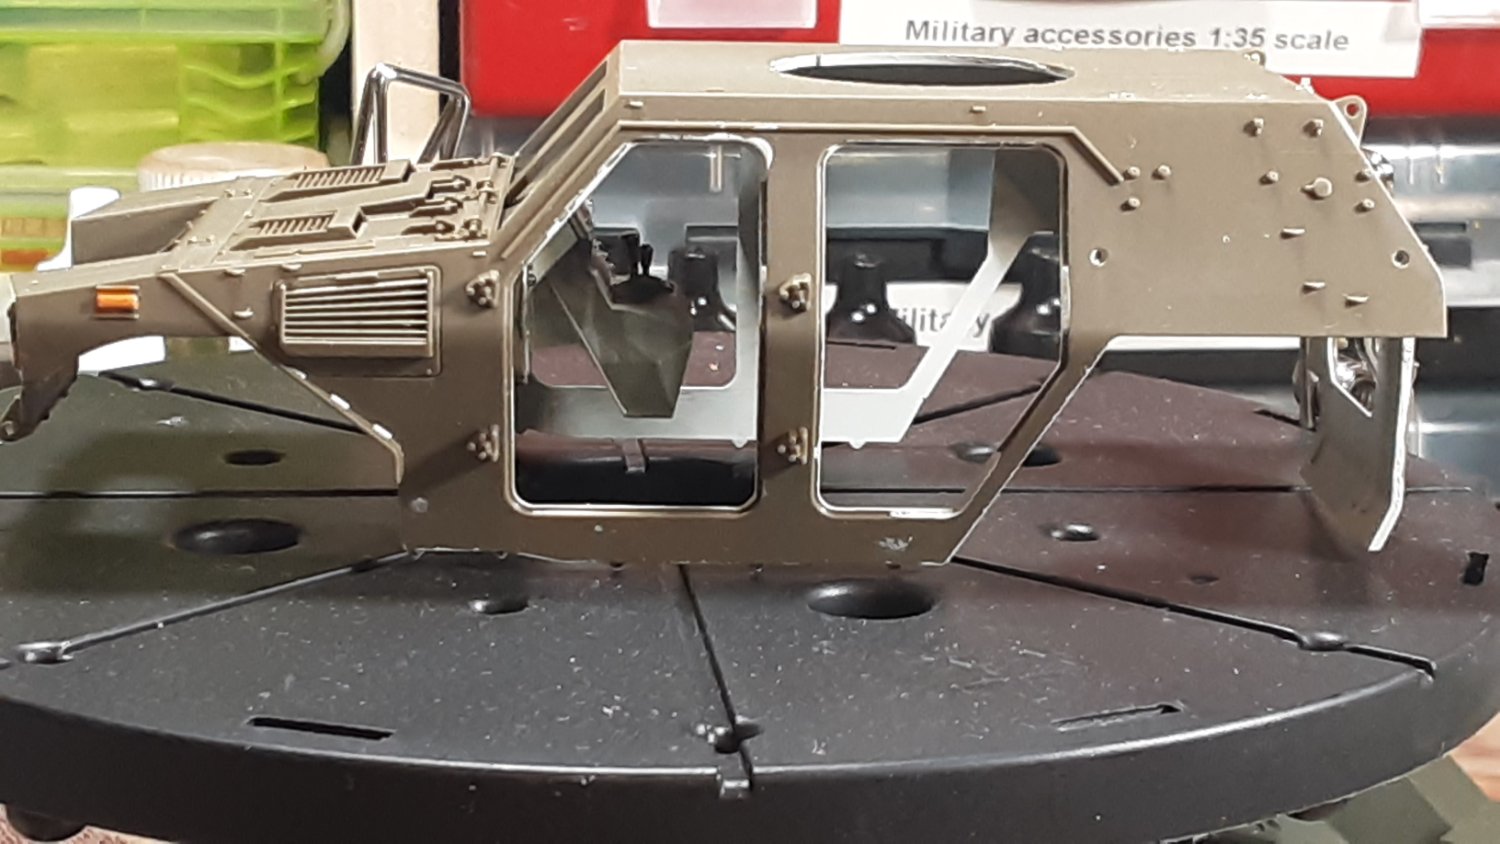
I decided to put a coat of paint on the body of the vehicle. First I used Tamiya masking tape to attach all the doors, taping them from the inside, also taped over the opening for future windows since the interior was already paint. This is my first attempt at airbrushing Vallejo Model Color paints and I can see where I need to do a lot of experimenting with mixture ratios. At first I tried using my Paasch VL airbrush with color cup, didn’twant to work very well. So I dropped back to my old reliable Badger 200 from my days of using Floquil. 🙃 Worked pretty good with same color cup.
Here's the results.


The color guide calls for Tamiya red brown as the camo color, but I'm not sure I like that look.
-
Great retort Chris !
Great looking model also.
- Dave_E, Egilman, Edwardkenway and 5 others
-
8
-
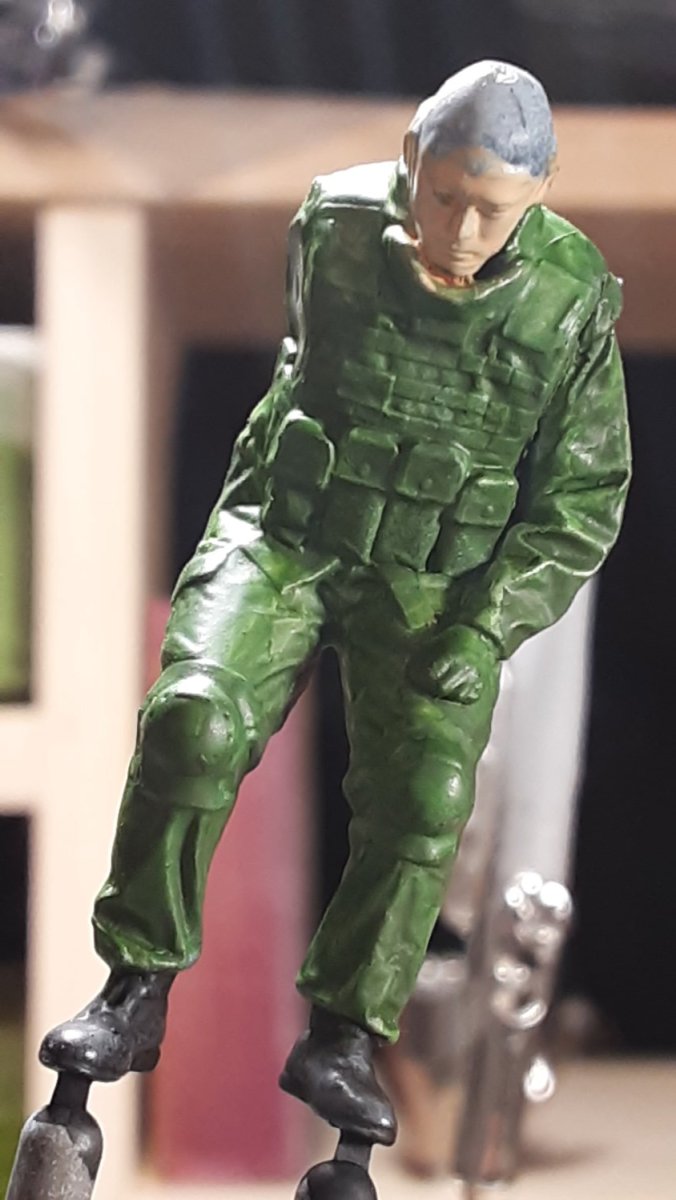
Small update :
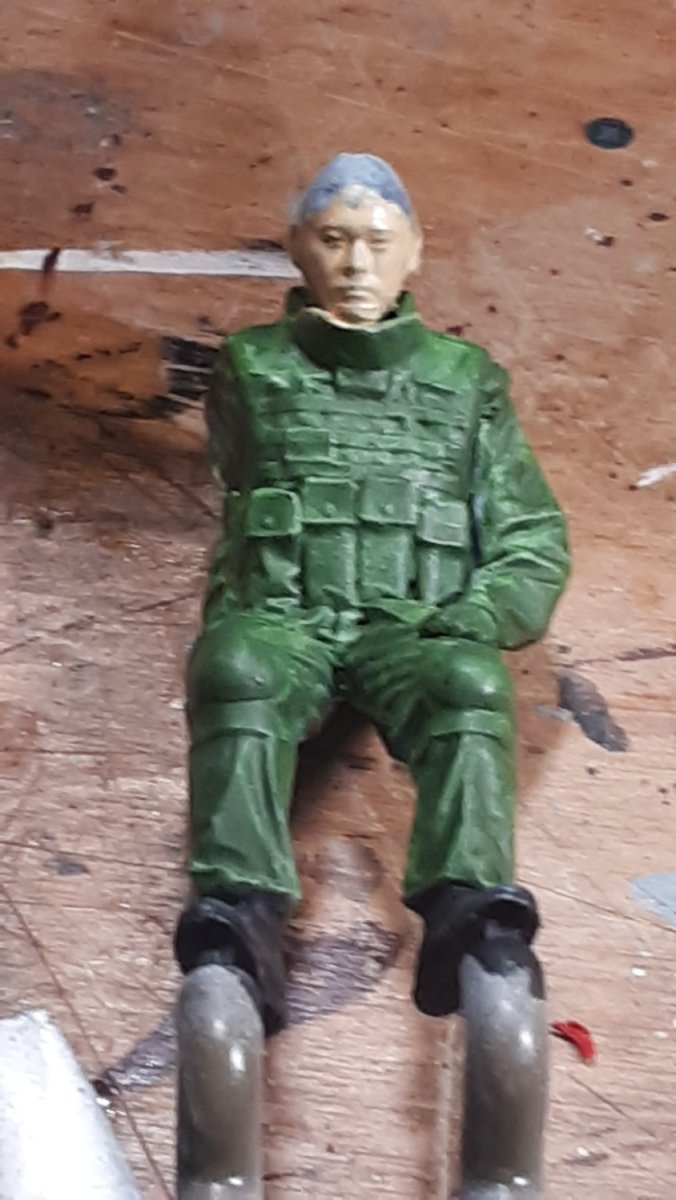
After 2 primer coats on the figure, first black, then white over black, I hand brushed two coats of his uniform green and two coats of flat flesh. Still more too do on the figure, his uniform is camo, like paint splatter. 🤔
 ⁹
⁹
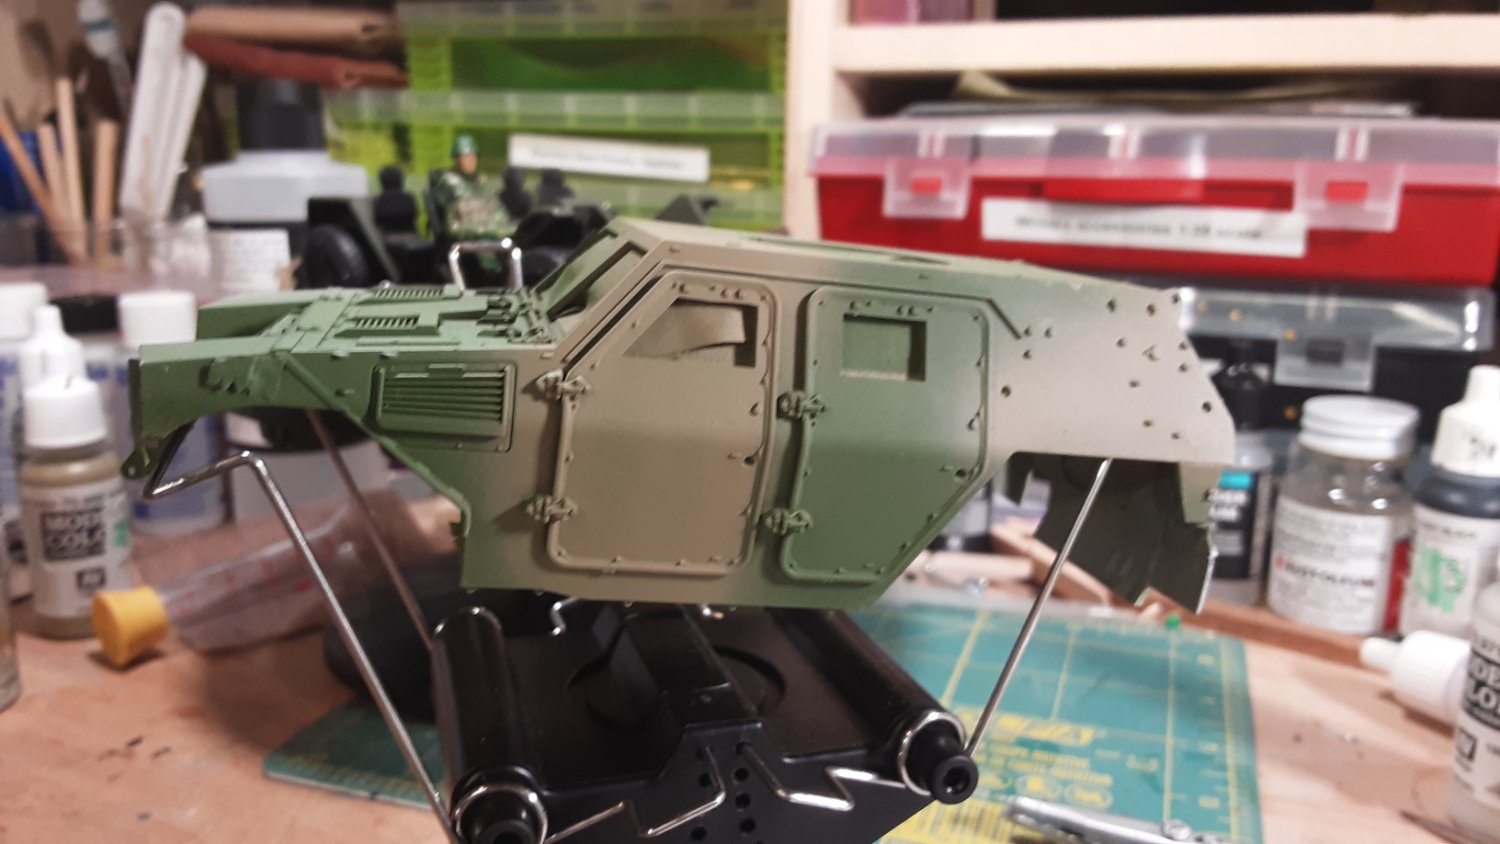
painted interior of cab green gray. Still trying figure out how I want to approach painting exterior.

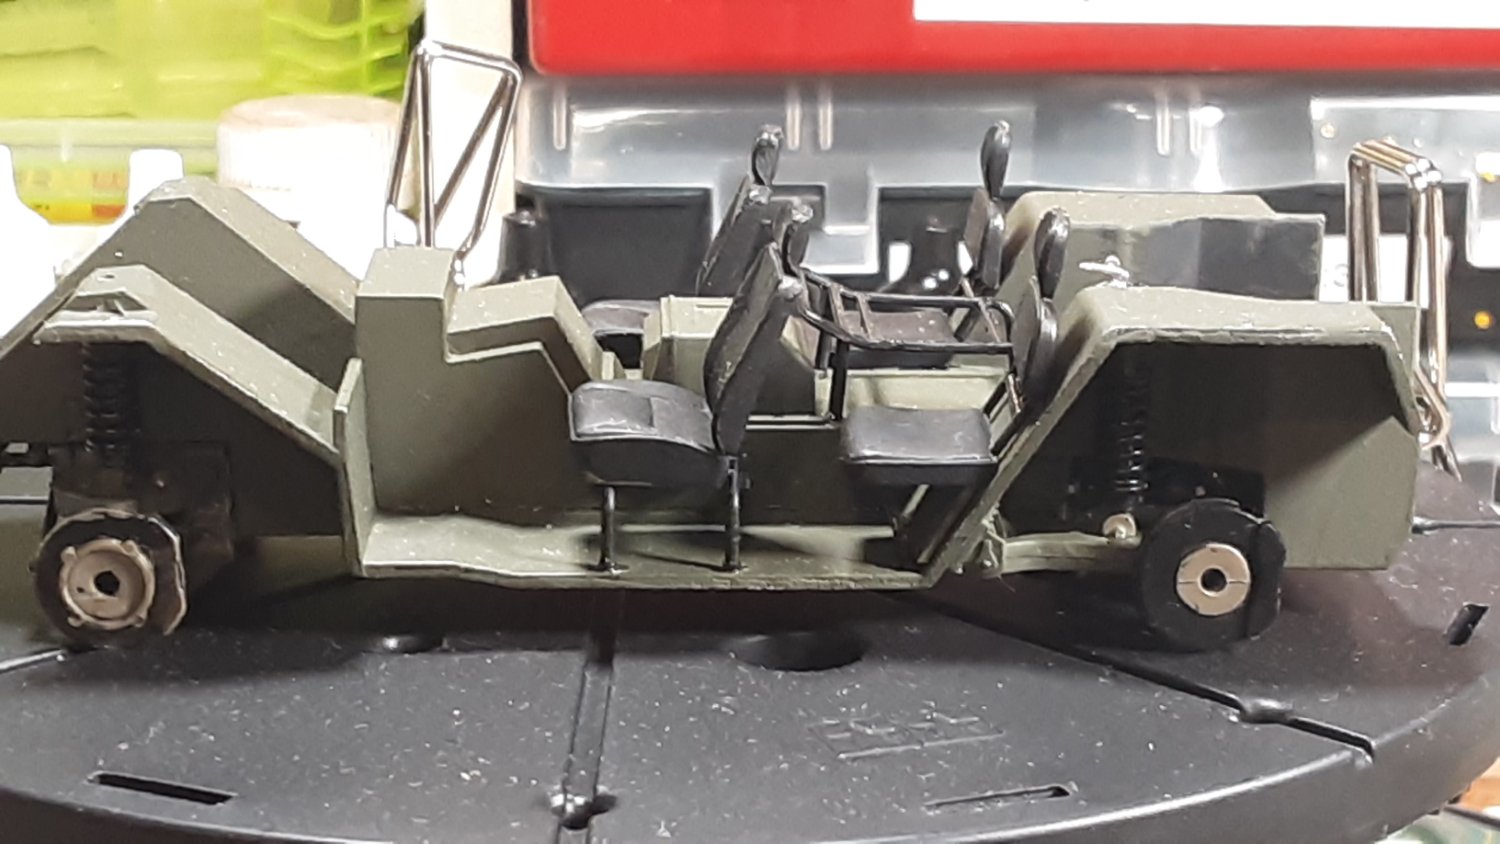
chassis assembled with seats and undercarriage

Stay tuned for the next installment of the One-Eyed Jack painting 😁😁 [the camera sees detail better than I do with magnification]
- mtaylor, Canute, popeye the sailor and 8 others
-
11
-
Well, saw my eye surgeon this morning. Good news/Bad news: Good news is my left eye has healed well enough that he can now do the right eye, scheduled for next Monday, 10th. Bad news is my near vision, i.e from nose to arms length, will be shot. Will have to wait for both eyes to heal before he can prescribe new glasses for reading. But they did give me a pair of those OTC "cheaters" (2.50) which may work. 🤔
Meanwhile, I will continue to plod along as best I can.
- Edwardkenway, Egilman, lmagna and 5 others
-
8
-
-
-
At the moment I am attempting to learn how to use a wet pallette, paint the driver figure after I first applied black primer, the oversprayed that with white primer holding it so the the airbrush was shooting downward over his head. Next step is to apply a glaze coat using the wet pallette to hold/mix the paint. This is all new technique for me. Very slow going too. 😴
-
-
No ! But taking a page from contemporary events, I think I will make this a telepathically steered vehicle. The driver has to "think about" where he wants the vehicle to go and it will automatically steer in that direction. 😎👹
-
Well, Mr Murphy paid a visit to the workshop yesterday. While trying to install the steering wheel it decided to bling thru the space time continuum into another dimension. Three of us crawled around the cement cellar floor with bright LED flashlights and couldn't find the little sucker. So this will be the 1st MRAP with joystick steering. 😁😉😊🤫
-
-
Thanks ! The photos are really good, lighting is great. Nice detail.


De Havilland Mosquito B.XVI - FINISHED - by AJohnson - Airfix - 1:72
in Non-ship/categorised builds
Posted · Edited by Jack12477
And the Insurance on a aircraft is Marine Insurance. (It was one of Dad's trick questions.)