


Jack12477
-
Posts
5,504 -
Joined
-
Last visited
Content Type
Profiles
Forums
Gallery
Events
Posts posted by Jack12477
-
-
Nice model !
Nice photography also !
- thibaultron, Egilman, Canute and 2 others
-
 5
5
-
On 10/27/2022 at 2:39 PM, Egilman said:
You still have a 5 decade jump on me brother... {chuckle}
Yea! My kids keep asking me if George Washington was President the year I was born ! 😉😉😉
- Egilman, Old Collingwood, Edwardkenway and 3 others
-
1
-
 5
5
-
-
48 minutes ago, Egilman said:
What was I saying about resistance is futile? and all these pieces are irresistible for a towed artillery nut like me...
I hope the Finance Minister approves all this Military Spending 😁😁😁😁😇
-
On 10/25/2022 at 12:16 PM, bobandlucy said:
Has anyone tried to strain acrylic paint or primer for airbrushing? I have a couple of bottles (one was unopened) of Stylenrez primer that have some clumps and clogged my airbrush. Most of the stuff is fine and should be usable. The only commercially available strainer for airbrushes I found at Micro Mark- did not see any at USA Airbrush Supply. . .
Thanks
Bob
Have you looked at Badger's In bottle filter I've used on for years
- mtaylor, Canute, bobandlucy and 1 other
-
4
-
4 hours ago, Egilman said:
figuring out how to lay a dirt base for the marston matting to lay over...
My old railroading skills need dusting off....
It's simple ! Get a 15x15 piece of 1/2 inch plywood, coat it with Gesso, before that dries sift some backyard dirt over the whole surface. Let dry! (Use the finest mesh kitchen shifter/strainer you can find. Lay the Gesso on rather thick). Then lay the matt on to that base.
-
1 hour ago, Egilman said:
seems modelers start as photographers first
Actually I didn't! I started out building model HO scale train car kits with my Dad when I was 10 or 11, got my first 35mm Kodak camera in 8th grade. After that it was both modeling and photography.
-
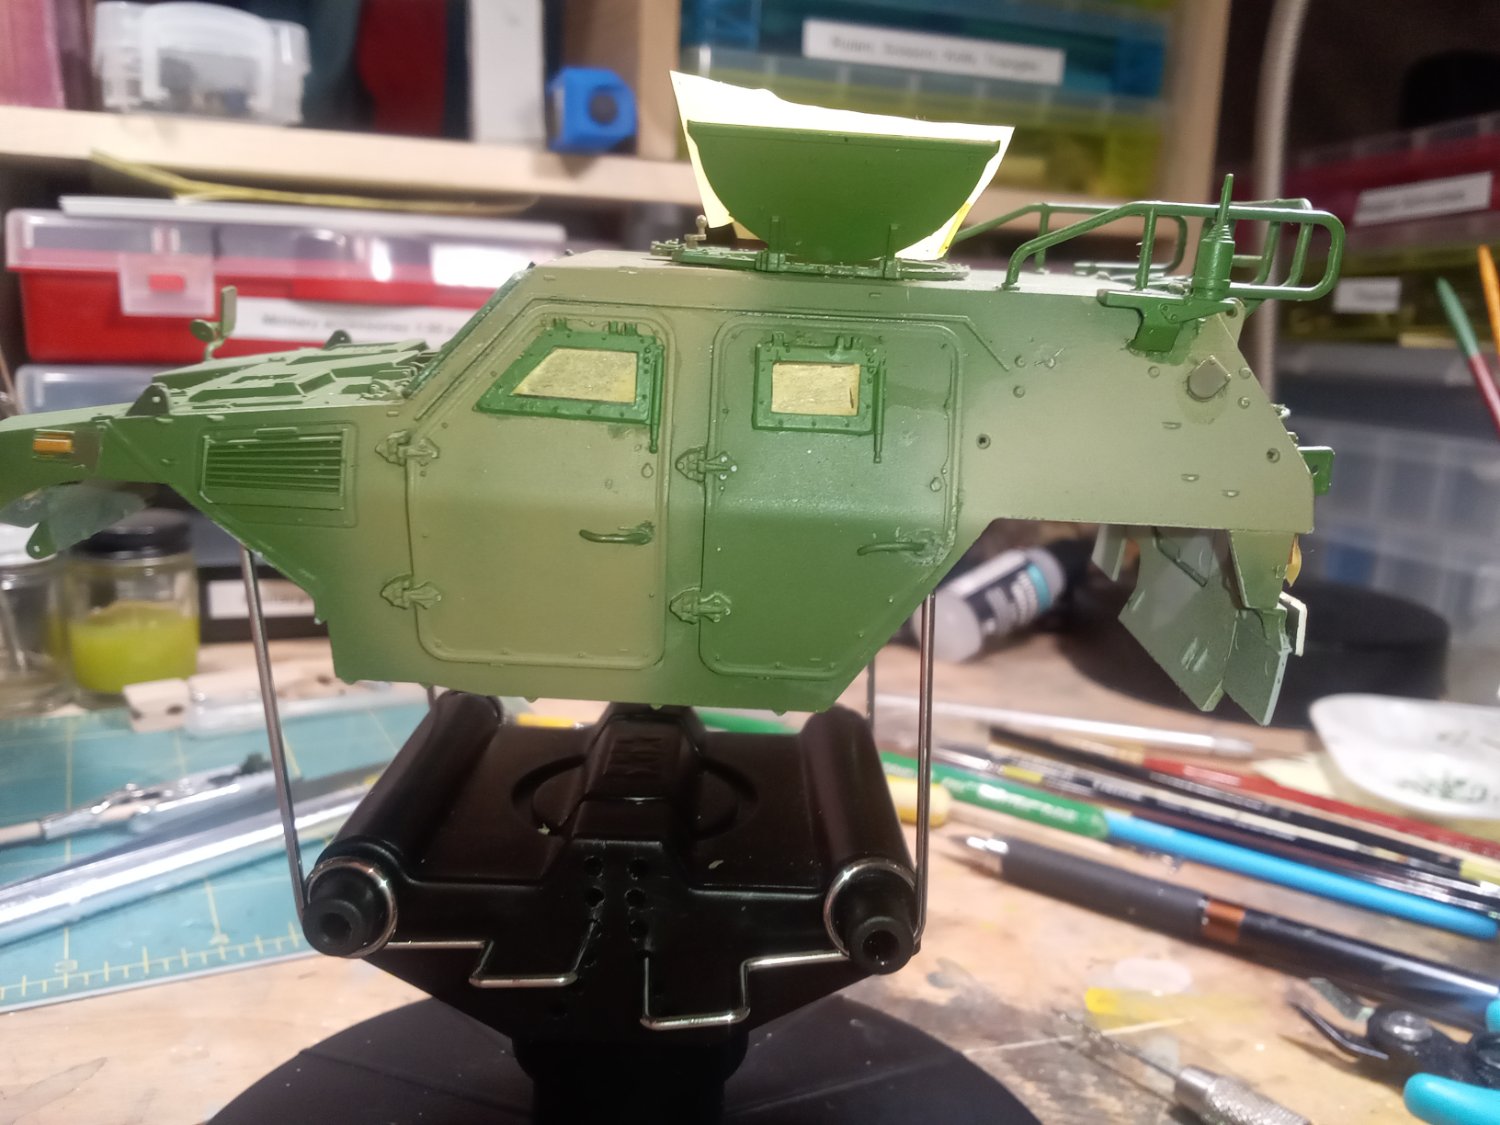
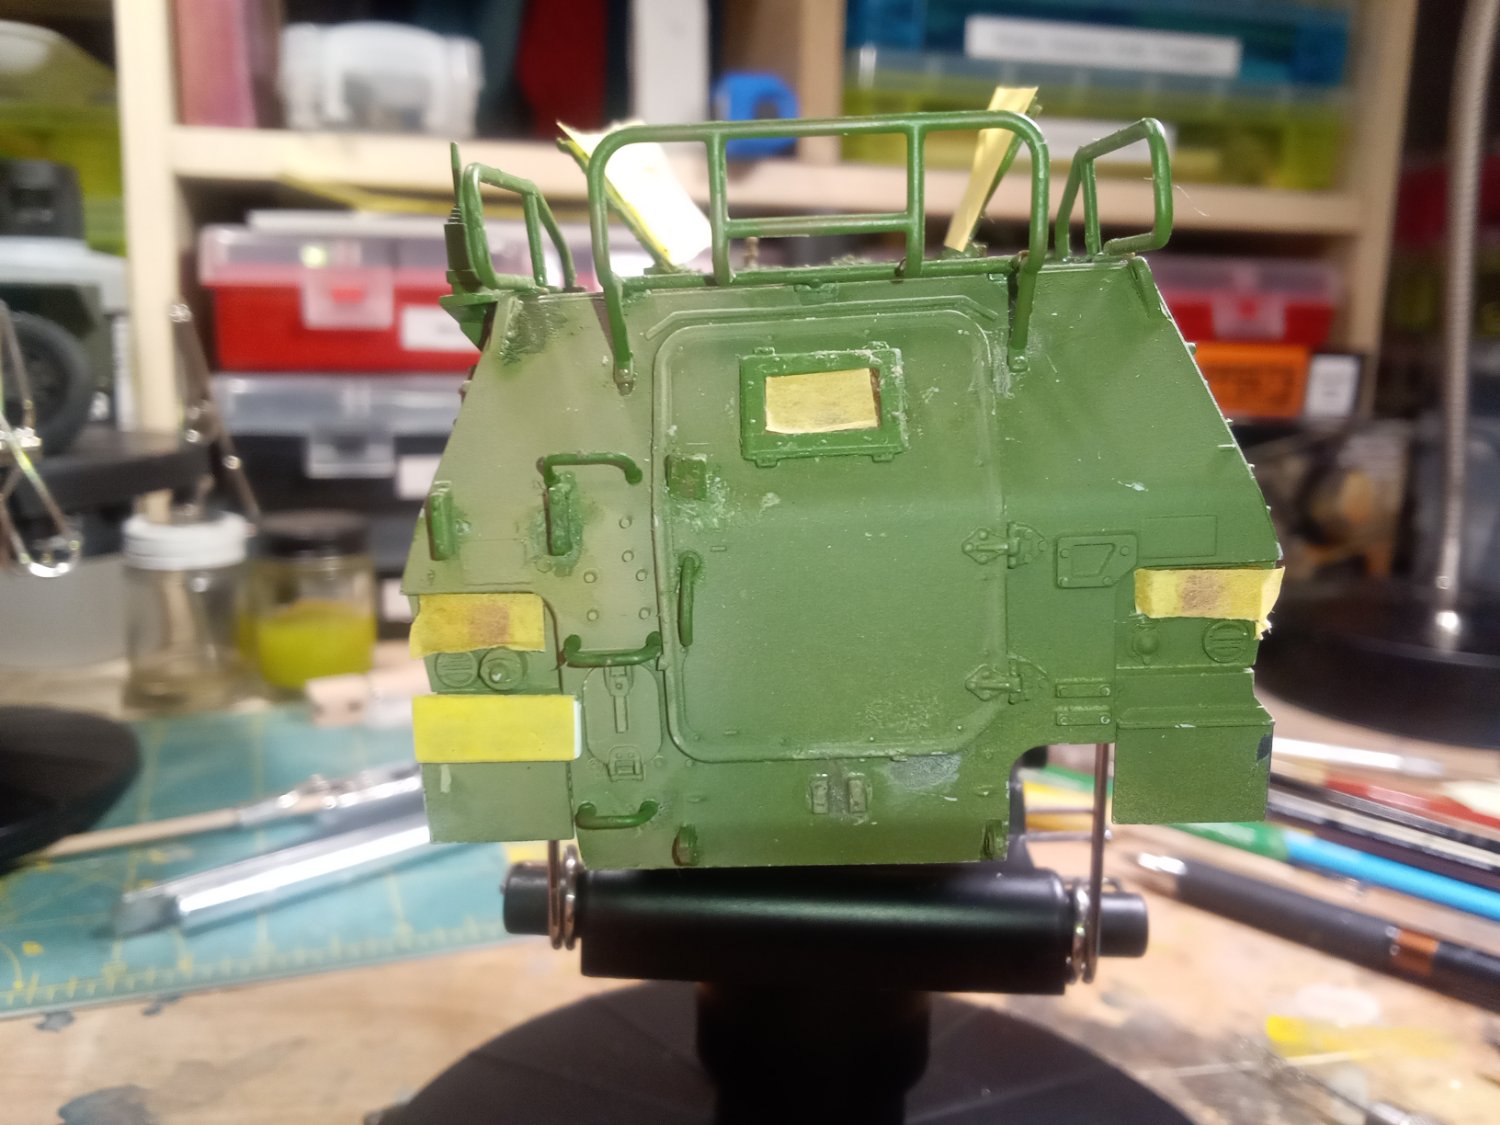
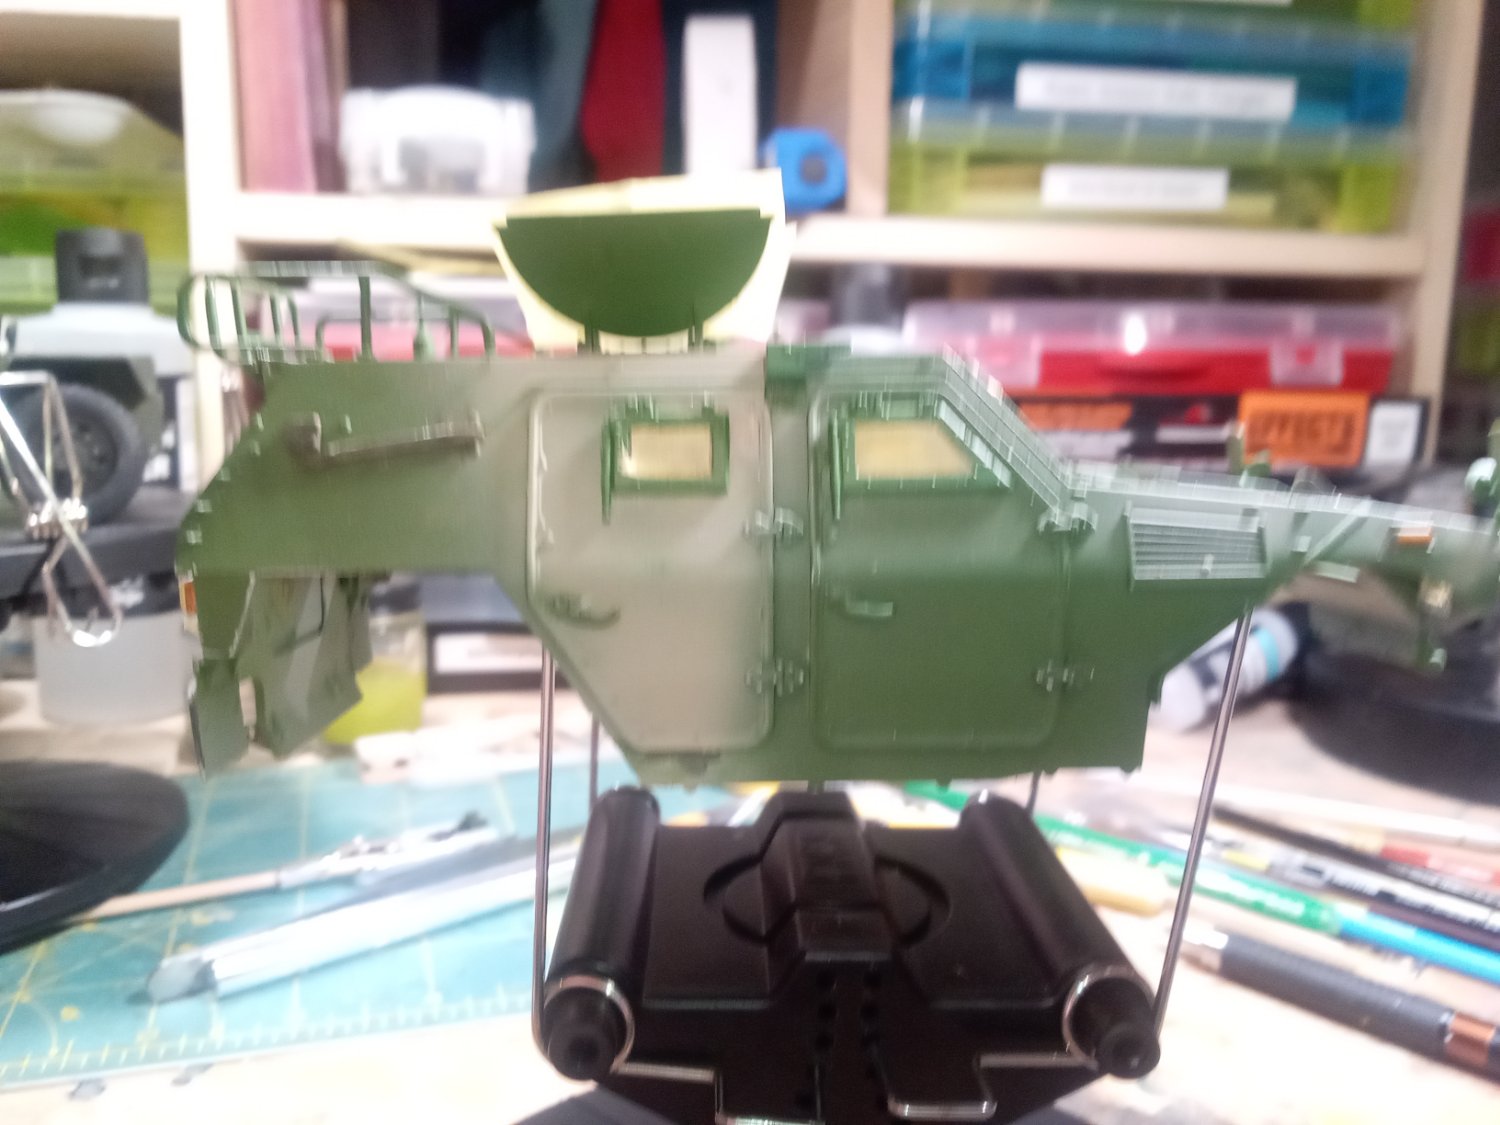
I guess when they did my cataract surgery they sucked a few extra brain cells along with the cataract debris. 😉🤔 I was thinking I could avoid taping all the windows by not installing them till later. But I realized they are installed in their own frames which are then installed in the door frames. So matching the camo patterns across the frames would be a bear. So after coating the clear plastic windows, headlamps, in two coats of Pledge, I glued them into their frames using Gator's Grip Acrylic Hobby Glue, then glued the frames into the doors and windshield, glued the doors, except driver's door, into place (driver's door got taped in place from inside because the drivers right arm has to be glue to his body after the top is glue to chassis.) Then came the tedious task of taping all the windows, headlights, tail lights et al.
Results look like this
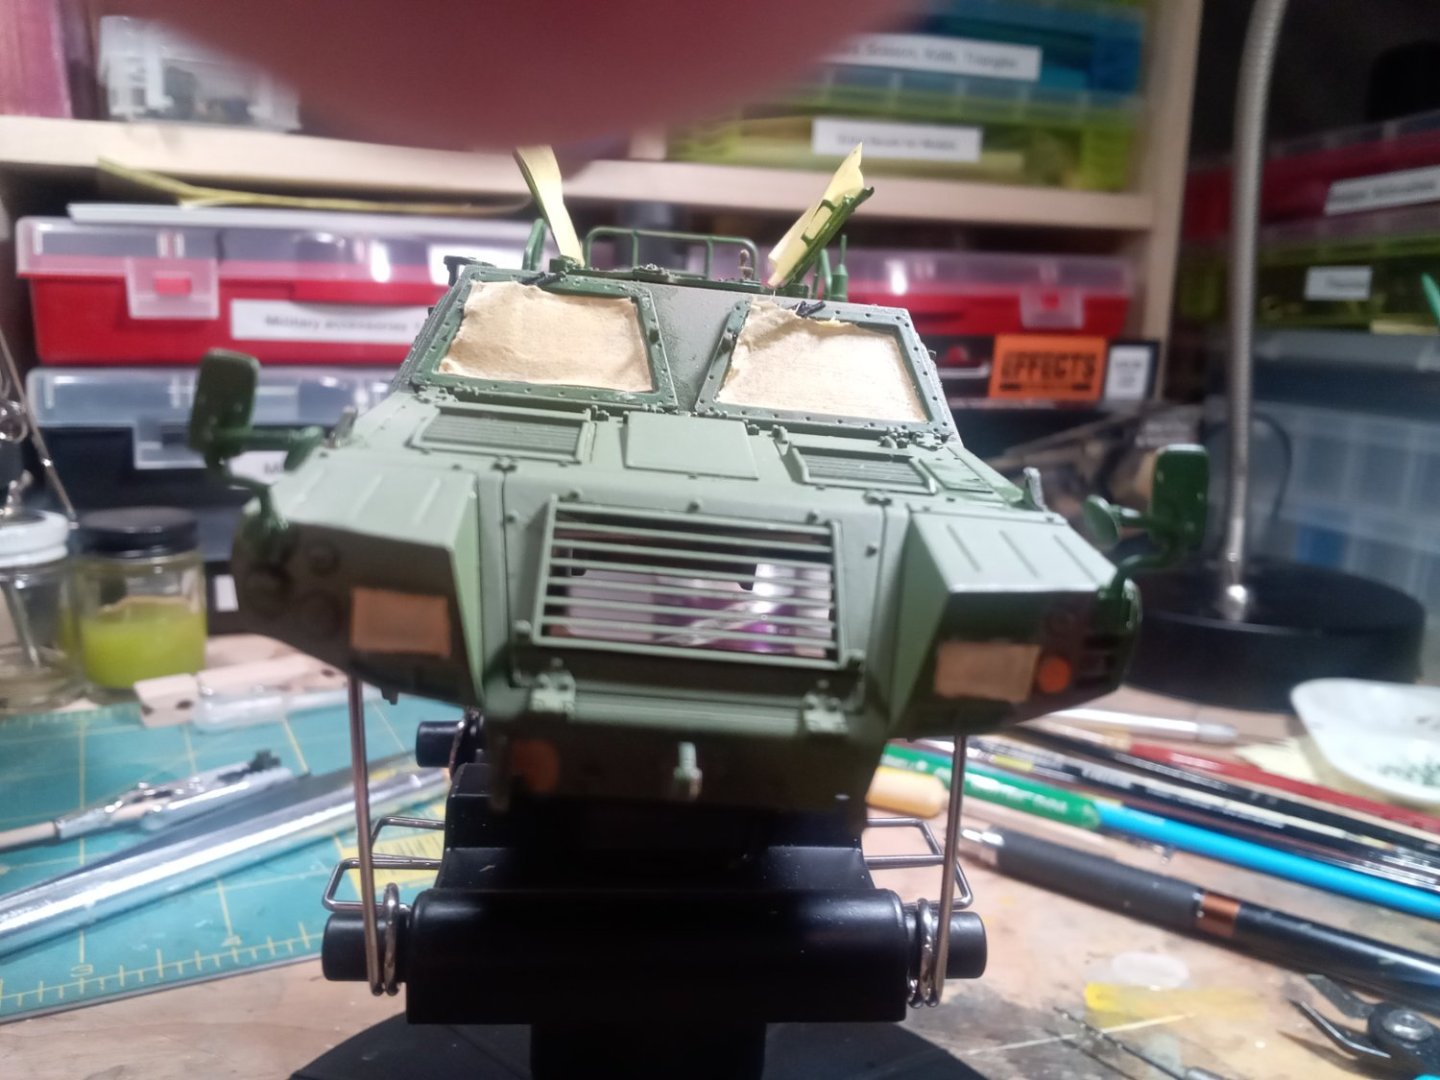
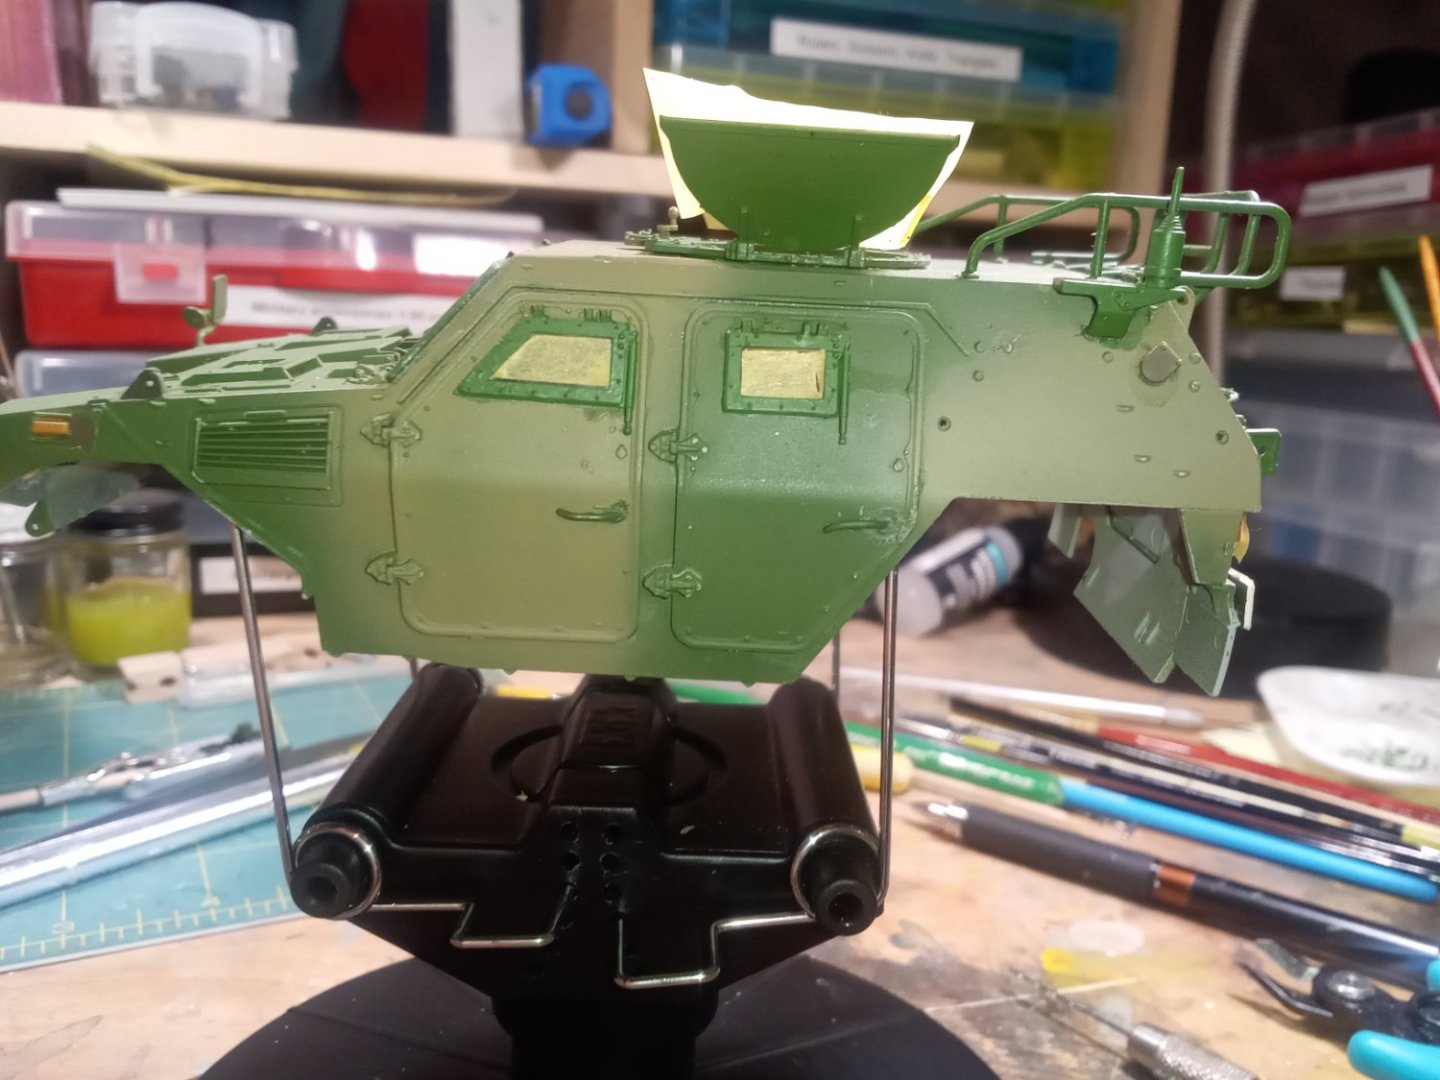


I think I will re-spray the green coat since it got a little mucked up in the process, then spray the camo coats. And this time I will try the Vallejo Model Air paints.
Question for all you users of the Tamiya stands shown above: how do you keep them so new looking while spray painting? 🤔 Do you have two stands, one for spray painting and one for decaling etc?
Sorry for the fuzziness in photos, the cellphone camera doesn't focus close and neither do my eyes at the moment. 😁😆
-
Growing up as a wee lad post WWII, we had a neighbor across the street from us who had flown with the Lafayette Escadrille. I remember him telling Dad about their flight instructions/training. Basically classroom instructions using those airplanes on a stick, then out to the airfield for some static instruction on controls, then you took off solo, flew around then landed. If you landed with both you and the plane in one piece, they pinned your wings on and pronounced you an aviator/pilot. And yes he did talk about the castor oil and the post flight (sometimes in-flight) oopsies.
I heard the same comments from Cole Palen, founder of the Olde Rhinebeck Aerodrome here, and got a whiff of the castor oil from his planes.
- AJohnson, king derelict, mtaylor and 8 others
-
11
-
-
-
Nice job ! Both look good together !
-
Andy, seems Canada Post, UPS, and FedEx all use the same tracking software, I get those same kind of updates here, except here they mark it as "in transit" .
- Canute, realworkingsailor, Egilman and 4 others
-
7
-
I placed an order with Scale Hobbyist on 10/12, they shipped it out on 10/13 via UPS. UPS picked the package up in Nashua NH, transported it to Bristol RI, then to East Syracuse NY, then to Kingston NY to deliver to me. It traveled approximately 606 land miles to reach me. A car leaving Nashua NH would only need to drive 215 miles in 3 hours 45 minutes to reach me. UPS could have shipped it thru Albany NY a more direct route. But it did arrive in 2 days time on Saturday 10/15. Don't know how it was transported from Bristol RI to East Syracuse NY (air or road) but they passed right by me enroute to Syracuse.
Don't feel bad Andy !
-
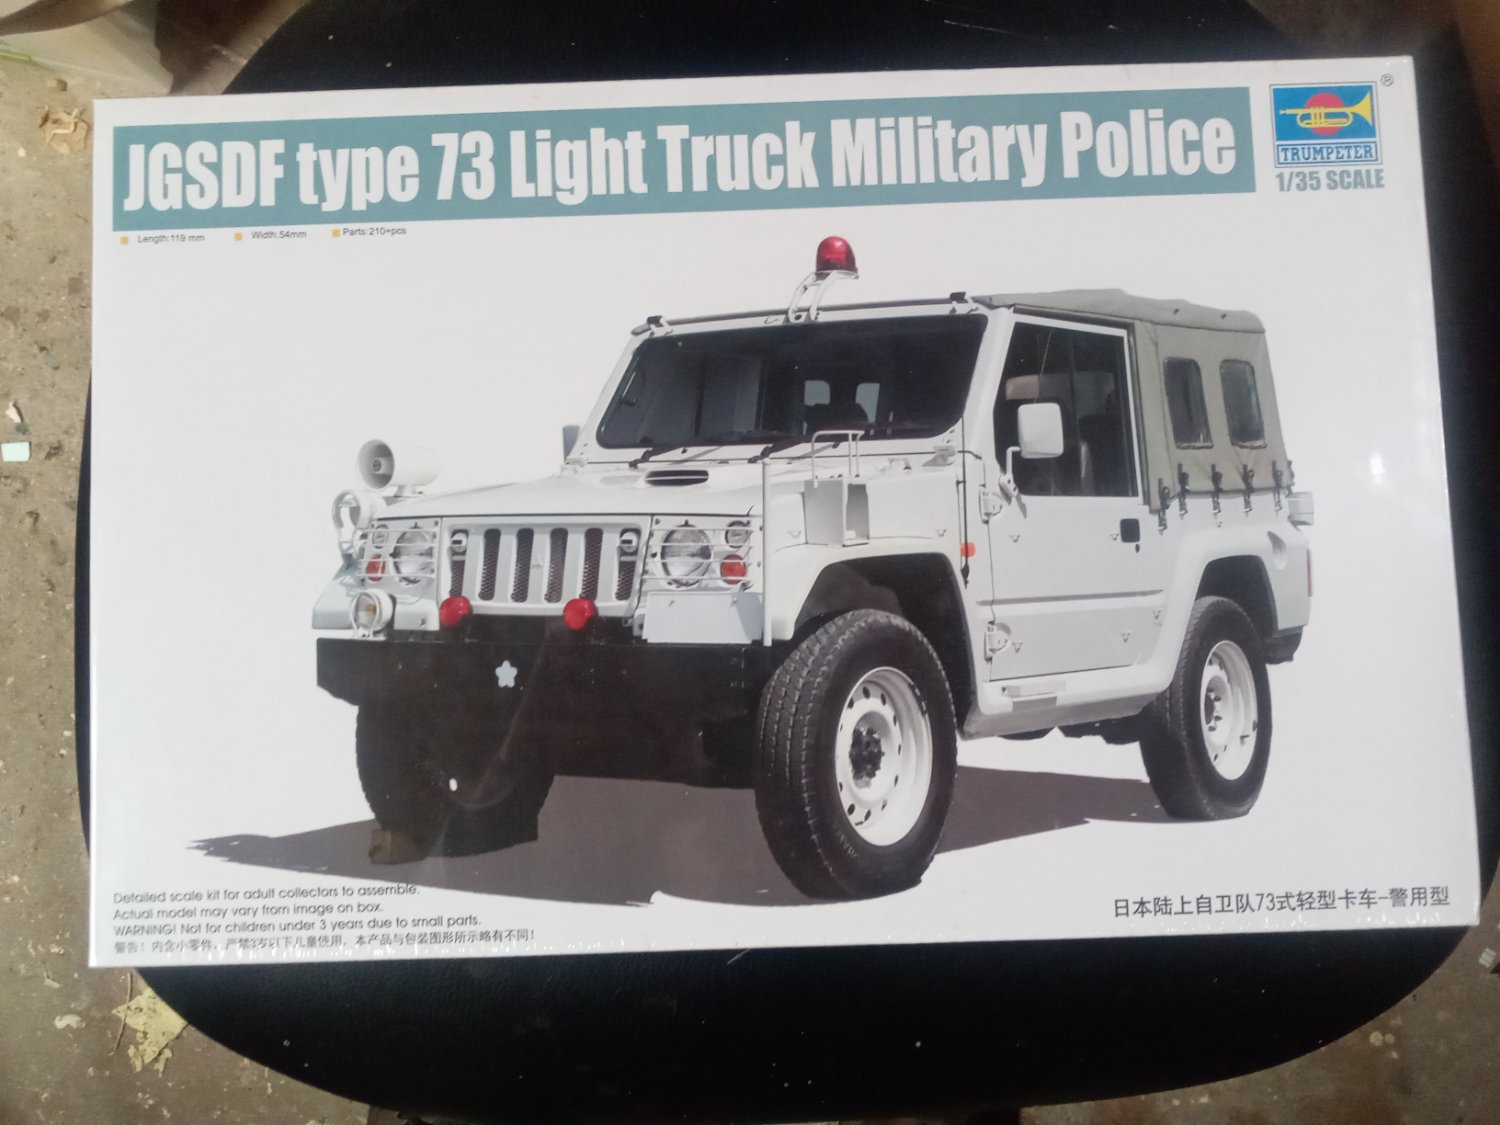
While waiting for my eyes to heal and settle down, I ordered a resupply of Vallejo paints, thinners etc, and this new kit to add to the stash.

- Canute, king derelict, CDW and 5 others
-
8
-
15 minutes ago, king derelict said:
Thanks Jack
I was pondering on a source of rocks and you solved it. Plaster casts
Alan
I recommend using Hydrocal casting plaster, it’s lightweight, strong and easy to use. Woodland Scenics makes it. ScaleHobbyist is a good source for Woodland Scenics products including the rubber rock molds.
-
1 hour ago, king derelict said:
The Sherman diorama is spectacular. A great feel to it.
Alan
Thanks! The 2 ruins are old Verlinden cast plaster kits I had. The 3rd dio is freelanced scenery using rubber rock molds from Woodland Scenics.
Oops my bad ! The other Verlinden diorama is in my M16 Multi-gun Motor Carriage Diorama
- Canute, Egilman, Old Collingwood and 3 others
-
6
-
12 hours ago, mtaylor said:
There have been some miniature dios here. If I remember right Jack12477 did several. Basically a couple vehicles and bit of shattered building.
Yes, you're right Mark, but at 1:35 scale. Alan is right they are bulky, mine are about 12x12x12. Link is in my signature under Sherman tank dioramas
I'm in too, Alan.
- Egilman, Edwardkenway, Dave_E and 3 others
-
6
-
5 minutes ago, mtaylor said:
Or have your own darkroom. I did and it was always a matter of holding my breath while developing the negatives as color film had quite specific temperatures and times for developing.
I still have mine. But after several failed attempts at developing and printing color film, decided it was cheaper to let Kodak do the color and concentrated on doing B&W in the home darkroom.
-
10 minutes ago, king derelict said:
Gret days. Banging off 36 exposures and not knowing whether you had got anything good until they were developed
Alan
Yea, took the family on a 3 week drive from NY to Colorado, Wyoming, South Dakota and back visiting, Mesa Verde, Rocky Mountain National Park, Estes, Yellowstone, Tetons, Rushmore, Badlands et al. Left with 36 rolls of 36 exposure Kodachrome 200, ran out midway thru Yellowstone, had to buy 10 rolls of 36 exposure Ektachrome 200. Ran out of that too by the time we go home. Of course back then film & processing was cheapest part of trip.
Sorting thru them was a fun time.
- Old Collingwood, mtaylor, Egilman and 1 other
-
4
-
That does look sharper and more depth.
BTW Some camera terms
ISO ( or ASA in the old days) is a measure of film speed or sensitivity to light. The higher the number the more sensitivity or as we used to say "speed".
F-stop is the ratio of the cross sectional diameter of the aperture to the focal length of lens, expressed as f/nn , e.g. f/16, f/22, as the number goes up, the diameter decreases allowing less light to pass thru, as the number go down the diameter increases allowing more light to pass thru. As you go from one F-stop to another the amount of light passing thru increases/decreases by a factor of 2. So going from f/8 to f/11 ( or from f/16 to f/22) you let in 1/2 the light, reversing and going from f/22 to f/16 (or from f/11 to f/8) you let in 2x the light. So f/8 on a 50mm lens is the same as f/8 on a 300 mm lens, only difference is the aperature diameter.
Aperature - think Iris of your eye.
Same factor applies to shutter speed. f/8 at 1/250 sec is the same exposure as f/11 at 1/125 sec.
Feel free to PM me with questions. I cut my teeth on mechanical manual cameras with hand-held light meters. 😅
- Edwardkenway, mtaylor, Old Collingwood and 2 others
-
4
-
 1
1
-
Nice looking model, nice photos. Great job as usual! 👍👍
Suggestion:
For greater depth of field aka depth of focus, take the camera out of Auto mode and select Aperture Preferred mode, designated as Av on most camera dials. Choose an aperture of f/16 or higher, e.g., f/22, f/32, (my Pentax DSLR will go to f/32), leave the ISO setting on Auto, it might select ISO 3200, make sure the shutter speed it selects is 1/50 sec or higher, if you are not using a tripod or the deck railing, e.g., 1/125, 1/250, etc. I think your camera has Center Weighted and Spot metering and Center Weighted and Spot focus, if so select them also. Experiment a little, it's digital so no wasted film to worry about. Just delete the bad ones. 😉 You're shooting in bright sunlight so plenty of light. Remember the higher the f/nn value, the smaller the diameter of the aperture and the greater the depth of field/focus, the lower the value the bigger the diameter and shorter depth of field.
- lmagna, Edwardkenway, king derelict and 3 others
-
5
-
1
-
-


Veritas Miniature Shooting Plane and Shooting Board Set from Lee Valley Tools
in Modeling tools and Workshop Equipment
Posted
Just got the Lee Valley Christmas Catalog in today's mail and Wow they've added another miniature tool set to the excellent line of functional miniature tools. Thought you all might like a look-see! I already know what's on my Christmas List. 😁😁😁😁😁😇
BTW I have their entire miniature collection and use them frequently and not just for model work.
Lee Valley 2022 Christmas Catalog
Shooting Board $25.50
Right hand shooting plane $79.50 ( both for $89.00)