


Jack12477
-
Posts
5,619 -
Joined
-
Last visited
Content Type
Profiles
Forums
Gallery
Events
Posts posted by Jack12477
-
-
-
Glad to see you back at bench. I concur with your wife. "Damn the torpedoes, full steam ahead"!
Great job on the decaling, Sabre looks great 👍 👌
- BLACK VIKING, Edwardkenway, Canute and 4 others
-
 7
7
-
8 hours ago, gjdale said:
However, there is no direct conversion suggestion from named Floquil colours.
Try this MRH Acrylic Post-Floquil Painting Guide - free 40 page guide for subscribers. Membership is free.
It doesn't specifically list AK but does match to Vallejo paints which should help convert Vallejo to AK
- Canute, gjdale, king derelict and 6 others
-
9
-
My Admiral looked at the video and agrees, the modeler is female. Very talented too.
- Keith Black, mtaylor and Canute
-
3
-
-
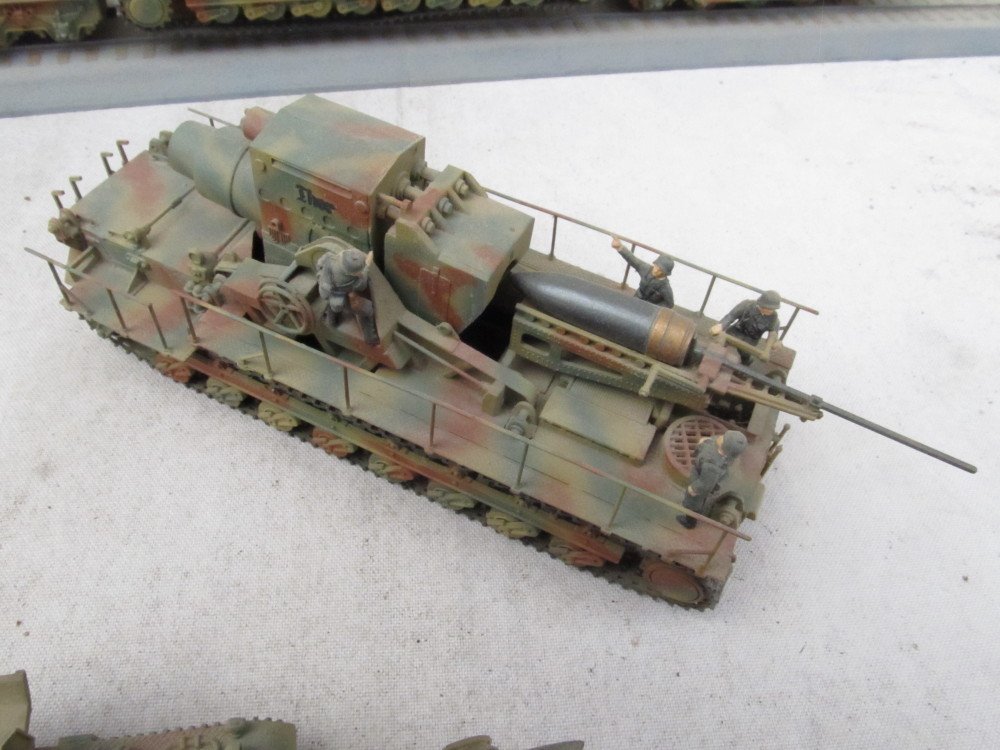
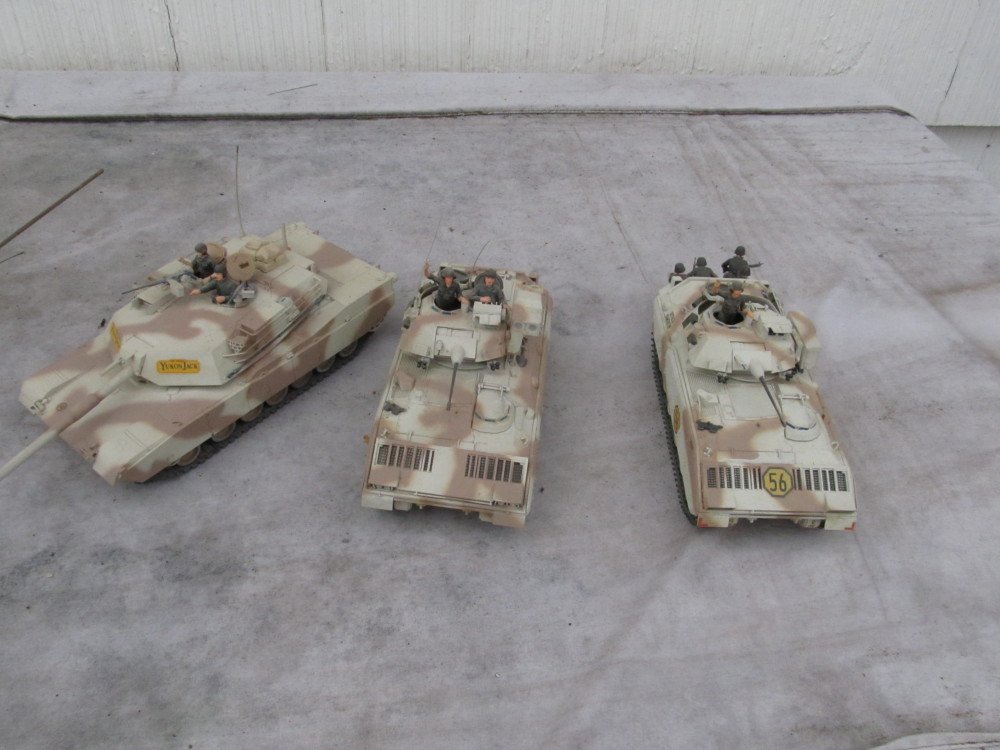
Or do it free hand. These were done eons ago free hand using a Badger airbrush with a Fine tip. I didn’t like the hard lines camo, preferred the softer edge camo patterns. With some practice I got down to where it was fairly easy to do. These models are easily 30+ years old. This was pre wooden boat models for me.
-
-
Left-hand people are the only ones in their right mind ! 😁😁😉😊😇
-
Did you use a PVA glue like Elmers yellow wood glue? If so use a qtip soaked in isopropyl alcohol to swab the glue joint. If you used CA glue, then use acetone instead of isopropyl, give it time and repeated swabs till the glue softens. Don't try to rush it. A sharp blade run along the joint helps.
- Dave_E, Chuck Seiler, Keith Black and 6 others
-
9
-
Nicely done OC , I especially like the wounded pair with the muddy boots. Well done!
- Canute, CDW, FriedClams and 5 others
-
8
-
Wow ! Came out looking real nice. Good save EG !
- Edwardkenway, Dave_E, Old Collingwood and 7 others
-
9
-
 1
1
-
-
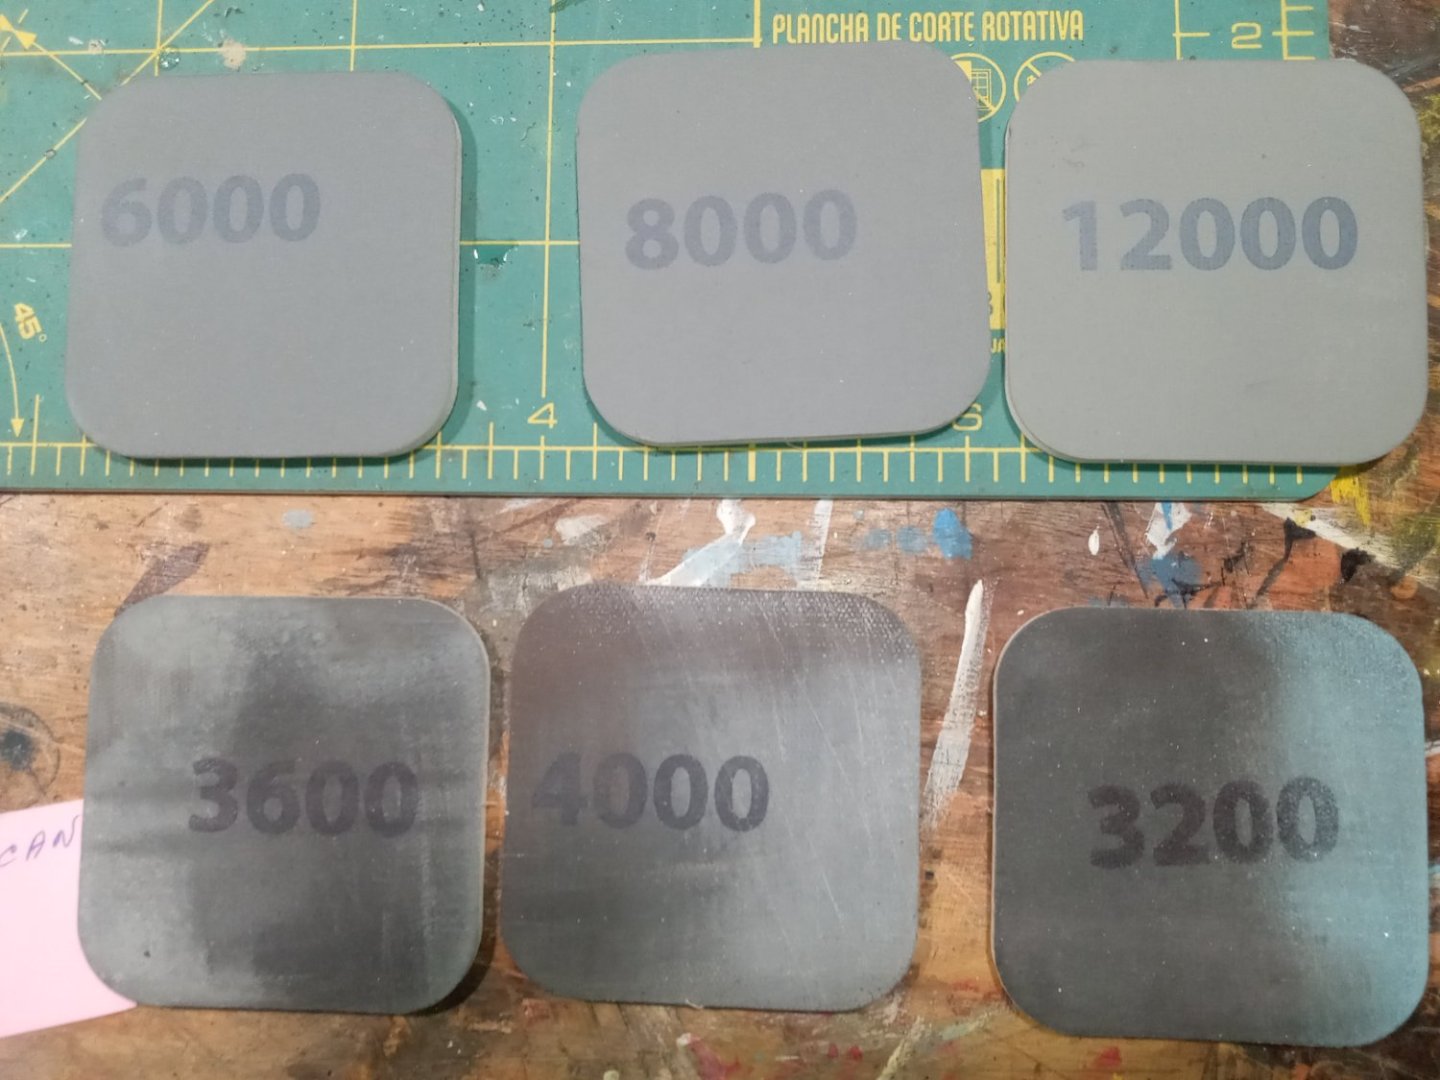
37 minutes ago, Egilman said:
find me a narrow stick sander in 600 much less 3200... {chuckle} We are stuck using the tools we have on hand...
Your wish is my command sir ! 😄
I have the sanding twig set and the sanding wand set plus a set of flexible approx 1 inch square rubber sanding pad of grits from 3200 to 12000. I think I got the latter from Lee Valley
.
-
-
-
-
I have successfully thinned it with tap water, but personally I don't like their paint. As you observed it is very thick. If you have the MicroMark battery operated pencil sized paint mixer it works very well stirring their paint as well as other brands. I use the stirrer all the time.
-
USLSS : The United States Life-Saving Service was a United States government agency that grew out of private and local humanitarian efforts to save the lives of shipwrecked mariners and passengers. It began in 1848 and ultimately merged with the Revenue Cutter Service to form the United States Coast Guard in 1915.
Nice model drawing! Are you going to do a Build Log of her? That would be a very interesting build.
- mtaylor and thibaultron
-
2
-
@CDW do today's lacquers have the same volatile thinners/solvents as in past? Or have they reformulated them? I used to use Floquil brand exclusively until Testors bought them out and killed the line. I'm still looking for a replacement.
-
-
Yea, today an IBM System/Z mainframe can run 24/7/365 for something like a century, maybe longer - I forget, without total mainframe failure. If a component does fail, the millecode/microcode and Operating System isolate the component, take it offline, dynamically reconfigure, and dynamically "phone home" with the FRU number of the part the Field Engineer needs to bring to fix the machine. And all the while the system keeps right on running processing credit card transactions or whatever without skipping a beat.
<ask how I know this> <no, don't ! >
Let's not hijack Rik's build log !
-
8 minutes ago, Egilman said:
And the onboard computer systems of the Apollo Command Module and LEM
And only accepted 2 character codes, command / operand
And the meantime to mainframe component mechanical/electrical failure was measured in hundreds of hours. Those mainframes had to run 24 hrs a day everyday till mission end, so they had to design a "fail-soft" mechanism to keep going.
-
2 hours ago, Roger Pellett said:
Sitting in a cubicle coding a computer does not compare with this.
I would respectfully disagree !
Try designing and coding software that allows software written for one architecture to execute correctly on a machine designed for a radically different architecture (Emulator) where proficiency in Binary (base 2), Octal (base 8) , Hexadecimal (base 16) and Decimal numbering systems was not only required but used interchangeably, or writing architecture verification software to check that every machine being built on the manufacturing floor executes every machine instruction in accordance with the architecture, or error recovery software that isolates a machine hardware failure so the mainframe continues operating (and your 24 hour banking app can access your account and your credit card transaction goes thru), or designing and coding the telecommunications software that runs the Internet and allows us to connect to MSW from anywhere in the world.
Just a few of the things I did as a programmer over a 40 year career. That's why the US Dept of Labor changed our job titles from System Programmer to Software Engineer. And btw when I started programming there were no Computer Science or Computer Engineering degrees. My generation of programmers taught Academia how to create the academic curriculums for those degrees. And my "Smart phone" has more memory, more external storage and more computing power than the Mainframes systems I started programming.
Historical Factoid : When Neil Armstrong landed on the moon, NASA had 5 specially designed IBM System/360 model 75 mainframes coupled in parallel with each other. A copy of the mission control software was loaded into each mainframe; mainframe A was primary, mainframe B was backup but was executing all calculations in parallel and in synch with A. If A failed, B took over as Primary and "shoulder tapped" C to do a "hot start" and take over as secondary, D and E were on standby to do the same. When Neil arrived back on earth, mainframe E was now primary and A was backup.
Which is more challenging, designing a bridge/airplane/ship/power station or designing and programming a computer system that would put a human on the moon and bring them safely home?
And No! I did not work for NASA.
-


Martin B-26B Marauder by CDW - FINISHED - Airfix - 1:72 Scale
in Non-ship/categorised builds
Posted
An Army draftee in 1965 was paid $90 a month as a Private E1, as an E5 in 1967 the pay was $200 a month.