Jack12477
-
Posts
5,677 -
Joined
-
Last visited
Content Type
Profiles
Forums
Gallery
Events
Everything posted by Jack12477
-
 Aka CBI => China Burma India ??? Denis, I think this was more prevalent . Maybe another "sneaky" build ! 😉🤫🤔🤪
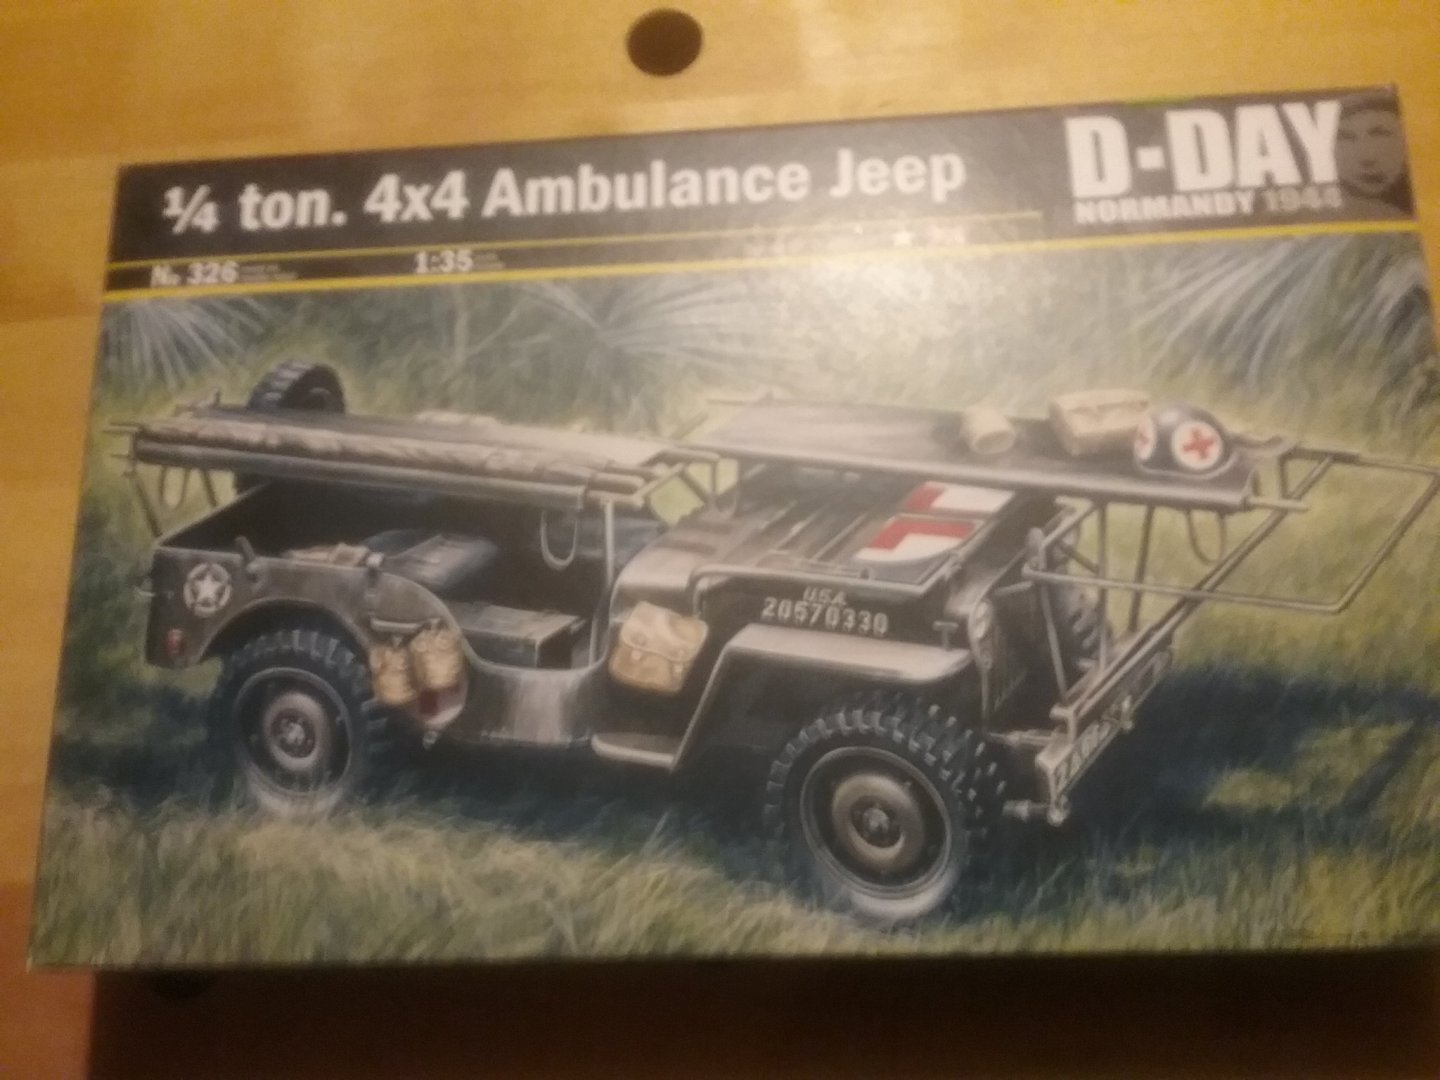
-
At my rapidly advancing age, I am looking more at downsizing as opposed to upsizing 😉
-
What ? A bigger diorama? Another diorama ? I ran out of shelf space after the last 3 dioramas.
-
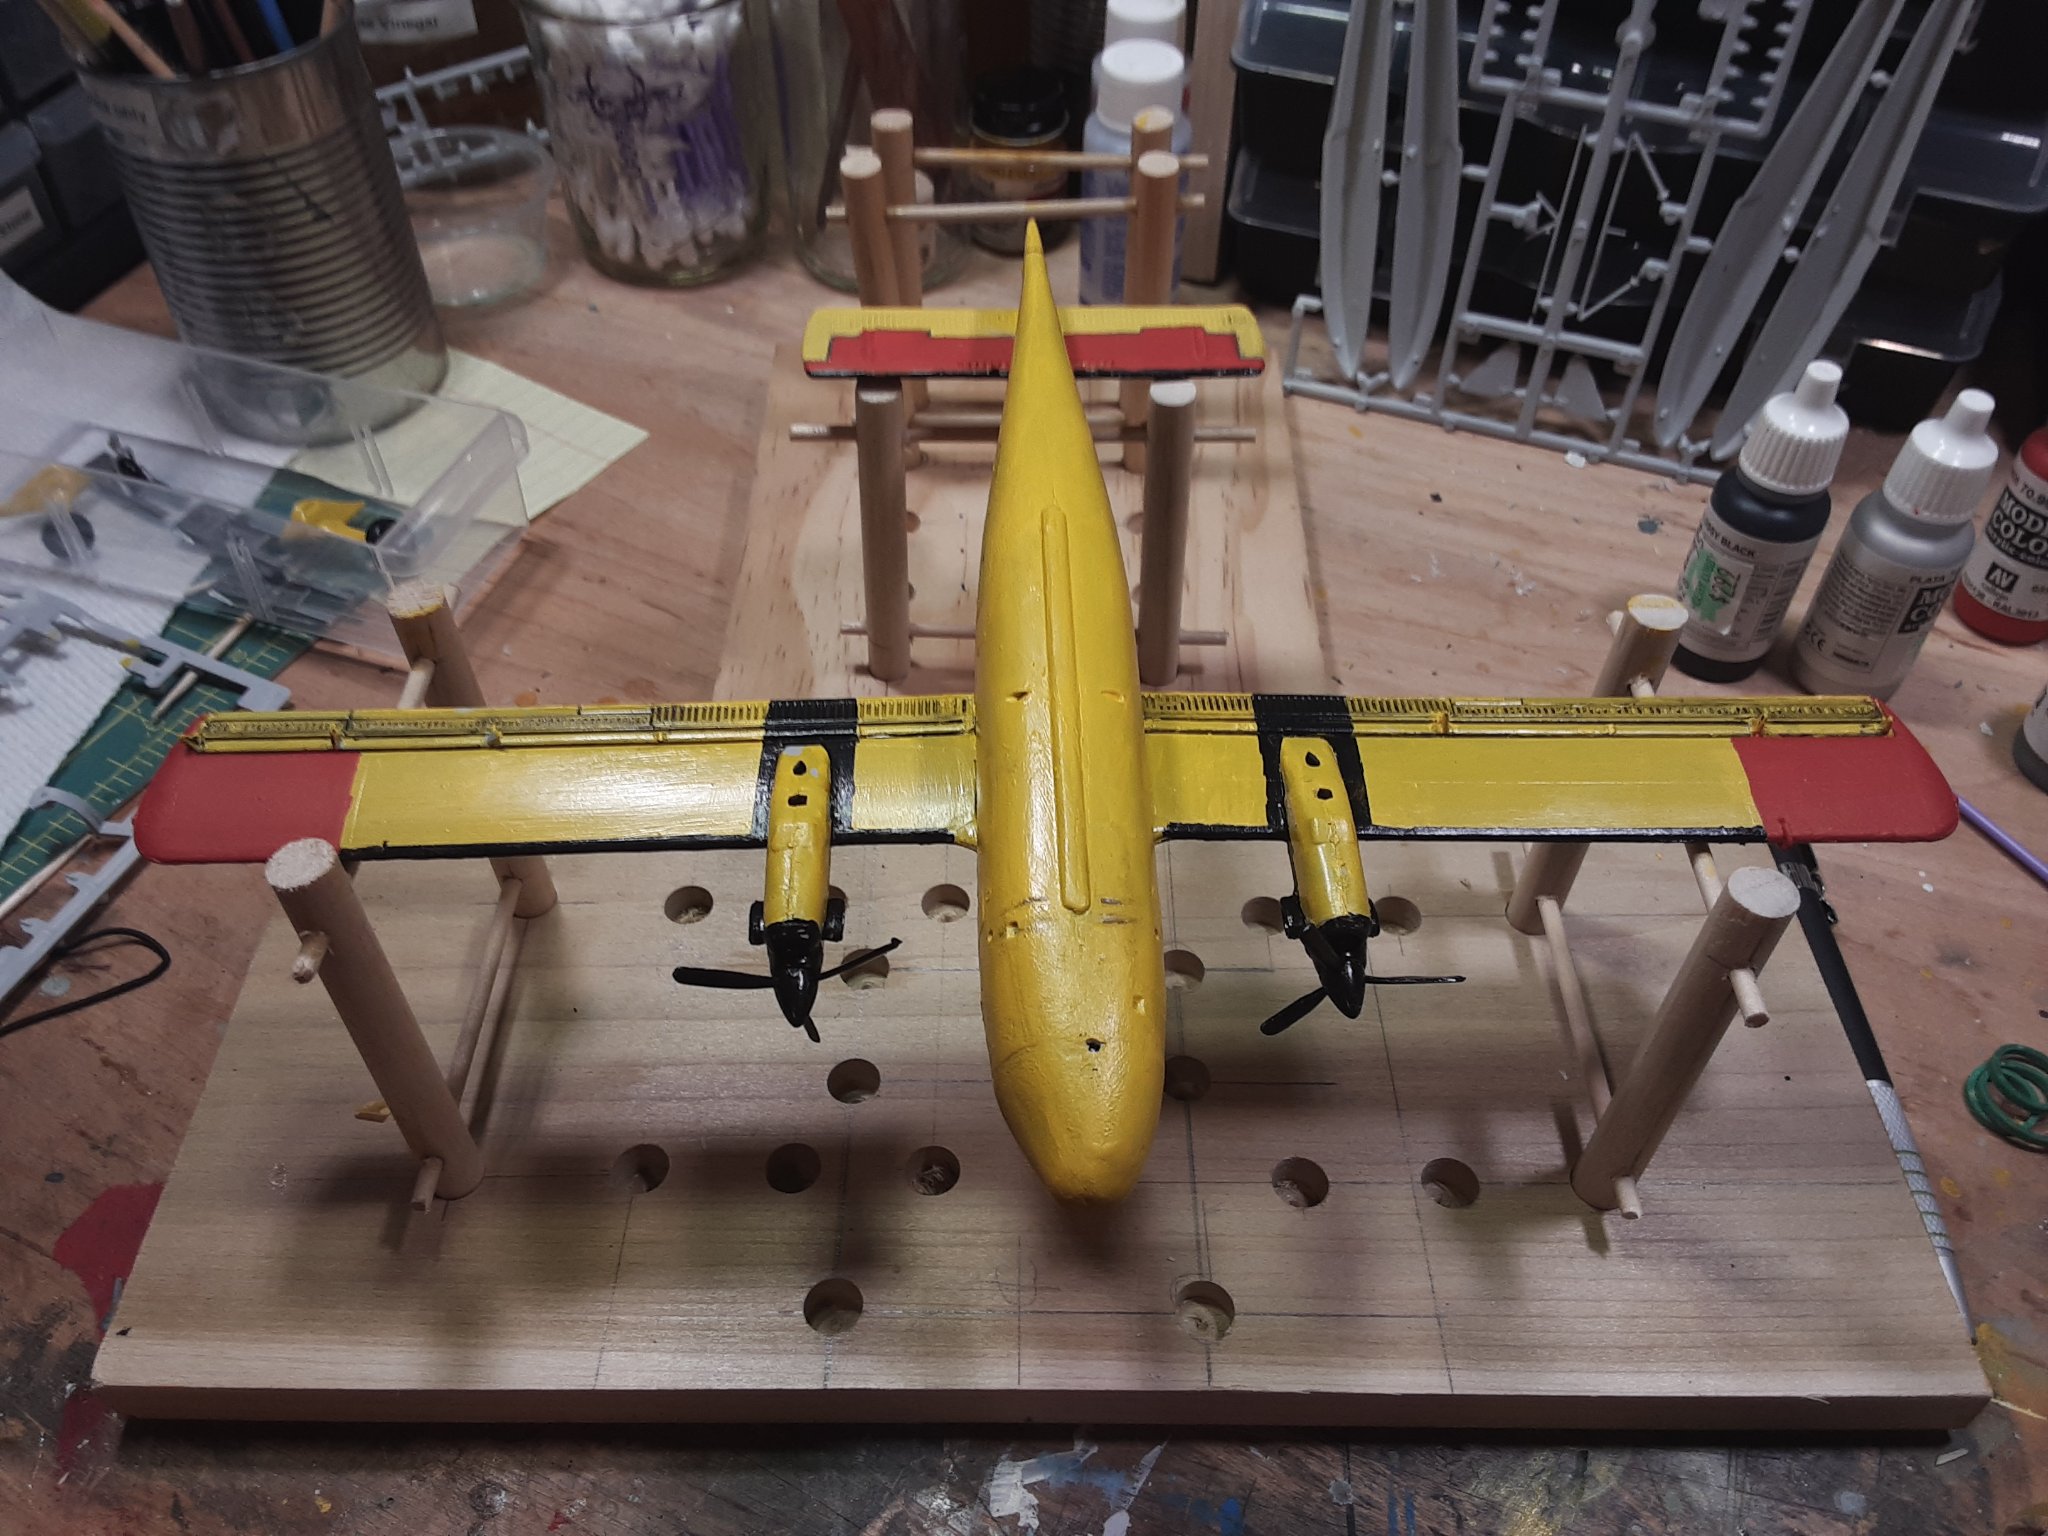
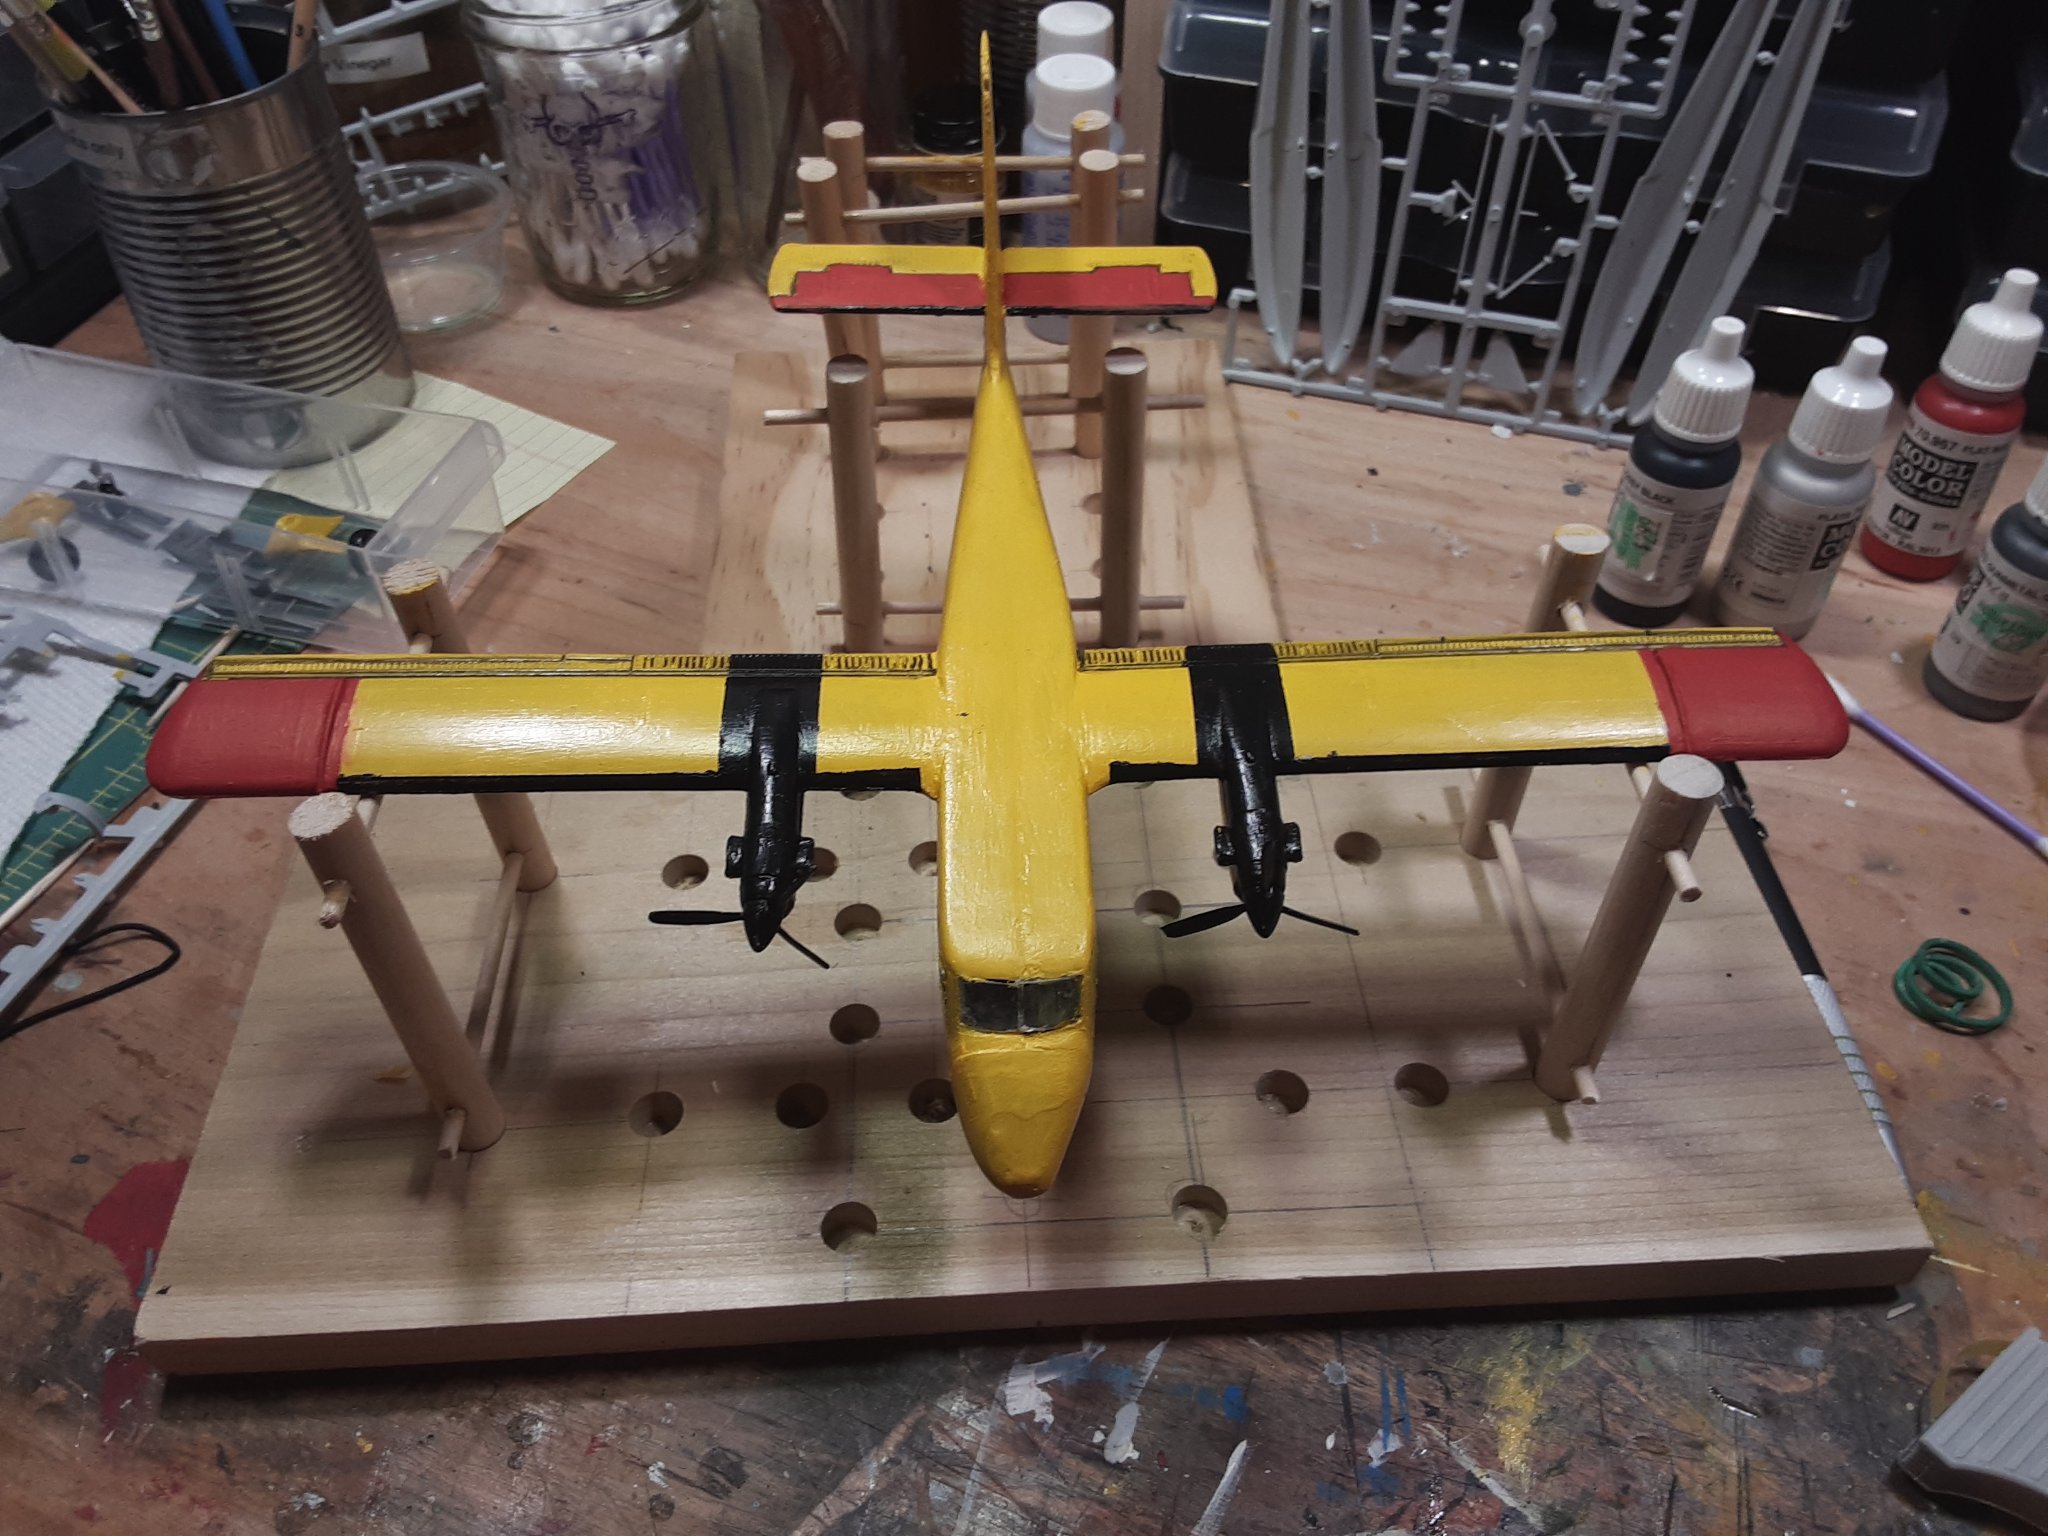
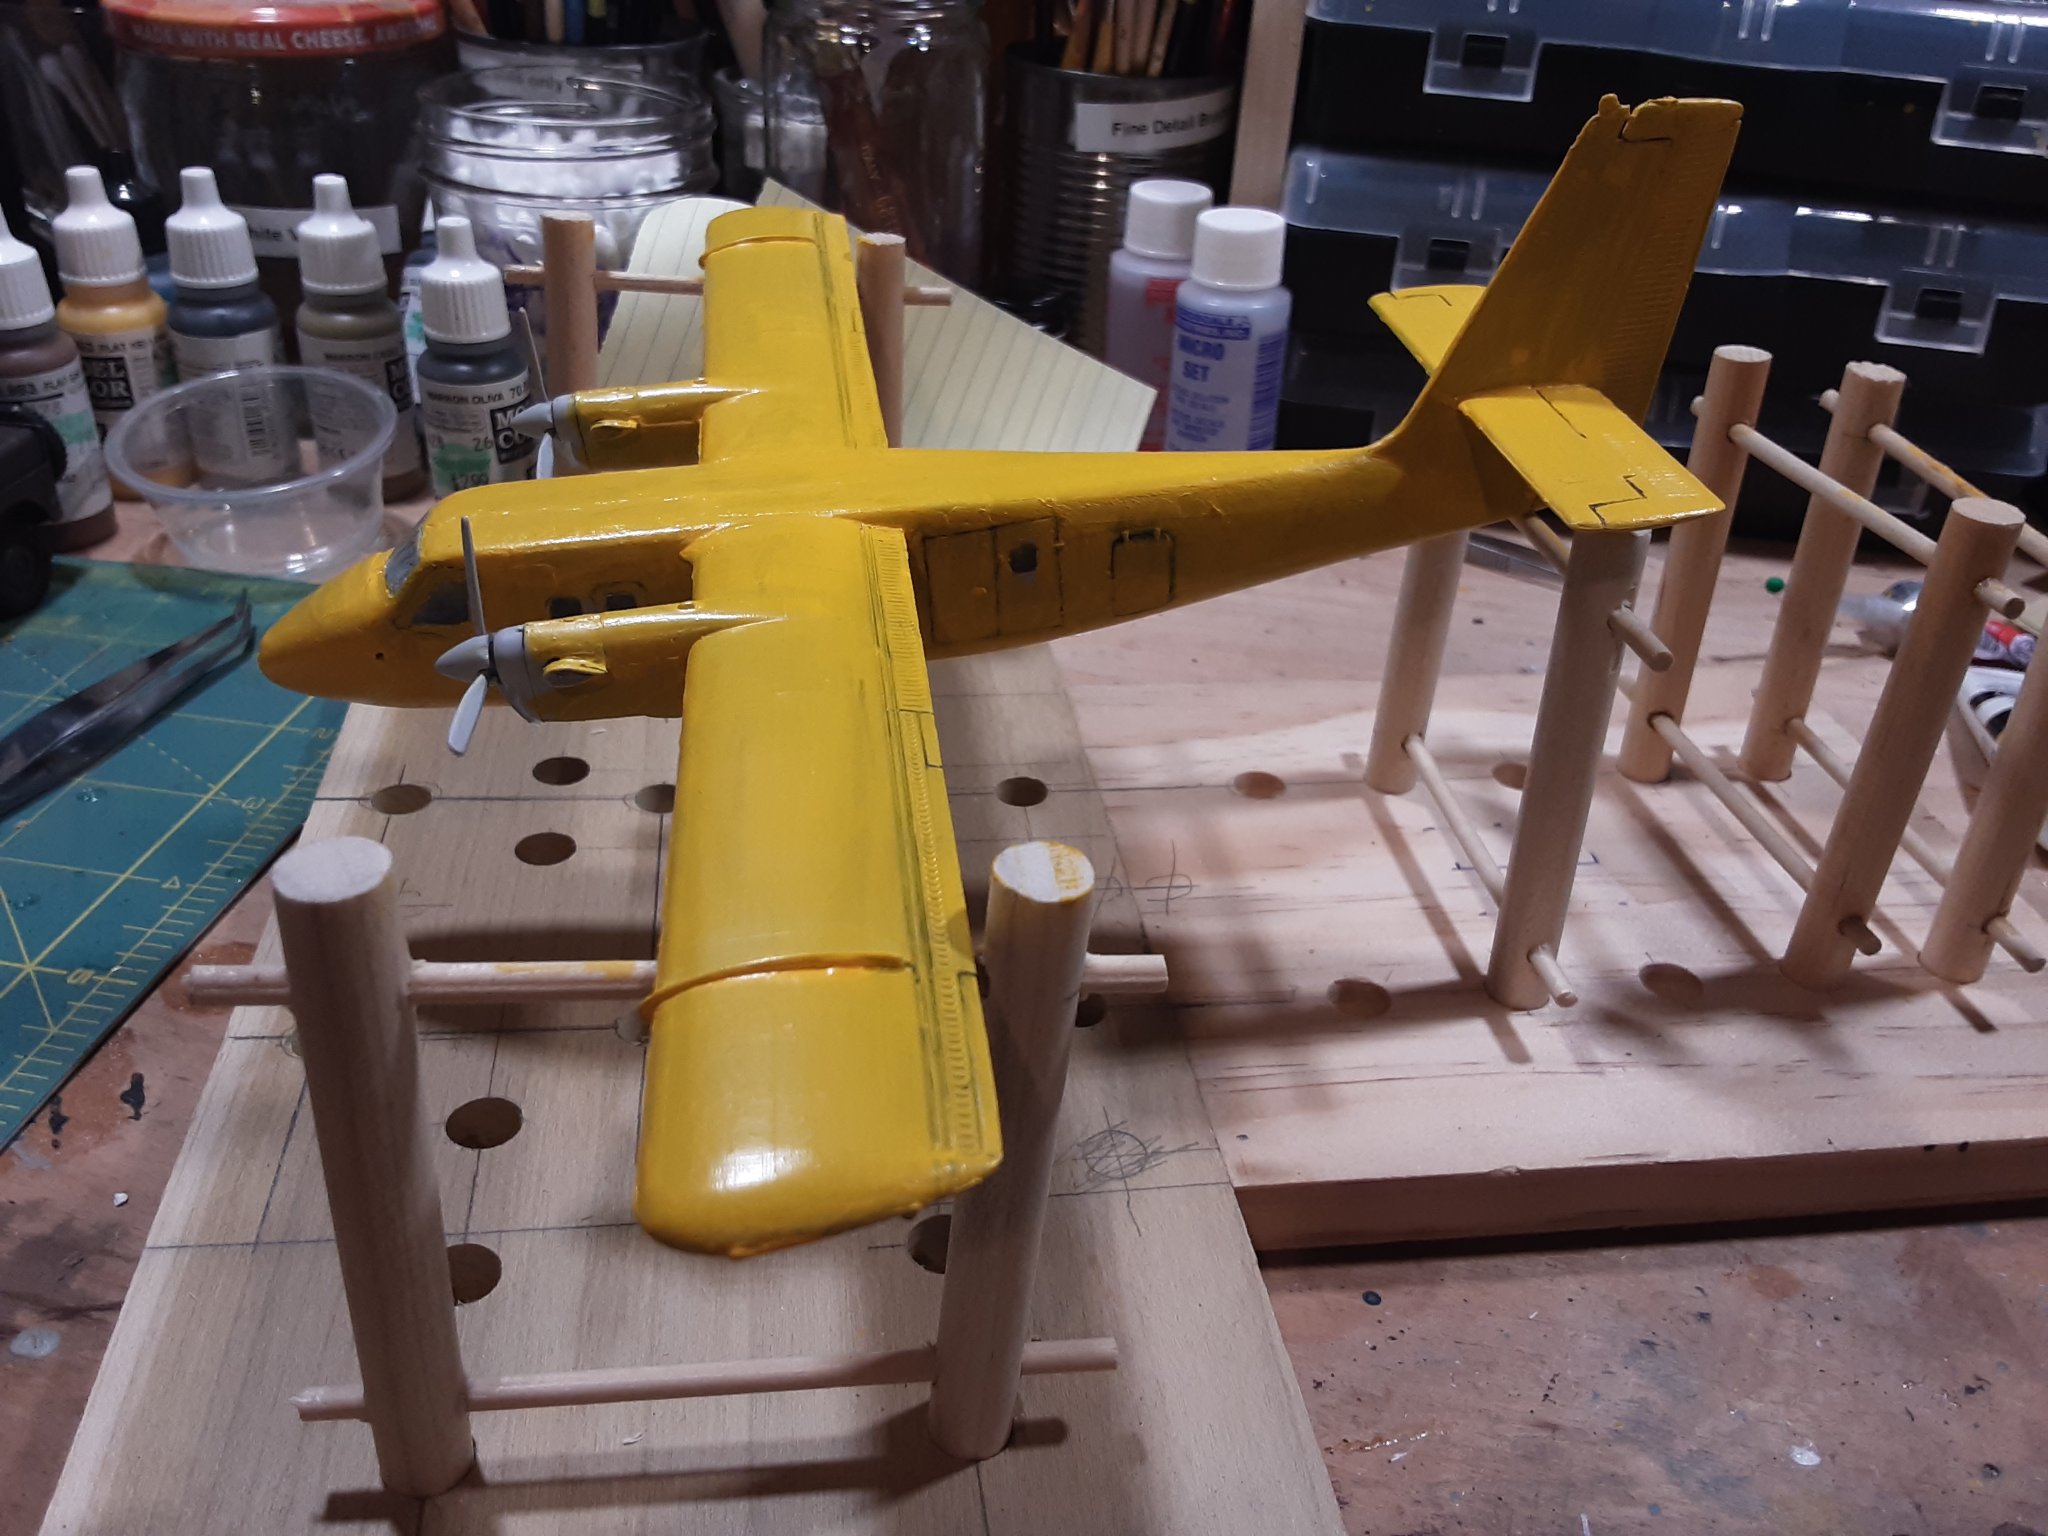
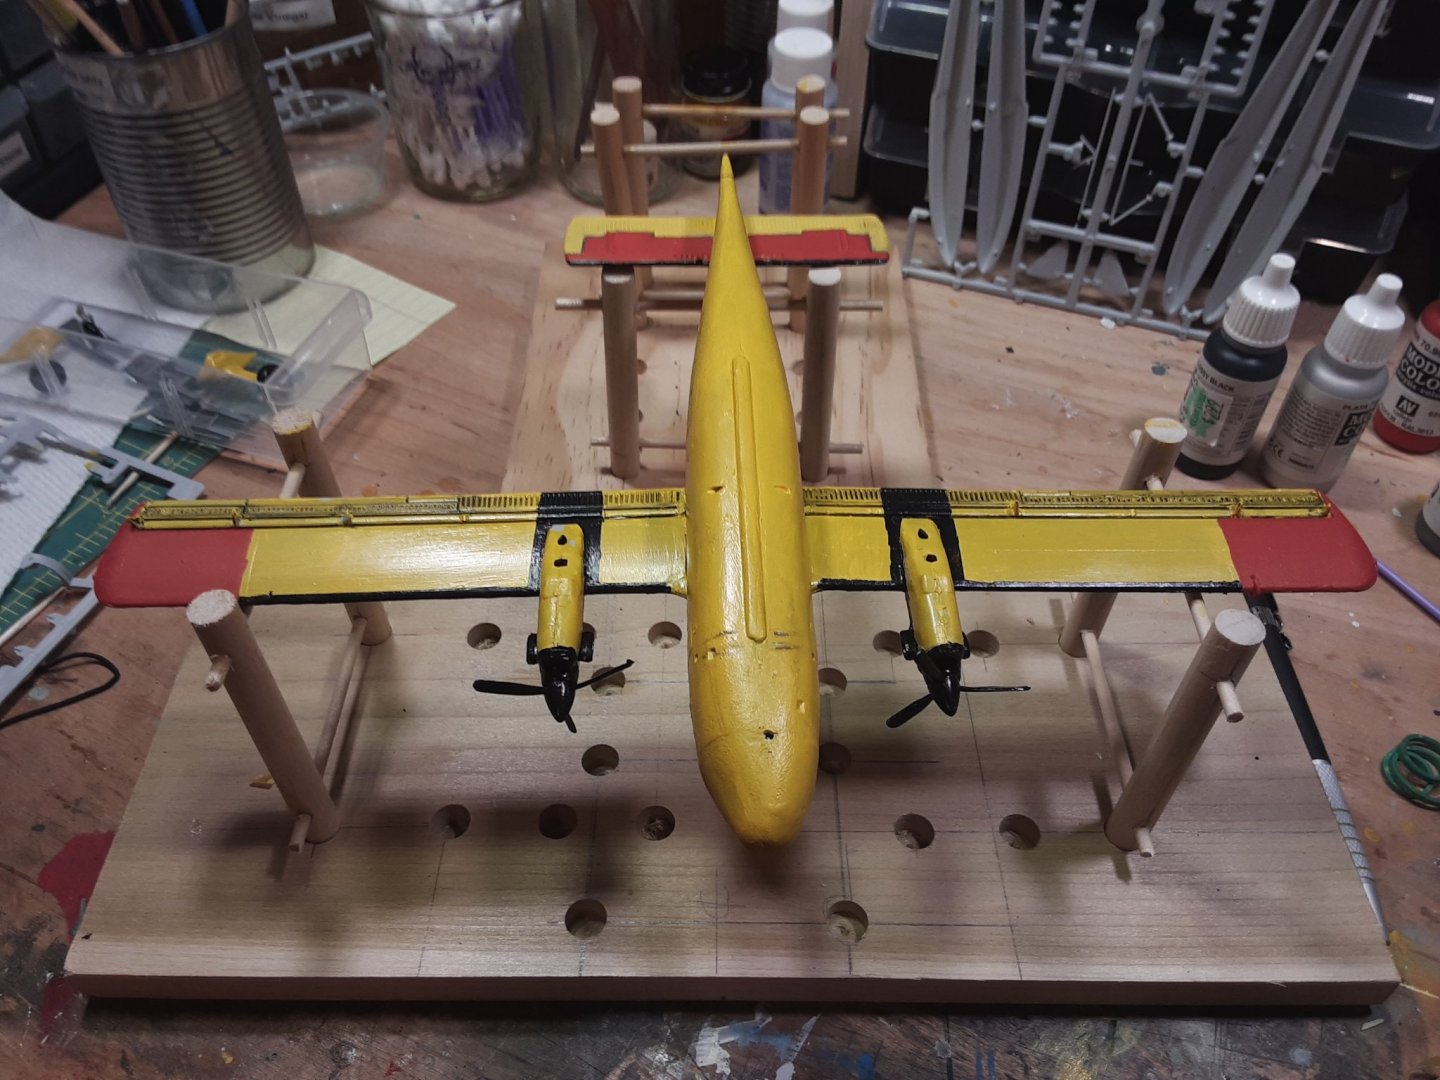
Moving along with the disaster recovery, added the black and red accents to the wings Yes, I copied Javlin's jig, doesn't look as nice as his but it works.

- 71 replies
-
- 10
-

-
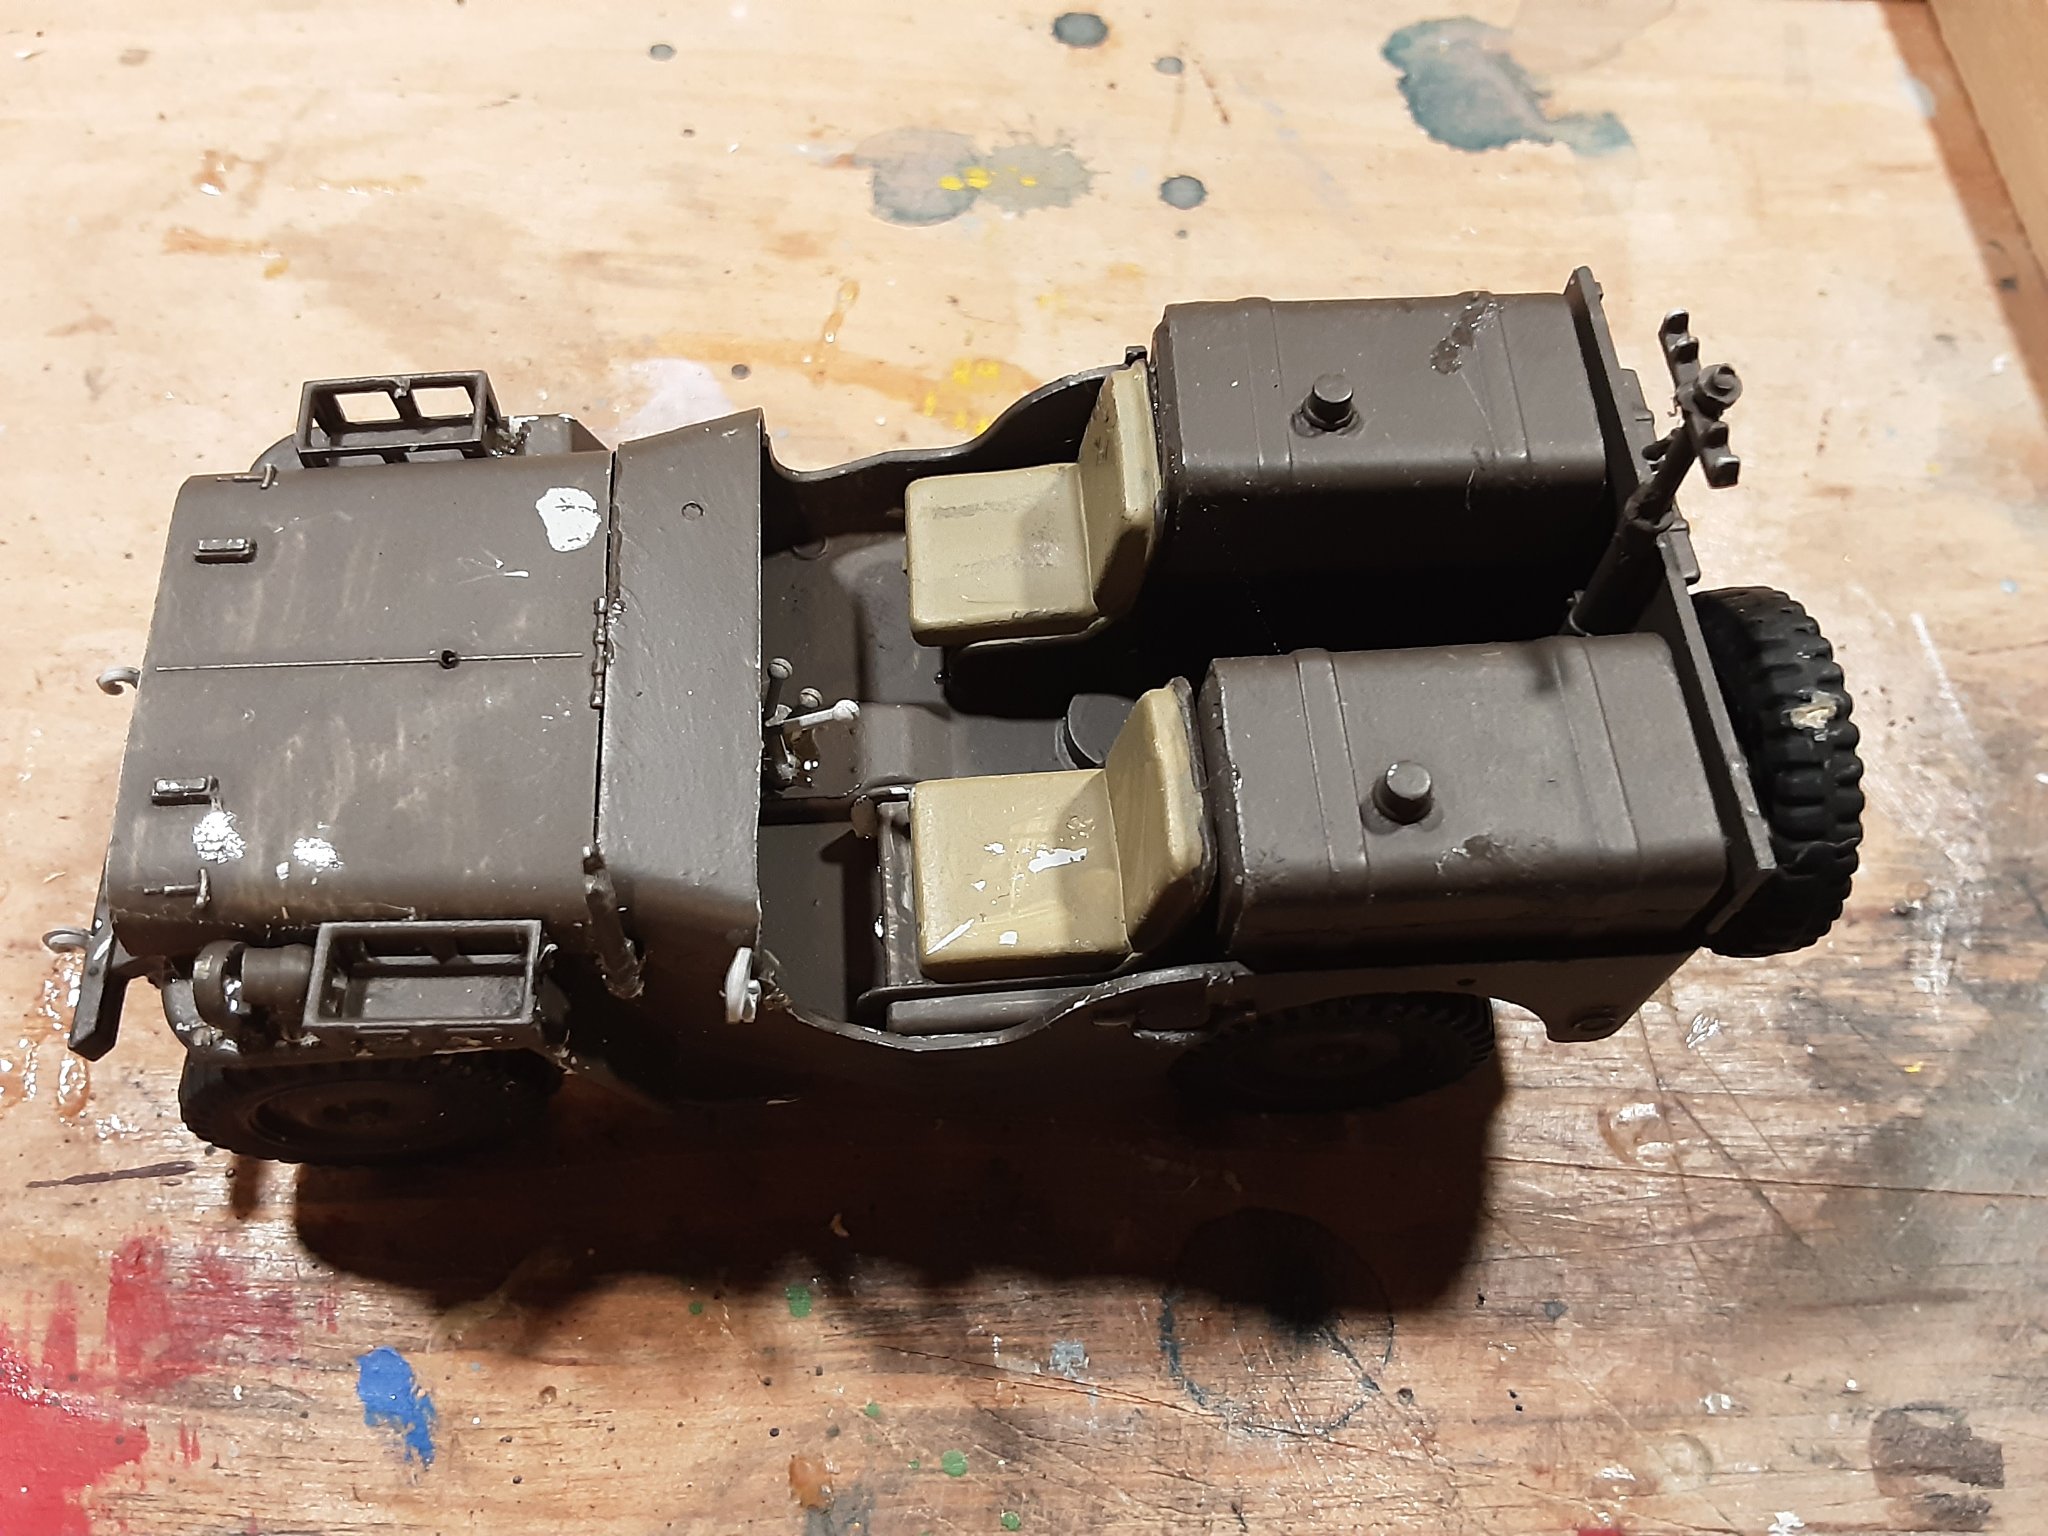
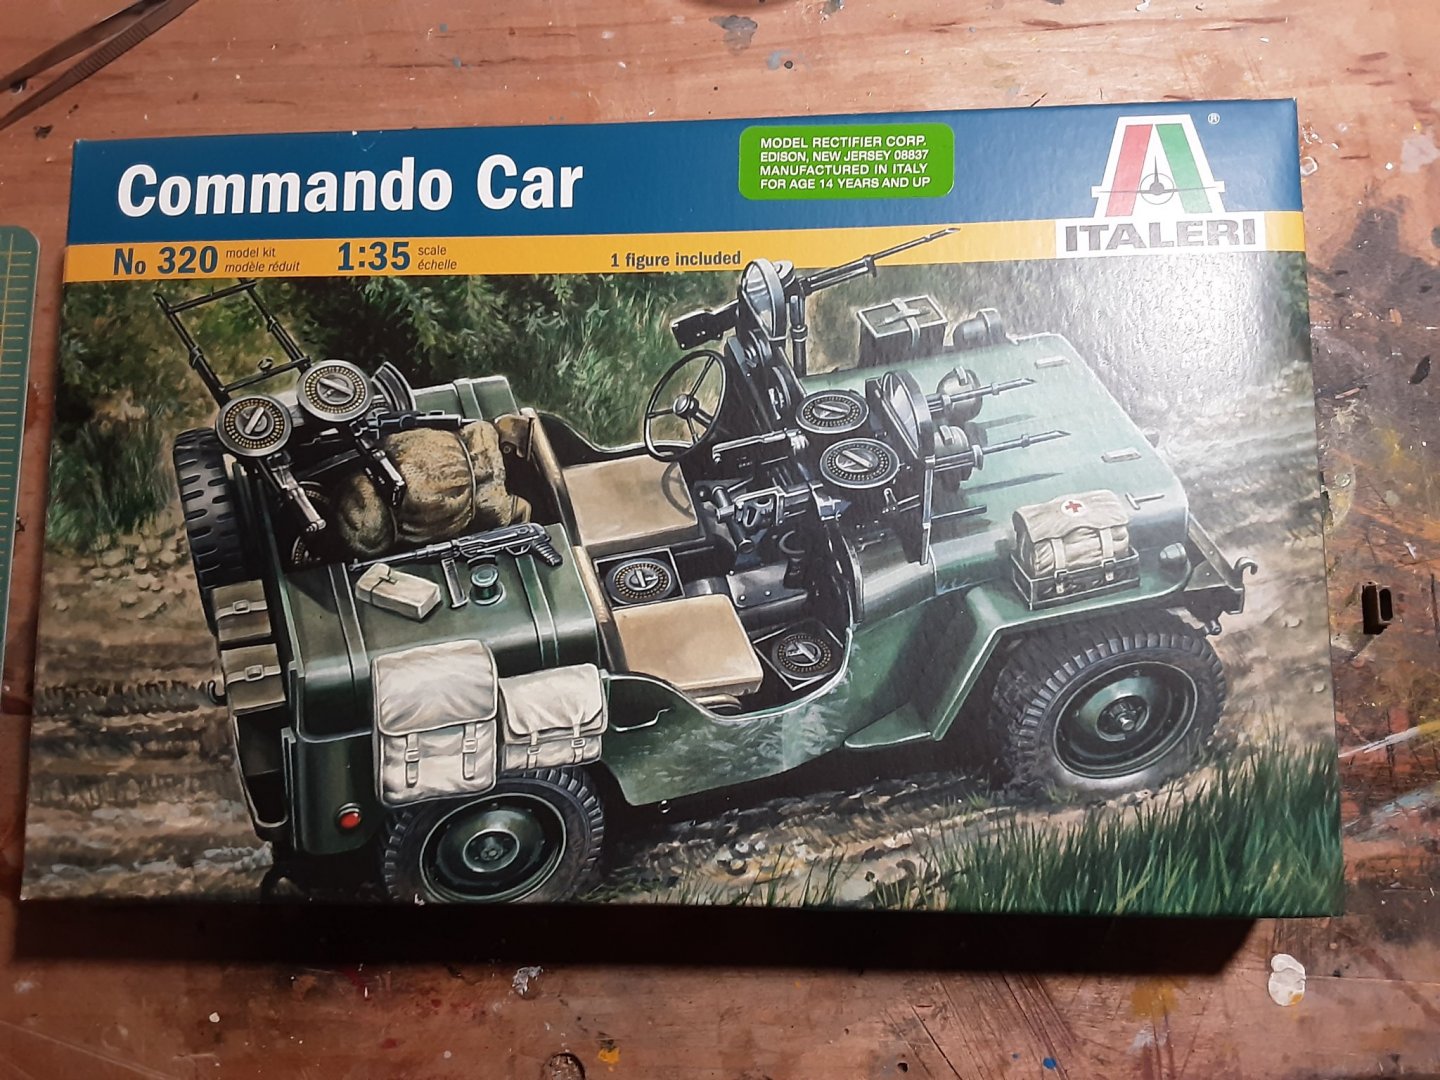
Almost ! But a tad bit more difficulty 😉 I also have the Italeri ambulance jeep kit, same style as this one. Have another one to sneak in 🤫
-
Thanks EG
-
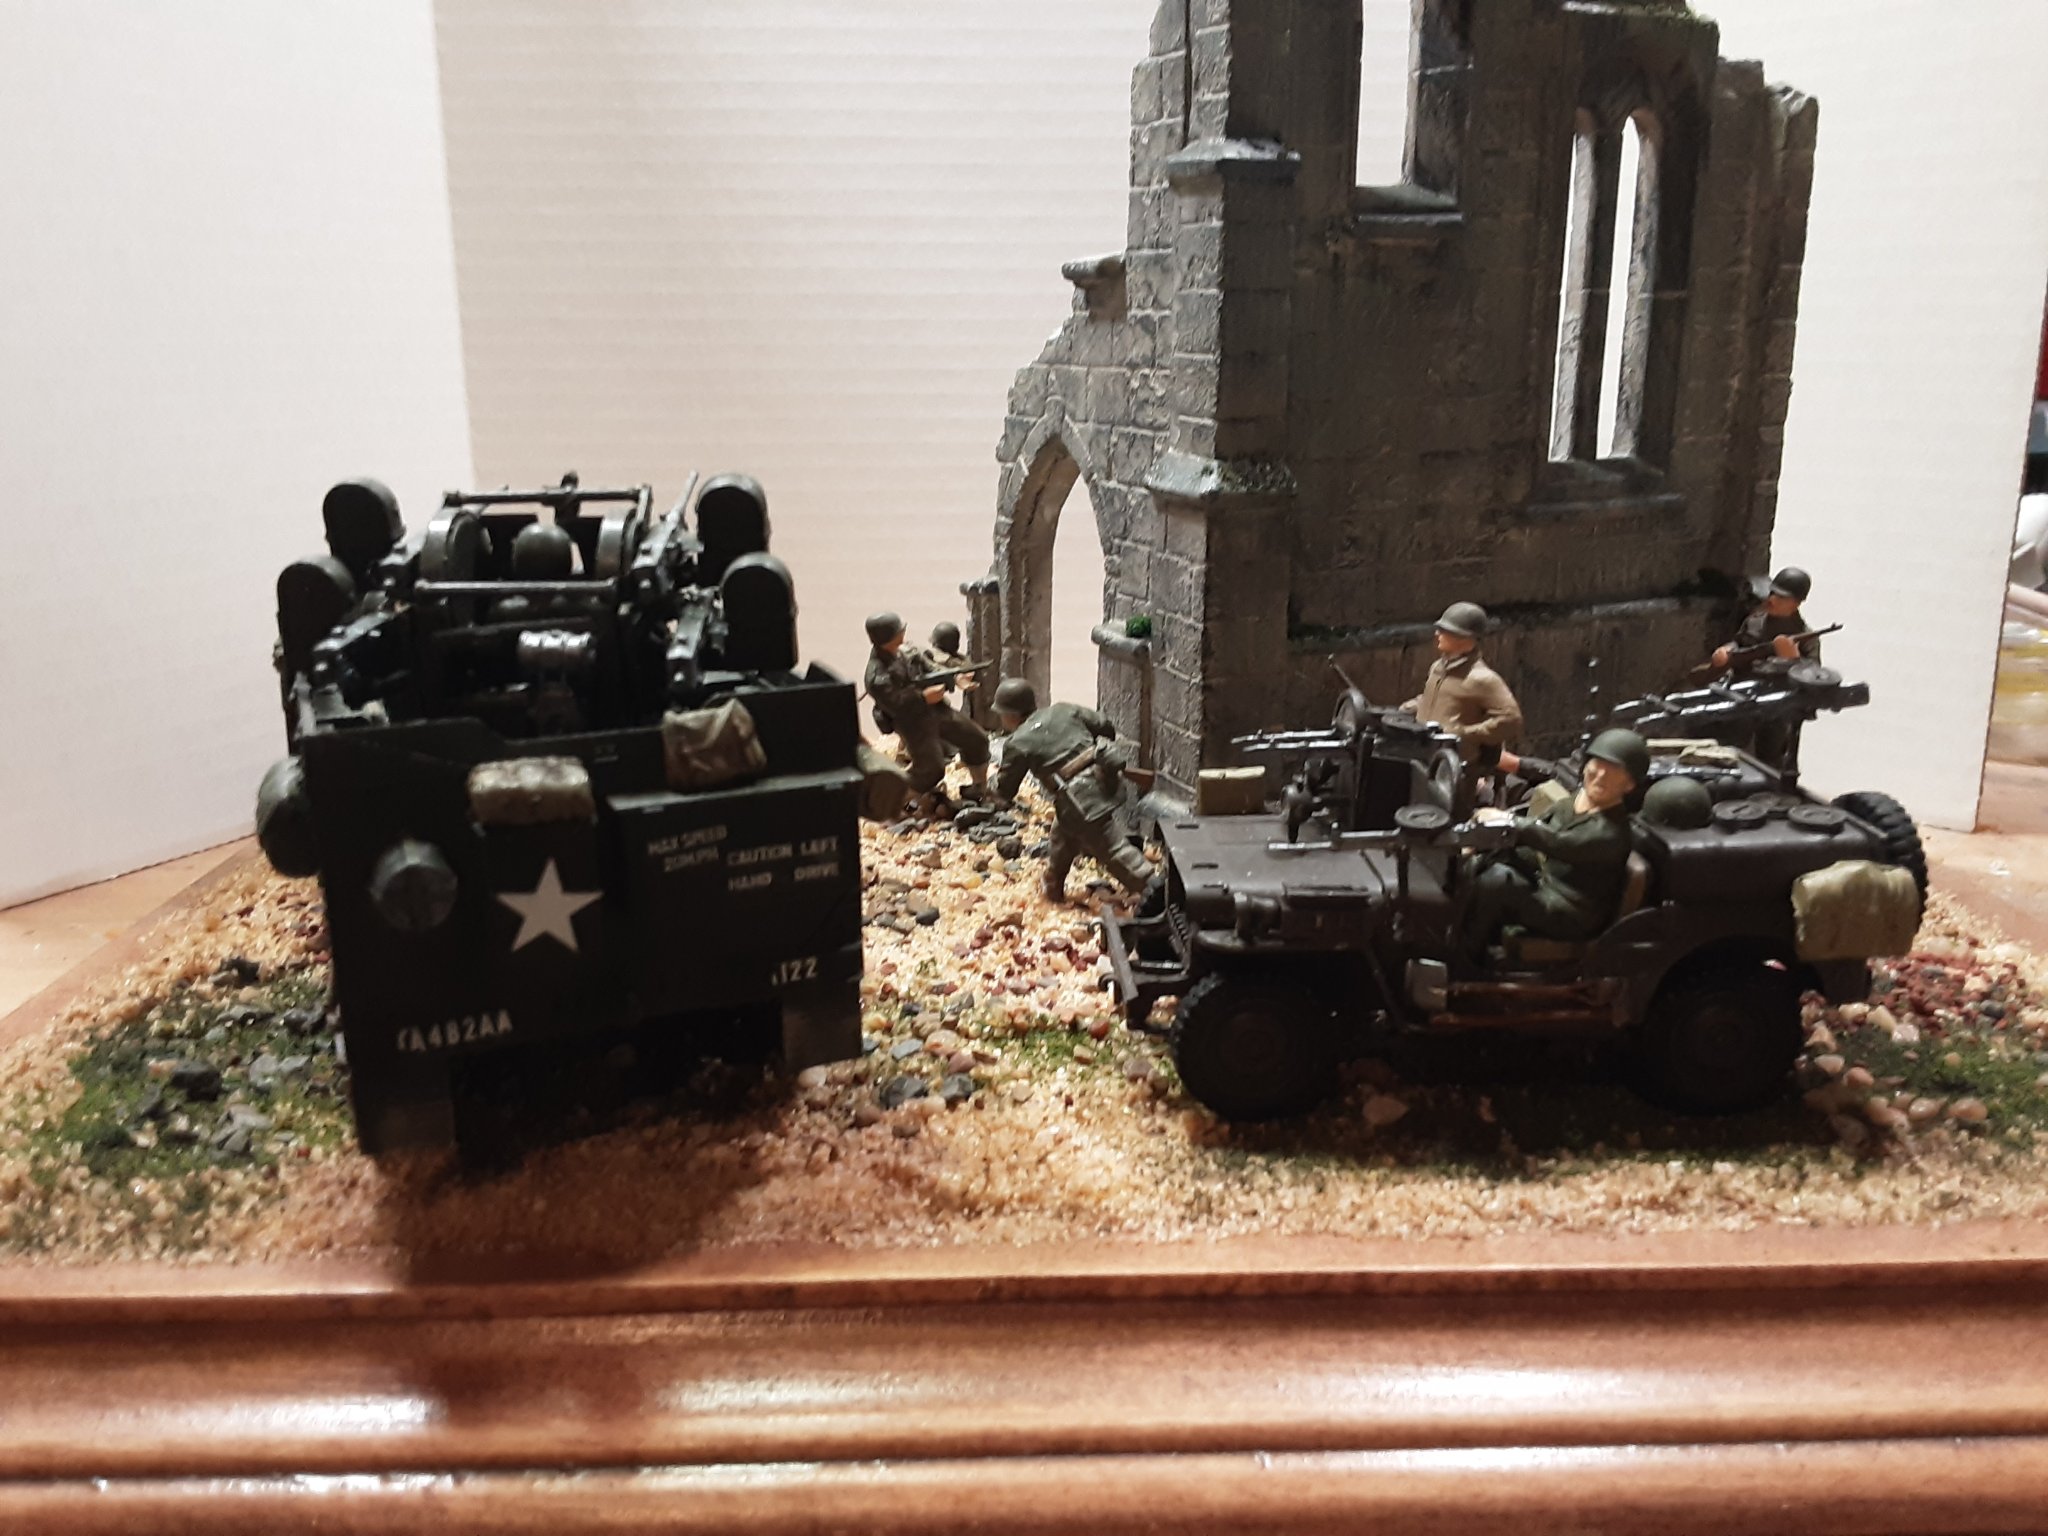
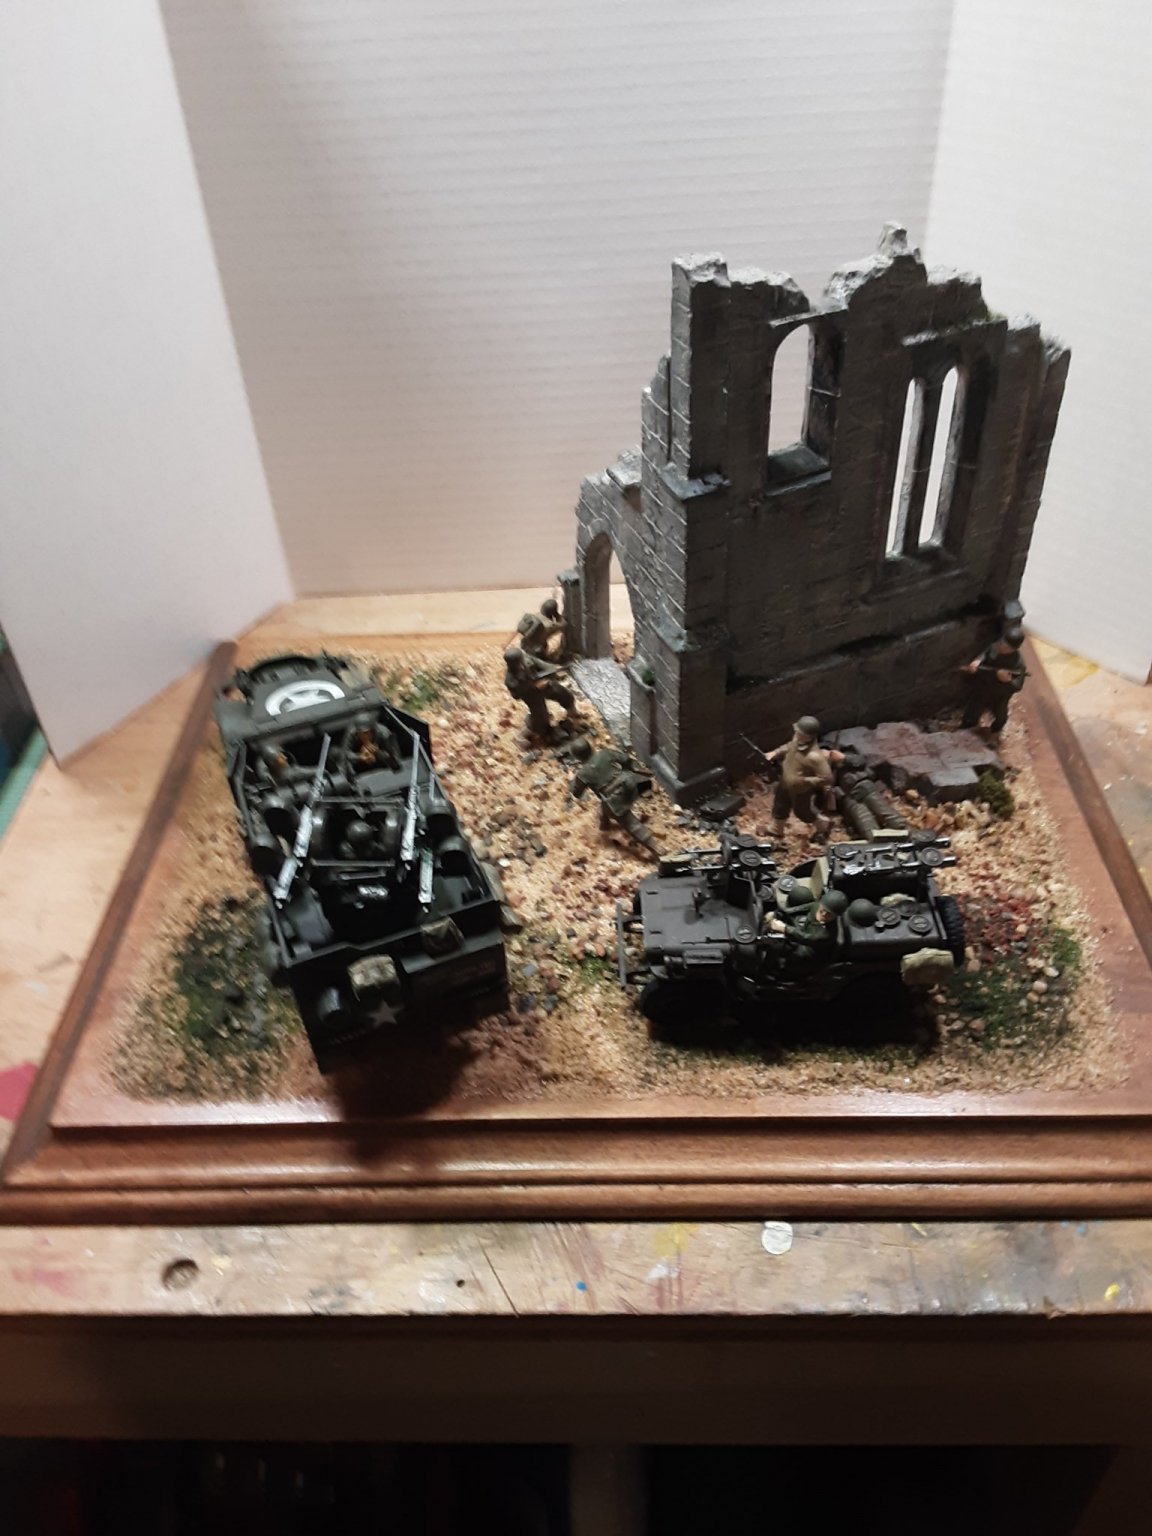
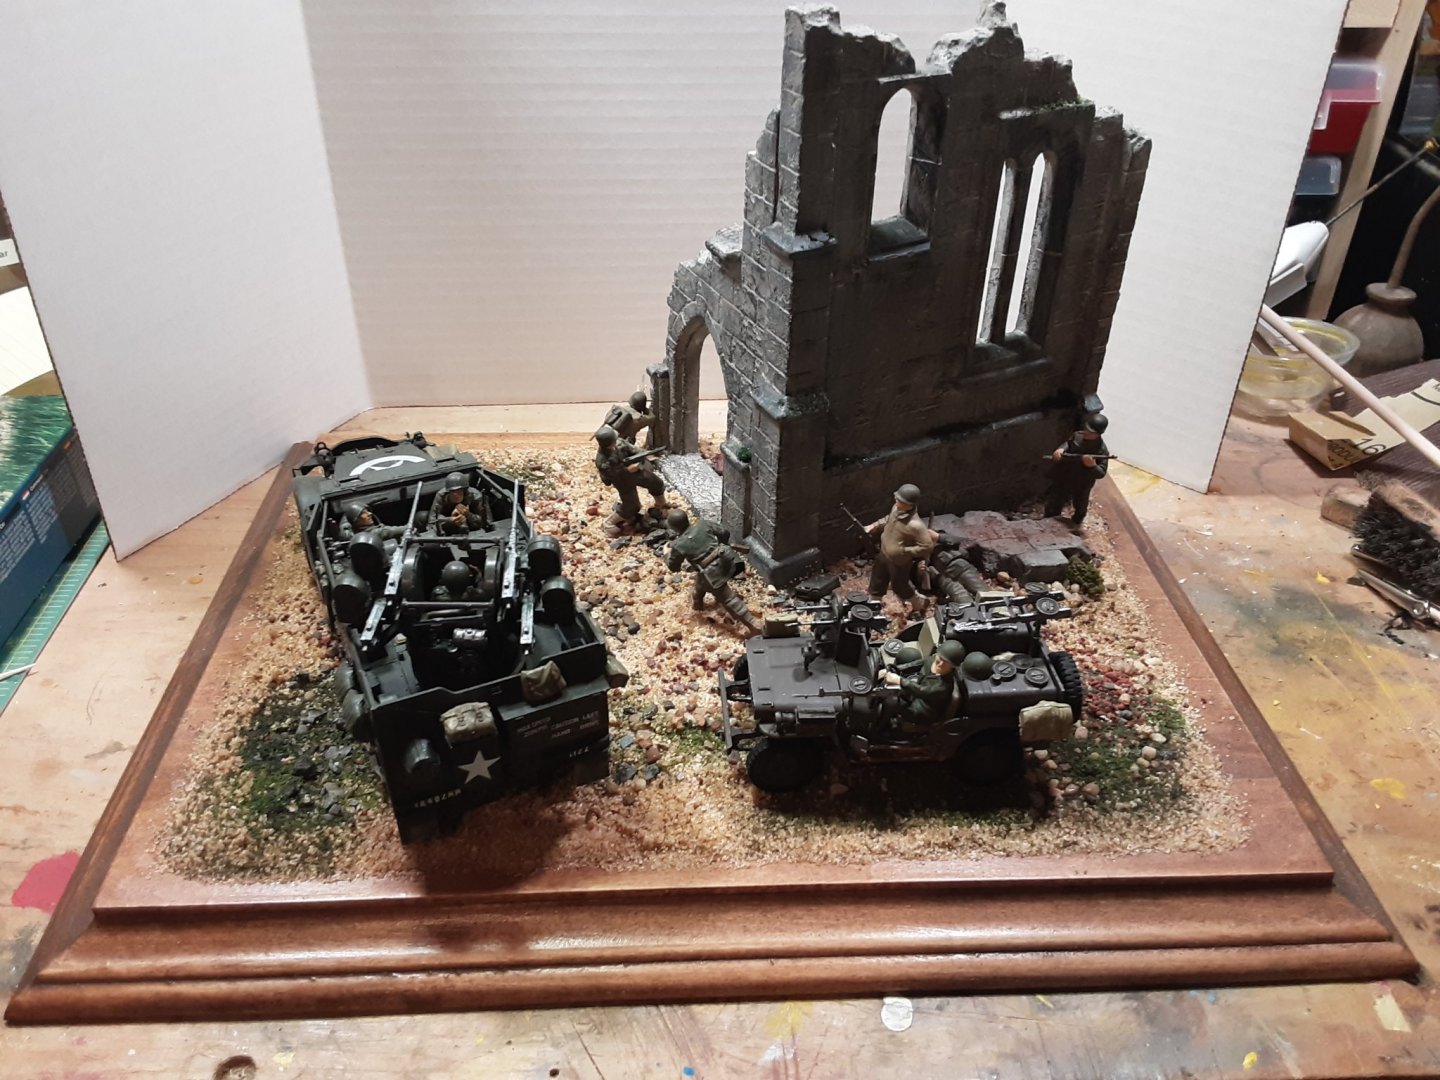
And finished and for now added to my earlier diorama, until I find another display option


- 27 replies
-
- 11
-
-

-
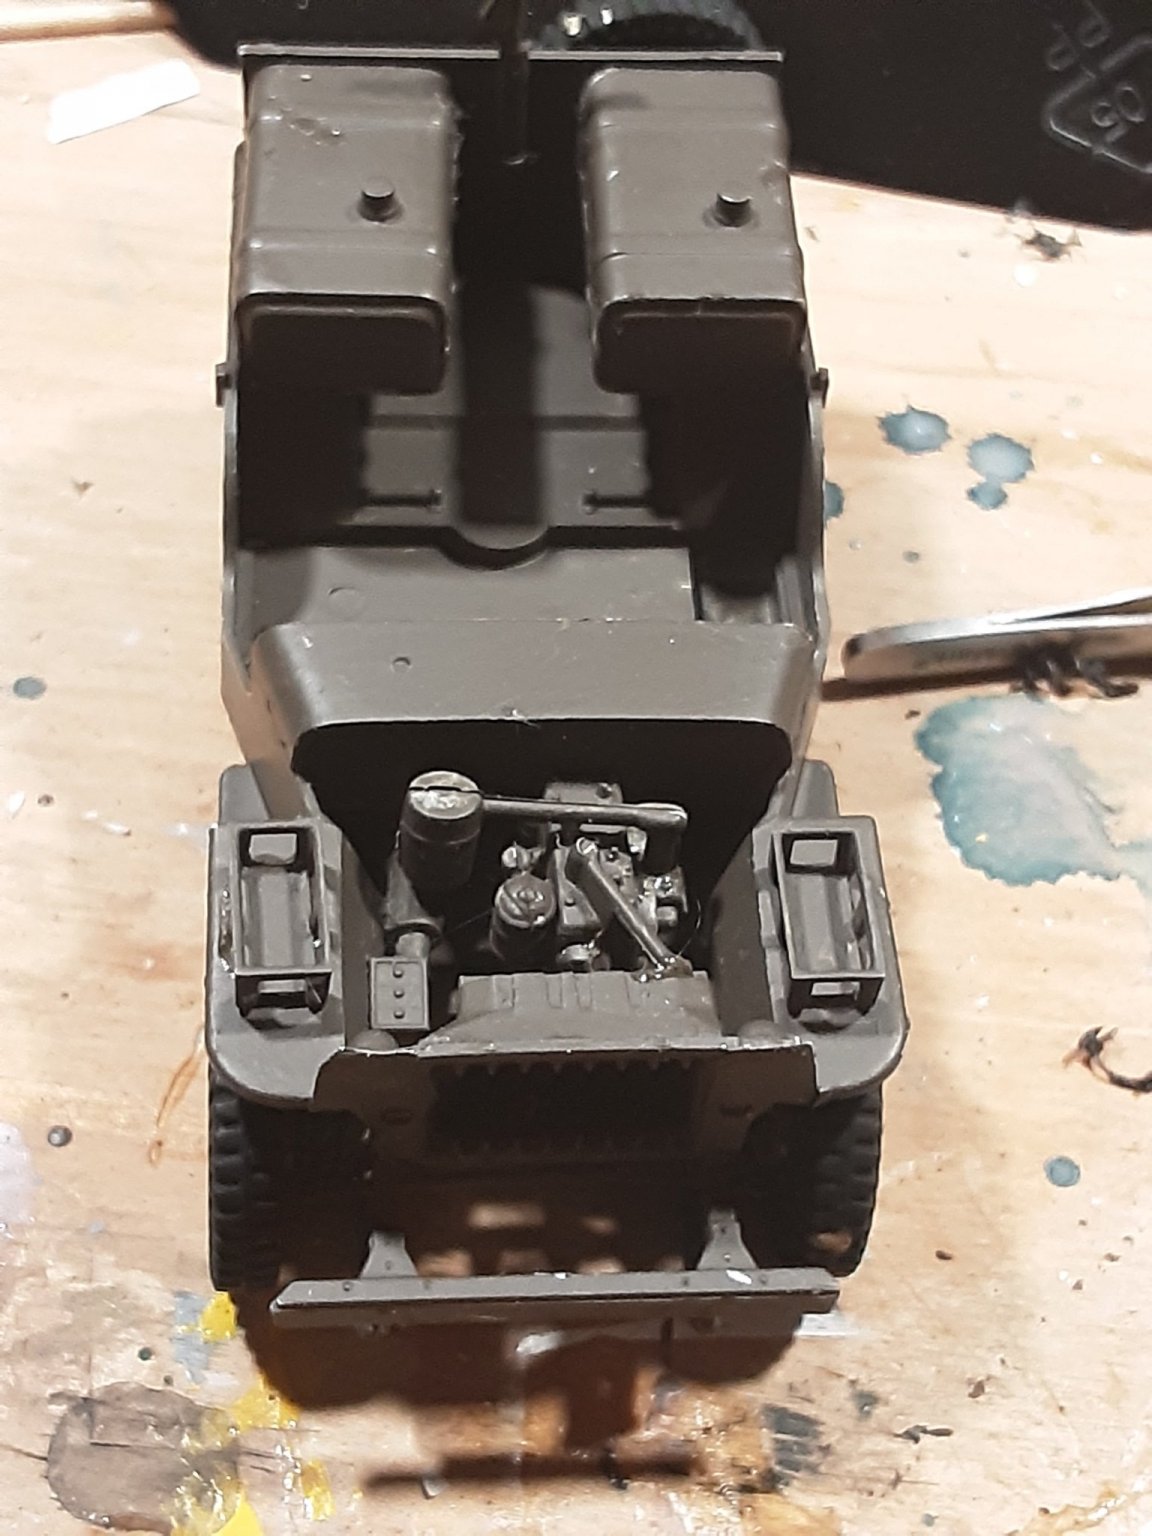
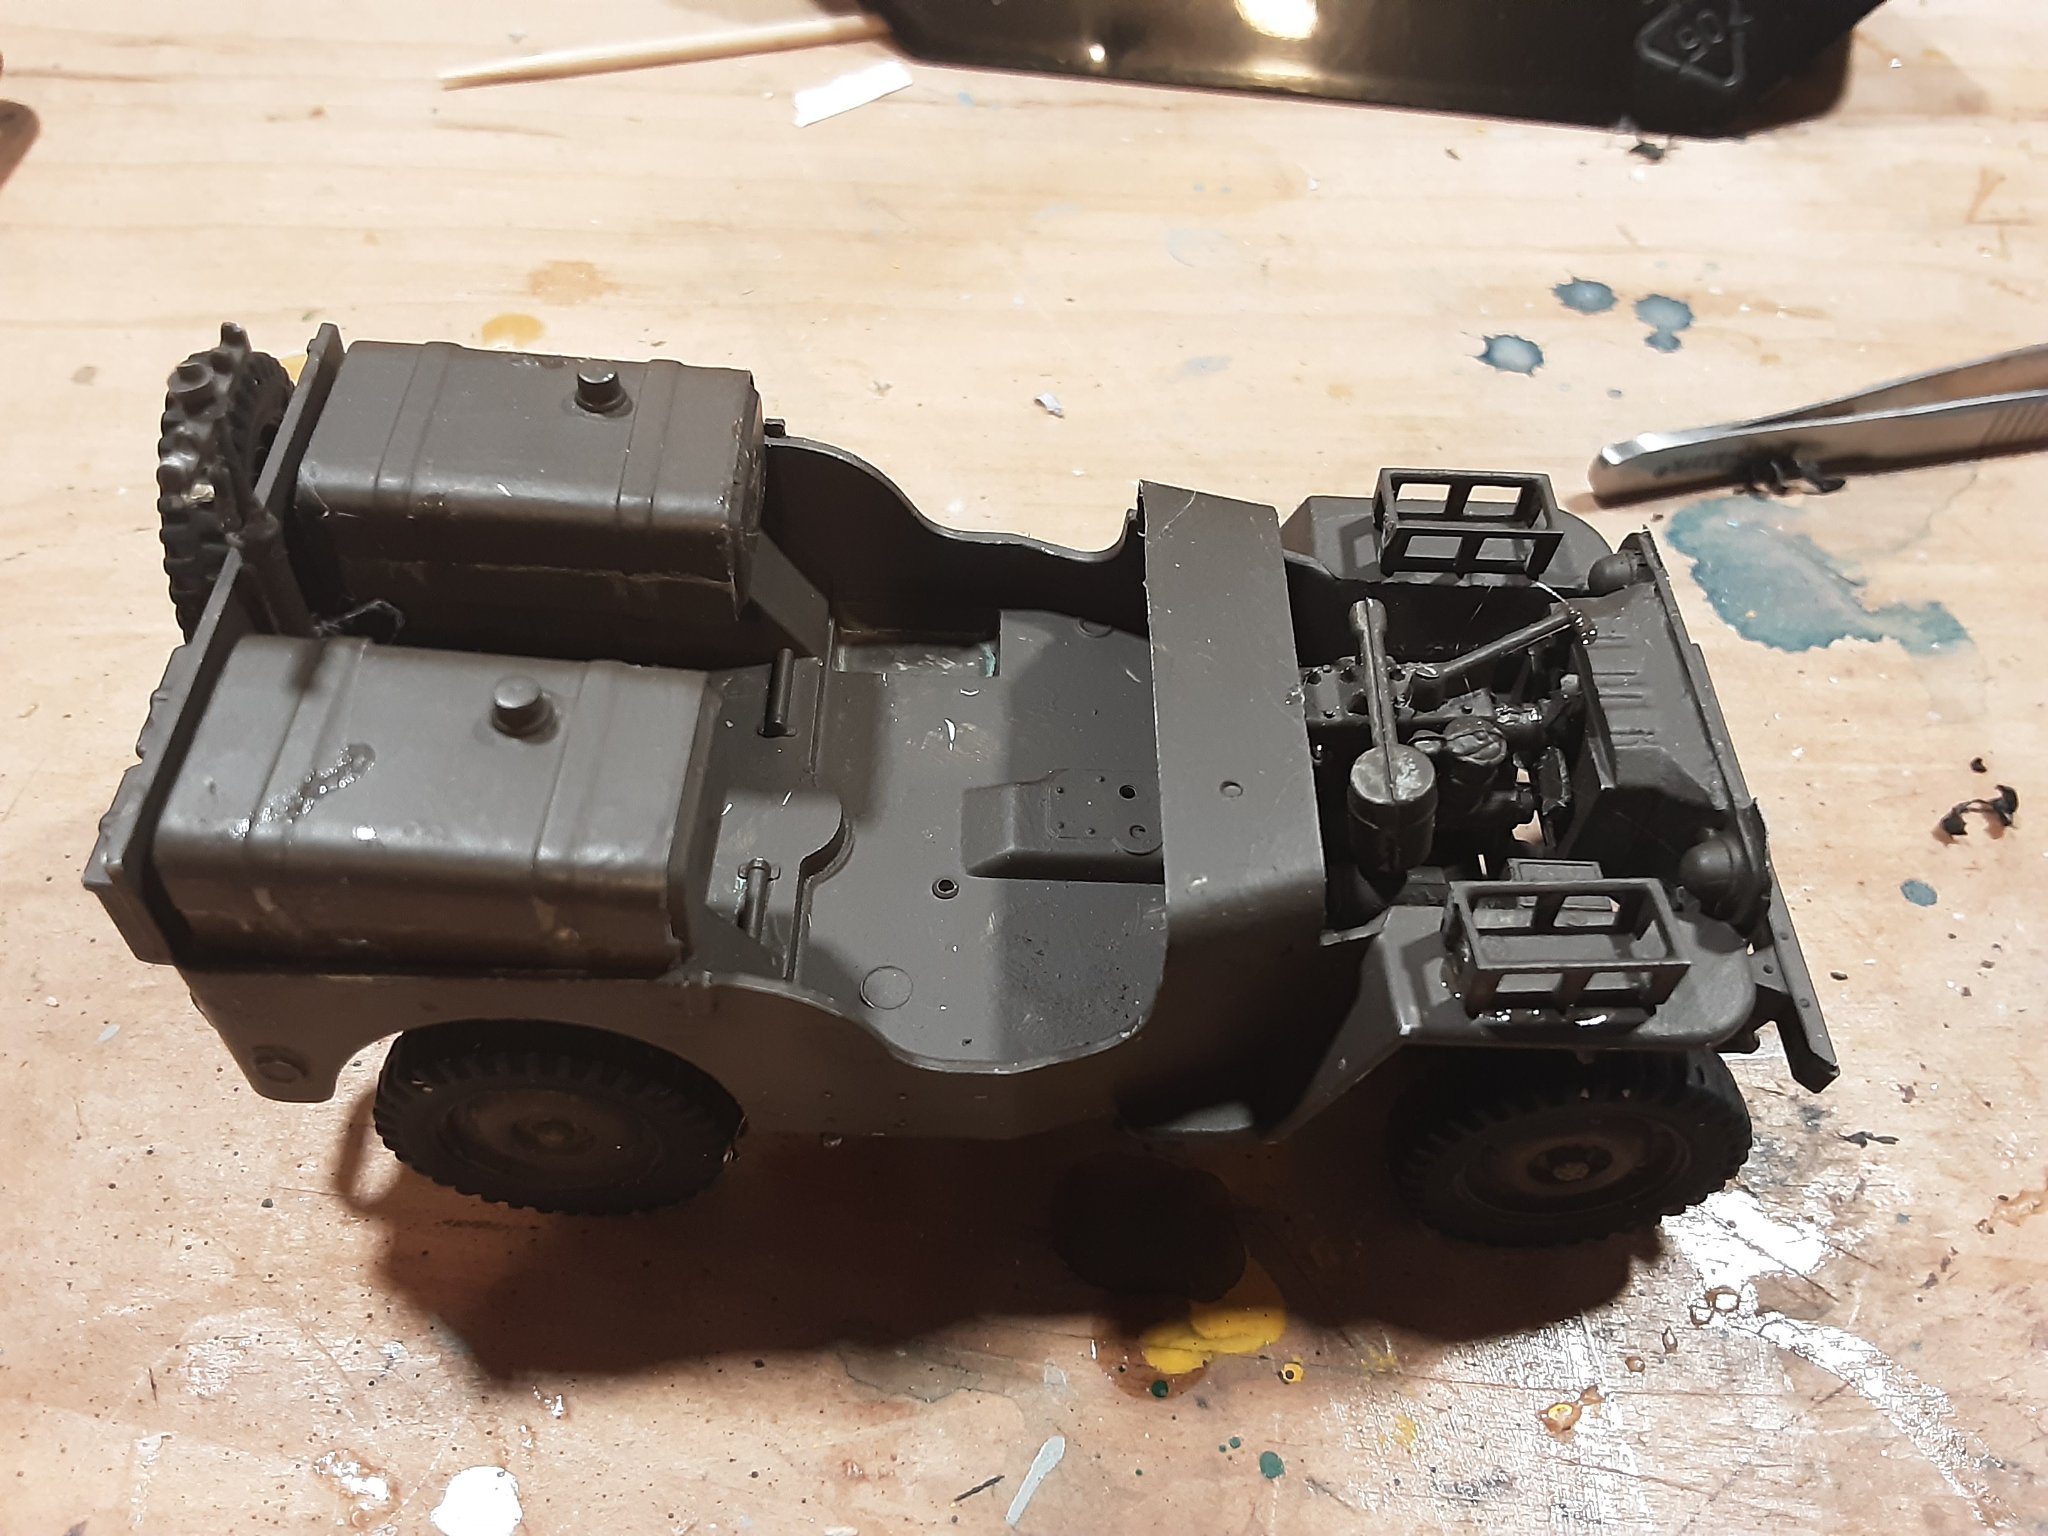
continuing along And finally


-
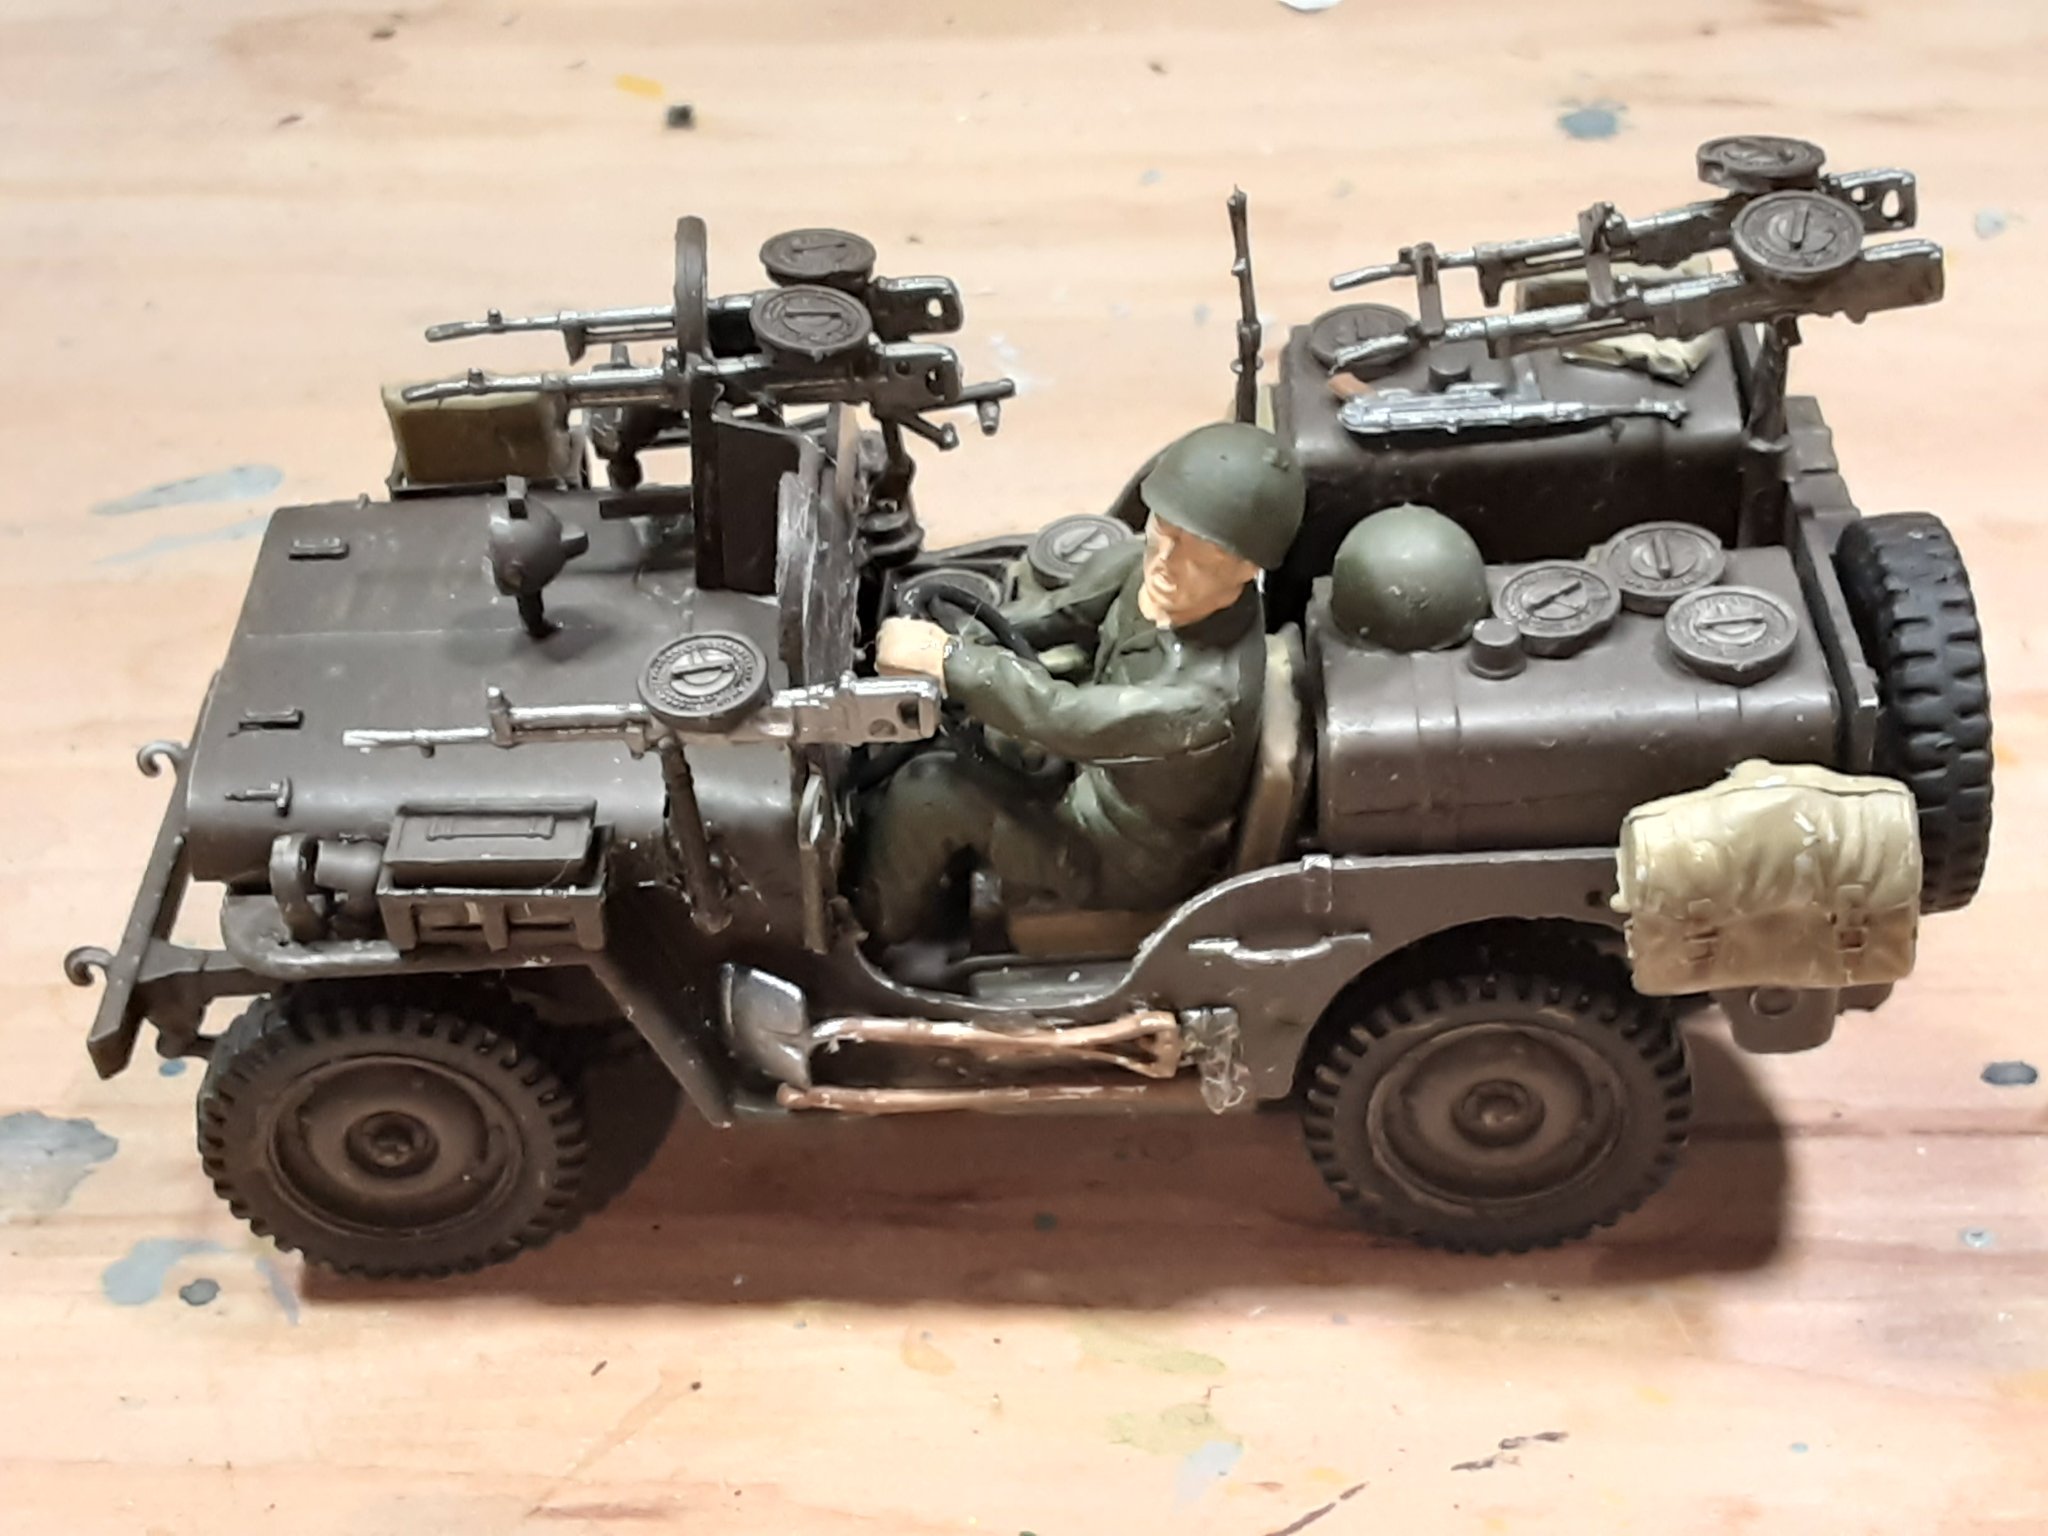
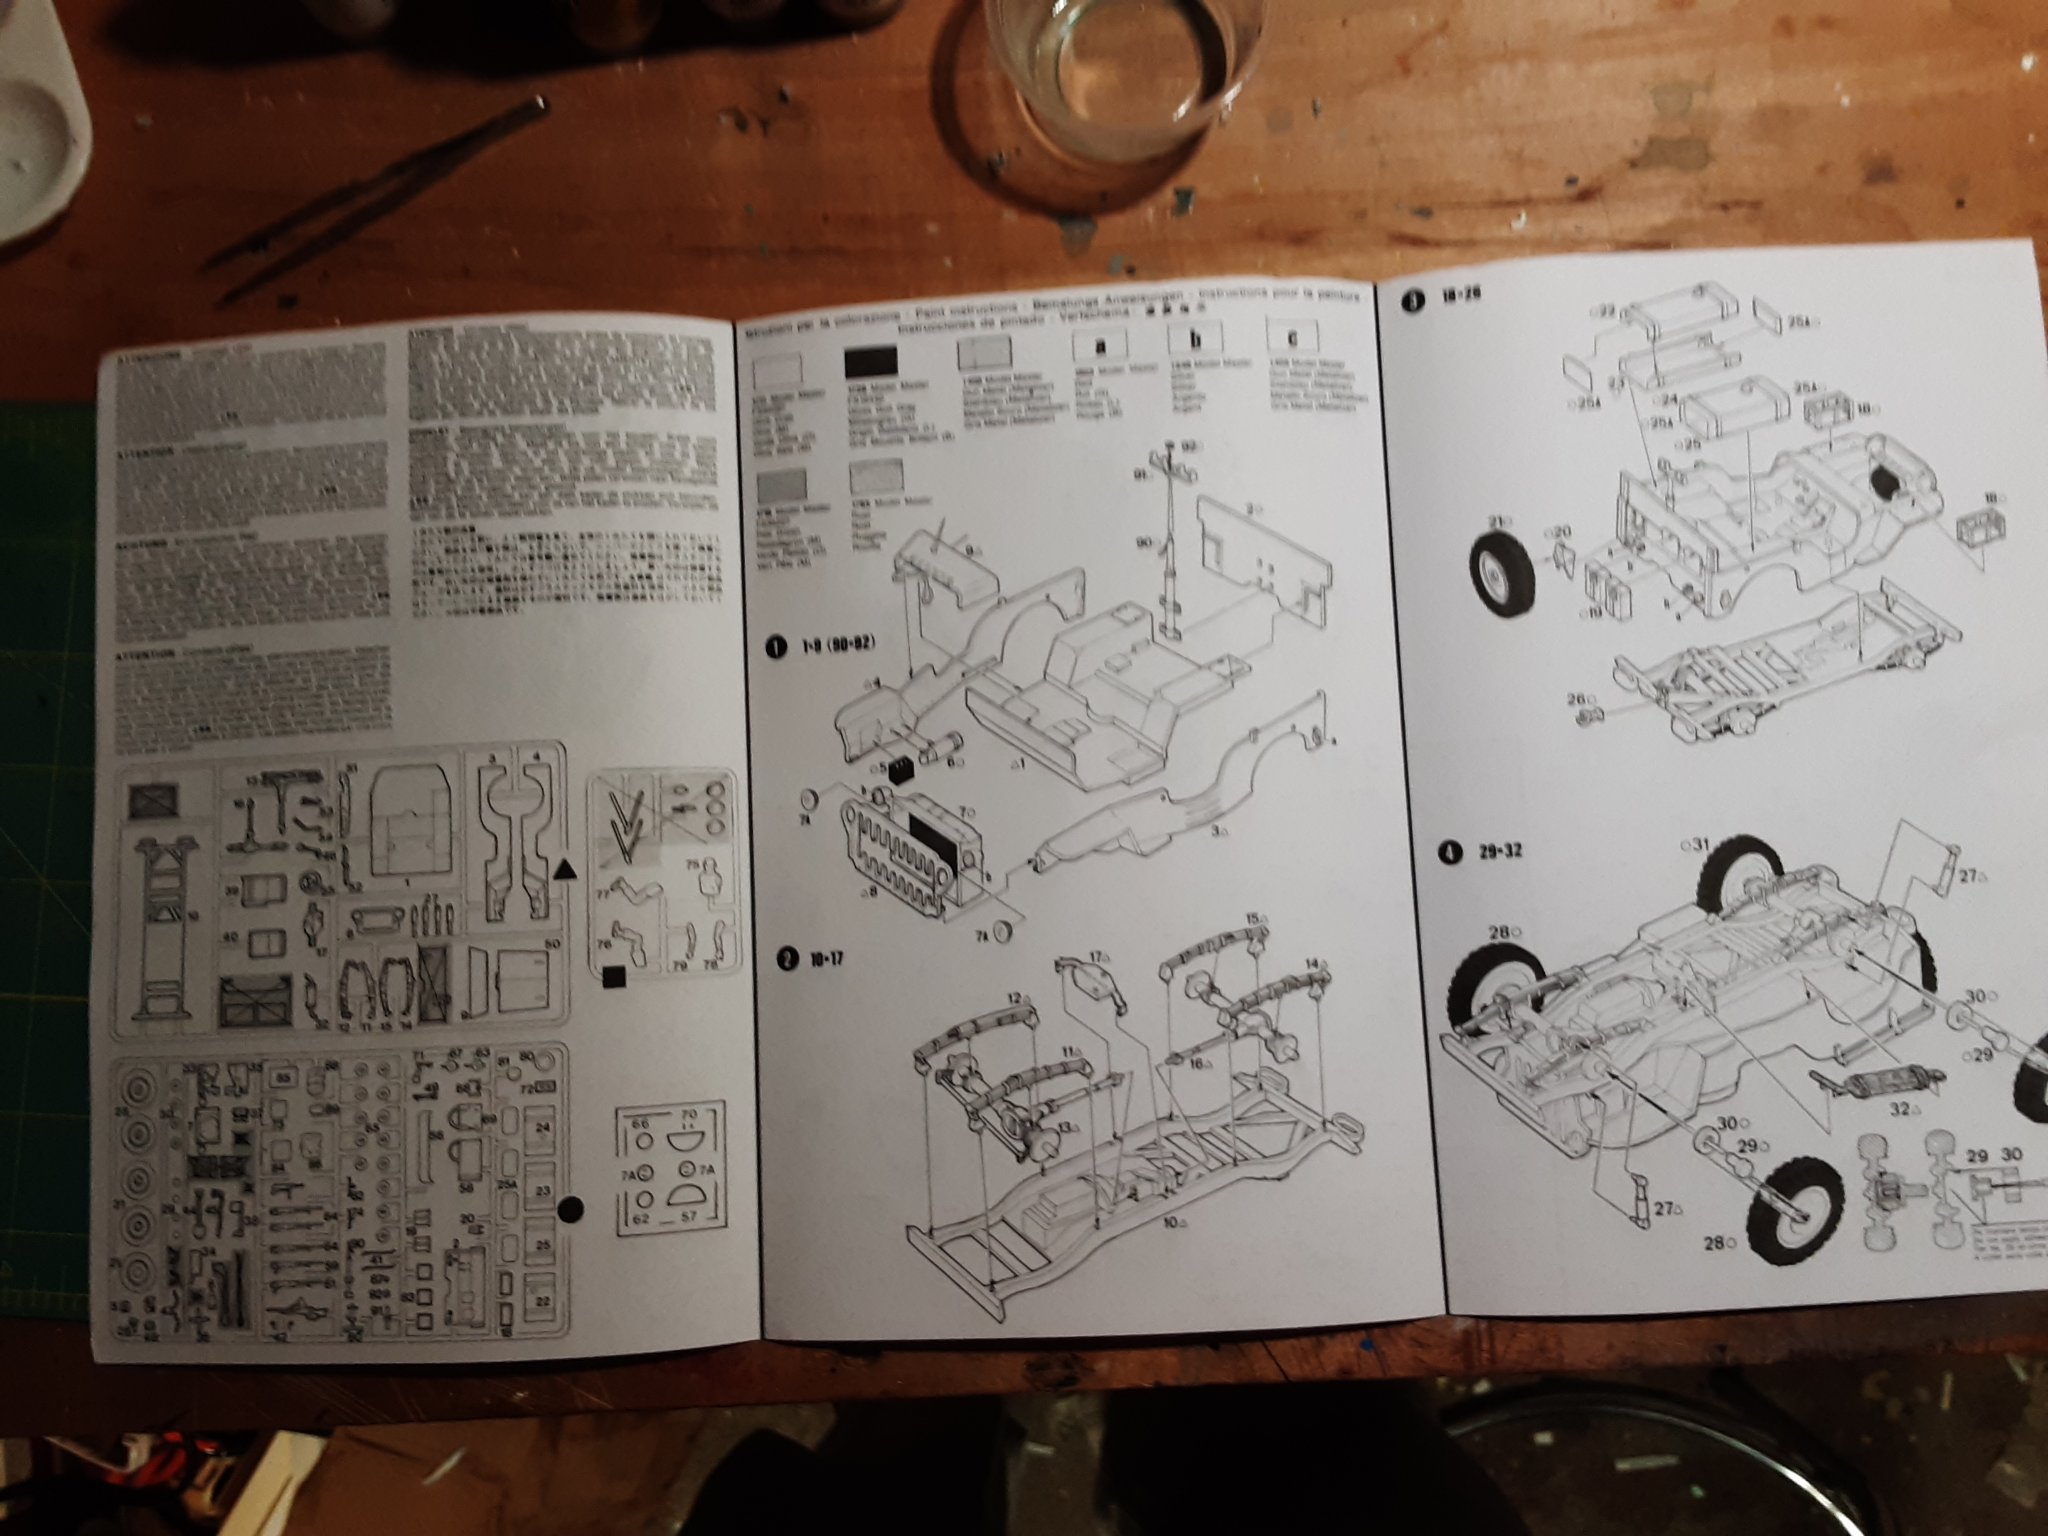
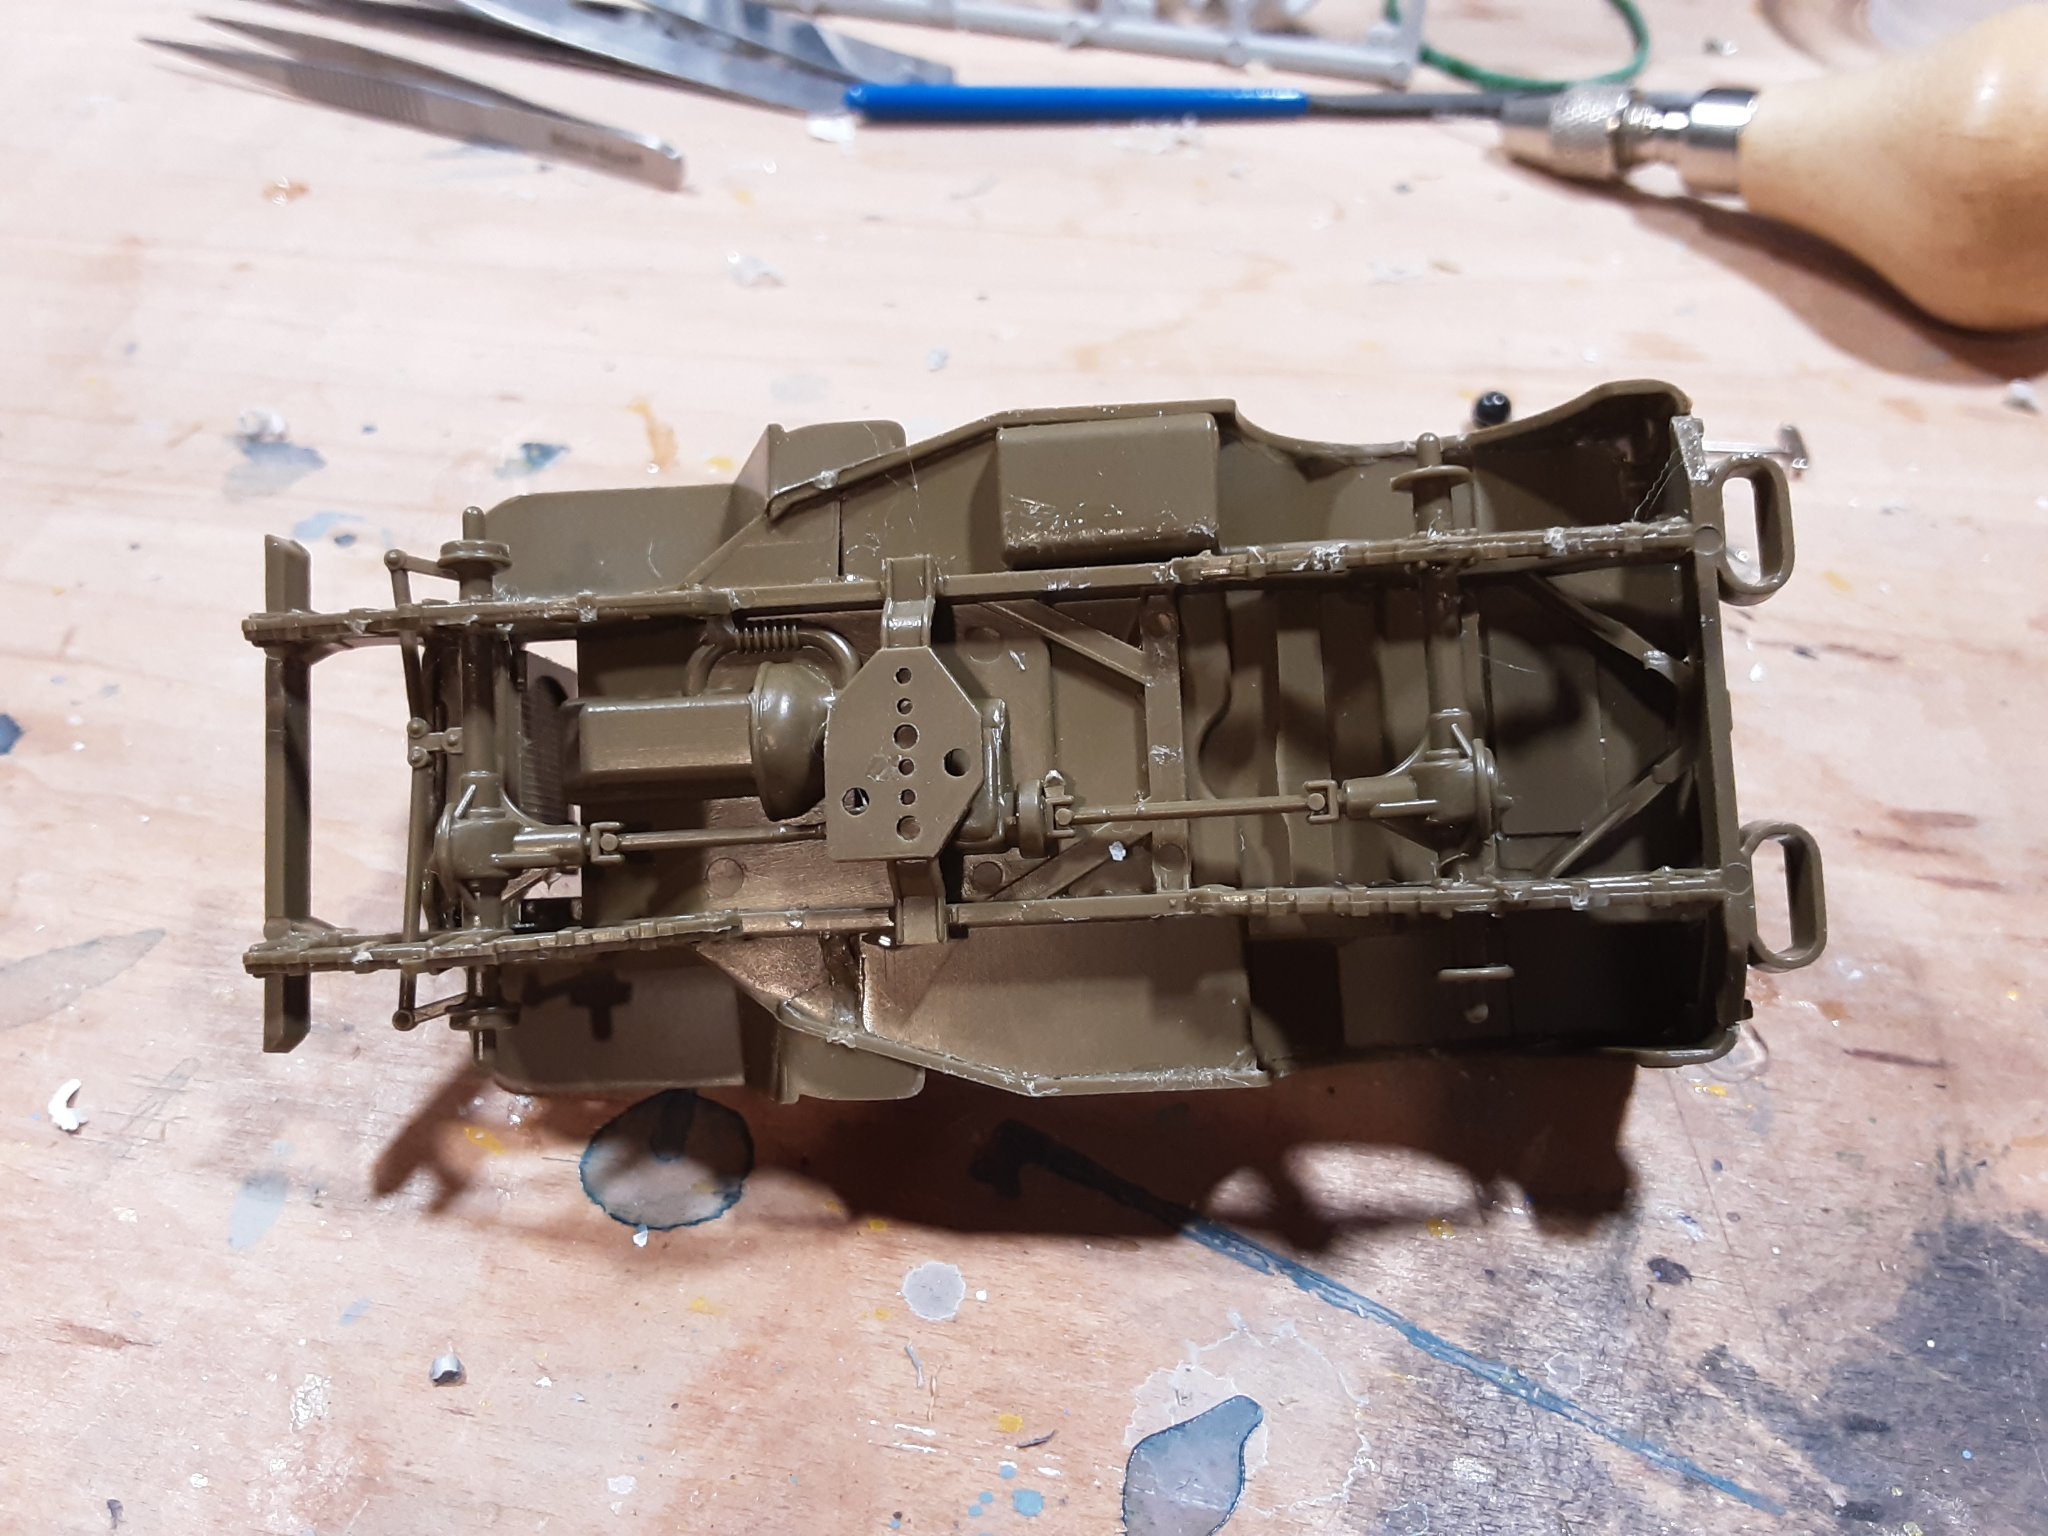
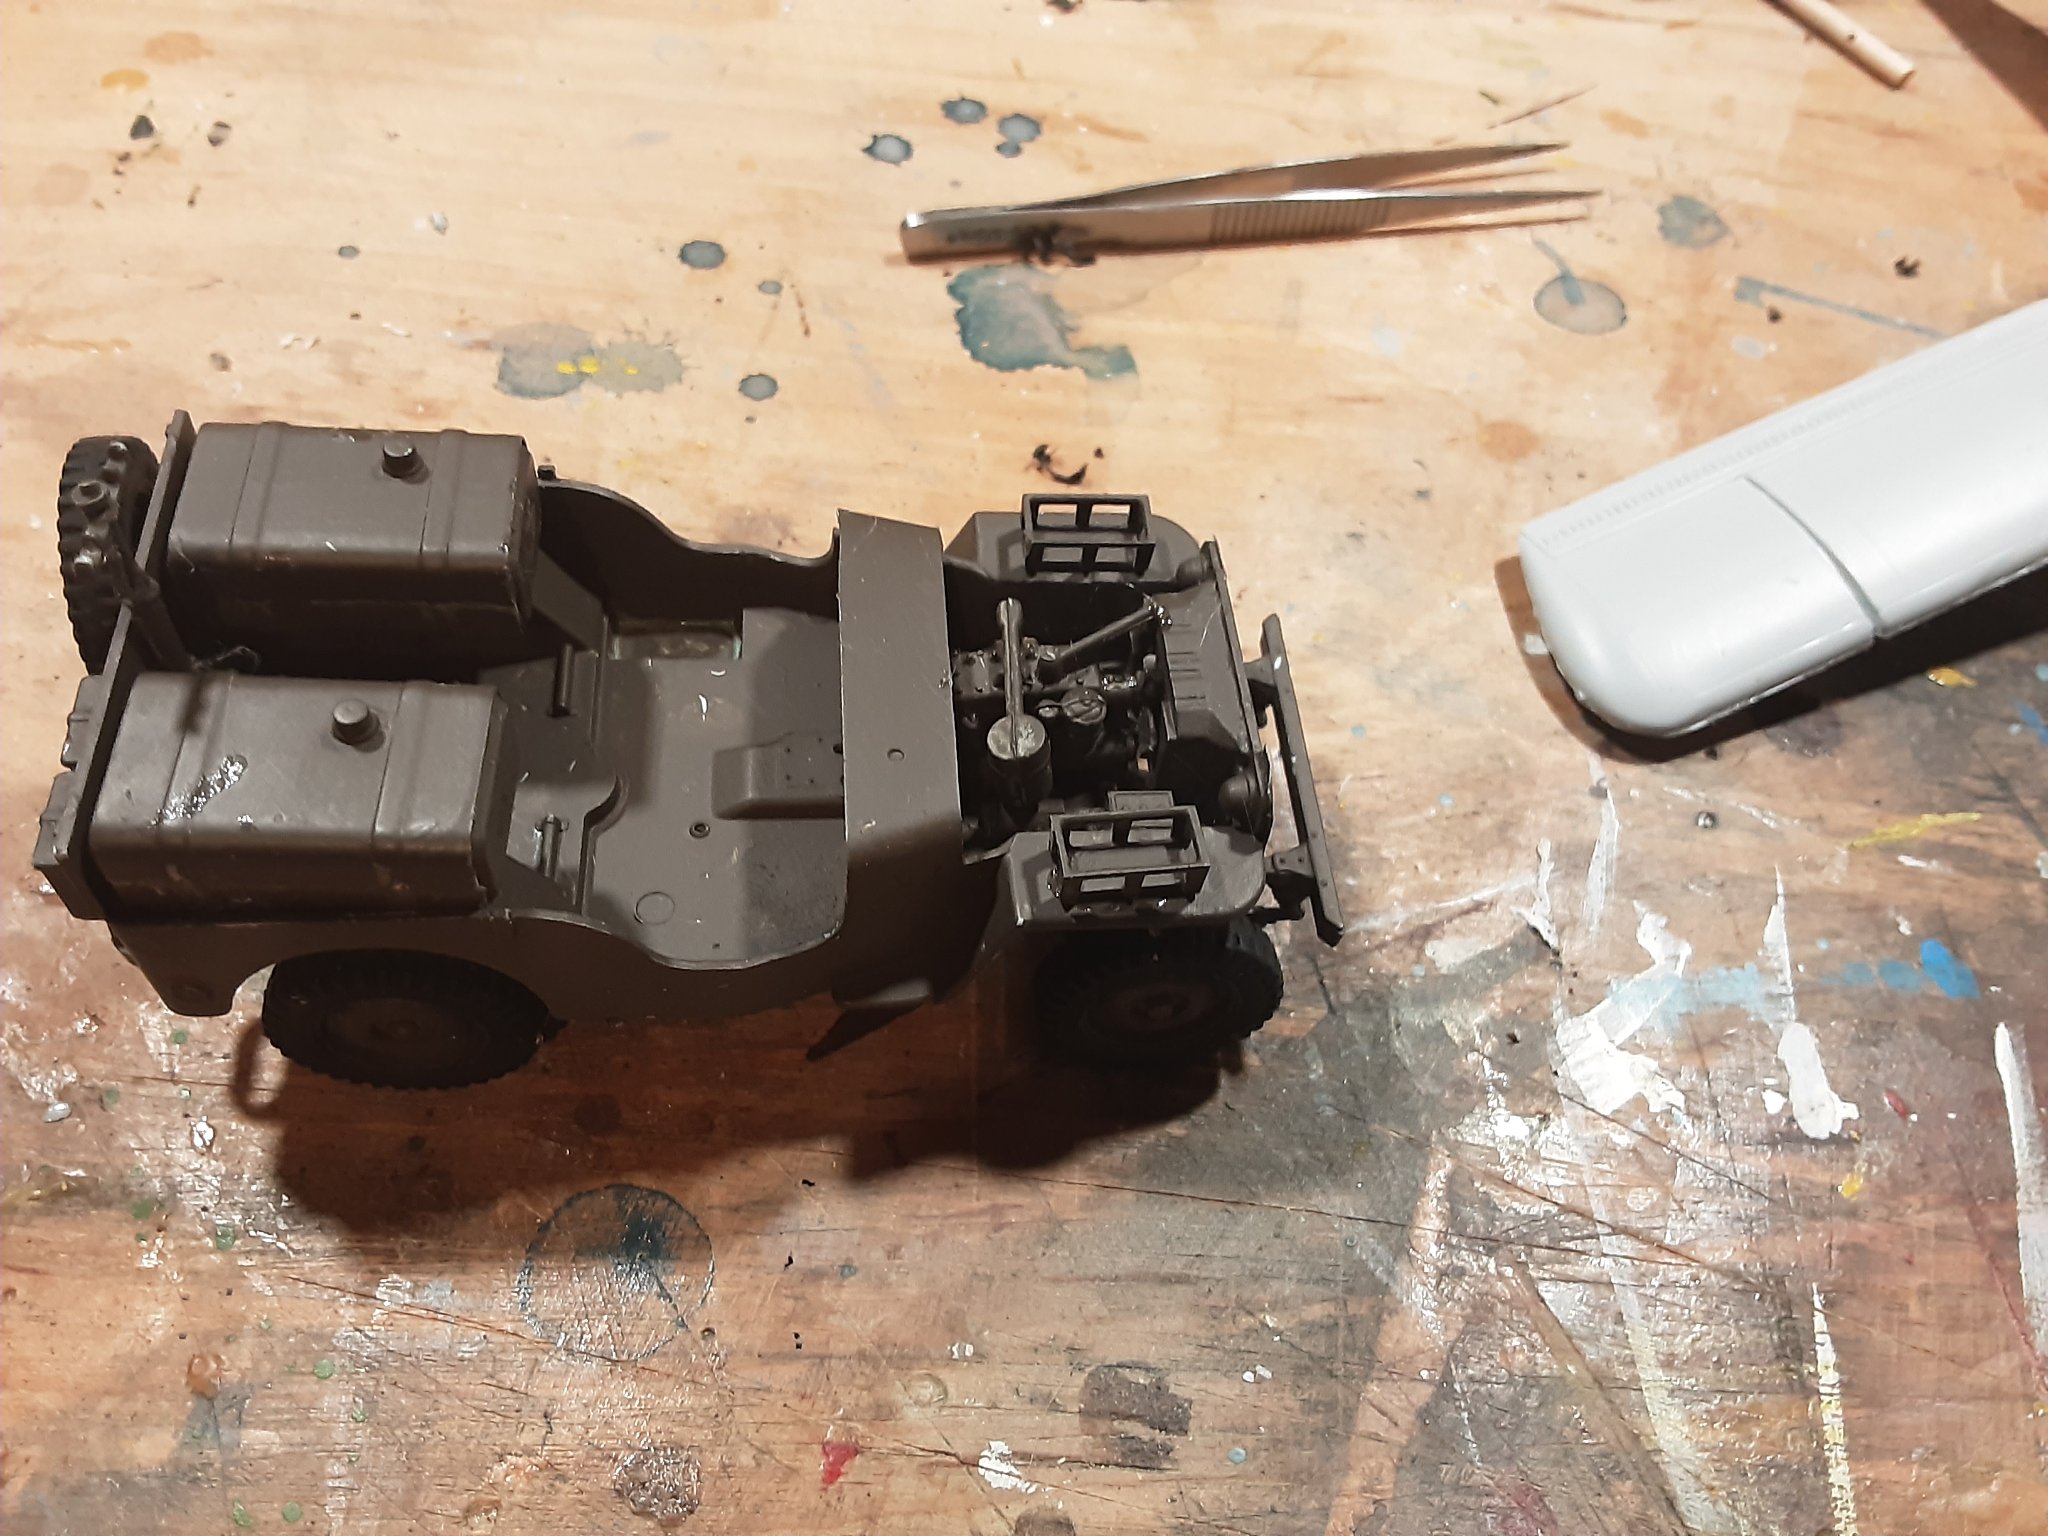
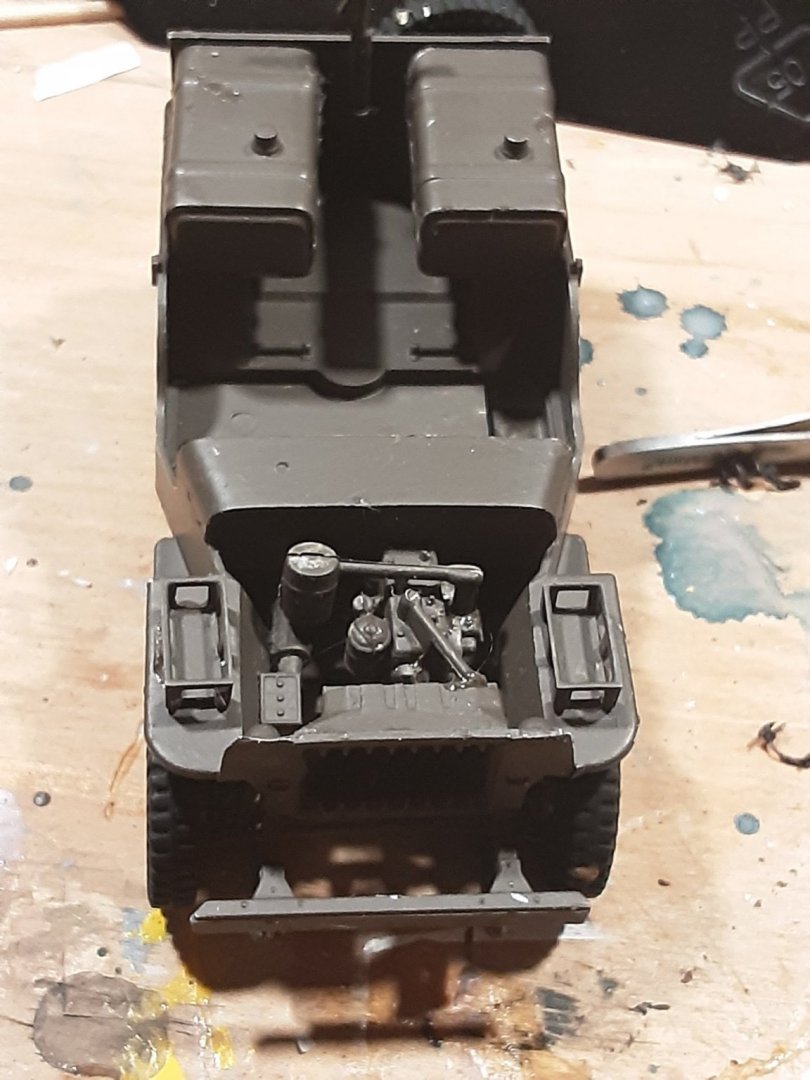
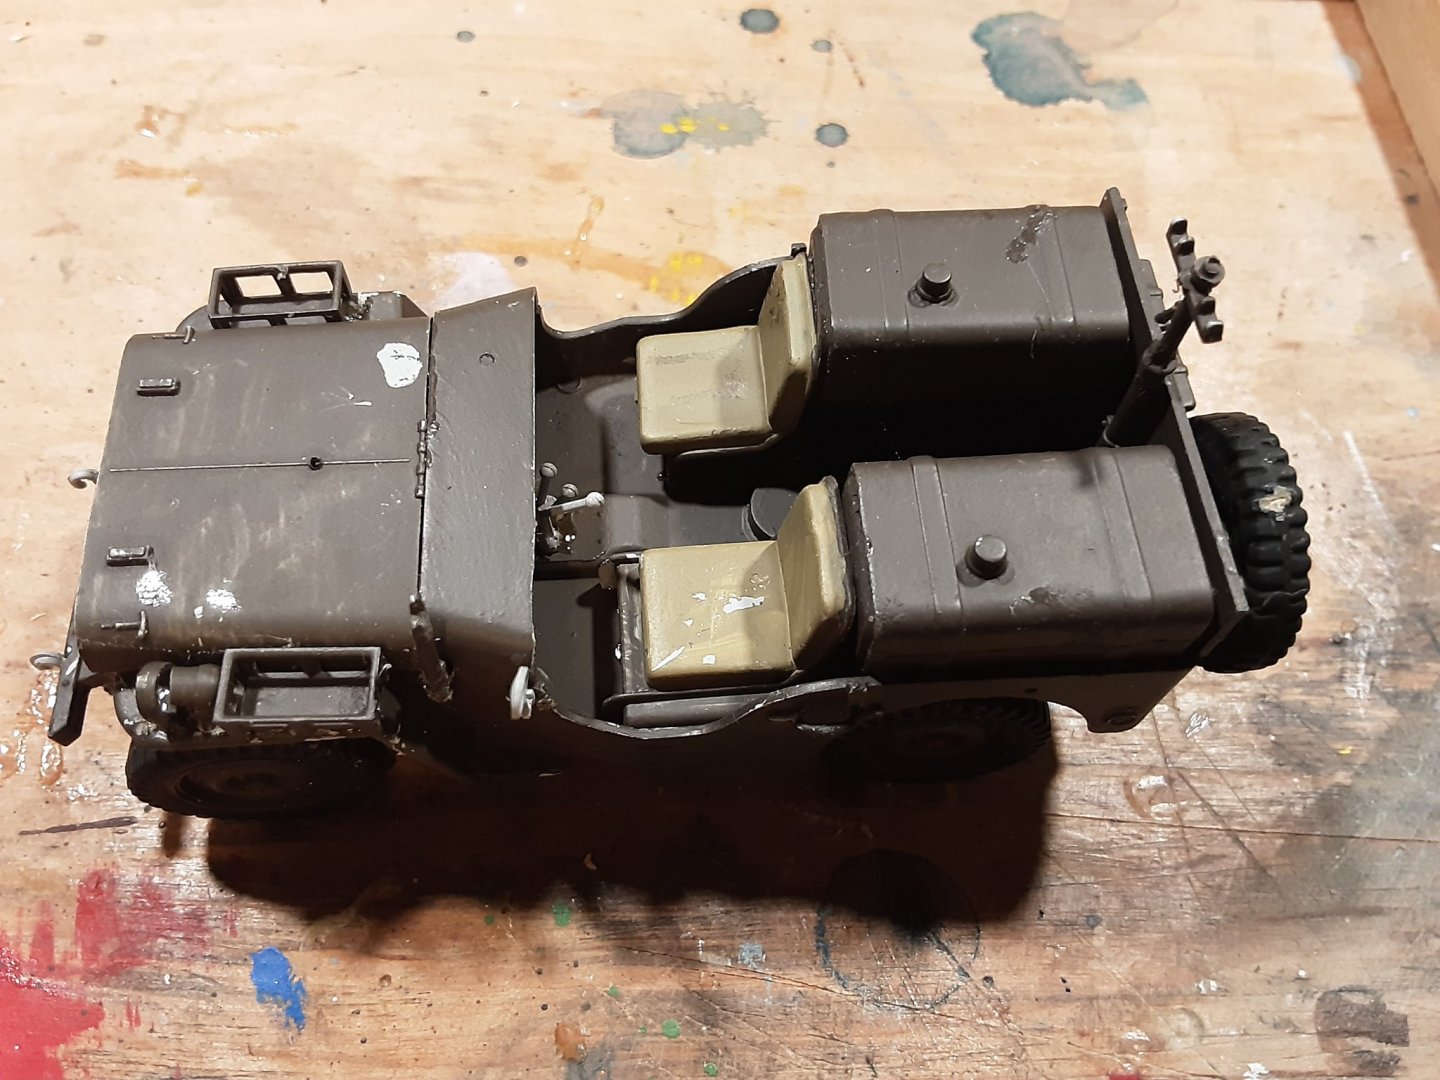
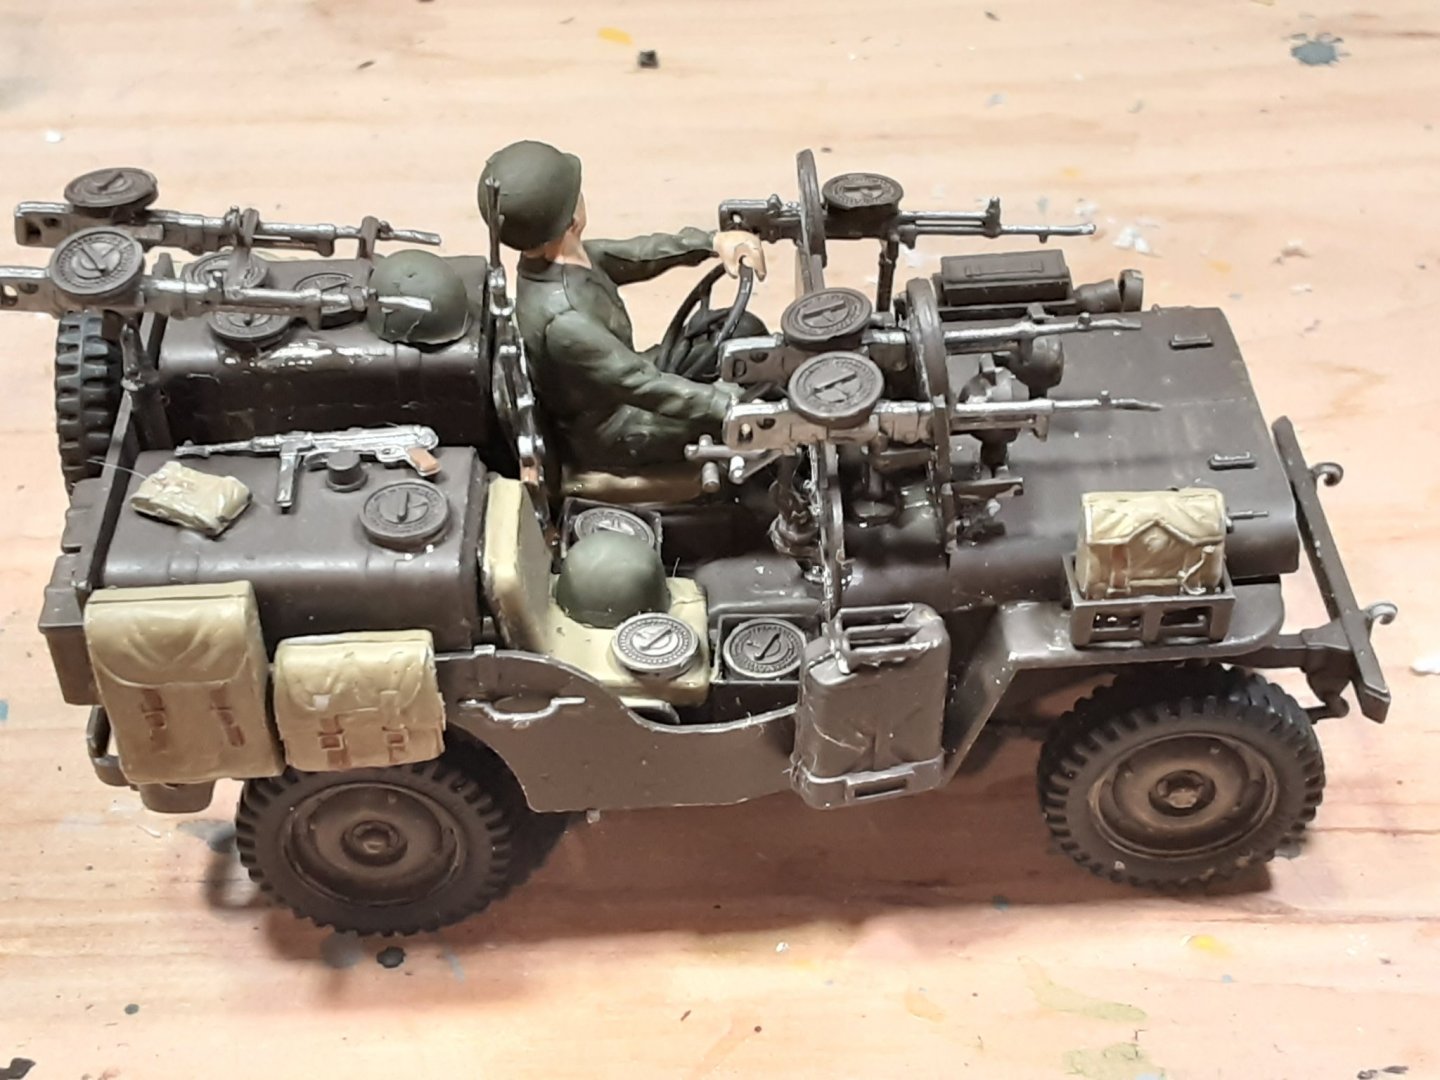
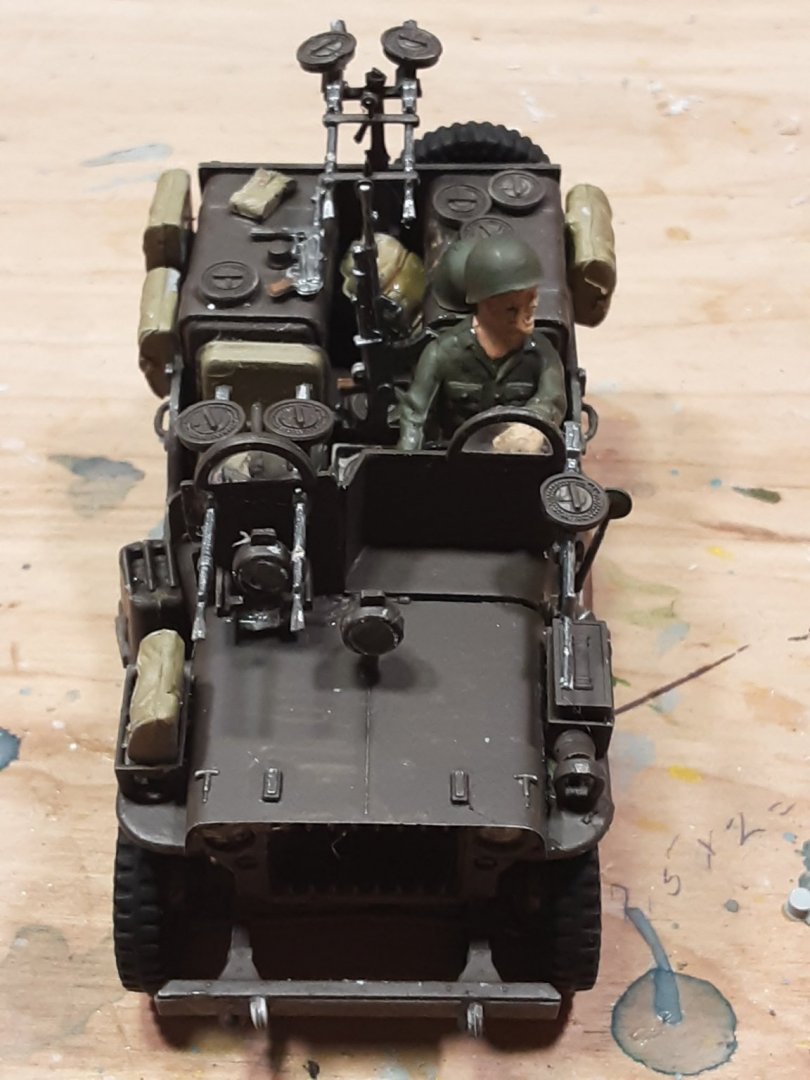
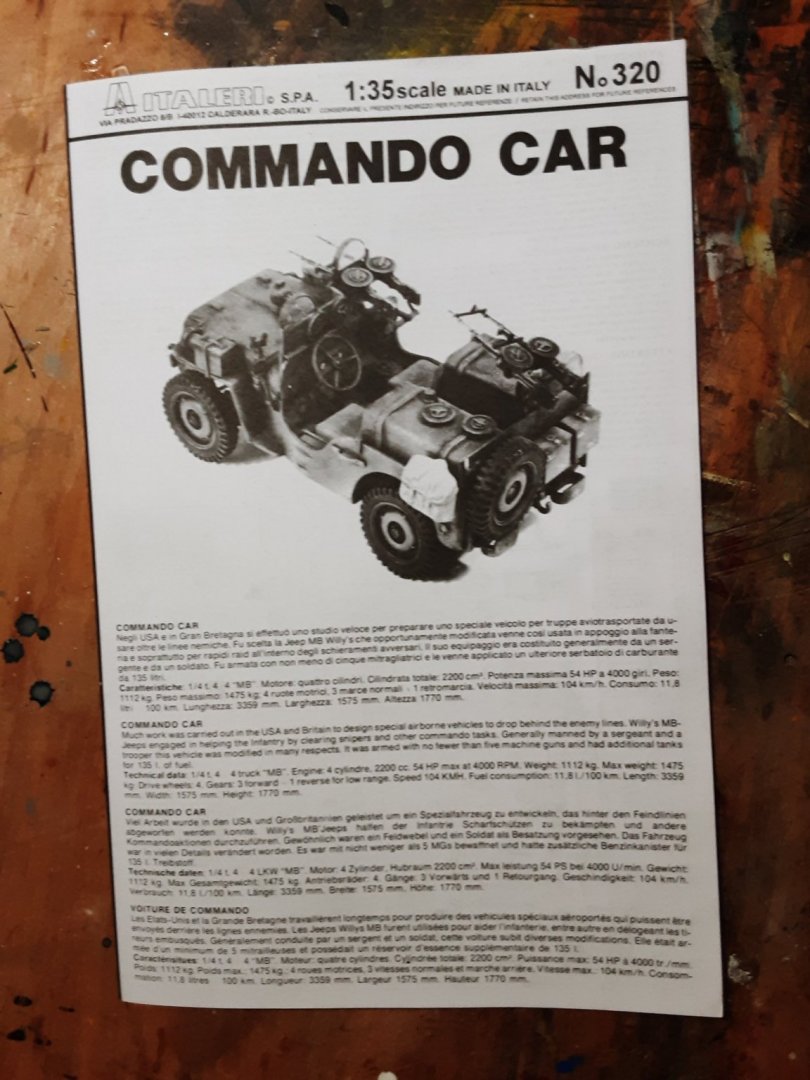
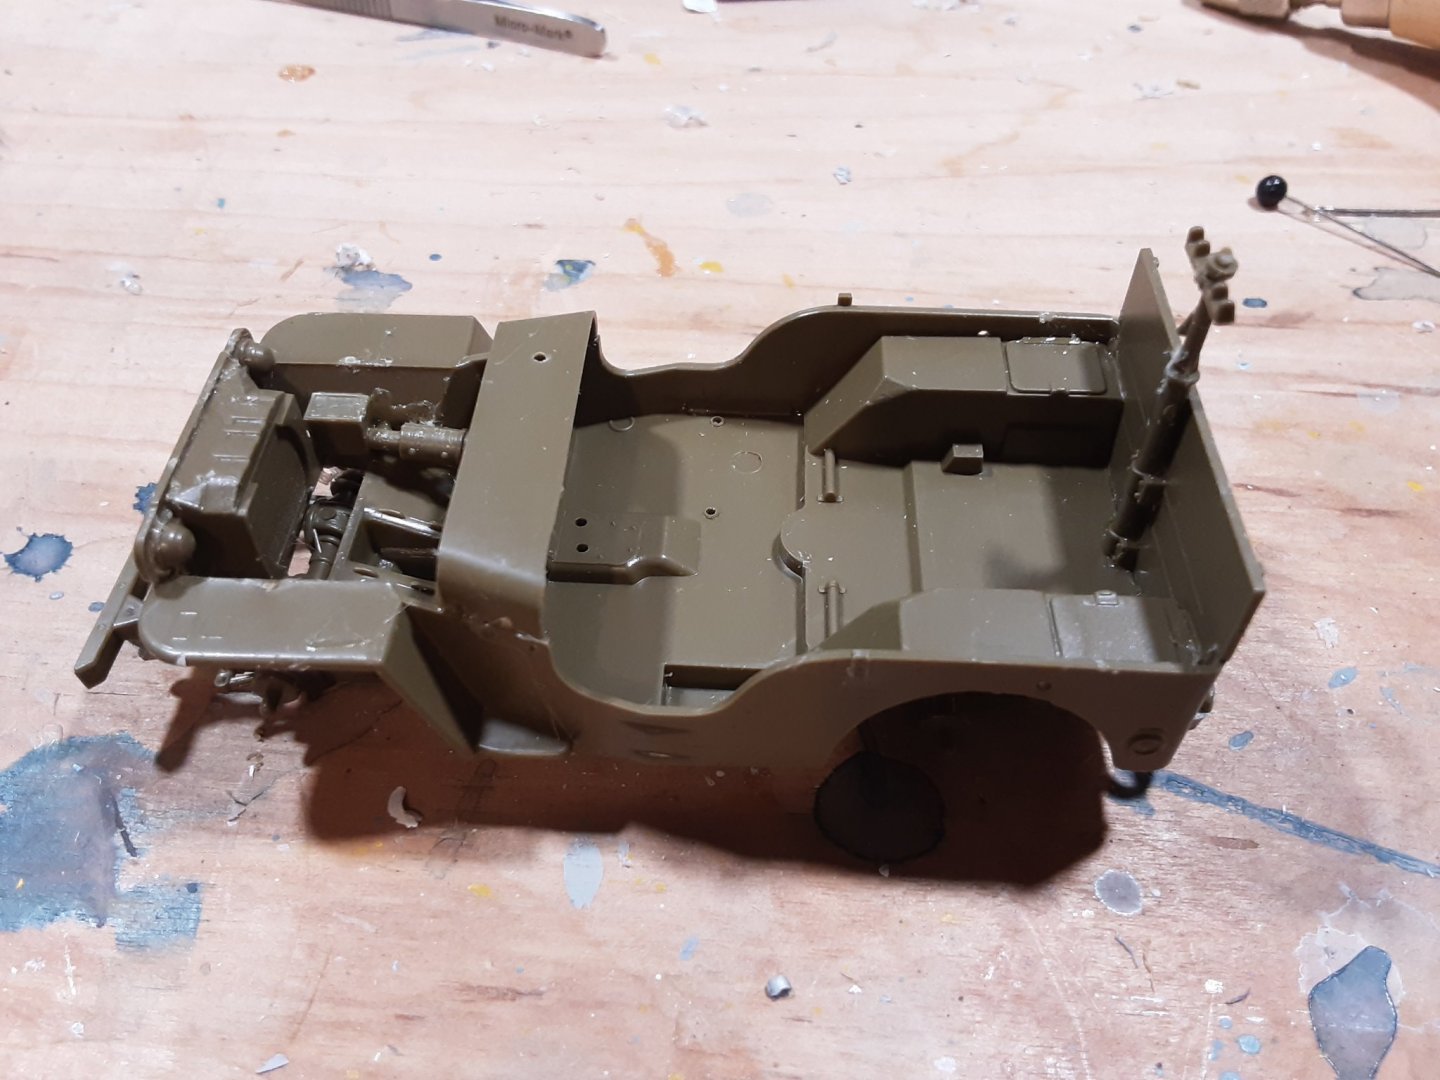
While I've been struggling with the Twin Otter kit, I decided to build this kit in parallel. Box says it is for 14 year old and up. The instruction are simple enough but don't show sequence within the individual steps which lead to some contortions when I went to install the driver. I literally had to install him one leg at a time, glue them together in situ, then glue the upper torso to the legs. But otherwise a fun and easy kit, altho there are no decals. Pictures follow:


-
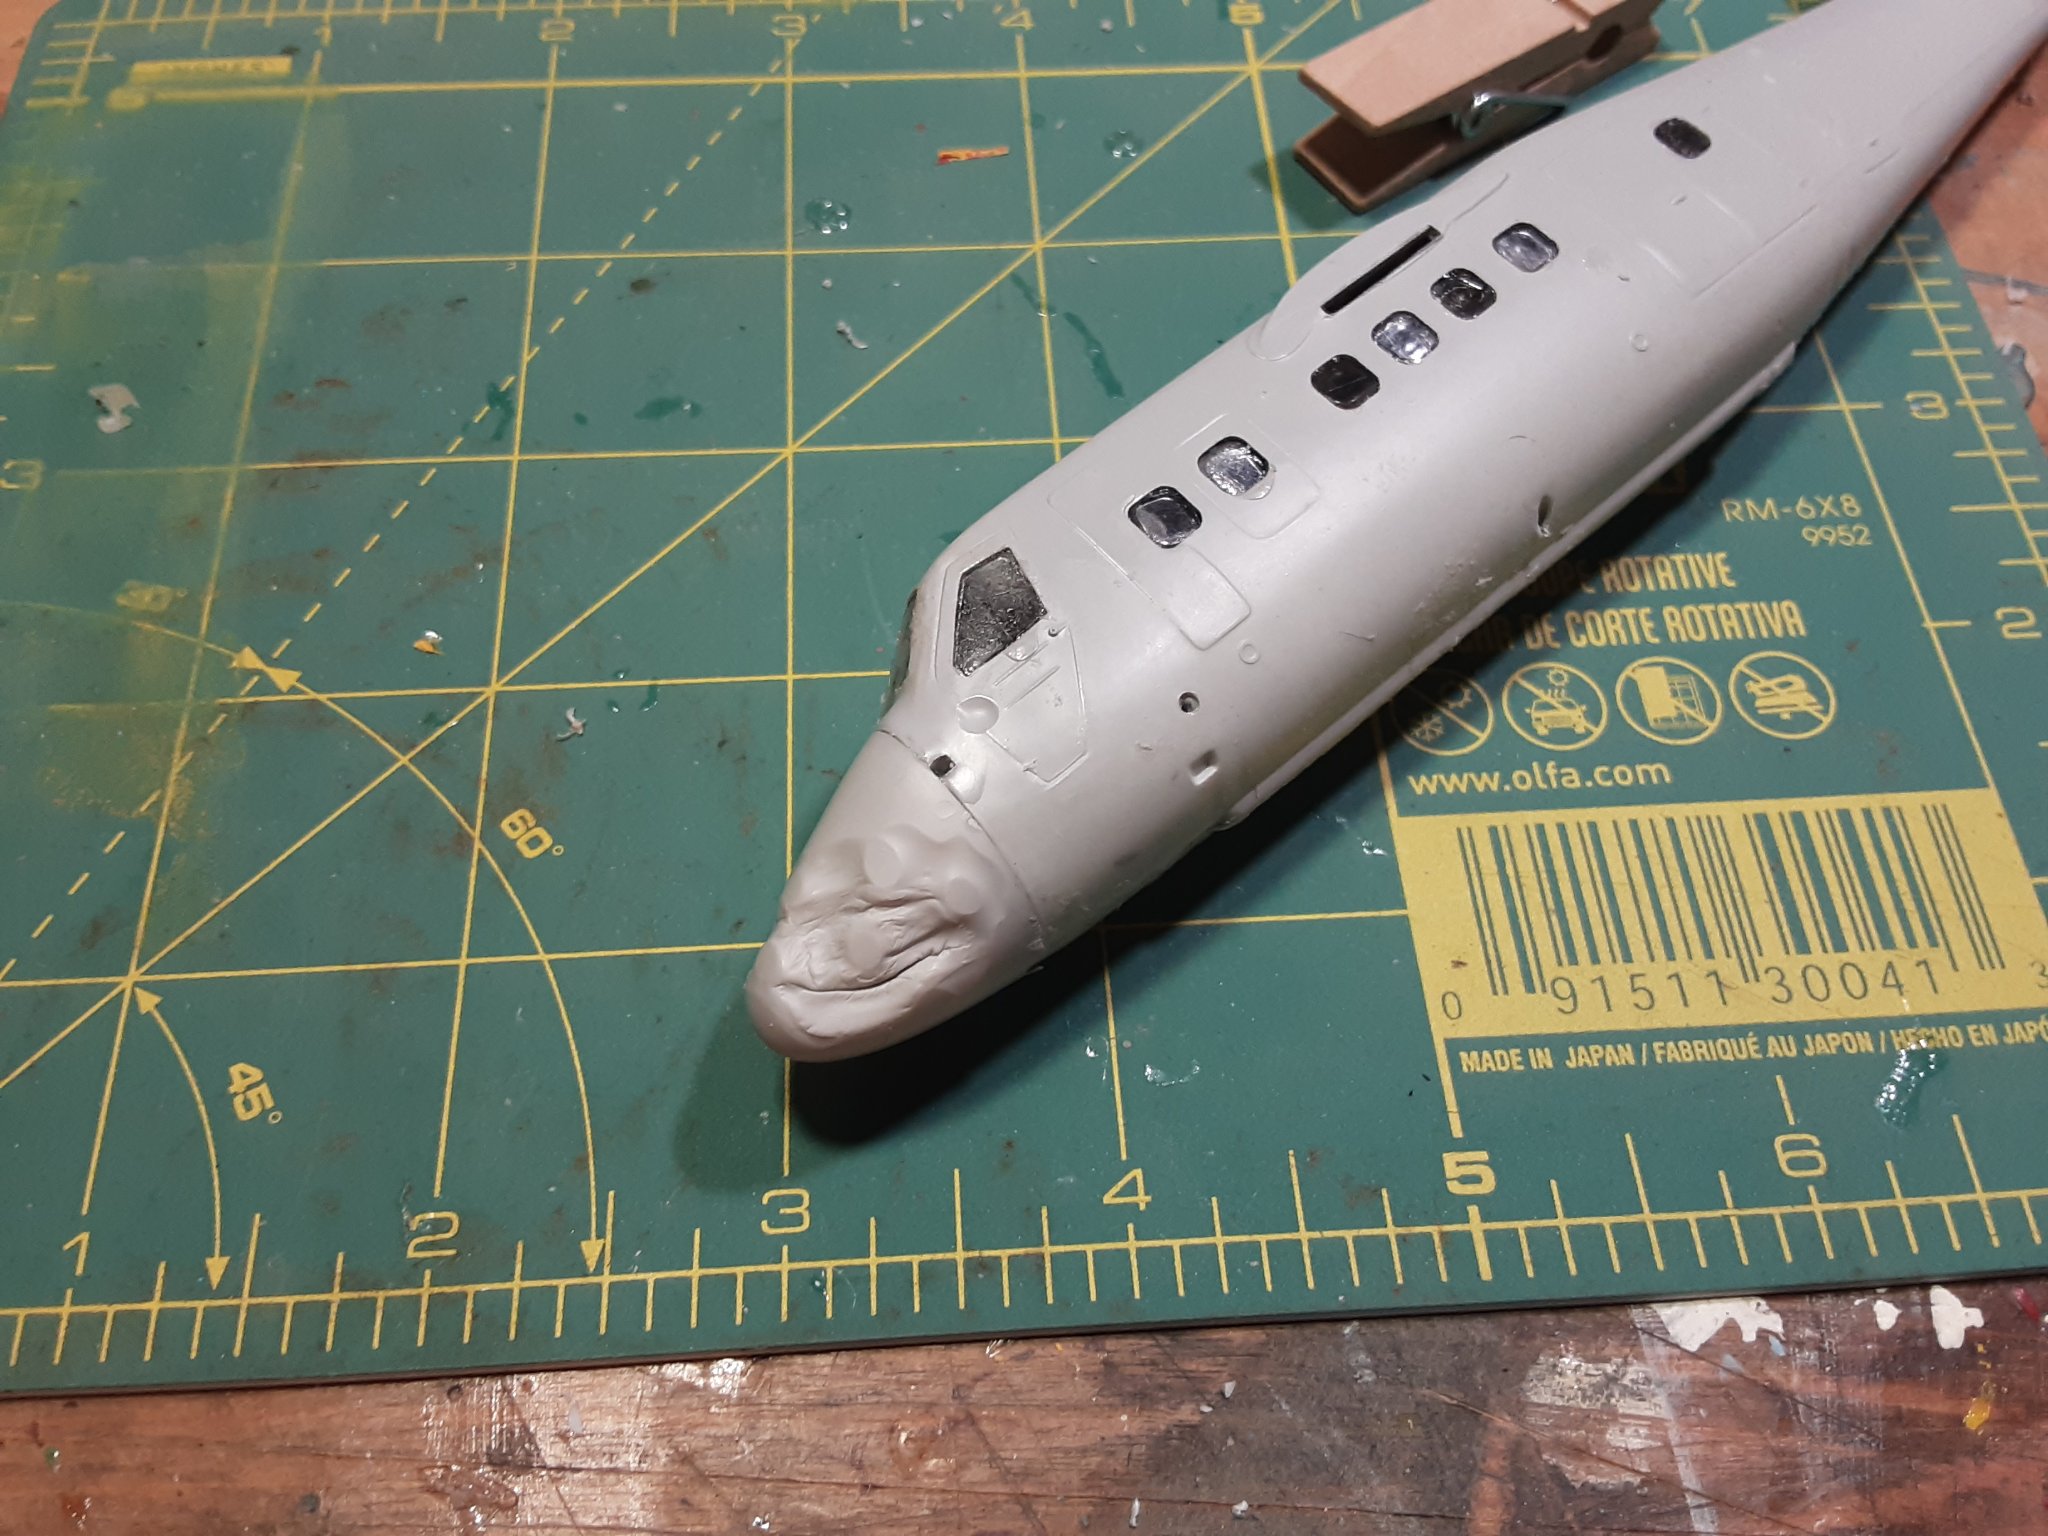
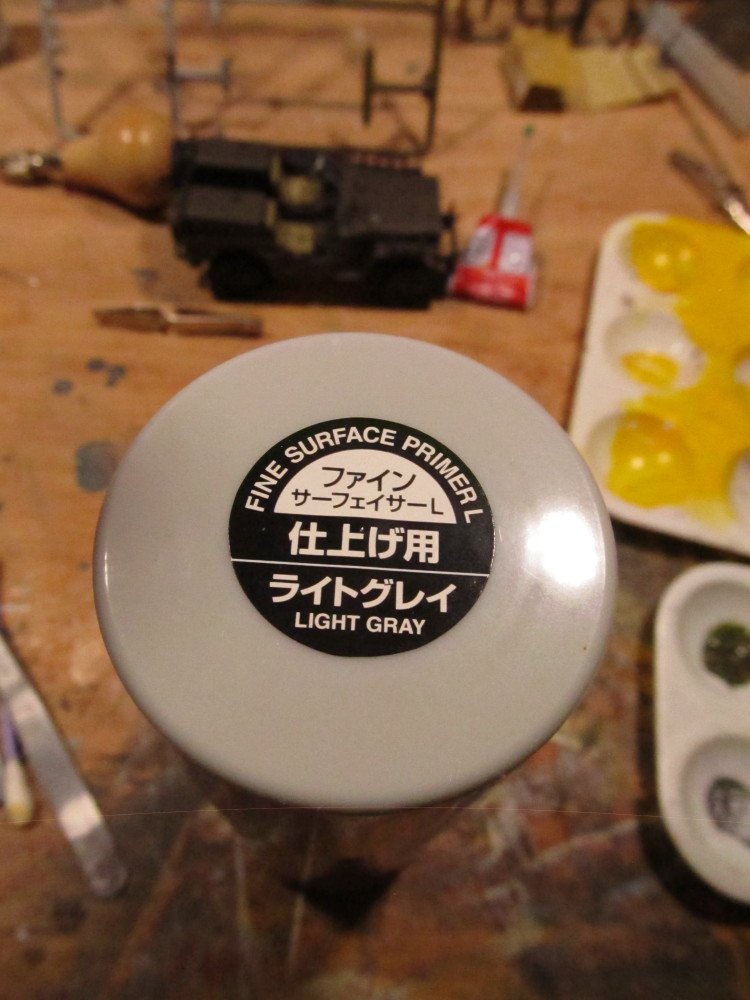
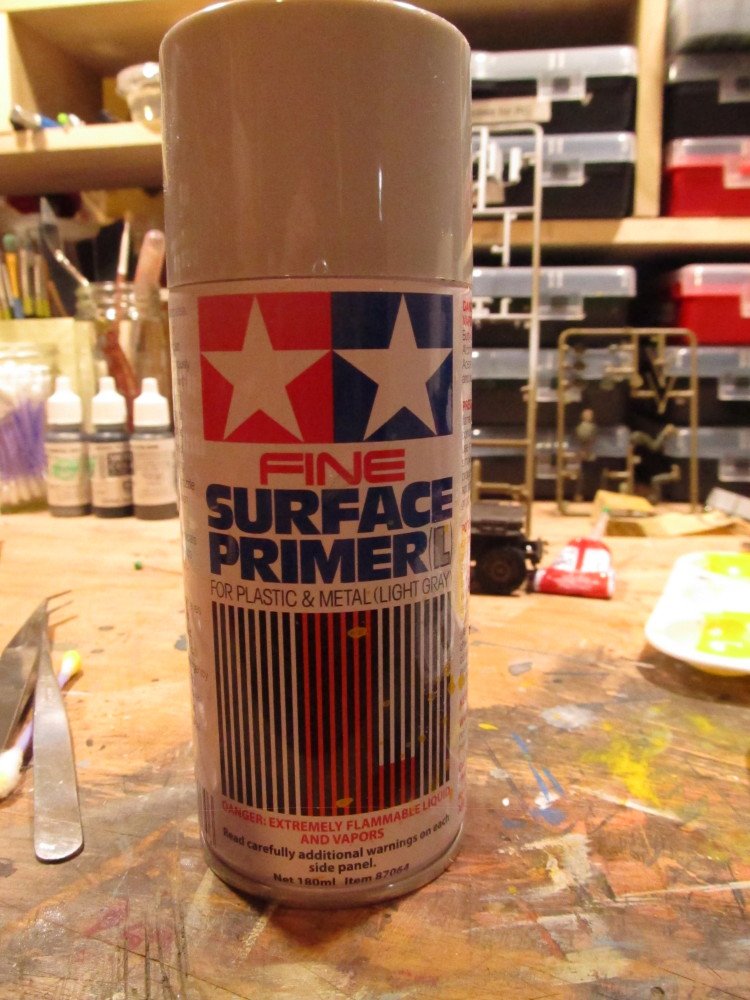
This is the Tamiya primer I use, light gray. Guess maybe I should try their white primer instead.
-
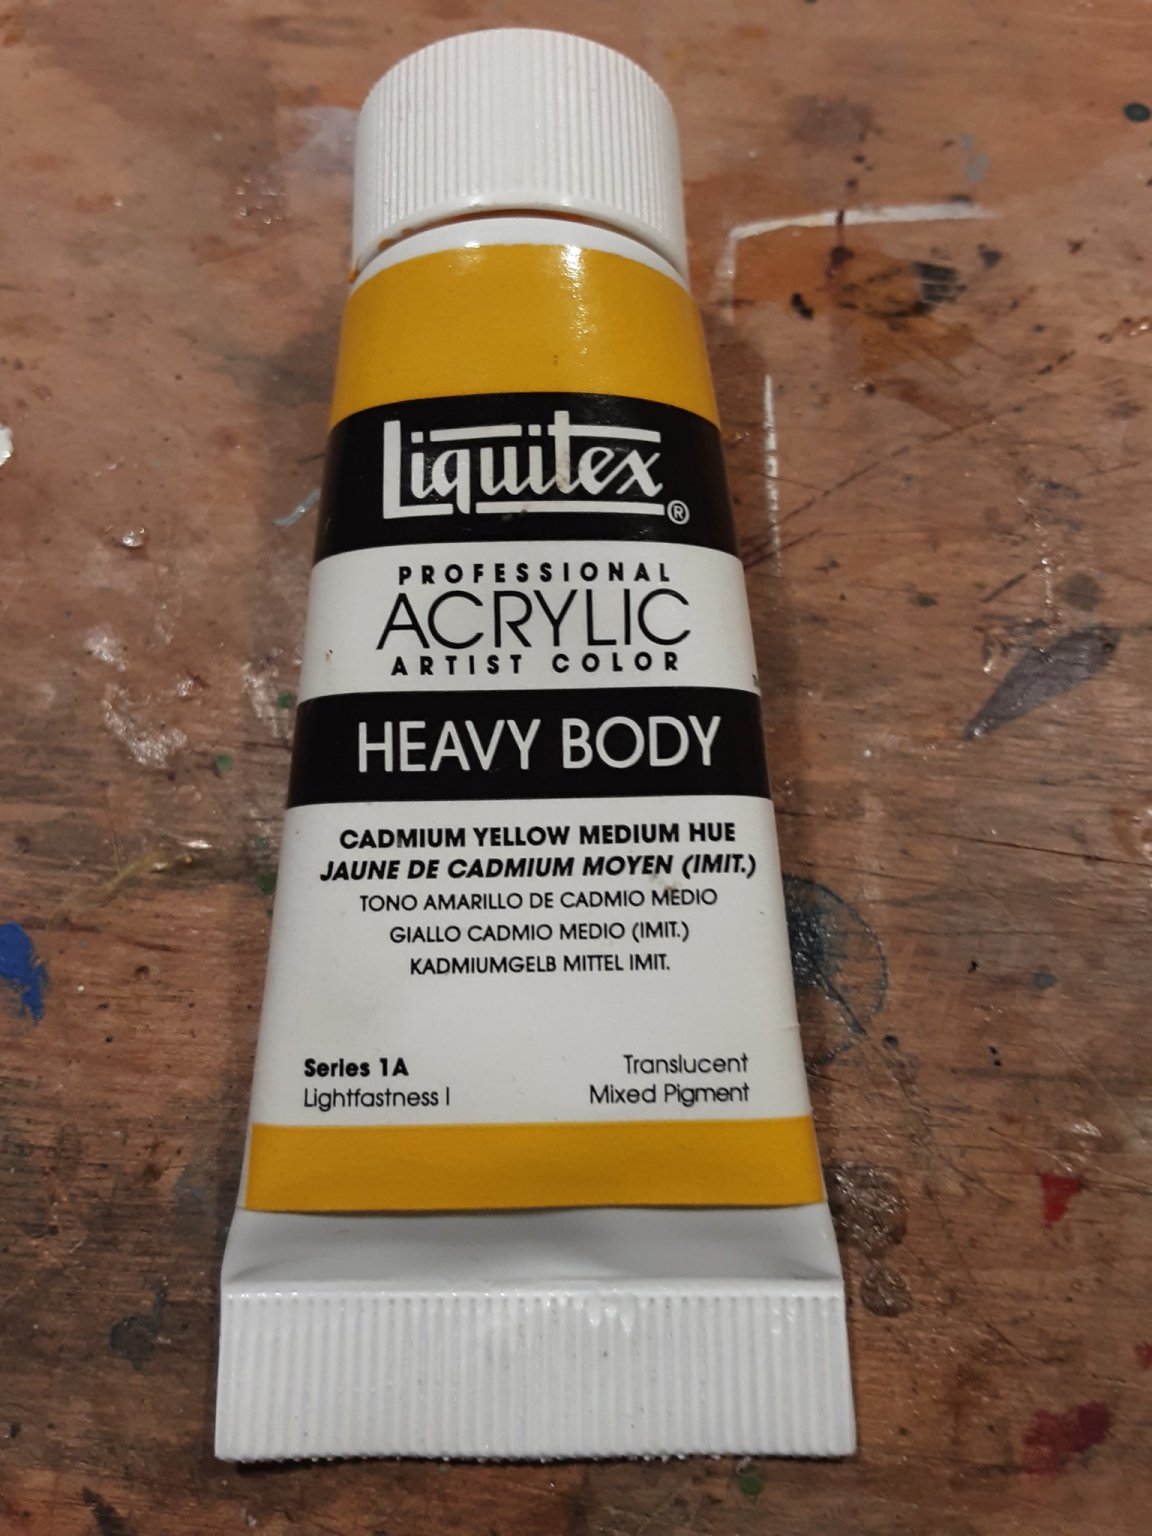
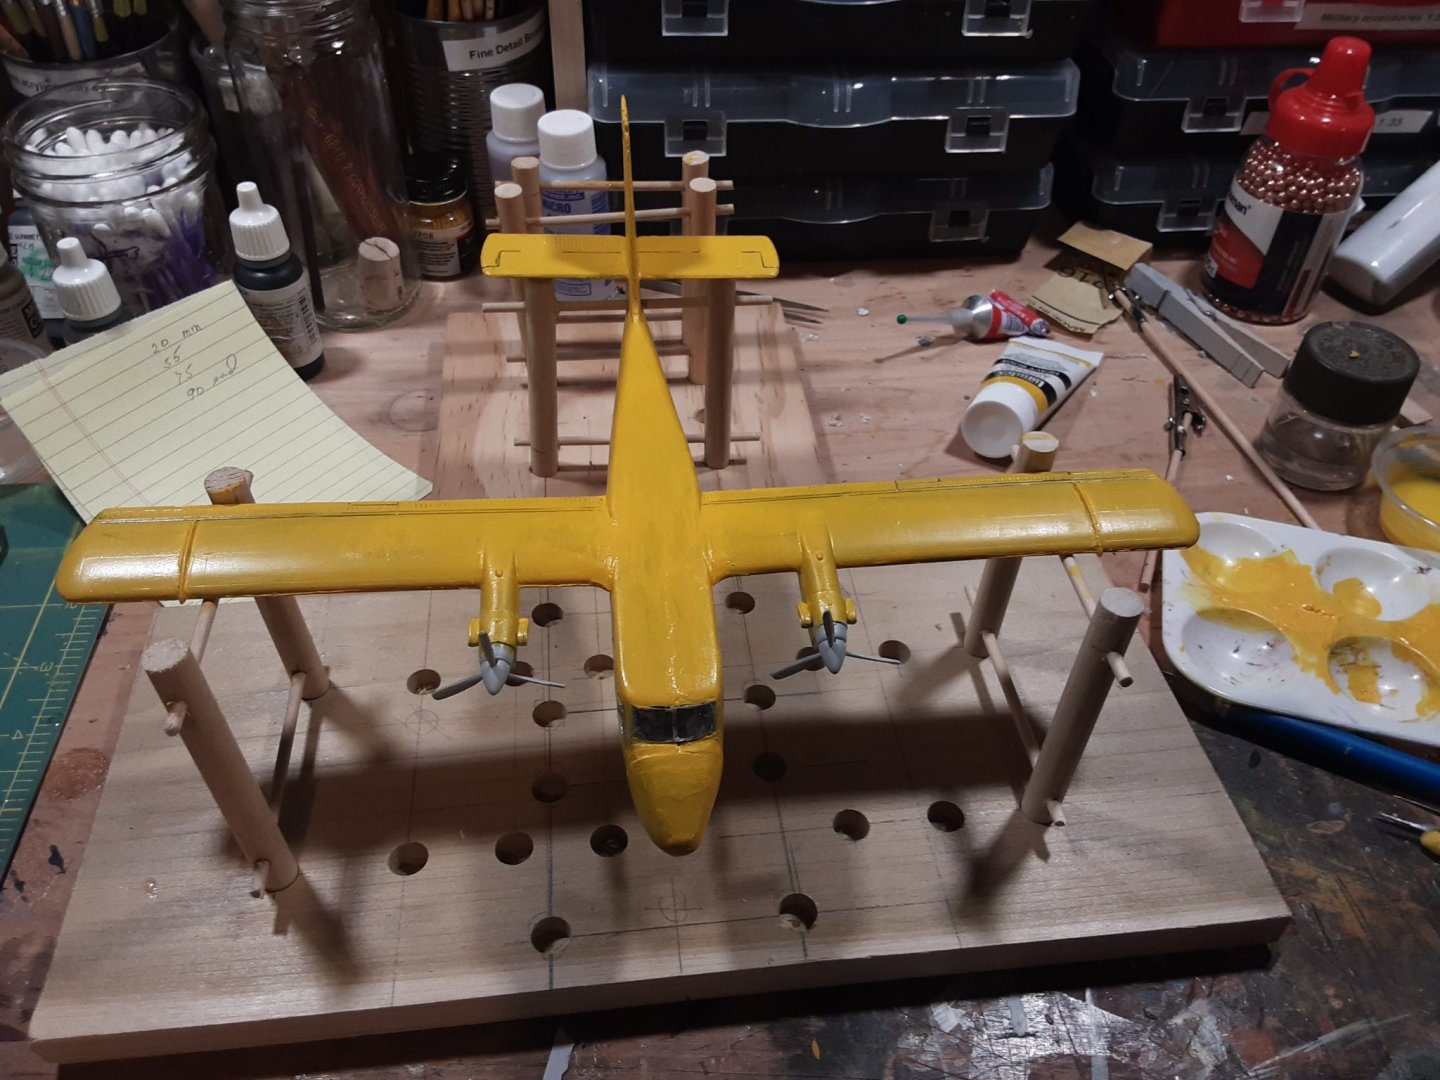
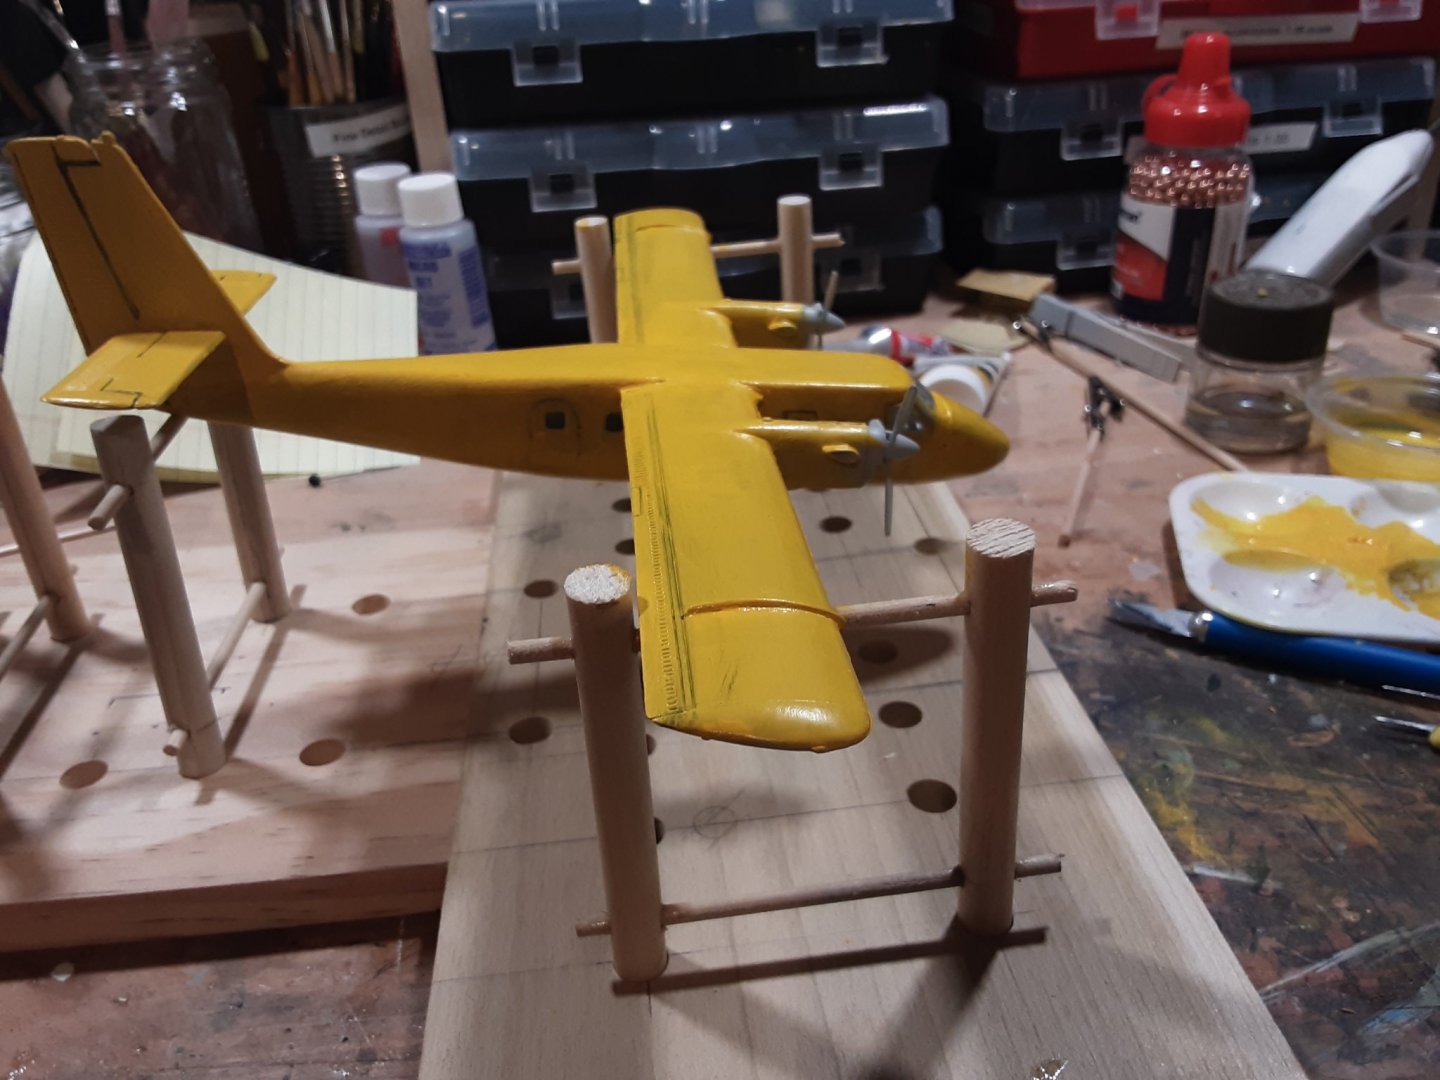
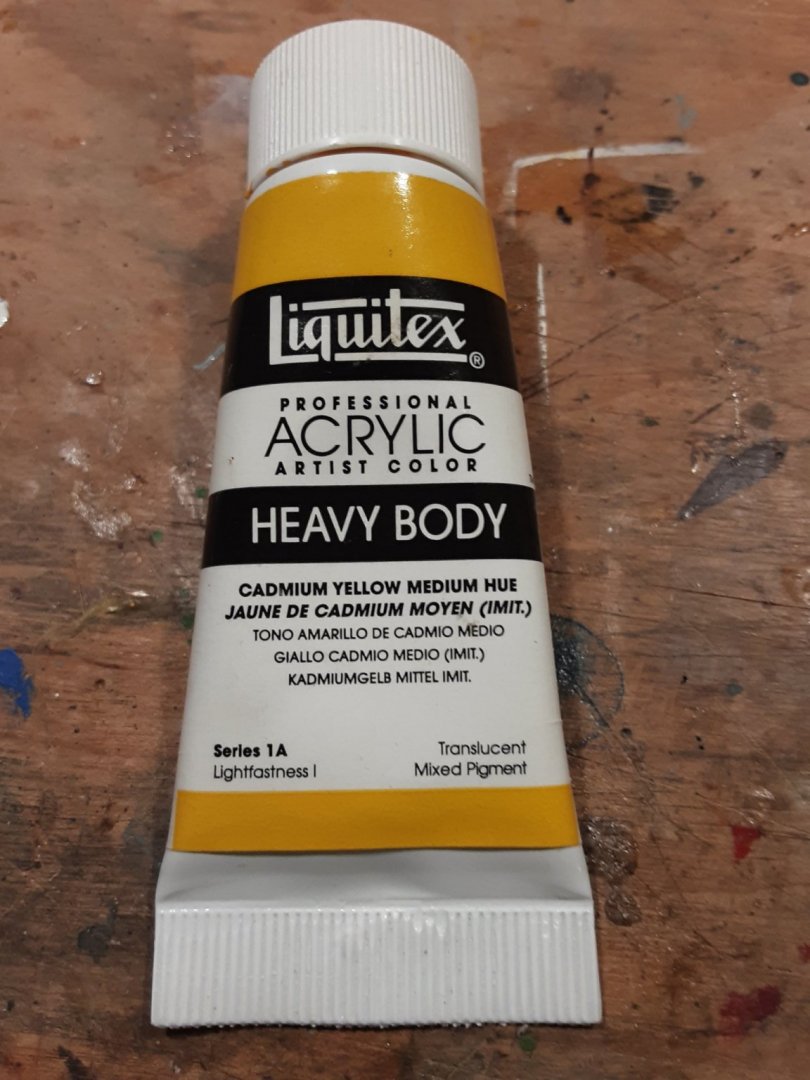
Well, this isn't coming out the way I first envisioned but moving on. Trying to fix/hide the botched panel lines, getting the paint to cover etc. The paint I am using is Liquitex Cadmium Yellow acrylic


-
That's why I stuck to American, British and German when I airbrushed my collection of WWII armor. 😉🤫 Your painting is progressing nicely Edward.
-
replacing the windscreen would be near disastrous. Already had to use G-S Hypo Cement to replace side window that went bling into never-ending land of missing parts. Actually it was the GS glue that messed up the windscreen in the first place.
-
Yep ! Agree. The color temp of the light effects how it looks in photo, tho I thought digital would auto correct. Very much a problem in film photography, daylight versus tungsten
-
Nice job on the airbrushing. But on my tablet the color appears more rust color than green or desert sand? Unless Tamiya desert sand is more reddish than I would expect. The green camo appears more like a shadow, needs a tad more paint. But overall an xcellent first go at it.
-
Denis, @popeye the sailor, check out this Lee Valley video . Nice demo on using their miniature tools.. I really like their miniature work bench in the video. The end project is a bit of a surprise 😀😉
-
What's wrong with Artesania Latina Constellation?
Jack12477 replied to Antti's topic in Wood ship model kits
Or you can do as I am doing and ignore the historical inaccuracies and everyone's opinion on it and build it as shown on the box art and have a nice looking model, because 99.99999 % of the people who come to your house and see the model can't tell you what a frigate, corvette or dingy is and will just comment "Oh that's a beautiful model ! How long did it take you to build it ?" My kit was a birthday gift from a friend about a decade ago. It's a hobby, so enjoy the kit ! You're not building it for a museum or hysterical (sic) society; you're building it for yourself. It is still a nice looking (fictional maybe) model of an old warship under sail.- 19 replies
-
- 17
-
-
Happy New Year, all ! Got really bored with the build, so I decided to take a break and do some plastic models for a change of pace. Of course the Covid isolationism is not helping the boredom either. Been taking a lot of walks through the neighborhood with the Admiral, but that only goes so far. Will get back to this in a bit. Stay safe and healthy everyone.
-
You know "close" only counts in horseshoes or hand grenades 😇 {chuckle} Looking good so far EG !
-
I got tired of all 3 delivery services dropping packages on the uncovered front patio and NEVER ringing the door bell and leaving. Found 1 package by accident soaking wet in downpour. So I got a cheap battery powered motion sensor for $20 at Lowes and installed it by front door so now I get a chime if someone comes to door.
-
Yea, I sent 2 boxes of Christmas presents to my daughter/granddaughter in Maryland on Dec 12th via USPS Priority Mail 2 day delivery. Both boxes got to Merrifield VA USPS Distribution Center at 1519 hrs on Dec 13th. Last update on tracking was Dec 17th status "in transit to next facility arriving late". As of today Dec 31st, no delivery, no new status, lost in Merrifield VA . Did a Google Maps, it is 56 miles from Merrifield to ltheir local post office 1 hr 2 min by car, 4 hr 55 min by bicycle or 15 hrs 15 min walking. It might arrive by next Christmas 🤫🤔🤐🤨😐😑😒 Oh, she sent me a box via UPS on Dec 21st, arrived here Dec 23rd. United Parcel Spacers beat the USPS Pony Express. 😀😀😁
-
You got that right ! But you can stay !
-
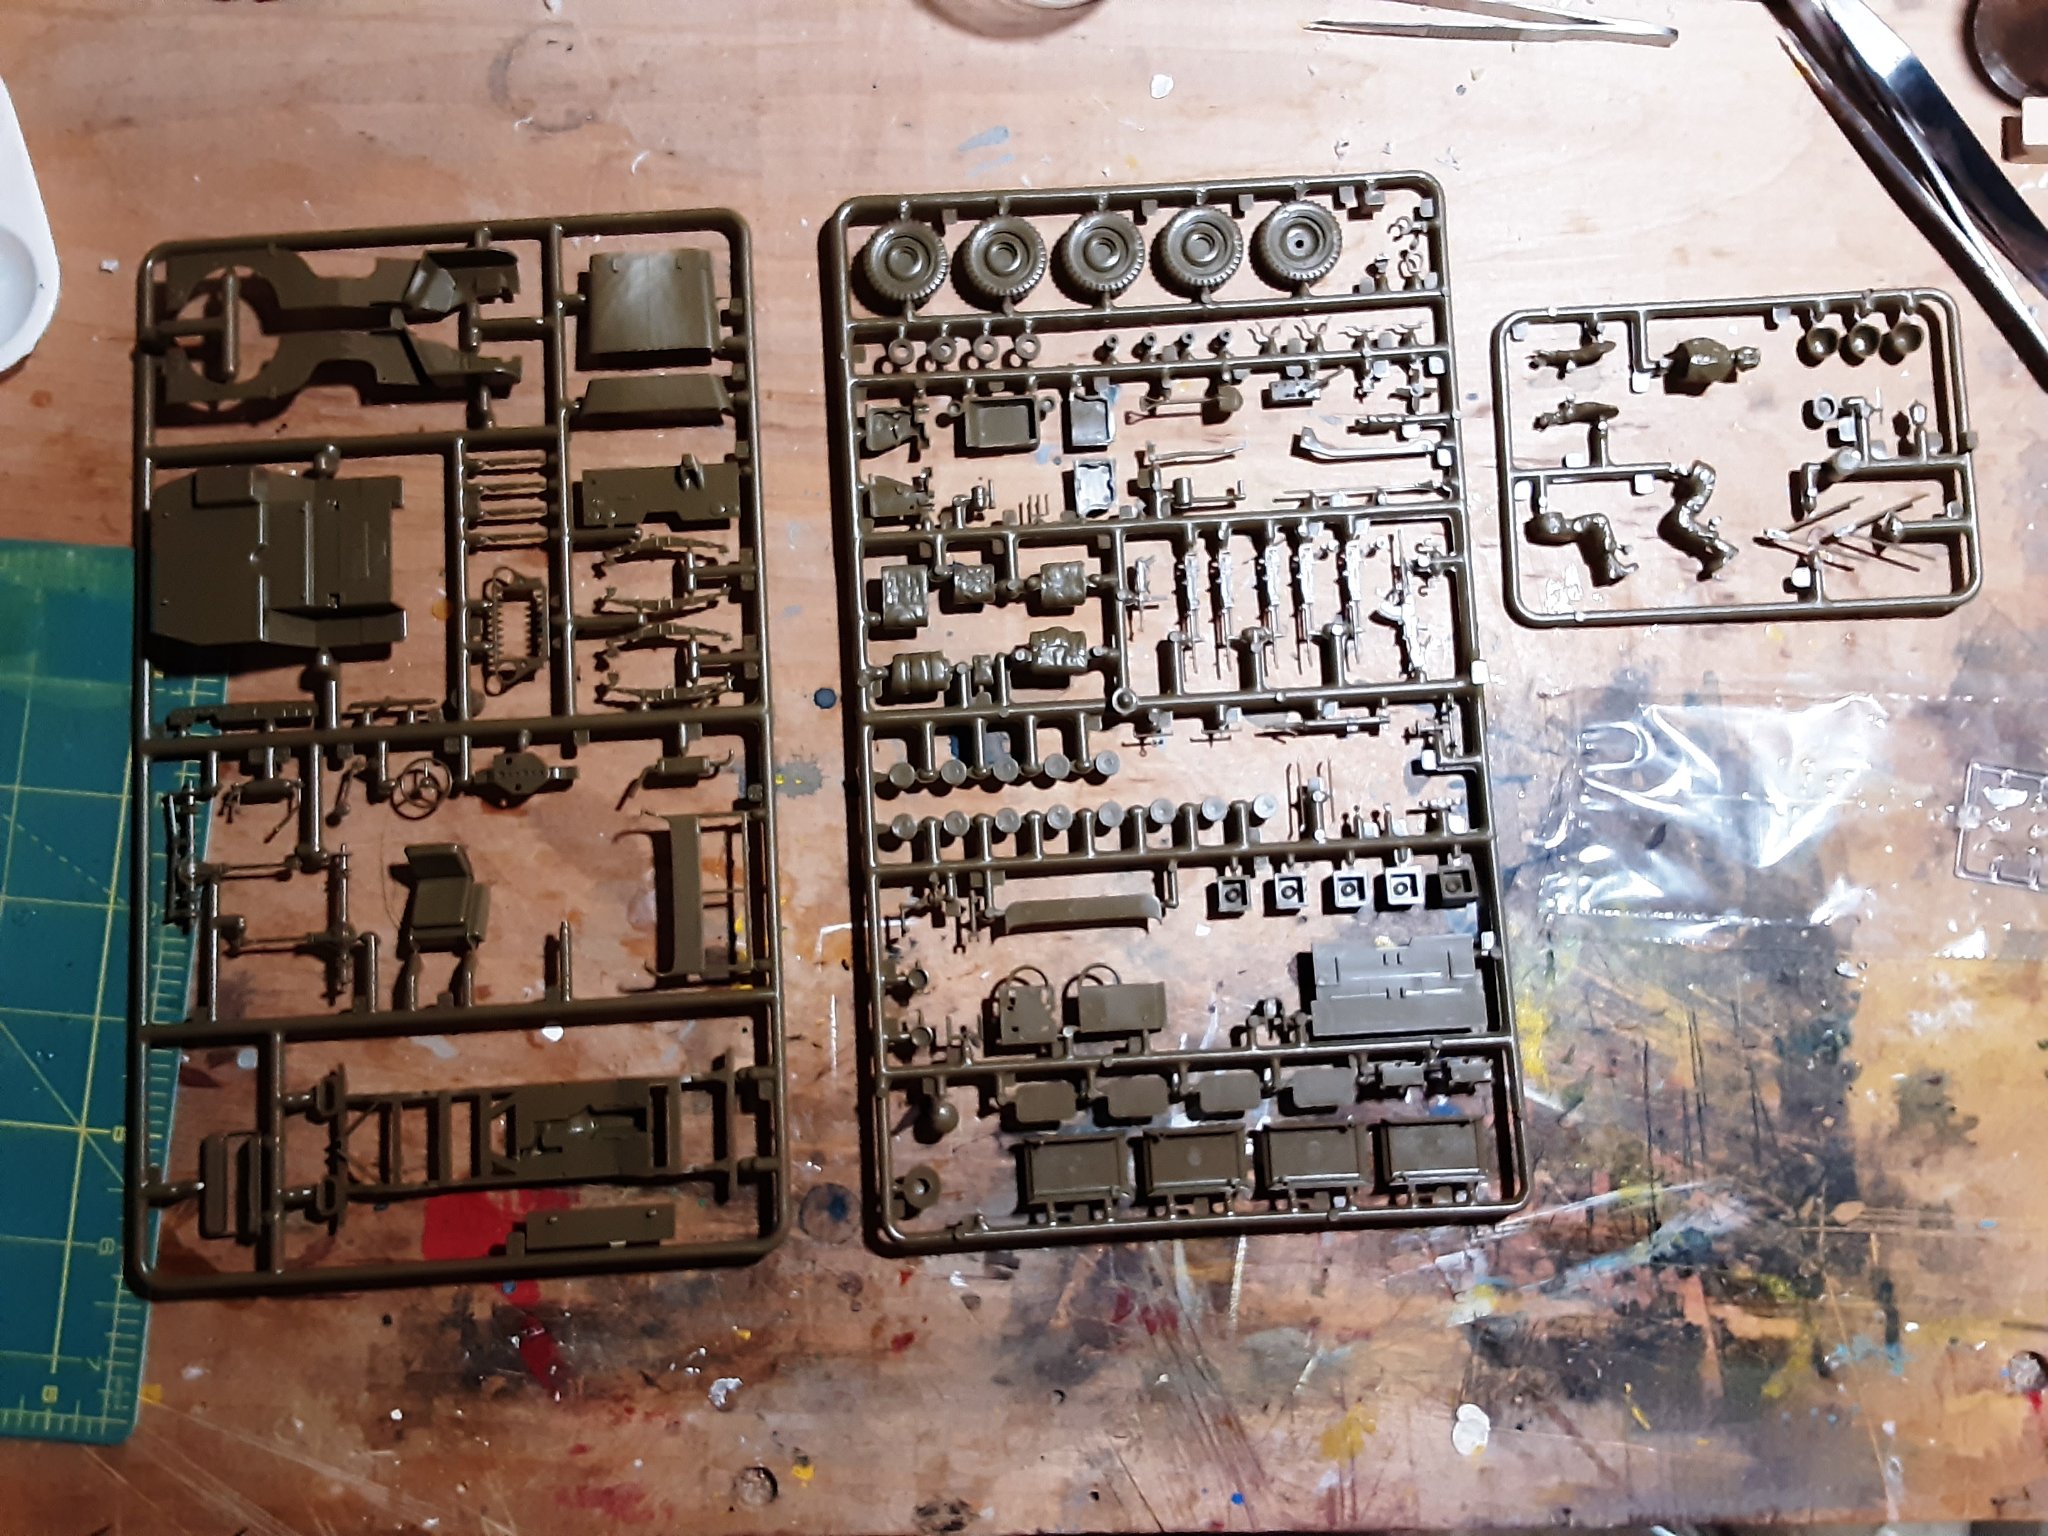
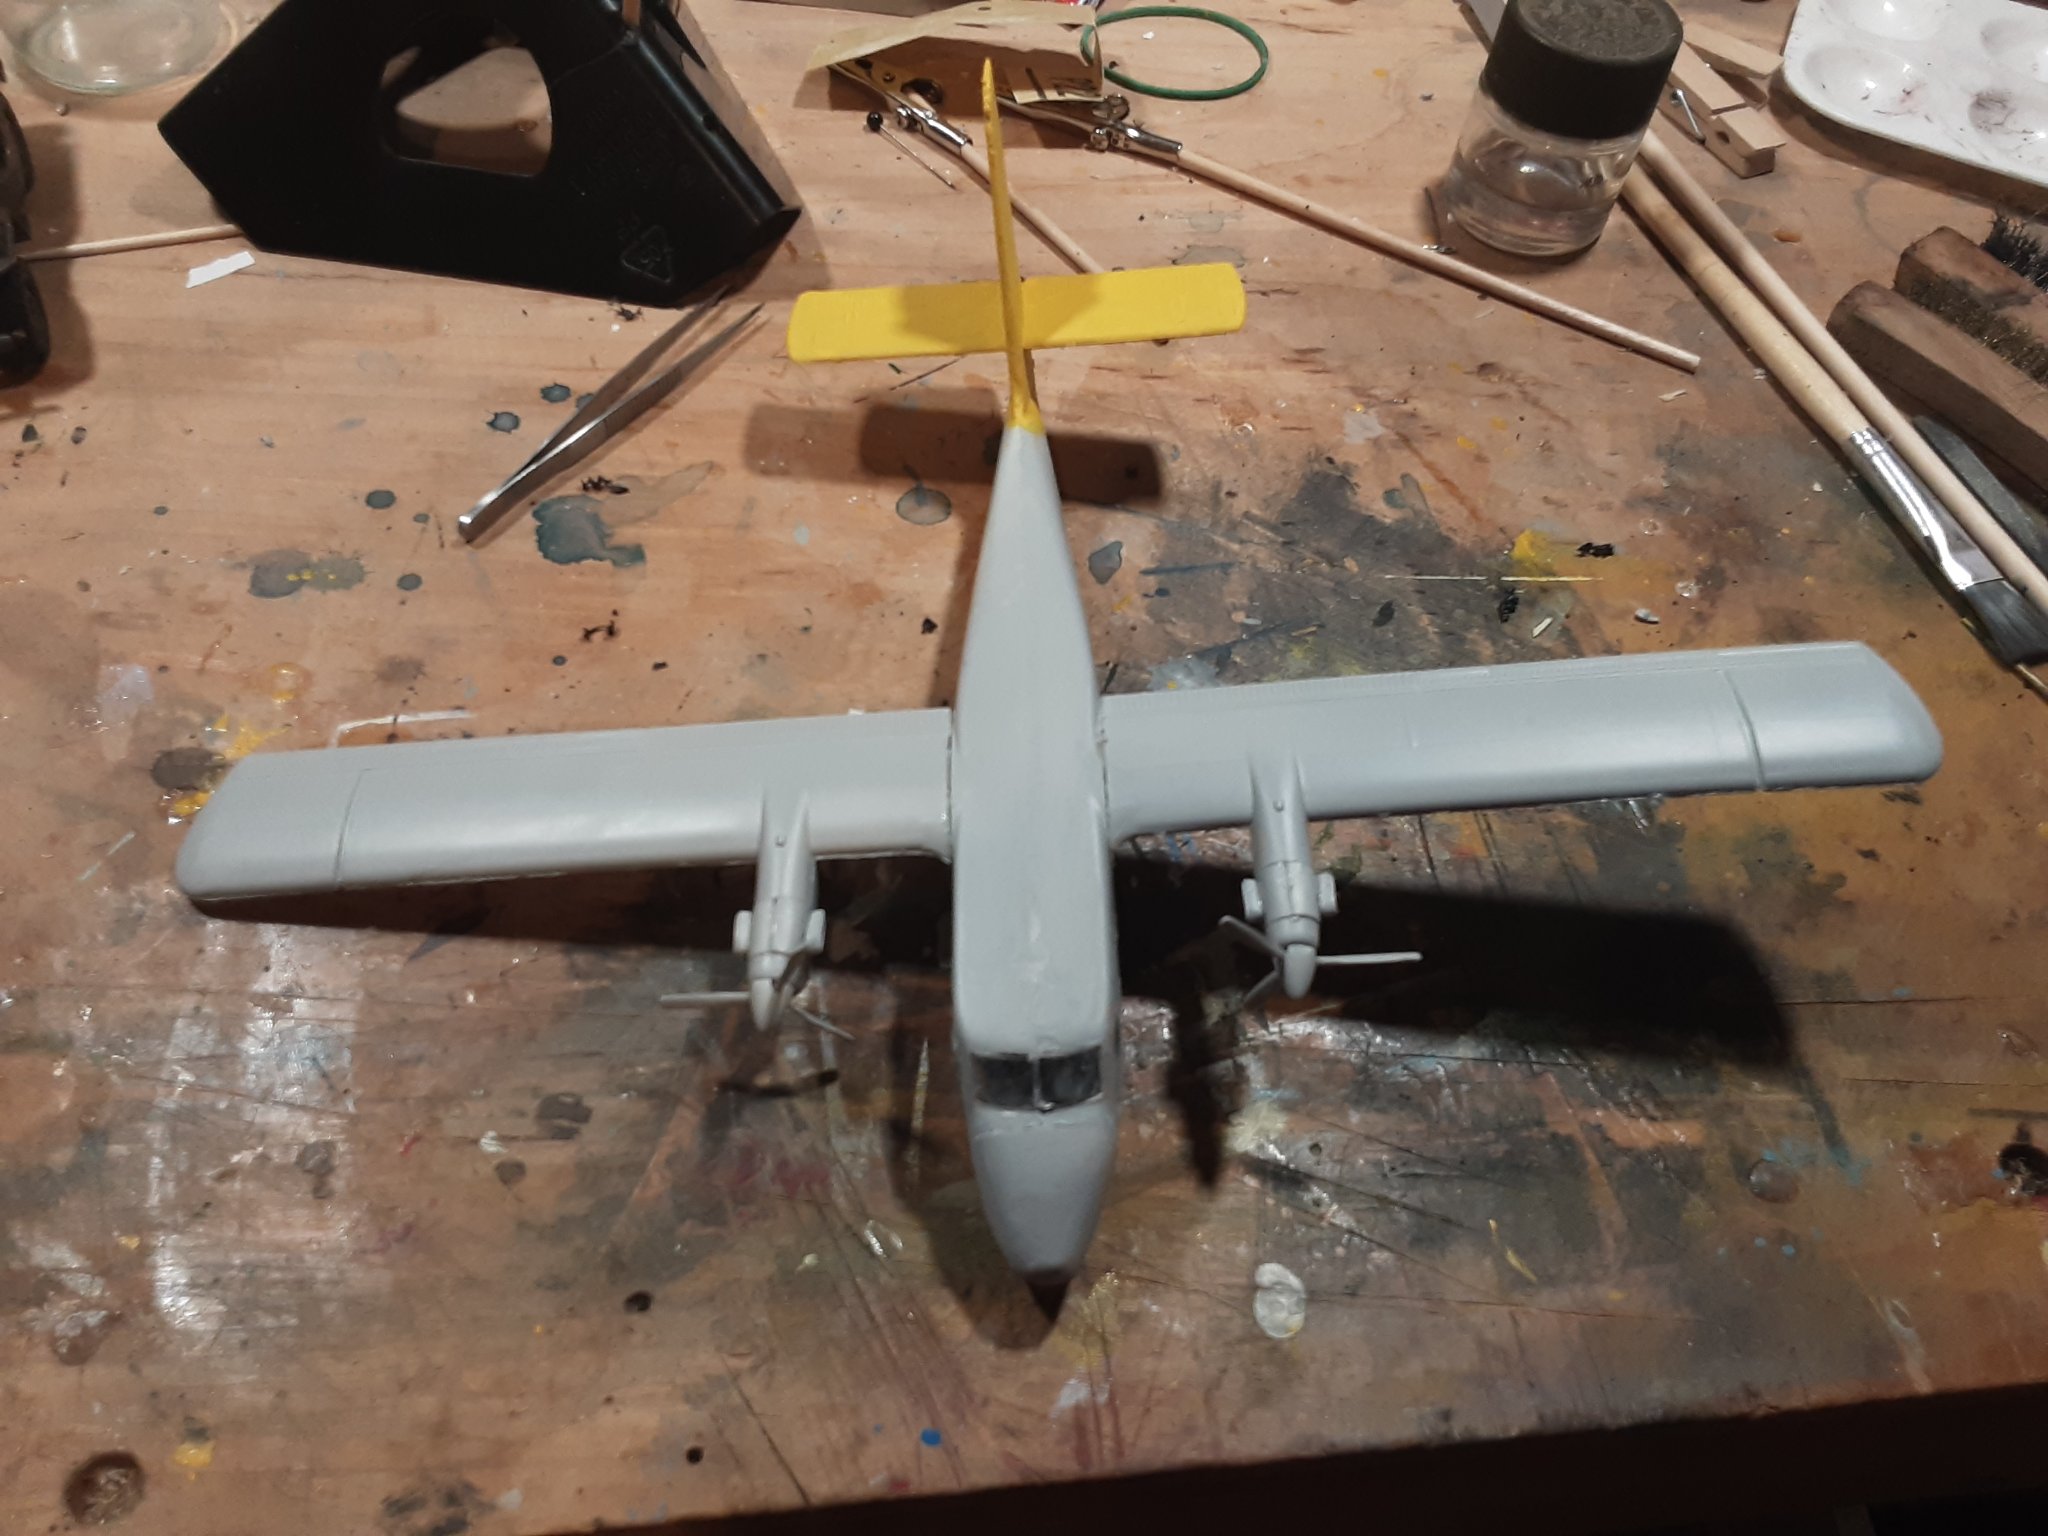
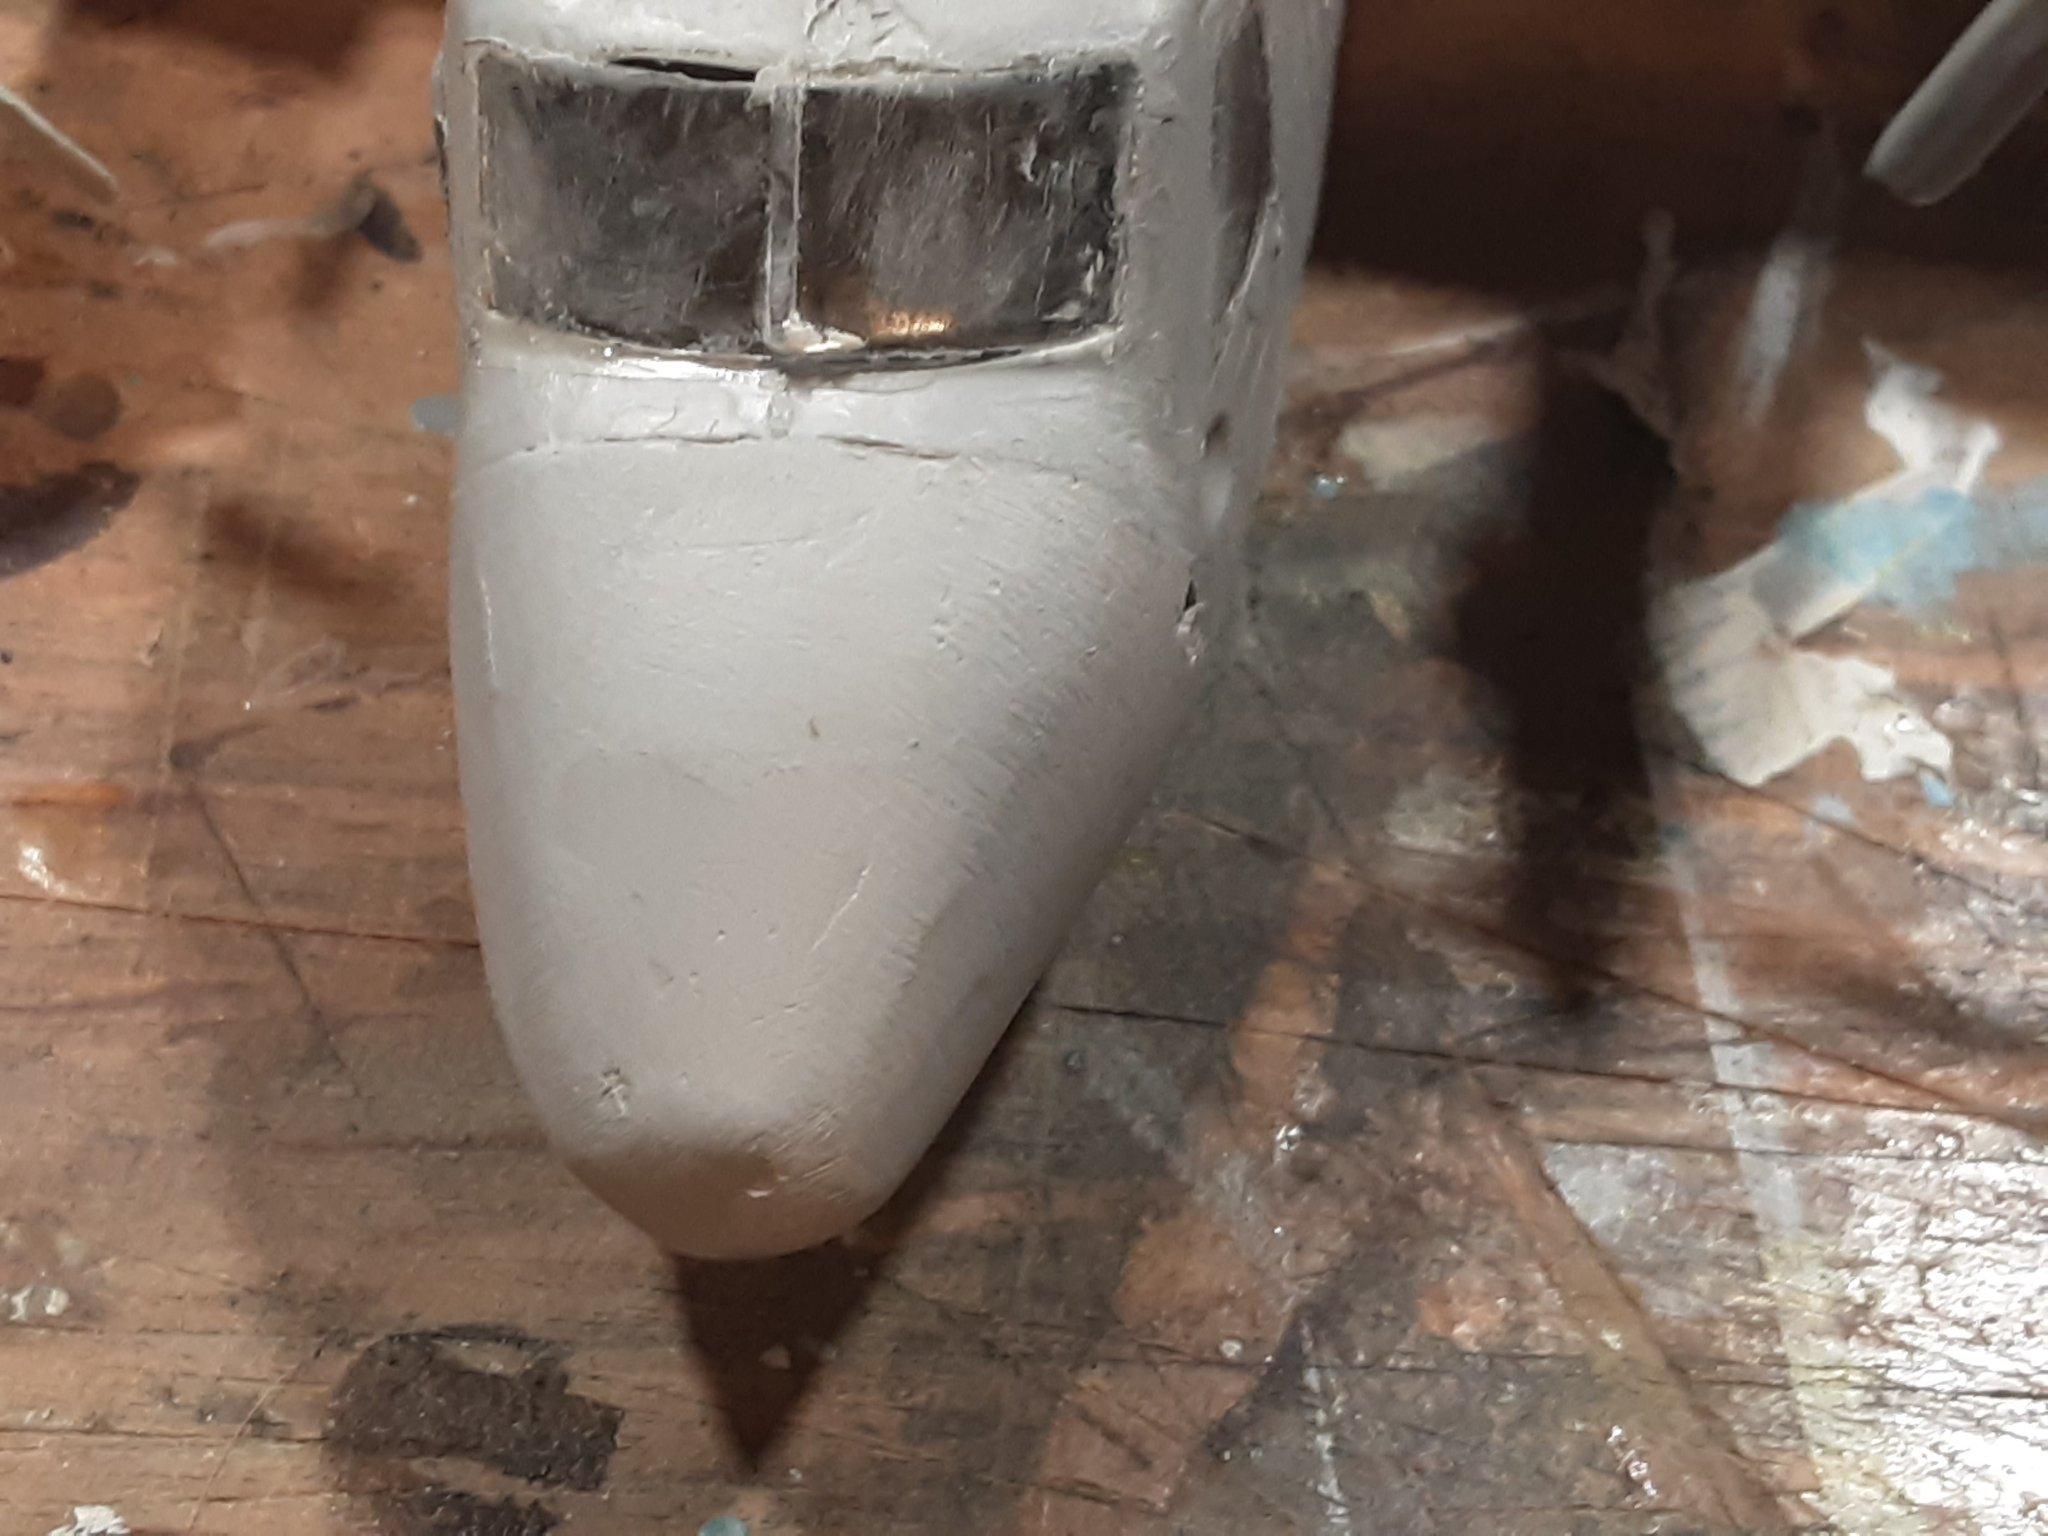
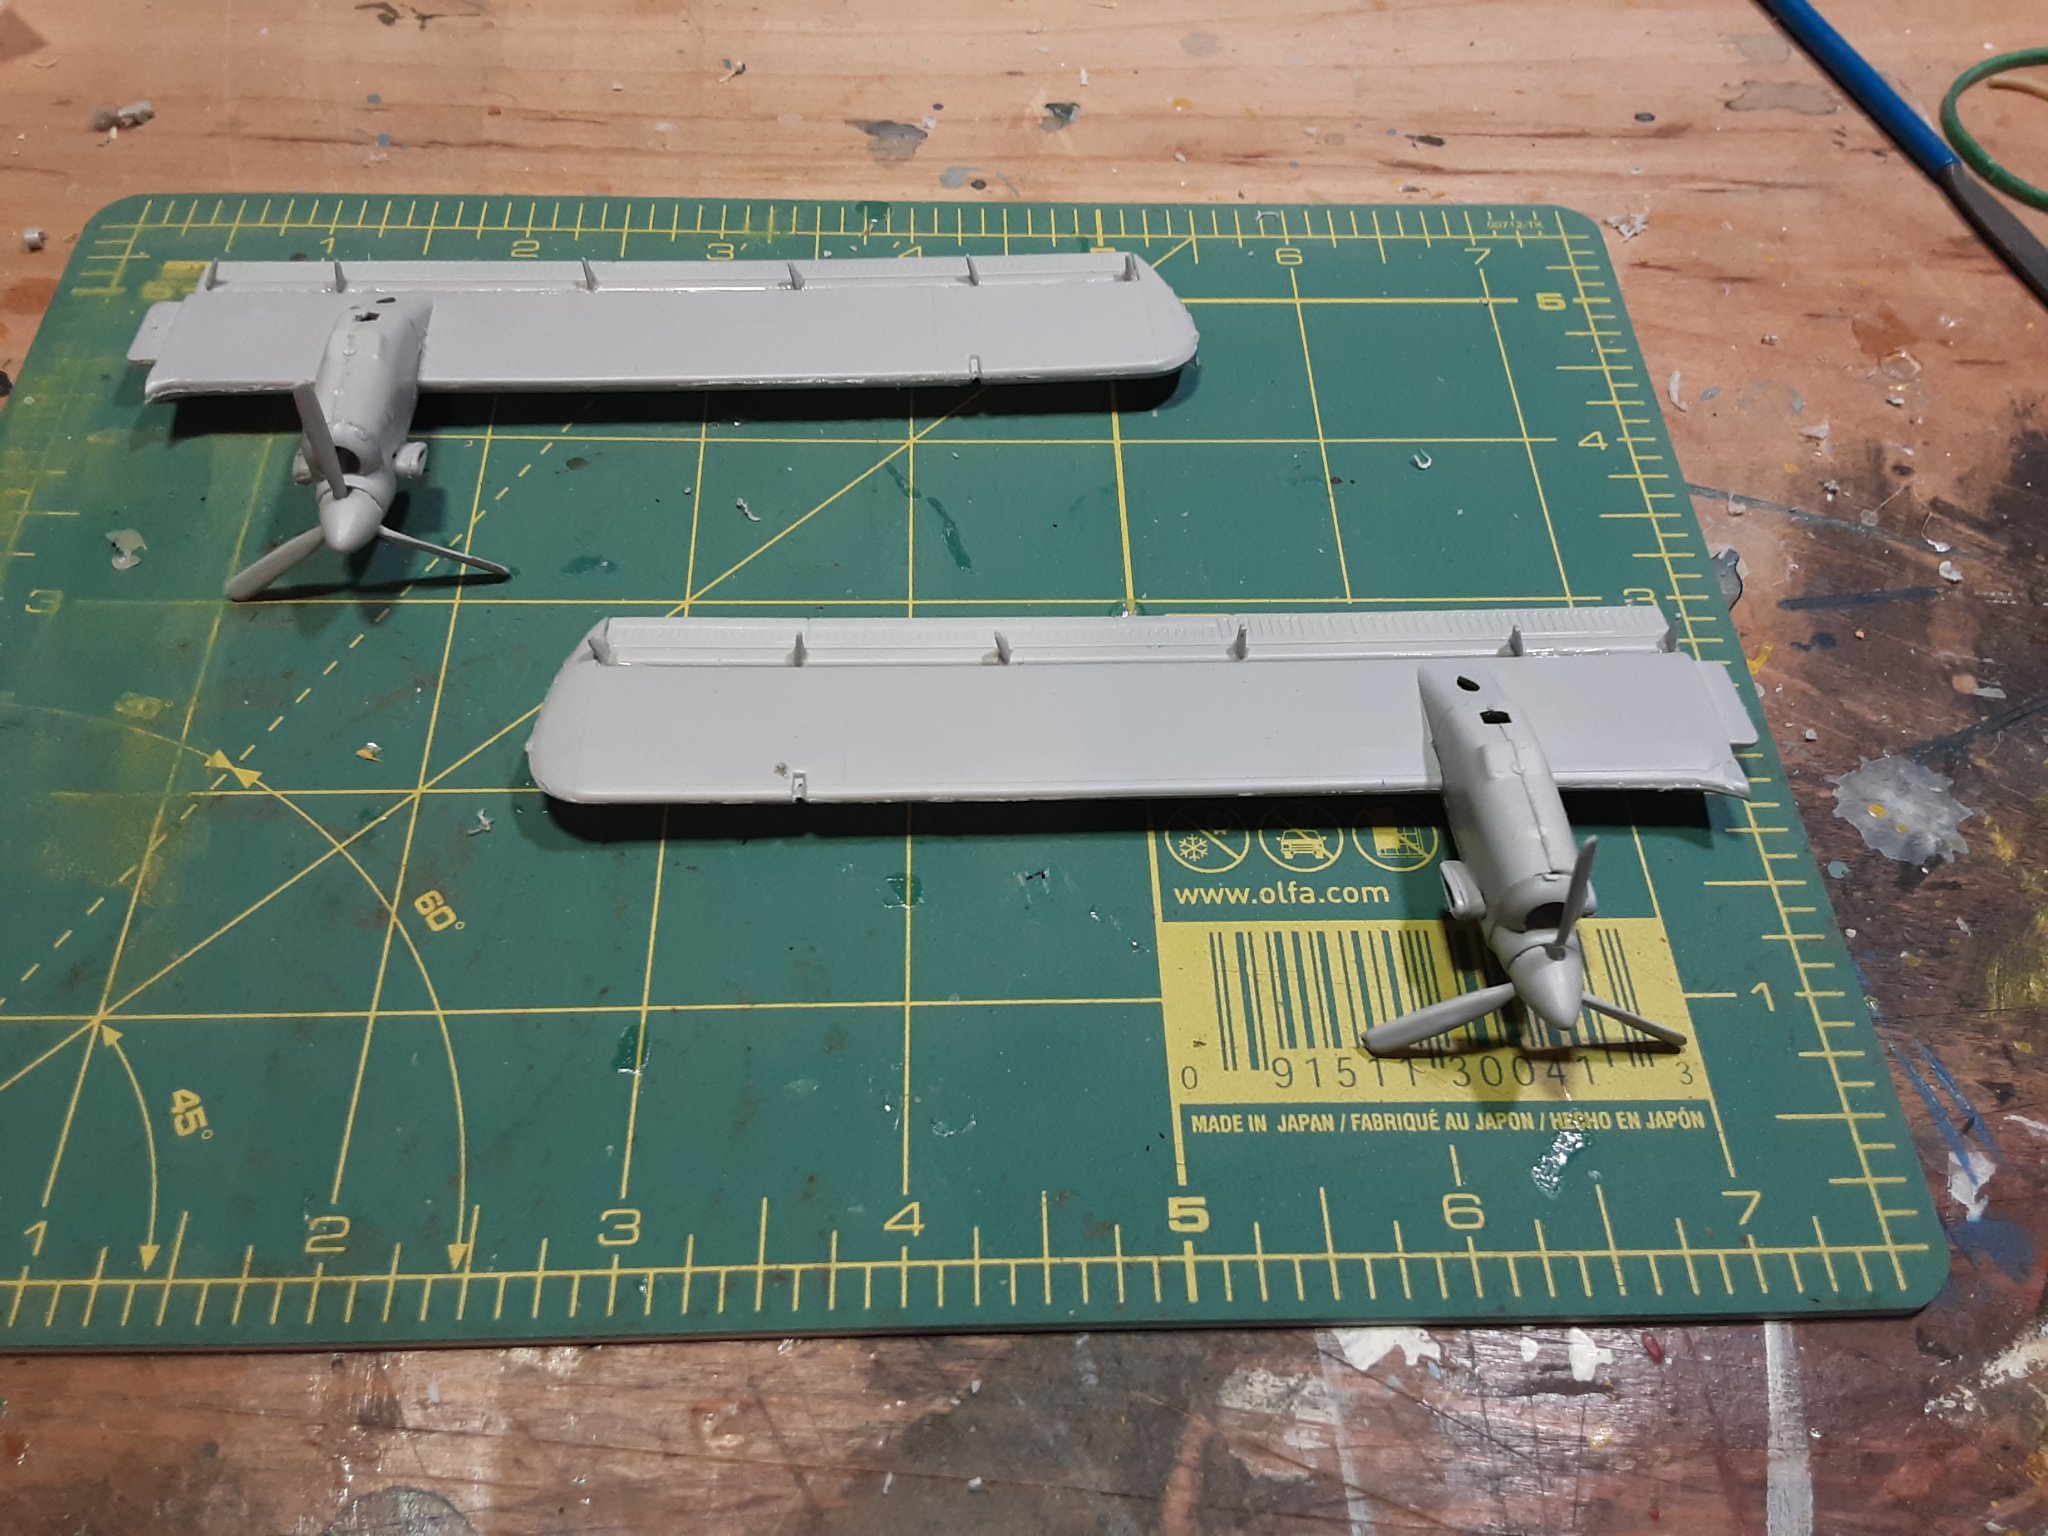
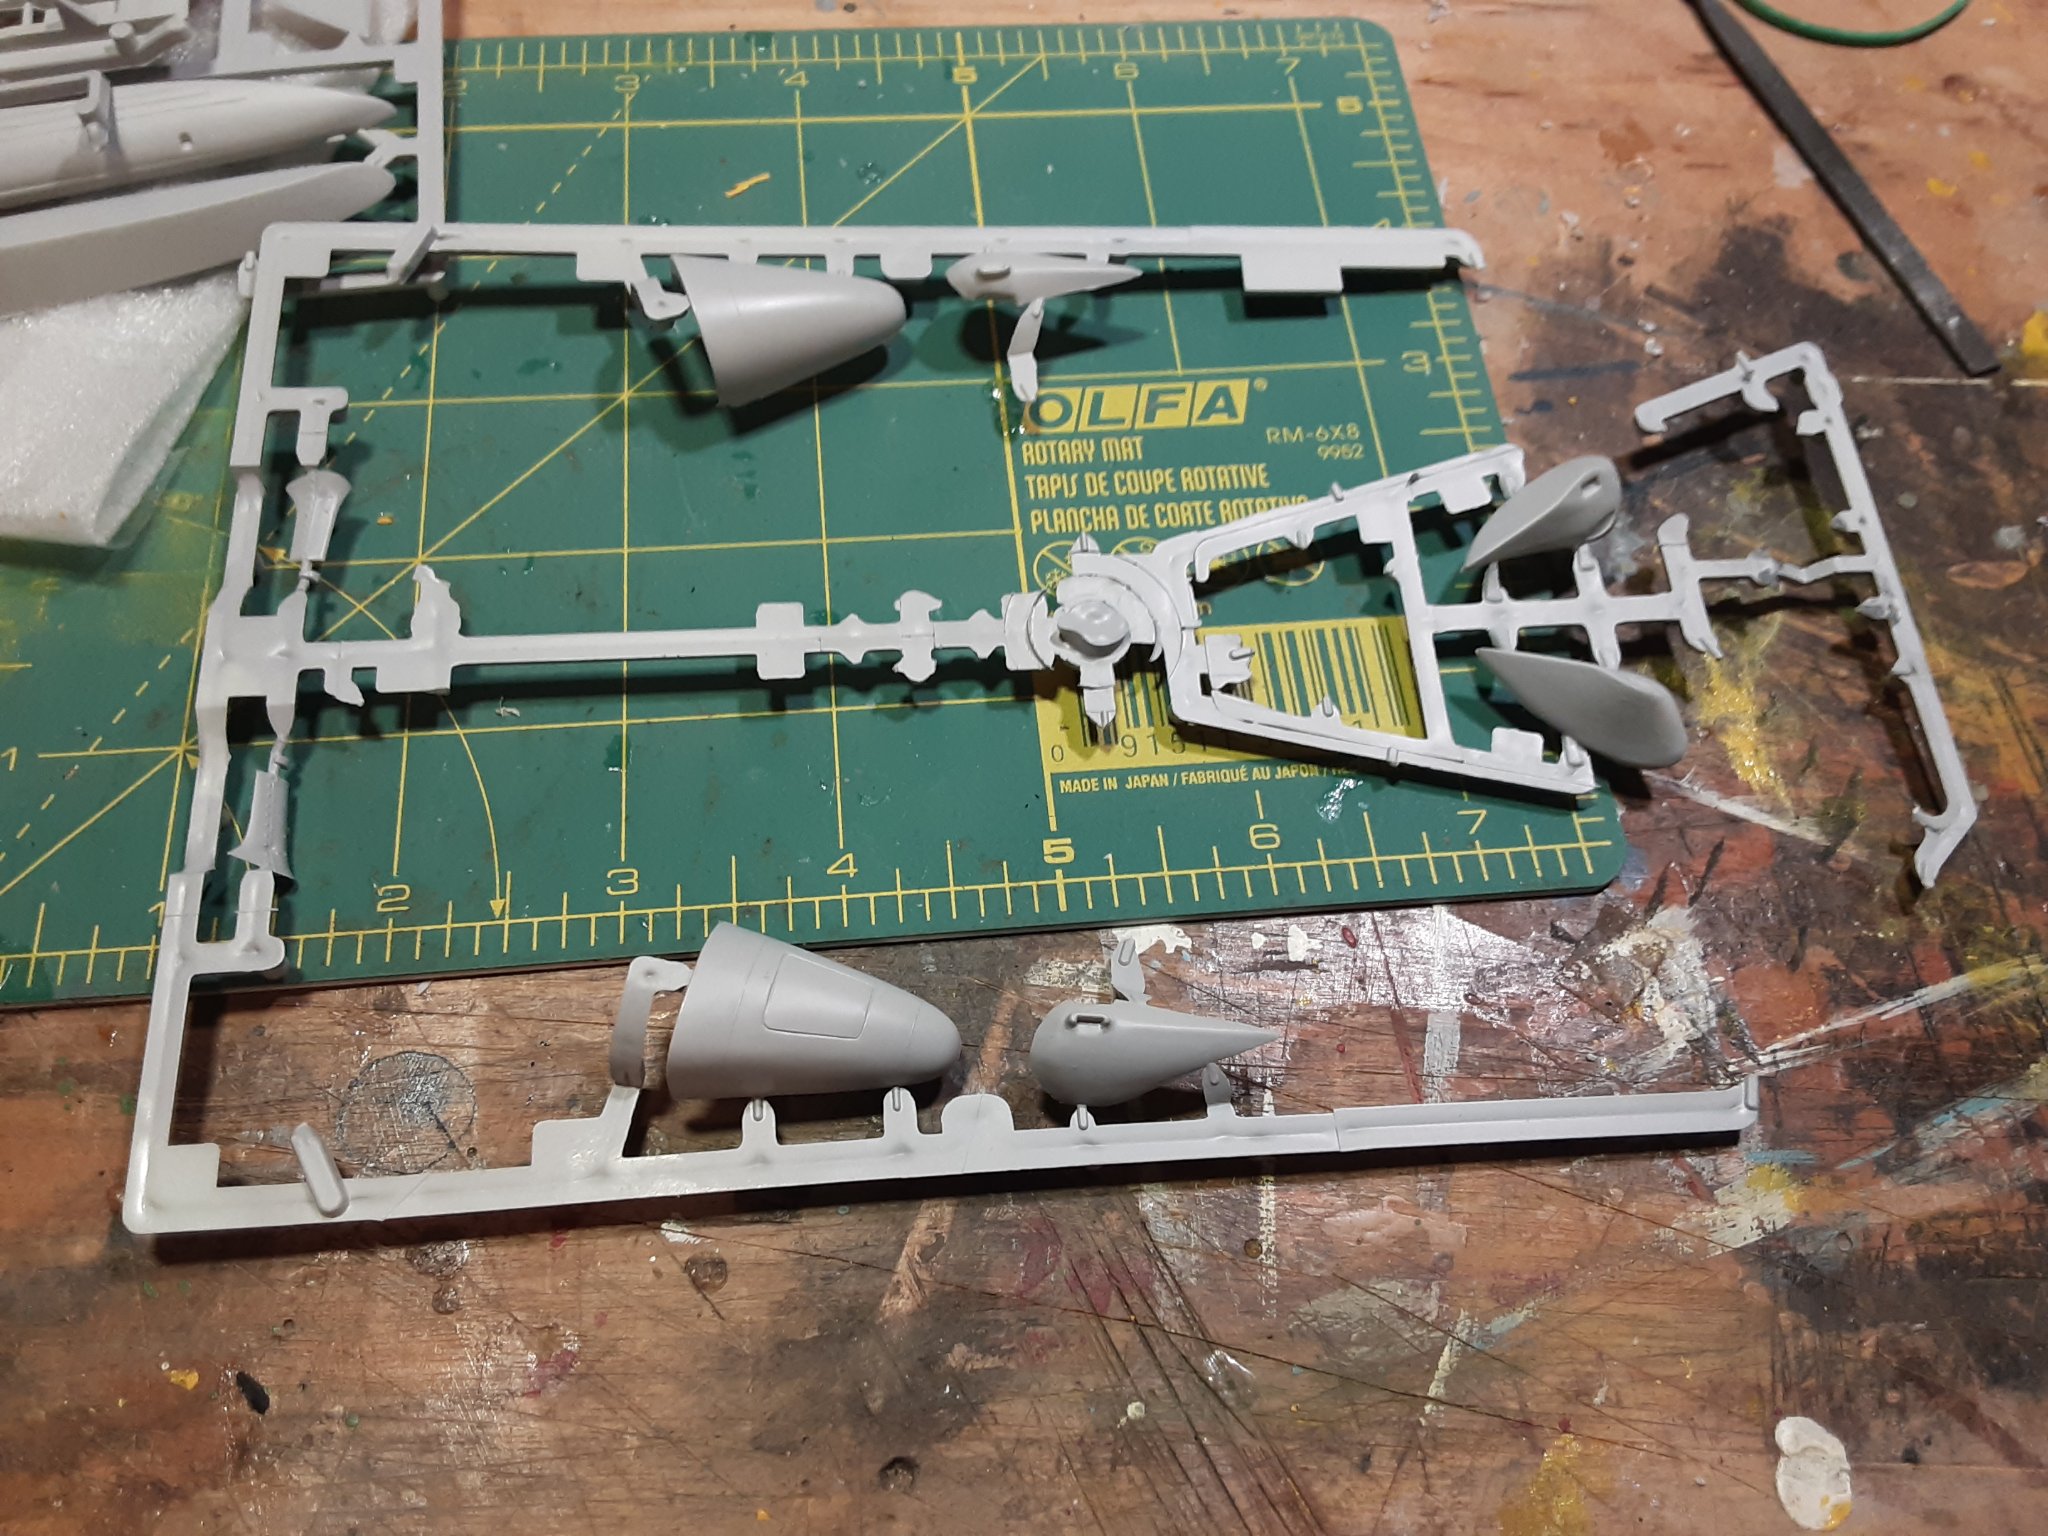
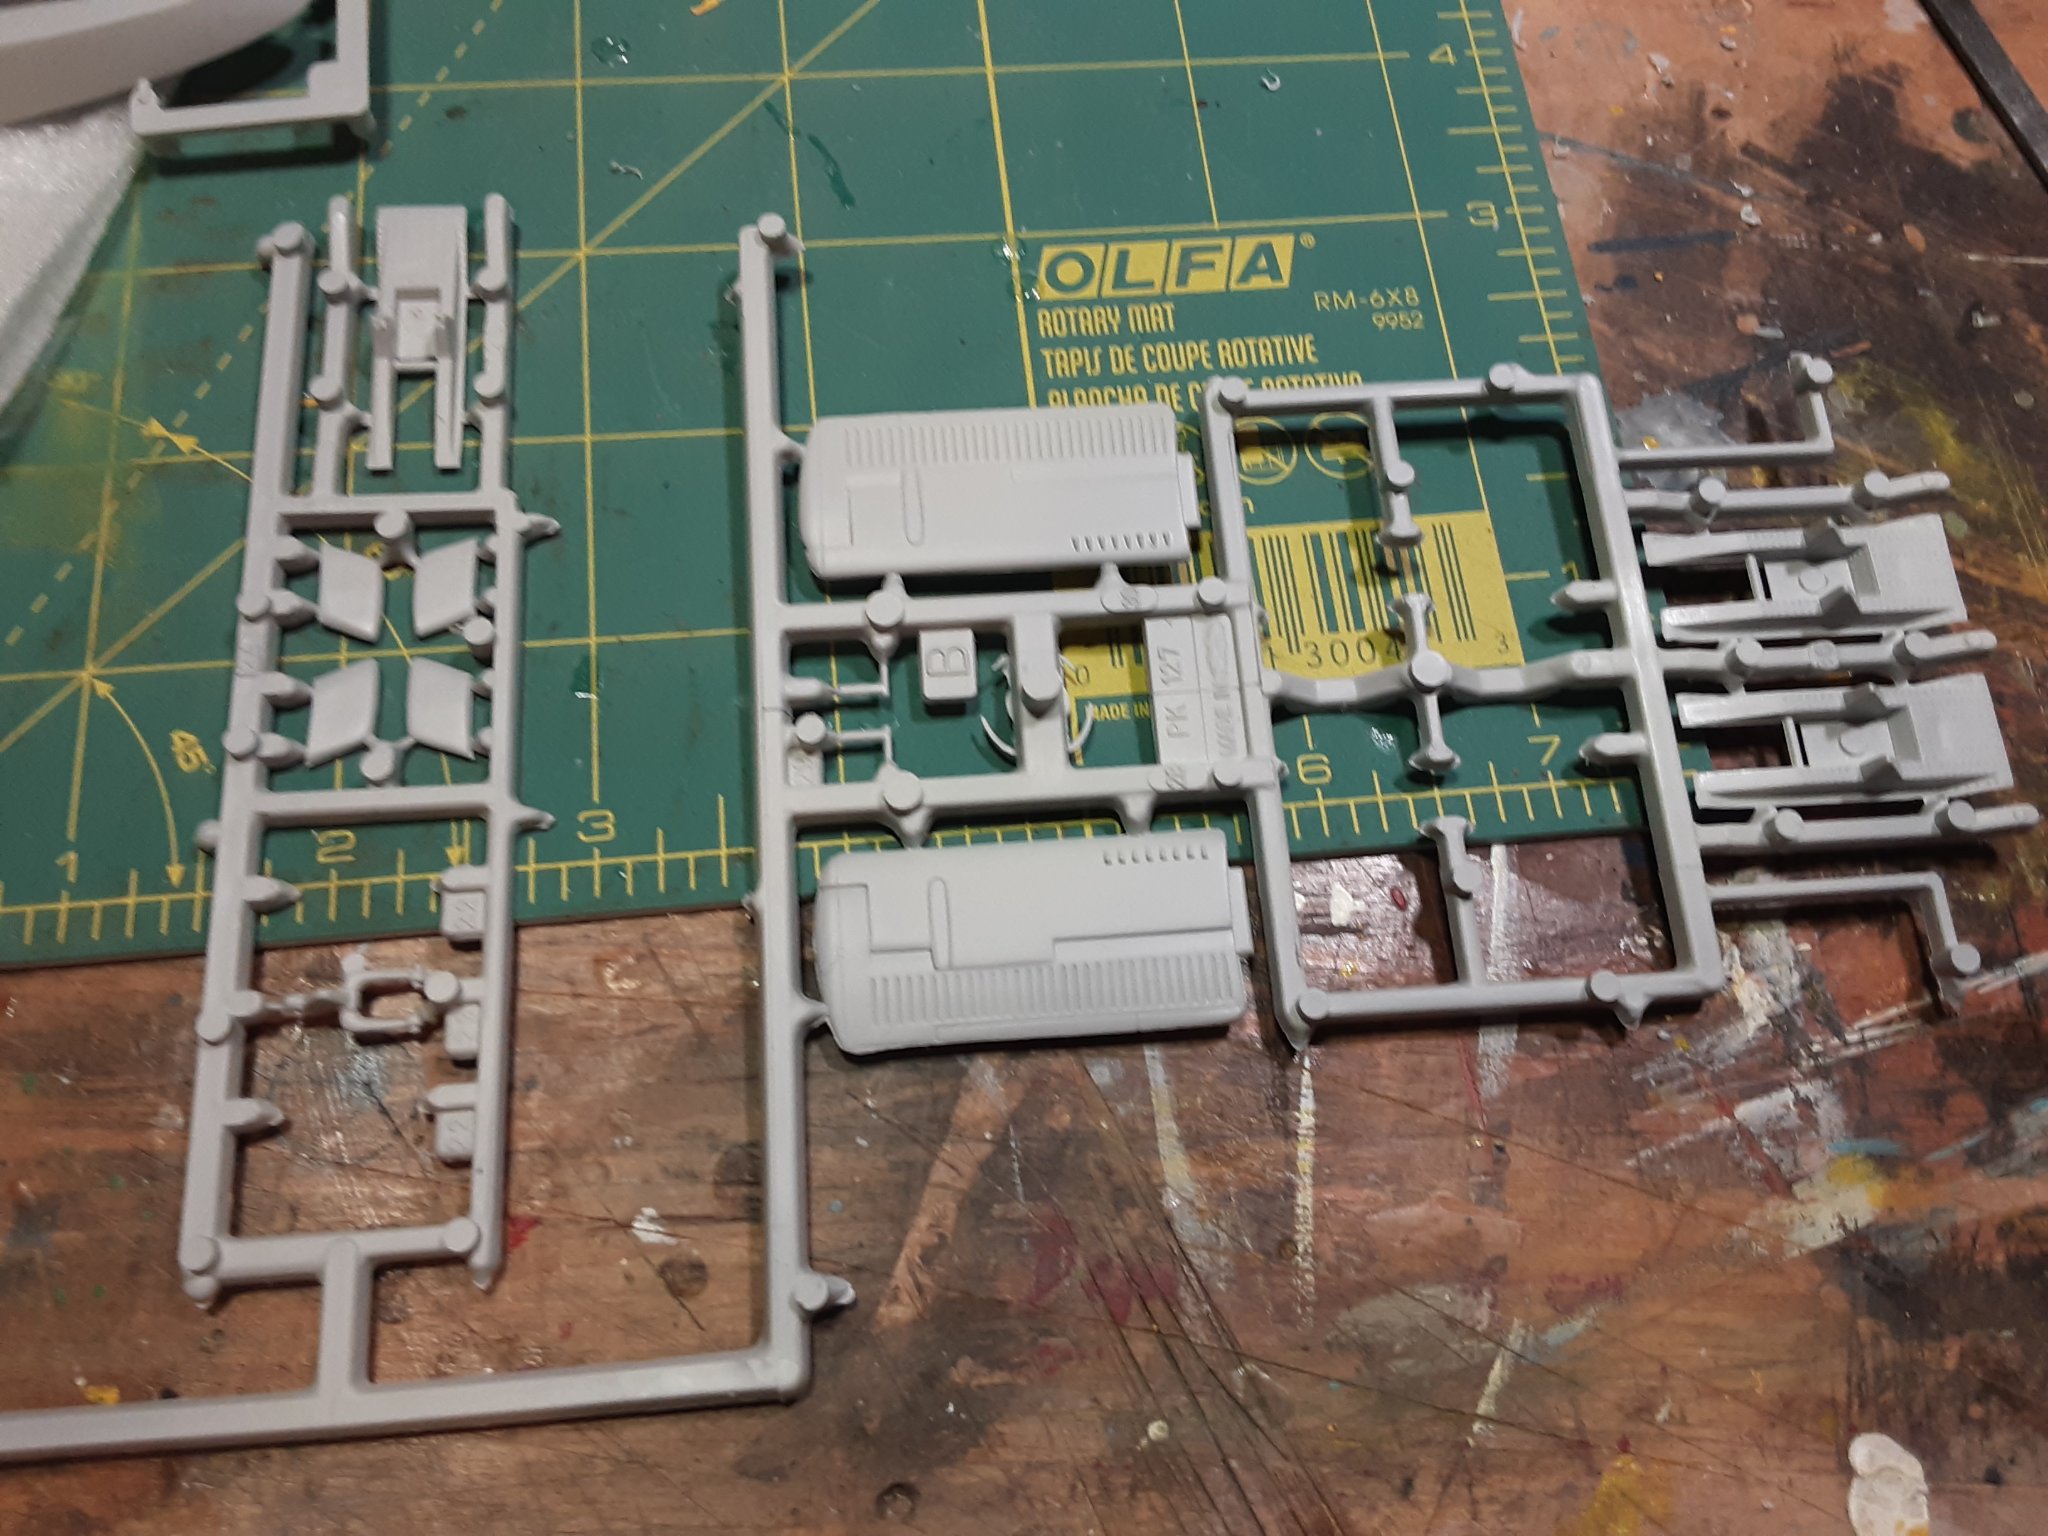
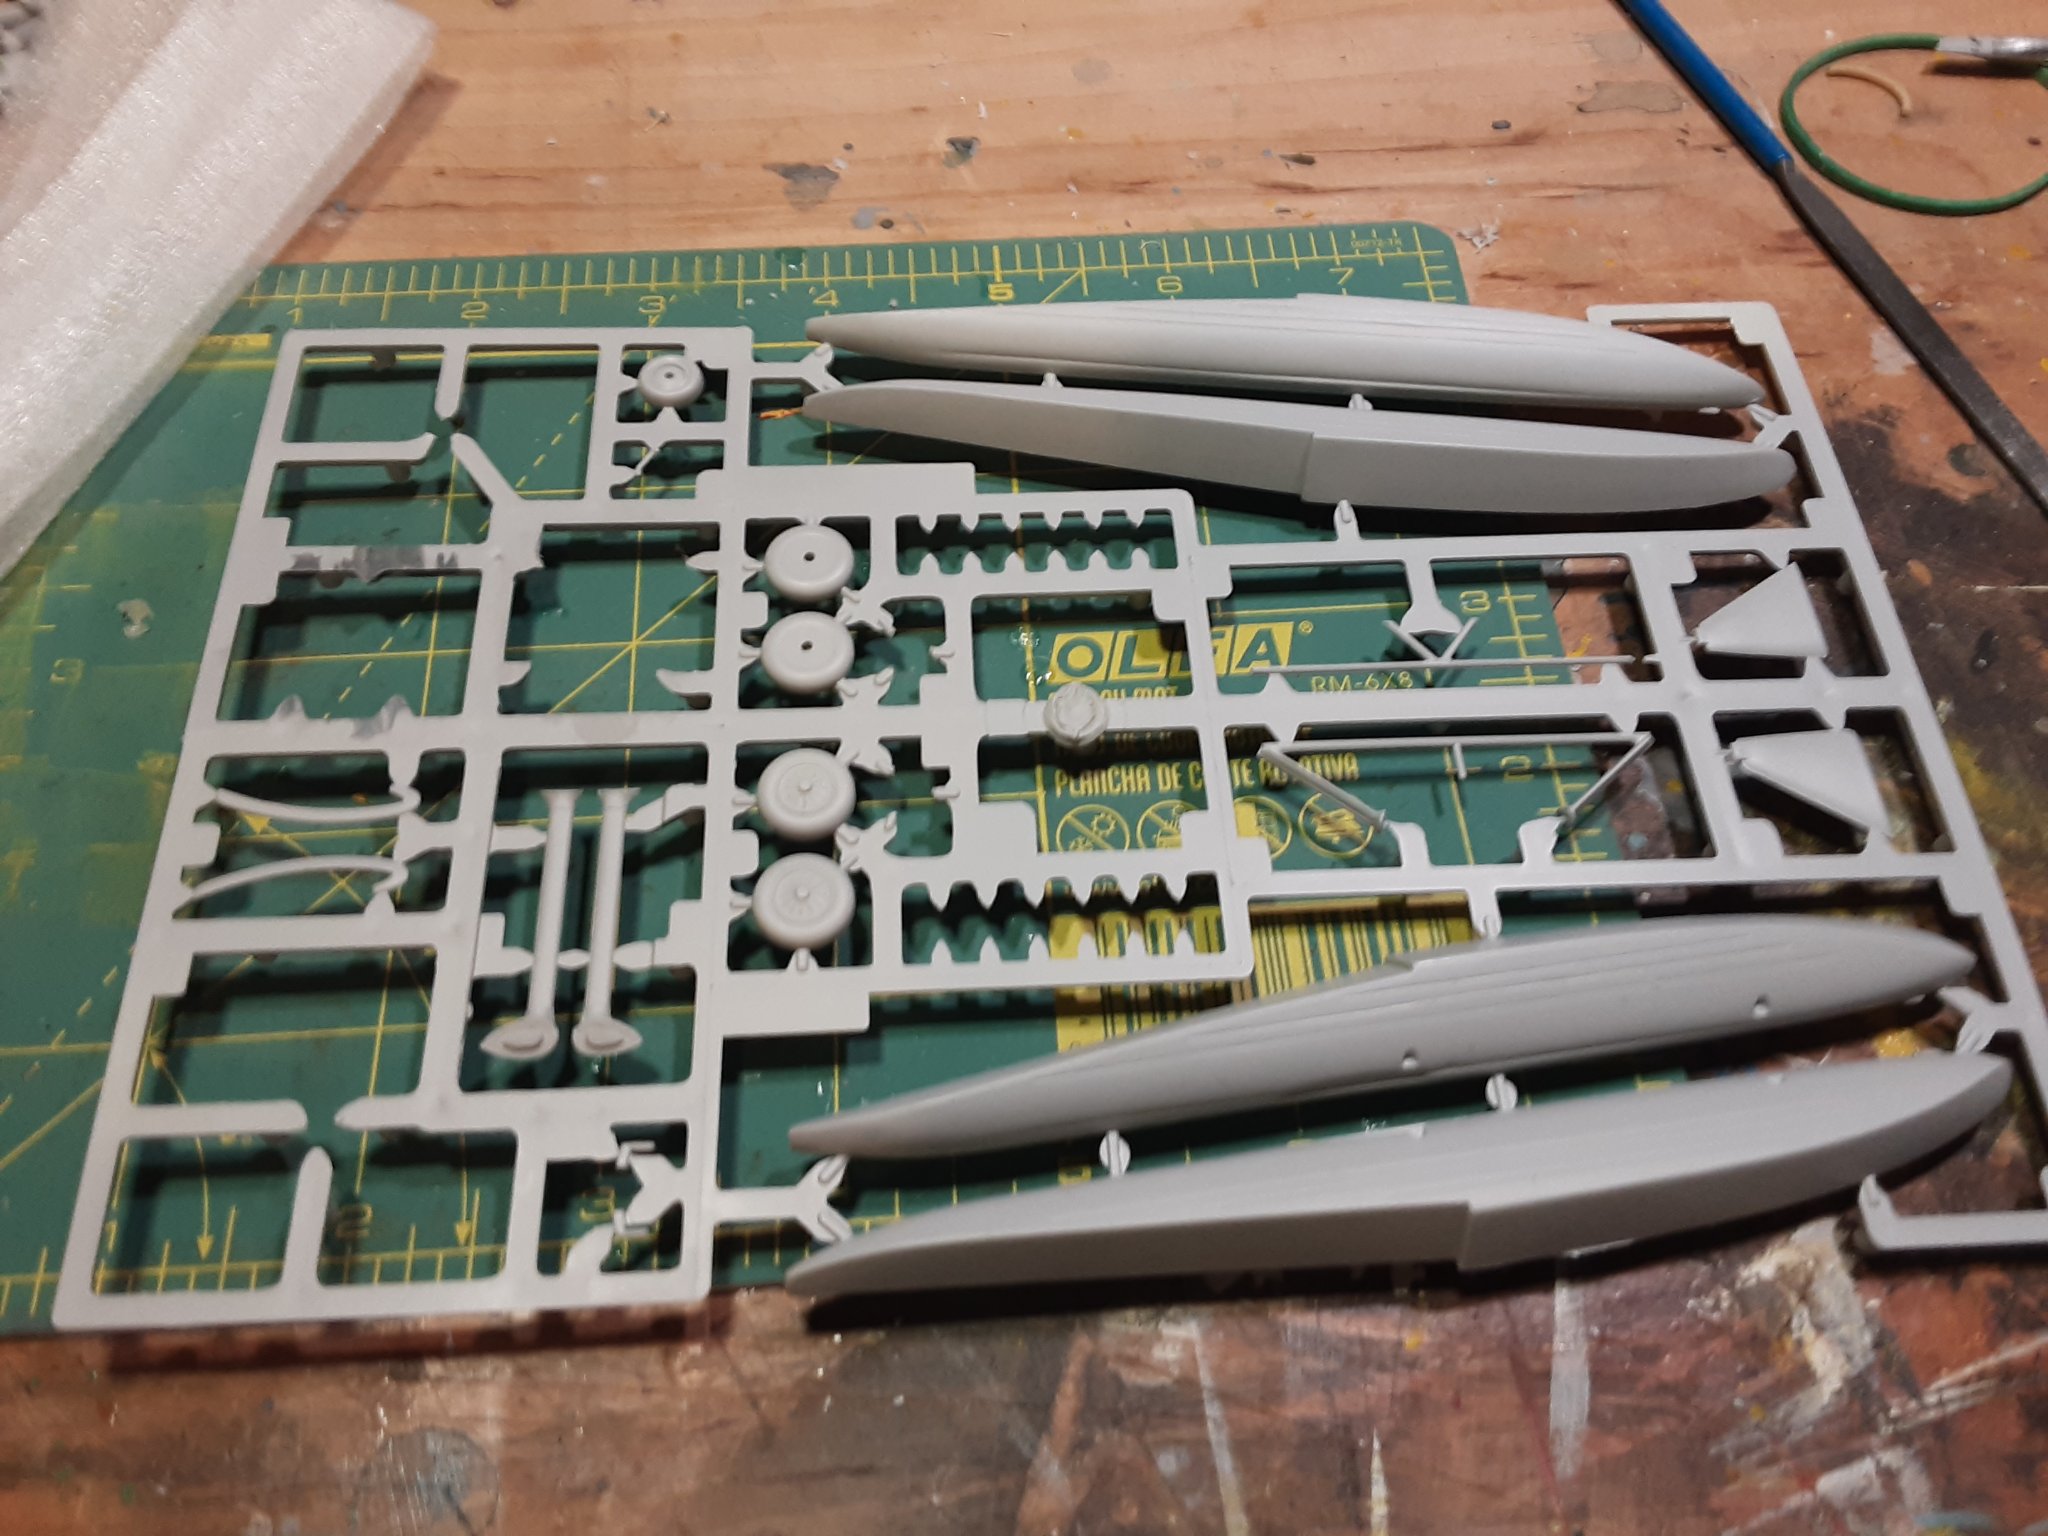
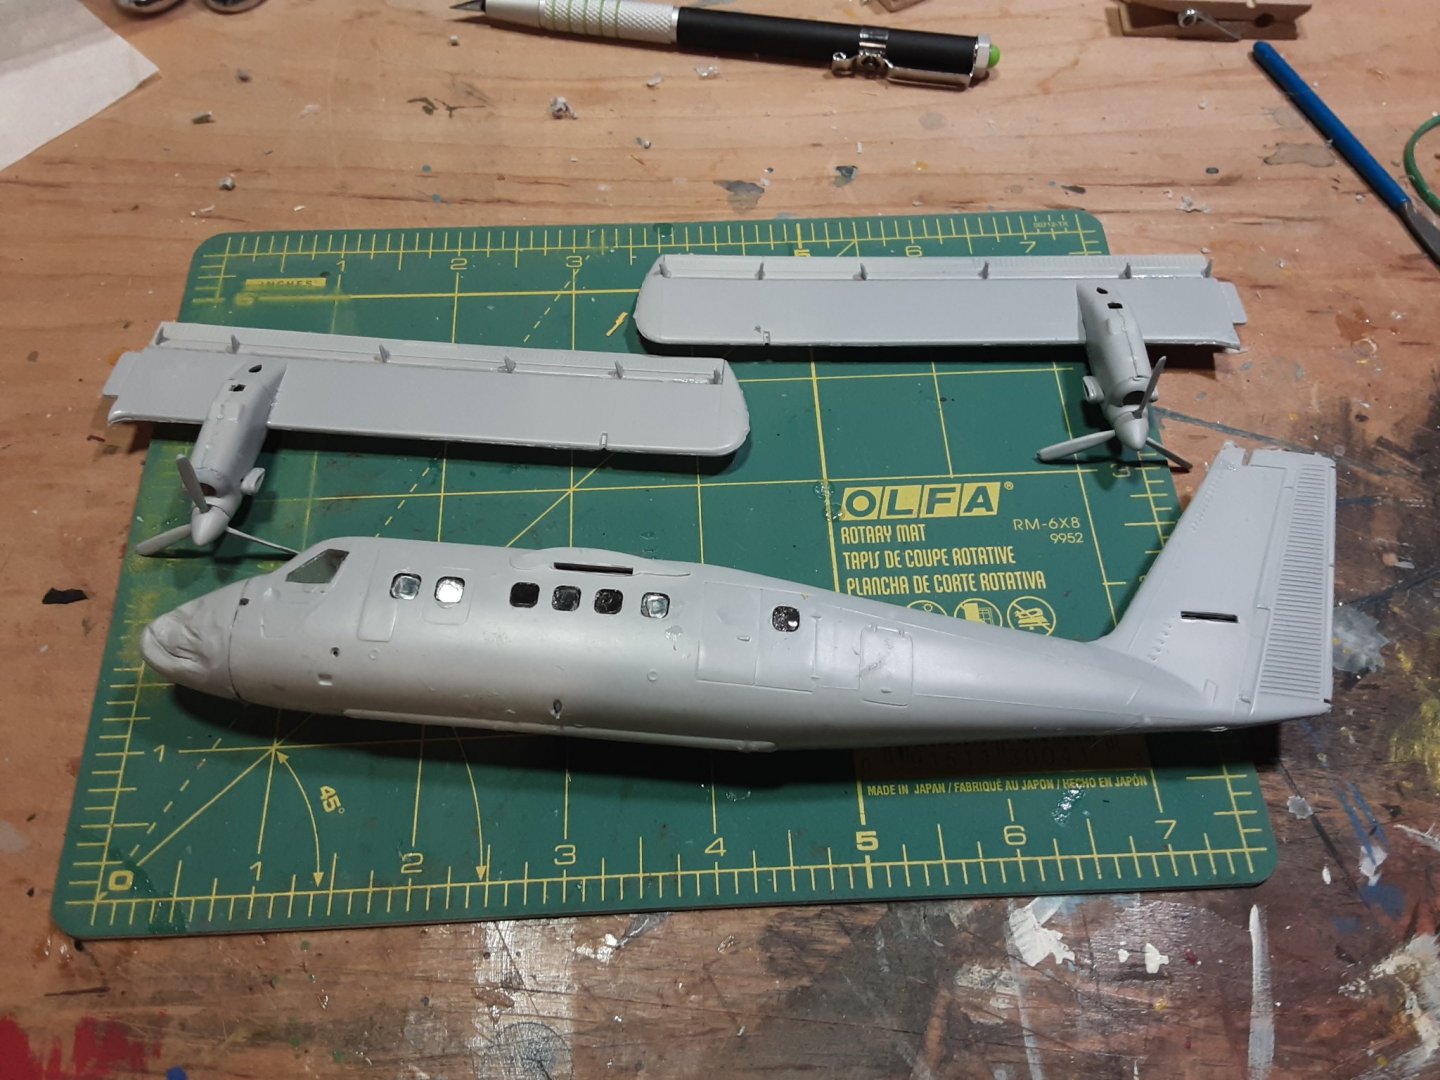
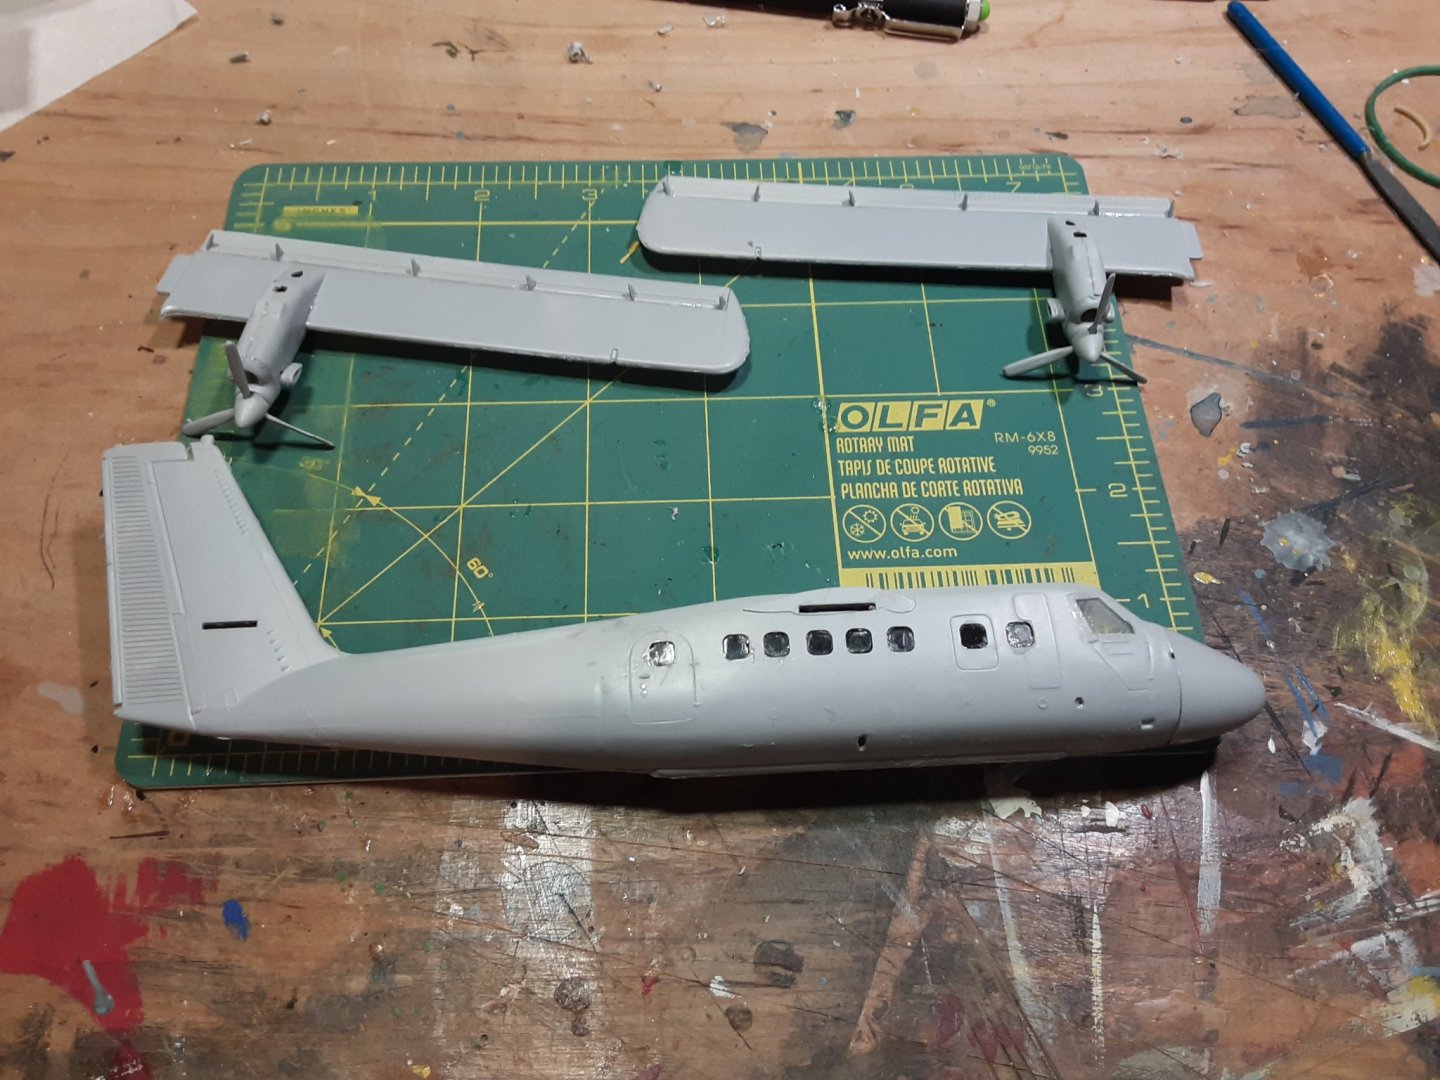
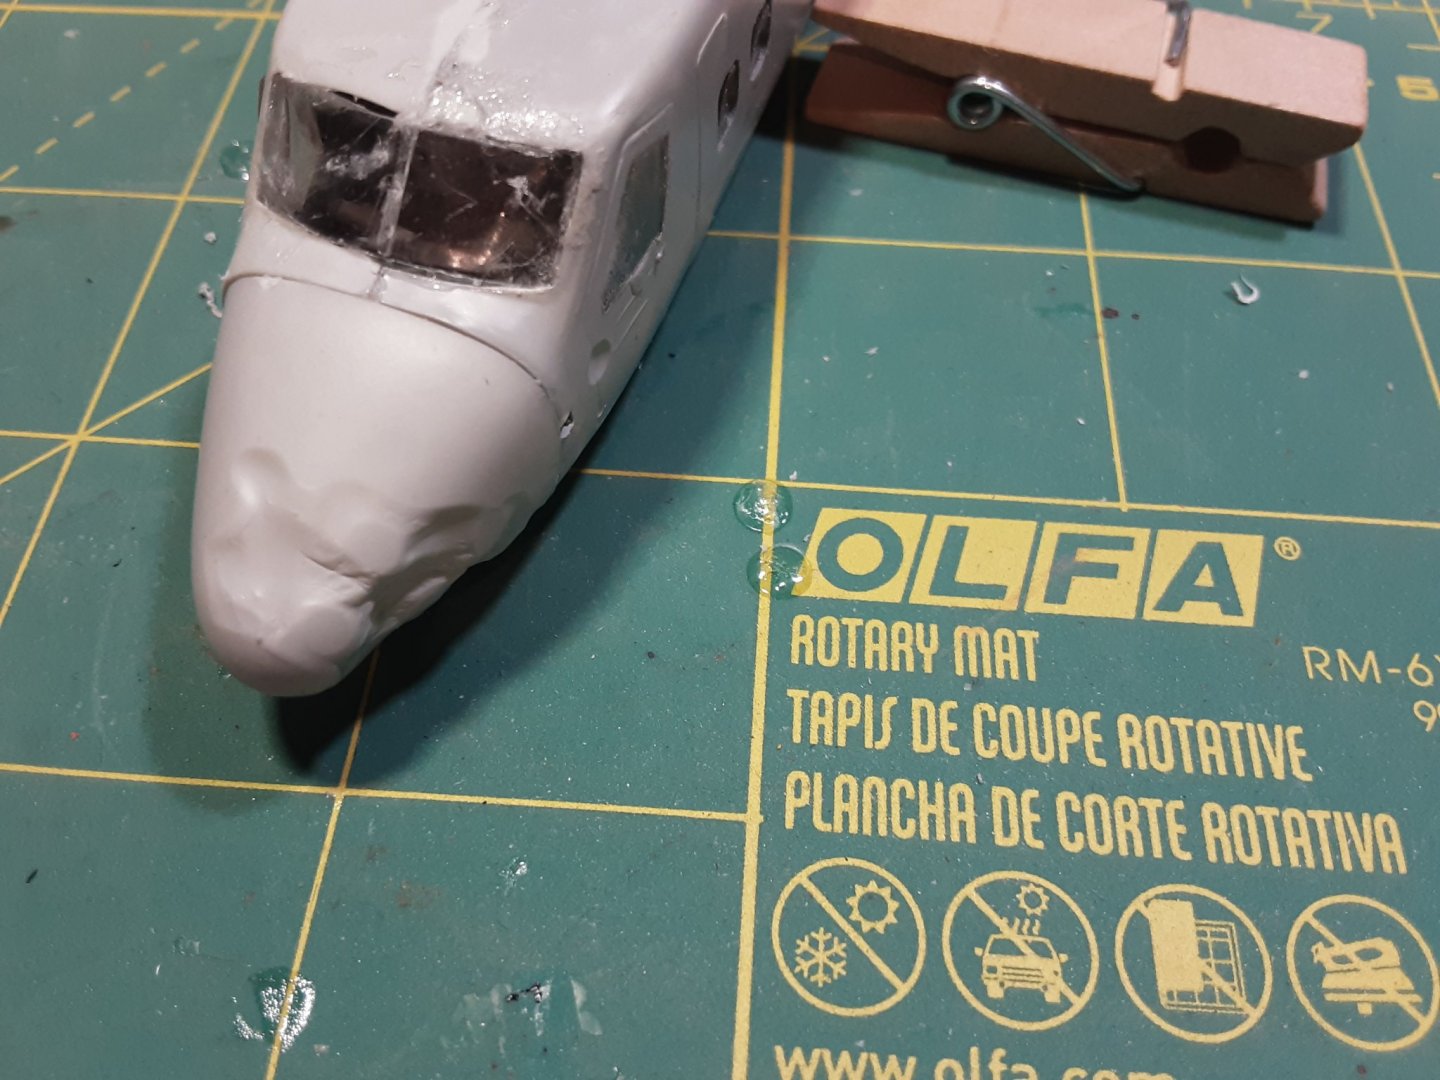
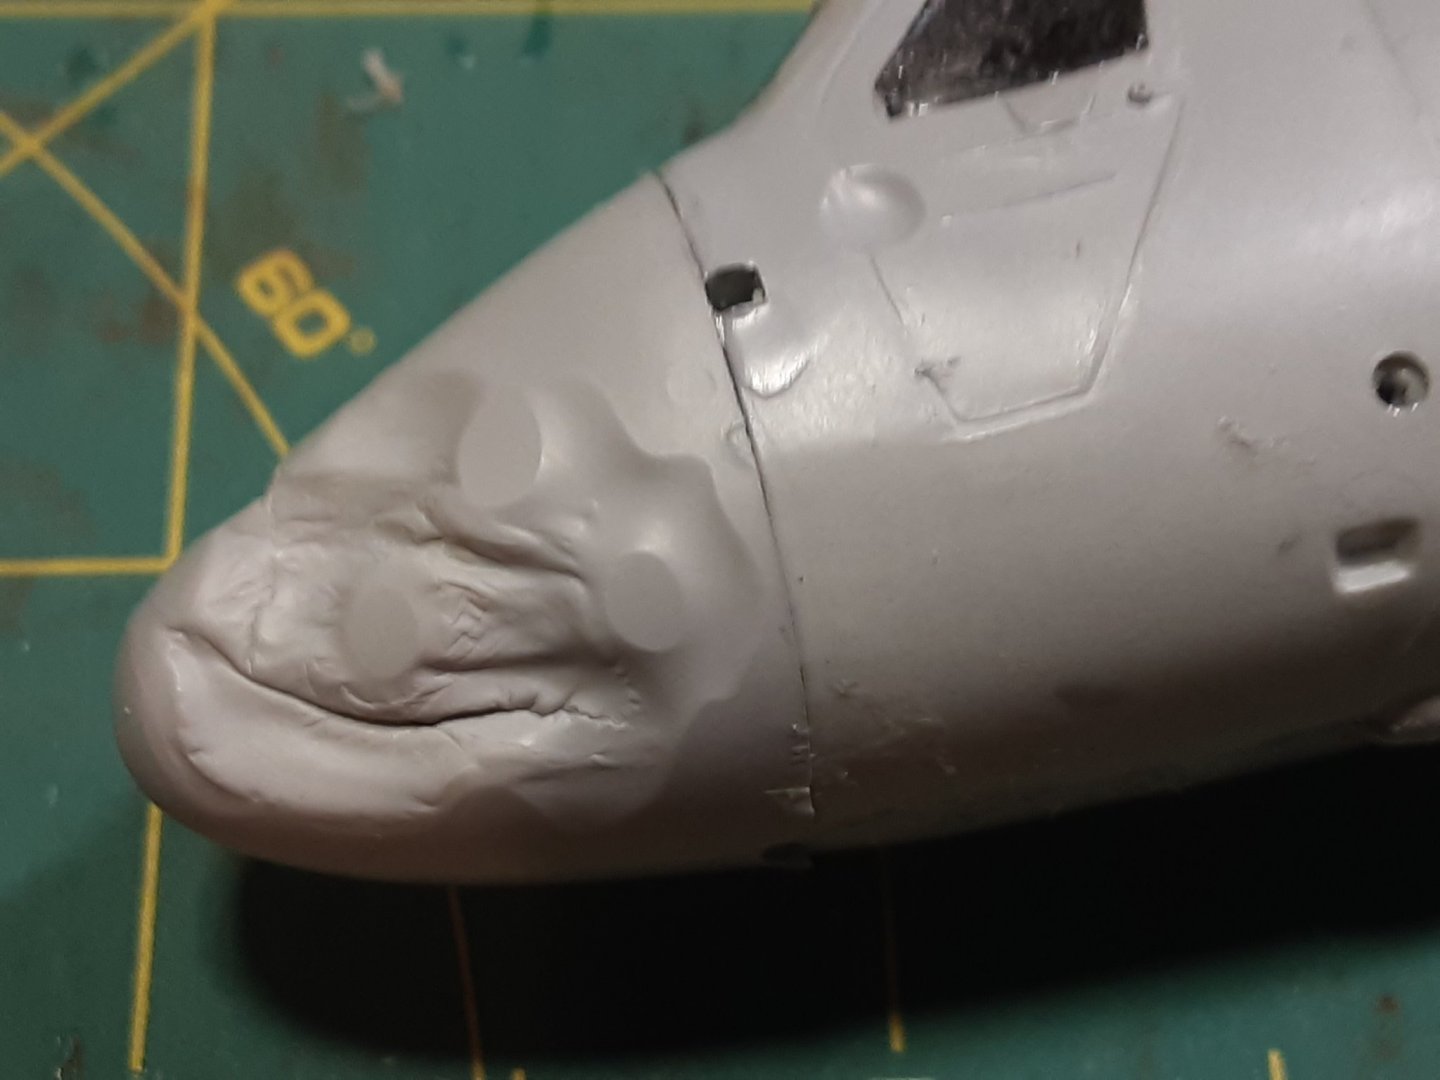
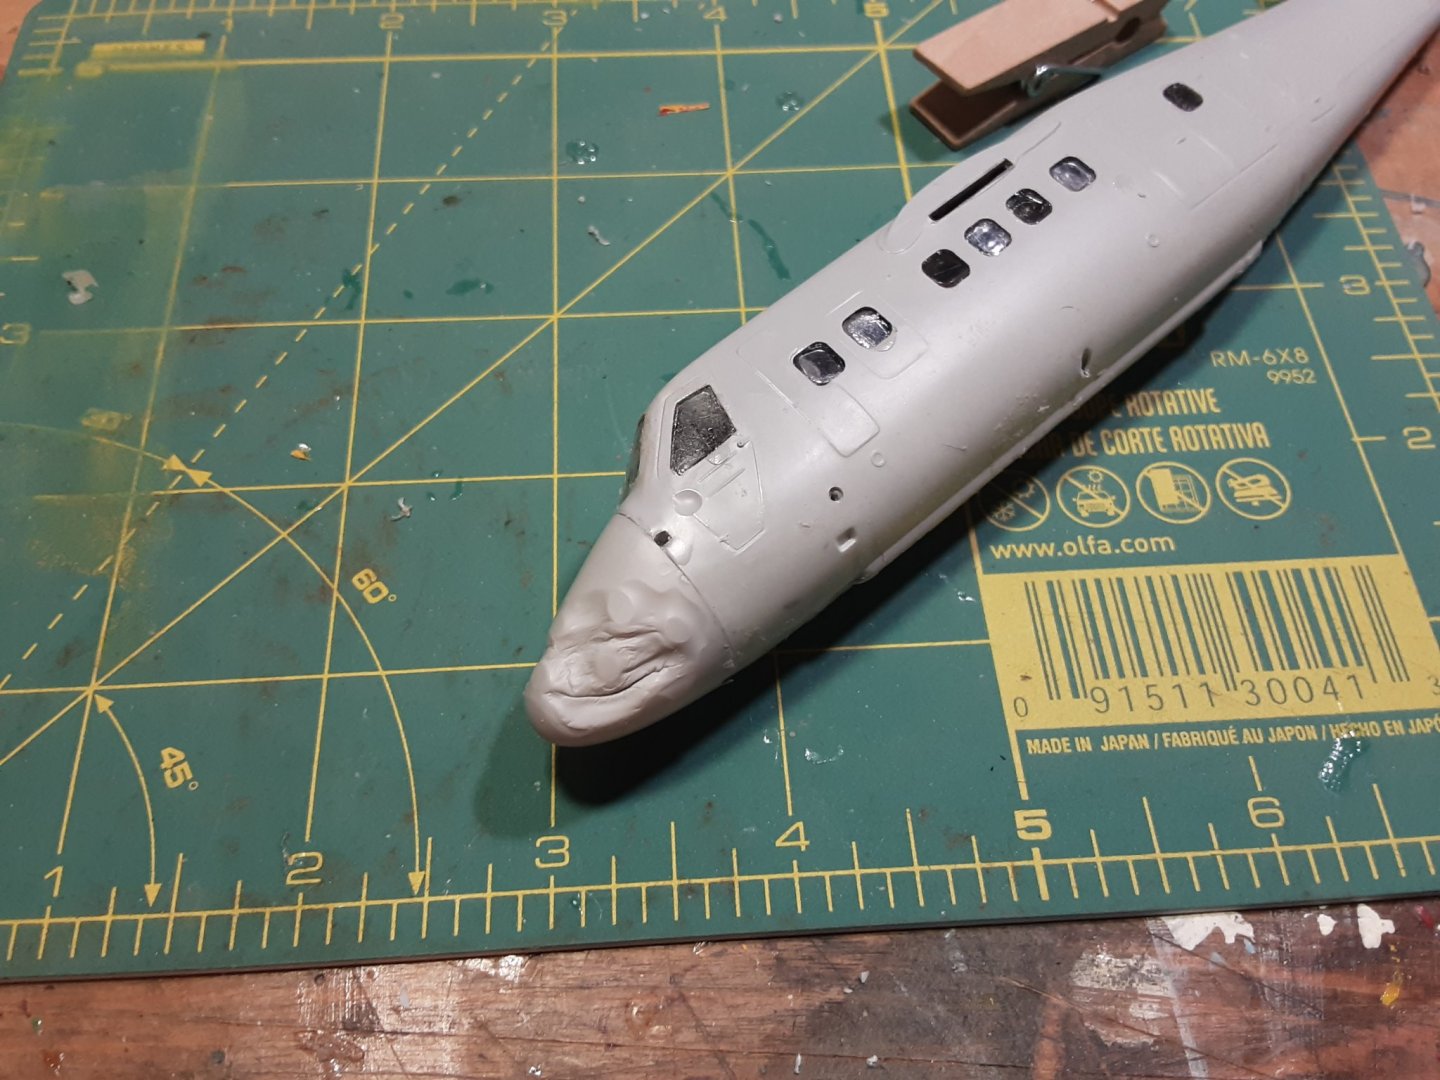
So I started assembling the model. Only 4 sprue! Not a lot of parts per sprue. Assembled the cockpit interior which cannot be seen once the 2 halves are glued together, installed all the tiny glass windows, glued the hull halves together. Simple ! Added the engine nacelles to the wings, selected the nose cone for the variant. Nose needs 20 g of weight to keep the nose wheel on ground (tail sitter), so I added a bunch of copper clad steel BBs. And now senility sets in, to keep the BBs in place I squeezed some Testors plastic cement over the BBs and attached the nose cone to the hull. (You all know where this is going! Right ! ?) 🤔☹ Yep a few hours later I notice that the port side of the nose is slowly melting....... 😒 Left it overnight to see what would happen after the glue had fully cured. Photos below show the disaster. Guess this is what happens to "ole coots" when they spend too much time underground.. 😷 The ole grey matter turns to mush. So today I took out the Tamiya White Putty and a small spatula and started filling in and reshaping the nose cone. Stay tuned !

-
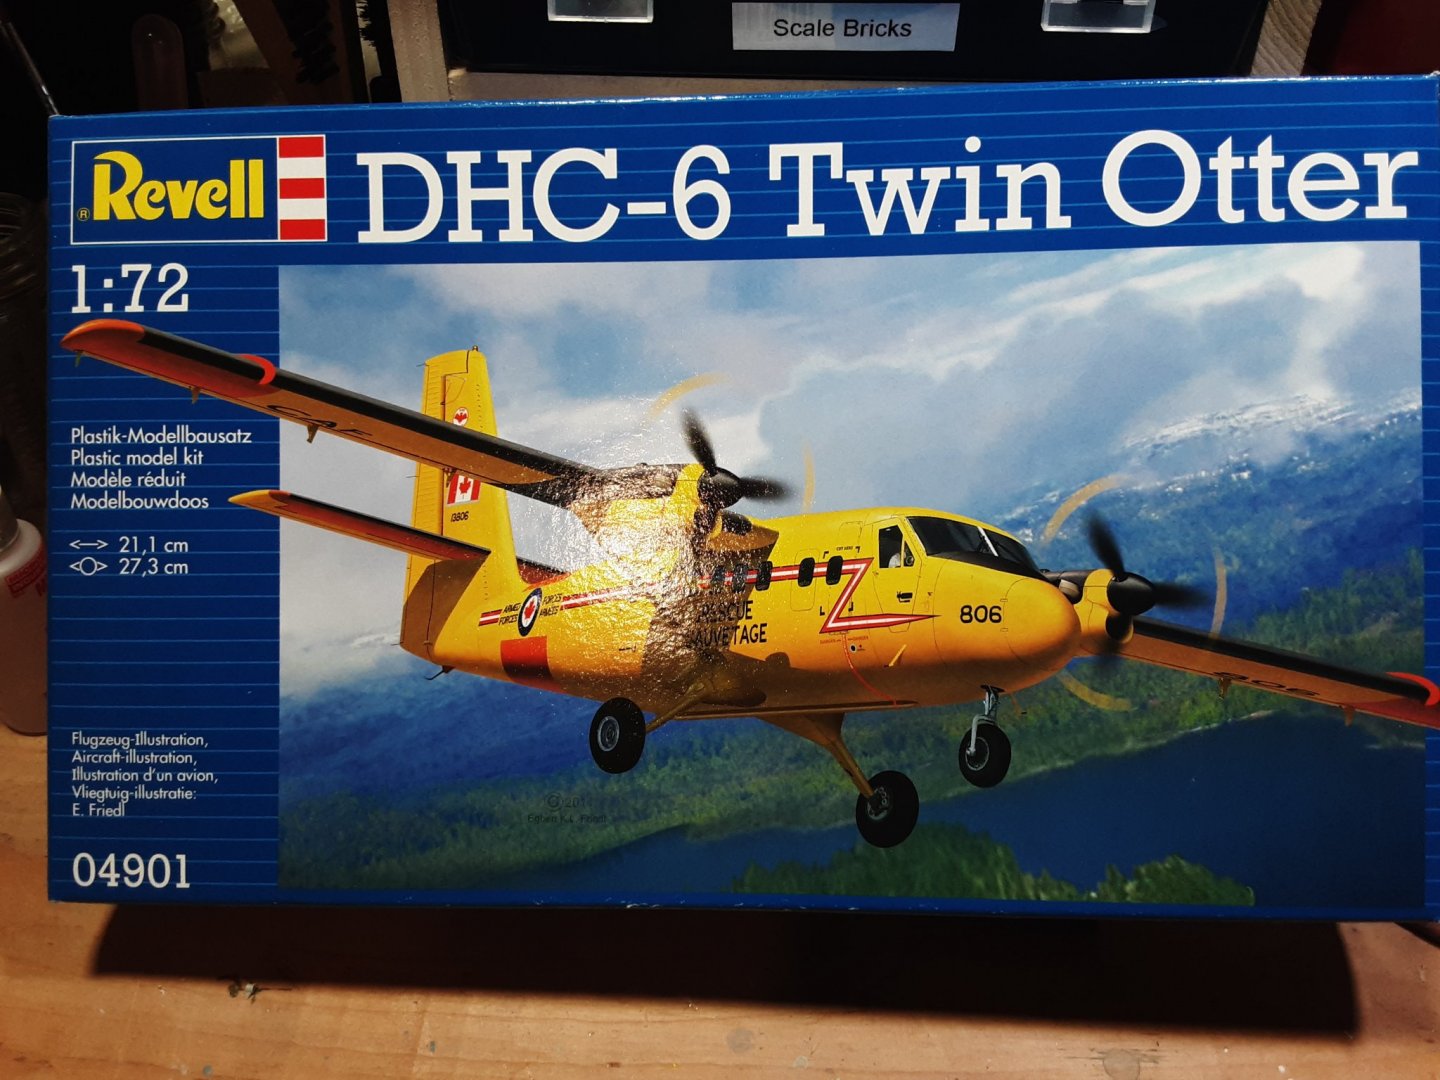
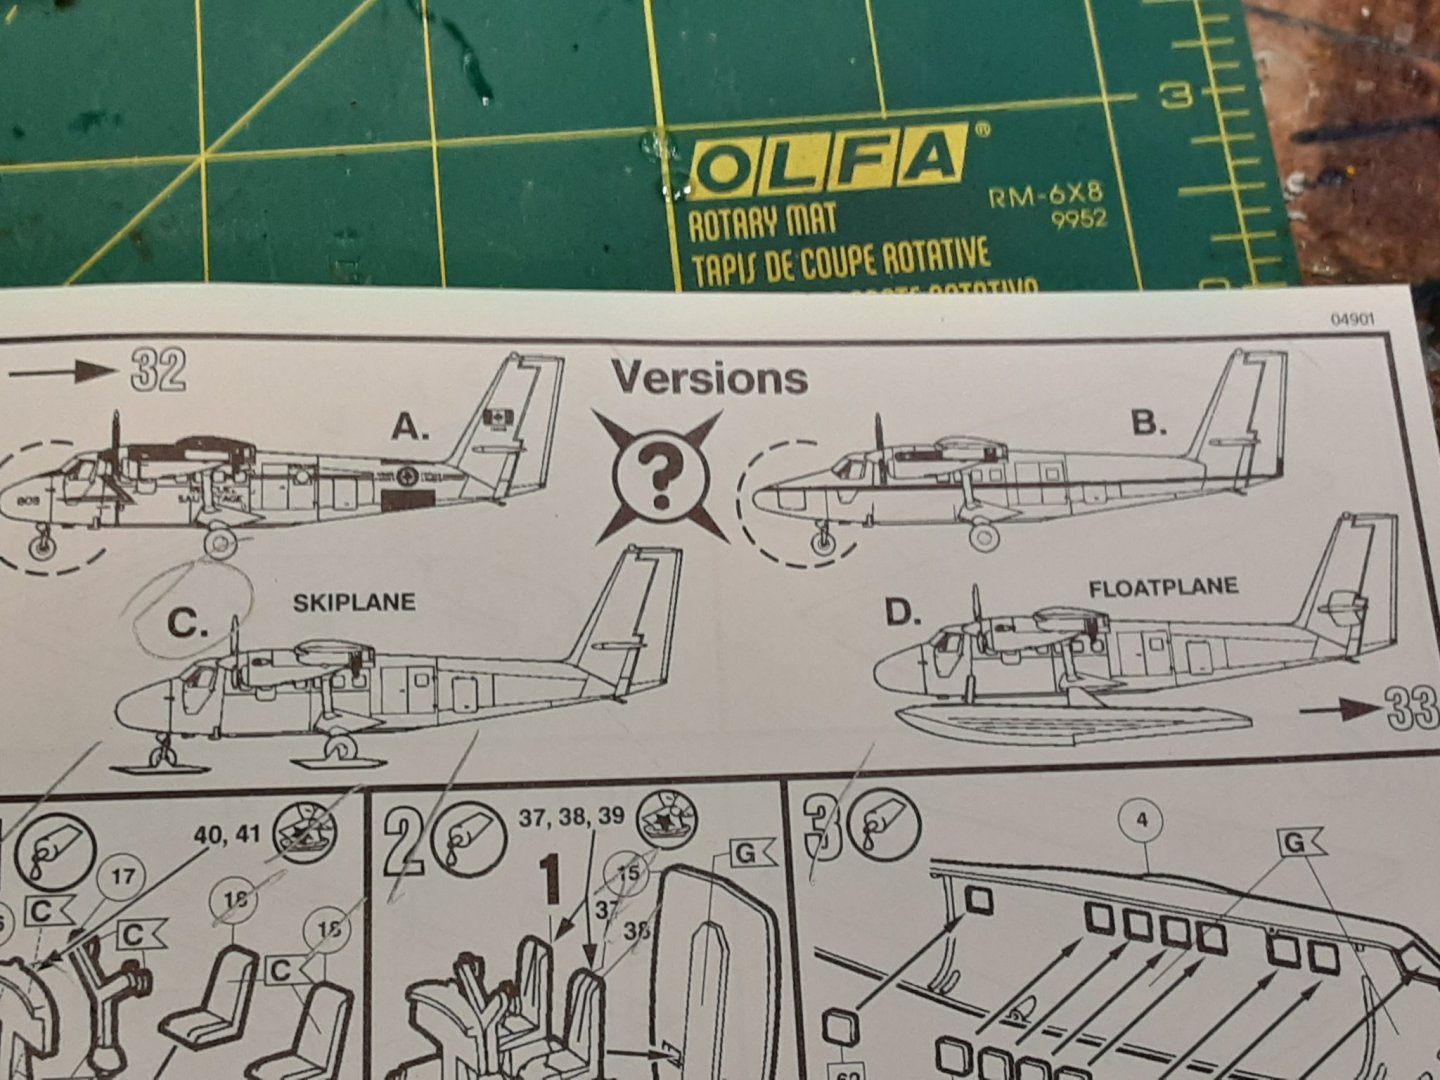
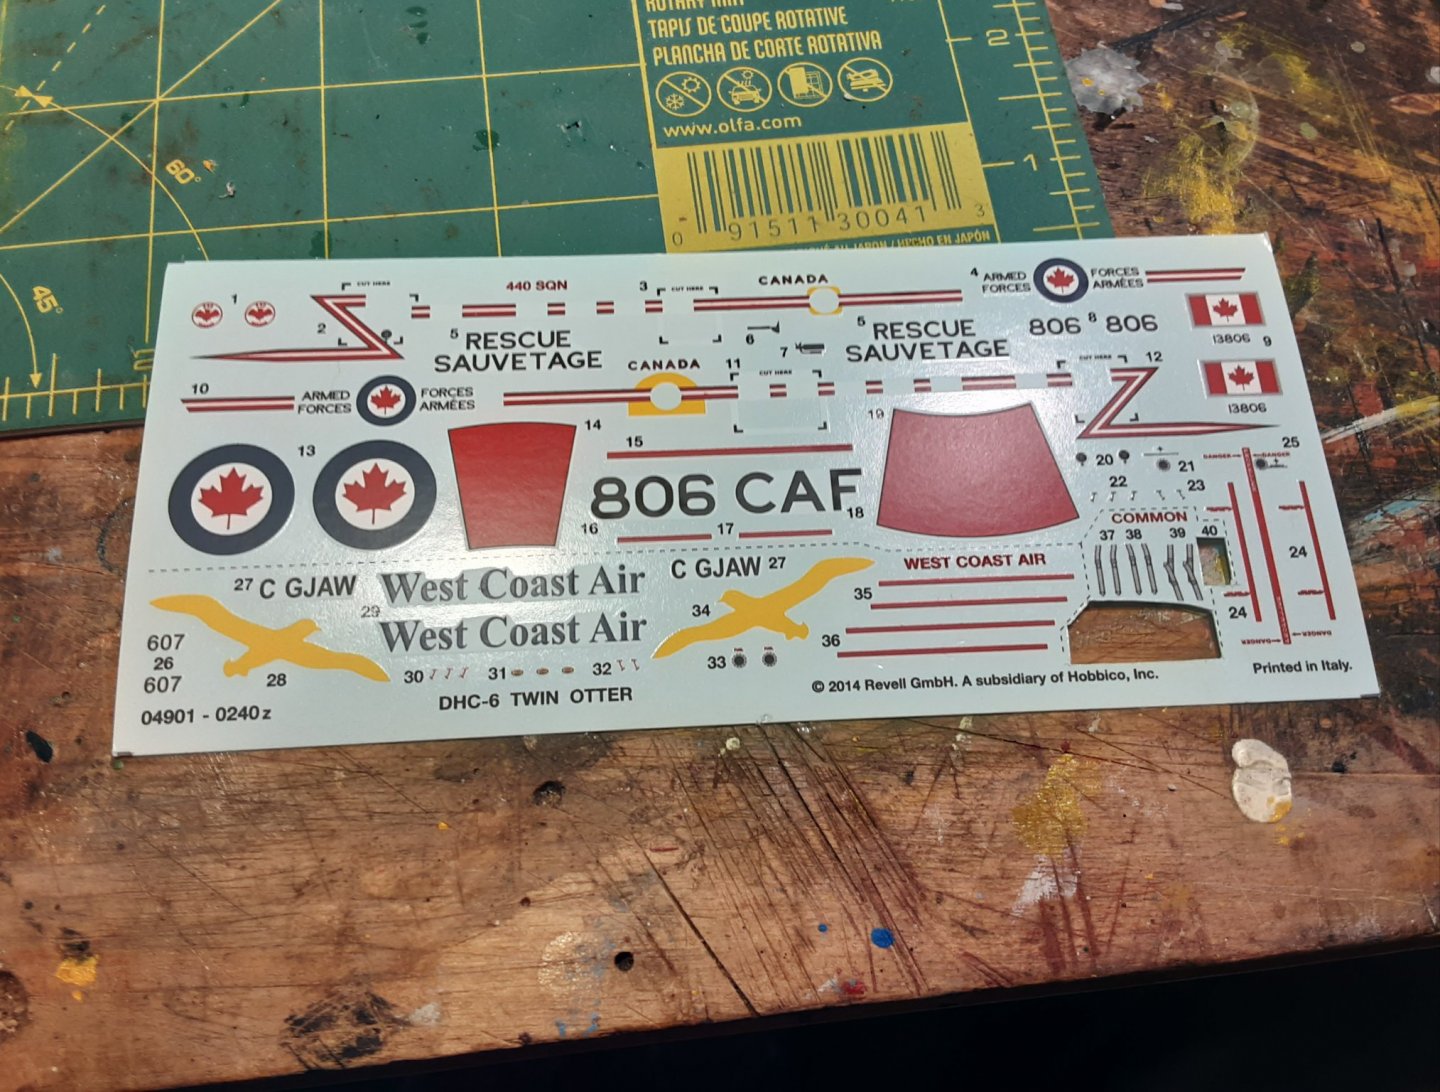
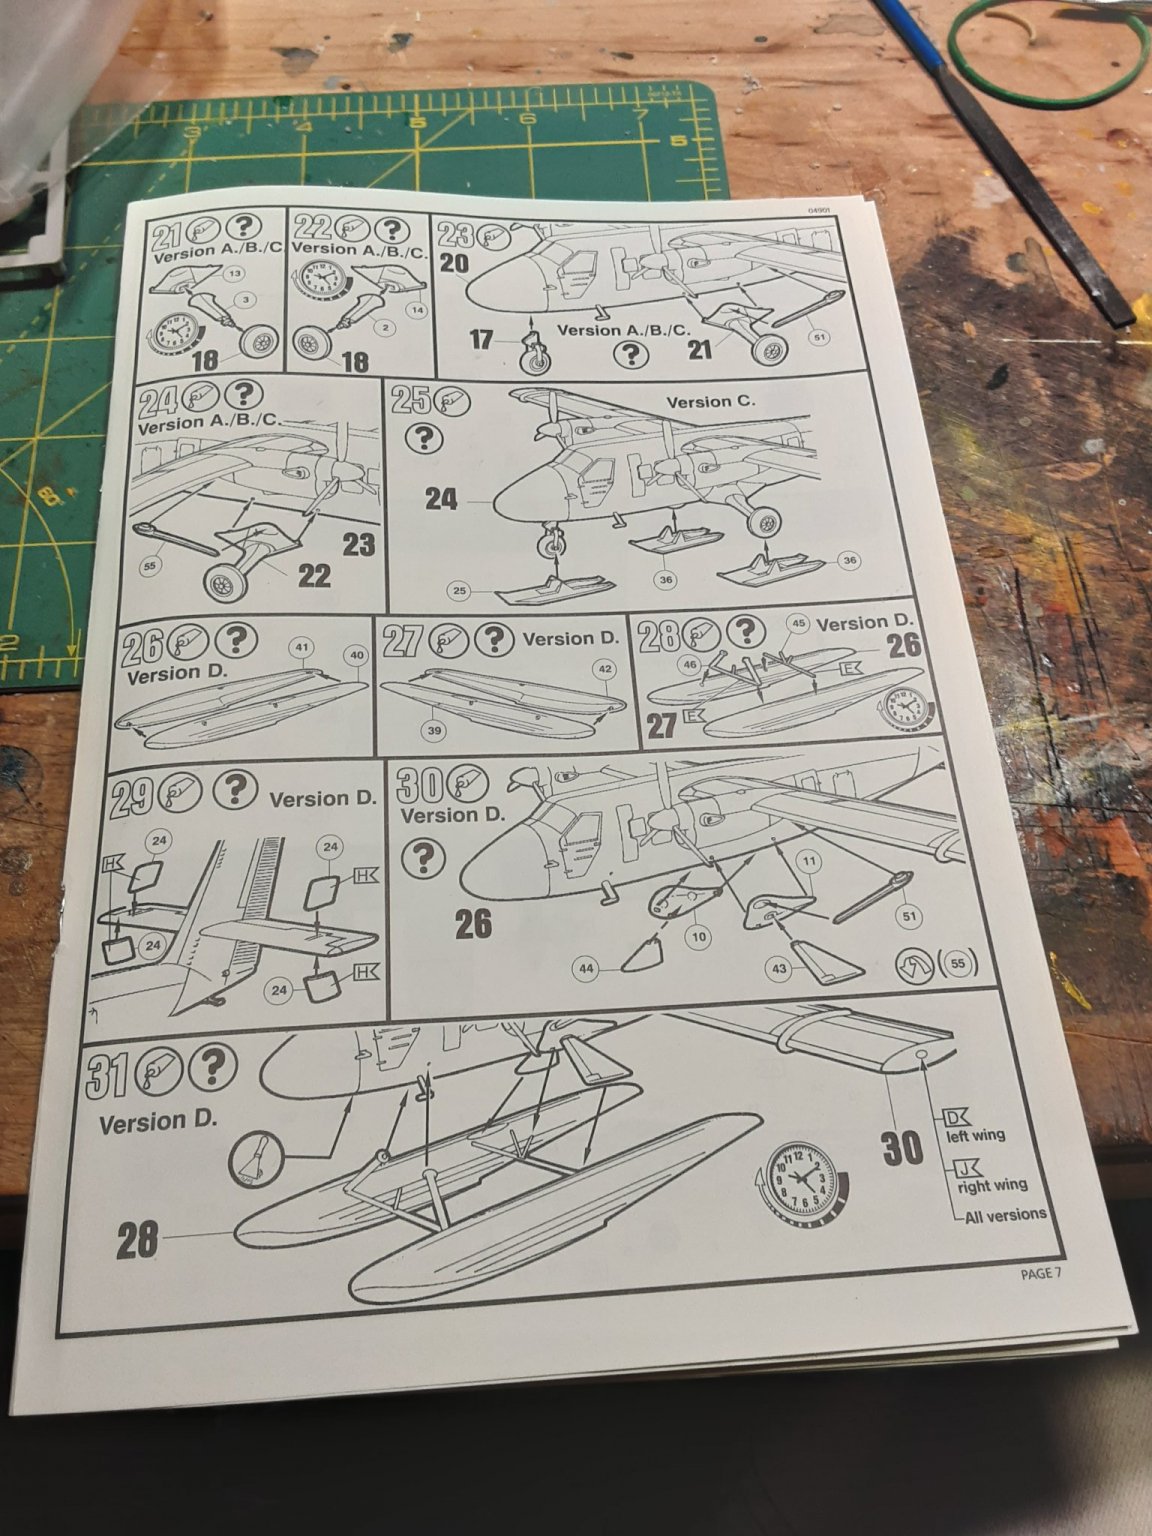
Now for build number 2 in the anti-boredom project, the DHC -6 Twin Otter done in the colors of the Canadian Rescue service. First the box art and sprue contents, sorry I started building before I dragged out the camera, EG. 😉 The model can be built in one of 4 variants, including a float and ski plane. I prefer the ski plane variant and will build it as such Decals provided