HOLIDAY DONATION DRIVE - SUPPORT MSW - DO YOUR PART TO KEEP THIS GREAT FORUM GOING! (89 donations so far out of 49,000 members - C'mon guys!)
×


hof00
-
Posts
1,650 -
Joined
-
Last visited
Content Type
Profiles
Forums
Gallery
Events
Everything posted by hof00
-
 Yup, I did the "Pencil" Caulking on my PD, not so much "In your face" as a Sharpie. In my experience, to stop any Sharpie bleed, use Sanding Sealer first. I guess it's all a matter of personal preference. 🙂 Cheers....HOF.
- 122 replies
-
- 2
-

-
- Artesania Latina
- Pen Duick
- (and 1 more)
-
Thanks Chap!! It was quite complex. The Trumpeter BM looks to be even more so. Just tinkering with my Sanson re-build at the mo. (Something a little simpler.... 🙂) Cheers and Regards, Harry.
-
Hi Chap, Thought I'd chime in.... 🙂 I have just completed my Bissie, I am unsure what Rod did with his Interference Grids but in my experience, these are mounted first. (Mine were at the very edge of the Decking with the Main Deck Railing running along the "Gutter." The Railing I found to be difficult.... I'll let Rod reply to his method of installing these. Cheers....HOF.
-
Hi there, Looking really good!! Are you intending to Plank inboard of the Bulwarks? Cheers....HOF.
-
Hi Ian, Looks like your Airbrushing skills are not too bad!! 🙂 So, Wots your next task on your radar? (BTW I pulled out the Trumpeter version to have a scan of the kit and Mk1 PE. I ordered a Pontos PE upgrade to embellish the MK1 stuff. I'm not going to "Dive In" just yet but am very tempted....) Cheers....HOF.
-
Thank you all very much!! I reckon that I can do better hence looking at the 1/200 Trumpeter Bismarck. The only problem is the size of these things. Making the Cabinets is not the issue, its' where to put them.... 🙂 I think that I should put some effort into the Sanson that is not too, too far away from completion. Cheers and Regards, Harry.
-
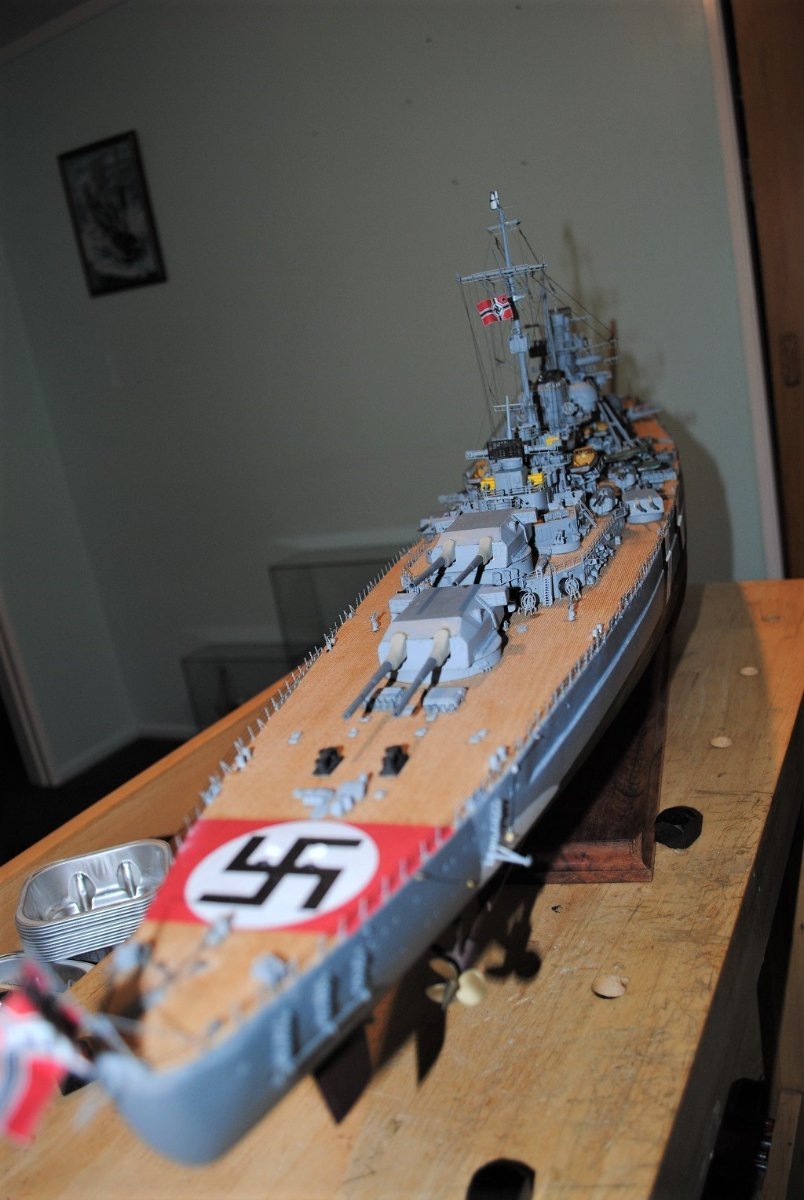
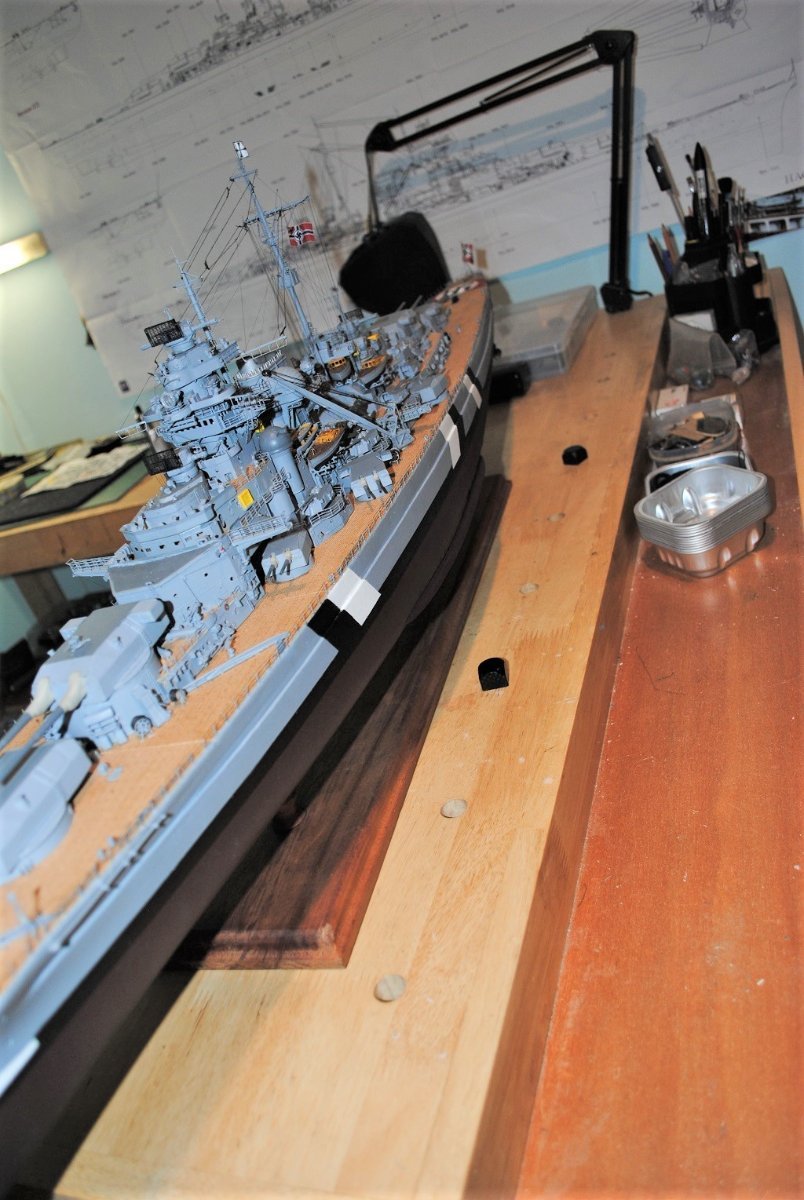
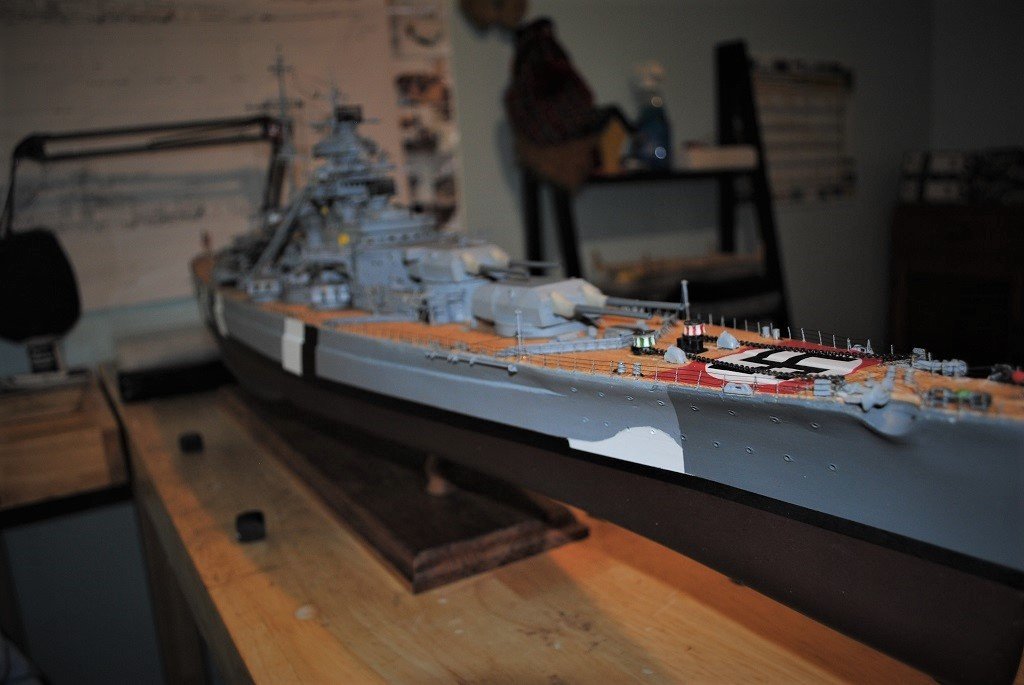
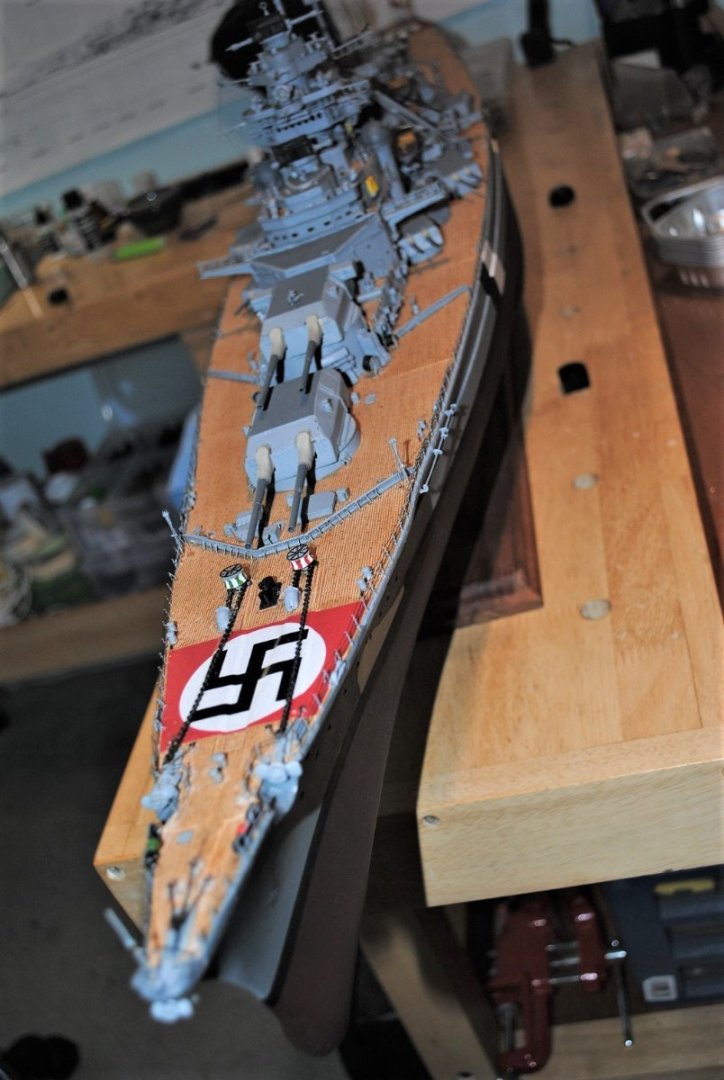
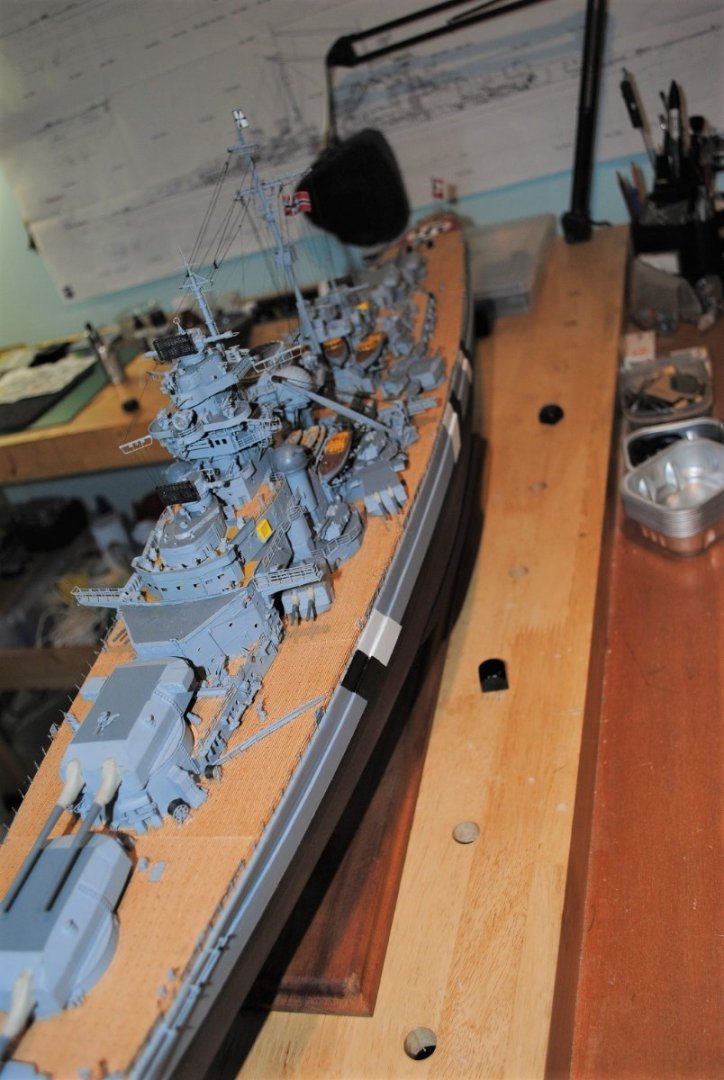
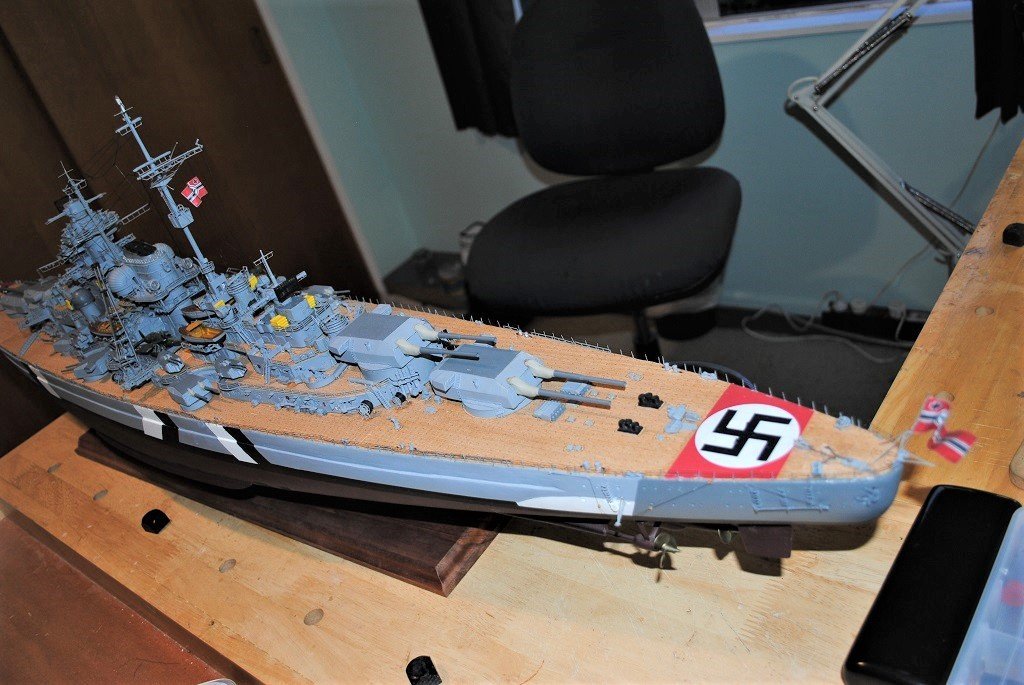
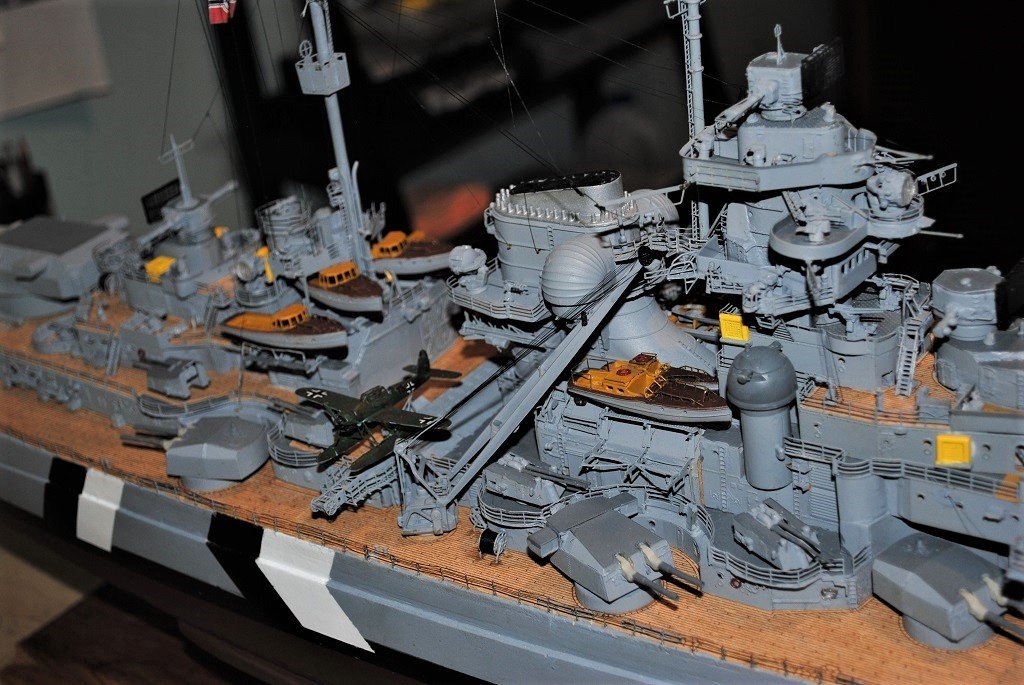
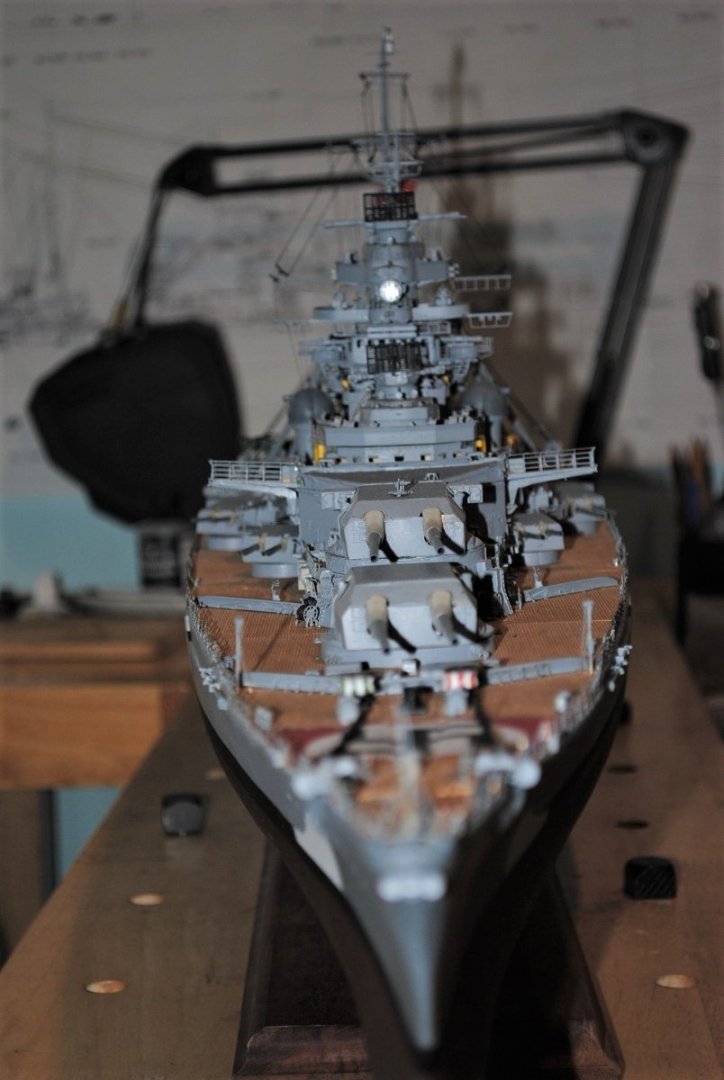
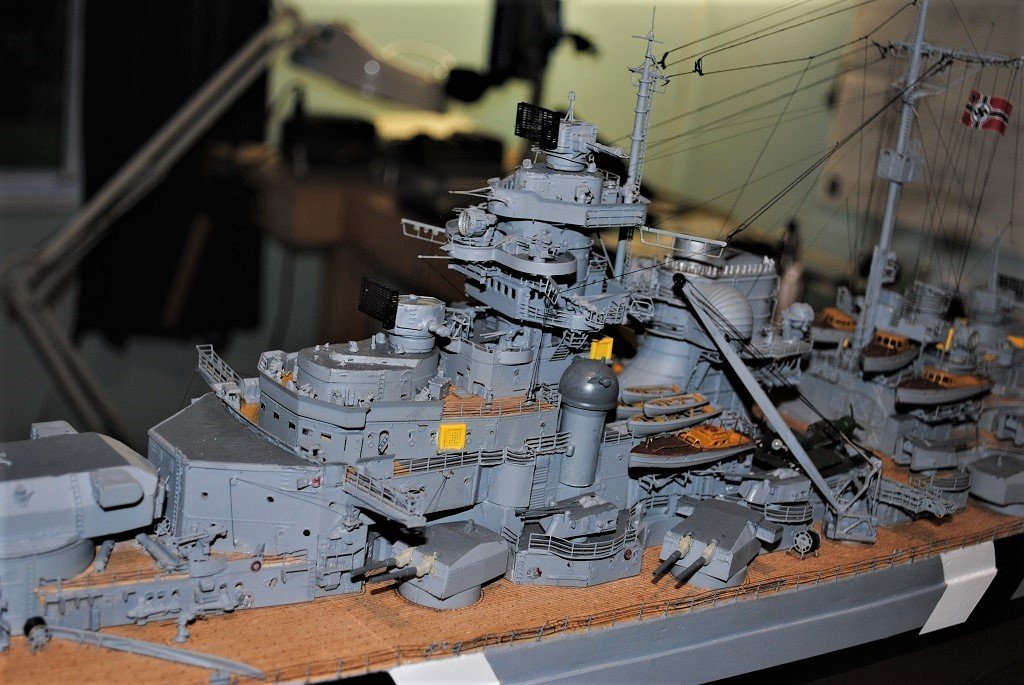
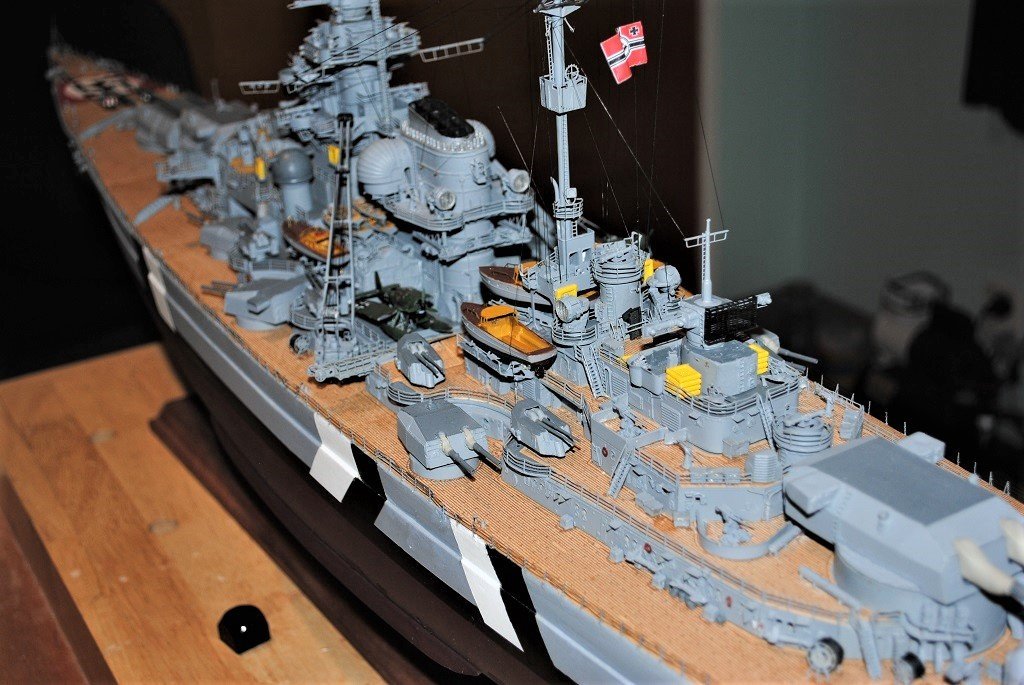
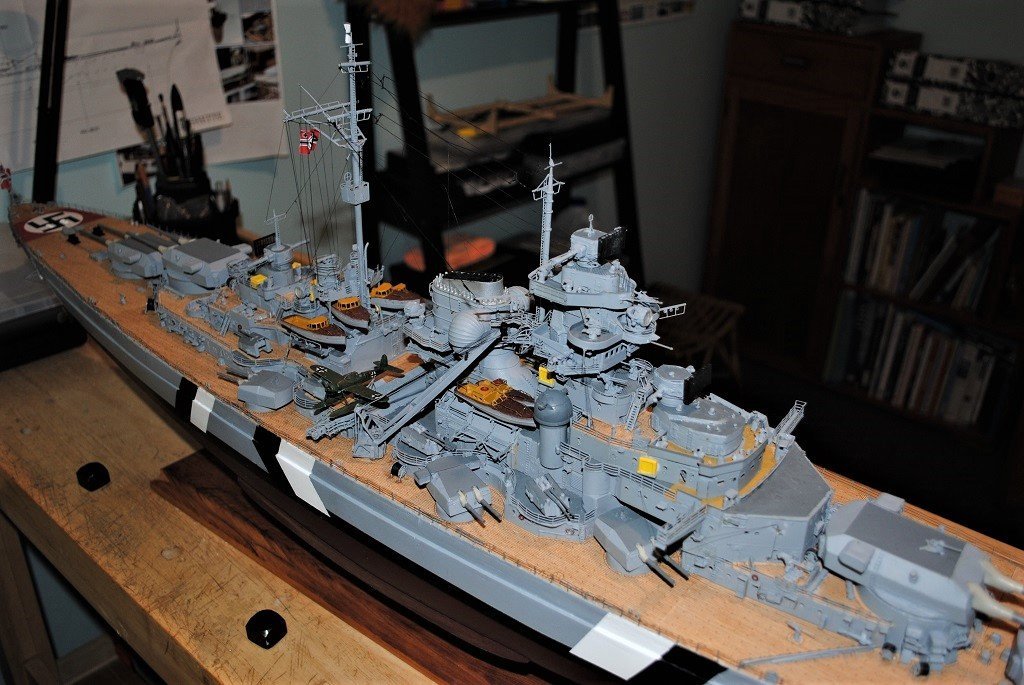
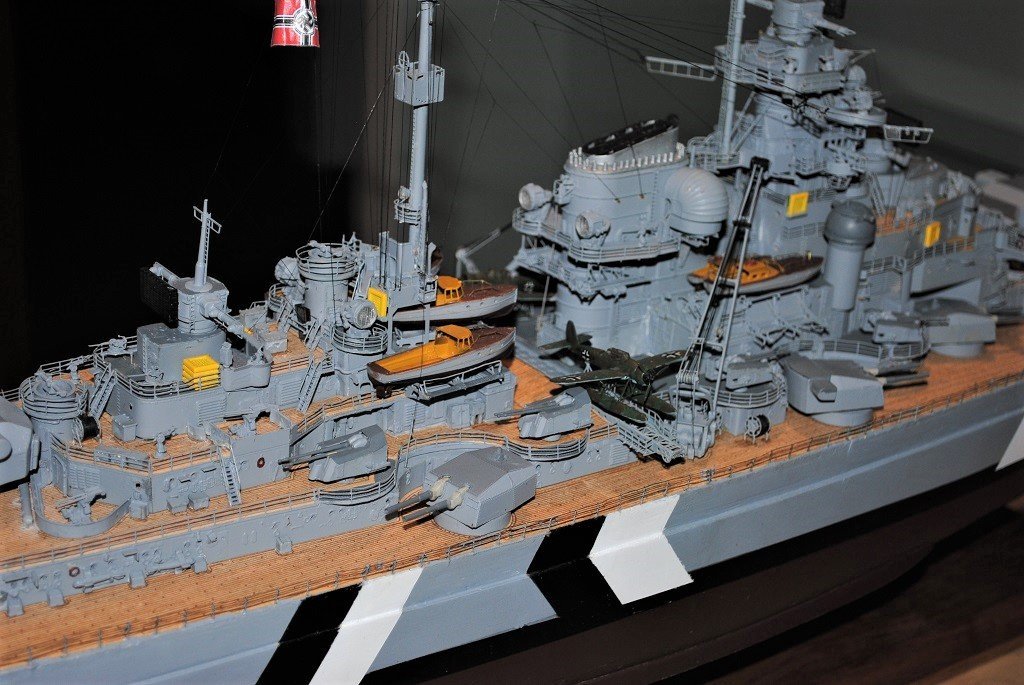
Hi All, I have decided to call time on the Bismarck and say "Finished." Final touch-ups completed today and a couple of coats of Satin Clear. I did not get to deploying Accommodation Ladders, oh well.... Hawse Drums were re-wound with A/L 0.25 Black Thread, much better, Anchor Buoys also re-wound and fitted. I guess an interesting build for me, my first Ship with "Guns" and a great PE primer having never dabbled in the medium before. It's not perfect but should pass muster, I guess that's part of building with 1.5 arms!! 🙂 Would I do it again? Definitely!! I'm sort of gearing up to have a good look at my Trumpeter version with MK1 detail PE. I have issues with some items included in the kit contents but they got resolved o.k. Many thanks to all that have hit the "Like" thingy, much appreciated. A few of those I wish to thank for thier input and knowledge, well you know who you are, rvchima, Rod, joe100, Joe and many others that have from time-to-time offered ideas or constructive criticism. 🙂 Last but definitely not least, my lovely lady, for assisting completion for this old Chap with one and a bit working appendages. So, some photos in no particular order.... I almost forgot to mention, the Color/Camo scheme is for this day in history May 21 1941. (I believe that the Stripes/Stern Wave was removed shortly afterward.) Cheers....HOF.


- 544 replies
-
- 14
-
-

-

-
I guess if you reduce the thickness of the Decking Planks, you'll need to check if your kit provides enough stock. Have you looked at obtaining 2.0mm wide planks? (M<y experience with A/L stuff is that they usually provide more than enough material, not so with my PD Kit.... 🙂) Yup, Joggling will look really good, I did this on mine with a bit of trial/error. The Mahogany for the King Plank/Coamings/Etc was very brittle in my kit with the only way to prevent wastage was to use a very fine saw blade across grain. Looking forward to your "Fairing" work. Cheers and Regards, Harry.
- 122 replies
-
- 3
-
-
- Artesania Latina
- Pen Duick
- (and 1 more)
-
Hi There, looking good!! Fairing the Bulkheads took me quite a while primarily due to the "Doublers." Take your time and try not to take anything off the False Deck!! 🙂 Decking you'll find interesting I am sure, just have a think about the steps necessary and the sequence. Are you planning to "Joggle" the Deck planks? Cheers....HOF.
- 122 replies
-
- 1
-
-
- Artesania Latina
- Pen Duick
- (and 1 more)
-
Sorry Ian, That should have read $25.00 not $2500!! 🙂 (Corrected the above.) Cheers....HOF.
-
Hi Chap, If you want to do Decals, I got mine from Custom Hobby Decals in "The West Island", (Australia 🙂) From memory, about NZD $25.00 KMS Bismarck German WWII Battleship – 1/100 1/200 1/350 1/570 1/700 1/1000 1/1200 1/2400 – Water Decal – Custom Hobby Decals There is a Red Background option available but best to drop them an E-Mail if you require that. The advantage here is that you get all the Pennants/Arado Stuff as well. Cheers....HOF.
-
Nice!! 🙂 Brings back some memories. Happy to try and lend a hand if needed. I'll follow along. also. Cheers....HOF.
- 122 replies
-
- 1
-
-
- Artesania Latina
- Pen Duick
- (and 1 more)
-
Bismarck greys?
hof00 replied to Ian B's topic in Painting, finishing and weathering products and techniques
Hi Ian, I used Vallejo Light Grey 71.050 and Sea Grey71.049 (I don't know if they are 100% historically correct) Baltic Stripes are Black and White. One person who could most definitively answer is @Joe100 I guess you could have a test "Off-Ship" with a selection first. "Scale Effect" probably needs to be factored in? Are you going the "Full Monty" Baltic Stripes? Cheers....HOF. -
Many thanks Gentlemen, I have taken your advice very firmly on-board!! 🙂 Cheers and Regards, Harry.
-
Matt Clear Coat
hof00 replied to aliluke's topic in Painting, finishing and weathering products and techniques
Hi Chap, I am quite happy with Vallejo Matt. Wot's your experience with that? Cheers.... HOF. -
Hi All, Just a question that came to mind after viewing "Channell's" Trumpeter Bismarck log. In that log there were a few comments regarding paint adhering, (Or not), to the plastic that Trumpeter kits are made of. Does anyone have experience of the above? Cheers and Regards, Harry.
-
Agree, The "Sea Chest" grills go on very nicely. The Plastic parts leave allot to be desired, my father would have said "By guess and by God. 🙂" The Propeller Shaft Housings, interesting. I had a Paper template/s to position these. One I had carefully shaped the mating surface to match the Hull, i decided to "Key" the Hull and prepped the Housings with a Brass pin, (1.5mm), at each end of the Housing. This gave me correct positioning once I put some thick CA on and pushed the parts together. (Well, that was my madness to the method.... 🙂) Have fun with whatever method you use, it'll be good to see the results!! Cheers and Regards, Harry.
-
Hi Ian, One other thing comes to mind, when you gat to it that is, My instructions advised to mount the Bow and Stern Flagstaffs prior to installing the Main Railing. I did not find this was a good procedure, The Bow Flagstaff got a real beating due to fiddling with the Railings, I was lucky that I could rescue the Bow Flagstaff and did not mount the Stern one until the Railing was complete. (This did not preclude drilling holes for the Flagstaff installation.) Anyway, just a small detail that may save frustration.... Cheers....HOF.
-
Thanks Chap. Yup, the Monofilament is and was awful but eventually had its' day.... 🙂 Cheers....HOF.