HOLIDAY DONATION DRIVE - SUPPORT MSW - DO YOUR PART TO KEEP THIS GREAT FORUM GOING! (Only 20 donations so far - C'mon guys!)
×


DaveRow
-
Posts
691 -
Joined
-
Last visited
Content Type
Profiles
Forums
Gallery
Events
Everything posted by DaveRow
-
 Jason, I have PVA glue, however prefer the Epoxy as it holds really well - rock hard when it's fully dry. I haven't used any nails only the Epoxy to date - the hull is very sturdy. I agree that the epoxy is not that user friendly, pot life is very short, I watch out for the excess and clean it up. Dave R.
 -
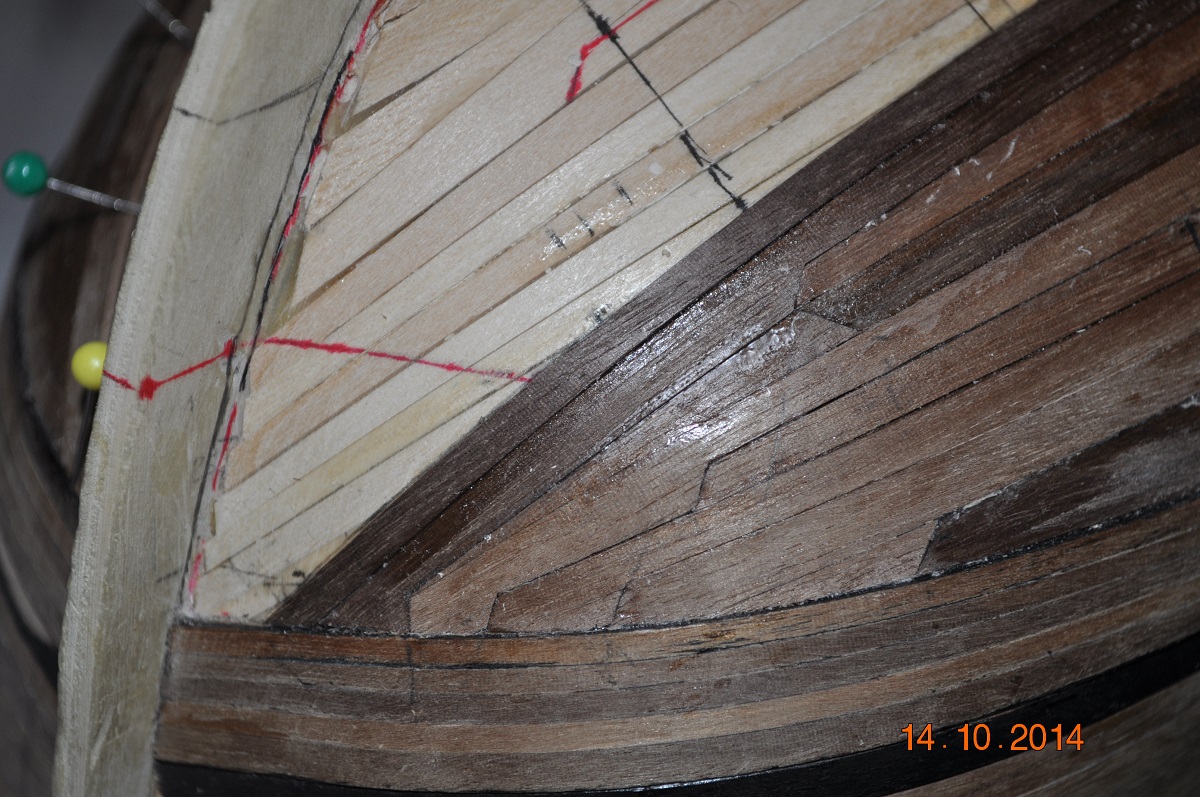
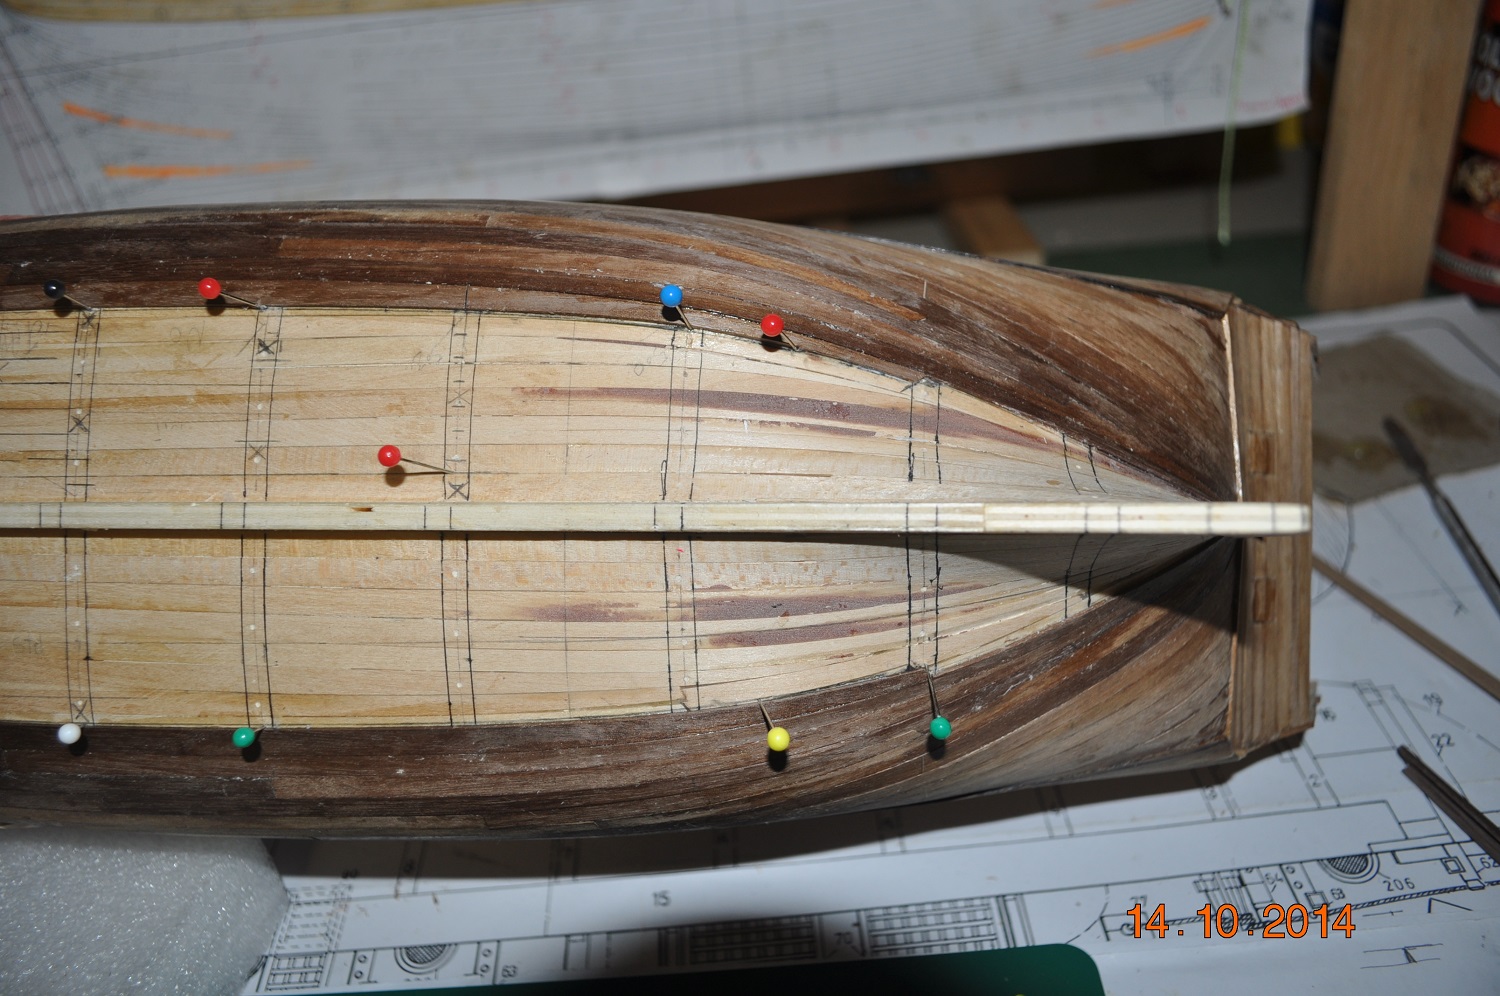
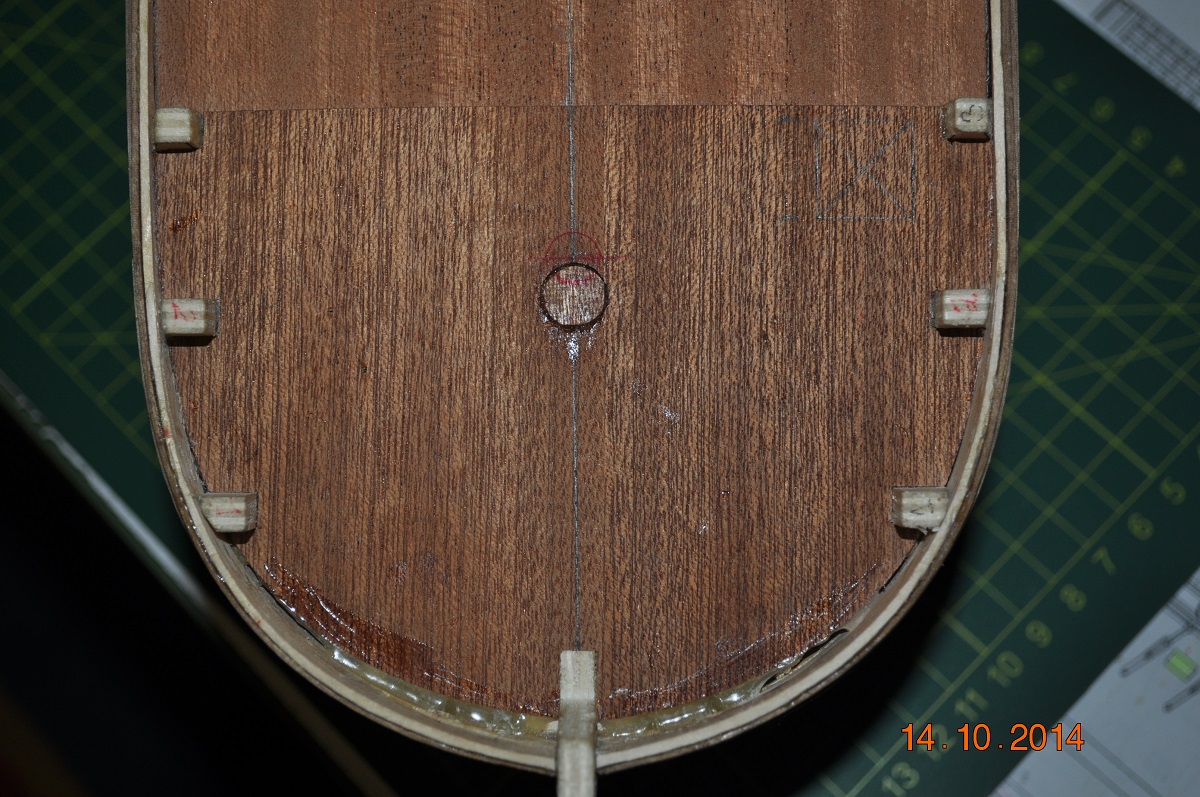
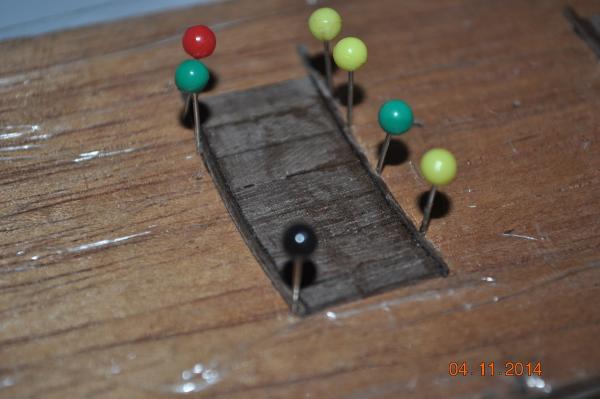
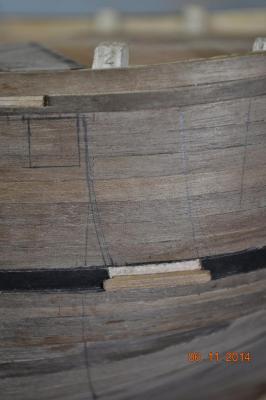
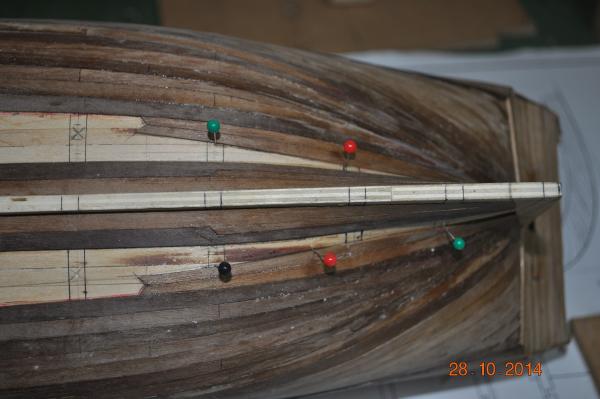
Started the tree nails this last week - first to the Stern. I have been dreading doing this - so many to do. I wanted to minimise the clean up of excess glue about the holes, so I force the epoxy into the holes first, clean the surface up then plug the holes with toothpicks. After snipping the toothpick near the base with clippers, I then use a scalpel blade to cut flush to the plank. A slight sand and pretty much done. I am not worried that the tree nails are light coloured for now. Probably darken when I apply clear finish to the hull. Dave R

-
Hi Steve, There looking good those windows - nice fit !. I often wonder how much effort one would put into deadlights and hatches. Whether to have them actually opening or not. ? How to make the hinges even ? Guess my turn will come soon enough when I get to do them. Dave R.
-
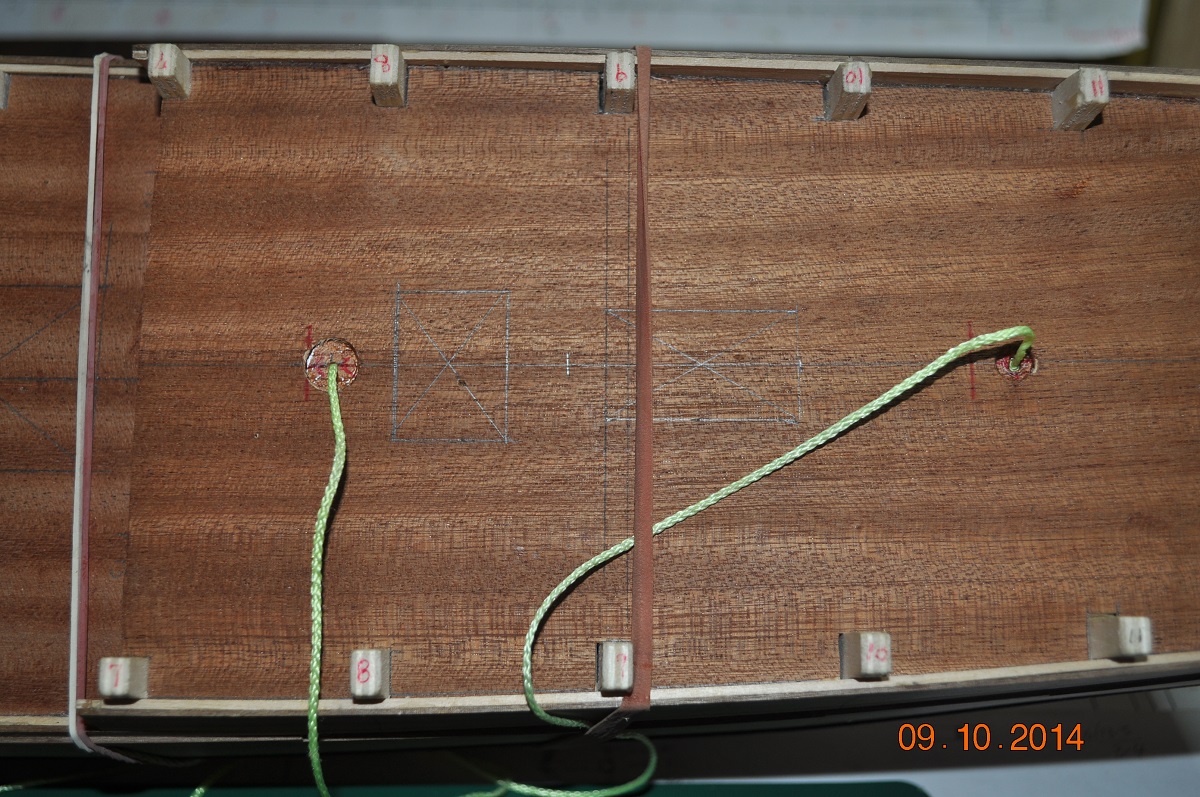
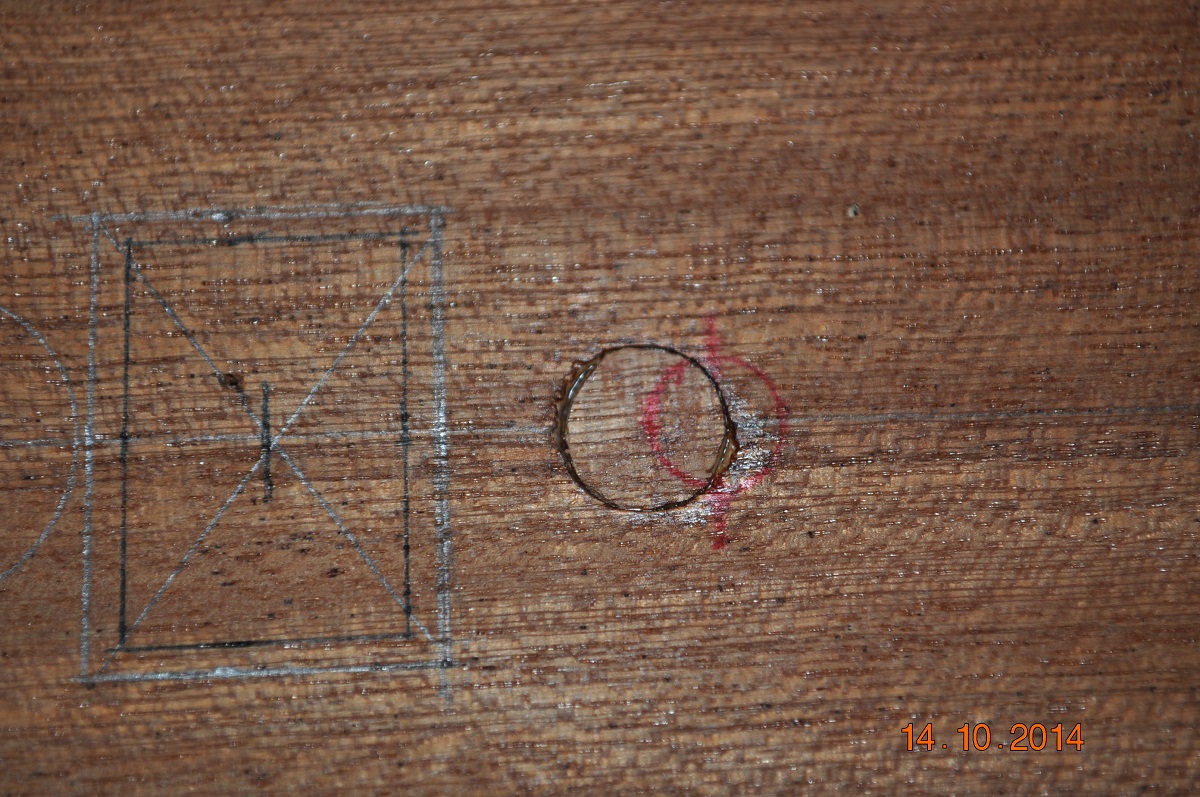
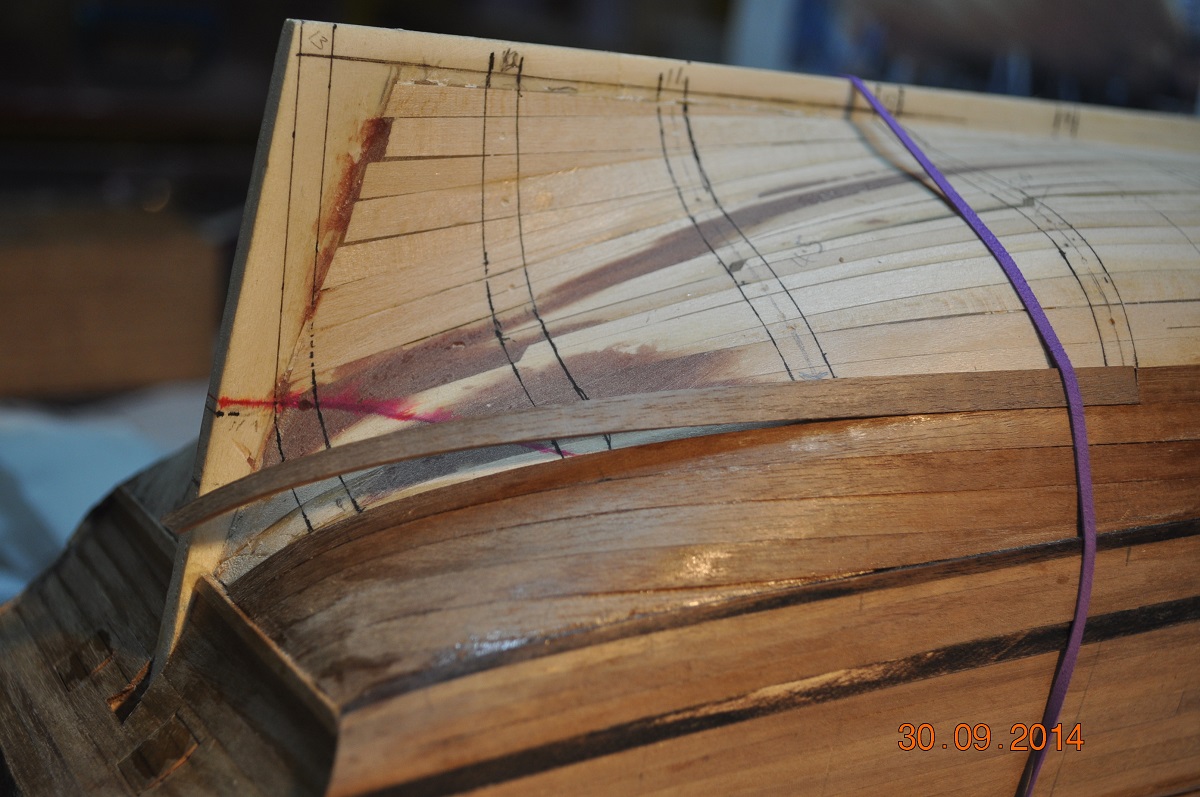
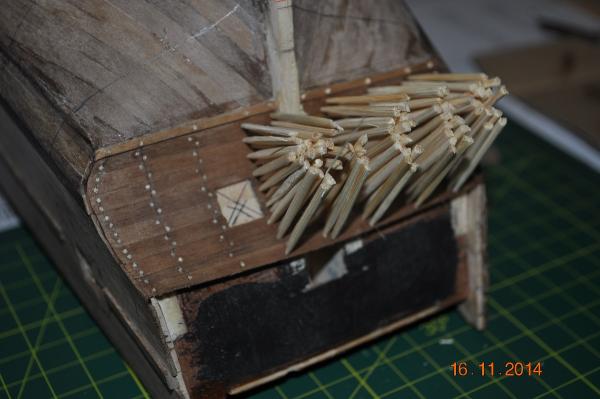
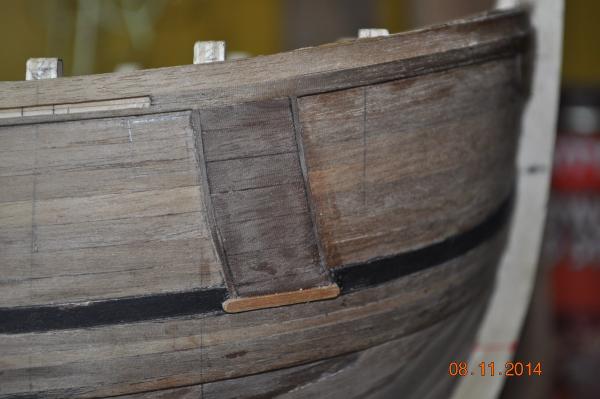
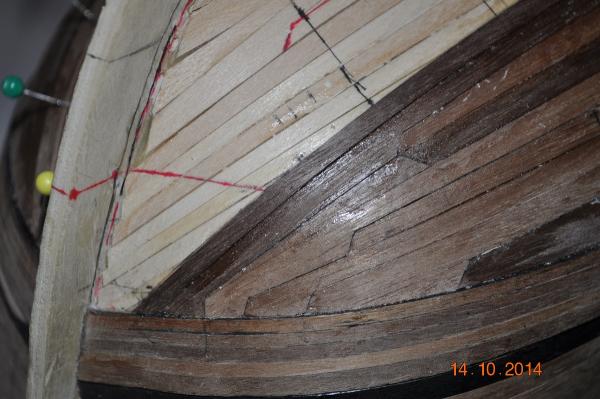
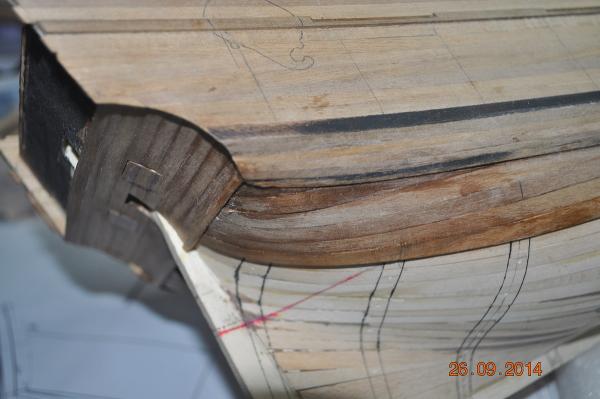
After I loaded the pictures above(of the channels & knees) I noticed that I had made a big mistake. I had attached the Port Anchor rubbing panel on the wrong way(sweeping back and not forward). Buggar ! So after 2hrs of carefully prying to loosen the glue(2 pack epoxy) I managed to salvage in 2 parts the panel. Carefully glued the panel together and back on the correct direction. Pic to follow. I'll have to sack the foreman at the shipyard. Dave R.
-
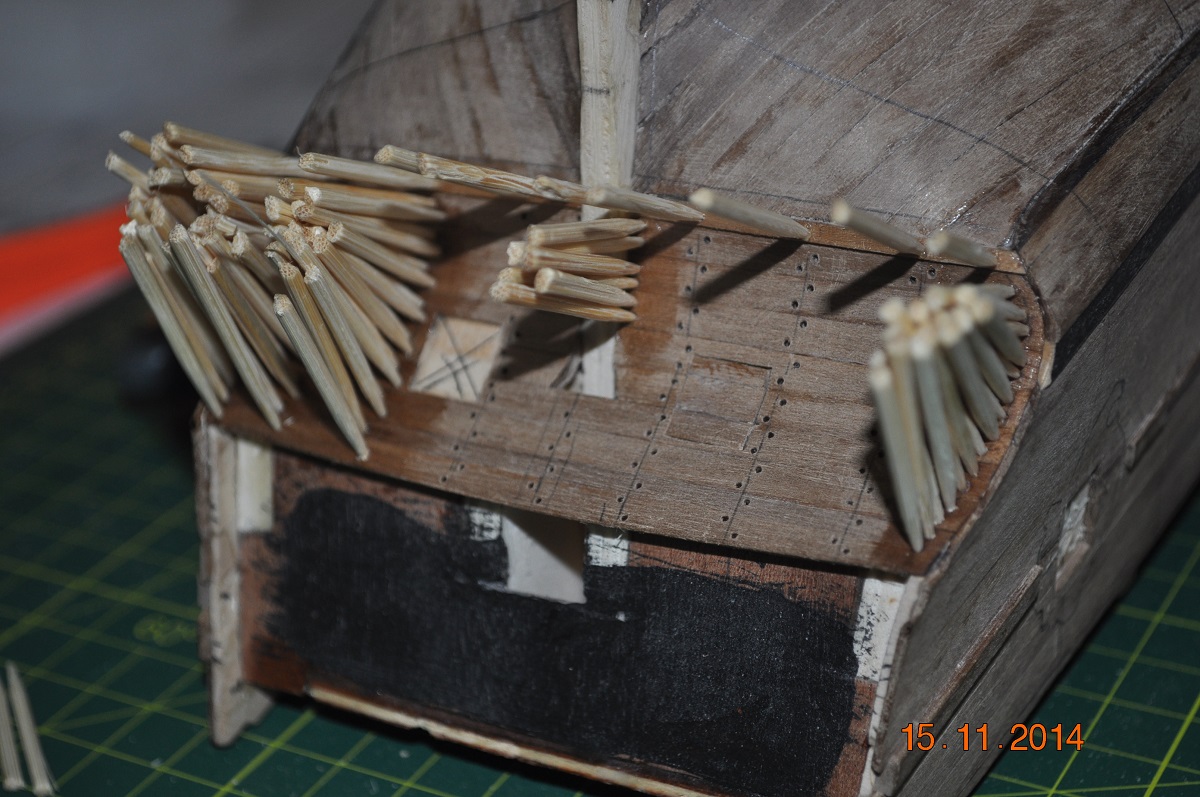
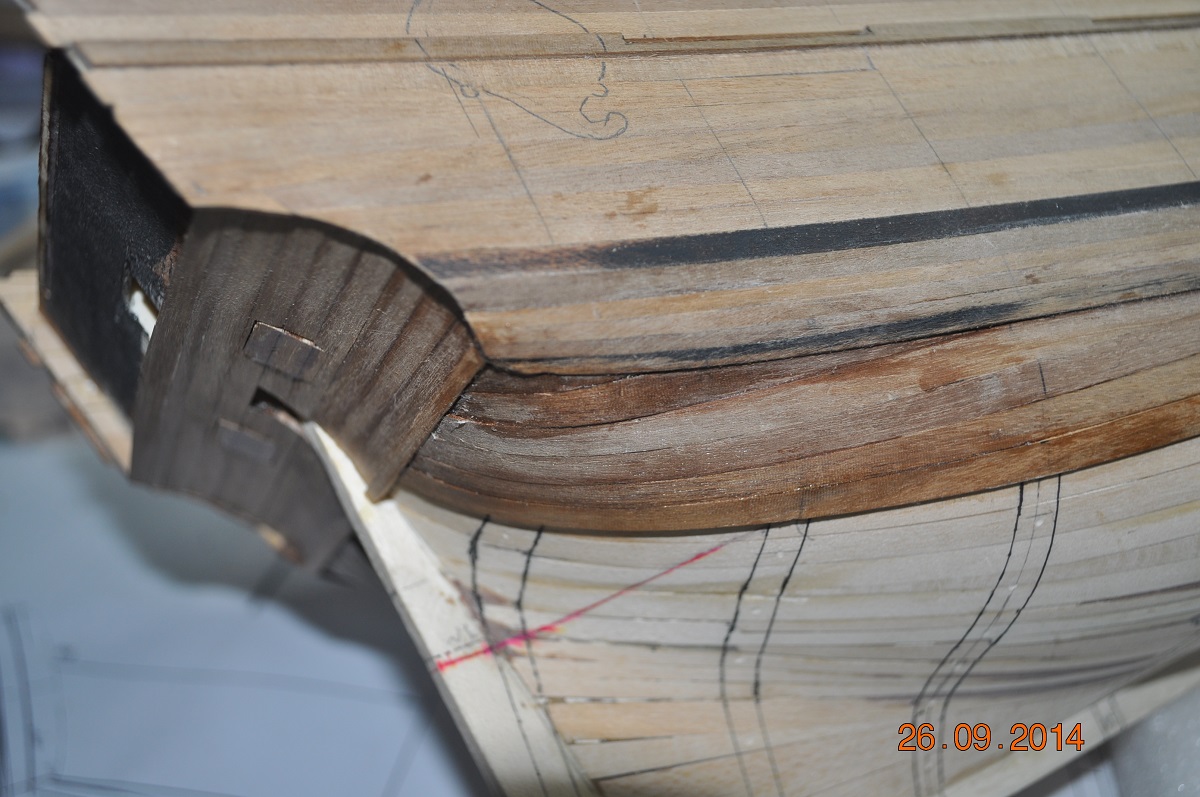
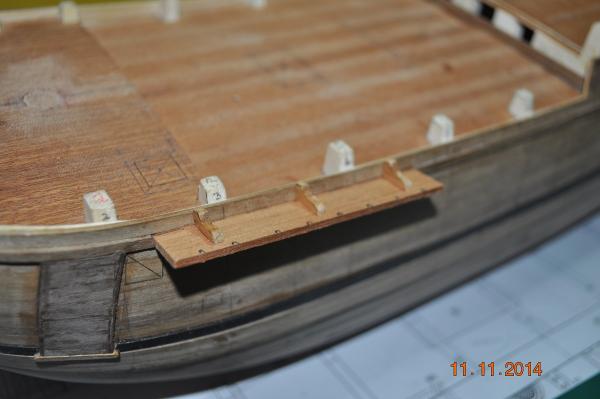
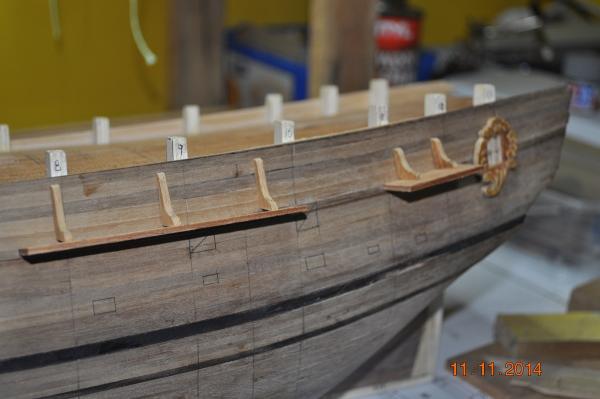
Also made the knees(3 sizes) for the channels, which are shown in Marquardt's AOTS. Each is just over 2.2mm wide which translates to some 130mm wide in real size. I believe they would of been of substantial thickness to transfer any load back to the hull/deck line. They are a bit rough for now, some final touch-ups to be done when I glue them in place, after tree nails. I also noted that in the Endeavour replica pictures I have been collecting, there no knees that I can see. Maybe just not showing up ? And have cut in the cabin window decoration in either side. Glue on after the tree nails are done. What next ? probably look at the hatches, plenty to do. Trying to mark out where all the hull items go, before tree nailing. Dave R.
-
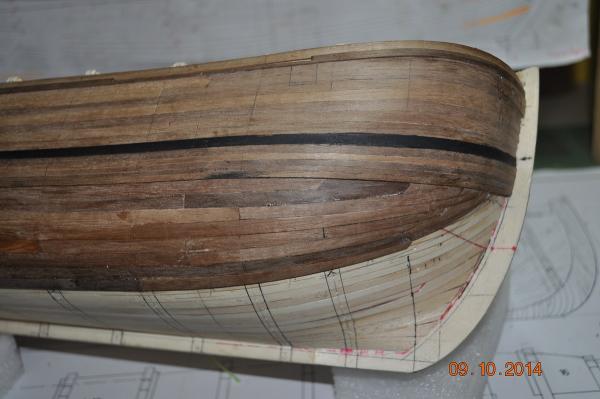
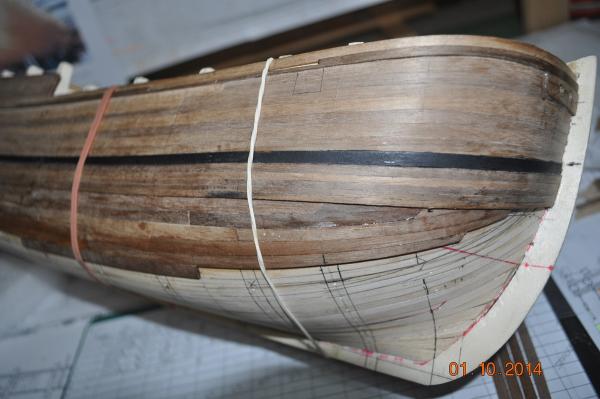
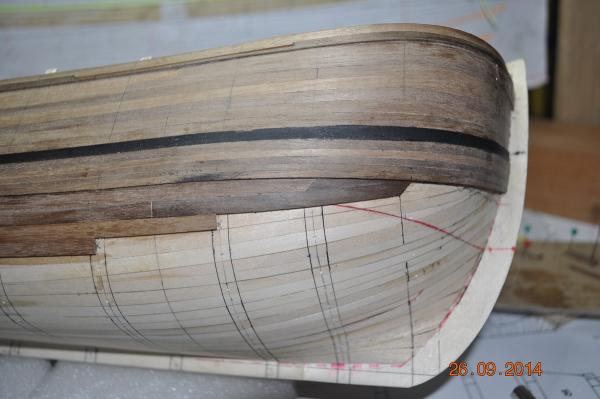
Work at the shipyard has slowed a bit after the planks completed. I have added the Anchor strips to either side of the bows. I pre-made the 2 panels(port and starboard) plus the lower strip that protects the wales, then glued in place. What a task as the hull curved and twisted, which in hindsight pre-making the panel may not of been the way to go. But persevered and got them in place. Dave R.
-
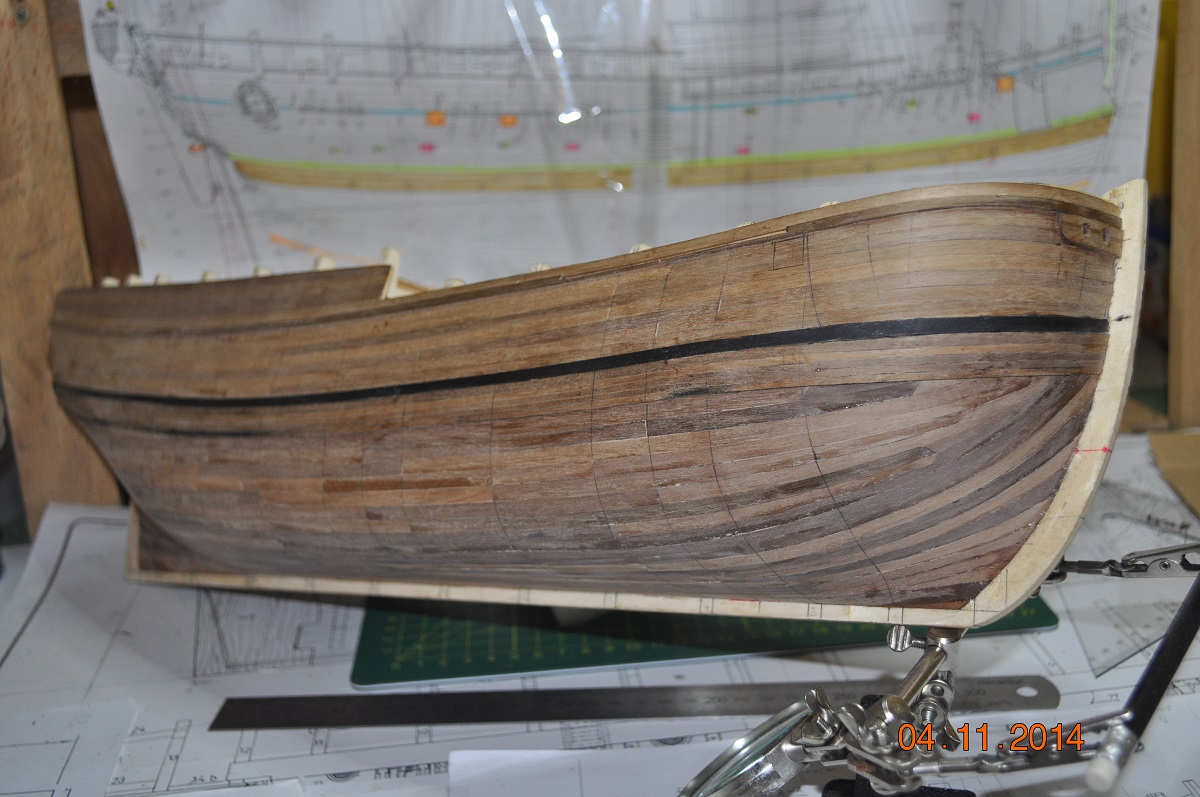
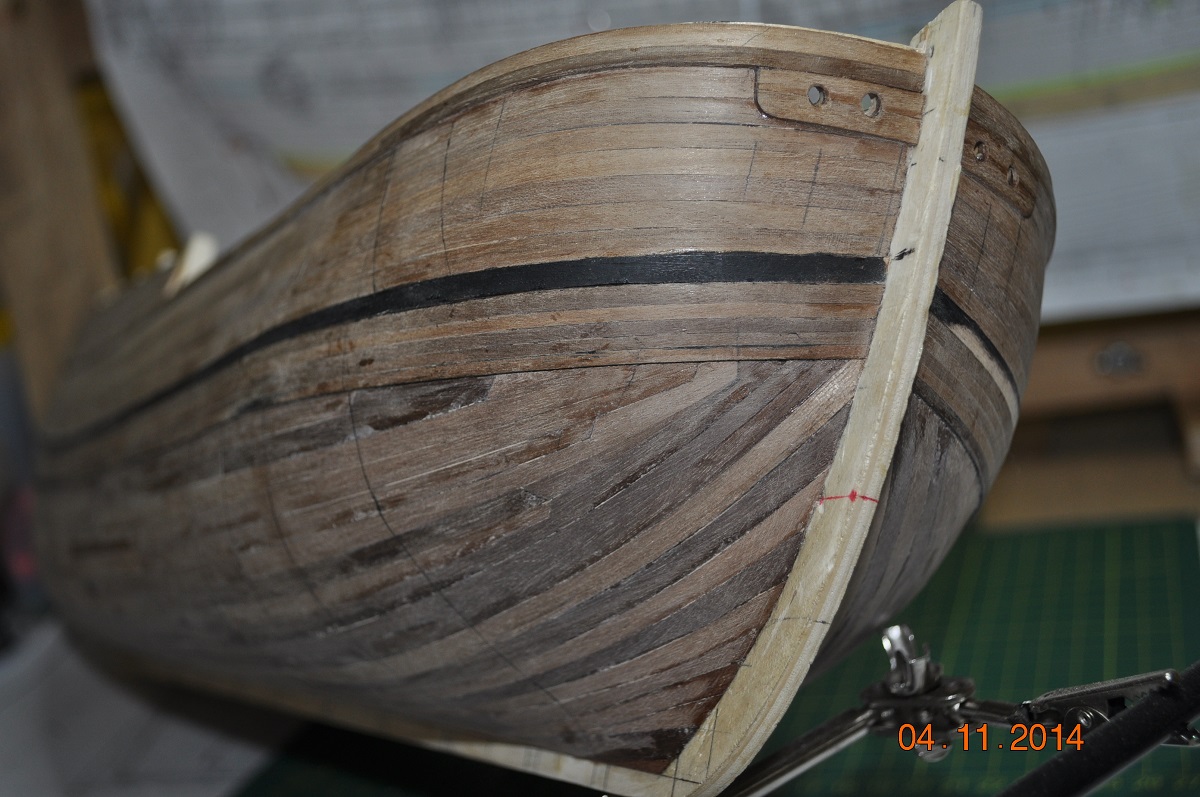
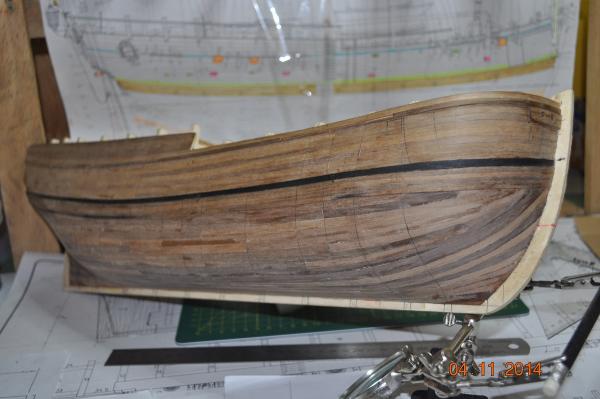
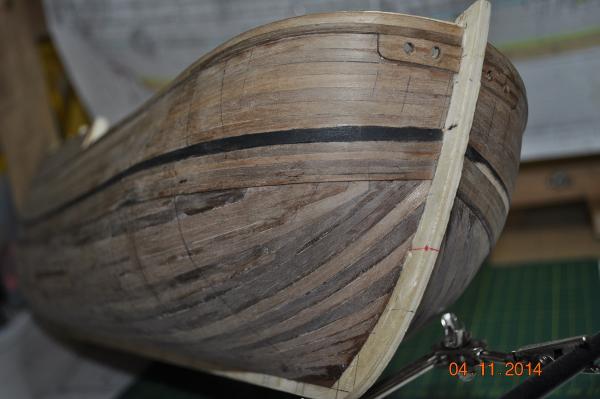
Am I happy. 2nd layer of planking completed. Mixed feelings, as I cut a couple of corners using tapered(triangle) planks where they were really short in length. Otherwise I did my best to lay them naturally over the hull. Pictures: Rear bottom - going from 2 to 1 planks. Starboard bow and side with all the planks on. I was planning to paint below the waterline white, however seeing that I put so much work into the planks, it would be shame not to see them. So thinking of staining the bottom after the tree nailing. See how the tree nails turn out, ships out to sea on this for now ! I gave the planks a light sand for now, and that may be it, thinking it best to leave some imperfections where planks do not quiet align. Maybe the Endeavour hull planks may of been the same ? Now I guess I'm up to marking out where the decorations, hatches and all the other hull additions go - ready to tree nail. That will be fun ! Maybe some 1,000 holes to drill ! Did I say I was happy that the planking is done ! Dave R
-
Hi Jason, The Corel boat plans have no pre-cut slots in the keel. Good point, I need to work on something now before the deck goes on. For that matter the plans that come with the kit are very basic and instructions are far from adequate for this type of built. I am lucky as I have been around sailing dingy, trailer sailor to open water race yachts for many years and know my way about boating terms etc. So I am more going by the AOTS Endeavour and what I can pick up from the other build logs on this site(which are fantastic works by the builds I have visited). Dave R
-
Thanks for your nice comments Udo and Steve. I am hoping the badges when tidied up and painted will look OK. Better than the metal ones that come with the kit. Also still to add cross bars in the windows and hinged covers. All fun ! Dave R
-
Nearly finished the 2nd planking layer on the hull. Getting to the last couple of plank runs on the bottom. With the hull shape of the Endeavour, the bulges, the twisting and the curving, it has made it a very challenging task for me, one that I had never thought would take so long. Although I am trying my best to drop and spline the planks to fan out to the bow and stern(with the 45 deg ends), just not going to happen every time(so much work). Some I enjoy doing a challenge, others get to me and I have slipped some tapered planks in(cheat style). I see a lot of other Endeavour builds way ahead of mine and wish I was further ahead. However, I shall continue to sail on me hearty's ! Dave R
-
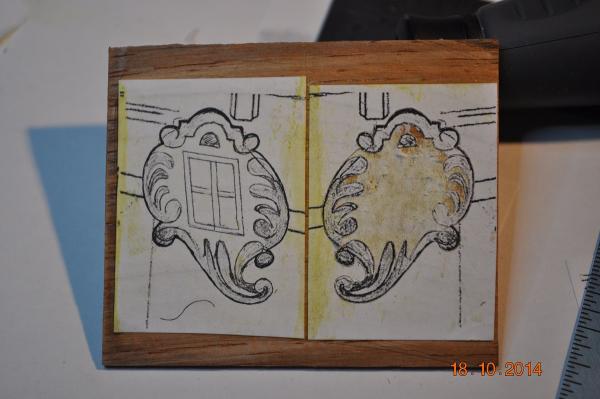
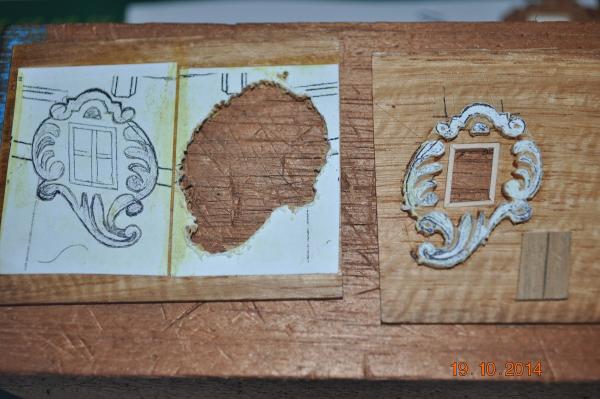
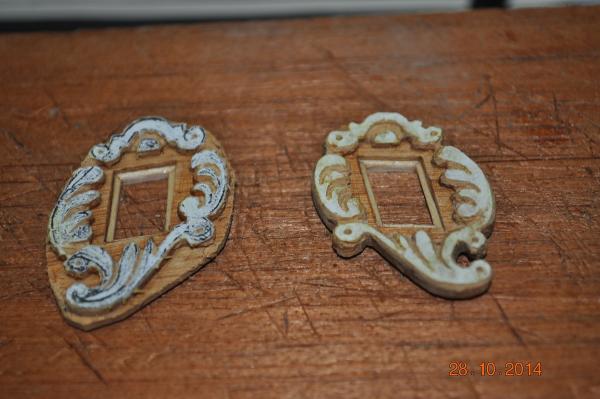
Whilst the shipyard(me going slow) planking is going on, took a sideline to have a go at making the 2 rear cabin window decorations. Three pics below: 1. hand sketched the Window Deco(mirror image it) and glued onto a tight grain hardwood that I cut ~3mm thick 2. I used a new scapple blade to trace around the outer and inner lines, mainly so when I used the engraving tool it had a line to cut up to. Did a first run of carving the internal lines. I then glued the Deco to a second layer of slightly thinner hardwood that I have cut the trapezoidal window out(lined the inner edges, recessed for the hatches) 3. One(RHS) 95% completed Deco and the other - get to it soon I hope. Back to planking. Dave R
-
Very impressive work Klimi, Great ideas for the look. Dave R
-
Update to where the shipyard is at with planking Couple of pictures of the planking to date. I will be glad when this is completed, as each plank takes so long to plan: - the position to plank before - is it laying naturally flat ? - where to start and end it - rebate edges for smooth fit to previous - if a drop plank, pre-plan how next plank fits over the dropped end or maybe another dropped plank ? - pre-bend to fit as close as possible - mark glue line, where and how many points for the super glue(to hold the plank - mix glue then apply to all connecting surfaces - place and check no gaps for the new plank Probably missed some things in the process. I have had a some clinker effect of a few planks as I forced them across the natural lay line too much. Just wanted them in a certain position, the proud edge should sand flat and we won't know which ones they are. Also not all planks the same thickness and width which plays havoc at the butt joints. I should stop complaining, nearly there. Dave R

-
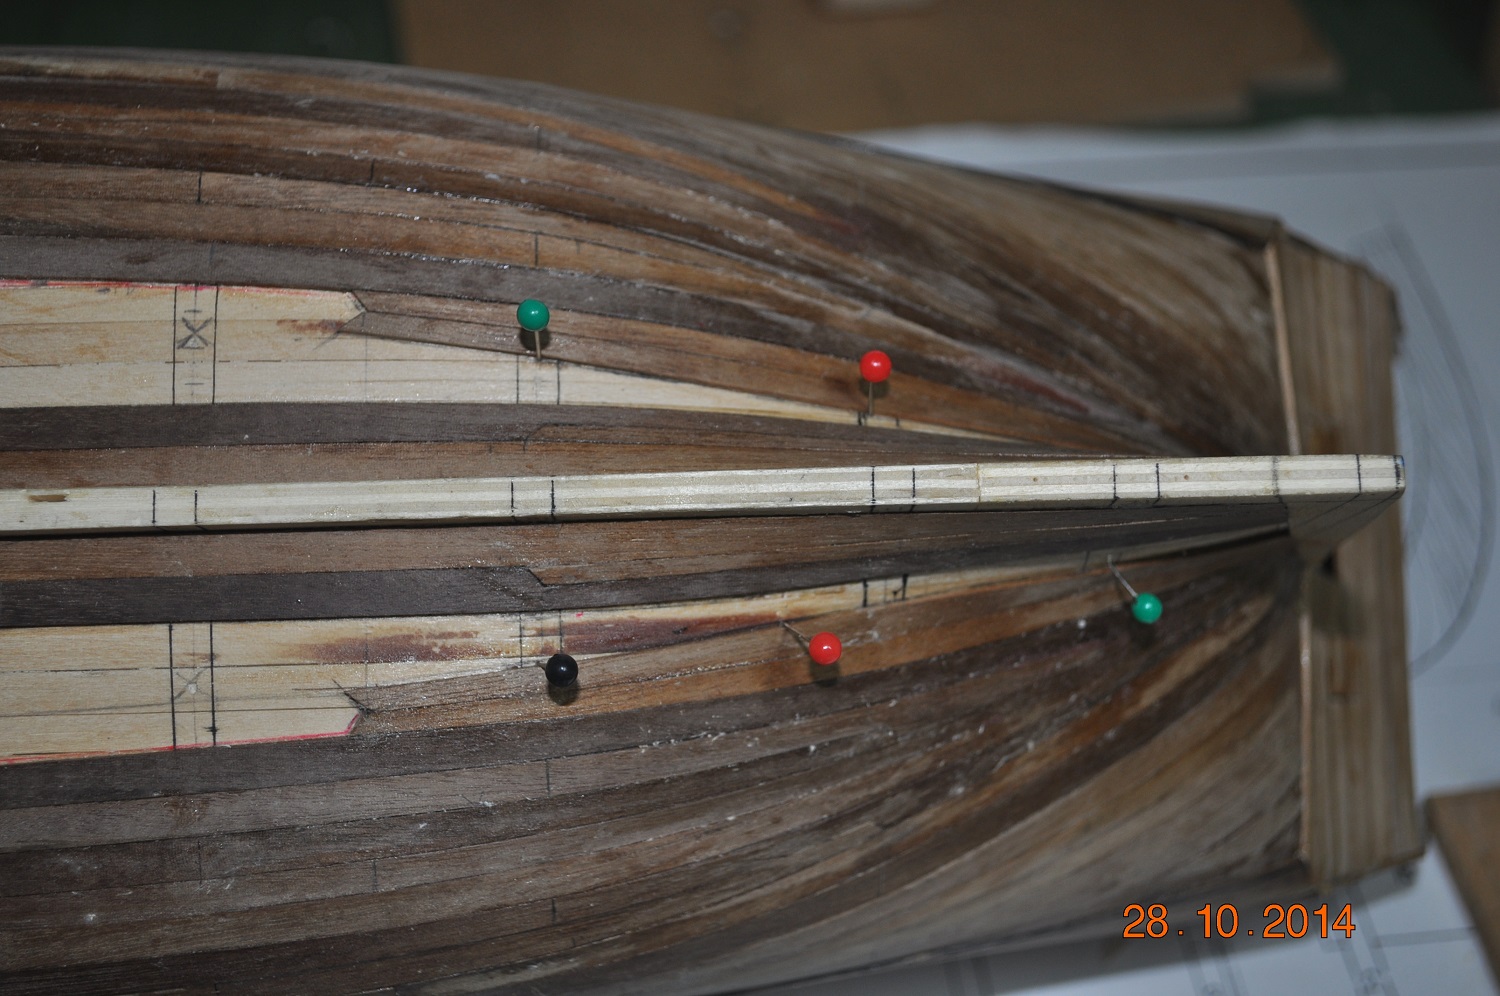
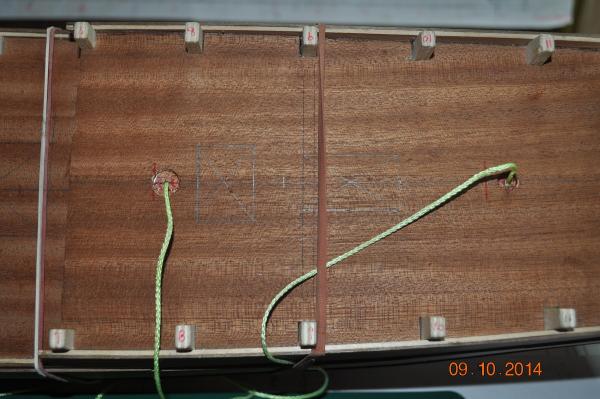
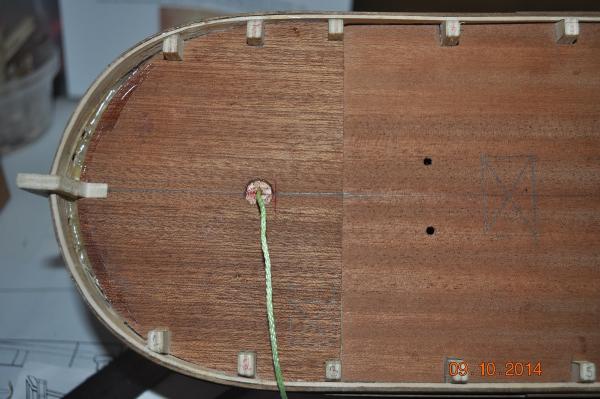
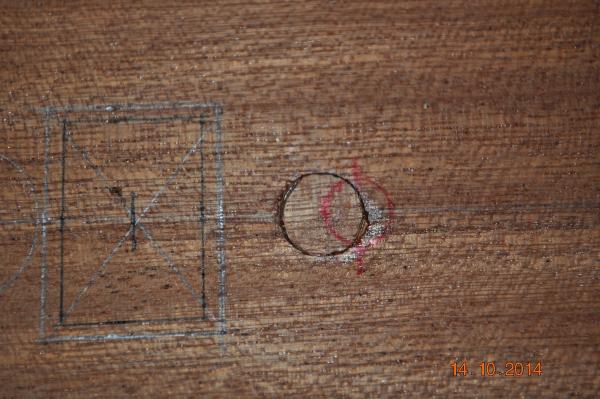
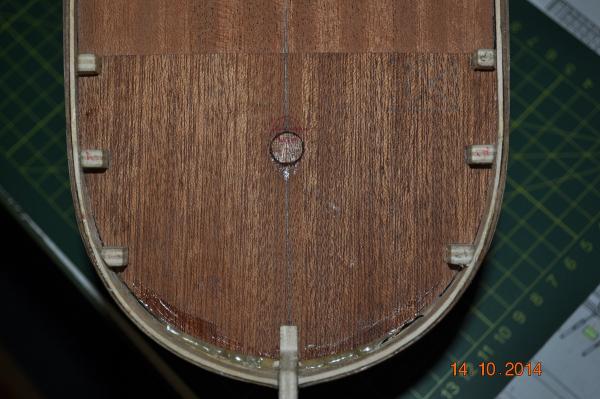
Whilst planking is underway and drying to the bottom, I marked out the some of the main features on the deck based on the AOTS deck plan. Not surprisingly, was that the 3 mast positions were in the wrong position. So plugged and filled and ready for new holes to be drilled. Dave R
-
Looking good Ron. Hope my build looks as good as yours at this stage. Still planking 2nd layer. Dave R
-
HMB Endeavour by mikec - Eaglemoss
DaveRow replied to mikec's topic in - Kit build logs for subjects built from 1751 - 1800
Looking good on the bow Mike. -
Nice sweep to the wales Udo. I'm still planking the 2nd layer, be glad when they are all on. Dave
-
Hi Steve, Those anchors look very authentic. Love the way you come up with ways to use ordinary things and modify/bash them into something else. Watching you build man, love the work !
-
Hi Greg, Love the rigging work. A long journey I am sure you know, and I am sure a lot of us are very envious of the detail and workmanship you have applied. Hope you don't mind that I have downloaded many of the pictures(and words of wisdom) for future reference for my rigging adventure. What else can one say "Fantastic"
-
Update on the Planking below the wales: Slowly going bow to stern adding the planks on. Planks mid ship are easy(straight), just need a bit of the upper edge for the round and glue on. Planks fore and aft ! each is planned, cut to shape, edges bevelled and placed under steam(kettle) and bent as close to the hull shape as possible > pic below. Makes it so easy to then glue in place. But each is a lot of work. Bow: I am continuing to drop planks(5 now) to let each lower one to run up to the wales just back from the bow. These dropped planks just don't sit flat(naturally) when I tried to run them to the bow, so have dropped them. Maybe the bow in this area should be more rounded "bluffed" ? I've spent a long time planning the next 4 to 5 planks, have decided to drop 2 more(pic # 3 below shows a small arrow for these 2 planks) then the rest will go all the way to the bow. Probably be adding in a couple of "steelers" as the planks work there way to the keel. When all the planks on and with a light sanding, hopefully come up a treat. ? Dave

-
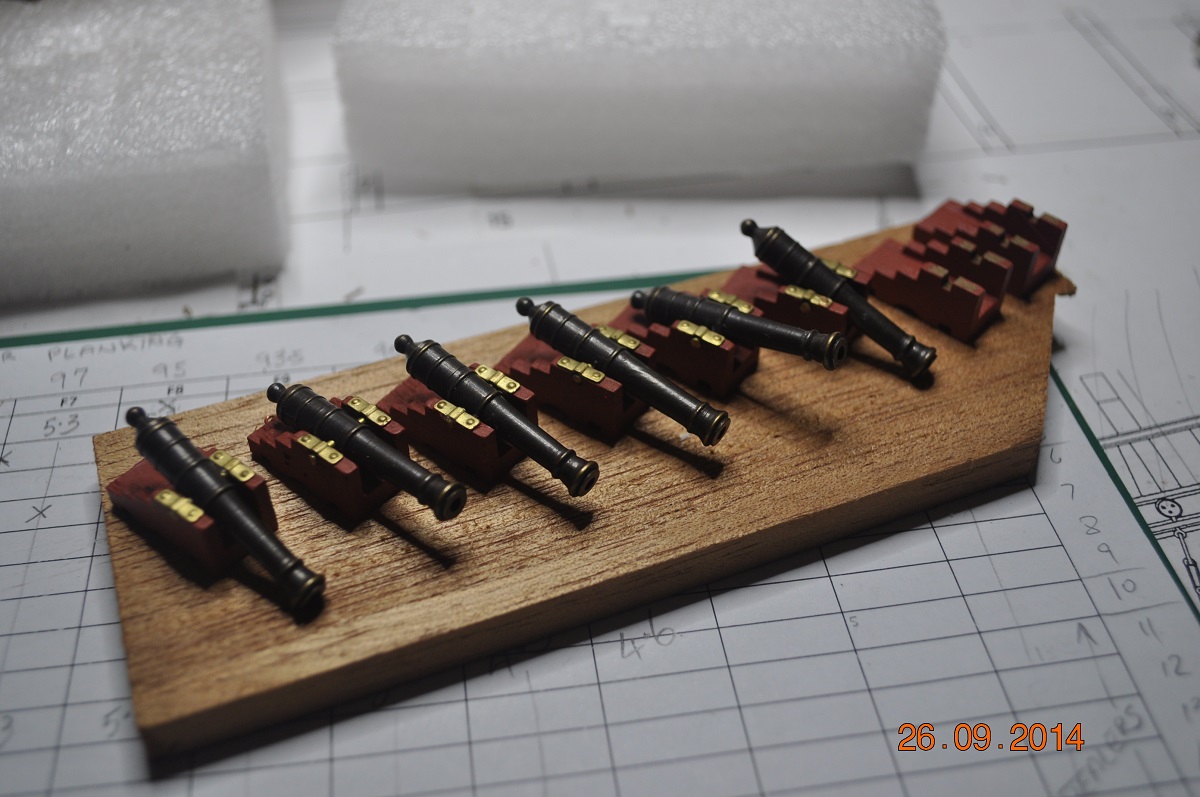
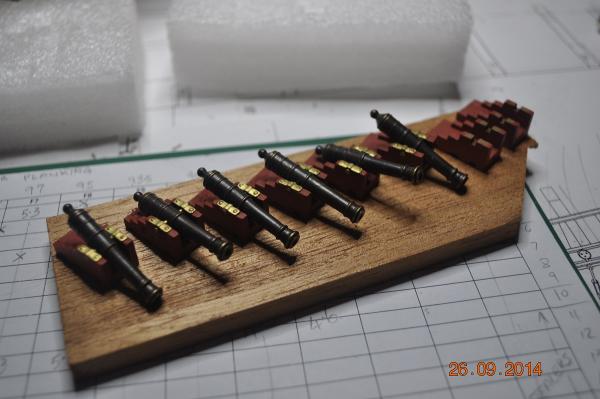
Started assembling the Cannons. Using the kit shell, wheels and barrel. Added the saddles - they didn't some with the kit ! Dave R
-
Progressing on the bottom planking. I'm cutting the planks about 125mm long, and staggering the joints, every 4th set of planks match. The bow: I am dropping the top few planks - the covering plank I make wider by adding a short piece to make a half "arrow" head. Slow going but hopefully not only look good, but the lower planks end up lying naturally on the hull to the bow. The stern: slightly getting thinner over to the stem 4.2mm, from there plan to thin the planks down to 2.5mm for the concave bend towards the keel. That will be challenging. Each Plank: Managing to glue each plank with a drop of fast drying glue at each end, and between with the 2 part epoxy. Tried a couple of different ways, but this is process is working fine. All epoxy glue on the hull first(leave gaps at ends, and sometimes a spot in between if the plank is not sitting flat enough). Drop of fast glue on one end only, push the plank on(let it dry within seconds) then drop of fast glue on the other end, push plank on - let it dry. Then work the plank between the ends flat squeezing out excess glue, clean up and plank done. My biggest issue is, not all the planks are same thickness and even the width varies slightly. Talk about life wasn't meant to be easy. Rowan - thanks for your kind words, started following your build with interest. Dave R.

-
HMB Endeavour by mikec - Eaglemoss
DaveRow replied to mikec's topic in - Kit build logs for subjects built from 1751 - 1800
Very nice work Mike. -
Fantastic Greg. Particularly like the under shot(looking up) pictures. Even looks pretty real like as though your on the water looking up to the real thing. Dave