

Elijah
-
Posts
1,310 -
Joined
-
Last visited
Content Type
Profiles
Forums
Gallery
Events
Posts posted by Elijah
-
-
Nice work with the cockpit!
-
-
-
-
-
Very nice result, I like the tone of the false deck.
-
Patrick, very nice planking demos! I personally like A the best, but D is another very good option.
-
Thank you very much, a lot of the credit goes to Kurt Van Dahm for supplying me with the stains he used on his model.
- EJ_L, Canute, EricWilliamMarshall and 1 other
-
 4
4
-
I have successfully removed the cap rail piece, and now it’s just cleanup. Then I will have to make the tone match that of the other cap rail pieces, as the underside is slightly off. These two longest pieces are the only asymmetrical ones, so I can follow my original plan with the rest. I’m glad I caught this when I did though, this could have been a lot harder...
-
Yes, it's also very handy that Model Shipways replaces parts for free.
- EJ_L, Duanelaker, Ryland Craze and 2 others
-
5
-
-
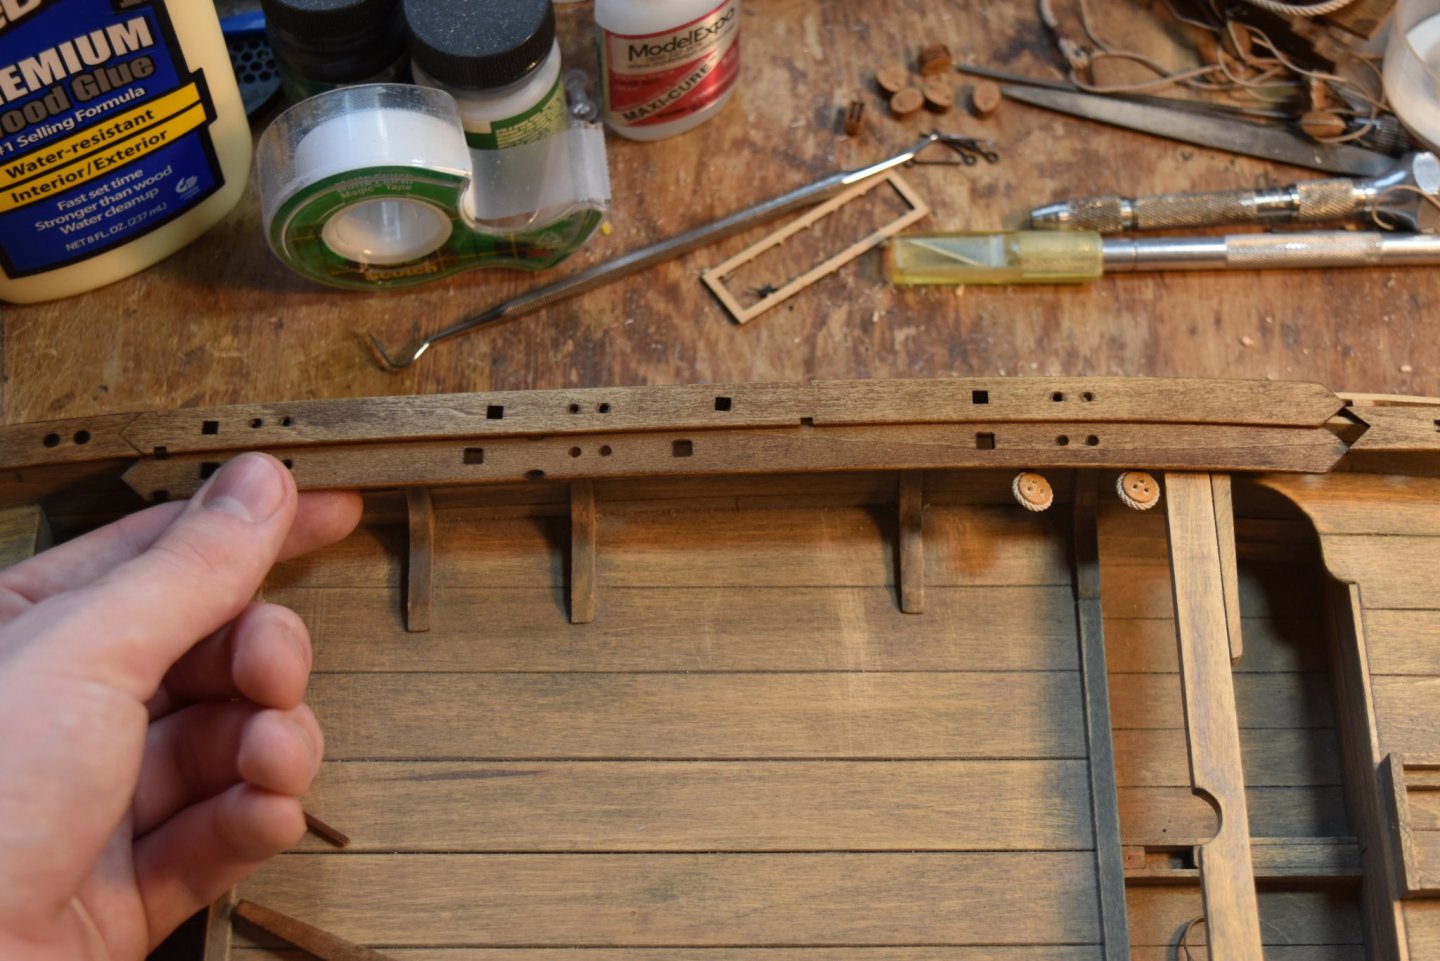
Catastrophe!!!
 I had the clever idea to install the cap rail on the reverse sides, that way the laser cut holes would be cleaner, and the joints would be less prominent. In doing so, I forgot that the cap rail pieces are actually, in fact, not symetrical!!
  So far, this is the greatest blunder of my modeling career. Luckily, I do have some isopropyl alcohol, so as long as I'm careful, I hope I can remove the necessary piece and clean it up to my satisfaction. Wish me luck, this may prove difficult.
-
-
Yeah, I don't know the timeline of the developement of the kit, I didn't initially notice the time gap you mentioned. Still, the video is made by the person who worked with Marisstella, so I would think the kit would be fairly similar. As to your question Bob, I've looked at it, but I think it's a little outside of my budget.
- mtaylor, thibaultron and BobG
-
3
-
- thibaultron, mtaylor and Yarr McNarr
-
3
-
-
-
-
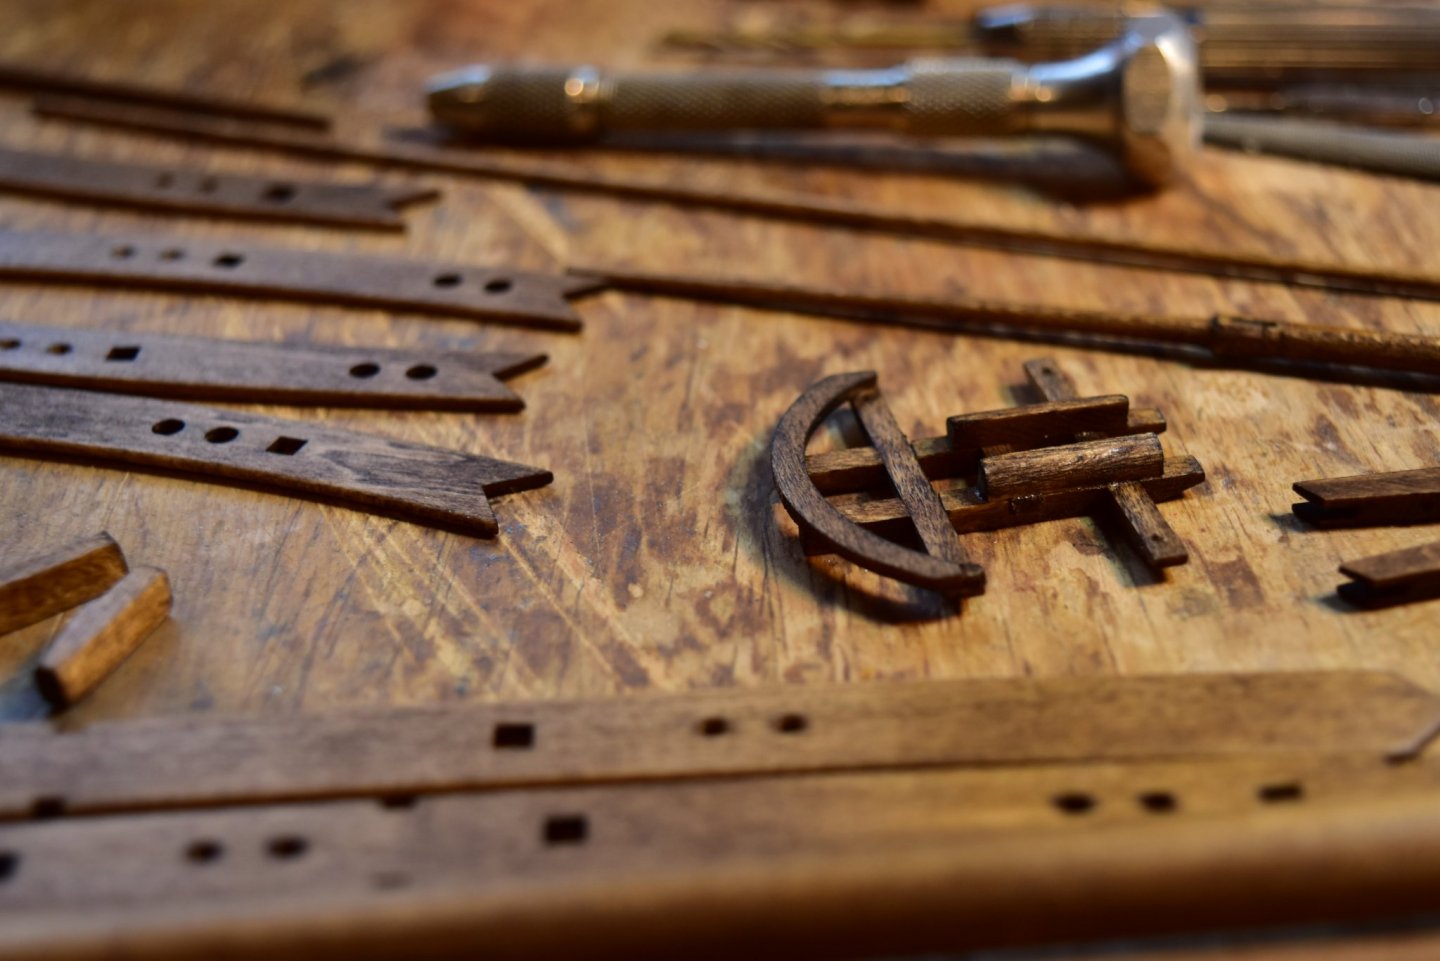
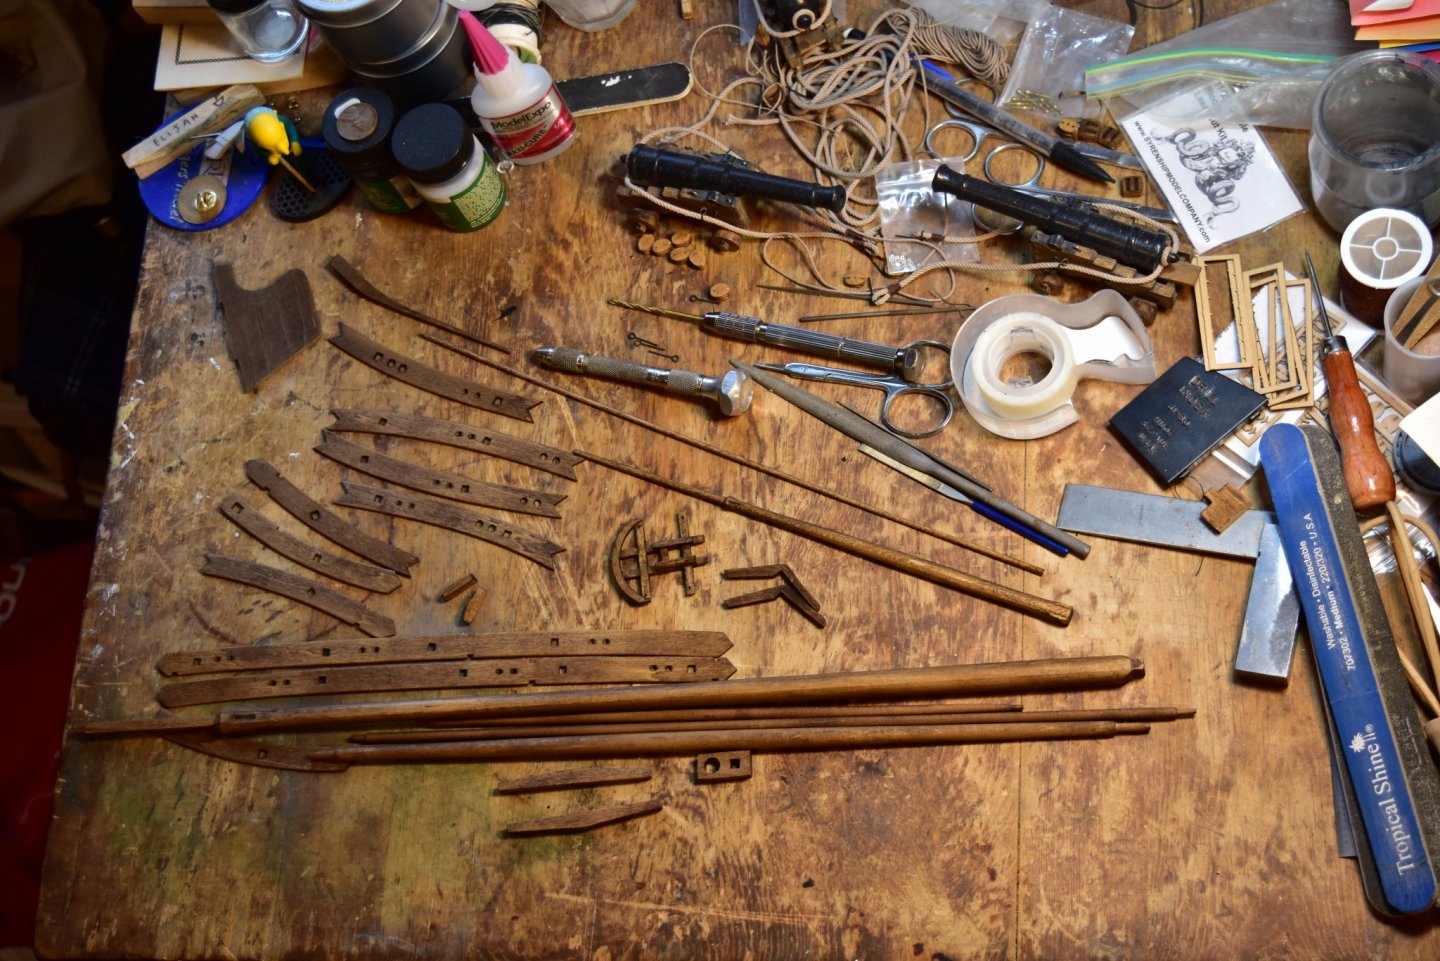
Well, it looks like today was staining day! It was kind of on a whim, but I think it went pretty well. The only other structural wood components that will have to be stained after this are the sweeps and supports for the awning structure. I'm not sure I have quite enough stain to do that, but we'll cross that bridge when we come to it. Until then, I've got plenty to do. Here are the many different wooden parts that were stained today.
- Canute, Landlubber Mike, bruce d and 12 others
-
15
-
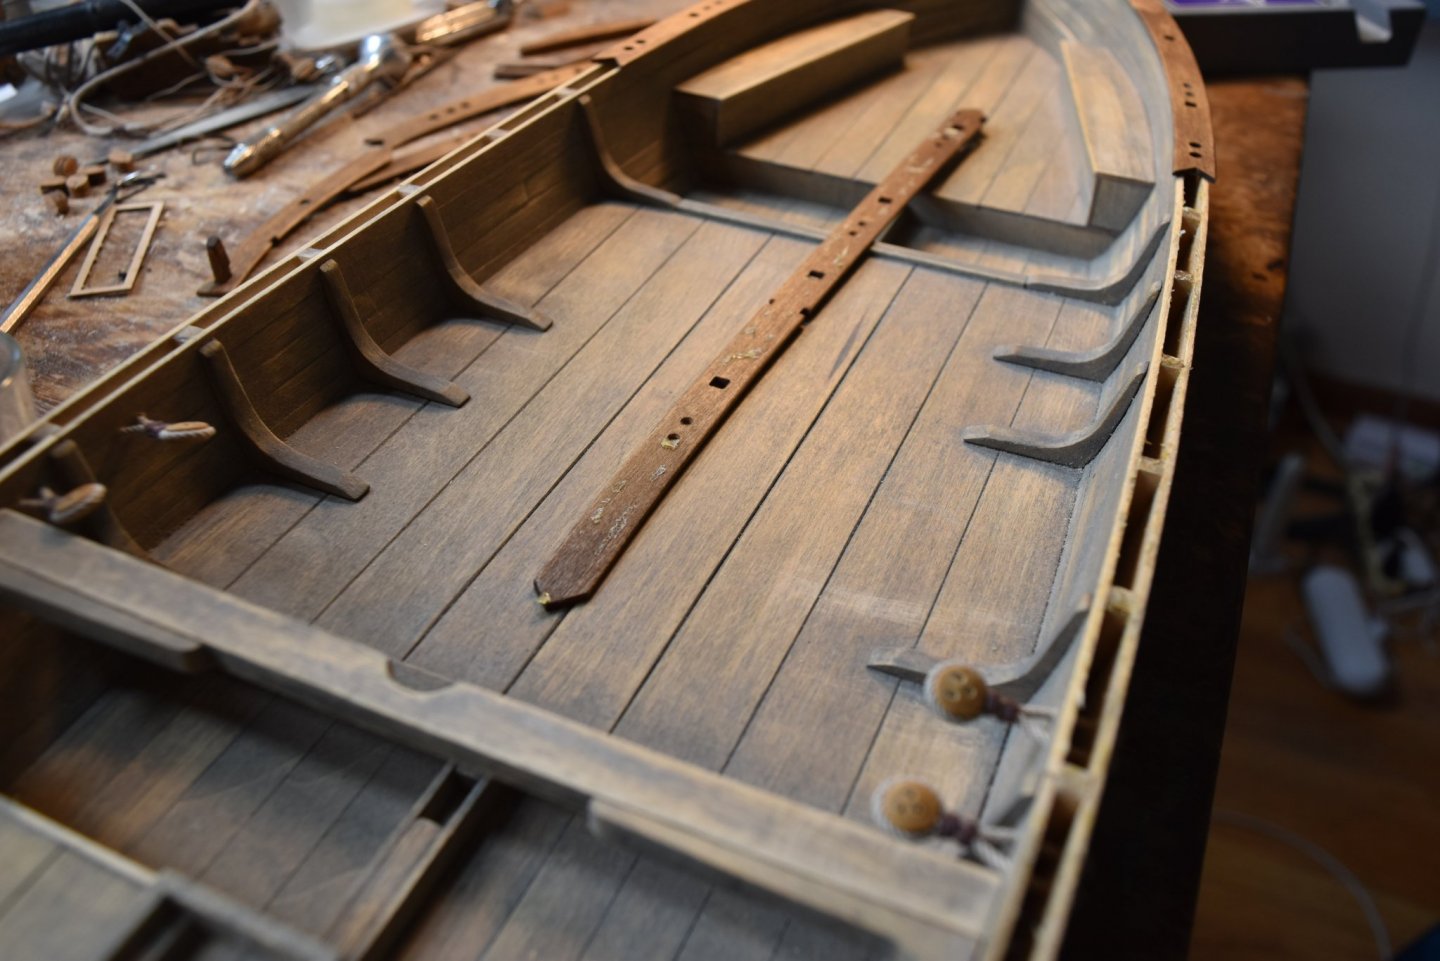
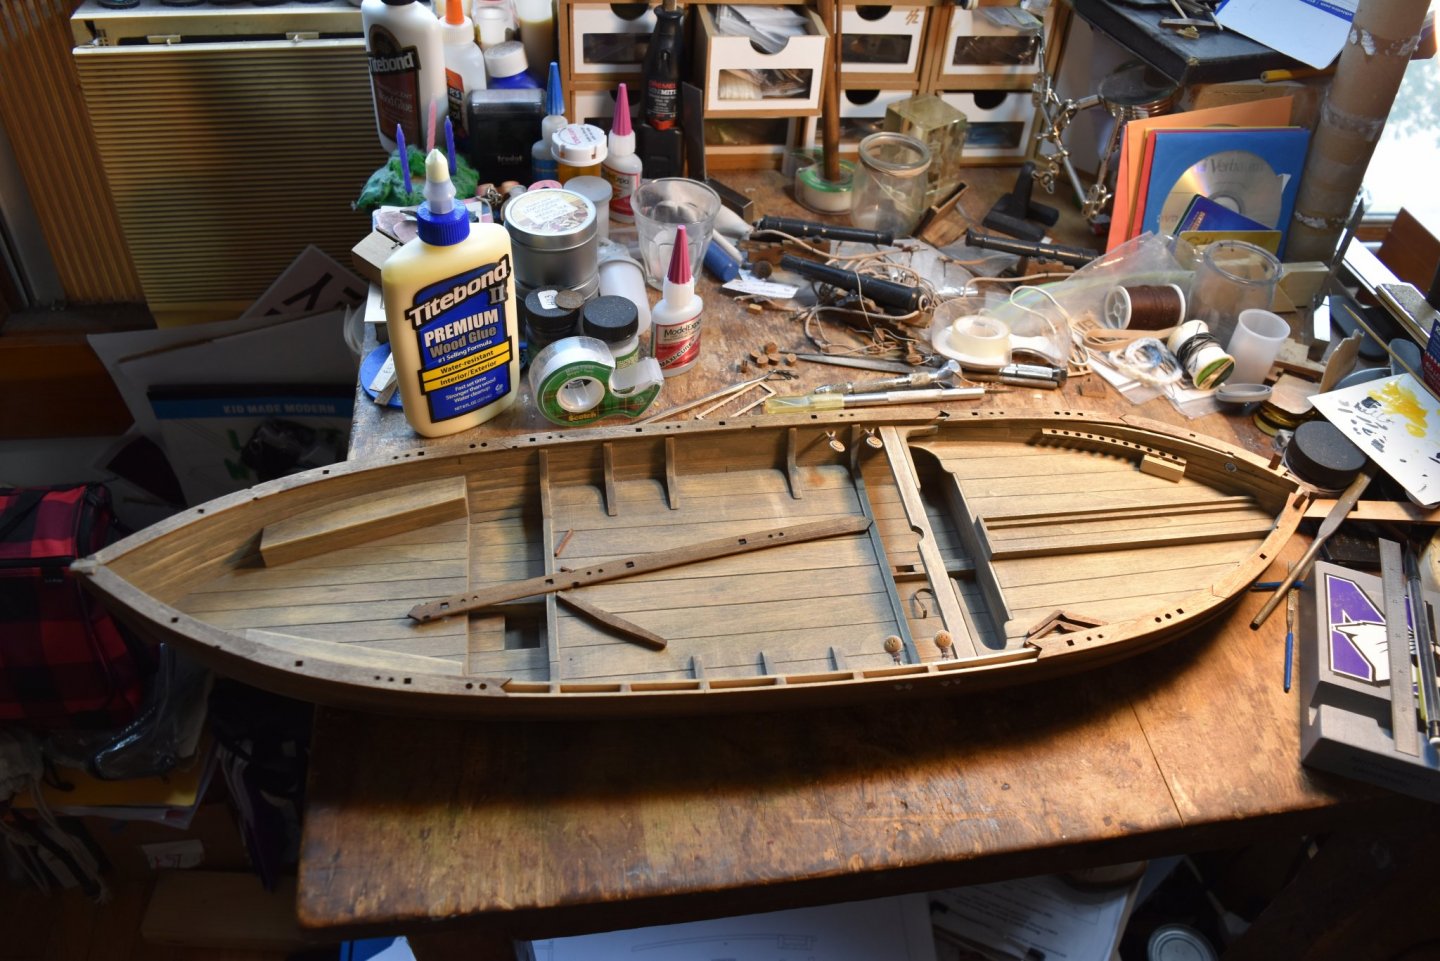
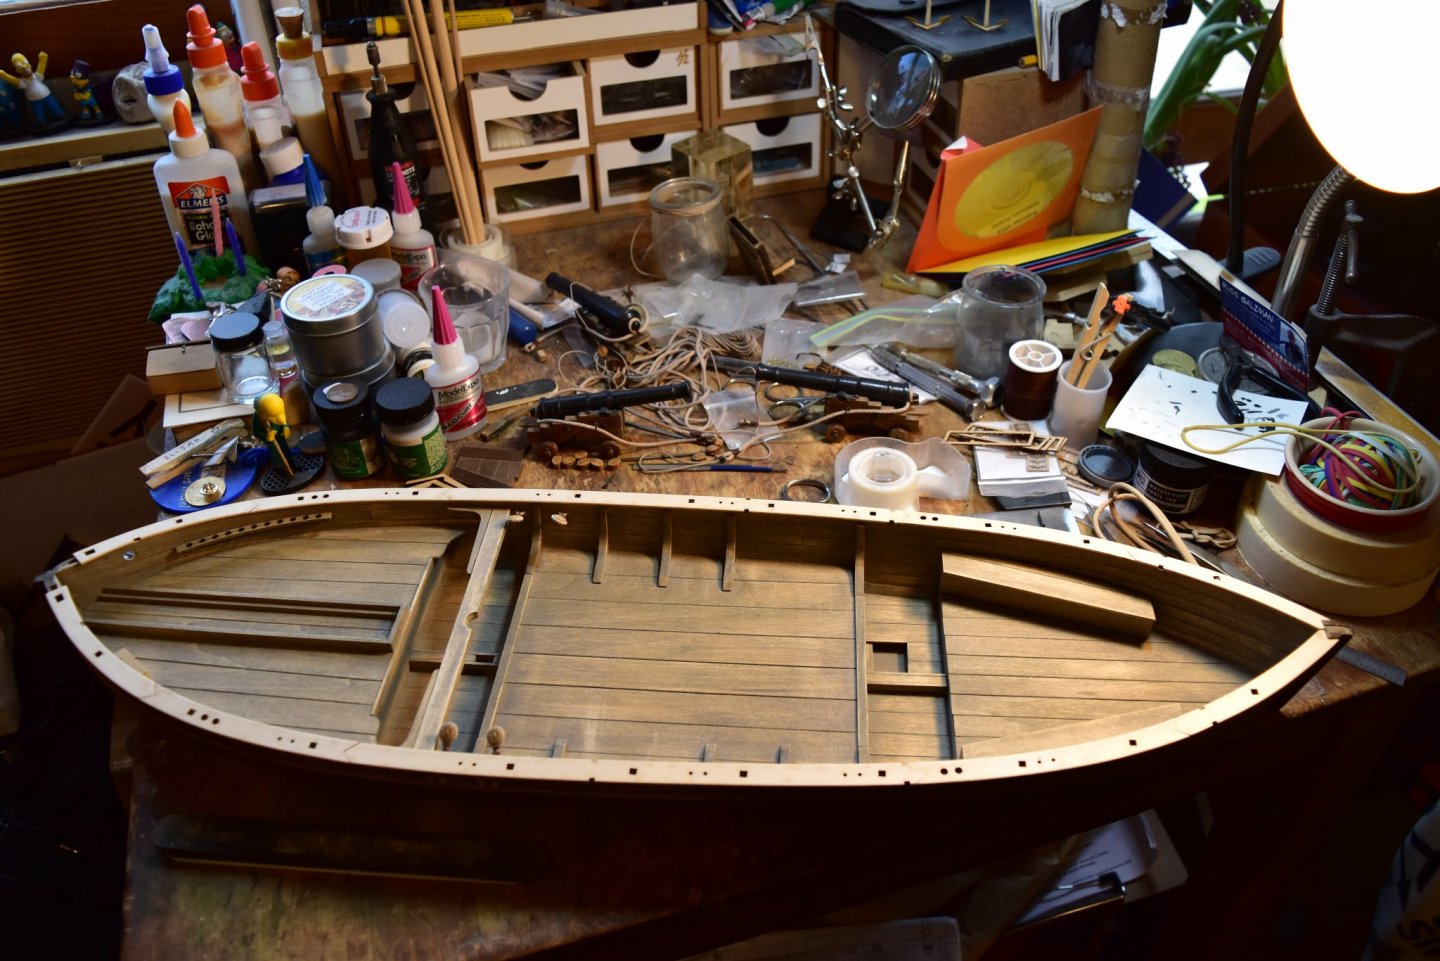
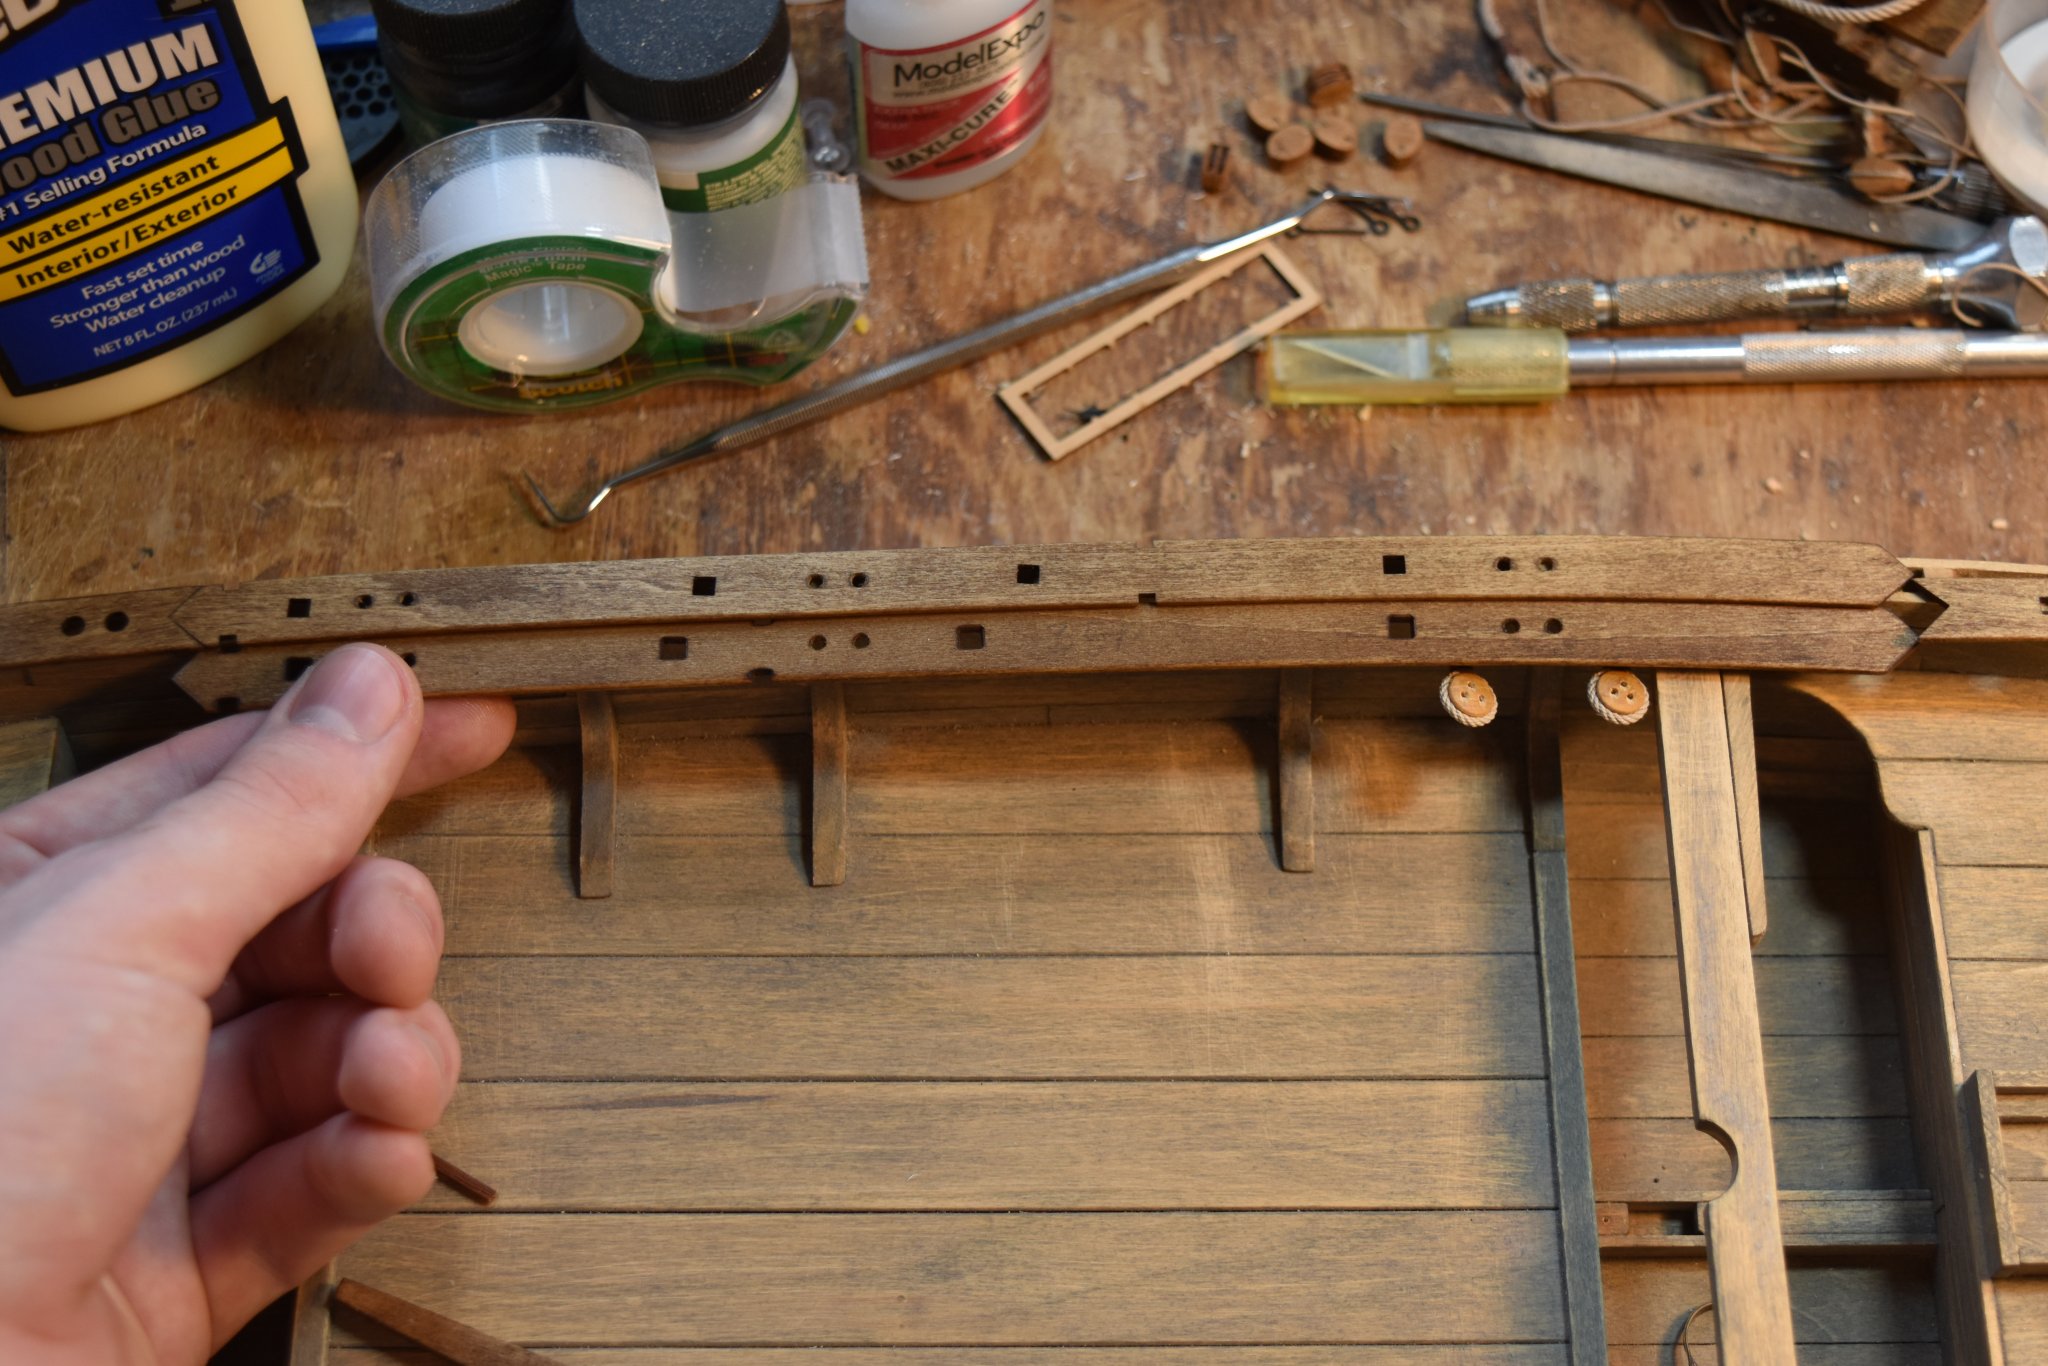
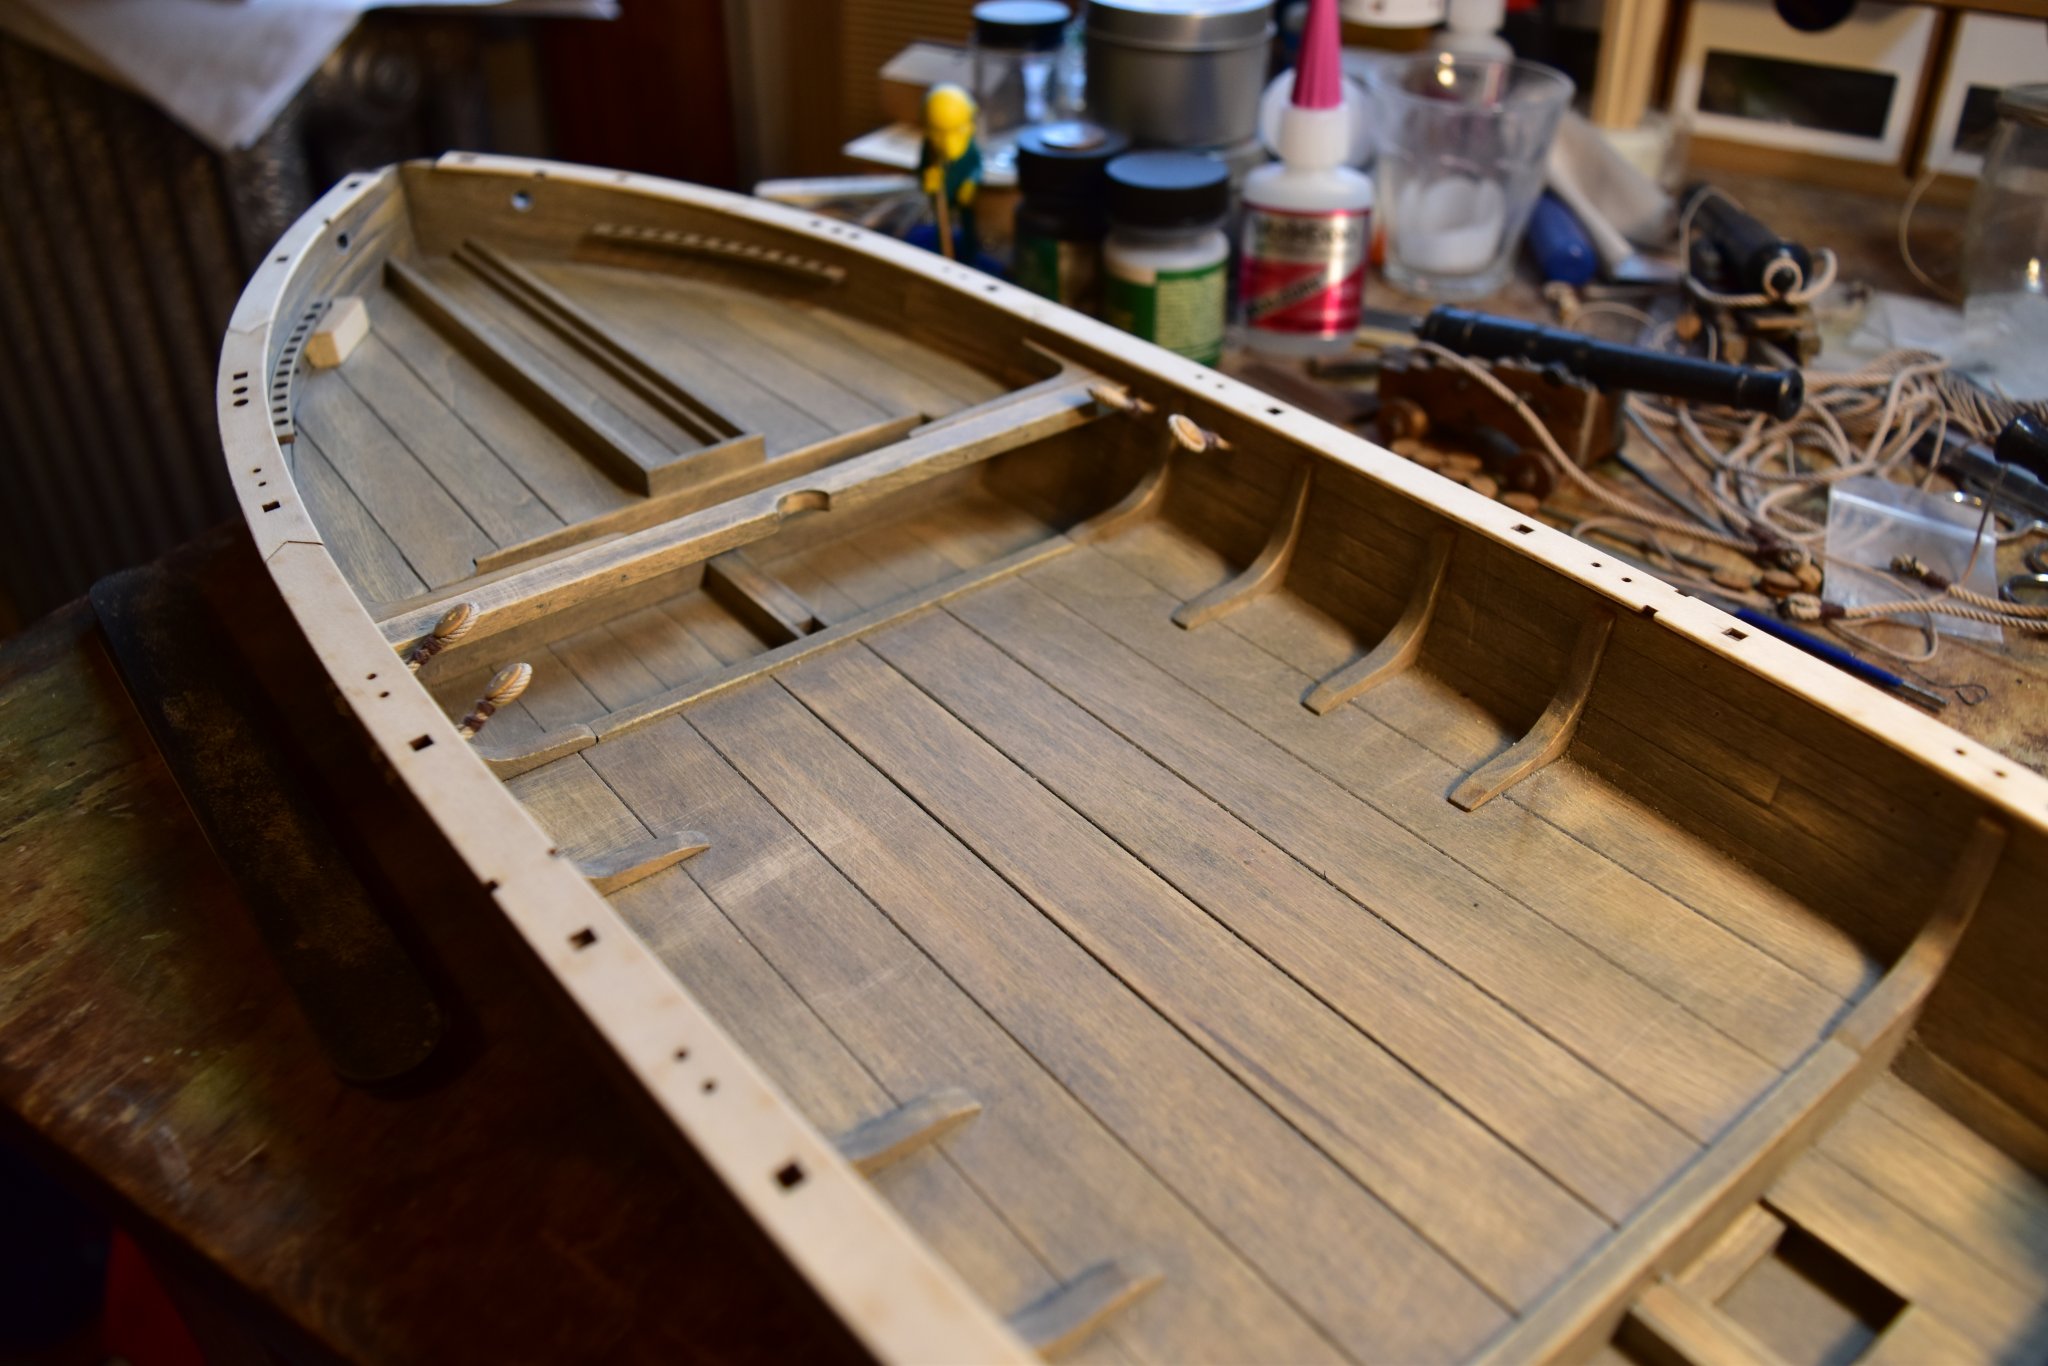
Hello all! Thank you Bob and Dave for the kind words. This has obviously been a very strange year. Earlier, I was hard pressed to find much time for building, but with the current lockdown I have gotten the shipyard running yet again. Most recently I have just finished cleaning up the cap rails. From here, I'm not entirely sure what I will do next. I think it may finally be time to confront what I have been avoiding for a long time......... staining day
. Wish me luck. I've got an airbrush to apply it with, so we'll see how it goes. In any case, I'm glad to be back and I look forward to building the rest of this ship alongside your much appreciated guidance! Here are a couple photos of the cap rail dry fit. It's going to be a challenge to glue it on while keeping the run looking right. Also, I've noticed that some of the holes for components above the cap rail overlap with some of the bulkheads. I hope that doesn't become a problem....

- GrandpaPhil, JpR62, bruce d and 13 others
-
16
-
-
Wonderfully done! The interior lighting is also very nice. What was your method for recording your total hours?
- EJ_L and Old Collingwood
-
2
-
Welcome back! At least there could be worse things to ration than mahogany...
- EJ_L and Old Collingwood
-
2
-


Phantom by Duanelaker - Model Shipways - 1:96 - New York Pilot Boat
in - Kit build logs for subjects built from 1851 - 1900
Posted
Yes, your grating is leagues better than the kit supplied one. What stain did you use for the deck? I really like it!