HOLIDAY DONATION DRIVE - SUPPORT MSW - DO YOUR PART TO KEEP THIS GREAT FORUM GOING! (Only 13 donations so far - C'mon guys!)
×


mikegerber
-
Posts
213 -
Joined
-
Last visited
Content Type
Profiles
Forums
Gallery
Events
Everything posted by mikegerber
-
 Very well done dimitris! Beautiful drawing of the lines. Now, more and more we recognize her - the Amerigo Vespucci! I'm looking forward on continuations Regards Mike
 -
Very, very nice done Bob! As a Parrot, I can only repeat what all the previous speakers said! I'm looking forward on continuations ... Regards Mike
-
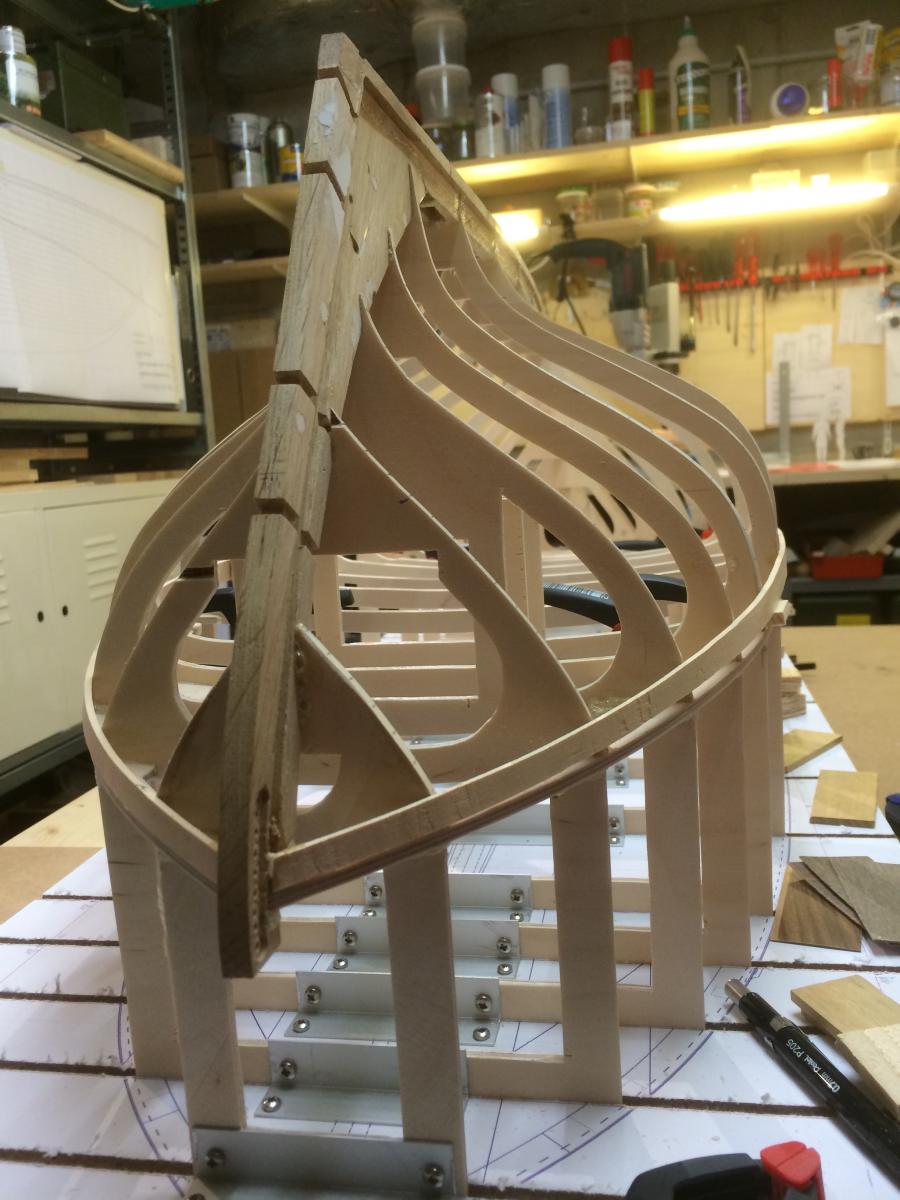
Good morning Matija Simply sensational! I especially like these moments when a build is in a raw state - from my point of view a moment where the essence is visible. Your boat is in such state - further build almost pity ... - no serious, I just like this raw look (also in regard to architecture). Regards Mike
-
Hello Bernhard I've just discovered your log, about the "Sparrow" - congratulations, very well done! May I ask you, how did you finally the layout of the RC components? In this context I'm searching information for my own build - maybe you have one or the other hint ... Regards Mike
-
Hello Jond I like your project and I will pull up a Chair - look forward for more ... Regards Mike
-
Hello Patrick ... very well - thank you for the comments and information, well done with the plastic bulkheads - now I understand better the structure of the original and model. Regards Mike
-
Hi Matija One has the impression everything would be easy - but we all know how well you're doing this. That looks awesome! Regards Mike
-
Hi Patrick ... oh, I'm sorry! - I mean bulkheads. Please excuse my bad English. The german term of bulkheads is "Schotte", but unfortunately is also Scots written in the same way as "Schotte" - hence I made a mess. ... I can see wooden bulkheads in your model and also such in white. Hence my question about the white bulkheads. I suspect there are also wooden, but painted in white (?) I'm going to allow me to correct the error above and will convert the Scots to bulkheads. Regards Mike
-
Hi Patrick Is this a new kind of nano-technology? - incredible! Especially I like the first and second one from the top - wonderful elegance! Also the second to last with the perspectivic view of the bulkheads. To this, I have a question: How were the white bulkheads materialized? I am pleased every time about the grow of your build. Regards Mike
-
Hi Dimitris Nicely done with the waterline and finish of the surface - congratulations! Regards Mike
-
ancre La Salamandre by tadheus - 1:24
mikegerber replied to tadheus's topic in - Build logs for subjects built 1751 - 1800
Hello Paul I like how the raw state of the hull looks - solid craftsmanship! - and there's pretty much wood on it. Look forward to more logs and will follow with pleasure. Regards Mike -
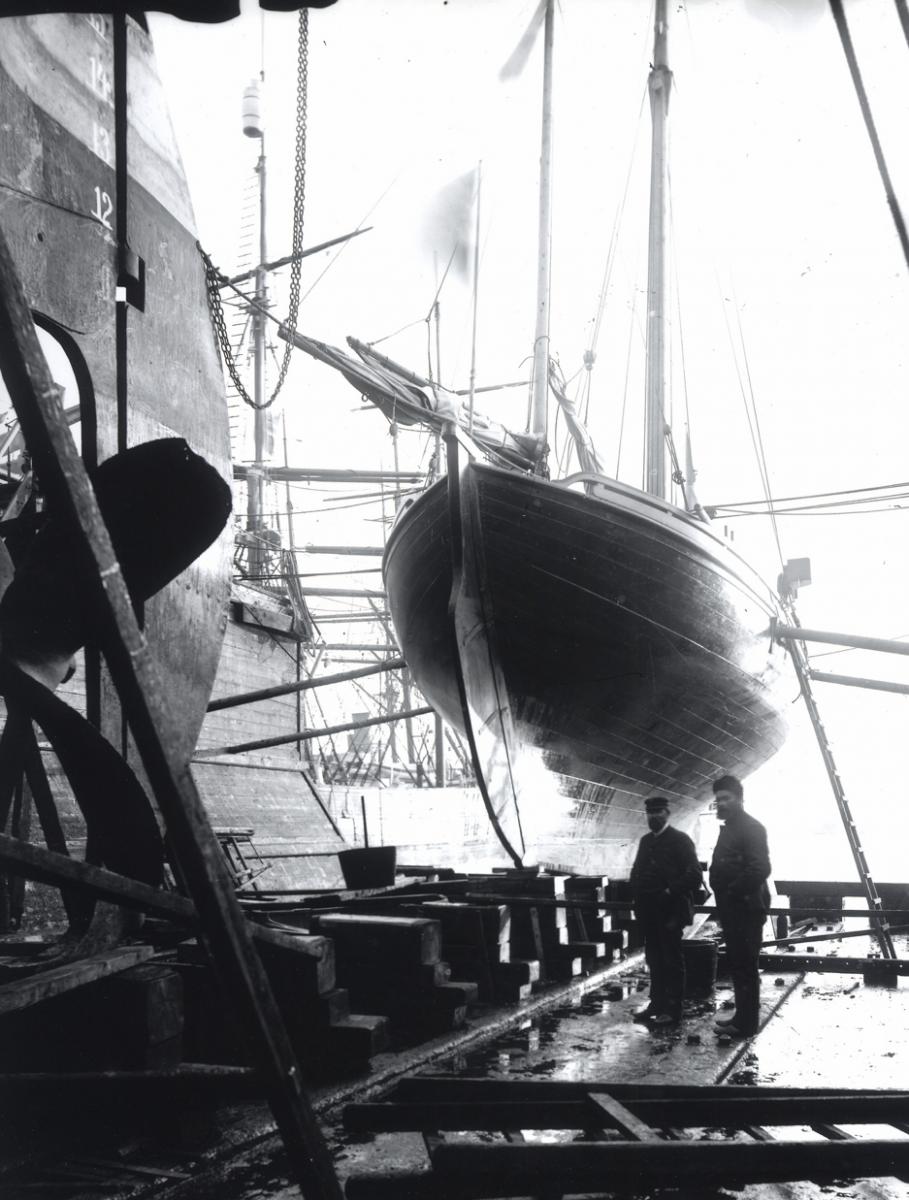
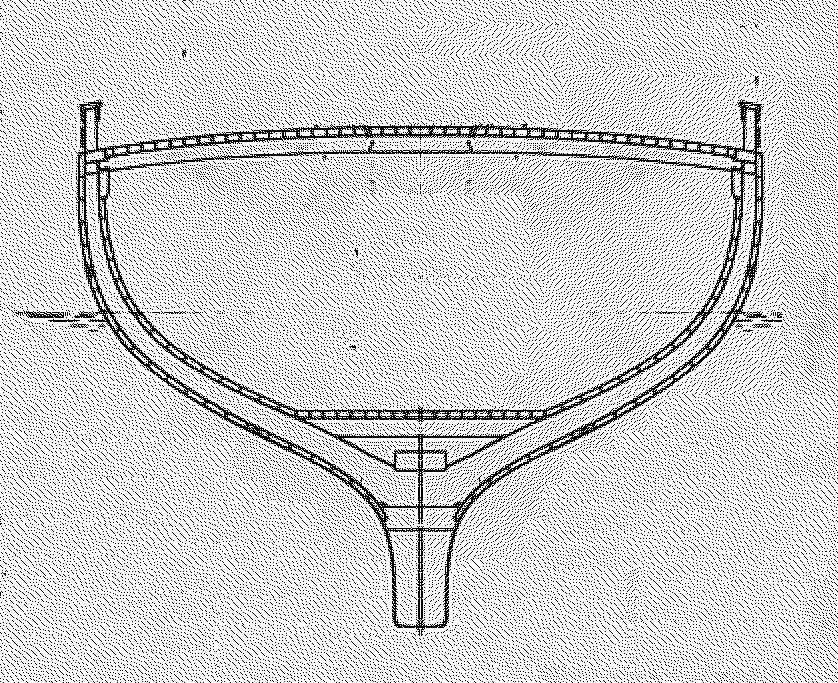
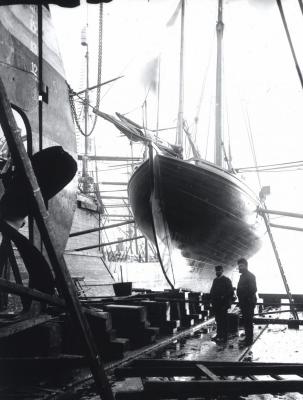
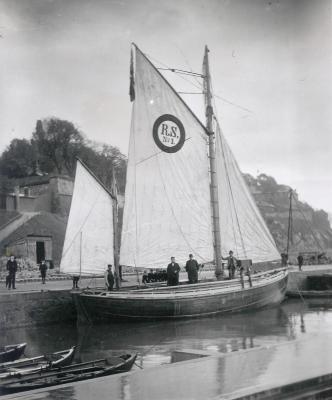
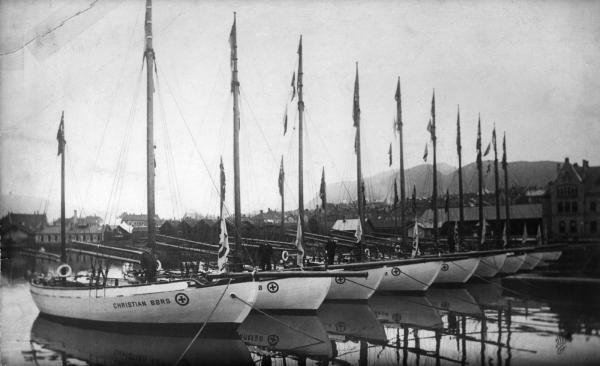
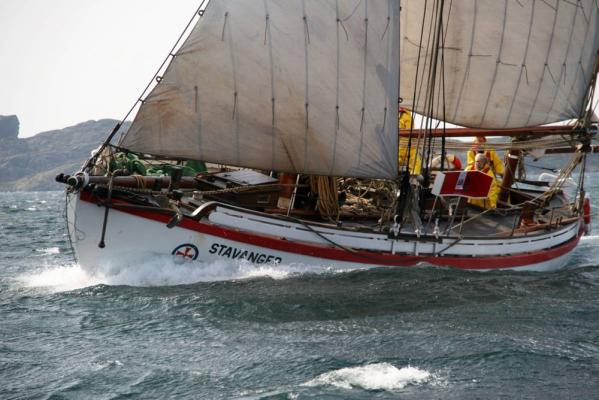
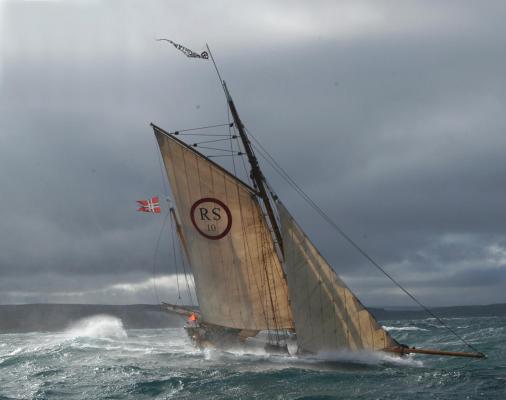
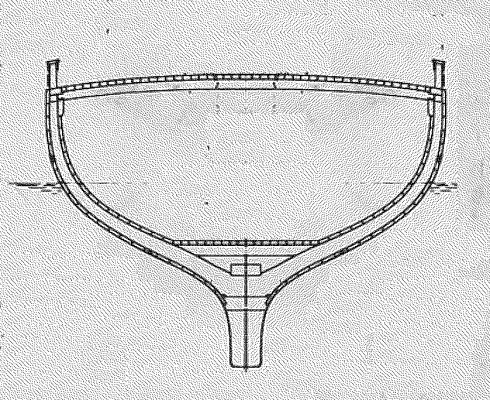
Hello Patrick, Dimitris, Row, Michael, John and all the other visitors of this workshop As always your feedback means a lot, also all the likes - thanks! @Patrick ... yes, indeed, Colin Archer's RS-boats often had very wide planking hallways. If we take a closer look at it, it is obvious, that also the strongly conical narrowing of the hallways is a characteristic - but this is perhaps typical for all types of double-ender (see some pictures below). ... the hull shape of the double ender distinguishes itself by a high stability even in heavy seas, in particular the excellence on downwind and strong cross sea. Therefore, lifeboats are often constructed as a double ender. Another feature of that seaworthiness is the obvious functional design. The RS-boats are totally subordinate to functionality, there is nothing which a style or formalism would belong (to this some pictures below). ... I haven't provided a second planking layer, the current dimensions are in accordance with the dimensions of the finished - by the way, the RS-boats all had a double hull, but on the inner side of the frames and also this inner shell was sealed (see section below). @Row ... yes, I can confirm, that the geometry trick worked perfectly. Unfortunately I can't refrain from working on certain areas with spatula. I'm also glad that the hull will be completely painted, so I can accept the local rework - for the first time, I am therefore quite satisfied with the result, despite some fails. Thus I learned a lot - but I freeze a little in awe, when I look at all the spotless craftsmanship on planking by the masters at Modelshipworld @Dimitris, @Michael, @John ... what will I say? -Thanks a lot for your great statements! At the moment I'm still working on planking. I'm slowly making progress, because the current workday and family demands much from me. I don't want to complain - it's all right. What I wanted to say, I will be back on my build log with the finished planking. Until then ... Regards Mike RS1 "Colin Archer", well visible planking course in grazing light. RS1 "Colin Archer", yet unpainted when new, about 1893. Line up for inspection, about 1910. RS10 "Christiania" in rough sea. RS14 "Stavanger", pure functionality – a raw beauty! Section of the RS-boats designed by Colin Archer in 1902 for Russia.
- 235 replies
-
- 10
-

-
Hi Matija In any case and withe pleasure I'll look over your shoulder, while you're working on this build Regards Mike
-
Pen Duick 1898 by Mfelinger - 1:20
mikegerber replied to Mfelinger's topic in - Build logs for subjects built 1851 - 1900
Hi Matija Thank you for the reminder with the photo gallery. I've studied one more time exactly the beginning of your log - I come to the conclusion that I'll rethink everything again - construction process, build up of the layer, appearance aimed at, etc. - in a way all depends on together - but no hurry, I'm still hard at planking ... thanks a lot and wish you a nice day. Regards Mike -
Pen Duick 1898 by Mfelinger - 1:20
mikegerber replied to Mfelinger's topic in - Build logs for subjects built 1851 - 1900
Hello Matija Thank you very much for all these valuable tips! I'm already thinking about laminate the hull on the inside with epoxy resin and glass fibre - just to be sure, that I have a seald layer. On the outside, I already started to fill the small joints with waterproofed 2K-wooden-spatula - then a build up in acrylic- or 2K-color. Regarding the deck, I surely will follow your council with the false deck. For the finish, i'm not sure at this moment how will behave the paper in the caulking joint under influence of water - I will try it with oil, etc by trial - I can tell you later more ... ... thank you again! best regards Mike -
Pen Duick 1898 by Mfelinger - 1:20
mikegerber replied to Mfelinger's topic in - Build logs for subjects built 1851 - 1900
Good morning Matija I'm Just online this morning and admire your progress - wonderful! I have still a question regarding my own upcoming deck construction. What do you think, can I close the deck joints waterproof (paper method) by using enough glue (tidebond III) and subsequent oiling? I also provided a false deck (thickness 1mm), and surely I will make some tests, but maybe you're already experiences or tips about this topic ... regards Mike -
Hi Patrick Each time when I look at your pictures, I lose myself in the scale. I constantly forget how small it is ... - then sudden I see your thumb in the image! Wonderful your detail work! Look forward for more ... Regards Mike
-
Hello John I have just unearthed your log ... and what a finding - great! I like the choice of your subject of build, because I like rather more the civilian applications than the martial - although I have of course enthusiasm, for the constructional technical aspects and the fat lines of the old warriors. I look forward to following the progress of your build. Regards Mike
-
Hello Dimitris Well done, with marking the lines - I like to see your build growing! Regards Mike
-
Hello Michael Unfortunately I can not join the conversation - it is to much technically. Anyway, I love to sit in this workshop and watching - here there is much to learn! Regards Mike
-
Pen Duick 1898 by Mfelinger - 1:20
mikegerber replied to Mfelinger's topic in - Build logs for subjects built 1851 - 1900
Hi Matija I can only repeat, what all the previous speakers have already said! ... and I was also wondering how you've made the wonderful rounded coaming?! Thank you for showing us the way of solution in your post Again and again it's a pleasure to visit your workshop ... Regards Mike -
Hi Patrick I love your subject of a build! This J-Class-Racer are a mythos! ... and let me say, that you are doing a great job! Regards Mike
-
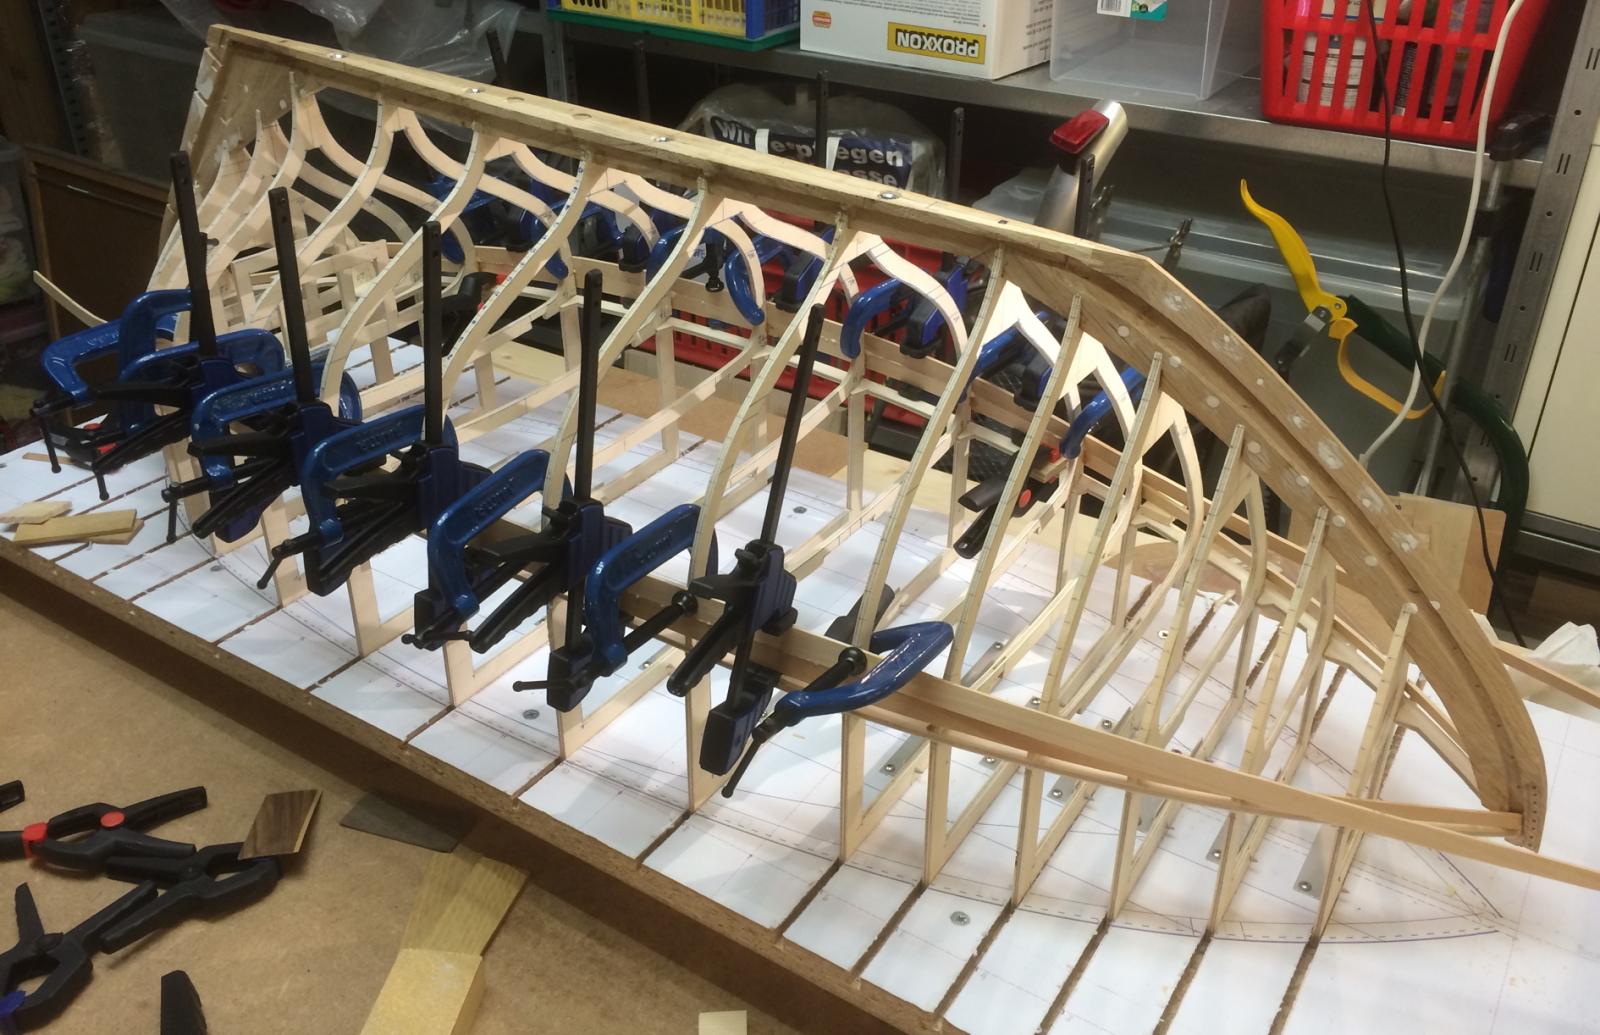
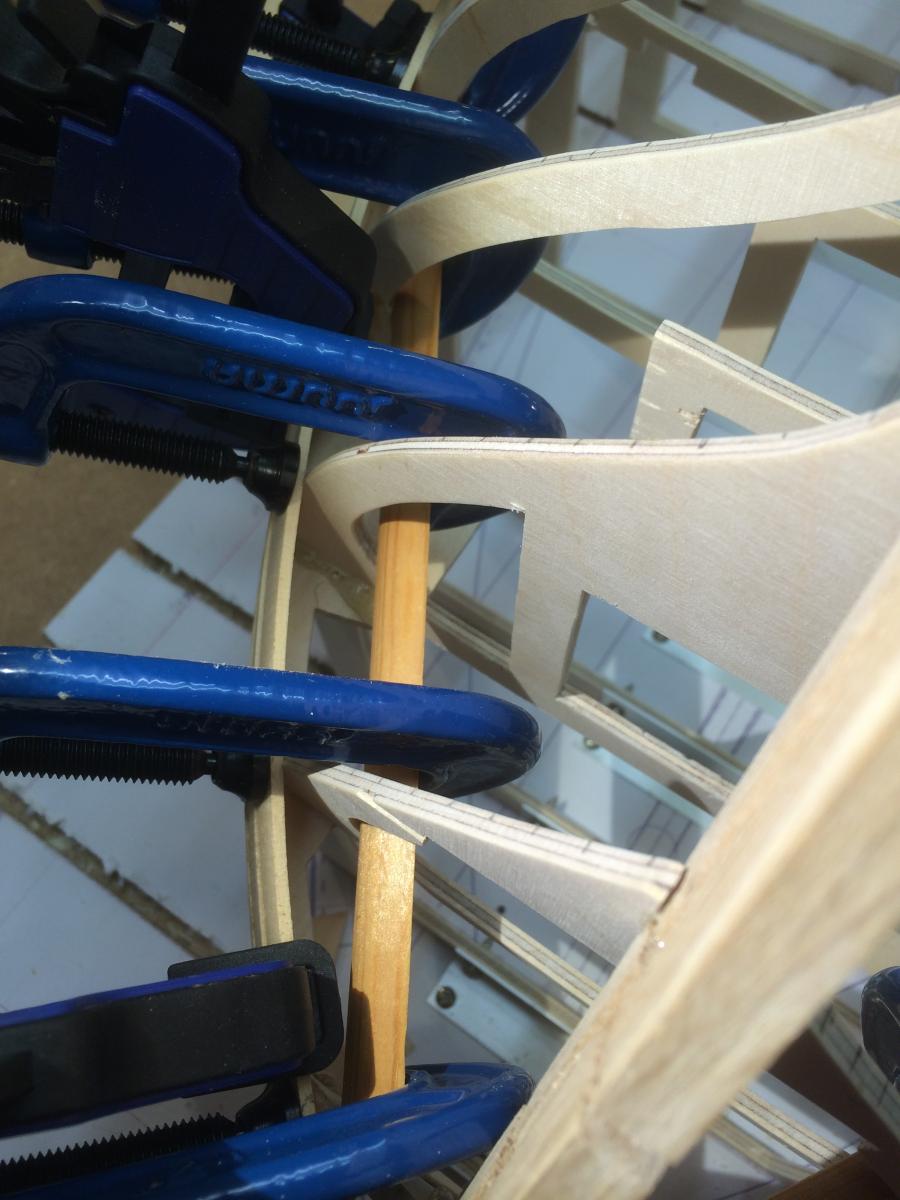
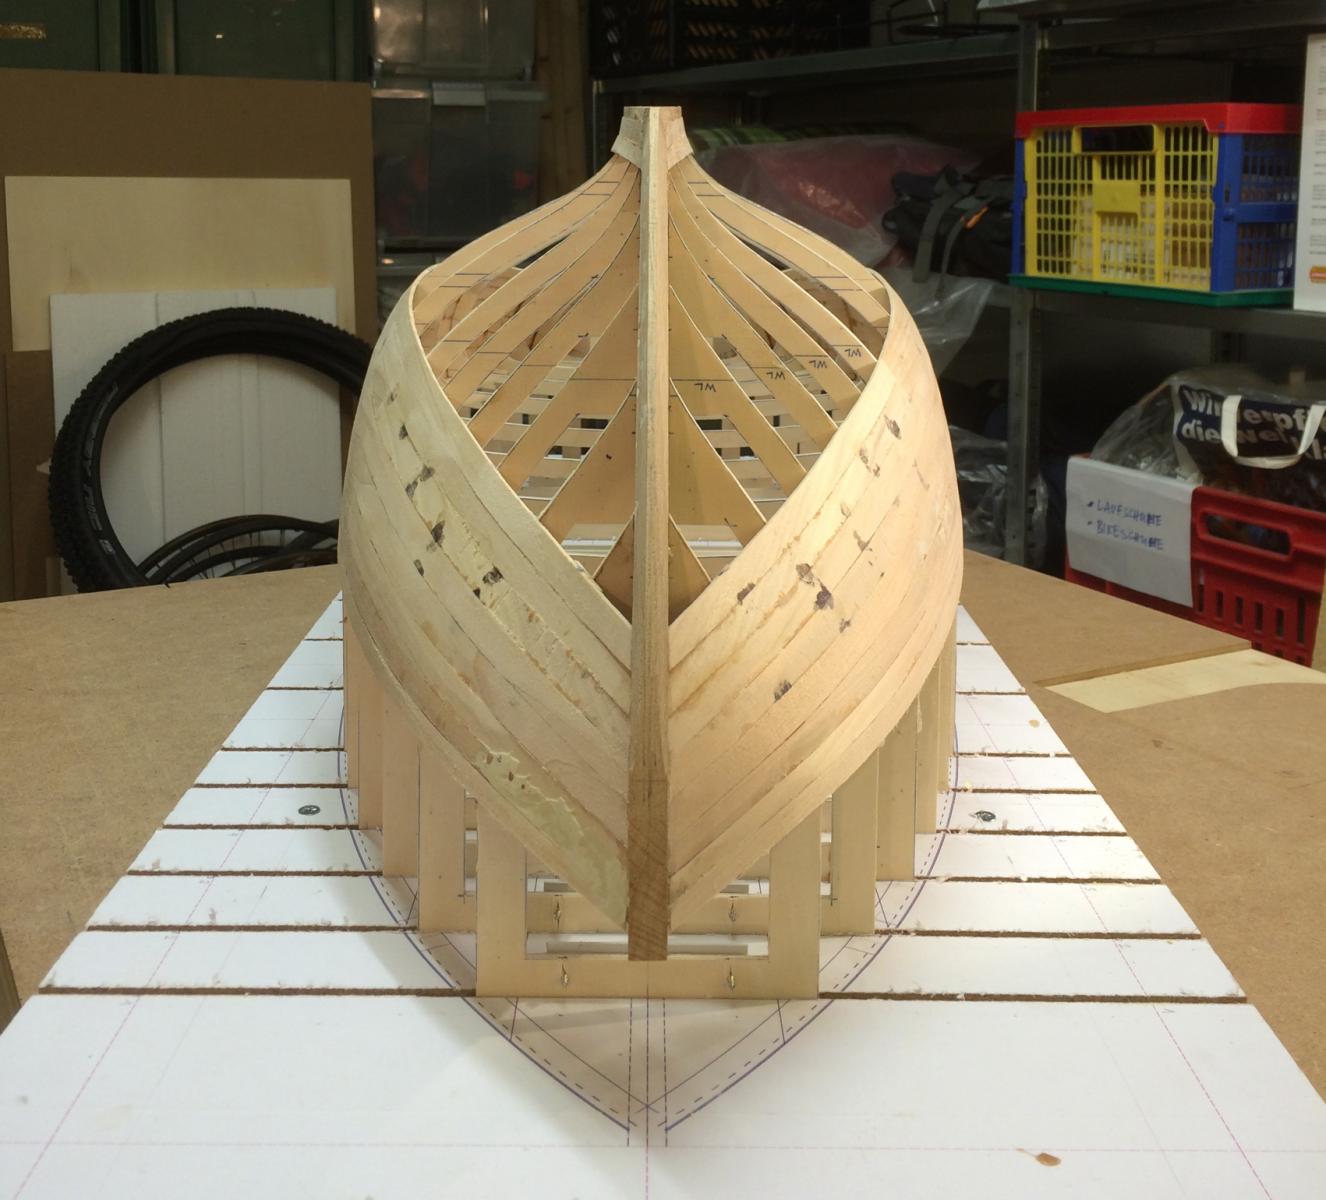
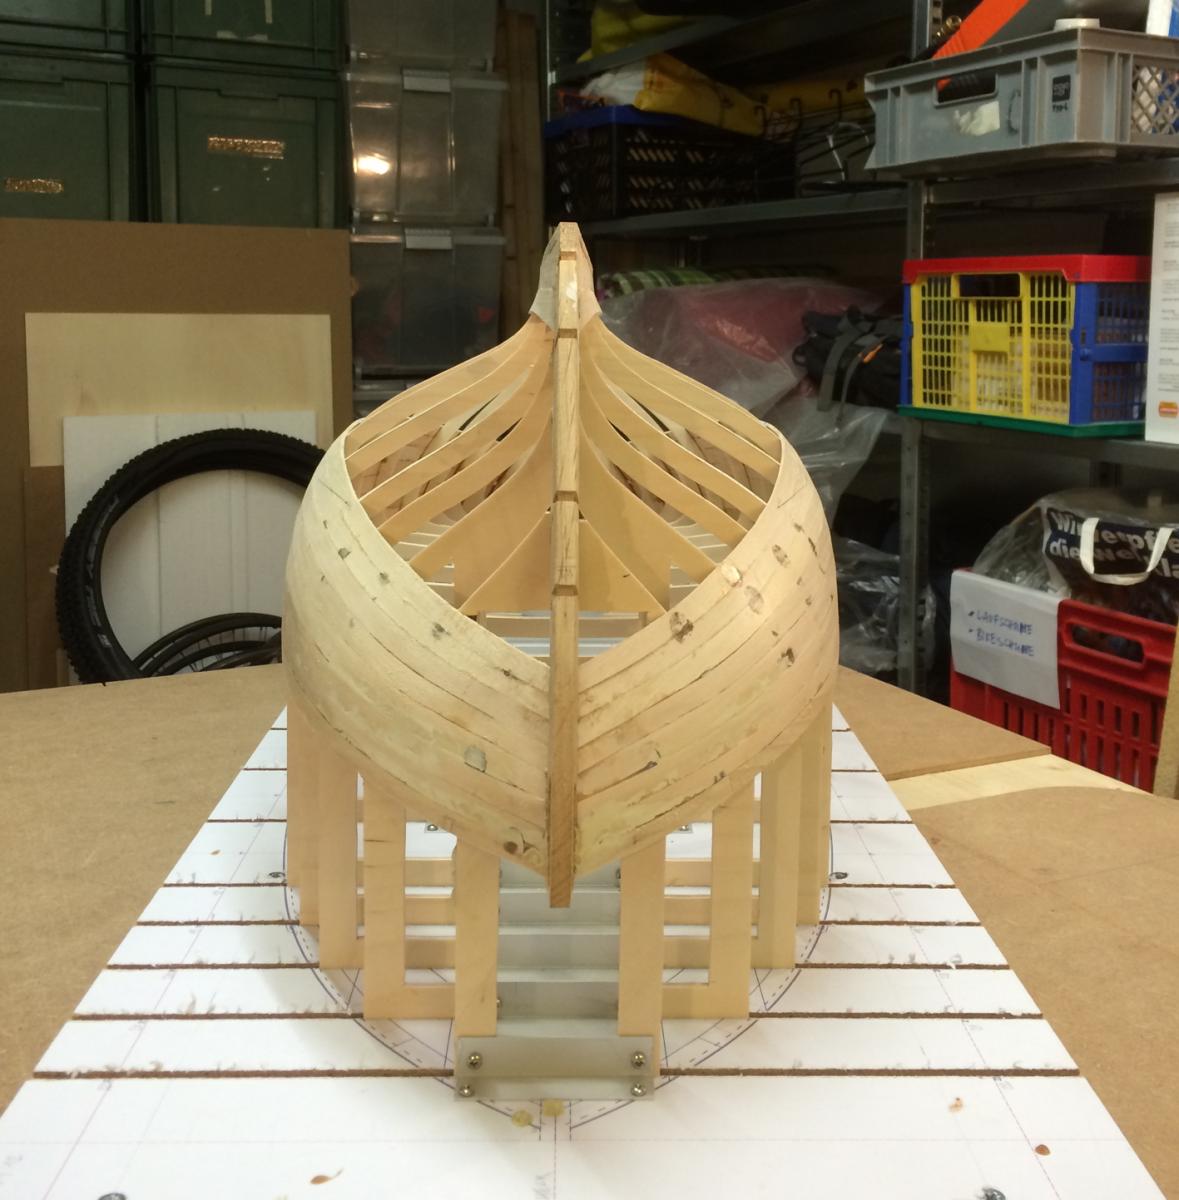
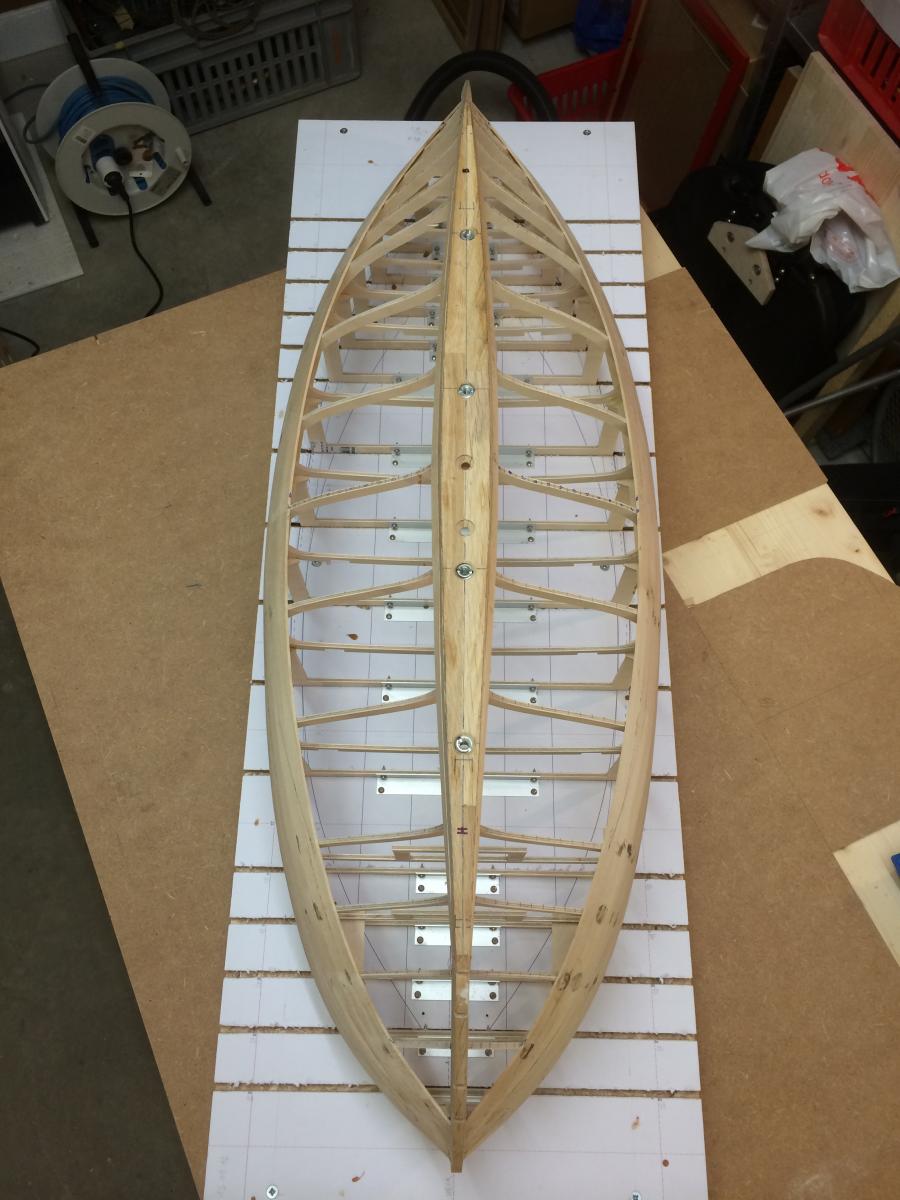
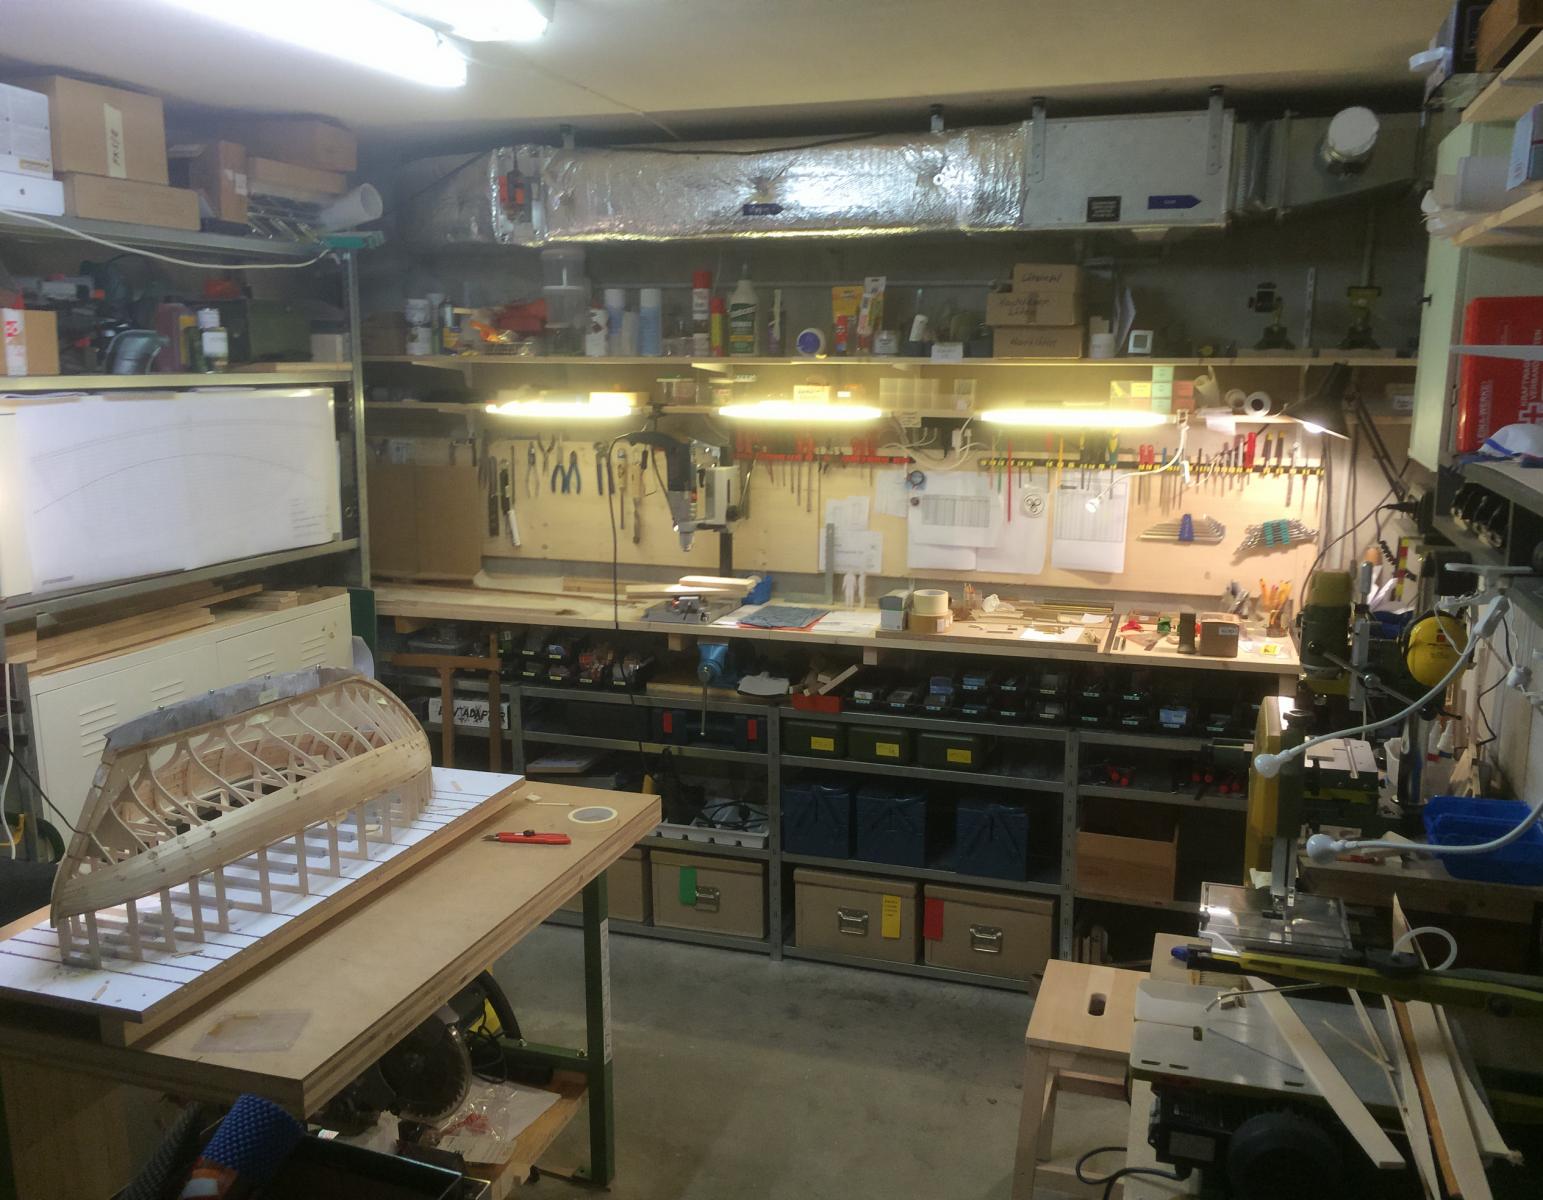
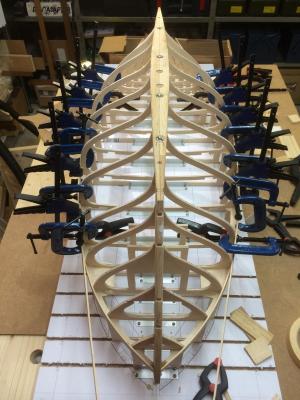
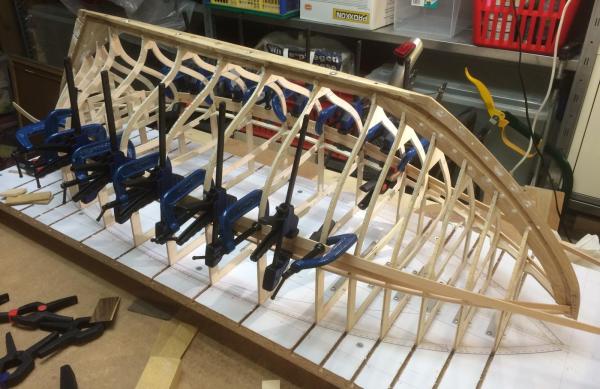
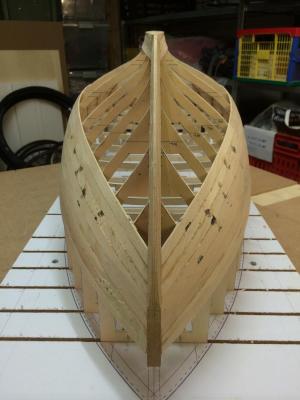
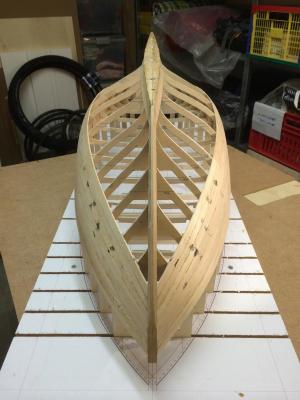
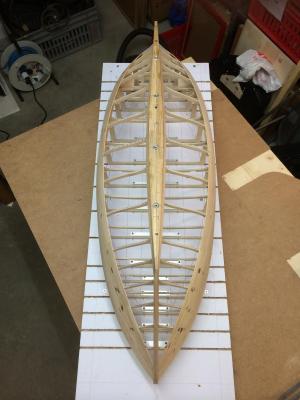
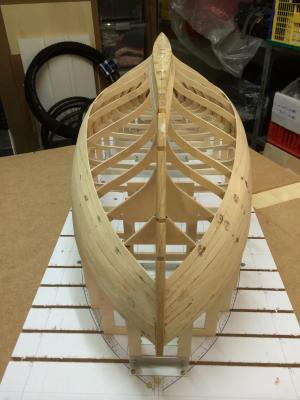
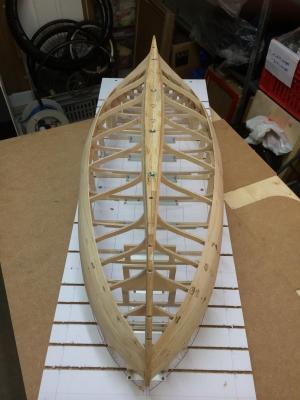
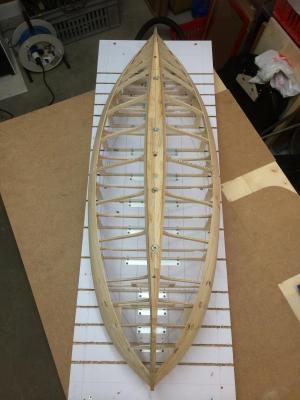
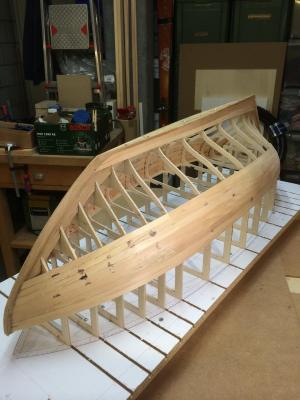
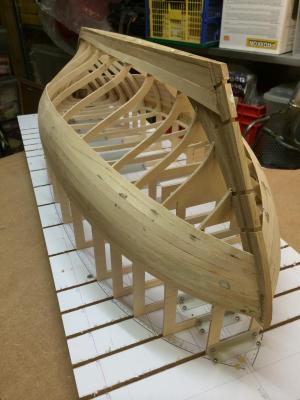
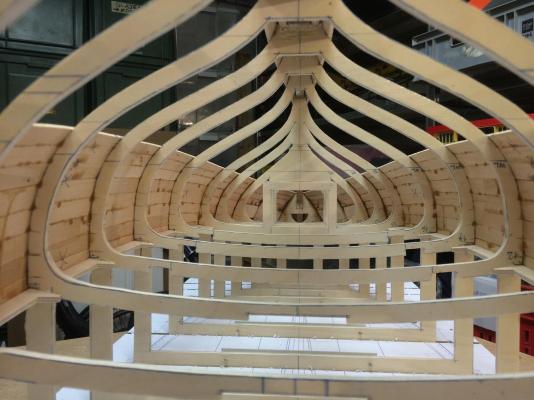
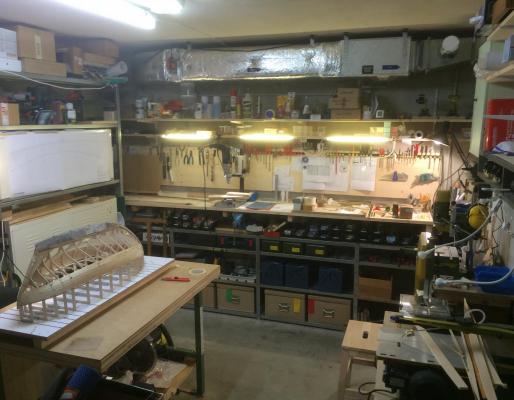
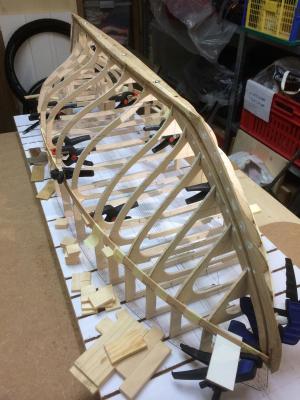
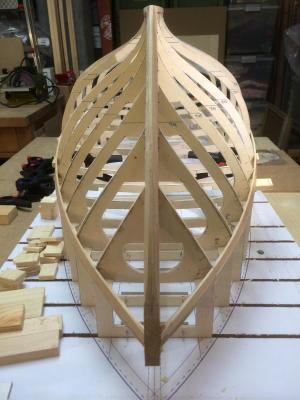
Hi @John, @Patrick, @Bob, @Matija ... I was very pleased about your enthusiastic feedback - best thanks to all of you! ... and hello everyone Thank you for visiting this workshop - all your Likes are a great encouragement to me! Until now I could benefit from a head start, since my build has started last autumn (2014). Well, with the workshop reports, I'm slowly nearing me to the real time mode - now, I'm also a member of the club named: "pace is not important!" So, I must ask you for having some patience with me in the future Regards Mike Below: I like to show you a gallery from the emergence of the planking to the today's level of progress.


- 235 replies
-
- 20
-
-
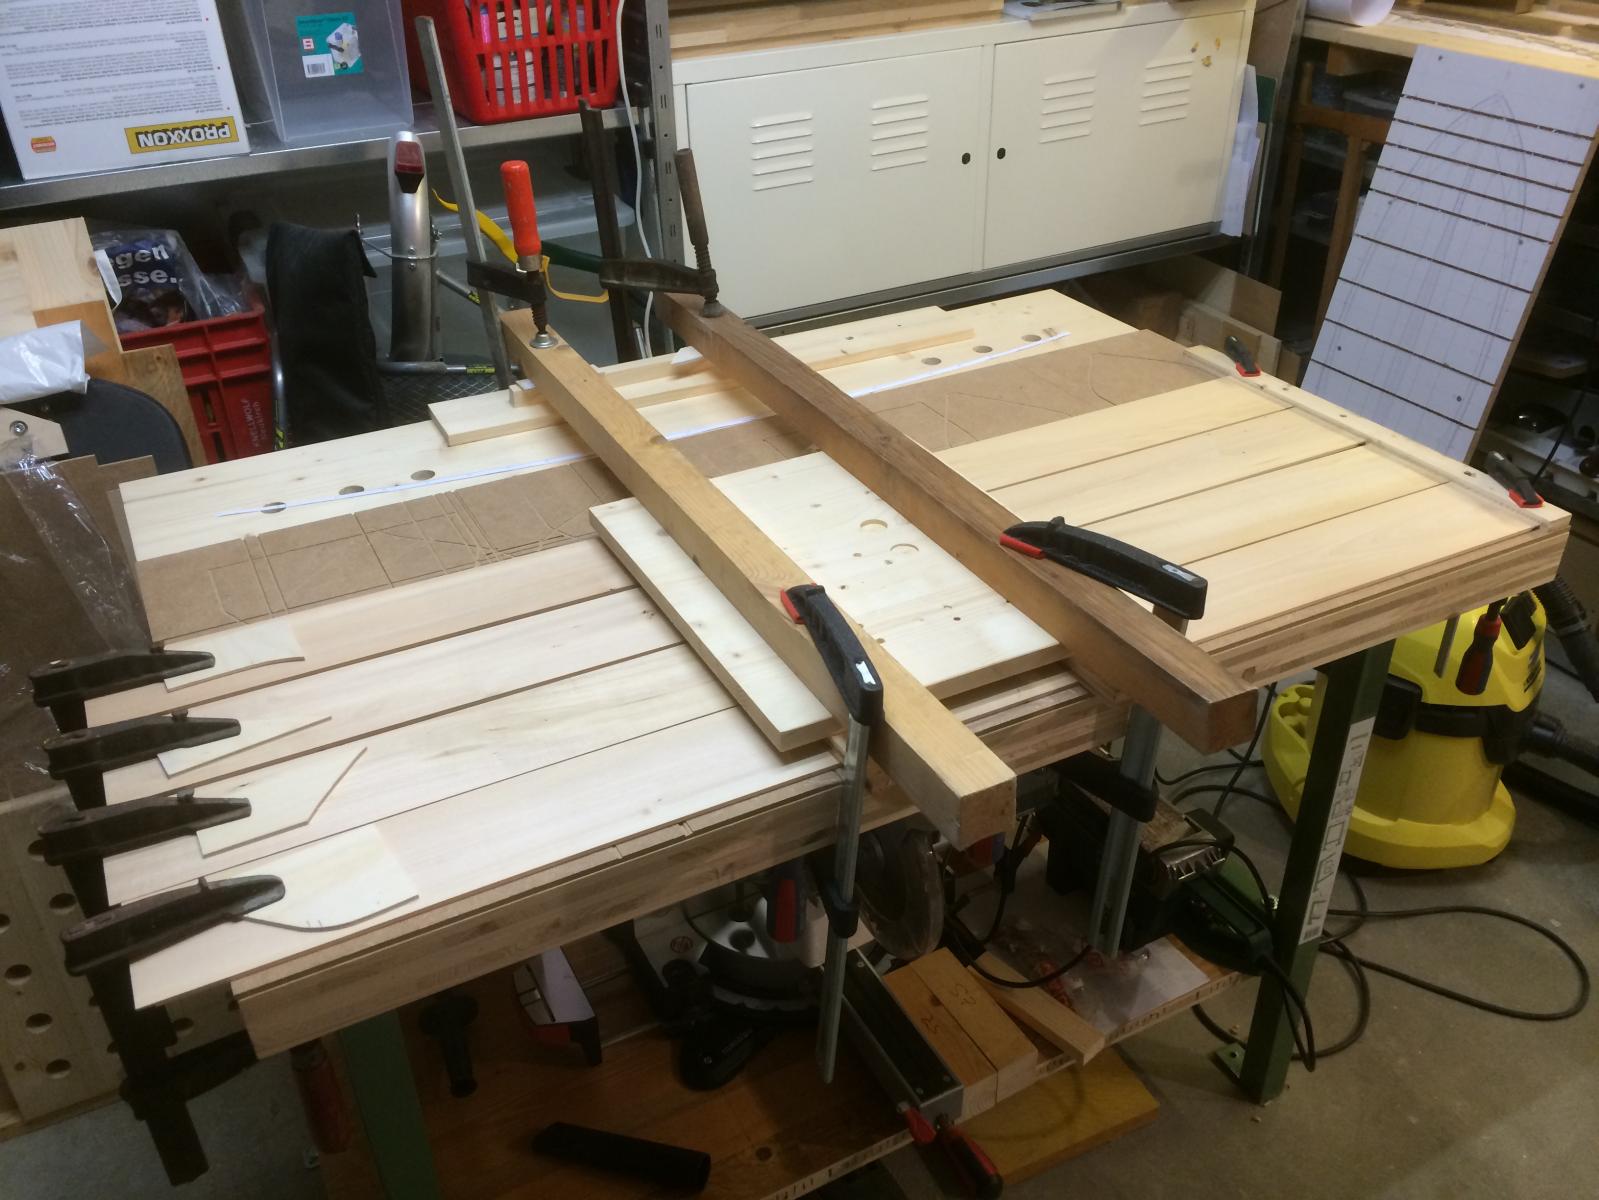
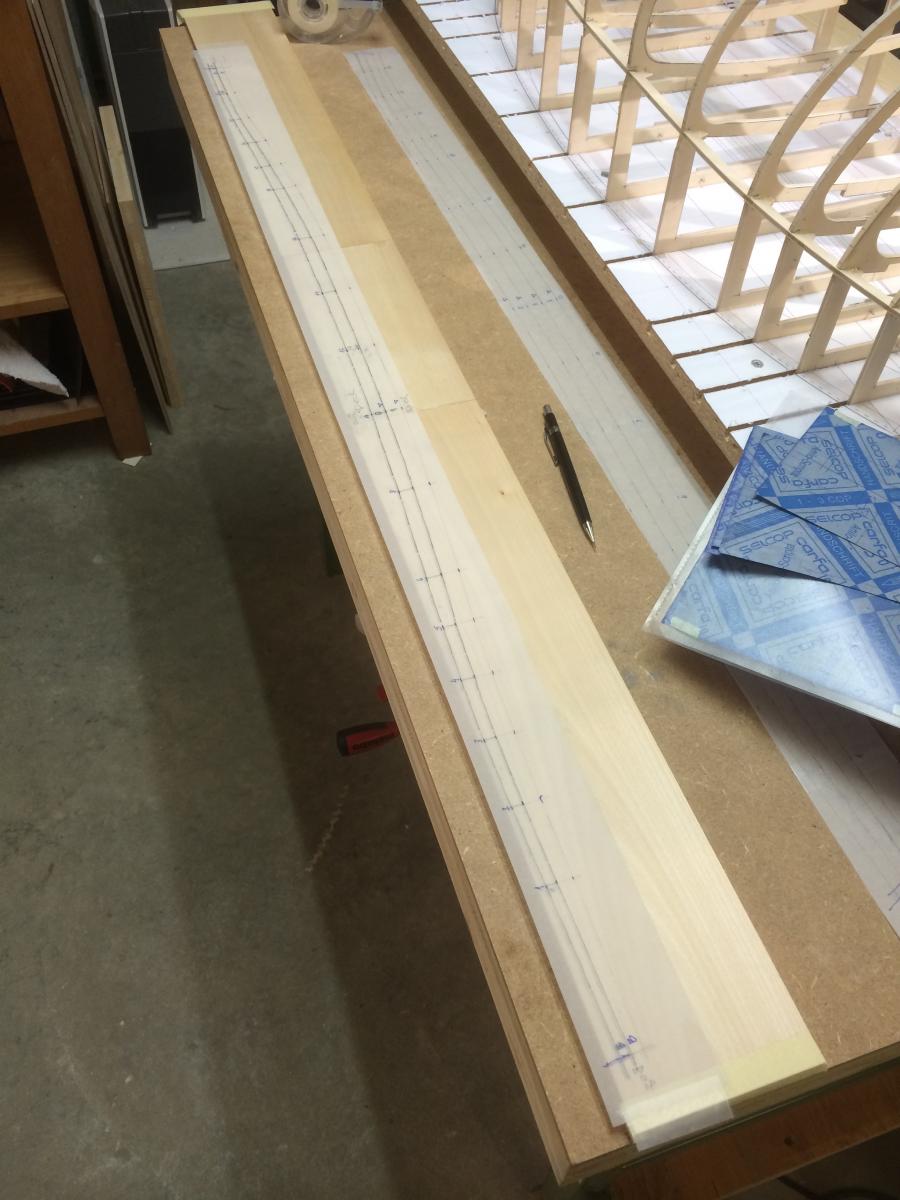
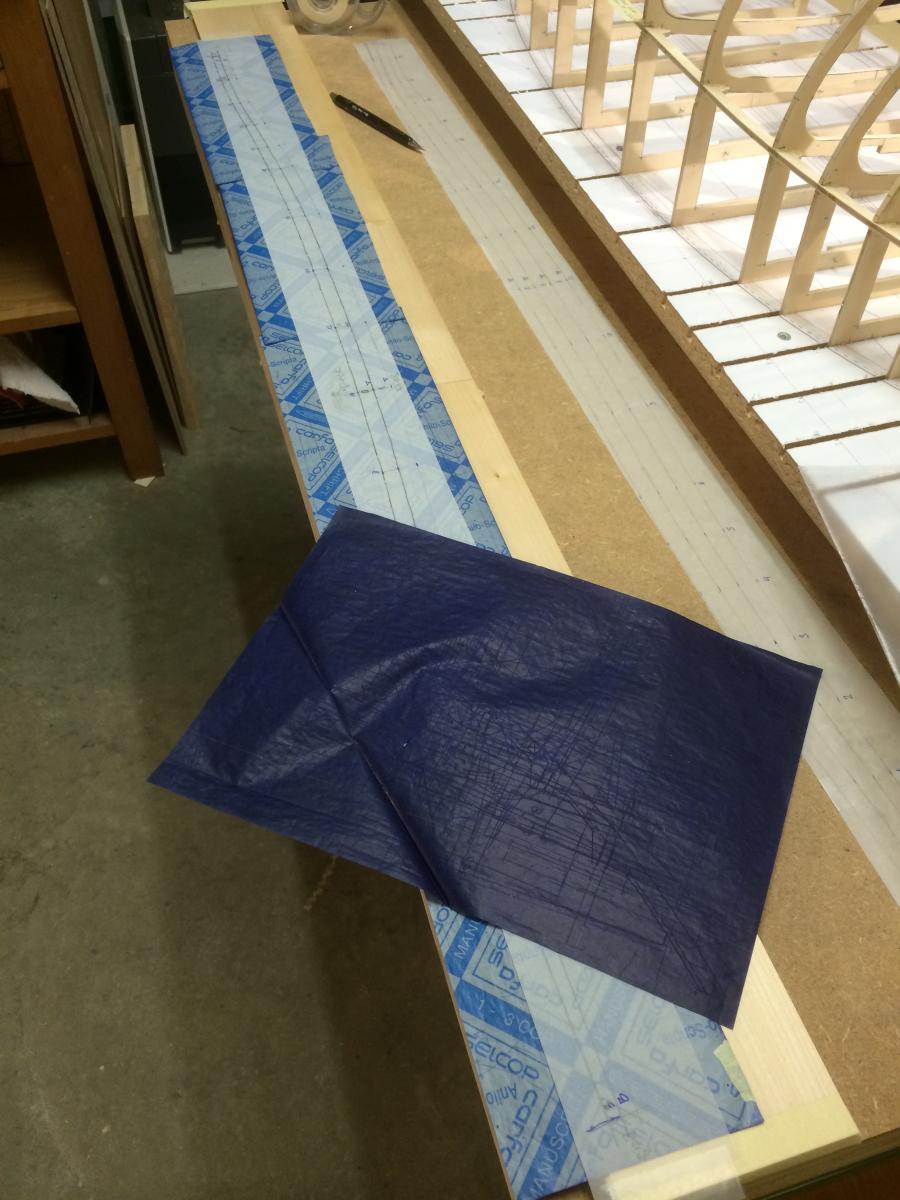
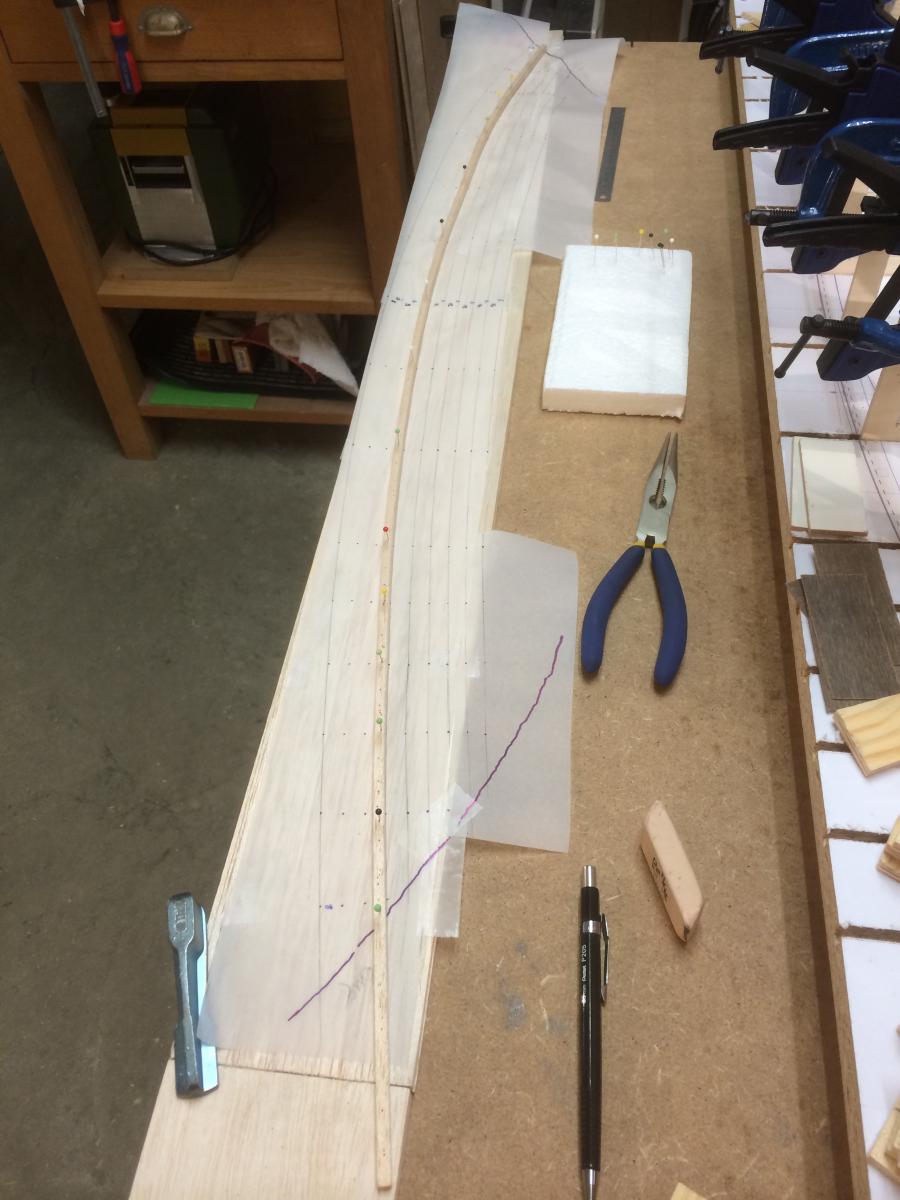
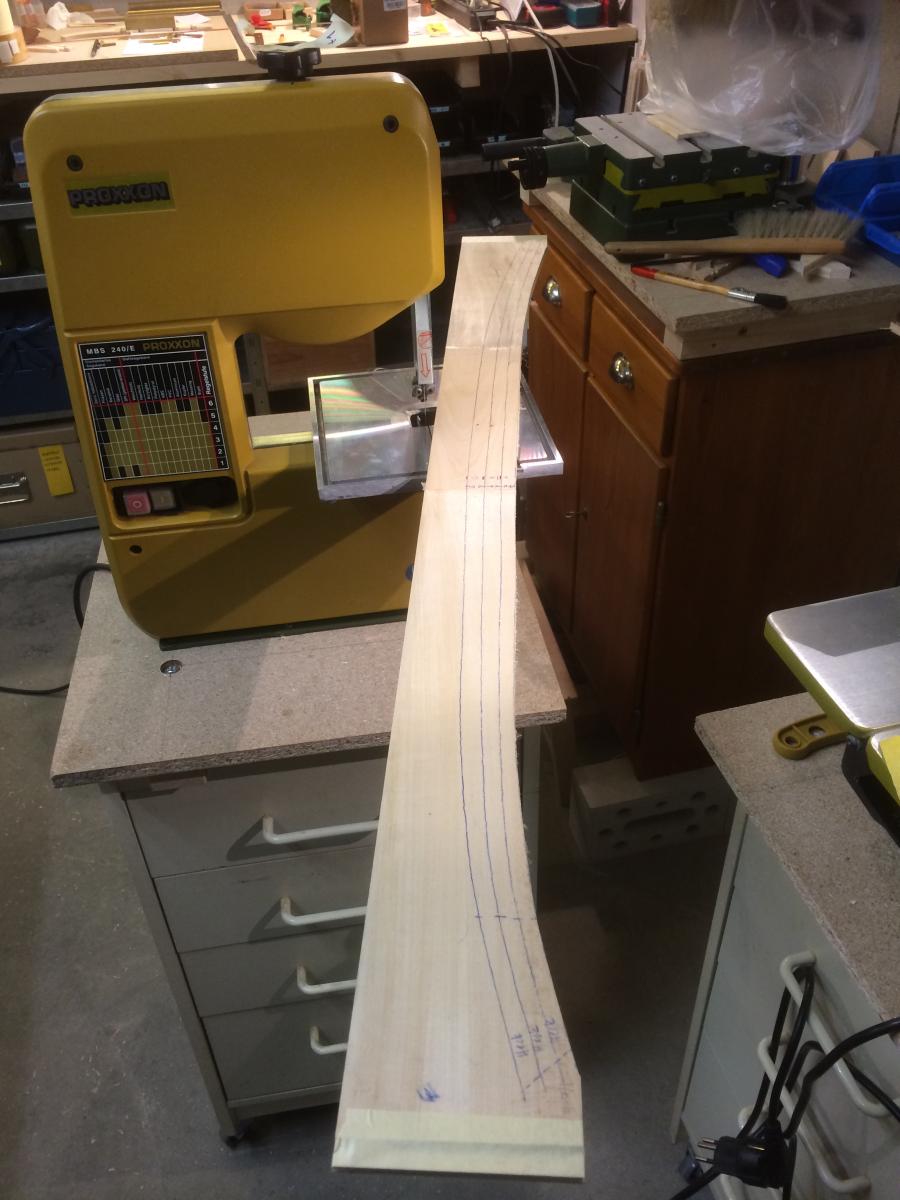
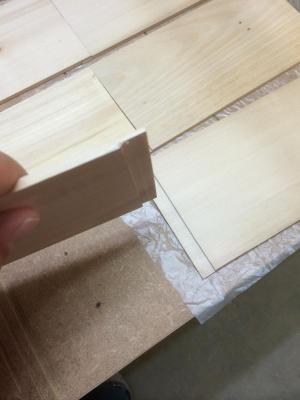
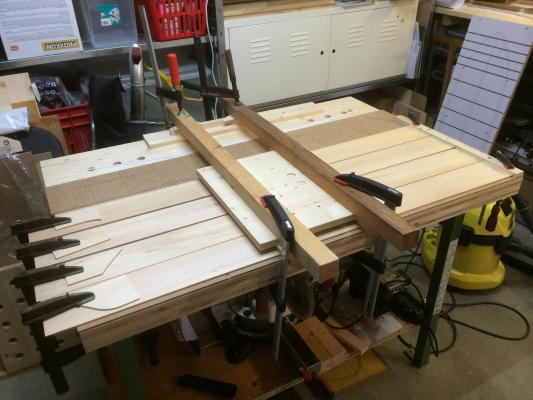
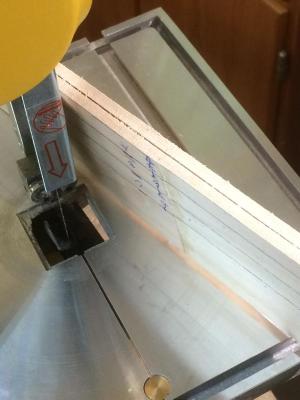
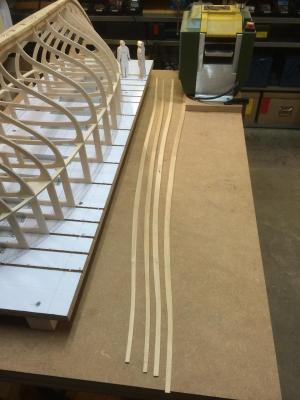
Hello everyone I've decided to plank the hull in thickness of 3mm (lime tree). Unfortunately, I have found only board lengths of 50cm. Because my longest planks measure approximately 120cm, and because I will not have the possibility to add my planks over the thin frames, was I forced to glue these 50cm boards from the outset. In a further step, I have fixed strips of transparent paper on the frames. Thus I could my marked plank arrangement transferred back to these papers. The corresponding points will be connected with spline curves. For this purpose, a flexible strip of balsa serves me - finally, I've found the requested and true geometry of the planks in 2D! In the next step, this geometry is transferred to the boards, by using carbon paper. It is of course aware that the construction of such planks will be cheating a little bit, because in this way the grain of the wood will disagree, it is considered in detail. Correctly I would watering, cooking, steaming, turning, pulling, pressing straight planks - what do I know ... I deliver me from this feat of strength - as you all know, to the end the hull will be completely painted. So, I temporarily put together two boards with double-sided carpenters tape and grab the bandsaw. This two-in-one of course has the advantage, that I get two perfectly identical planks in one step. Then the blanks will be planed to thickness ... ... and some impressions of the assembly of the first plank line (plank hallway No 2). Regards Mike


- 235 replies
-
- 15
-
-
Hello Hartmut Wonderful workmanship! - I'm looking forward to the sequels. May I ask you, how you treated the dark wood? Regards Mike