mugje
-
Posts
917 -
Joined
-
Last visited
Content Type
Profiles
Forums
Gallery
Events
Everything posted by mugje
-
 Will be interesting to see how much difference there will be between the standard supplied blocks and the pear wood set. I have the idea that the items are so small...that I wouldn't really see the difference, but who knows
 -
NRG Rigging Project by tlevine
mugje replied to tlevine's topic in - Kit build logs for subjects built from 1751 - 1800
Interesting project! 👍- 36 replies
-
- 6
-

-
- rigging/masts
- NRG
- (and 1 more)
-
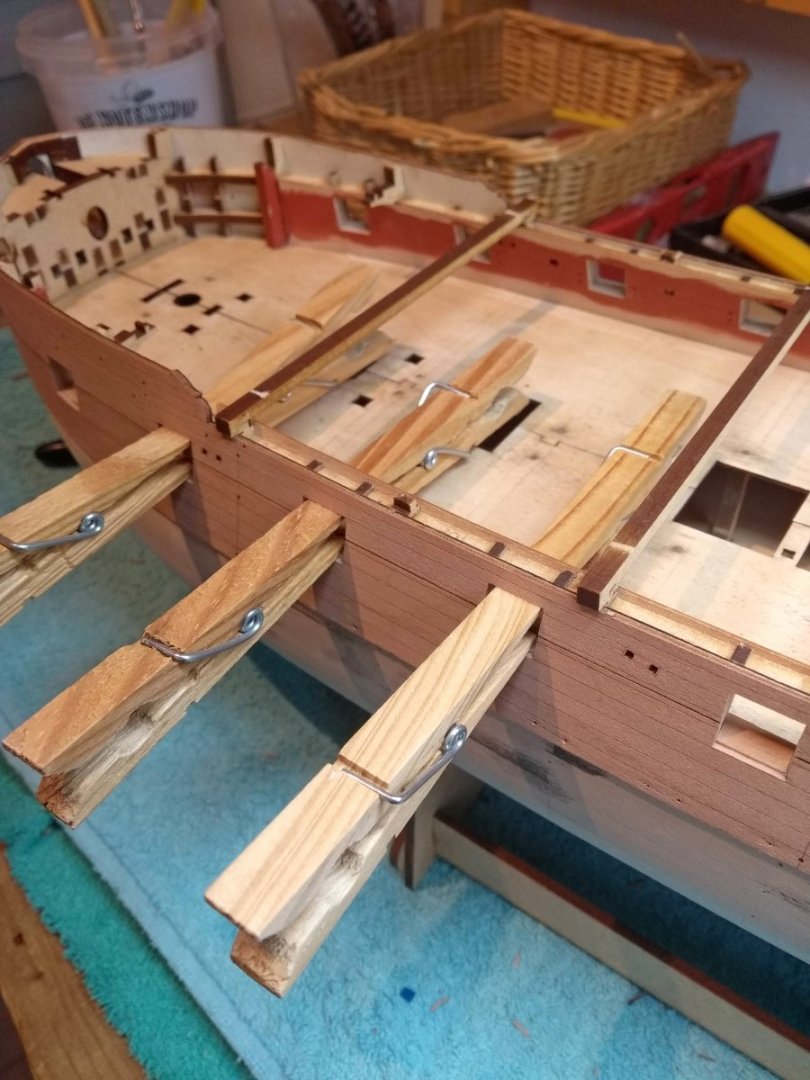
Thanks for the likes and compliments! Just a small clamping tip regarding the gunport linings. Especially the lower cill was frustrating to properly clamp or push down until the glue would set, but clothespins help with pushing down the cill until it's dry. Just reverse them so they push against the upper and lower side. The side cills could be hold in place with larger tweezer clamps, but the clothespins can be used also for this.
-
I keep hitting the "wow" button 😆
-
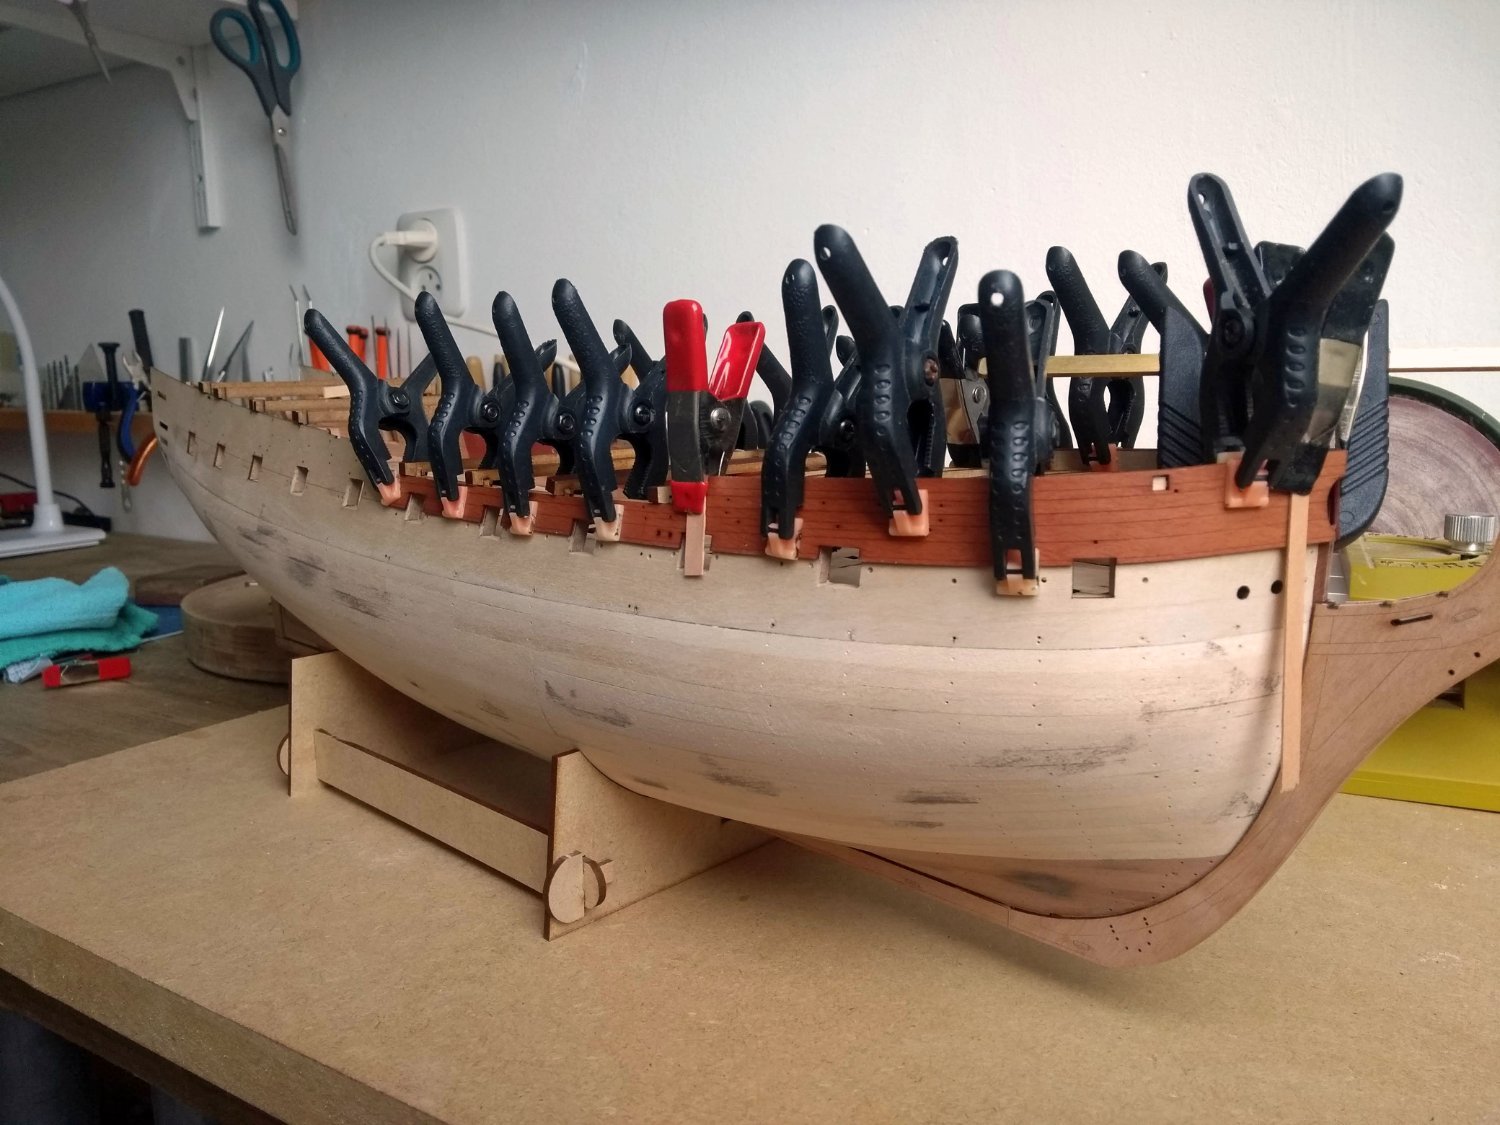
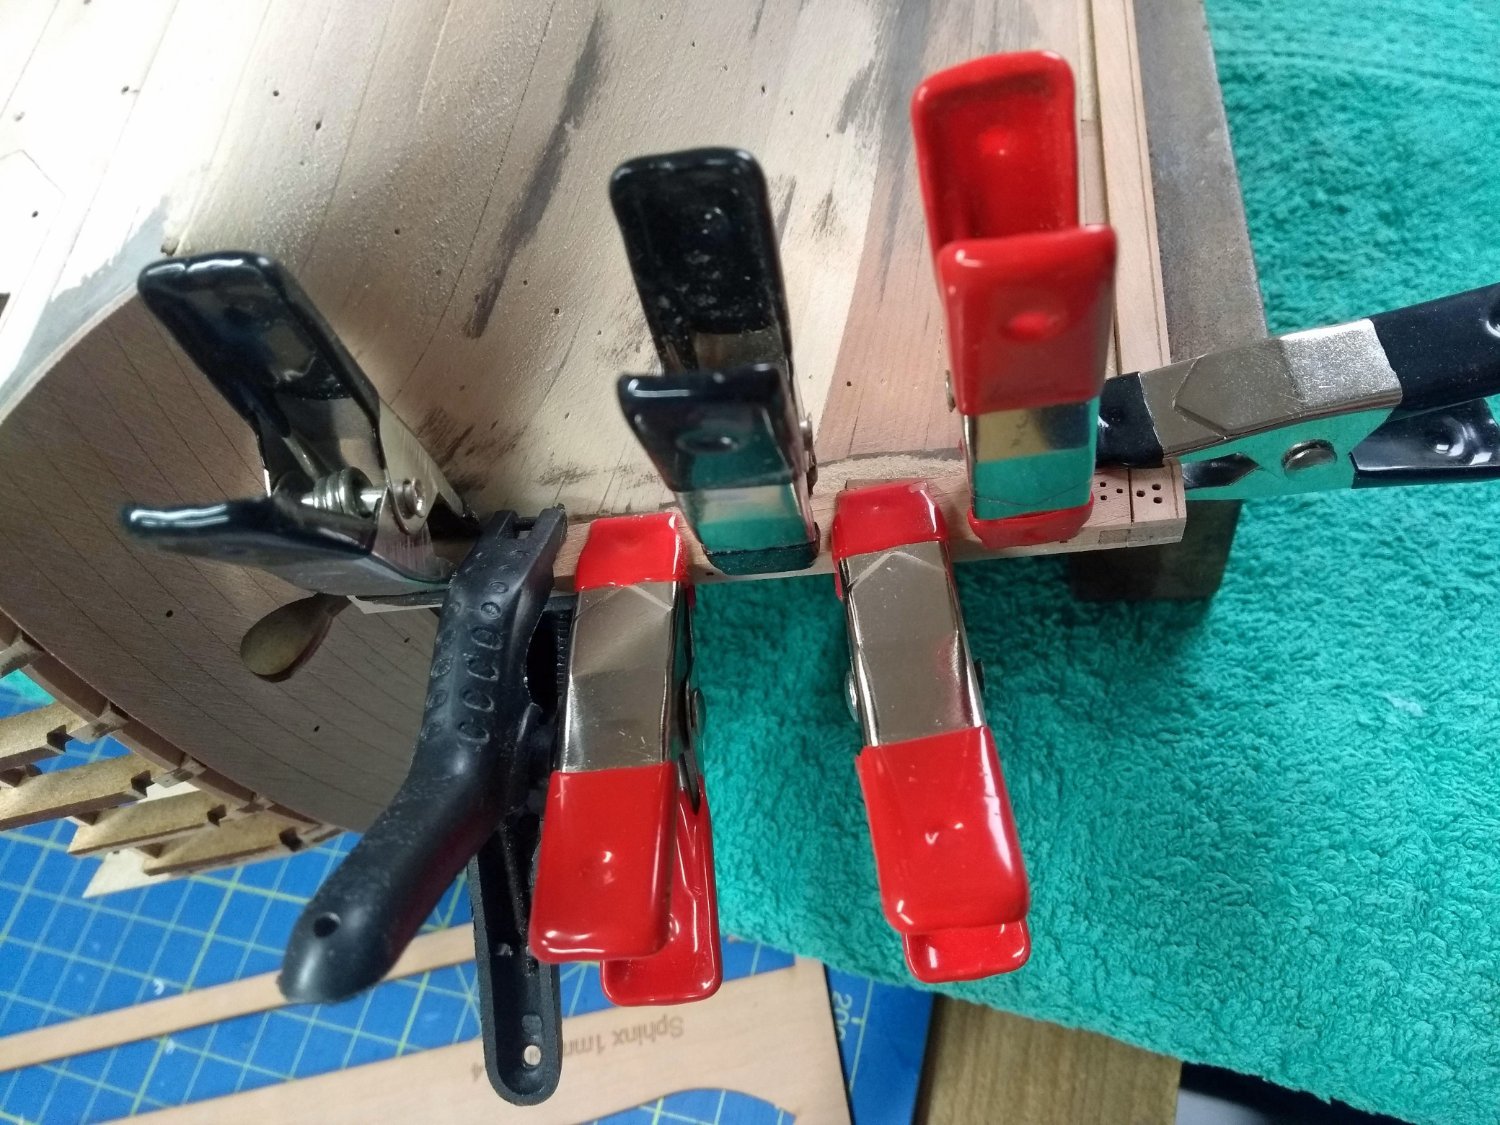
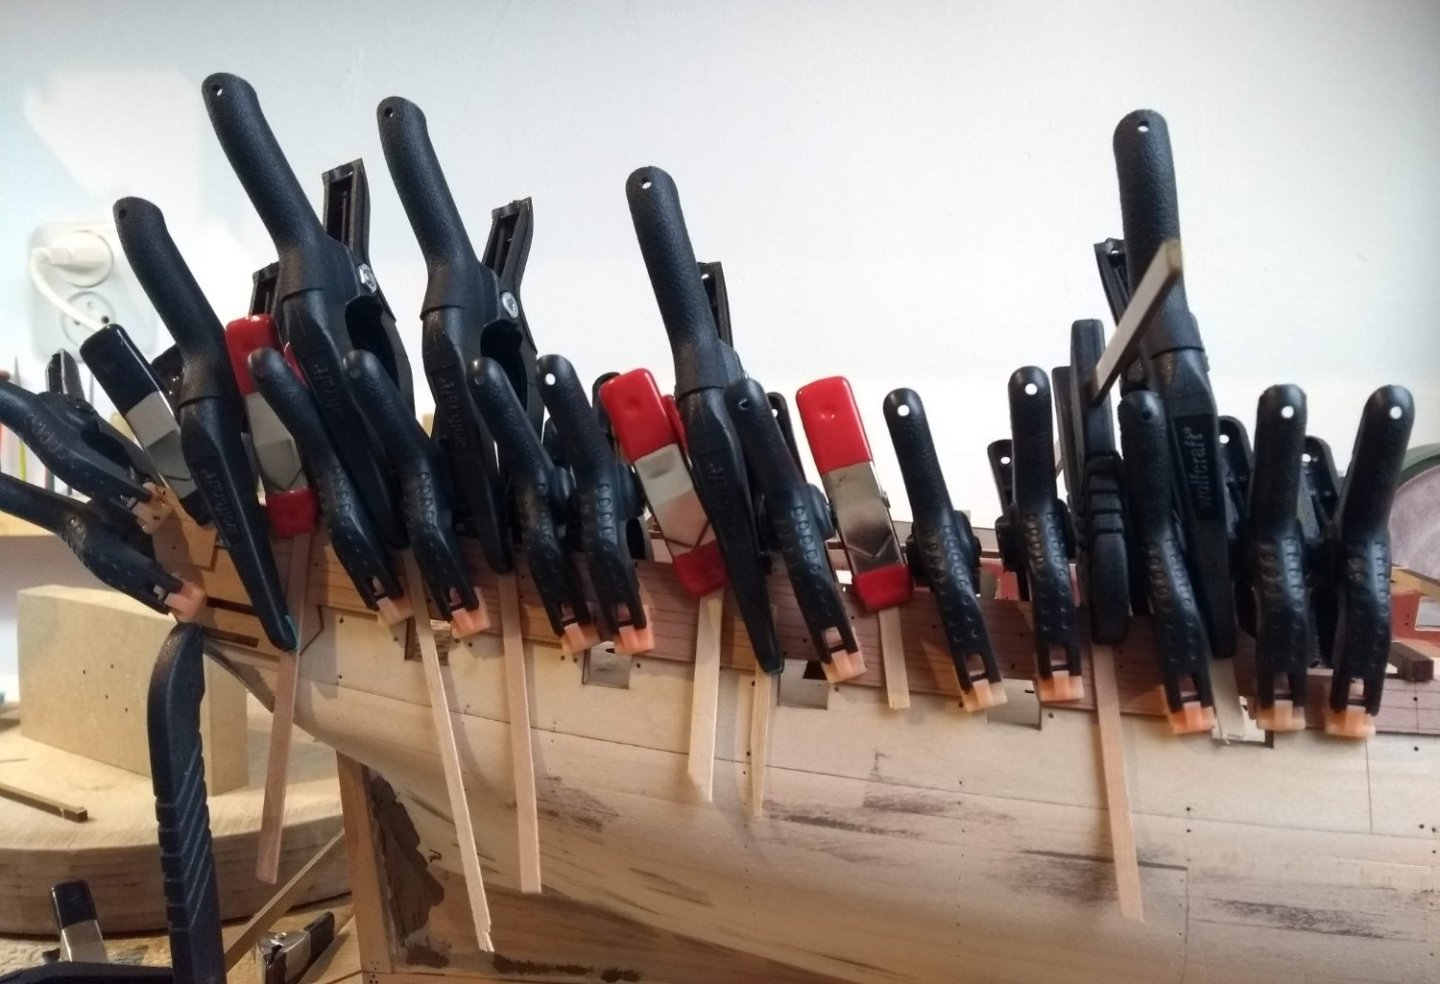
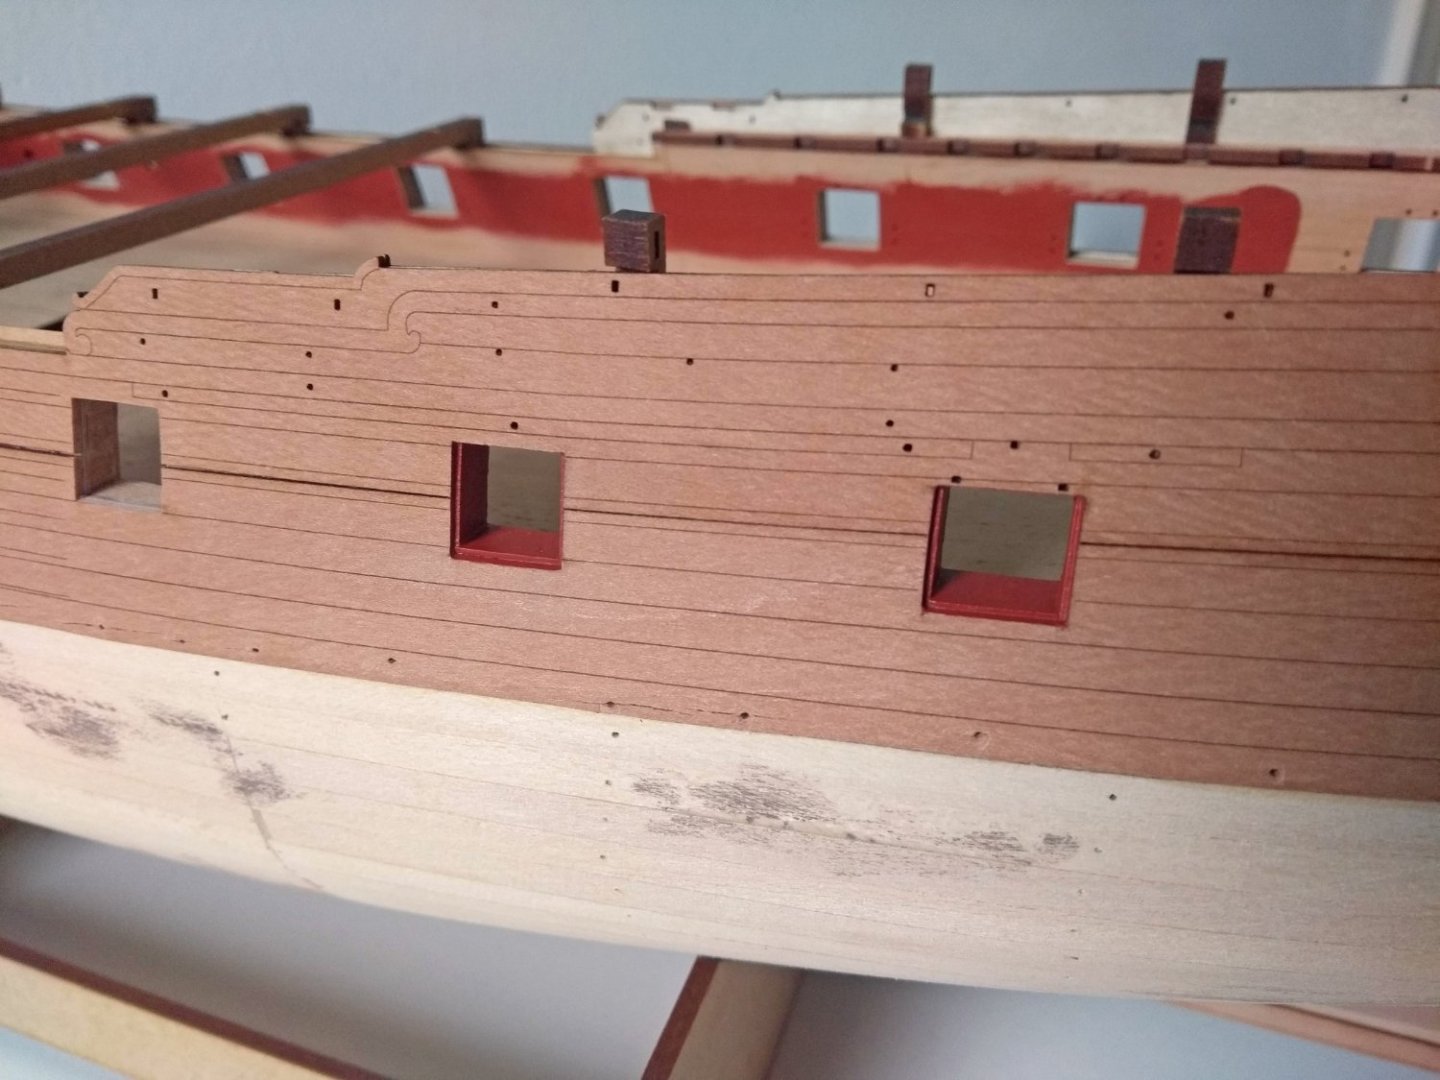
Little update here: I didn't had a lot of time to work on the Sphinx because I was renovating my garden these last few weeks, season is beginning and needed to do quite some work. But these last few days I could do here and there some work on the ship . I have glued the large pear sidepanels onto the hull. Not super difficult, but some concentration is needed to get a good fit. Especcially the lower front pieces I found the most challenging. I do have a small gap here and there between the upper and lower parts, but overall i'm happy with the fit. Those seams are going to be covered anyway so it's not really a problem. The most important thing for me was that I got all the right curves of the hull and the pieces were glued firm against the underlying patterns. I advise to have a sound clamping plan before you begin it takes away a bit of the stress when you apply the diluted pva and the pattern begins to curl a bit. So dry-fitting first helps with this. After that I sanded all the gunports flush with the inner MDF frames and began a test fit with the gunport linings. Used 0.5 pear for this and are quite happy with the first results. They are not too much in your face but distinctive enough to notice. Also the 3 ports with the lids need some extra work, because the underlying pattern didn't lay flush with the MDF inner frames. So I need to fill up or sand down here and there. It's a bit different for each gunport, a little bit of extra work...but that's part of the fun 2 done....18 more to go!

-
Great to hear your plans! What do you considering "medium size"? The Flirts and DoK or also Sphinx size? Just wondering
-
She looks fantastic! And so massive! Then you can appreciate when fittings etc are designed in the right scale, and not a gross blob of wood/metal. The fine details really gives the ship a massive appearance.
- 635 replies
-
- 3
-

-
-
- Indefatigable
- Vanguard Models
- (and 1 more)
-
Thank you for the warning! I did have checked it when I dry fitted the lower counter. So I think i'm good there. But will check it again, because i'm a bit in doubt now haha. Double check wouldn't hurt 👍
-
You are doing well, these steps are pretty fast with all the lasercut pieces.
-
Greetings from Friesland I wish you all the best with this build. It's a beautiful ship when it's finished!
-
Nice job! Looks like a fun little project. Looking forward to tackle it myself
-
Those ropes look great! It looks very realistic, how they just laying there...nice job
- 148 replies
-
- 2
-
-
- Vanguard Models
- Cutter
- (and 2 more)
-
That looks really good! Maybe going to implement those also on my Sphinx. Your method to add the chamber doesn't look too complicated.
-
Have fun with this nice kit!
-
Thanks Allen for clarification...yeah there were a few examples in the topic that I posted, on contempary models but also for example the HMS Victory. But I do think i'm going now for only the bottom and sides of the gunports. It does look good and it's also a bit less work. I need to see if I have some 0.6 material laying around, otherwise I settle at 0.5 pear that I have in stock. That tenth of a mm...I can handle that difference
-
Thanks Cjames! That's a helpful post . At first I wanted to do all 4 sides of the gunport, but looking at your close-up...3 sides do look good also, so maybe going for that too. 1/32 is about 0.8mm so you used the same material as the outer planking? My thoughts were to use 0.5mm thick linings (not sure how much inch that is ). Will experiment a bit with different sizes, and what looks best.
-
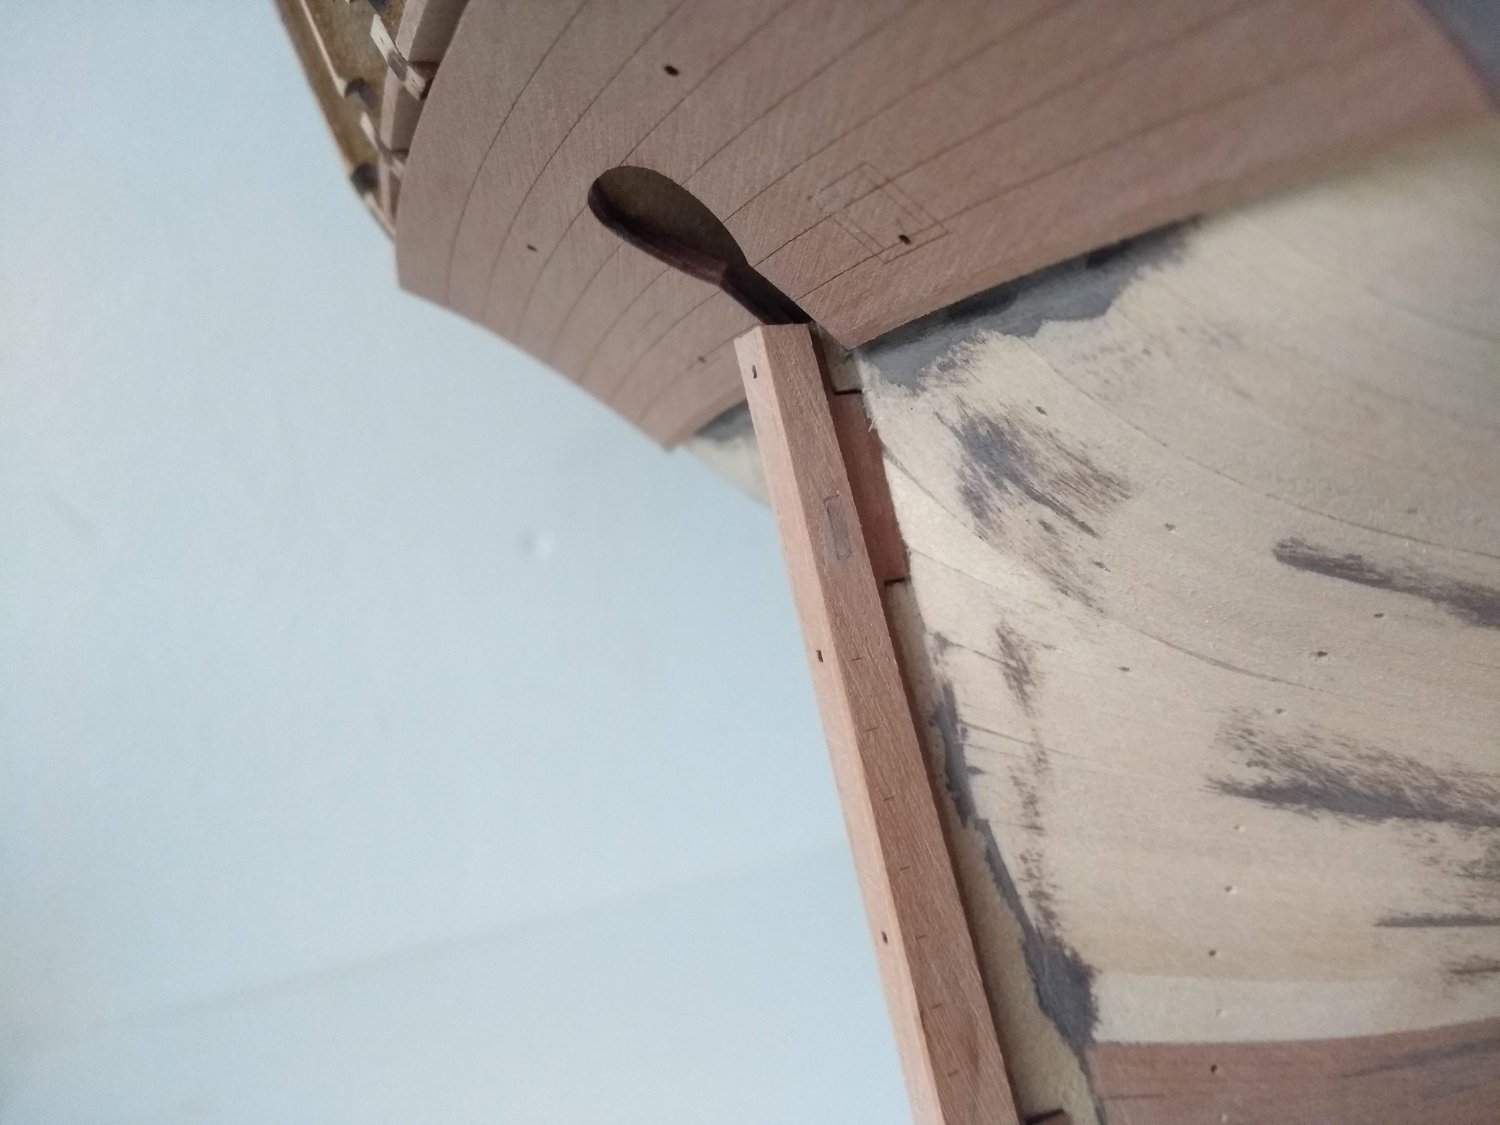
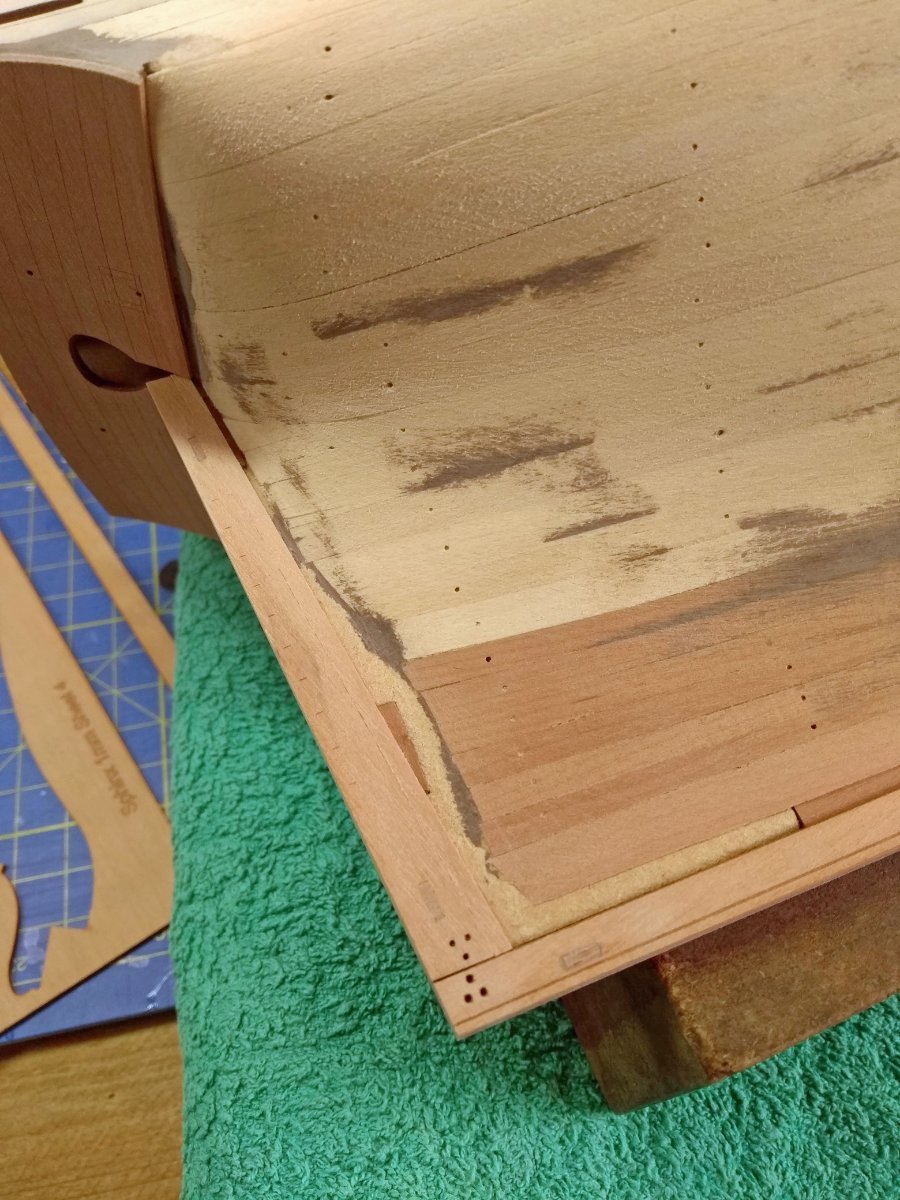
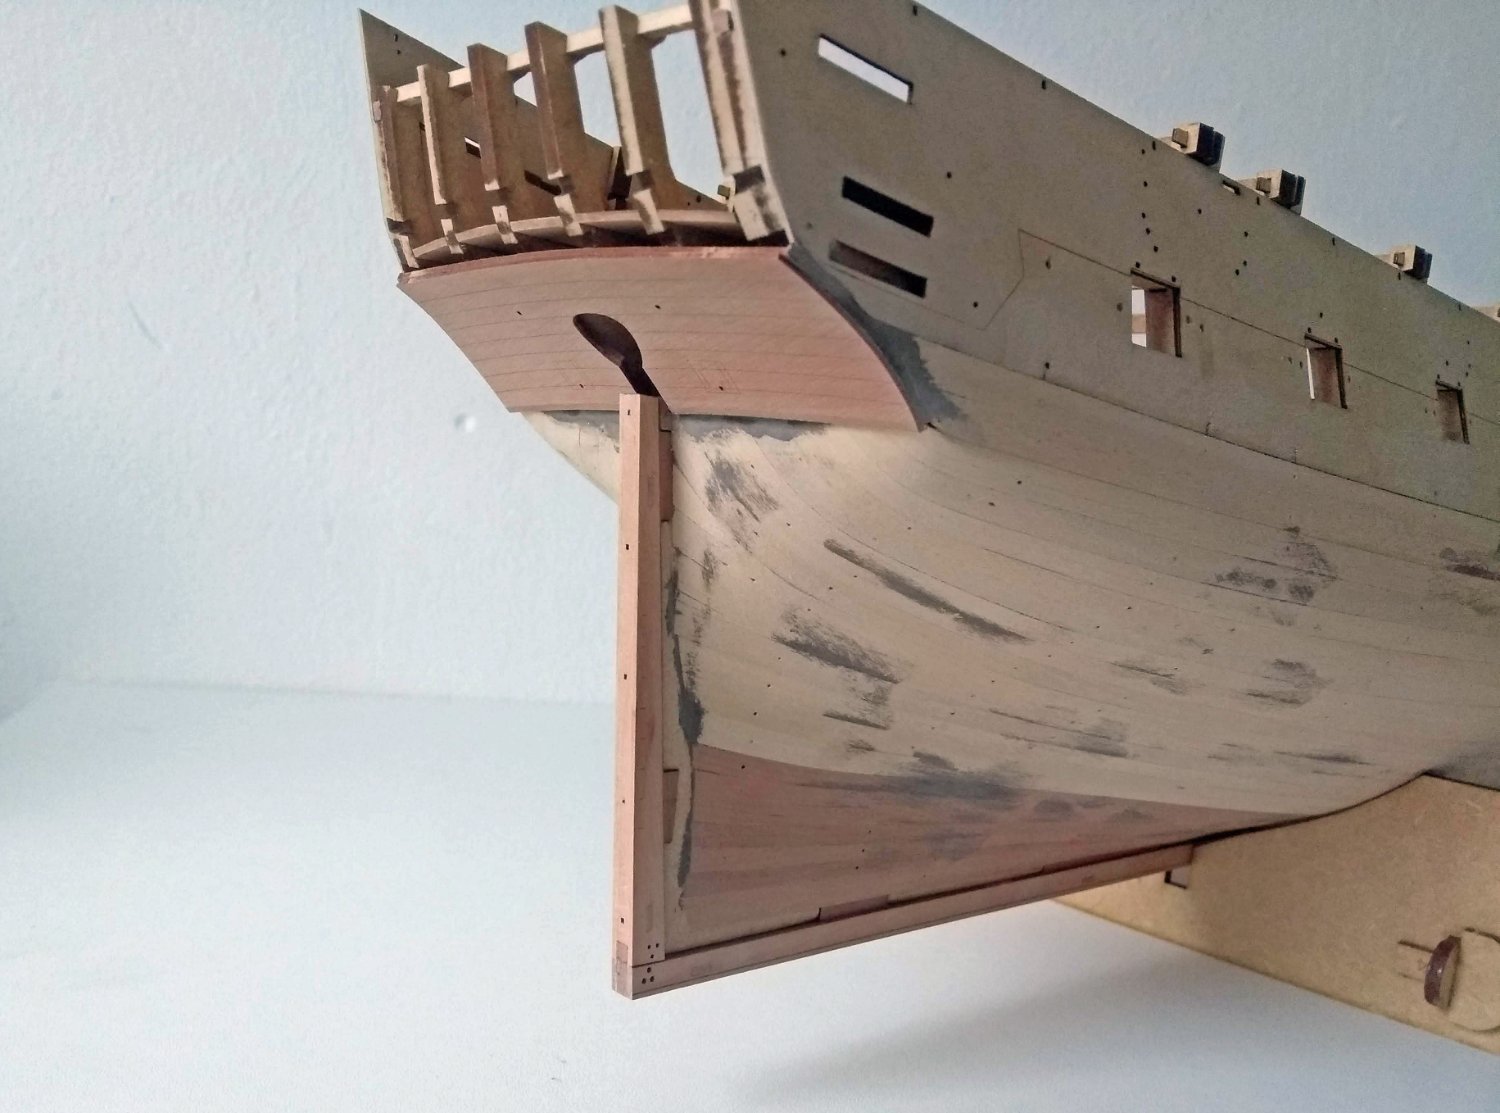
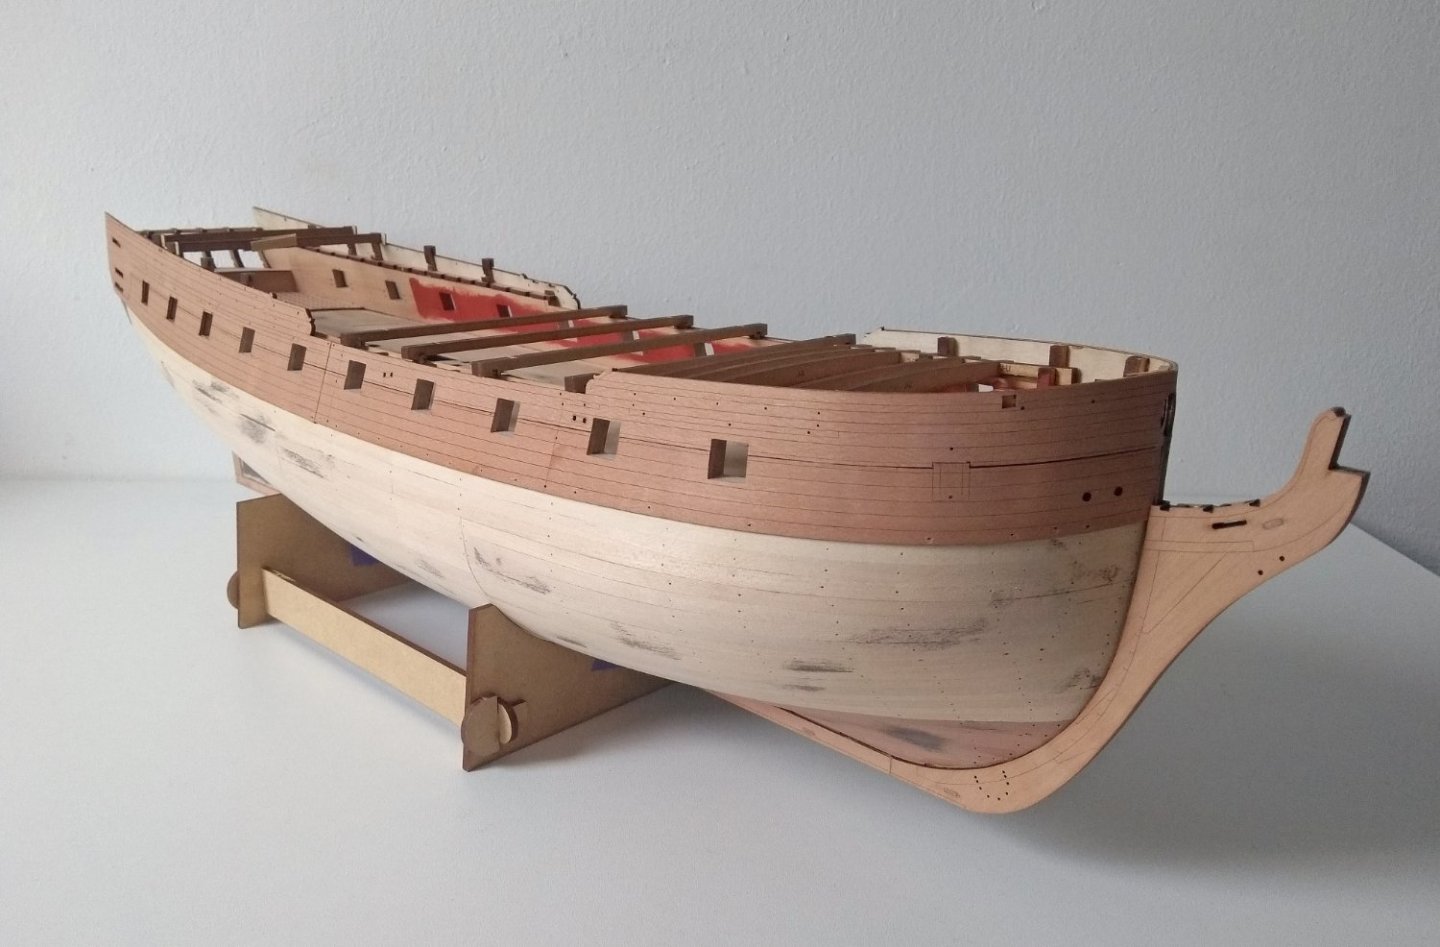
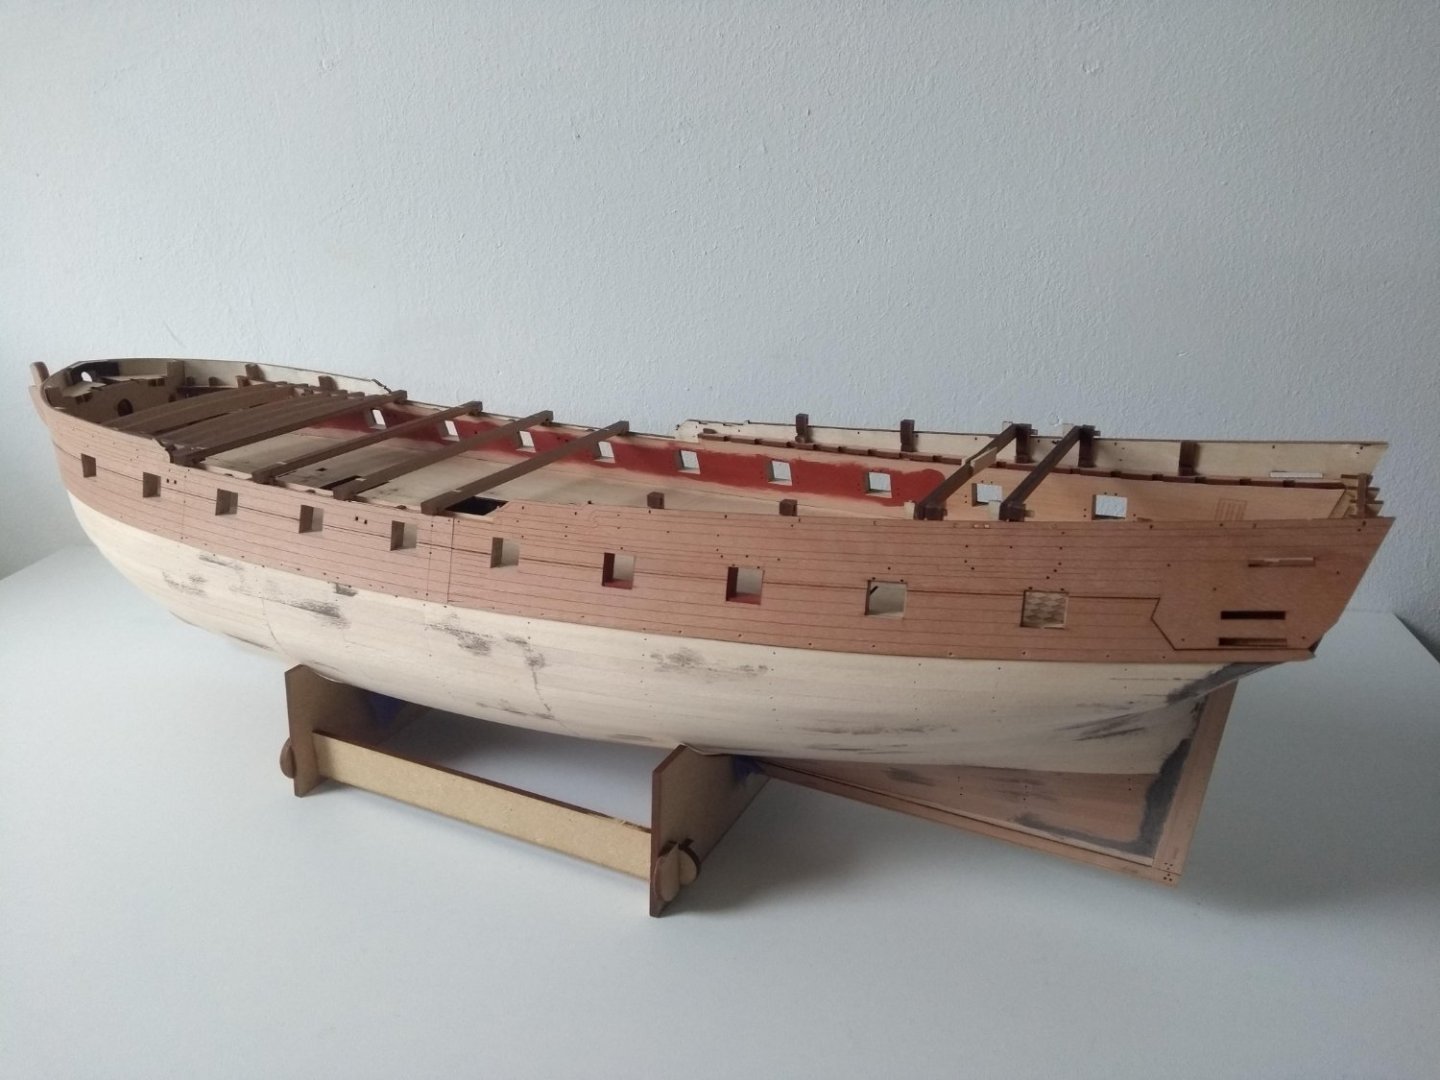
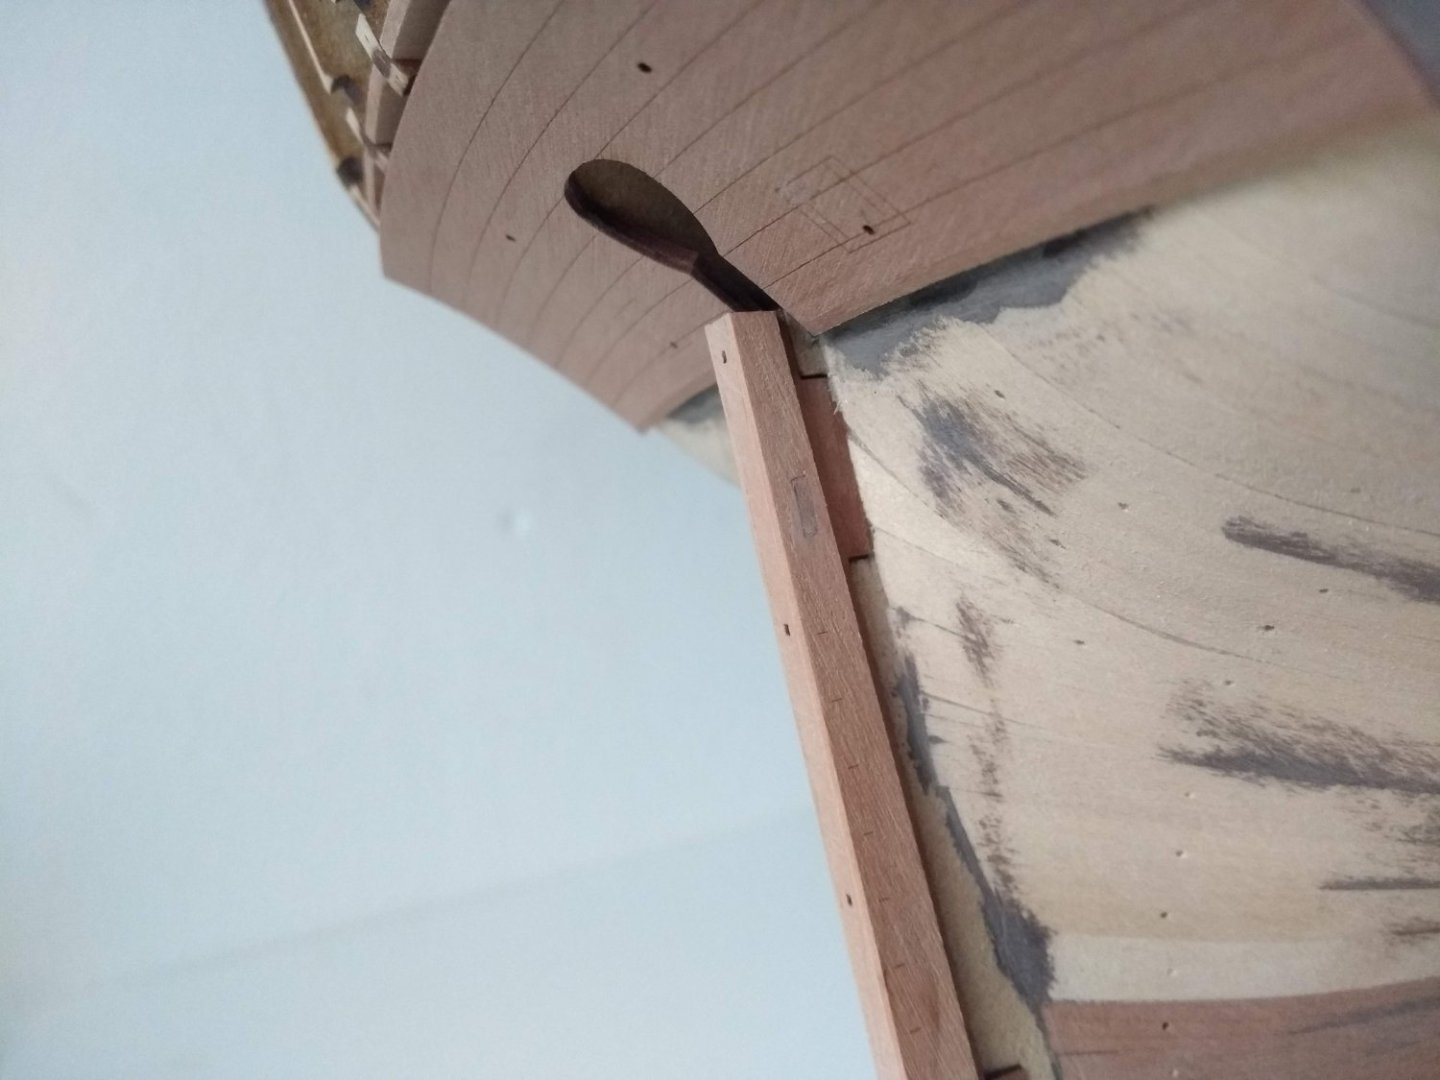
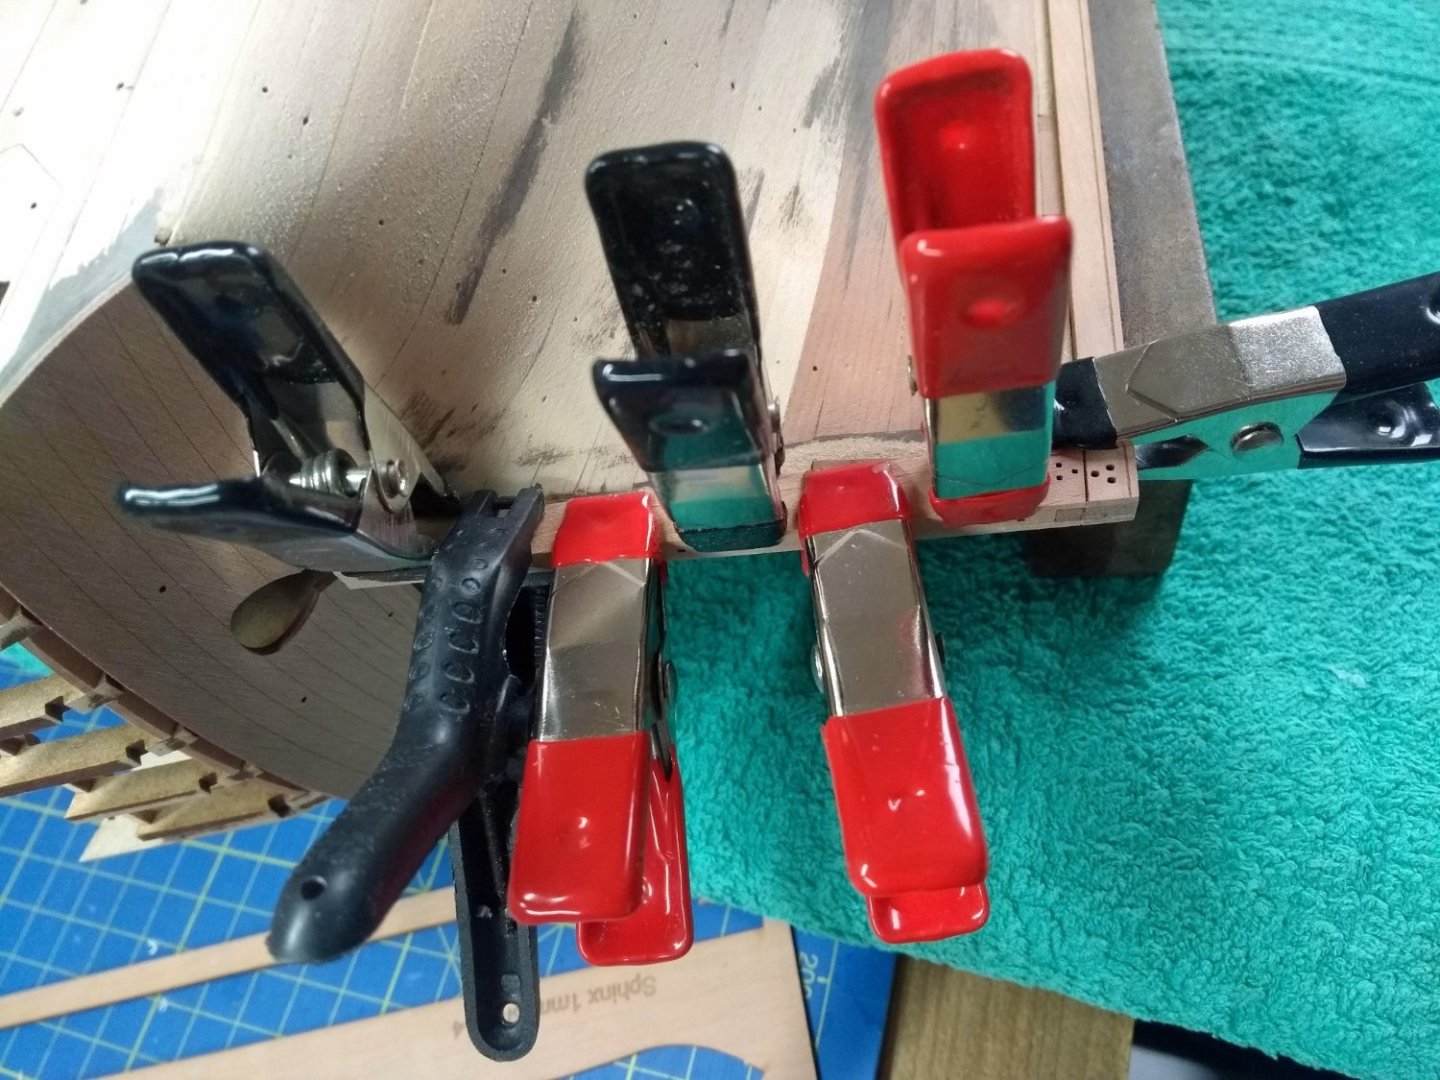
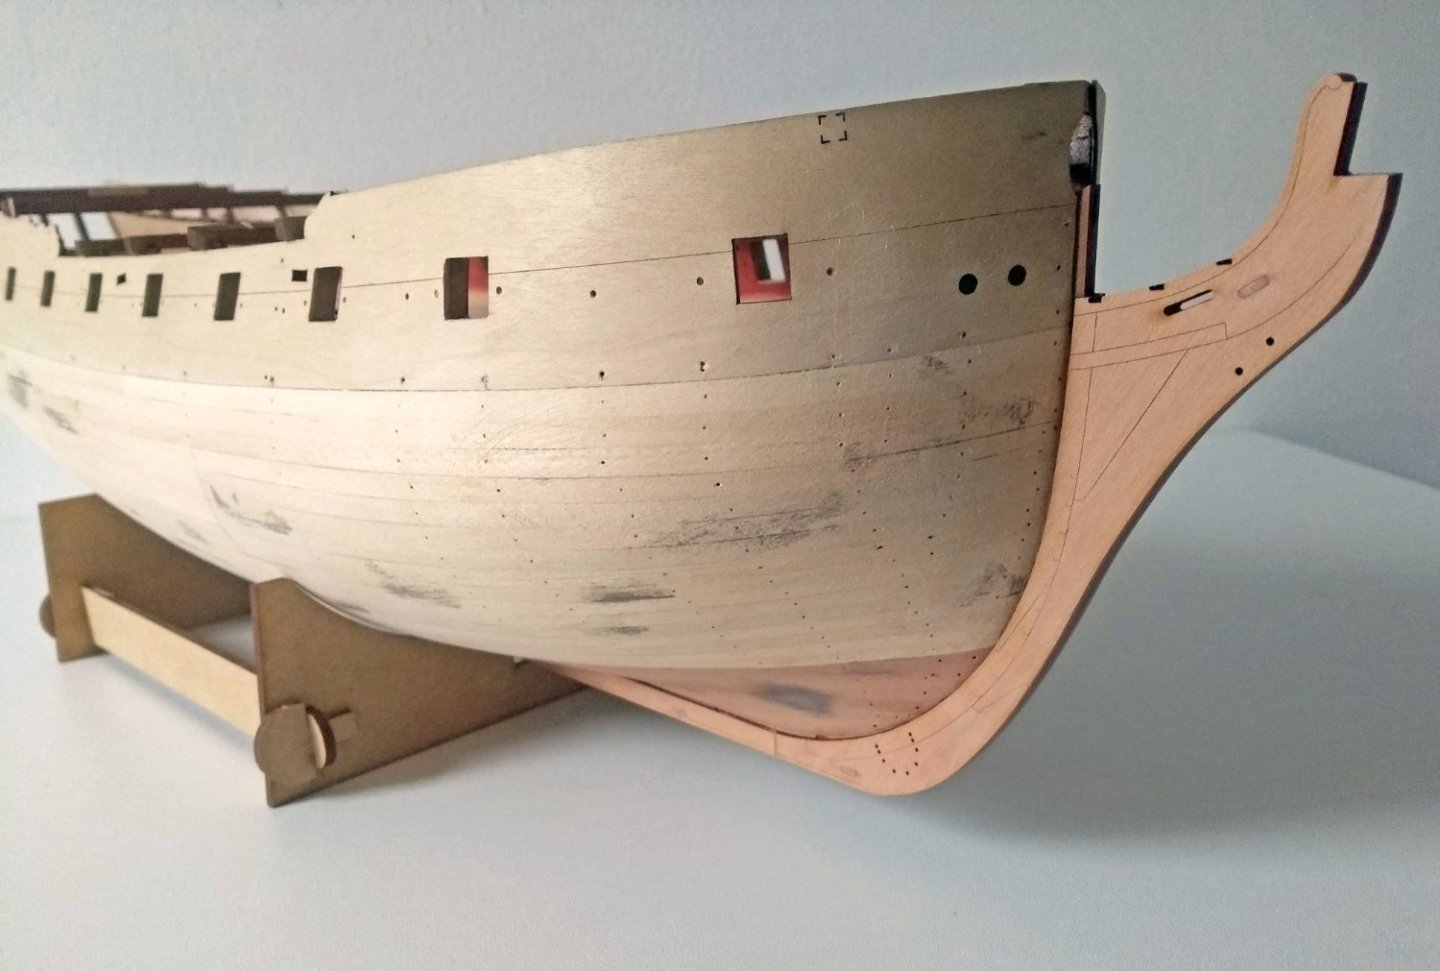
New update about what I've done this week: Installed the prow, keel and rudder post, including their outer patterns/facings so to speak. This gives the ship a whole new appearance. After that I glued the outer lower counter pattern in his perticular spot. This all went without trouble. Now I could measure the space between this pattern and the rudder post, so I could fill the difference with a thin piece of pear wood that I abstracted from the same sheet where also the outer patterns came out of. So there is no color difference Because of the thickness difference (the outer patterns of the rudder post and keel are 1mm thick and the supplied outer pear planks are 0.8mm thick) I maybe need a bit of filler underneath the second layer of pear planks against the rudder post and keel. Just to get them at a even height in the end. Will think about how to approach this. Last step that I've done was soak the fore outer planking patterns and clamped them onto the hull. They have dried overnight and will glue them soon onto the hull. A bit exciting these larger thin pieces of wood, so I need to gather some courage to get them in a good way onto the hull I also thought about the gunport stops and if i'm going to do them on all the gunports and not only at the ones with actual lids. I saw this idea in Blue Ensigns log and like the look when all the gunports have the stops, including those without a lid. So i'm going for those...it looks fairly easy to execute this small modification. The two questions after that were...glueing first the patterns onto the ship and install after that the stops? Or do them first and glue the patterns after that. I go with the first option because the outer patterns have a bit of extra "meat" onto the gunports...they are a bit smaller then the mdf inside frame so you have some wiggle room and you can sand them afterwards flush with the mdf framing. So it looks to me easier to install them afterwards. Next question was...at all four sides a stop or only at the sides and the bottom? I found this topic: And saw that both options look correct. It didn't seem if there was 1 correct answer, so then I choose for asthetics and will do all 4 sides because I find that look more appealing.


-
Very nice clean work! Love it!
-
Indeed your Alert looks great! Such a sweet little cutter, I like your progress so far
-
That looks very good!
-
You can see it's one of your specialties...very nice painting job and thanks for explaining
- 486 replies
-
- 2
-
-
-
- vanguard models
- alert
- (and 1 more)
-
Yeah those numbers of crew members are always mind boggling with these old ships. So weird how everyone fitted in and on these vessels. Life was hard back then. 😮
-
Do I see it right that you also (not sure how to call it, but the small red edge on the inside of a gunport) lined off the gunports, like Blue Ensign also did in his version of the Sphinx?