-
Posts
999 -
Joined
-
Last visited
Content Type
Profiles
Forums
Gallery
Events
Posts posted by Ronald-V
-
-
That is indeed beautiful, wonderful solution and love the gold leaf onto it!
-
That is a smooth looking hull!
-
-
Looking great! Another milestone reached! 💫
-
37 minutes ago, Katsumoto said:
Good bye Mugje, hello Ronald!
excellent planking job so far. Looks very clean and accurate
Thanks Peter! And everyone else for the likes!
-
-
-
Excellent result! Congratulations and enjoy your next project

-
Cool and ambitious project! Will be interesting to see how this develops

Have fun!
- hollowneck and TJM
-
 2
2
-
-
Changed my screen name by the way...now it's just my birth name, feels a bit more personal

- Thukydides, BenD, glbarlow and 8 others
-
 11
11
-
1 hour ago, glbarlow said:
Well done, it will look even better sanded, no worries about gaps.
Thanks Glenn

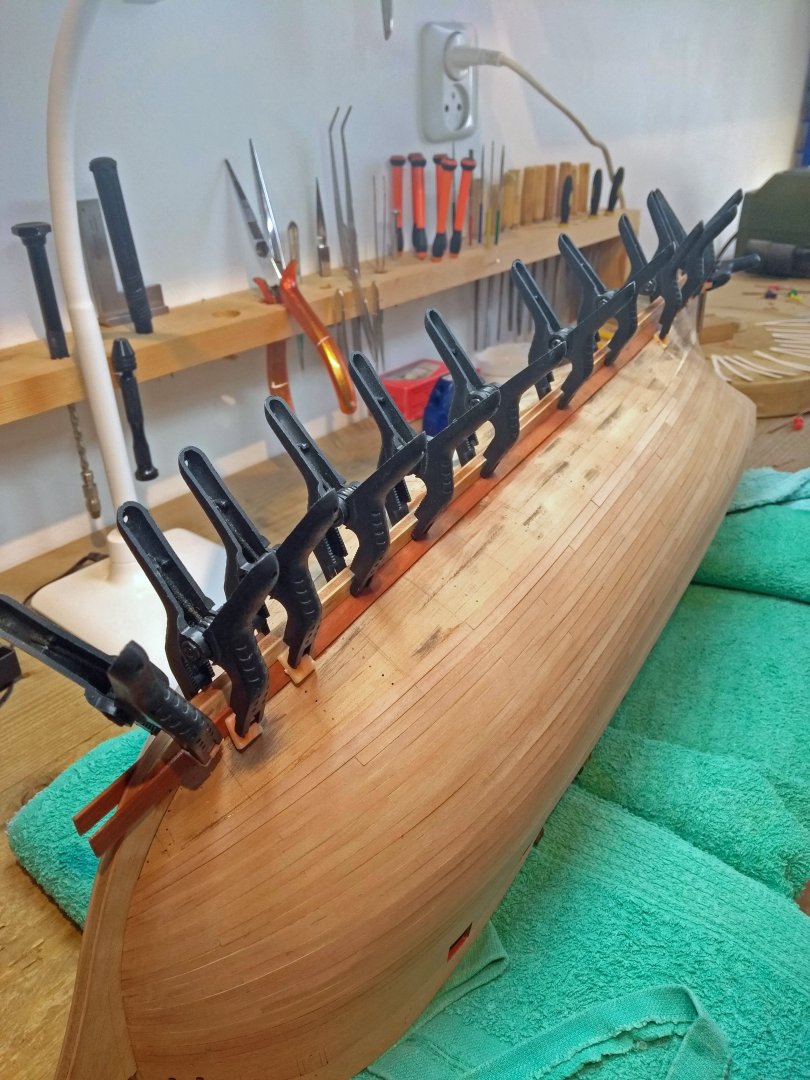
I soaked the garboard planks for a half hour in some warm water, and installed them with sufficient clamps onto the ship against the keel.
I've read in the planking PDF that it's easier to keep the garboard strake in one piece, and that sounds like a good plan. So probably will do that

It's beautiful weather today here in Holland so this was a nice little job to do and I can now let it dry for 24h...good excuse to go outside!

-
-
7 hours ago, cdrusn89 said:
I had not thought about painting the inside of the great cabin. It looks much better (IMHO) than the "natural" that was what I did on Wincheslea and Confederacy.
Something to consider for Indy as I am probably too far along on Sphinx.
It really does, it makes it fresh and light. I think it draws also more light in the cabin when the ship is finished with the deck on top.
-
9 hours ago, cdrusn89 said:
Very, very nice work. I wish mine looked this good unsanded.
Thanks! I hope it will look good after sanding...there is a bit of fear that when sanding, seams will appear because I have not bevelled the edges enough or something like that.
But that's a bit of insecurity from my part...we will see. I have made some mistakes with the planks fitting into the rabbet, especially at the bow. I will make later some pictures of that, so others can learn from it. (basicly I sanded the first layer too much so there is a gap between the final planking and rabbet, will fill that up with some sanding dust)
Thanks everyone for the likes! appreciate it!

- rcweir, AJohnson and chris watton
-
 3
3
-
Small update:
Finish line is in sight, just closed the 3rd band. One more band on both sides, and I'm done.
I thought the 3rd band would be easy, but the first 3 strakes at the stern were the hardest I've encountered. The sharp curve up was difficult. A combination of measuring, using a template and just eyeballing worked reasonably well.Now first the garboard strake and continue working from there. Photo's are a bit crappy, when it's finished I will shoot some better pics.
Not sanded yet
-
Those curved gratings look so nice...you wouldn't say a slight curve would make such a difference in appearance...but it does!

- brunnels, Thukydides and AJohnson
-
 3
3
-
Looking forward for Jim tackling the Harpy!
-
-
Lovely work! That table has a lot of details, nice

-
-
Welcome!

- mtaylor, OcCre, Keith Black and 1 other
-
 4
4
-
Love it! Very precise work

- robert952, Paul Le Wol, Dave_E and 1 other
-
 4
4
-


HMS Sphinx 1775 by Ronald-V - Vanguard Models - 1:64
in - Kit build logs for subjects built from 1751 - 1800
Posted
Update:
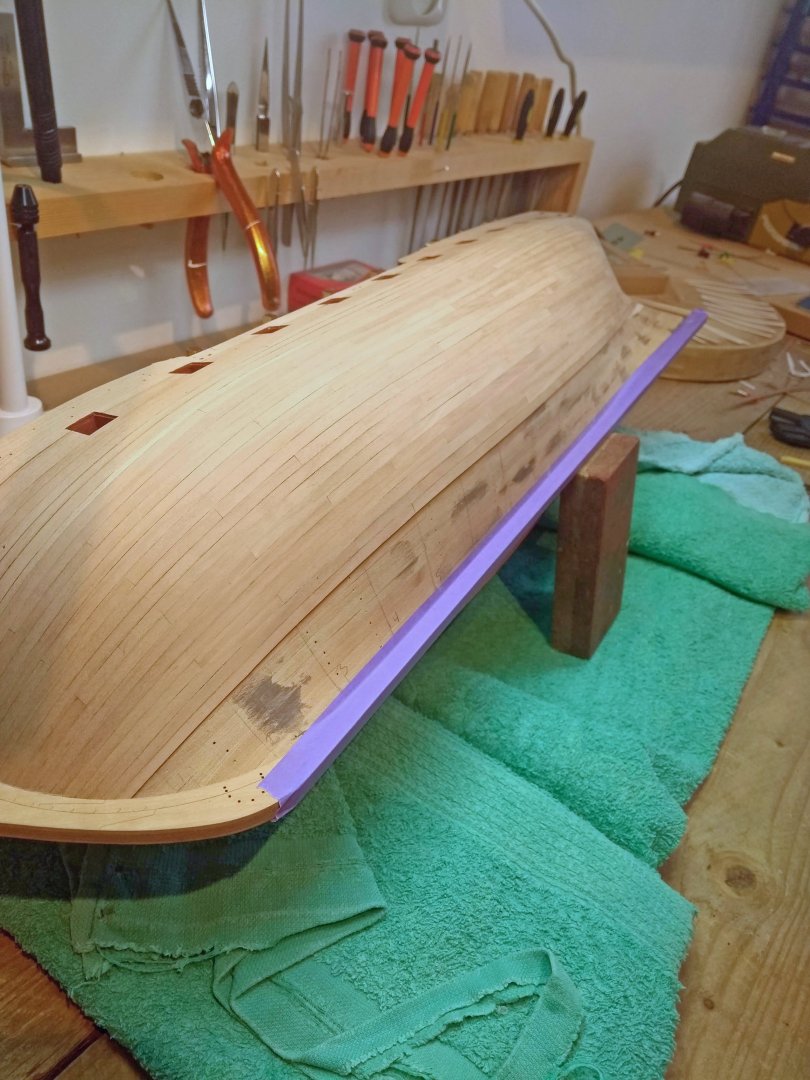
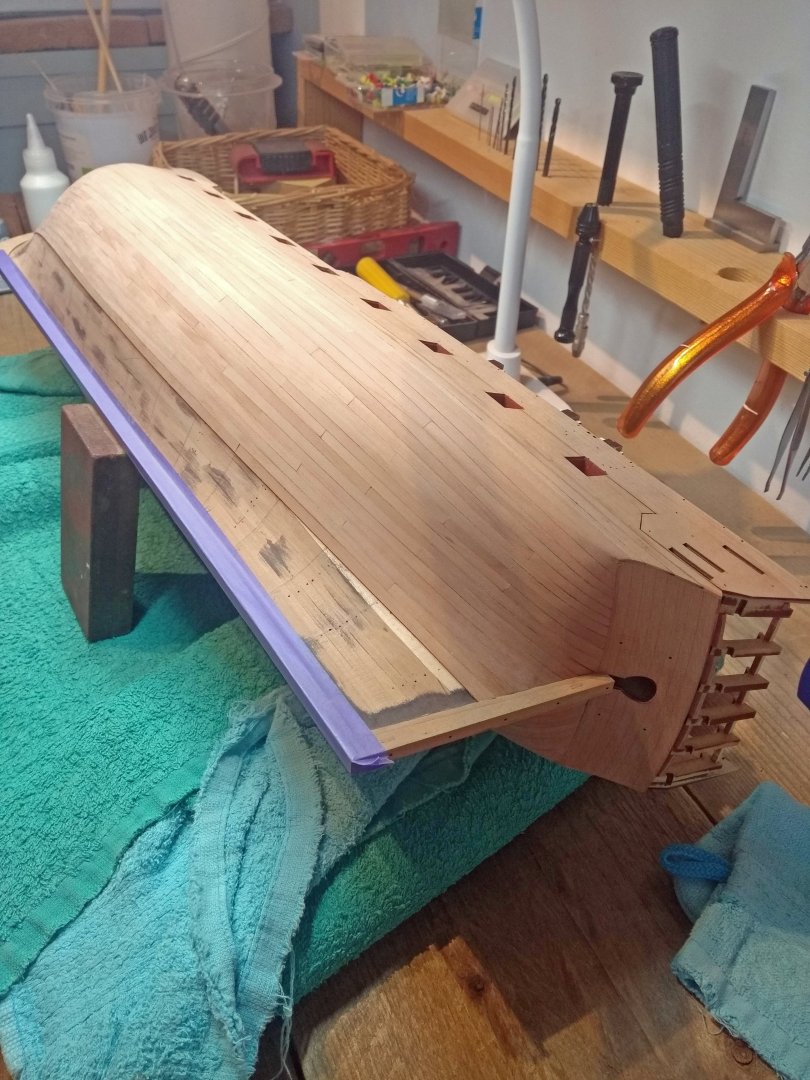
Garboard strake is in place. Used a 6mm wide plank for this. This gave me mid-ship 4mm wide planks for the final belt (well 4.1 to be precise ) but close enough.
It was not an easy plank and here and there I have a small seam, but I will use the cheat code of glue with some sanding dust to cover this
The plank is out of one piece so I used diluted PVA to glue this piece on...this gave me plenty of time to get it in place.
One important thing was that the tip of the strake at the bow didn't curved up...and that didn't happen so I'm quite pleased with the result.
Now starts the whole song over with dividing the last belt etc...