


Ronald-V
-
Posts
1,442 -
Joined
-
Last visited
Content Type
Profiles
Forums
Gallery
Events
Posts posted by Ronald-V
-
-
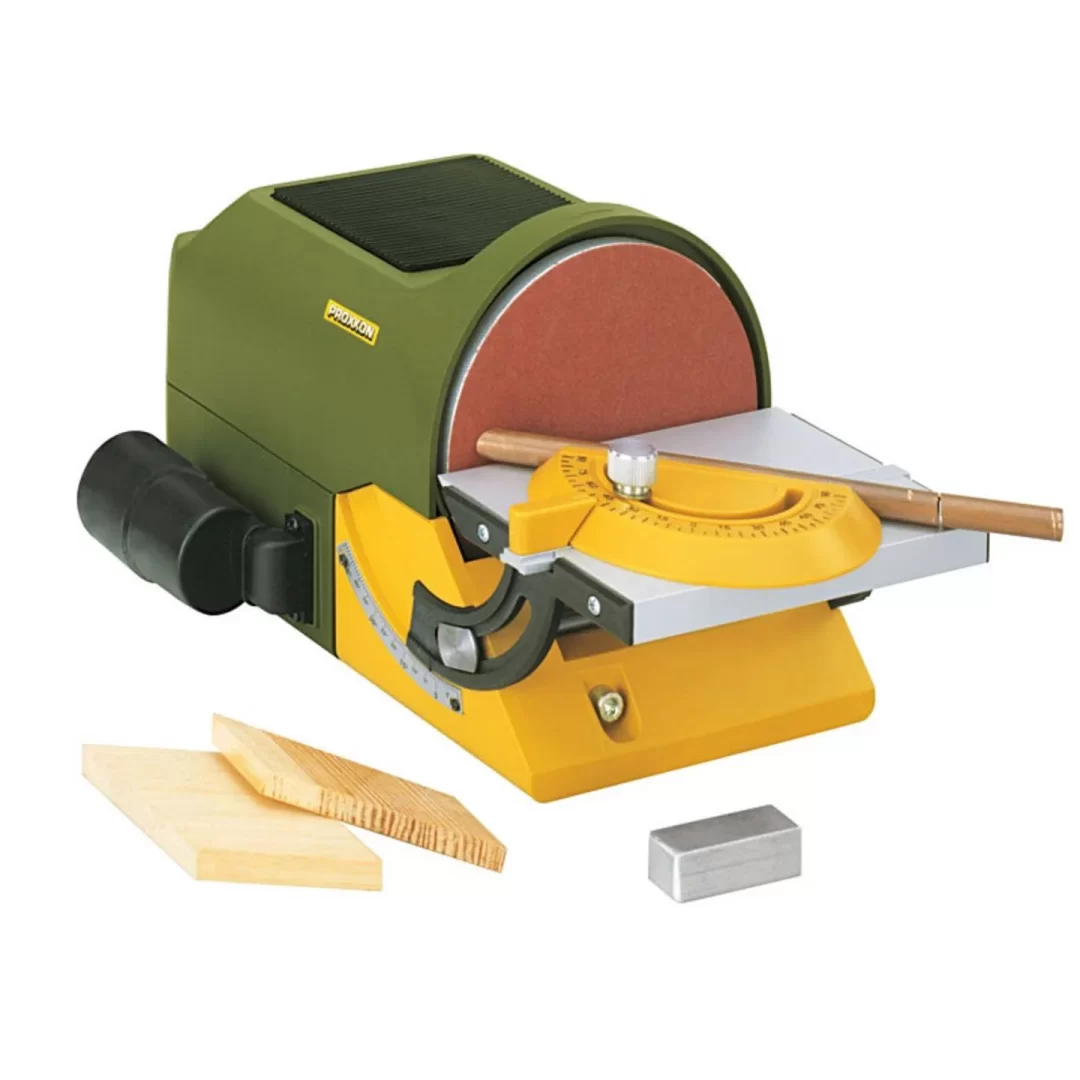
If I would add something...a disc sander is one tool that I use all the time and wouldn't want to be without, made life a lot easier

Also for just kit building...it's fast and precise
")
- palmerit, Ryland Craze, mtaylor and 5 others
-
 8
8
-
21 minutes ago, ERS Rich said:
Not following, To me edge bending is force to push a plank against its neighbor.
A plank shaped perfectly, will curve and lay flat on the frame, and fit against its neighbor without gaps. If CA is used on the frames, the plank can be fixed to the frame with downward pressure and pressure towards its neighbor. Glue along the edge will adhere to the neighbor.
There is a post in my Constitution build log about planking without clamps.
Ok, say you work a plank for awhile, and it fits well, maybe a small gap between it and the neighbor plank, you could go ahead, install it, and use a clamp to close the gap. I’ve been impatient, and done this. The problem now is the just installed plank now has a curve, instead of a smooth line, along the free edge.
Best to leave the gap and fill it in, or make a new plank.
Ah then we mean the same thing 👌
-
Nice clean work again! With some varnish it will look amazing
- Zarkon and scrubbyj427
-
2
-
11 hours ago, brunnels said:
Those beveled boxwood waterways look really nice. Fantastic work as always.
Thanks Brunnels! And thanks everyone for all the likes, I really appreciate it
- chris watton, AJohnson and FrankWouts
-
3
-
Interesting execution of the Victory
Personally I don't like all the aesthetic choices of the cutout (the white gunports), but everyone can decide for themselves to adjust that.
By the way, you have to be a bit of an idiot to rig 104 cannons lol😆...or you'll go crazy after rigging 104 cannons🤣
- Canute, BLACK VIKING and Artesania Latina
-
2
-
 1
1
-
58 minutes ago, ERS Rich said:
A lot of edge bending? Check plank widths and tapering. Planks are happiest when they just need to bend to lay on the frame, without being force pushed into its neighbor.
Maybe the first 5 planks or so would not require edge bending, but not sure how you would plank the rest of the bow without it?
And by edge bending you just remove the need of using force
-
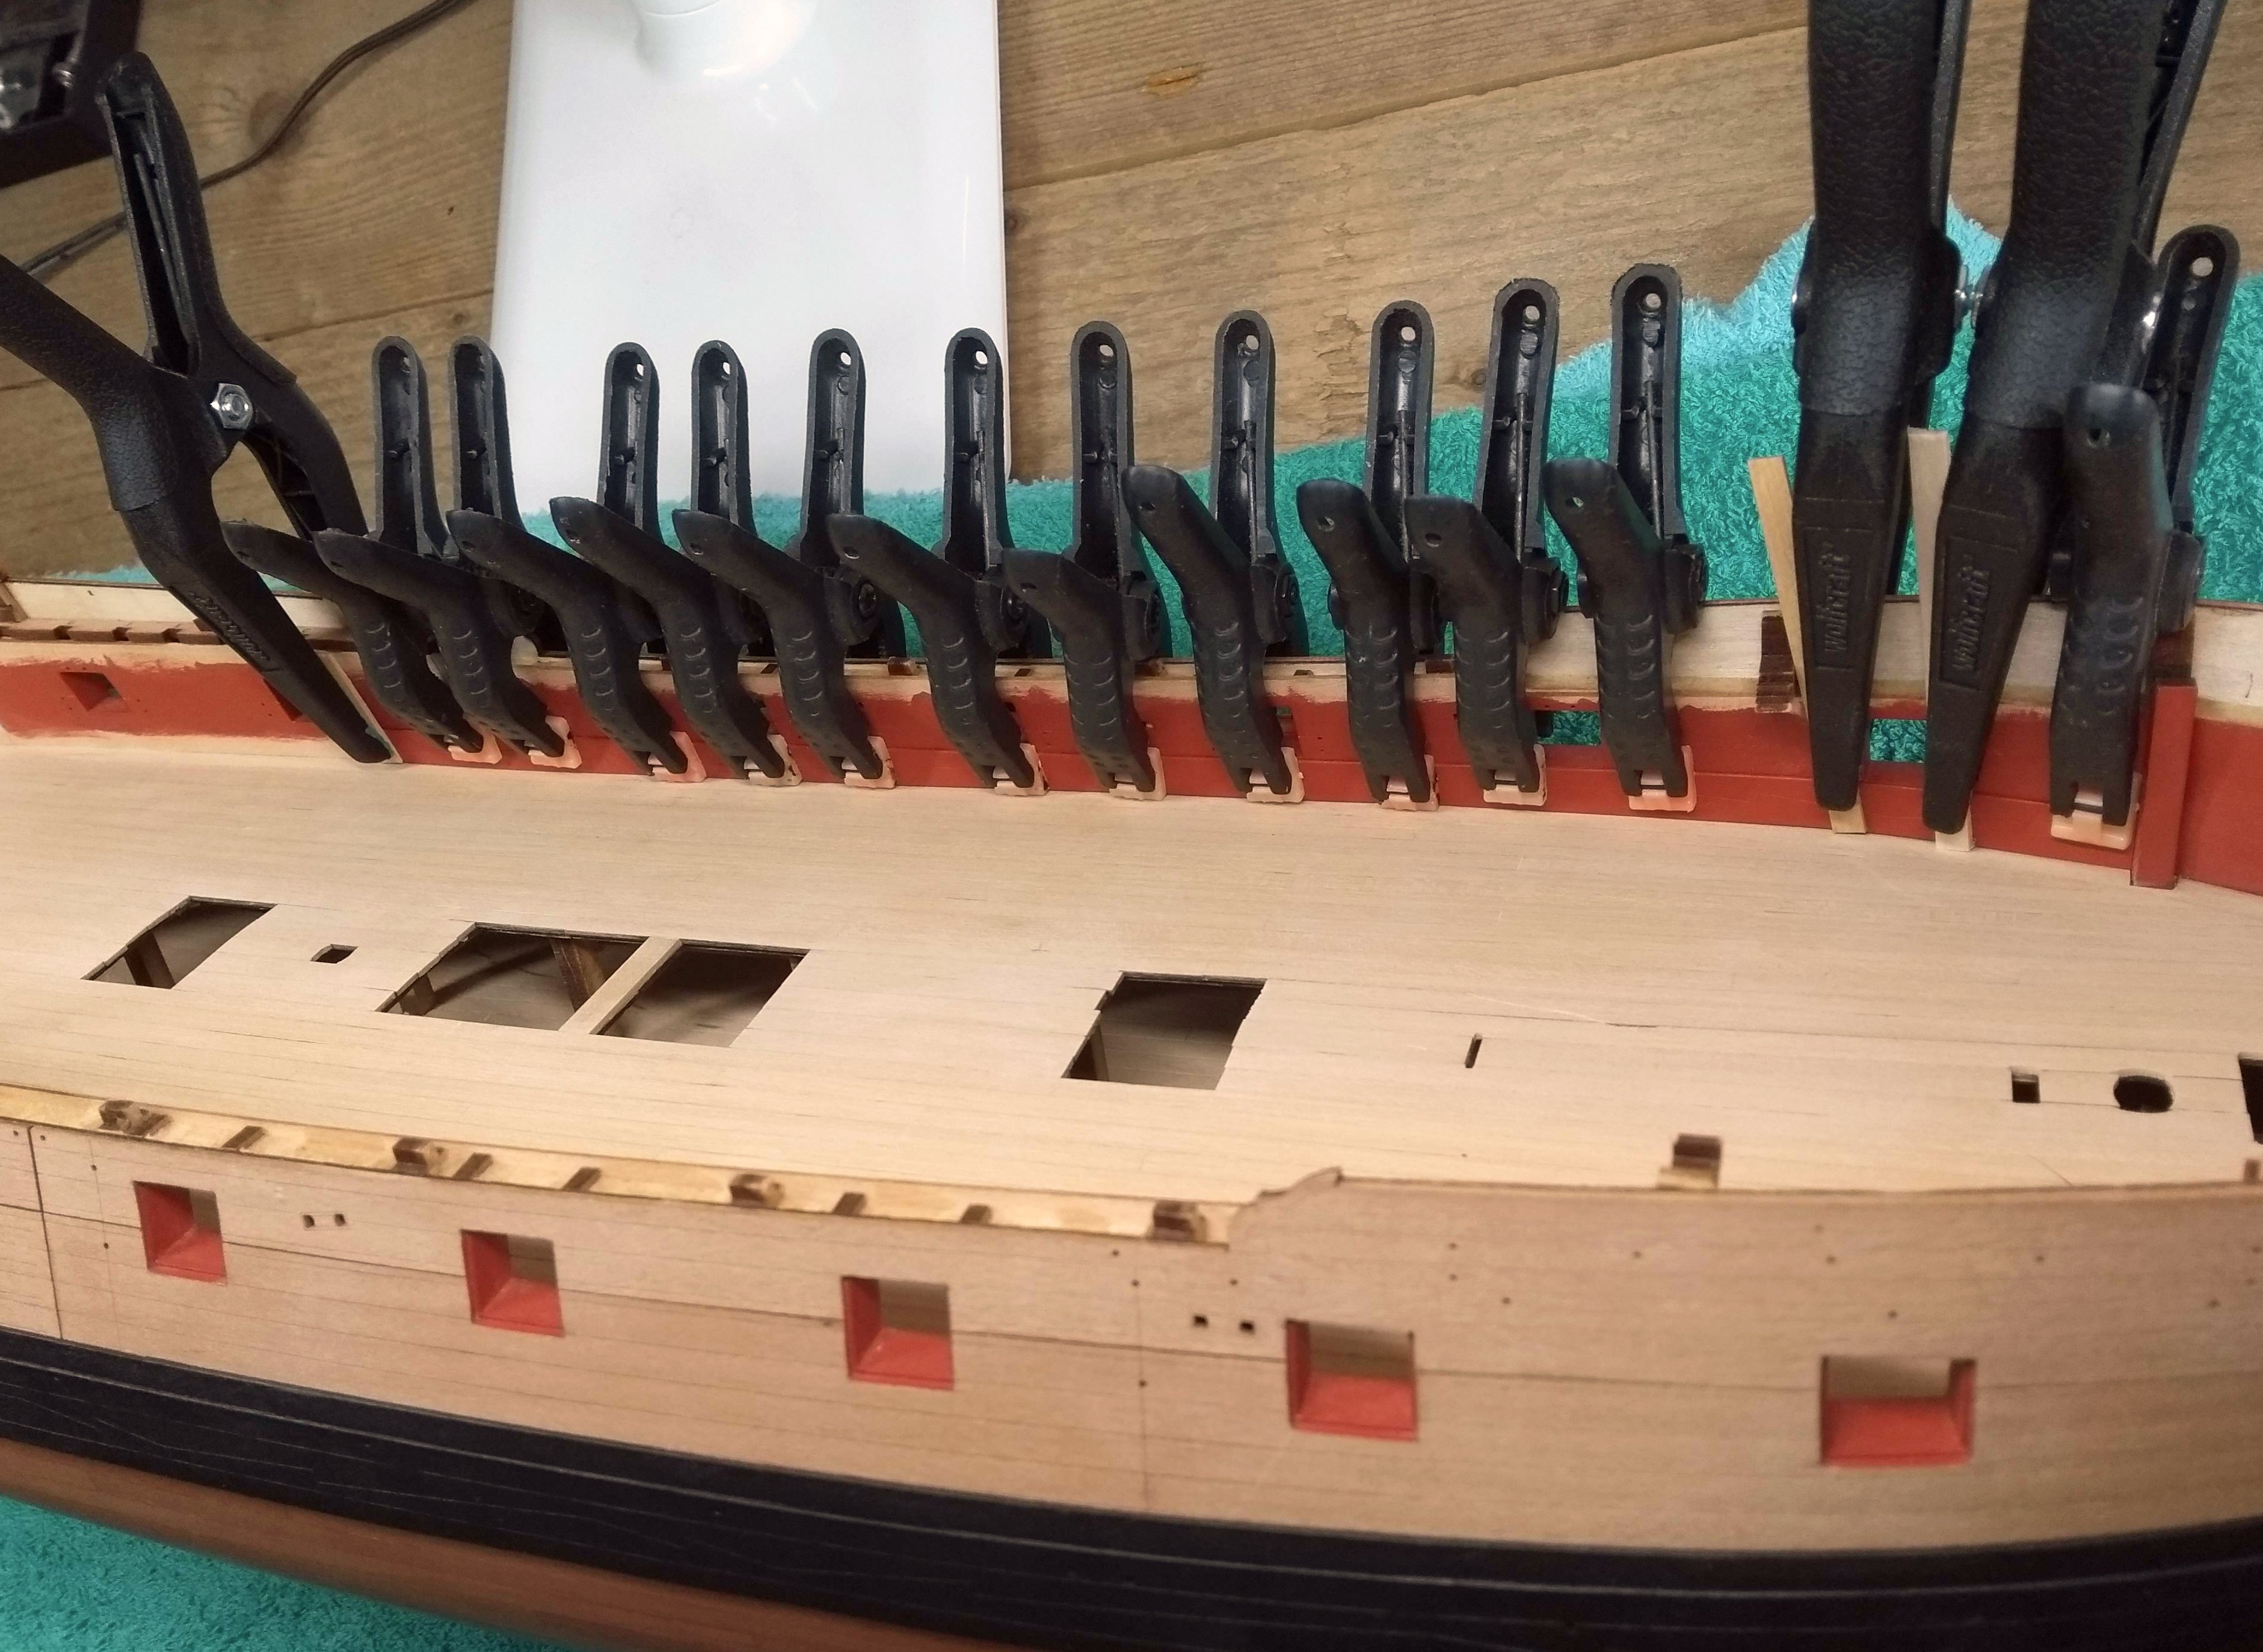
Update:
Ok, first I placed the spirketting.
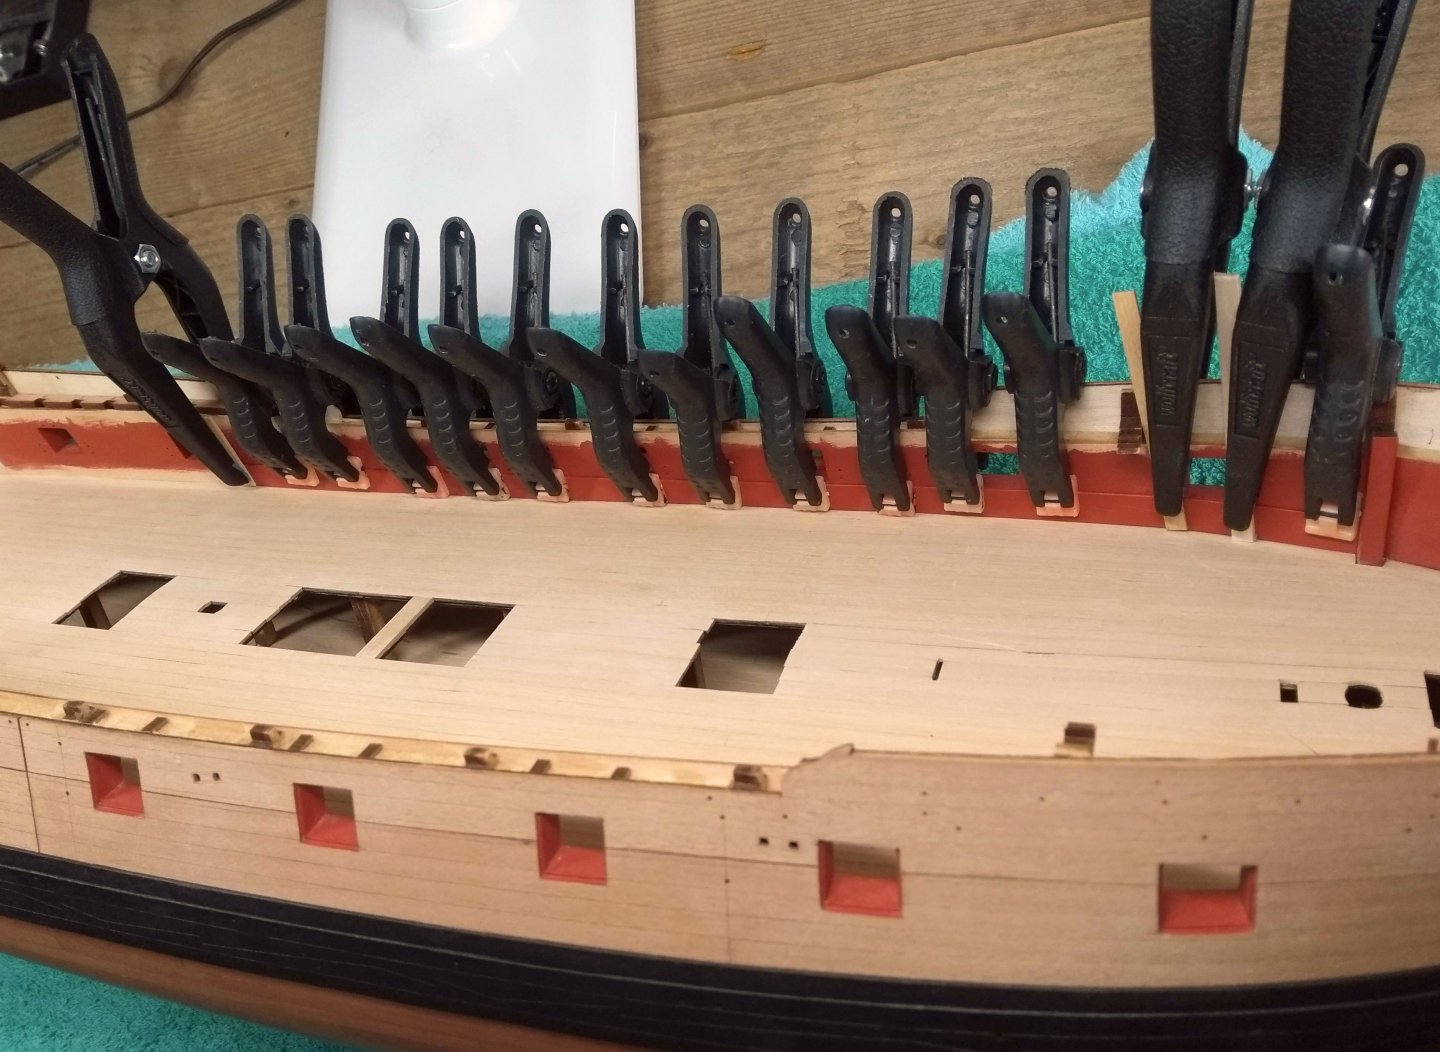
First painted and then placed on the model. Enough clamps were of course needed to get good adhesion everywhere. The upper parts had to be a bit higher than the adjacent bulwarks according to the manual... I did this, but unfortunately not enough, which is why the spirketting protrudes a little bit at some gun ports. I first thought about sanding those parts away, but I think that will look weird. You can only see it if you sit lower than the water level and then look up. It is actually not noticeable at all unless you know about it. So I will leave it like this (I saw the same in almost every other log, so many people seem to have the same problem)
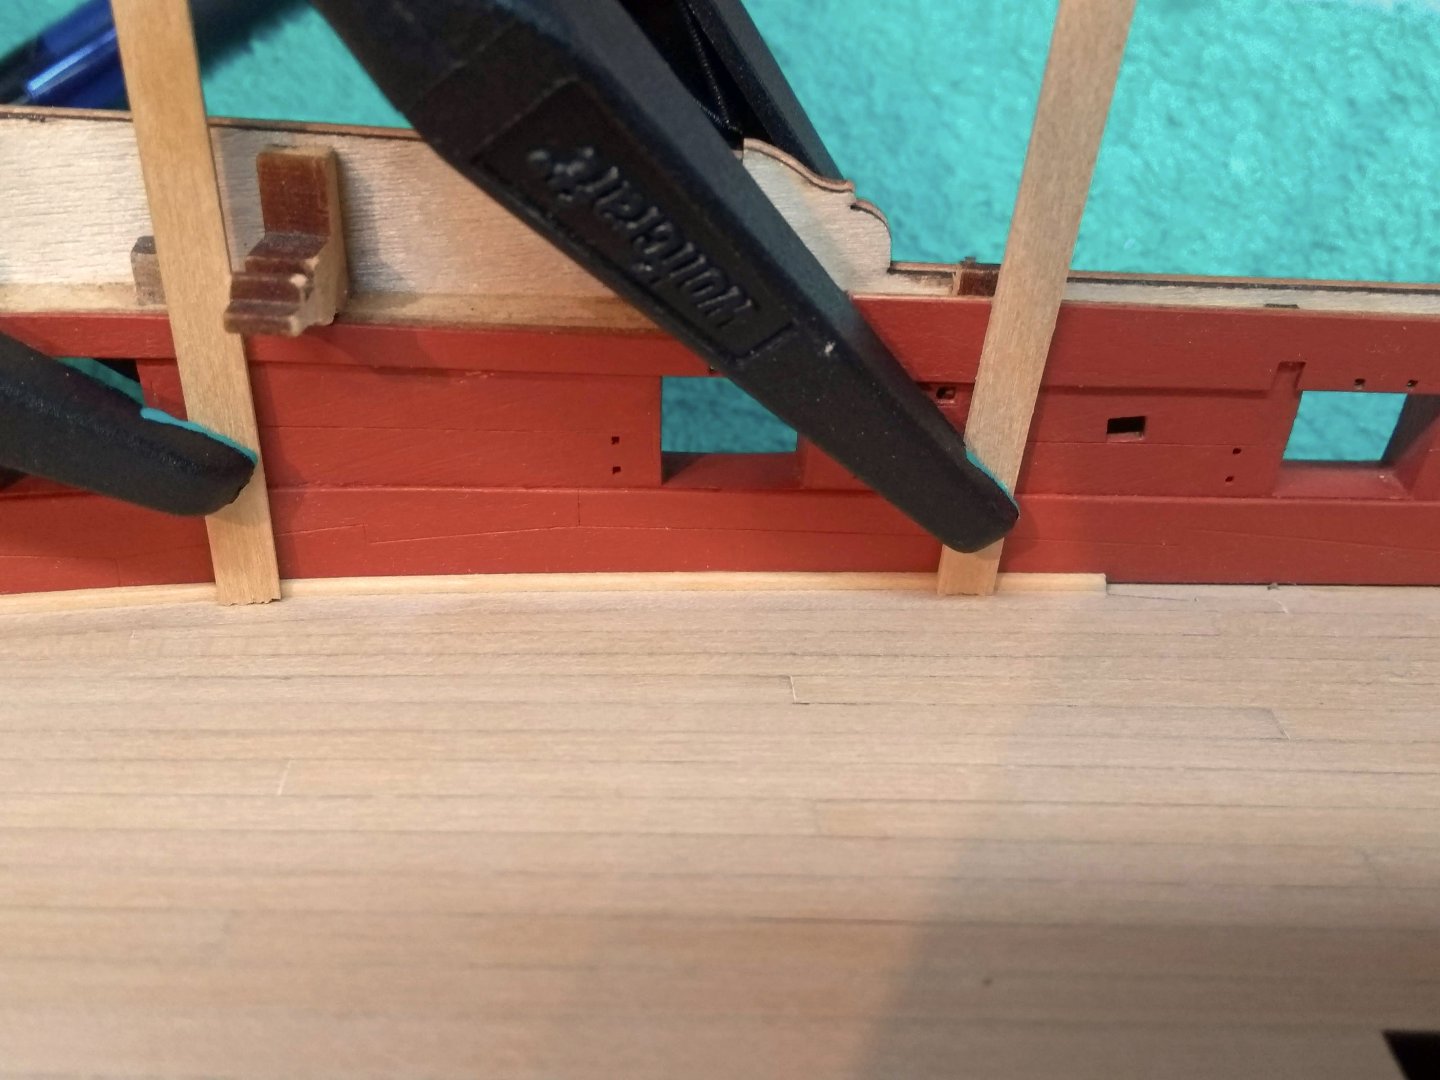
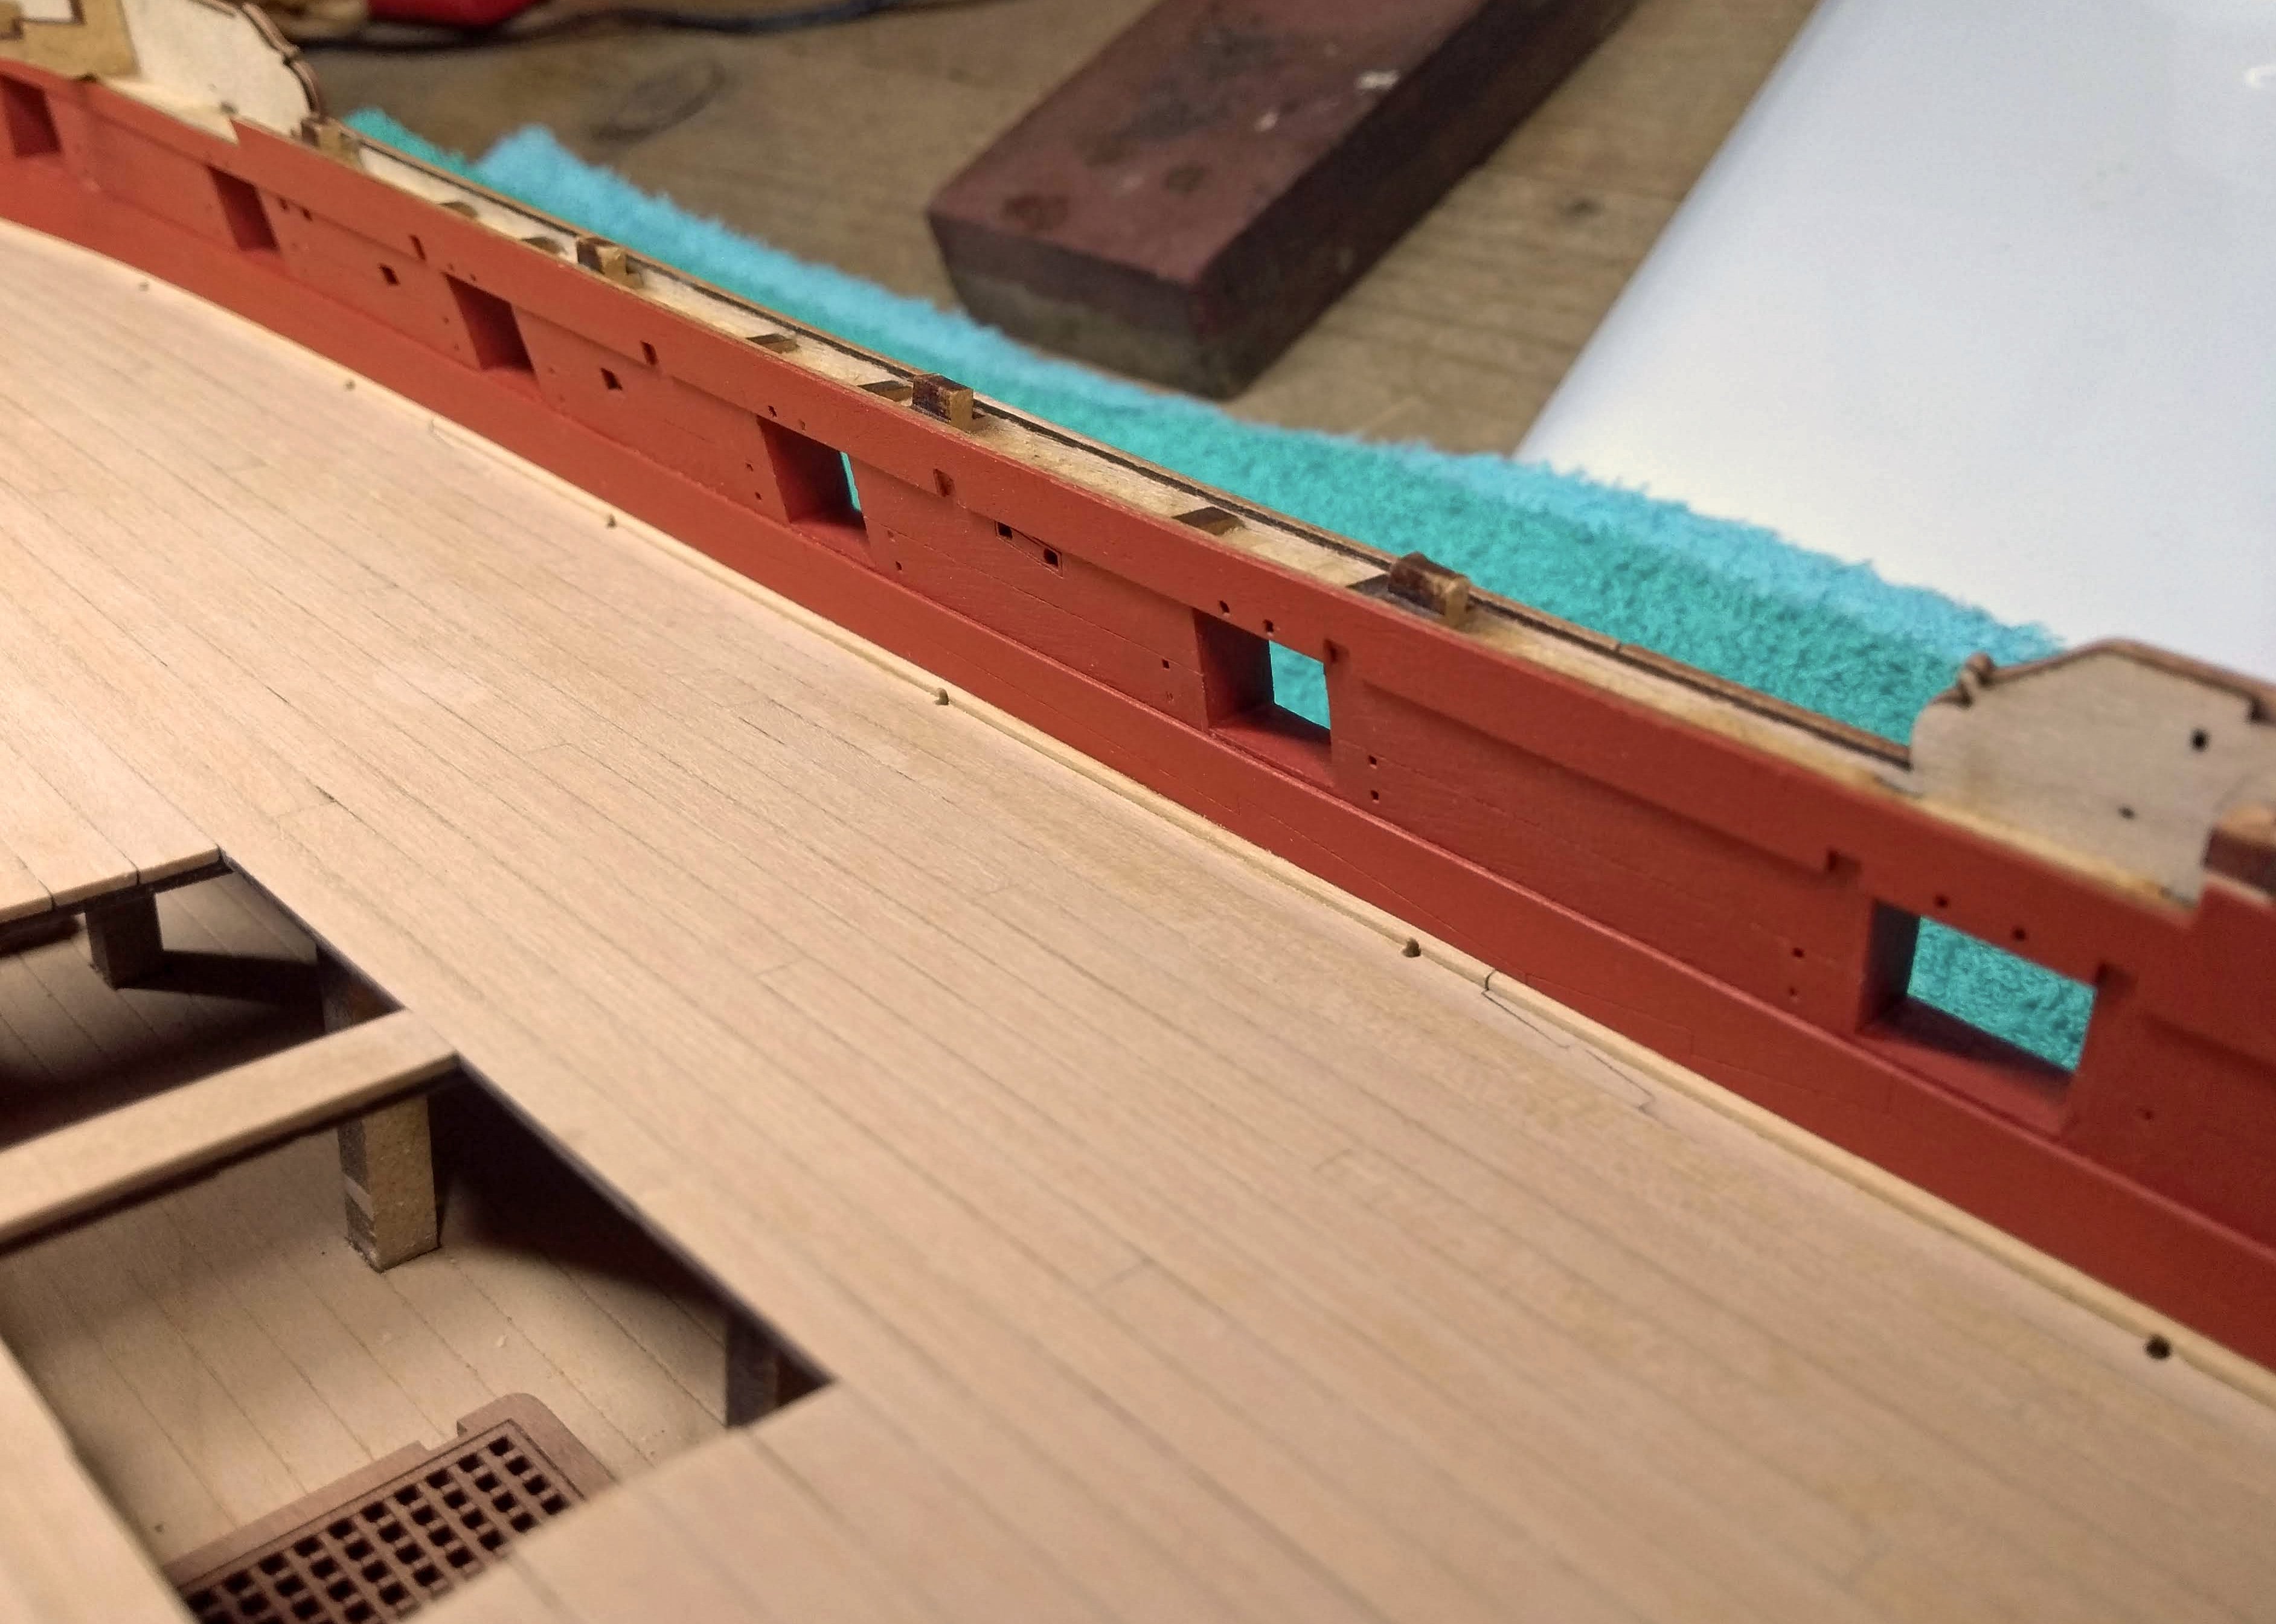
Secondly I placed a waterway of 1x1mm boxwood with a very small beveled edge (the beveled edge could have been a bit bigger). I think that this connects the spirketting and the deck nicely.
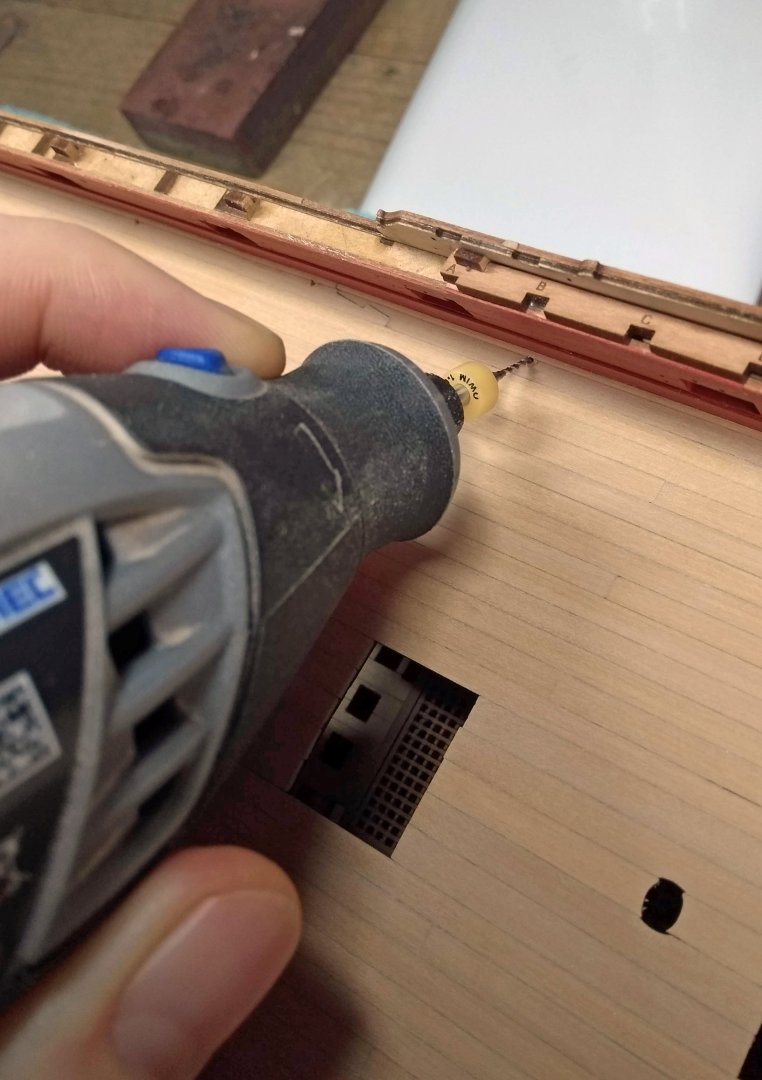
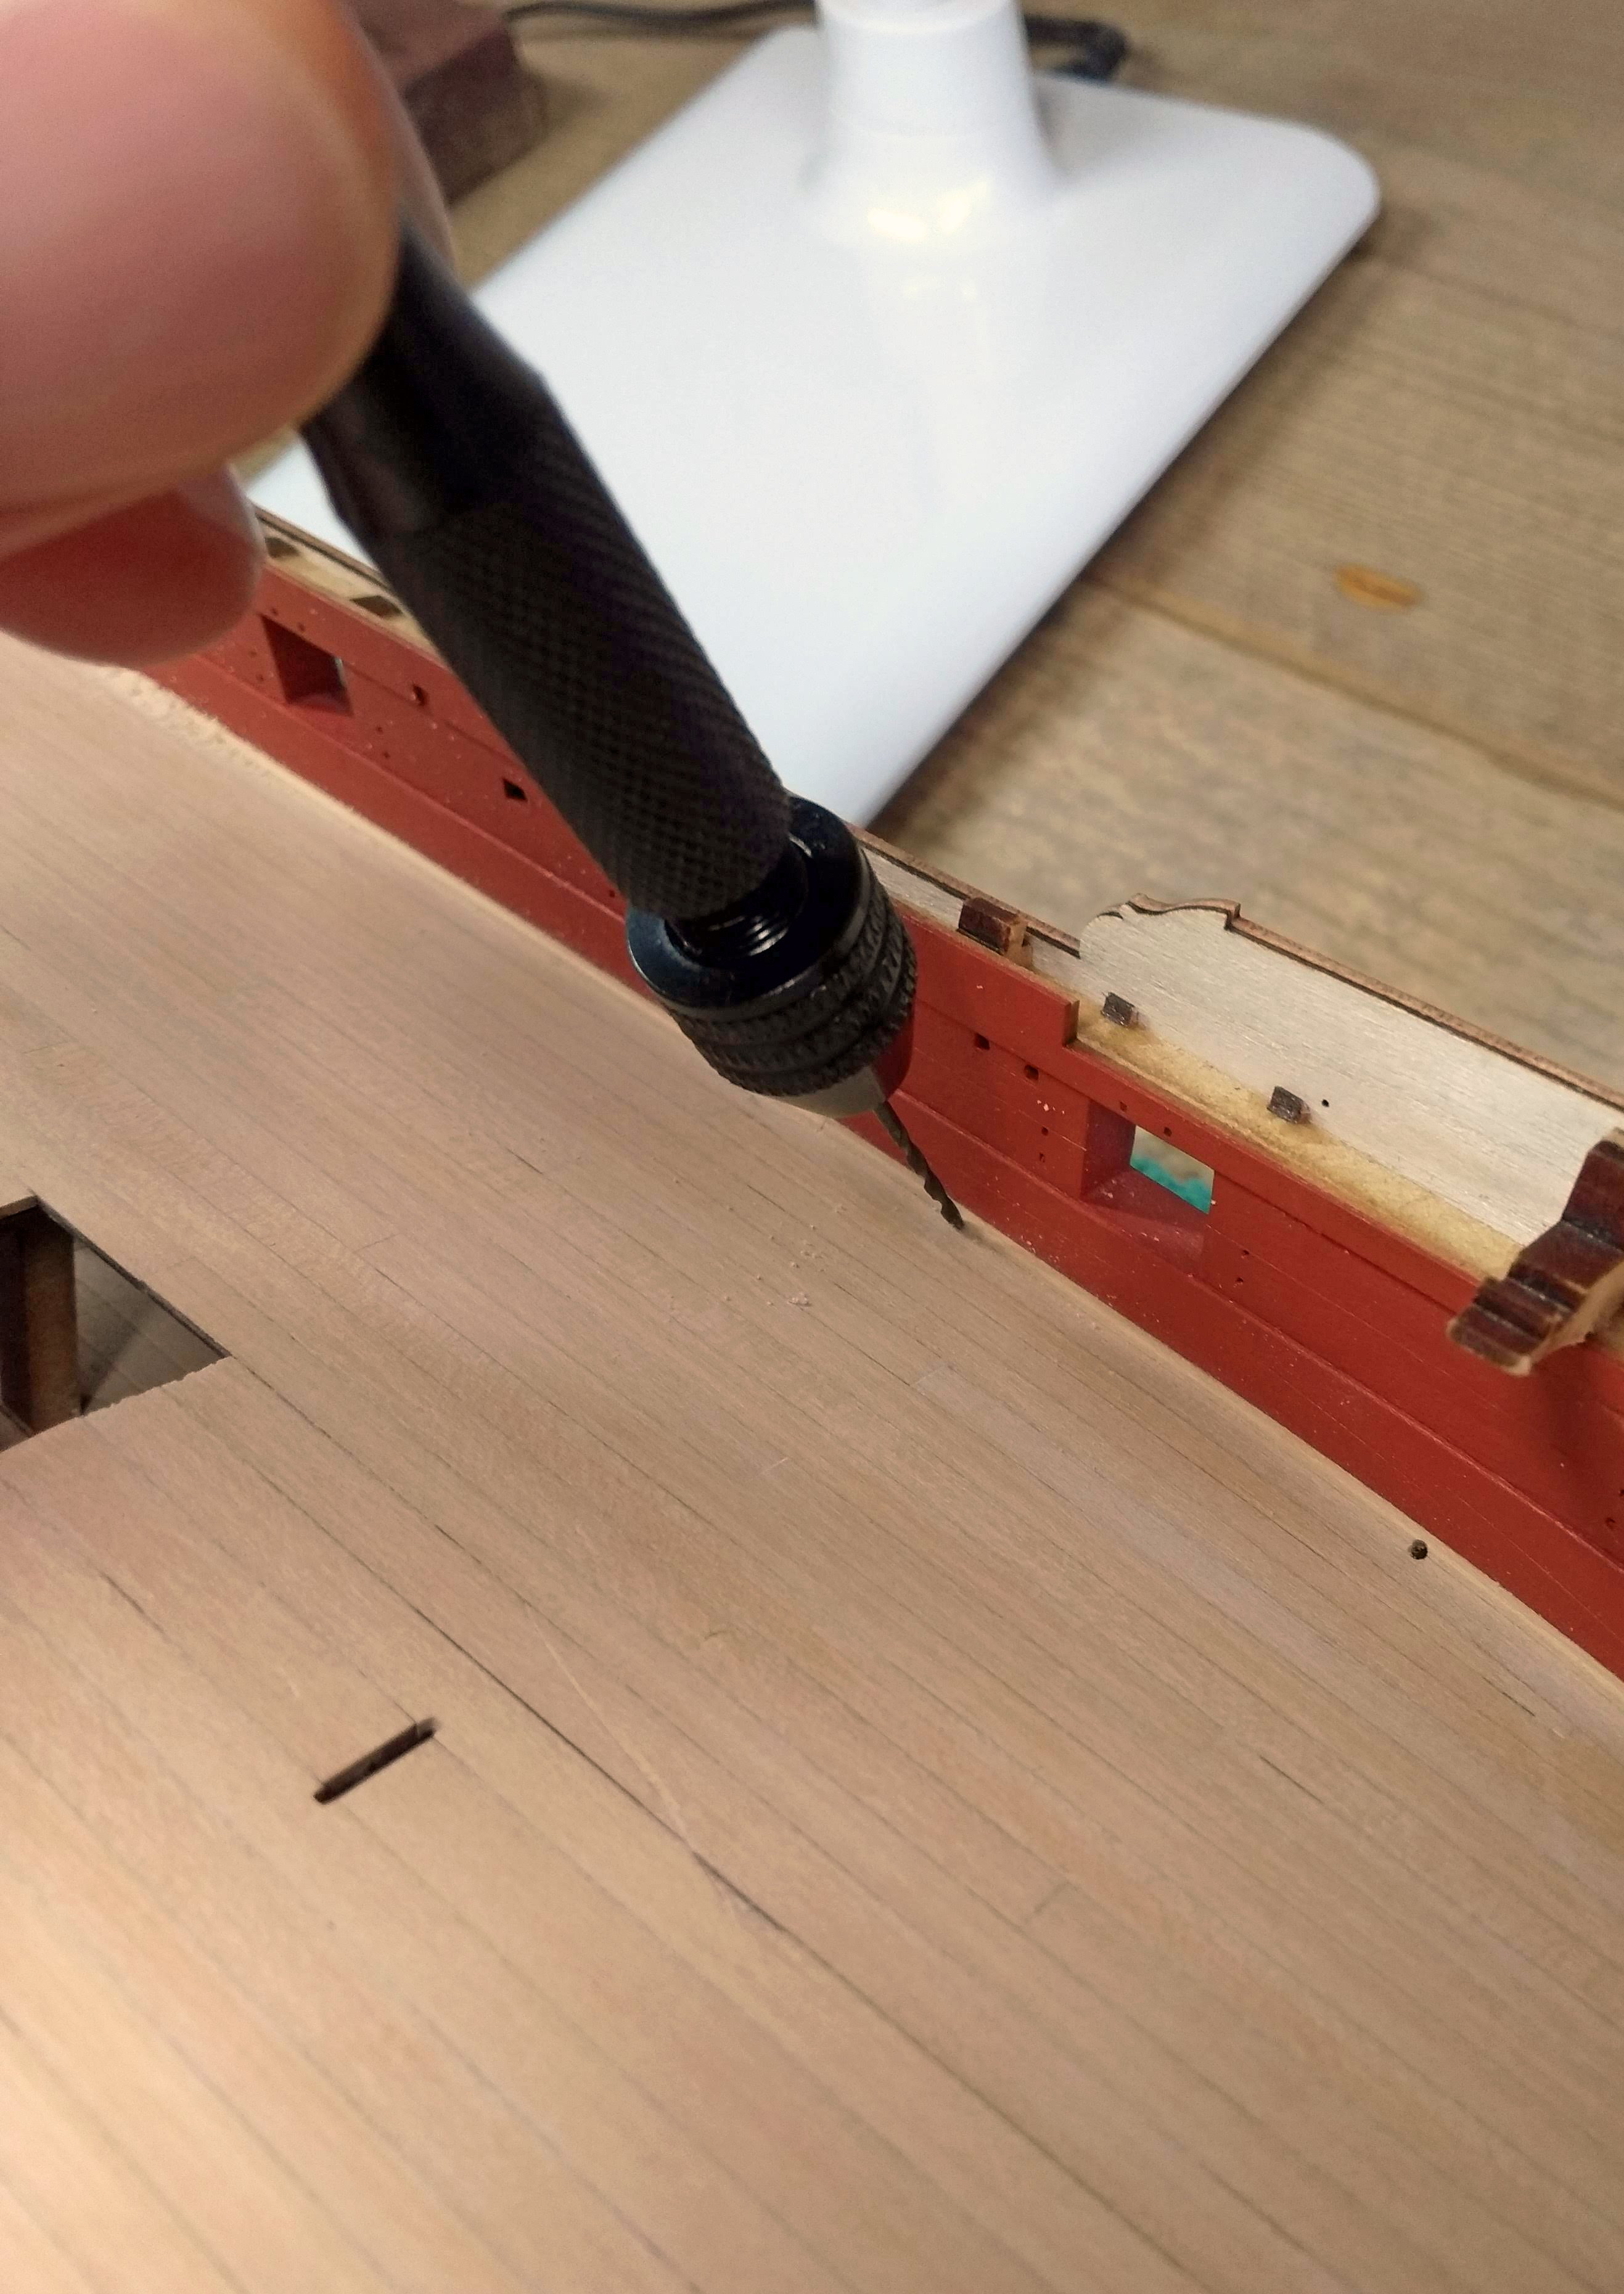
And thirdly...I drilled the drainage/scupper holes. First I made a sort of center point with a hand drill so that the Dremel doesn't "search" afterwards. Some things I learned...support yourself with your hand and Dremel on the deck so that you don't vibrate. And first turn off the Dremel after you have drilled deep enough, and then take it out. If you don't do that, you can still touch something with a rotating drill, or the hole won't turn out as nice. By the way, I just kept 1mm holes (same size as Chris used with the lasered deck)


Now I have to touch up a few spots with the paint.
Next step will be...the outside of the captain's cabin. Another exciting step
-
That is some nice tight planking there!
- robert952 and Desertanimal
-
2
-
Pearwood is indeed a beautiful wood to work with. Personally I do not pre-soak the planks, apart from the garboard strake which I kept in 1 length. The drying time seems to me something that would take a lot of time. I myself prefer an iron and plank nipper (edge bending with the "Chuck Method"). That is pretty fast and clean...but it just depends on what you feel comfortable with
- Knocklouder, Thukydides and Mr Whippy
-
3
-
-
Sorry to hear that...I wish you all the strength and love for this difficult time

-
Beautiful contrast in colors! And nice precise work too...lovely
- Thukydides and mtbediz
-
2
-
-
Looks good! I can imagine that it is a precise job that cannot be rushed.
I am not the fastest builder myself compared to others, but then I try to work on the model only when I really want to.
Previously I sometimes wanted to "finish something" and then it was not really relaxing anymore and it also looked less nice.
-
-
-
-
That is lovely indeed! Shows the beautiful lines of this ship
-
Personally I find working with scaled planks easier than a plank as long as the hull (or at least shorter lengths). For example in my Sphinx build I used 12cm long planks. On the back I put a few narrow stripes of PVA with empty spaces between these stripes spread over the plank. In the empty spaces I put a small drop of CA. This way you can work accurately and calmly with the glue without having to work on the model. After I have applied the glue to the plank I still have more than enough time to position the plank. Hold it for a few seconds and it stays perfectly in place. Everyone develops their own way of working that suits them...find your way
-
Good to see you starting a build log 👌
-
-
41 minutes ago, Danstream said:
. See also my question in my comment above.
Best regards,
Dan
I don't have experience with a spray. But I know people use washes in that way you describe. So applying a diluted grey or something like that and take the residu off with a cloth. Maybe start a new topic with that question...you will get more answers and even some examples maybe
-
59 minutes ago, Nearshore said:
Hi Ronald-V,
Your deck planking looks fantastic! True craftsmanship. I purchased the DB250 a while back. I have practiced a bit and it truely is a great tool.
Nearshore
Thanks Nearshore! And great to hear you are happy with the DB250. Not really tested it yet, but that will come. Having a education in working with a lathe and mill (worked with steel and plastic though) it's fun to have these little machines at home
-
6 minutes ago, Loracs said:
The caulking is just perfect like this... well done. With the length of time it takes to complete a ship, it often almost irresistible to have a peak at the final result. I time, I even finish a section if I know there is no more work to be done. Fantastic deck, well worth the time.
New tools!!! come on... I don't have those, please stop teasing!! Hehe 🤩
Thanks Loracs, yes sometimes patience is the hardest thing 😆


HMS Sphinx 1775 by Ronald-V - Vanguard Models - 1:64
in - Kit build logs for subjects built from 1751 - 1800
Posted
Thanks! And yes I considered the MF70...but didn't really see an application for this kit at first sight. So for now I kept the money in the wallet. Maybe I can use it for a later project, but this way I can also spread the finances a bit") I don't have a very big budget at the moment.
I don't have a very big budget at the moment.