


Ronald-V
-
Posts
1,934 -
Joined
-
Last visited
Content Type
Profiles
Forums
Gallery
Events
Posts posted by Ronald-V
-
-
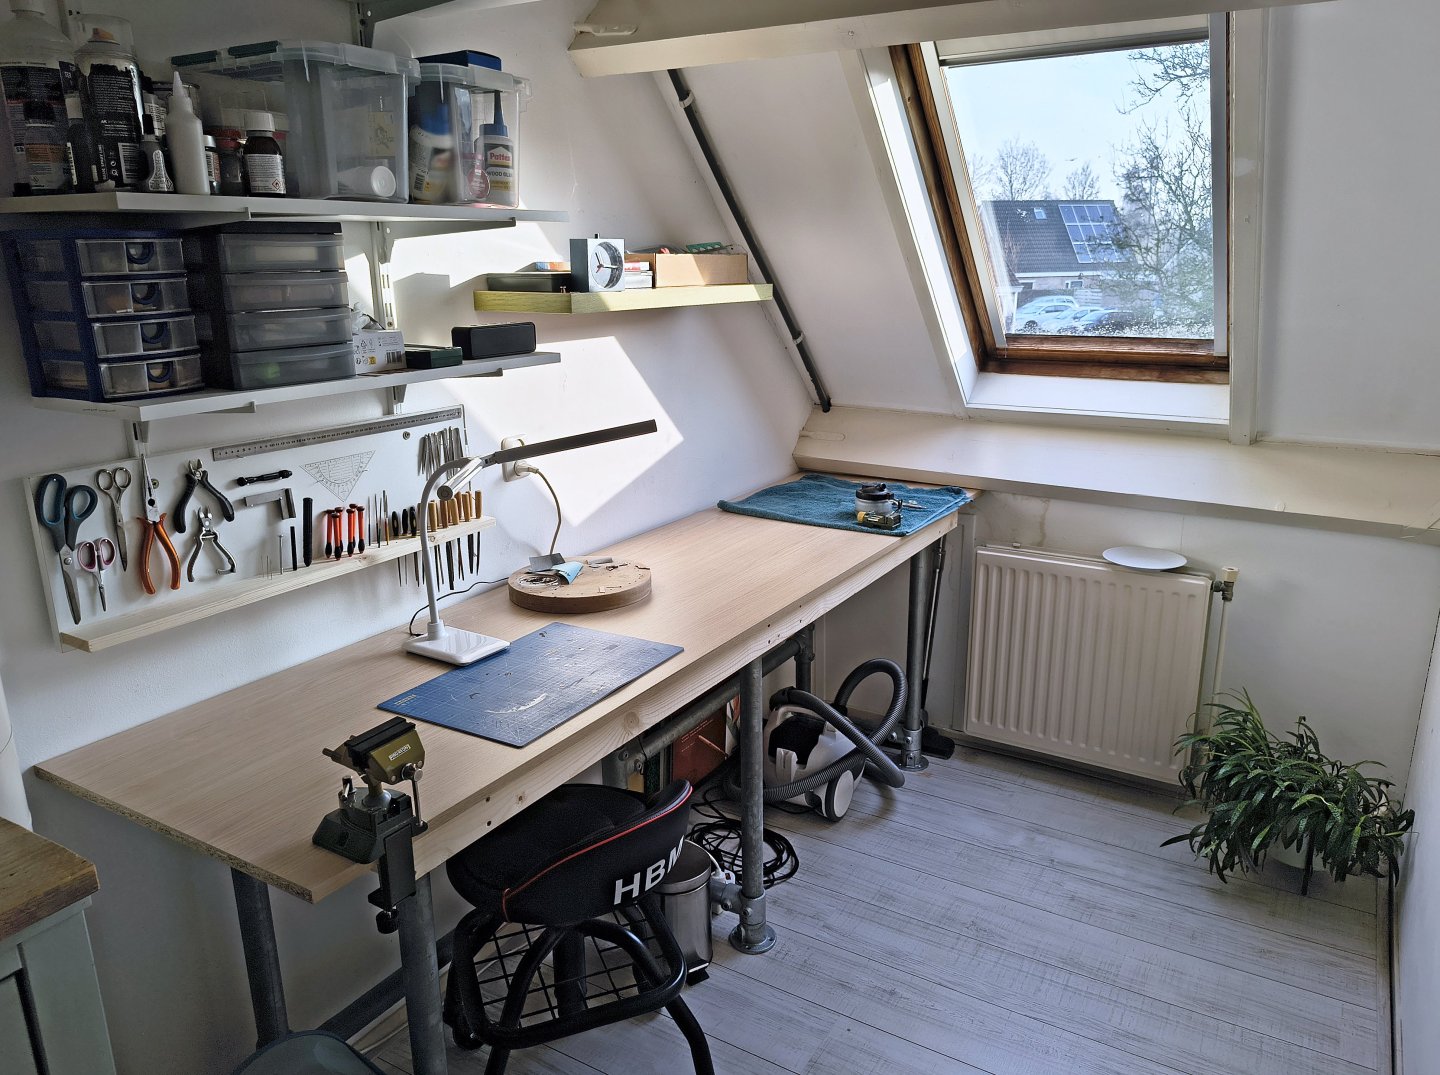
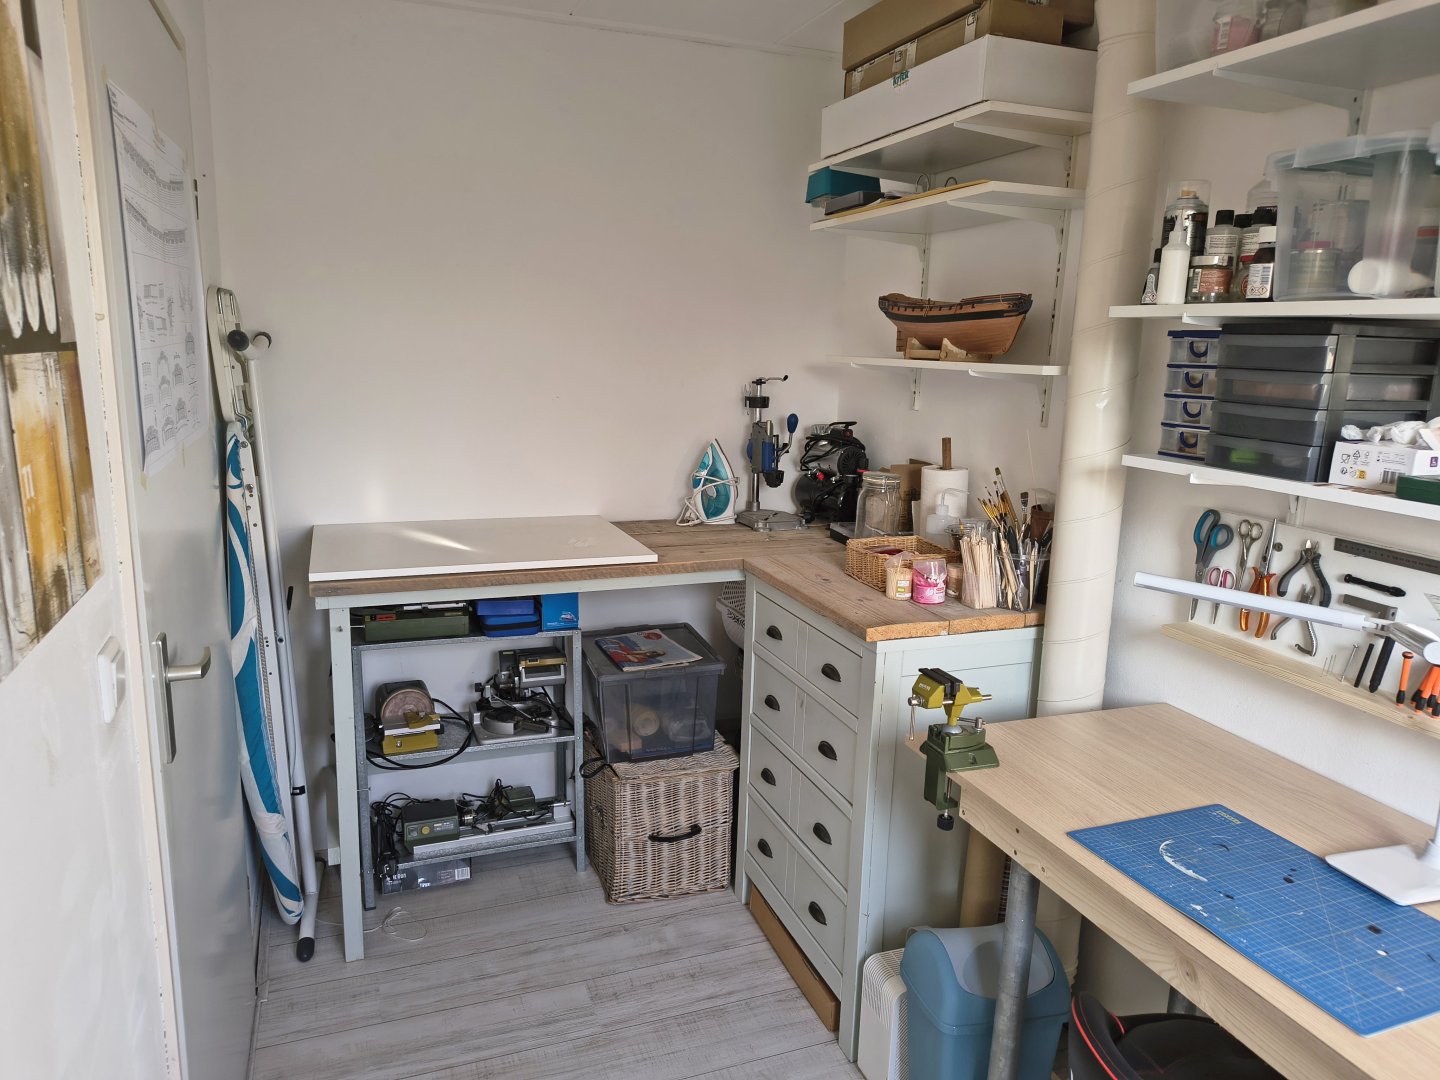
Not really an update, but a quick snapshot of what I've been working on. I've been busy cleaning up/reorganizing my house these past few weeks, and the hobby room was definitely in need of some work. I had a lot of stuff in there that wasn't hobby-related and was taking up a lot of space... I cleared everything out and moved it, and now I'm really happy with the space I have left! I also rebuilt the work table (it had rather uneven scaffolding planks and therefore wasn't perfectly level), making it a nice, long table (2.4m). I'm currently waiting for a magnifying lamp I ordered, and then I'll have it pretty much complete. It's not a large space, but it's enough for what I'm doing.
Now I can happily get back to working on the Sphinx!
-
Good start Ellie! That's a nice hull shape to plank for a first ship
")
Regarding the PVA (wood glue)...there are quite some brands that require less waiting time, like for example TerryPat is sharing.
I use the blue Pattex D3 and that one is within 10 mins pretty dry and workable, UHU is also a good one. Do look for a water resistant one, that's handy if you are
laying soaked planks on top of it (or something in that matter)
- Geordie Tyne, Admiral Rick and Ellie_
-
 2
2
-
 1
1
-
Welcome
- Ellie_, Keith Black and Geordie Tyne
-
3
-
That's a big cutter! Will be nice to see this one build, have fun!
- Geordie Tyne and vvvjames
-
2
-
I think it's a nice color palette as a whole...it all fits together well
- Glenn-UK and Geordie Tyne
-
1
-
1
-
Really nice pictures Mustafa!
- Der Alte Rentner and mtbediz
-
1
-
1
-
Is does really add something to the model...these vertical strakes
-
Welcome! What a lovely model you have build, I love the old look of it
And a great choice regarding the Sphinx kit; you won't be disappointed. I'm having a lot of fun building this kit myself. 👌
-
Great looking rope! I'm probably going to attempt to make it myself also...but that's in the future.
I wish you all the fun with this build, good luck!
- vvvjames and Geordie Tyne
-
1
-
1
-
-
-
1 hour ago, palmerit said:
I'm thinking next Vanguard model I build I would like to buy some extra pear wood strips for the planking. There were times I cut a strip too short or shaped them too thin or too fat or was unhappy with a few after adding them and would have liked to strip them off. The model kits come with extras, but not enough to set a high bar for what makes it on the model. Someone shared with me a photo recently of someone's build - I think of one of the Syren kits - with more trashed planking strips than ones that actually made it on the model.
@chris watton Can we order more pear strip wood for planking from you? Or can you point to where you get yours from? Or is pear wood pear wood wherever you get it, so long as it is the right dimensions?
I suppose I could just order from https://www.modelerssawmill.com and compare with the wood with the next Vanguard kit (and either combine them together or use the unused pear from that Vanguard kit for the next Vanguard kit if it uses the same second planking dimensions).
Pearwood comes in quite a few different color variations, from dark pink to light beige/yellowish. What I did for my Sphinx build was order the same number of planks (different widths) and a sheet of pearwood from a company like "Modelers Sawmill" (I ordered from "Hobbymill.eu") so I could go in any direction with the planking. I first sent photos to this company of the laser-cut side planks above the wales so they could choose a roughly similar color tone for the planking (you can never get it exactly right unless you send a sample).
Of course this is not strictly necessary for the Vanguard kits, because of the good quality wood Chris provides, but if you want to go all-out with planking it is useful/desirable

-
-
-
-
-
-
-
That looks really beautiful on the launch, it compliments the lines somehow of the ship.
- vvvjames and Admiral Rick
-
2
-
10 hours ago, ccoyle said:
One of the things I have always wondered about this kit is whether the flat 'carvings' represent historic practice or are simply a concession to less-skilled modelers -- I suspect it is the latter, but I don't recall ever reading anything to that effect. The kit looks great finished out-of-the-box, obviously, but I wonder if anyone has ever tried to add some depth to the carvings by taking off some of their sharp edges with needle files.
Me too...same as the "drop" below the quarter gallery's of the Sphinx kit. I think it's a simplification of carving work or painting, but not sure either.
-
2 hours ago, Bomber_County said:
I also model indoors in a converted double bedroom. How did you find the extract and MDF dust collection on this? I like the aspect of it being portable. Thanks in advance.Phil.
To be honest...I don't know yet. I'm at a point with my model where I haven't had to sand since I bought it. I tested it briefly, and it works well. However...it's not super powerful. I have it as a supplement so my workspace doesn't completely get covered in dust, but I still wear a face mask when sanding larger areas. especially MDF
-
Well done Bob! You delivered another beauty to your collection! 👌
- Knocklouder and Keith Black
-
1
-
1
-
Nice clean work! Those angles and curves higher at the stern section are not easy to get right
- mtbediz and Der Alte Rentner
-
1
-
1
-
Welcome back!


HMS Sphinx 1775 by Ronald-V - Vanguard Models - 1:64
in - Kit build logs for subjects built from 1751 - 1800
Posted
Thanks James!