Ronald-V
-
Posts
1,780 -
Joined
-
Last visited
Content Type
Profiles
Forums
Gallery
Events
Everything posted by Ronald-V
-
 Thanks B.E.!
 -
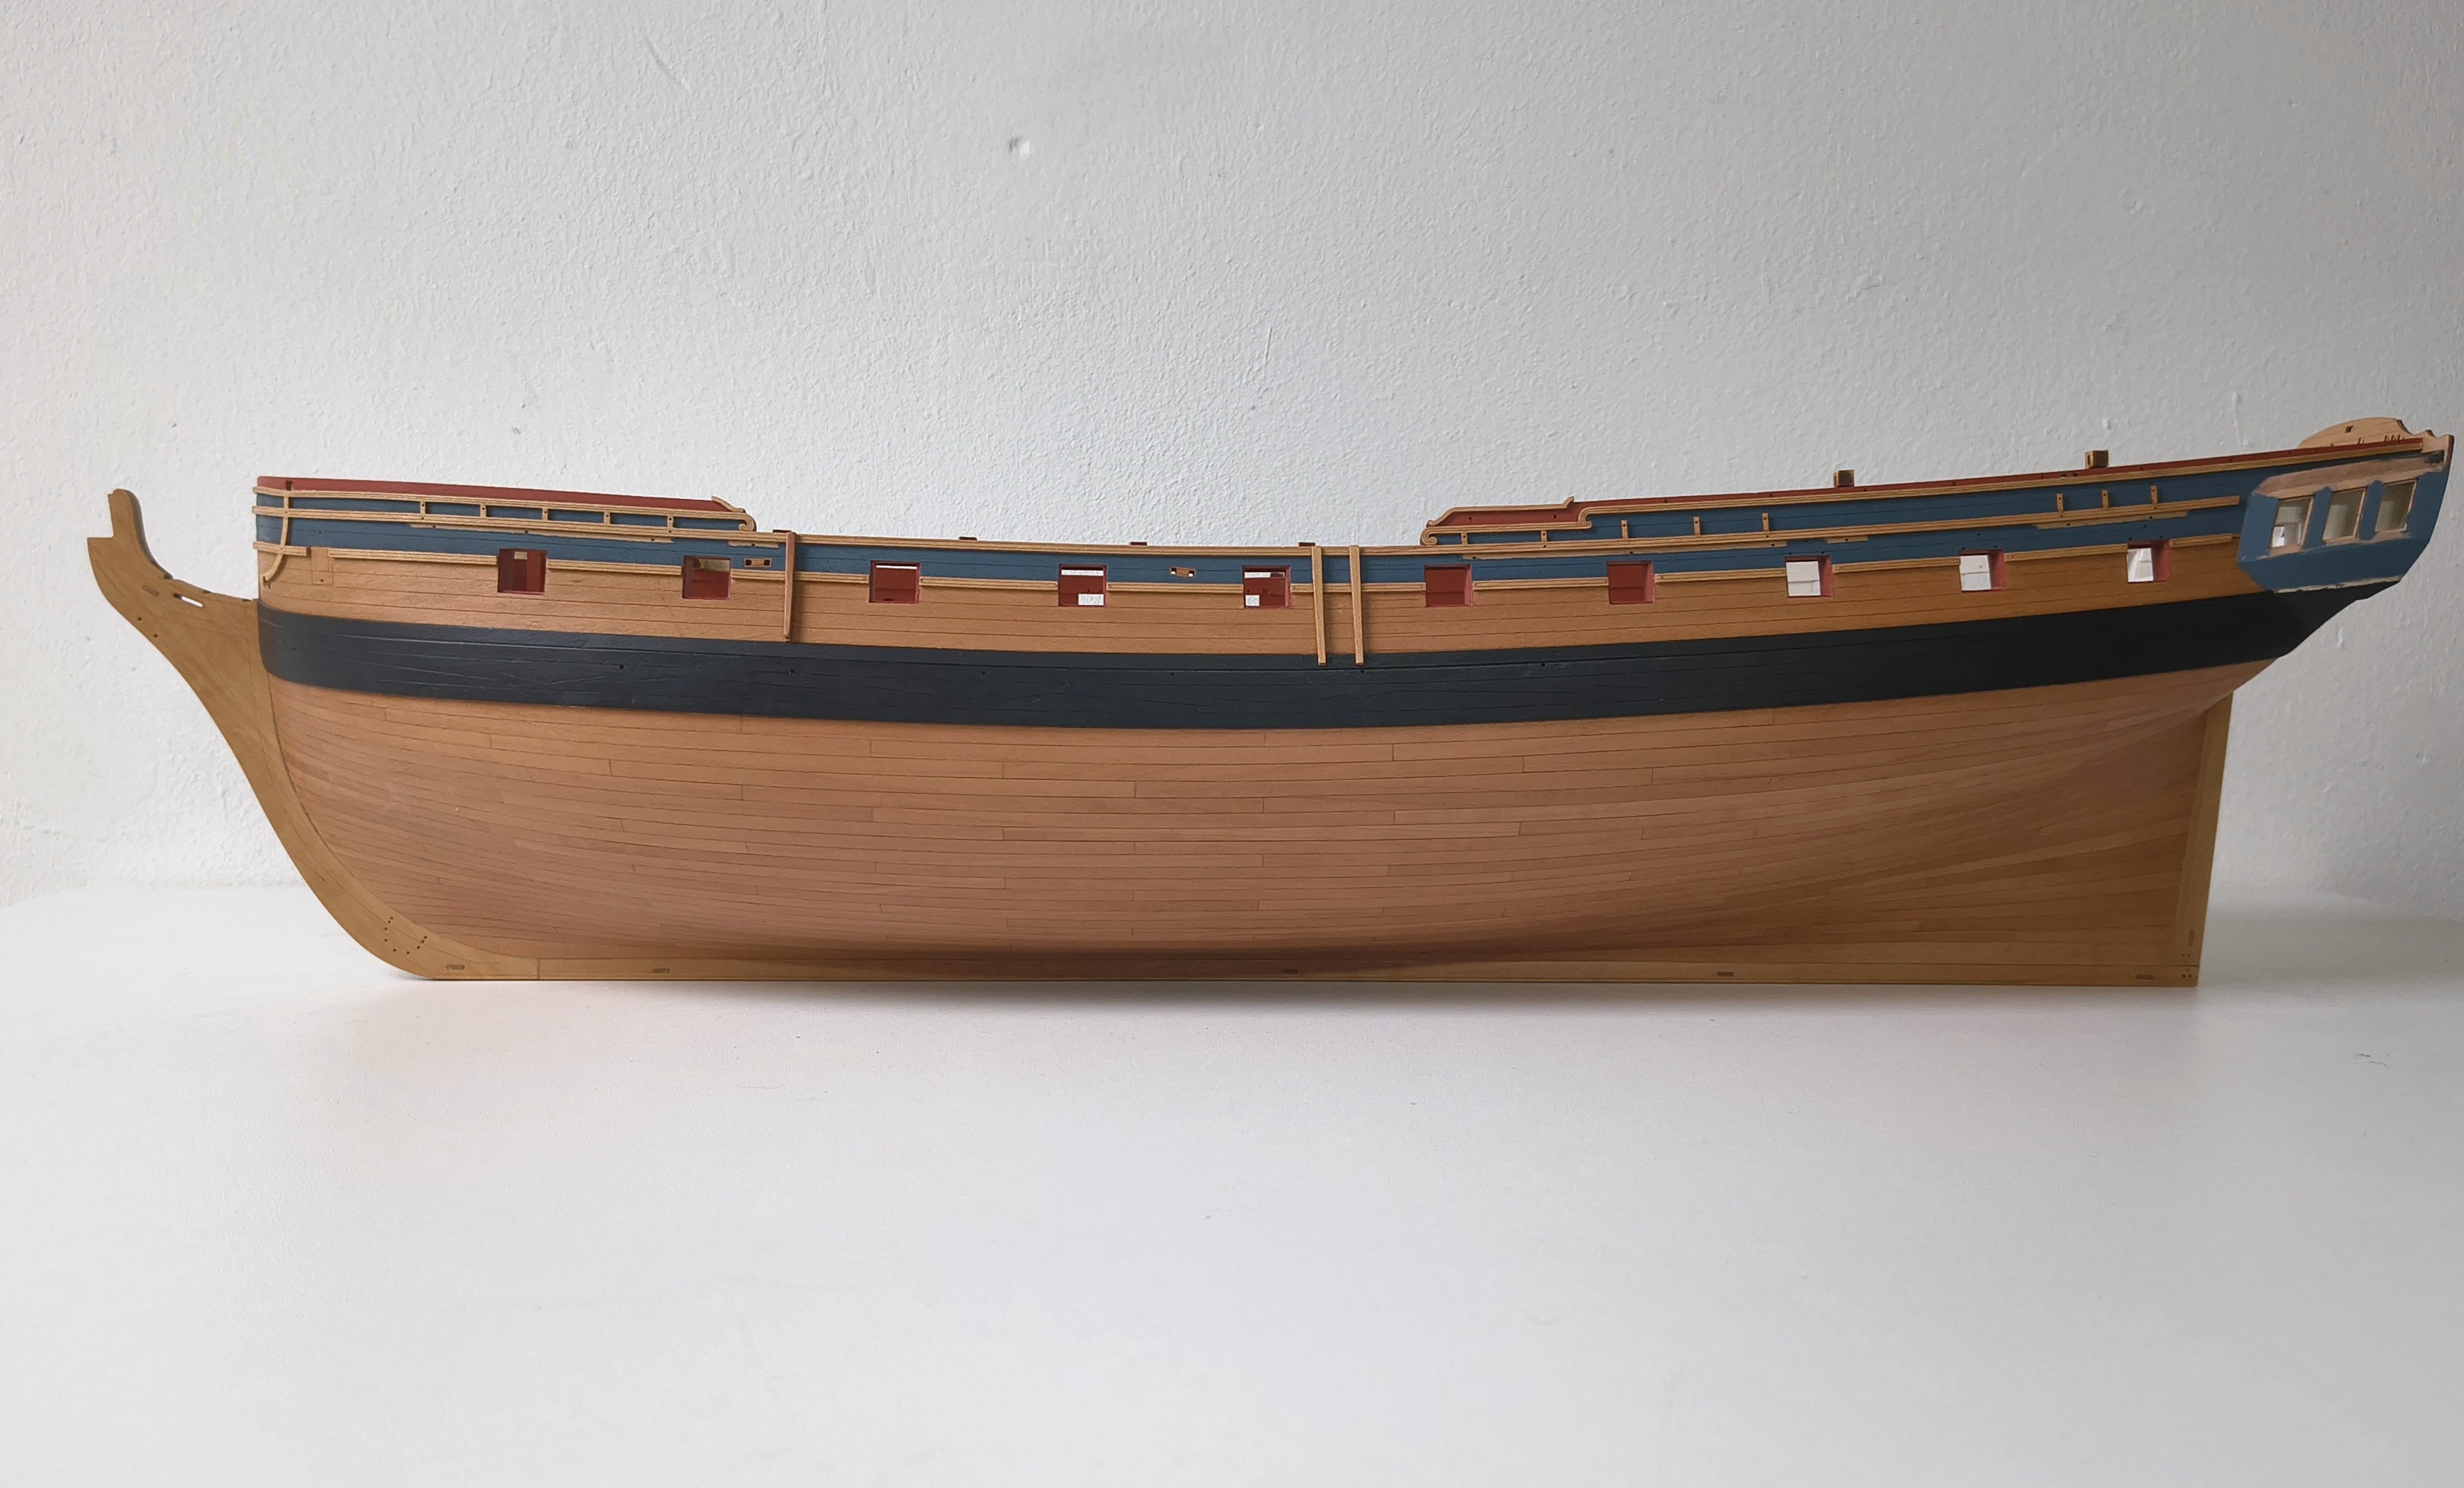
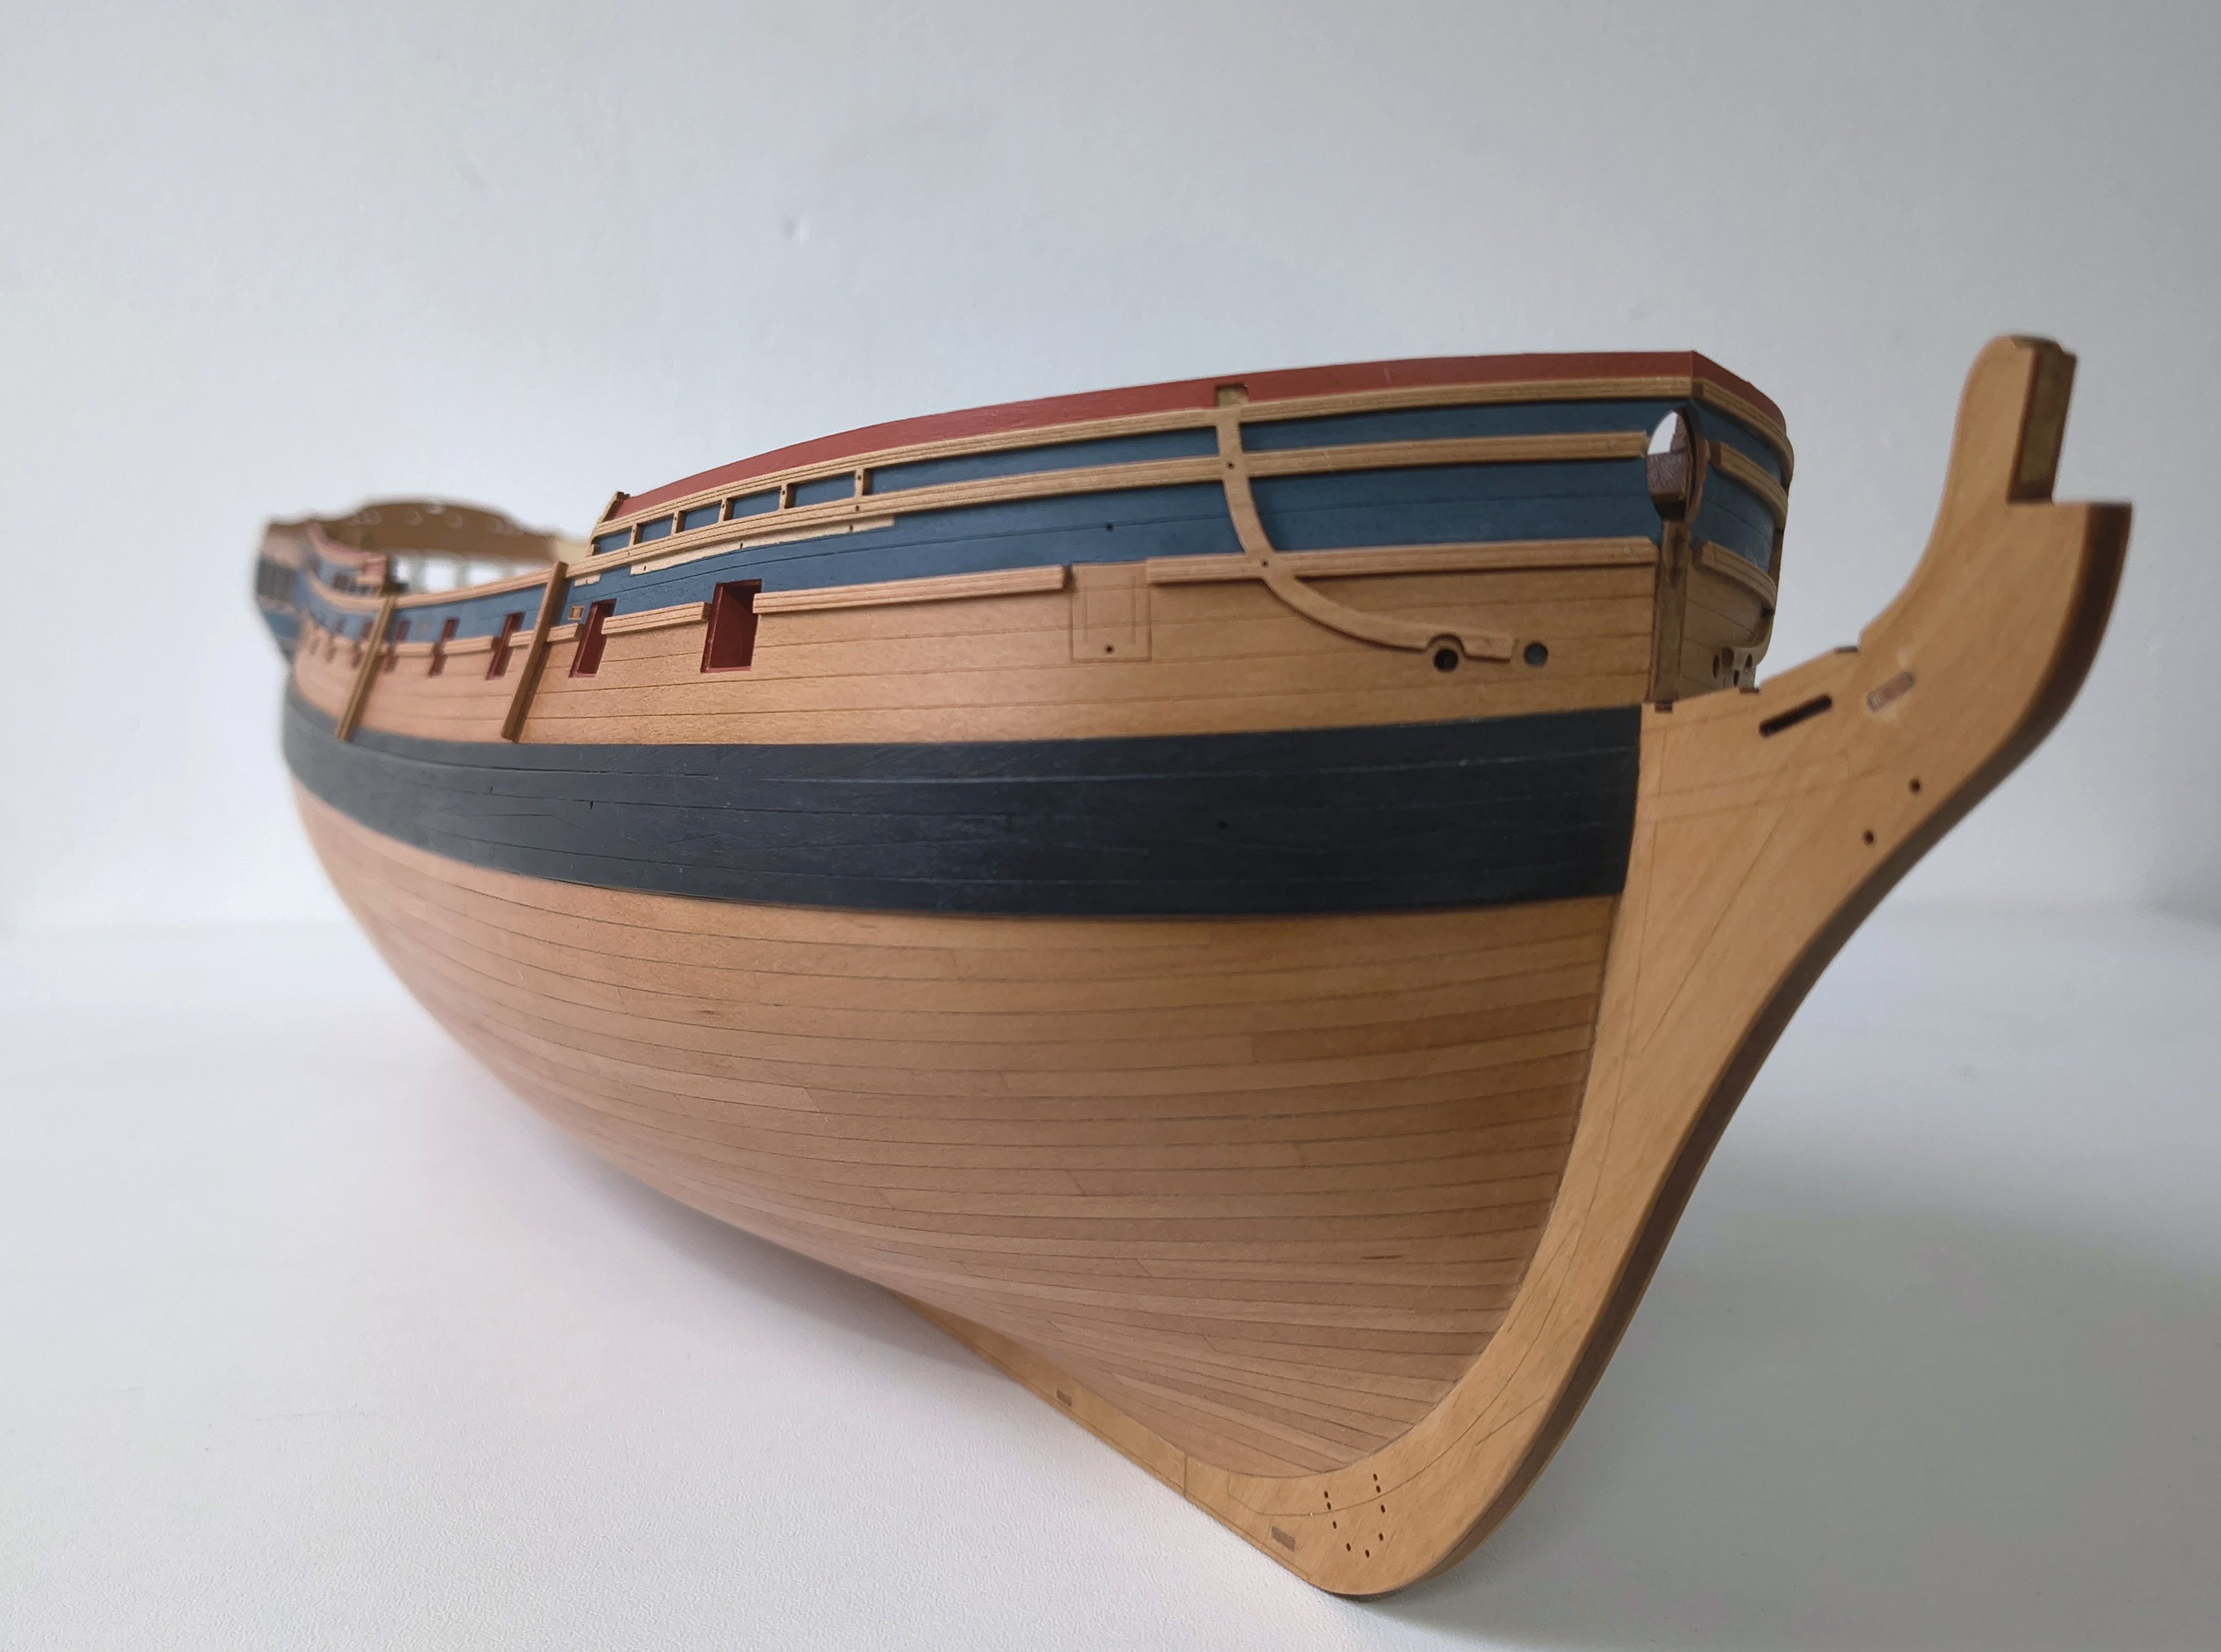
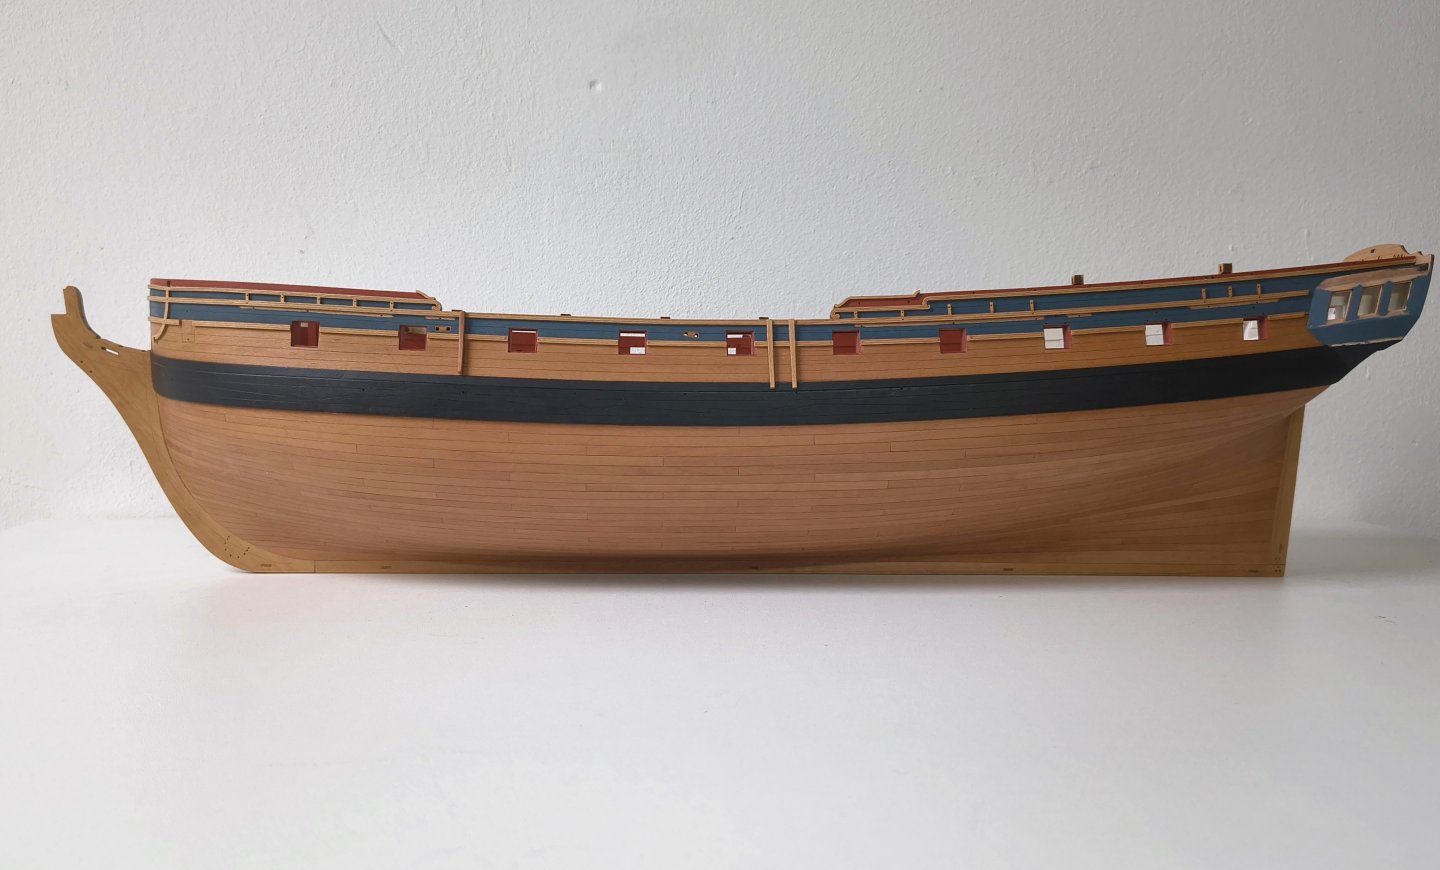
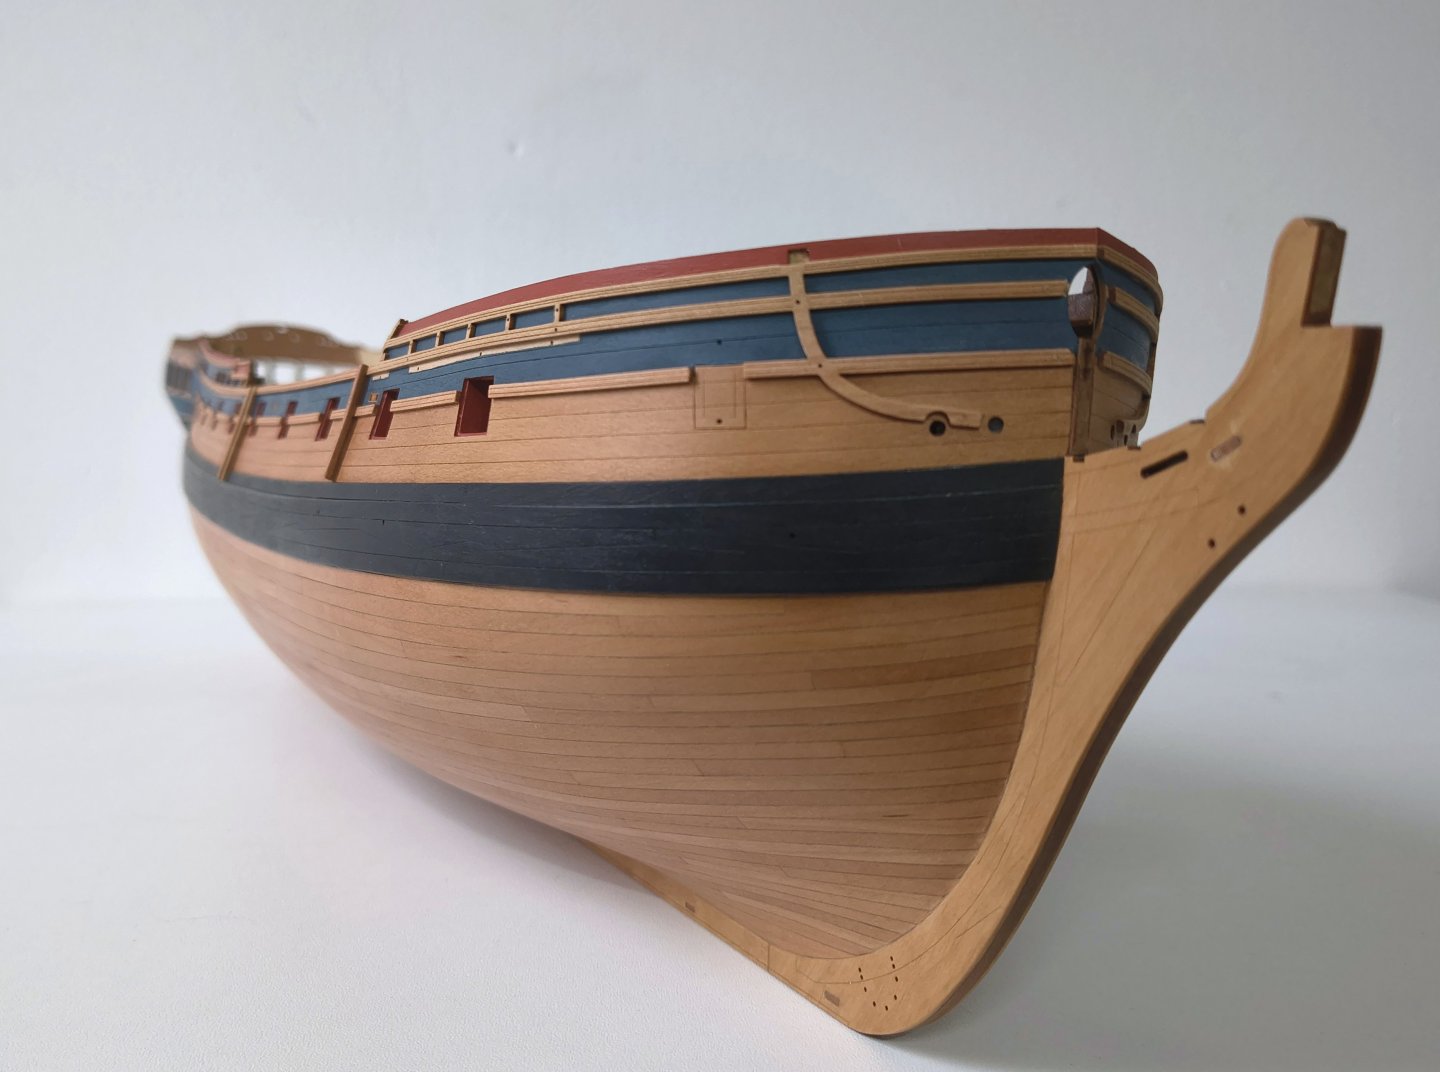
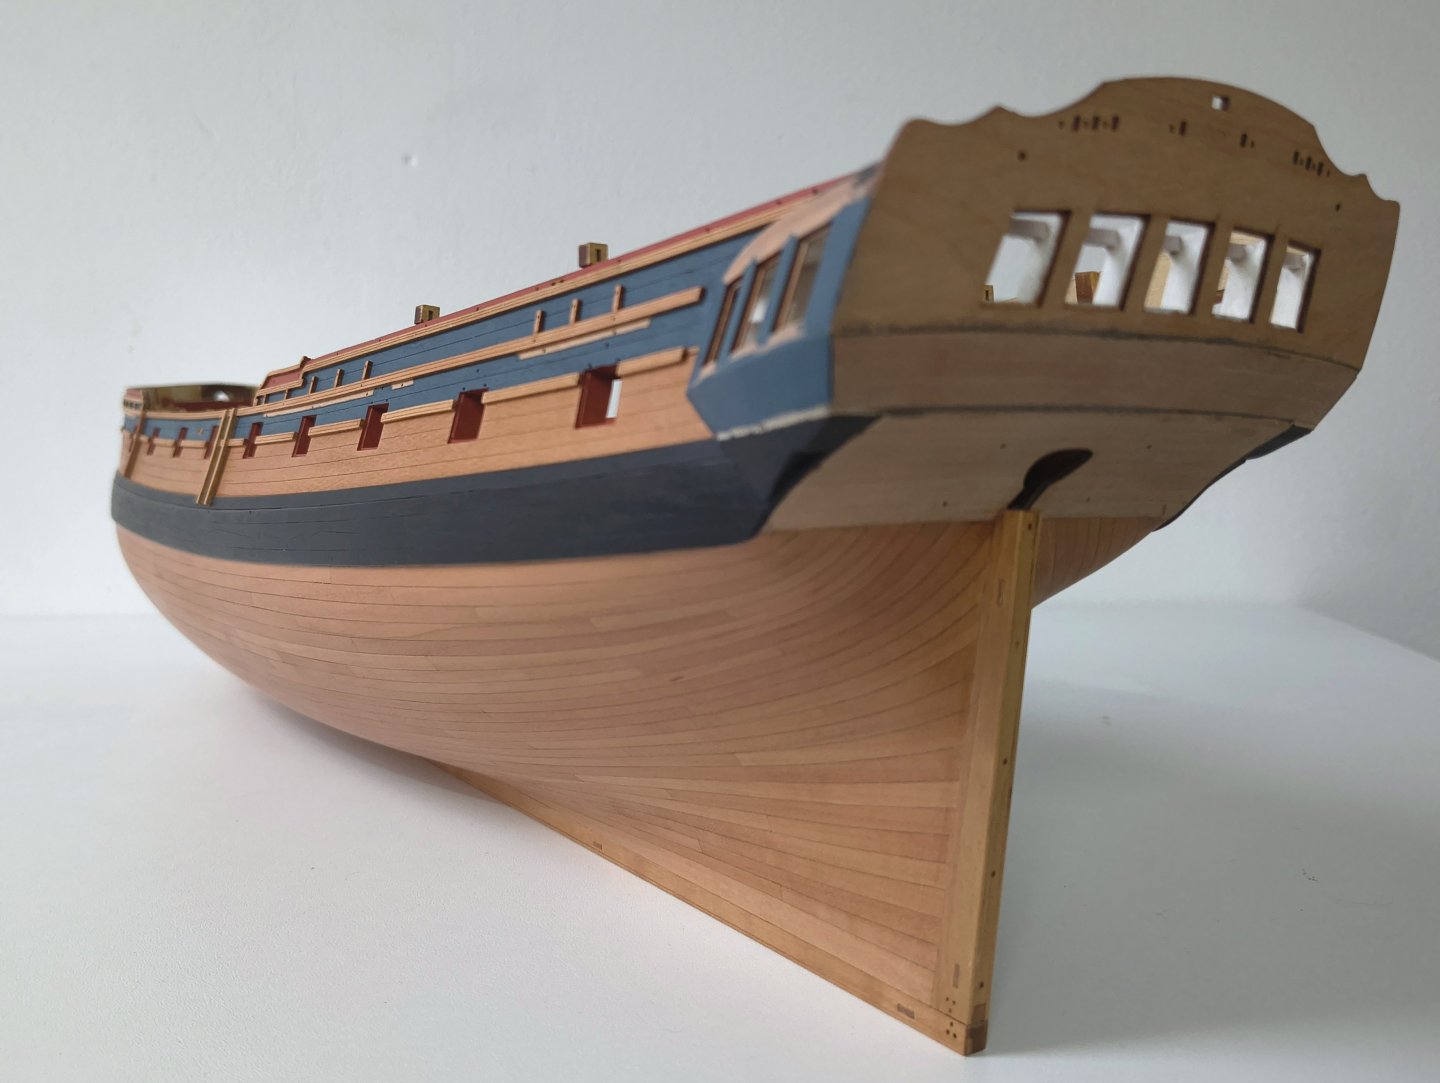
Update: Finally all rails attached and also the top of the hull given a few layers of WOP. Now that the top and bottom are finally in the oil it looks like a nice whole. Long awaited to put the top in the oil, so happy to reached this stage. Also filled all the holes that were in the rails, so that it looks nice and uniform. Next job seems to be the rudder I replaced the Chess tree patterns with my own, probably sanded the originals down a bit too much when removing the char. This made them a bit too narrow This is how the Sphinx looks now:


-
That looks beautiful so far!
-
Not sure why they don't use pre-lasered ply gunport patterns?
-
Nice first layer
-
Welcome! You've build already some nice looking models! 👌
-
Looking good! Nothing what a good sand can't fix
-
Not sitting still...good progress! Sorry to hear about the gunports, but you seem to have found a good solution 👍
-
With some WOP it would get darker and your Winnie is of a lighter color. I think that would be a nice combination. Did you already test fit how it looks?
-
More then double the amount of tons is insane! (the ships I mean )
-
She is a bulky lady!
-
Very nice looking model! Well done...and I like the photo where they stand together 👌
- 71 replies
-
- 1
-

-
- grand banks dory
- midwest products
- (and 2 more)
-
Thanks Loracs! Thank you for your kind words! And thank you all for the likes!
-
Well done! Curious how it's going to look when attached on the masts 🙂
-
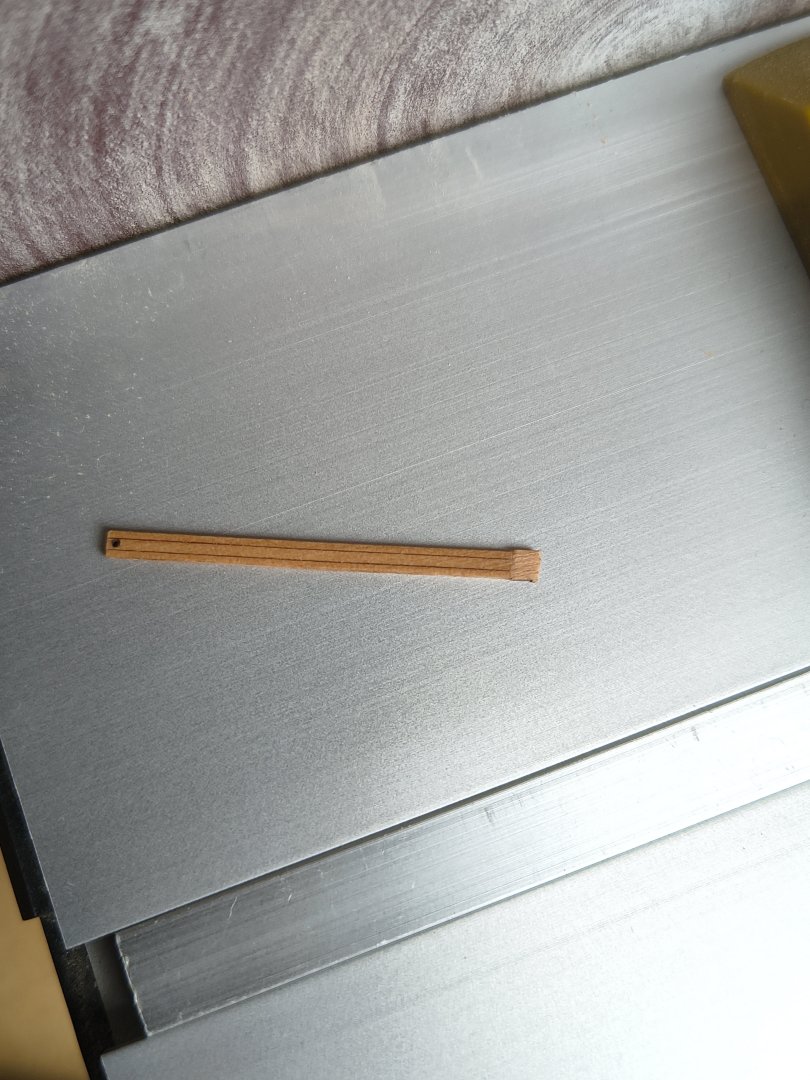
Good tip! I can try that too. I just have to see if I can get the color right with a layer of WOP, since toothpicks are a bit lighter in color I think
-
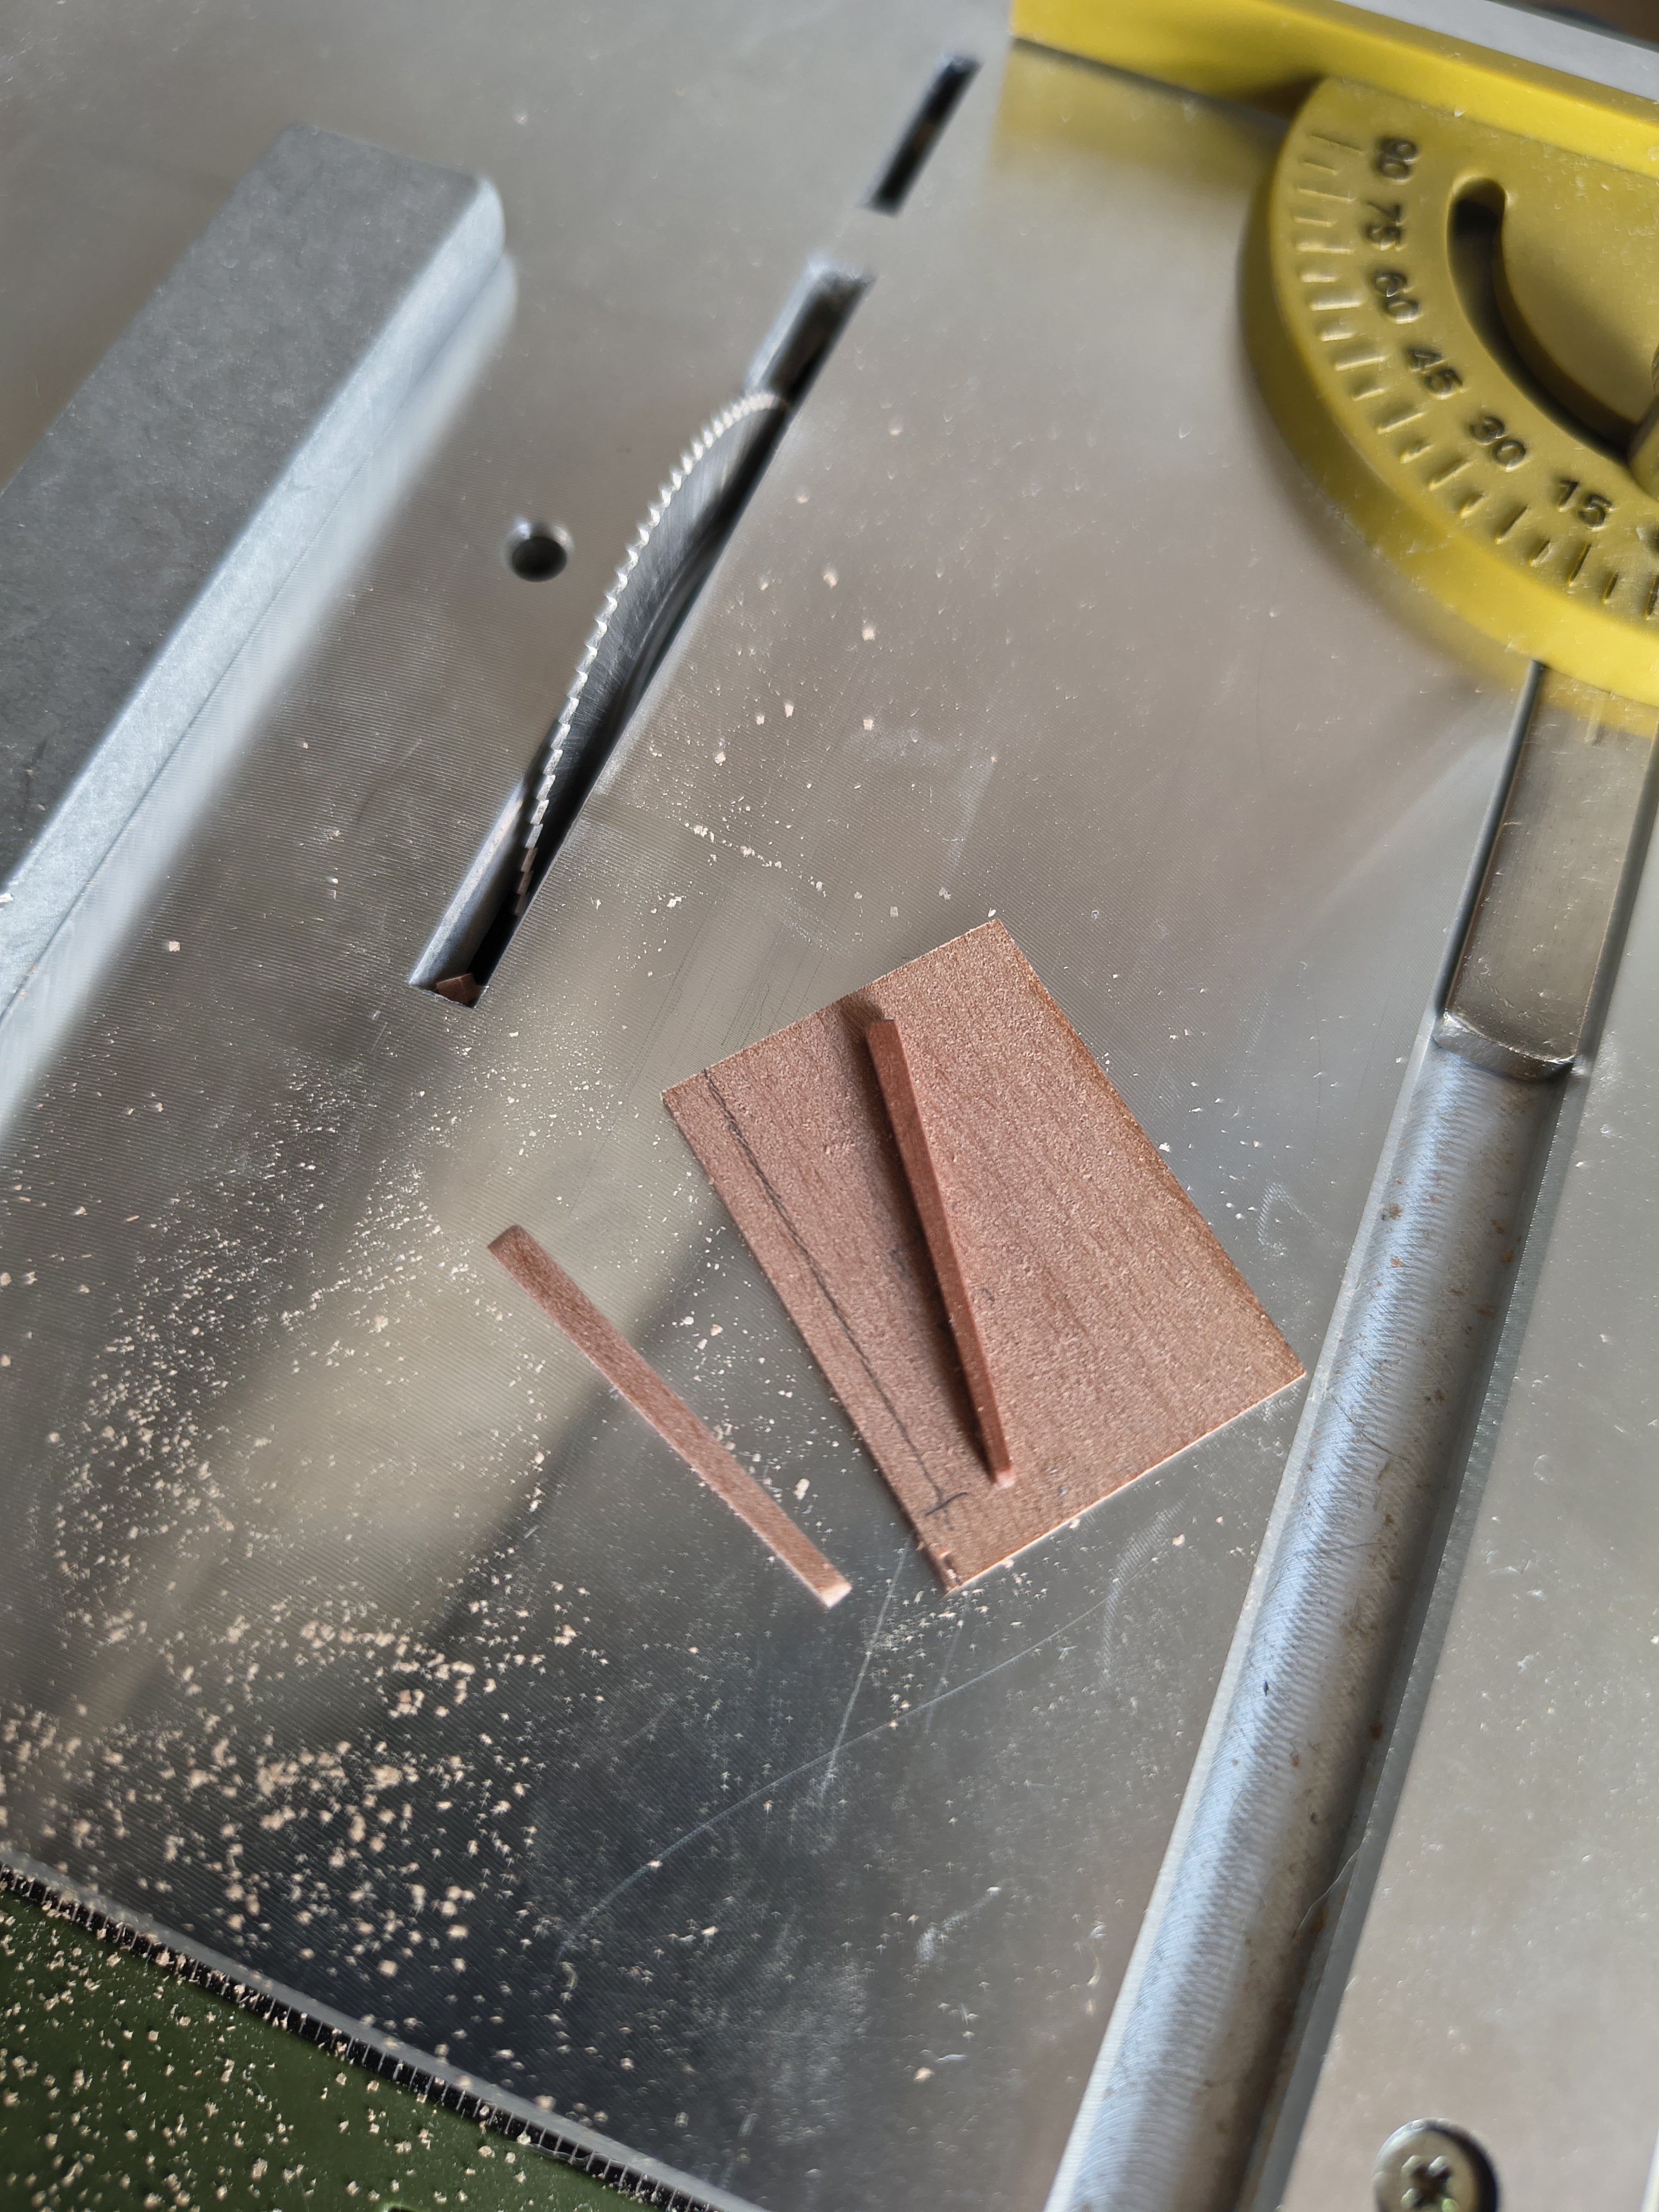
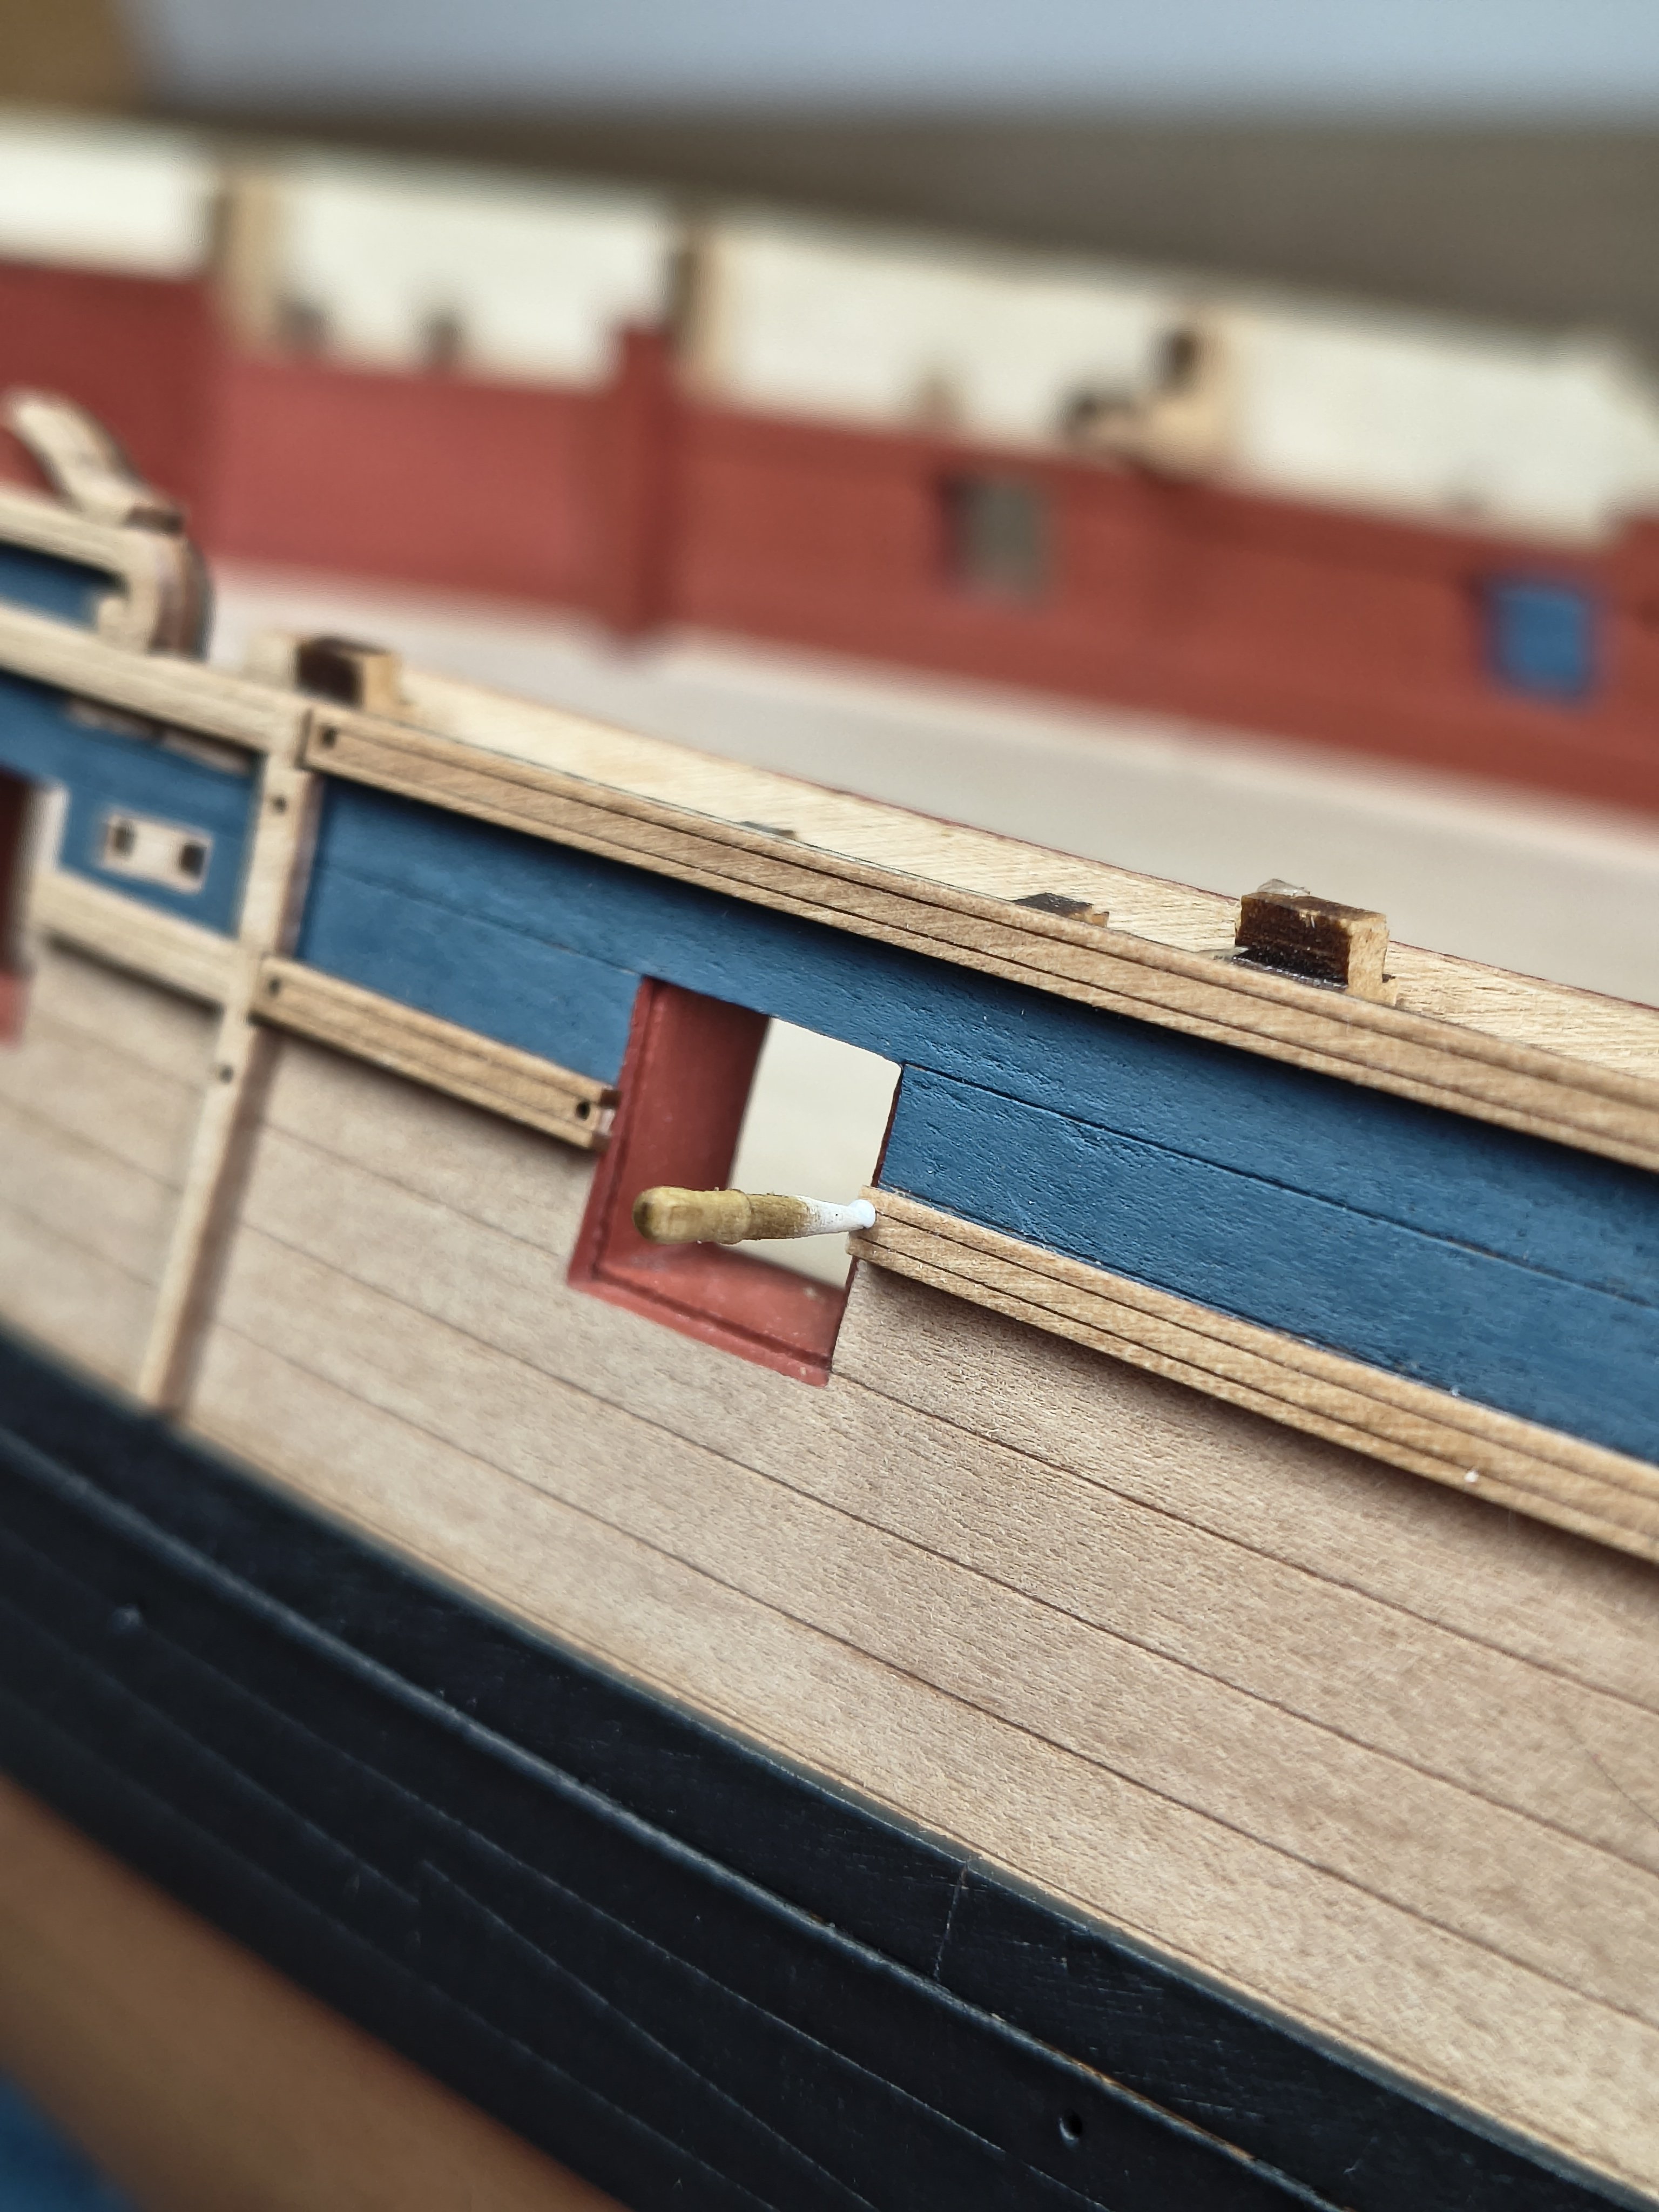
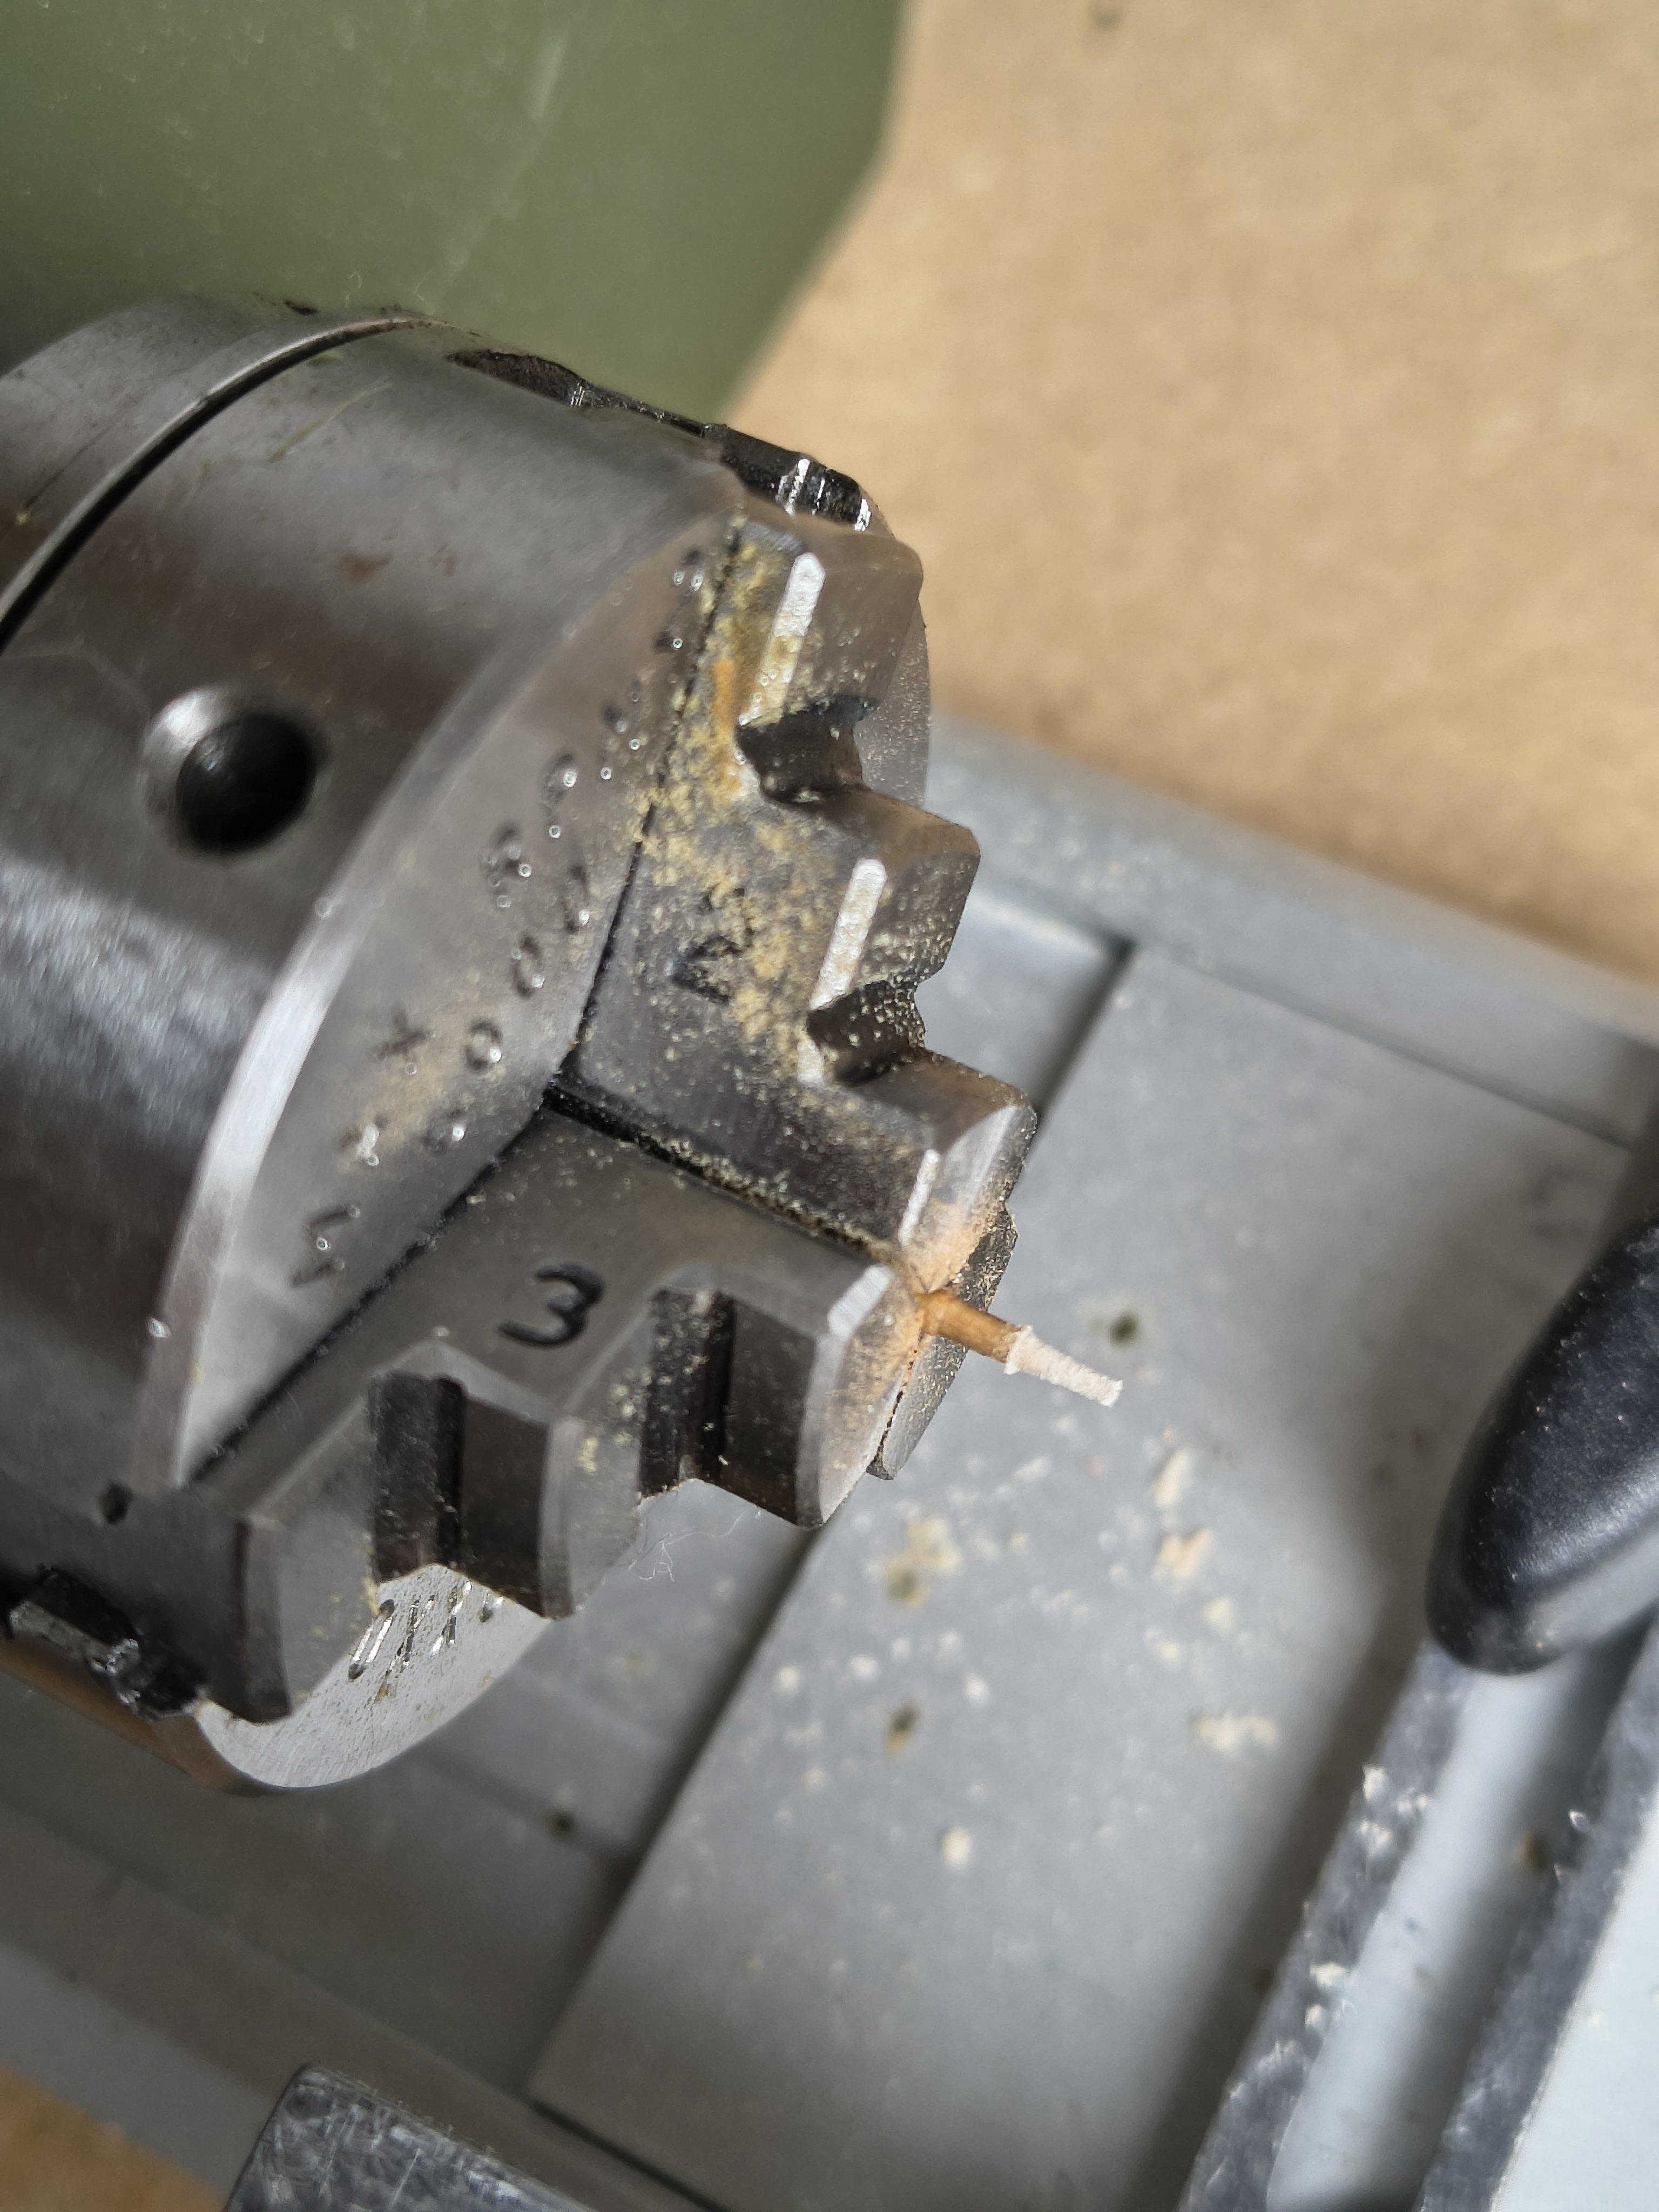
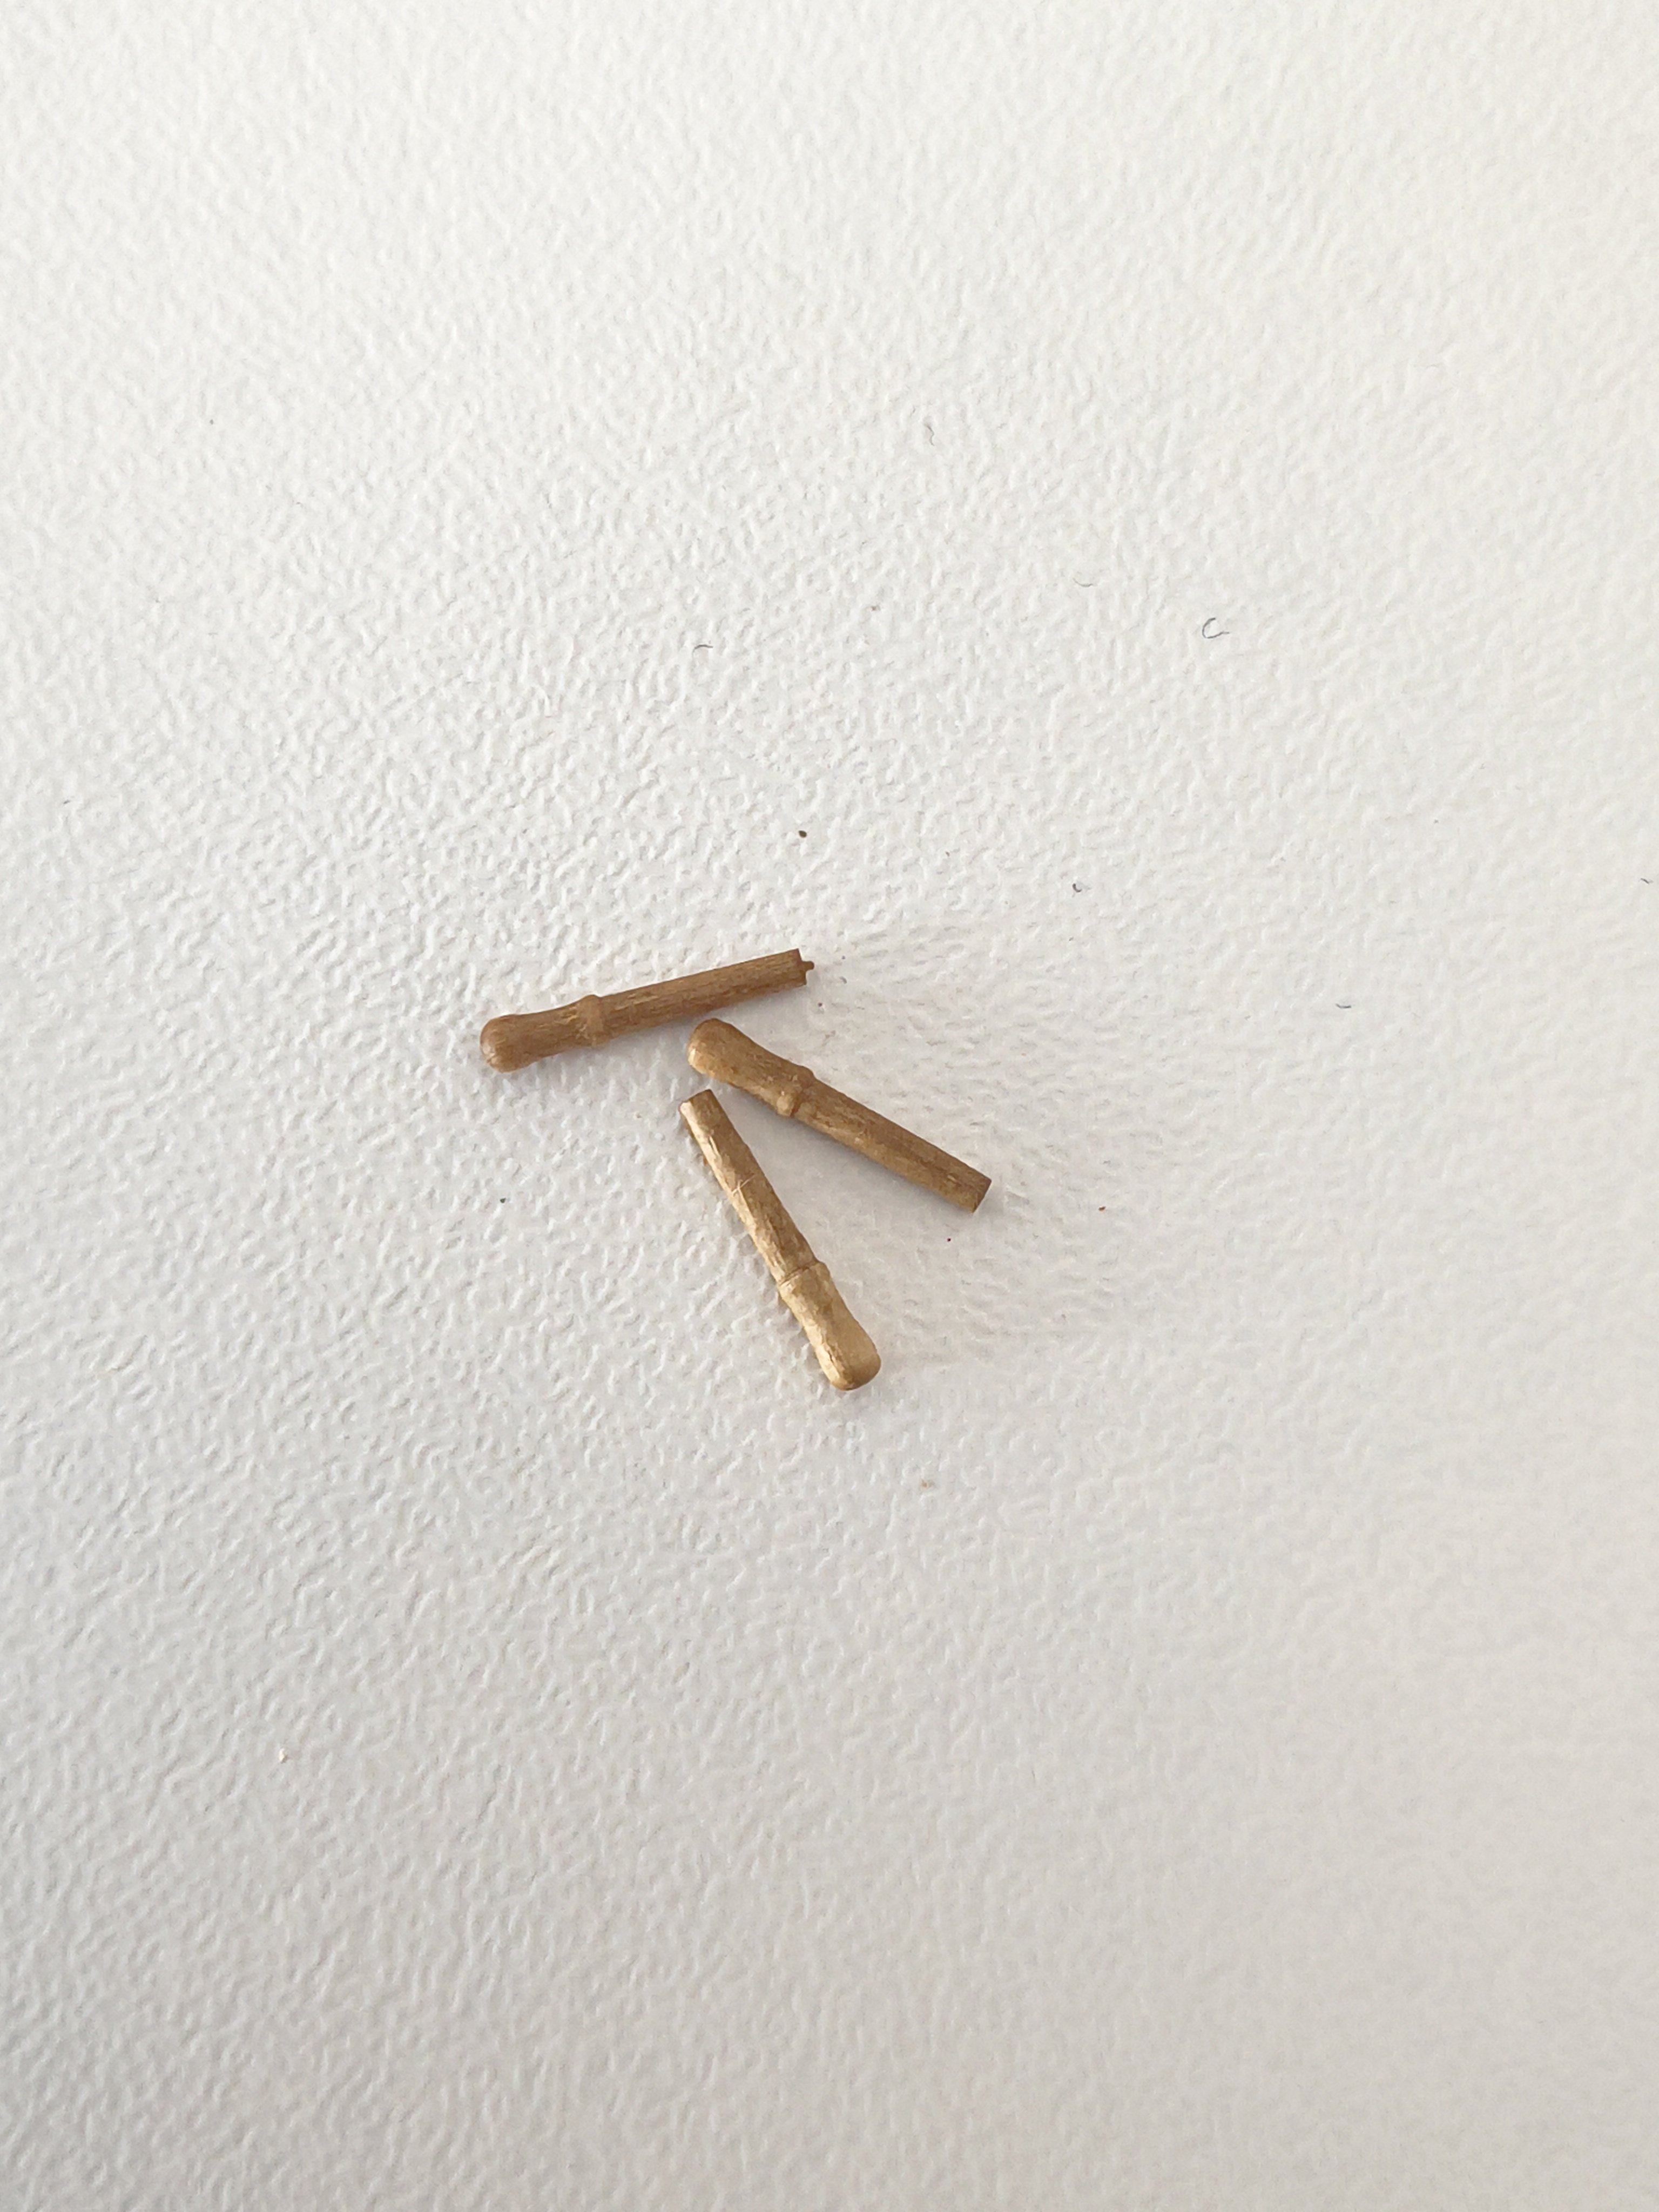
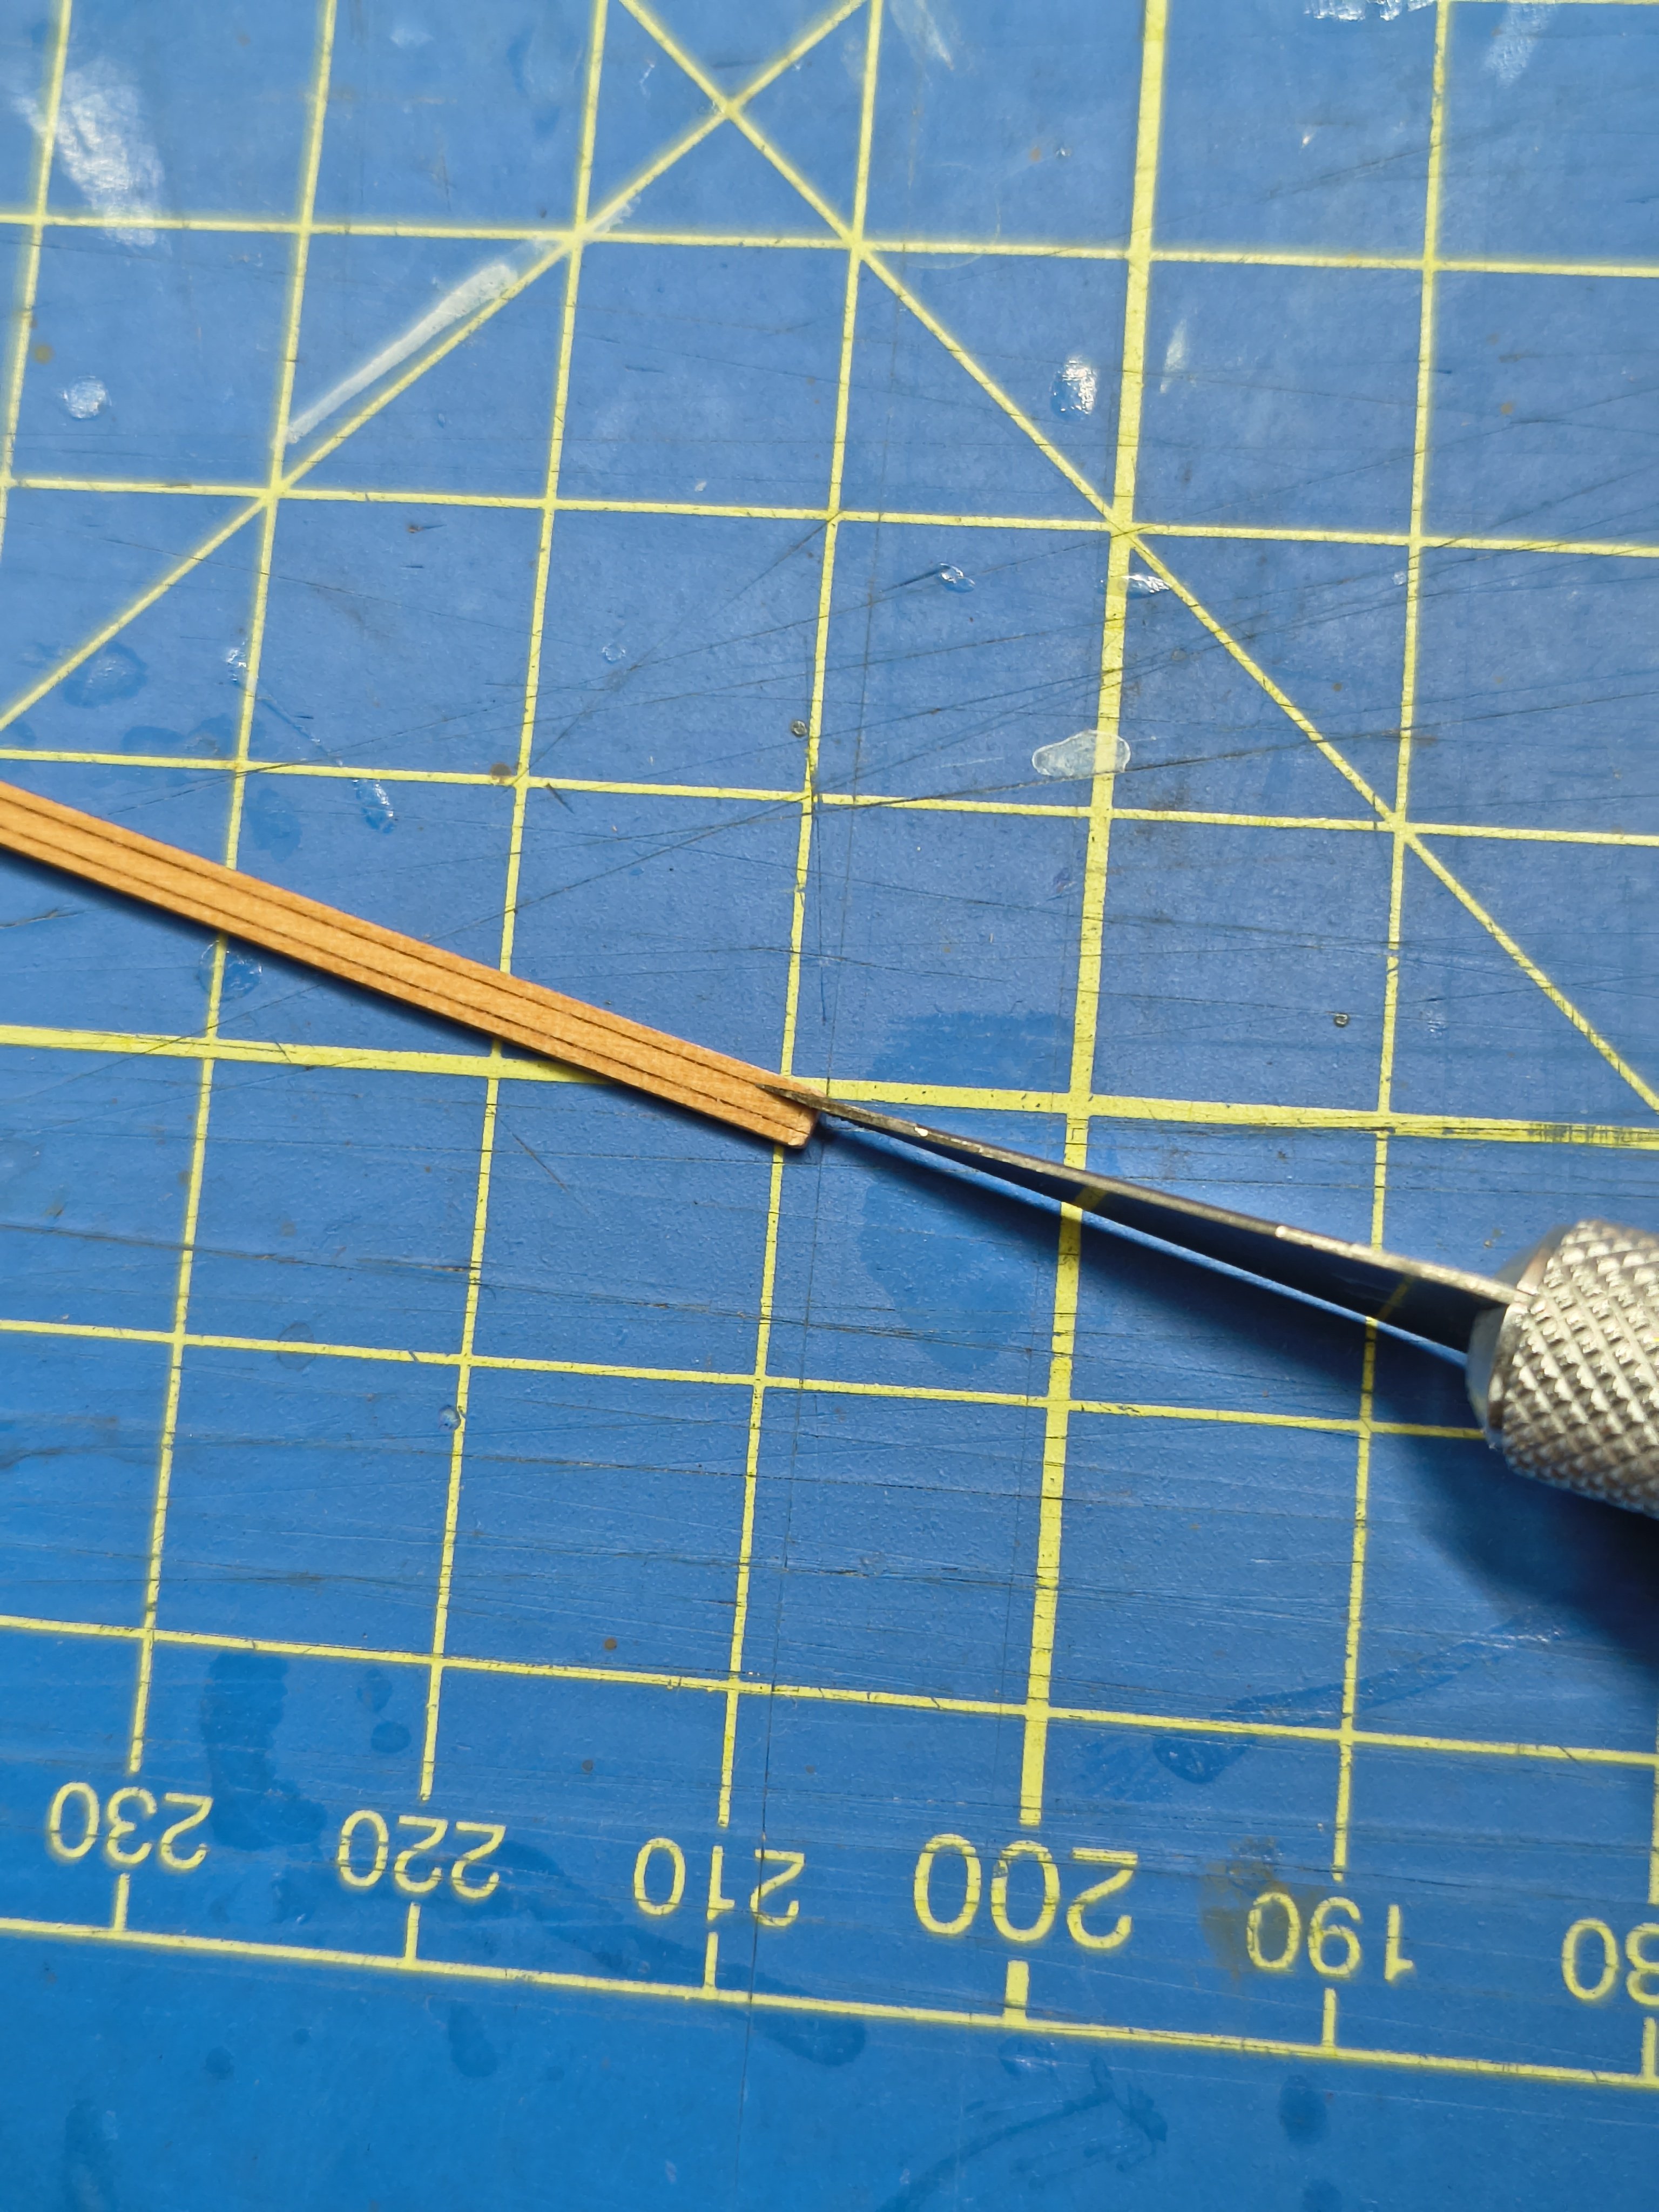
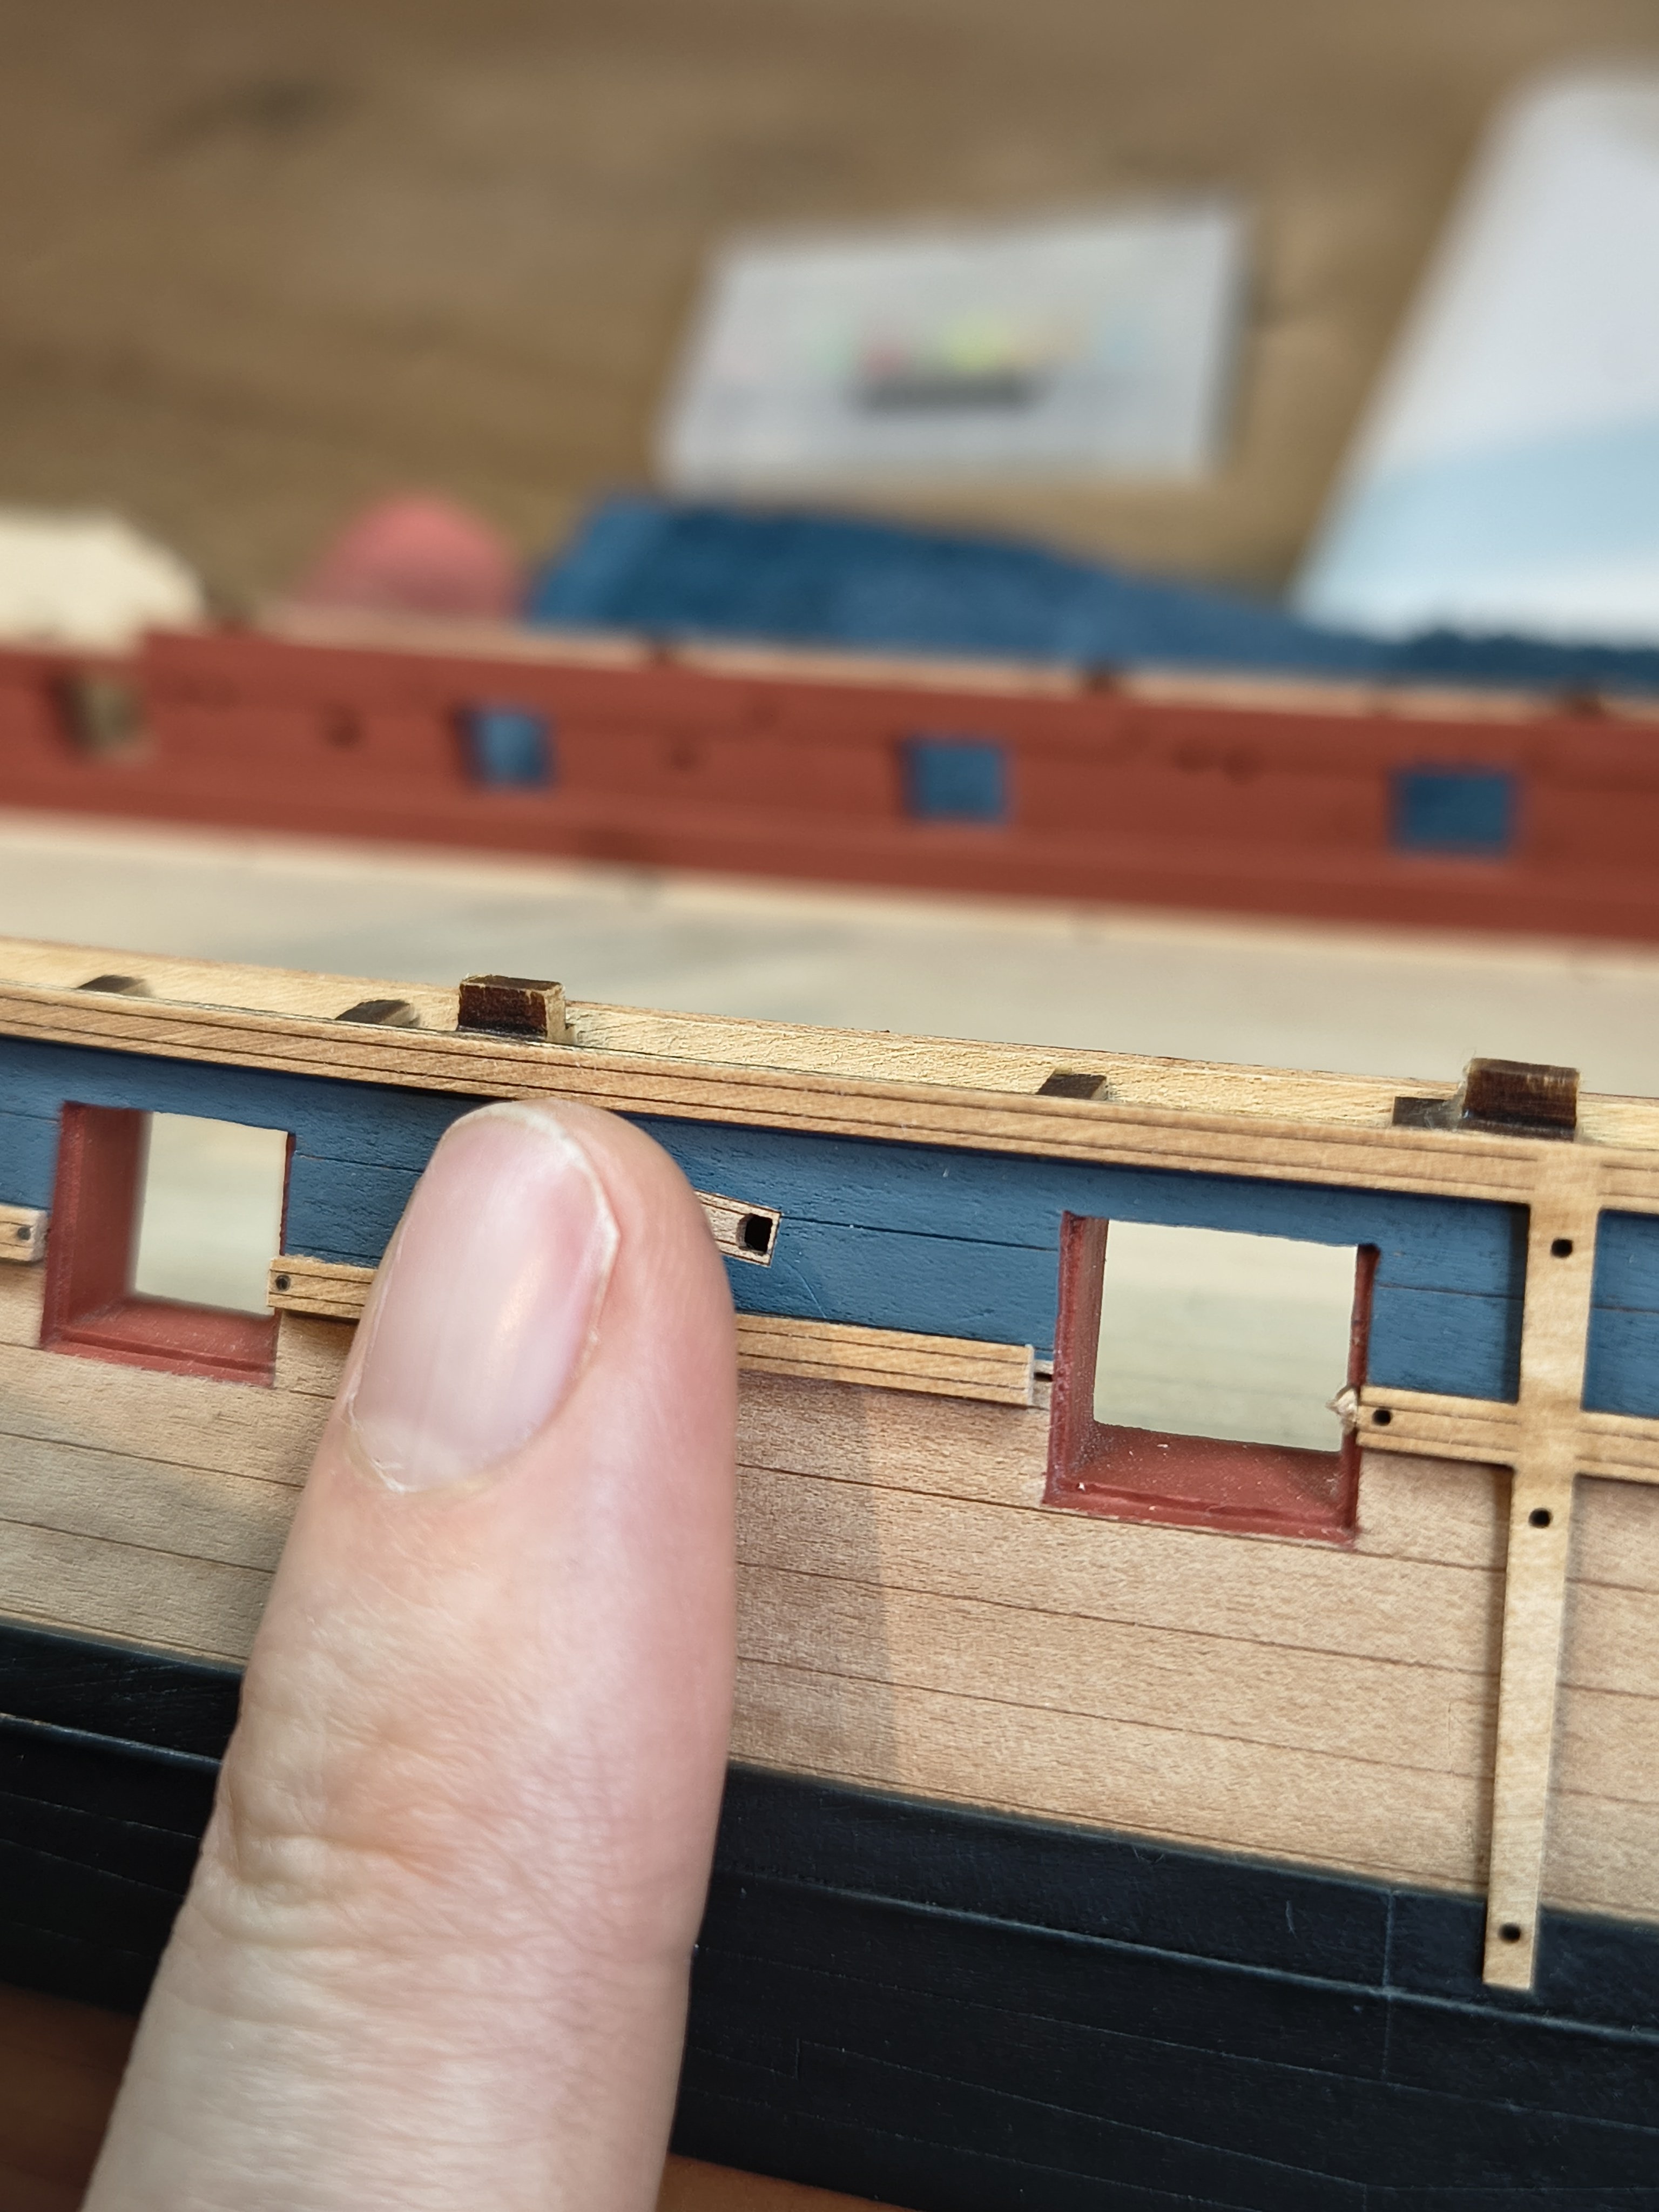
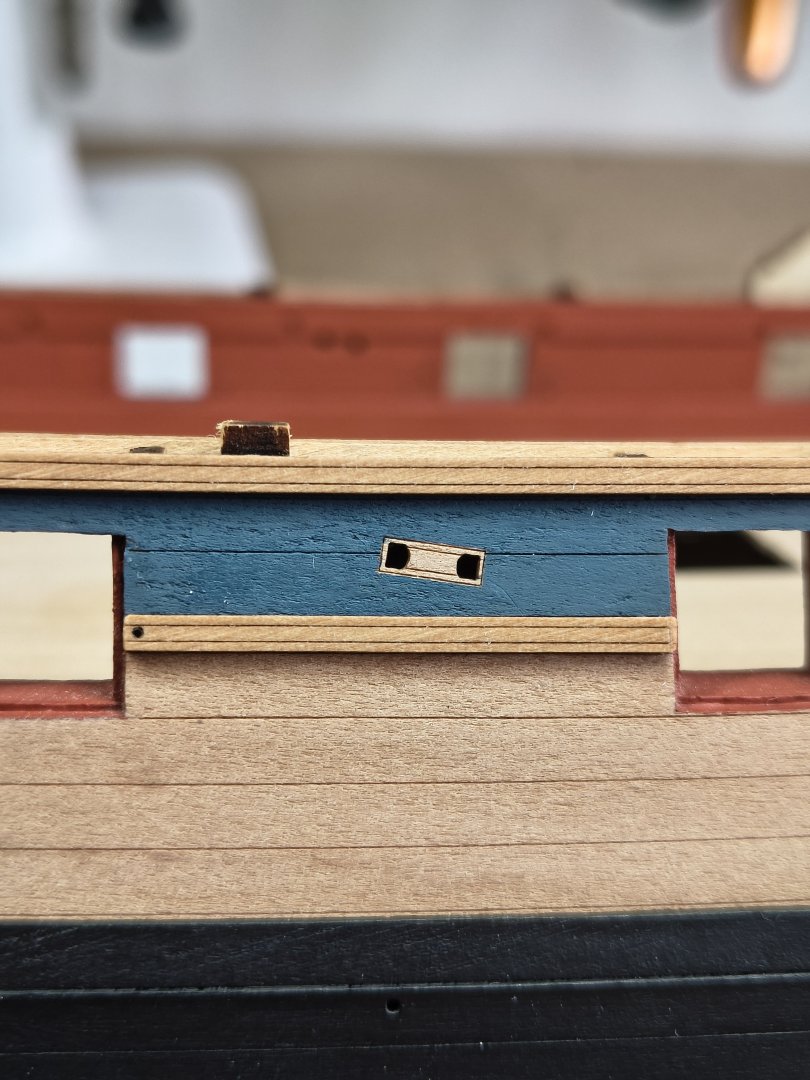
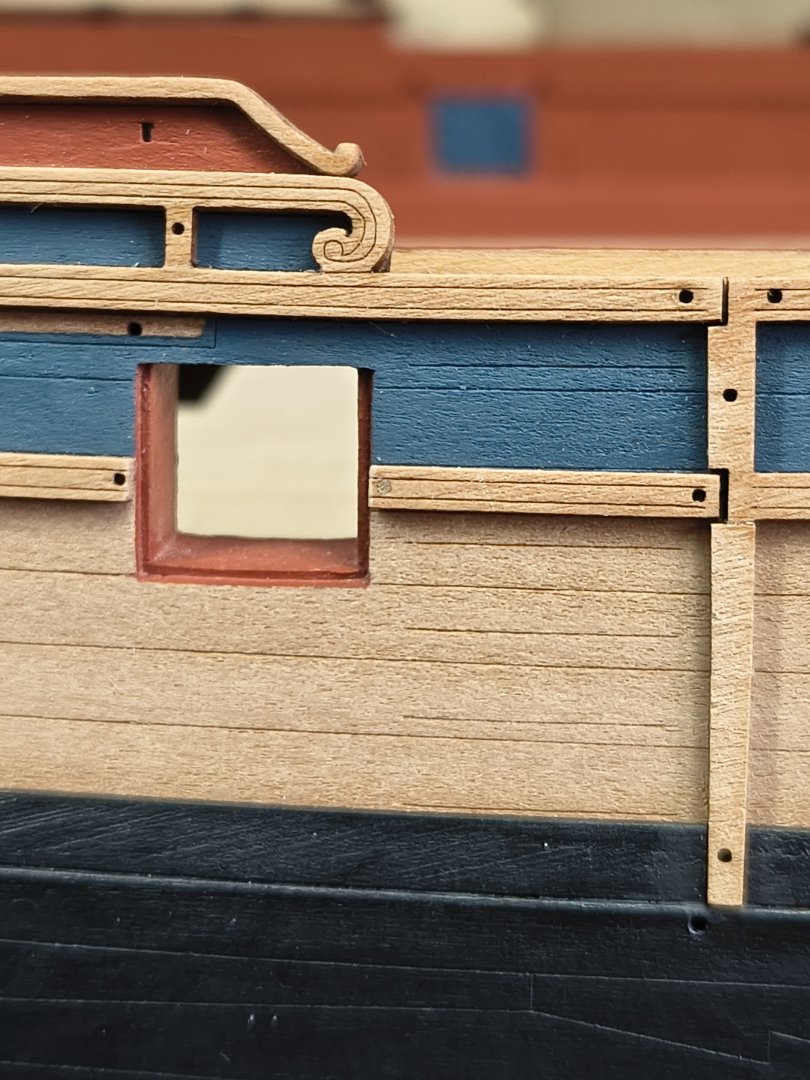
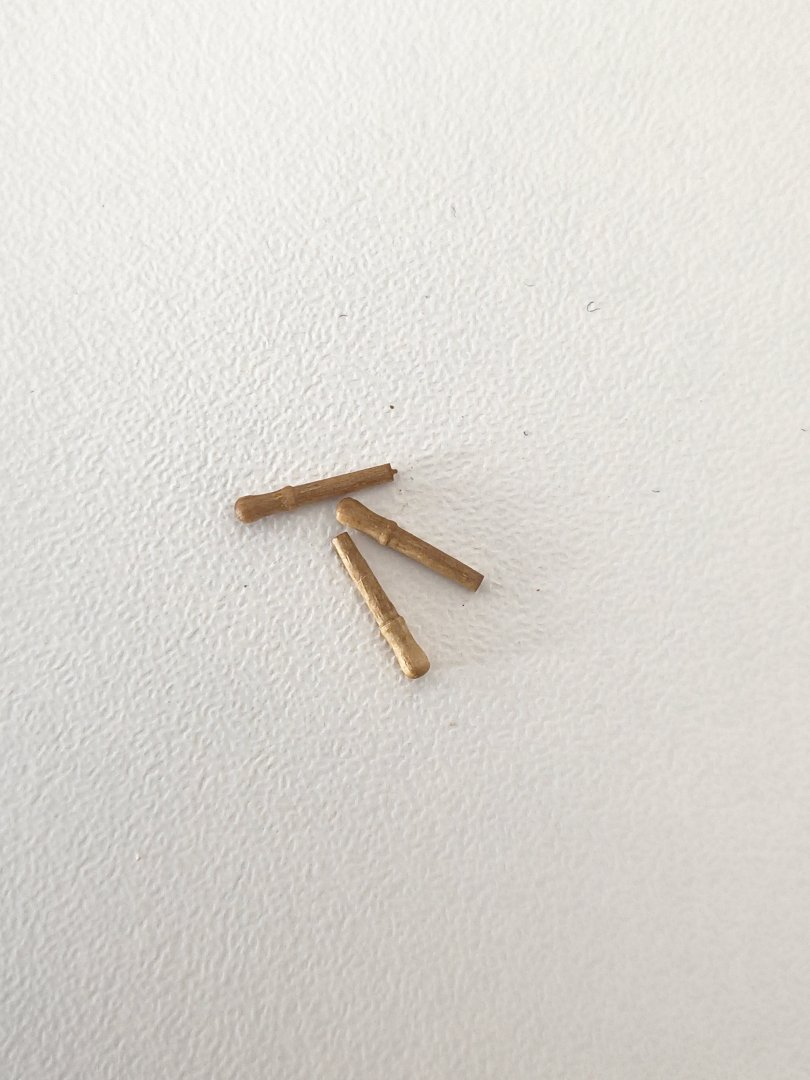
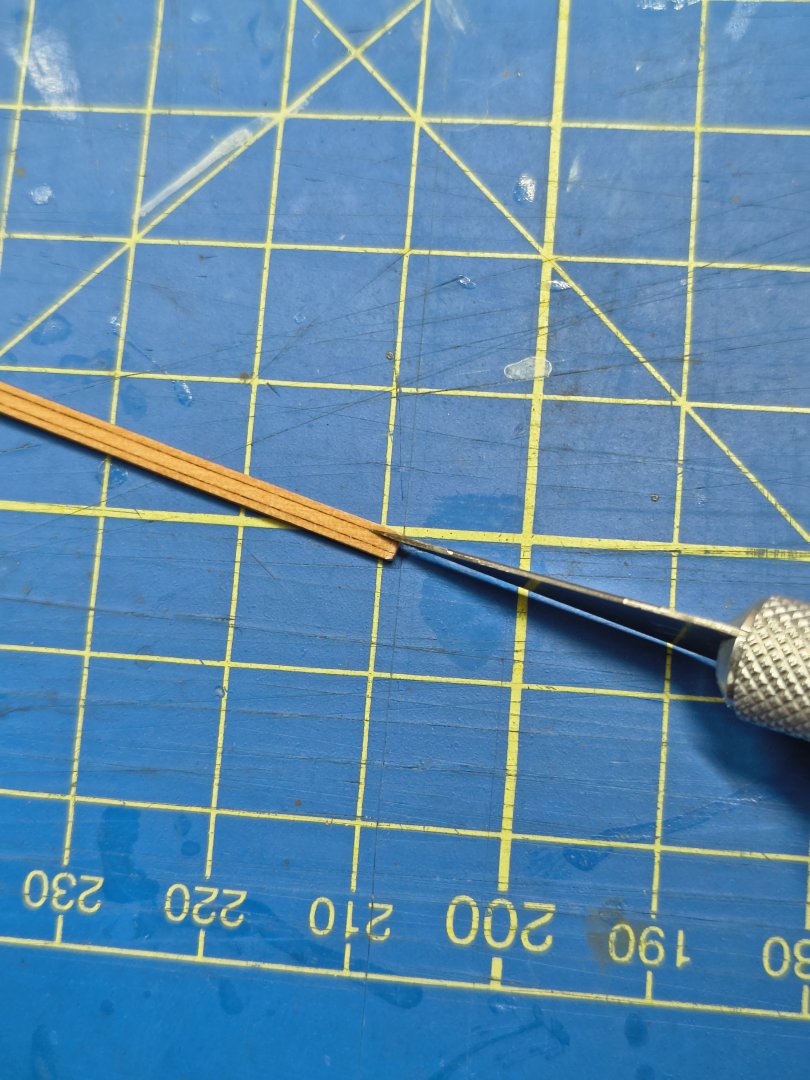
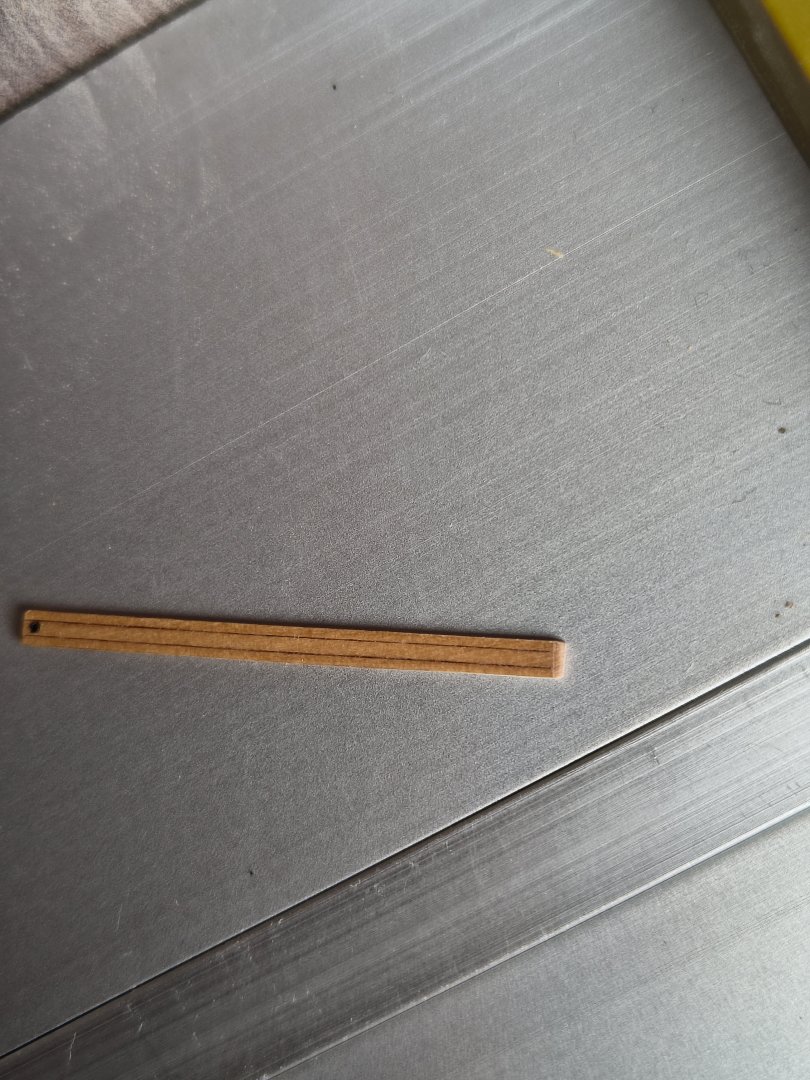
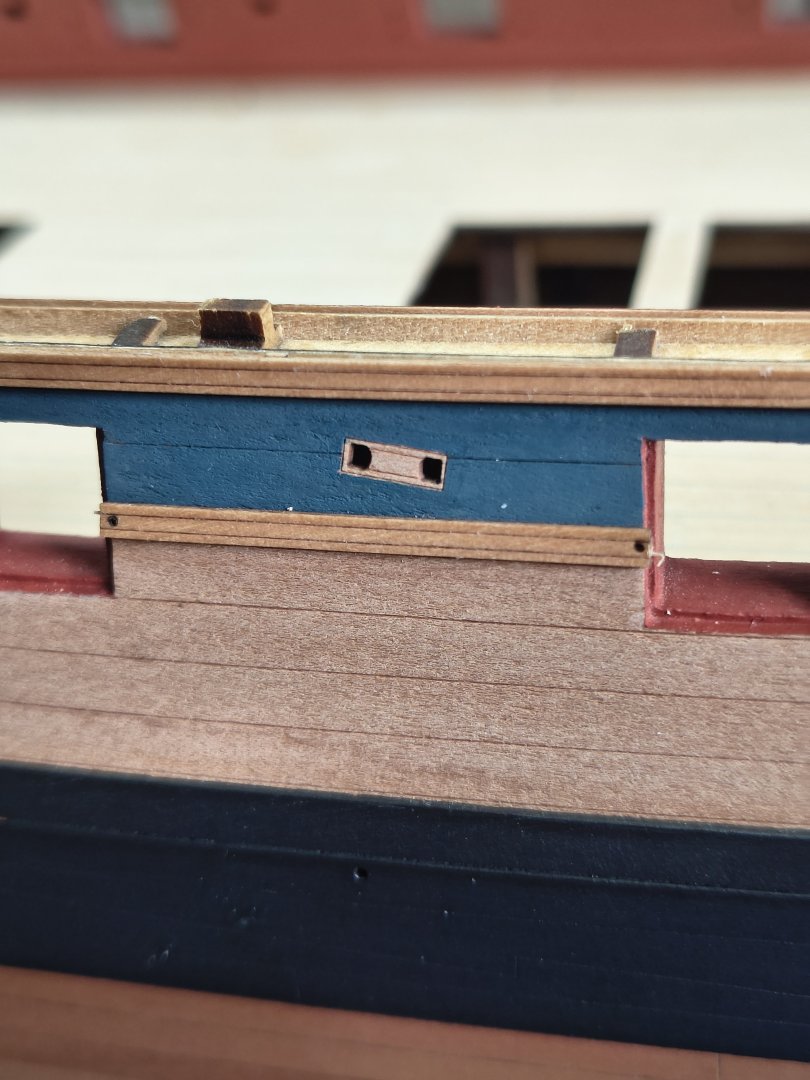
Just a little update before I have attached all the rails. I had almost all the rails attached except for the big complex one on the bow. I didn't really know how to get them on properly without getting everything covered in glue. I then looked at other logs including Bleu Ensign and he cut the whole thing up and glued it on piece by piece. I don't know why I didn't think of this myself?! Too bad I only read this at the end because then I think the rest would have been easier to attach to the hull. I read that Chris also considered this and ultimately decided to attach everything together. Personally, I think it would be easier to do it in segments, since they are already lasered in the right shape/radius. But of course, these are preferences that everyone has to determine for themselves. The problem I now encountered was that the holes (to center the rails) sometimes ended up exactly on the edge of the gun port as in the example below. If I were to cut that away, a half moon would remain, which is of course not so nice. Anyway, I noticed that certain parts of the rails didn't "come out" nicely this way. So I carefully removed all the rails around the gun ports with some alcohol and adjusted them in the following order. First sanded away the piece with the hole that would not fit well with the gun port edge. Then glued a piece of scrap wood on top. Sand it to size and score the decorative lines with a knife. And of course a little WOP over it so that it is protected and the difference is minimal. The decorative lines on the applied piece are not that visible in this photo, but you can see them in real life. The second thing I am currently working on are all the center holes. I have to say they were great for positioning all the rails, but I personally want them to be hidden so you get a nice clean look. For that I am sanding down a few belaying pins on the lathe (left over from my HMS Pickle build) I glue them into the holes with a dab of glue. And when the glue is dry, cut it off with a knife and of course finish it with a little bit of WOP. The end result is at normal viewing distance very fine in my eyes. But still have to fill a lot of holes this way, so I'm still busy for a while. All in all some extra work...which of course is not necessary, because you can just leave it as it is of course. But I myself think it adds something if everything looks nice and tight and neat...plus you have even more fun with such a kit


-
Good luck on this journey Kevin! Will be a long one And will be a interesting one to follow!
-
Well done Kevin! She turned out wonderful! Also nice to see the scale photo with yourself 👌
- 443 replies
-
- 2
-
-
- Indefatigable
- Vanguard Models
- (and 1 more)
-
That's some nice planking! Are you going to leave it natural?
-
Looks really good! The new companion is a real improvement and the crowded boats look nice too!
-
Yeah know what you mean...we all go through fases in a build