Ronald-V
-
Posts
1,779 -
Joined
-
Last visited
Content Type
Profiles
Forums
Gallery
Events
Everything posted by Ronald-V
-
 That looks beautiful!
 -
Looks good! I can imagine that it is a precise job that cannot be rushed. I am not the fastest builder myself compared to others, but then I try to work on the model only when I really want to. Previously I sometimes wanted to "finish something" and then it was not really relaxing anymore and it also looked less nice.
-
Looks great!
-
That is lovely indeed! Shows the beautiful lines of this ship
-
Personally I find working with scaled planks easier than a plank as long as the hull (or at least shorter lengths). For example in my Sphinx build I used 12cm long planks. On the back I put a few narrow stripes of PVA with empty spaces between these stripes spread over the plank. In the empty spaces I put a small drop of CA. This way you can work accurately and calmly with the glue without having to work on the model. After I have applied the glue to the plank I still have more than enough time to position the plank. Hold it for a few seconds and it stays perfectly in place. Everyone develops their own way of working that suits them...find your way
- 129 replies
-
- 3
-

-
- vanguard models
- Sherbourne
- (and 1 more)
-
Good to see you starting a build log 👌
-
I don't have experience with a spray. But I know people use washes in that way you describe. So applying a diluted grey or something like that and take the residu off with a cloth. Maybe start a new topic with that question...you will get more answers and even some examples maybe
- 87 replies
-
- 1
-
-
- Lady Nelson
- Amati
- (and 1 more)
-
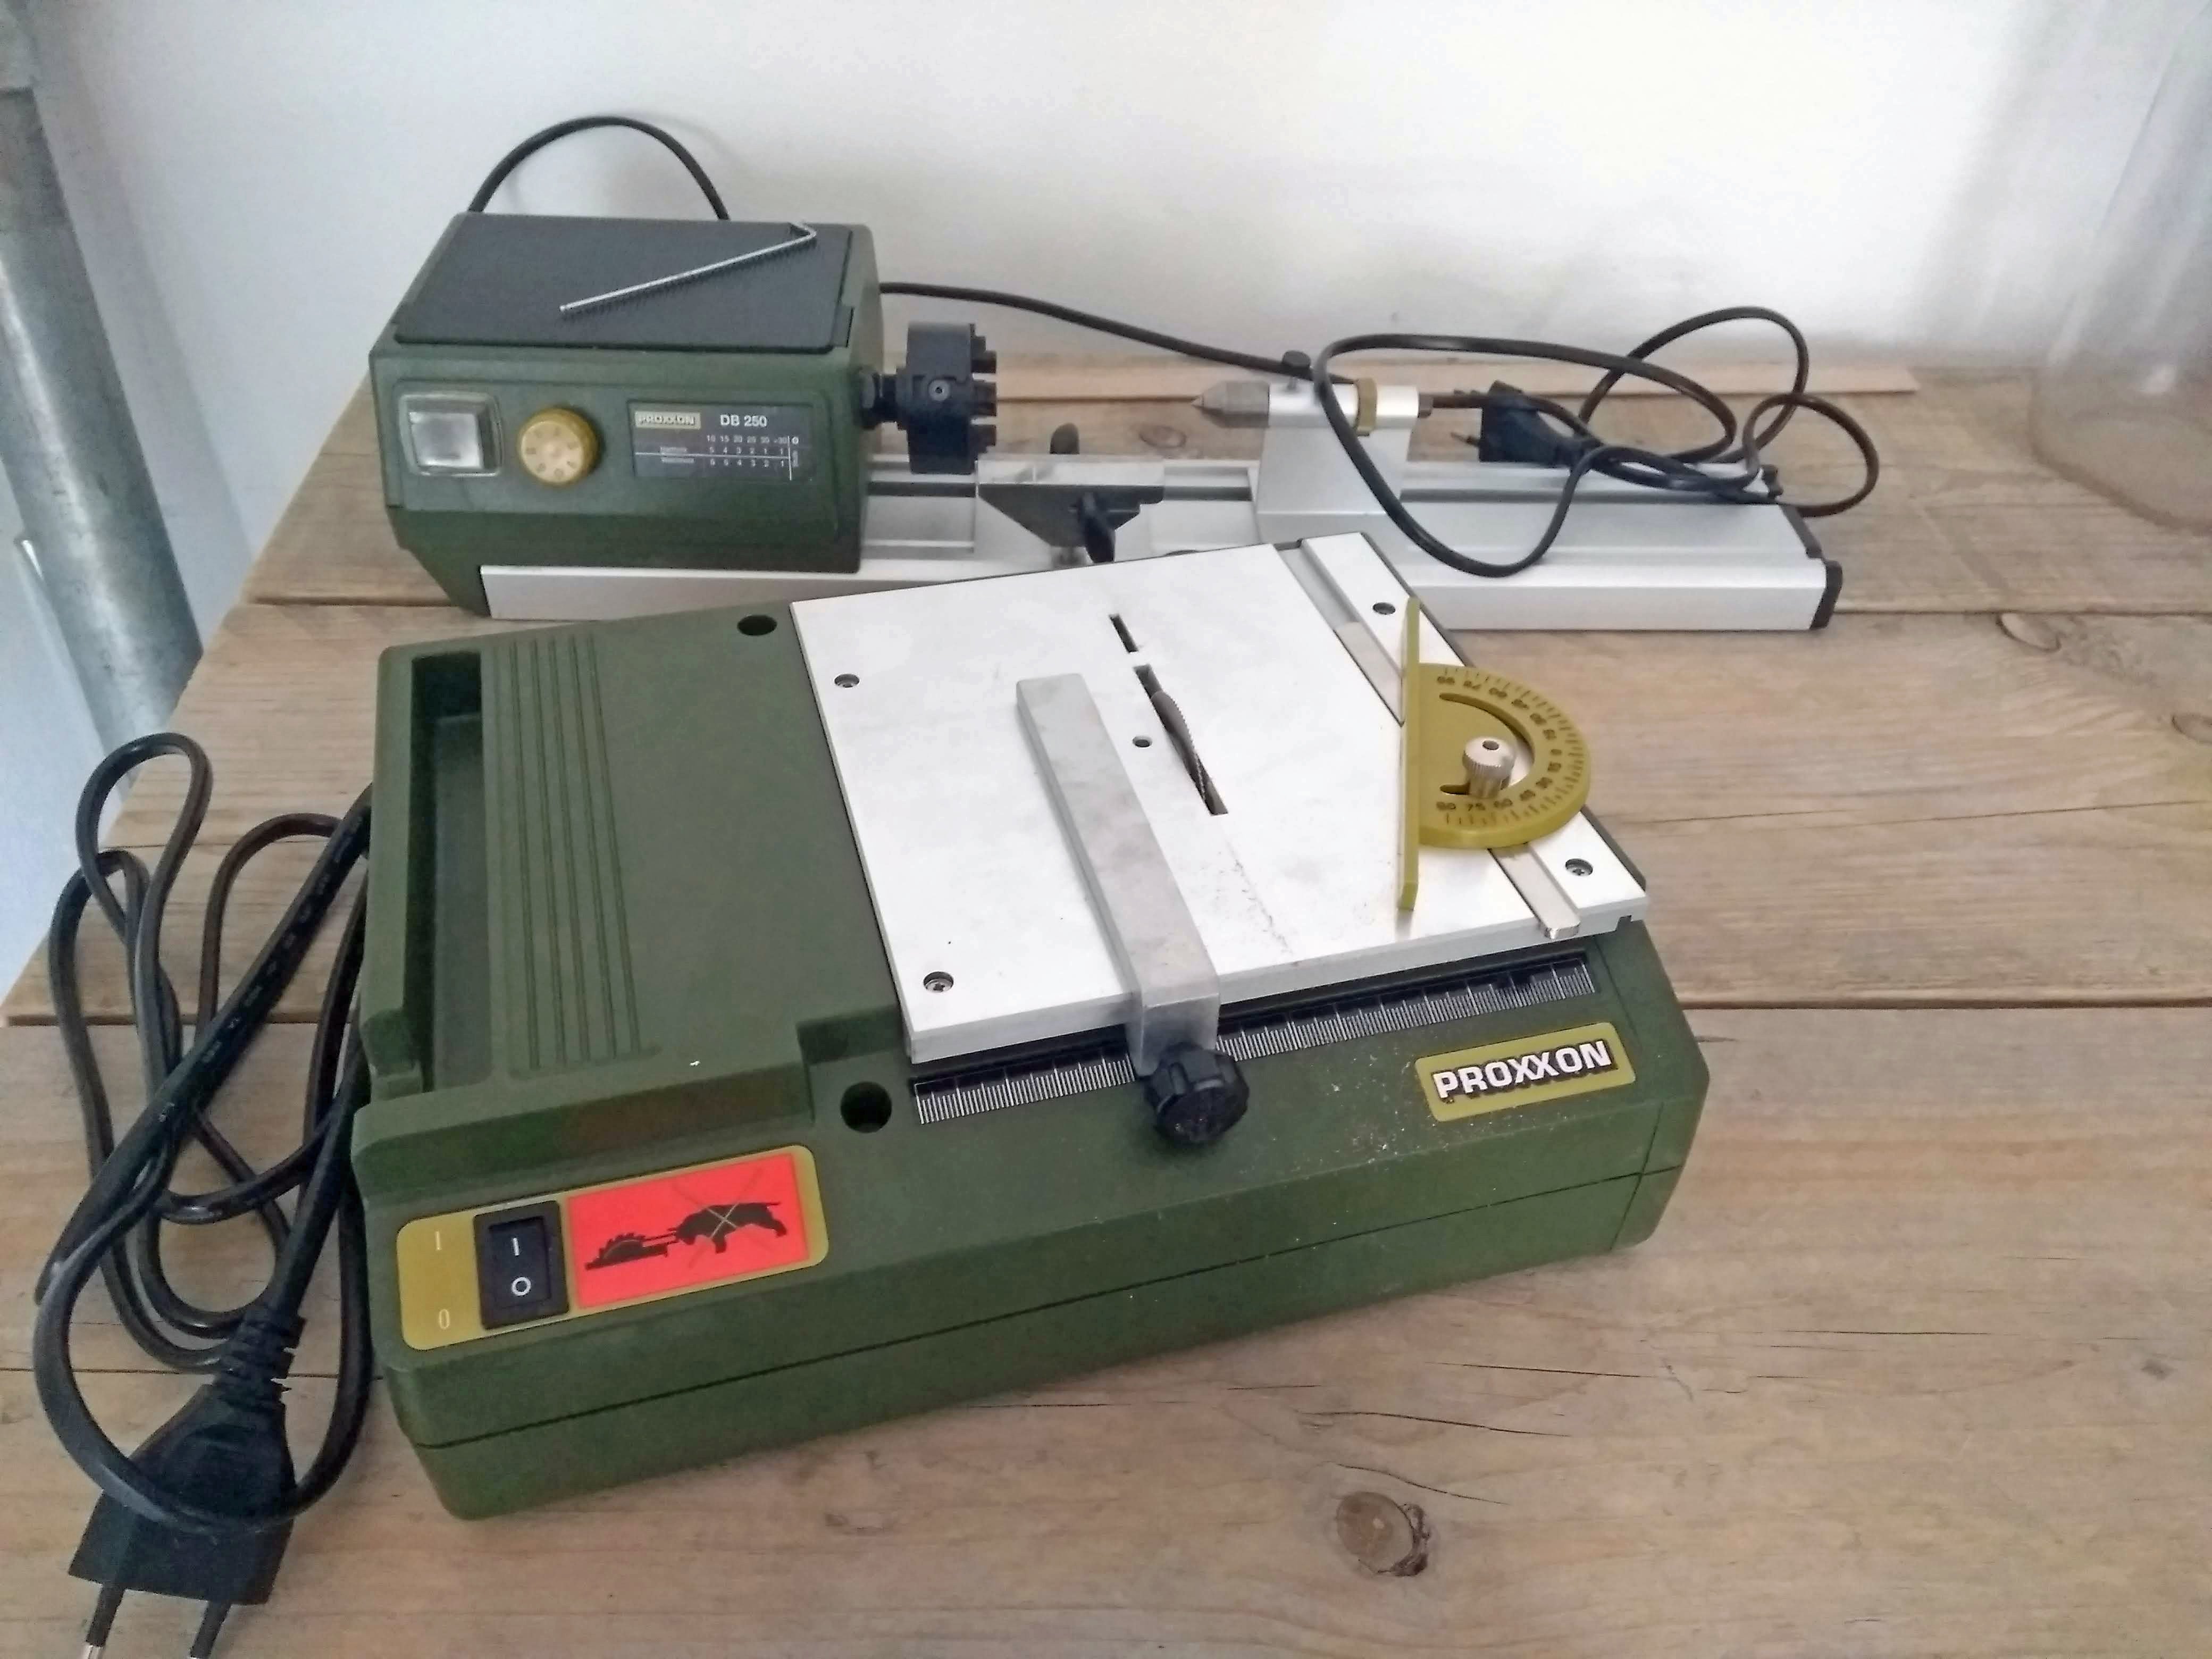
Thanks Nearshore! And great to hear you are happy with the DB250. Not really tested it yet, but that will come. Having a education in working with a lathe and mill (worked with steel and plastic though) it's fun to have these little machines at home
-
Thanks Loracs, yes sometimes patience is the hardest thing 😆
-
Very nice deck! I like there is a bit of variety, but that's my personal taste
- 87 replies
-
- 5
-
-

-
- Lady Nelson
- Amati
- (and 1 more)
-
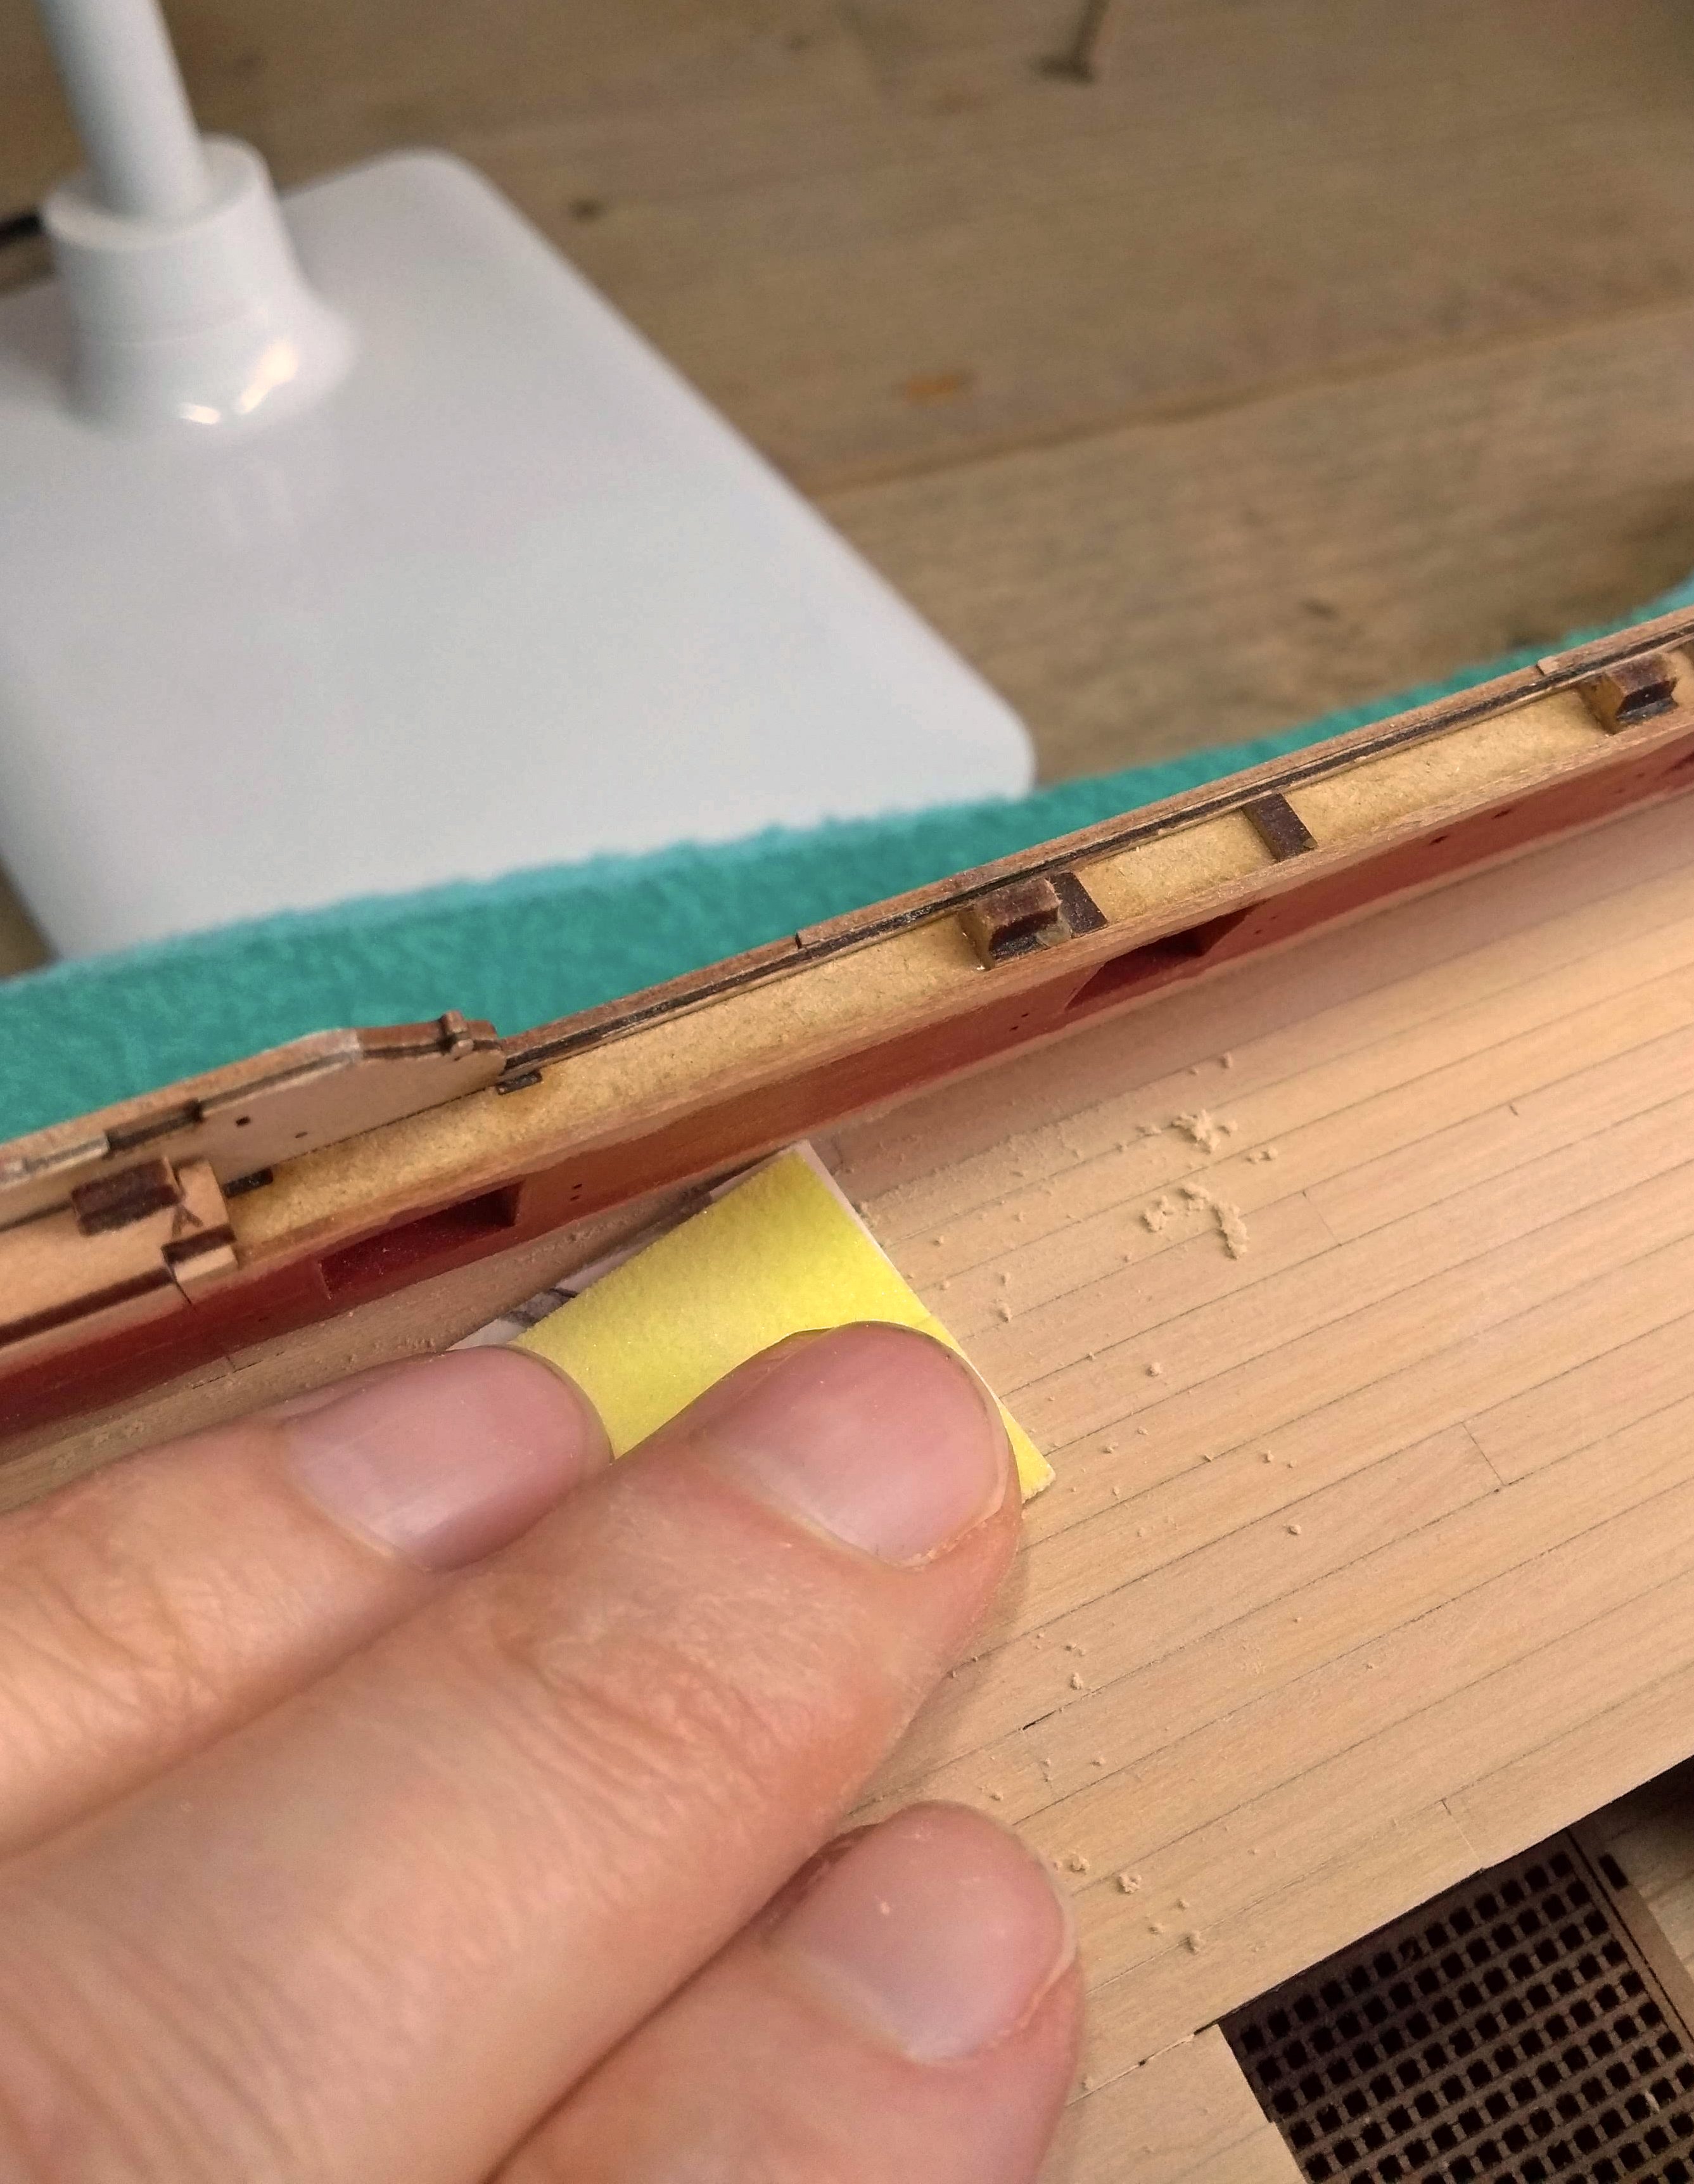
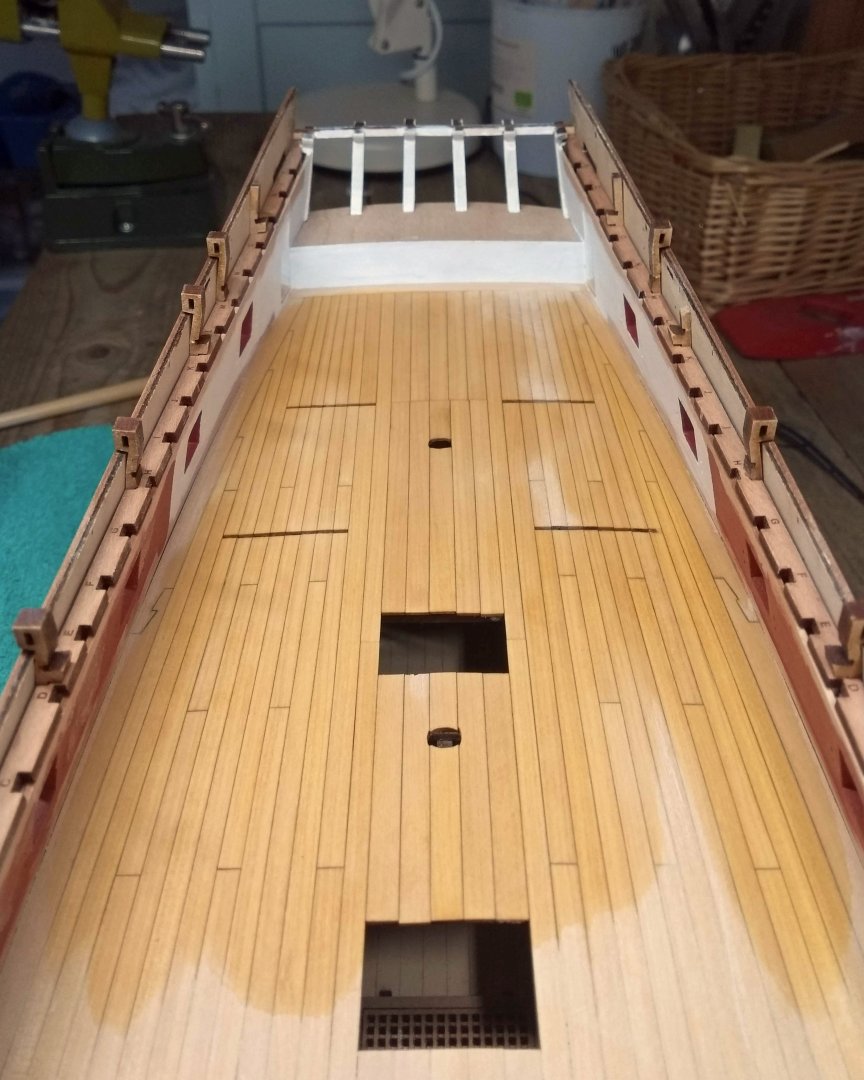
Small update: I have the main gun deck finished as far as planking is concerned. I am now busy sanding it...first with grid 180 and then with something finer to finish it off. I will be busy with this for a while. It does feel like a bit of a milestone again, that I have completed the two largest planking jobs of this ship. With the sanding it seems like you are losing the caulking between the planks a bit. I know that this is temporary and will come back later with the WOP (just like with the hull). But I couldn't resist taking a peek at what is under all that sanding dust by wetting the planks a bit (the same effect as the WOP will have). I have to say that I am certainly pleased with what I see! It is a pity that it will take a while before I put the deck in the WOP. After I have finished sanding I will place the spirketting (and maybe the waterways) and follow the manual from there. That means continuing with the outside (quarter galleries etc.). Placing the deck in the WOP is only done after I have placed the coamings etc (at least...this seems to me the correct order? If anyone has a better idea, please let me know) And I bought some new toys. I'm happy with them! I'm aware of the limitations of the table saw compared to its bigger brother. I've done some research in the past few days to find out what suits me and my budget at the moment. This saw perfectly meets my requirements for now. I've played with the saw this morning and it's more accurate than I thought! I could saw 1x1mm strips from a large board without any problems. And it stayed true to size These tools will make some things easier for me.


-
I think that's a good choice, you will definitely learn from the experience
-
Really nice planking! And a nice cutter tool I use the cheap one from Amati, which cuts straight in width, but the cut is always a bit slanted if you know what I mean. That's why I run each board along my disc sander
-
That looks fantastic, and a reasonable price also
- 131 replies
-
- 1
-
-
- Medway Longboat
- Syren Ship Model Company
- (and 1 more)
-
Welcome! And have fun with this enormous monster the quality of the kit looks great. As a beginner, one of the biggest challenges is the shear amount of work building a ship of this magnitude implies, and how to deal with that. Personally I think the difficulty is quite steep yes, but as you already discovered...the manual is really good and Chris his designs are really great. But...I wish you a lot of succes with this one You can always pause the build and do a small ship in between, to refine you're skills... would that be nessecary.
-
Same here...it would feel like too little control to me. With sandpaper grid 80 or 100/120 it comes off just like that, especially such a small hull. But if you like it better with a machine, go for it
- 129 replies
-
- 2
-
-
- vanguard models
- Sherbourne
- (and 1 more)
-
Very cool! The design process fascinates me also By the way...cool profile picture James
-
Nice planking! I experienced the same with that gap at the sternpost
-
Looking real nice! And indeed good to see you back at it
-
That's a lot of space! Nice
-
What a nice result! And the figures bring it really to life. Congratulations on finishing it
-
Maybe you've tried this already, but it looks a bit in the picture as if you can place the spacer upside down on the other side? So the R spacer in the L side of the ship and the L spacer in the R side. But then the spacer upside down (letters towards the bottom)
- 58 replies
-
- 1
-
-
- Santa Maria
- Ships of Pavel Nikitin
- (and 1 more)