


lionfish
-
Posts
123 -
Joined
-
Last visited
Content Type
Profiles
Forums
Gallery
Events
Posts posted by lionfish
-
-
-
-
awesome job, very clean, and just a great ship to look at
- Dimitris71, UpstateNY, CaptainSteve and 1 other
-
 4
4
-
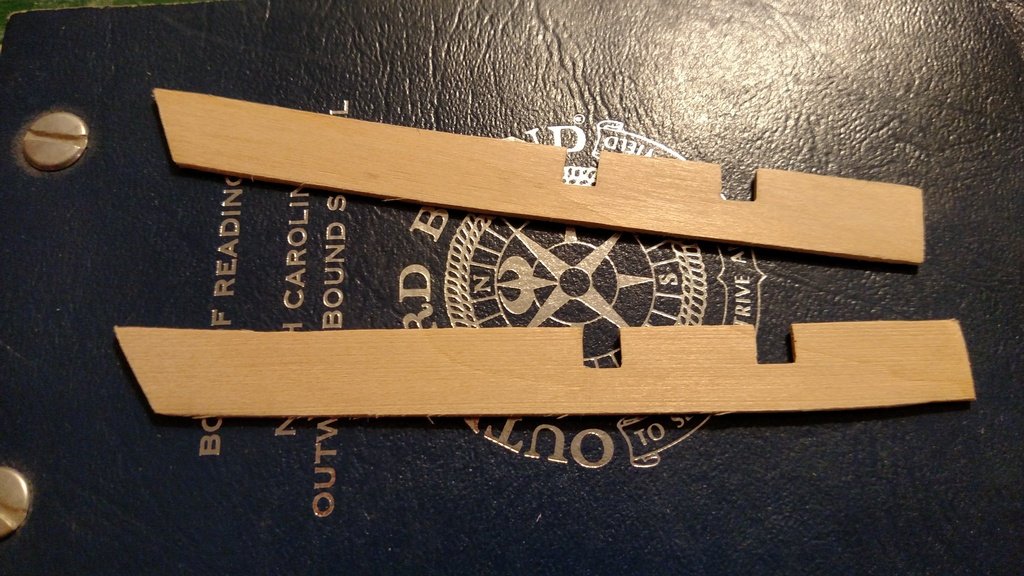
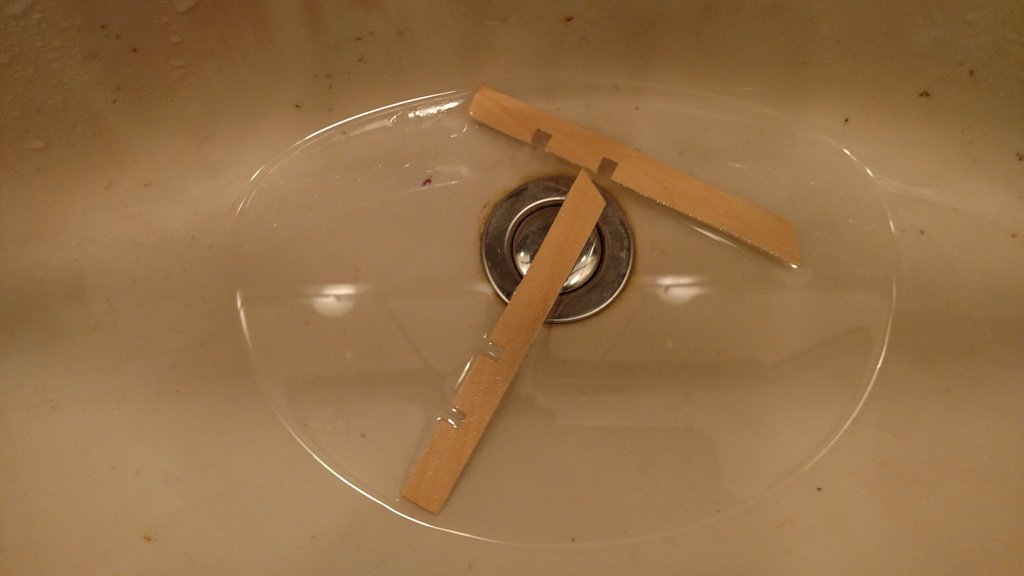
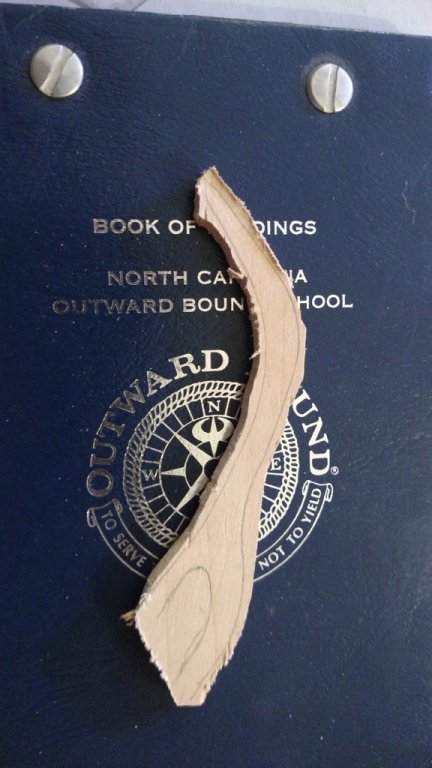
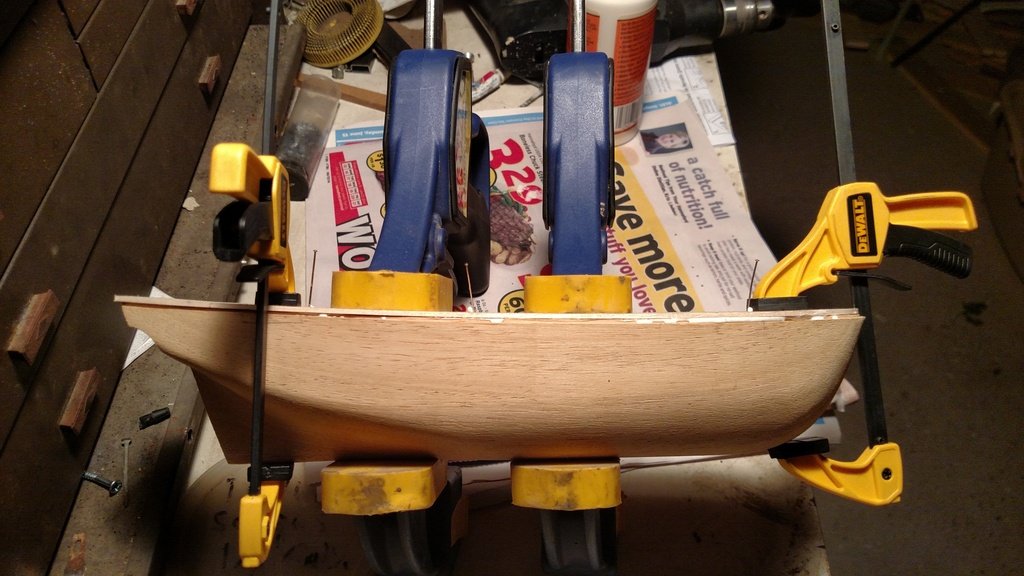
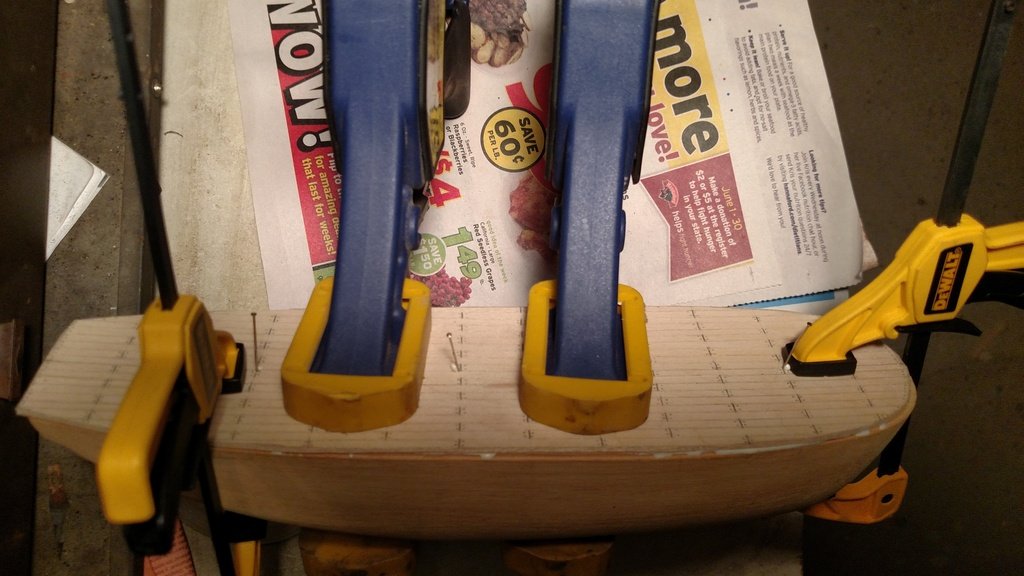
rear wale pinned for gluing
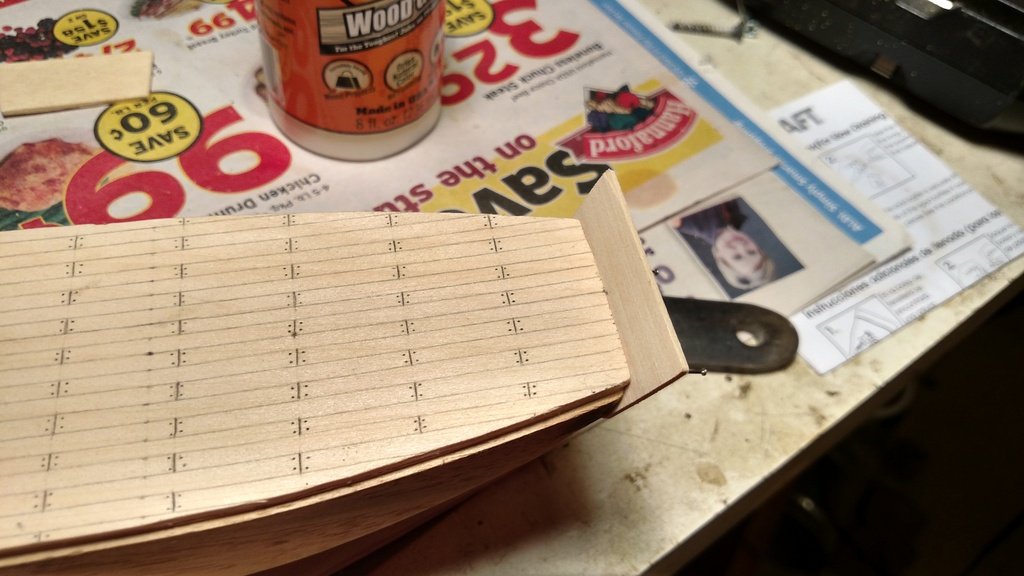

gunwales glued in place
one issue i will have to deal with is the rear wale is a bit too wide, im going to have to slim it down to have the rails fit properly
-
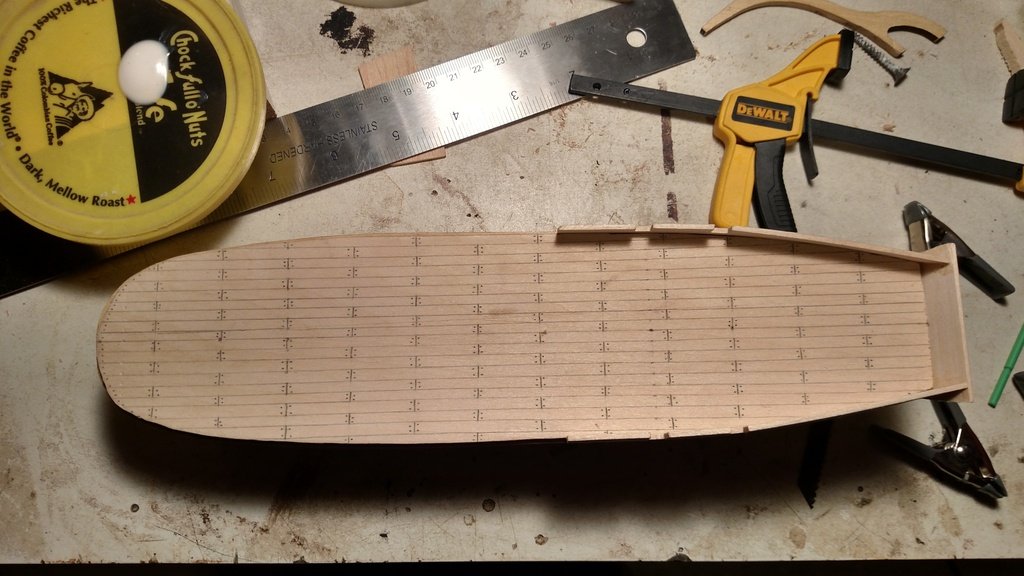
quick update, i was able to get the gunwales glued on, also was able to mark the water line. a task made harder by the fact the solid hull and plans differ. ill get some pictures up when i can and see what you all think. im thinking of maybe planing the upper hull and wales. we will see.
-
-
-
-
If you are fitting Burton tackles a good dodge is to incorporate the tackle pendant with the single shroud. Then you don't have to try and splice/sieze the single shrouds together. Most ships had these tackles (sometimes named masthead tackles) fitted,often not shown on kit plans. I use the forward shroud when I do this,BTW,shrouds were fitted Stbd pair first then Port and so on.
Dave

so if i understand you correctly the odd shroud on both the starboard and port sides are connected in a similar way the regular shroud pairs are? and the tackle pendant is essentally a loop in the shroud that a block on the rest of the shroud loops through?
-
-
The shrouds go down onthe same side as they go up: both ends of the pair are onthe same side.
The foremost pair goes on first (always forget whetehr that is onthe postside or not...), the last one (if it is an uneven number of srhouds per side) has an splice it it, so that there is an eye that can be put ocer the mast top.
Jan
the splice is just like the loop made by the shroud pair?
-
-
Having had bond failure between Weldwood contact cement and flame treated copper plates - a method in the 1970's Model Shipways catalog - investigate the best conditions for bonding with your chosen adhesive and use that to determine what treatment to give the hull.
It has been a very long time since I saw the brig Eagle hull, but as I remember, the cement under the failed plates was copper colored, making it difficult to tell they were missing. I suspect the heating process produced a micro layer of a copper oxide that was not compatible with Weldwood. I also use it to attach cloth backed sanding medium to the platten of my thickness sander. A heat gun makes for easy removal of the spent sanding medium. I suspect that Weldwood is medium time frame adhesive.
My present thinking on coppering is to use a high quality archival smooth surface paper painted with copper and verdigris shades and use PVA to attach it to a raw wood hull.
my plan was to get the self adhesive copper sheeting they use in stained glass works.
-
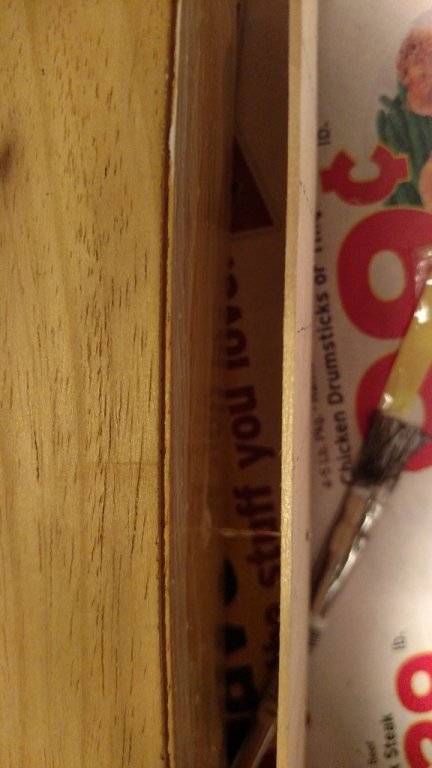
what should i use to seal a solid hull so i can attach copper sheathing?
- thibaultron and Seventynet
-
2
-
-
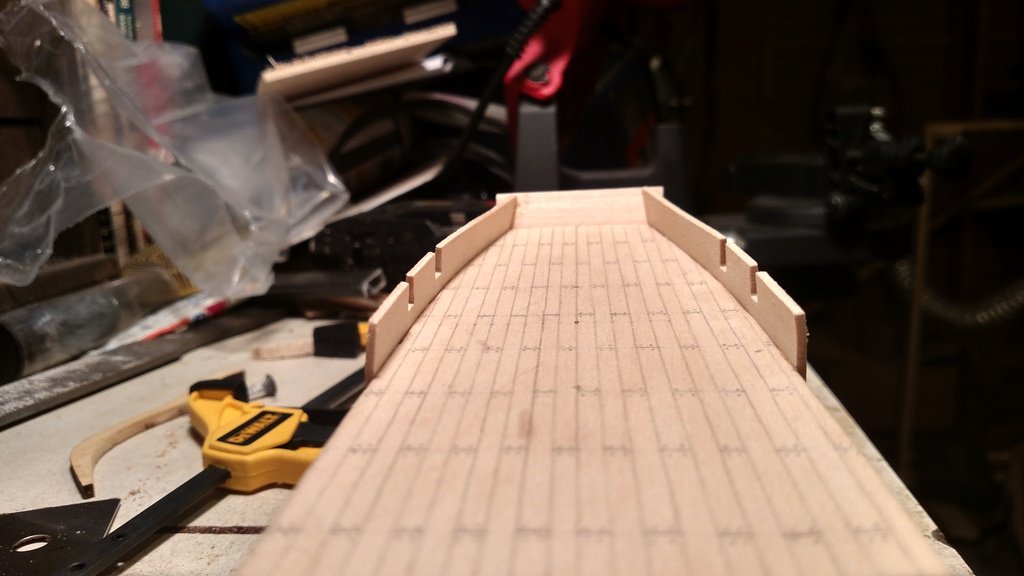
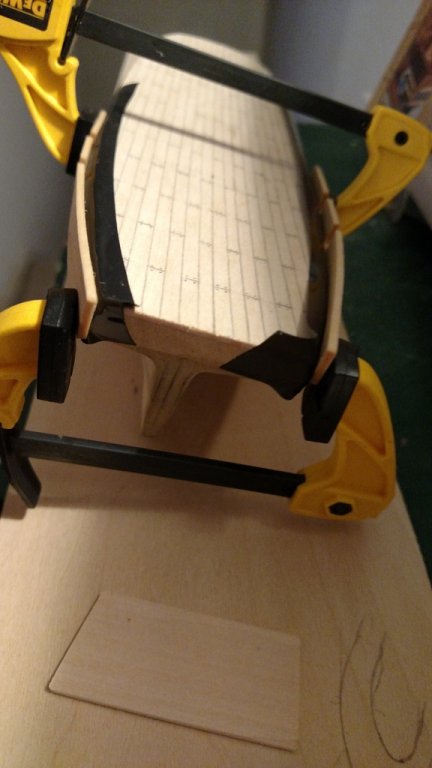
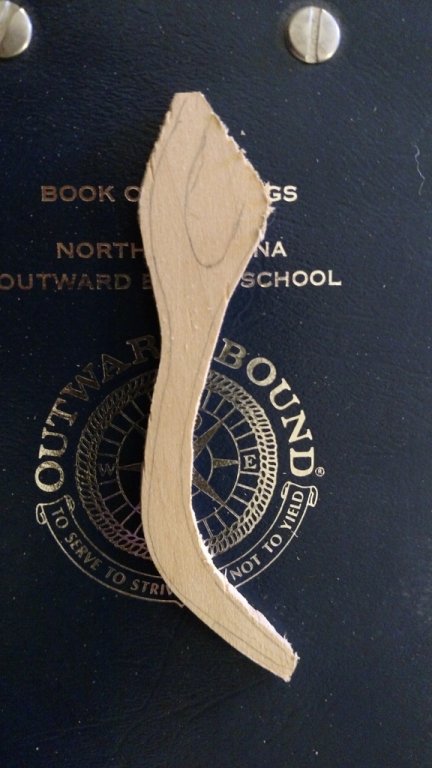
new gunwales
soaking in hot water
clamped to the sides to dry
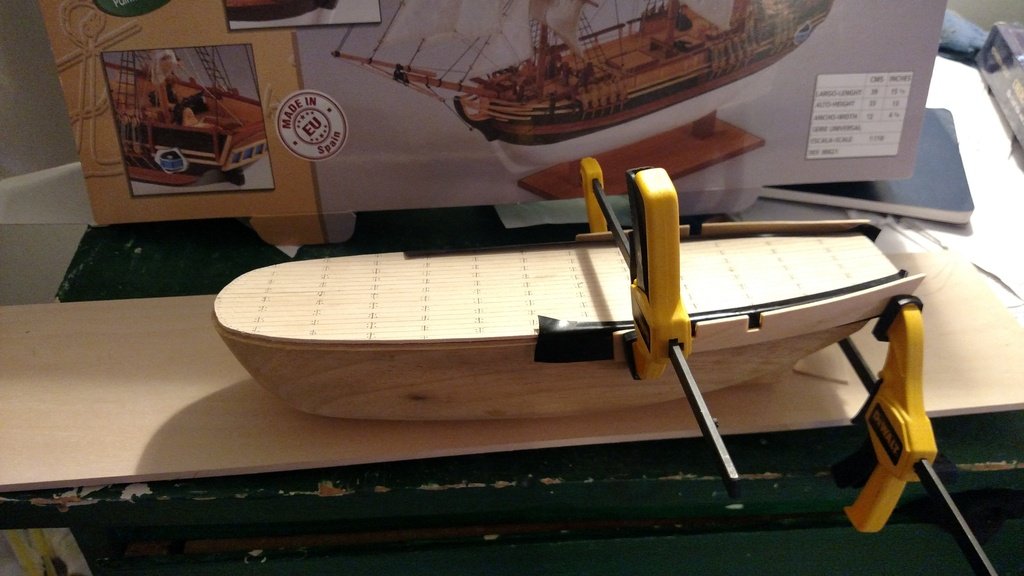
new bow stem rough cut with coping saw
bow stem little cleaner
- UpstateNY, avsjerome2003 and dgbot
-
3
-
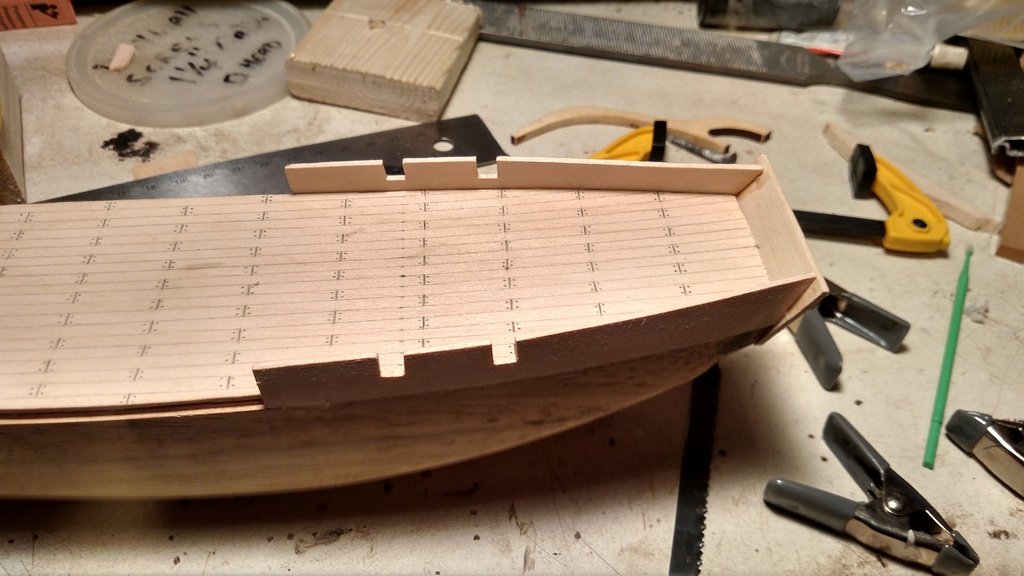
it seams some of the edges lifted up a little bit, not a huge deal, because i plan on gluing some wood in the grove all the way around
-
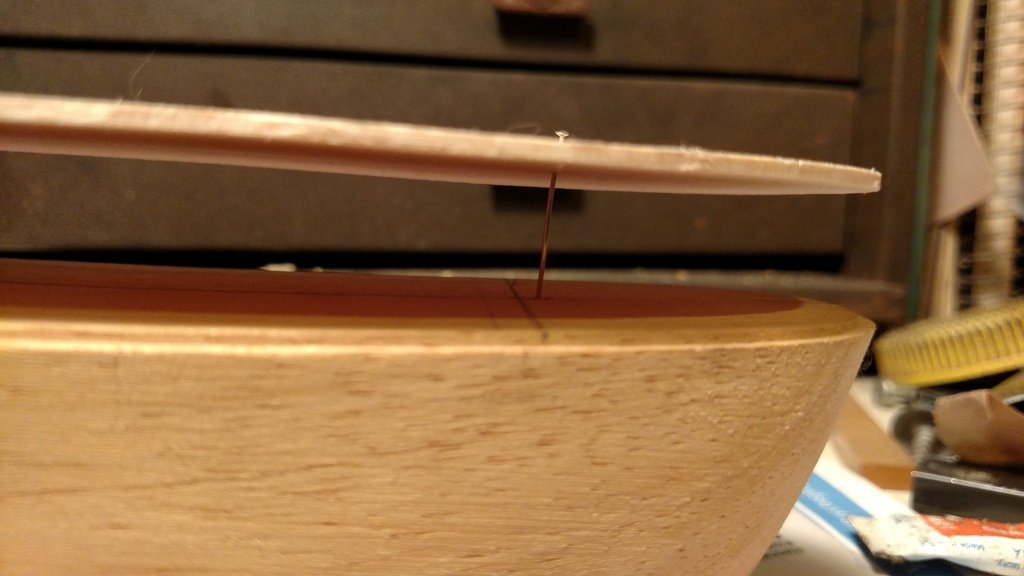
Pins in place, no glue
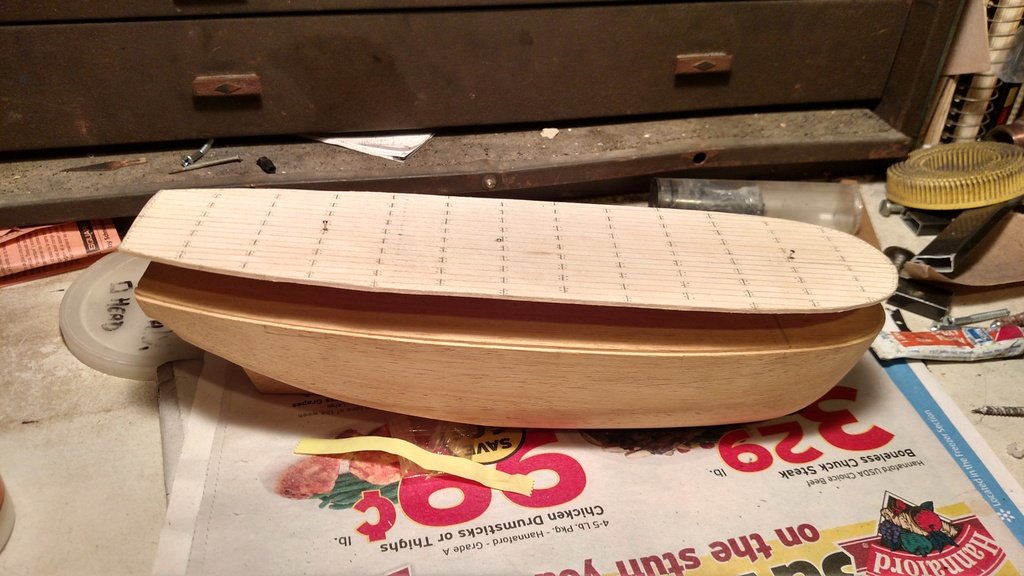
Close up of the pin
Glue slapped on
All clamped
- AntonyUK, avsjerome2003, dgbot and 1 other
-
4
-
Finally got some work done, I glued the deck to hull but there is going to be sections I will need sand down. I used pins to help align the center line and mast pilot holes. I will upload pictures when I get onto my computer because I can't get the image imbedment from photobuckets mobile app
-
Lionfish,
I had these descriptions in my notes. I am pretty sure they came from posts in MSW 1.0, so if the authors recognize their writing, please acknowledge.
Good luck
Drilling Mast Holes
Cut a block of wood for each mast, and hold them up to the plans aligned with the deck at the mast hole. Mark the locations of the sides of the mast on the top and bottom of the block, then connect these marks to show the mast angle on the sides of the block. Mark the center holes of the masts from the deck plans, then place each block on the deck next to these marks. Use the hand drill to drill small holes for each mast, using the lines on the blocks to hold the drill at the correct angle. Also make sure the drill is aligned port and starboard. Use bigger bits up to 3/16” for each hole. Don’t drill hole same diameter as mast. Drill smaller hole and add tenet to bottom of mast, so mast will hide holes edges.
Drilling Mast Holes 2
Actually, you'll find that accuracy of only a couple of degrees is nowhere near enough. Any inacuracy will be greatly magnified by the length of the mast and you'll realise that 1 degree at the deck will mean a deviation of several cm at the tip.
Start by making a little jig out of a scrap of timber about half to 3/4 inches wide by an inch high and and half an inch thick. Shape it by hand so it sits on the deck at the mast hole squarely, and cut then file an angle on it, that matches the rake. You need to end up with a block you can sit before or aft of the hole with a face layed back at the correct angle, so that a line drawn down the centre of this face would actually be the imaginary line in the centre of the mast. You can fix the jig to the deck with double sided tape, as it will guide your drill, not support it.
Then, line the block with it's marked line up appropriately and using a scribe or pin awl, run it down the line in your jig and push it into the deck, making a good deep hole. This will give you a start for your drill in the correct place at the correct angle. You might not think the angle of an awl hole could make any difference, but believe me it does, since if the angle isn't correct a drill presented into the start you've made will move out of location as it turns.
Now using a drill bit somewhere between small and tinsy winsy, in a pin vice or other hand tool that can grip your bit, run it down the line on your jig and hand drill the first very very small hole. Just watch the drill tip as it starts, to make sure it follows the awl hole, then concentrate on the line on your jig, keeping the bit perfectly in line and touching the jig all the time. This will give you a perfect guide hole, which is invaluable.
Now step up in drill size. I can't tell you what sizes to use, but if you need say, a 6mm hole, you want to do it in no less than 4 steps. The second step should be no more than a 1mm drill. You'll have to move your jig back now, or it'll push the drill off line, but you don't need to lean on it, just use it as an eye guide. Follow this for all the steps you need until you get to the final hole size and your hole should be perfectly angled.
It is important to note, that twist drills (the ones that everybody thinks of when you say drill, that have a screw all the way along the shank), are designed and angle sharpened for metal, not wood. These DO NOT drill an accurate sized hole in timber, since the timber is constantly cut by the side flutes while the drill is cutting its way through the wood. Spade bits are accurate for timber, but far too dangerous to your model, since one slip up and they can rip it to pieces. The solution is to use a normal twist drill bit, that is smaller by about 0.2 to 0.4 than the finished hole you need. If you need say, a 6mm hole, you will finish with a 5.8mm fractional drill, otherwise your hole will be too big.
You will need to run the larger drills in a power tool, unless you have enough hands to use a good hand drill. You must make sure that you DO NOT let the weight of the drill rest against the low side of the angled hole as you're drilling, though this is the natural thing to do. If you do, you will get an oval hole and there's nothing you can do to fix it, so make sure you are fully supporting the drill with your own muscle.
Multiple sized drills is how I do it too with my last largest drill bit running in reverse that way it never shews up any planking, old woodworking trick.
This may seem a little tedious, but accurately drilling small holes in soft wood is suprisingly tricky and this method is sure fire. When you think about it, most times you drill wood, near enough will do, but not on a scale model.
There is a high tech and fairly cheap way to know at what angle your hand drill is at, and more importantly what angle the masts will be at. Drilling a perfect hole is not the end all, there will almost always be some play even in a perfect drill. If you drill a slightly larger hole you can buy a set of mast coats which should actually be part of the kit anyway.
The high tech tool is a laser. One like the Craftsmen version that shoots a long line. Model Expo also sells a protractor that will make things a bit easier. It has an armature you can set exact to the plans. Make certain the model is level, the laser is level. Set the protractor where the ship will be and the laser to the angle of the setting on the protractor, then slide the ship in place where the protractor was and you've a line to keep the drill in or set the mast to later.
The laser has more applications with these models. Yards, center lines down the decks, even a waterline. I got mine as a Father's day gift last year, I've used it on model ships and not a thing else. Today there are a number of cheaper versions of the Craftsmen laser line but be sure you can manipulate the line between vertical and horizontal and you've got what you need.
thanks for the very detailed description of what to do, really a great help.
-
has anyone here come up with a way to drill mast holes without a drill press or mill?
-
stunning work, you must post a picture of the finished ship with the doctor. very much enjoying this build log
- Omega1234, SawdustDave, mtaylor and 4 others
-
7
-
-
were the masts perpendicular to the deck or water line? specifically on the HMS bounty or similar vessel


HMS Bounty by lionfish - Constructo - scale 1:110 - solid hull
in - Kit build logs for subjects built from 1751 - 1800
Posted
its been a busy holiday season for sure, and now im hoping to hope back into the build, im stilling wondering how is the best way to drill the mast holes.