ccoyle
-
Posts
10,524 -
Joined
-
Last visited
Content Type
Profiles
Forums
Gallery
Events
Everything posted by ccoyle
-
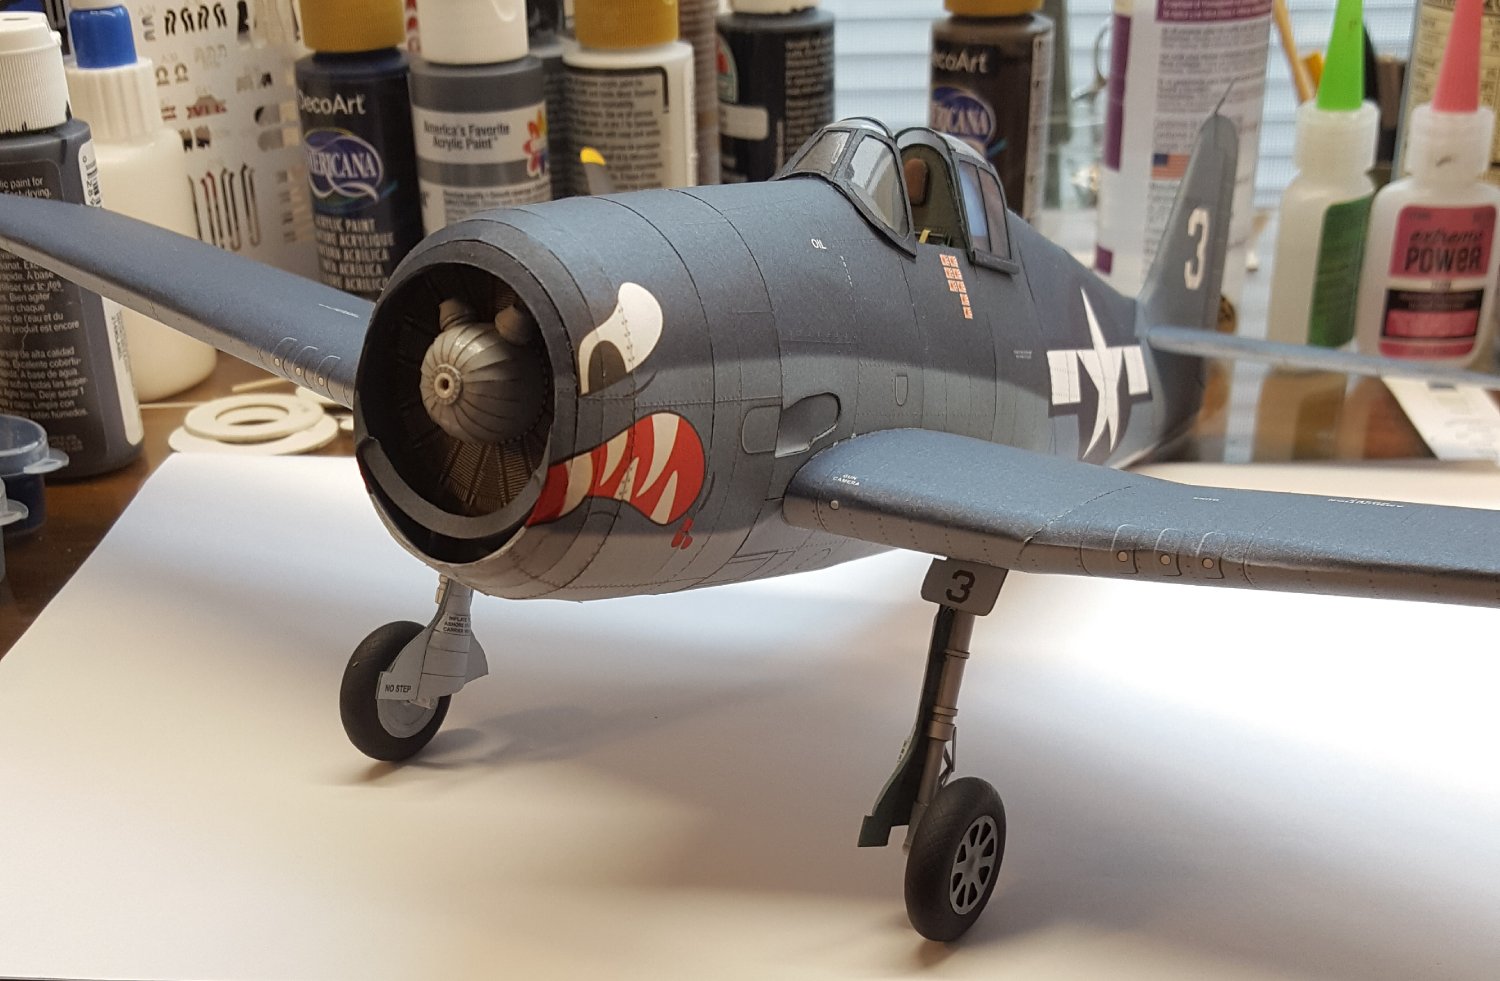
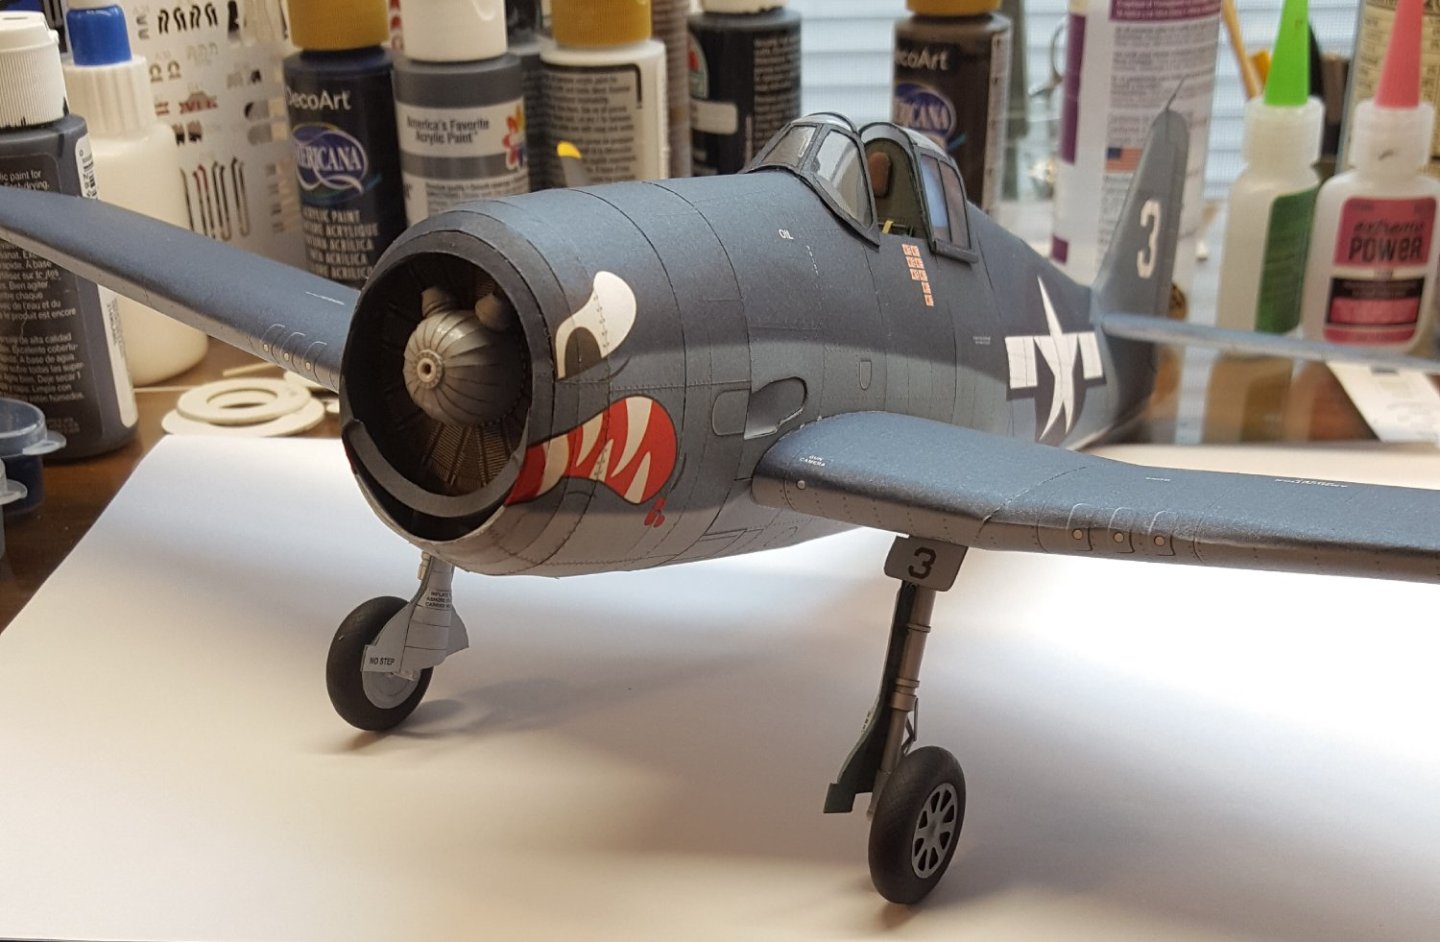
 The tail wheel and arresting hook are completed. The hook is scarcely visible at all and will probably never be noticed by a casual viewer once the bird is upright. I believe all I have left to do are gun barrels and aerials. I'll have to double-check, of course, but I think this puts us close enough to being done to warrant the next batch of photos waiting until the big reveal. Cheers!
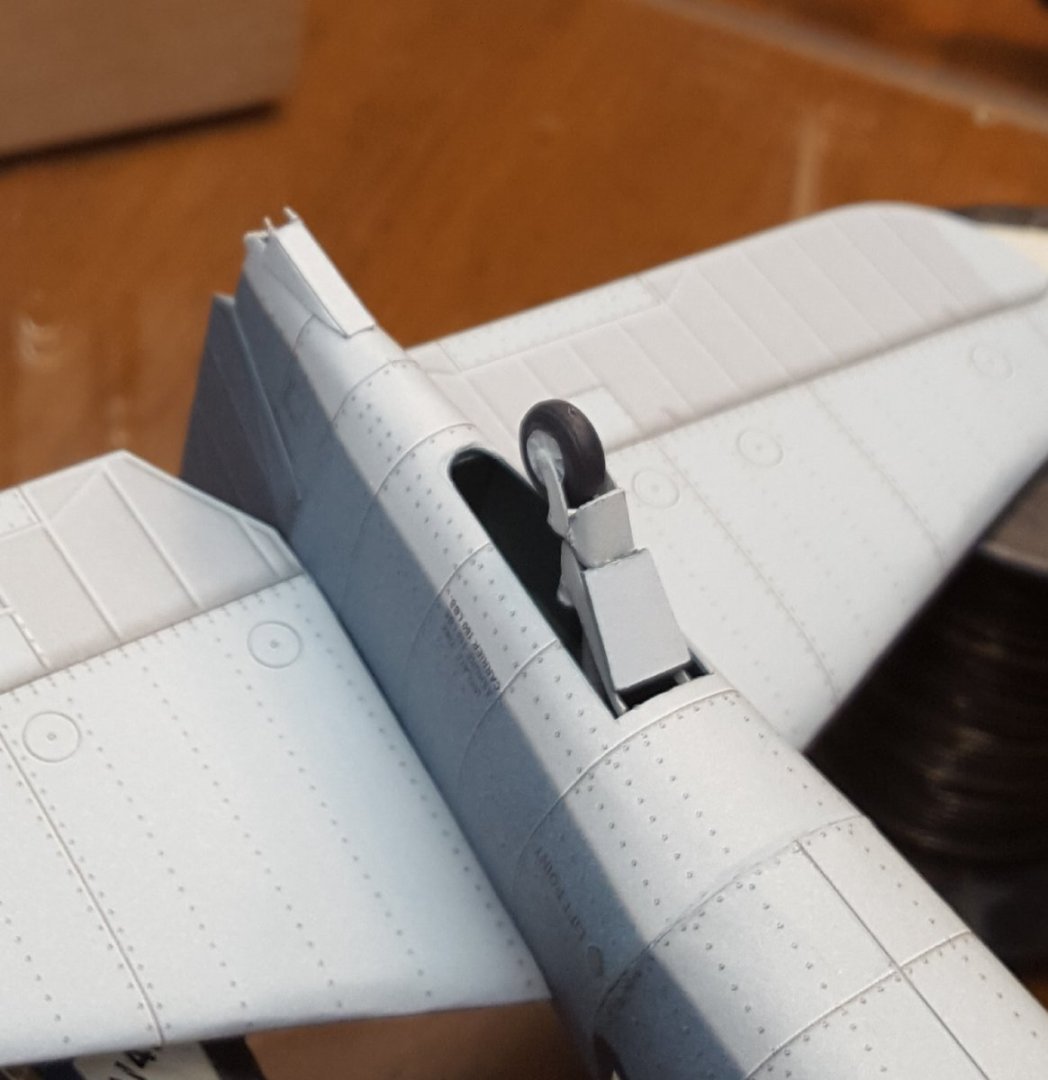
- 150 replies
-
- 17
-

-
Hi, Phil. If it sounds like folks are reacting a bit harshly, take time to consider what it looks like from a potential buyer's perspective. You're offering a large number of books while giving very little information about them -- no titles, no photos, no estimated value, no asking price. As has been said, shipping such a large number of books as a single lot would be an expensive proposition in itself. If you absolutely won't consider selling your collection in smaller lots, you may be facing a very tough sell.
-
Randy Biddle, a well known modeler from SoCal, also uses mostly hand tools, same as Lou, and it's pretty near impossible to find fault with his work.
-
It's the Belem.
-
That's my recollection of what you told me some years ago. So would it be safe to say that these early Caldercraft kits didn't get the amount of research that you now put into Vanguard offerings?
- 1,144 replies
-
- 1
-
-
- snake
- caldercraft
- (and 1 more)
-
Since Snake is one of the initial batch of kits that @chris watton designed for Caldercraft over 20 years ago, perhaps he'd be willing to shed some light on the issues being discussed in this thread.
- 1,144 replies
-
- 1
-
-
- snake
- caldercraft
- (and 1 more)
-
Quite a few warships from this era are available as card models, including some from publishers in Ukraine. They are far from easy to build, though. As has been noted elsewhere, steel warships have large numbers of fittings, and in the usual scales of 1/200 or 1/250 for card models the plethora of tiny parts makes such kits suitable only for advanced builders. Valeriy's model is in a different league all together -- a one-off in meticulous detail by a master modeler.
-
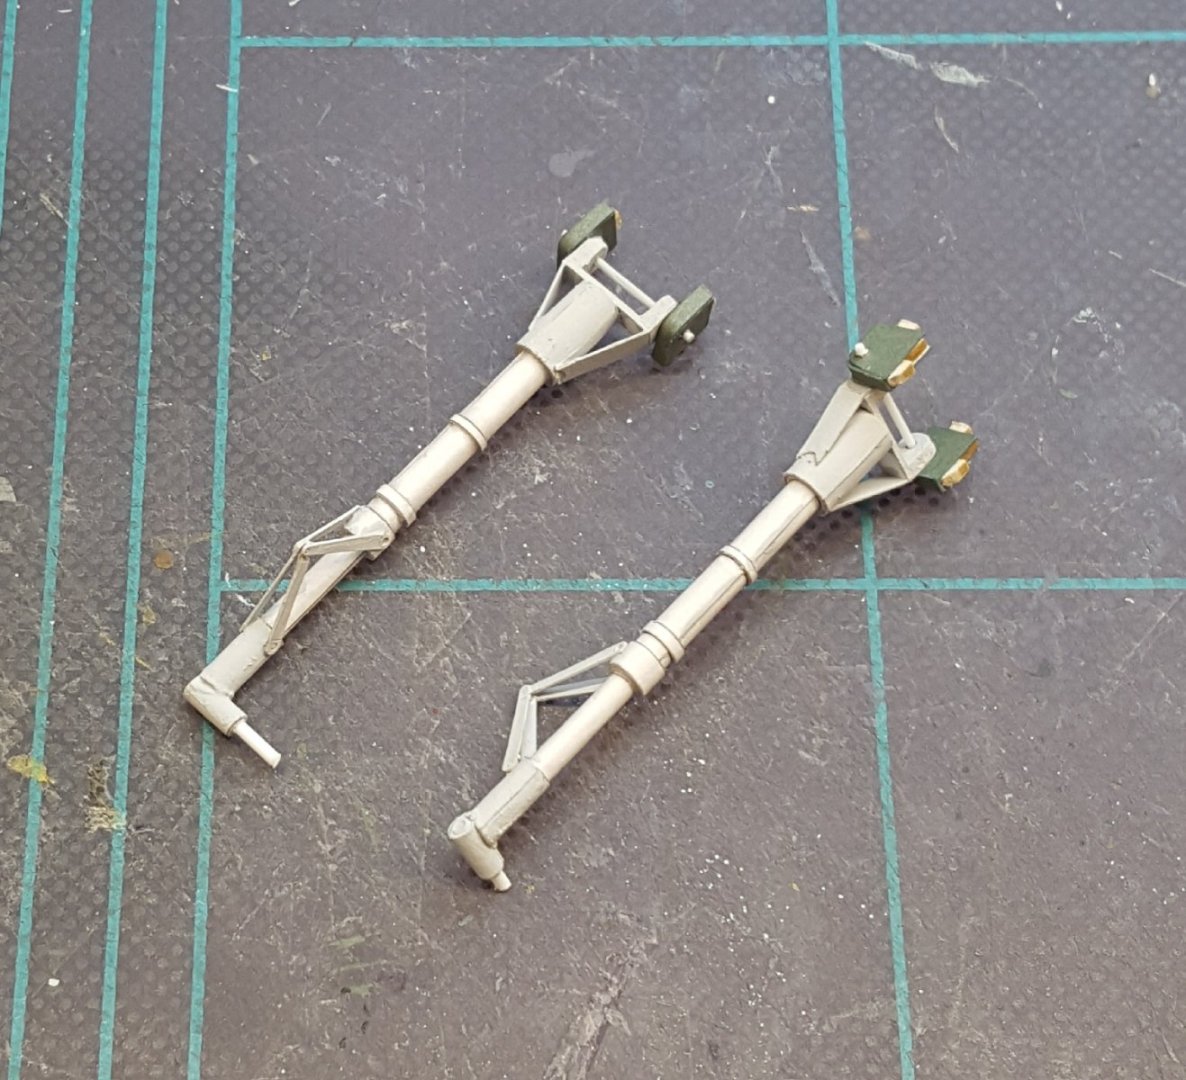
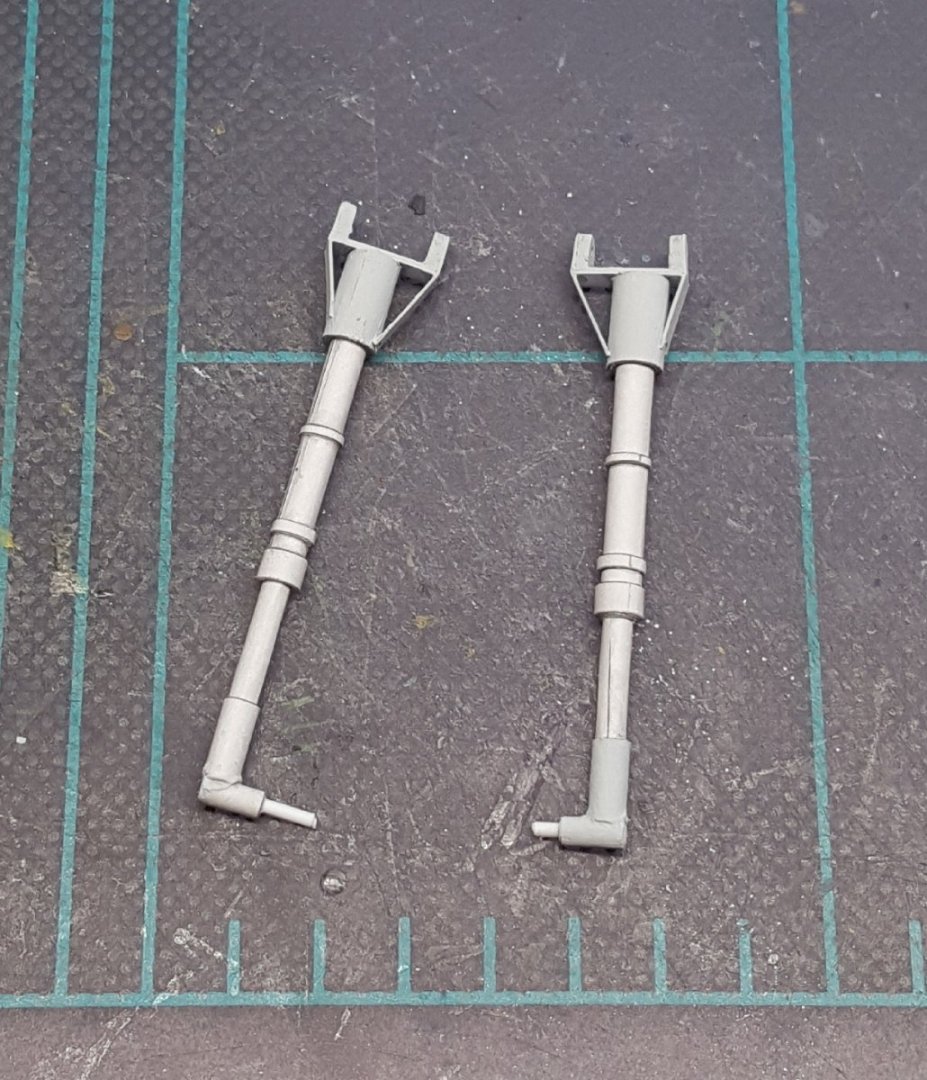
More strut bits . . . . . . and suddenly wham! Just like that -- shoes! I can smell the finish line!
- 150 replies
-
- 18
-
-

-
You don't. Glue the strip, then simulate the bolt head. A small drop of glue can do the latter bit convincingly, but there are also after-market bolt heads available on the market, depending on your scale.
- 84 replies
-
- 5
-
-
- Statenjacht
- Kolderstok
- (and 1 more)
-
Good morning from the banks of the Ohio River
ccoyle replied to Mike James's topic in New member Introductions
Welcome aboard, Mike! Ironically, that kit (which was also my first POB build and is here in the gallery) started life as a solid-hull kit, was then modified to a POB kit, and then later released again as a solid-hull offering. I recall that there were some issues with the POB kit's instructions that caused a bit of consternation, the main one being that the kit was designed to be double-planked, but the instructions described a single plank construction. Oh, well. It got finished and now has a spot of honor in my man cave. Believe it or not, we also have a finished build log for a CLC Sassafras 12 canoe here on our forum. I know the guy who built it -- a bit ham-handed with the epoxy, but his finished canoe didn't sink and take him down with it, and that's the main thing. Enjoy your stay! -
Andrew, the trick is to glue the rod perfectly perpendicular to the direction of the roll at precisely the edge of the rolled part, then let the glue set completely. Afterwards, the paper can be rolled quite tightly. Also, I do not apply glue to the entire length of the roll, only at intervals to keep the thing from unraveling and at the final edge. Also, I've had lots of practice! 😉
- 150 replies
-
- 13
-
-
Welcome, Mark! I have both of the kits you mentioned. The FF kit is a real stinker -- I took a lot of liberties with bashing it into a more typical West Coast schooner (you can see it in the gallery under 'Ghost'). Straight from the box that kit is a mess of terse, badly translated instructions and a plethora of ill-suited off-the-shelf fittings. The KC is a fine kit, but beyond the means of a beginner. Sadly, mine is still in the box after many years and is far down the queue of potential projects. The beginner's combo from Model Shipways has been very popular around here and should set you up well for your new indoor hobby. Cheers!
-
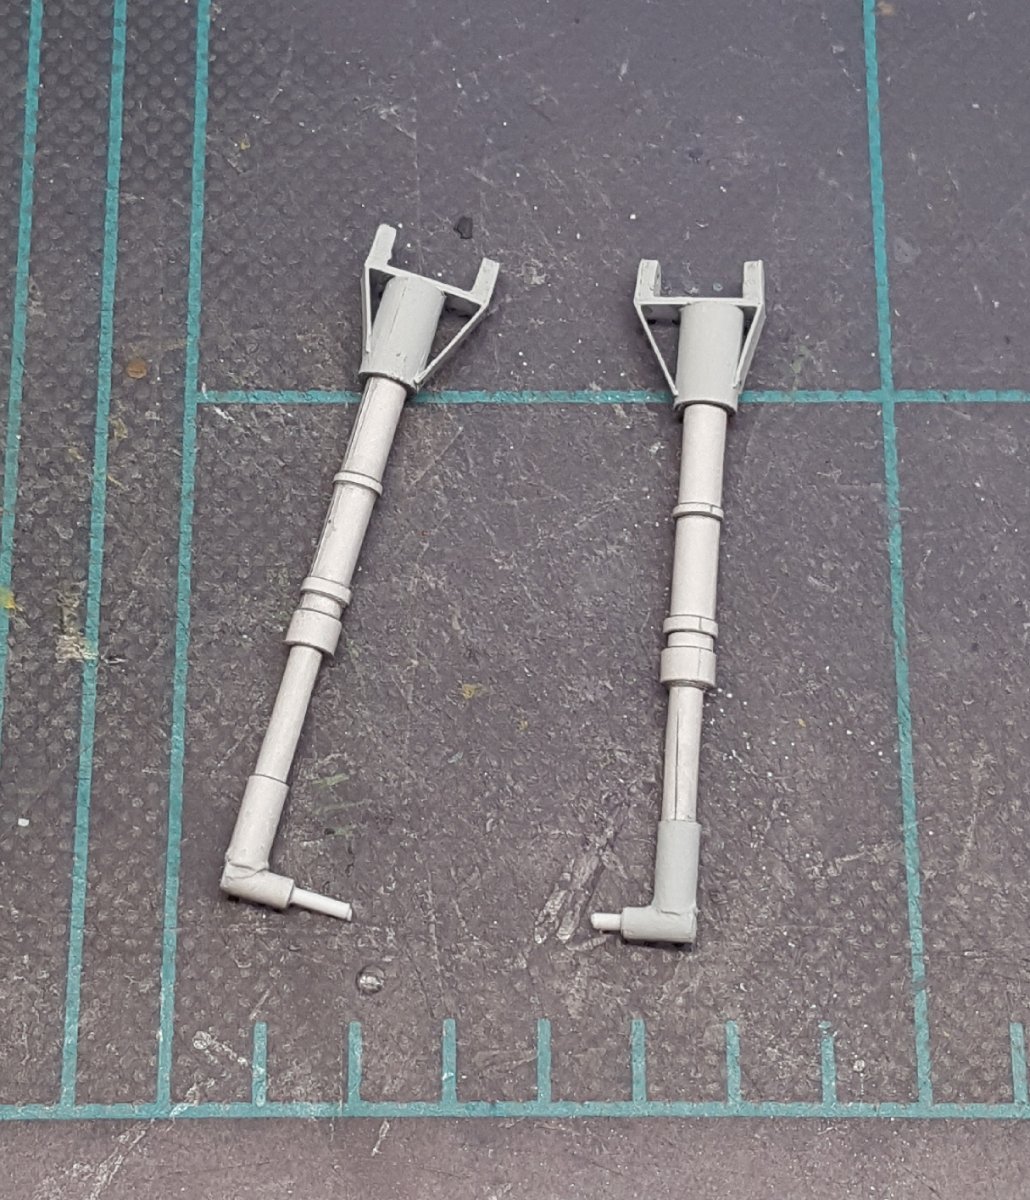
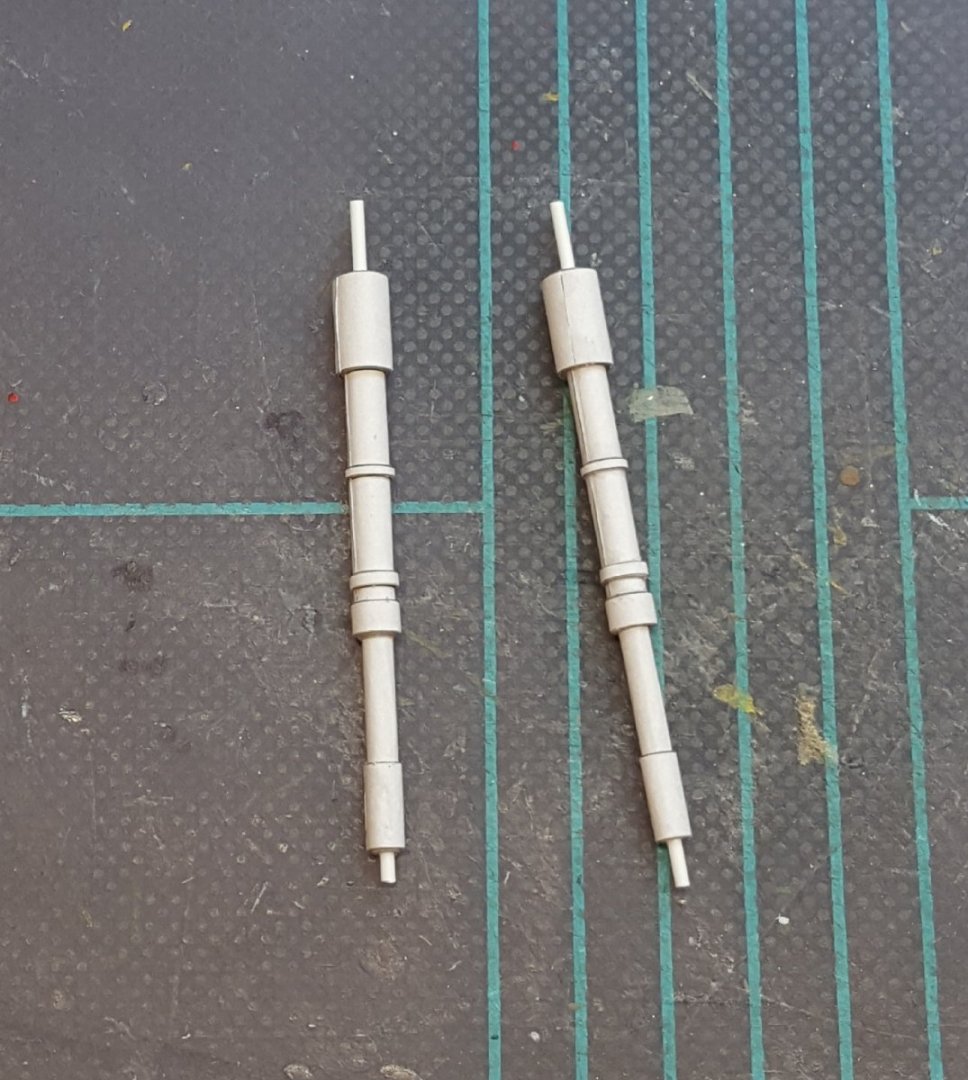
Struts are next. First we have the basic struts -- each is a single paper piece wrapped around a length of 1 mm styrene rod. And then we begin adding bits. Like some other parts of this build, the struts suffer from the seemingly unnecessary duplication of parts. For example, some of the strut bits exist as printed parts AND as laser-cut parts on two different sheets, each having a different thickness. So, does one use part G15, the laser-cut G15, or the other laser-cut G15? Unlike HMV kit instructions, which indicate when laser-cut parts are an option, the GPM instructions don't provide that information, nor do they warn about the multitude of repeated parts. You can easily imagine the potential for confusion this causes.
- 150 replies
-
- 14
-
-
-
I don't see anything in your posts that is ban-worthy. Keep your chin up and model on!
- 179 replies
-
- 4
-

-
-
- Second Build
- Pinta
- (and 2 more)
-
Anchor Ring
ccoyle replied to Dave_E's topic in Discussion for a Ship's Deck Furniture, Guns, boats and other Fittings
Scroll down to page 8 of this document for some info and an illustration. -
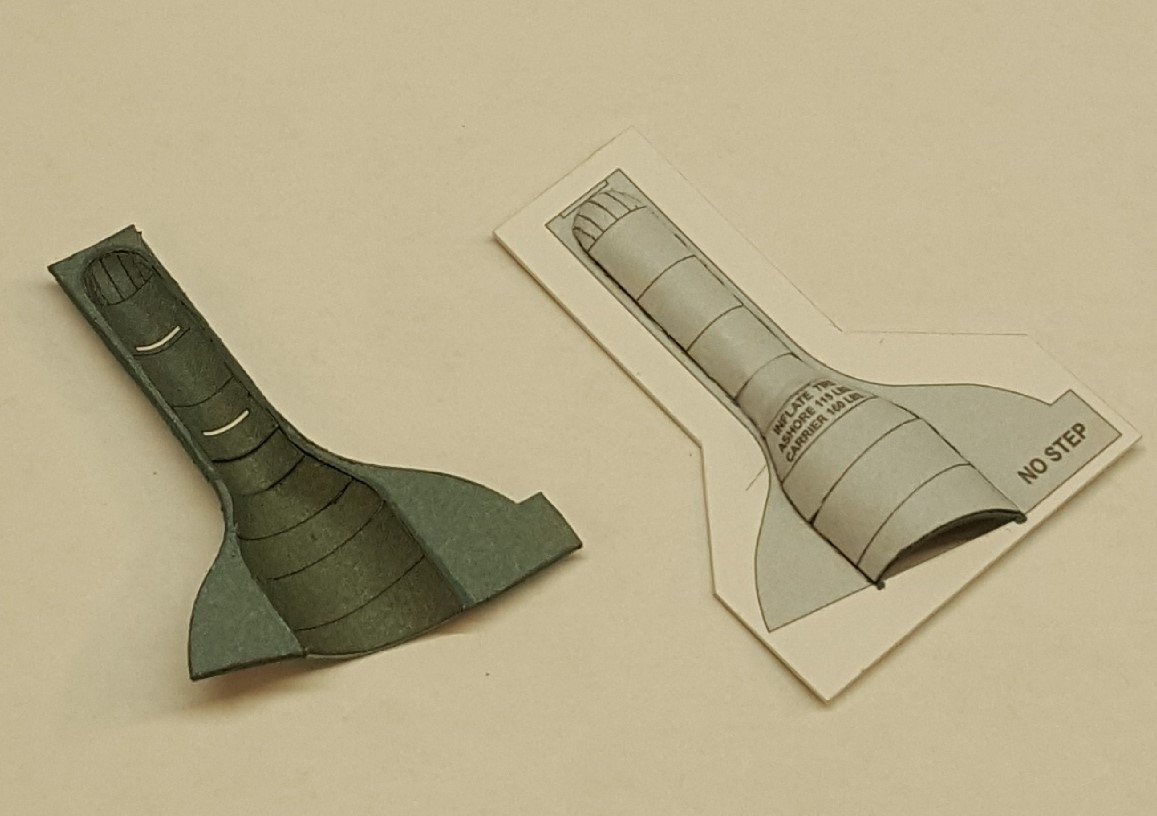
I got around to starting the landing gear. First, a photo of the gear doors. The left one is finished; the right one is still in its "frame." So, the main difficulty in building these stems from the fact that the doors are not flat -- each has a pronounced curve that goes around its strut. The way the kit tackles this is to start with a two-sided "frame" from which the central portion is removed. Then six curved panels are added, three interior and three exterior. Finally, the finished doors are cut loose from their frames. I'm satisfied with the results. Cheers!
- 150 replies
-
- 18
-
-
-
Russian T-62A Tank by CDW - Tamiya - 1/35 Scale FINISHED
ccoyle replied to CDW's topic in Non-ship/categorised builds
Just saw the Tank Museum link. I've watched many of their videos -- a great resource. -
Welcome aboard, Rich, from your neighbor to the north. All of the kits you mentioned are great projects and should set you up well for enjoying this great hobby. Cheers!
-
Russian T-62A Tank by CDW - Tamiya - 1/35 Scale FINISHED
ccoyle replied to CDW's topic in Non-ship/categorised builds
No problem. I was really making more of a snide comment on the unfortunate design flaw of the original. 😉 -
Russian T-62A Tank by CDW - Tamiya - 1/35 Scale FINISHED
ccoyle replied to CDW's topic in Non-ship/categorised builds
Does it come with uncompartmentalized ammo storage racks inside the turret? -
Looks great!
-
And the bidding starts at only 500,000 GBP. No, thanks -- too rich for my wallet!